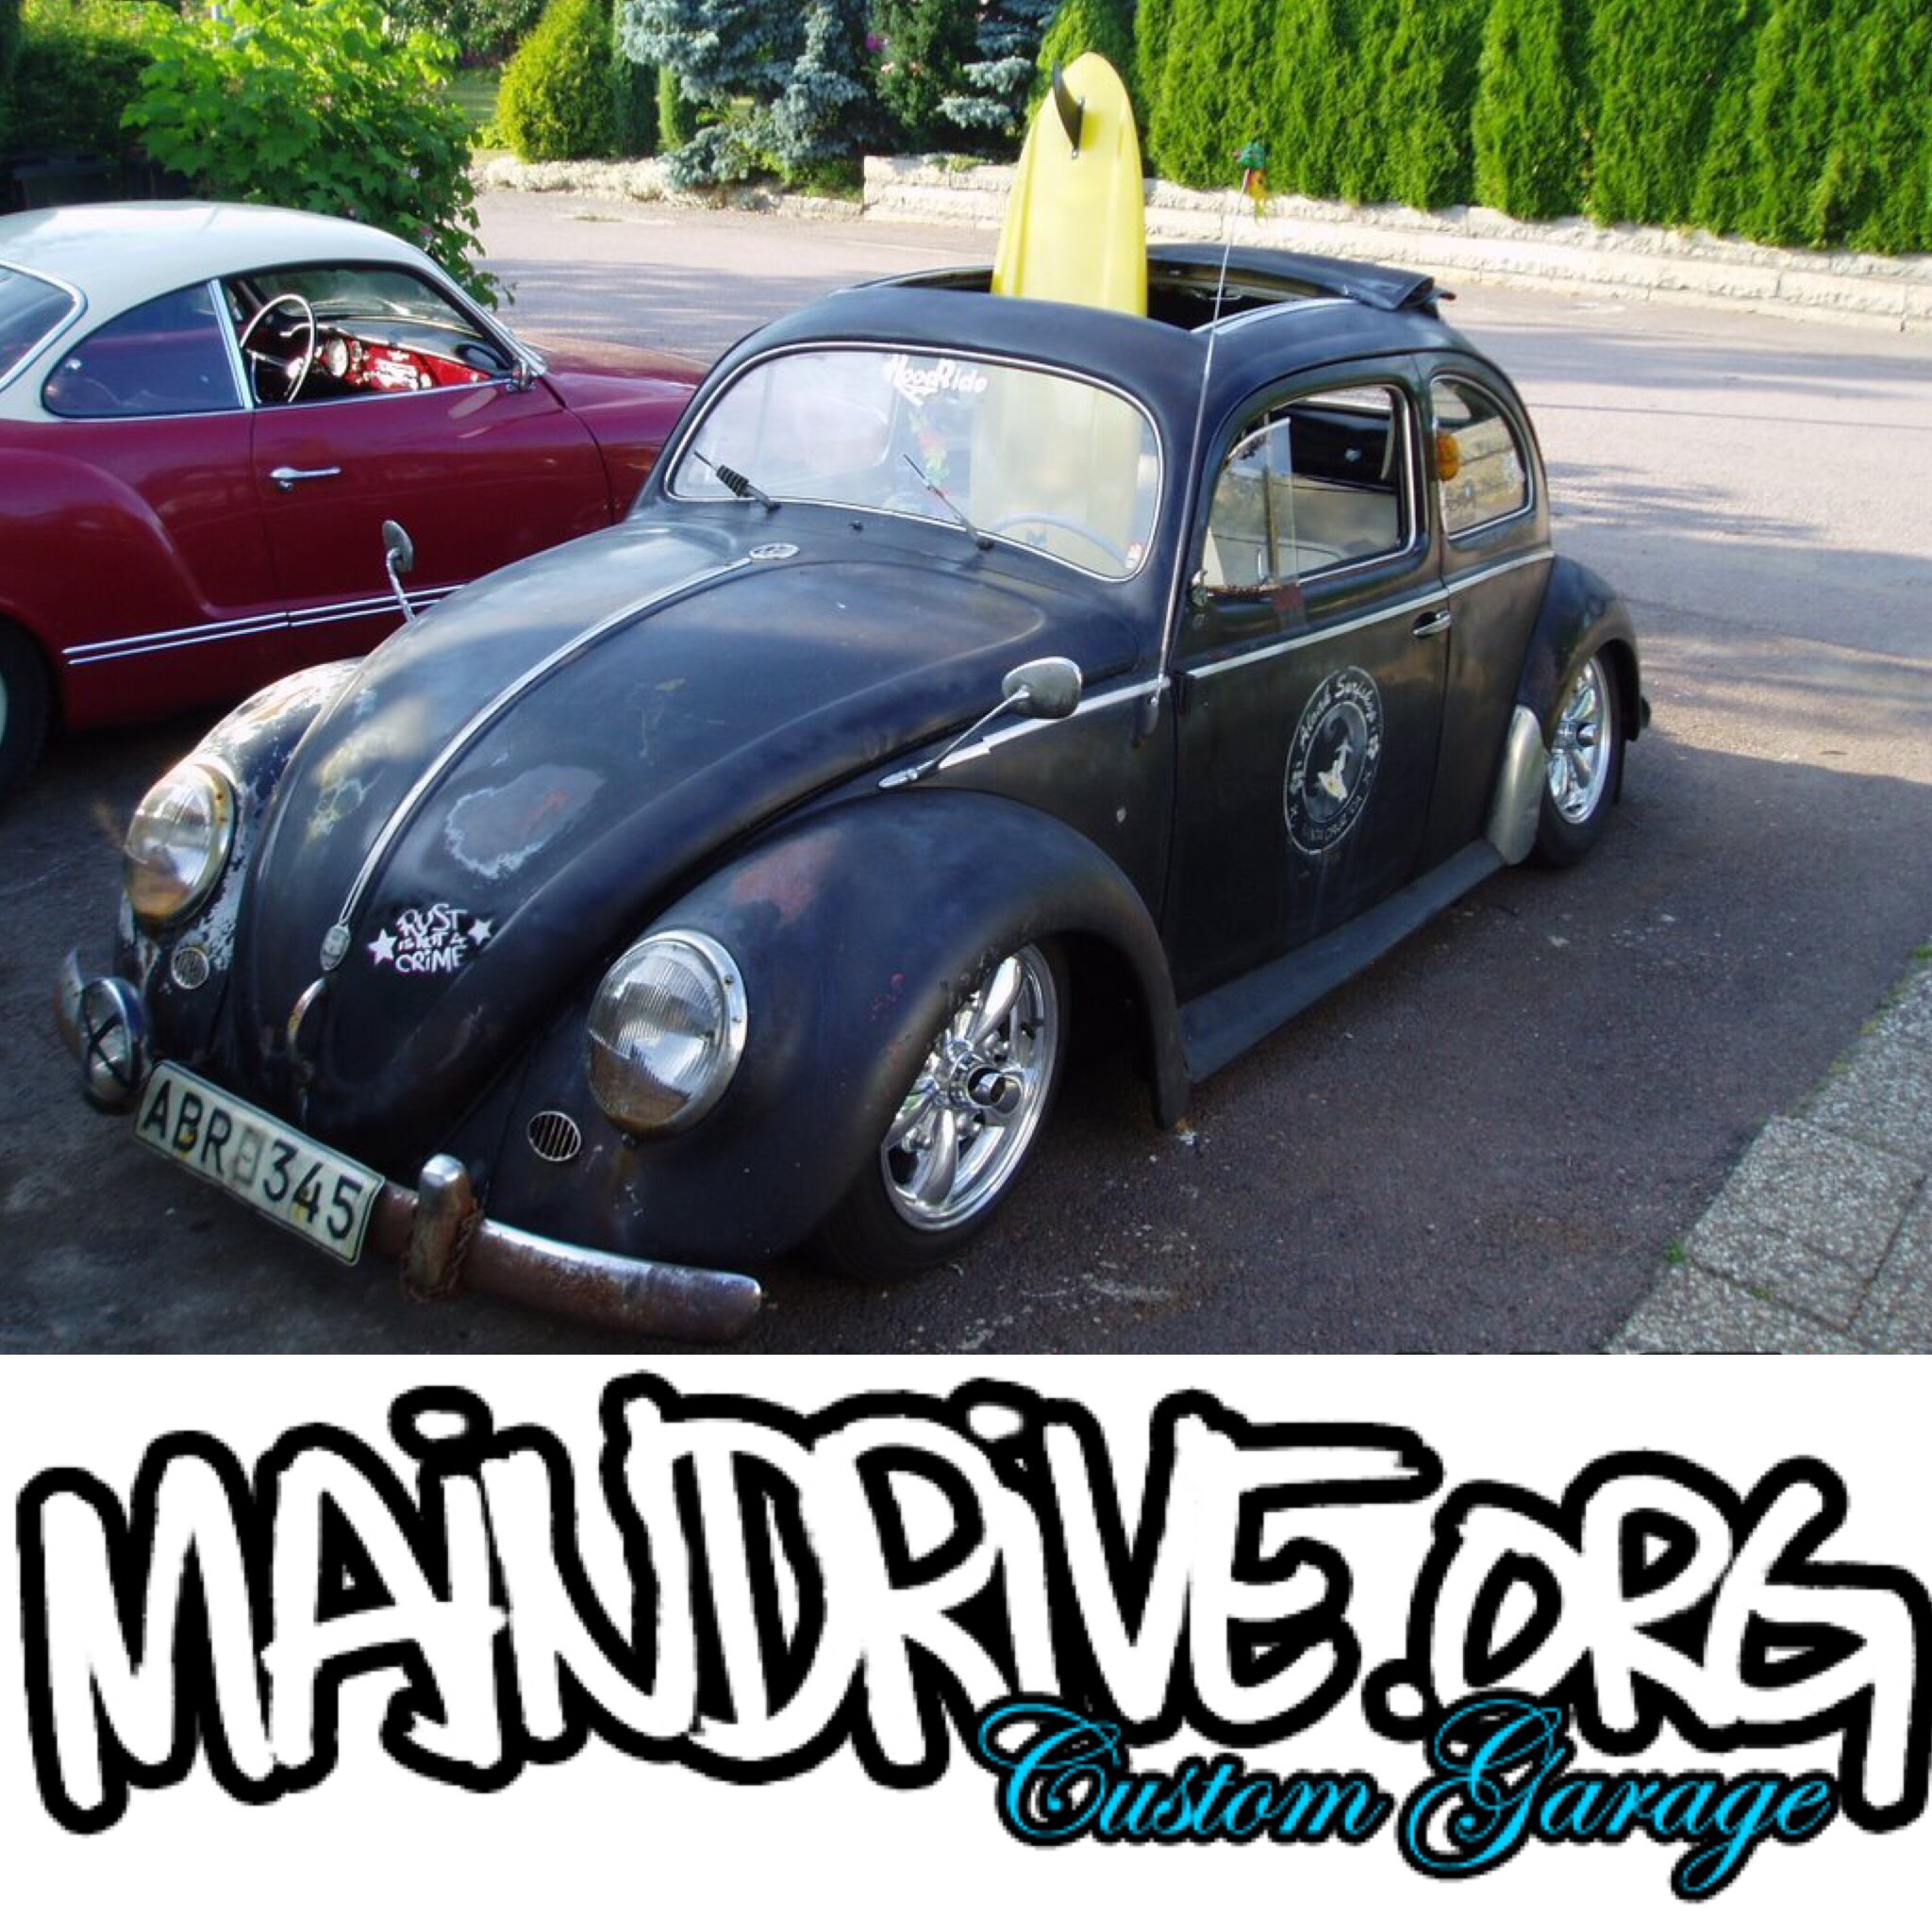
Built this VW Beetle from a empty shell, back in 2010. Custom frontbeam, 3 splines in the rear, new industrial engine and dropped on polished Torque wheels.
Built this VW Beetle from a empty shell, back in 2010. Custom frontbeam, 3 splines in the rear, new industrial engine and dropped on polished Torque wheels.
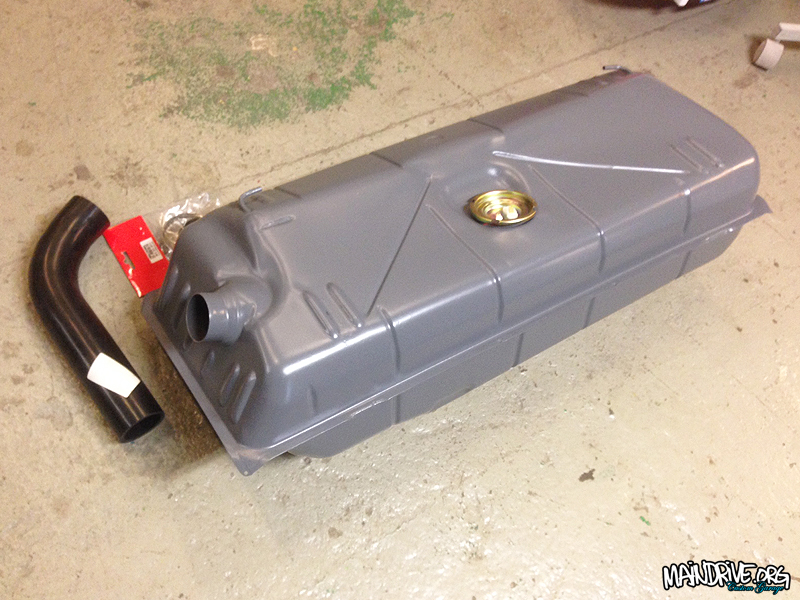
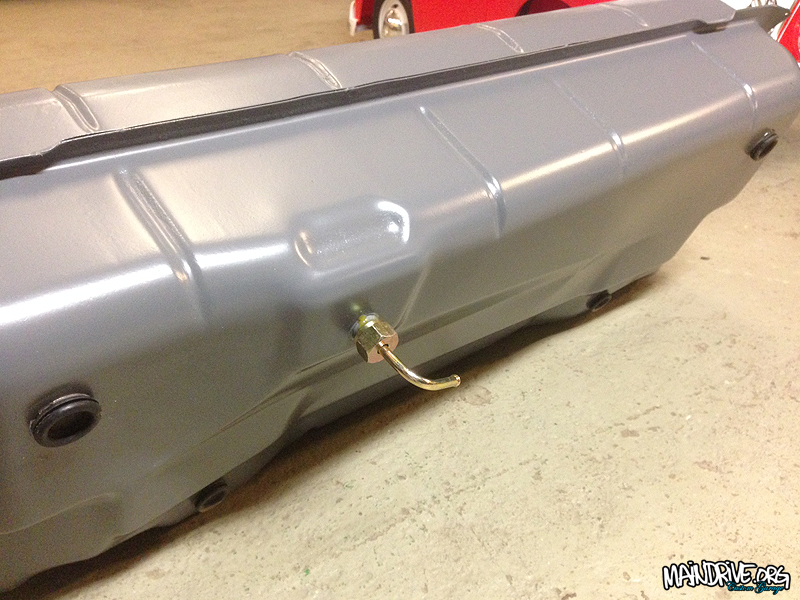
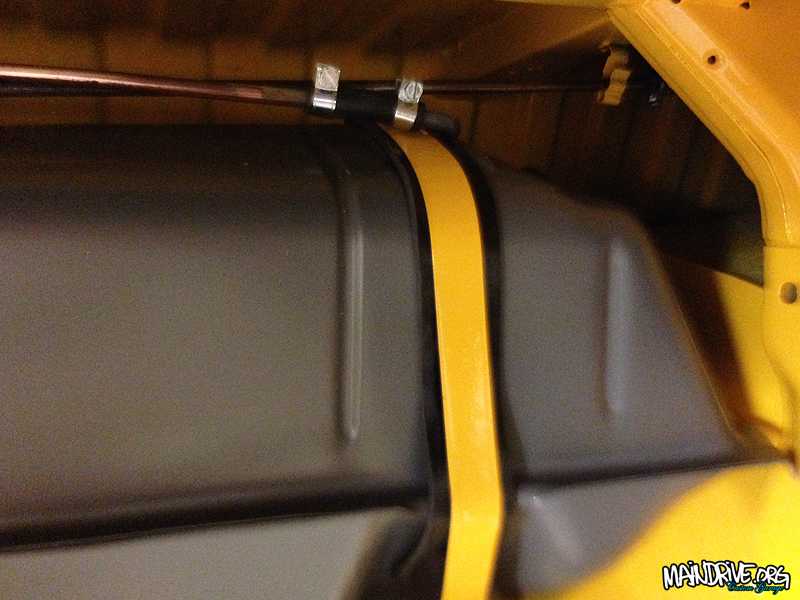
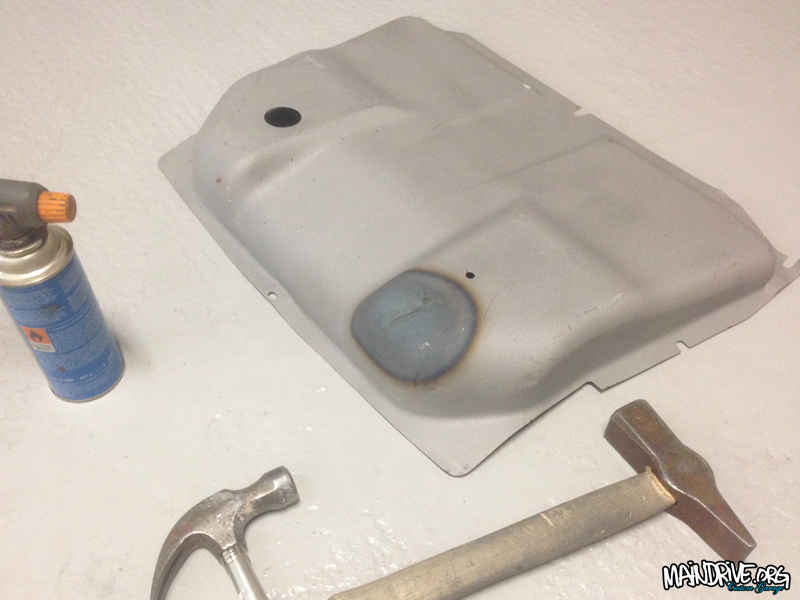
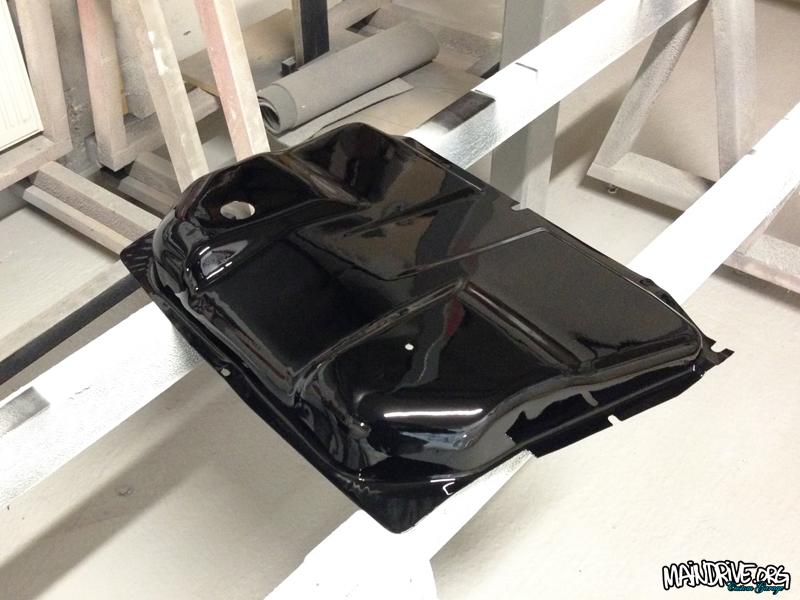
Here is some news on the build. Got the fuel tank installed today. With new fuelfiller neck, feeder hose, sender unit, tap and filter. Also replaced all rubber hose connections for the tank ventilation. Next time I will start bodywork on the huge roof…lots of fun…
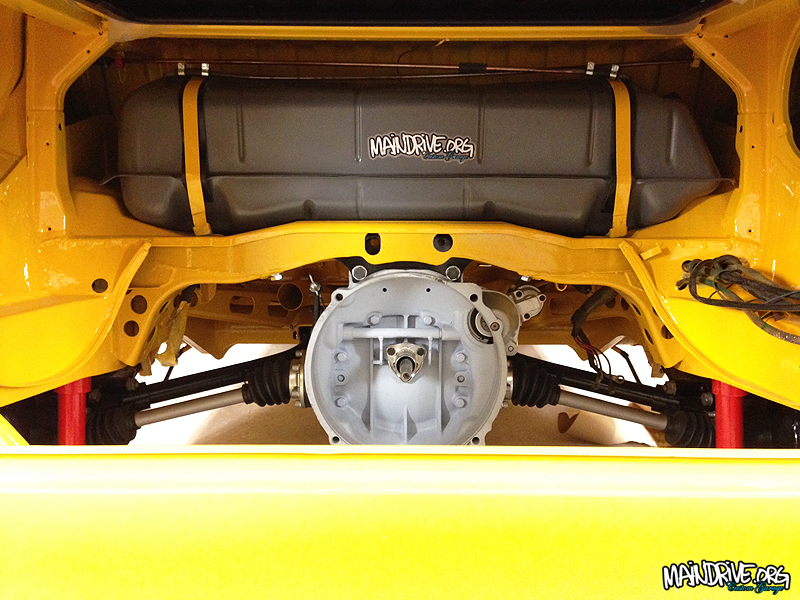
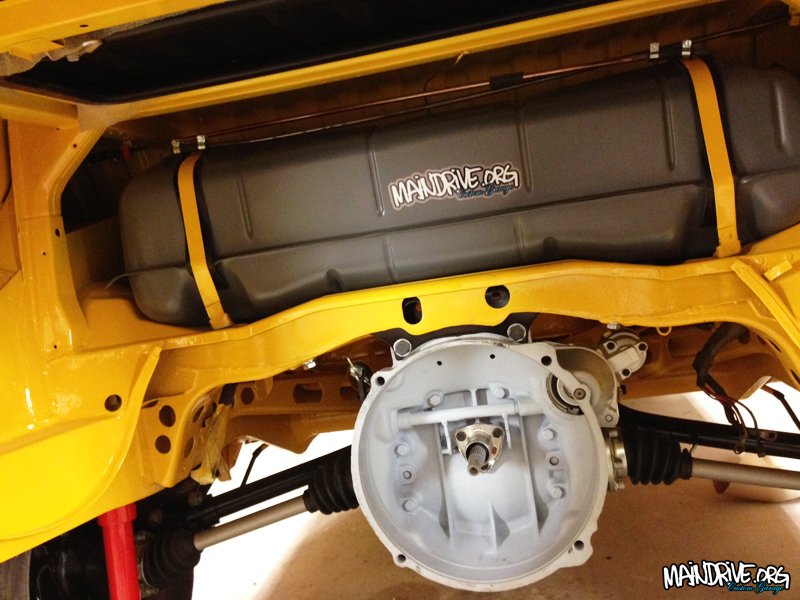
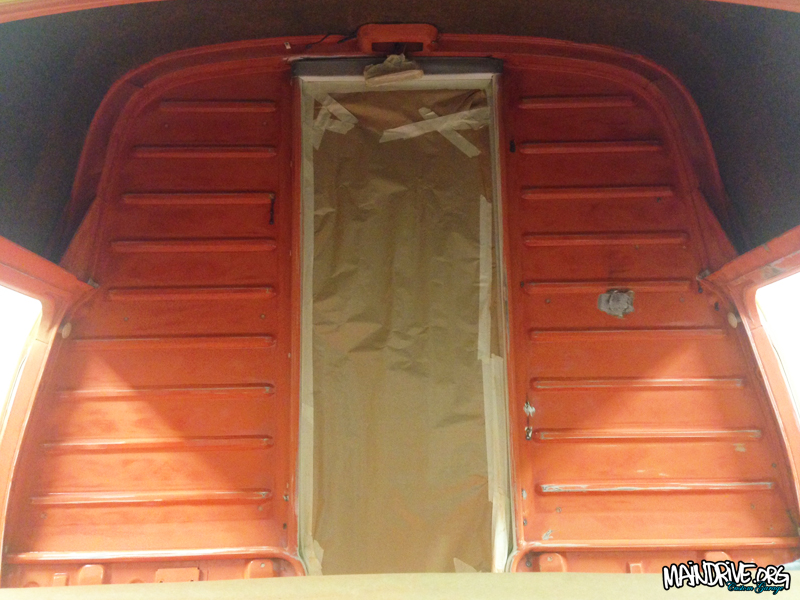
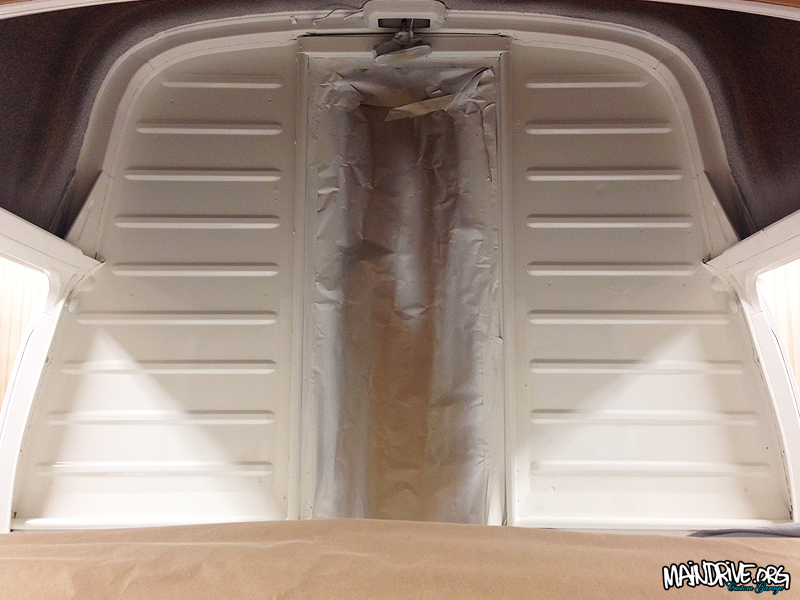
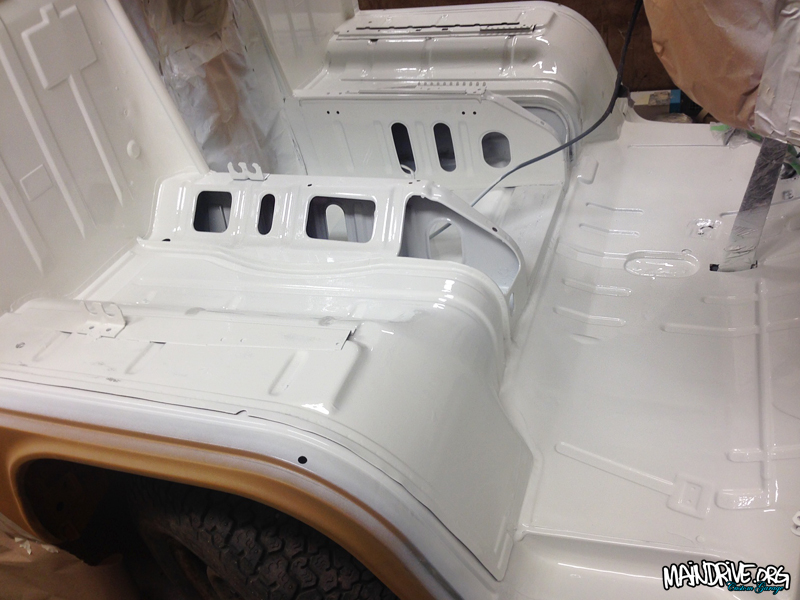
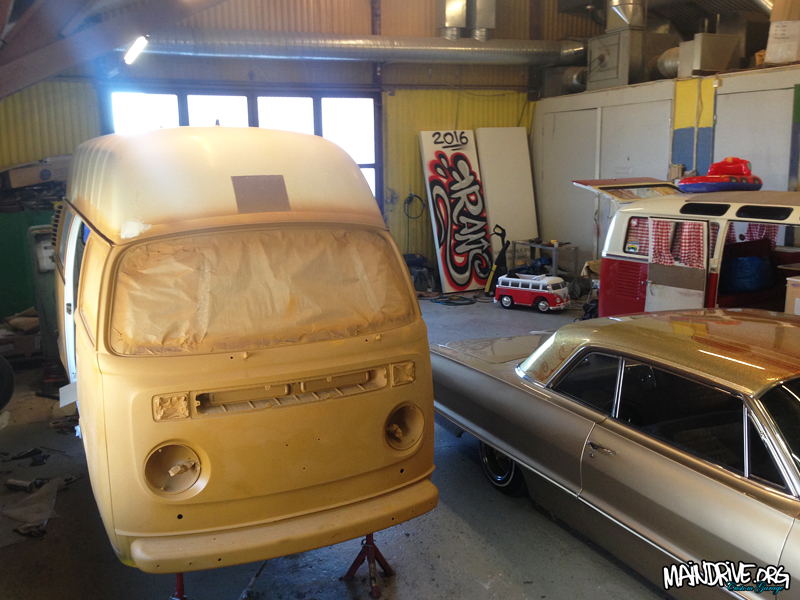
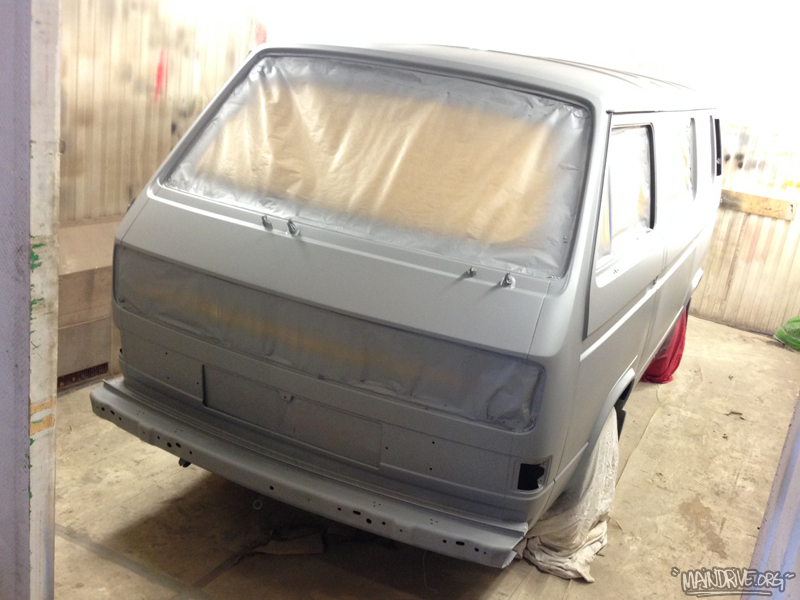
The engine bay is now ready for the fueltank and later on the 1800cc+ type 4 engine (need to be rebuilt first) to be installed. Today the whole front cab of the bus got sanded down (mostly by hand), front doors removed, masked, seamsealed, prepared for primer and then topcoat in Off White color in 2 layers. Most of this wont be showing when all sounddeadning materials and carpets are in place later but good to have a clean surface for glue and its also nice to know its clean and protected under the carpets.
Next up is; top section of dashboard needs to be removed to paint it in semi-gloss Deepblack (easier to do when windscreen is already out). After this I can start with the outside body of the bus and make it ready for paint. Here is some new pics…
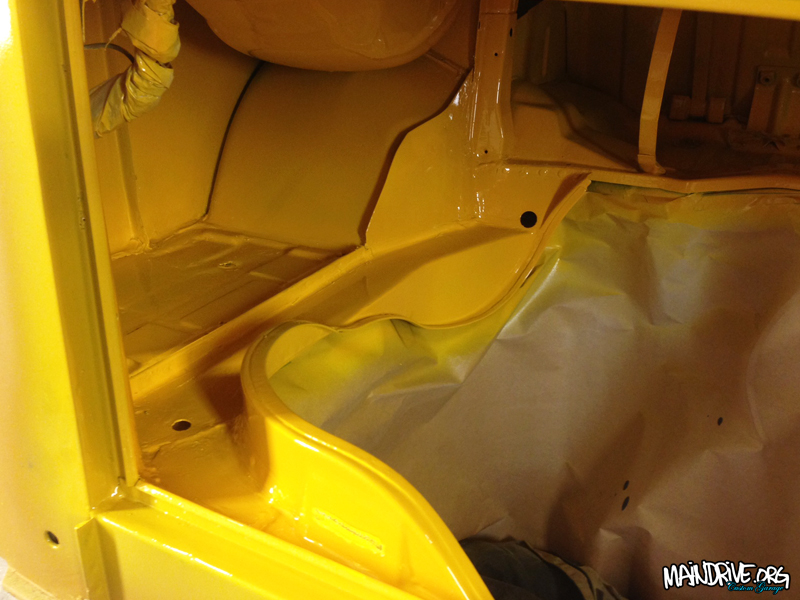
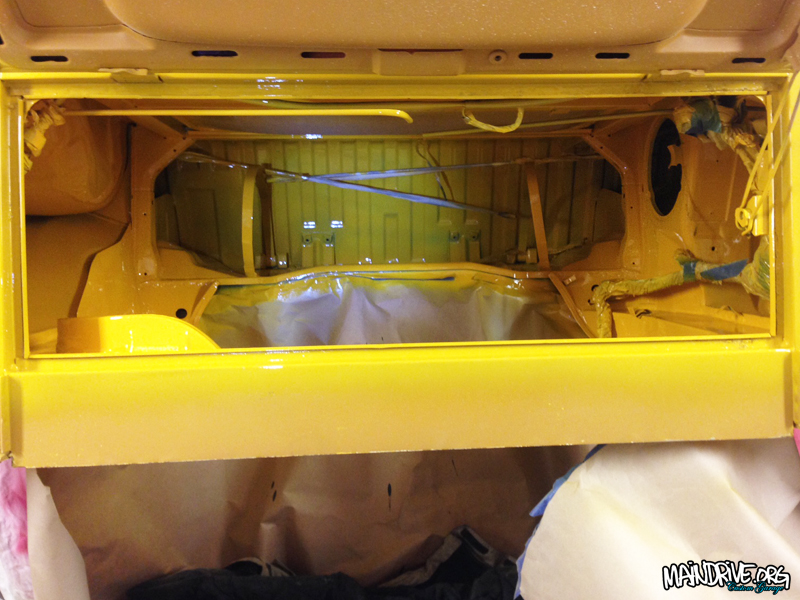
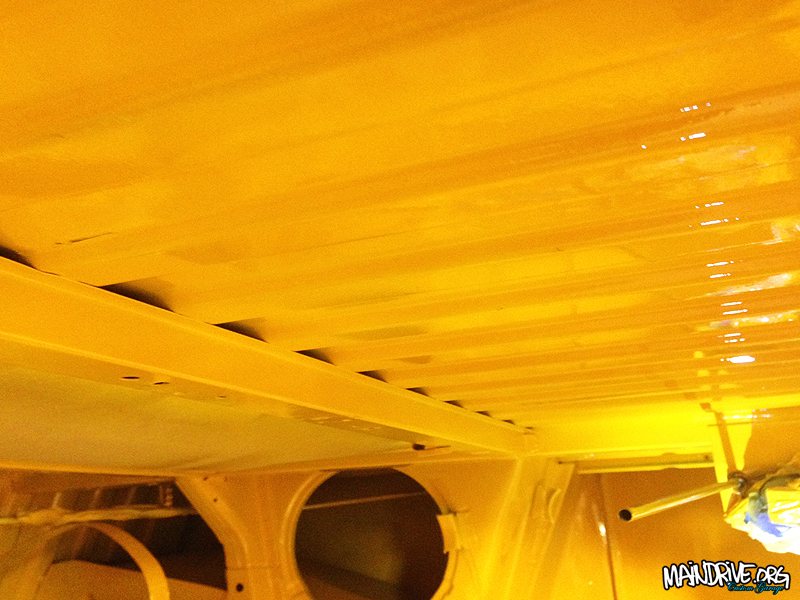
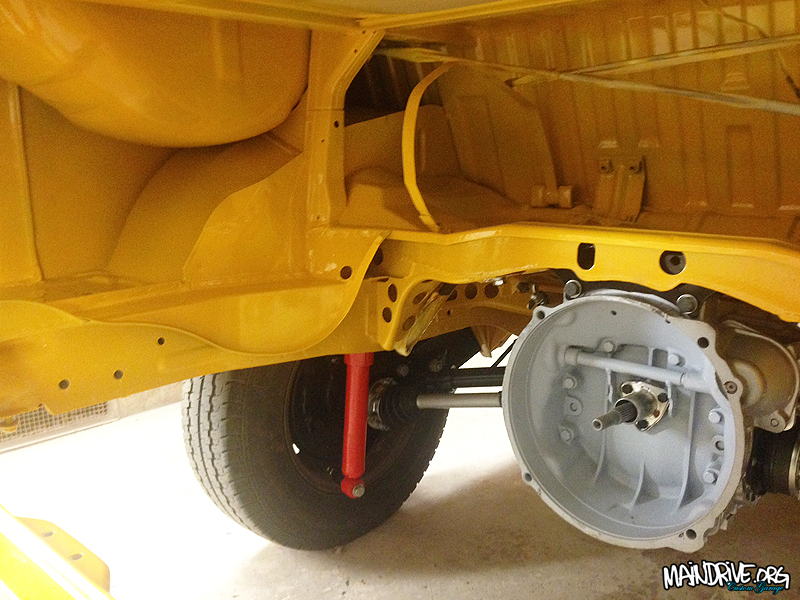
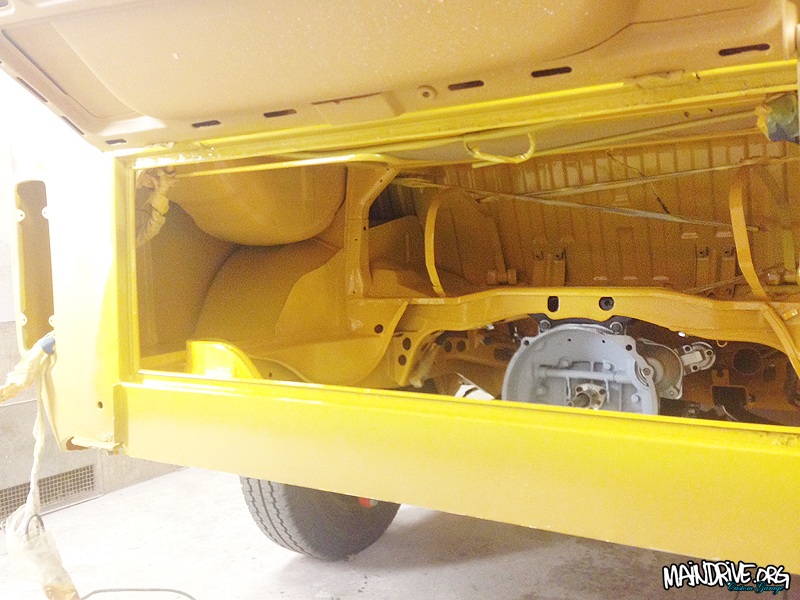
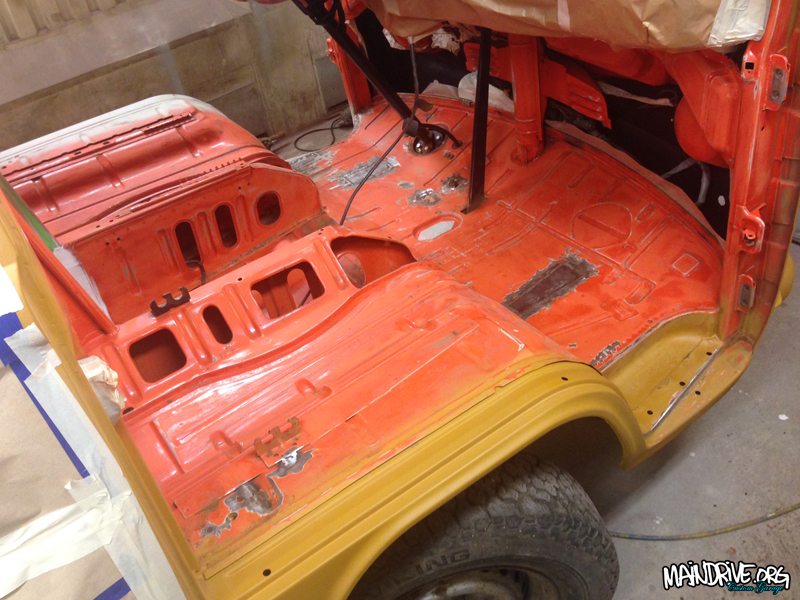
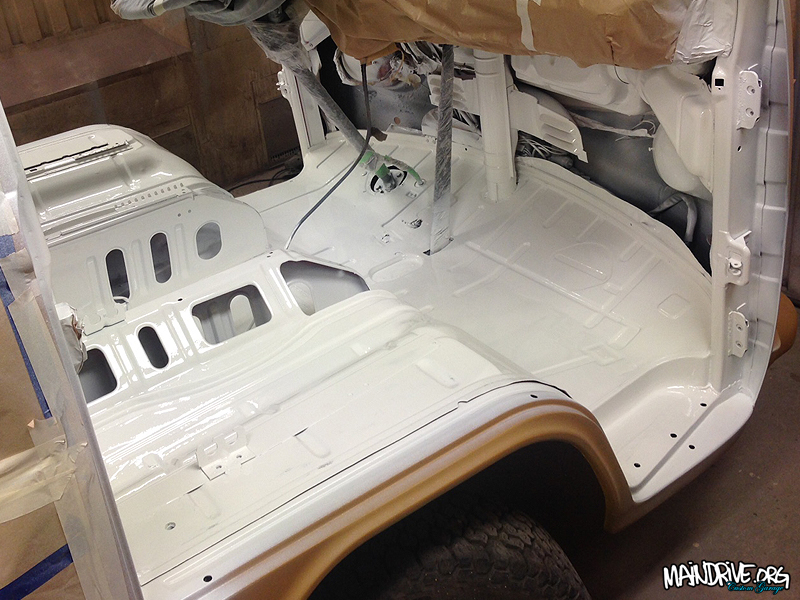
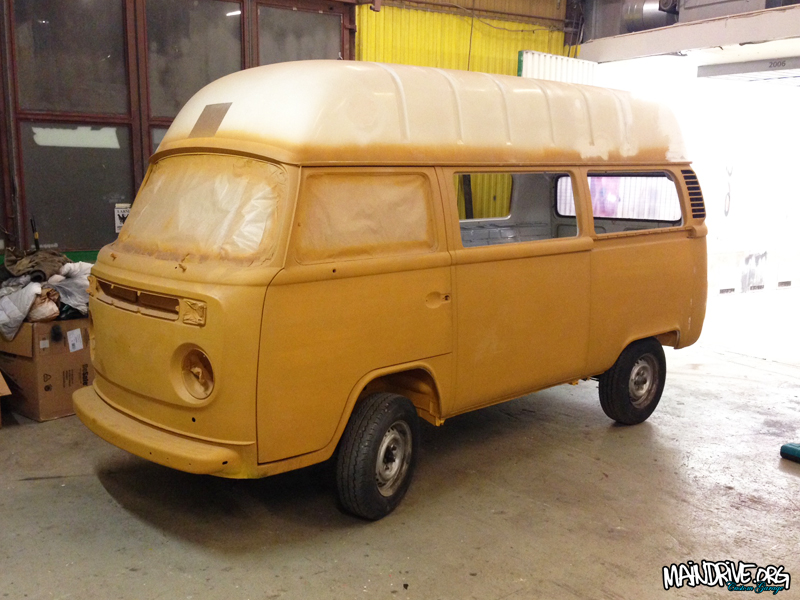
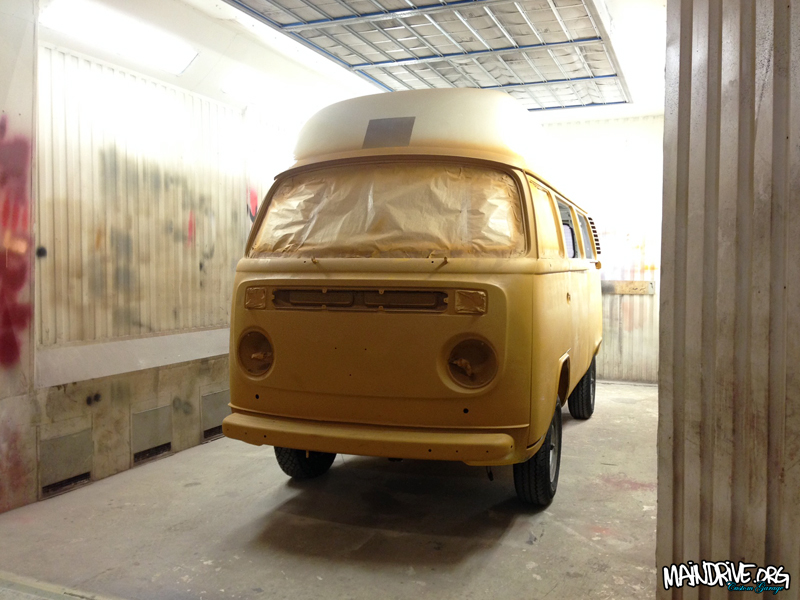
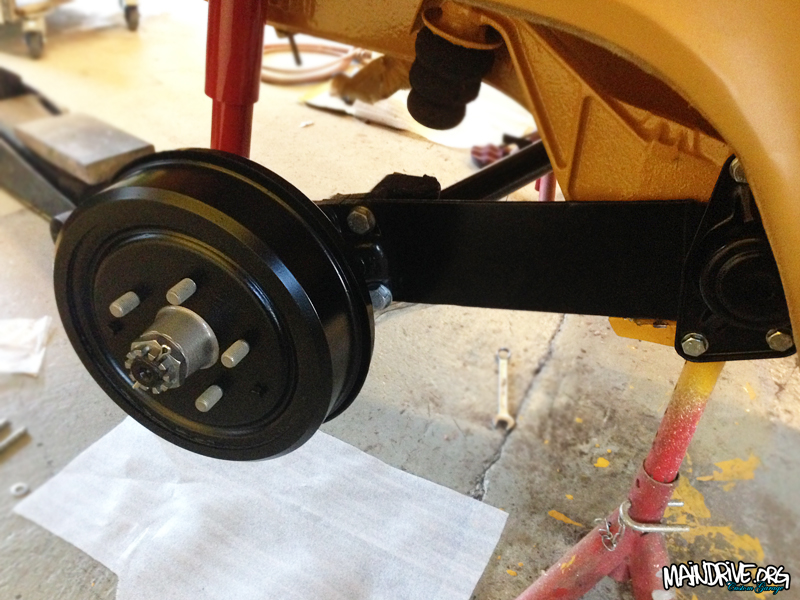
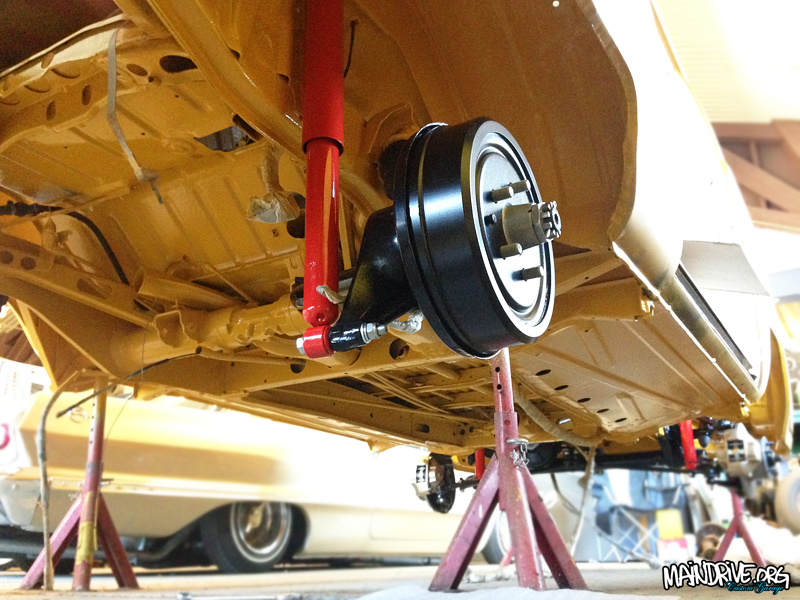
Yeah! The bus is now rolling on its own wheels again, after been standing like a empty shell in the air for 7 months. Still need to route new brakelines and brakehoses, and bleed the whole system. Must also restore the factory installed Eberspracher BA6 heater that are going to be installed under the center floor. But now its time to start with paint and body. The engine compartment and front cab need to get painted in VW L20A Marino yellow first, then I can start working on the outside. Lots of work still left to do, but much have been done on places you normally dont see…

Made a clip from this weekend, Chevrolet 3600 pickup from 1949.
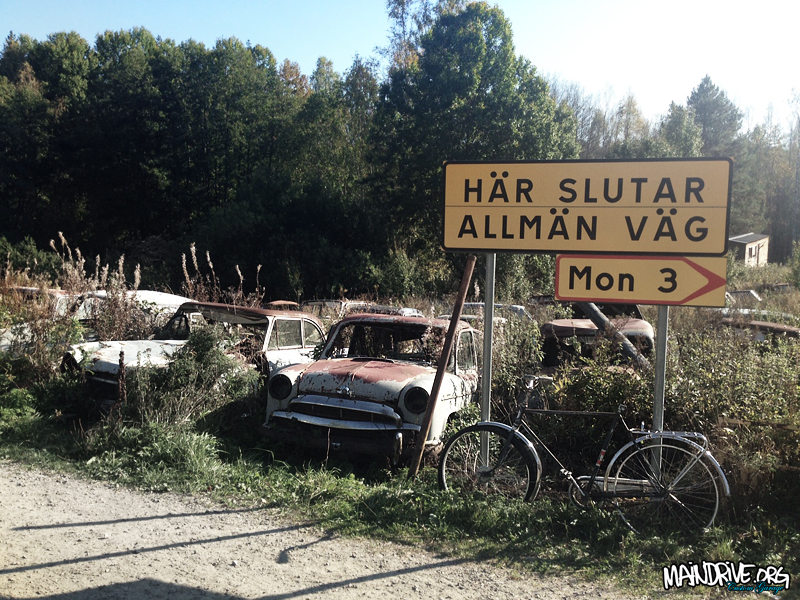
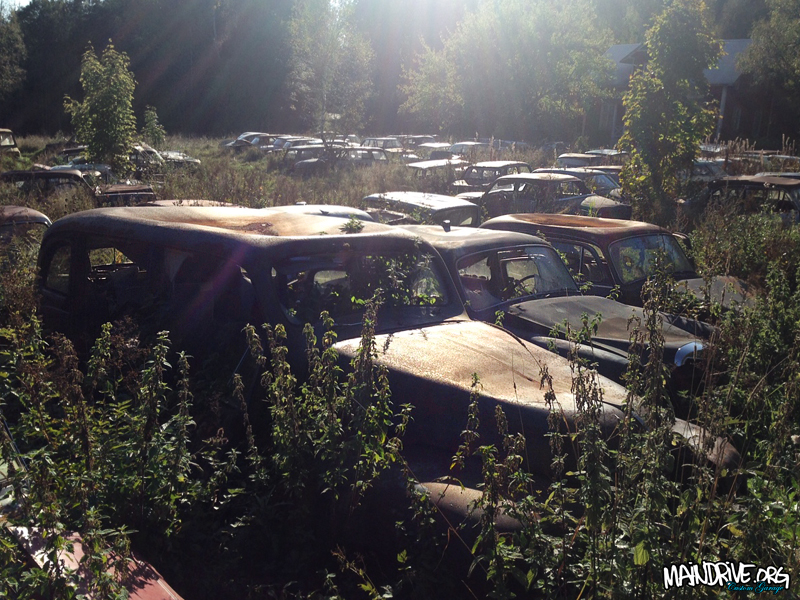
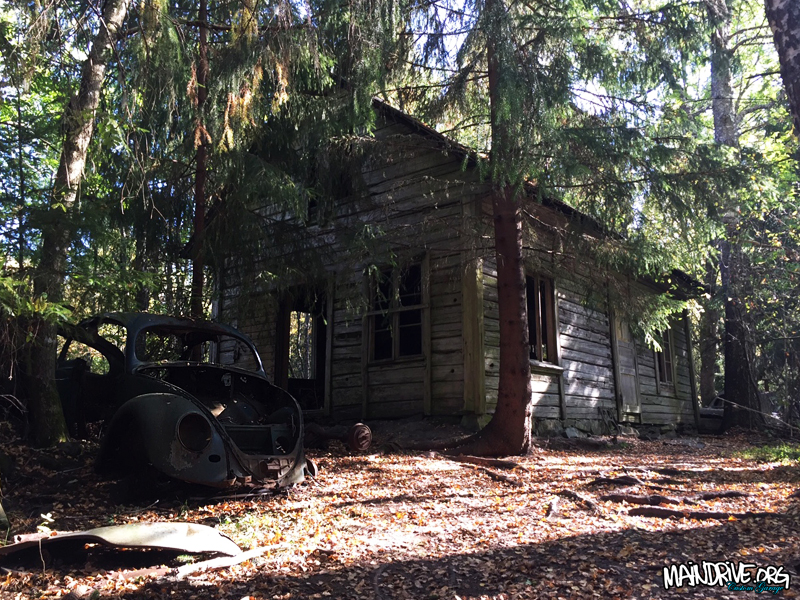
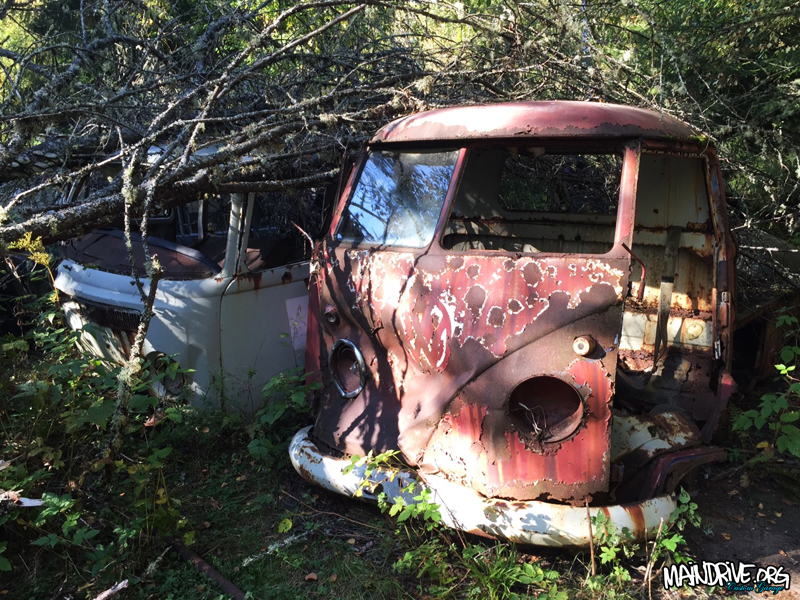
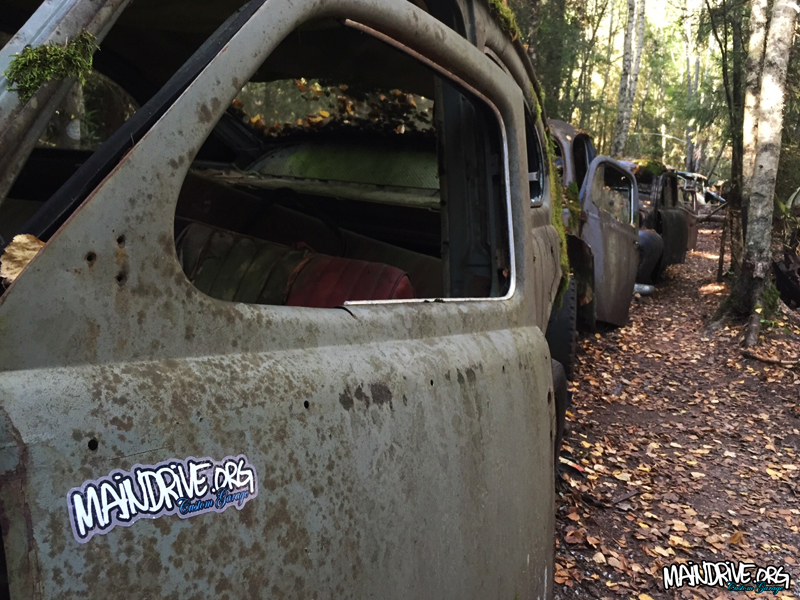
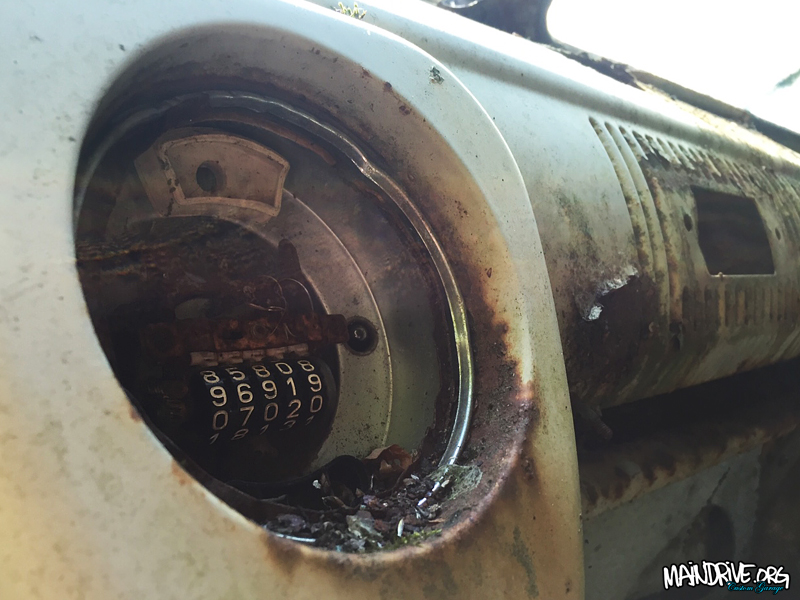
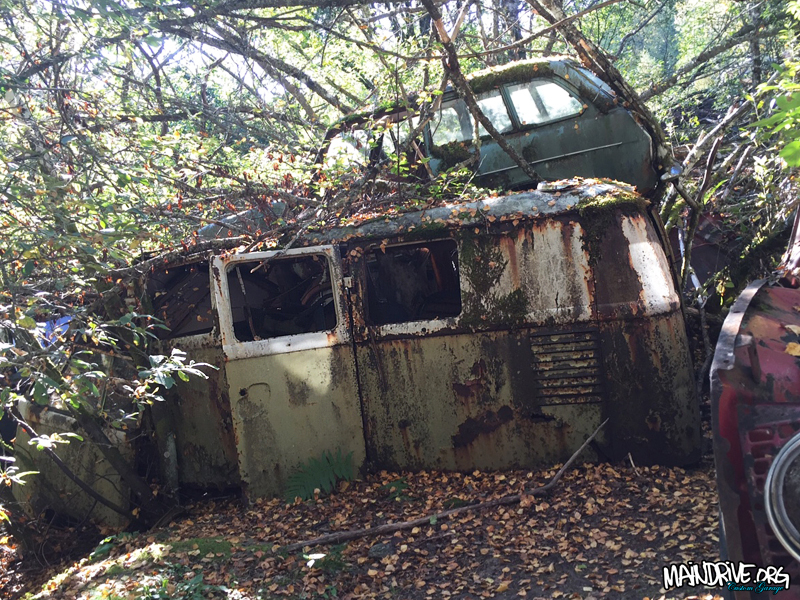
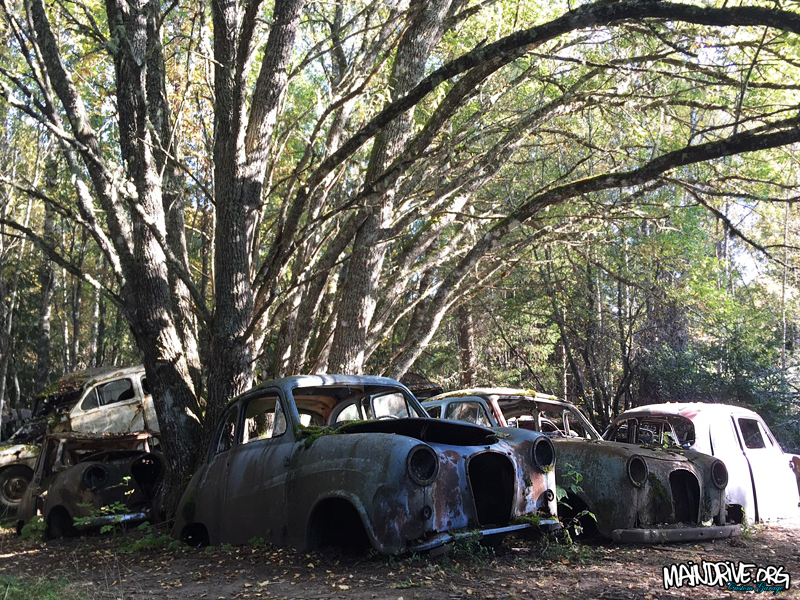
Visited the now world famous junkyard with hundreds of old cars here in Sweden. A magic place to walk around and LOOK at, not cut everything up. Really sad to see alot of cars that have been losing their frontclips, rearwindows and roofs. It was so much nicer here 15 years ago before it got famous on internet and everyone started to bring their hacksaws. Soon nothing left to see…

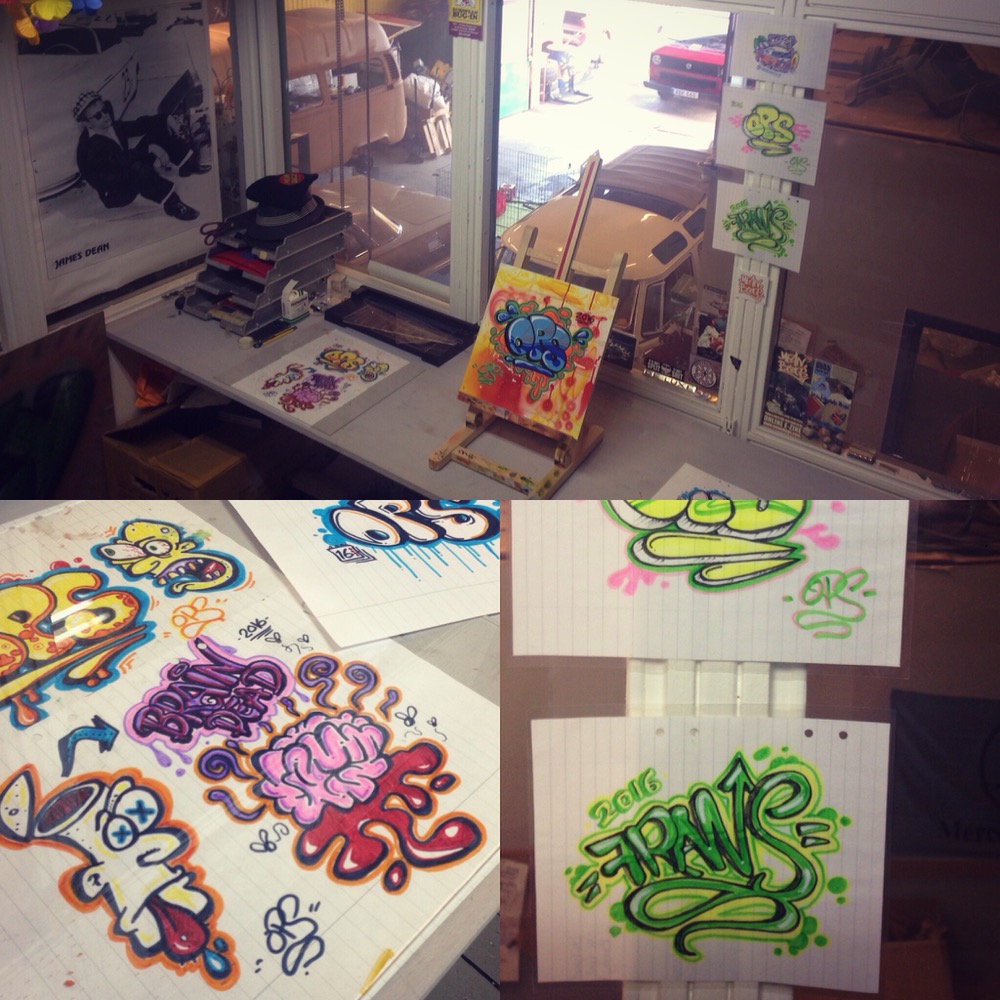
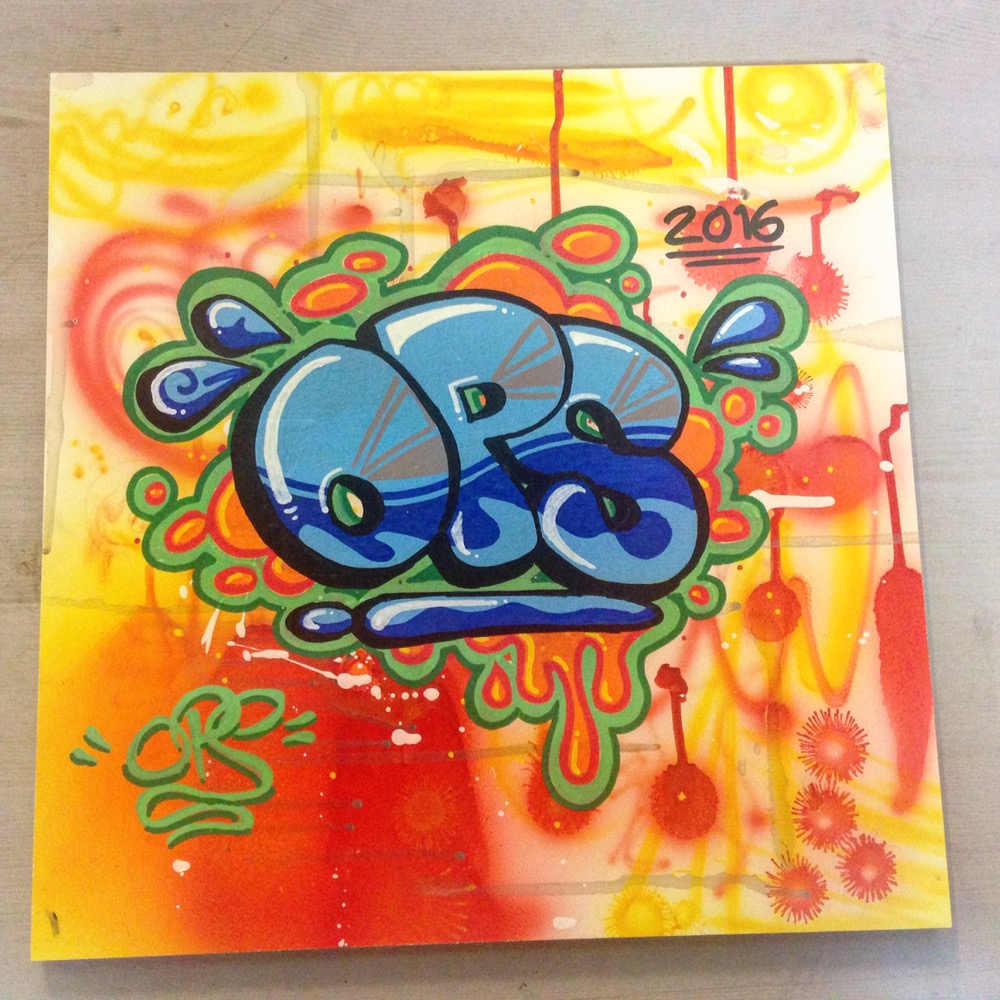
Some of my old sketches and drawings. Just for fun…
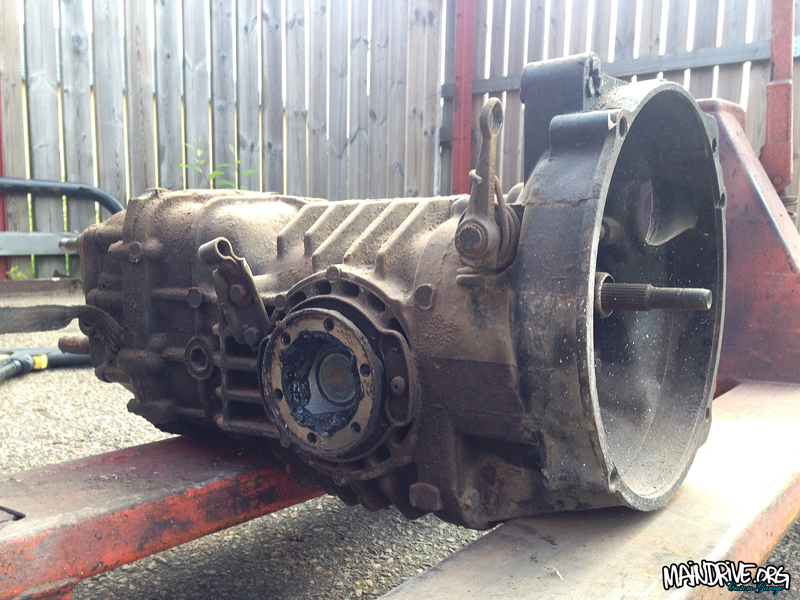
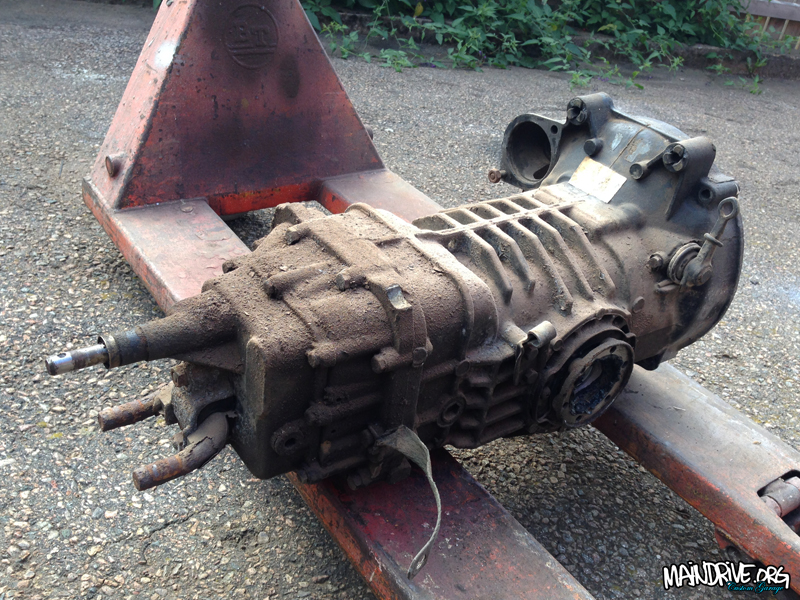
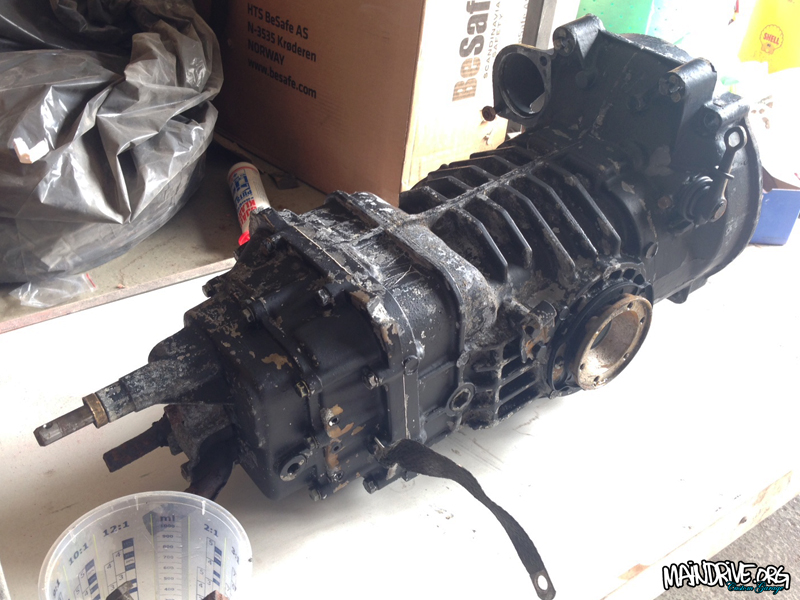
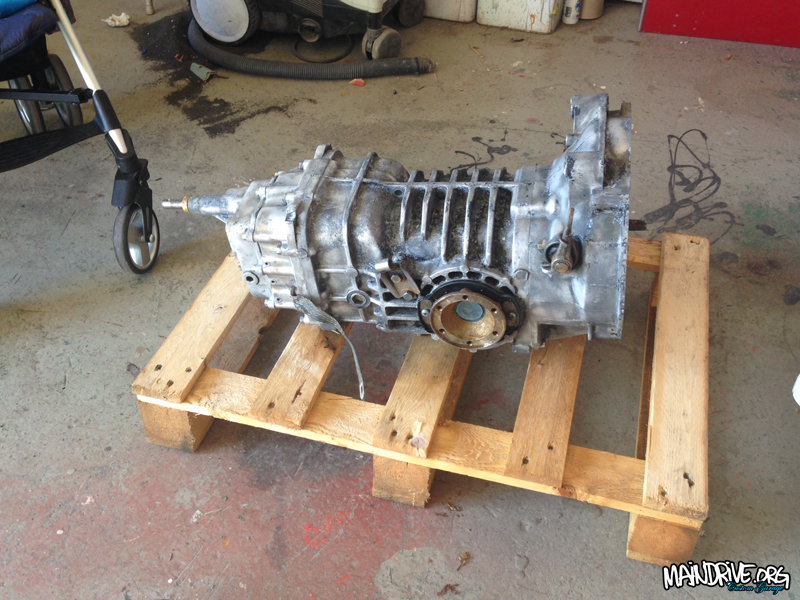
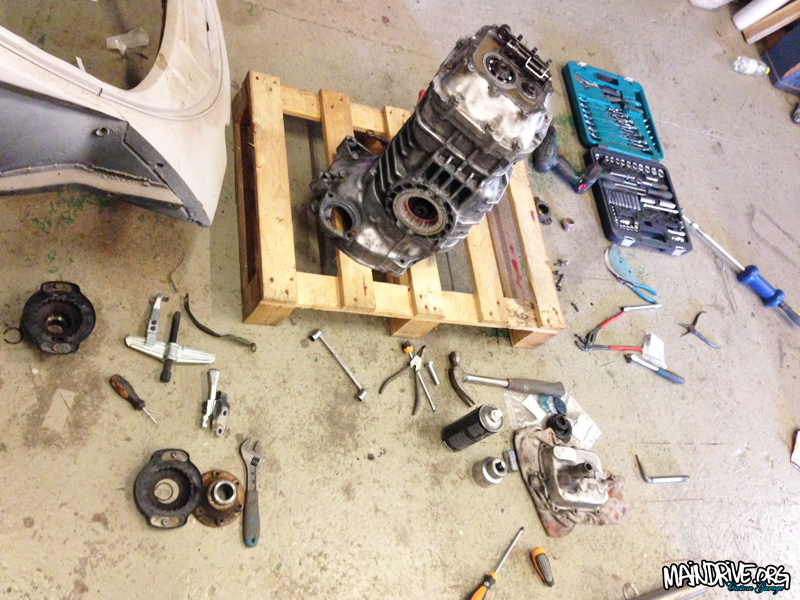
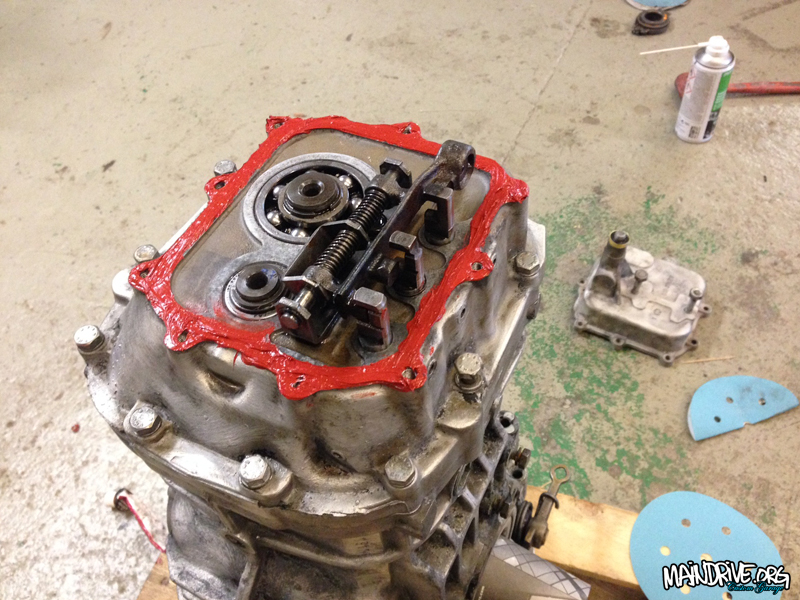
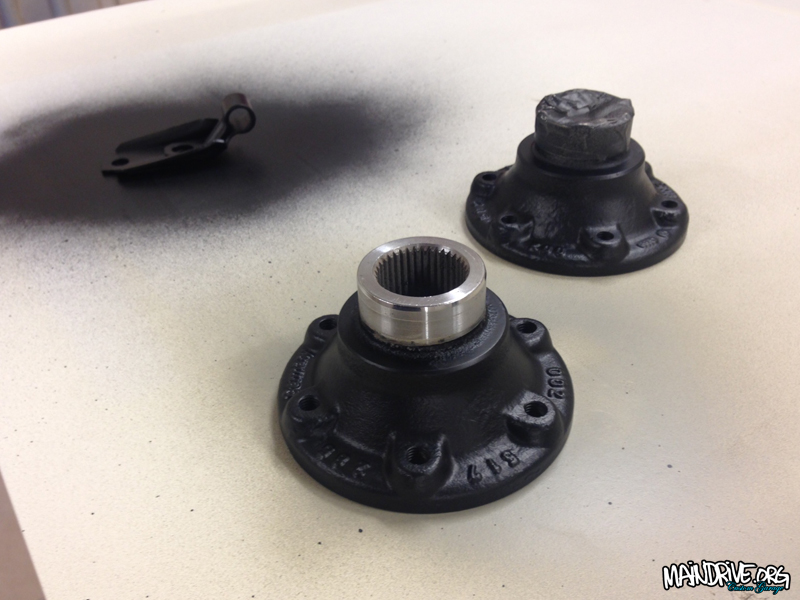
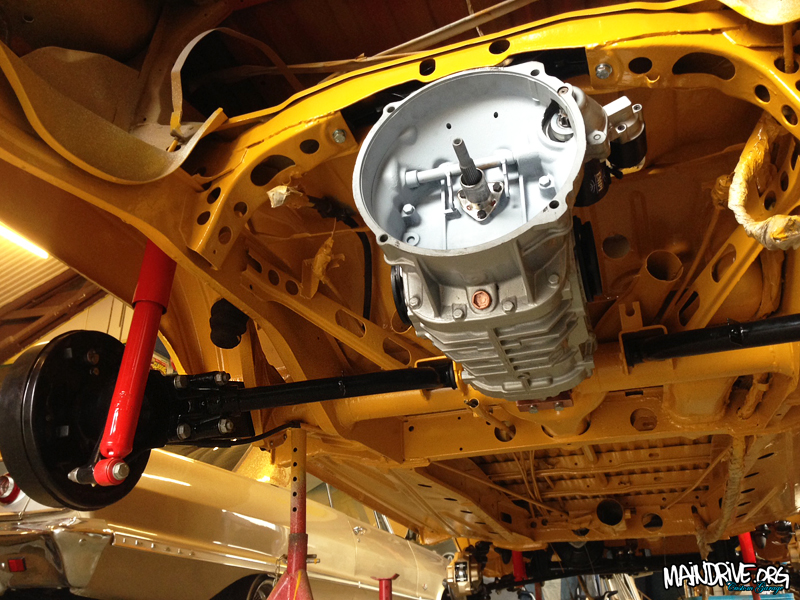
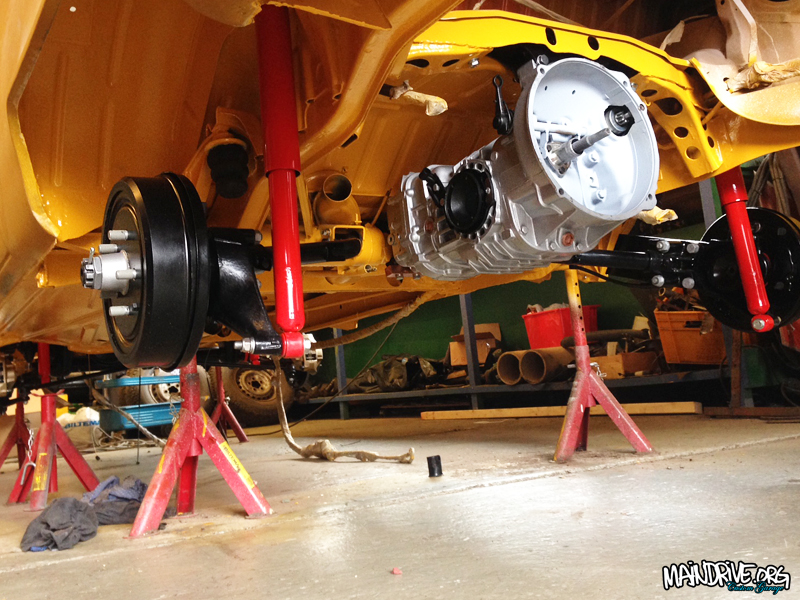
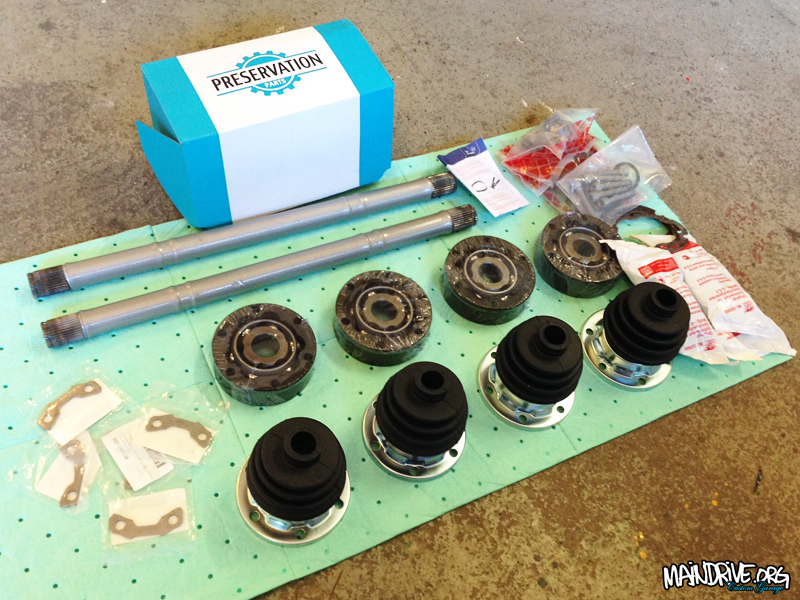
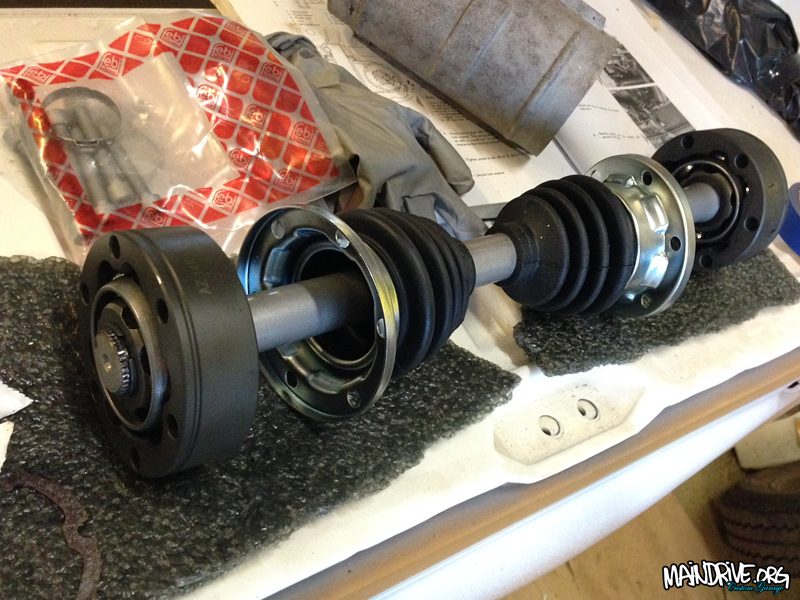
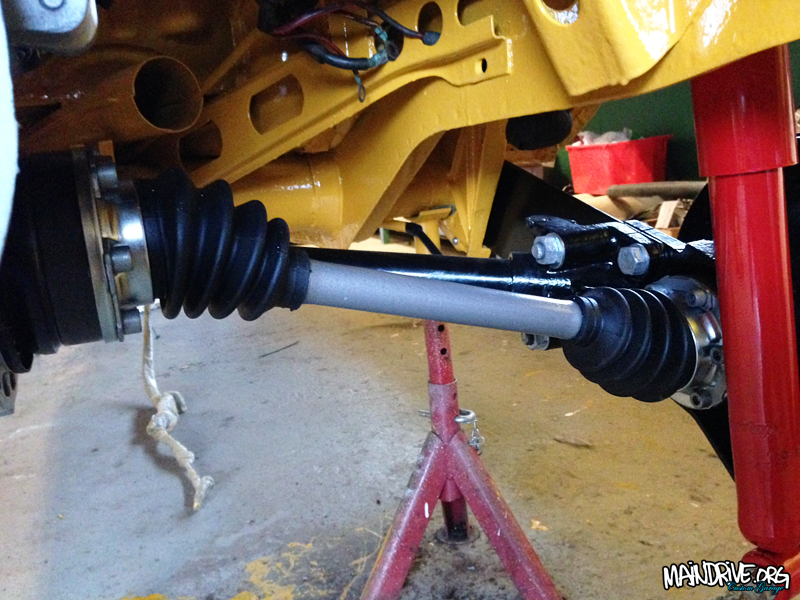
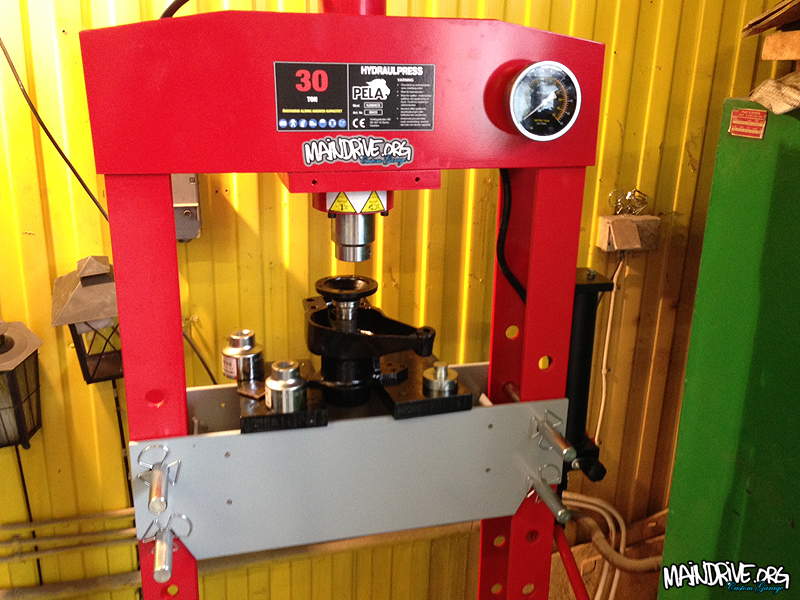
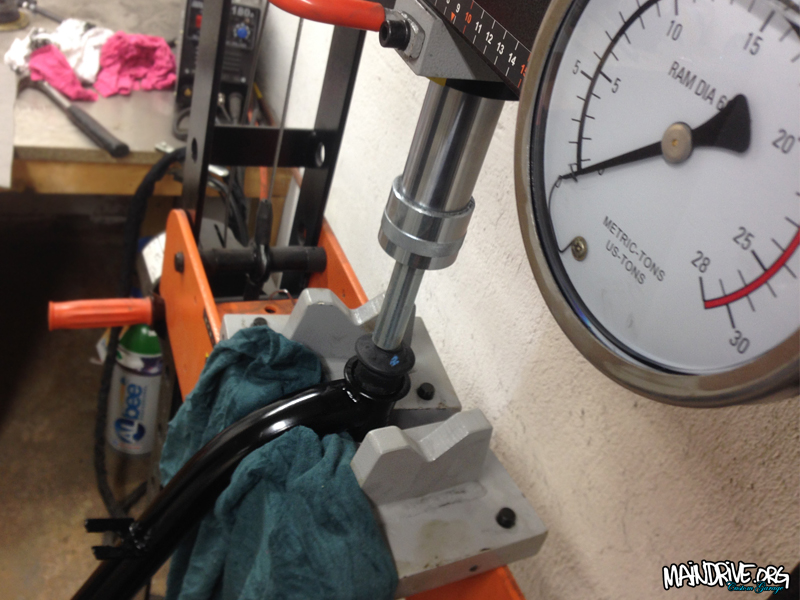
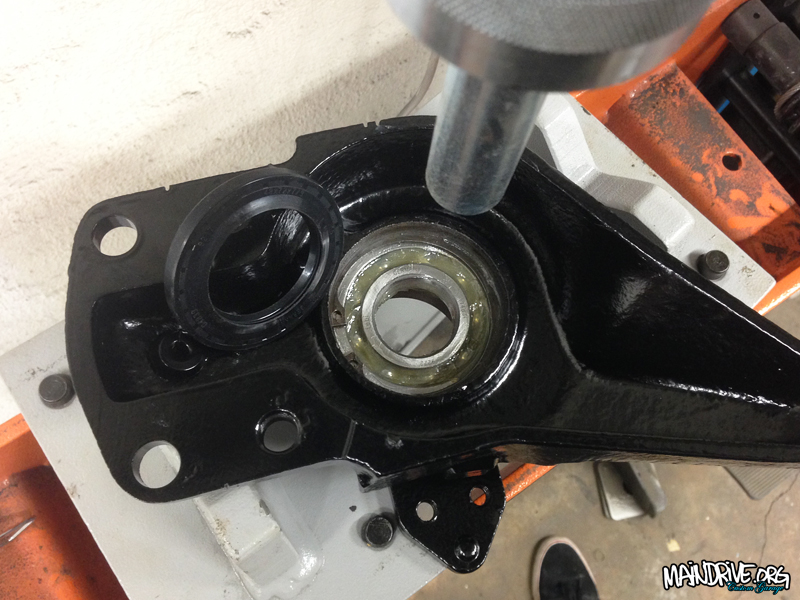
Have been working on the transmission and driveshafts lately. Had a pile of new parts from Just Kampers waiting for it. The tranny was in very good shape and have been restored by VW (exchange parts) in the 1980s. But it still needed alot of work to look good again. Highpressure washed the case 3 times, to remove dirt and old oil. Drained the oil and it still looked nice (good sign)! Then 3 coats of paintremover was added so the black paint could be peeled off the case. Degreased it one more time, wirebrushed and sanded it making it ready for paint. A coat of primer for aluminium/etch was layed down and then 3 coats of 2K silvermetallic paint on top.
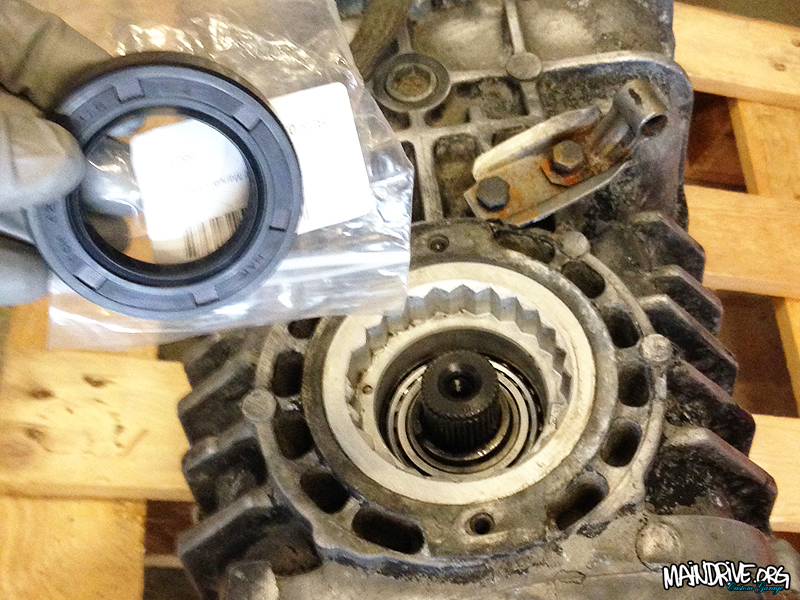
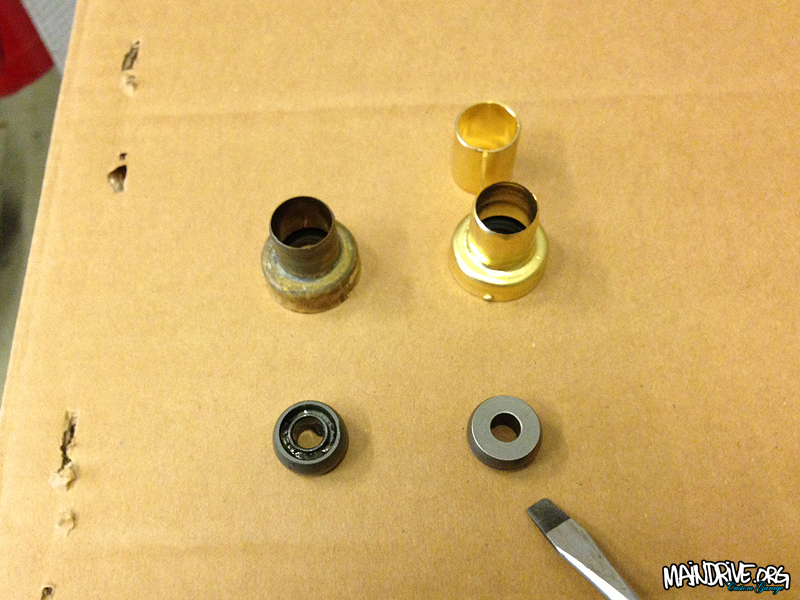
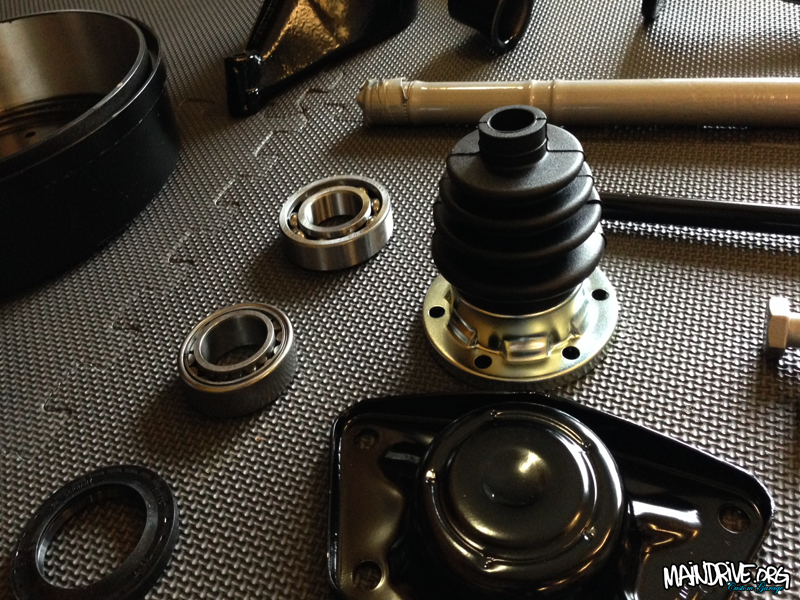
A new mainshaft oil seal was added, and both driveflange/shaft seals too. The nosecone got a new reamed bronze bushing and oilseal for the shiftleveler. Also the small plastic balljoint in the end of the shiftlever (the one that pushes gears) was replaced to a new made of steel, and will last a life time instead of a brittle plastic part that was before. The shiftrod feels very accurate and precise now, no more sloppy gearshifter! This is also a popular upgrade on VW race transmissions. Driveshafts and hubs was sandblasted and painted. New groundcable to chassi. New clutchwire. New gaskets, rubberboots and CV joints installed. New startermotor + bushing mounted too. New trans mounts upper and lower. And then the transmission was filled up with new fresh mineral API-5 grade transmission oil that VW recommended on these 002 cases. This oil is extra good to the special metalparts like syncro rings etc. Not aggressive like other grades can be to these old transmissions. Here is the pics…


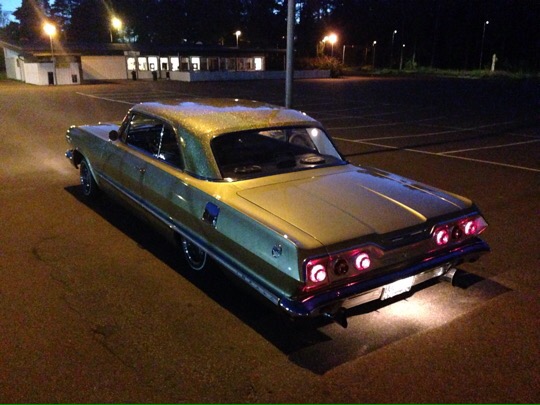
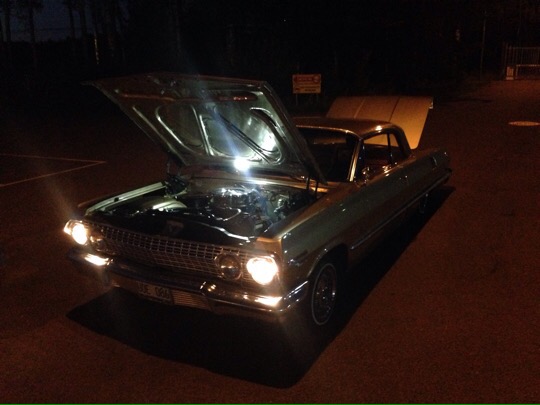
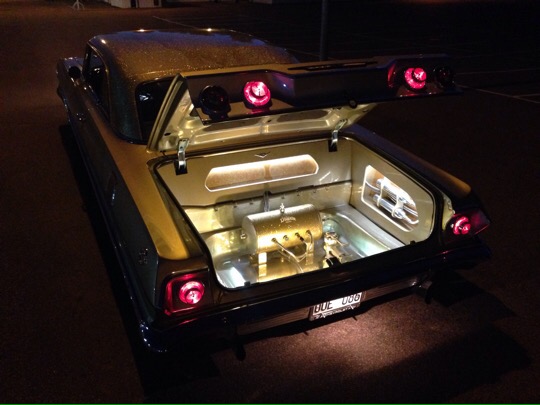
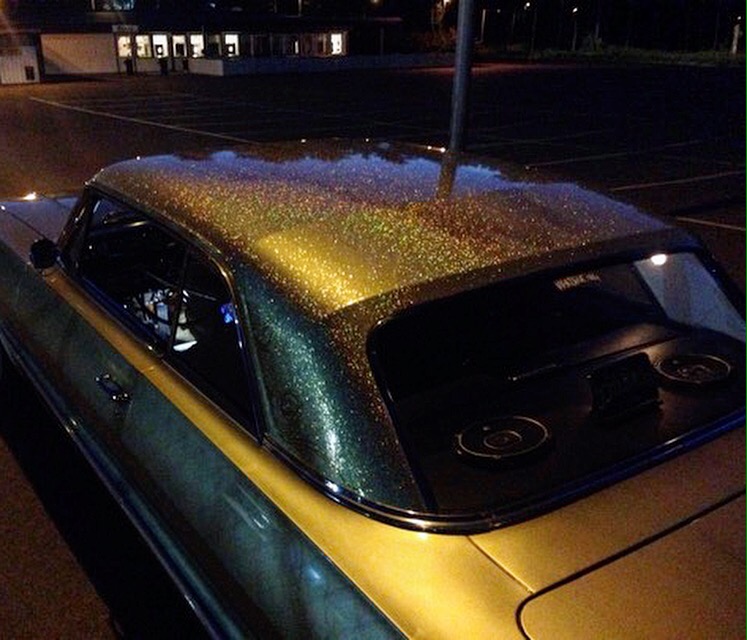
Chevrolet Impala HT 1963 lowrider
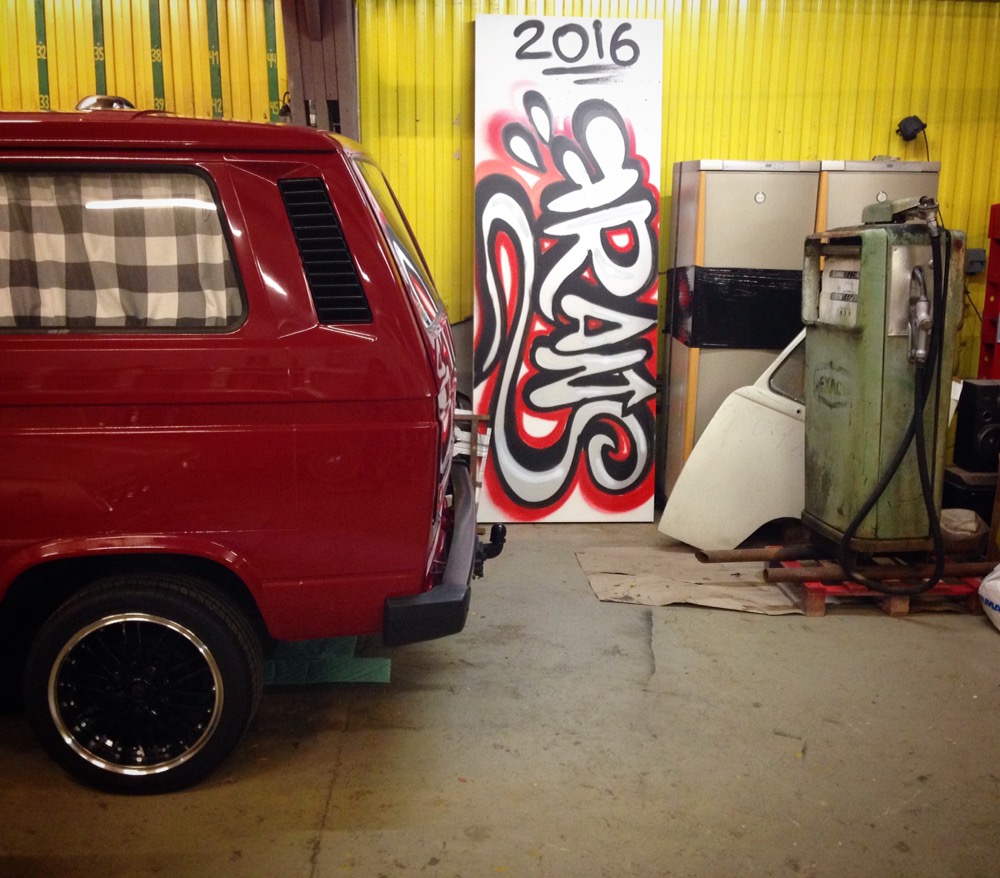
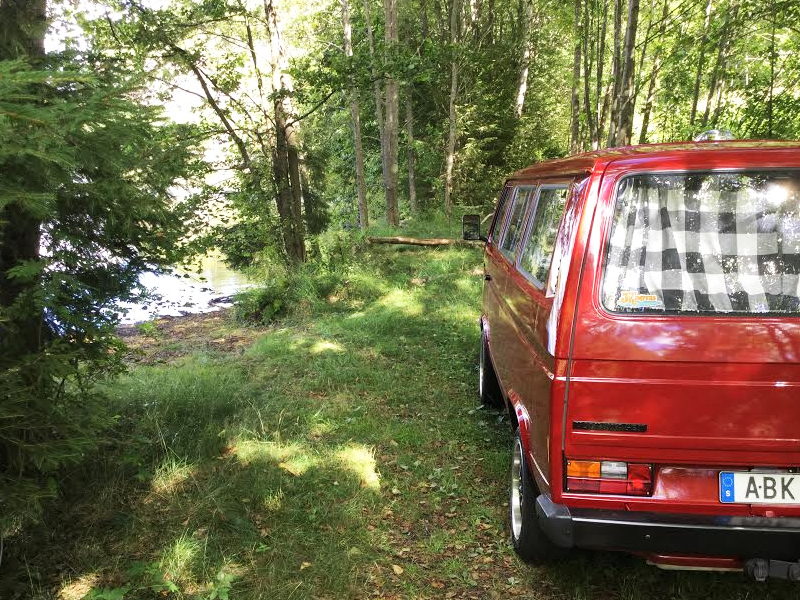
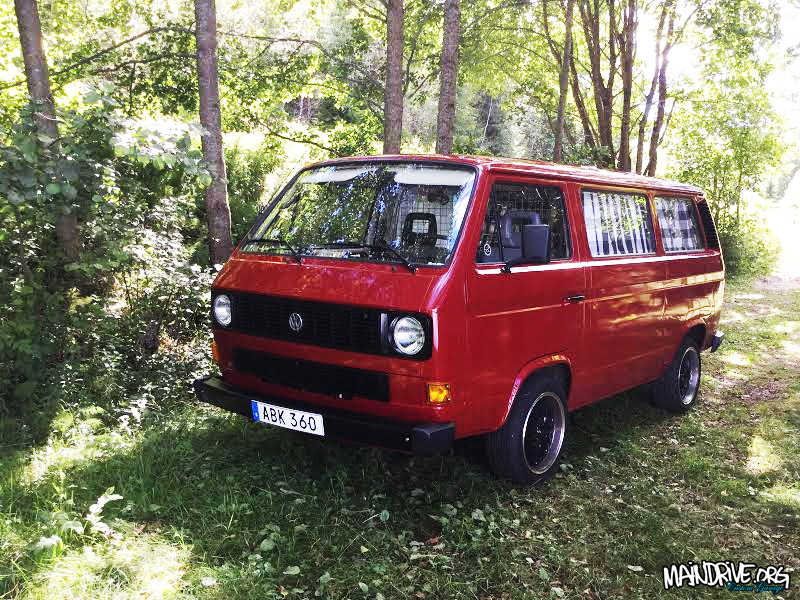
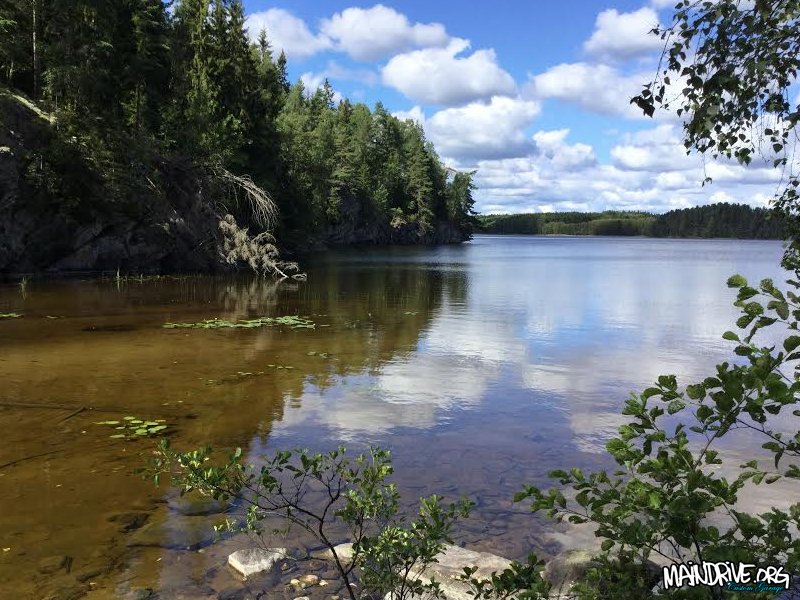
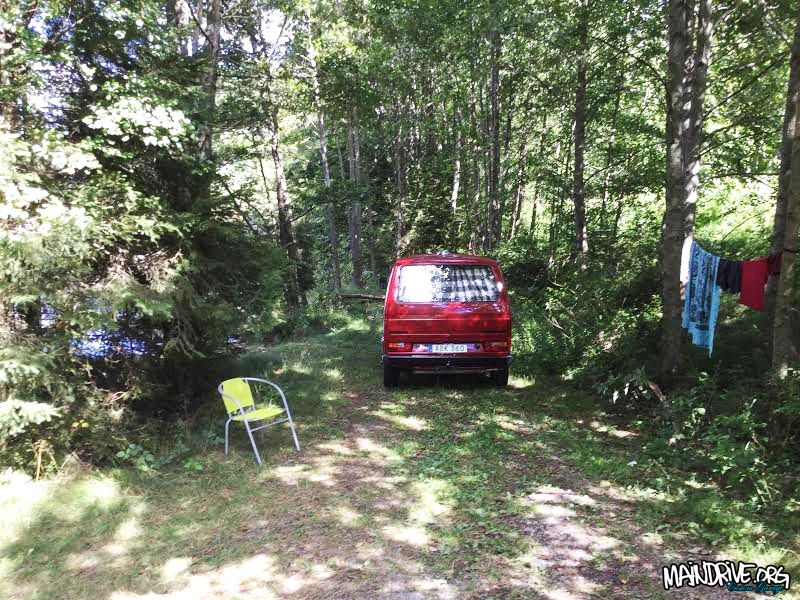
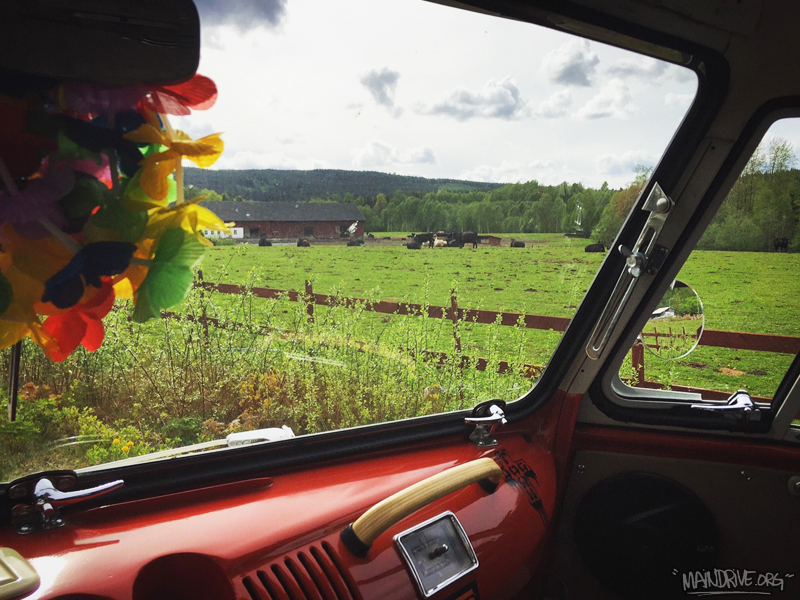
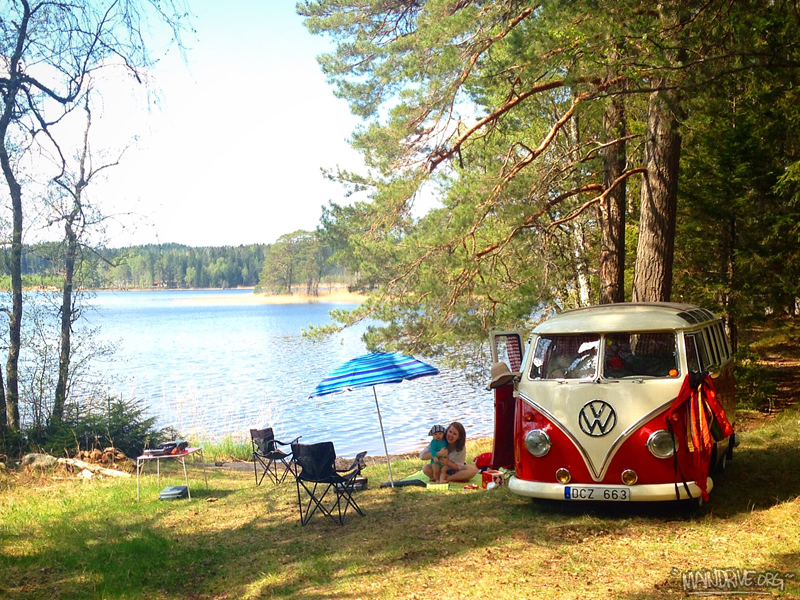
Some pics from this summer.
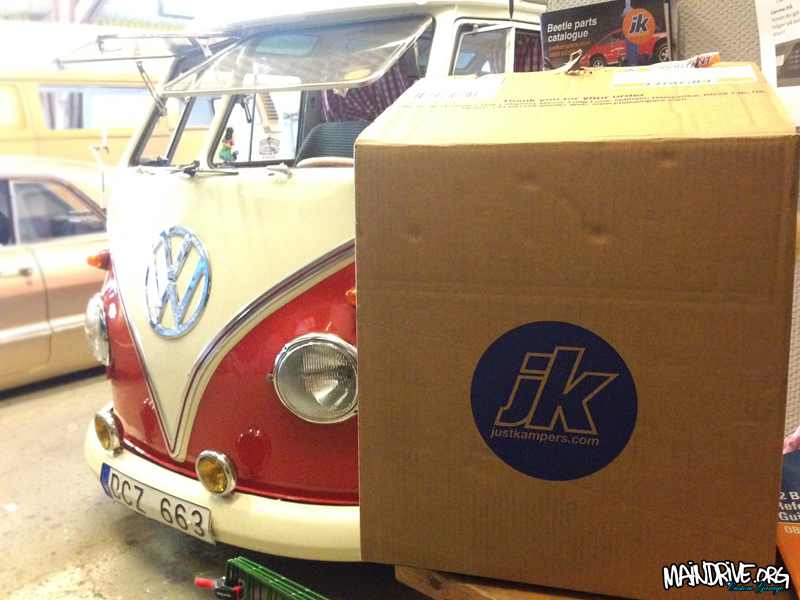
Got some new VW parts today from JustKampers, super fast delivery as always!
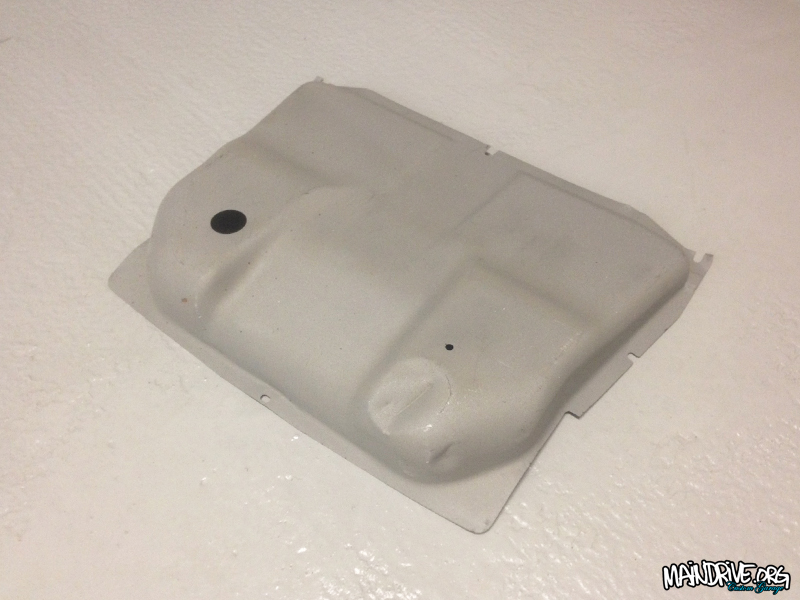
Started to get the other side done, blasted, painted and new bearings and seals. Waiting on some new parts from JustKampers and hopefully I can put the bus back on its own wheels this weekend for first time in 6 months. Also fixed the rusted and dented up front floor cover, blasted and painted ready to be installed when all wires and brakes are fixed.
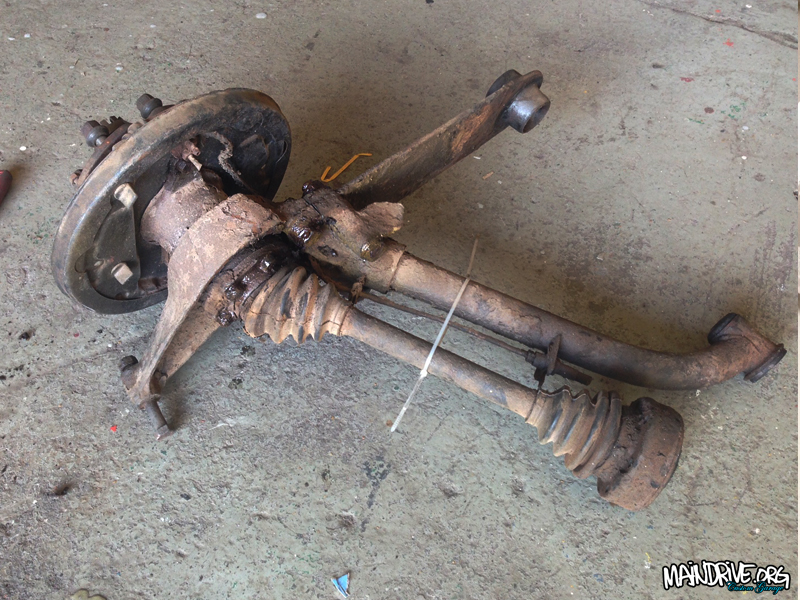
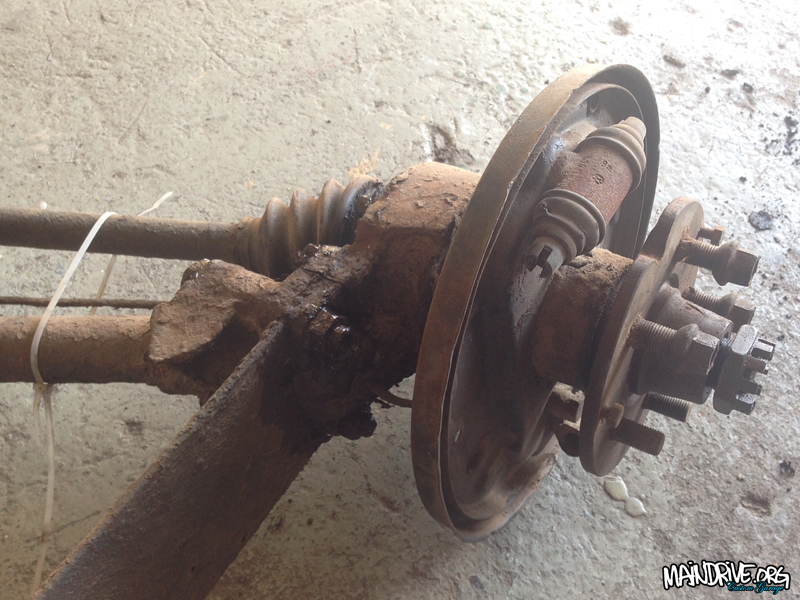
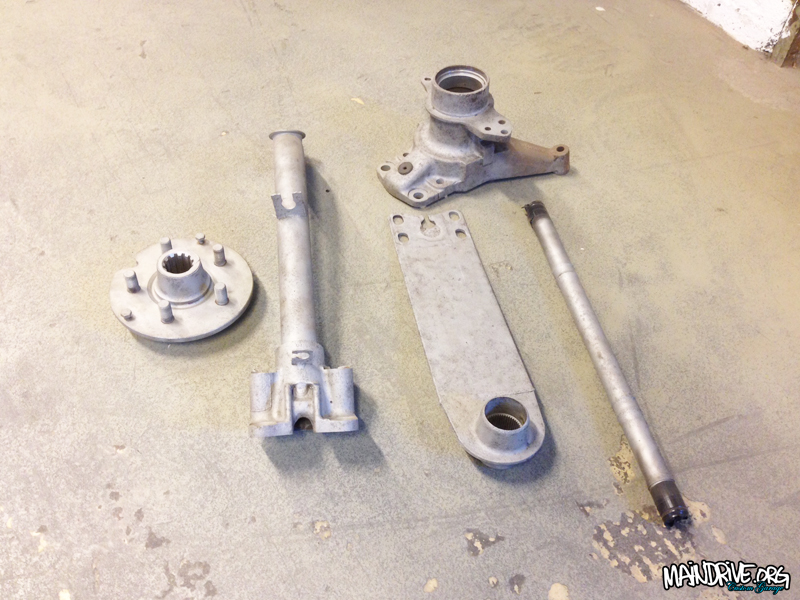
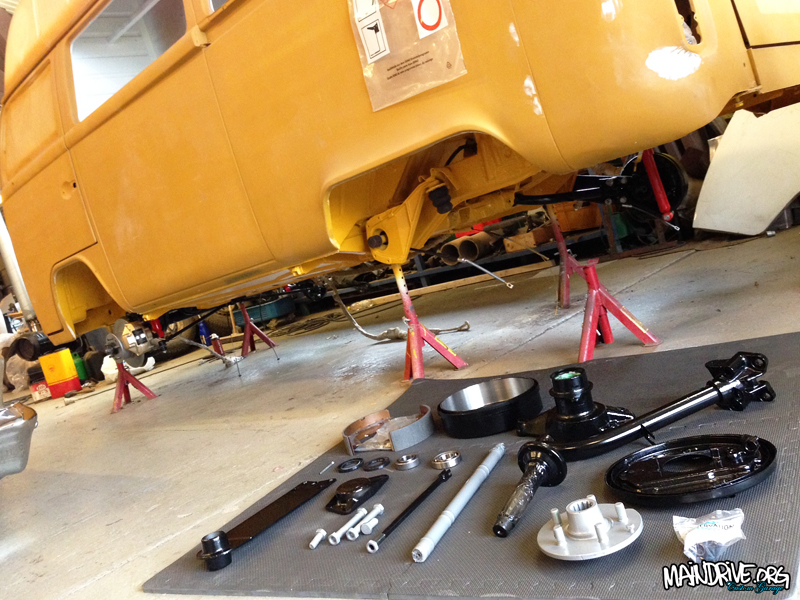
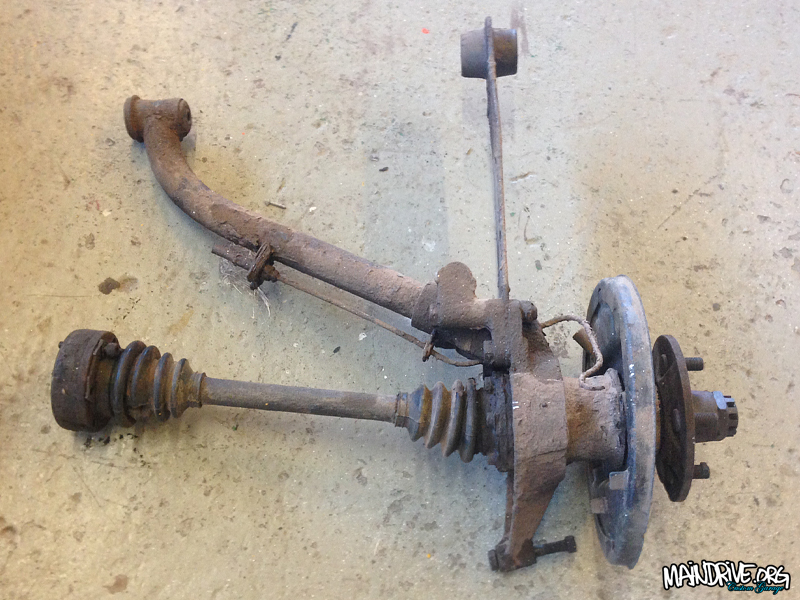
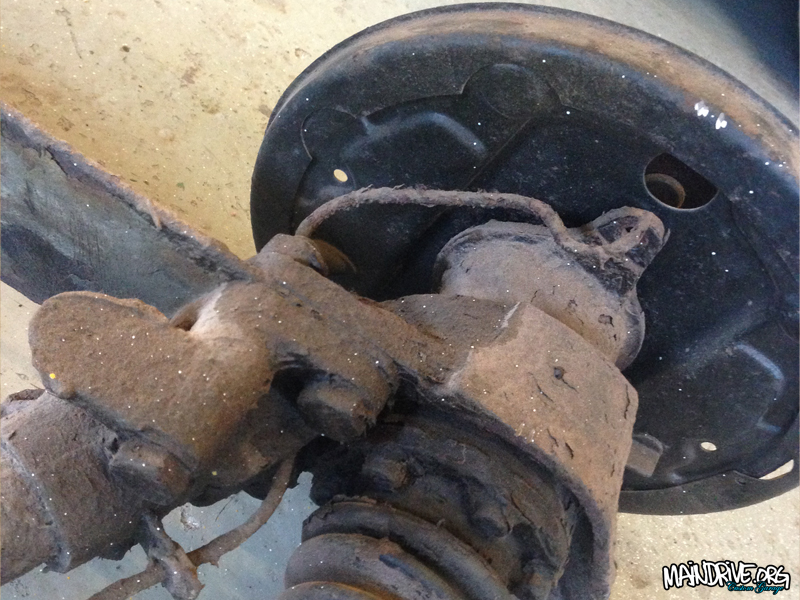
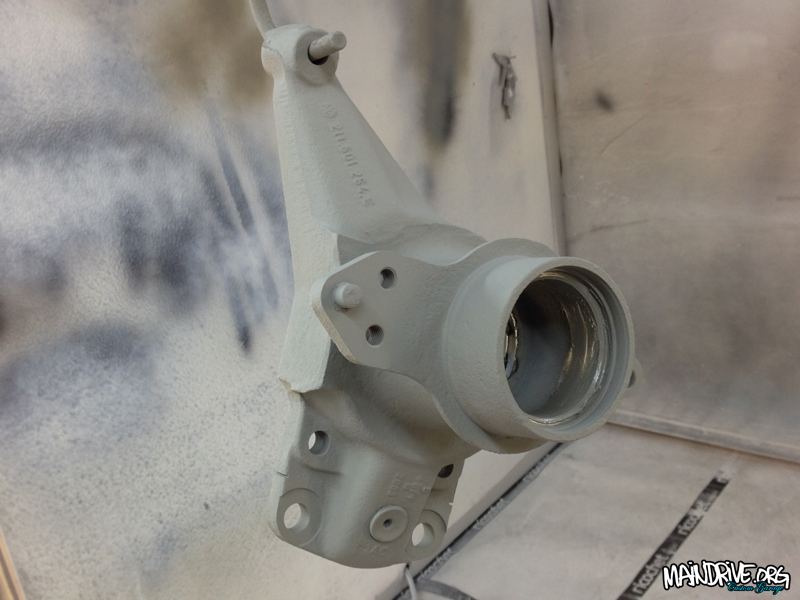
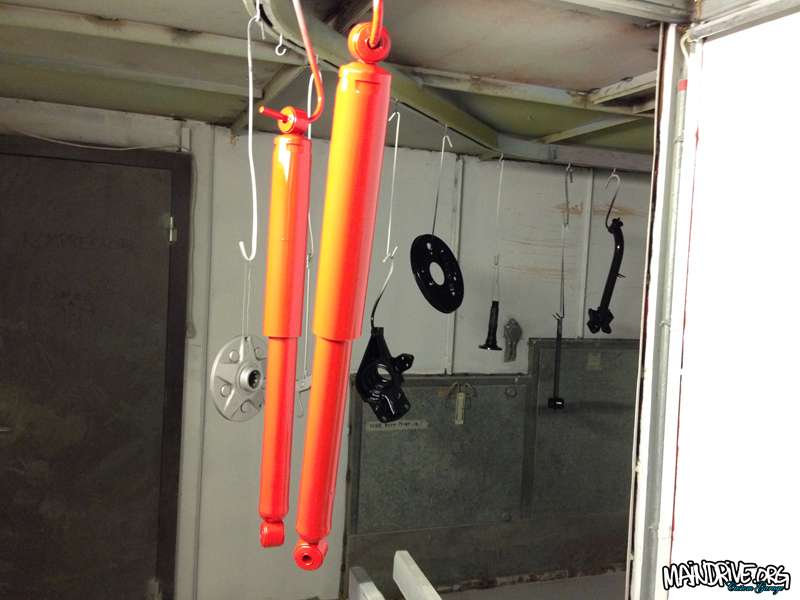
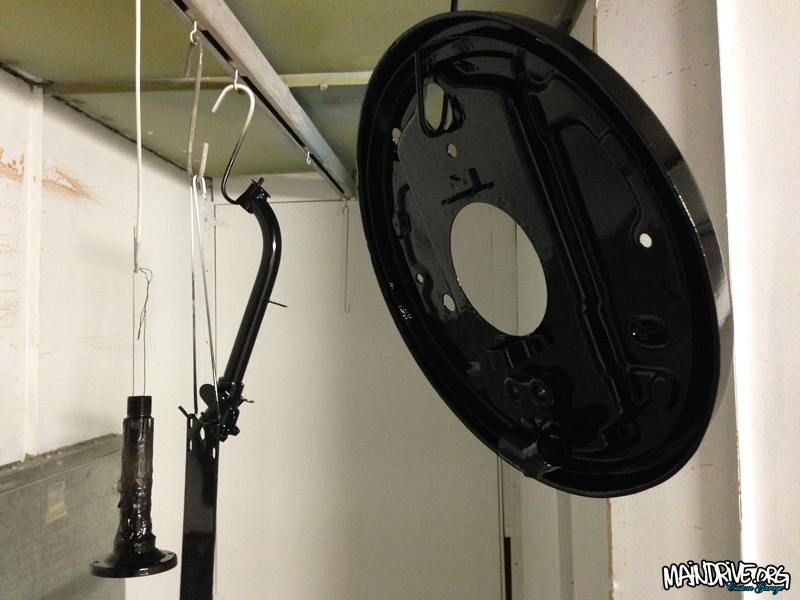
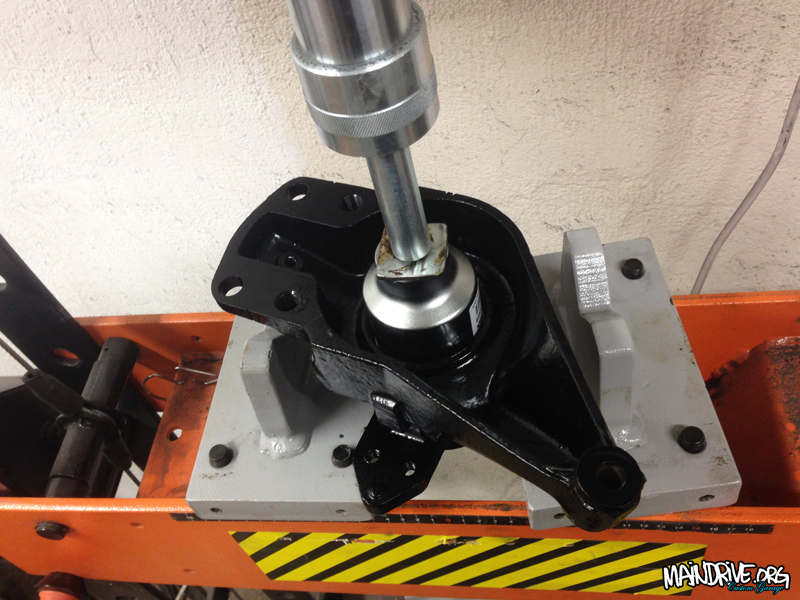
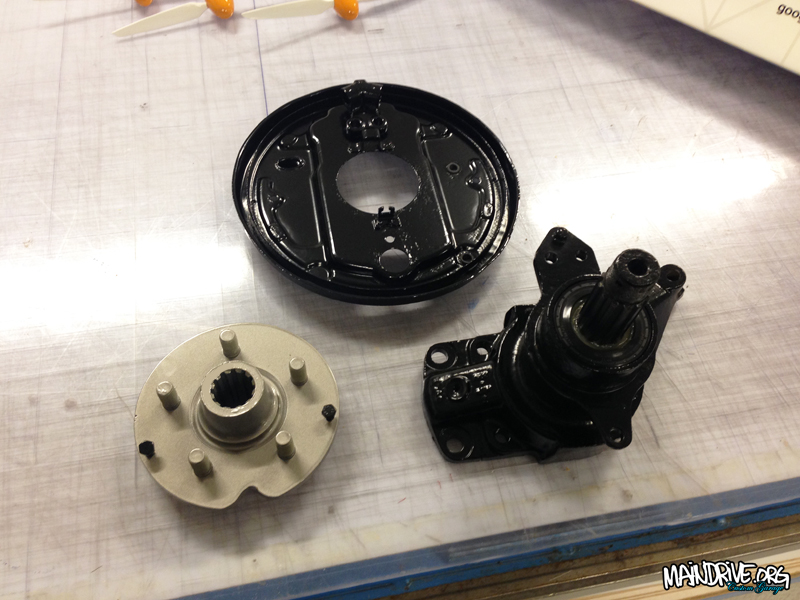
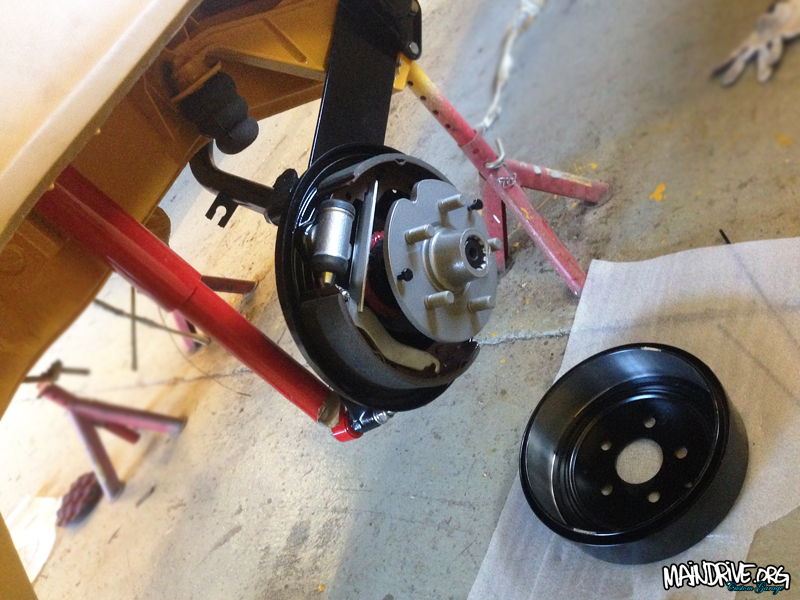
Have now started with the rear end of the bus, hope to soon have it rolling on wheels again, after 6 months in the air. Dismantled the rear IRS trailingarms, removed all old bearings and seals, cleaned it up and sandblasted everything. Then all parts was coated in zinc primer and the Deep black satin finish paint. All new wheelsbearings and seals pressed in, new bushings everywhere and also nuts/bolts. All new brakeparts and brakedrums too. One step closer…


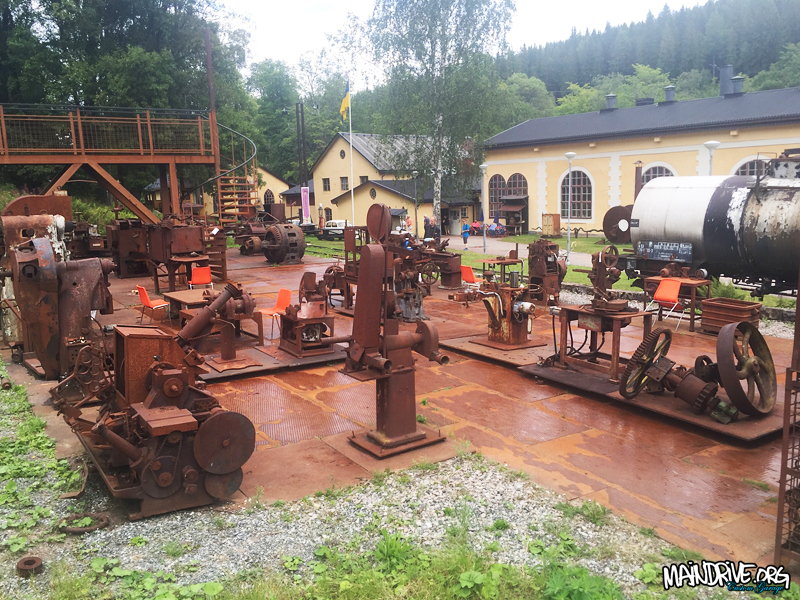
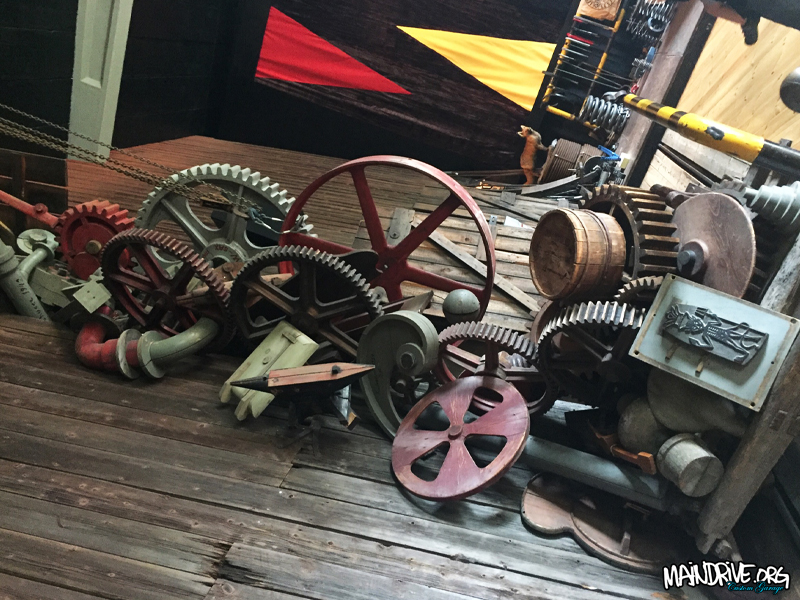
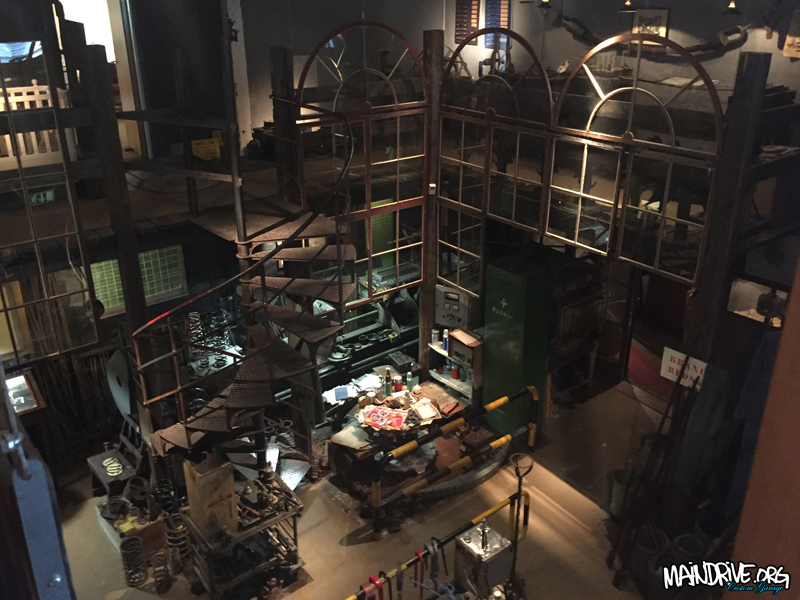
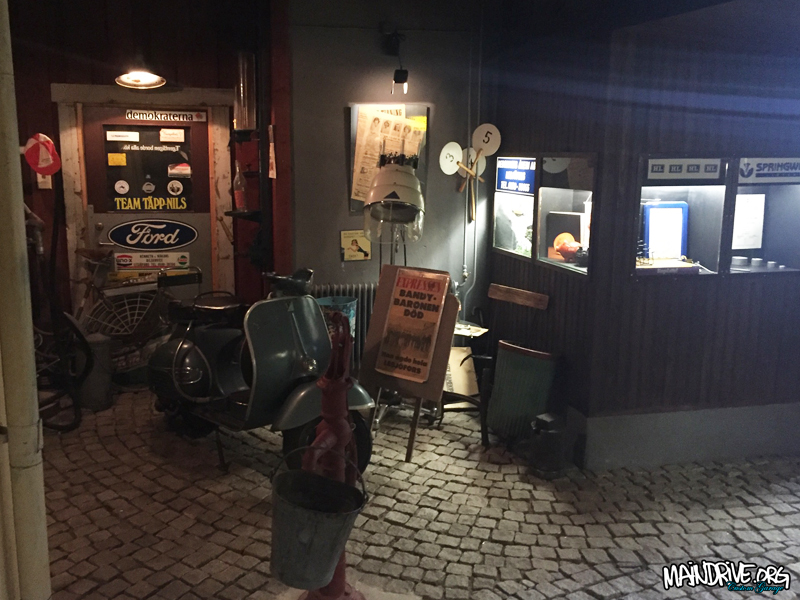
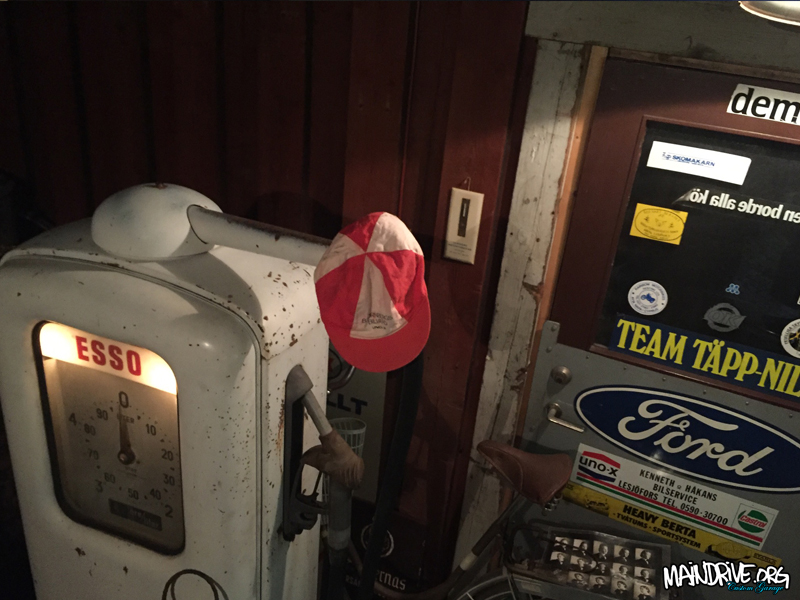
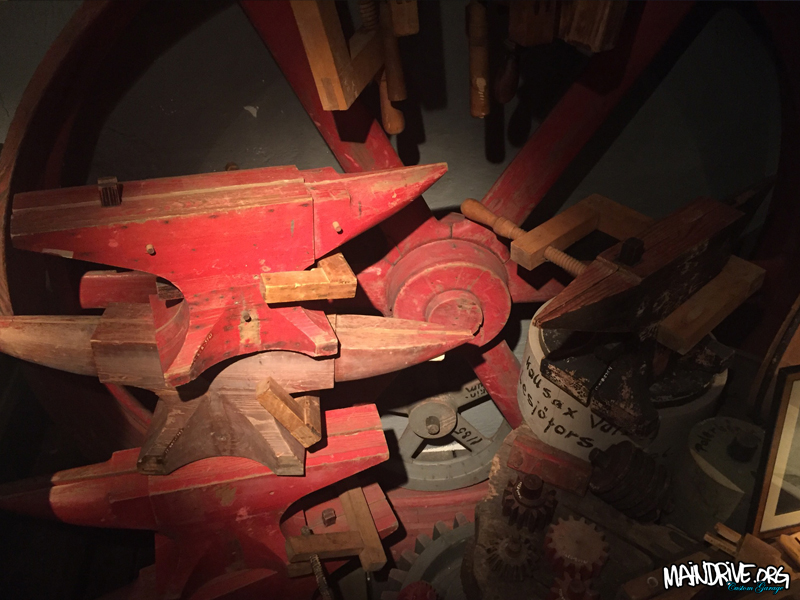
Went to Lesjöfors this weekend and dropped by this neat place with alot of cool things. Not so much for museums but this was well done and intresting, this local town produced lots of metal and products (specially springs for cars and machinery) back in the day and the town growed fast and was full of life. But today production is in China and the place is now like a ghostown. If you driveby Lesjöfors in Sweden, make sure to visit!
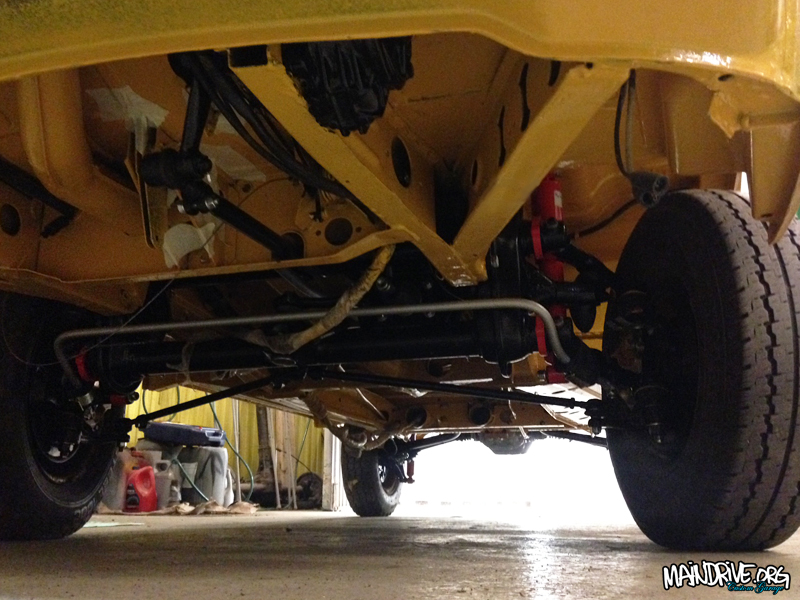
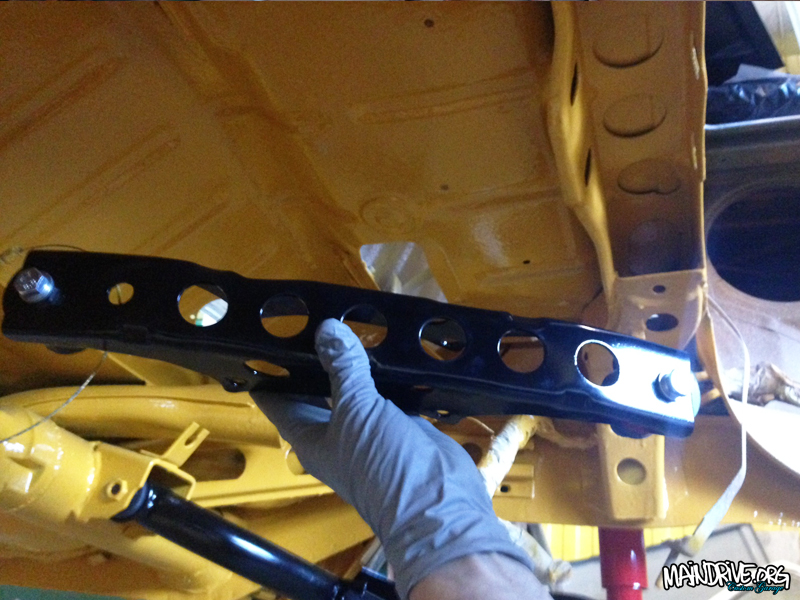
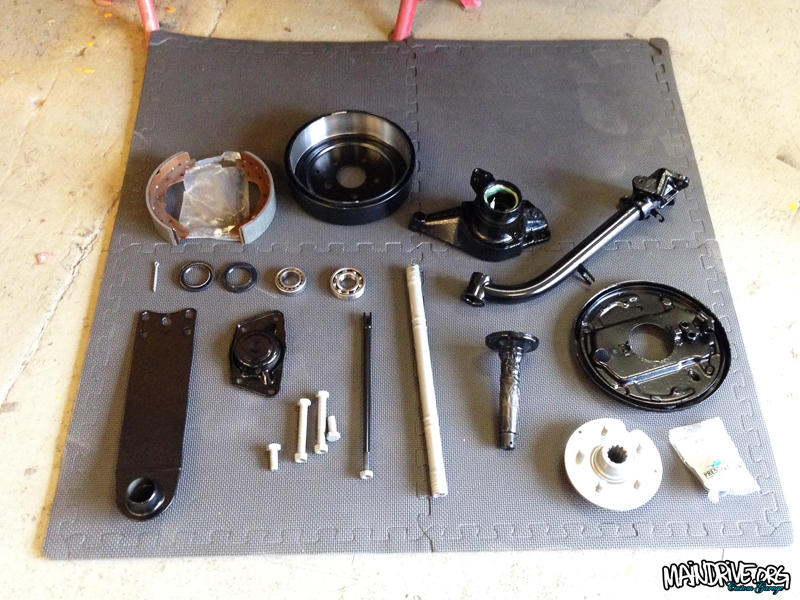
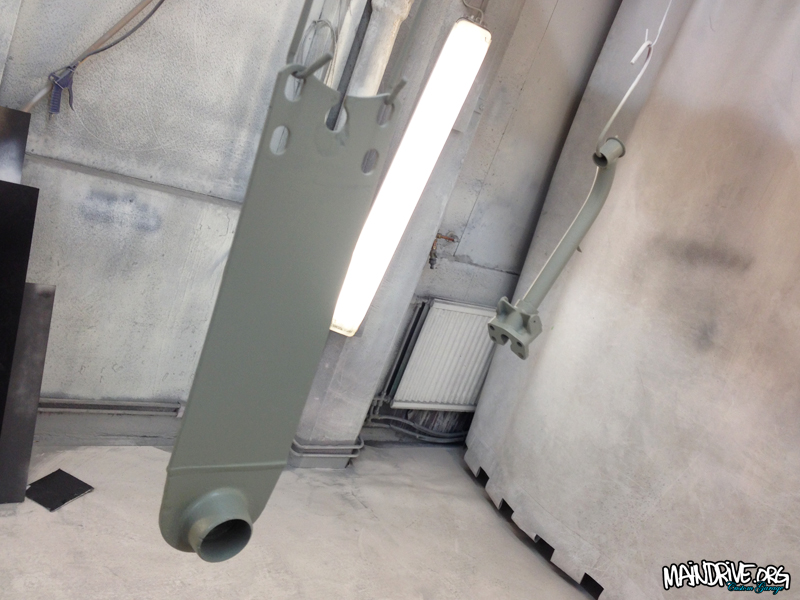
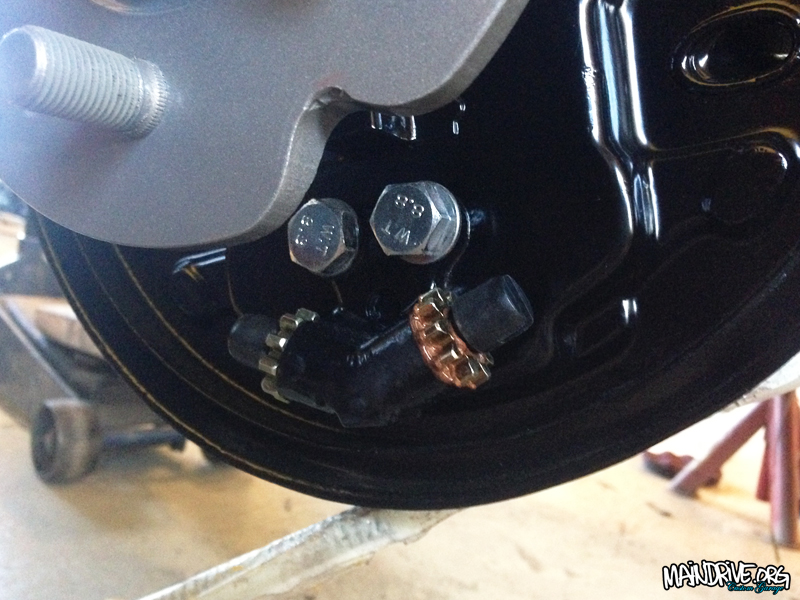
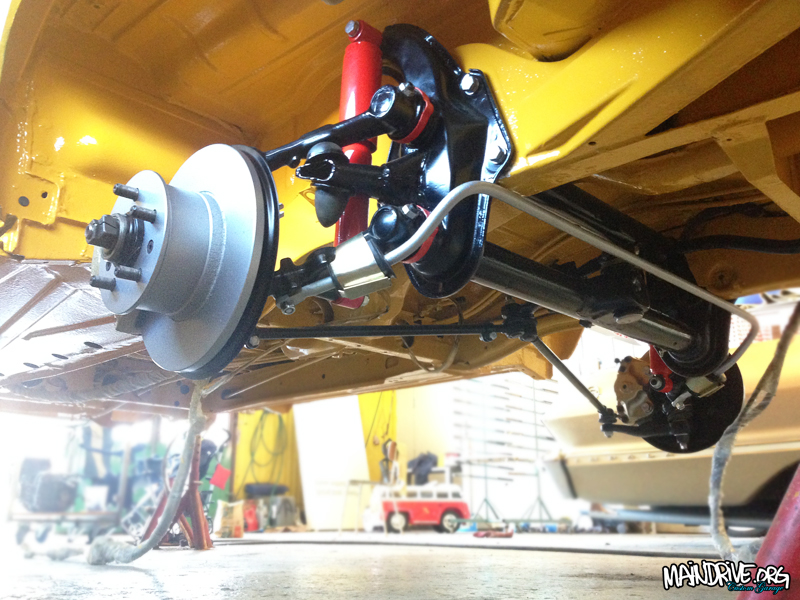
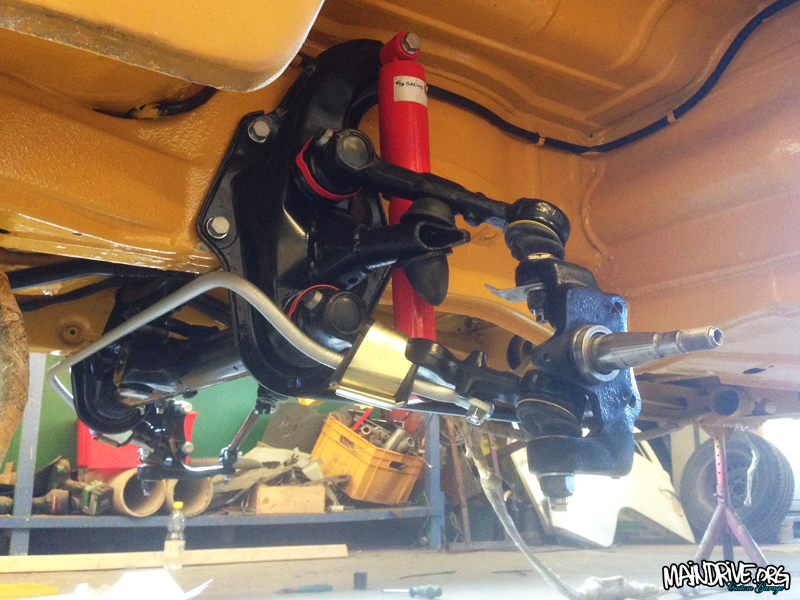
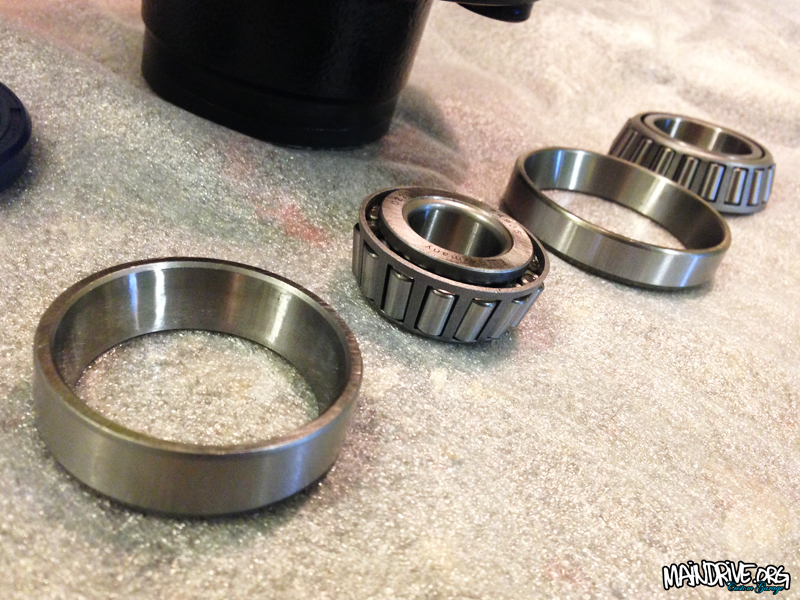
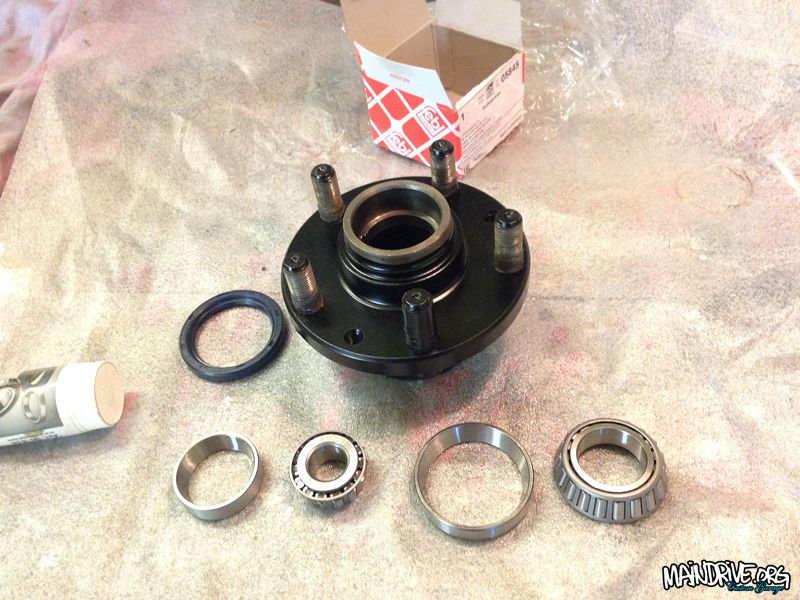
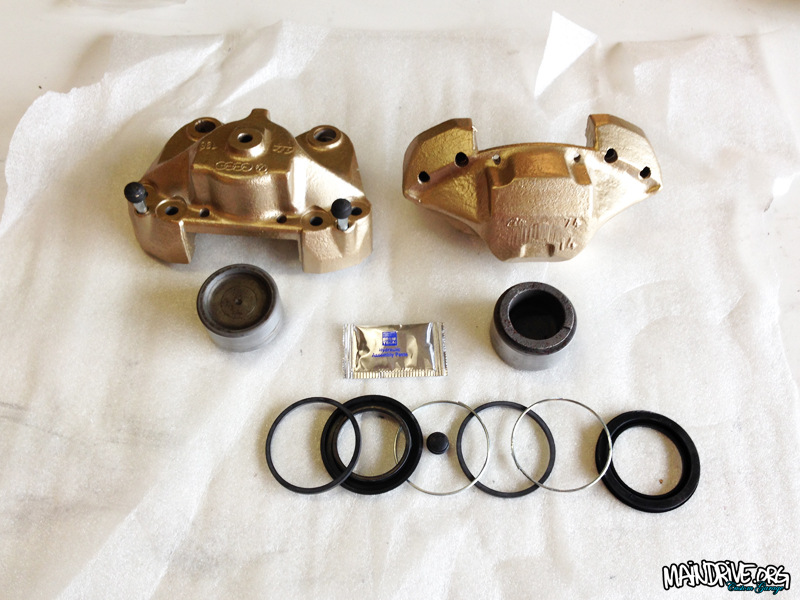
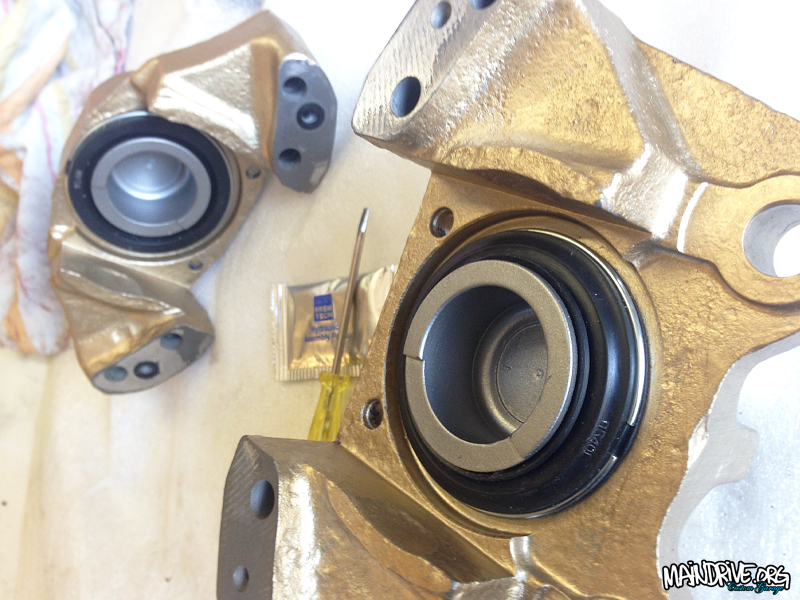
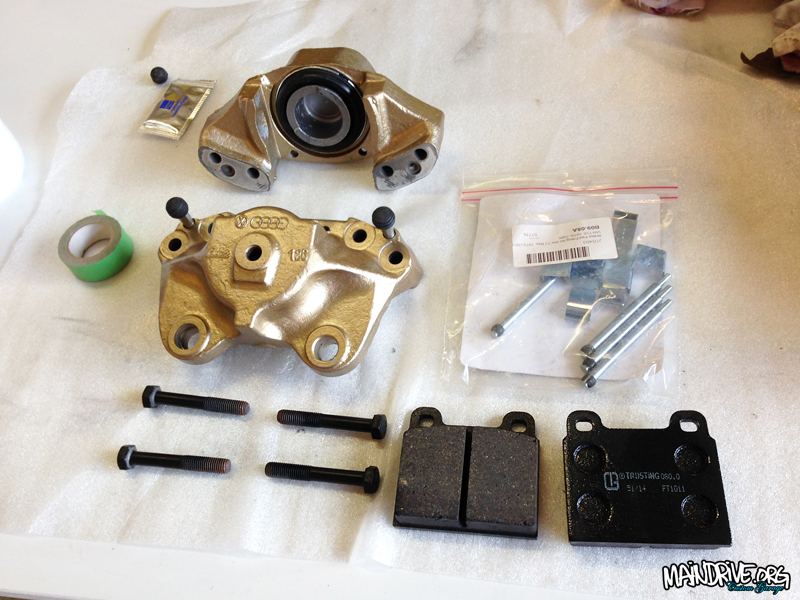
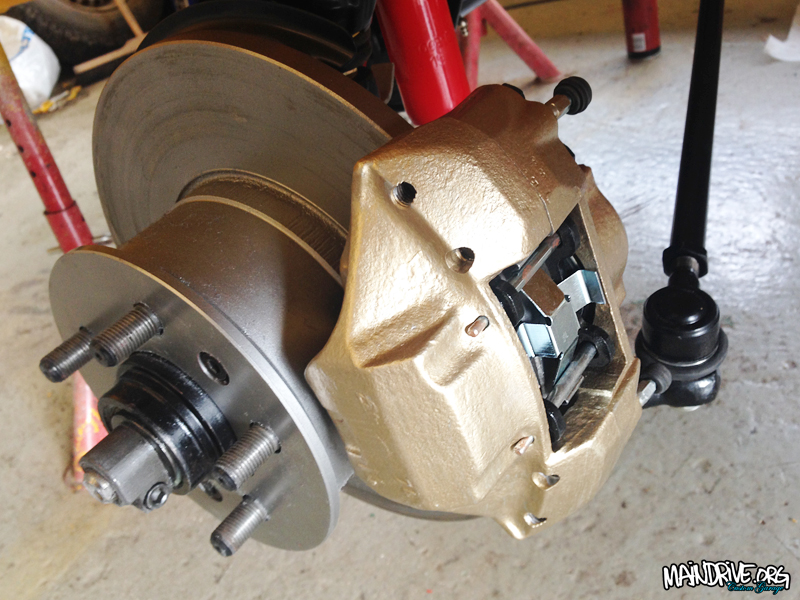
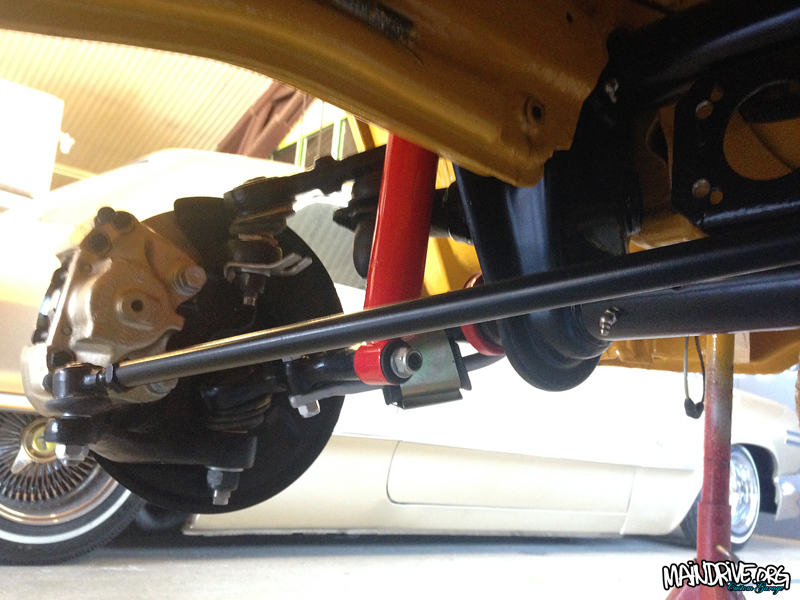
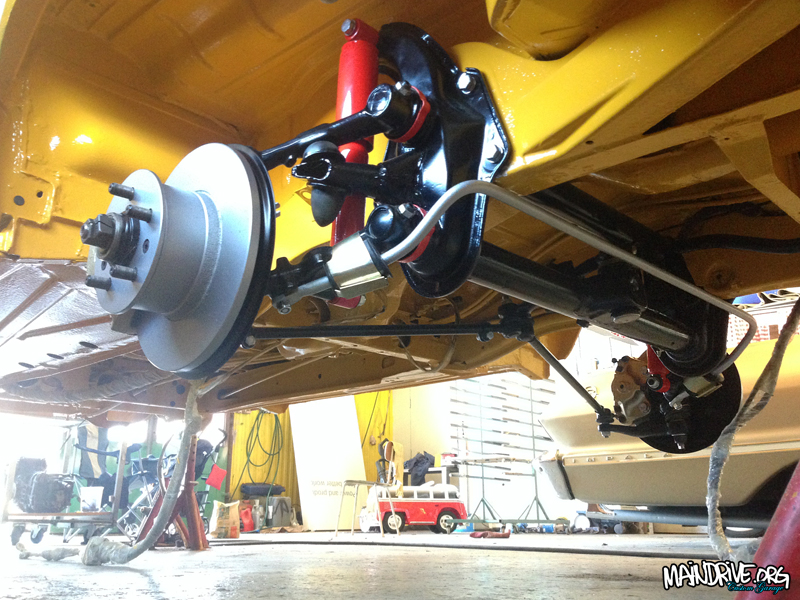
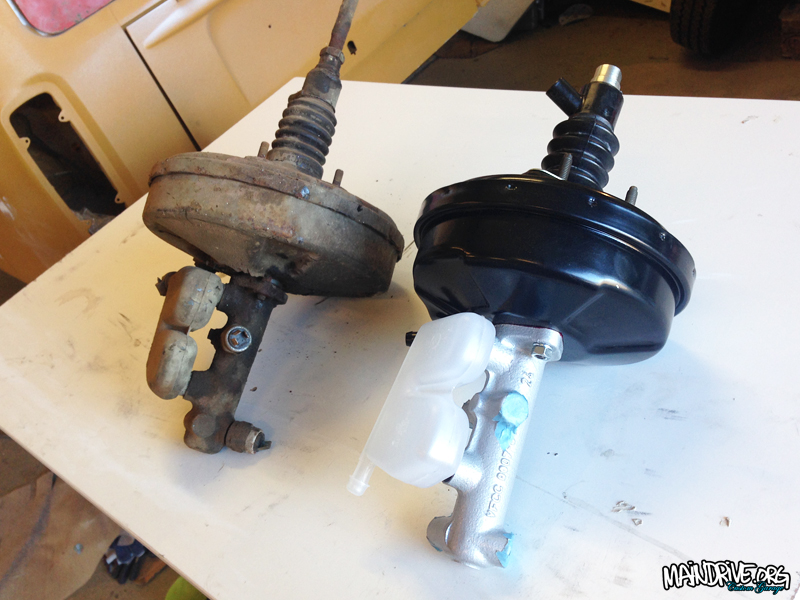
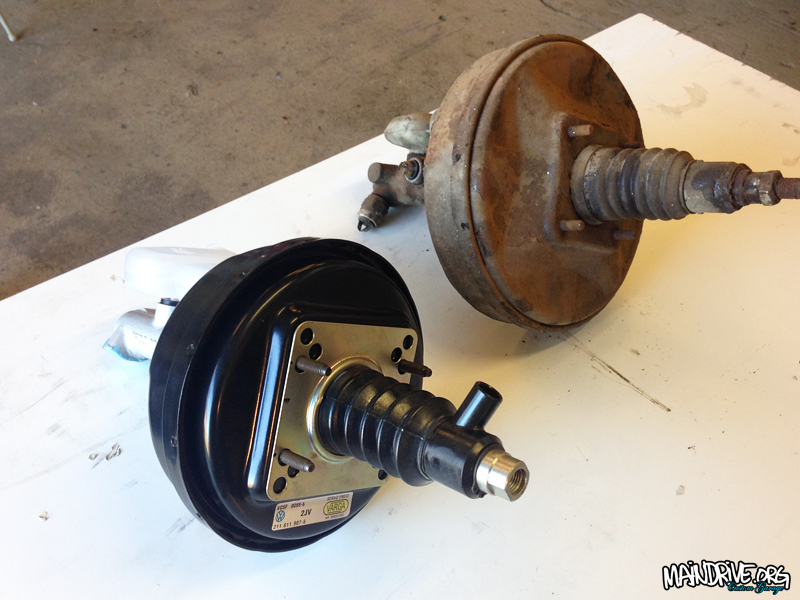
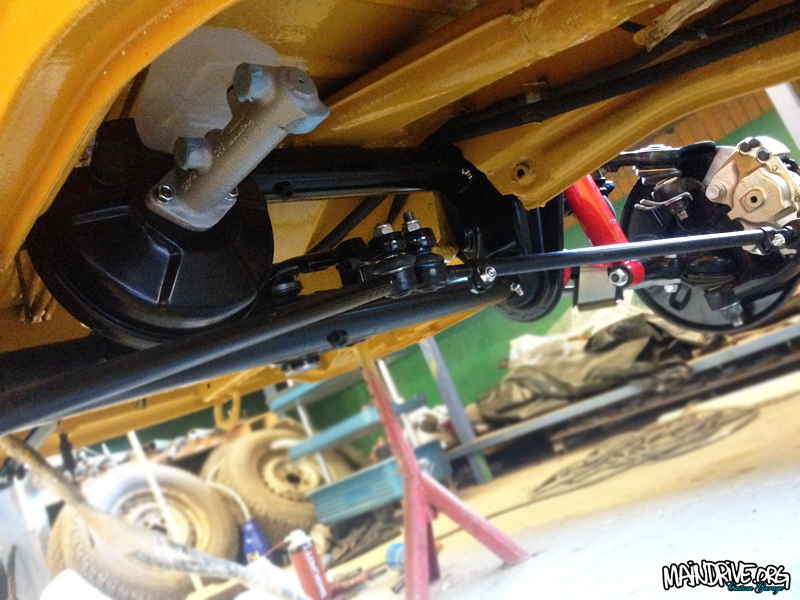
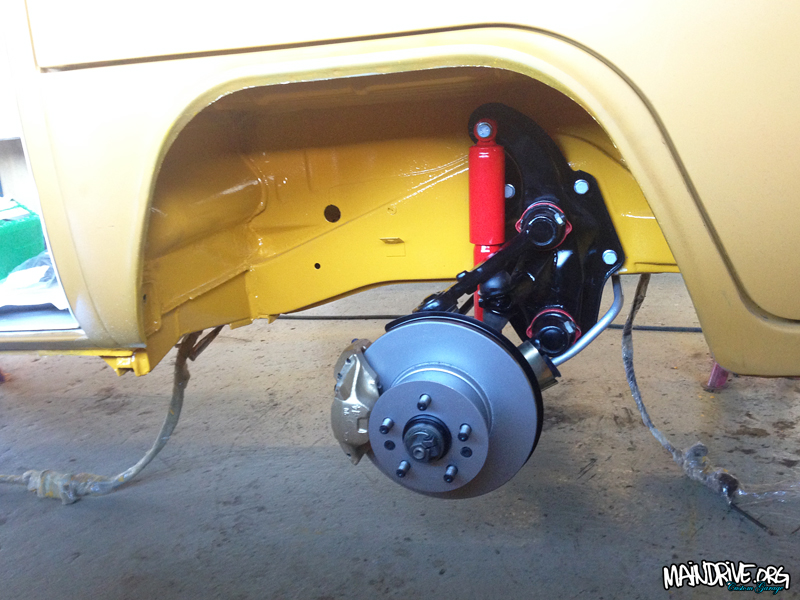
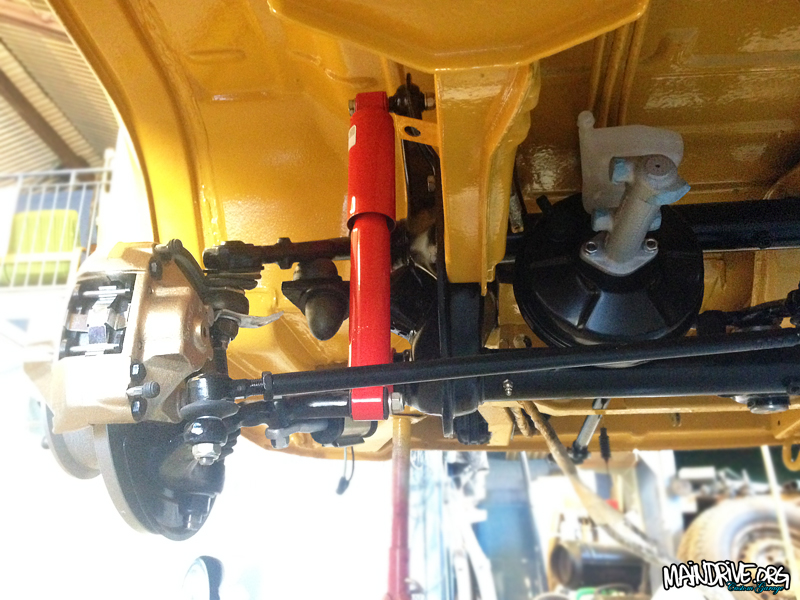
Have finally got some stuff done on my own project, Baywindow Highroof 1975. The frontend is all done, just need to mount the new brakelines etc. The sandblasted and painted beam have all new needlebearings, new centerpin/arm bushings, new grease zerks, torsionarms have new balljoints, new swaybar bushings, new shocks, new steeringdampner, new tie rods and draglink, steeringbox is adjusted (no more play) got new oil too and a new rubber/steeringplate. Wheels bearings are new and packed with fresh grease, new brakediscs, new speedocable and brakecalipers have been blasted, and have all new seals and pistons, brakepads etc. New masterbrakecylinder and new brakebooster is in place too. Basicly every nut and bolt are new on this car!
Here is some new pics…

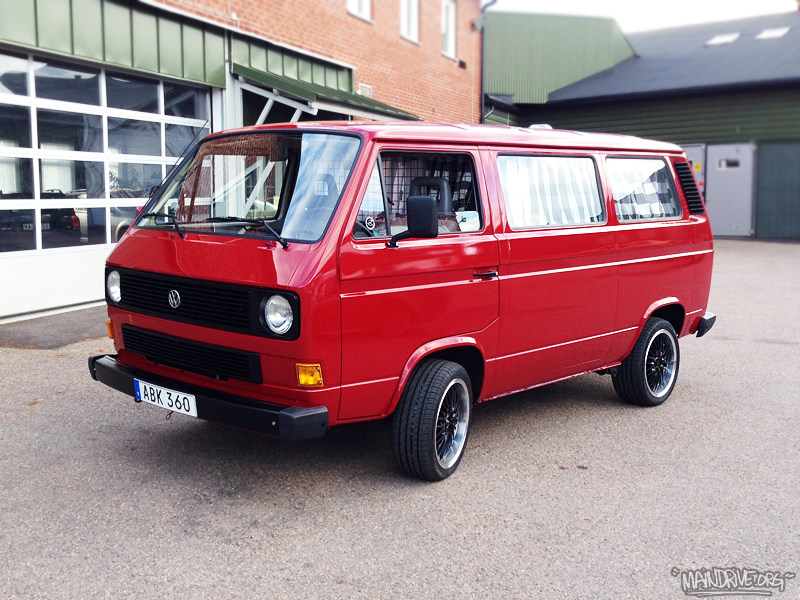
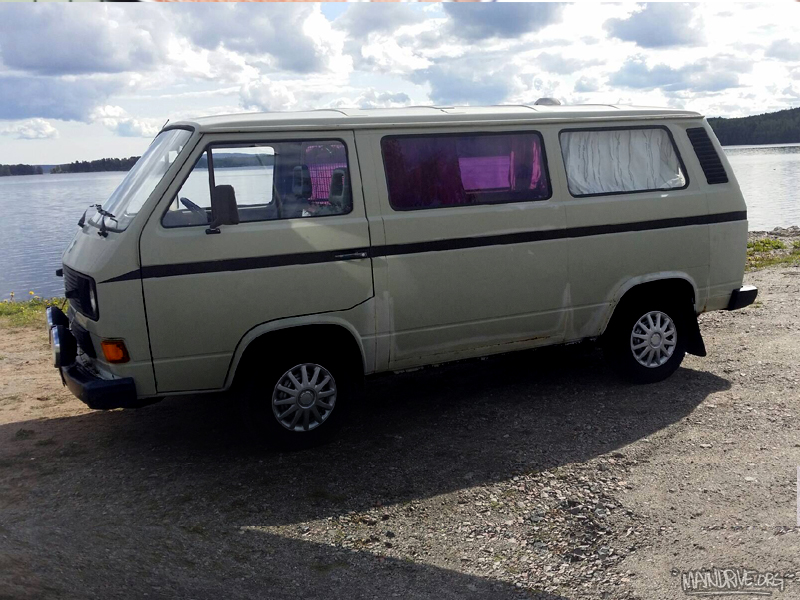
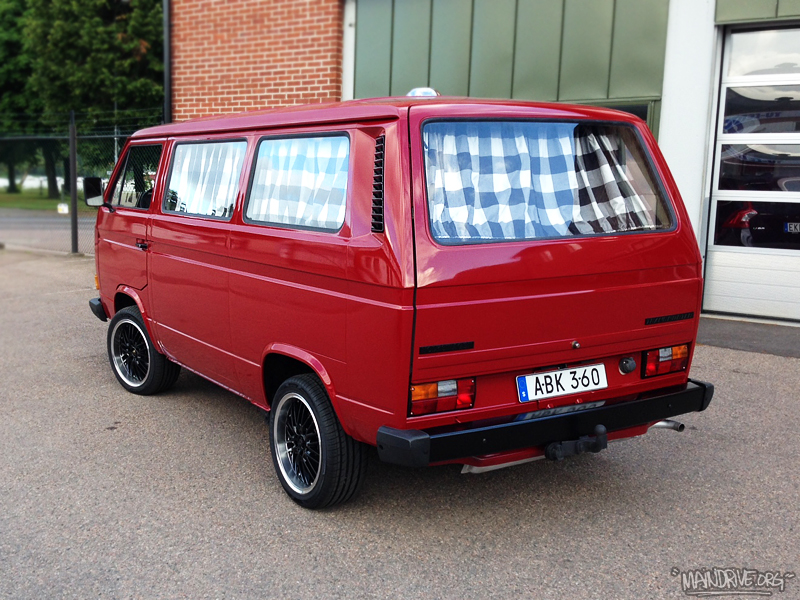
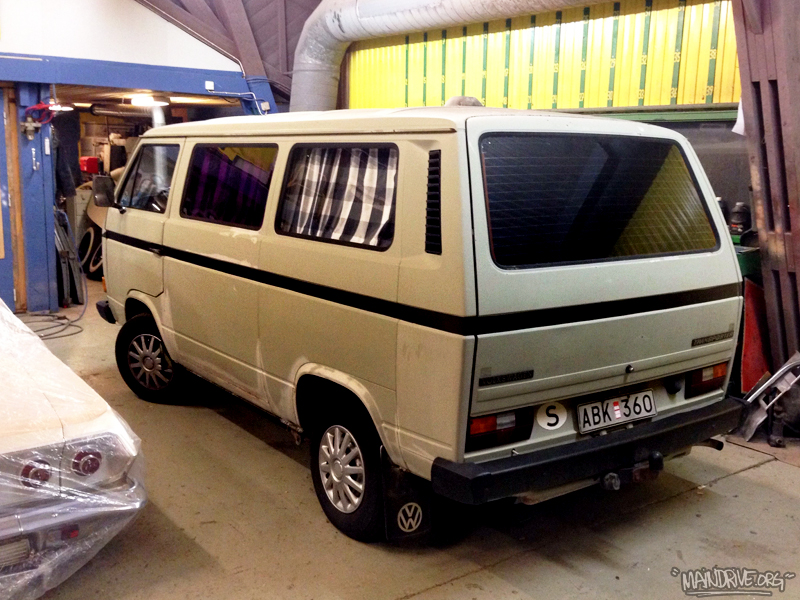
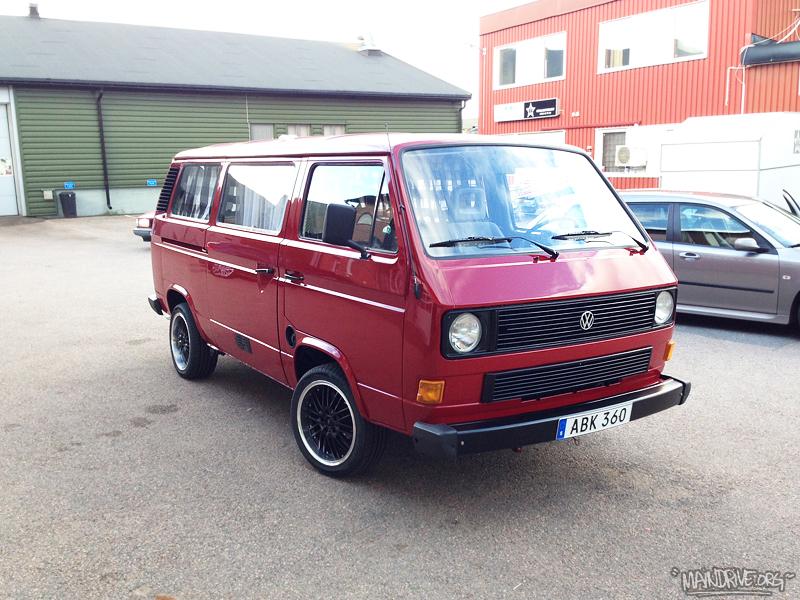
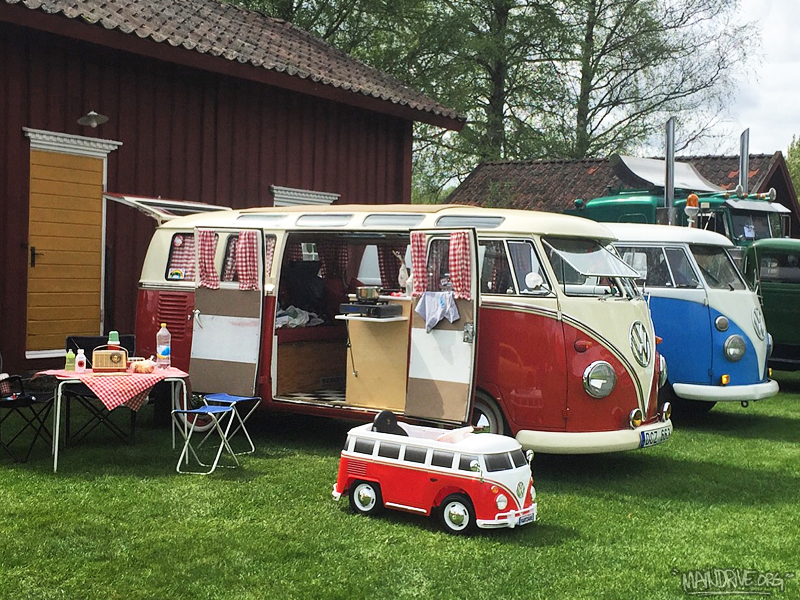
Bennys VW T3 bus finally finished. Here is some BEFORE and AFTER pics. 🙂
The one and only!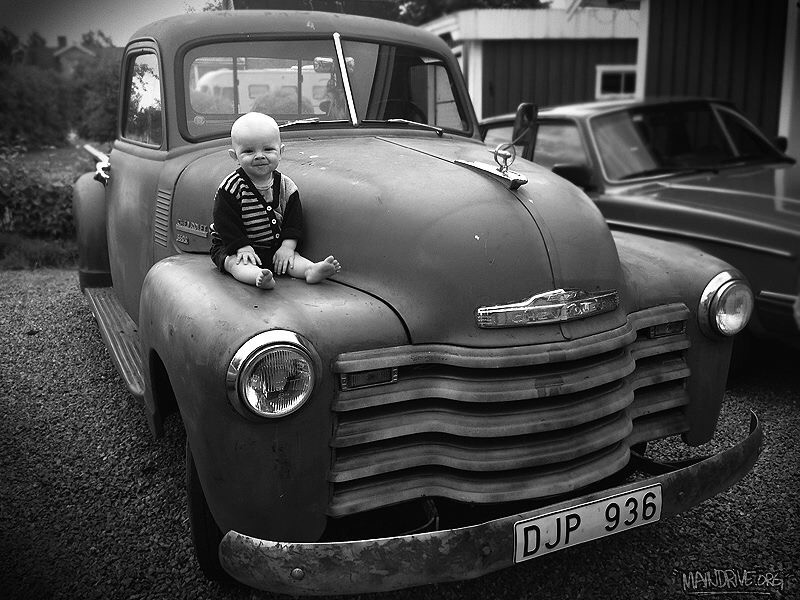
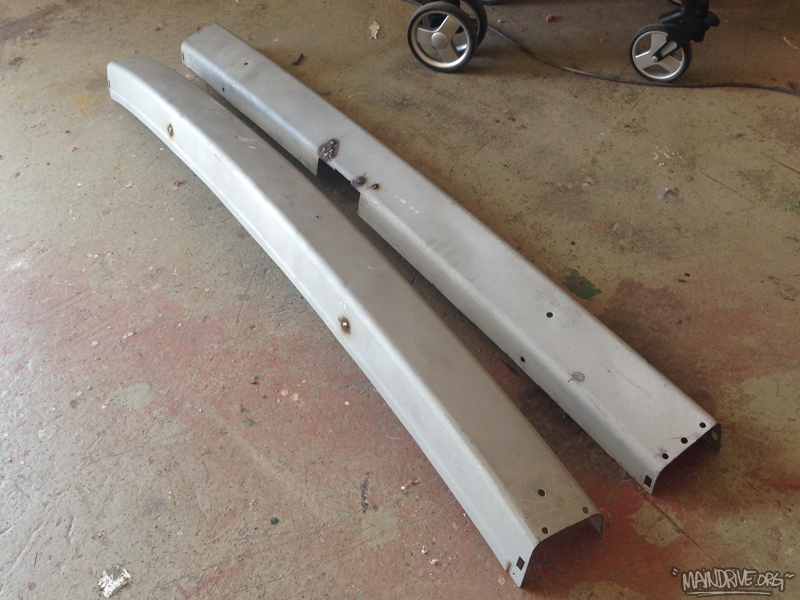
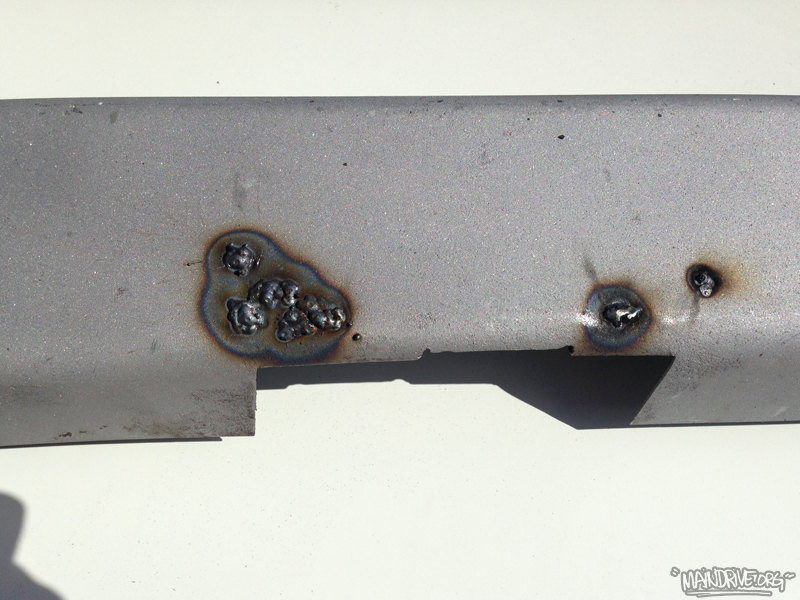
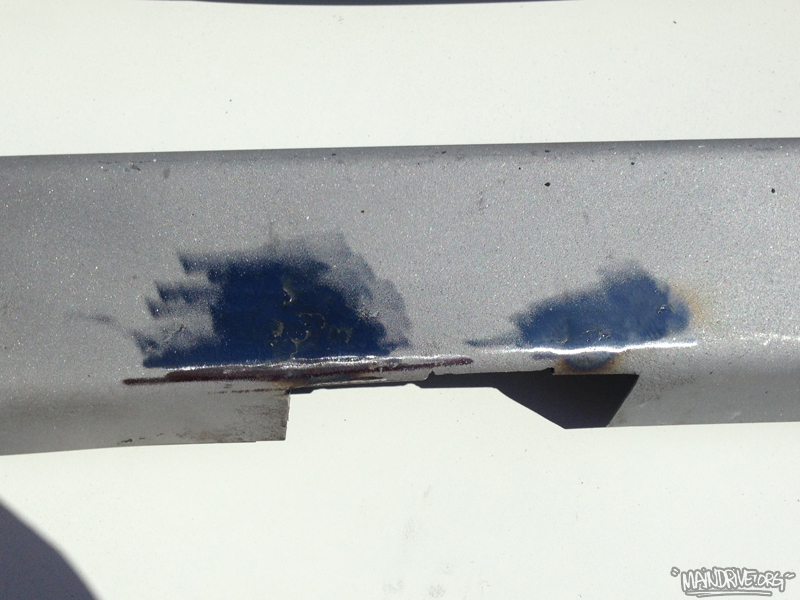
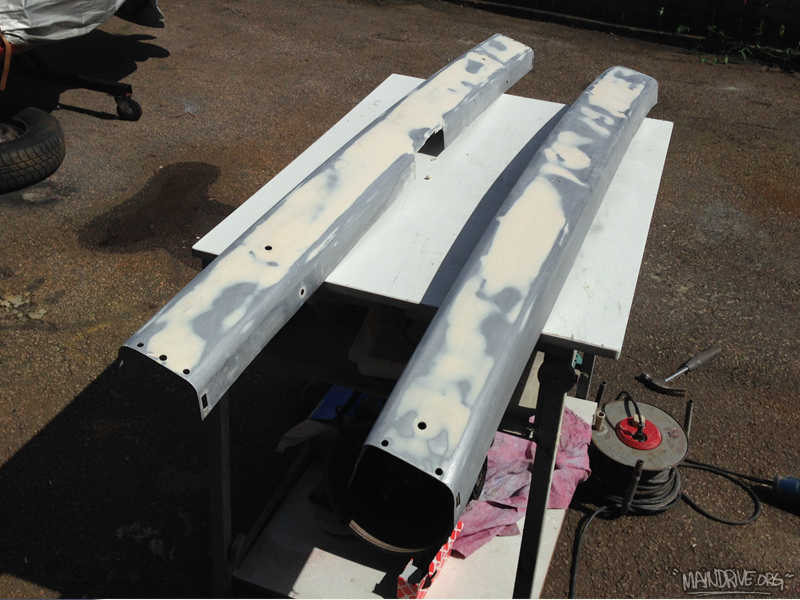
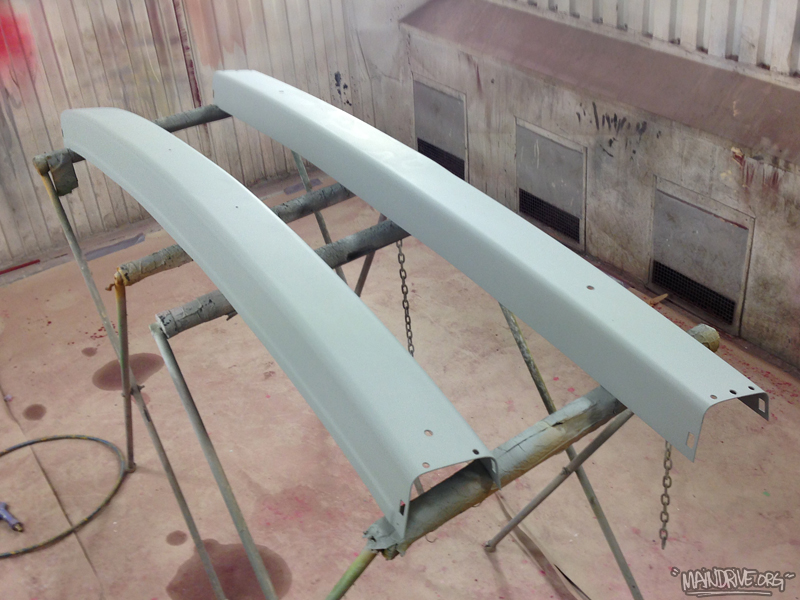
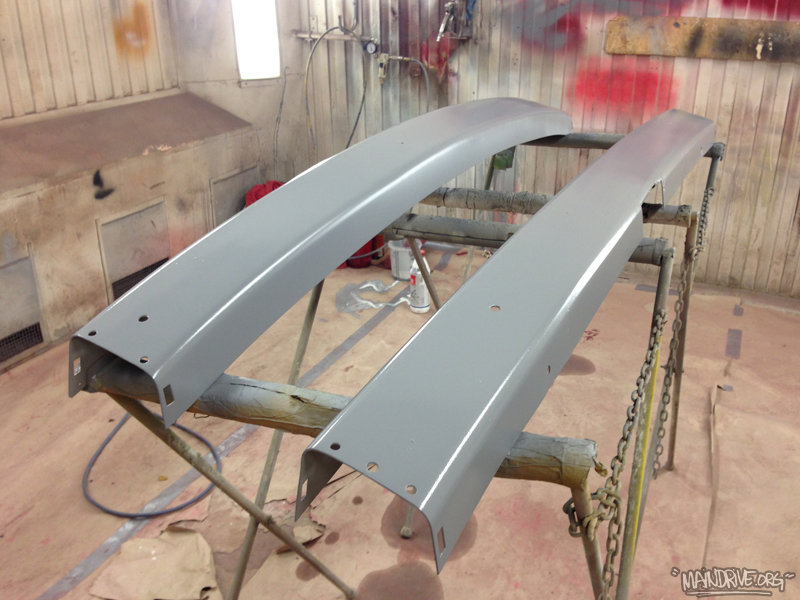
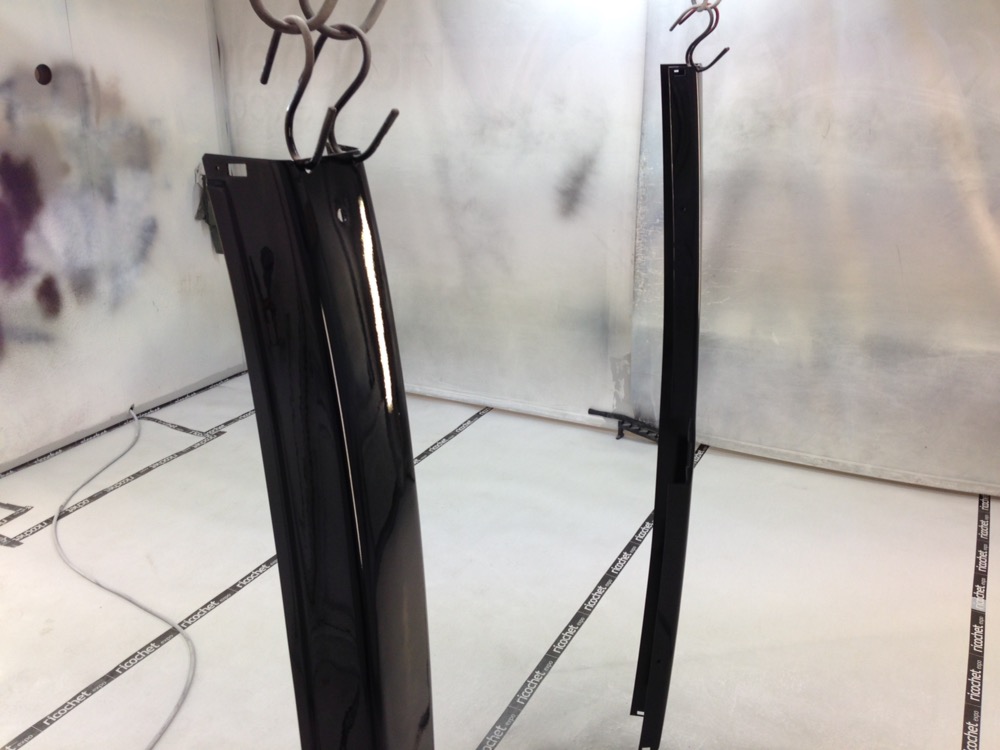
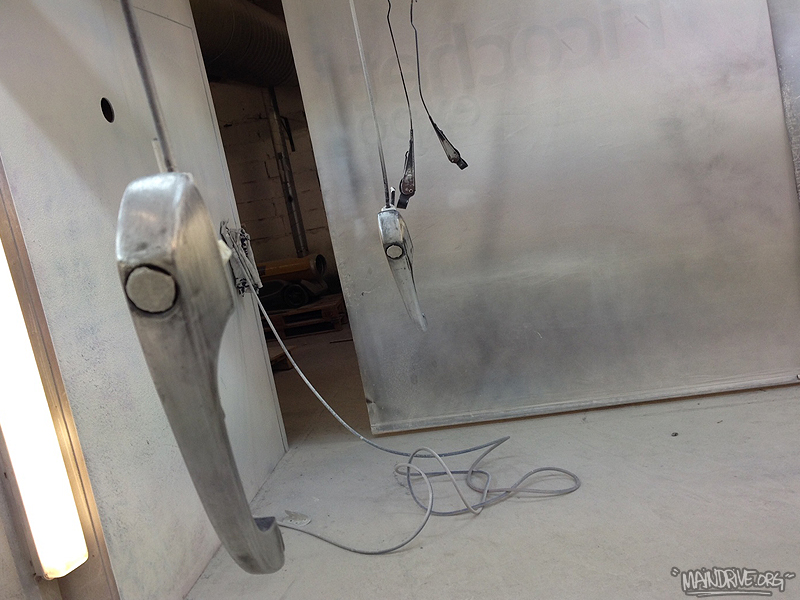
Today the bus was dropped of at the glasshop for new front windscreen and installing all windows with new rubber seals. The last final parts (bumpers) are getting painted tomorow or on Thursday. They were handpainted with brush, twisted, rusty and lots of small dents. After sandblasting they got welded, straightned and all dents hammered out. Then a light coat of bodyfiller to make them straight again, then Zinc rustprimer and after this surfacer/ground primer to get them smooth again after the sandblasted surface. Next up is some more sanding and then Deepblack paint. New covers and bolts are waiting from Just Kampers! The bus should be ready for the road in the end of the week! More pics to come…
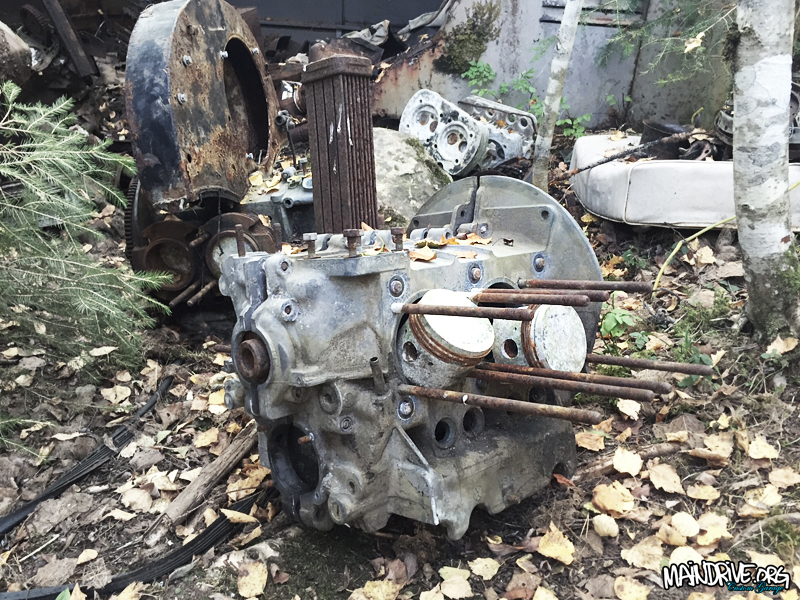
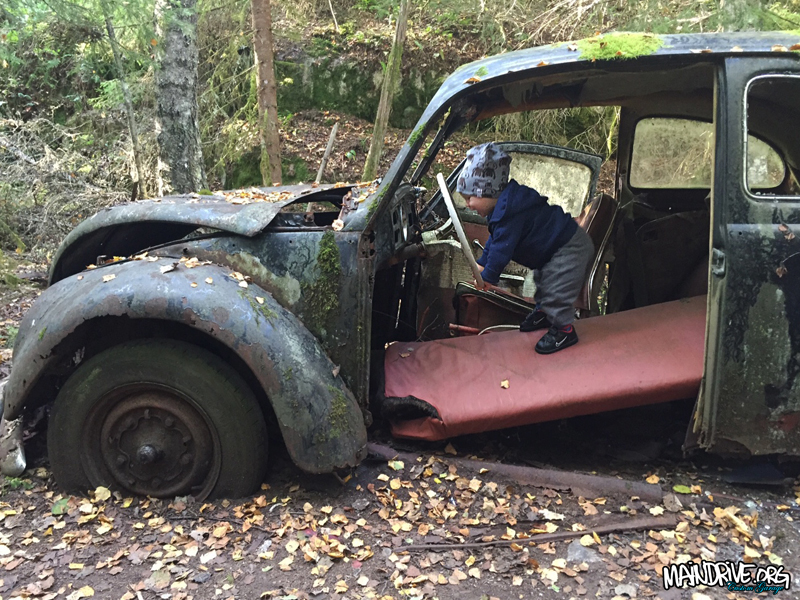
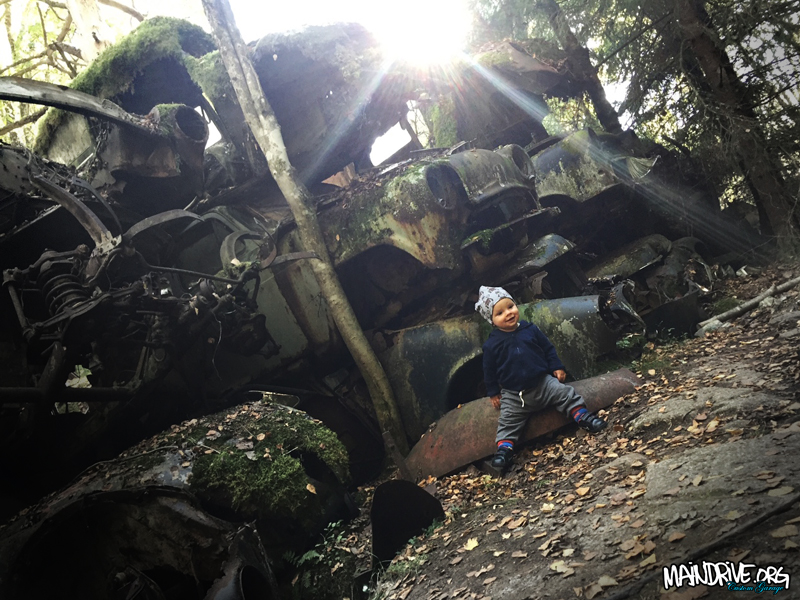
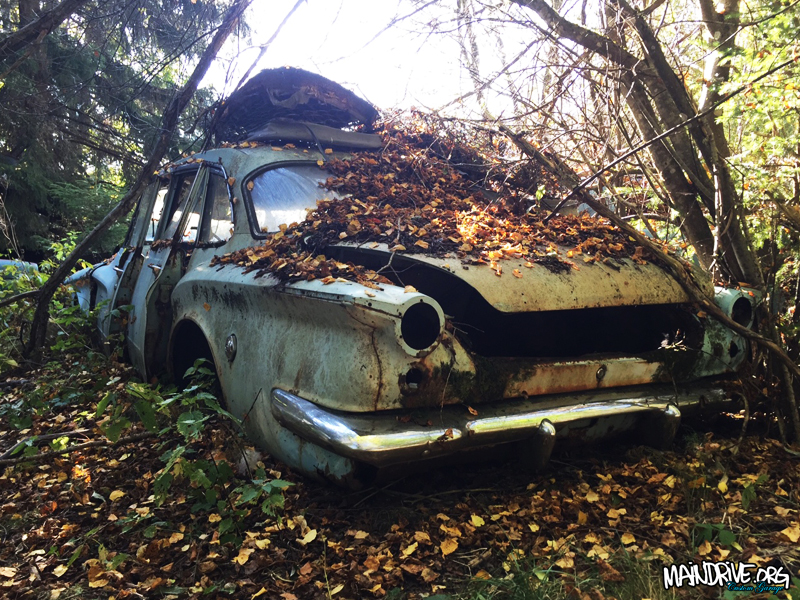
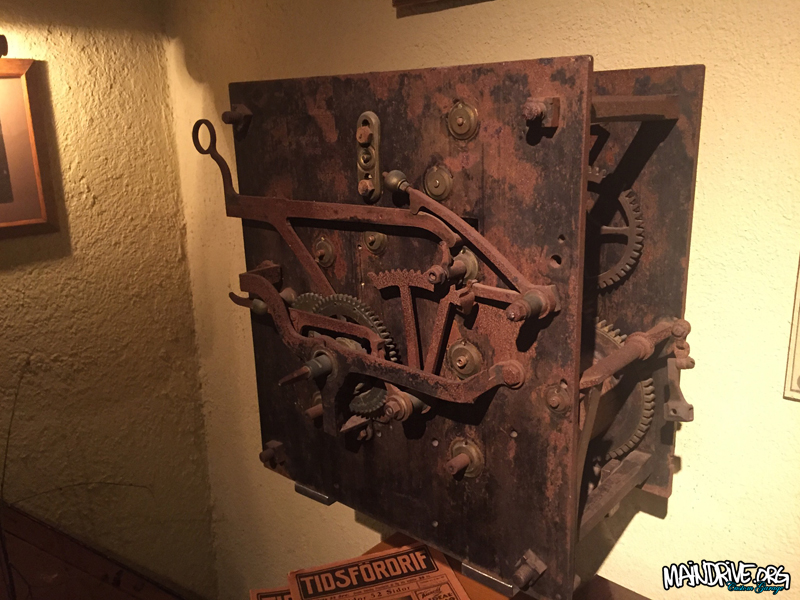
Broken pieces of yesterdays life… 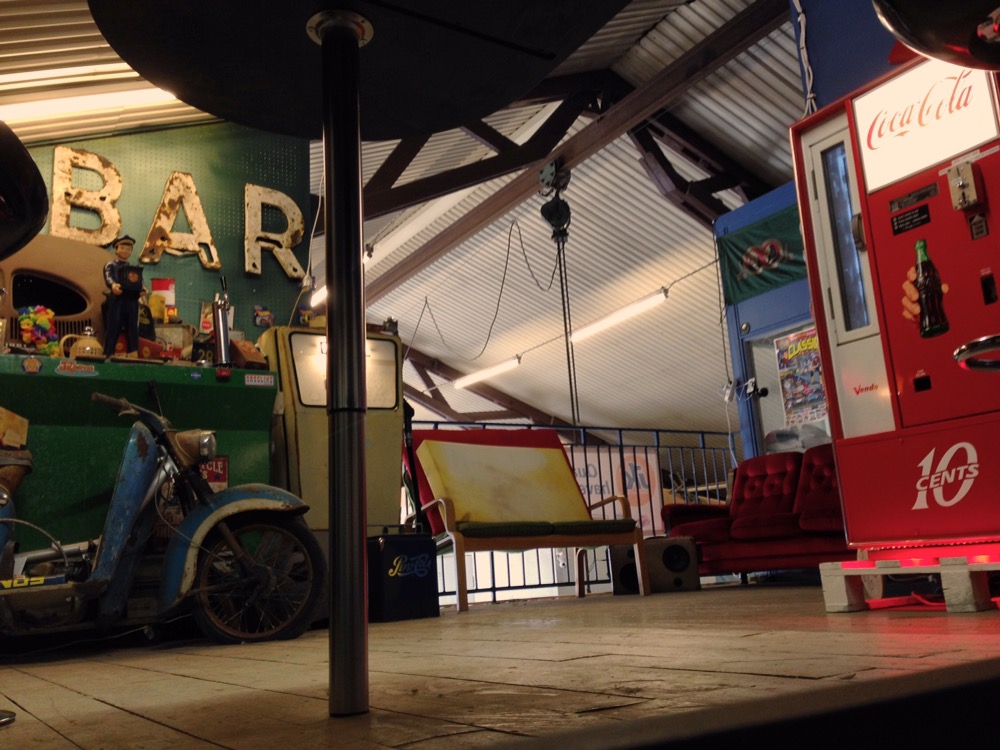
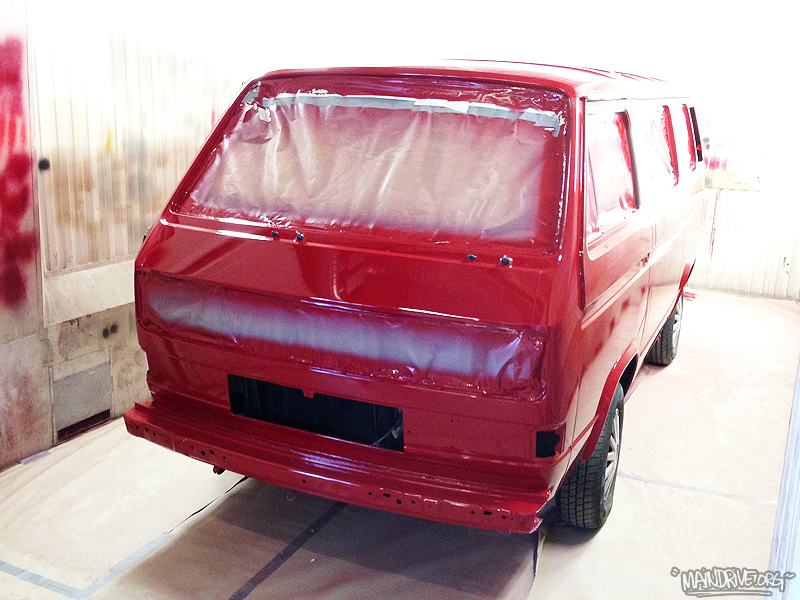
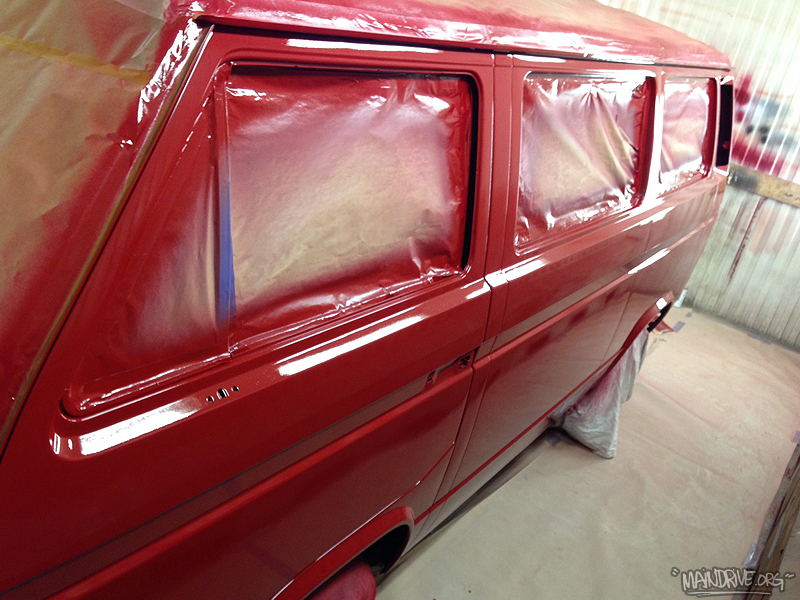
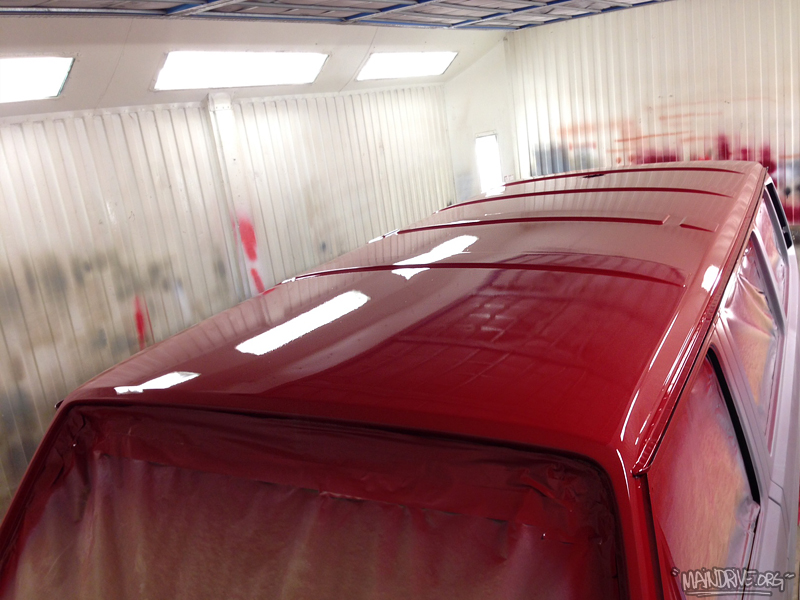
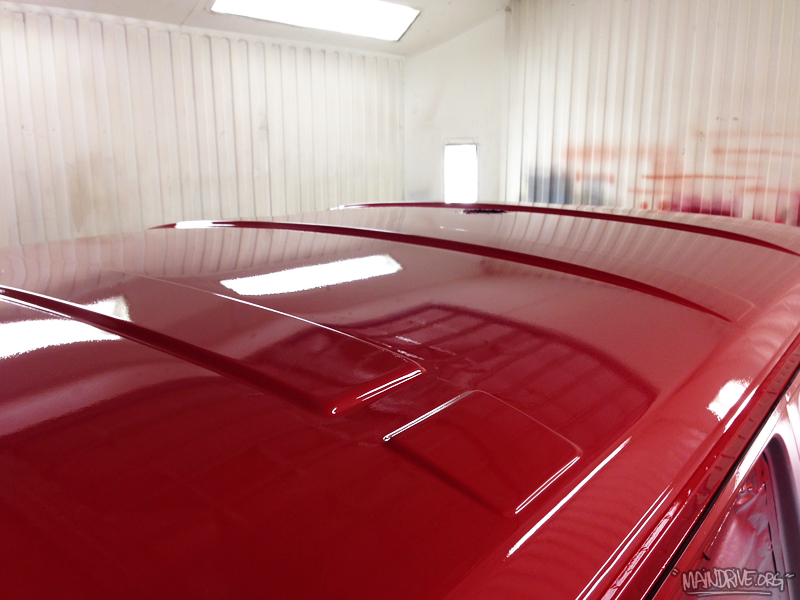
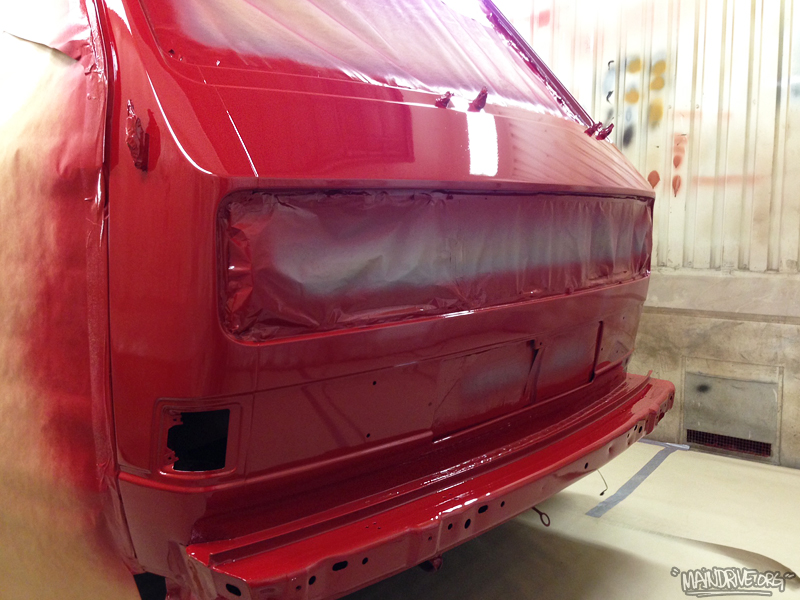
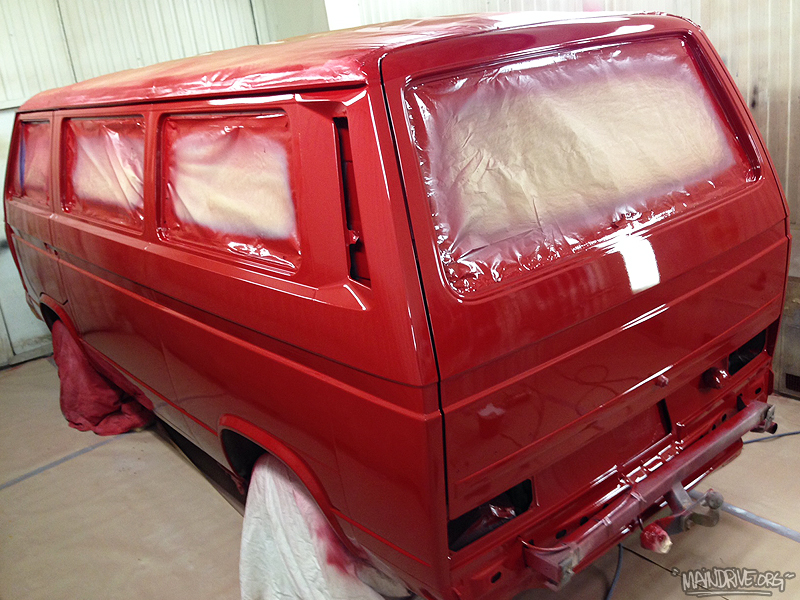
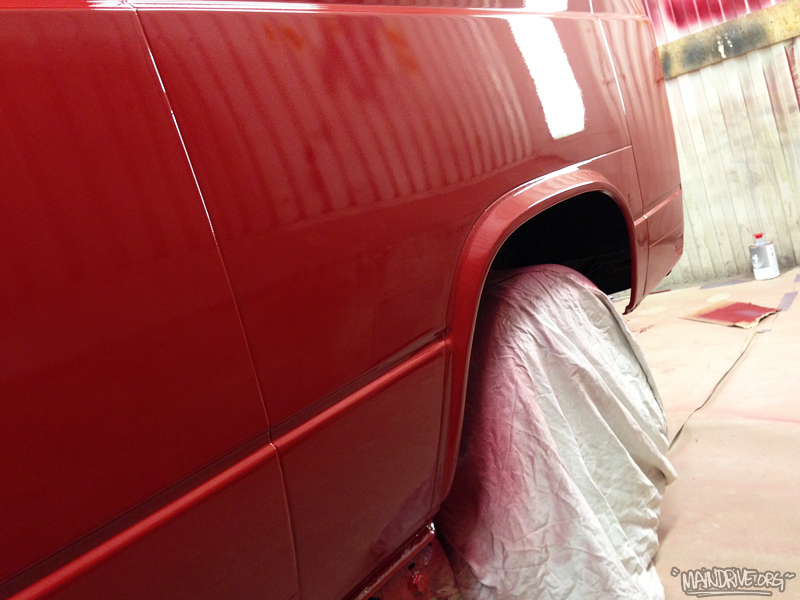
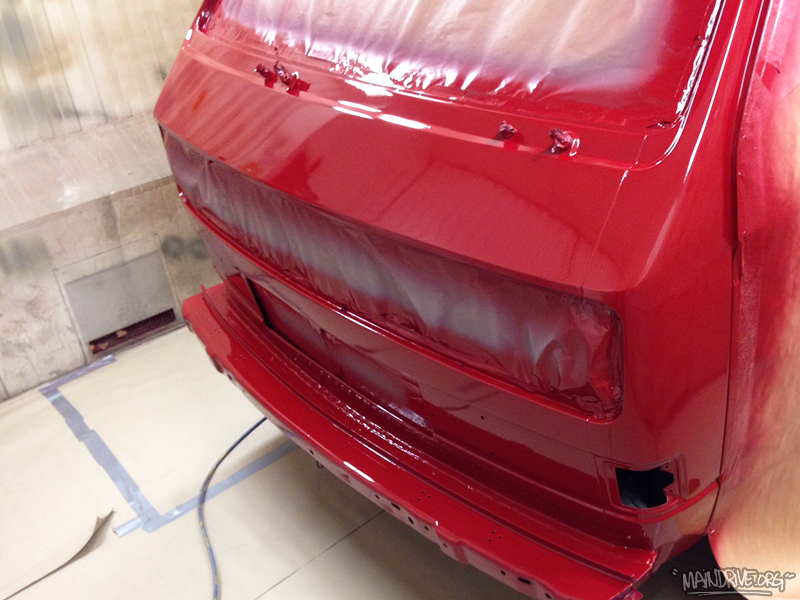
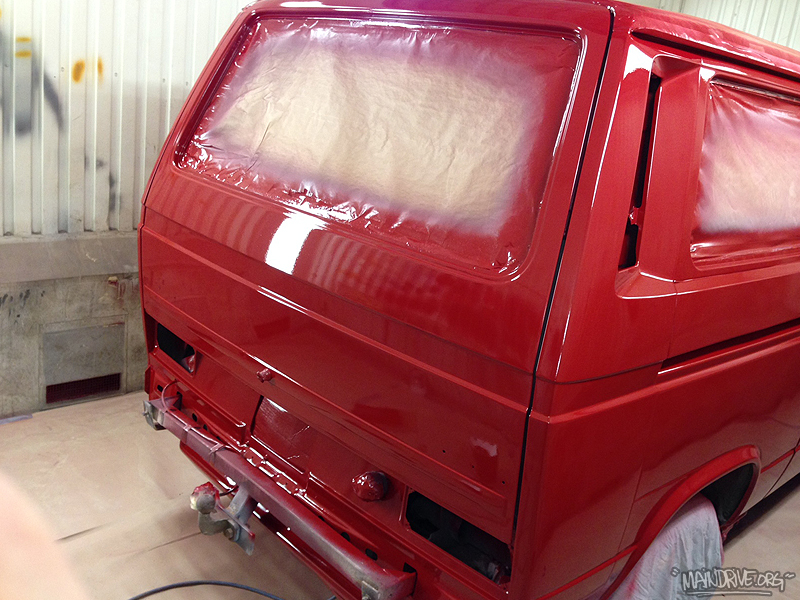
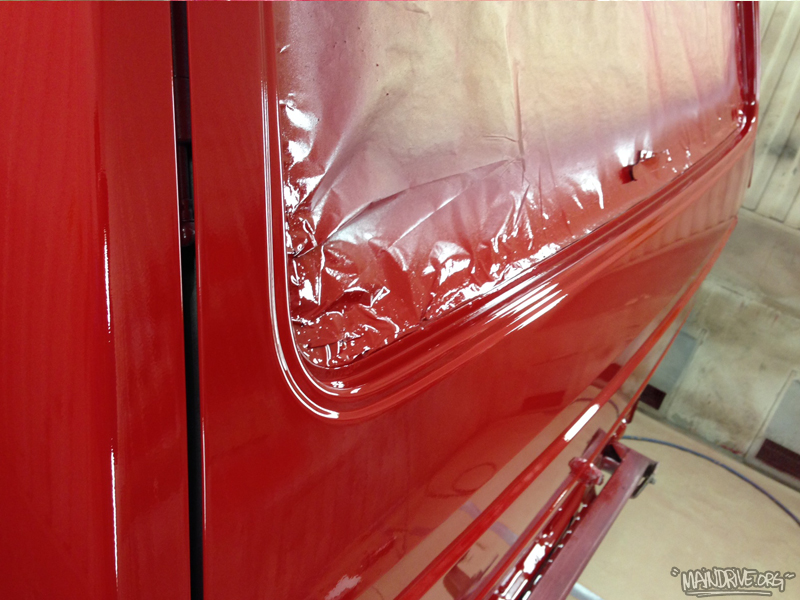
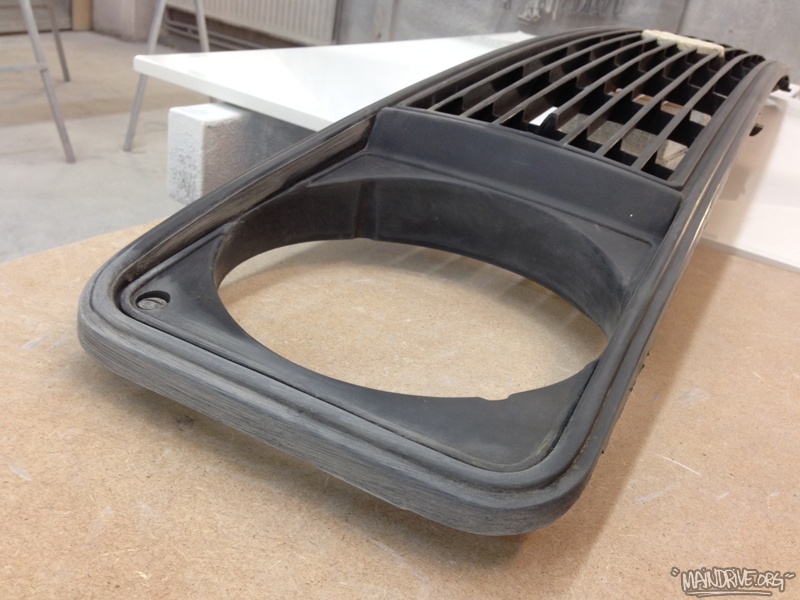
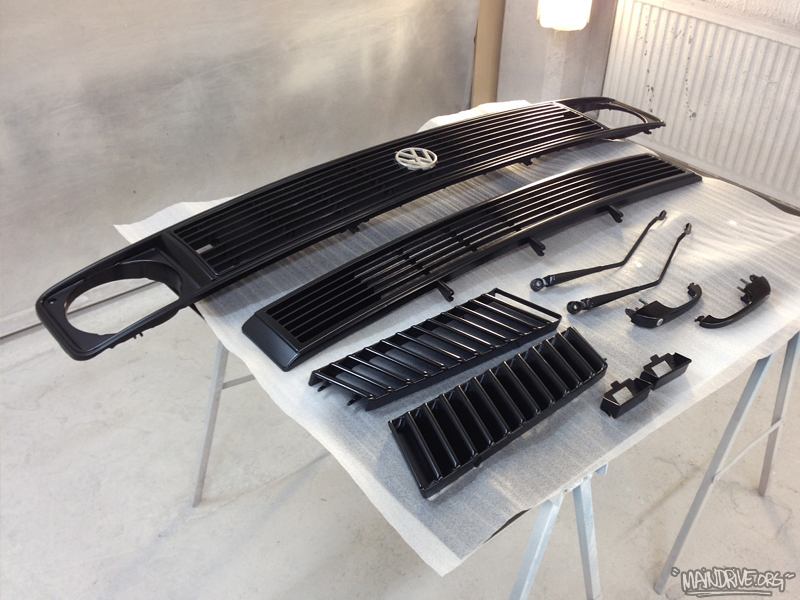
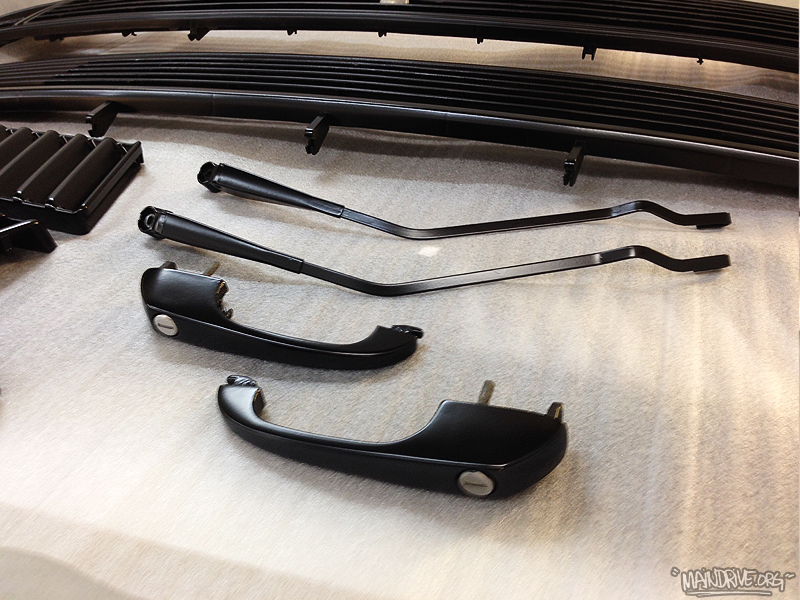
After alot of bodywork and sanding it was time for topcoat paint in VW Marsala Red H3D. Looks nice in red! Also got new Deepblack paint on the sun grey faded trim and parts like the front grills, handles, air intakes, wipers etc. I think all the black parts will match the black wheels perfect when its all together. The wheels from Germany will arrive this week and the other new VW parts from Just Kampers will be here tomorrow!
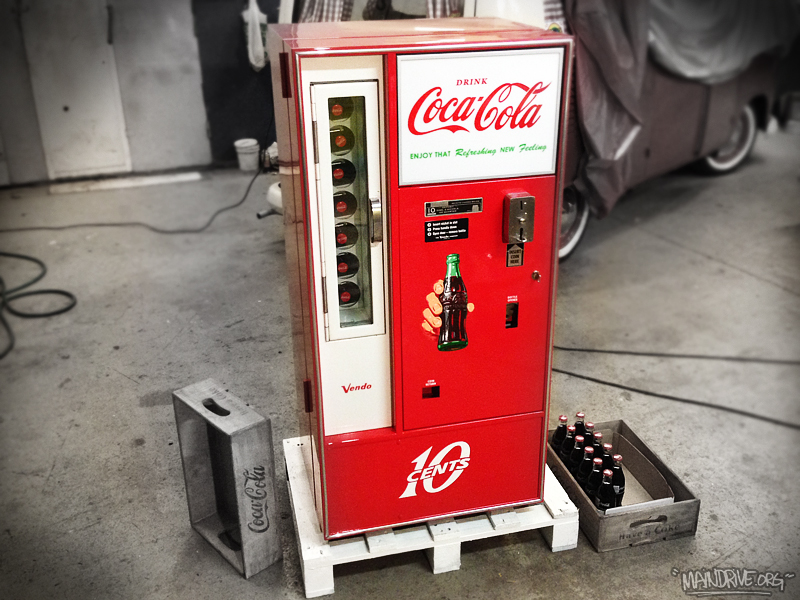
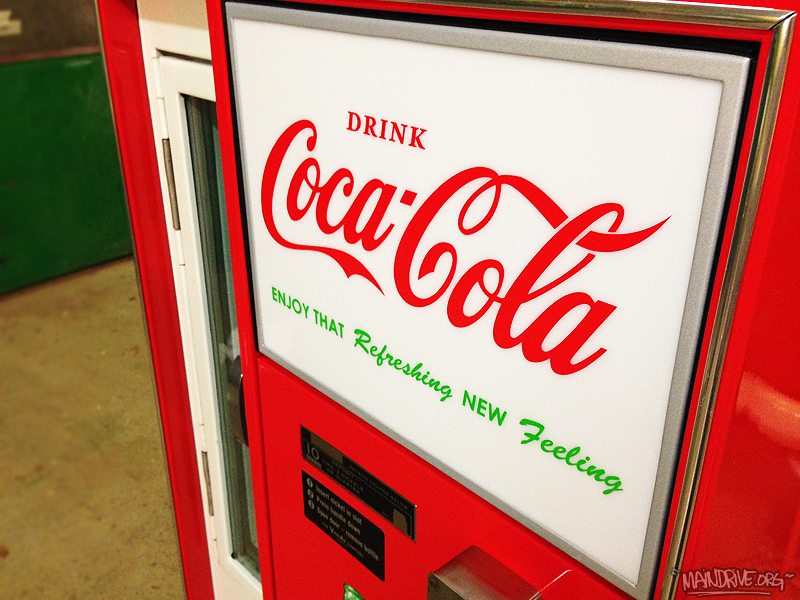
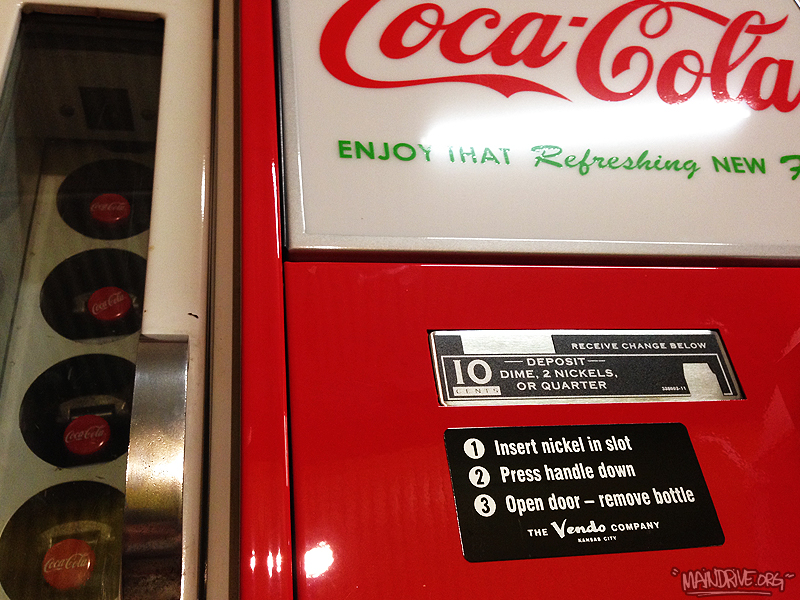
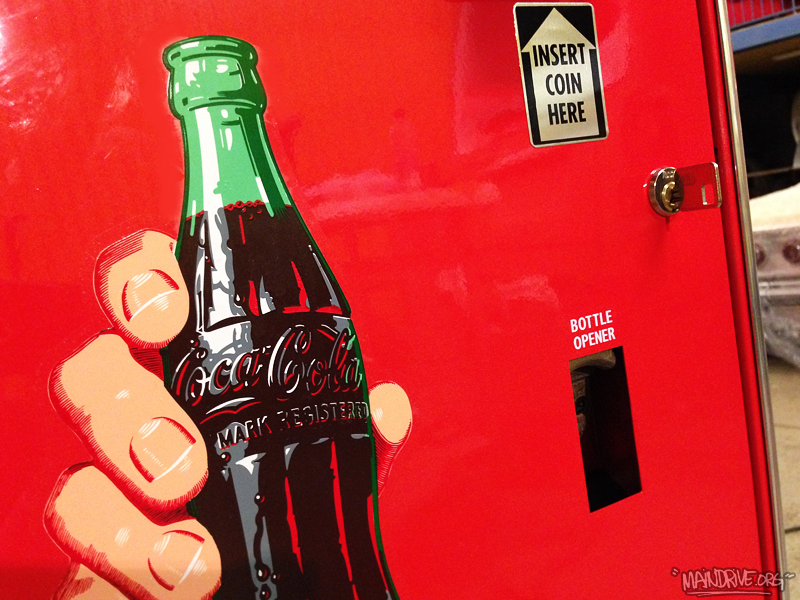
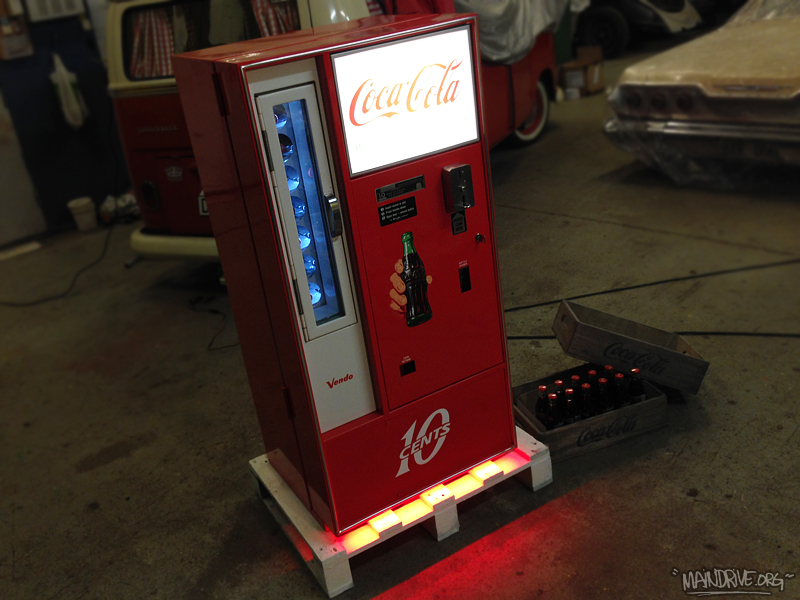
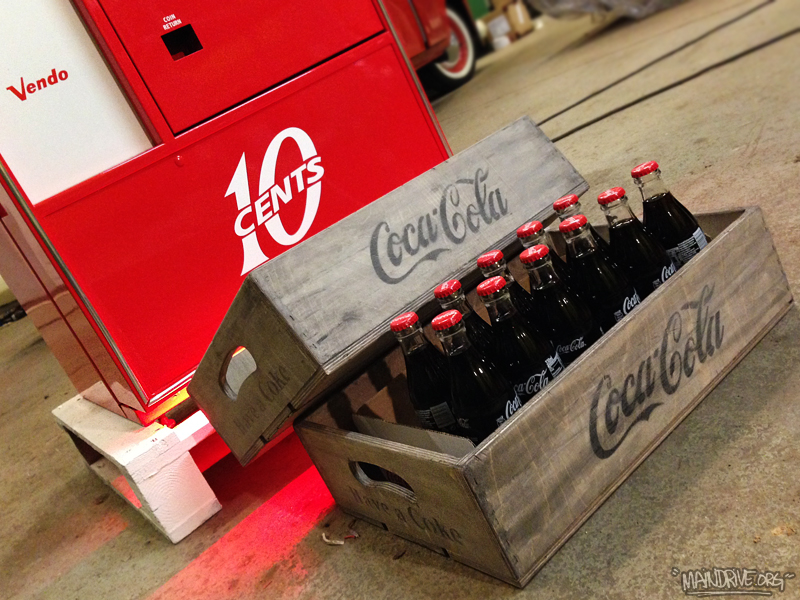
A short videoclip of the finished Coke machine restoration, we did during Mars 2016.
Yesterday the Coke machine was finished. Got the new lite-up sign to glow with new lightbars. Also added a cold white LED stripe to the bottle/door and a red stripe in bottom off front door. The Coke gets really cold just after a couple of minutes when running. Drop by the garage if you are thirsty! 🙂