En sväng förbi Piece Performance och Hans nya dragracing bil. 1,6 L låter vass!
Follow MainDrive on Instagram: @maindrivegarage

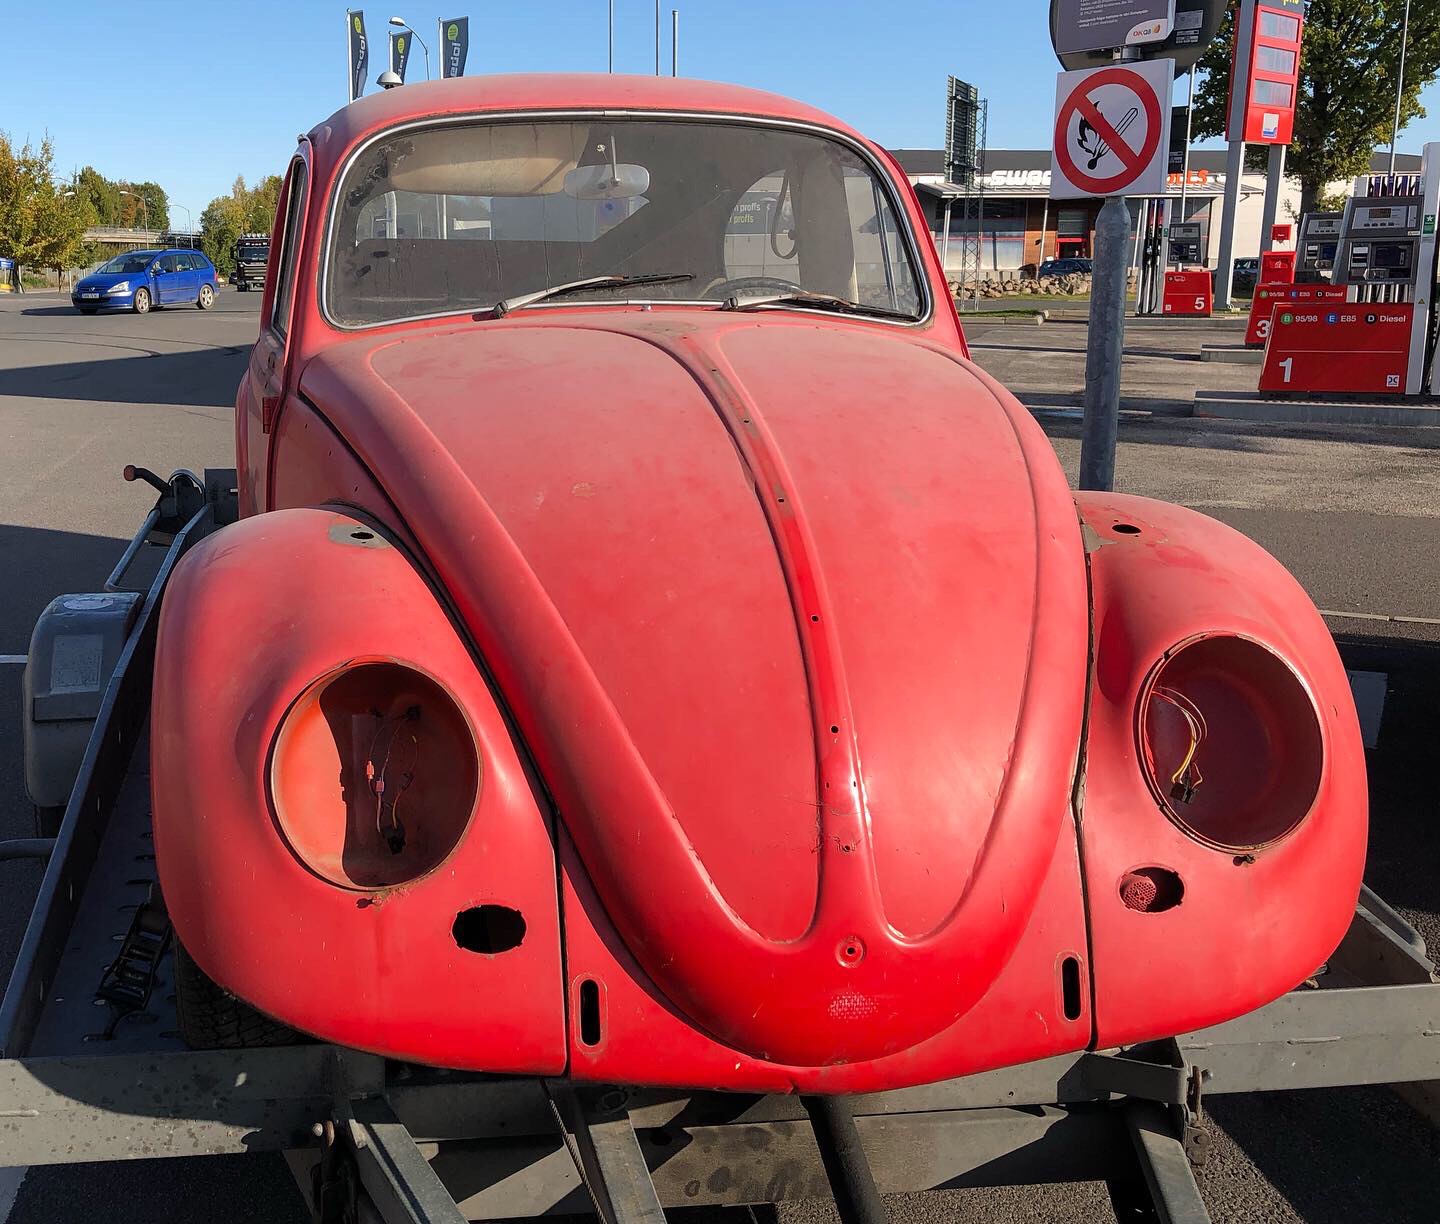
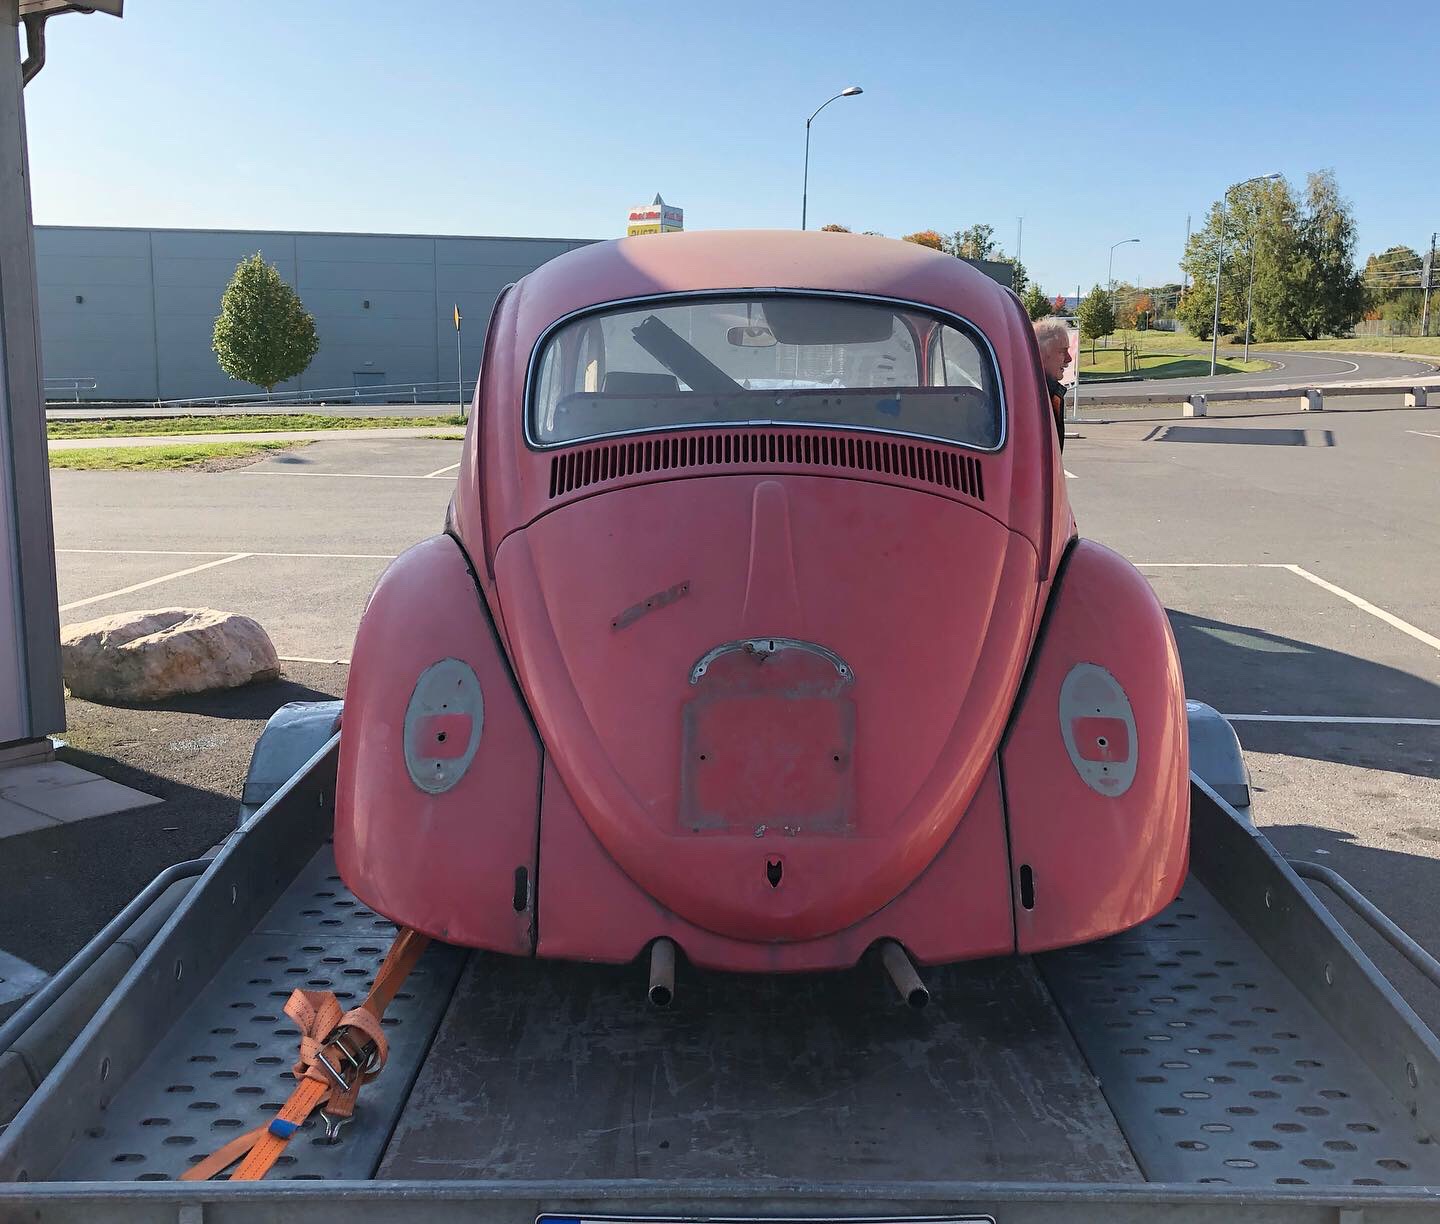
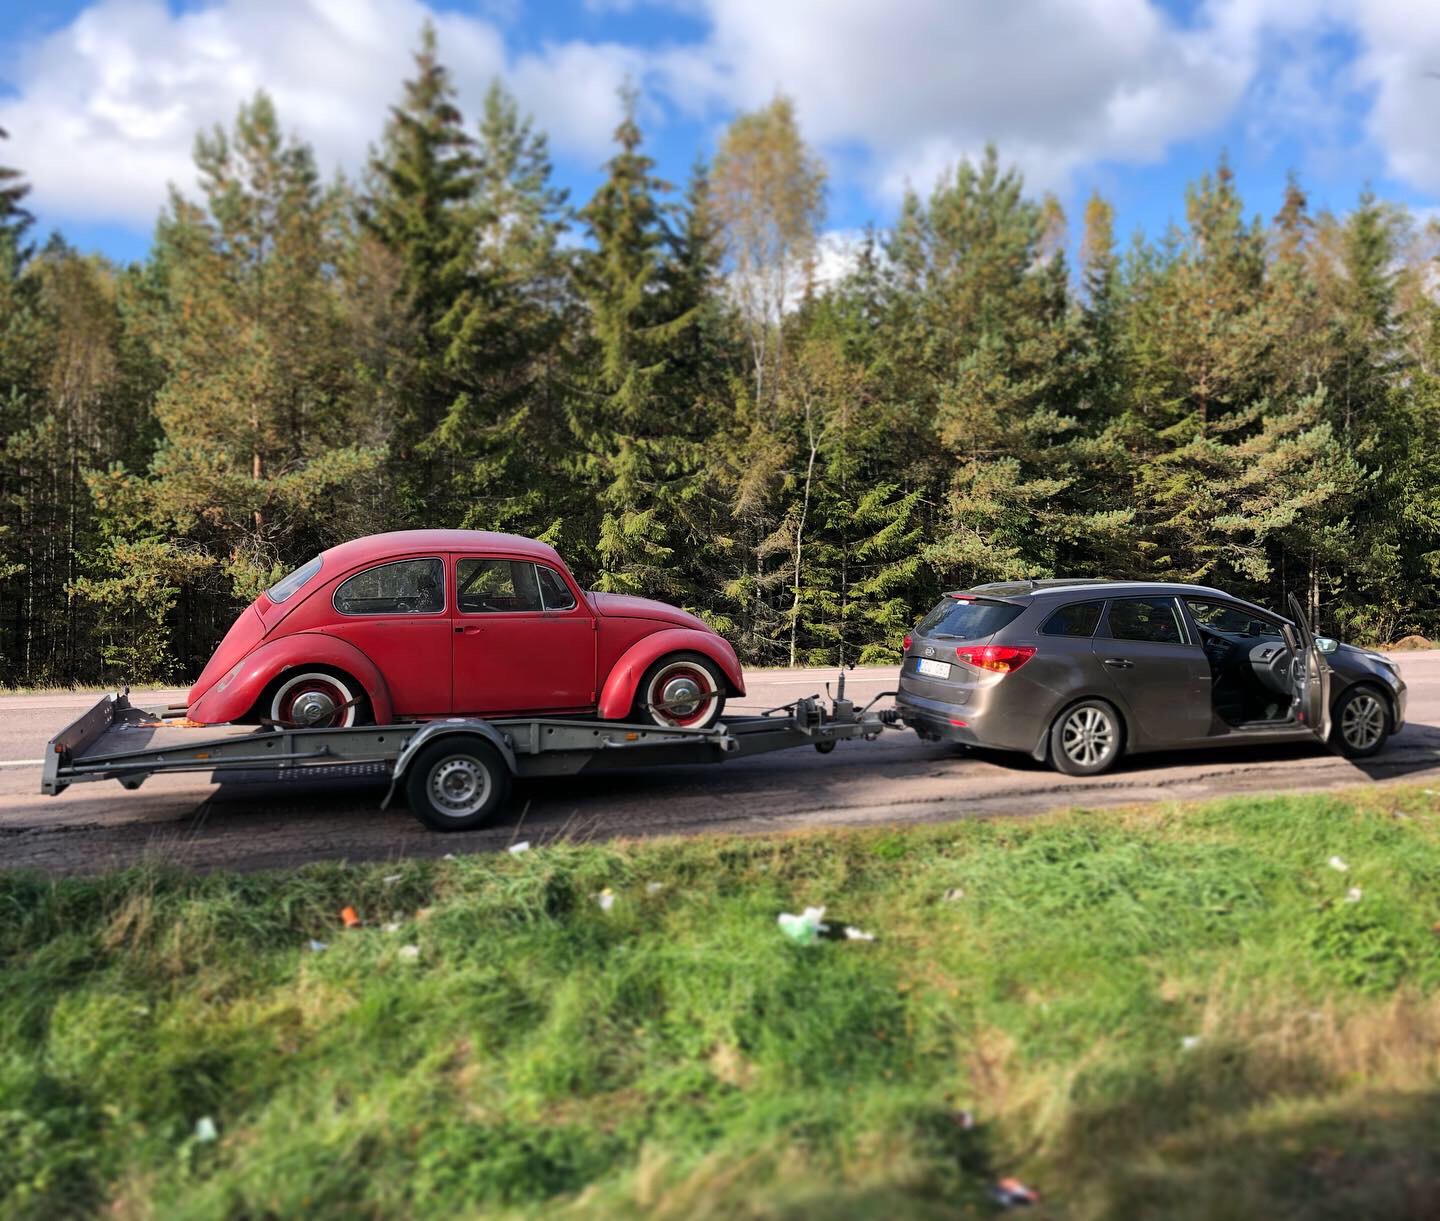
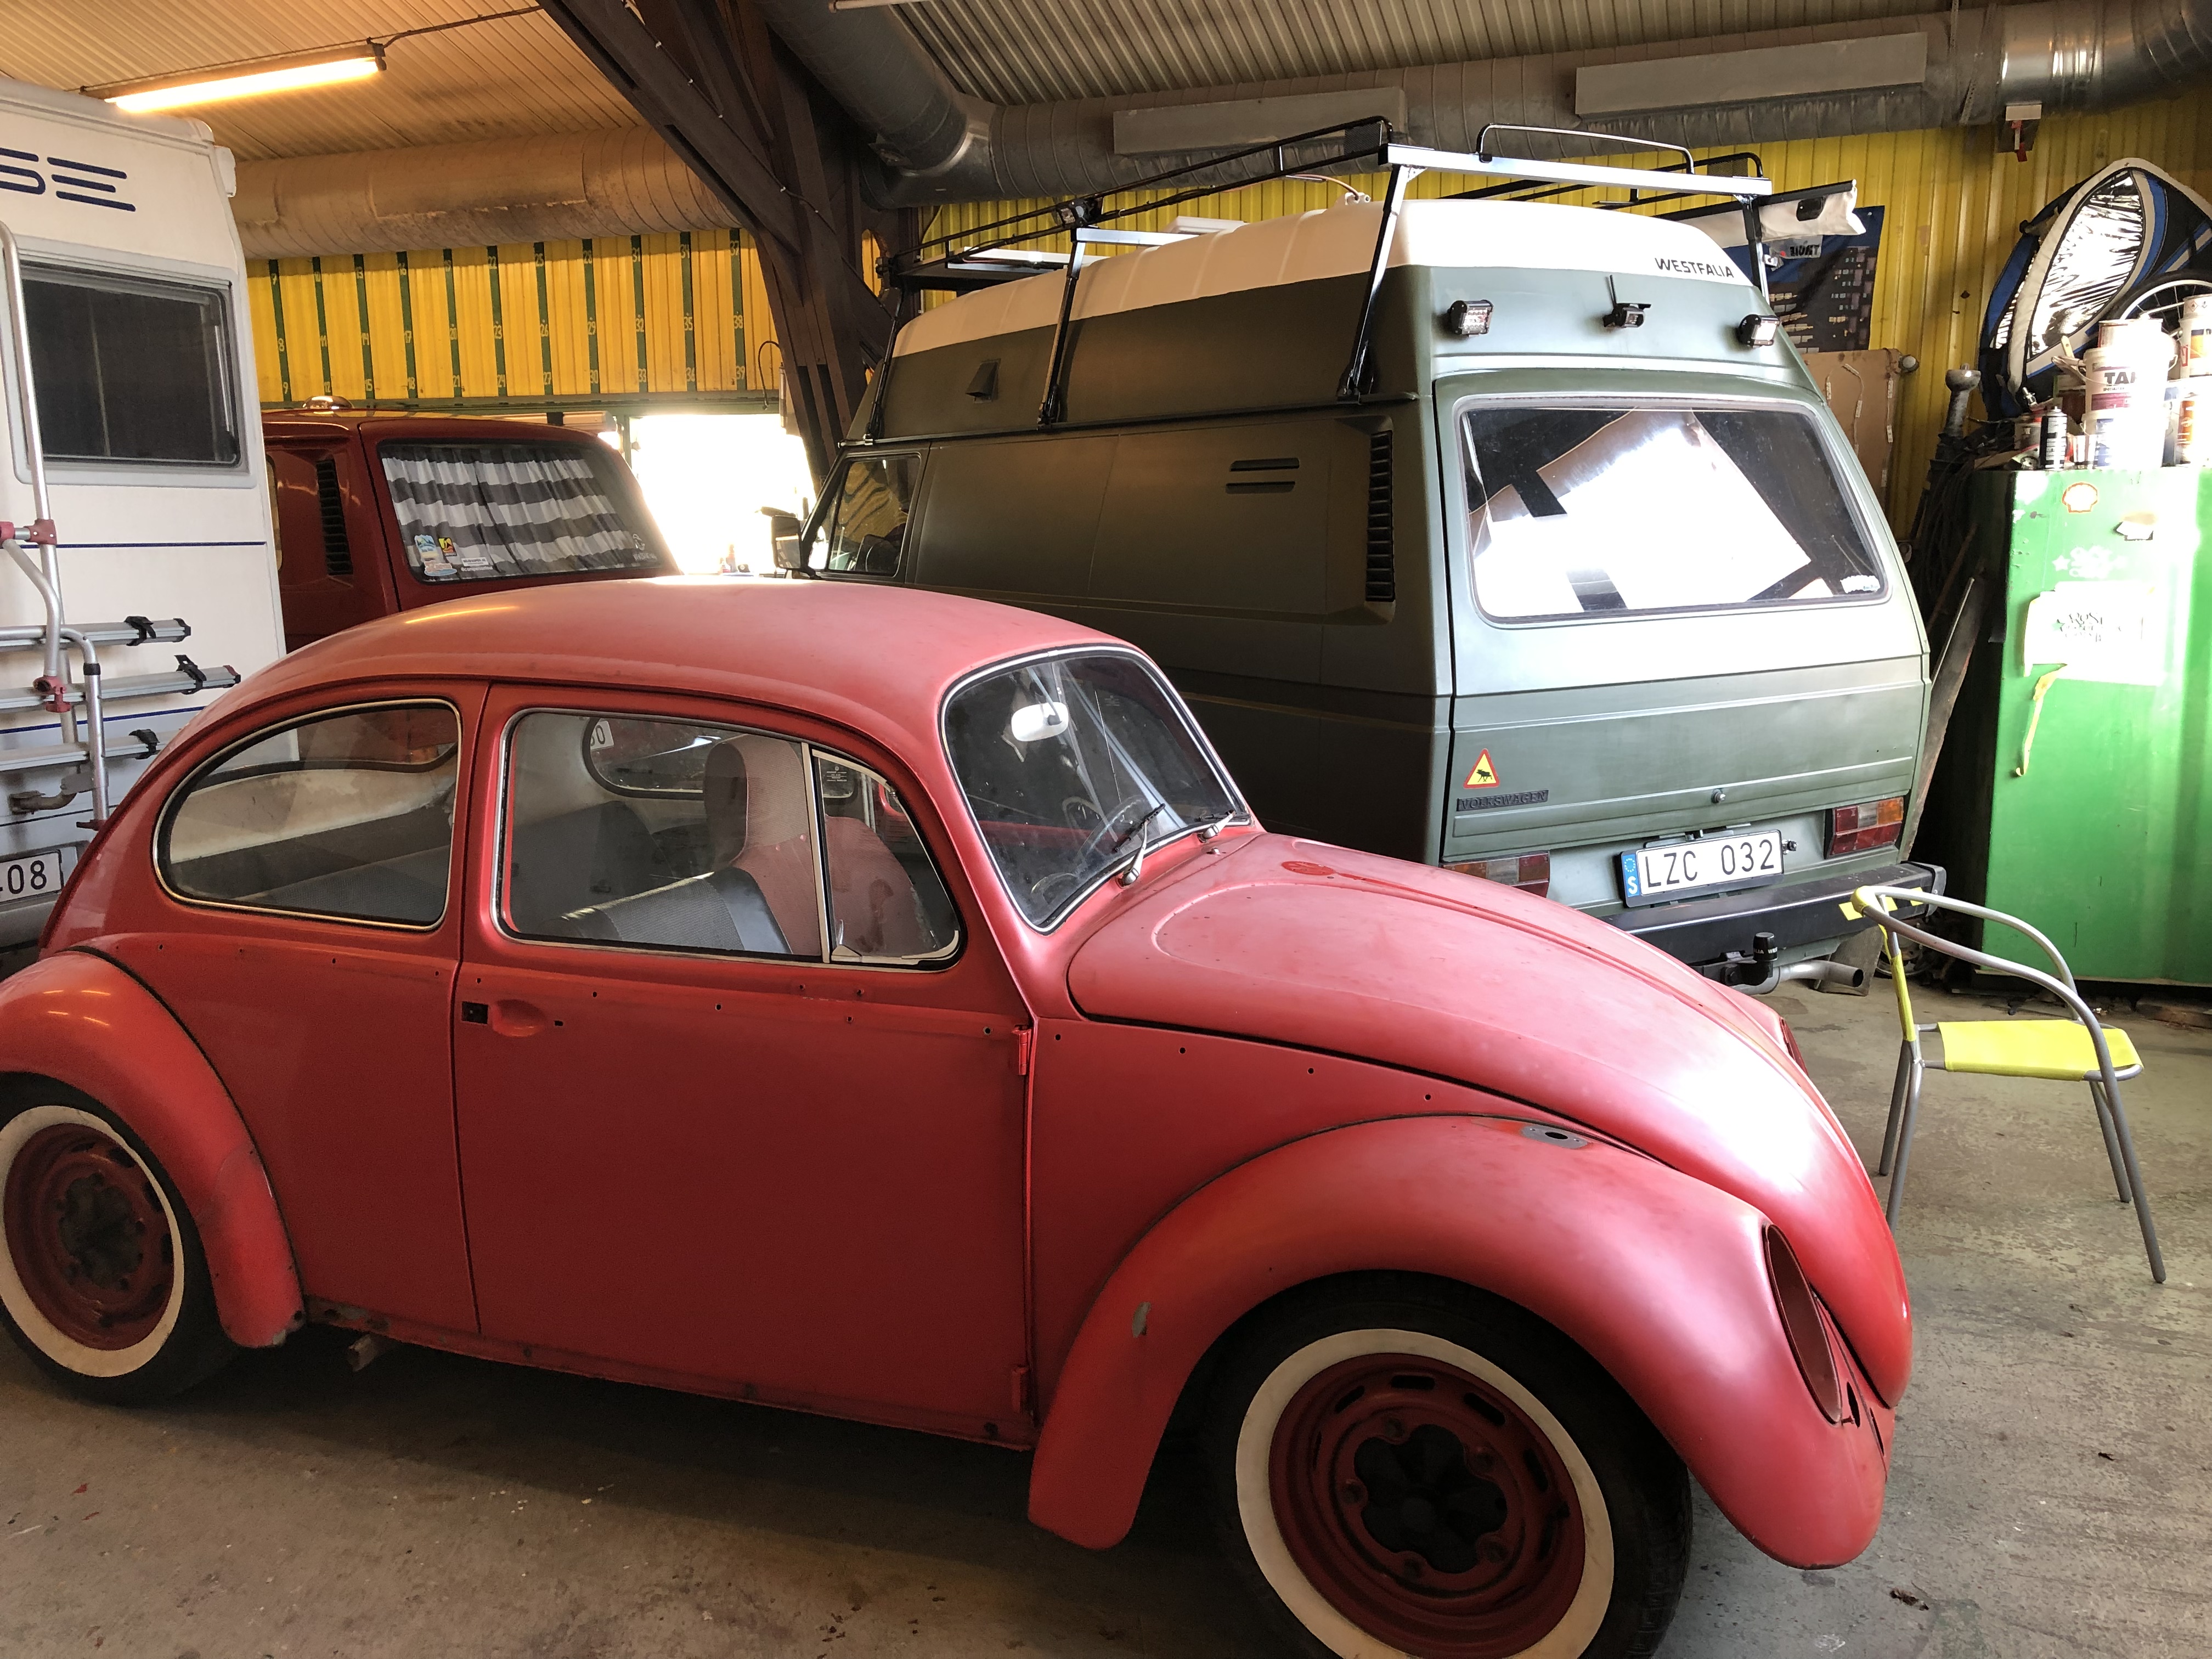
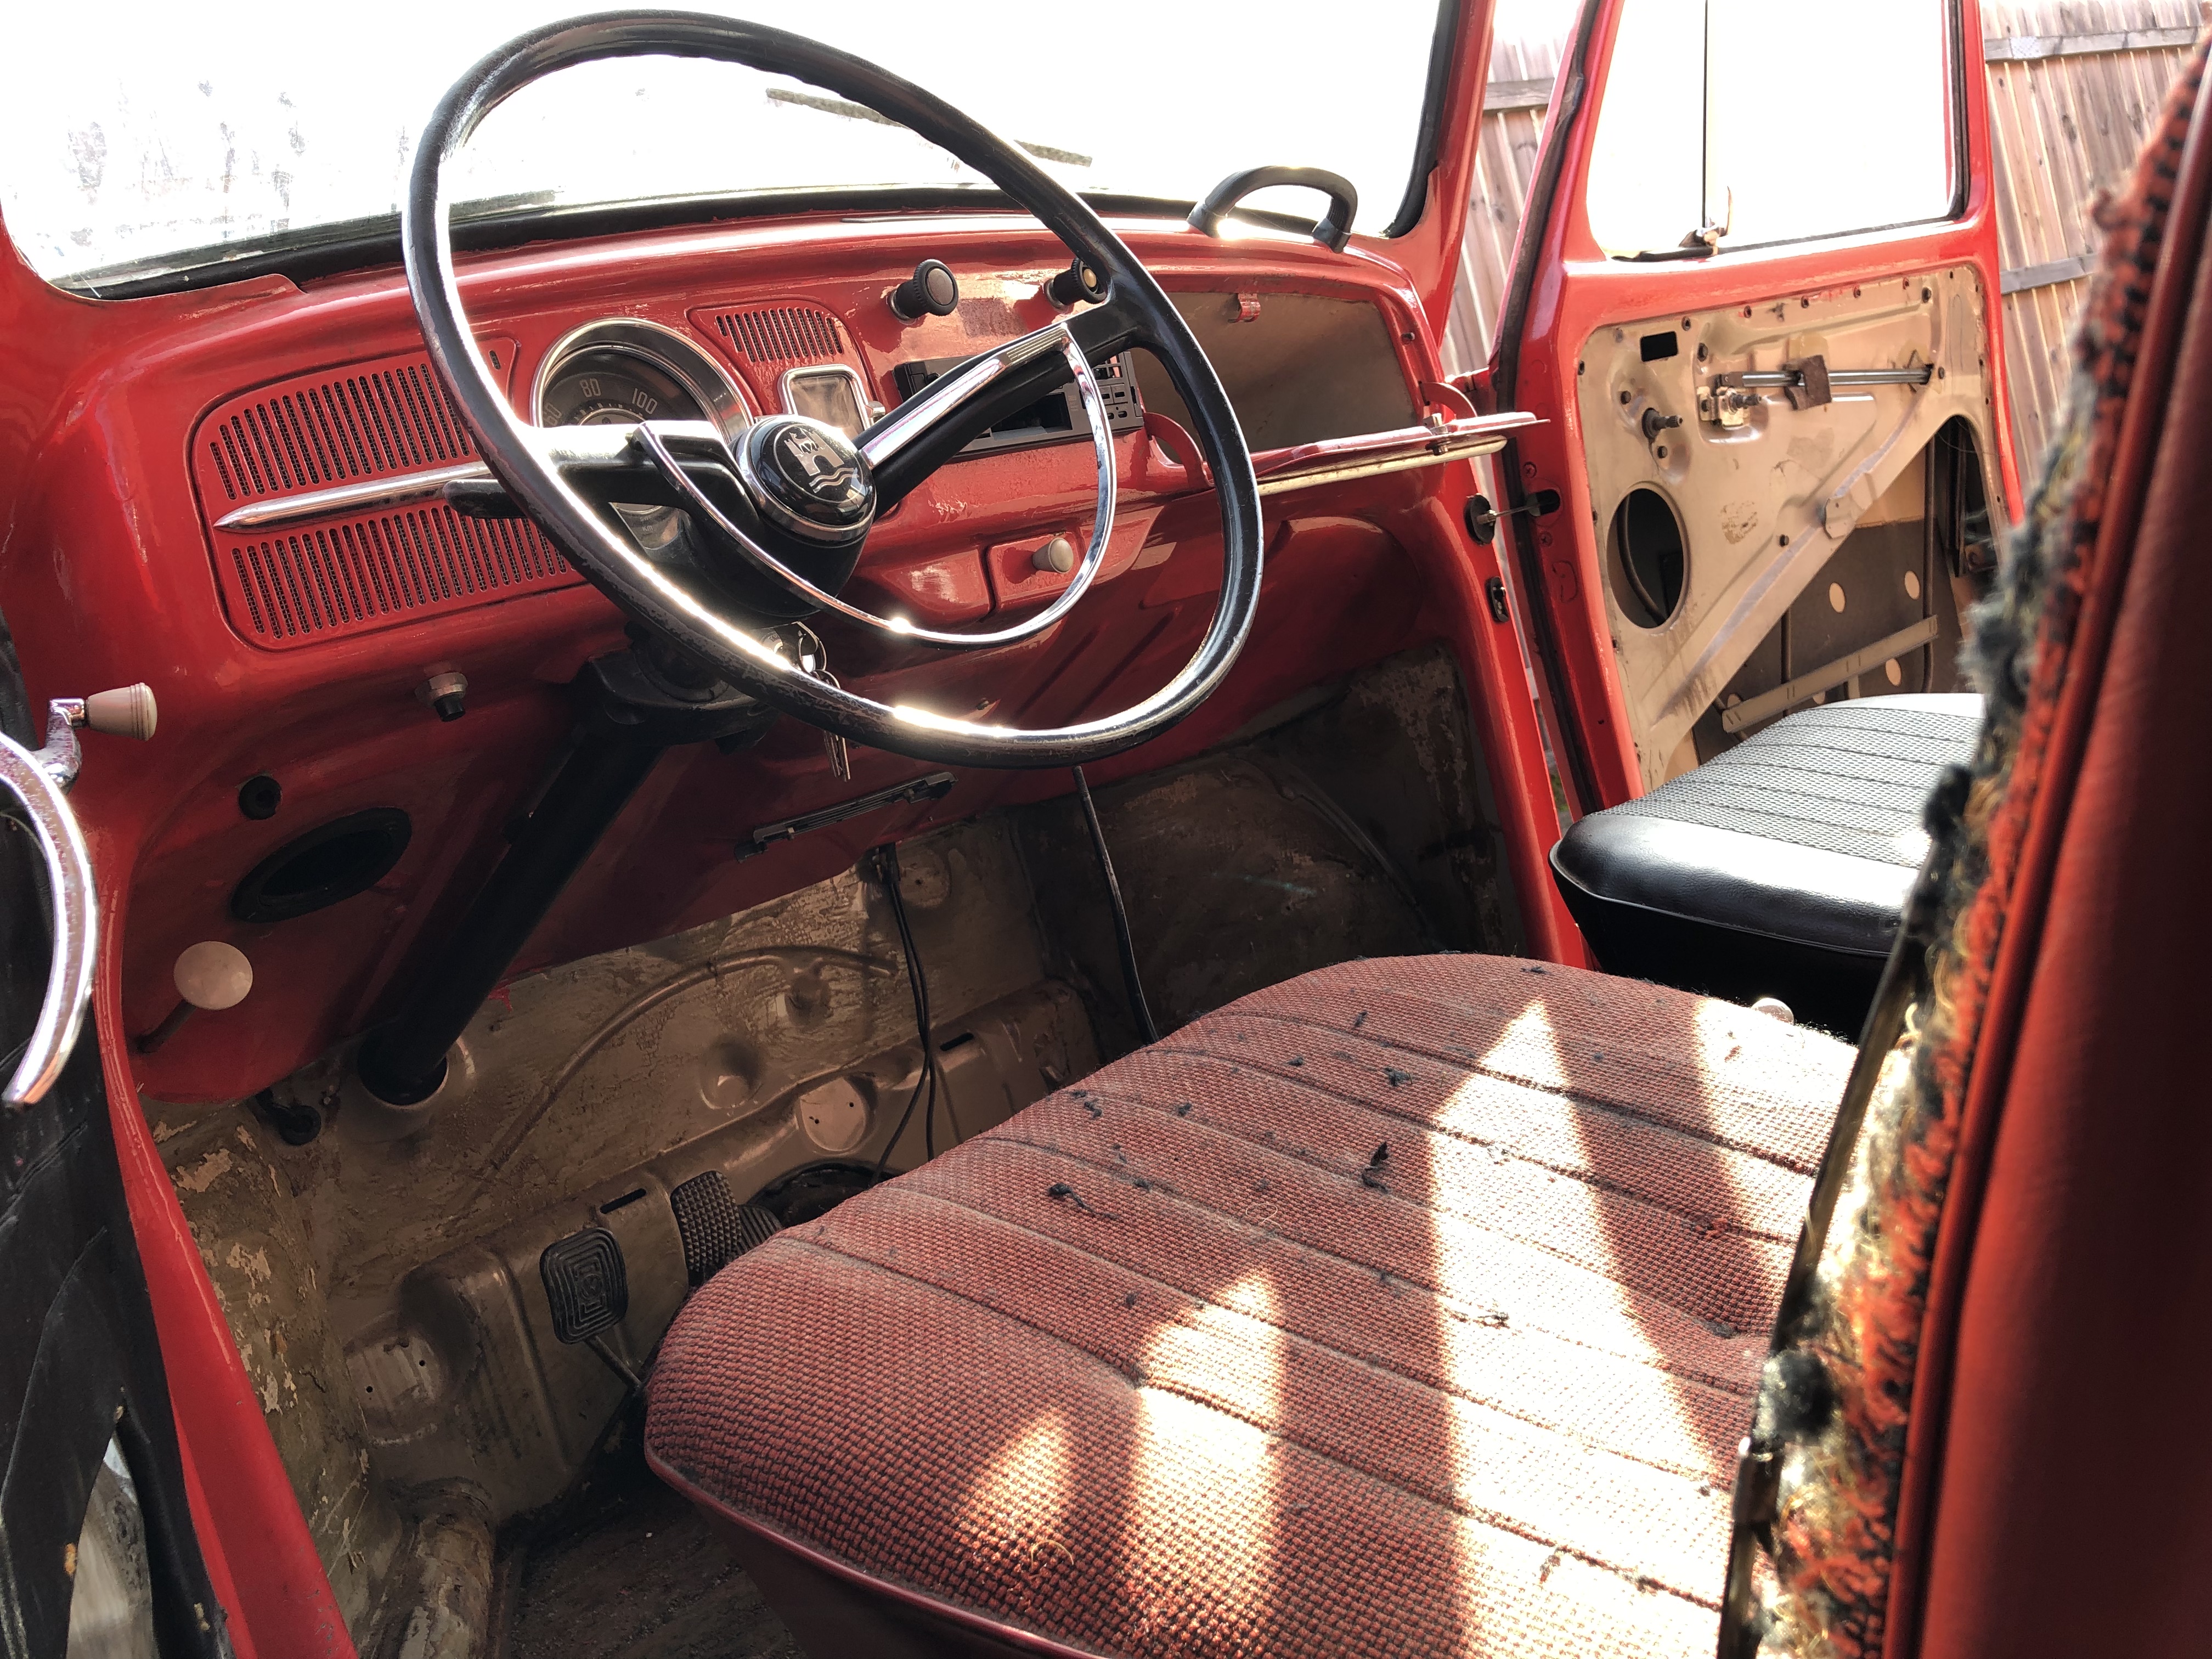
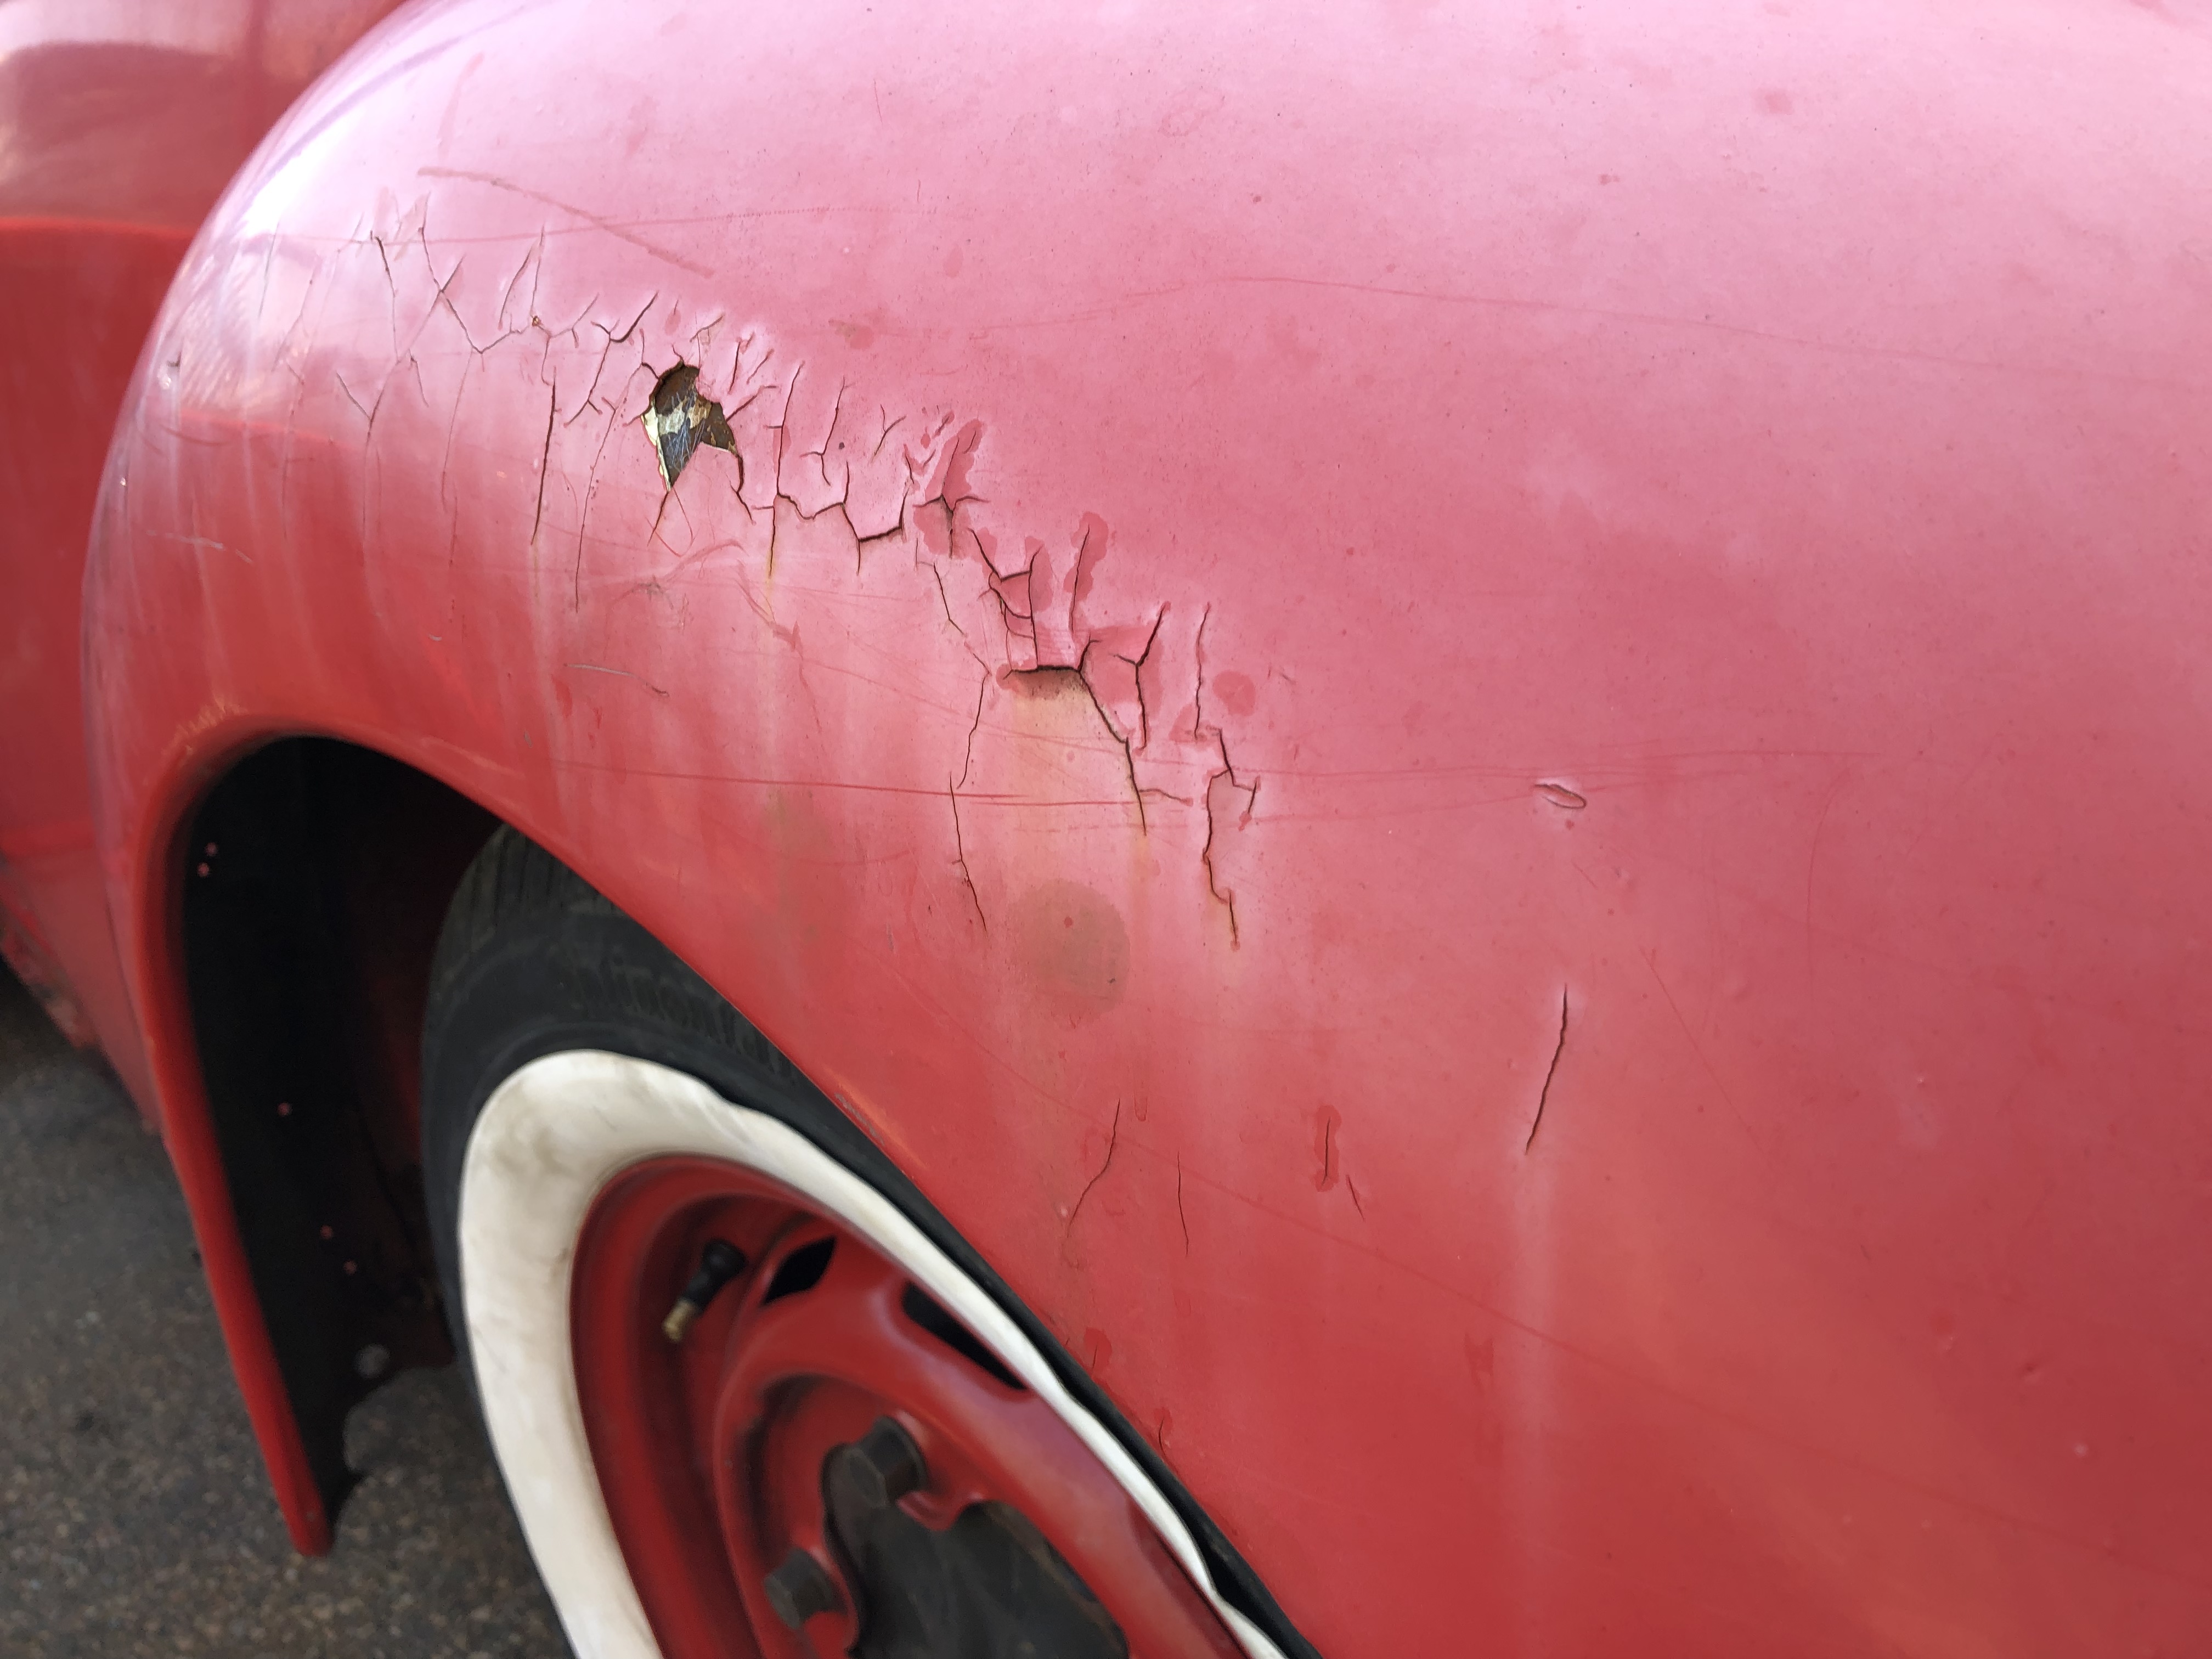
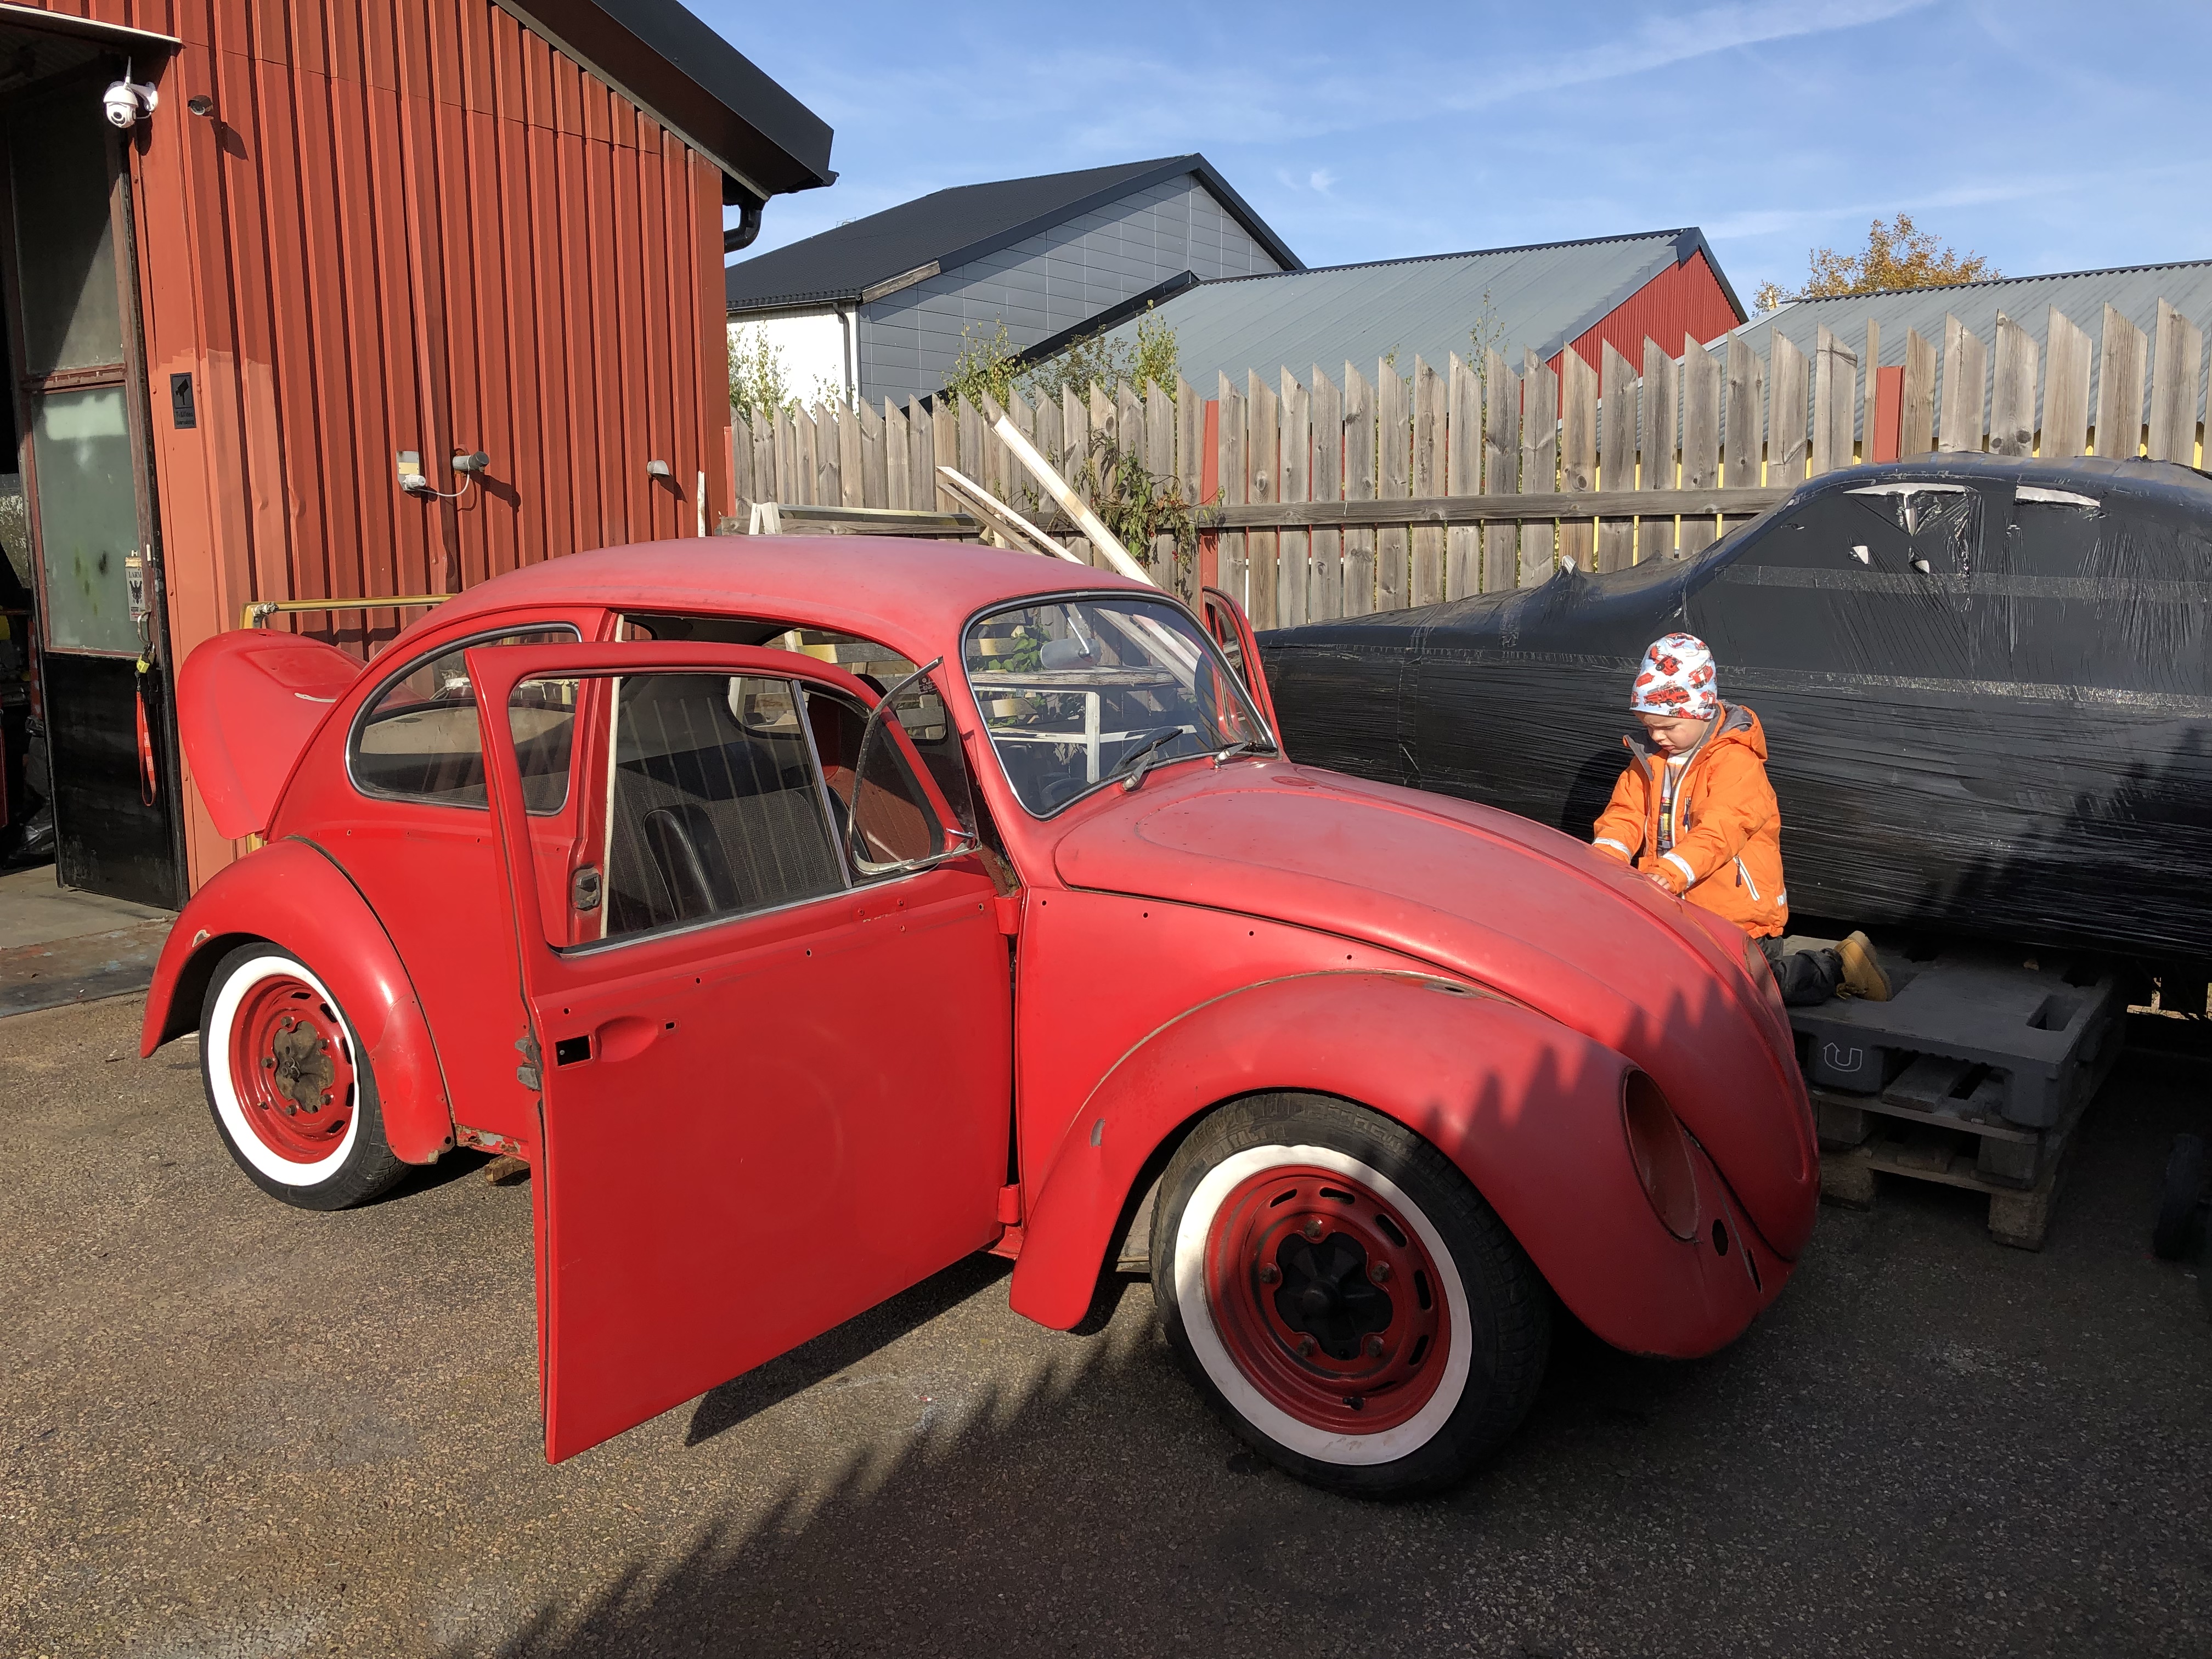
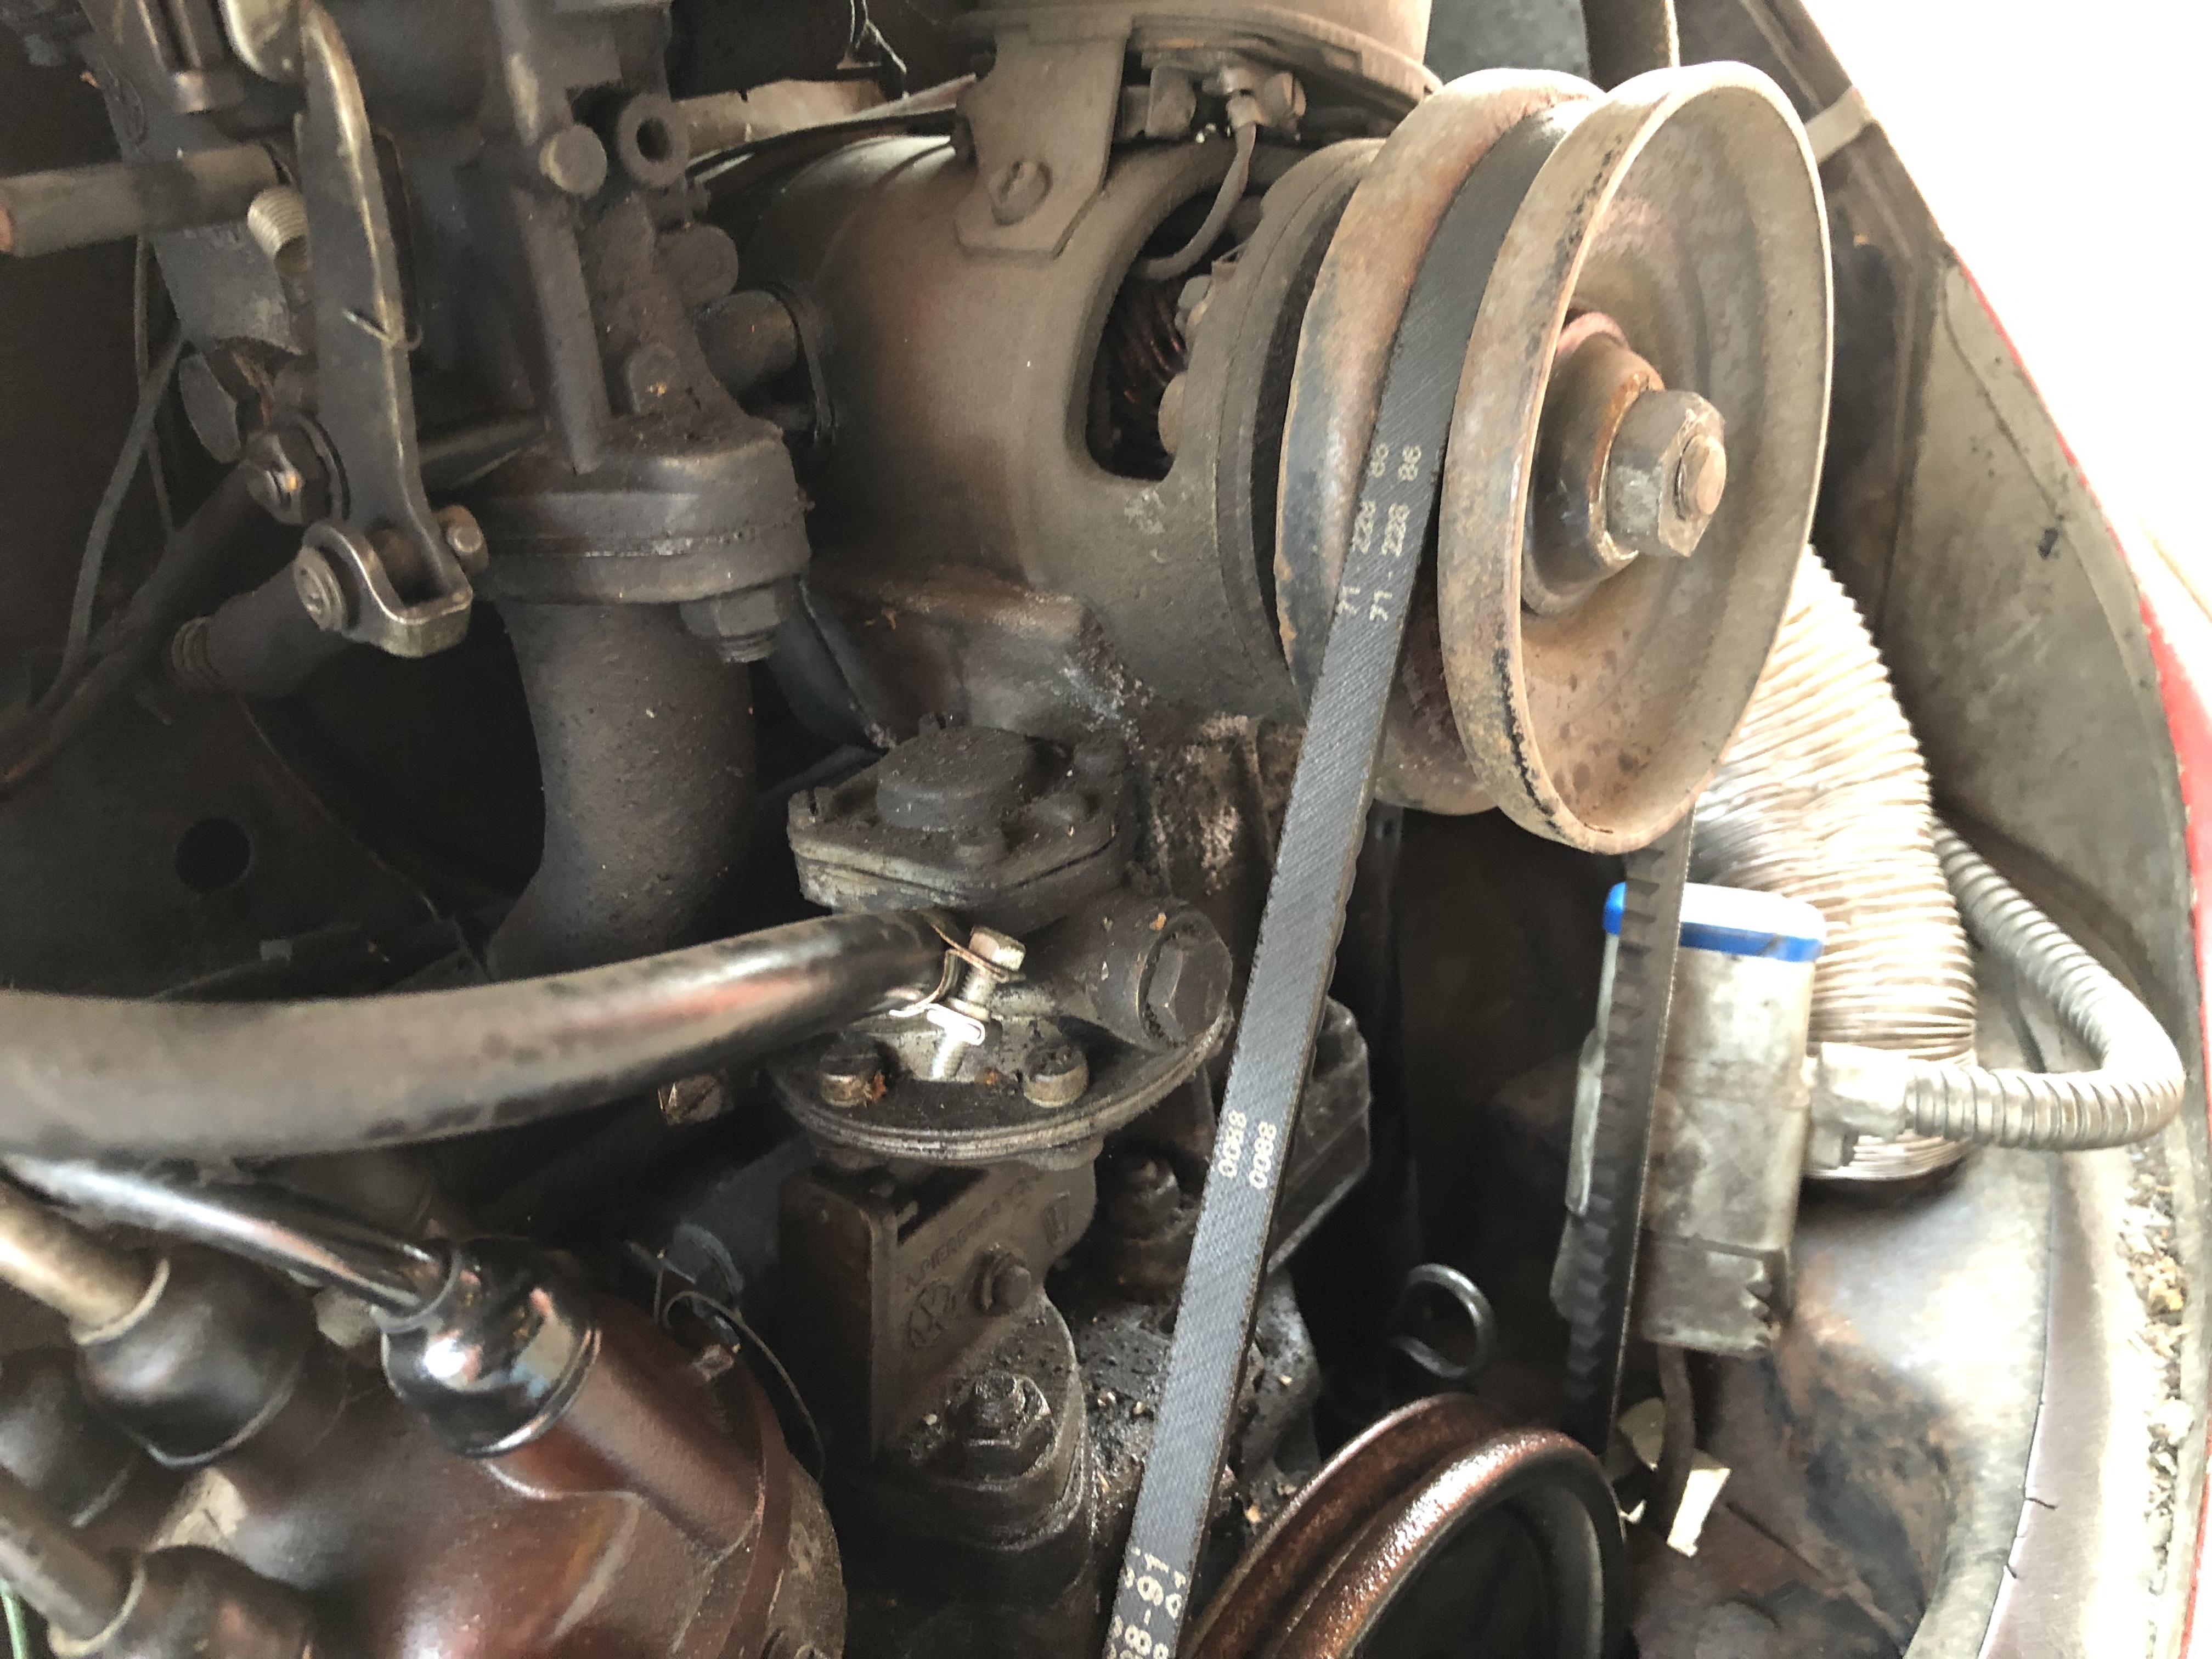
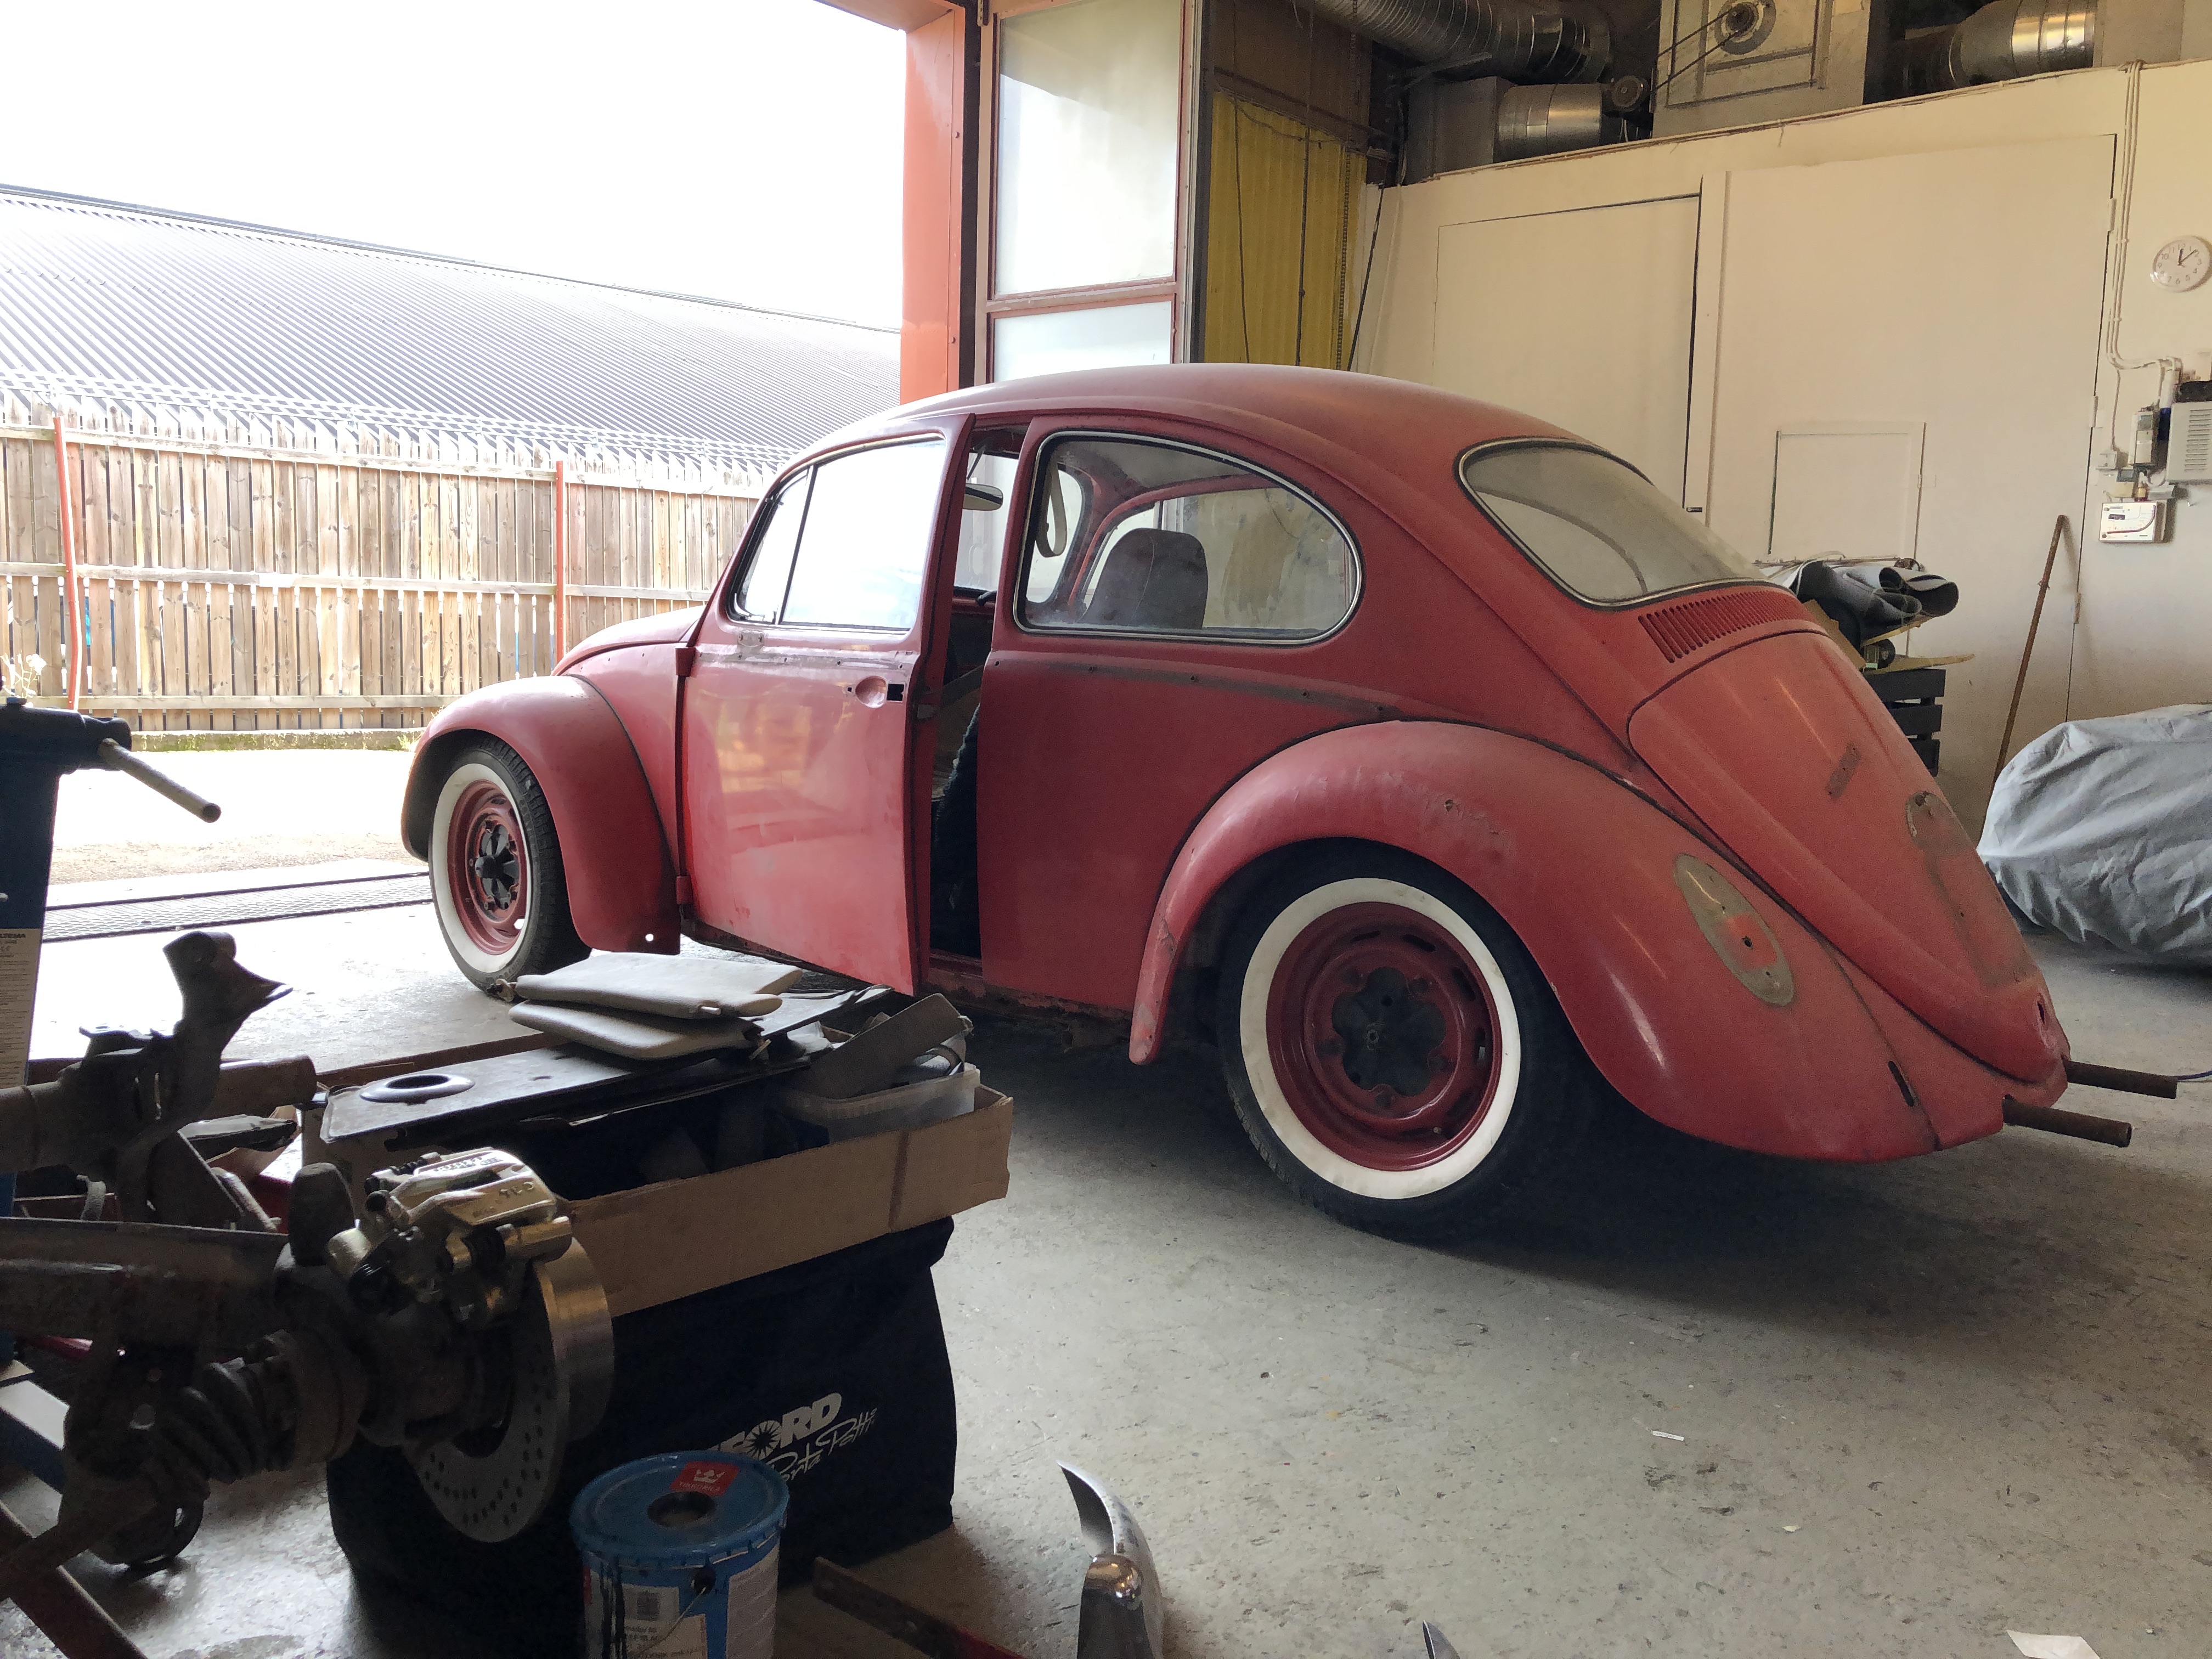
A Ruby red 1965 VW type 1 Beetle. Solid project, not much rust at all. Will get new paint and interior, engine overhauled, new chrome trim, new rubber seals and new brake system and more. Pics coming soon and maybe a simple video serie on the YouTube channel. Stay tuned!
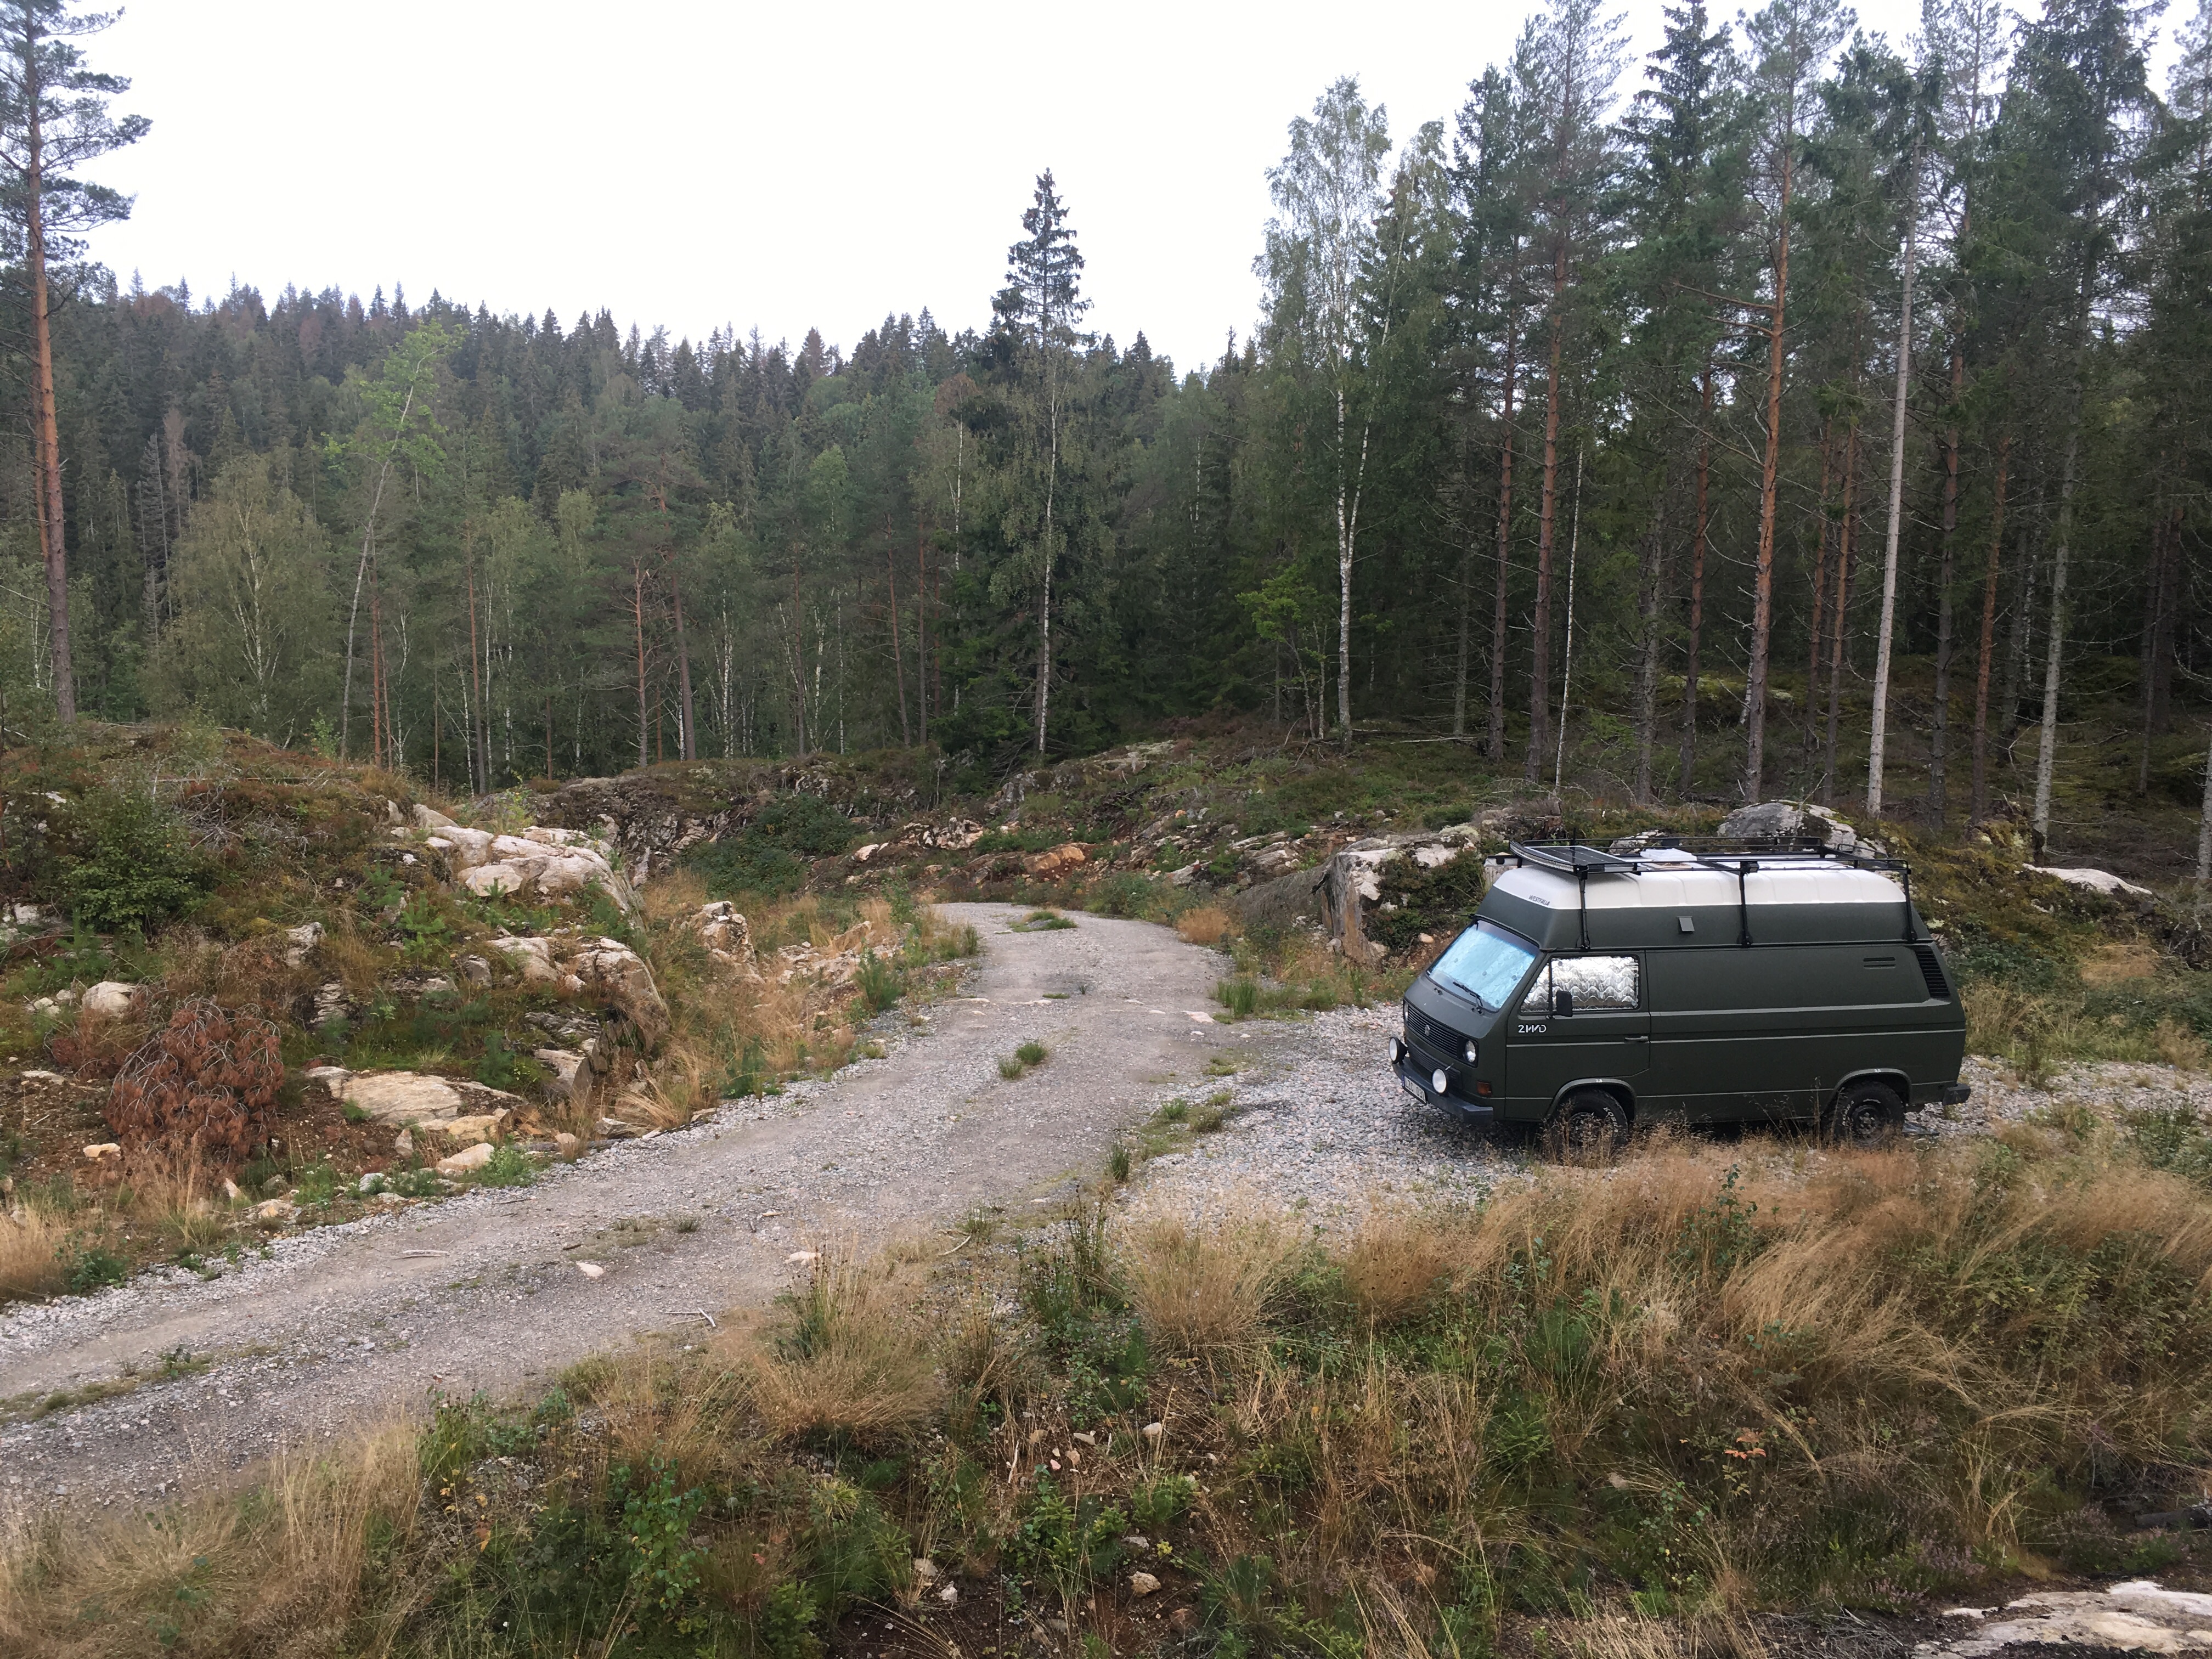
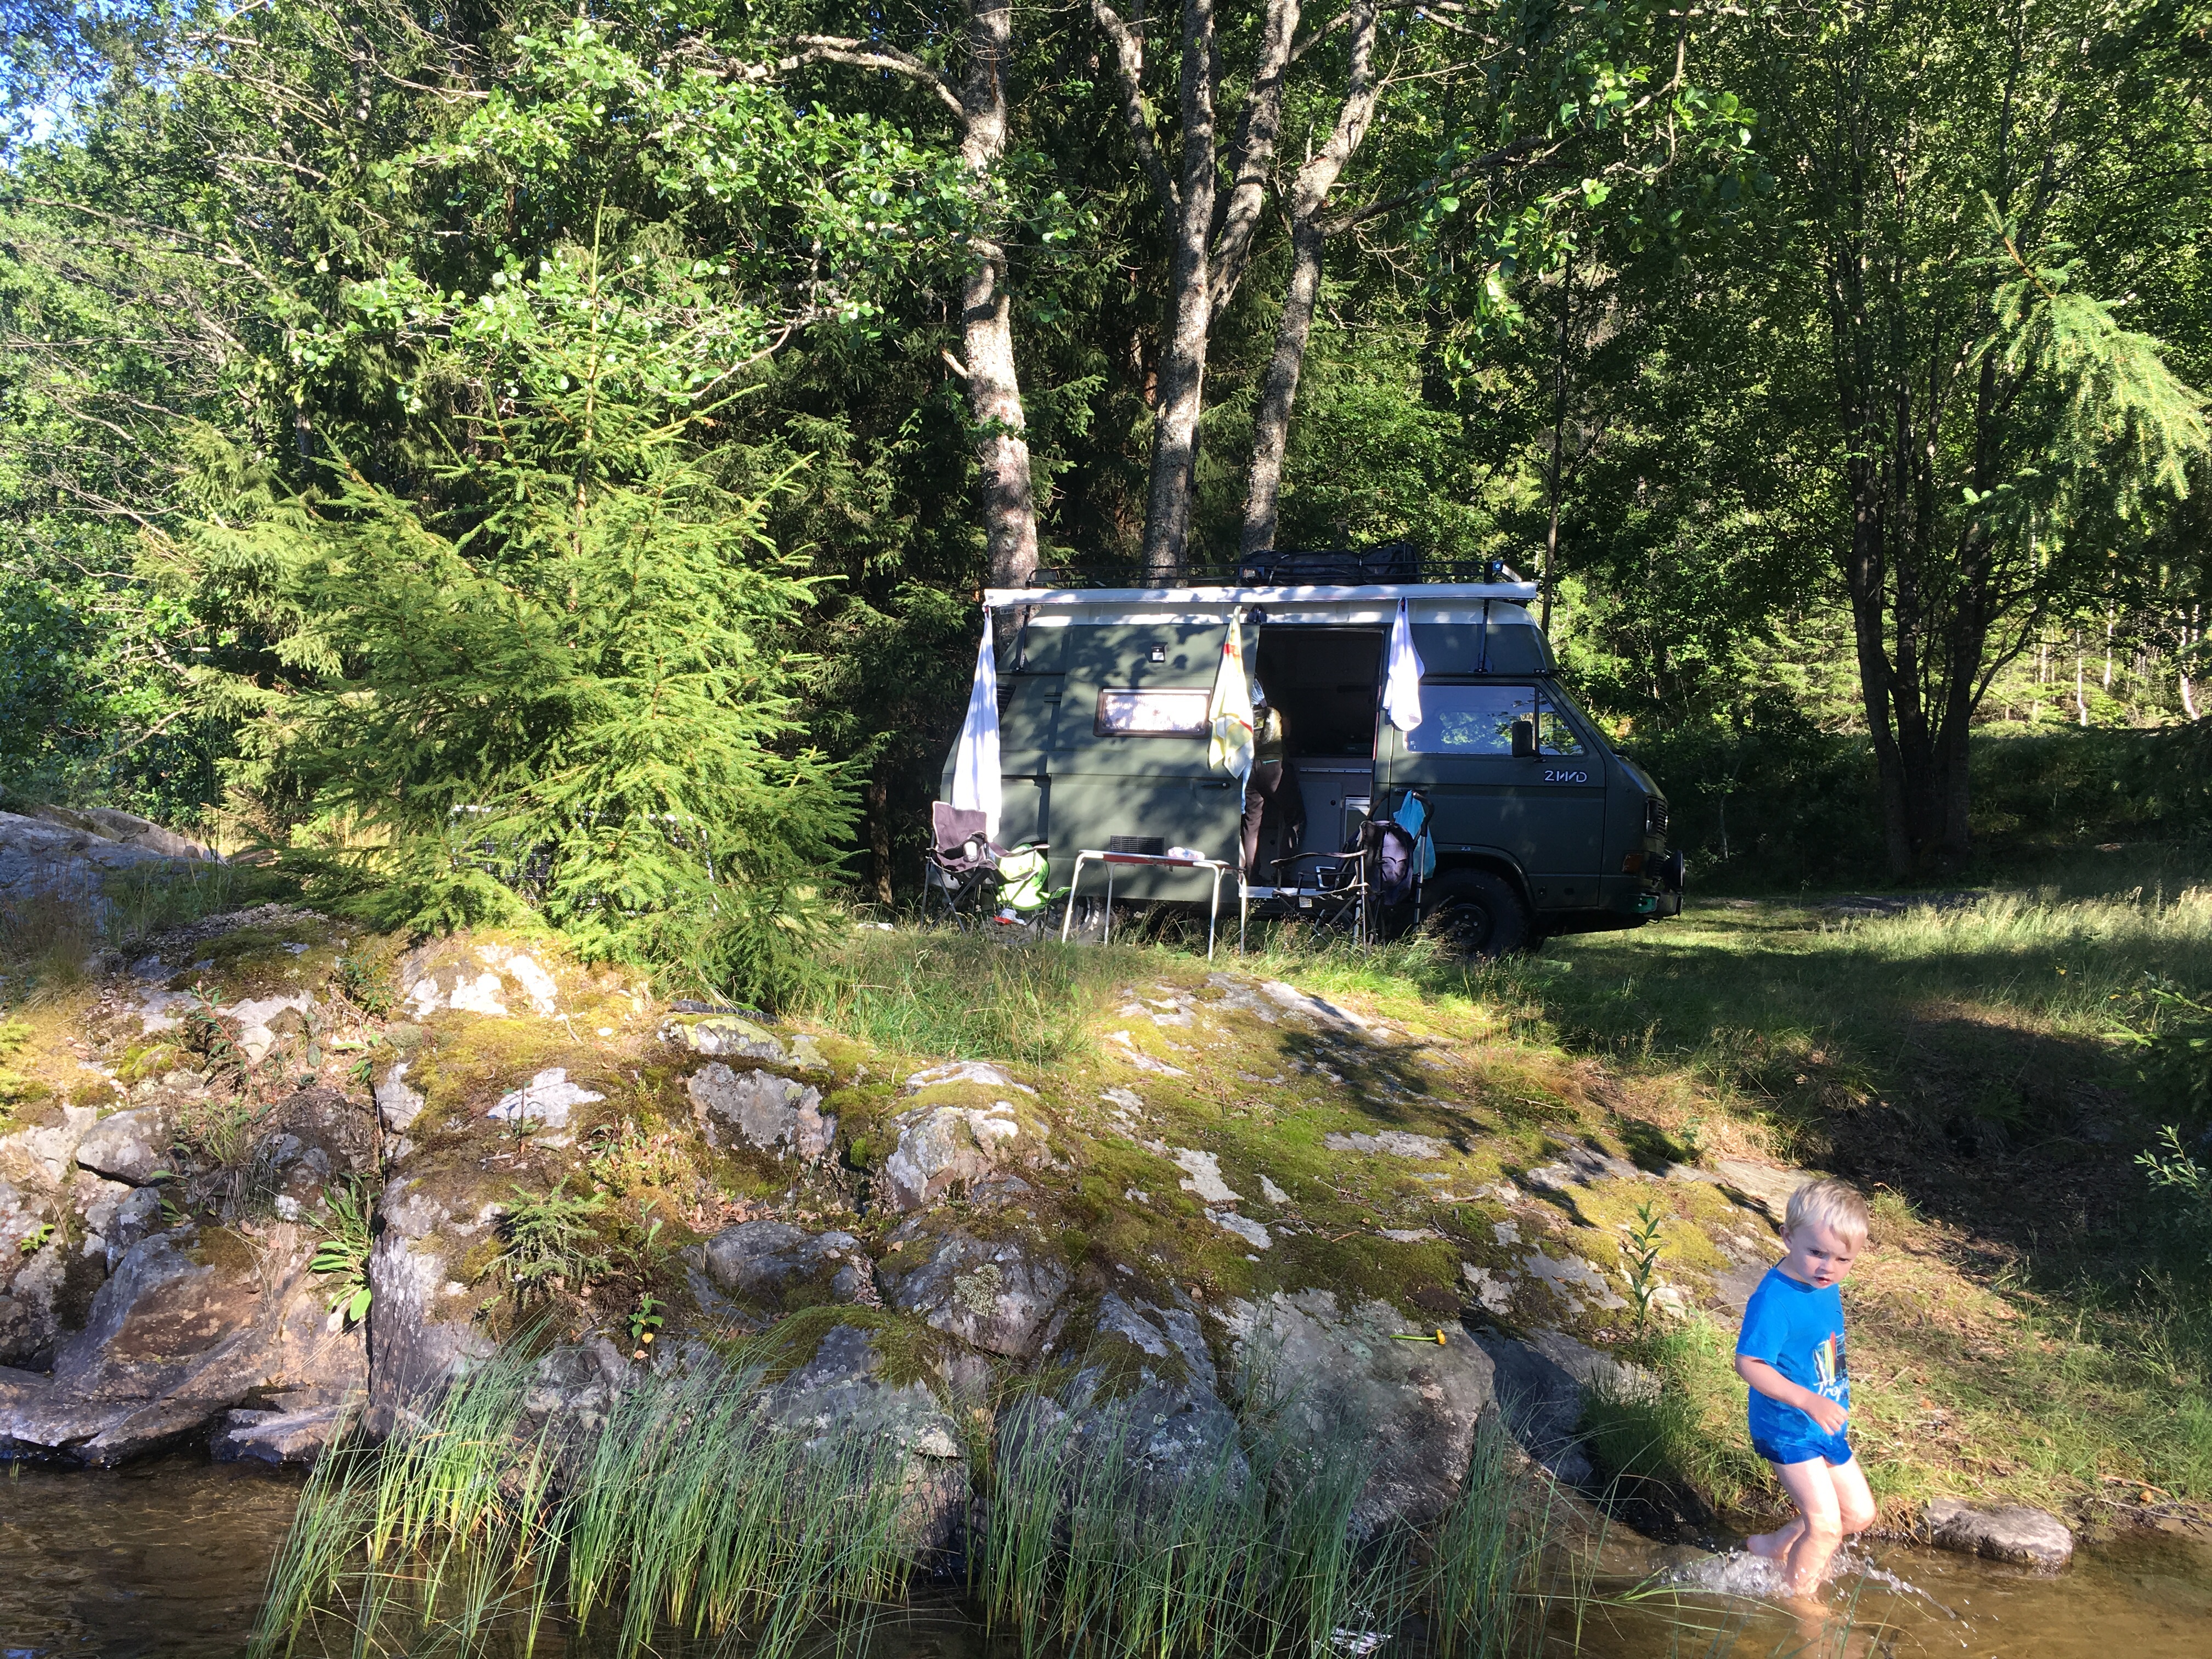
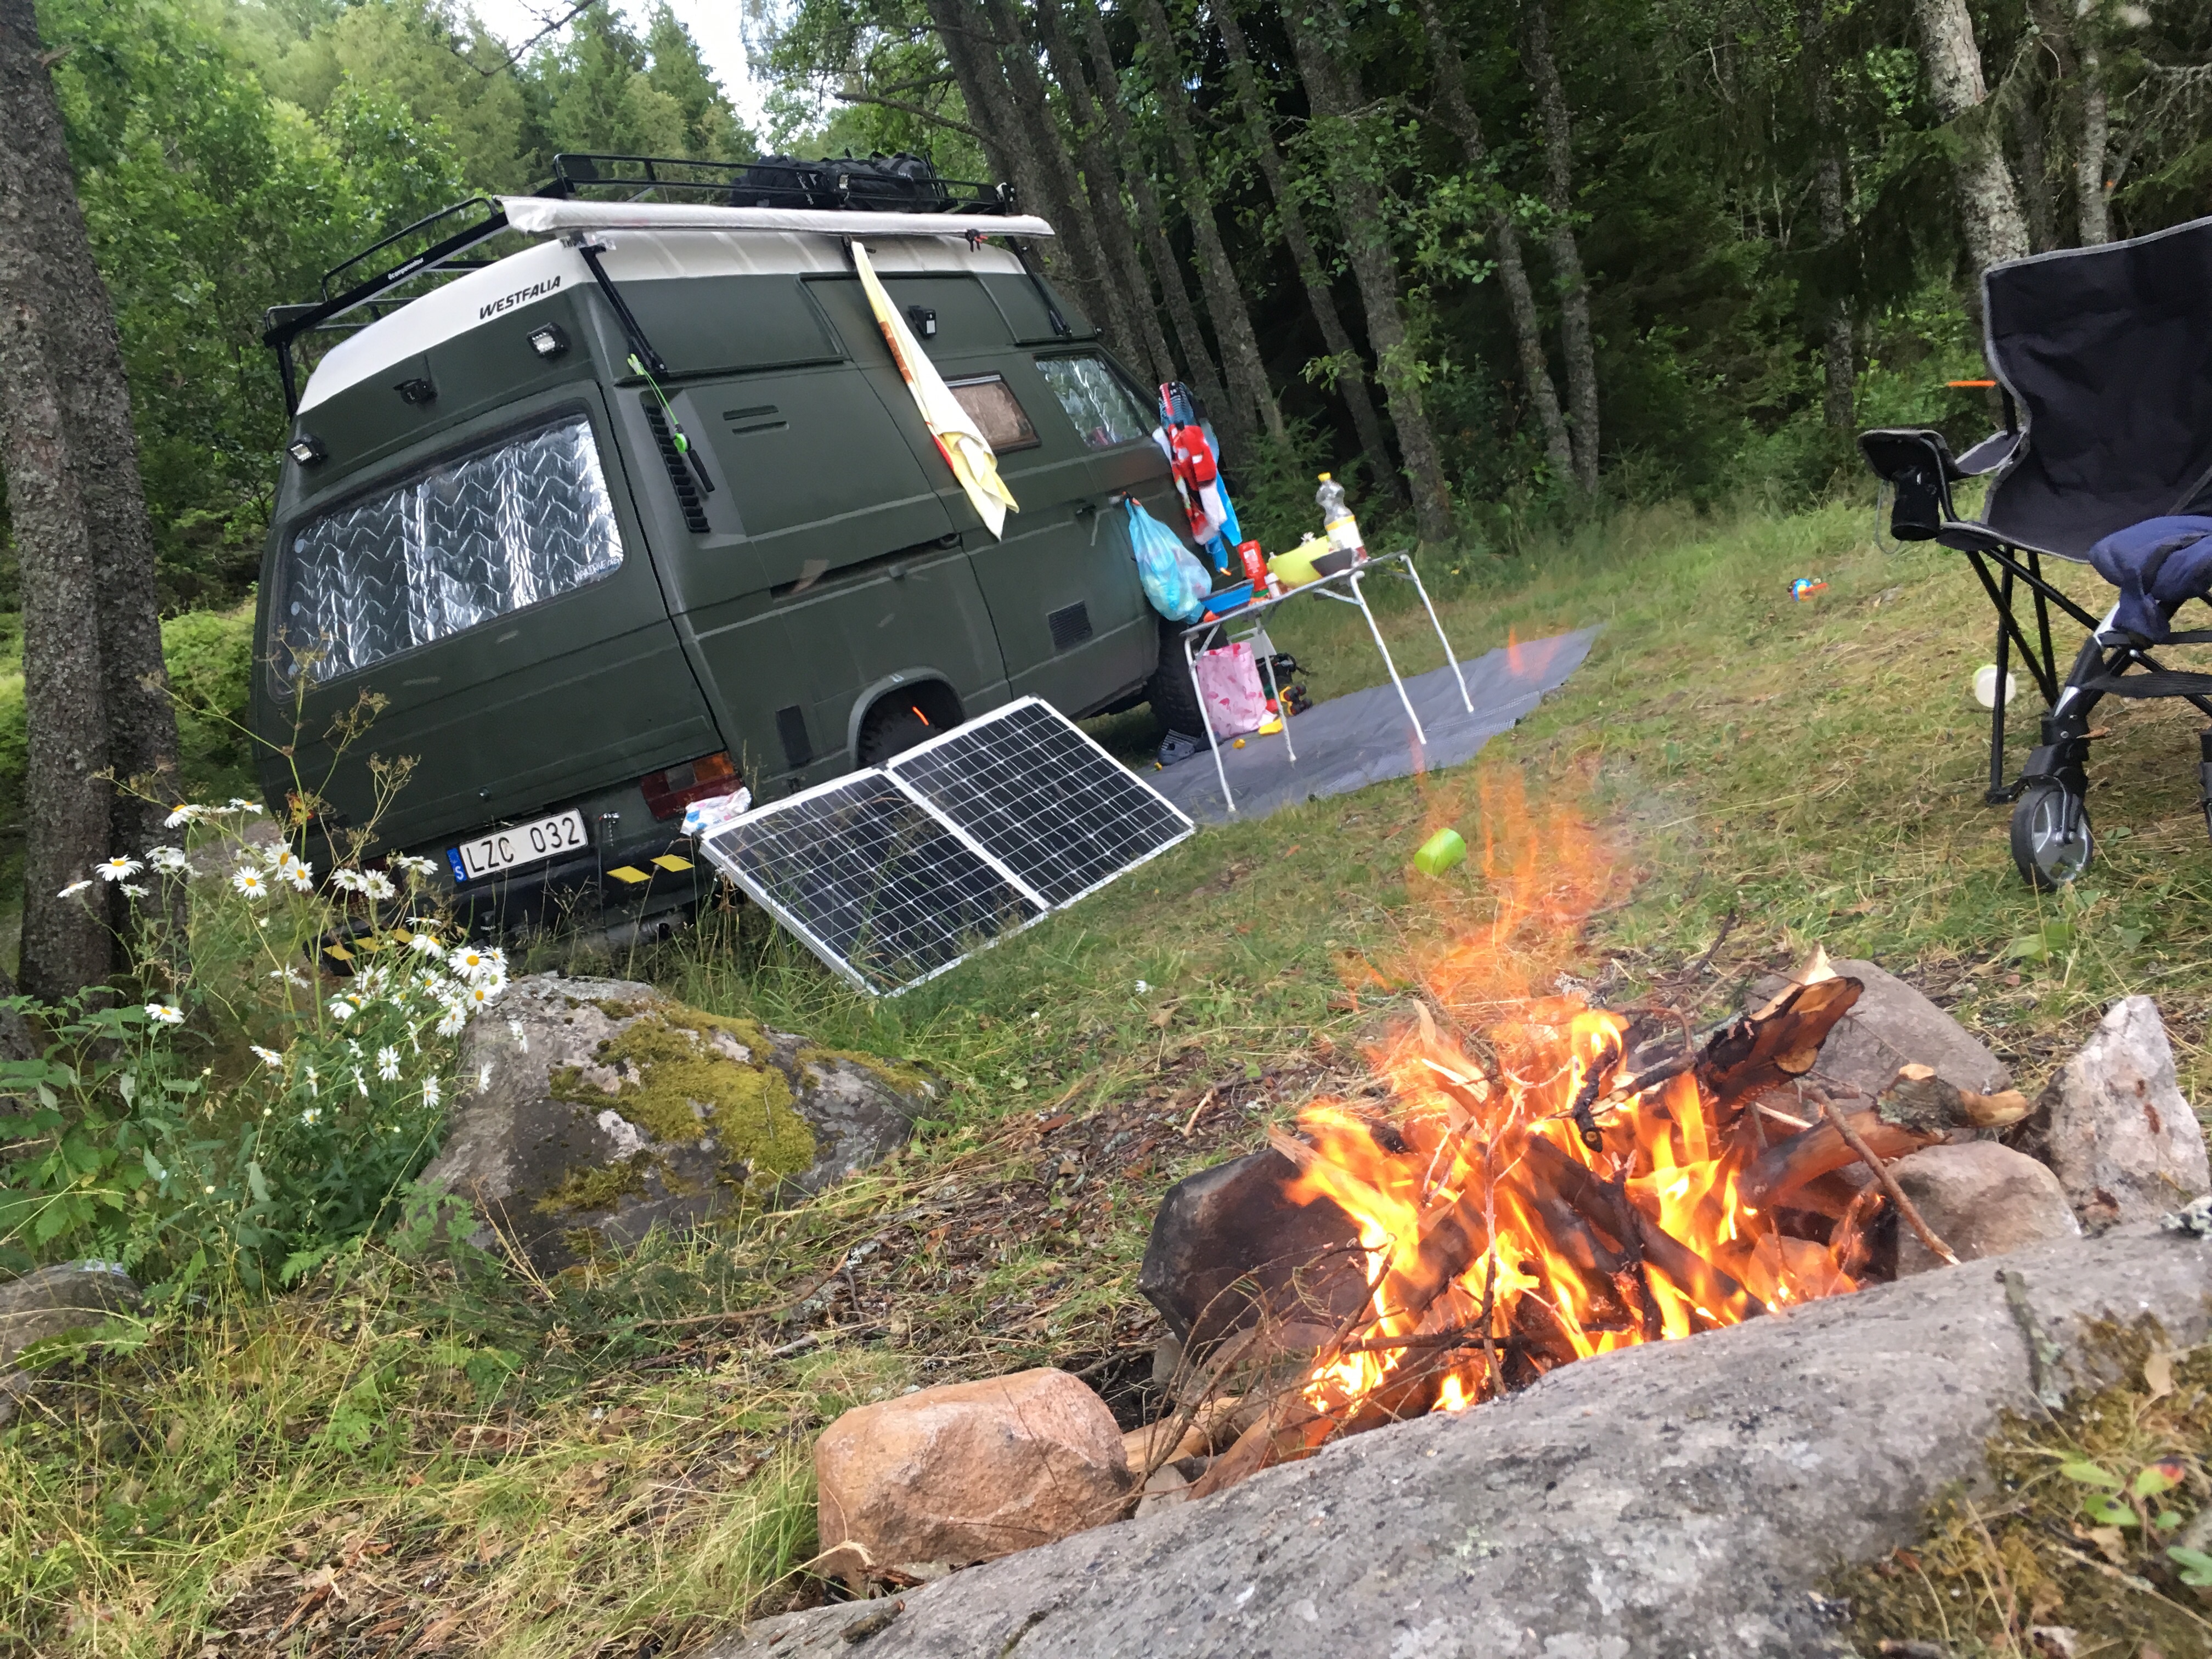
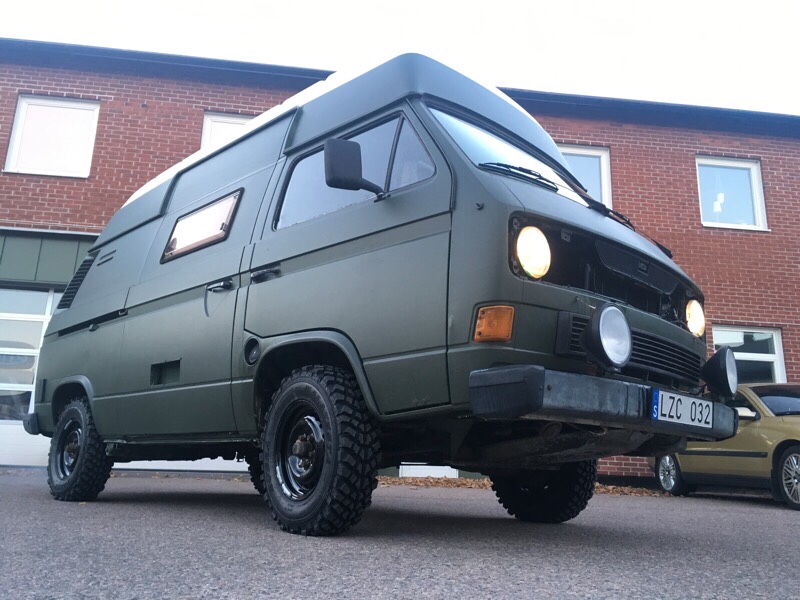
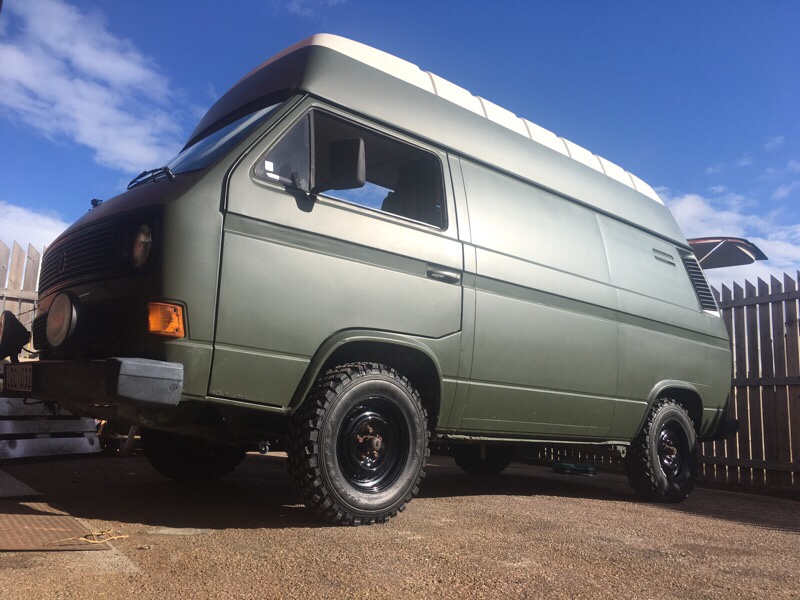
Just some random pics from last month on the T3 Highroof or as my son calls it “The Monster bus” 🙂
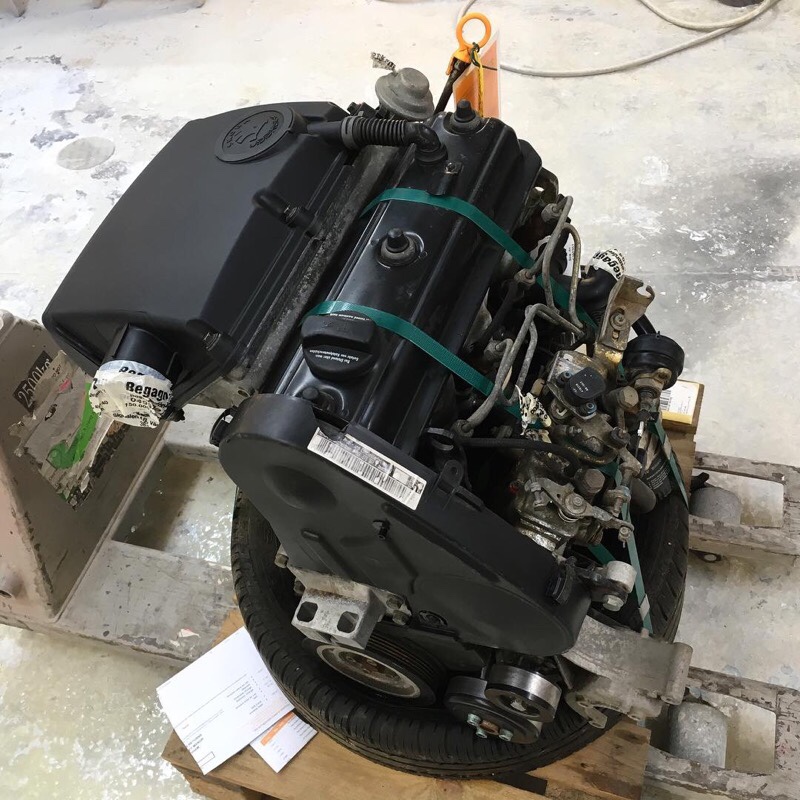
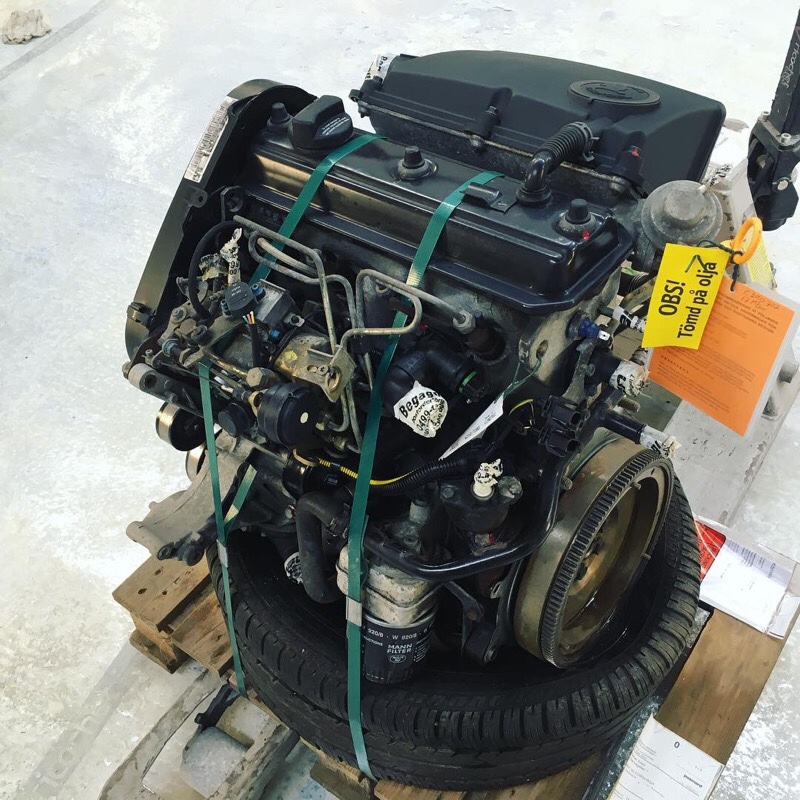
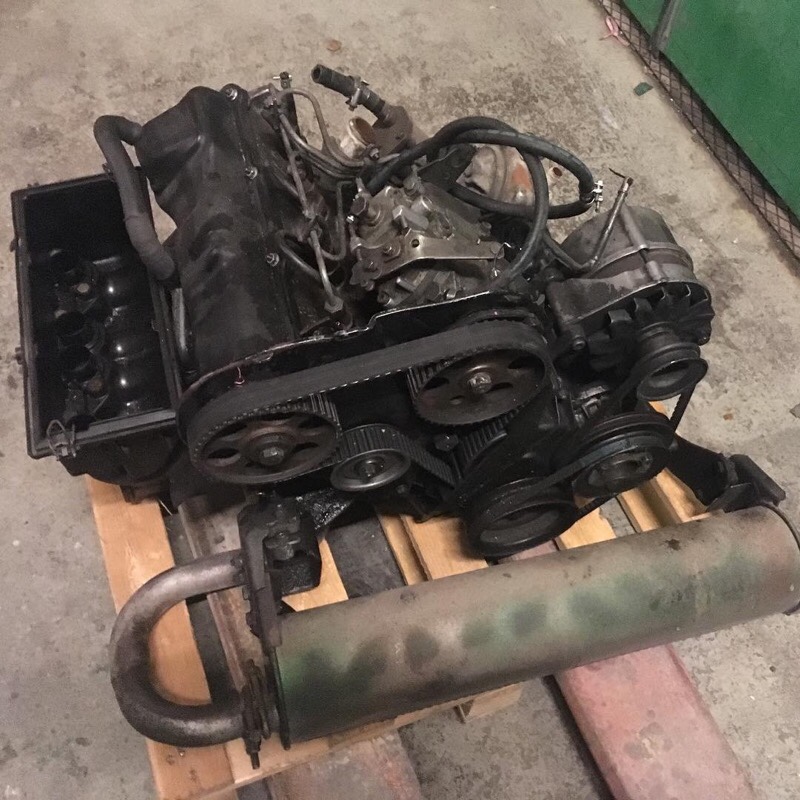
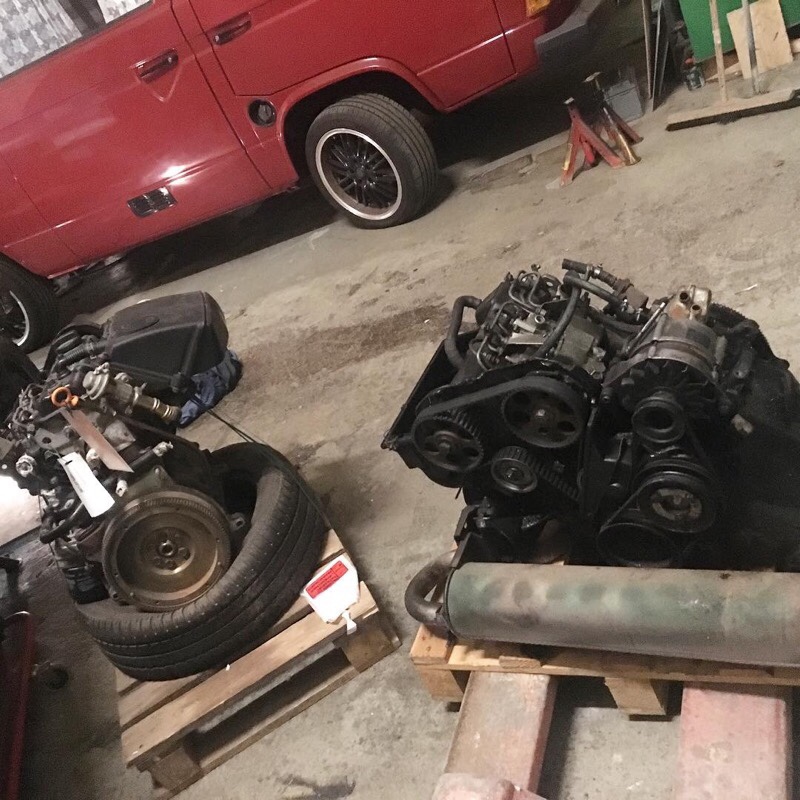
The old 1,6 CS diesel was a bit to slow in hills/highways (to the point it get dangerous in traffic). So it needed to go. I don’t going to race Lemans with the bus, I just want a more modern, stronger, cheap to drive (diesel) and most important RELIABLE engine that always work. First I was looking at a AAZ 1,6/9 Turbo engine but with a turbo it’s just another thing that can brake and these engines always runs much hotter. So I decided to go with a VAG 1,9 AEF engine, found in VW Polo, Golf, Audi and Skoda Felicia.
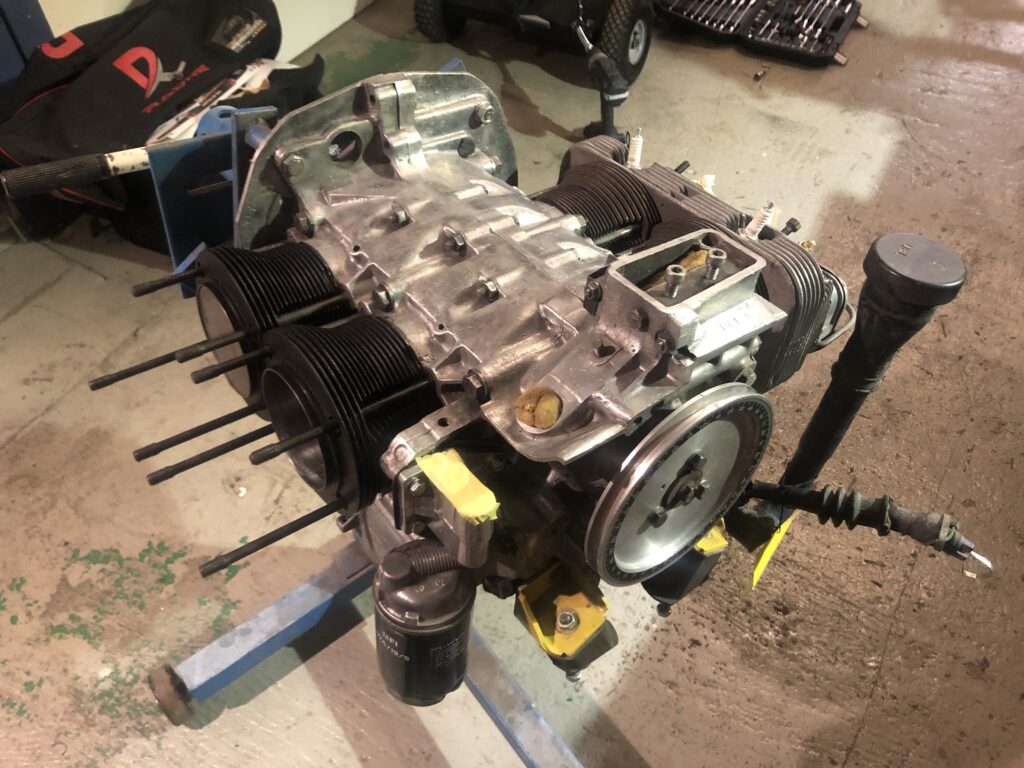
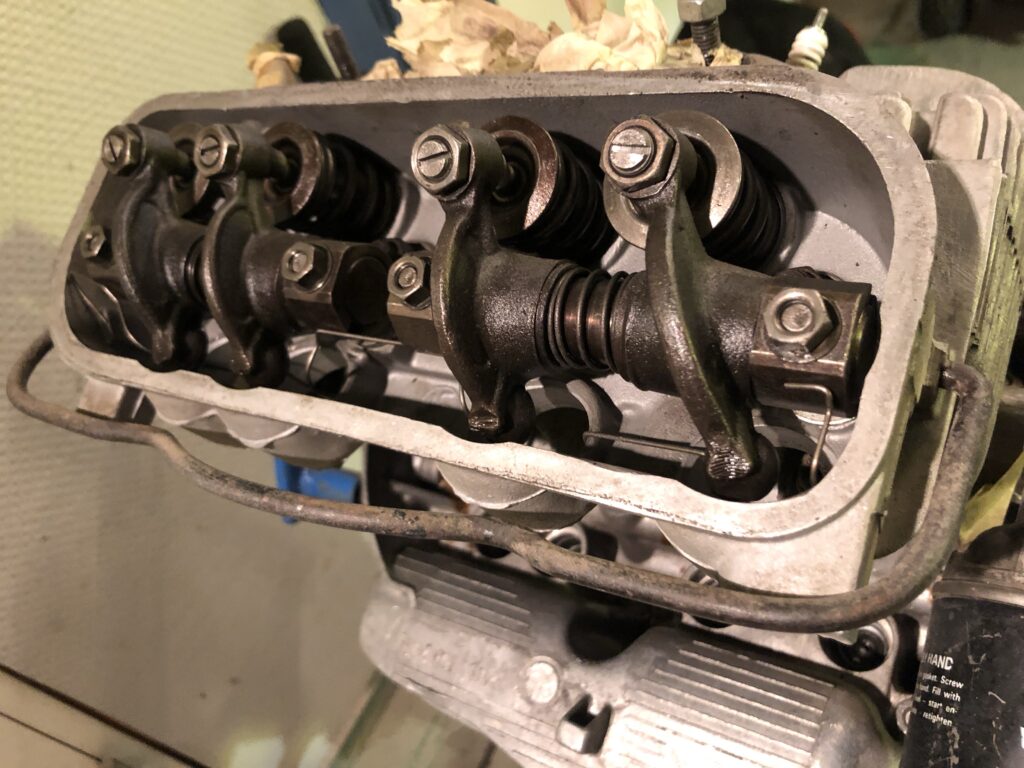
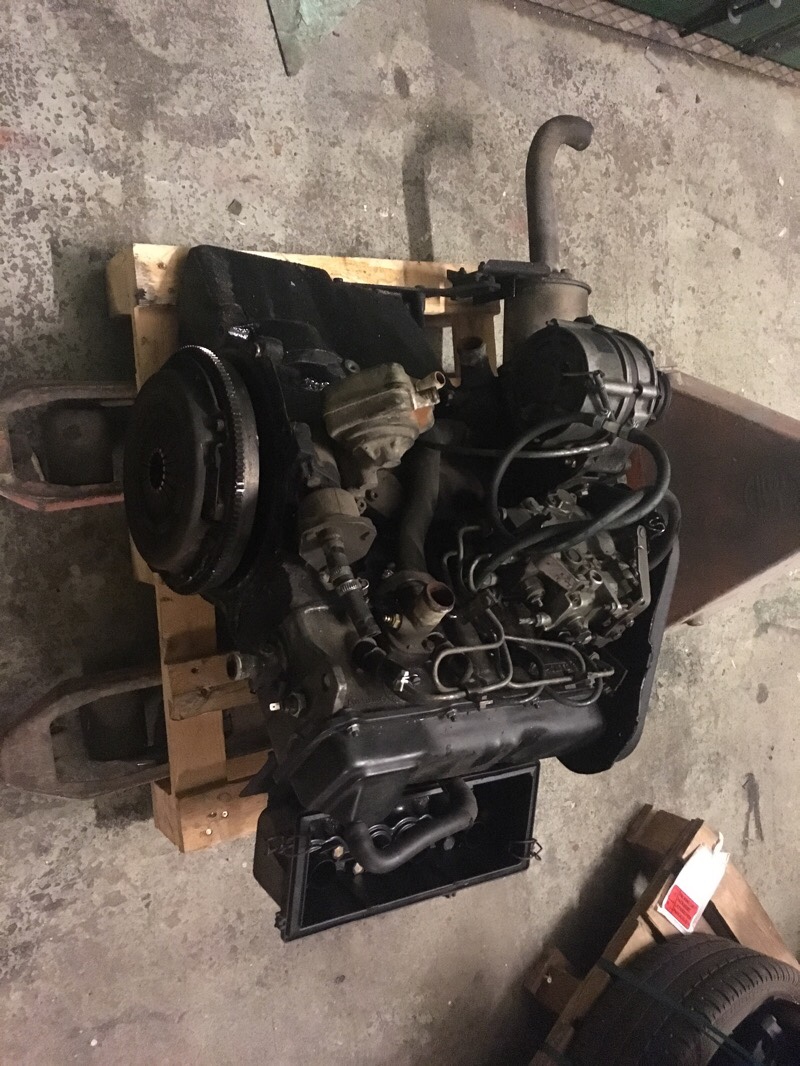
THE NEW ENGINE
I managed to find a really lowmilage 1,9 AEF diesel engine from a Skoda Felicia, year 2000. But it is not just to bolt this engine in the bus and drive, a lot of stuff need to be changed and parts from the 1,6 CS need to be re-used and modified. But its probably the easiest conversion you can choose, if your thinking of using a non standard engine in your VW T3 diesel bus.
TRANSMISSION
While the engine is out I will also take out the transmission. And make a check up, change shifter couplings, linkage bushings and gaskets. Upgrade driveshafts to stronger, Porsche. Upgrade the differential with a difflock from Weddle Ind. In a standard “open” differential, torque is divided equally between the wheels. If one wheel slips and spins, only a fraction of the torque is utilized. The difflock eliminates this problem. Power will always be delivered to the wheel with the most traction to keep you moving instead of getting stuck, up to 100%. Then it we can do some serious off-roading 🙂
More to come soon! #vwt3overland
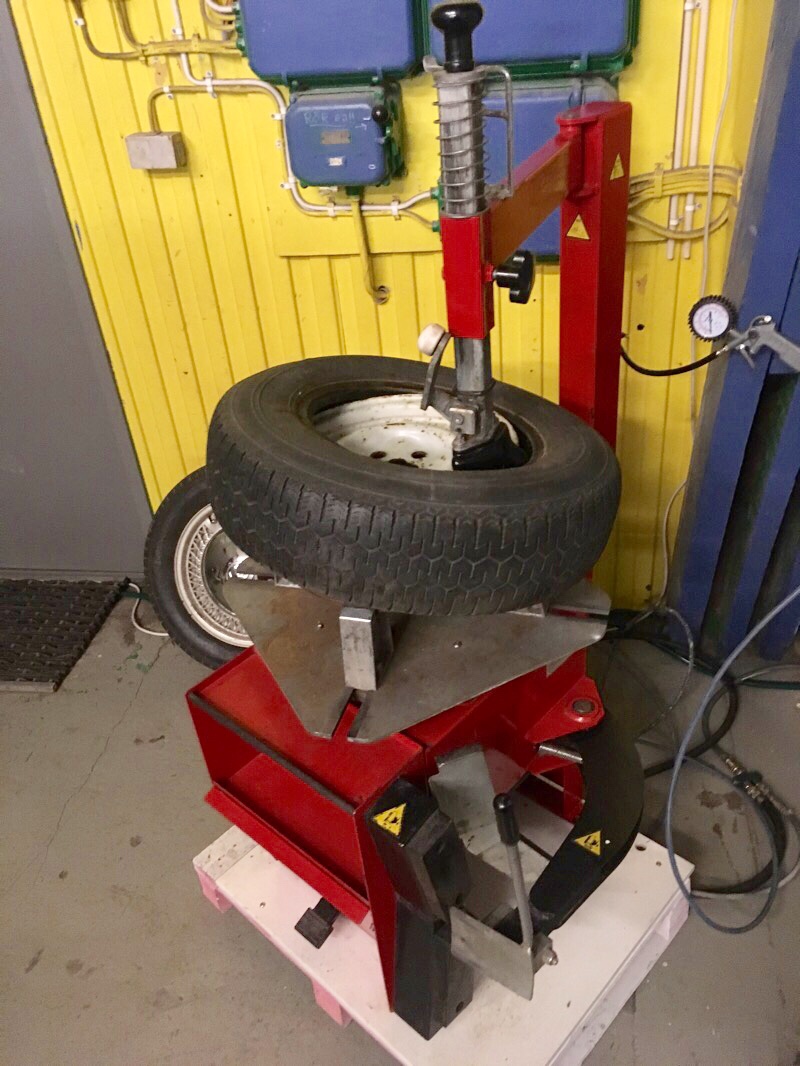
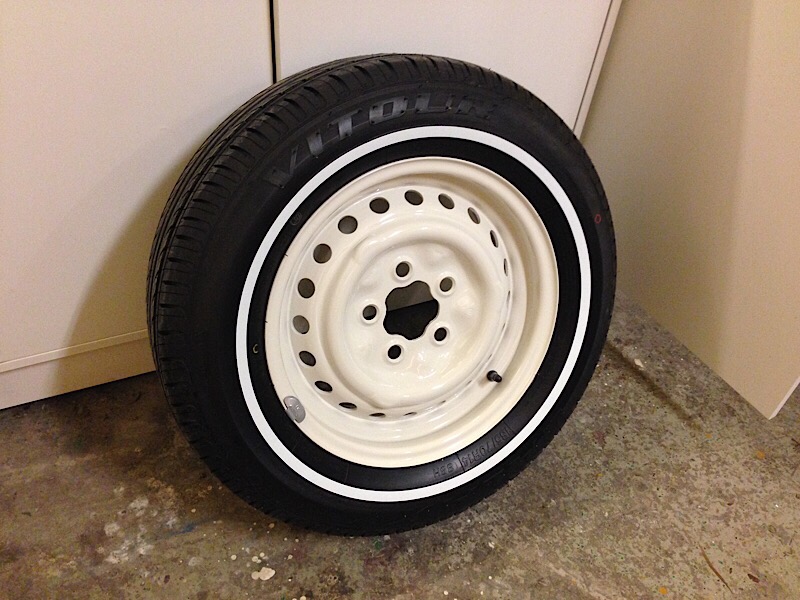
If anyone need new wheels, tires, installed and balanced to a good price. Send me a message on: info@maindrive.org


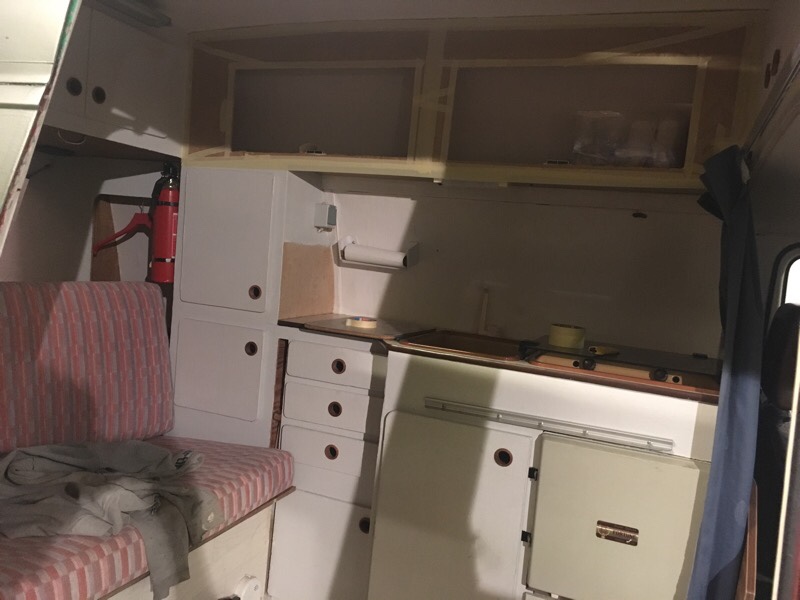
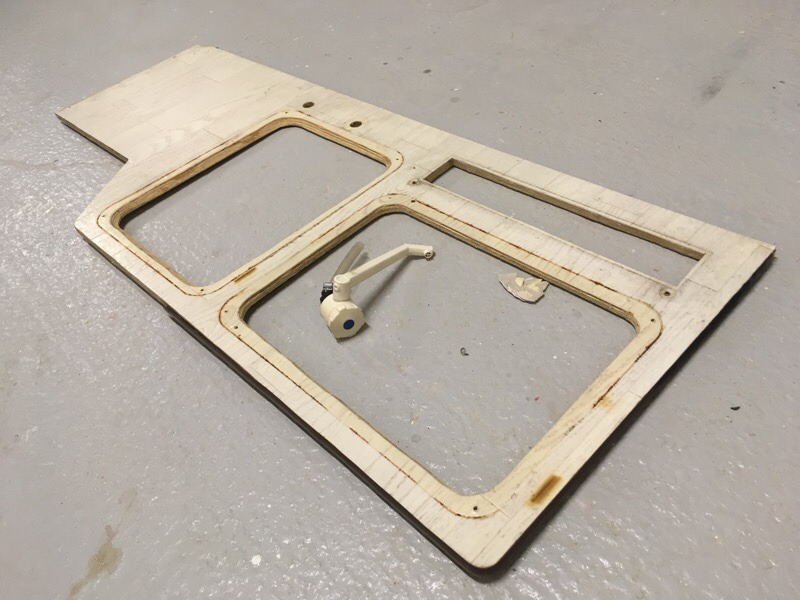
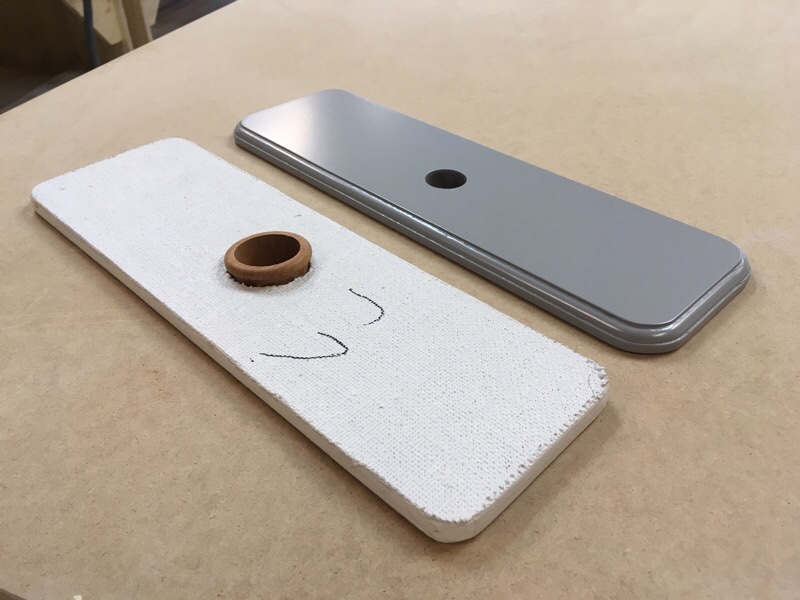
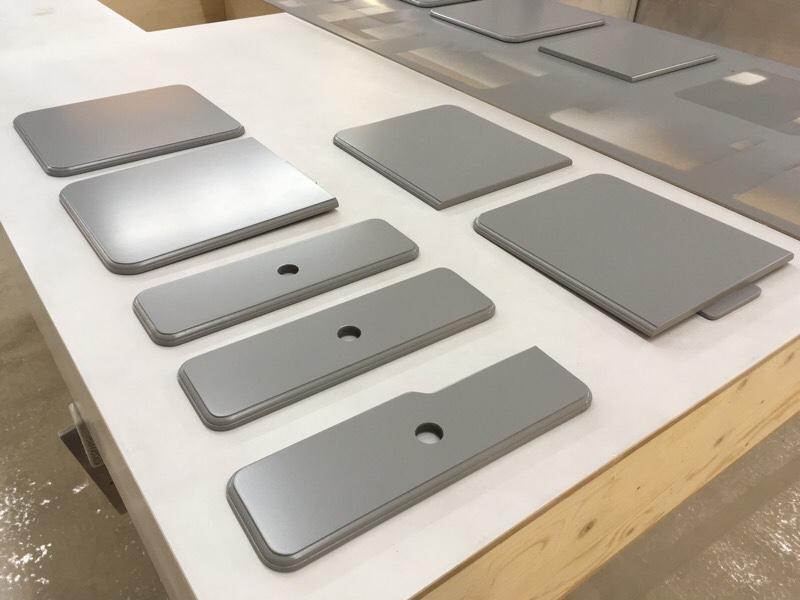
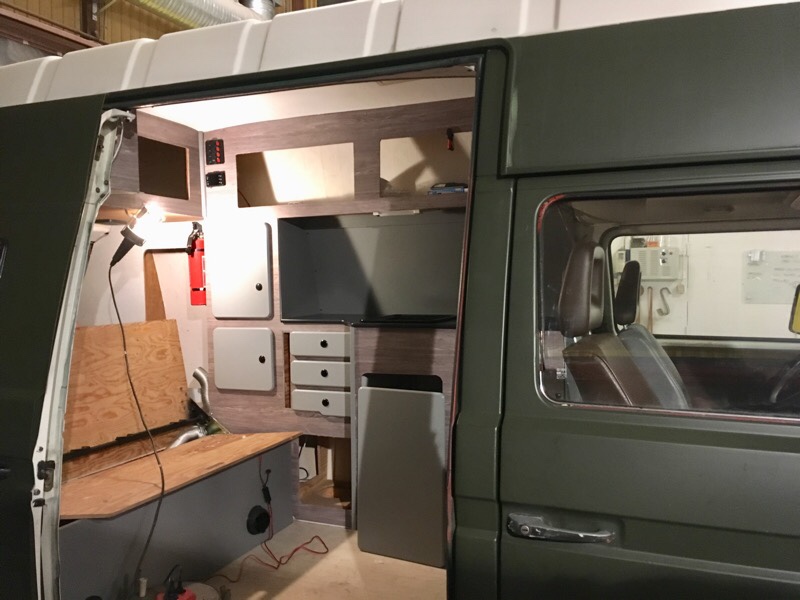
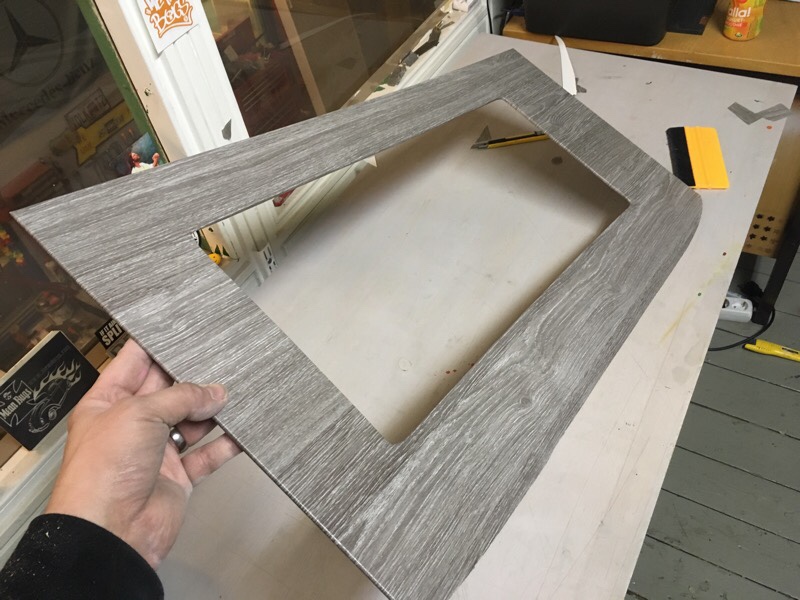
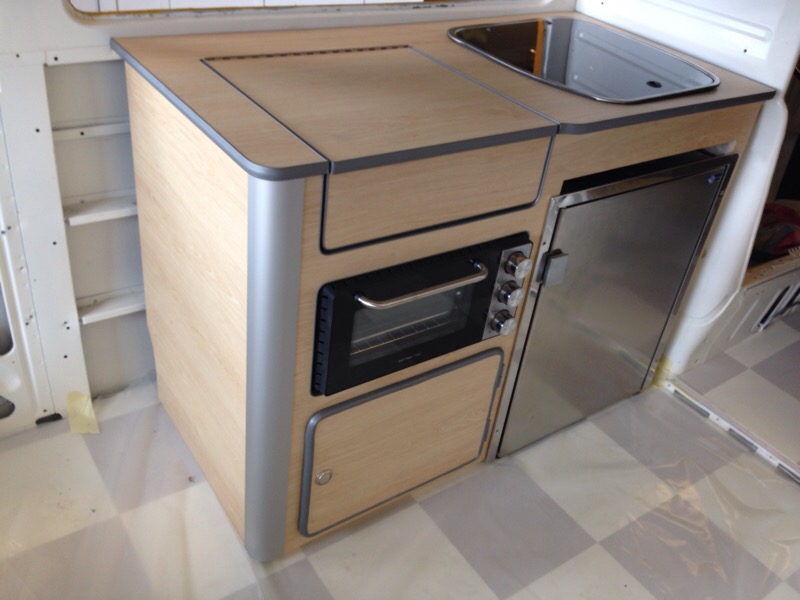
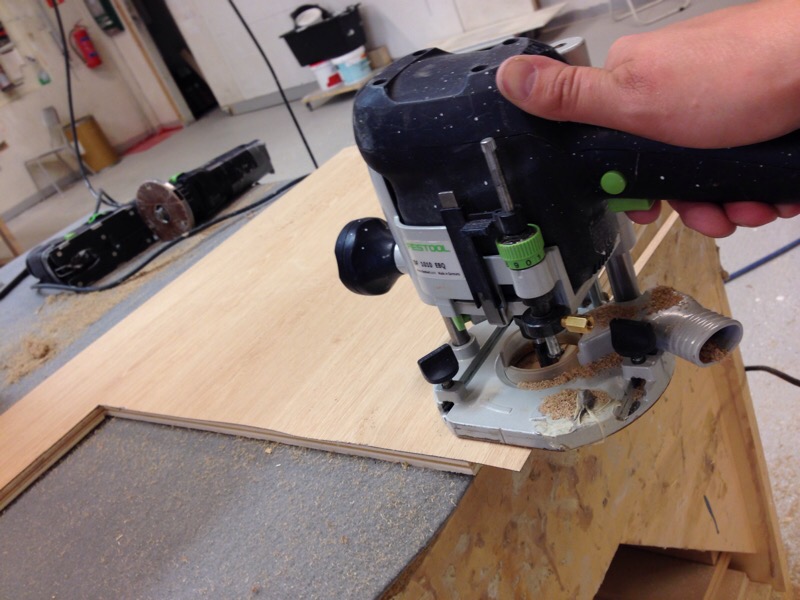
Have been working on the camping interior lately. The old interior was crappy and looked like shit, it had some structure wall weave/papper that hade been rolled with paint 10 times, the touch and feel was like a 40 grit sandpaper so it needed to go. But it was a good design/plan layout on the cabinets and storage. So I decided to keep the base of it and make a new outside finish on it in light grey oak vinyl.
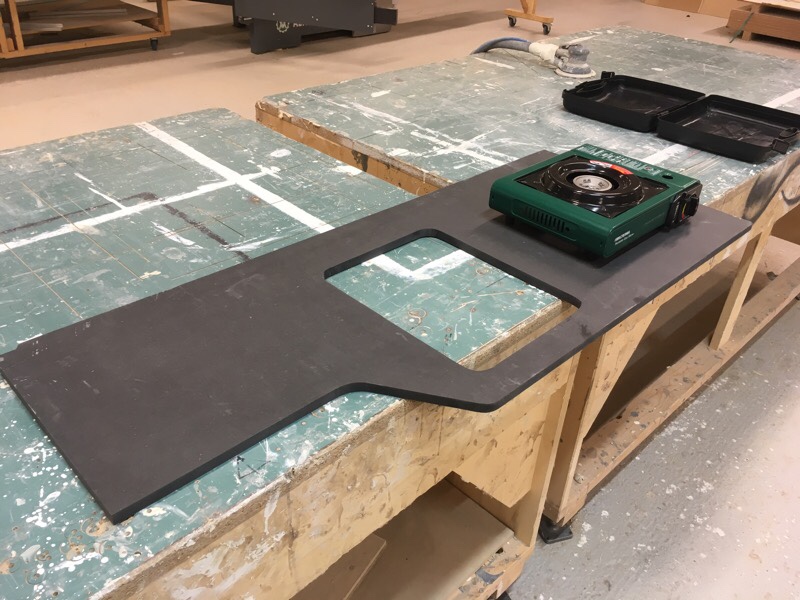
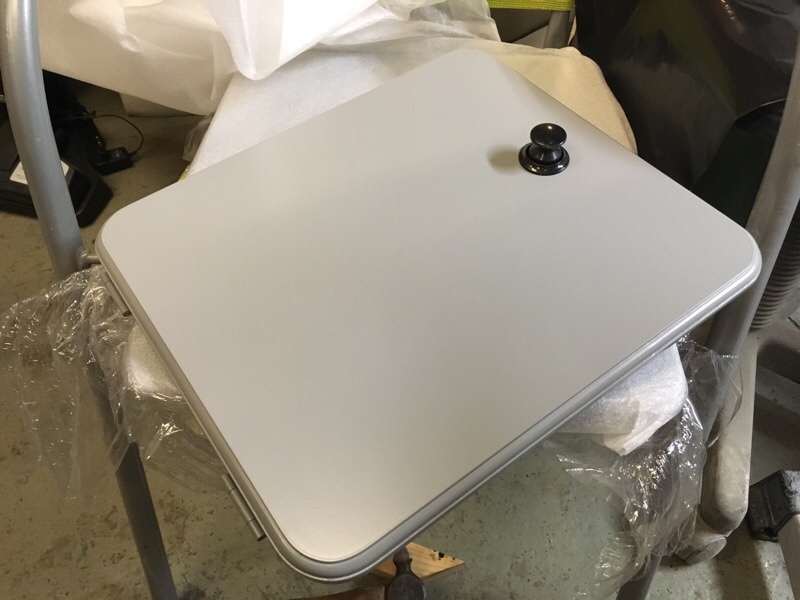
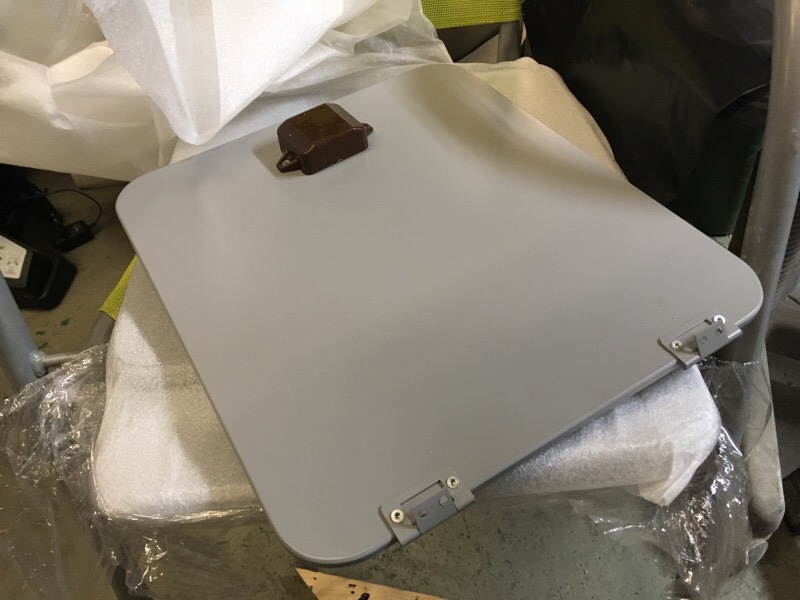
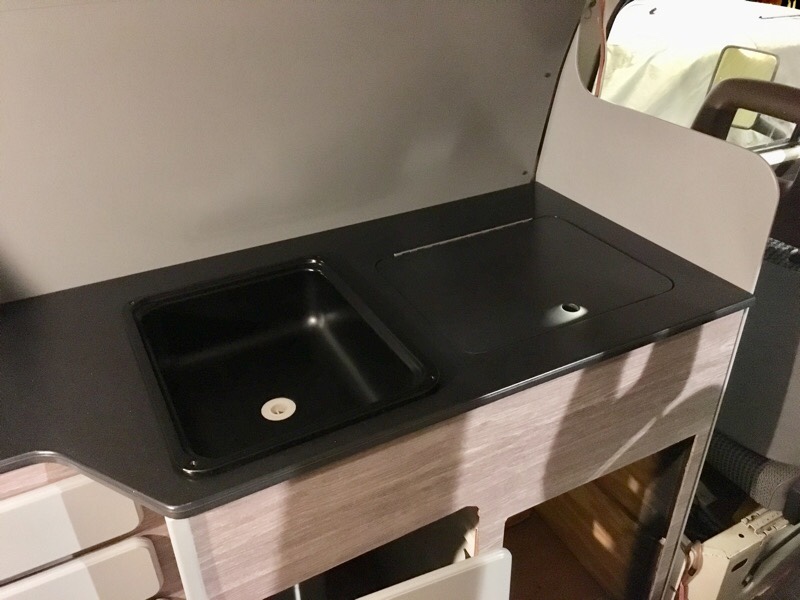
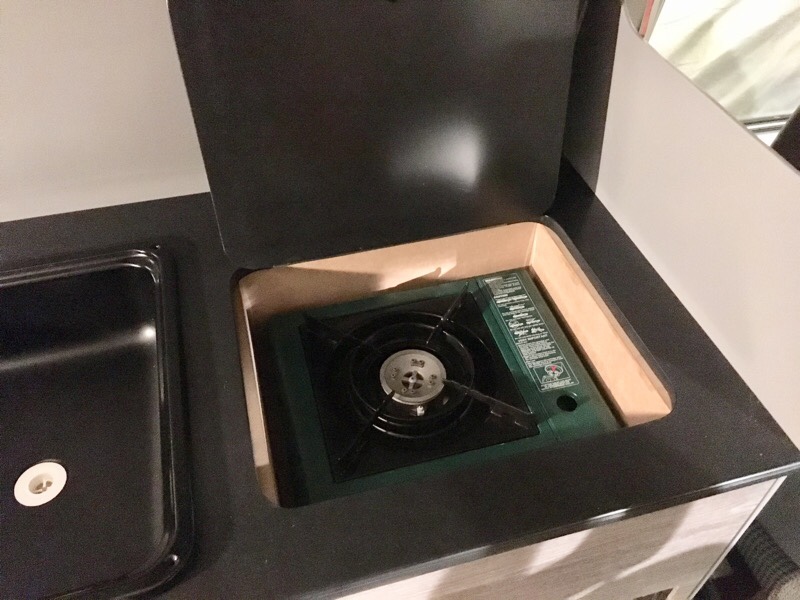
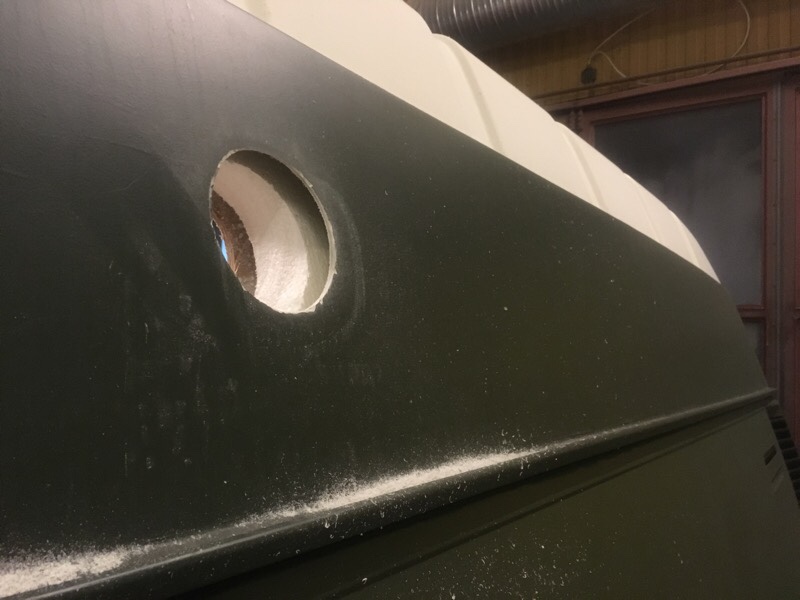
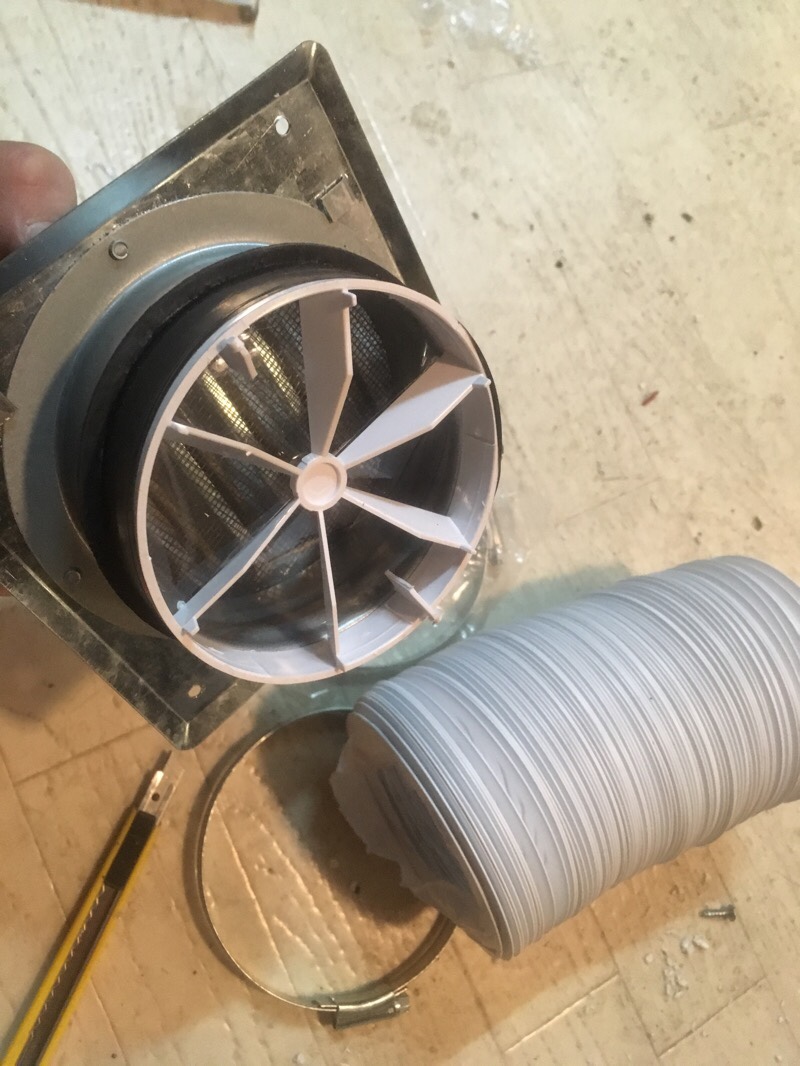
All cabinet doors was made new in 12mm Medium Density Fibreboard and painted in medium gloss grey with paintgun. Countertop was made new in black colored MDF with semi-gloss clear coat, now with space for a portable kitchen / stove. Above the stove space I made a 12v kitchenfan with outlet, the fan is moving 3,8 squaremeters of air per minute so now you can make bacon with closed doors without smoke/smelling anything 😉
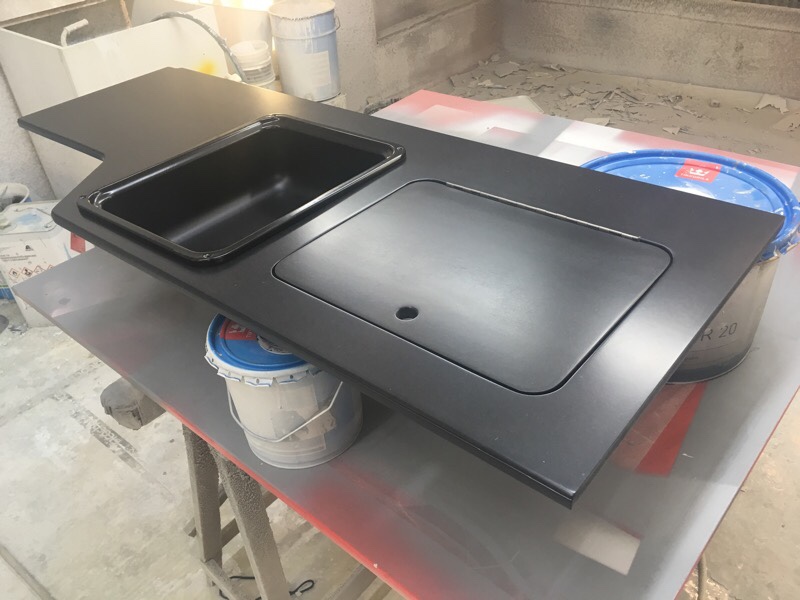
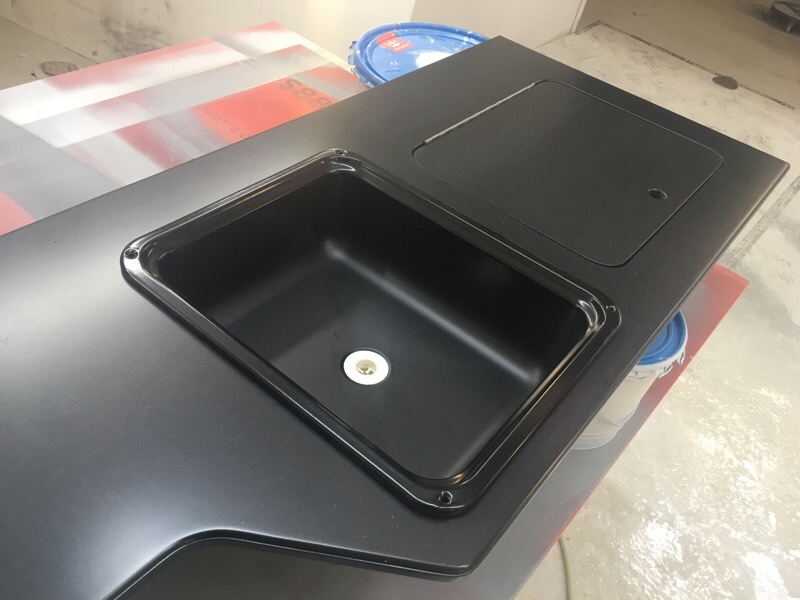
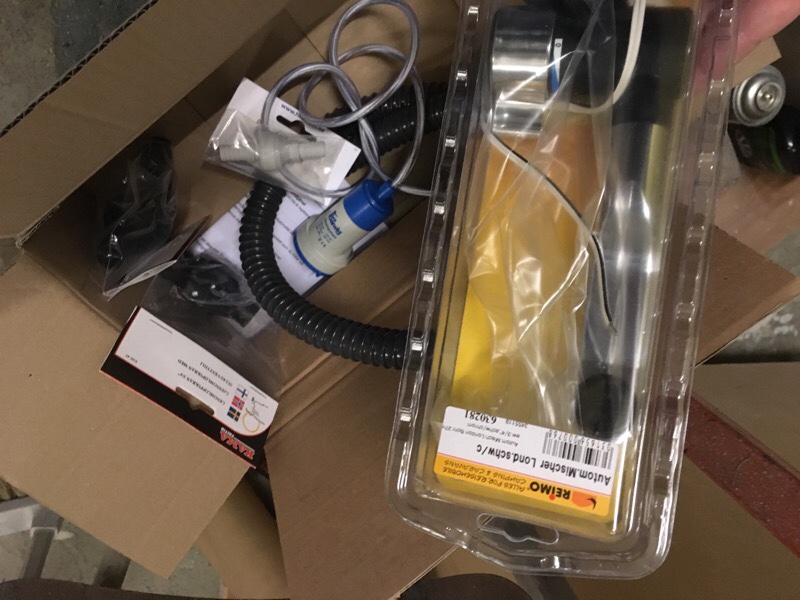
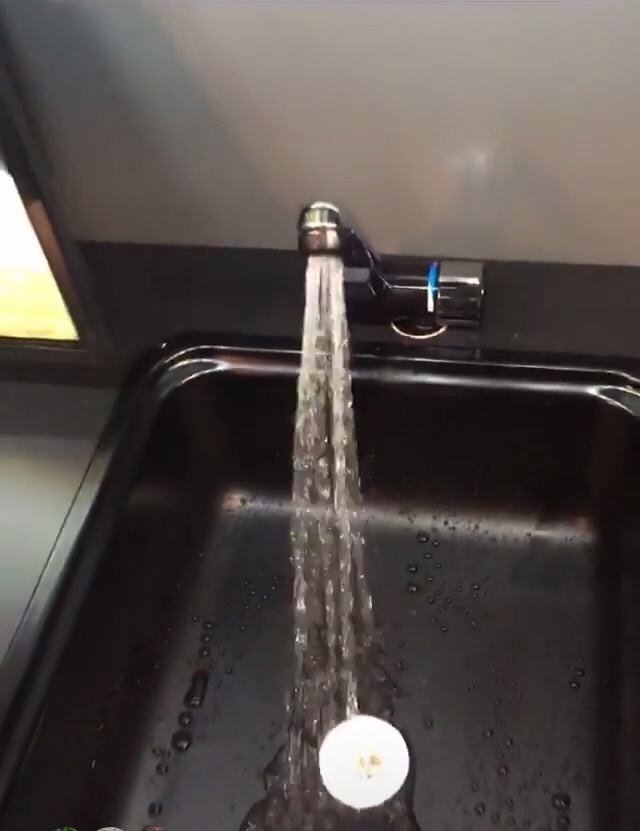
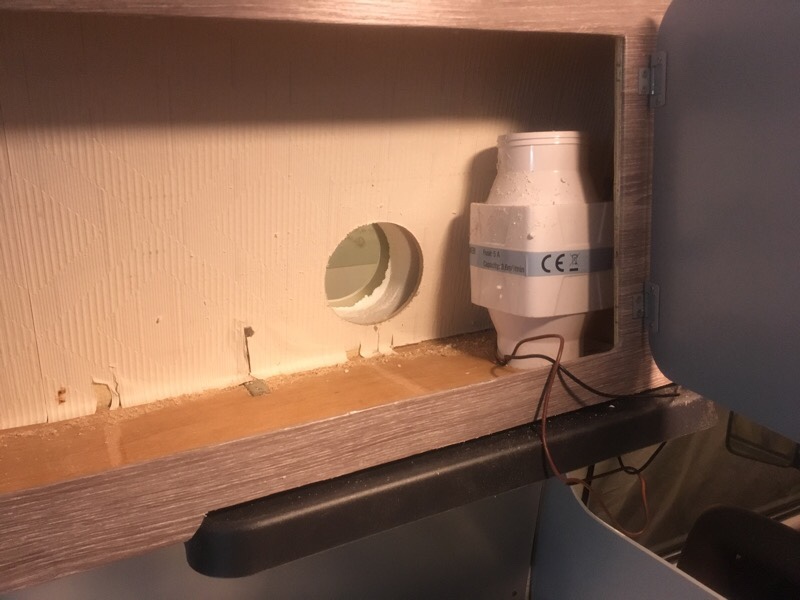
All the old gas equipment was removed, and the old fridge was replaced with a modern 12v Waeco 48L fridge with freezer. A new black sink and a new Reimo water tap was mounted. And all new waterlines, pump and 20L freshwatertank. Before the water ran straight out on the ground, now it goes into a 10L tank first, with a valve so the water can be emptyed. This is good of you are using water when you are on a parkinglot, ferry or on a big camping with neighbors.
Part 2 is coming on Tuesday…
#vwt3overland


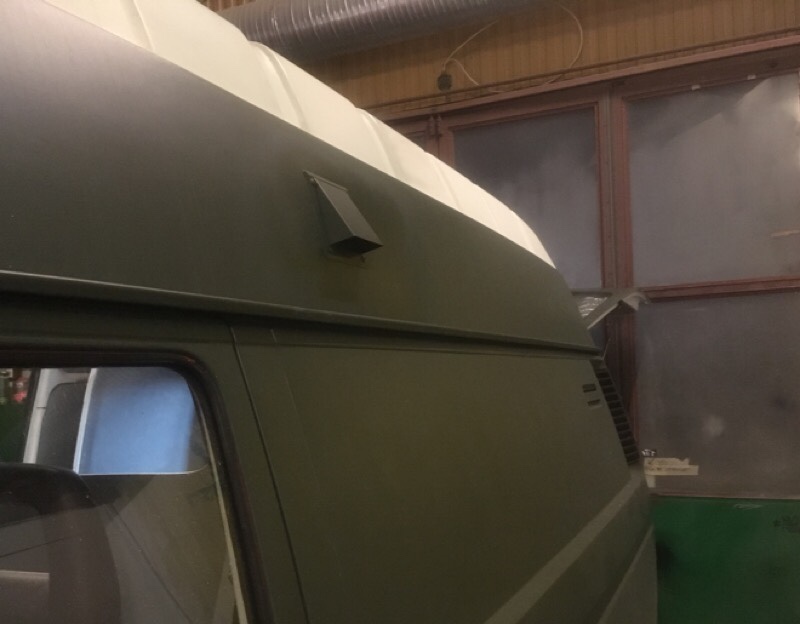
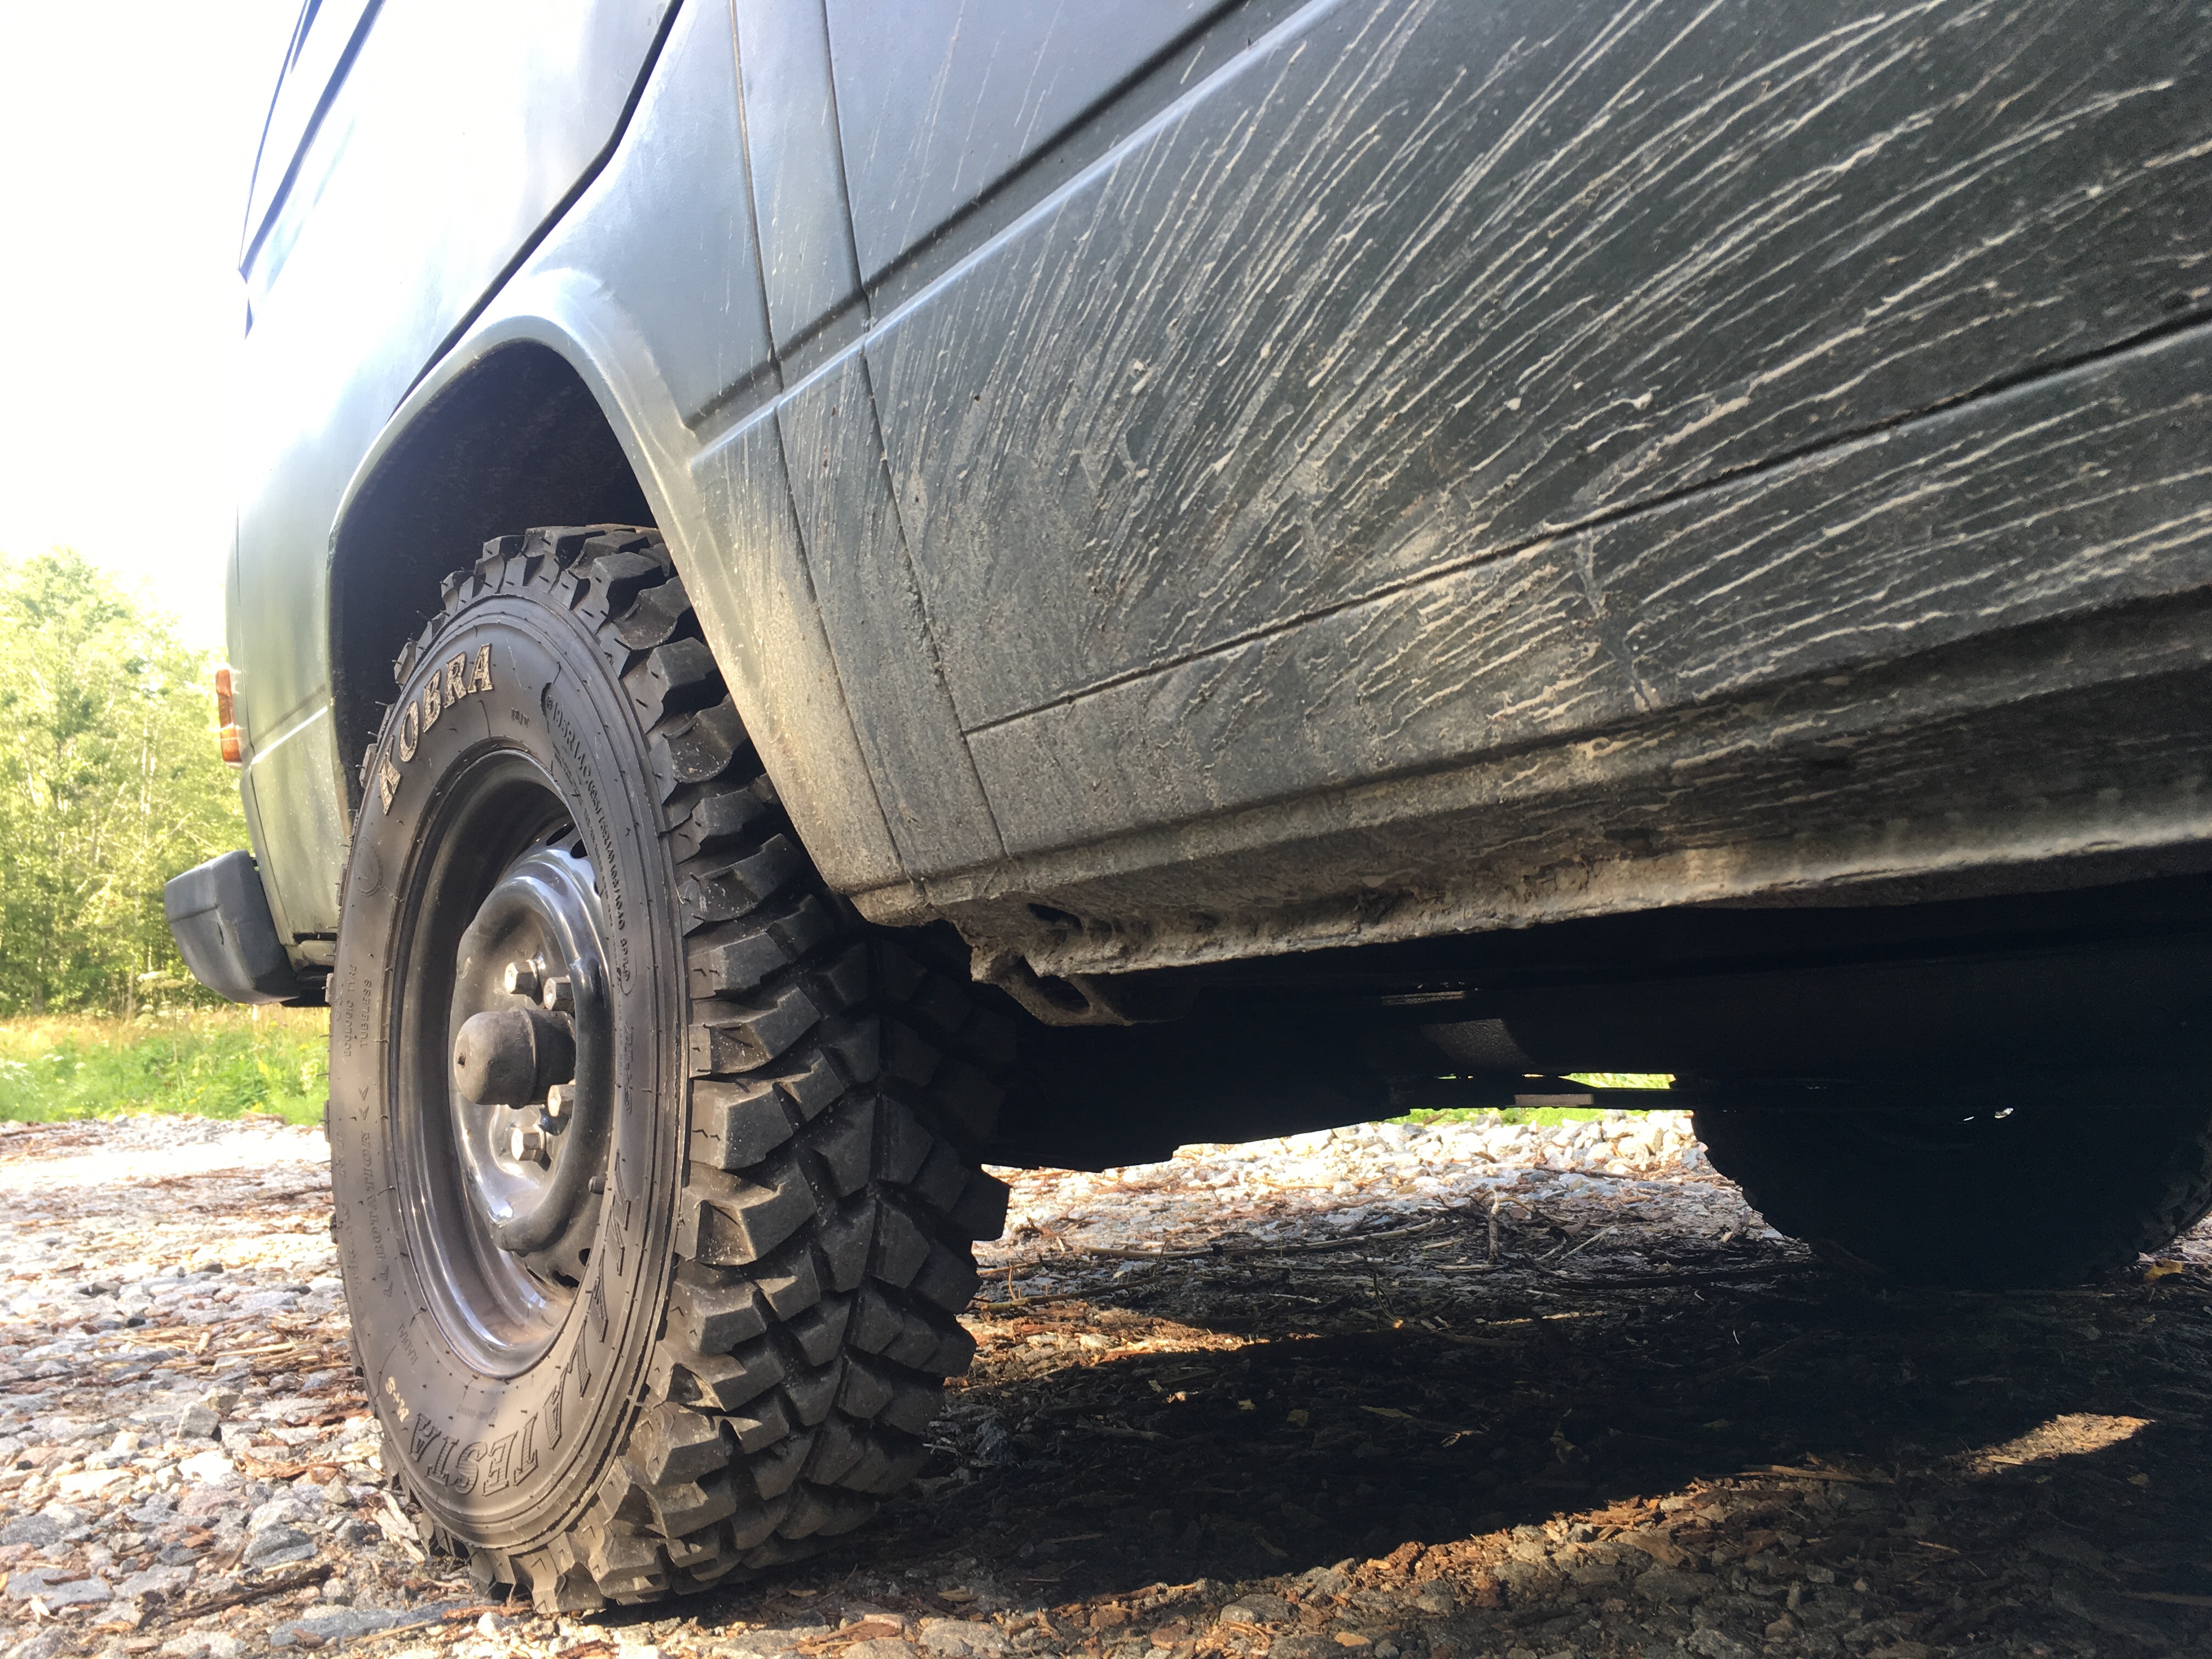
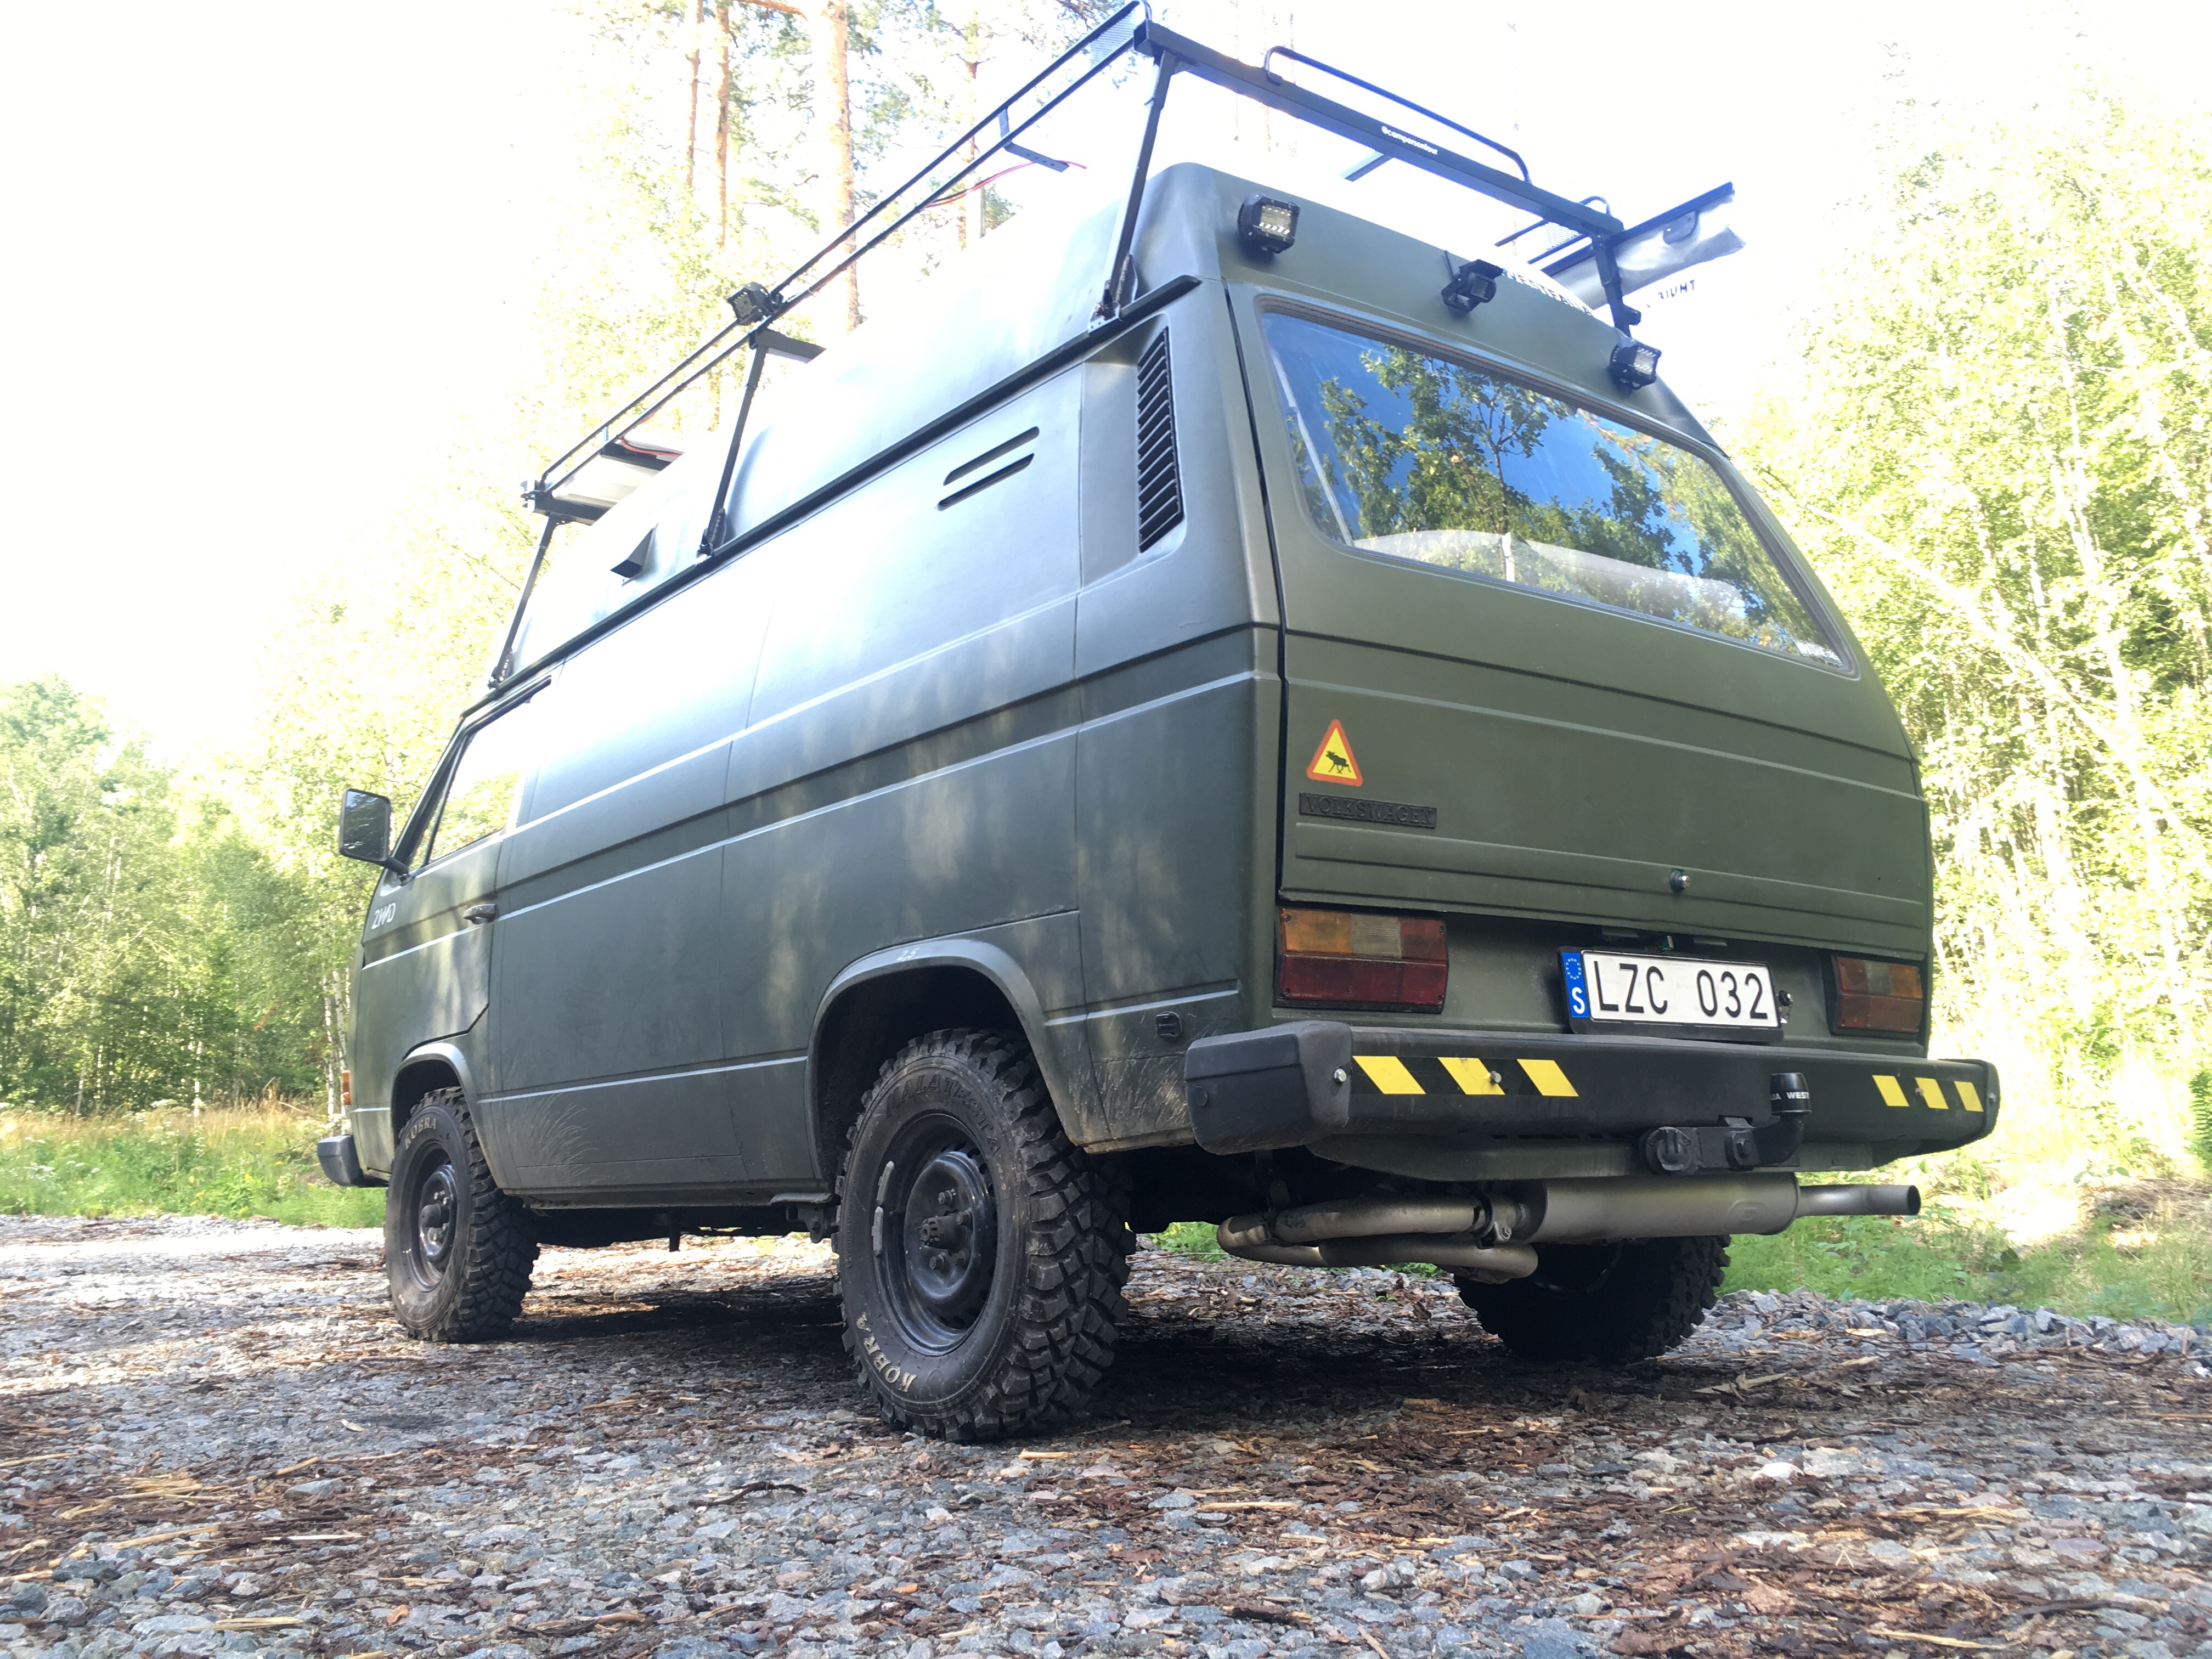
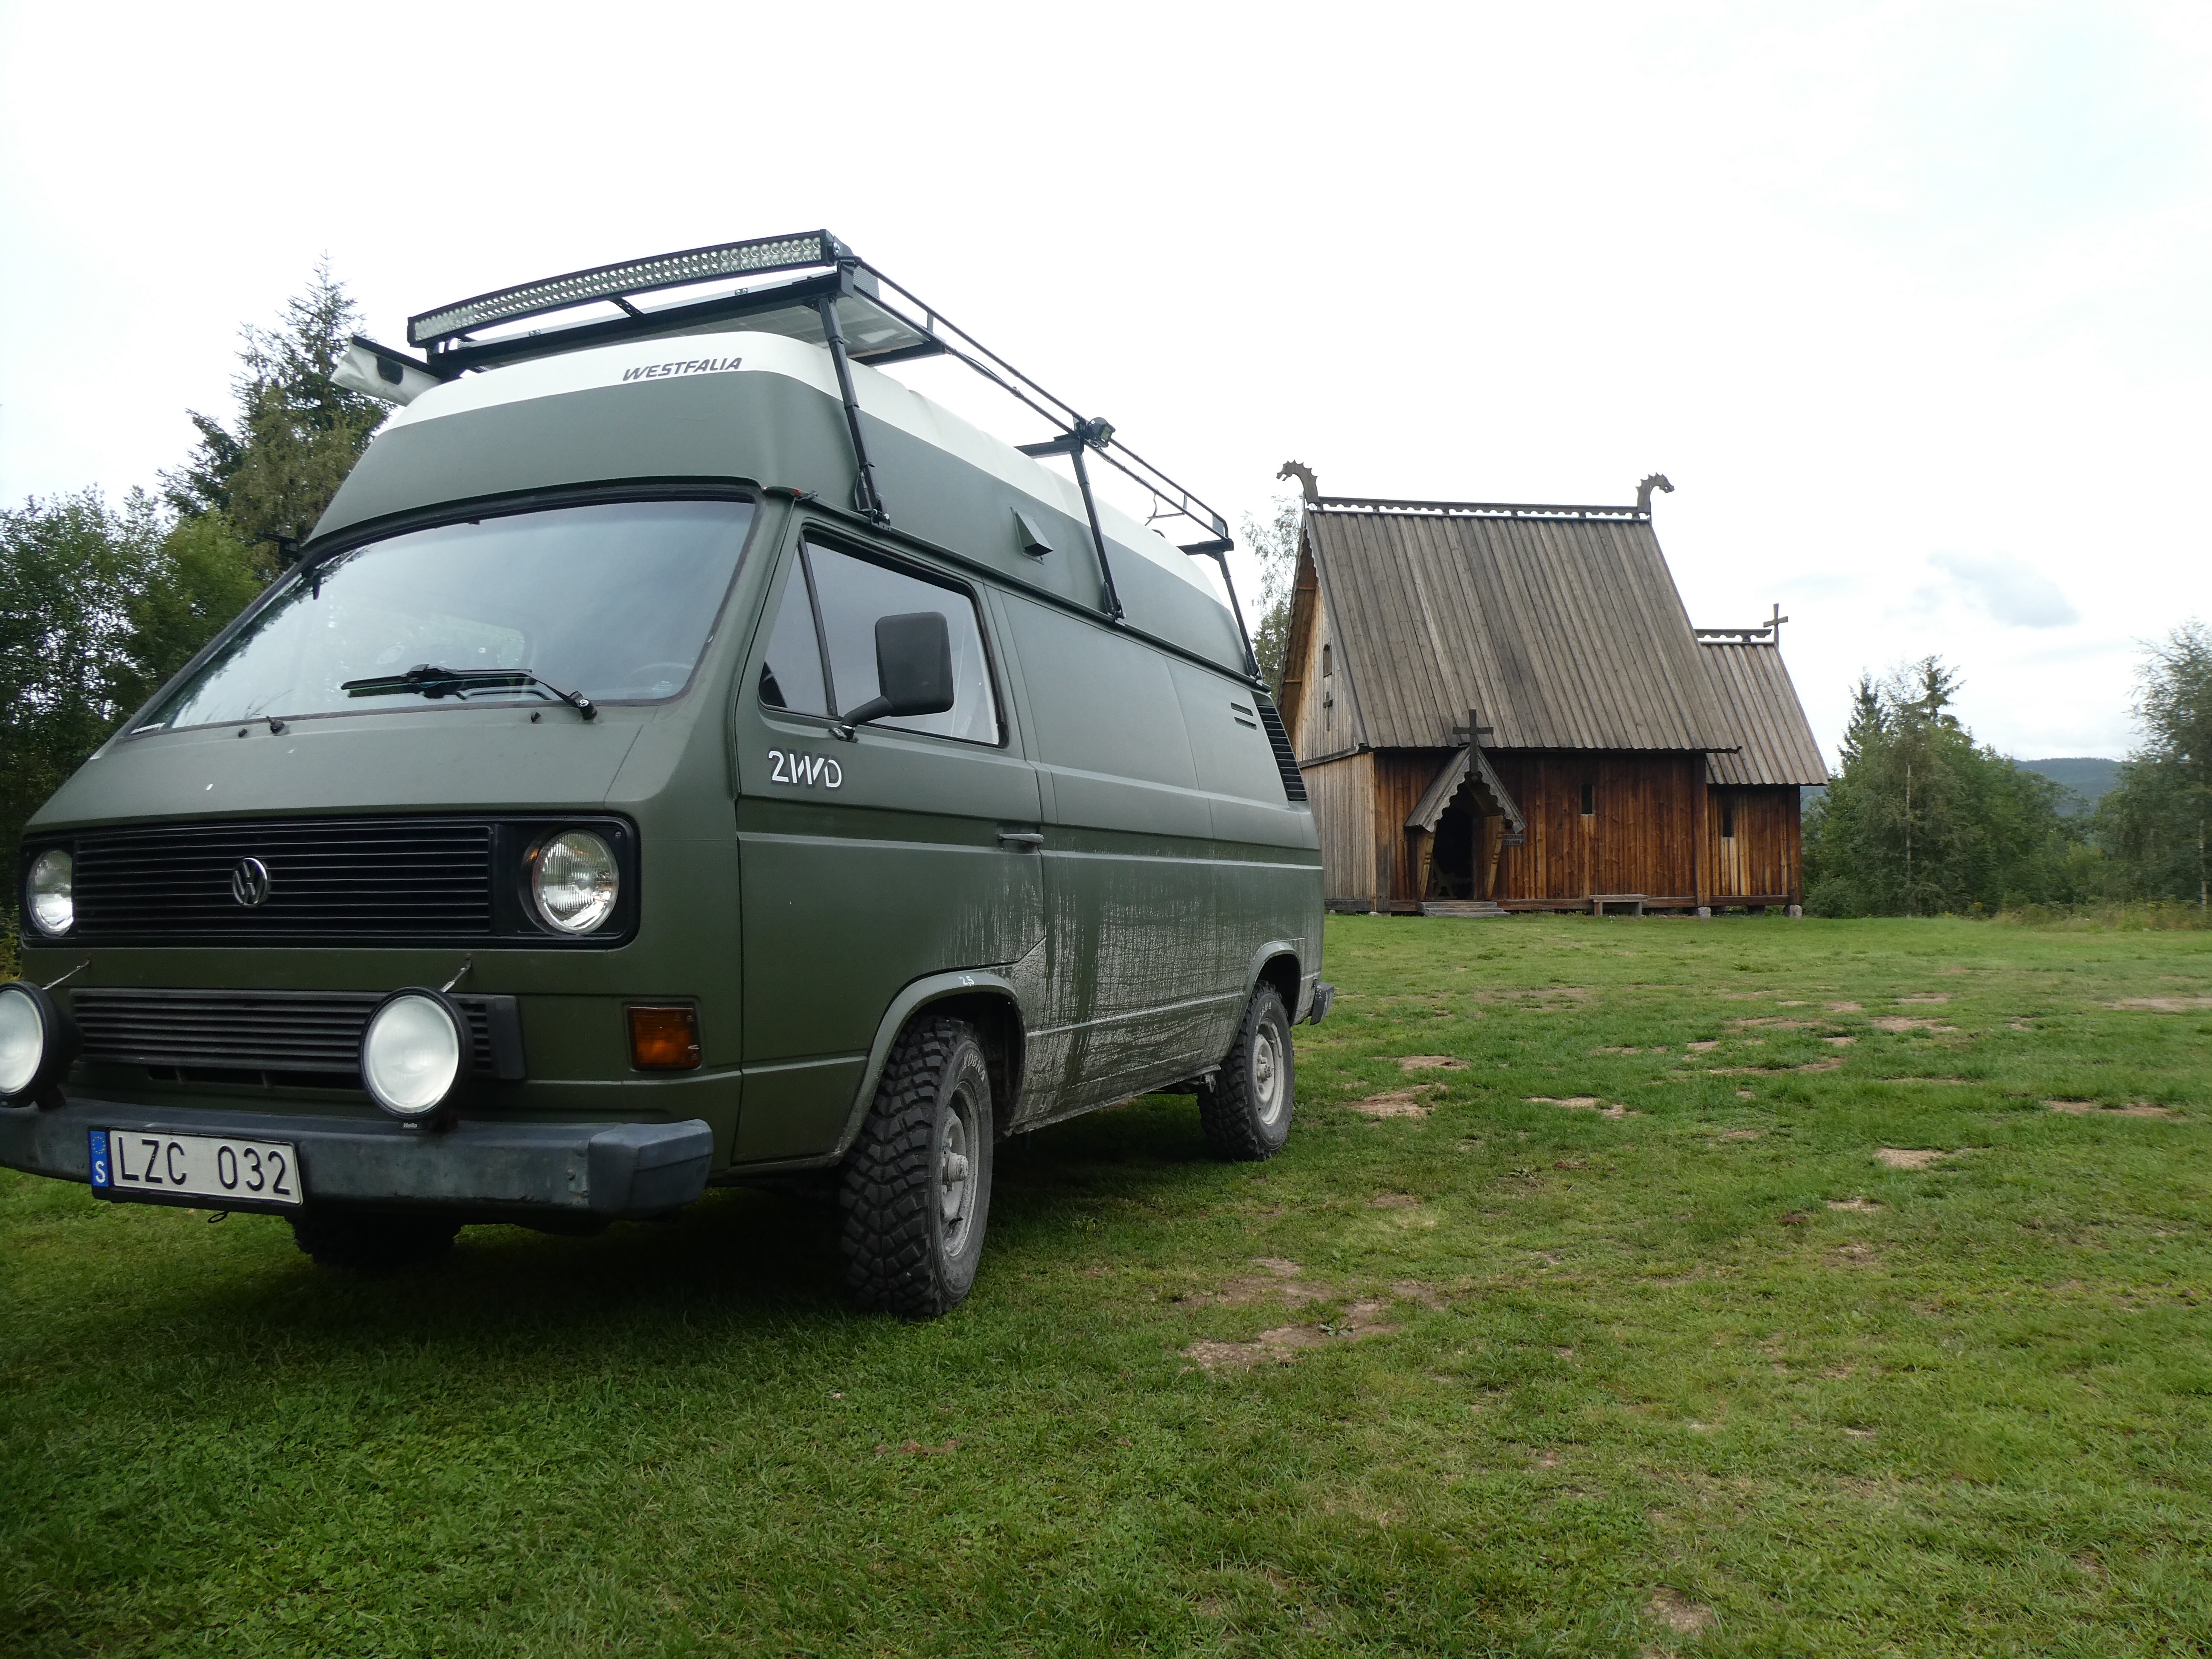
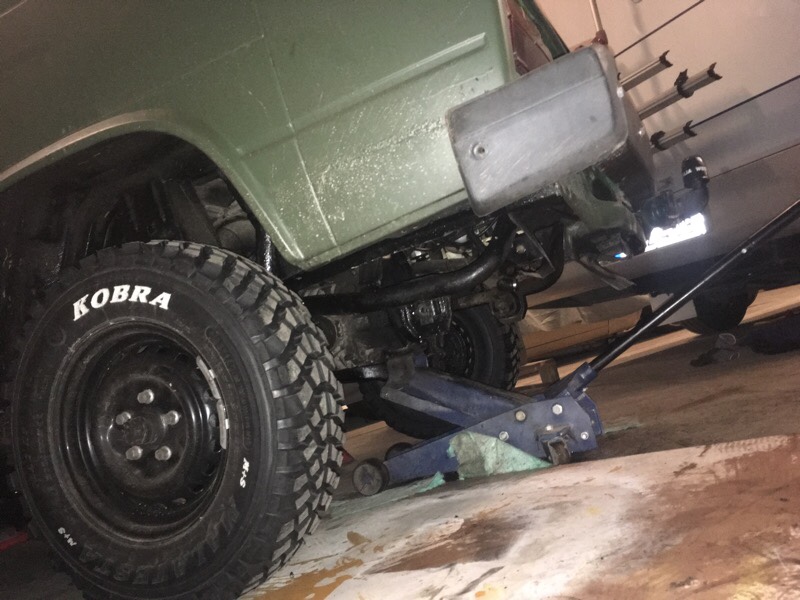
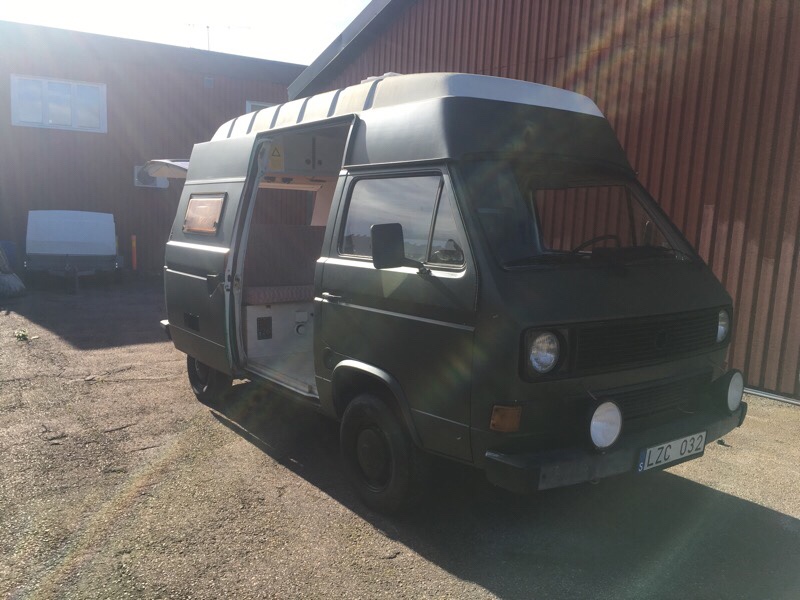
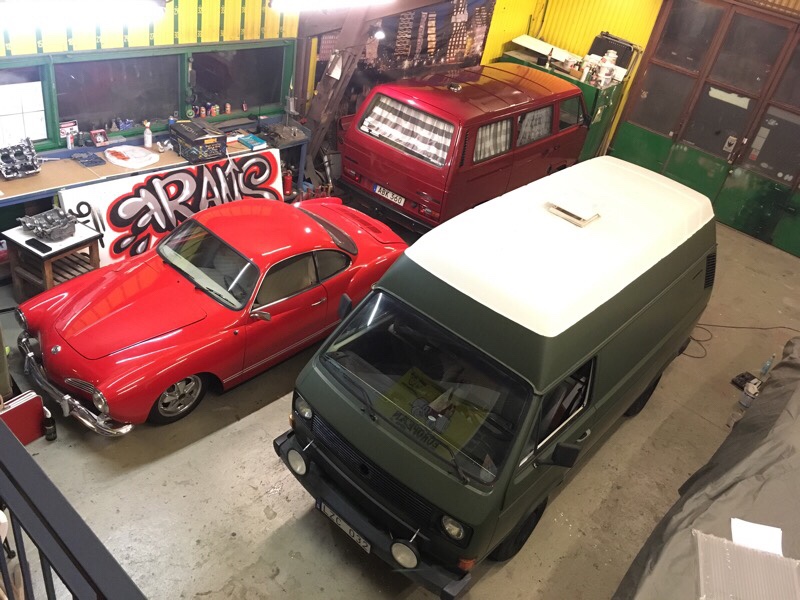
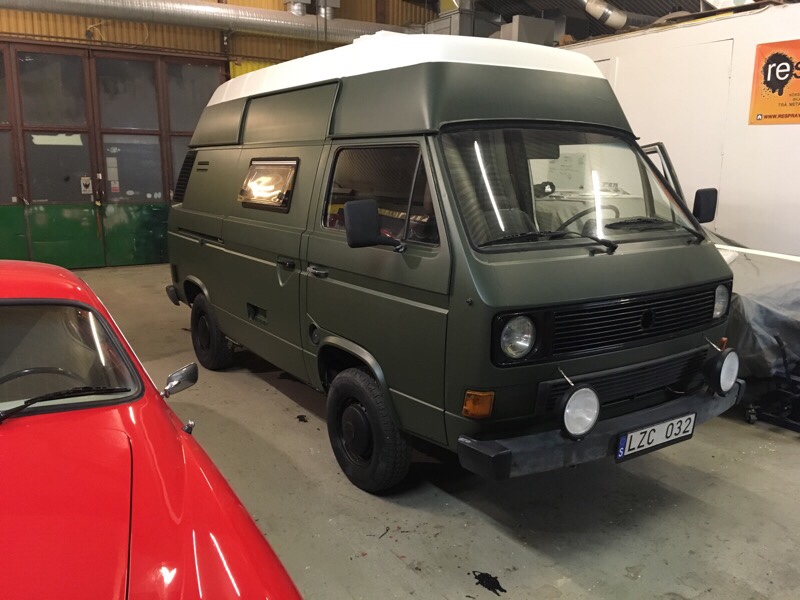
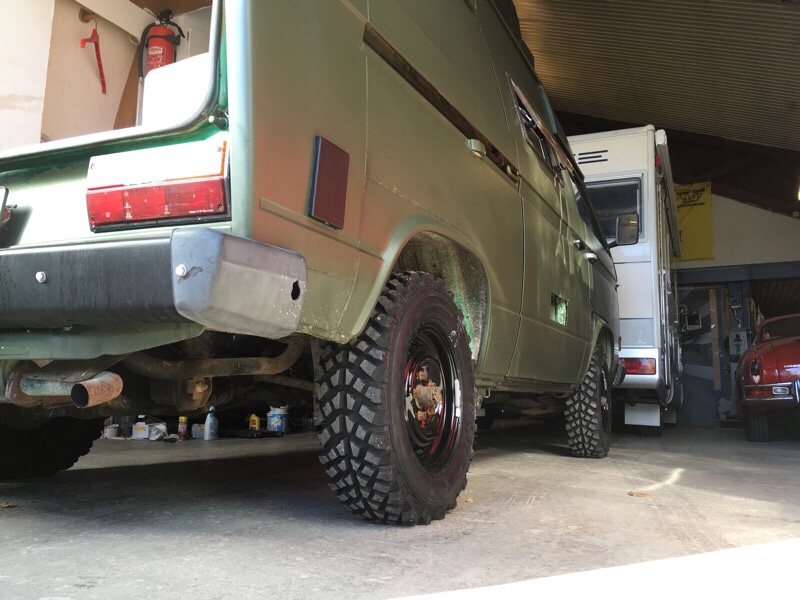
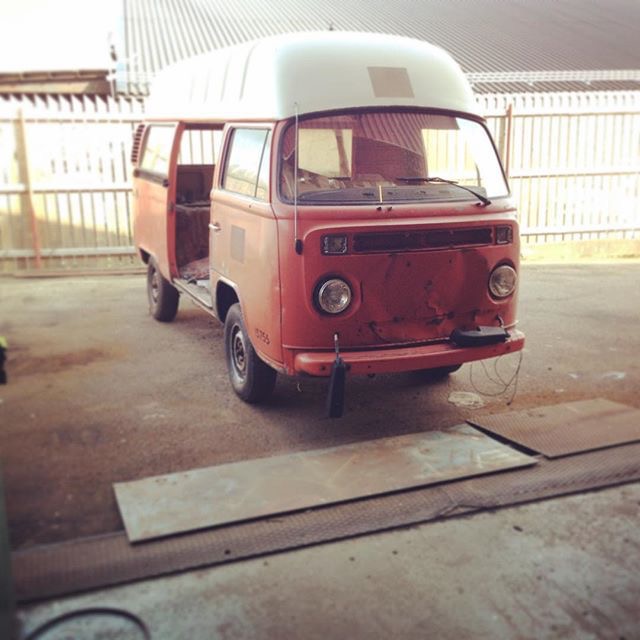
Another generation to the collection, at the moment I now have T1, T2 and T3 buses. This one is going to be the offroad bus and for autumn/winter camping/expeditions 🙂
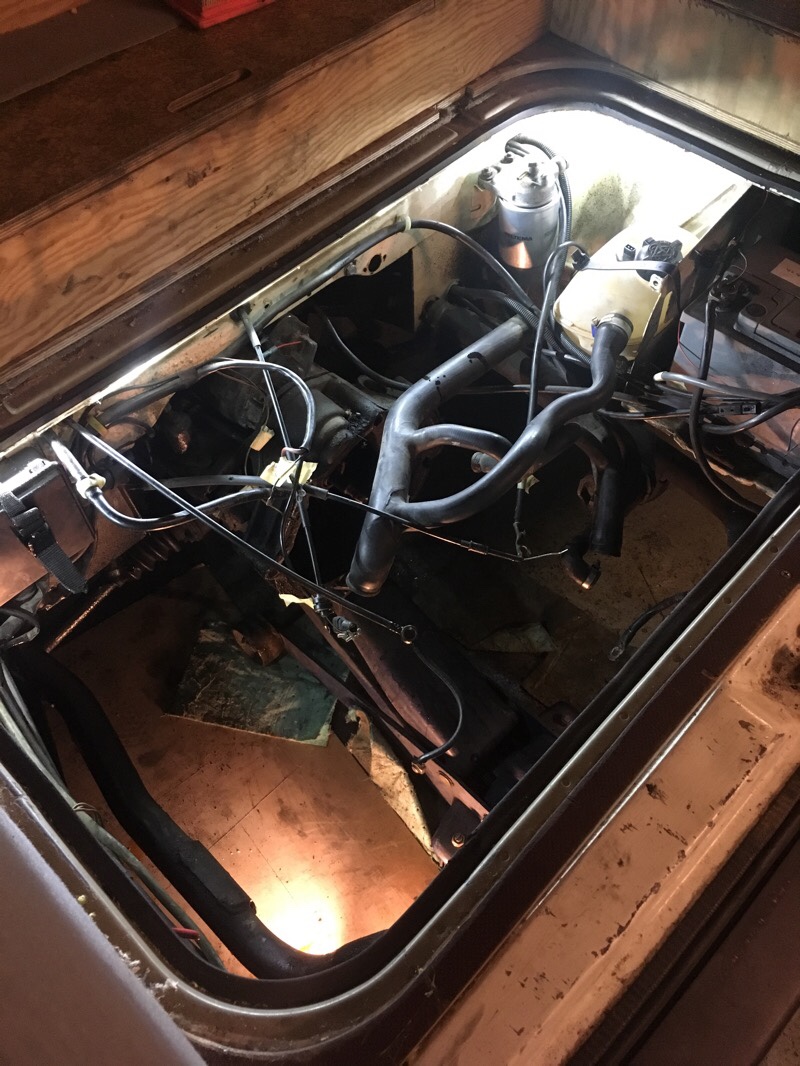
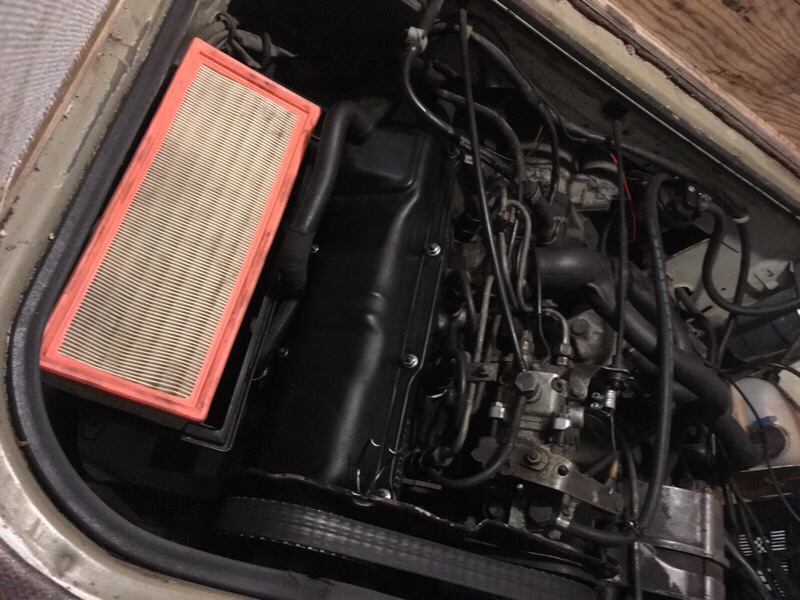
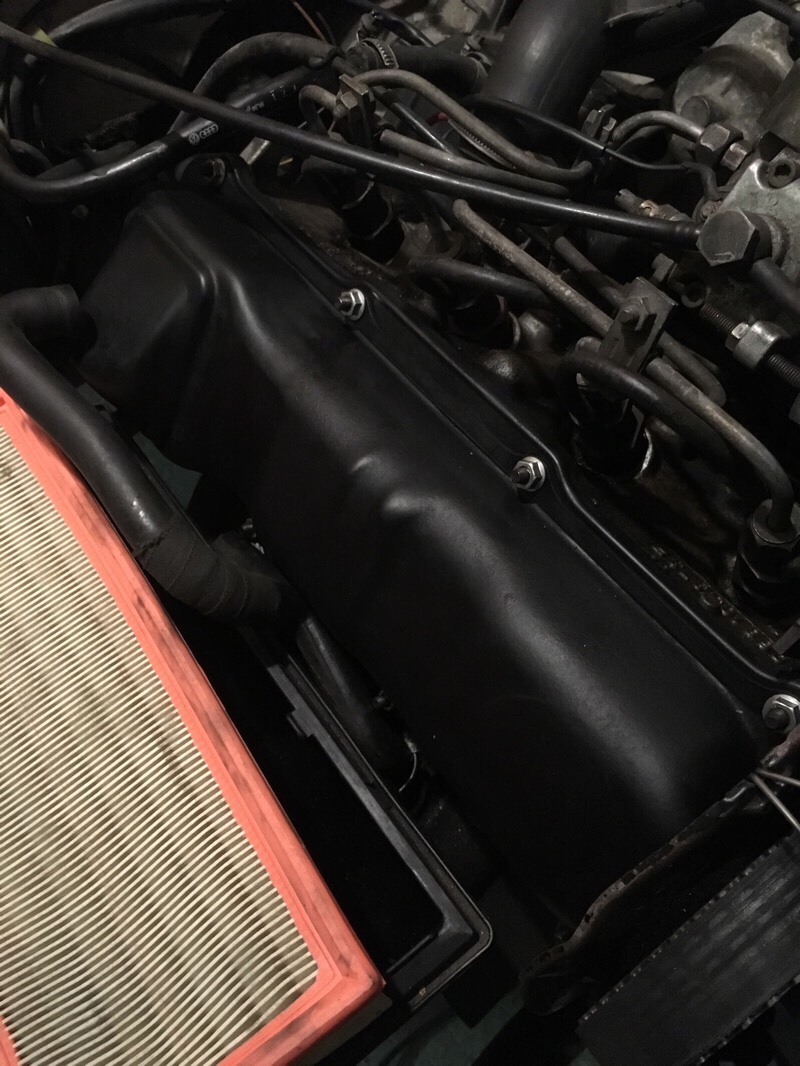
It’s a 1983 Transporter with 1,6 Diesel and 4-speed transmission. It has a ugly camping interior already fitted that will get a refresh/restoration. A Webasto/Planar diesel heater with thermostat will be installed to the interior in future, so you can stay warm on the winter. New 12v fridge will be installed and the gas stove will be replaced with a new small portable gas bottle one.
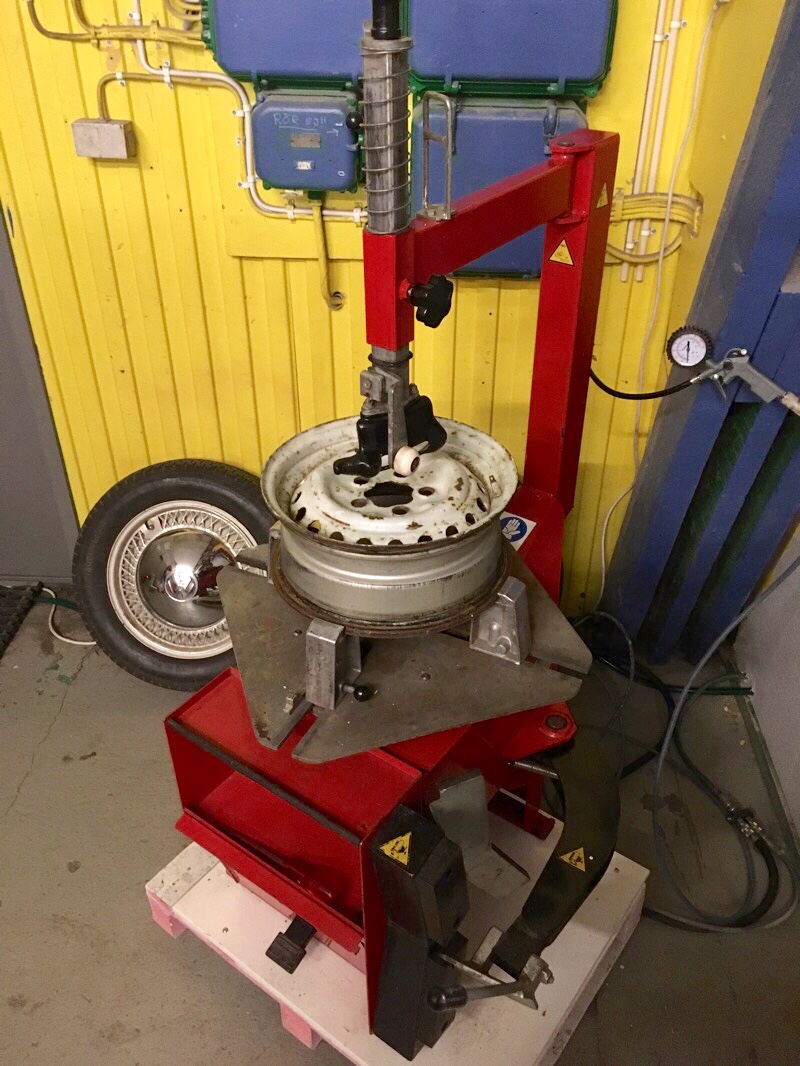
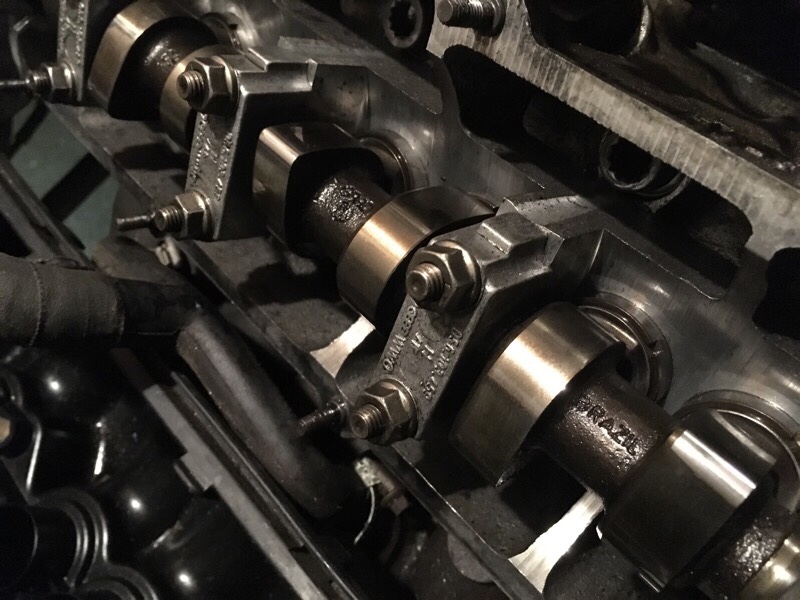
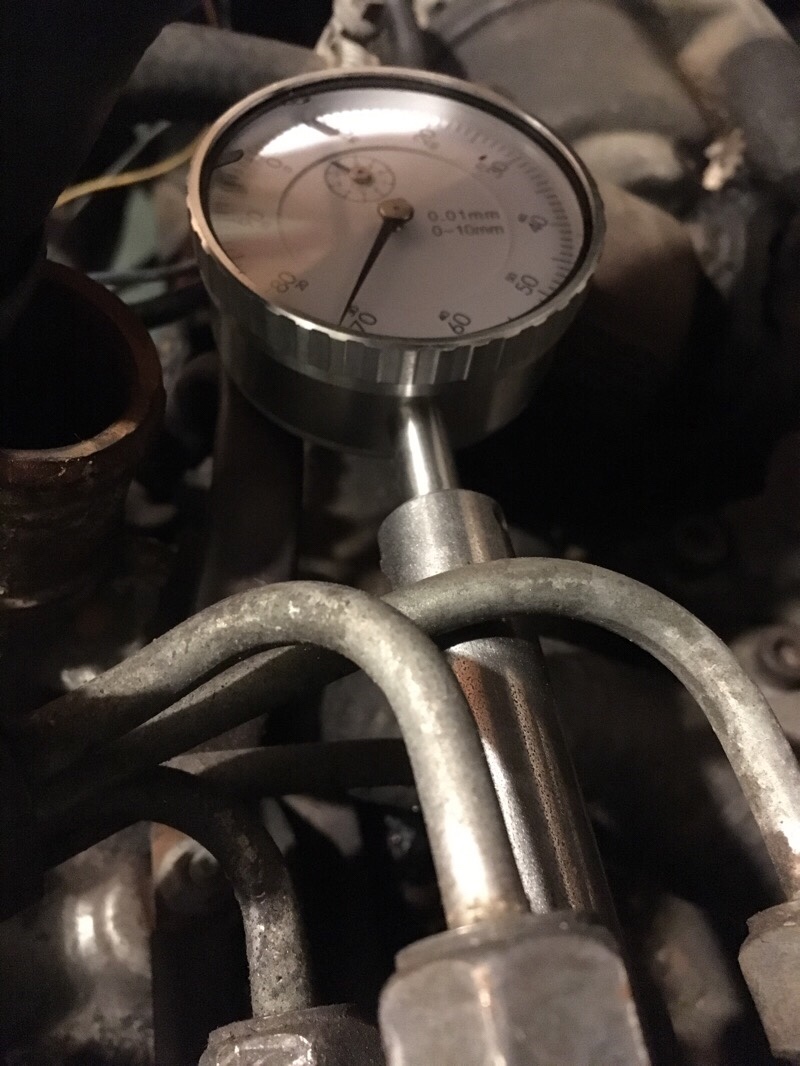
The goal is to have it pass the MoT / Safety Inspection before the winter comes. The engine starts but is not running very well. It has a new cam, timingbelt, waterpump at the moment. Going to align the timing belt better because it squeaks at lower RPM right now. Also the diesel pump is needing adjustment with special VW TOOL 2066.
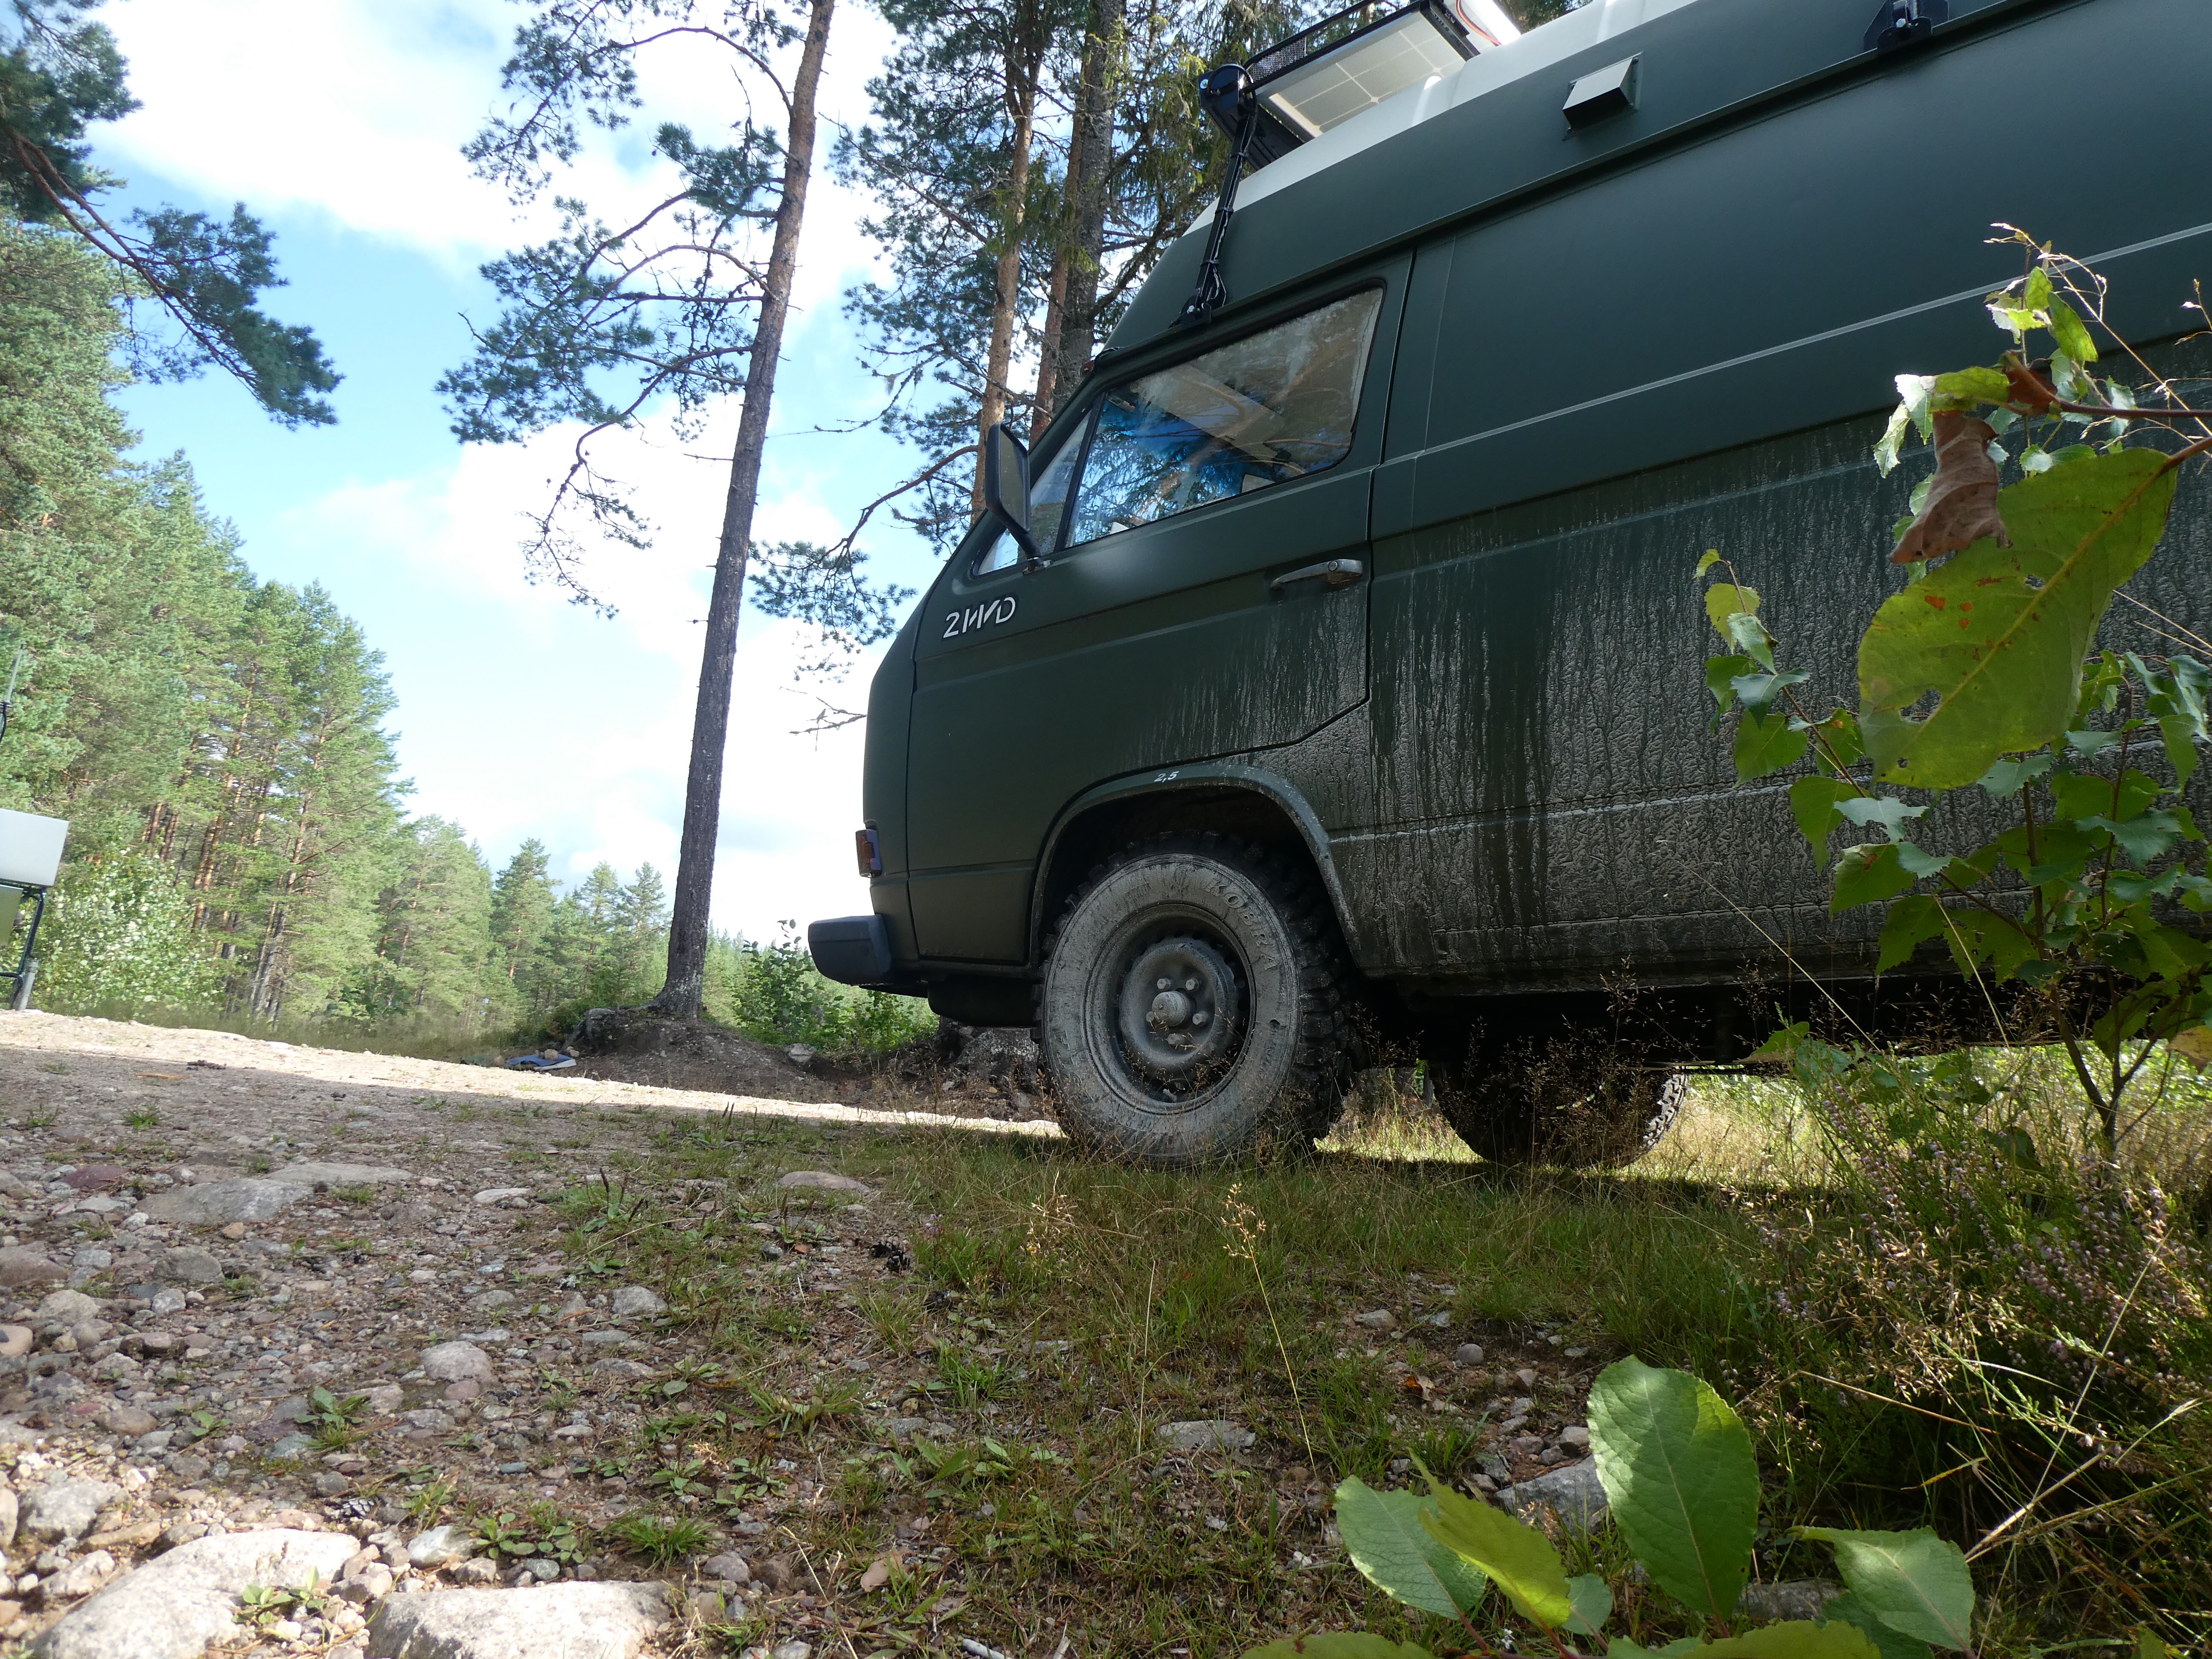
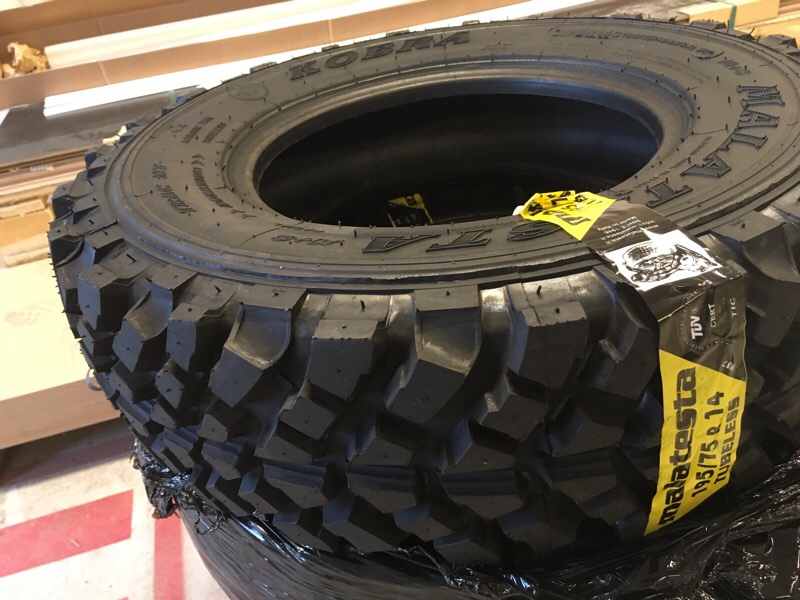
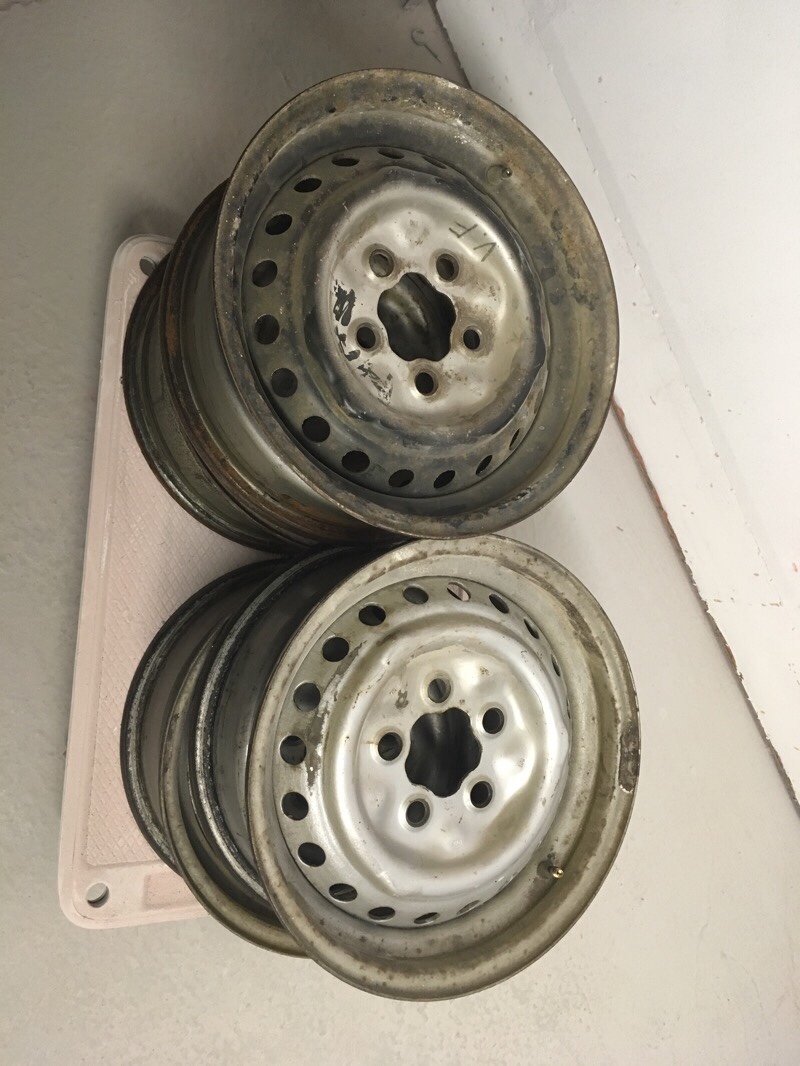
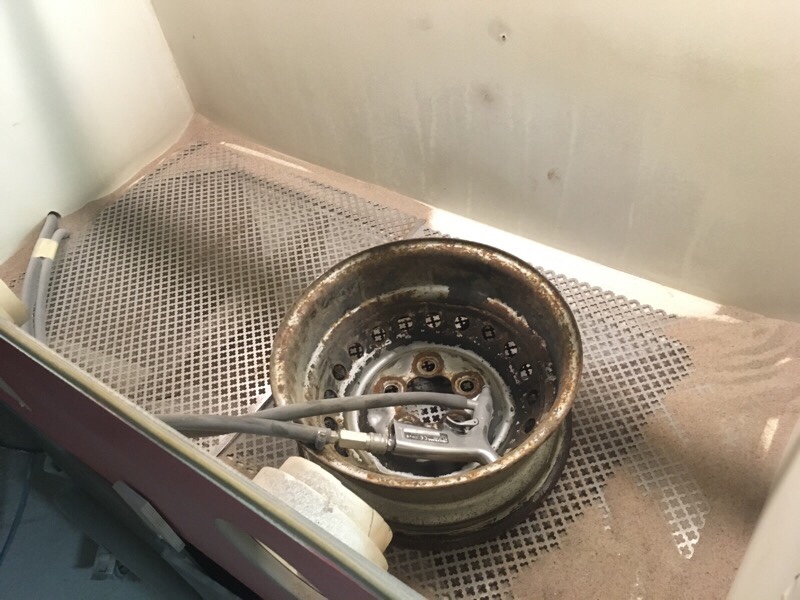
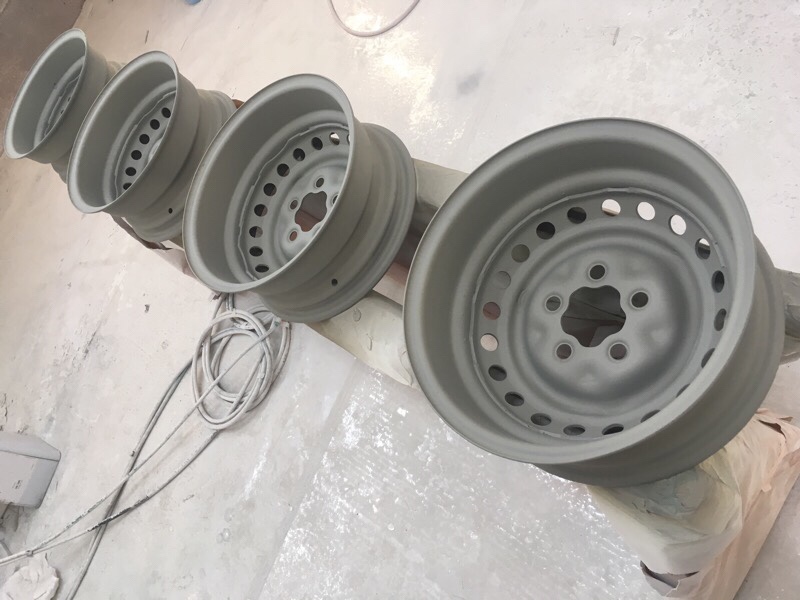
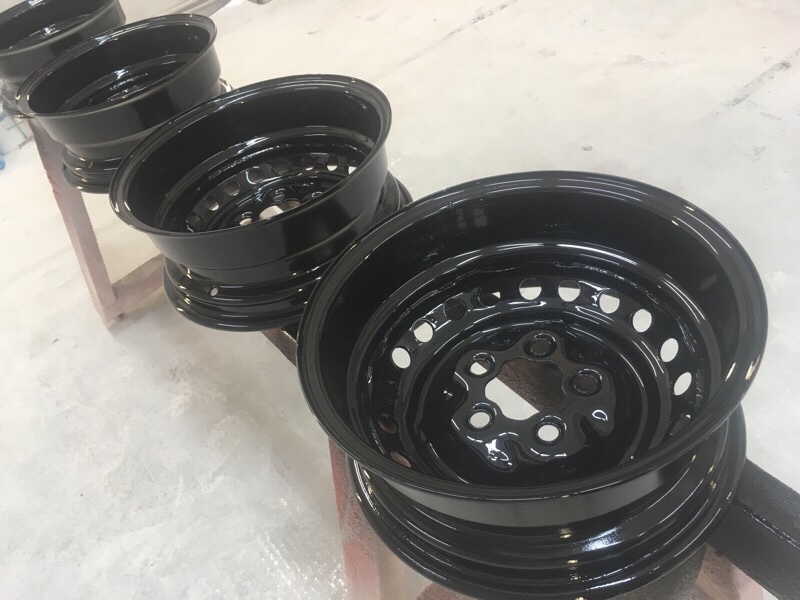
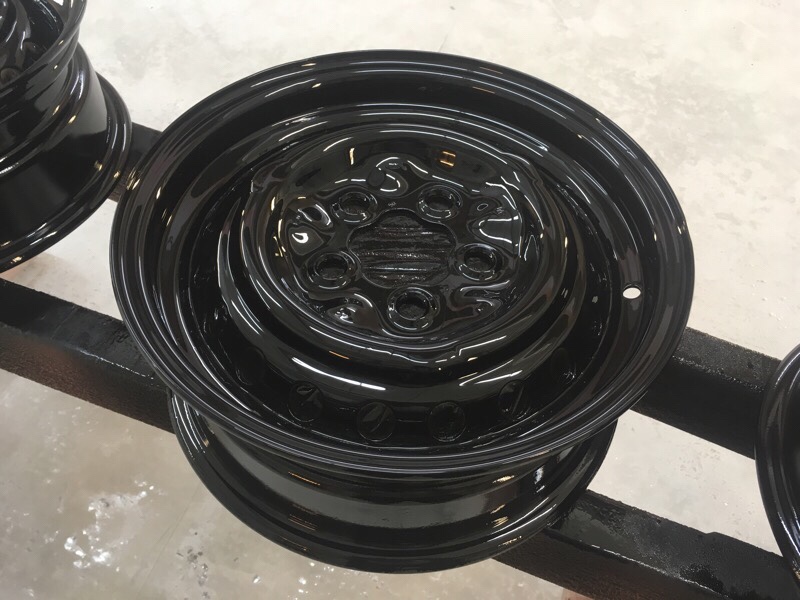
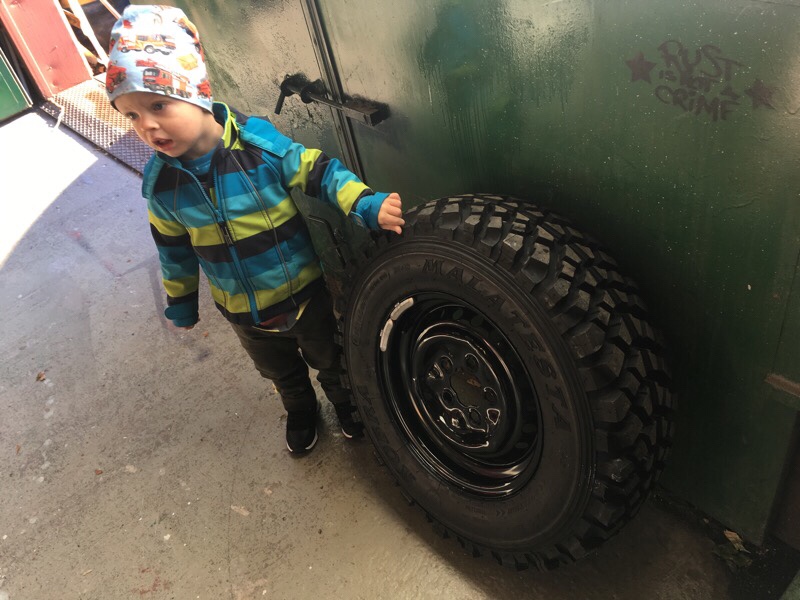
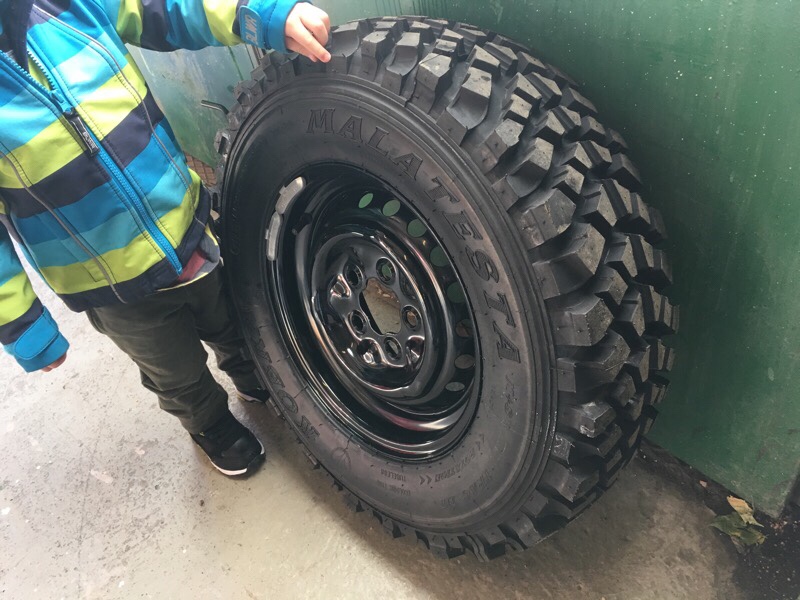
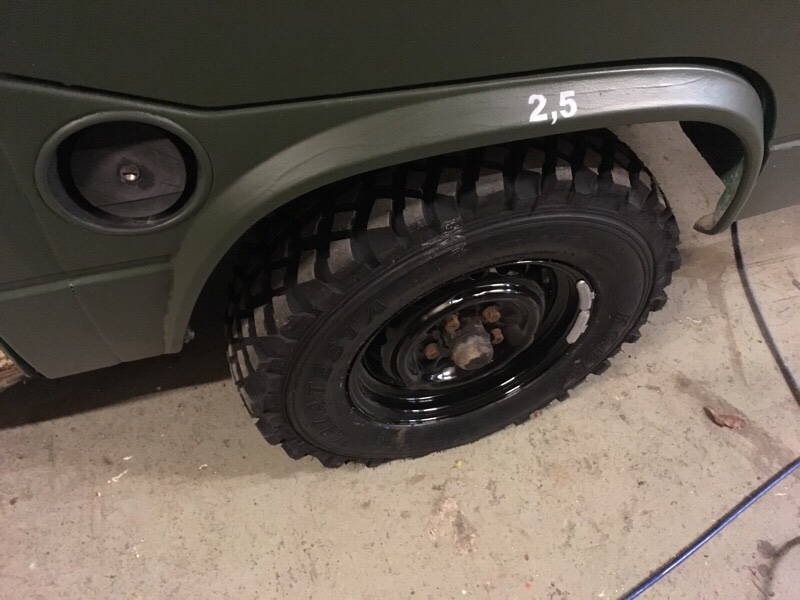
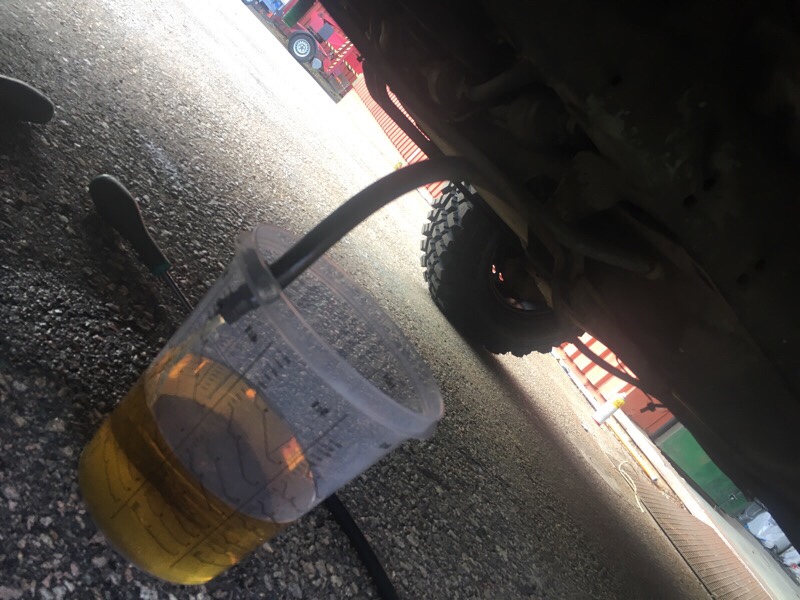
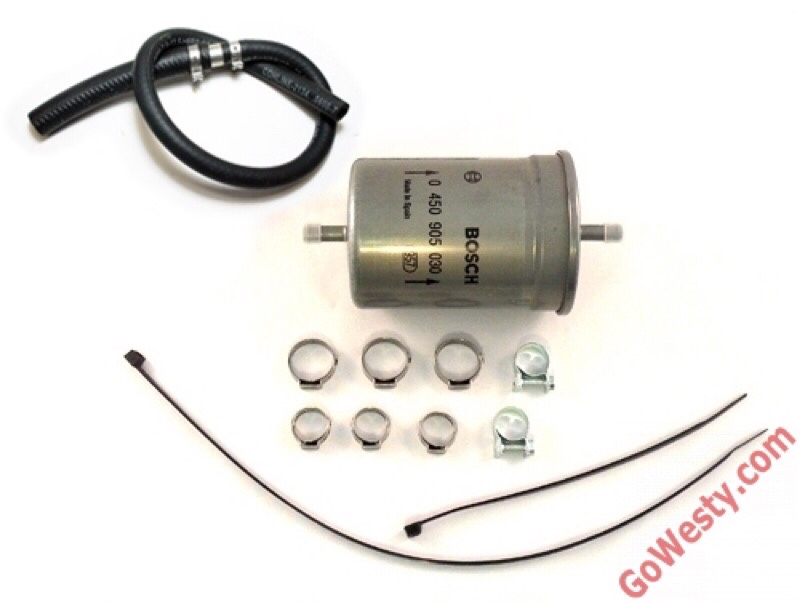
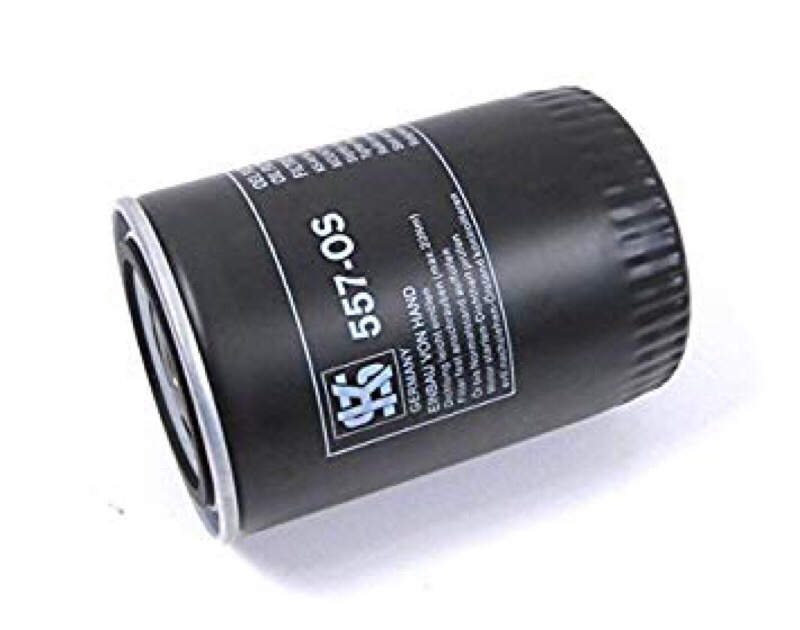
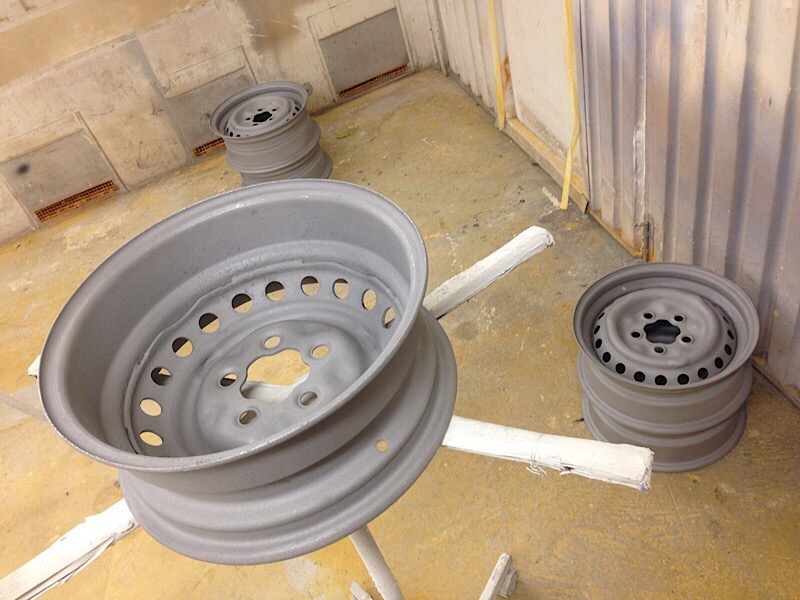
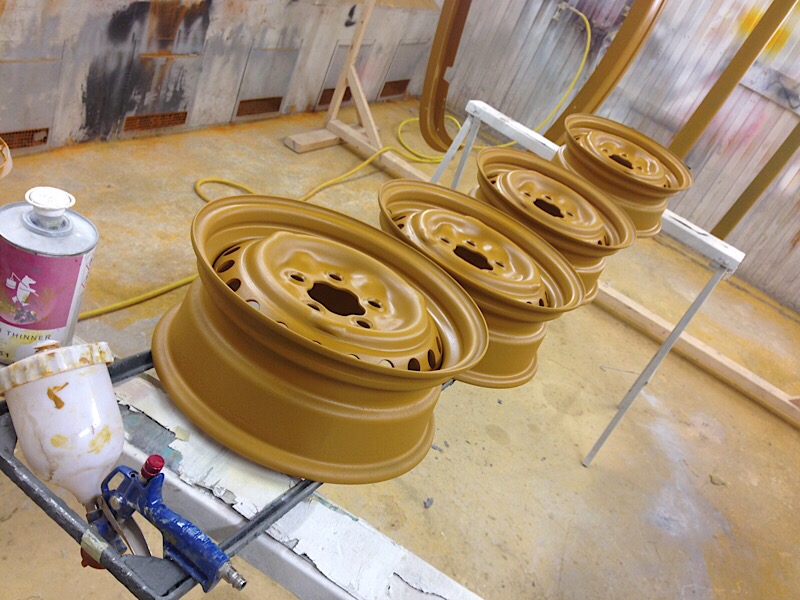
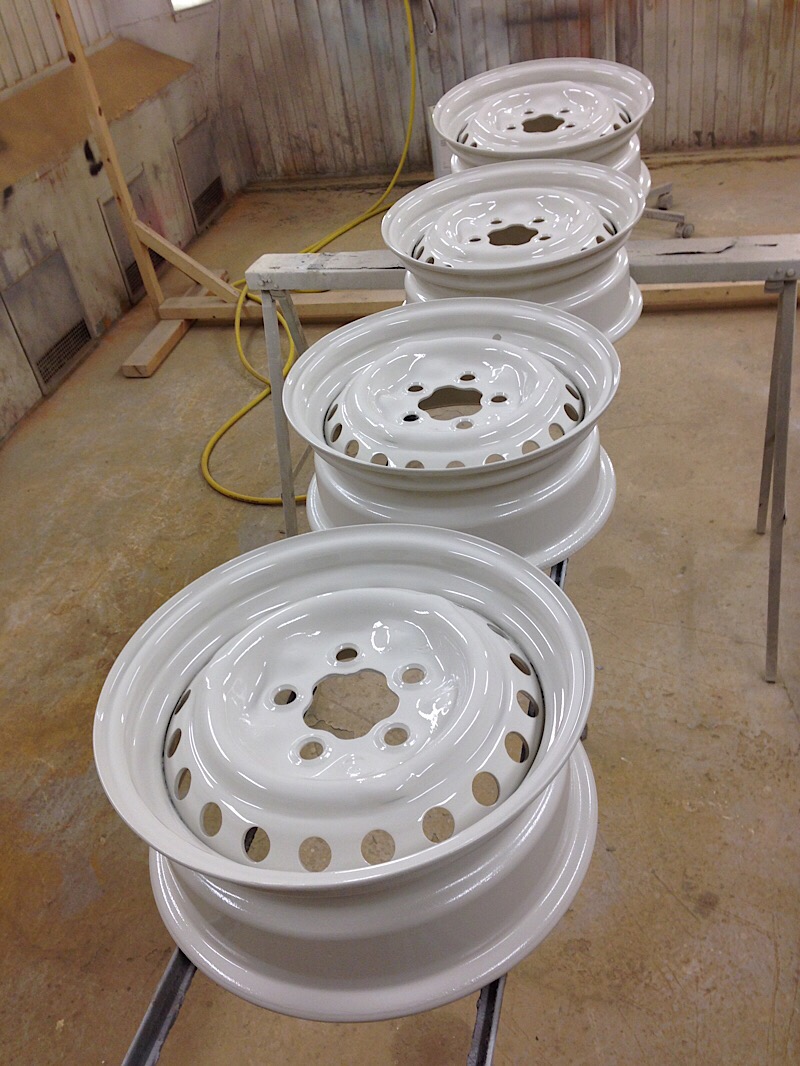
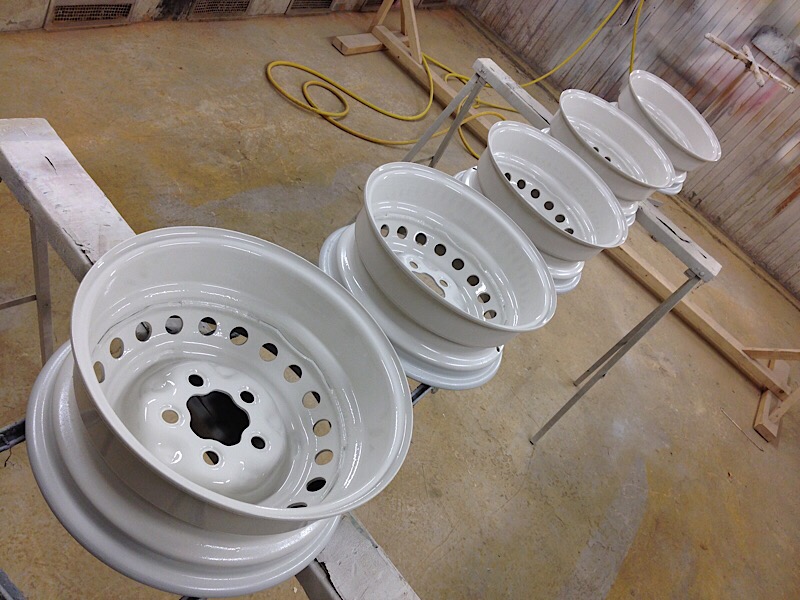
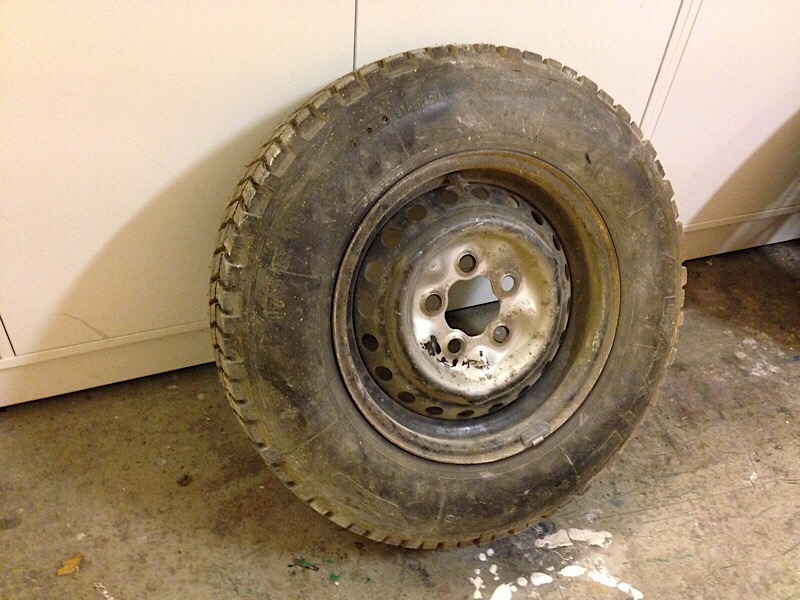
Some meaty offroad tires (Malatesta Kobra) have been fitted on stock VW 14″ steel wheels, that was sandblasted and painted. Looks badass now! The diesel tank have been drained on old diesel and a new fuel filter fitted. Also added some anti-bacteria and injectioncleaner to new diesel. New oil (15w-40 mineral) and filter in the engine too. New air cleaner filter added. Injection pump adjusted with micrometer (vw2066) up to 00,95, before was only 00,81. Engine now runs much smoother but need to align the timingbelt before any real test drive can be done. More too come soon… 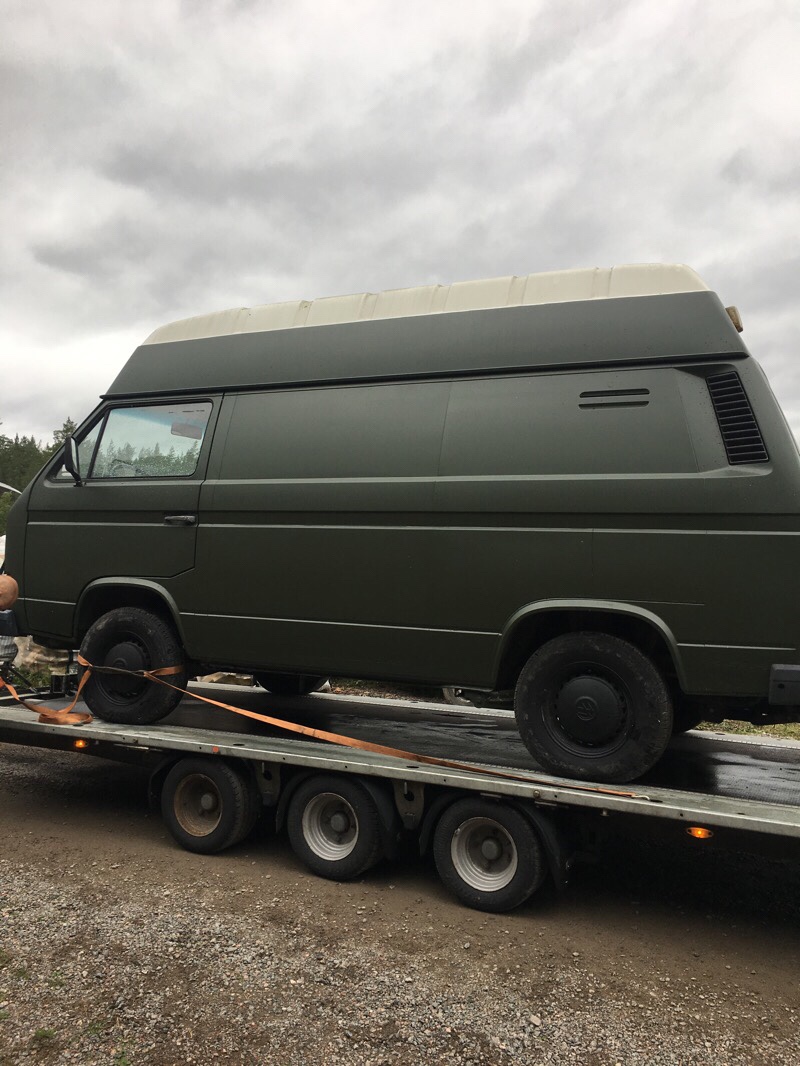


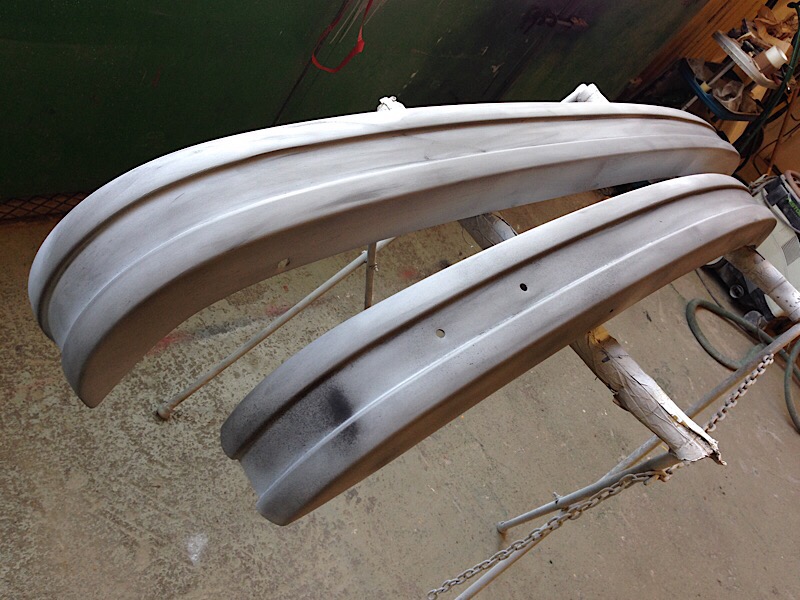
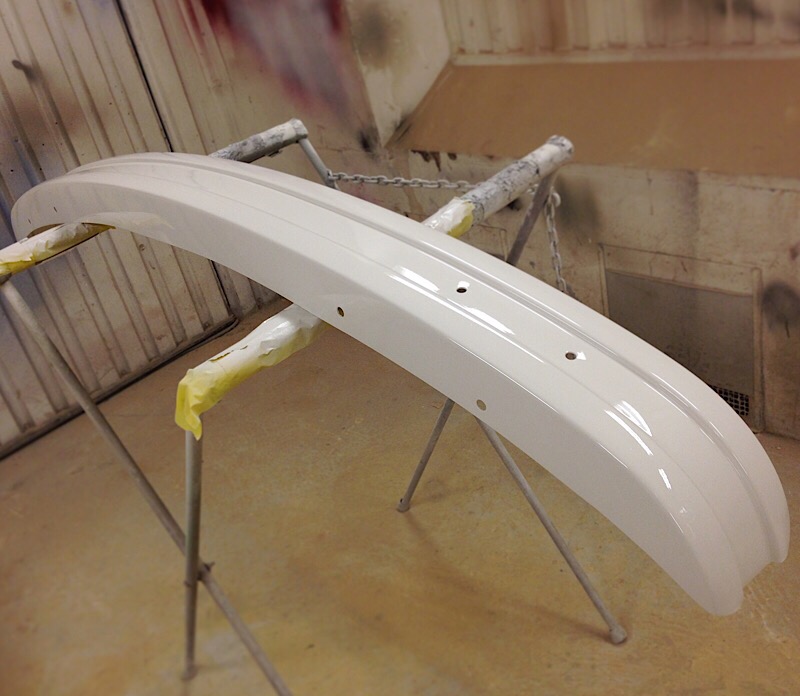
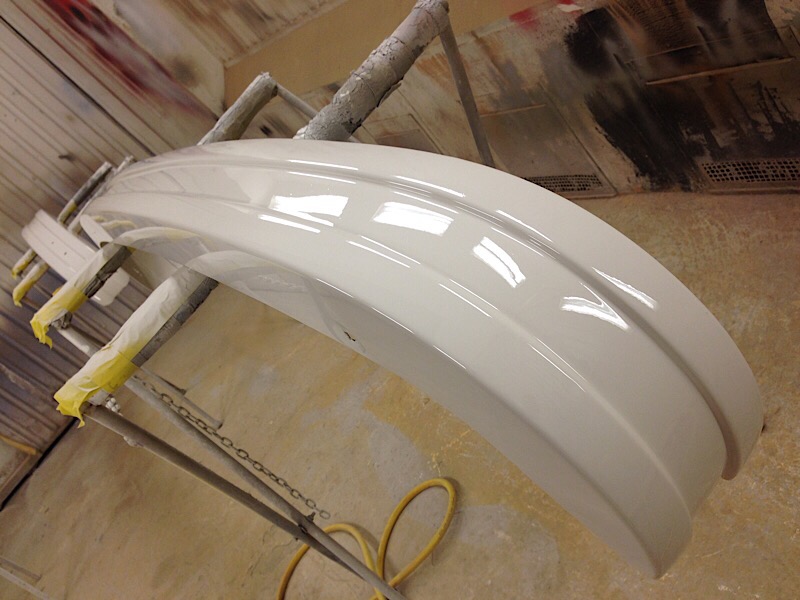
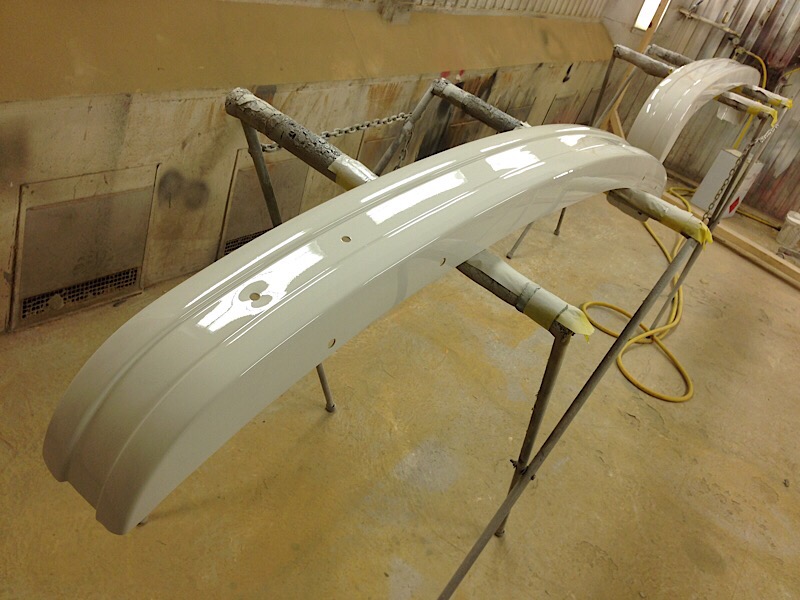
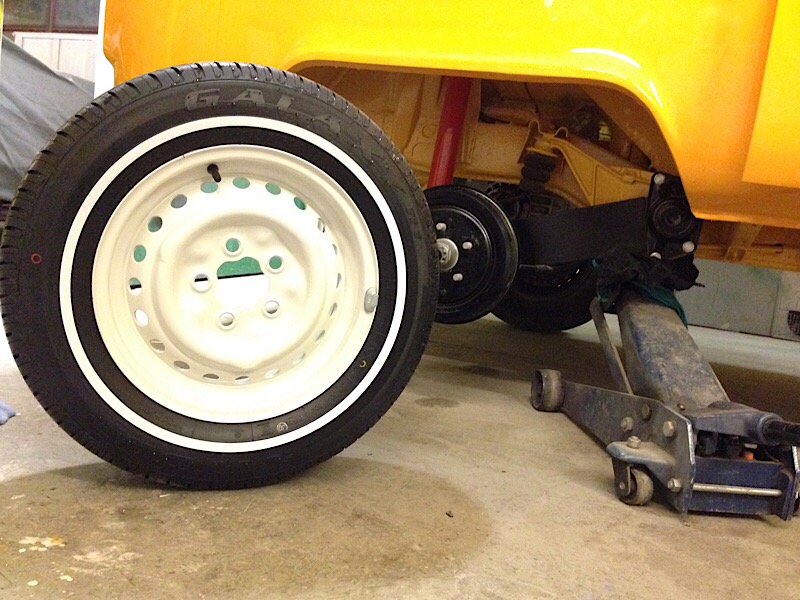
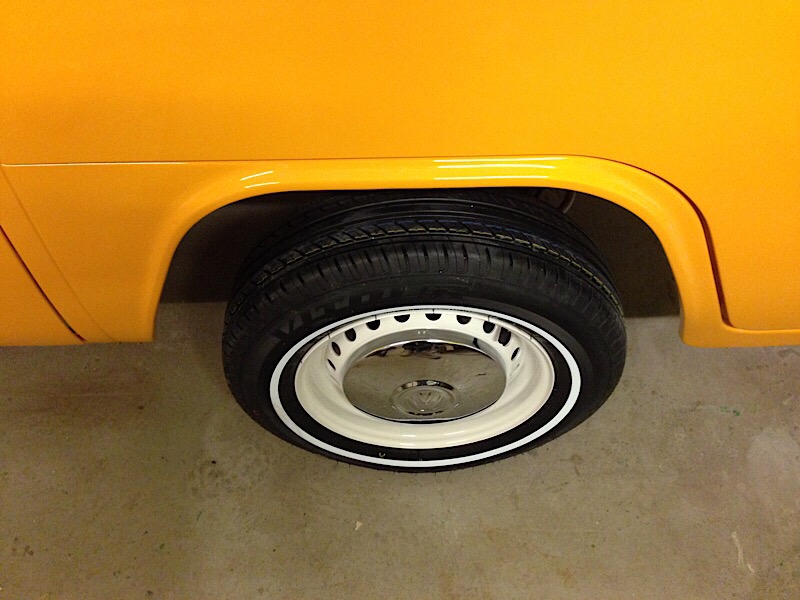
Piece by piece it’s coming together! I Have been fixing with the bumpers and wheels lately. It have all been sandblasted, welded, epoxyed, sanded, primered and painted in same white as the roof. Really starts to come together now, some light in the tunnel. But still lots left to do, here is some new pics…
#highroofbayproject

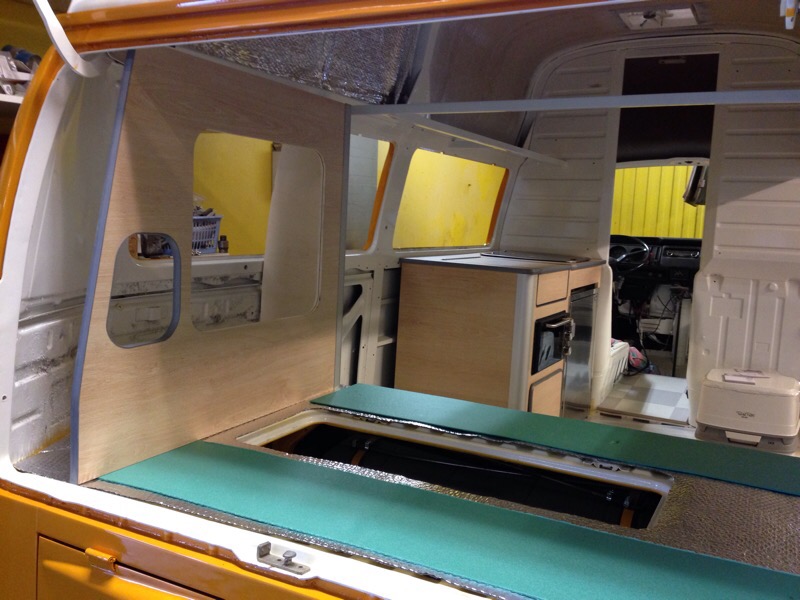
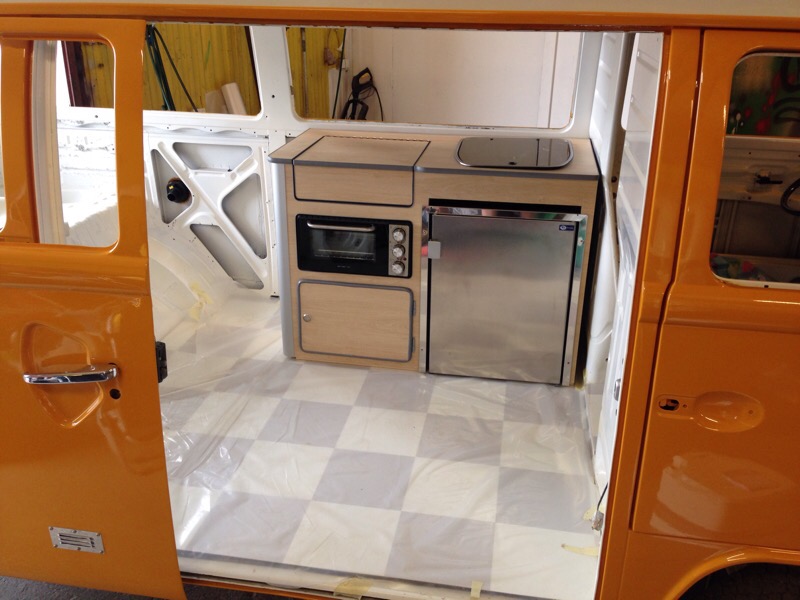
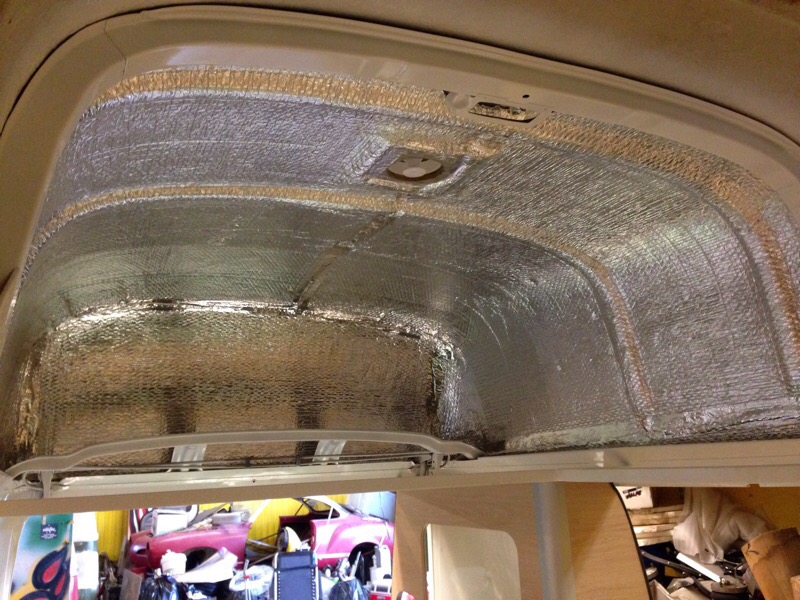
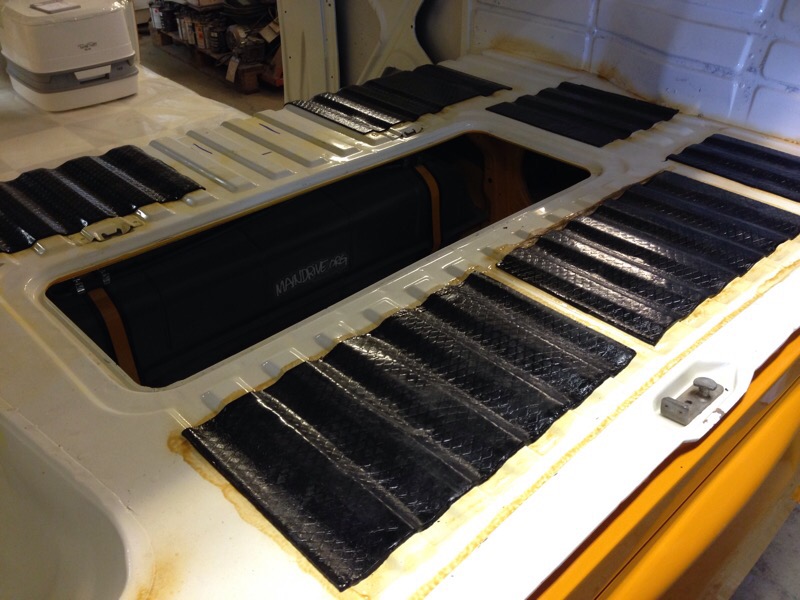
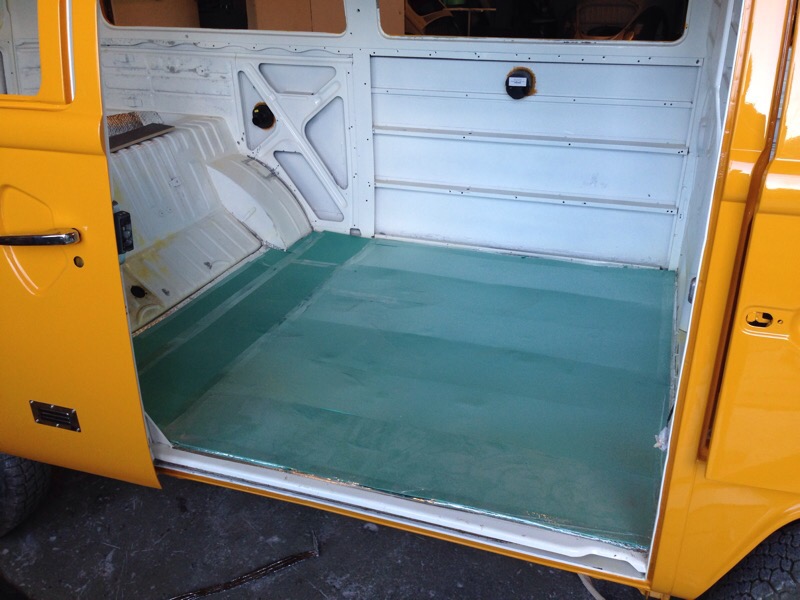
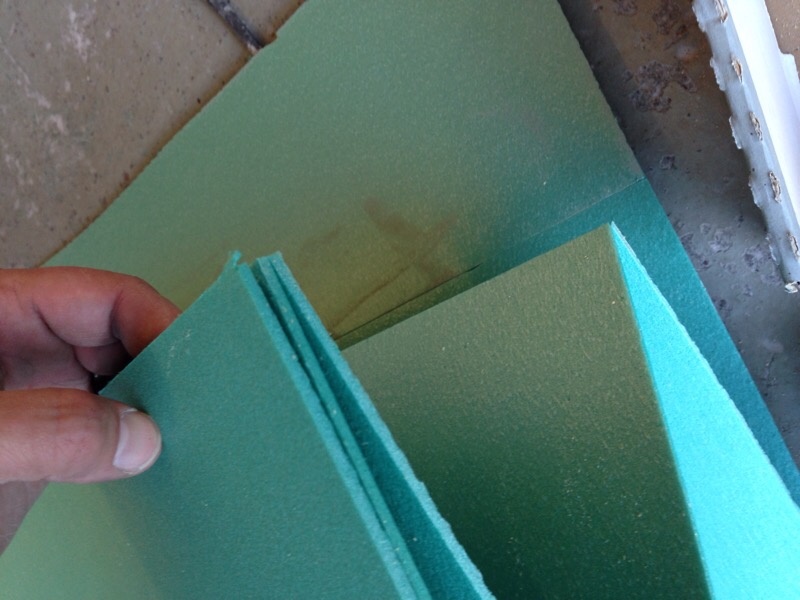
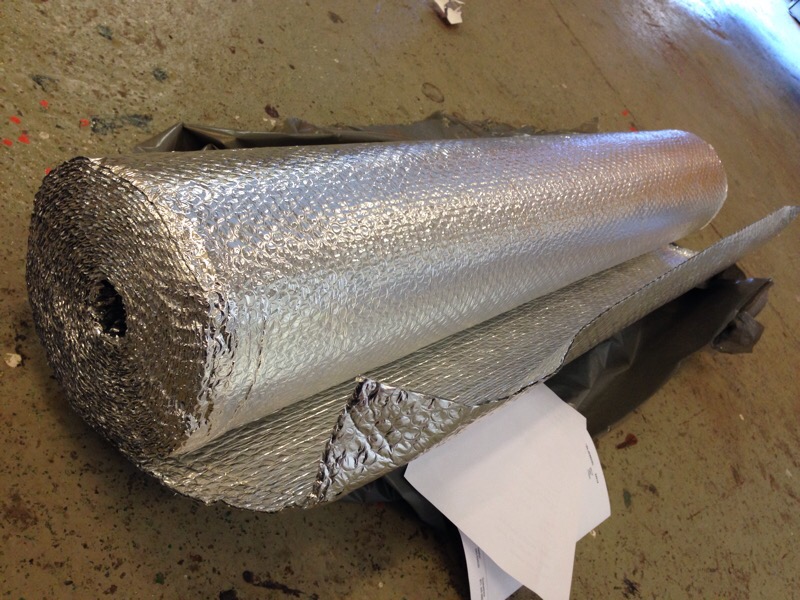
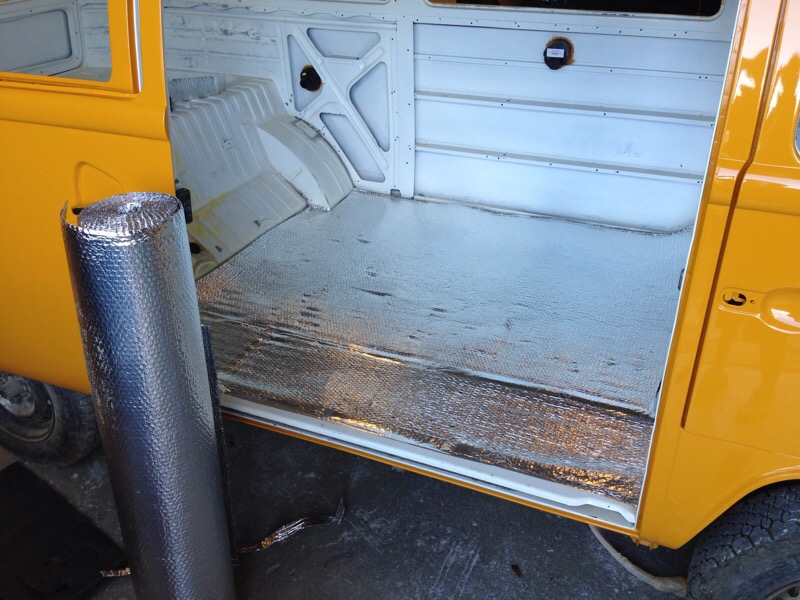
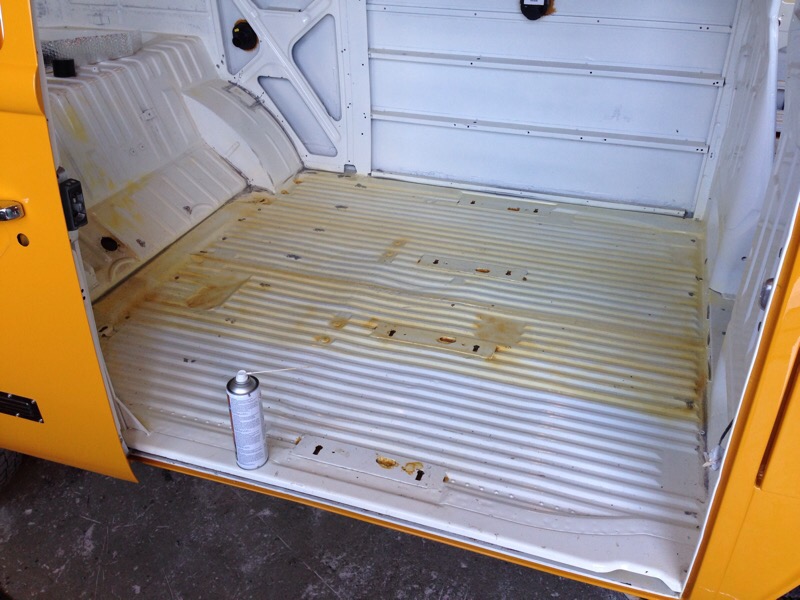
Have now started with the interior on the Highroof bus. Have put sounddeadning mats in floors and doors, sprayed it all with wax for rust protection. Then added insulation (Refectix) a material of aluminium with plasticcells of air in middle. NASA came up with this tecnology when insulating spaceships actually! After this I put some extra 5mm insulation foamboards (green) then 15mm marine plywood and then a new linoleum carpet in Classic checker pattern, went with light grey to match the grey details on furnitures. The furnitures itselfs is in Light Oak wood finish (laminate). I built it all in a special extra light plywood 15mm. This interior is gona weight nothing!! And thats great in a slow VW bus, all the stuff thats going to be loaded in the cabinets are heavy enought 😉 The kitchen pod/cabinet is featuring a new Vitifrigio fridge on 48 liters + 2 liter freezer. A new small owen in stainless that will be running on 240v (euro). The zink is from a newer crashed/parted out Knaus campervan I bought cheap online. The lid in top is hiding a gastove and the cupboard in bottom will be housing the greywater tank etc.
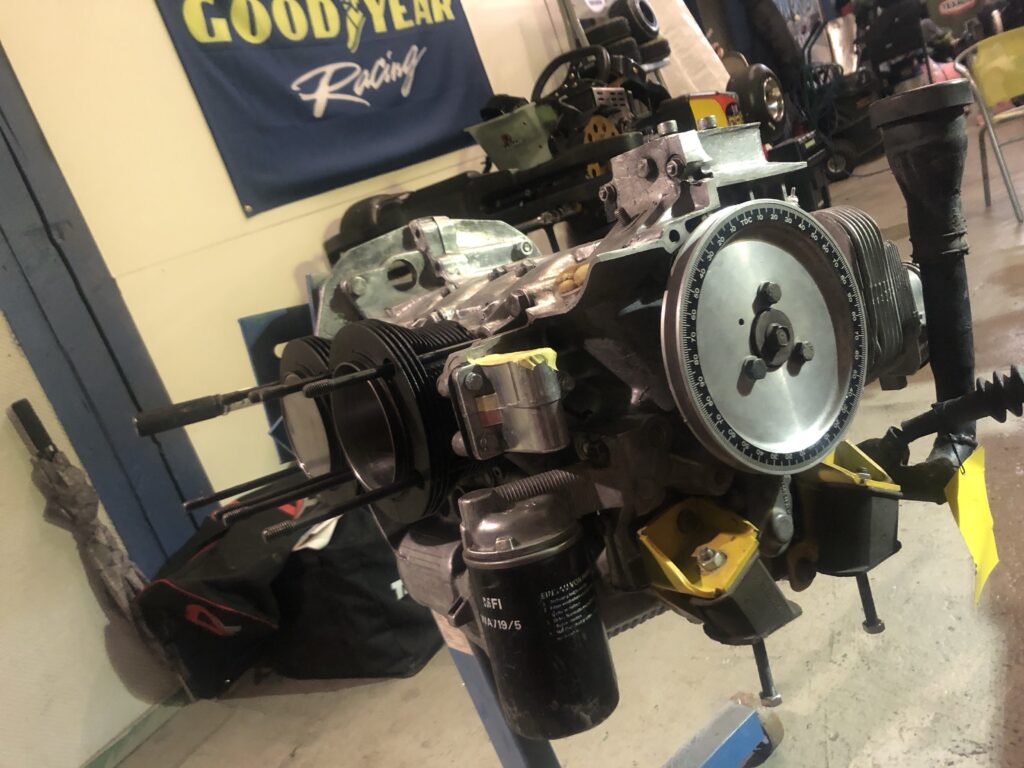
Still have plenty to do before I can start restoring the 1800cc AP engine.
More to come soon!
#highroofbayproject
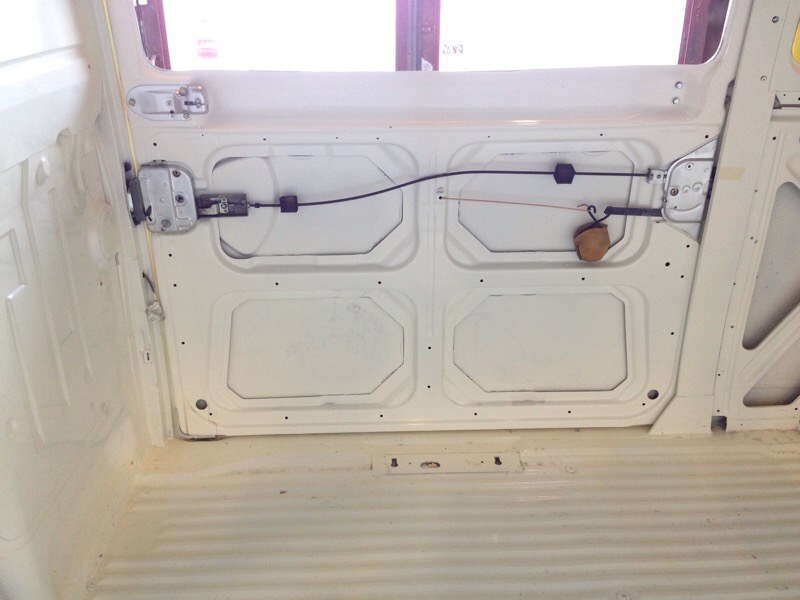
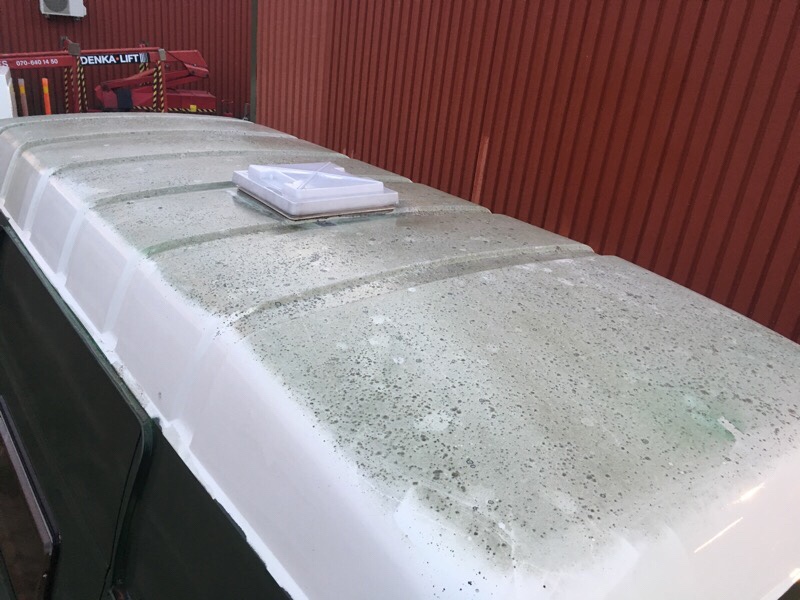
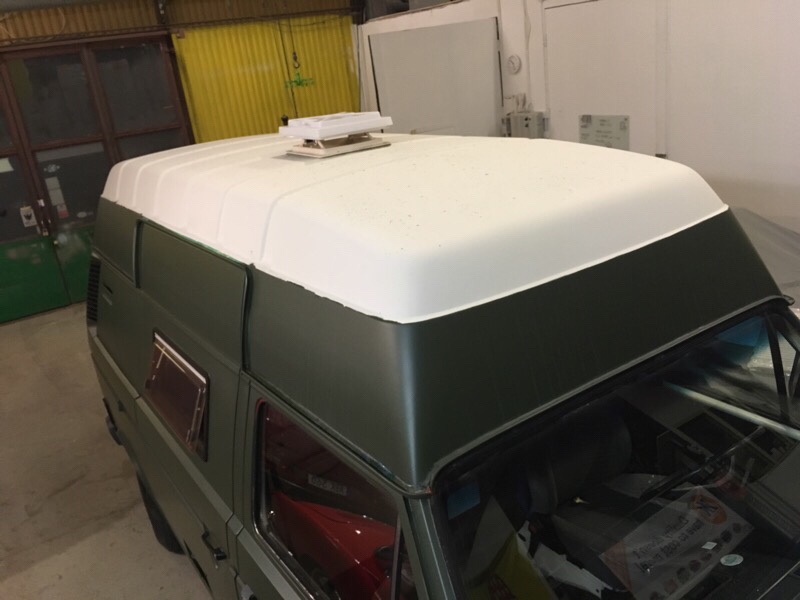
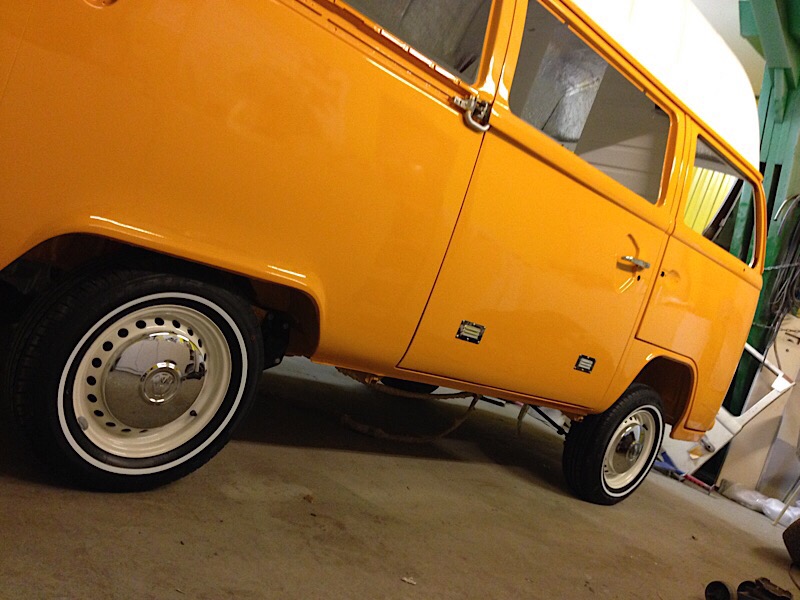
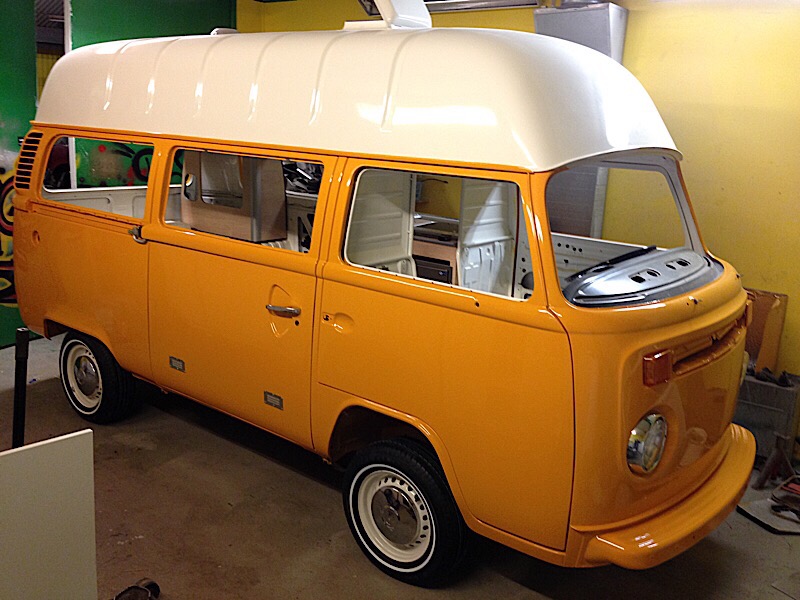
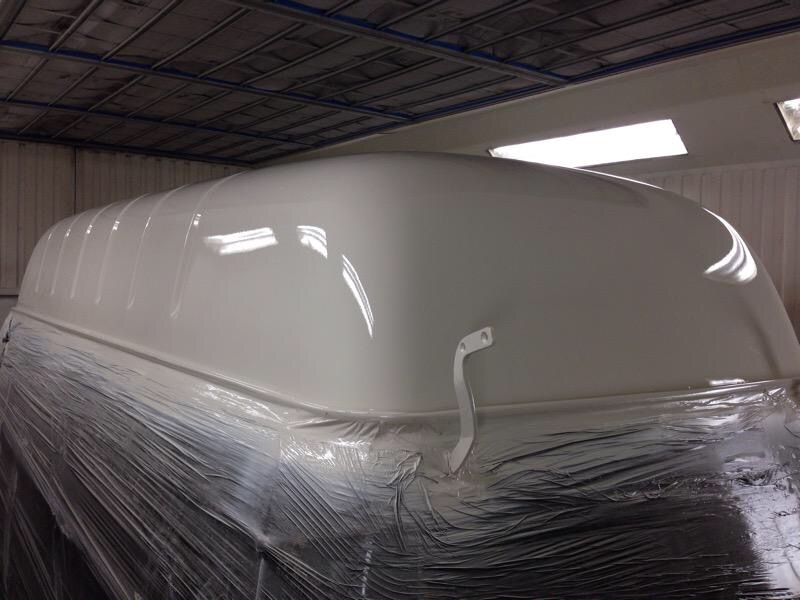
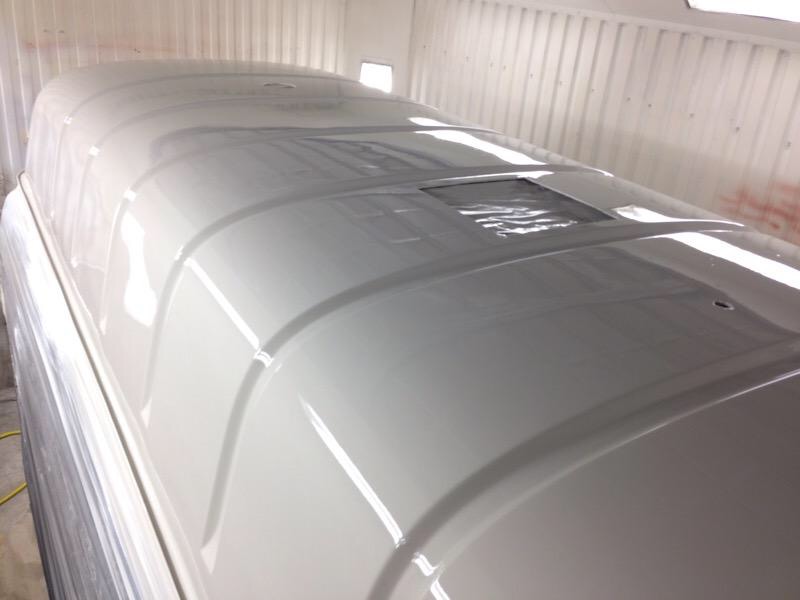
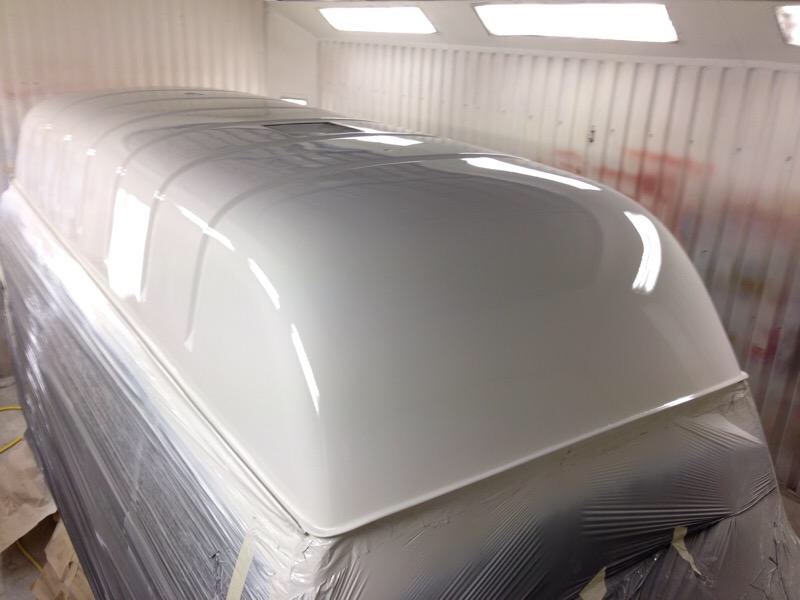
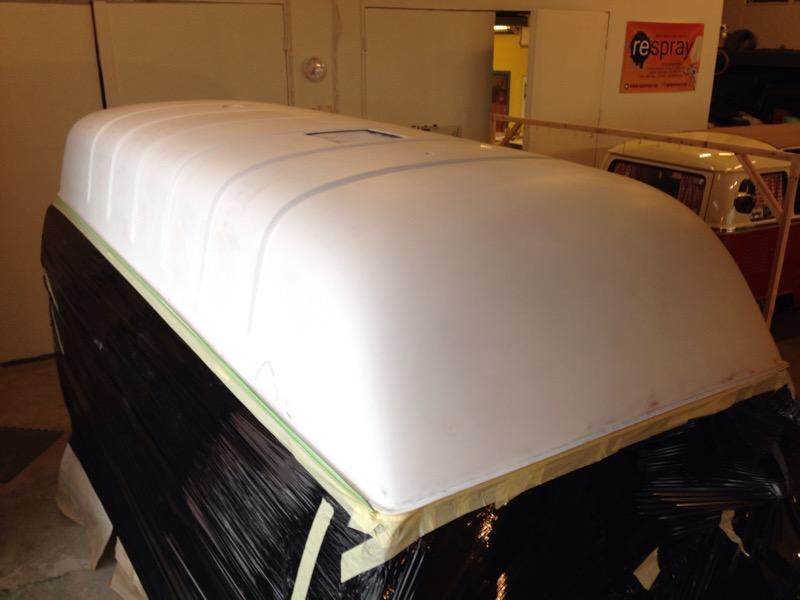
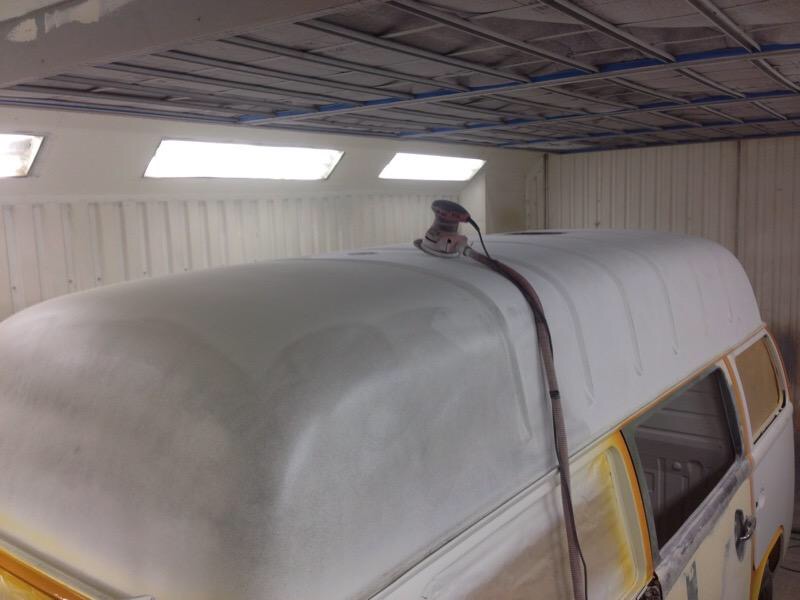
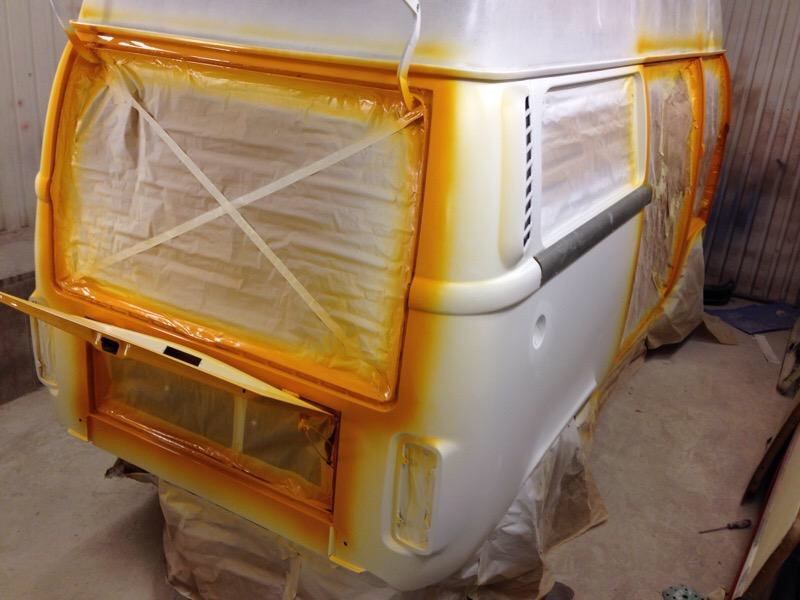
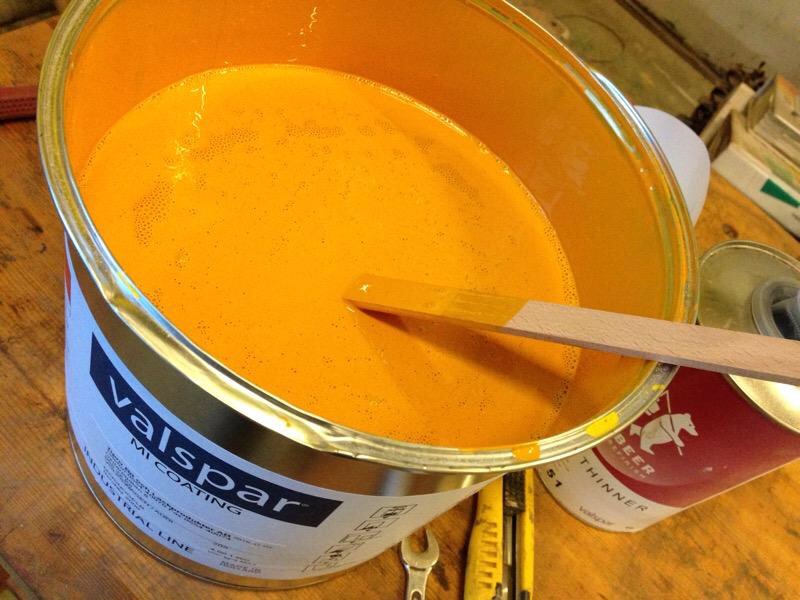
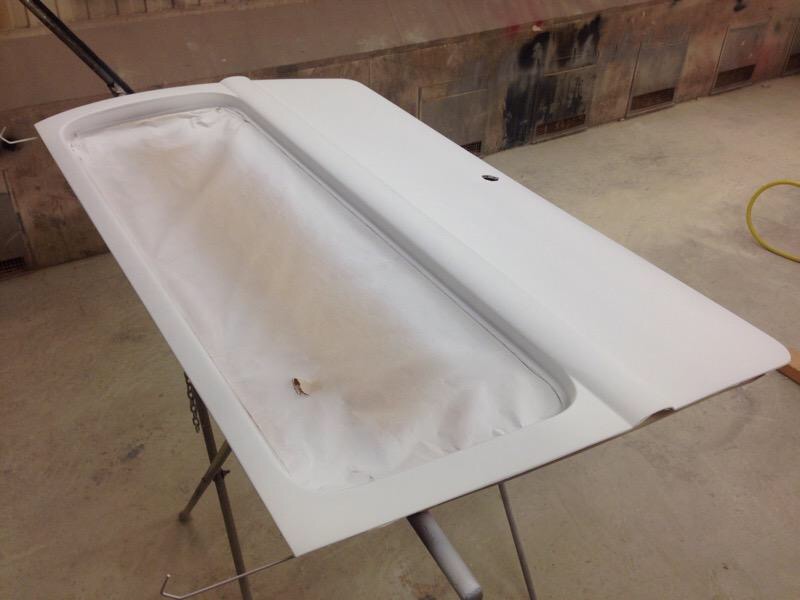
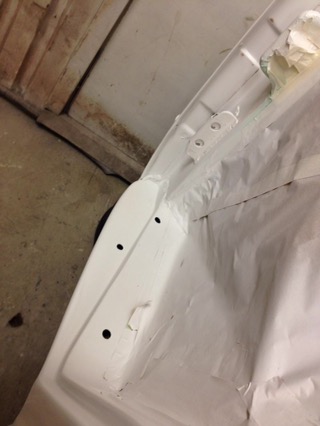
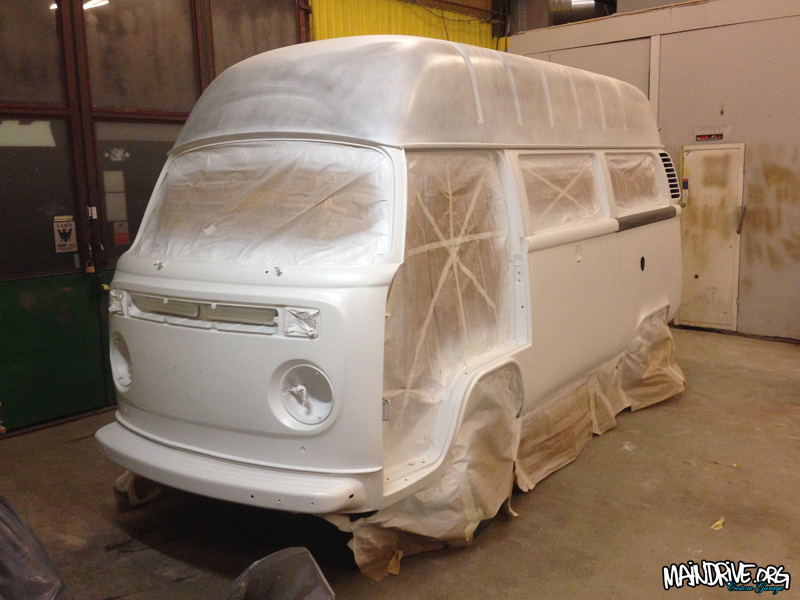
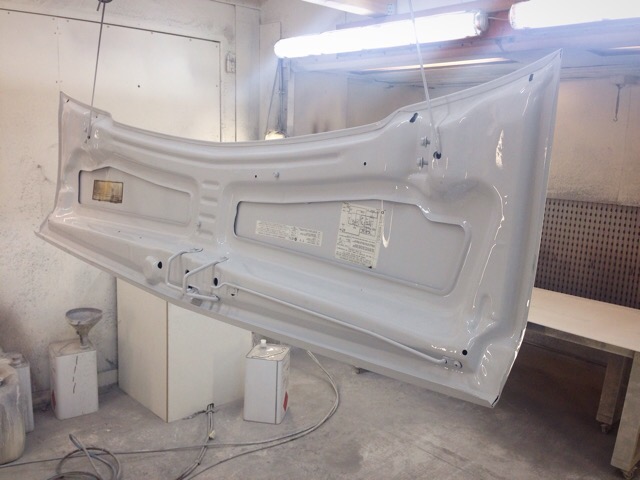
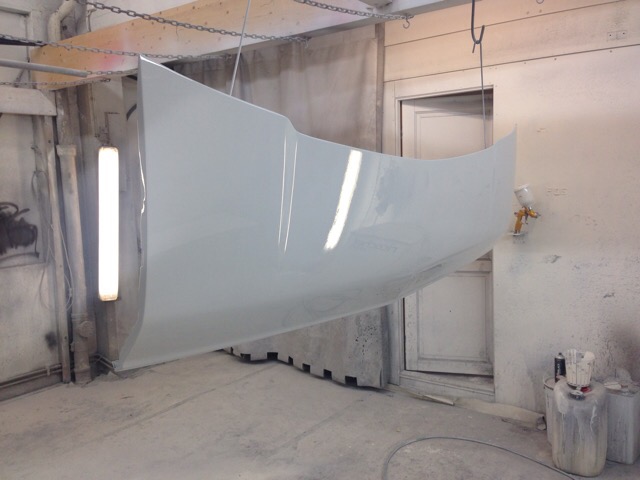
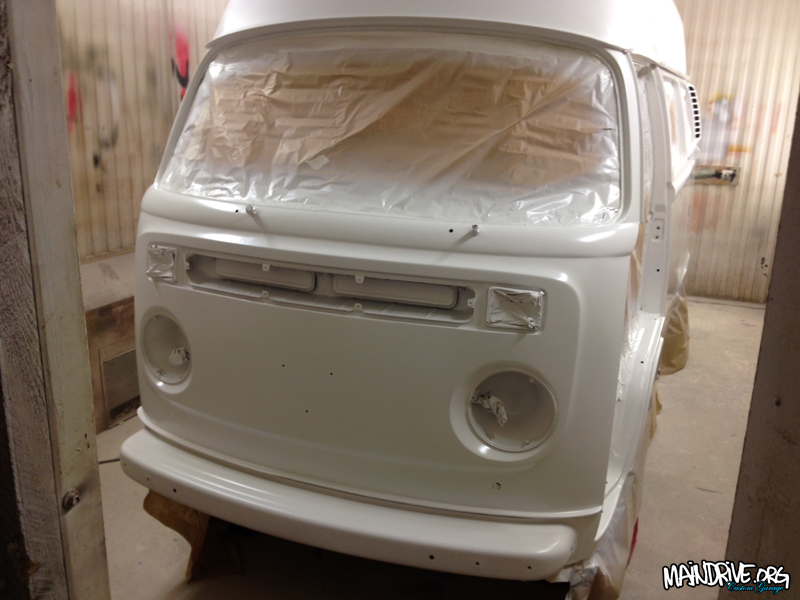
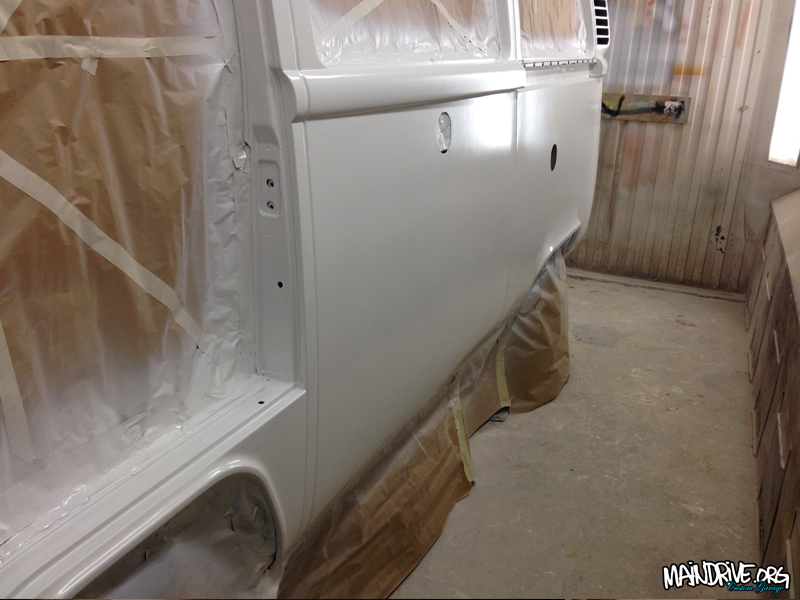
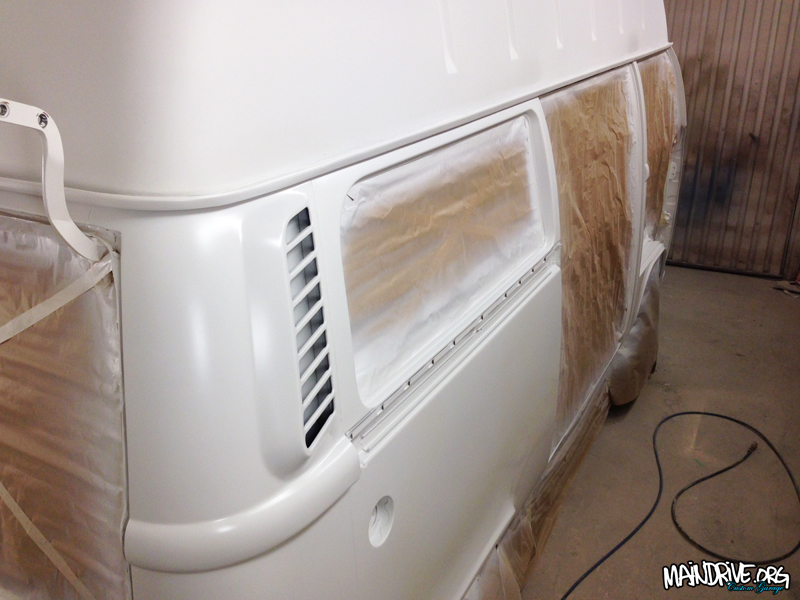
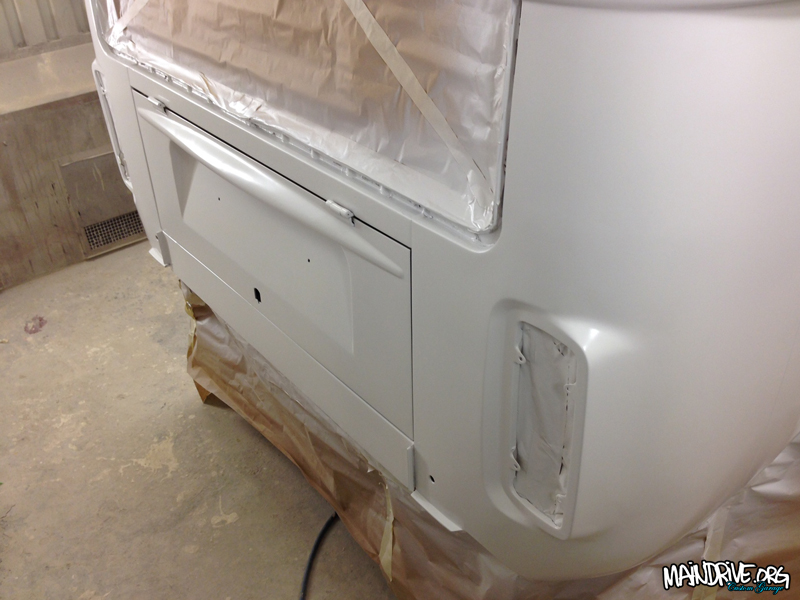
Lots of work have been done lately on the VW Baywindow Highroof! Whole roof have been finished in California White color. All doors and lids have been painted on the insides and then fitted back on the body. All panels are now sanded in 800grit and ready for toppaint in VW L20a Marino Yellow!
#highroofbayproject
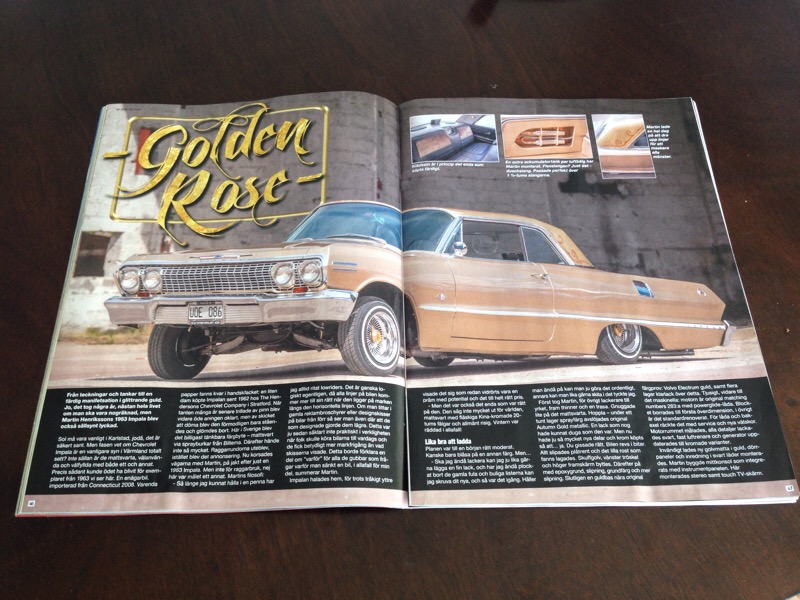
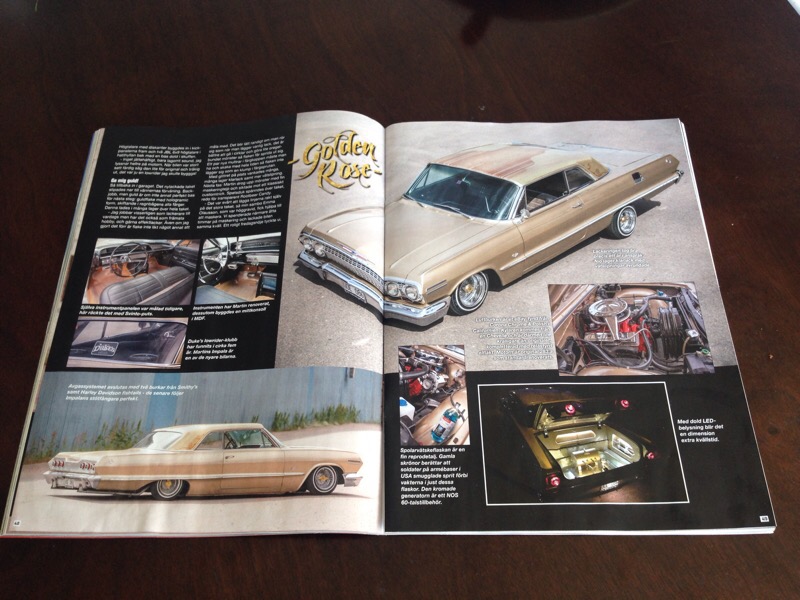
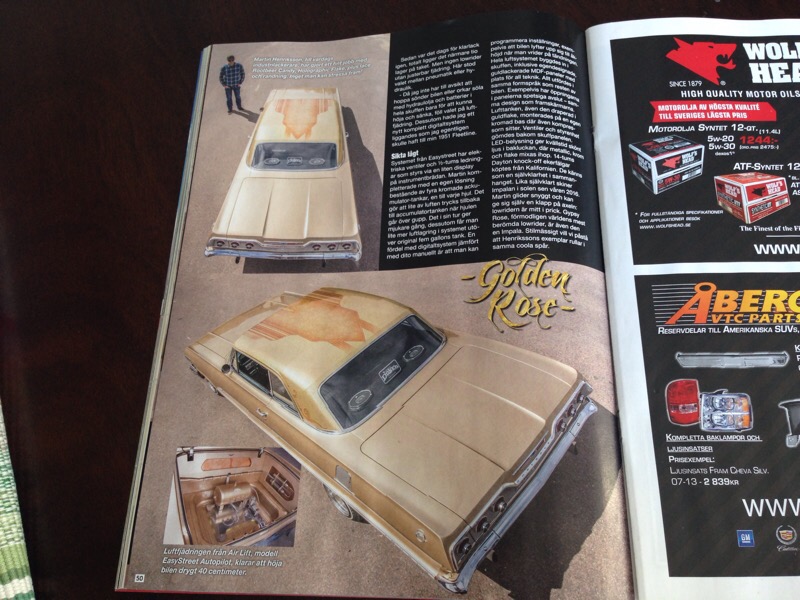
In the latest issue of Power Magazine you can read all about my 1963 Chevrolet Impala lowrider that I built finish recently. More build pics can be found here on the website under Rides & Projects in Menu.
www.powermagazine.se
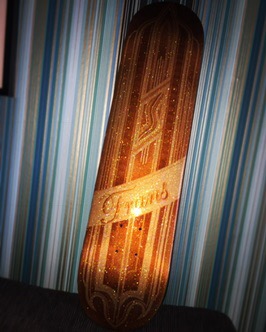
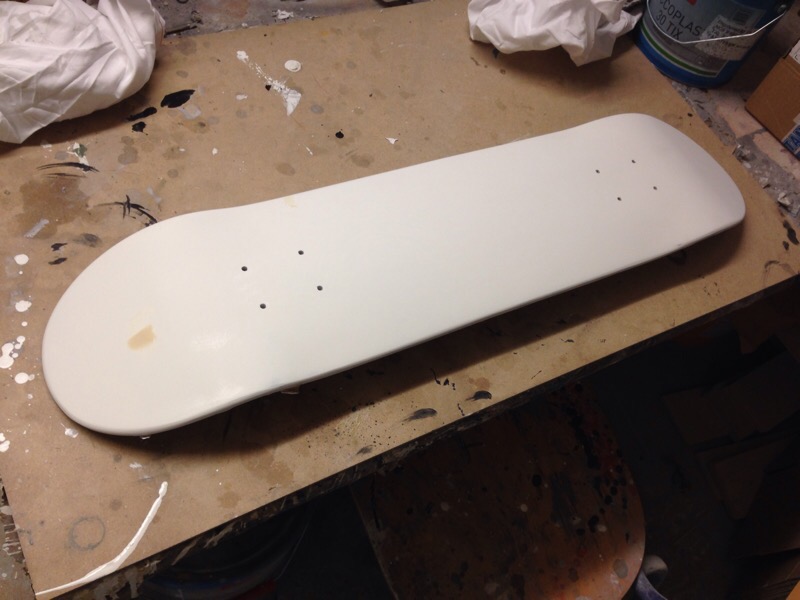
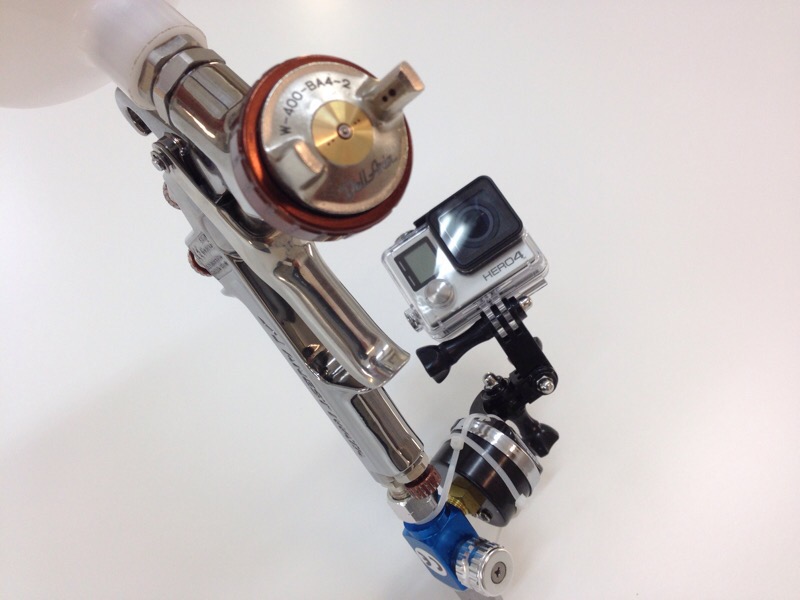
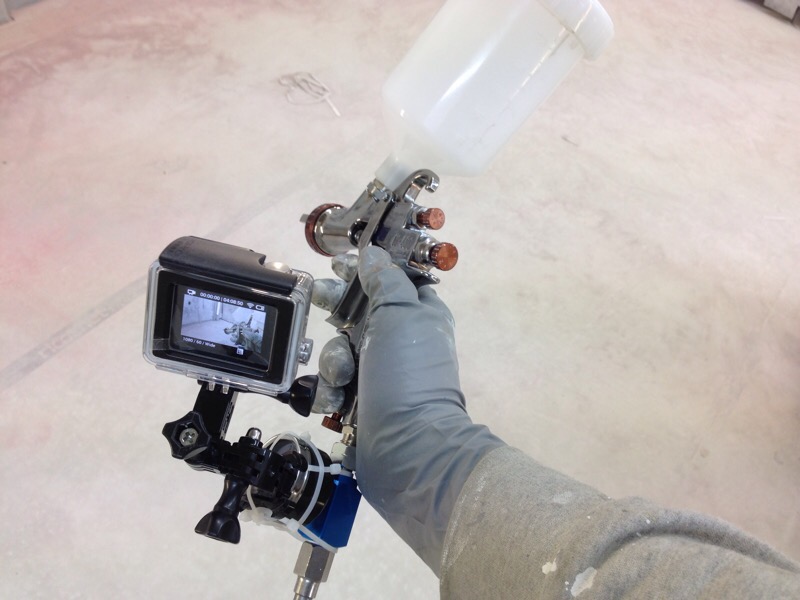
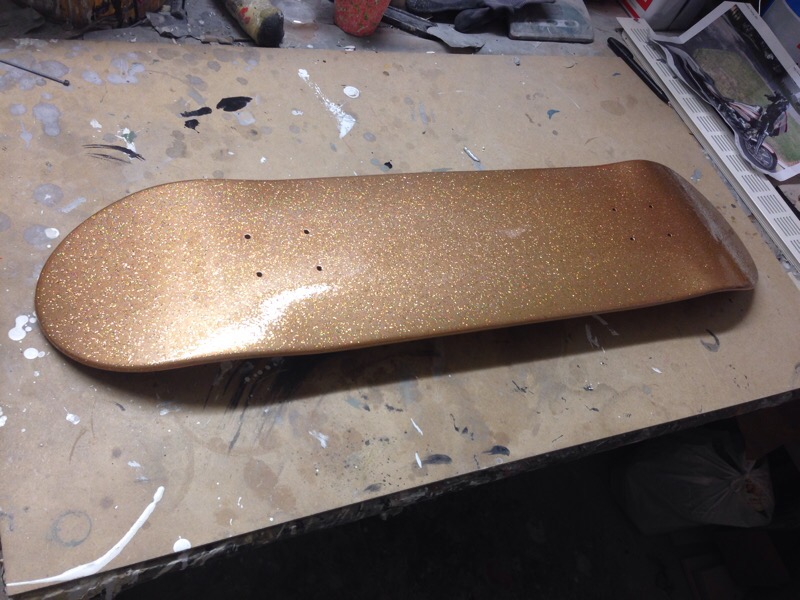
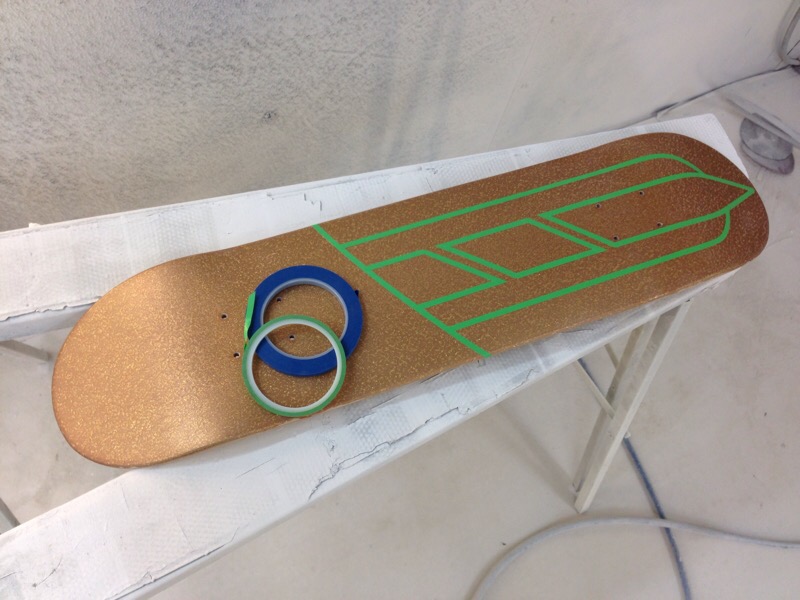
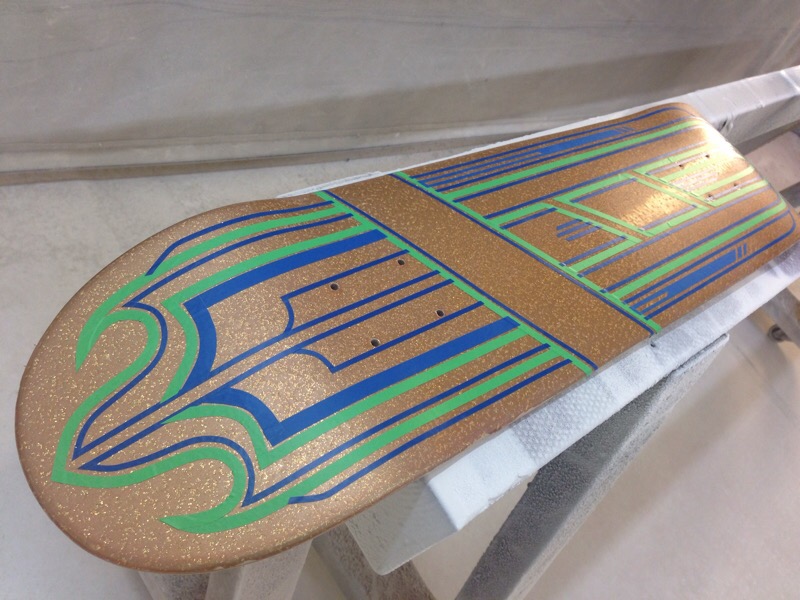
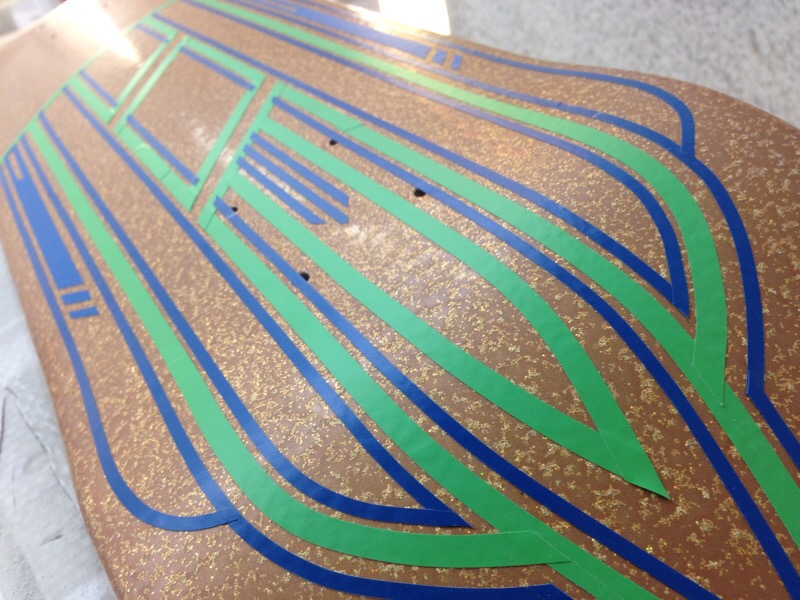
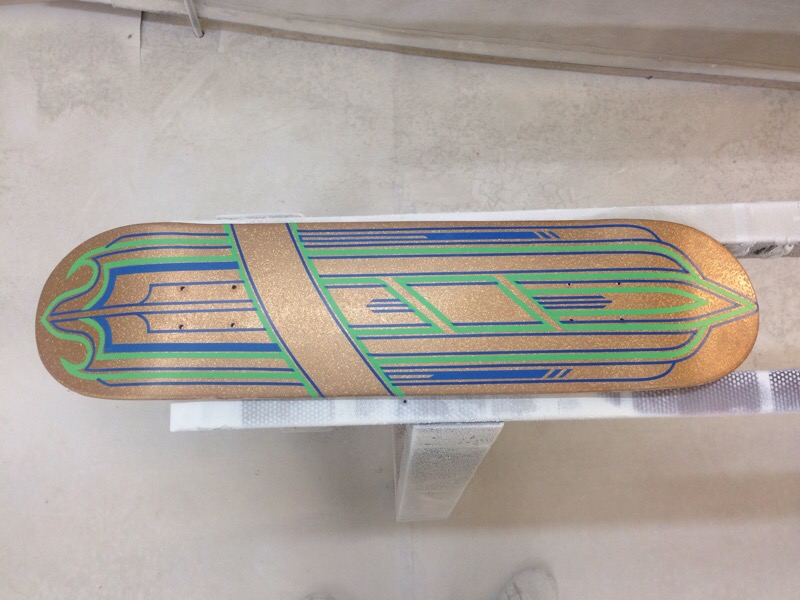
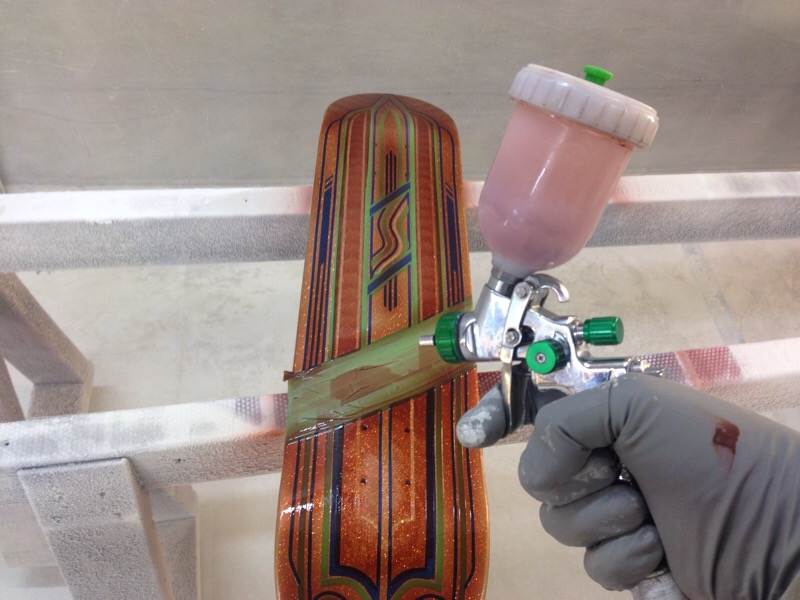
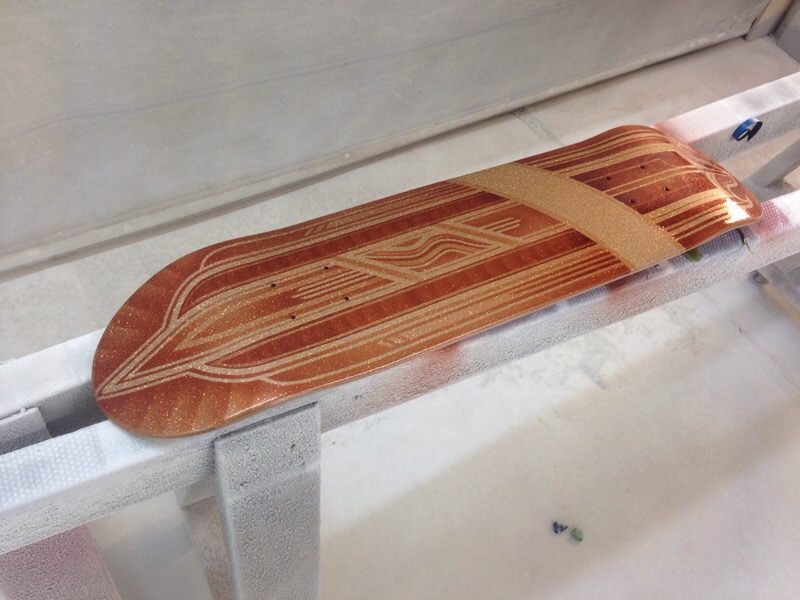
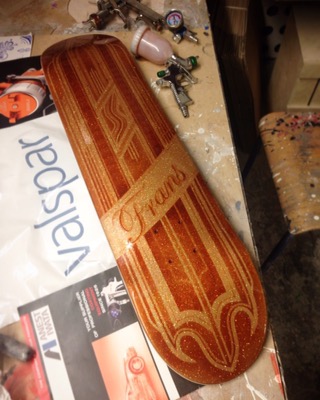
Short movieclip from when I painted the skate deck, check out all videos on the Maindrive Youtube channel and dont forget to subscribe: https://m.youtube.com/c/MainDrive
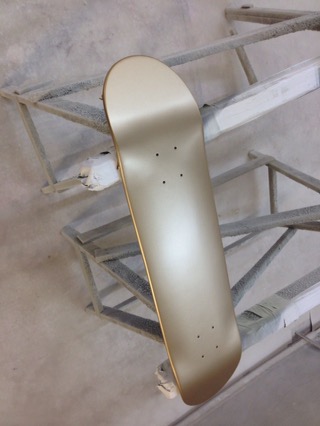
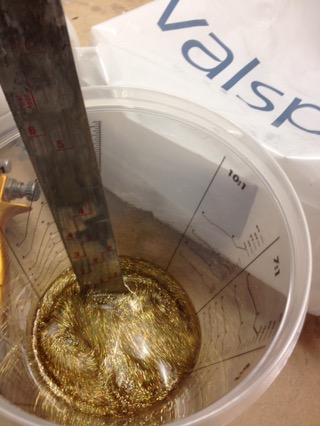
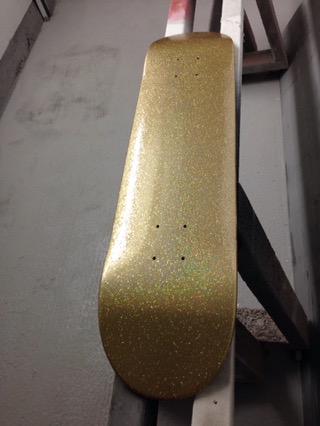
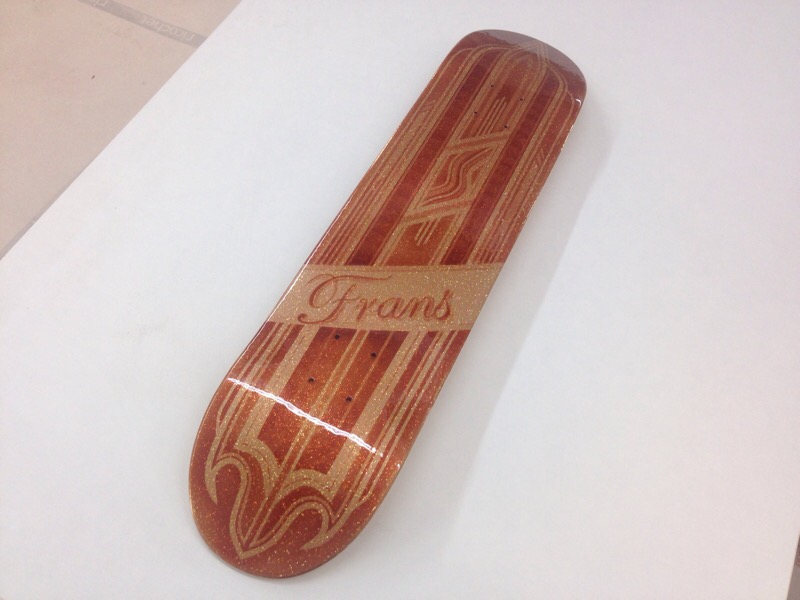
Painted a skateboard for my son Frans. Goldbase with hologramic metalflake in gold that shifts in all of the colorspectra and then I lined up a classic lowrider design that later was painted with candy paint in Root beer shade. Topping it all off with loads of clearcoat and sanding between each layer to get it super smoooth, like a mirror! Lots of hours in this board, I hope he dont make a boardslide with it 😉
Want something custom painted in flake? Just send me a message at: info@maindrive.org
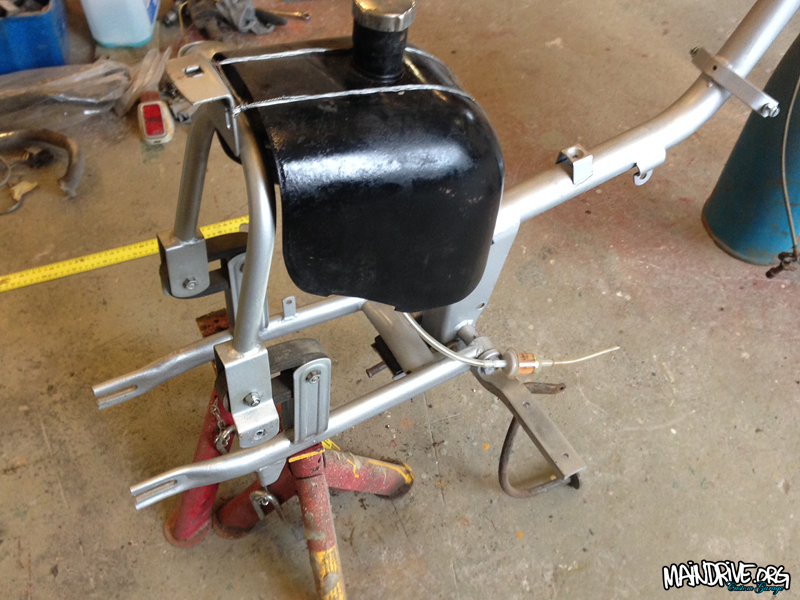
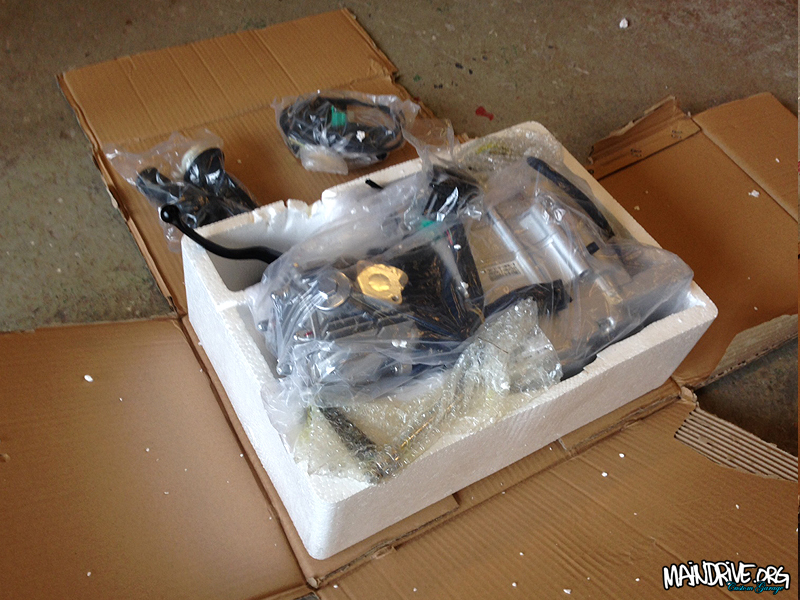
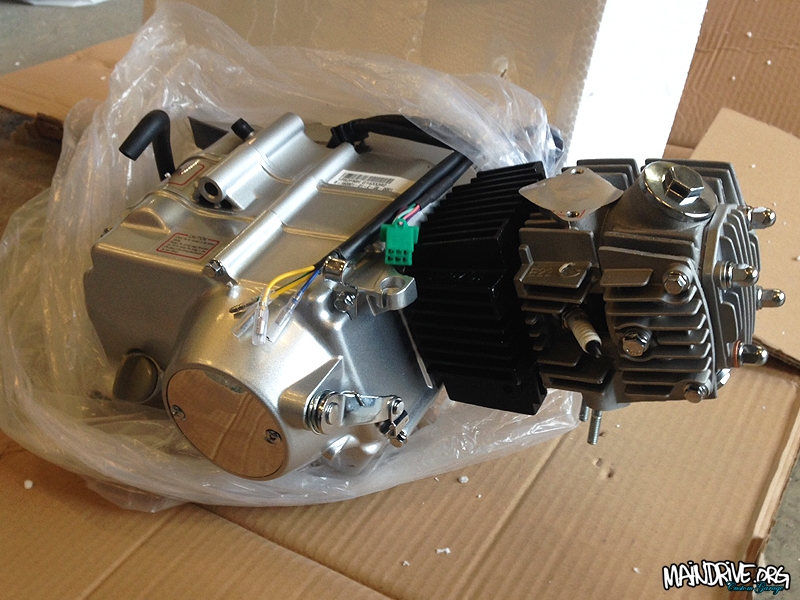
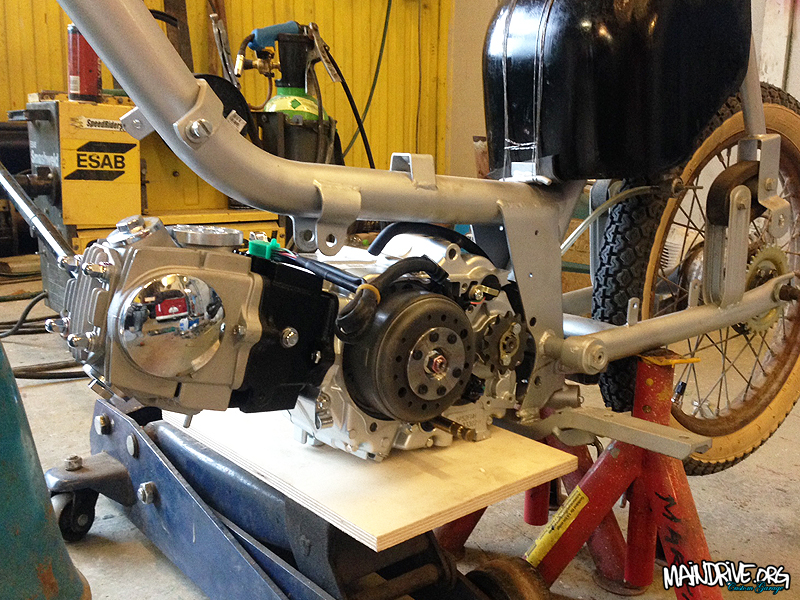
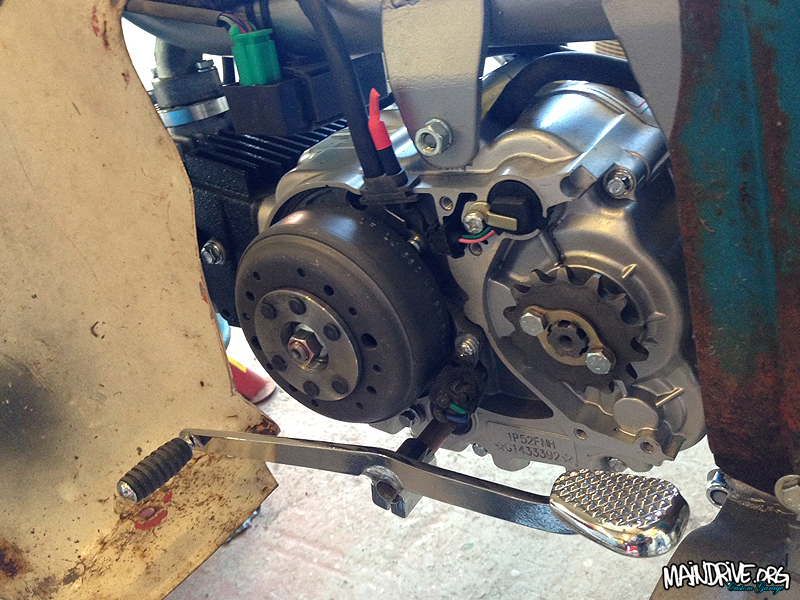
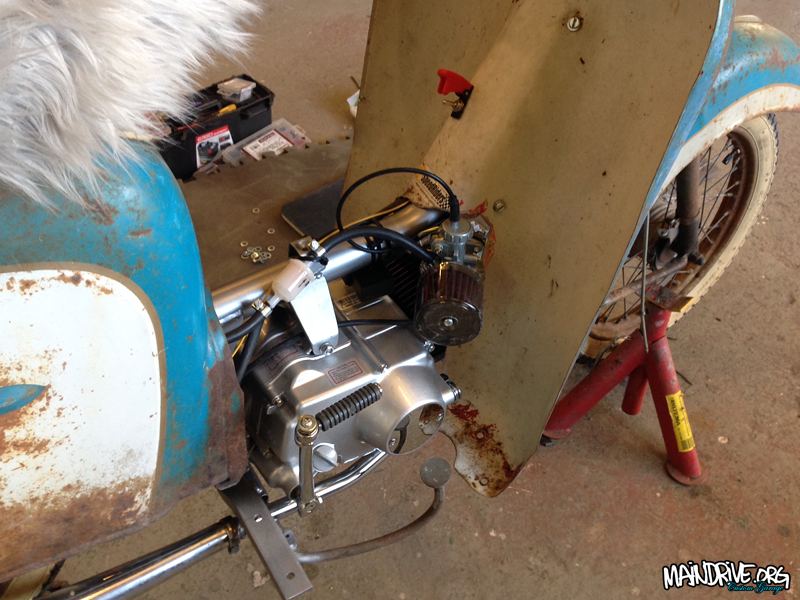
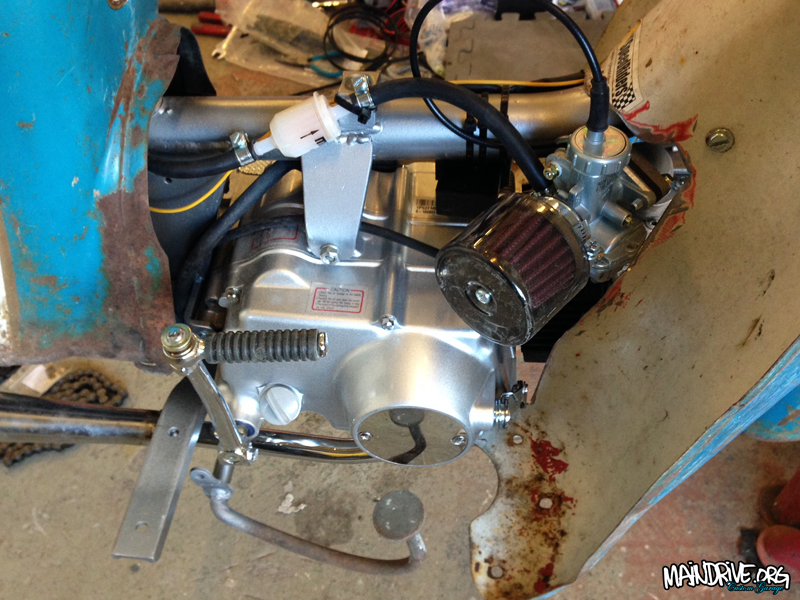
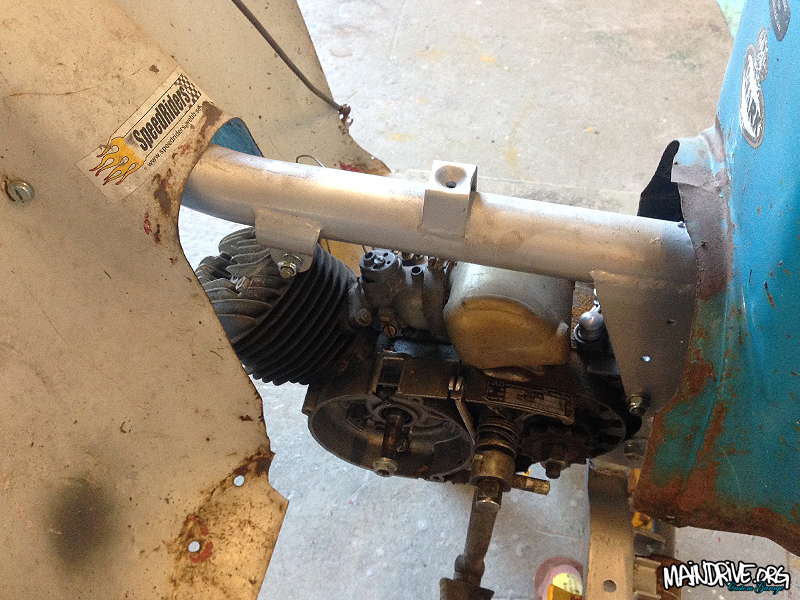
Sorry for late update! ALOT have been done to this project. Fueltank have been cleaned with citrusacid inside, looks like new now. Frame have been reinforced, all seams have been fully welded instead of factory spotwelds and rear swingarm have been boxed for the extra torque from the new engine. Rearend have been lowered in the suspension 40mm also for looks. Frame have got new engine mounts welded in place after alot of measurements and calculation, then frame was stripped and sandblasted then painted in 2k silver. A brand new engine have been installed, a manual 4 speed trans, 4-stroke 110cc Lifan (Honda copy). Carburetor have fullflow airfilter. Footplates and sheetmetal around the engine had to be trimmed to make it fit. Will be a fast rustbucket! To get the same power as the new engine have I would need 8 Ilo Piano engines. 🙂
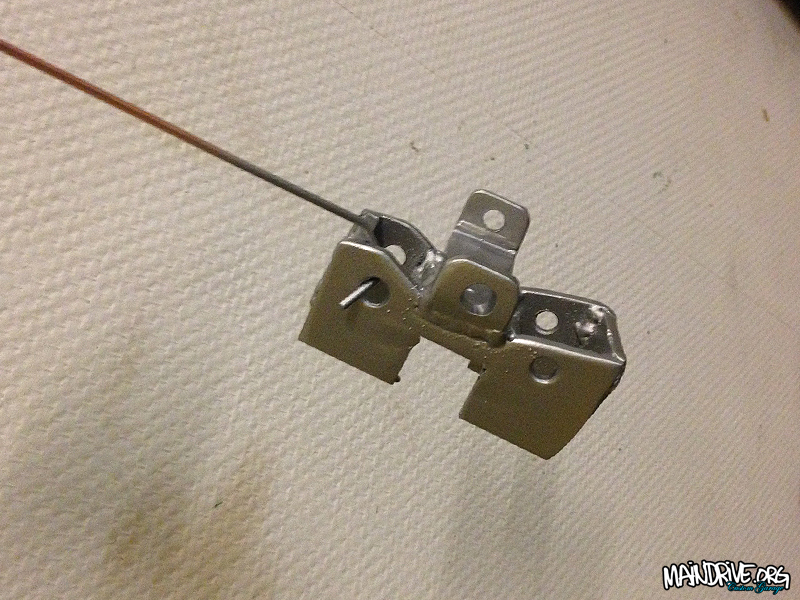
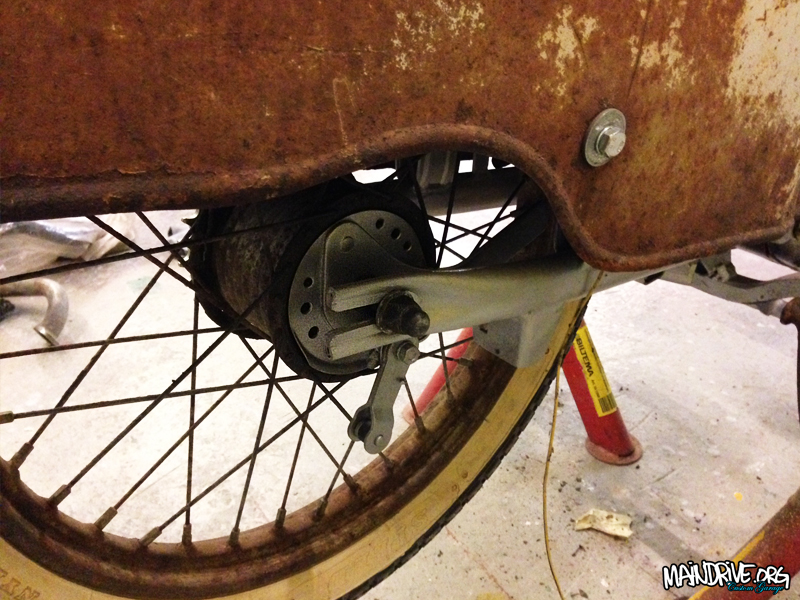
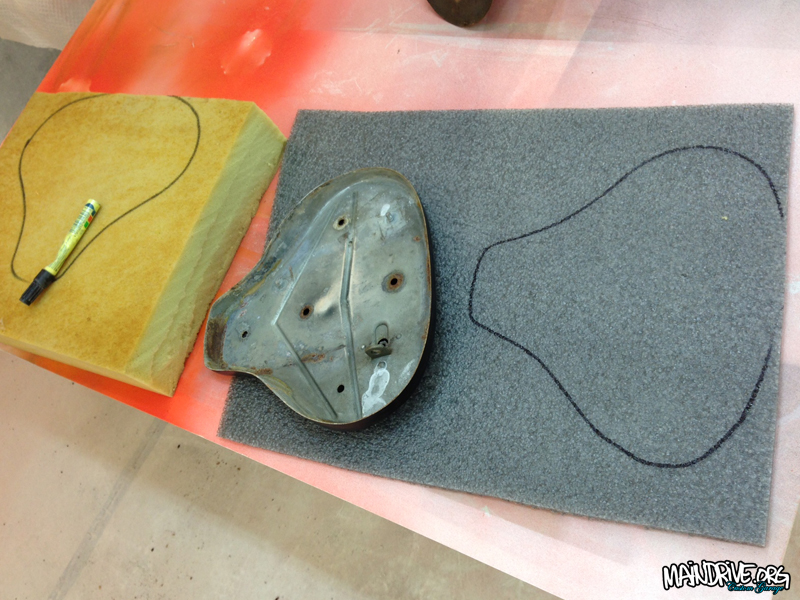
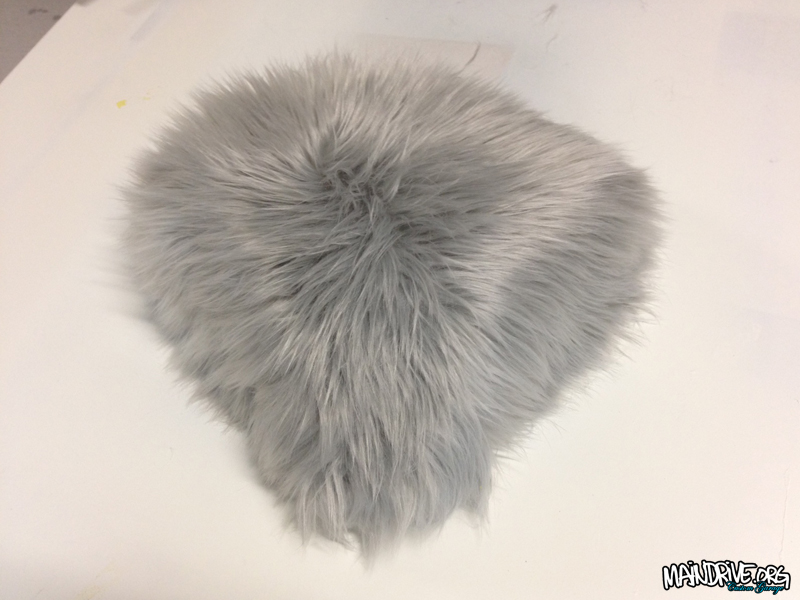
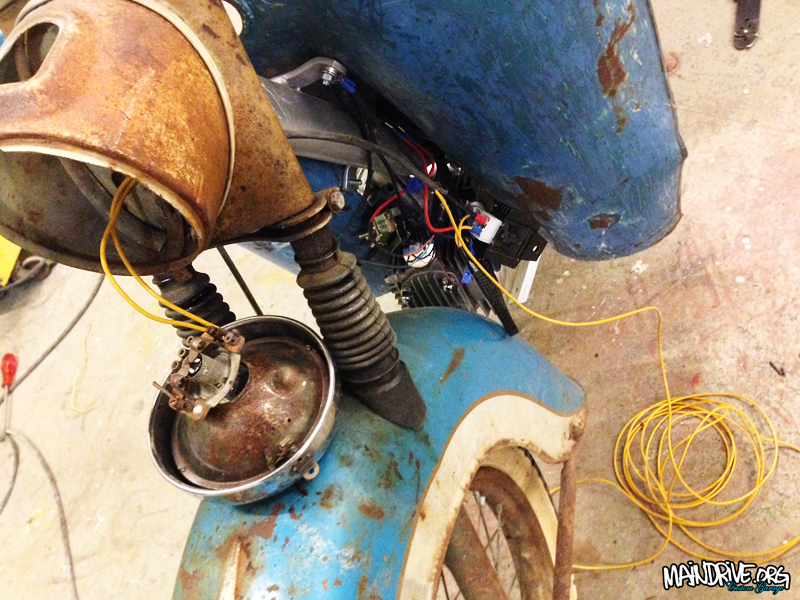
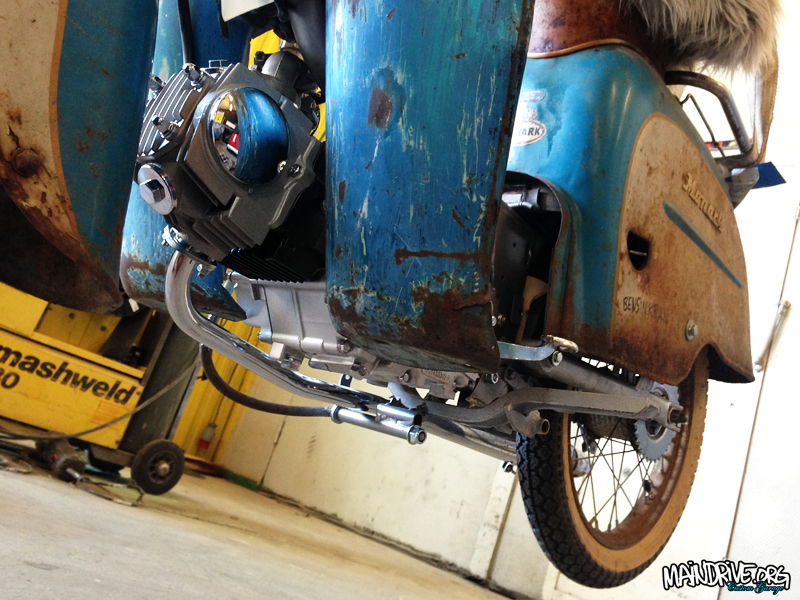
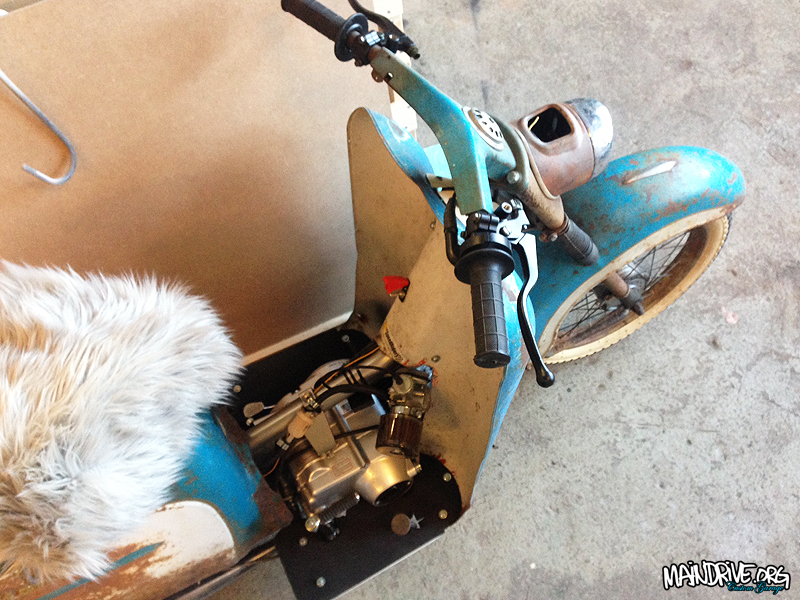
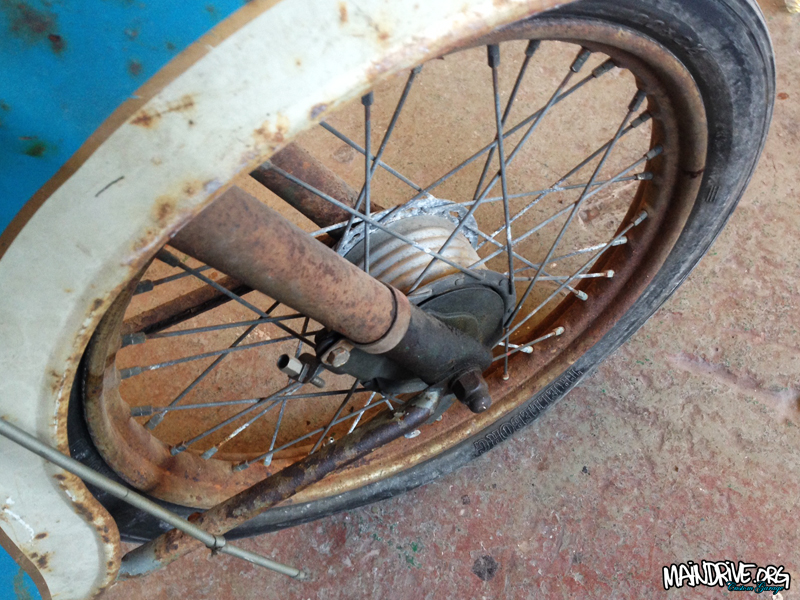
Seat got new foam and a hairy touch. 🙂 Brakes is new, front and back, new bearings and grease. Also made some holes in the brakehubs/covers for better cooling the brakes at high speeds. New tires with whitewalls in place too. New chain and rear sprocket is 36 cog and front (engine) 14 cog (maybe change to 16 cog later on). Had to fabricate a own chain tensioner, plastic wheel with bearing, to get the right slack and to clear swingarm mount, similar like on a motocross dirtbike. Rear brake mechanism have been shorted and moved and welded 15mm lower than stock location, to clear the exhaustpipe. The old rear stock muffler is used again, but modified inside for better flow of course and extra outlet pipes. New wireharness is in for CDI box, coil, ignition, voltregulator, switch and front and rear lights etc. Managed to hide the most of the electrics on the inside of the front breastplate on the legcovers. Now also 12v instead of 6volts and electric ignition, no more adjusting points! Airplane safetyswitch to turn ON or OFF the engine. All new fueltap, fuellines and filters.
Handlebar now sports new handles and wires also a bicycle computer with speedometer. After 20km the engine oil should be changed and first after 1000km the engine will be fully “seated and runned in” since its brand new with 0 miles on it. So need to drive it nice and easy in the begining. Its now ready for start and test run. A new update will come soon!
#sleepermonarscoot
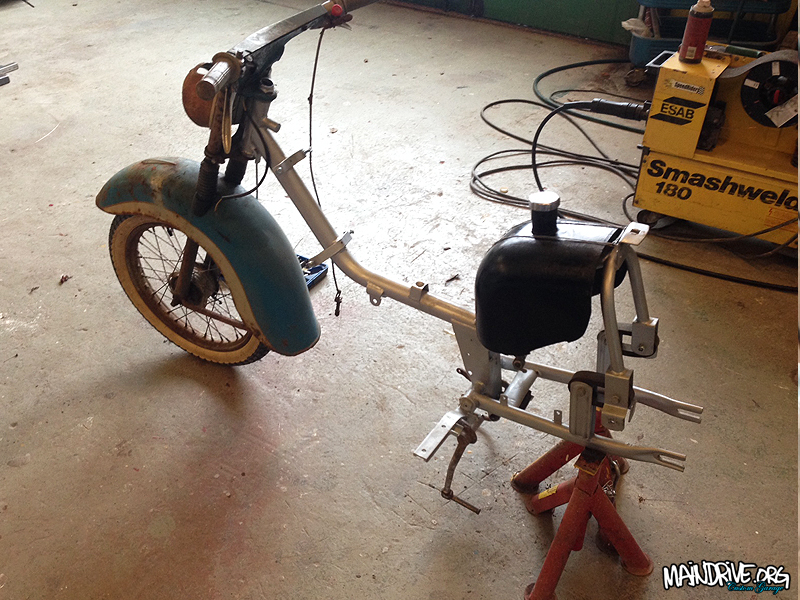
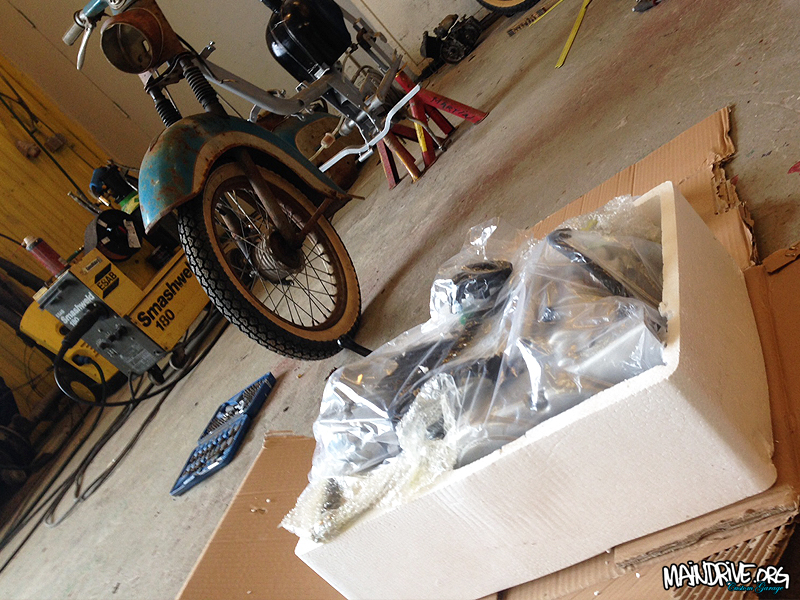

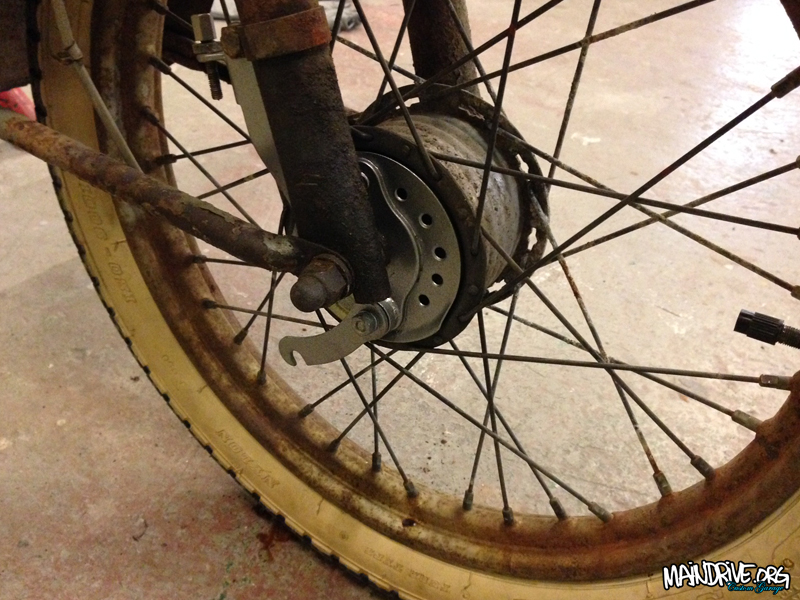

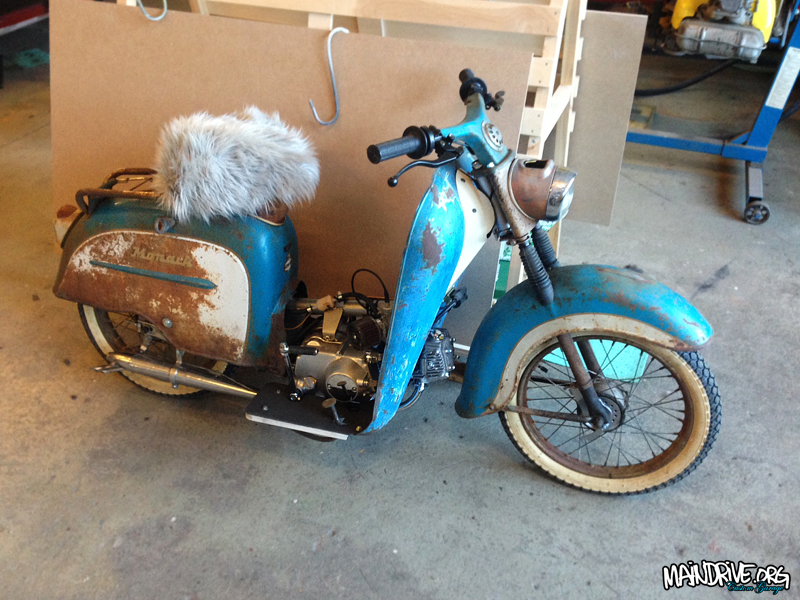
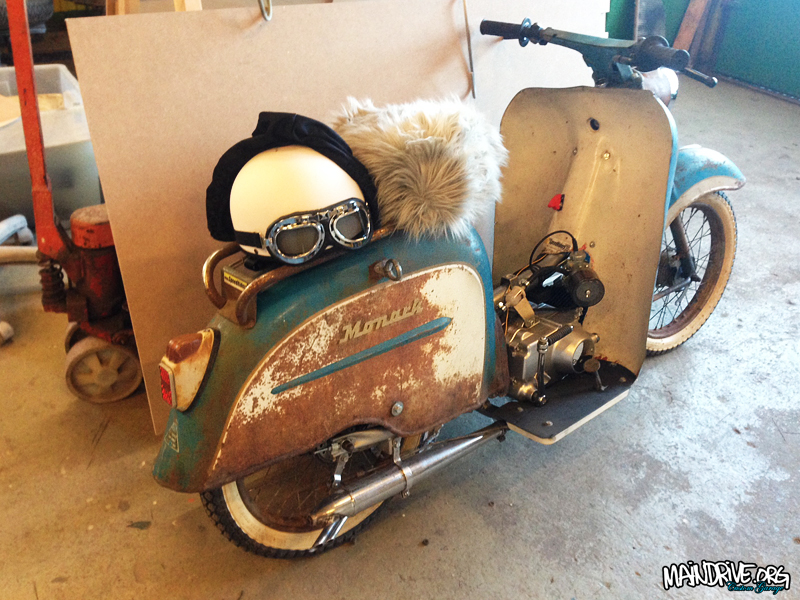
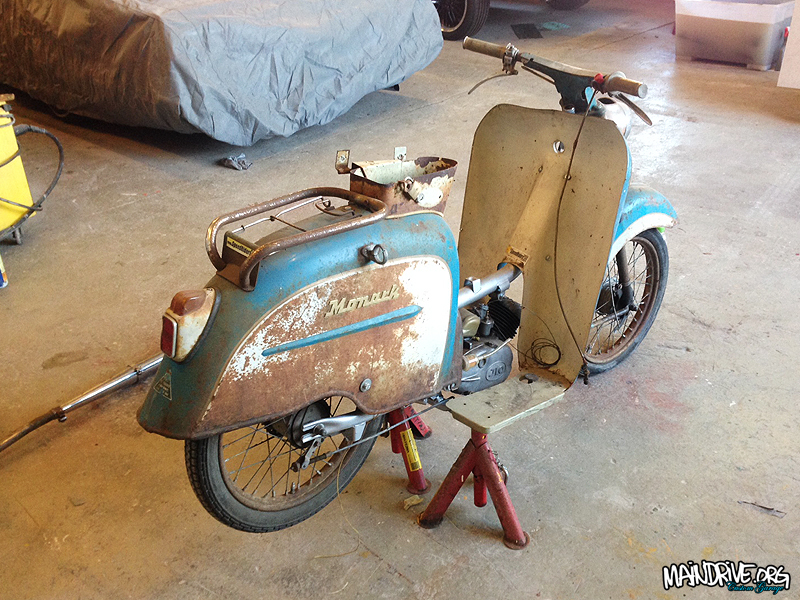
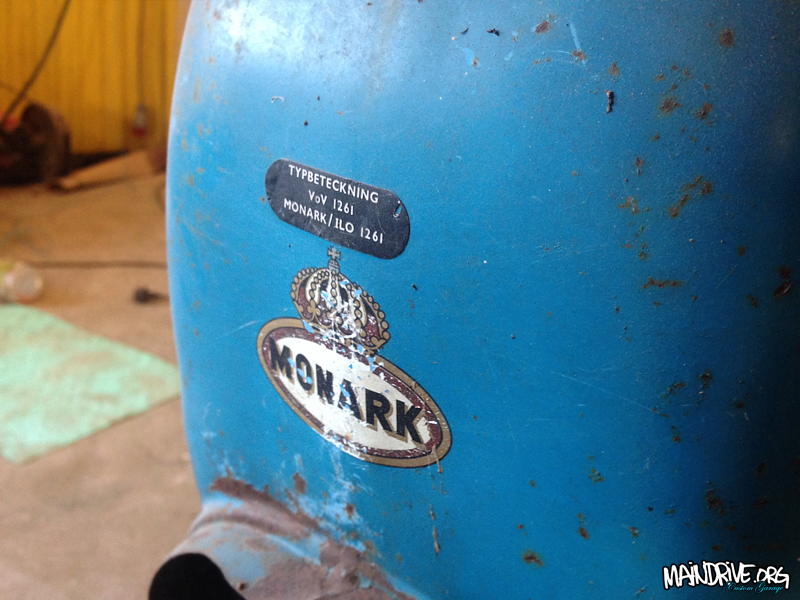
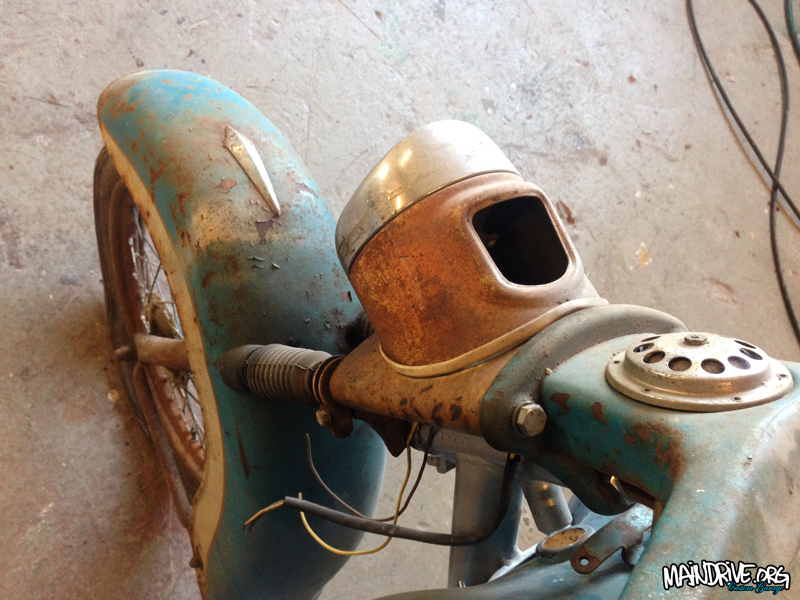
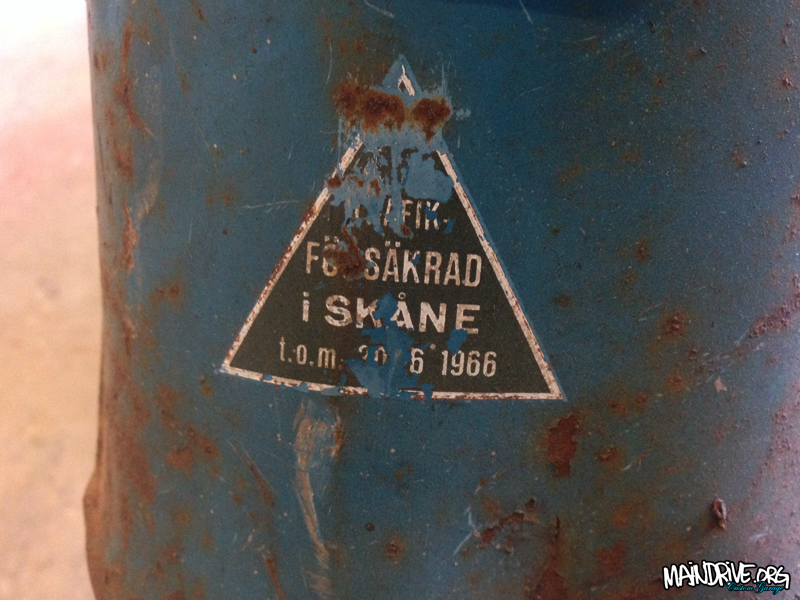
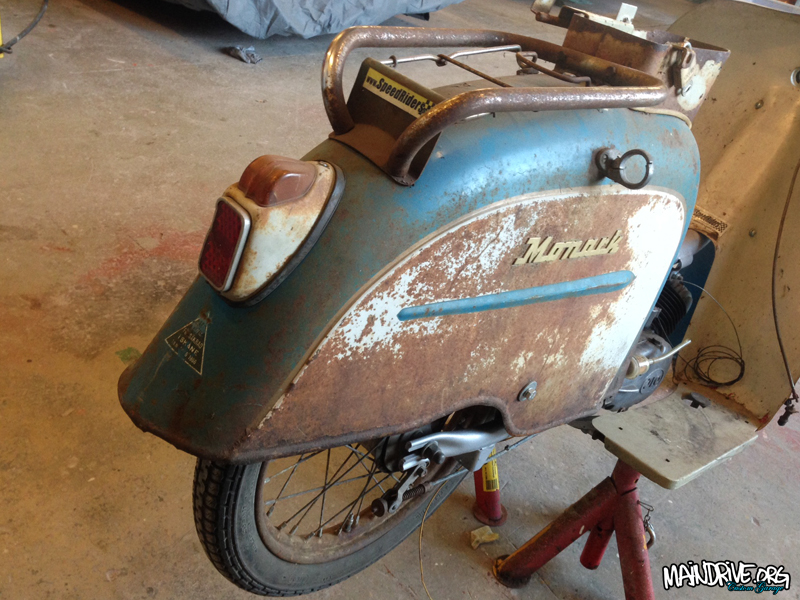
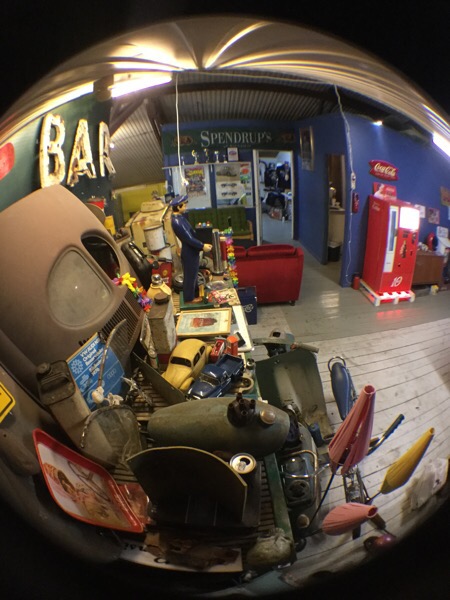
It is time to get this beast out on the road again! A 1961 Monark Monarscoot with a 2 speed Ilo Piano engine. It was found and digged up in the forest/woods 15 years ago and have since then been resting in my garage. Still sporting cool old SpeedRiders stickers from back in the day (1998-ish). Needs lots of love, as picture shows, basicly everything is shot and need to be replaced with new parts.
Plan is to make it a ratlooker with a updated drivetrain with more performance. 🙂 Stay tuned for more updates, this is going to be a quick build, needs to be done before the spring, so its ready for all the mopedrallys this summer. Will be a fun ride!

Have not got very much done lately. As my first son (1 year old) takes most of the time now. So that more important at the moment. But Im trying to push forward on the bus too, couple of hours after work and on weekends etc. Soon have all doors and lids in primer and then it all just needs a easy sanding and then its time for a paintjob! Have also sandblasted the fueltank cover and bellypan and got them painted and ready too. Hope to start rebuild of the 1800cc Type 4 engine in begining of February also!
More to come, but thats it for now, here is some pics…
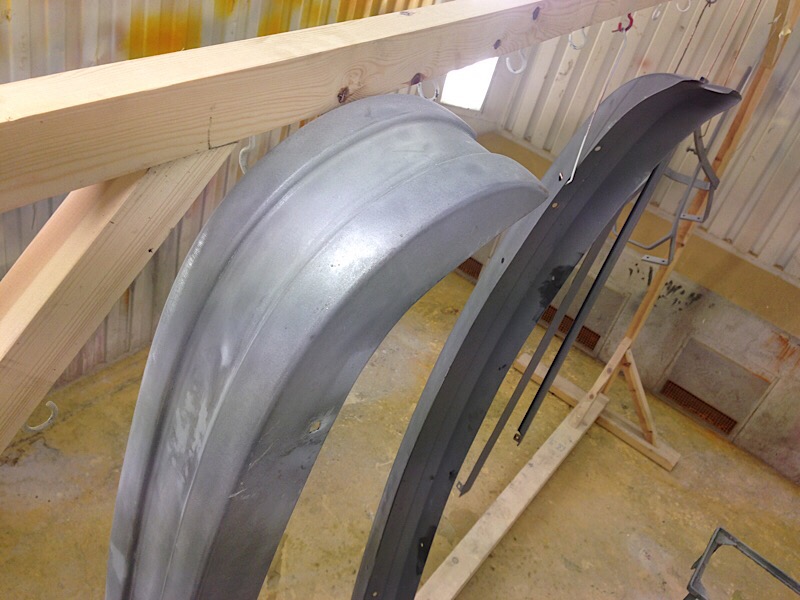
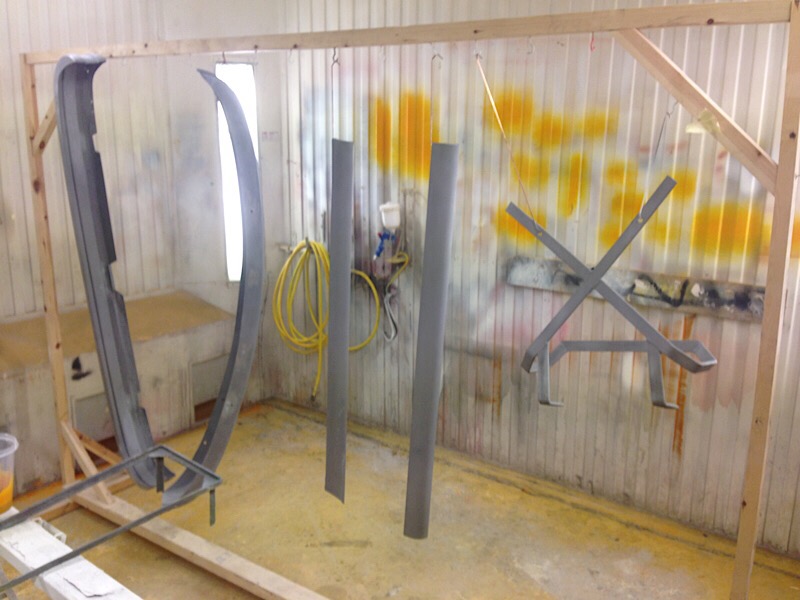
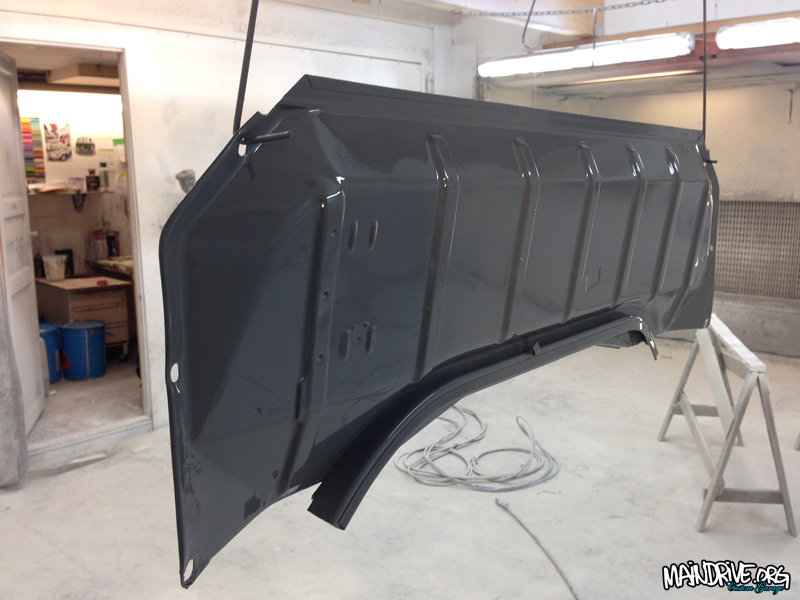
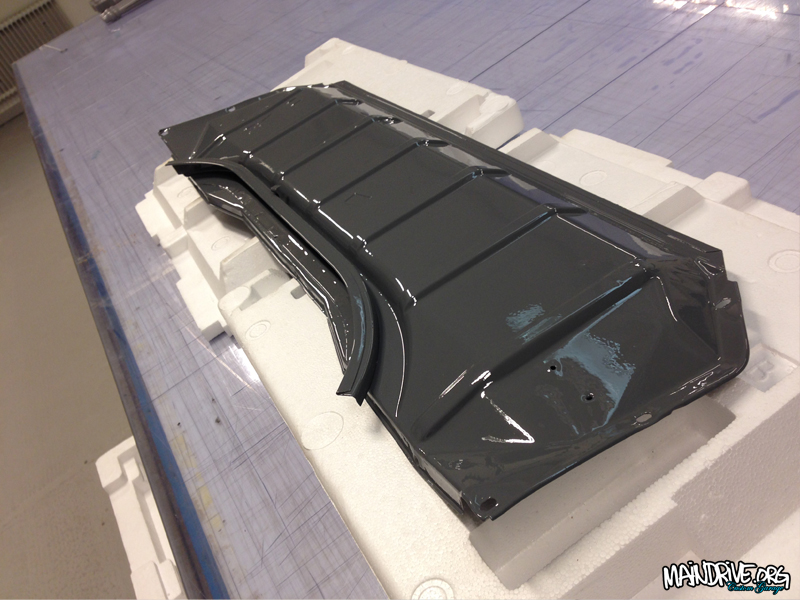
Blasted and epoxyprimer, ready for topcoat in VW factory greyish
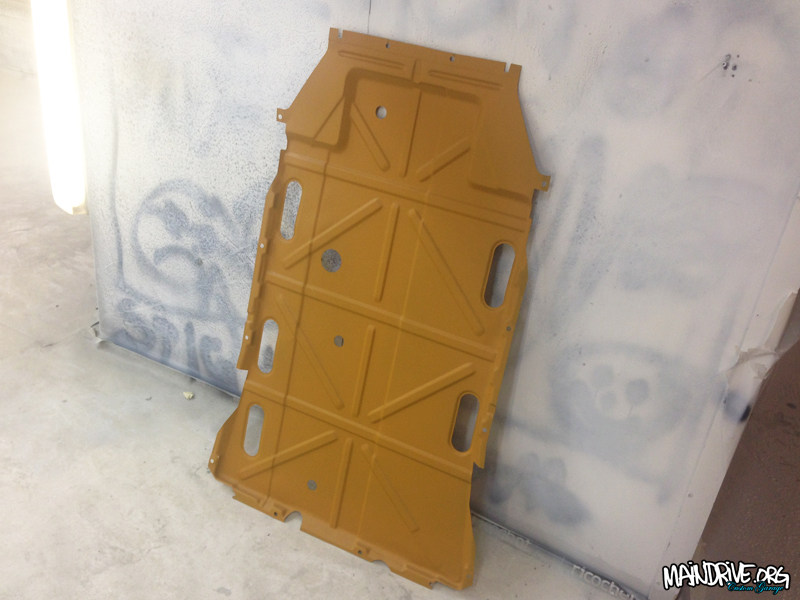
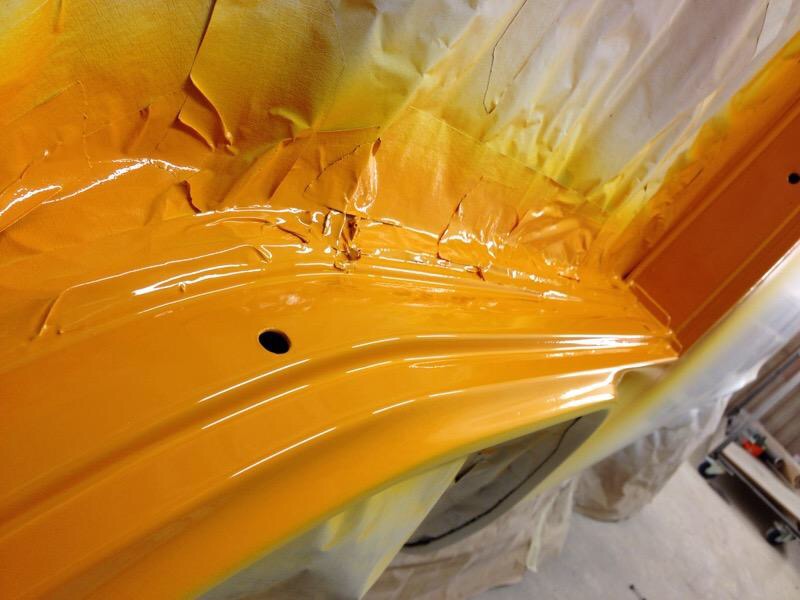
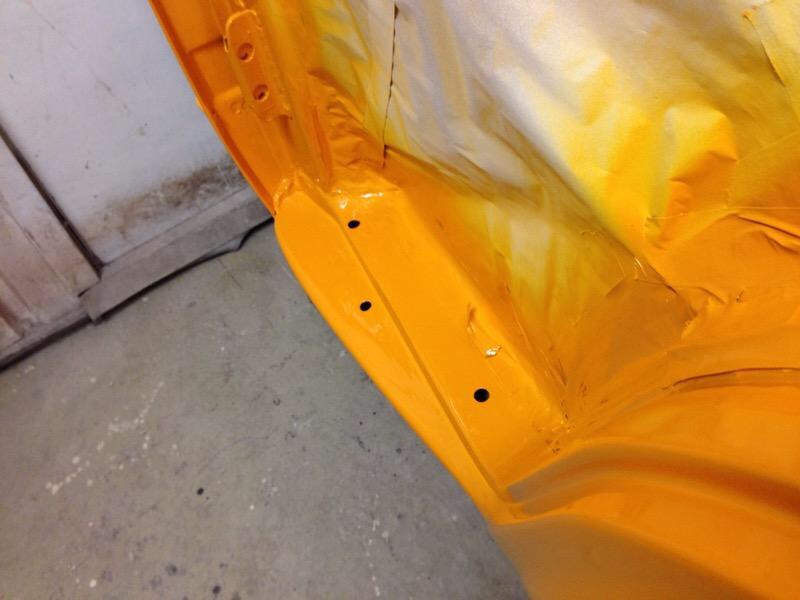
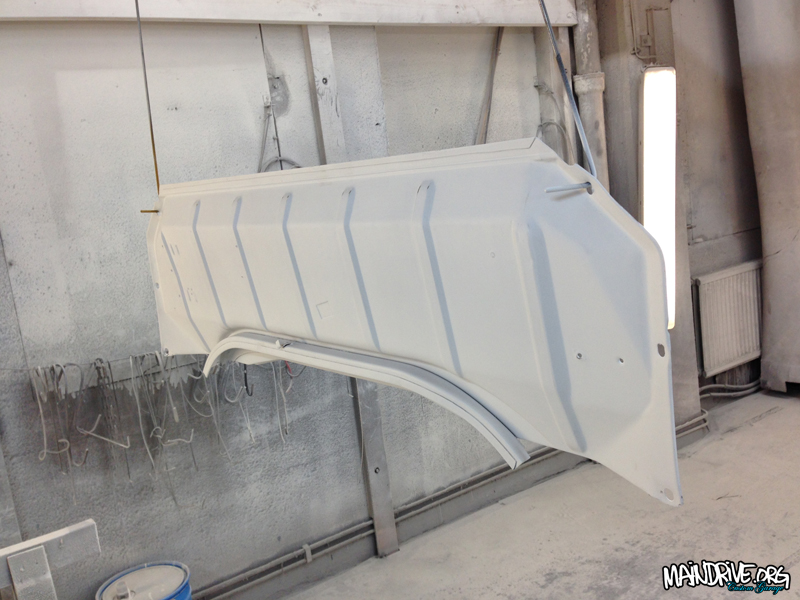
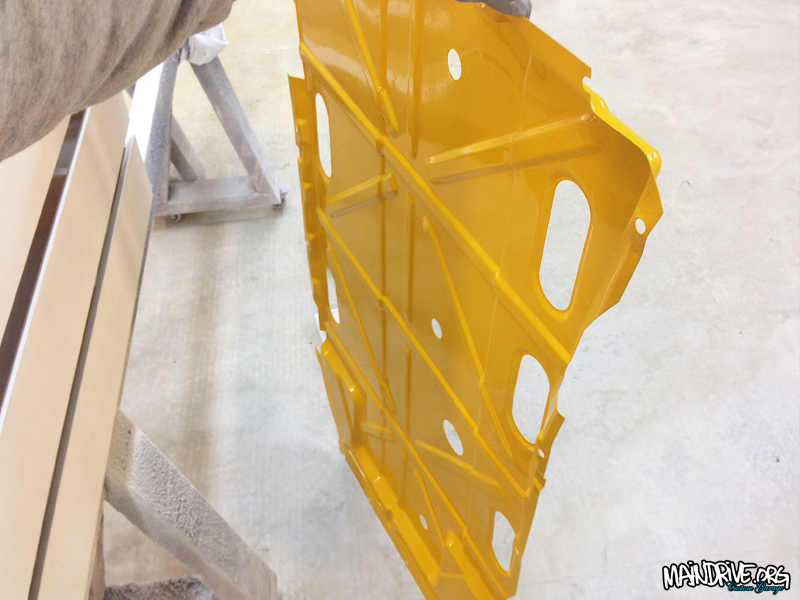
Baremetal then yellow epoxy/zinc primer
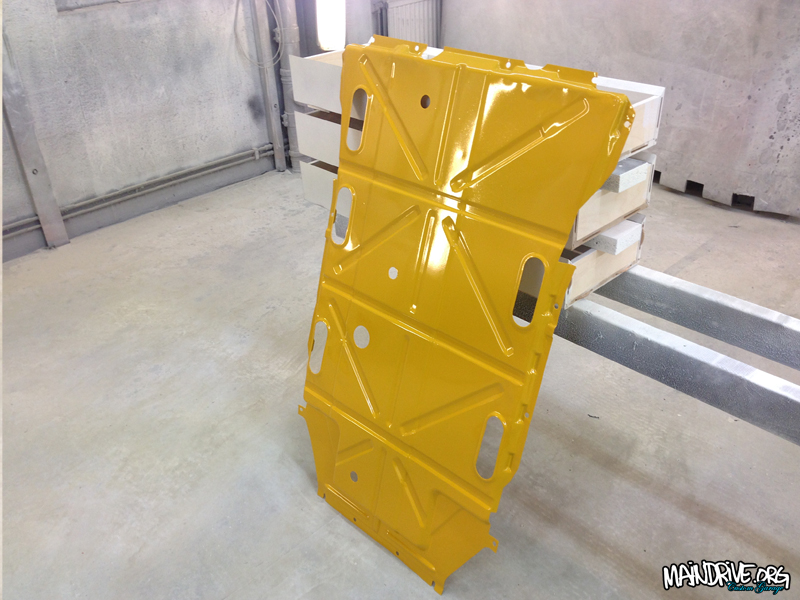
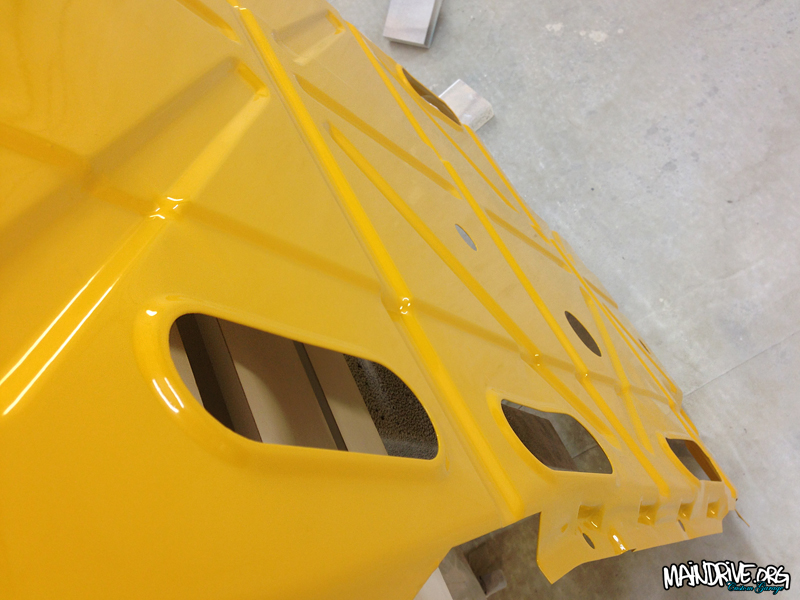
Topcoat in VW L20a Marino Yellow with 2K polypaint with elastic characteristics. So the stones wont chip the paint. The gloss on the elastic is a little less, but this panel is under the car and you normaly never see it anyway.
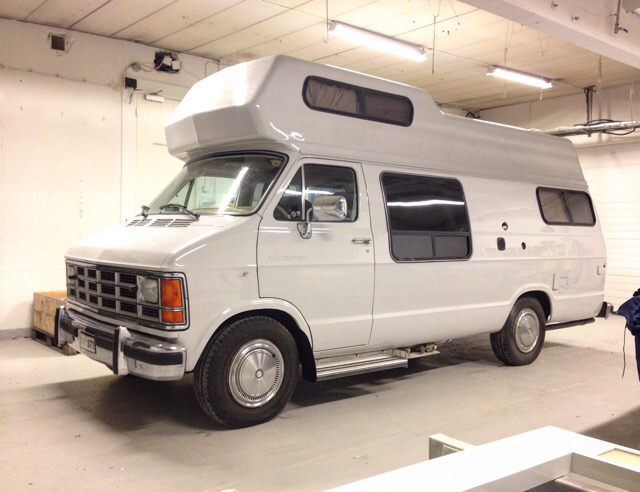
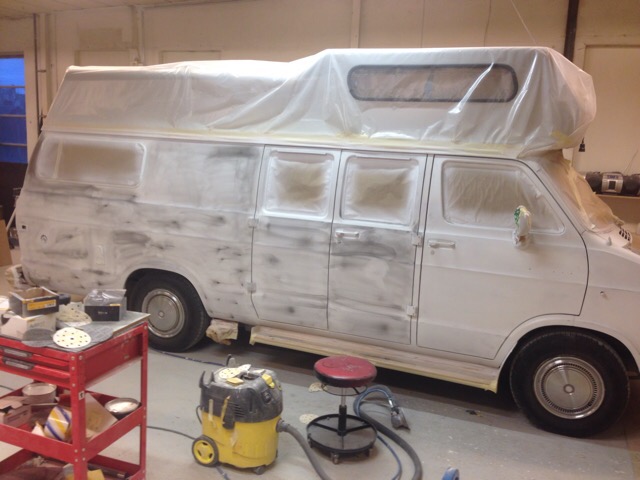
Dodge RAM campervan painted and ready.

Me and my son Frans, summer 2016.

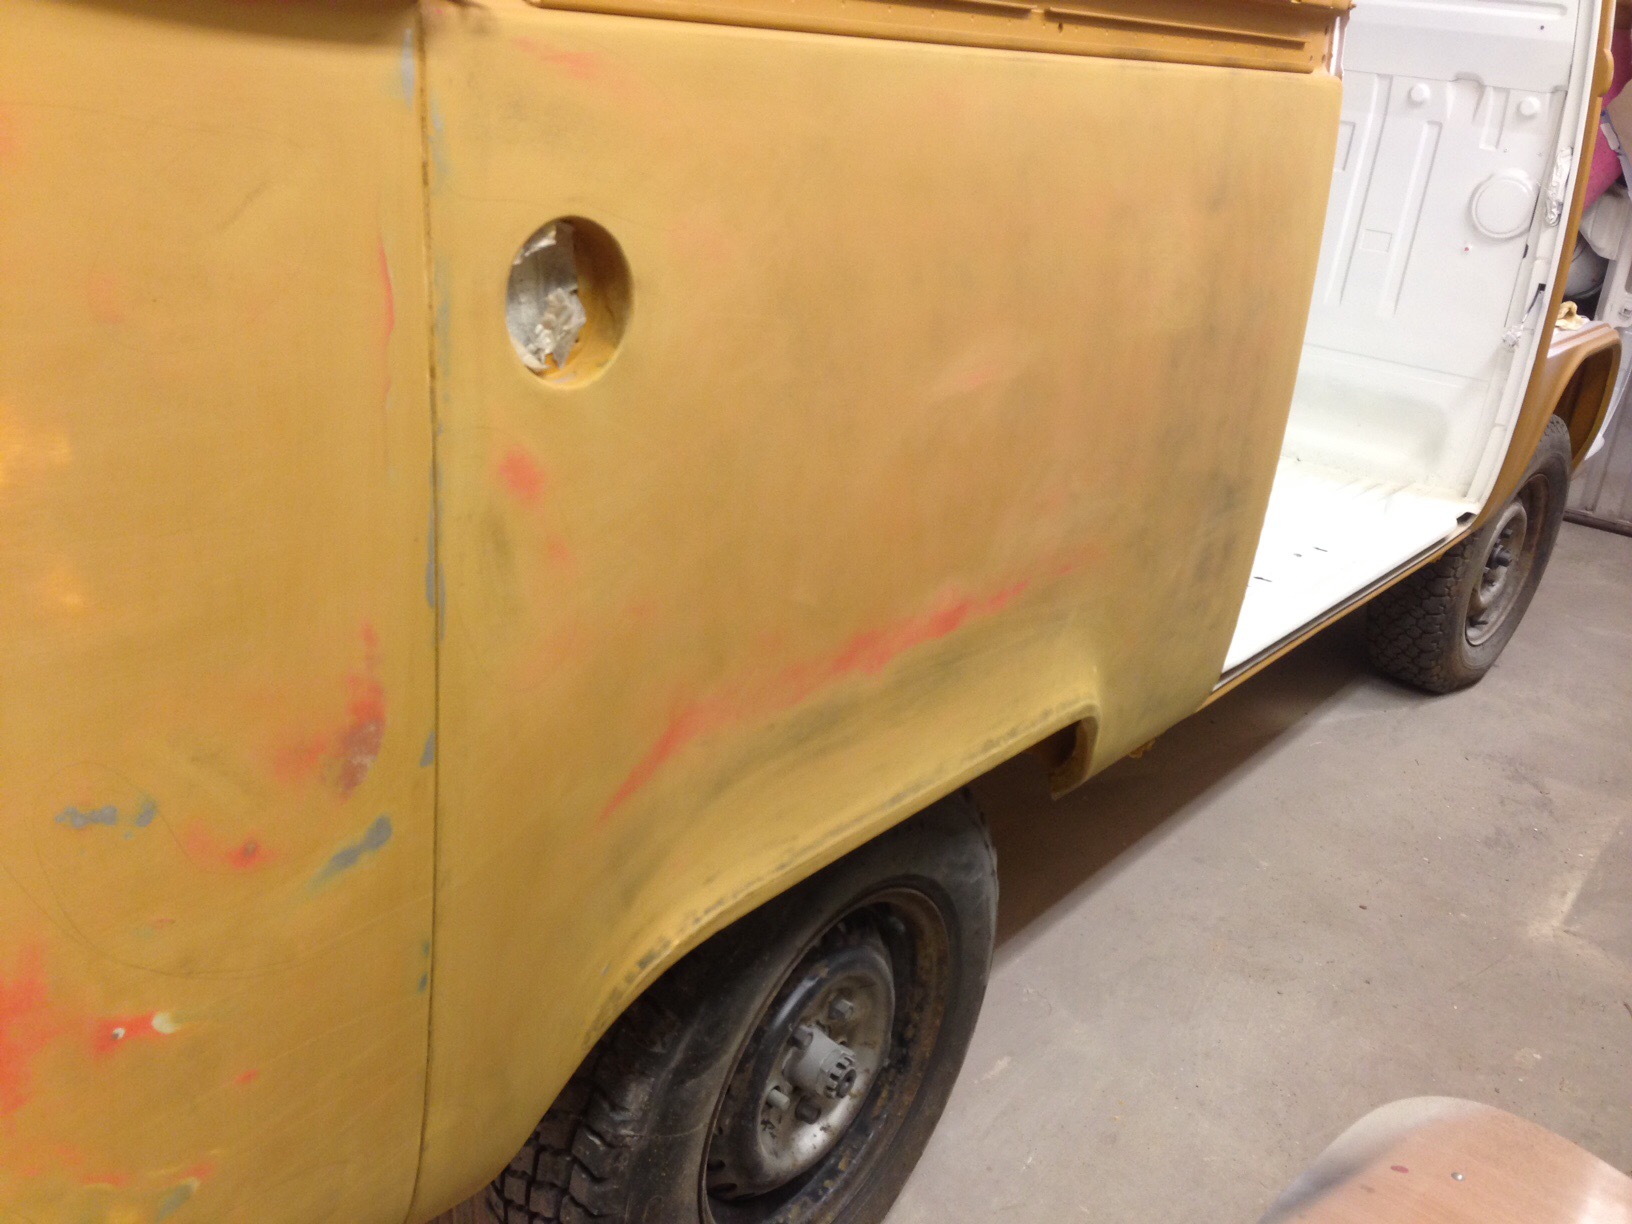
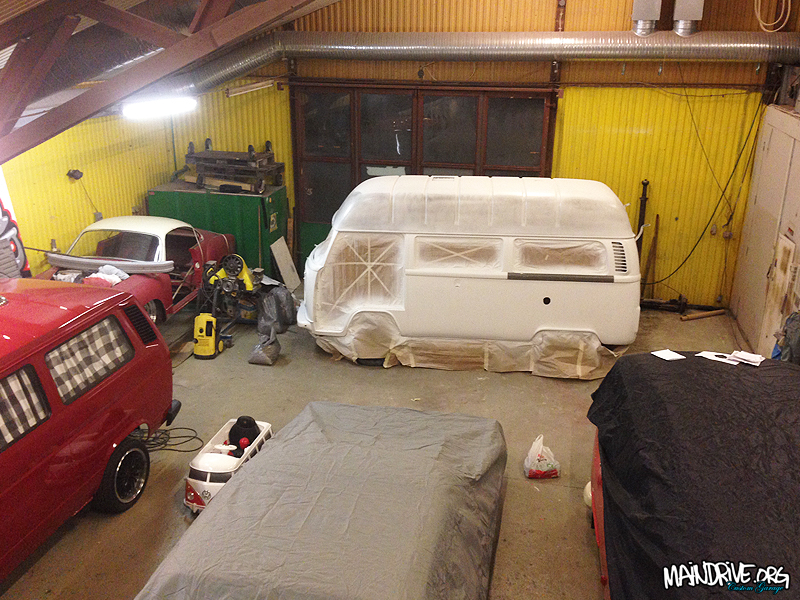
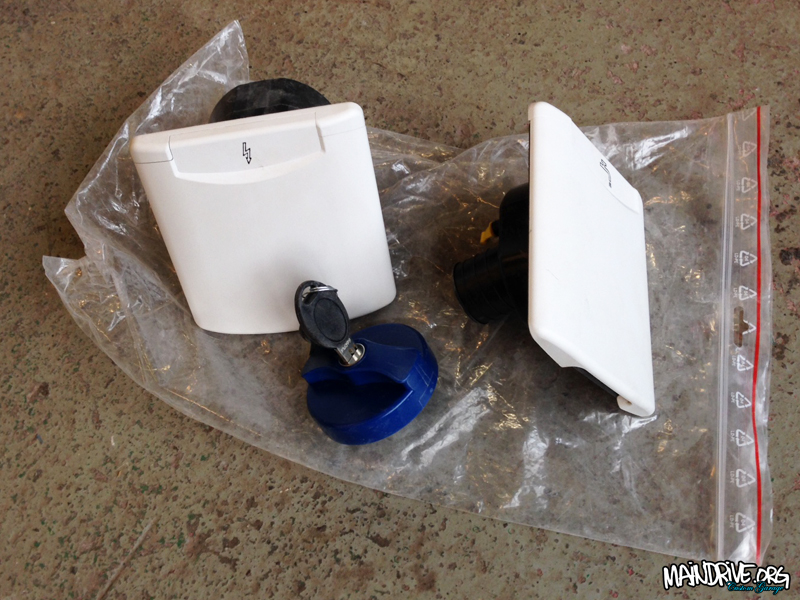
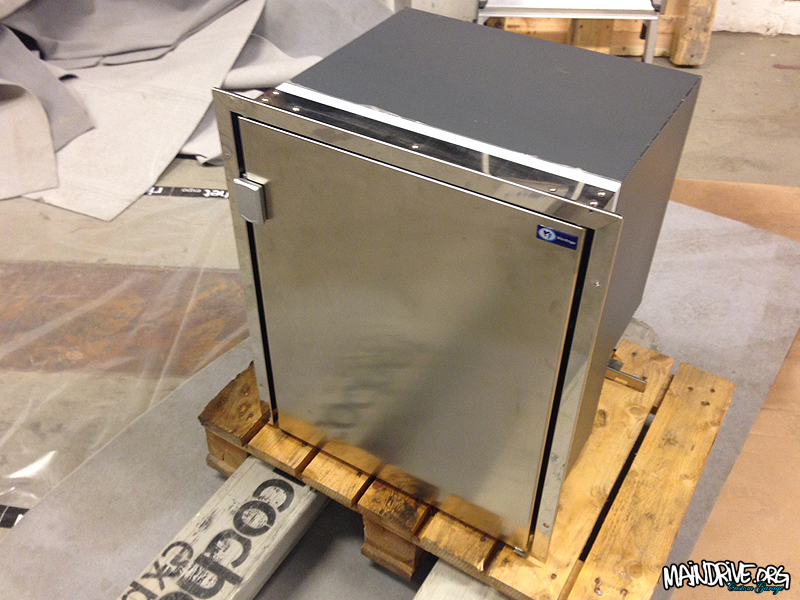
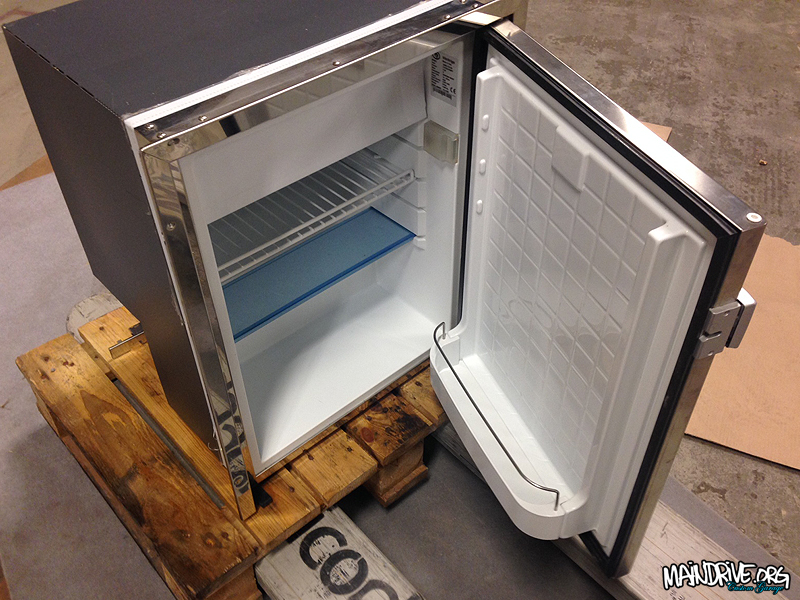
Slow with updates? Thats because I have been busy doing bodywork on the Highroof bus. A very boring, dusty and time consuming work. But now its in surffacer/filler/primer and ready for more sanding again, and hopefully thats it before paint. Paint for roof (white) and body (VW L20a Marino yellow) is bought. Still have all the doors and lids to do also! Got some new parts too, new lids for electric 240v hook up and fresh watertank filler with lock. A Vitrifrigio C60 fridge in stainless will chill the drinks and food nicely, its 60 liters and 10,5 liter is freezer. Danfoss compressor of course!
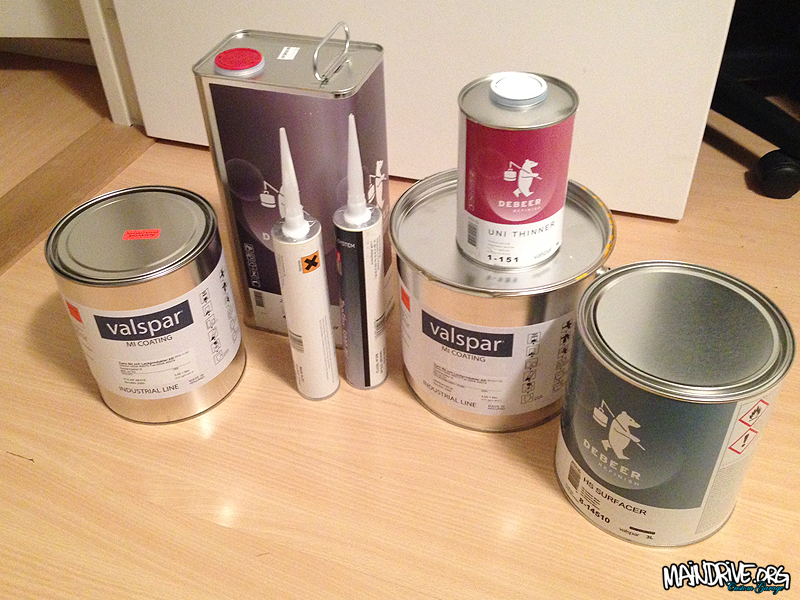
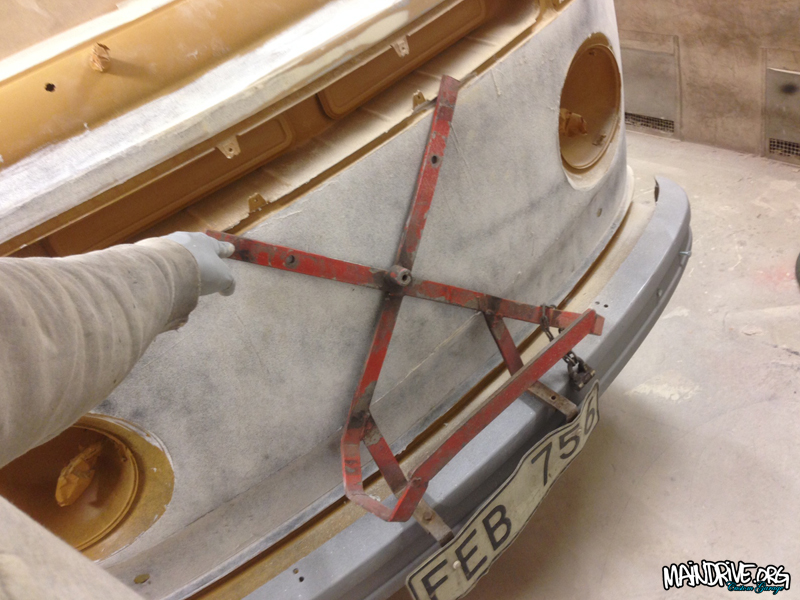
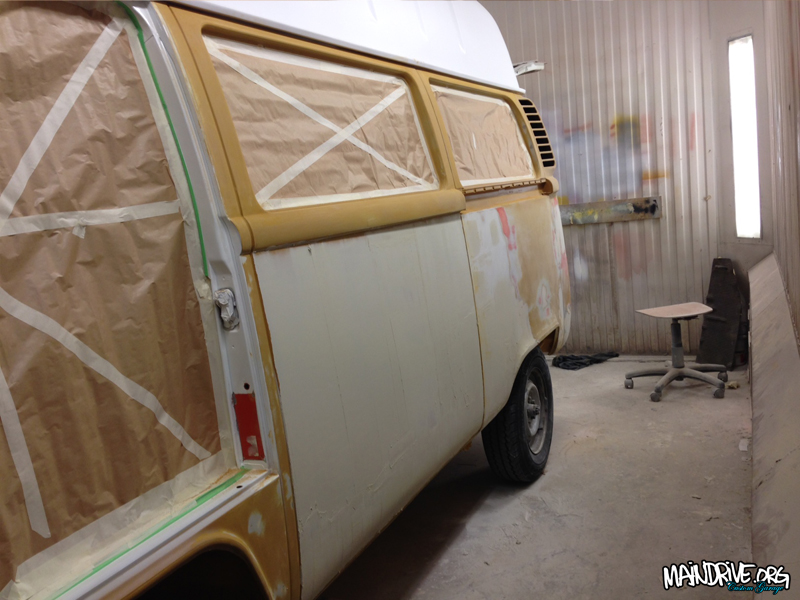
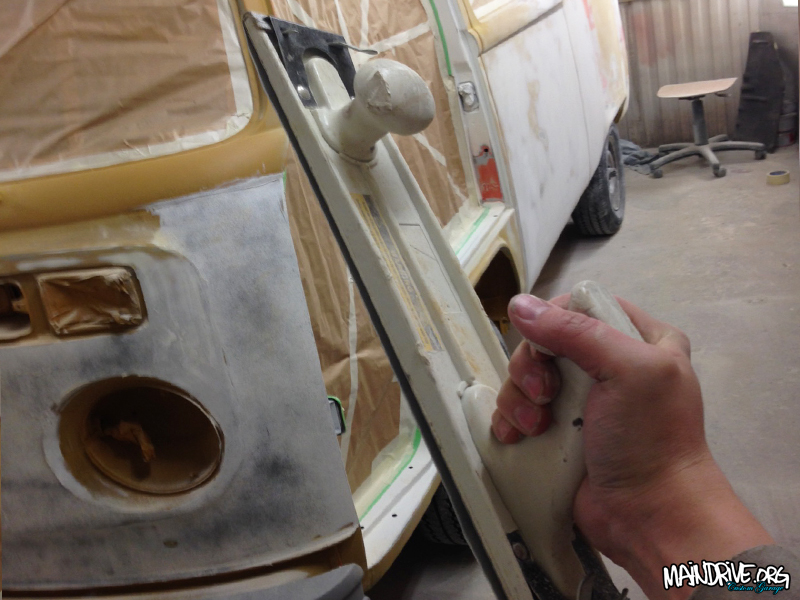
Have started the bodywork on the Highroof bus, preparing for primer and paint. Lots of sanding to do, when that is done it’s time for a coat of epoxyprimer again, to protect bare metal, then a quick sanding before a coat of surfacerprimer is layer down. Then it needs to be sanded down all over again. Then probably another coat of surffacerprimer again and then maybe it’s time for topcoat paint in VW L20a Marino yellow. A lot of people think it’s just mix paint and spray, but it’s not like that…only in fantasy!