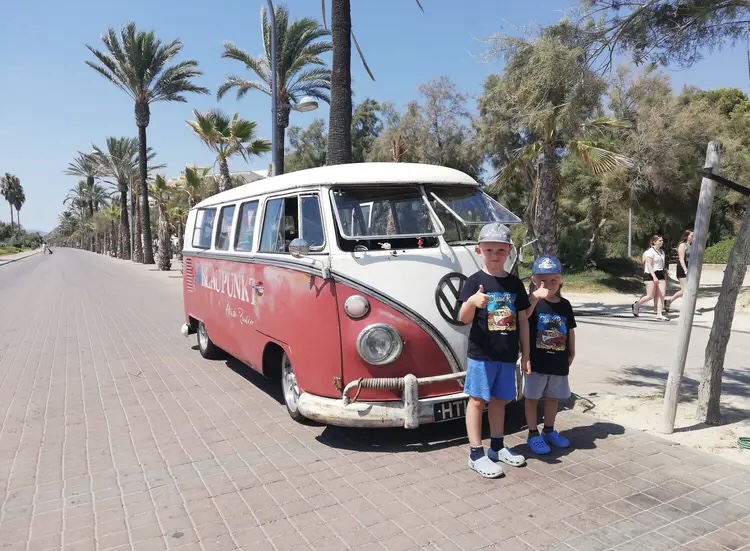
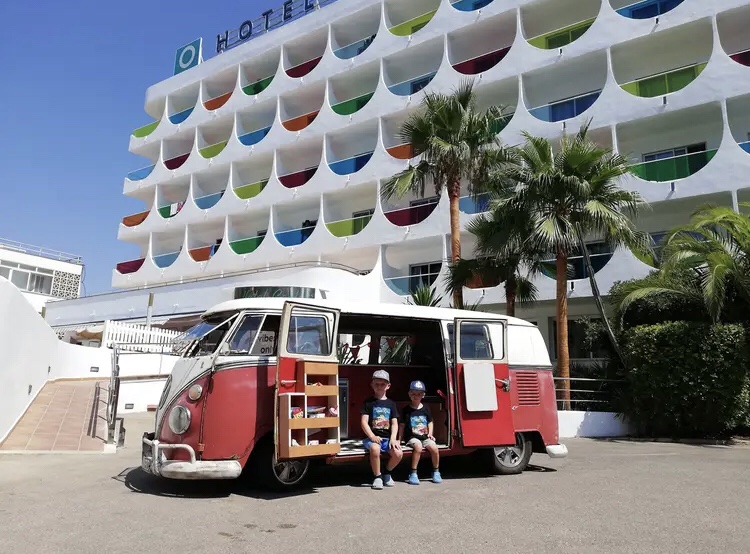
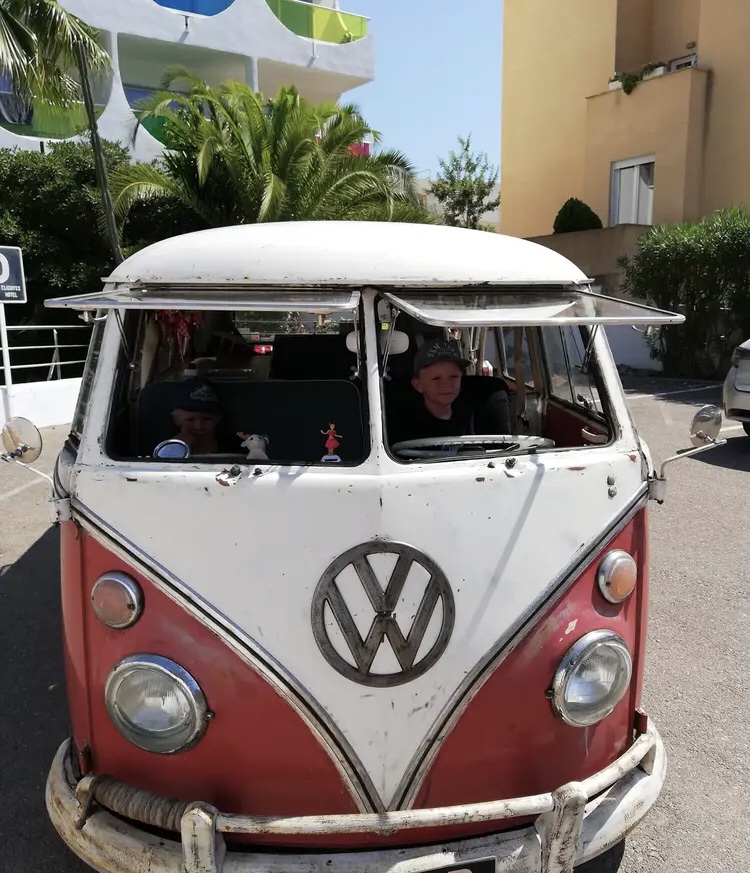
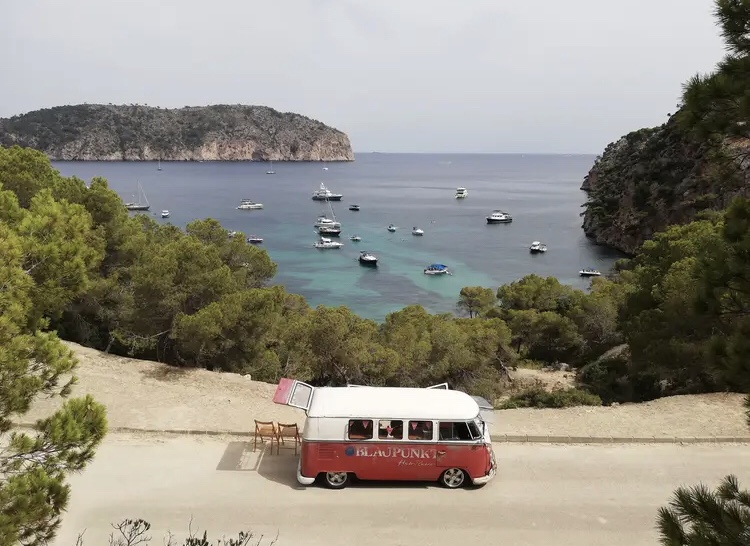
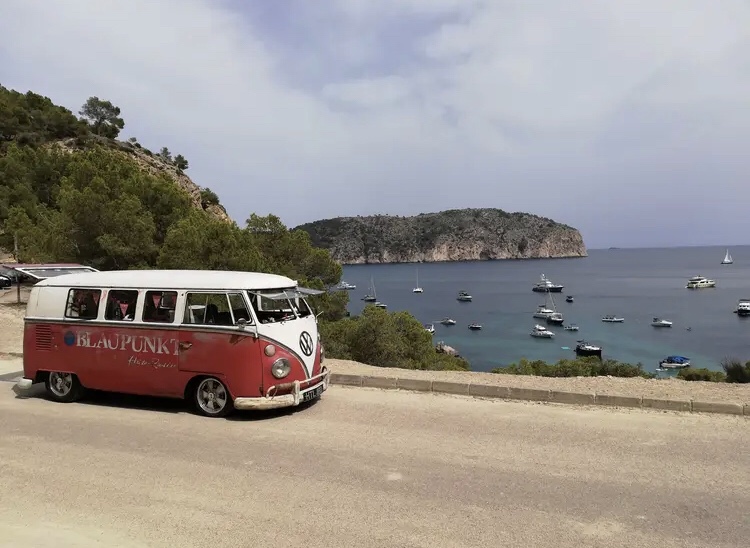
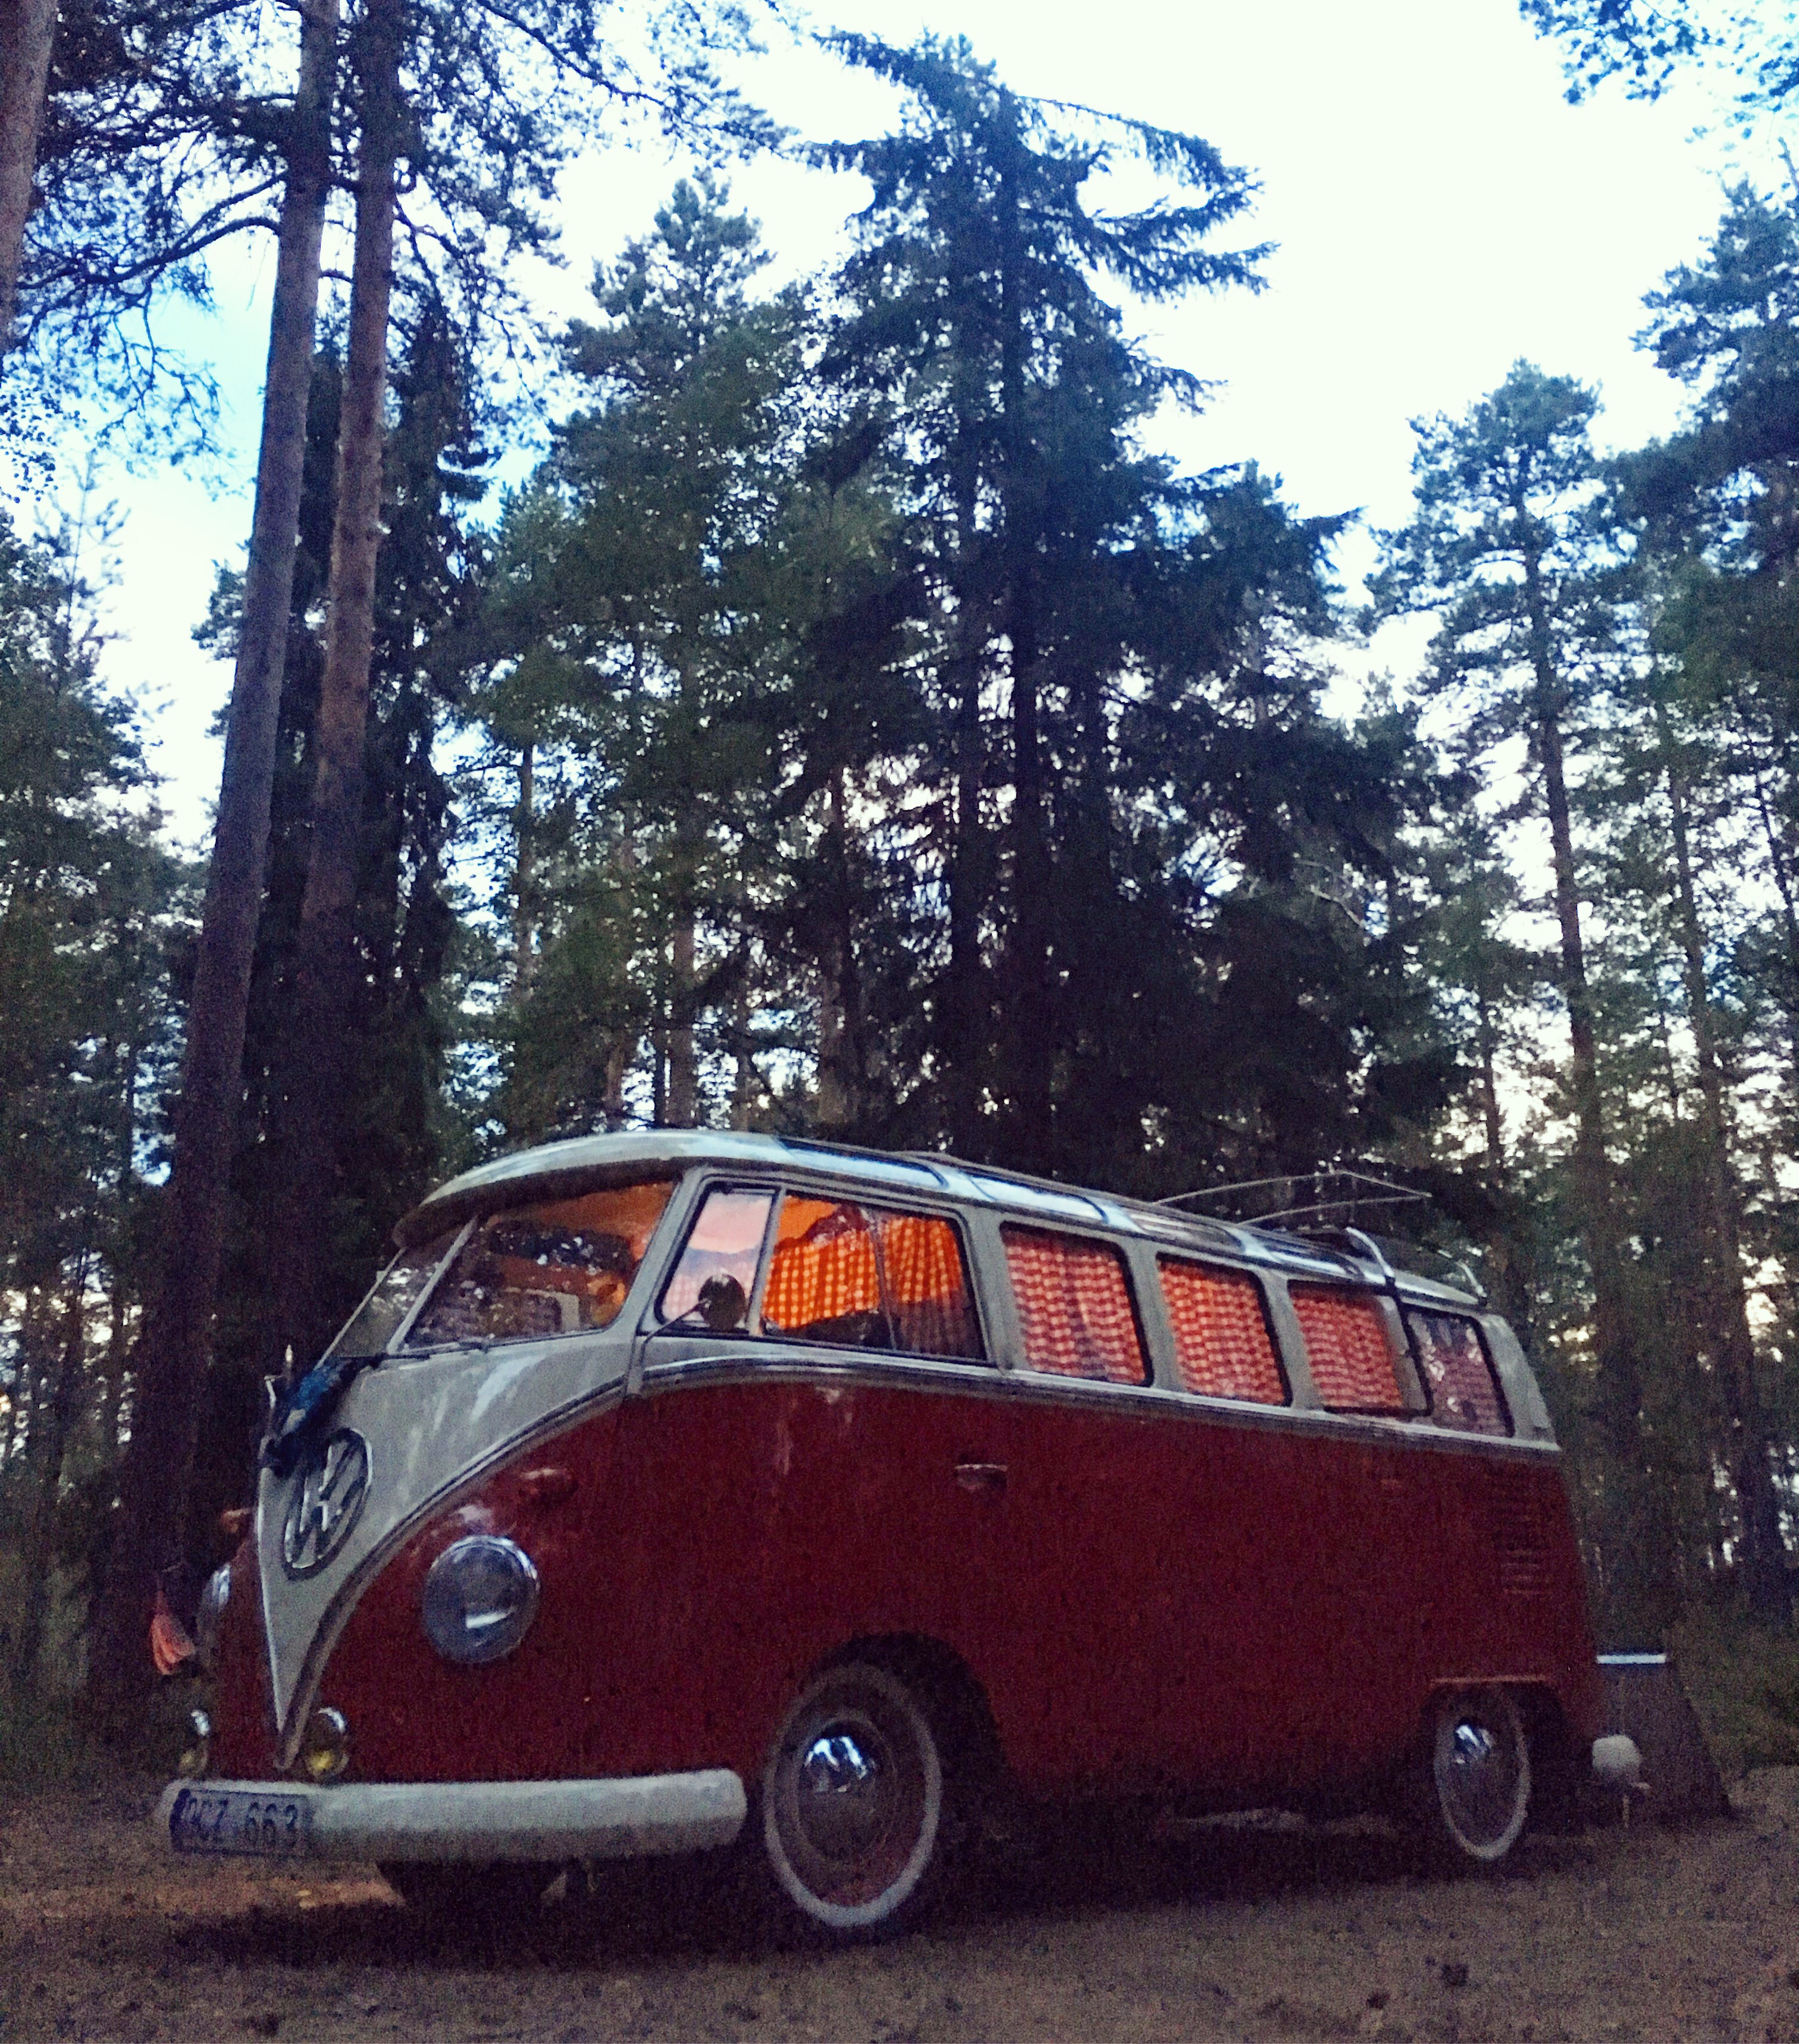
I found and saved this bus here in Sweden 15 years ago. It now lives with its new owner in Mallorca. Here is my boys on vacation in La Palma and got to see the bus and take a cruise. Thanks to Noel Dyne!
I found and saved this bus here in Sweden 15 years ago. It now lives with its new owner in Mallorca. Here is my boys on vacation in La Palma and got to see the bus and take a cruise. Thanks to Noel Dyne!
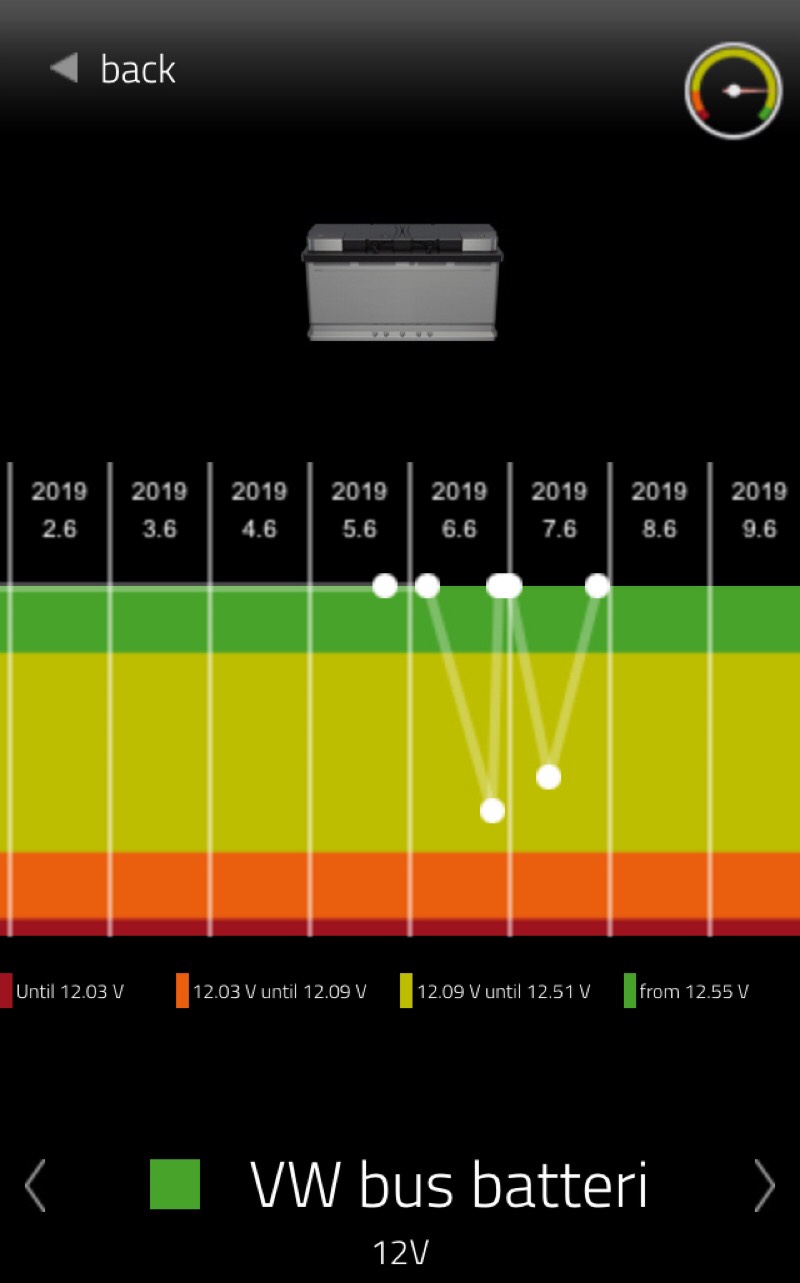
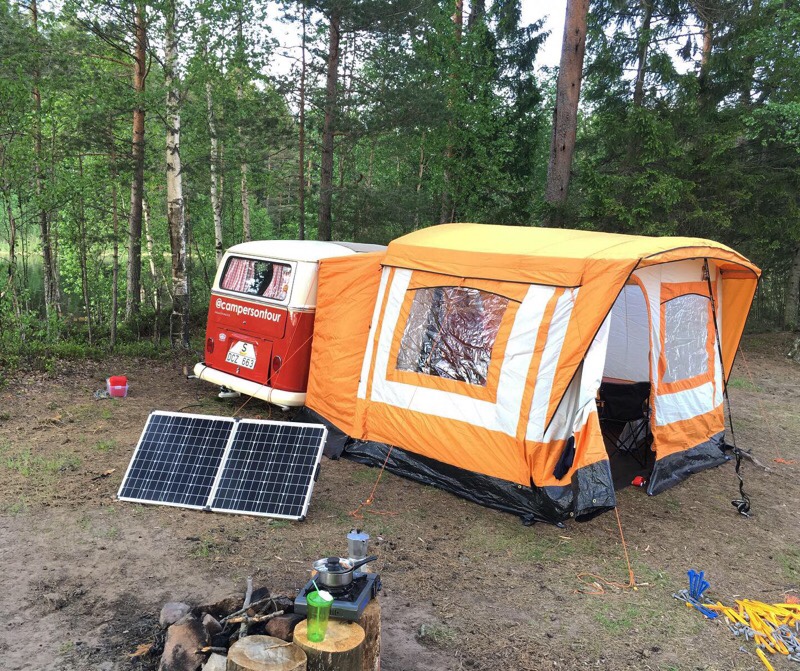
Tested the portable solar panel 120w with dual 75a battery’s (total 150 ampere hours) last weekend and it worked great ? It was two sunny days, on the night the power drops and is taken from the battery’s only. When sun goes up again on the morning, the solar panel charges the battery’s full again (green). Our 12v fridge was running all day and all night 24/7. A couple of rainy days would be problems I guess. But then I could run the engine and the alternator would charge up the battery’s after couple of minutes. ?

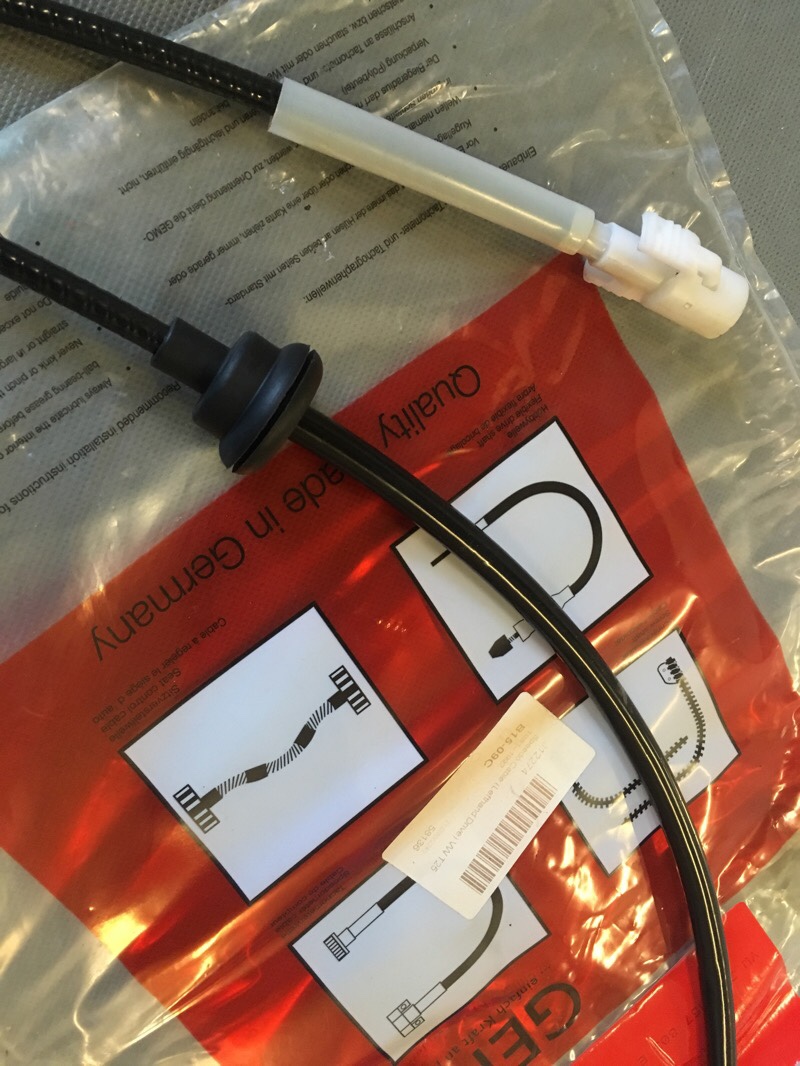
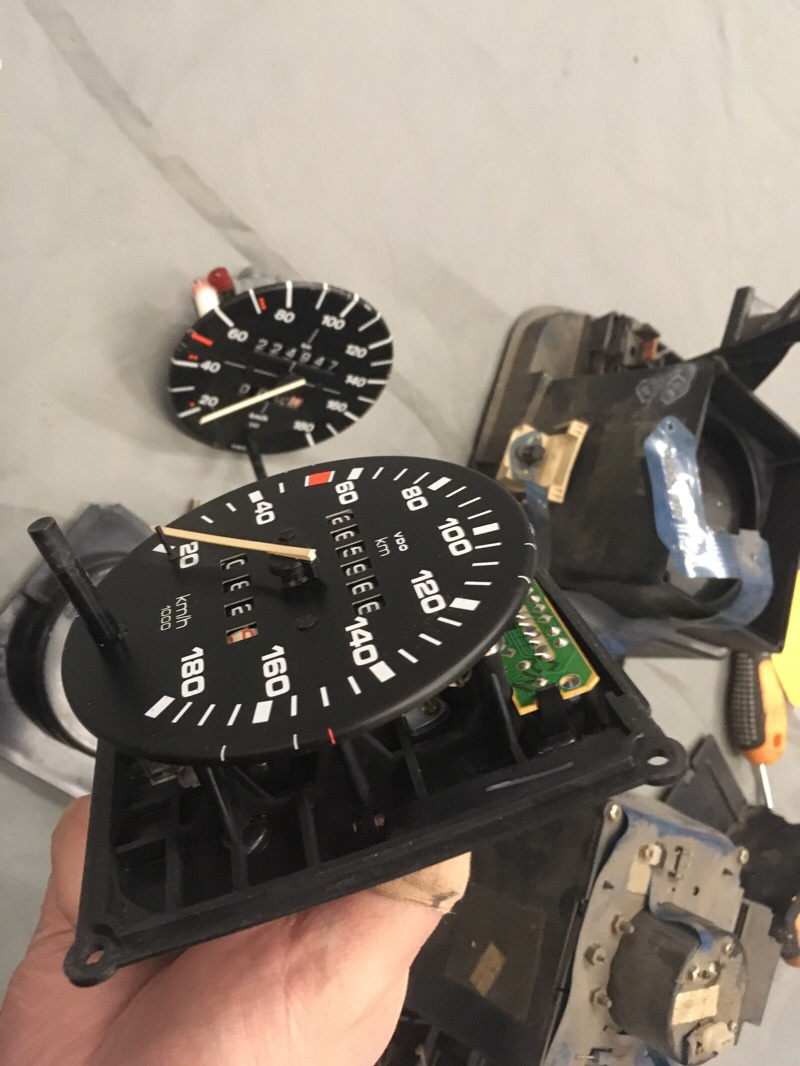
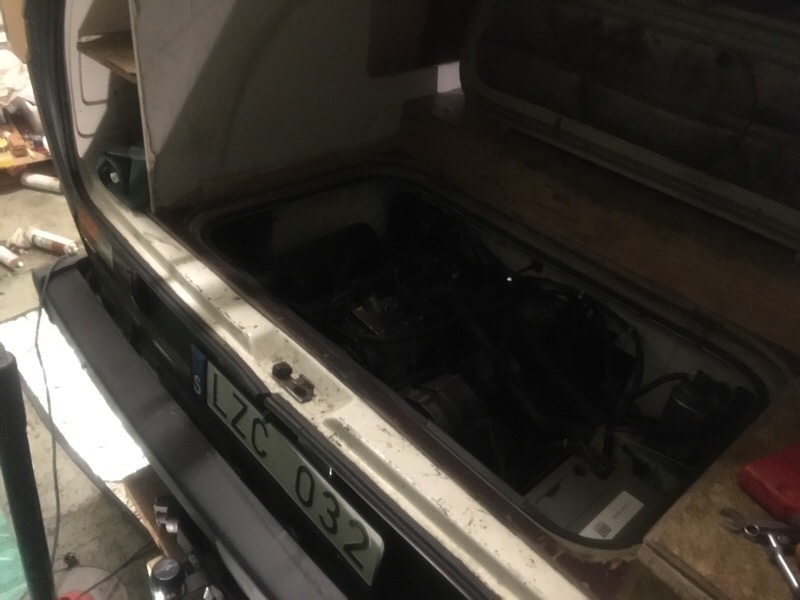
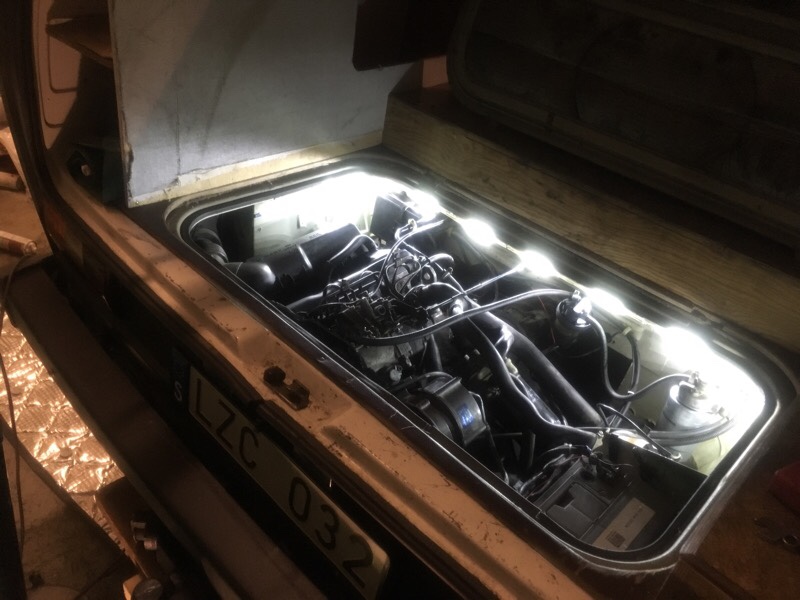
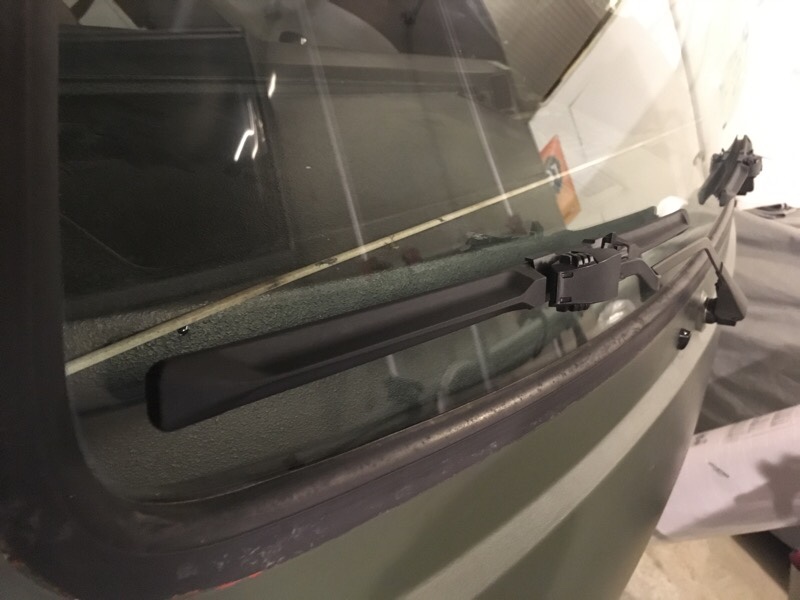
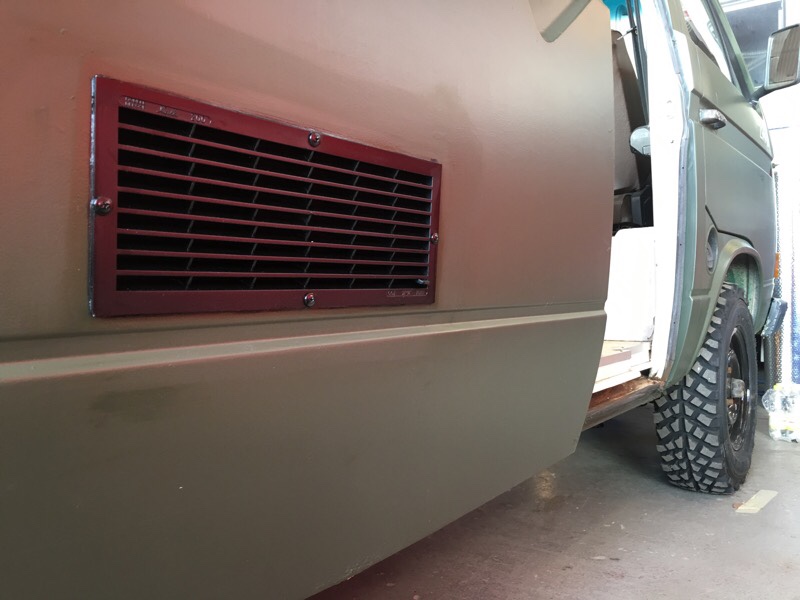
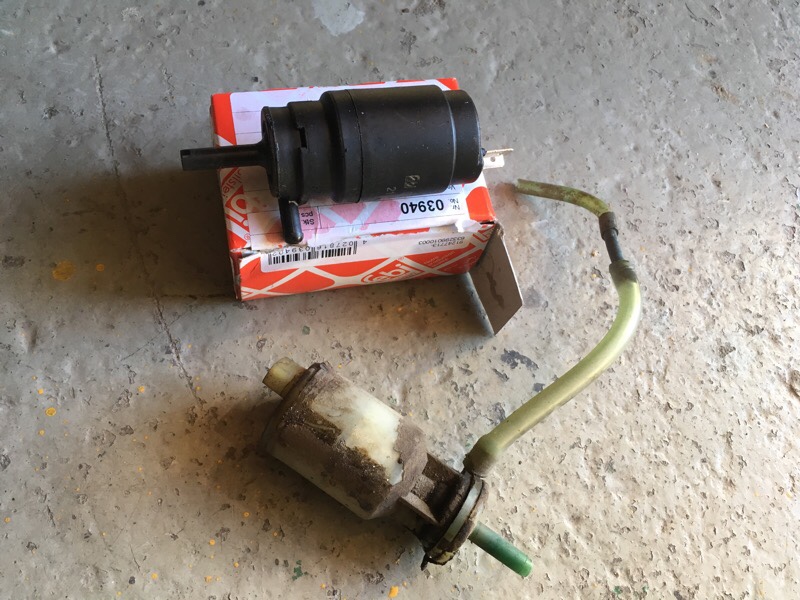
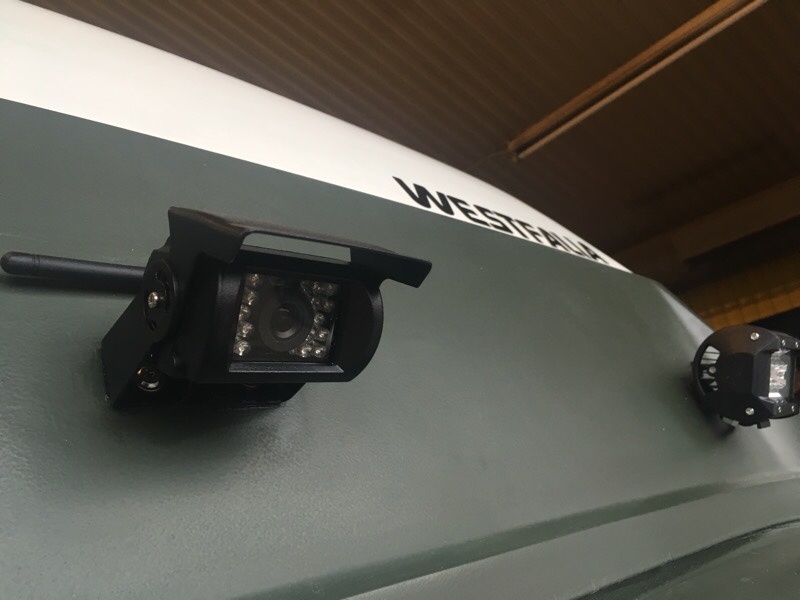
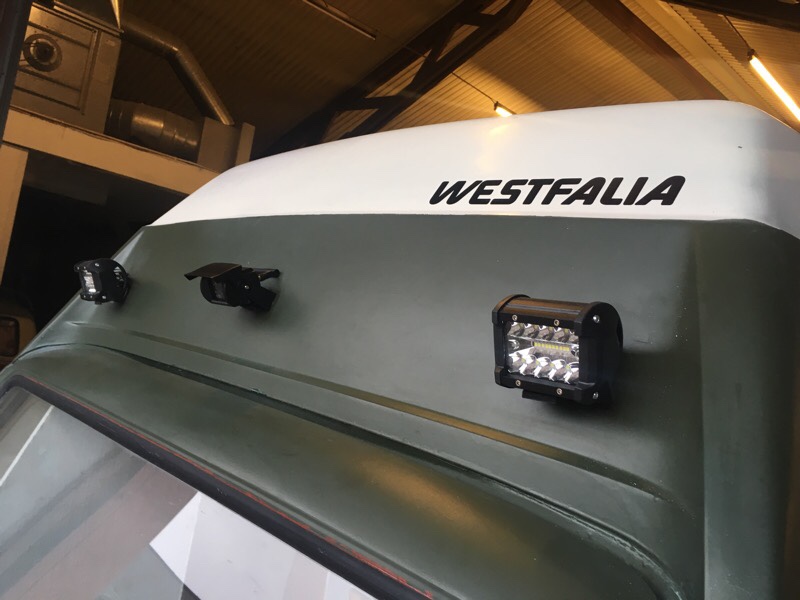
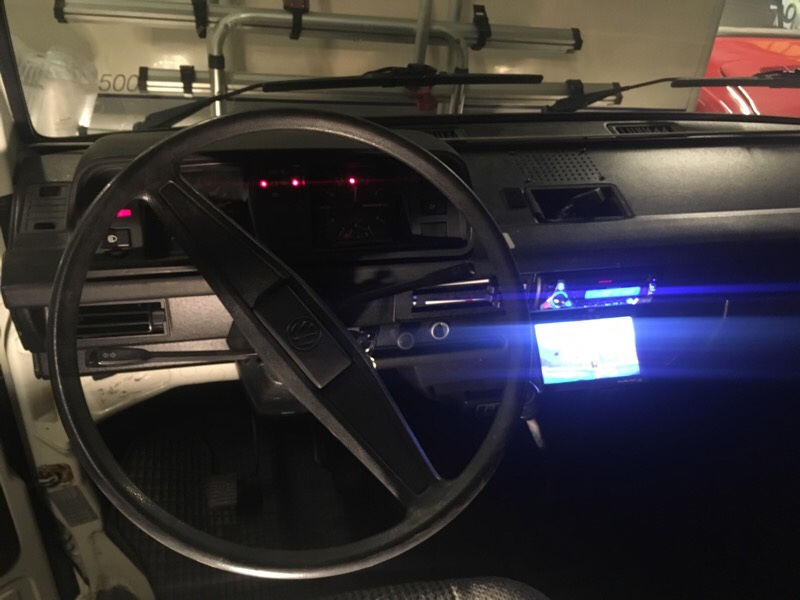
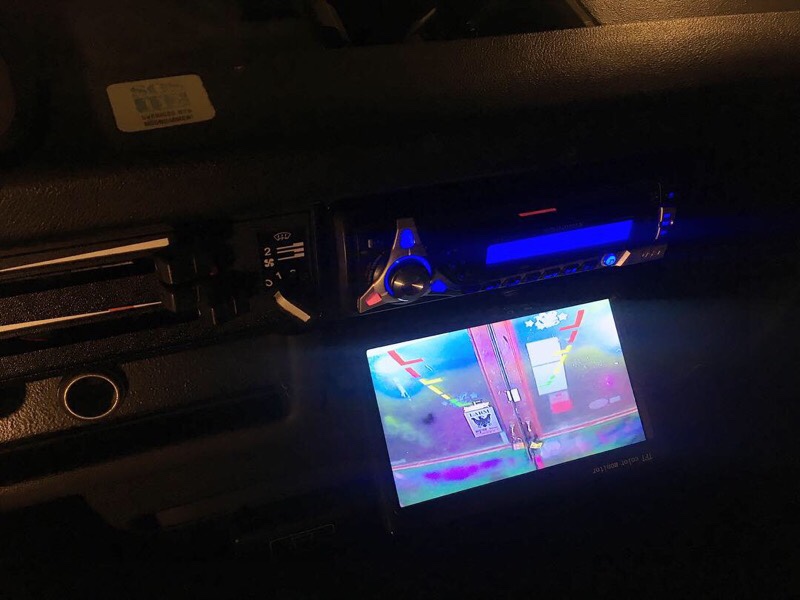
New speedometer and cable have been fitted, the needle on the old one was stuck! Added LED light diods to the rear engine bay, you cant have to much light when wrenching in that tight dark engine compartment, specially after the road. New modern wipers installed, and a new ventilation cover for the slidingdoor, painted in black. The old washerpump was junk so a new was added. Rear view / back up camera is now all done and is a great thing to have on a bus! More updates coming! It’s now ready for safetyinspection / MoT. Hope it goes well…
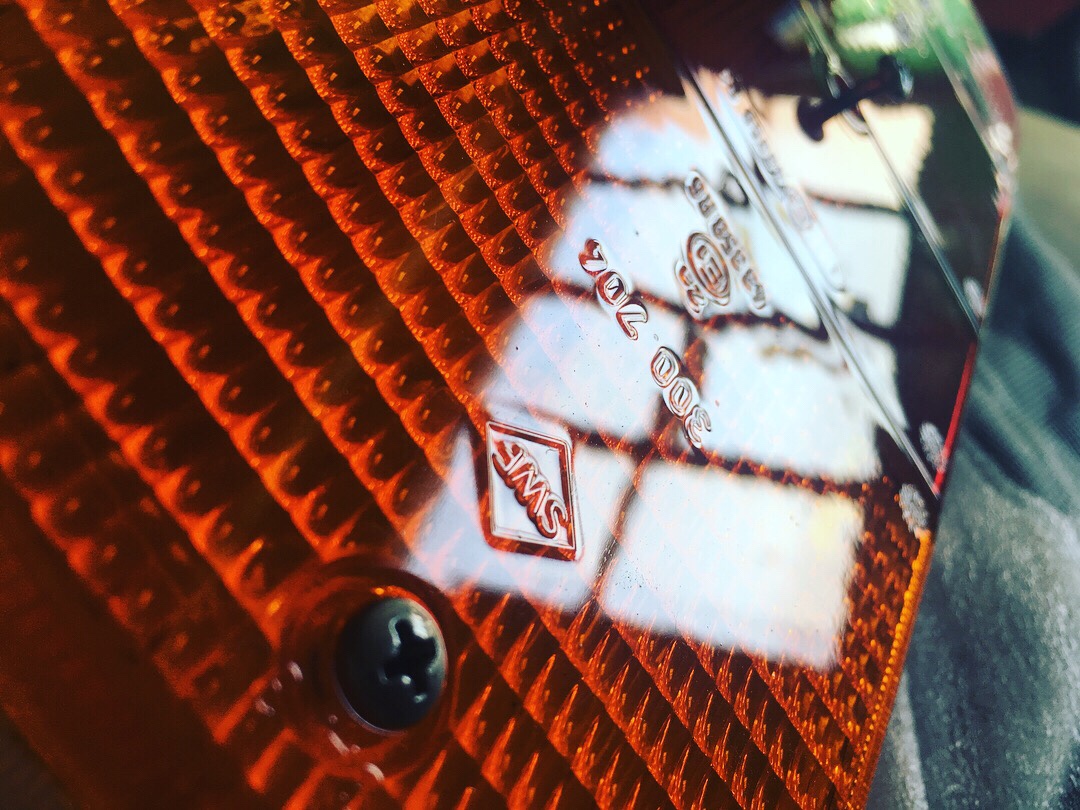
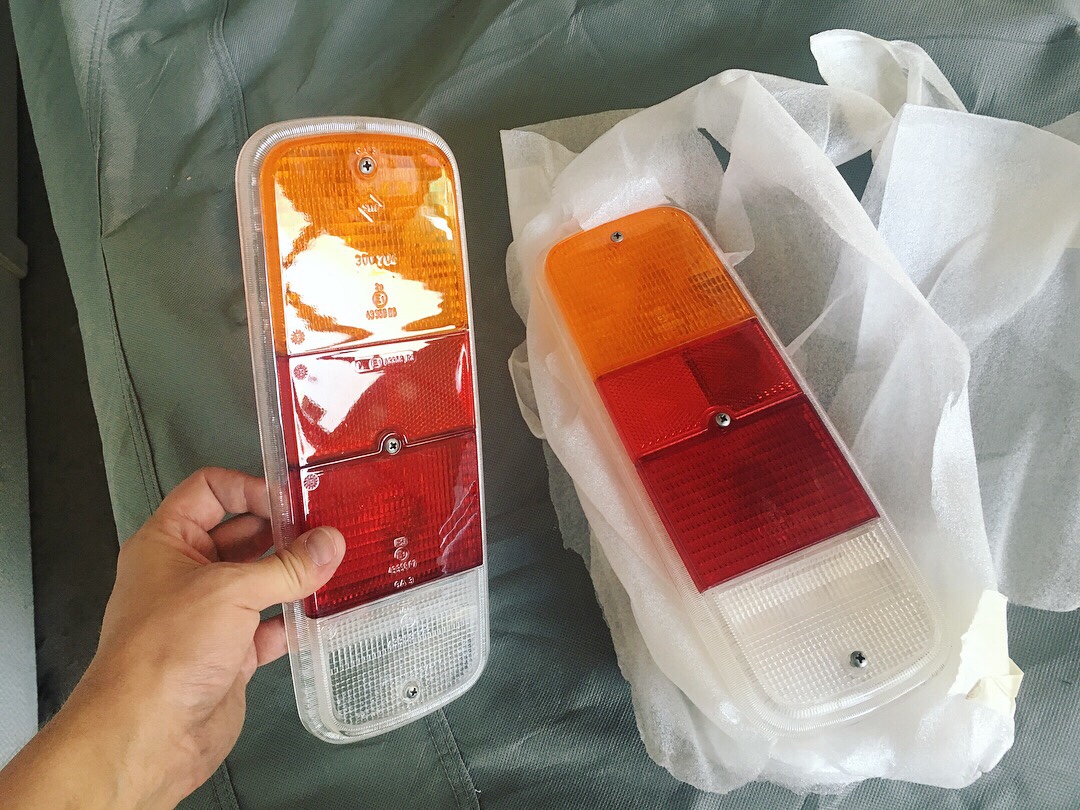
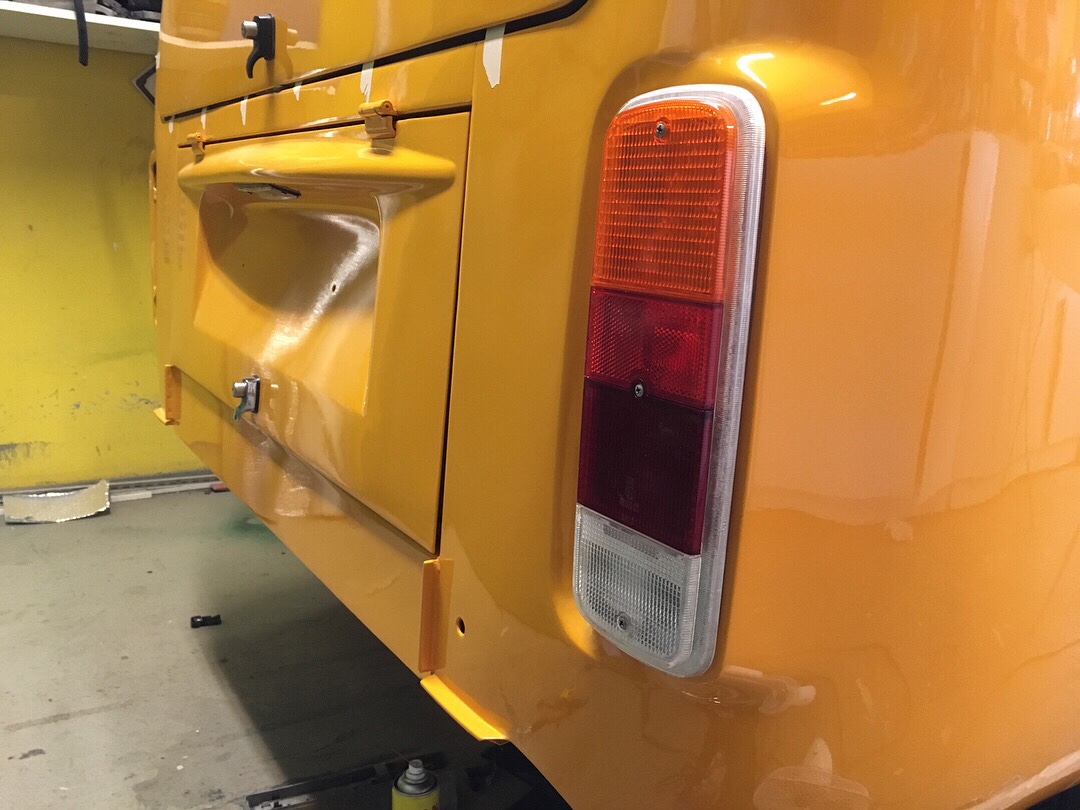
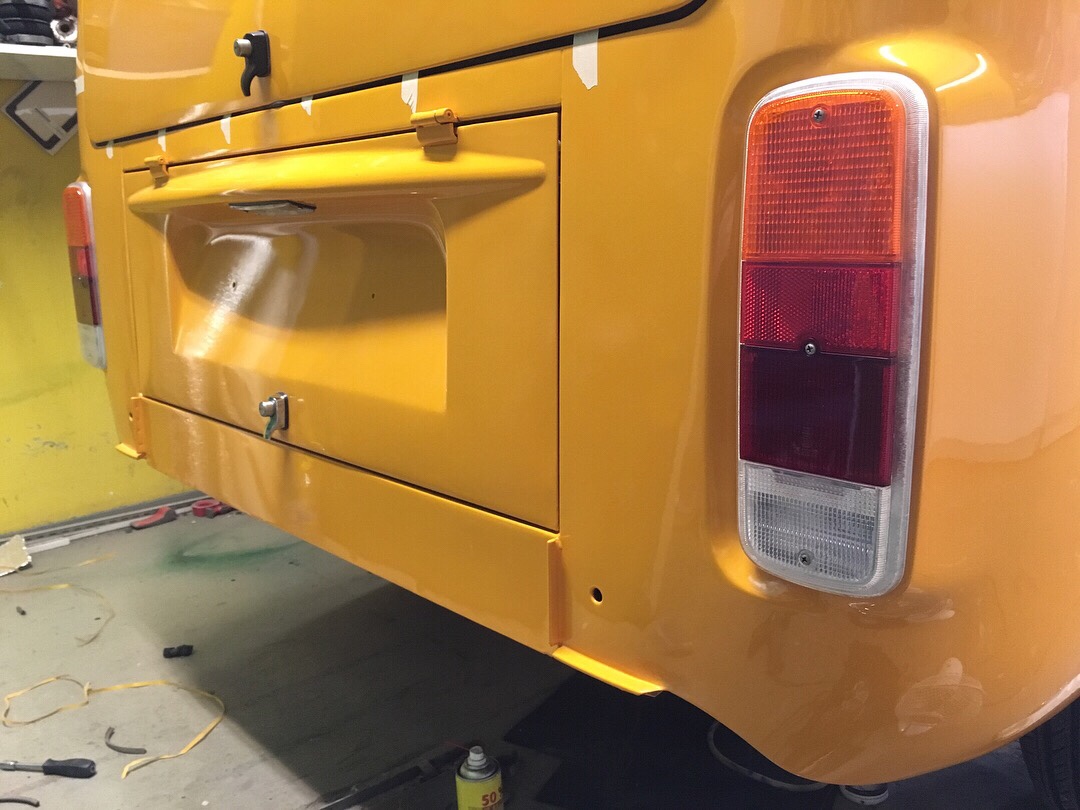
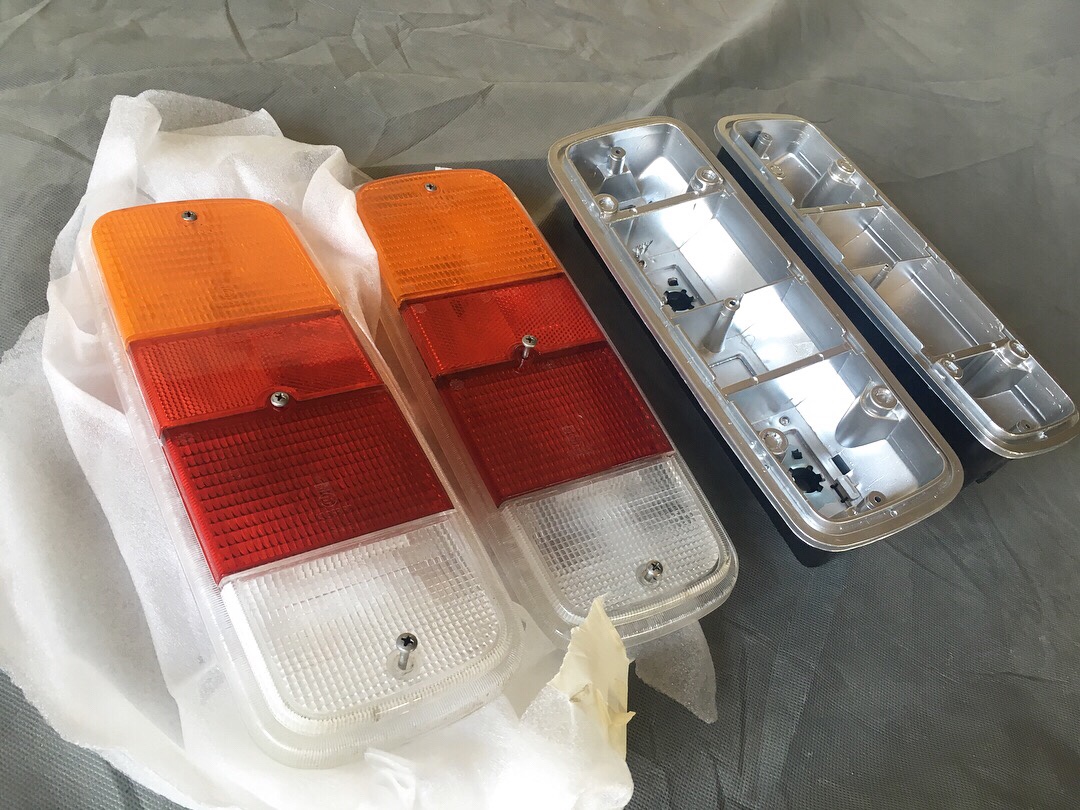
New rear taillights on the Highroof Bay bus. Housings are new aftermarket, lenses are clearcoated original VW from SWF. Some pics…
#highroofbayproject
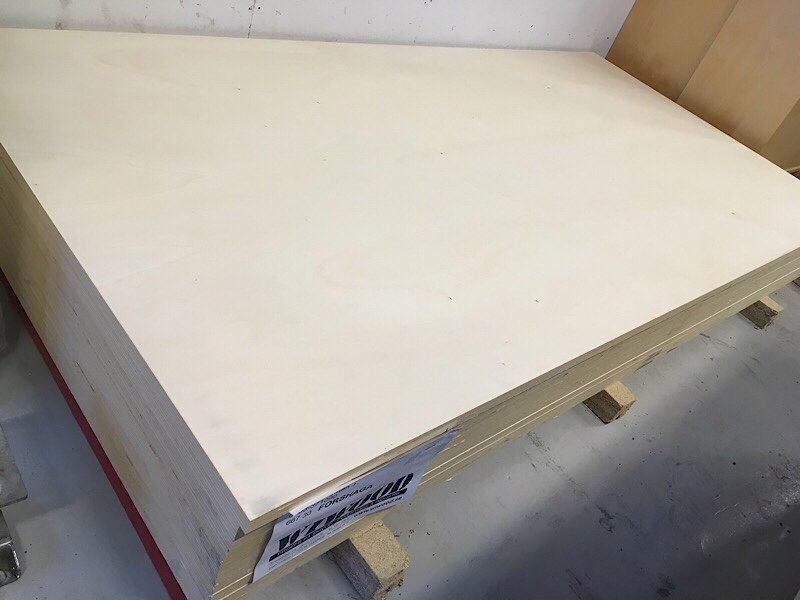
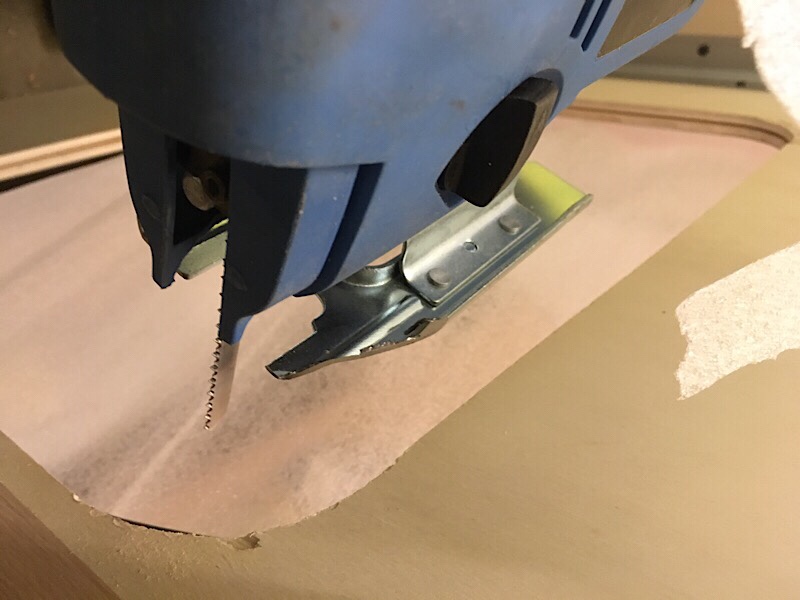
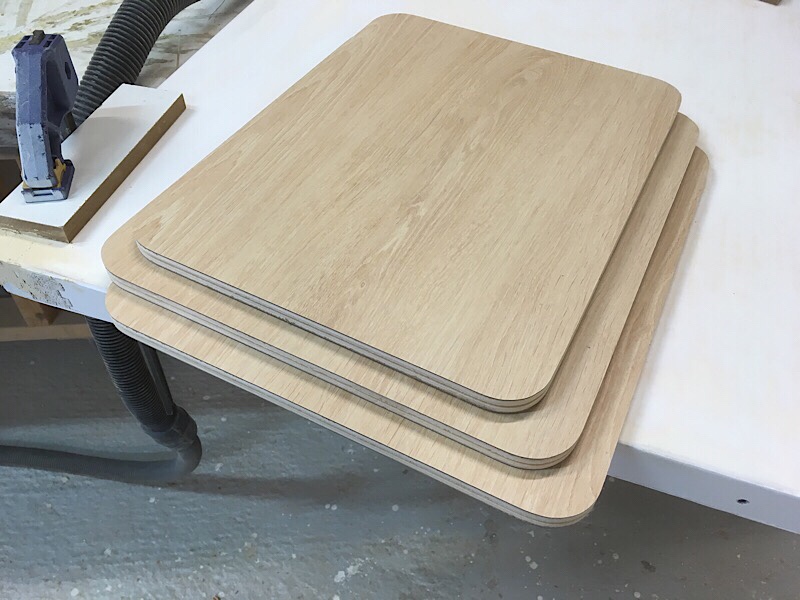
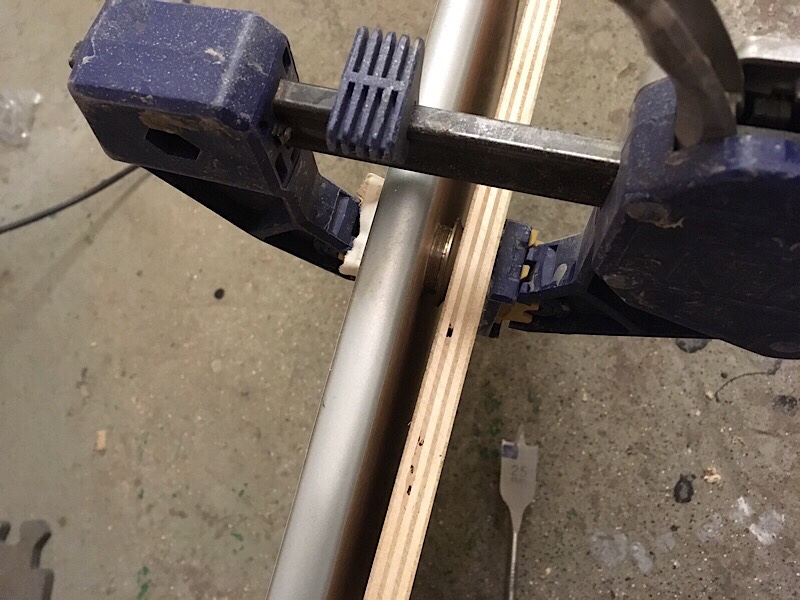
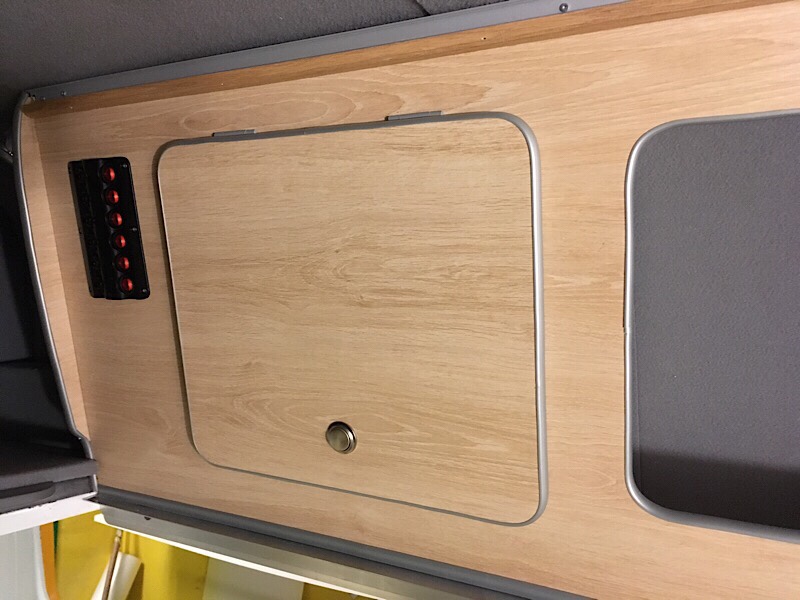
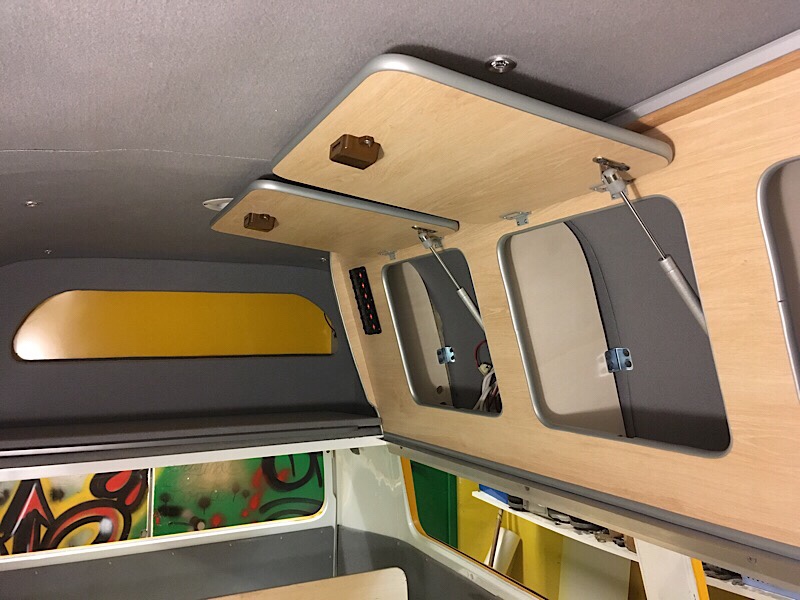
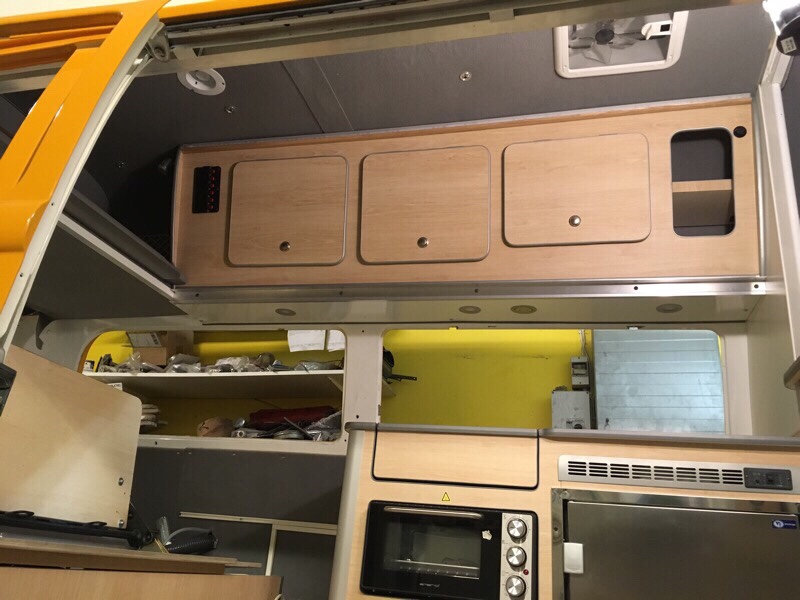
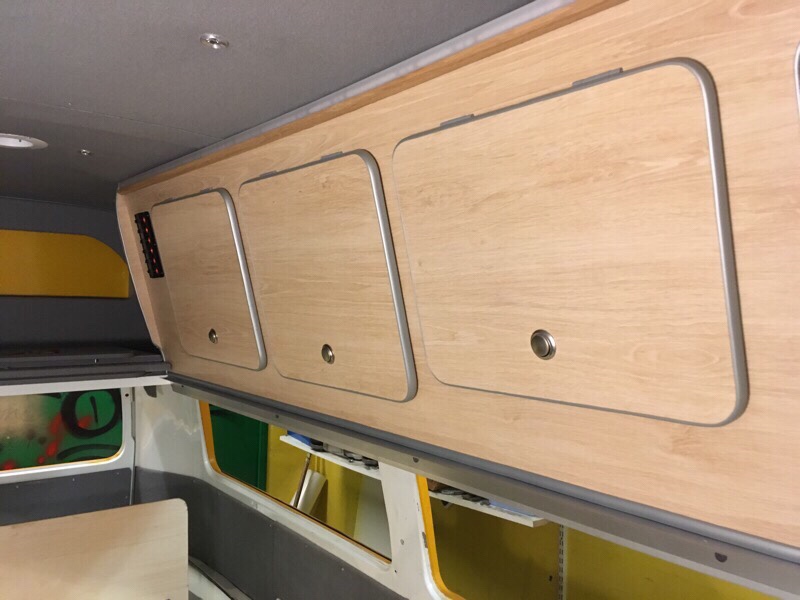
In this post I will show how I make a cabinet door from a big sheet of plywood. After lots of measures it’s time to cut these numbers out to actually real things, this time cabinet doors for a overhead locker/storage to the Highroof Bay.
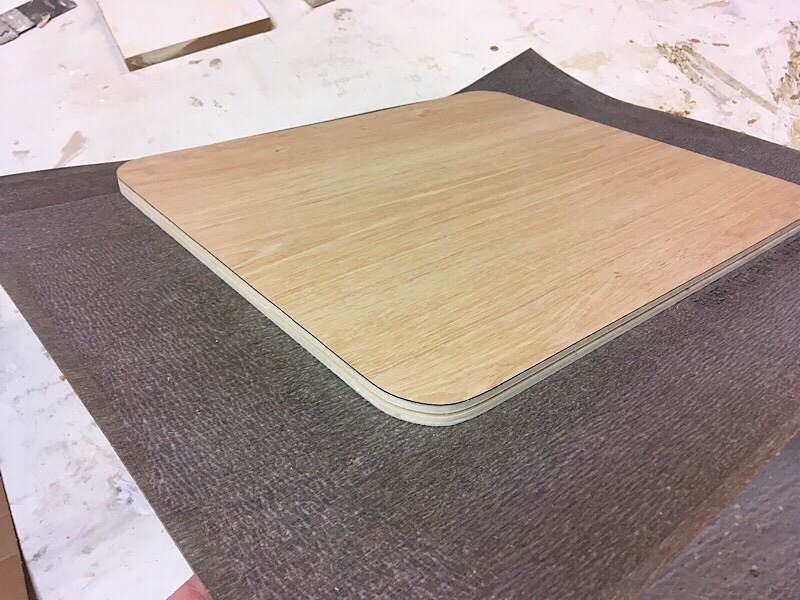
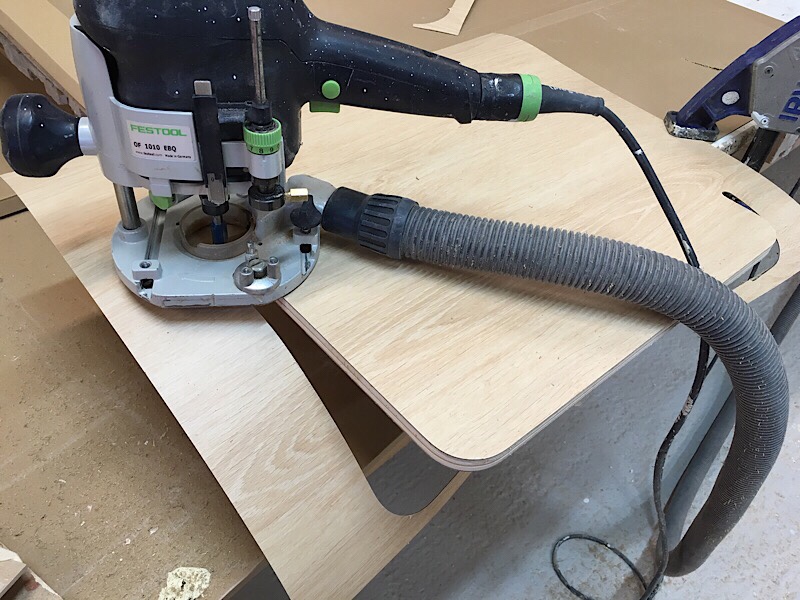
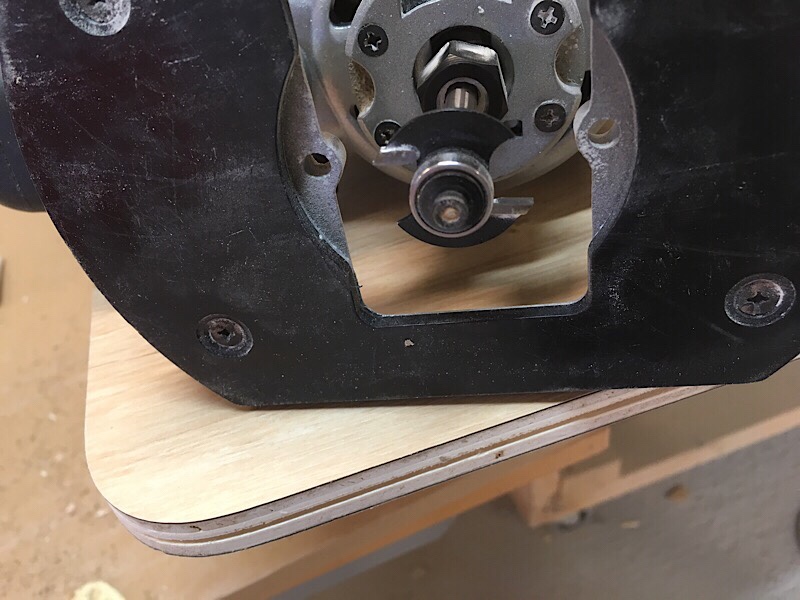
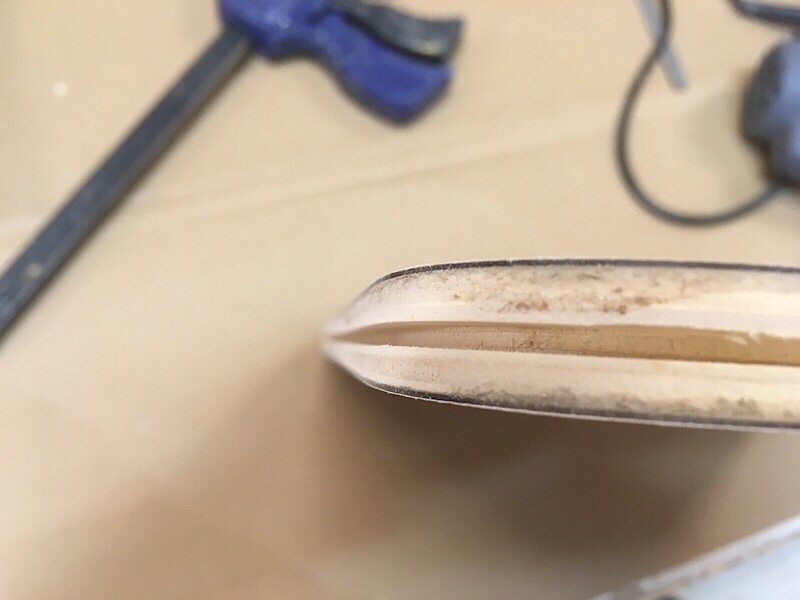
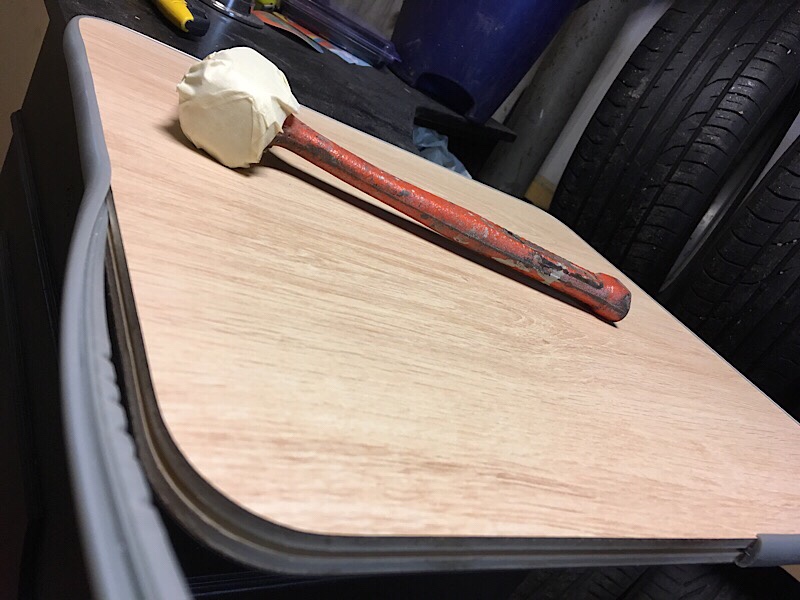
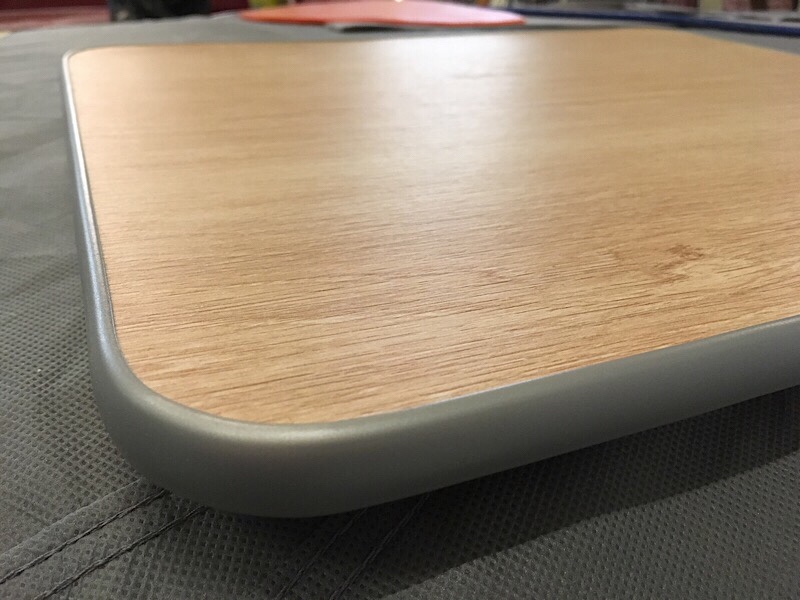
Draw up the dimensions on a 12mm lightweight plywood (never use ink pen!). Then cut it out with a steady hand and a jigsaw. Cut out laminate in slightly bigger size than the plywood, add 3M laminate glue on both sides, let it dry separate for 60mins. Then press the laminate together with the plywood and put it under pressure for at least 1hour or 2. Repeat it again to do the other side if needed. After this it’s time to use the electric wood router and cut out the coutures. Then cut a profile in the end of the door using a special router bit. When this is done you can start knocking on the edging, you can buy these from special wood company’s or camper conversion firms. Then measure out were you want the doorknob, drill it out, press in a bezel and install the lock. Mount hinges. Now you have one complete door, just everything else left to do 😉 Good luck!
Some of you have been asking for build plans for the Highroof Bay bus interior, but the only plans I have is in my head, sorry guys! 🙂
Some movies from this summer with my VW Samba splitbus. Follow: @campersontour at Instagram for daily pics!
Movie from this weekend with the VW bus. Fore more follow: @campersontour at Instagram.
Go and follow @campersontour at Instagram!
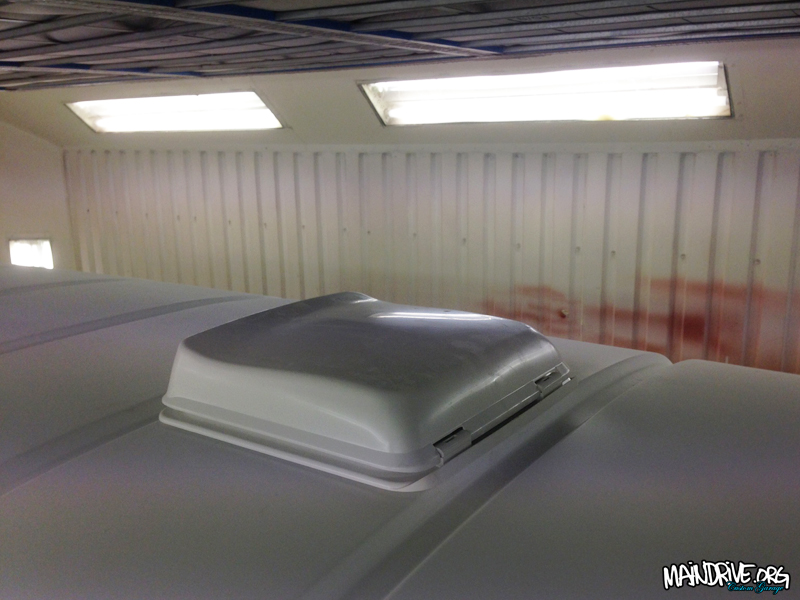
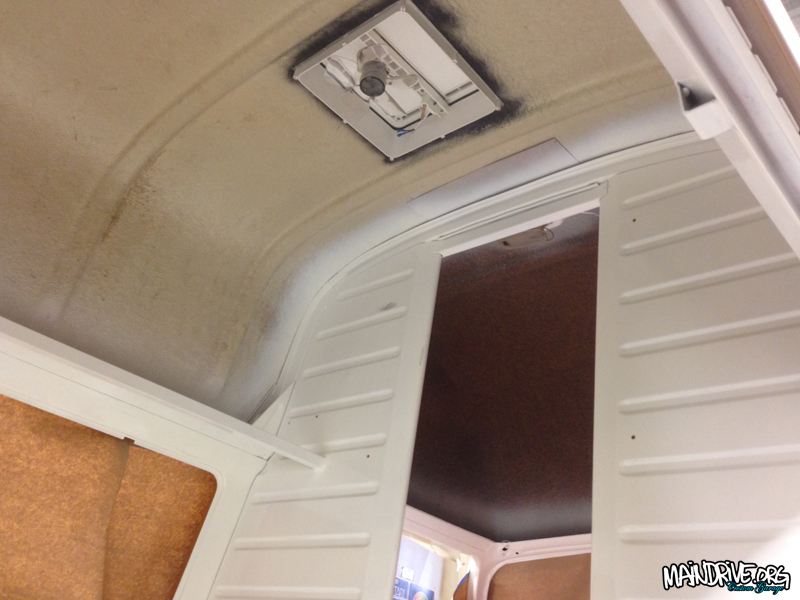
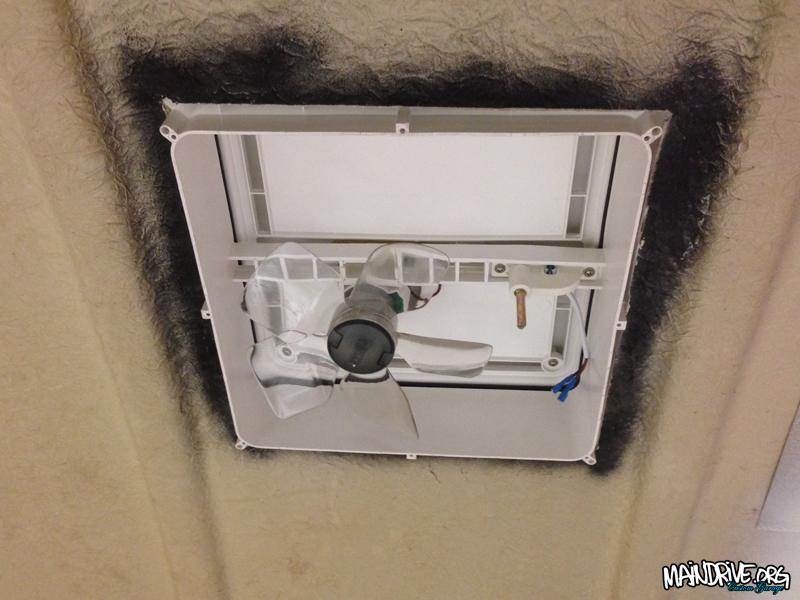
Test fitted the Fiamma Turbo Vent 28×28 on the bus, better before than after paint! It has a built in fan on 12v that can blow out or in fresh air. Will be nice on warm summer days and night I think.
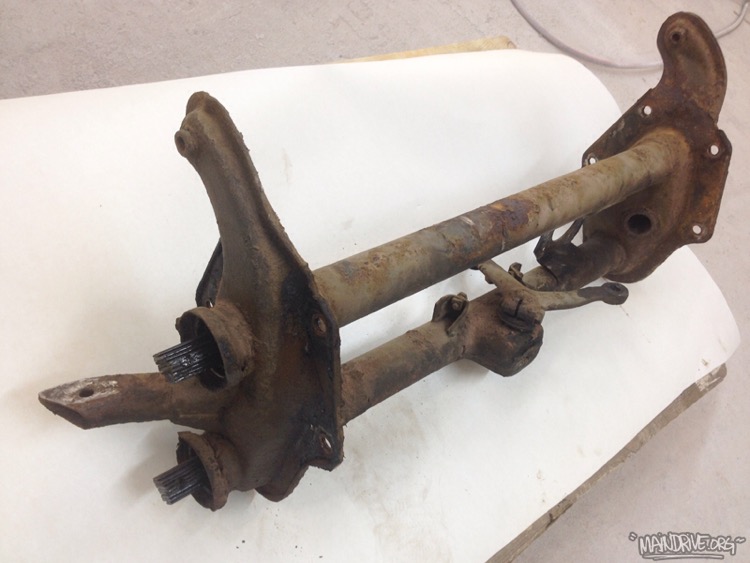
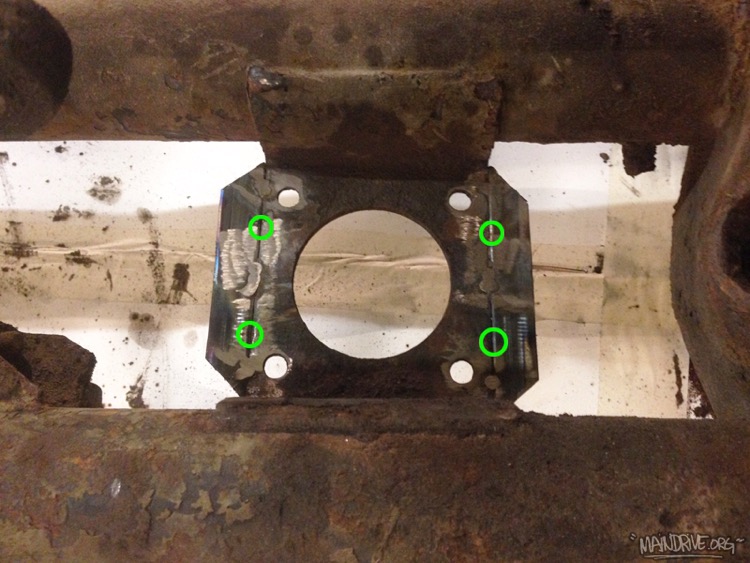
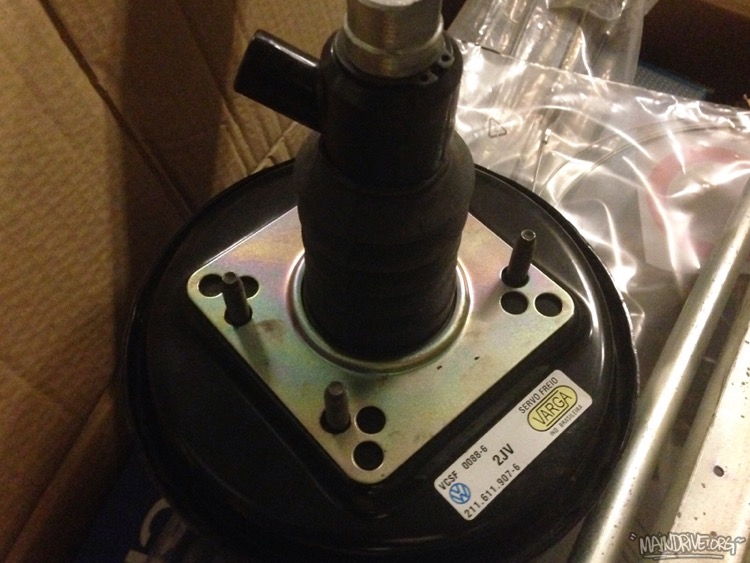
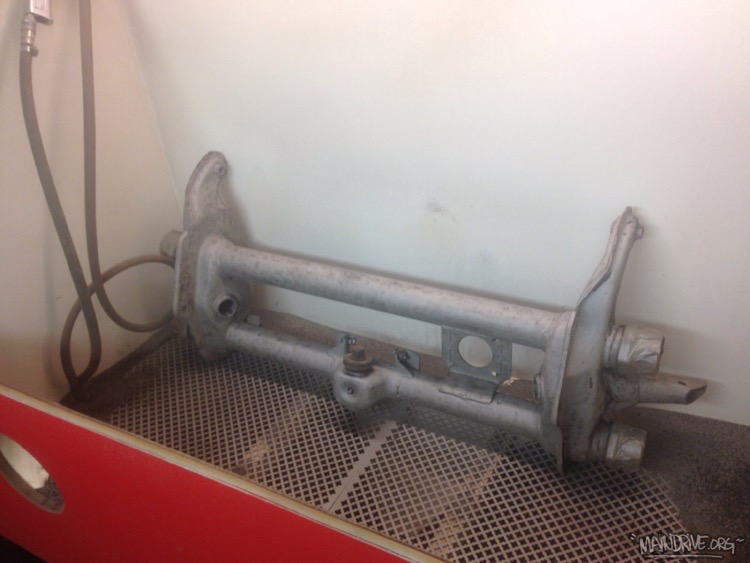
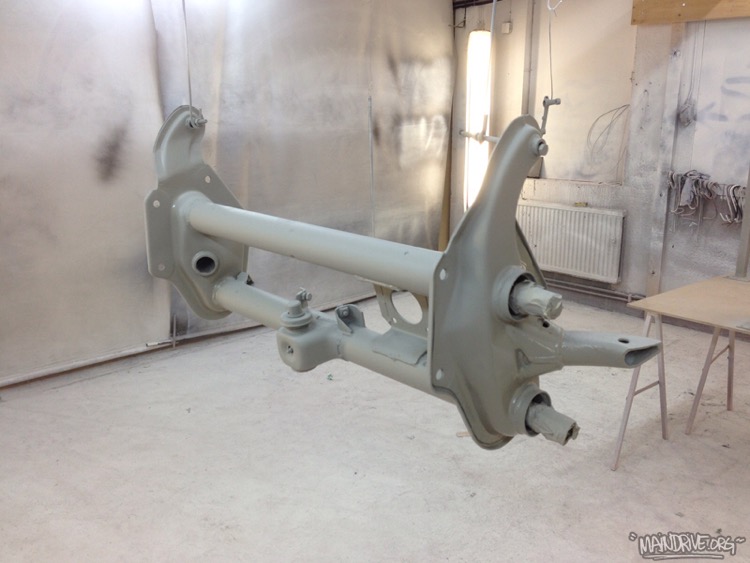
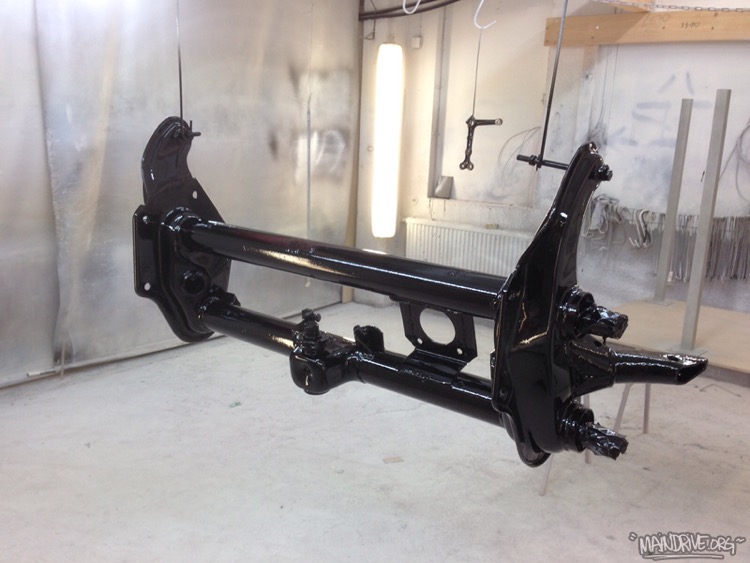
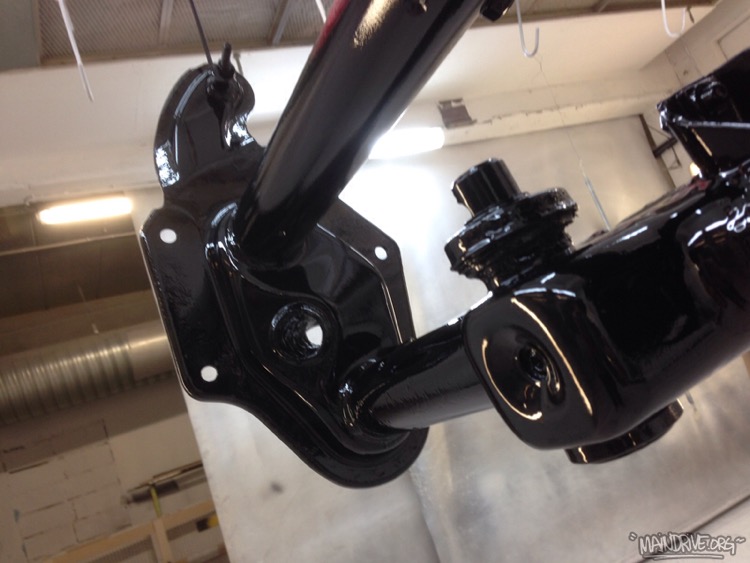
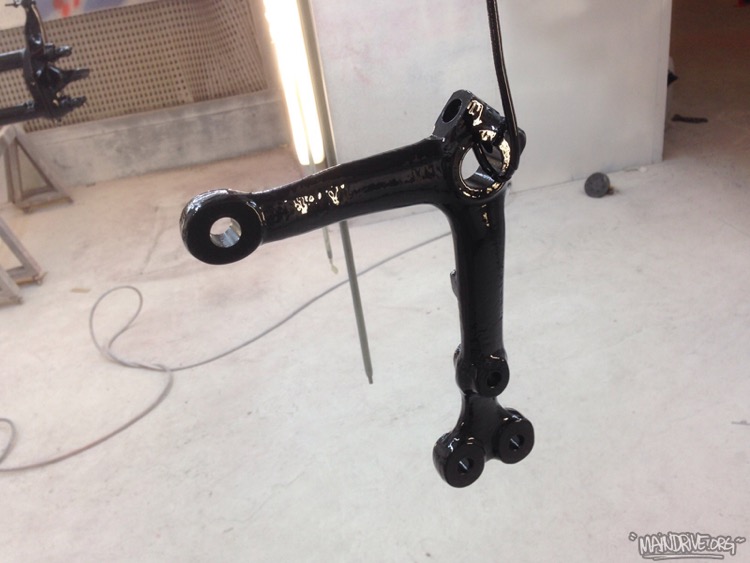
The front beam/axel have been sandblasted and painted in Deepblack paint. Also modified the servo/brakebooster bracket so a new modern Brazil Bay booster will fit on the old Bay beam. The bracket was made 30mm extra wide, because the bolt pattern is little diffrent on the new servo. Doing this you just have to pay 140euros for a new servo instead for the original 400euros(!).
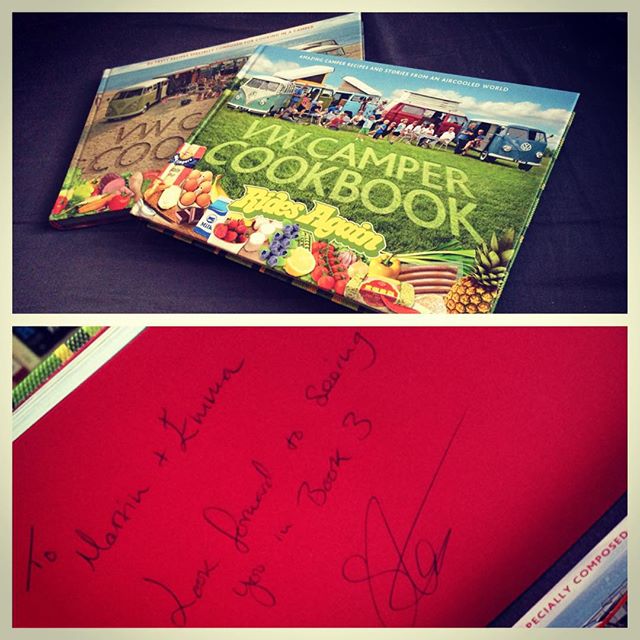
… by Steve Rooker. Get yourself a copy at: www.vwcampercookbook.com
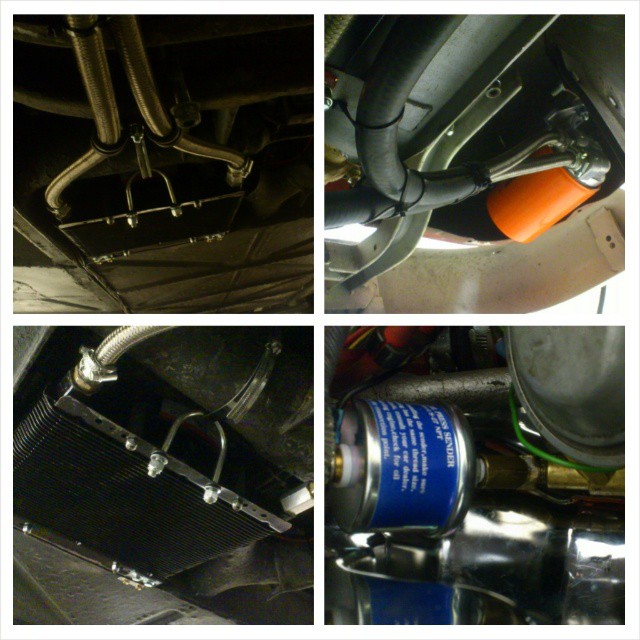
Stainless lines and filter hooked up to the new EMPI oilcooler on the VW bus. And oil temp and pressure unit installed also. Test drive this week I hope.