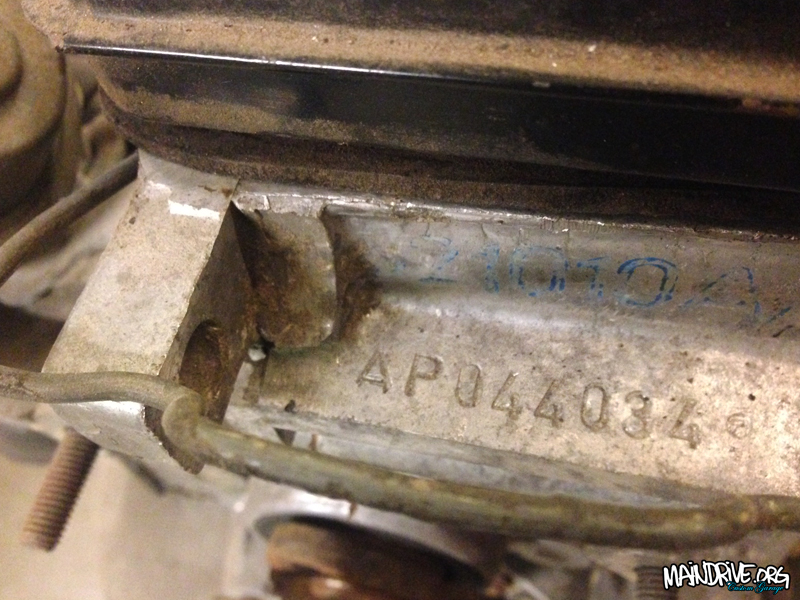
Started to disassembly the VW Baywindow Highroof engine this weekend. A stock Type 4 1800cc AP case (no hydraulic lifters) and dual Solex carbs. Going to be rebuild from ground up and get some extra performance parts for even more torque! Plan is to resurface the heads, 96mm Porsche 914 cylinders, better carb setup and a better flowing exhaust system. Probably going to keep the stock camshaft ratio, because it gives maximum torque already around 2200 RPM, wich is perfect for a heavy bus and hills.
The engine was already unbolted when I got the bus and I did not know anything about it, more than it was a AP 1800cc VW type 4. I saw it was cleaned a little bit and the cylinders looked to have new paint on them. So somebody have started to restore it was my guess. But I saw that the lower cylinderhead cooling thins was missing, so I got a little suspicious about how good restored it really was going to be when important parts like that not was installed back. Hmm!
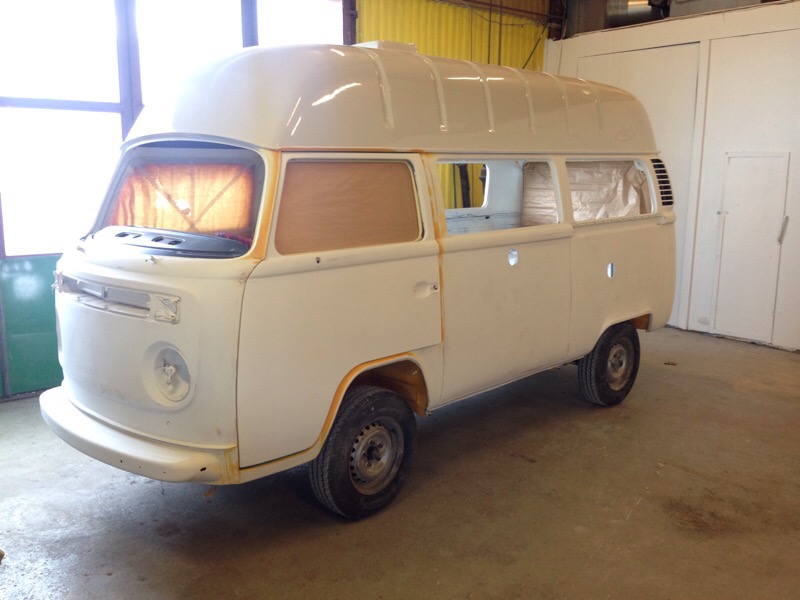
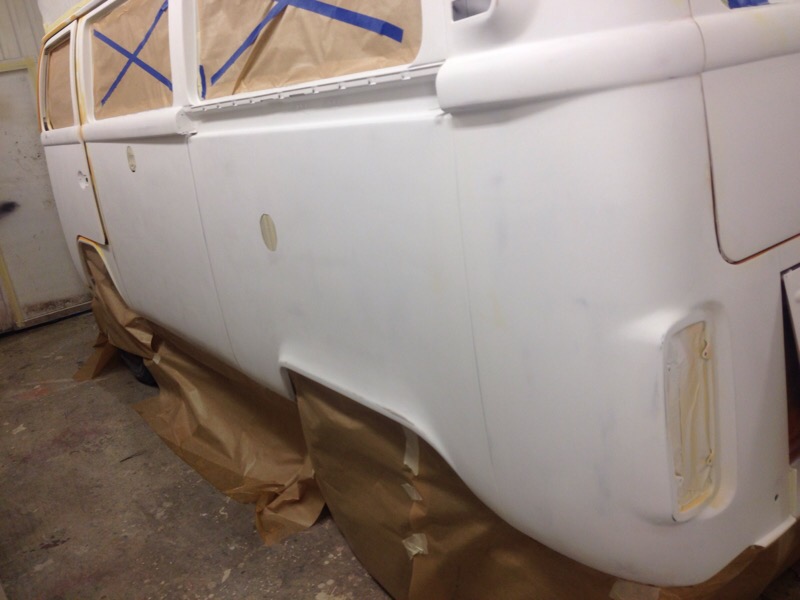
Here is some new pics…
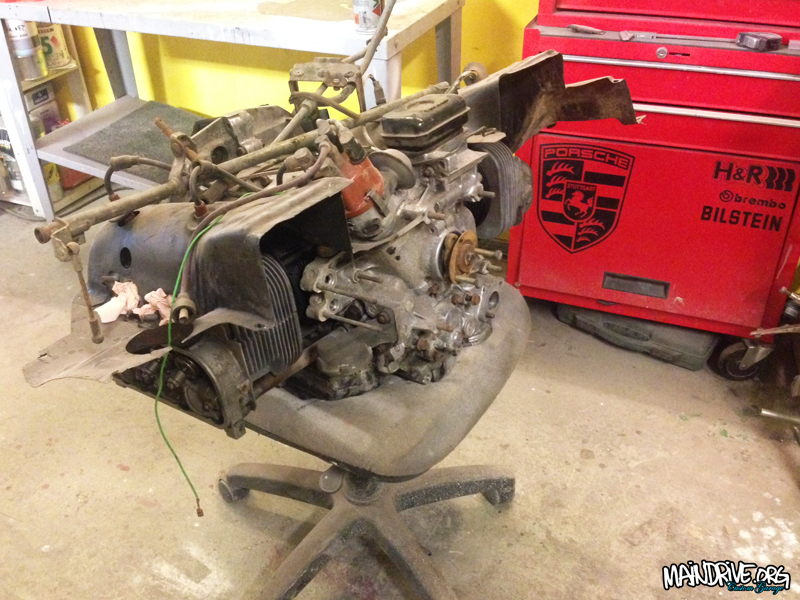
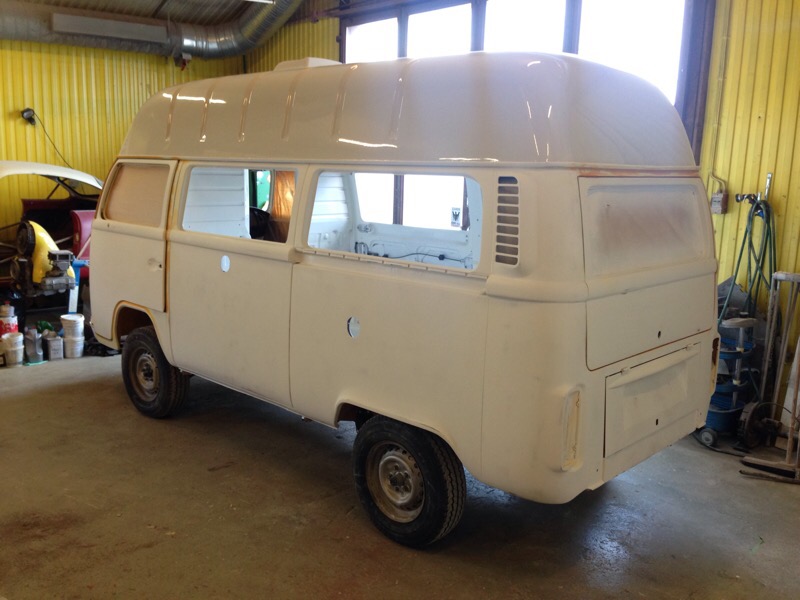
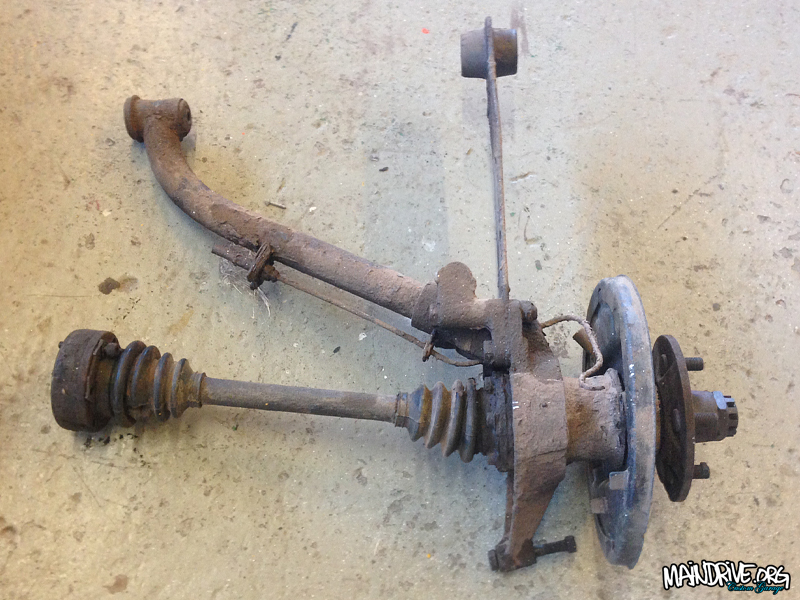
What I had to start with. Dirty old lump!
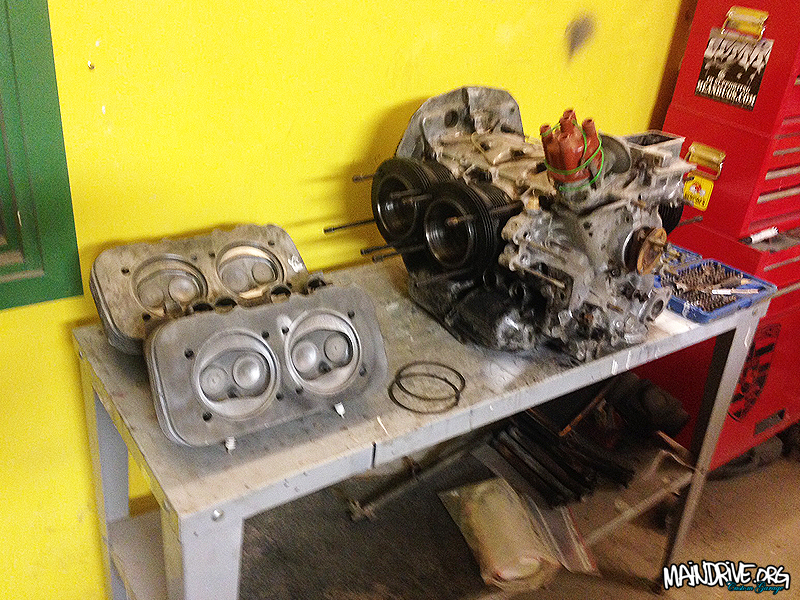
Teardown started, cylinderheads is off! Something have happend in cylinder nr 1 at some point. It had small marks and dings on the combustionchamber and on top of the piston. Nothing to serious tho. Maybe a washer or parts of a valveseat? One of the valves was new too. Funny thing is that the piston that had marks was now installed in cylinder nr 2. Not a good thing to mix them up on old used cylinders. But doesn’t matter now since I will replace them with all brand new 96mm cylinders and pistons.
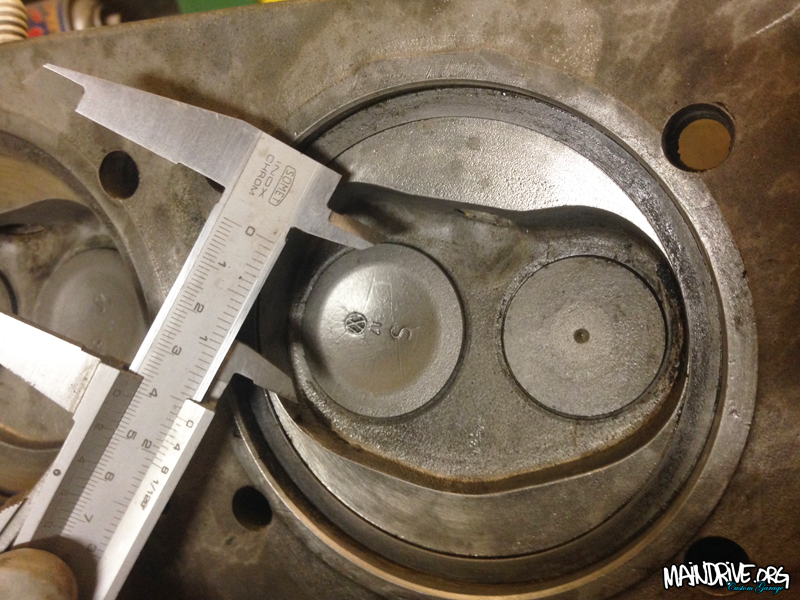
The good thing is that the cylinderheads are the ones with partnumber ending with an “S”. And have the biggest valves VW ever put in any bus! Intake 41mm and exhaust 34mm. Bingo! Only Porsche 914 had bigger, and they also had a different angle on the sparkplugs for better performance/combustion. Heads will get rid of the headgaskets, resurfaced 0,5-1mm, new valve guides, new machined valveseats in a better material (Type 4 engines are famous for dropped valveseats) and new valves and new springs etc.
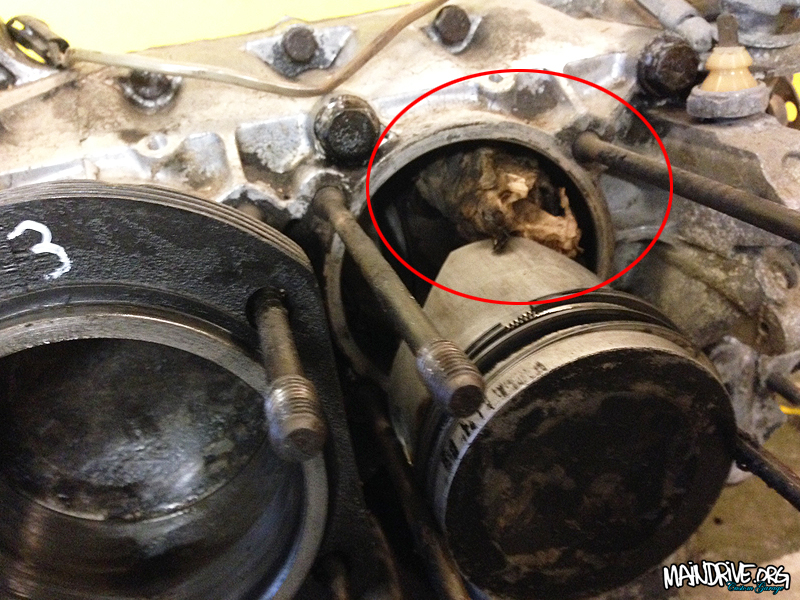
When I pulled of the nr 4 cylinder I found a rag inside the case(!) Somebody probably forgot it there. Ig the engine had been started up it would not run for a long time thats for sure! It was now confirmed that a total crackhead had restored my engine before.
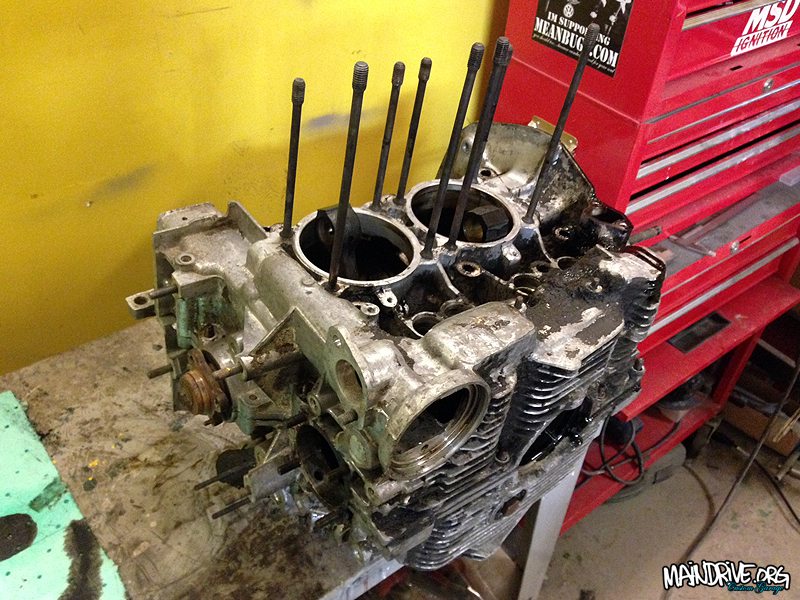
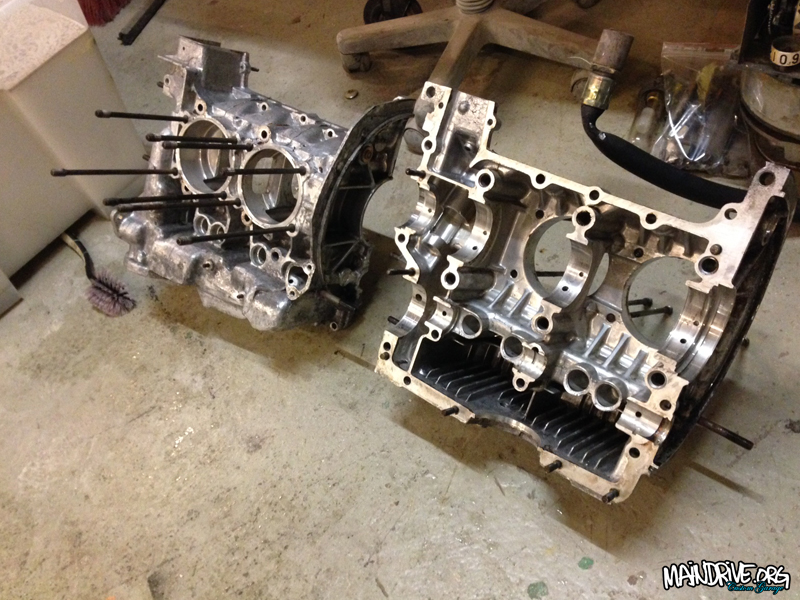
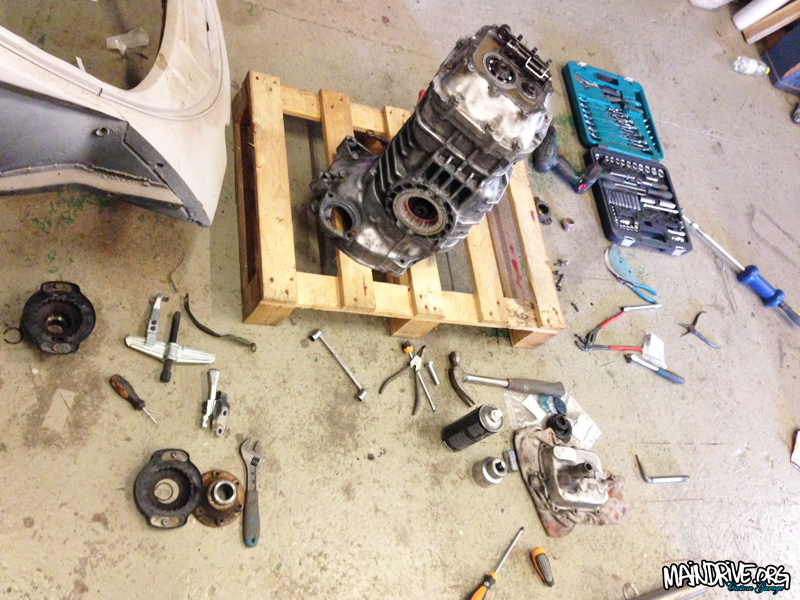
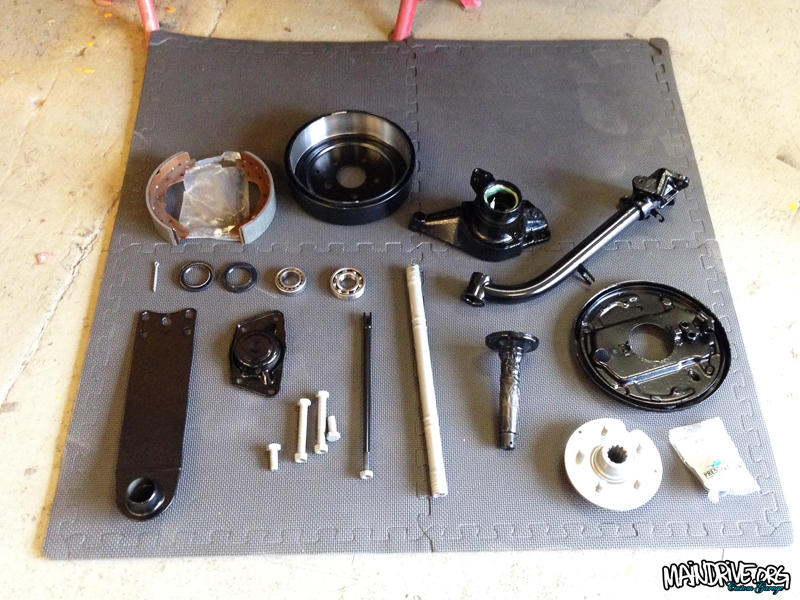
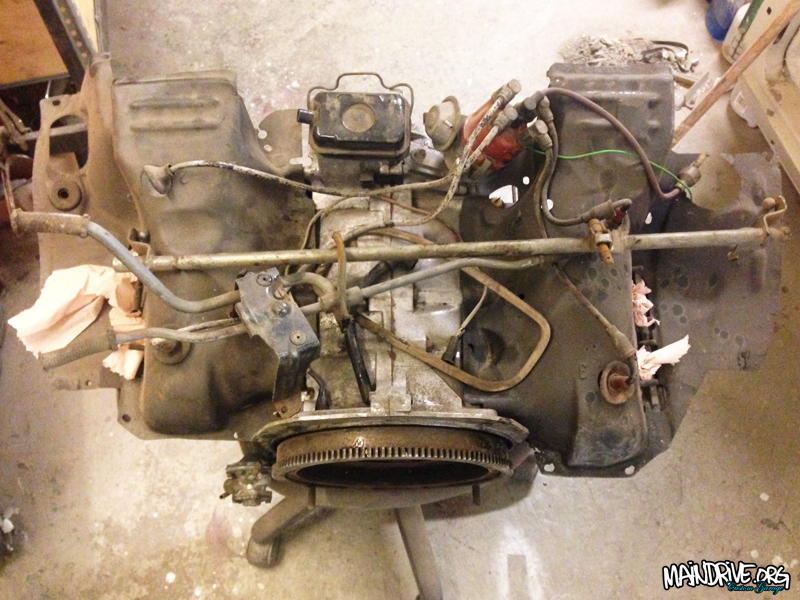
Everything removed and all bolts and washers etc. Ready to split!
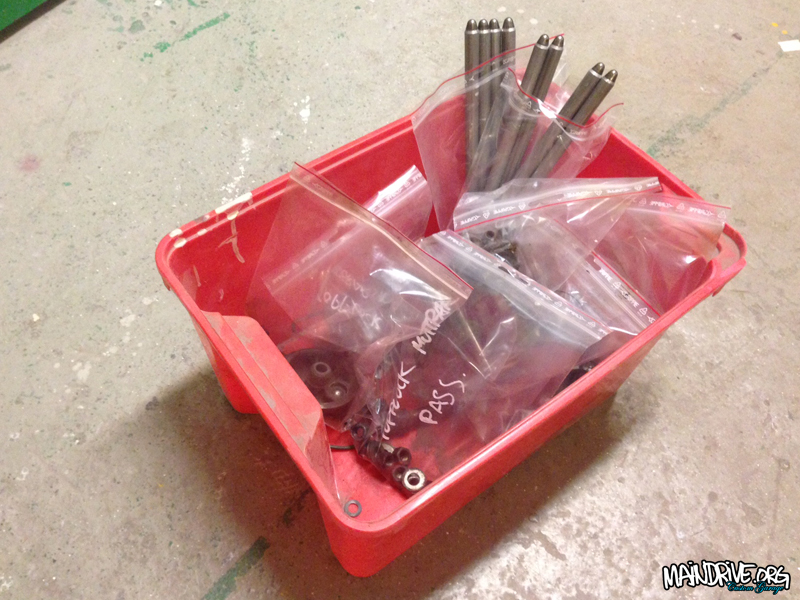
Every part labeled and bagged, keeping it organized and clean is a must when building a motor.
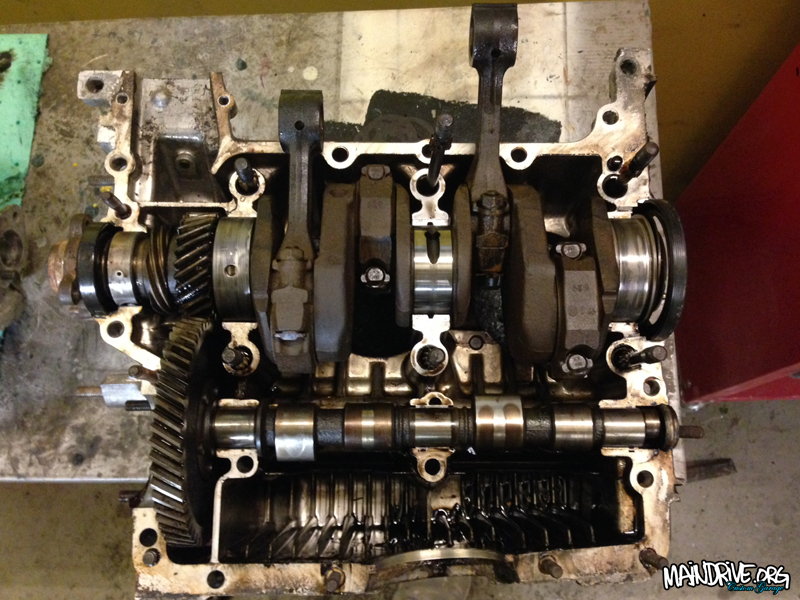
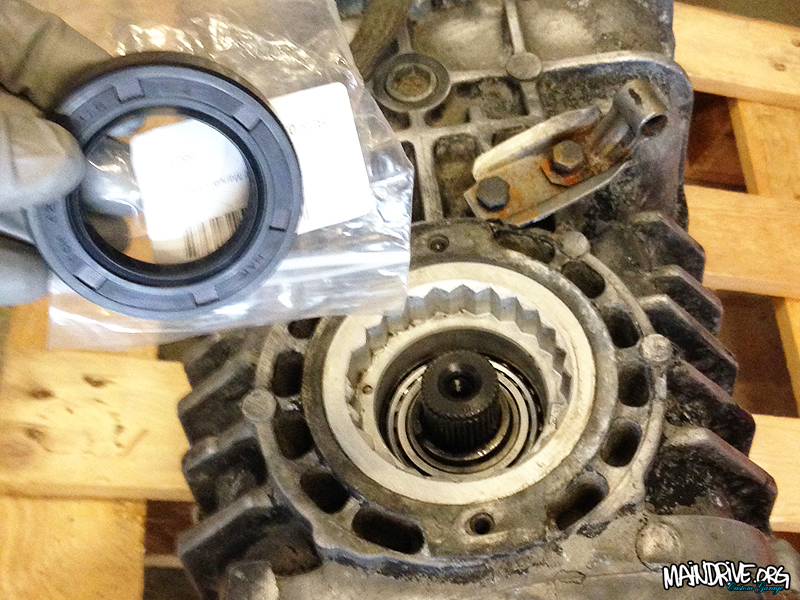
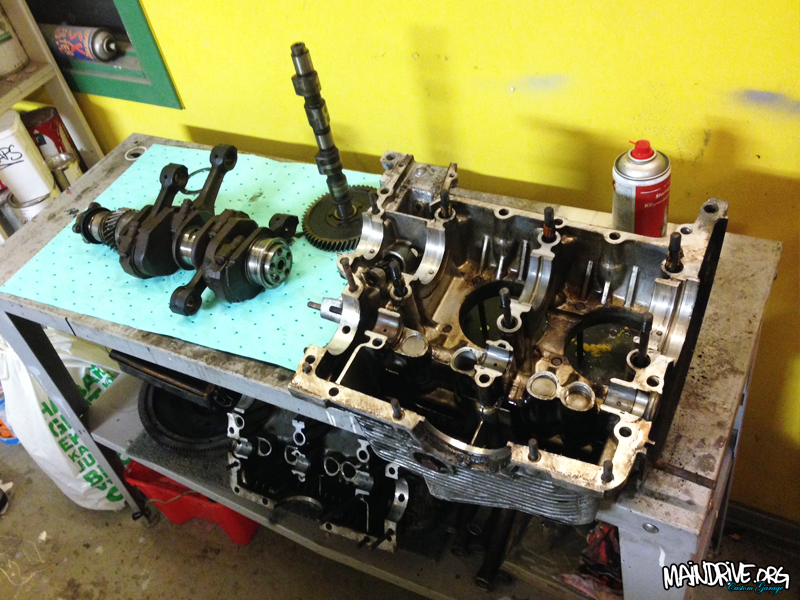
Inside of a VW type 4 engine
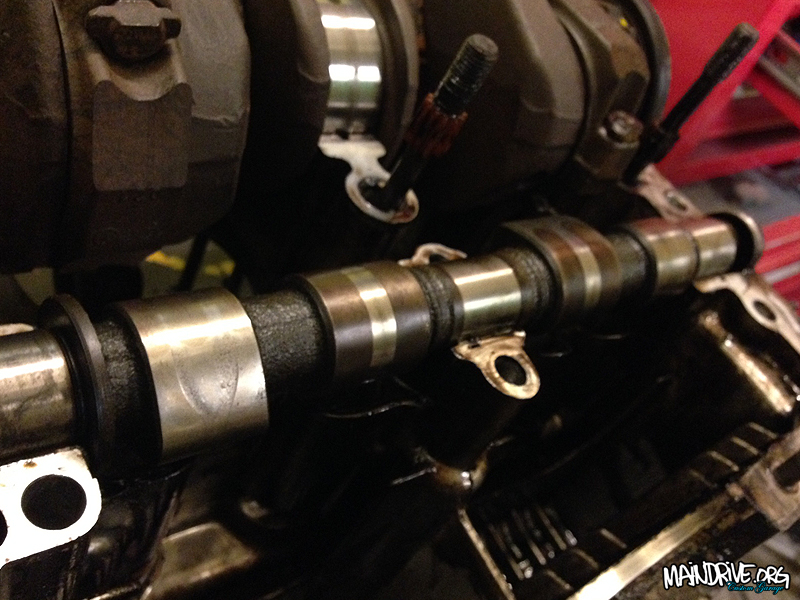
Camshaft totally shot! And nr 1 cambearing was worn down to the copper. Camshafts are almost never in good shape on the Type 4 engines, even worse on the later ones with hydrauliclifters. Highpressure and not the best design on the cam/followers are the main reason for this.
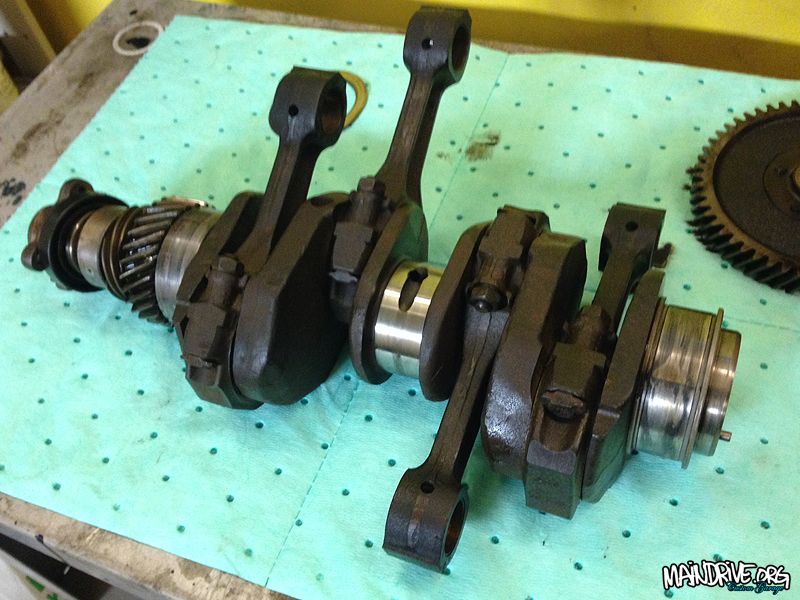
Crankshaft is out and looked to be in nice shape, bearings not to bad either. But will get replaced of course!
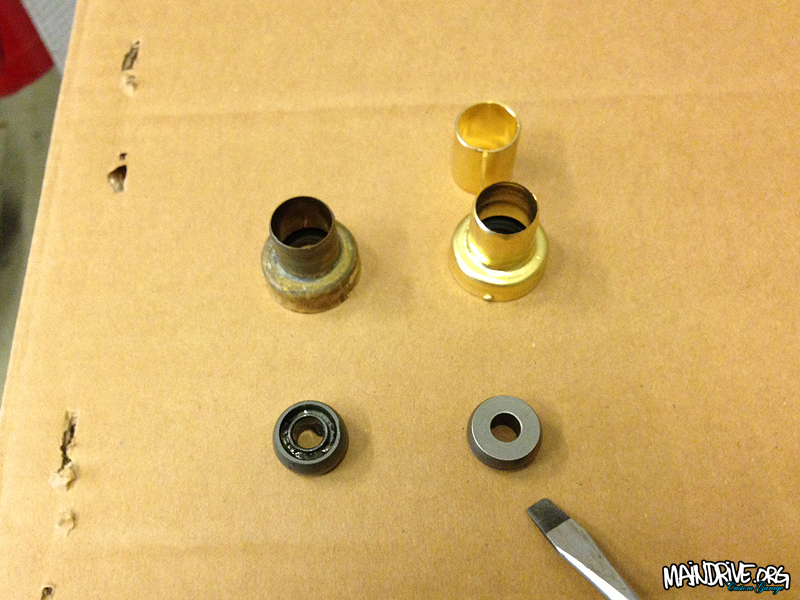
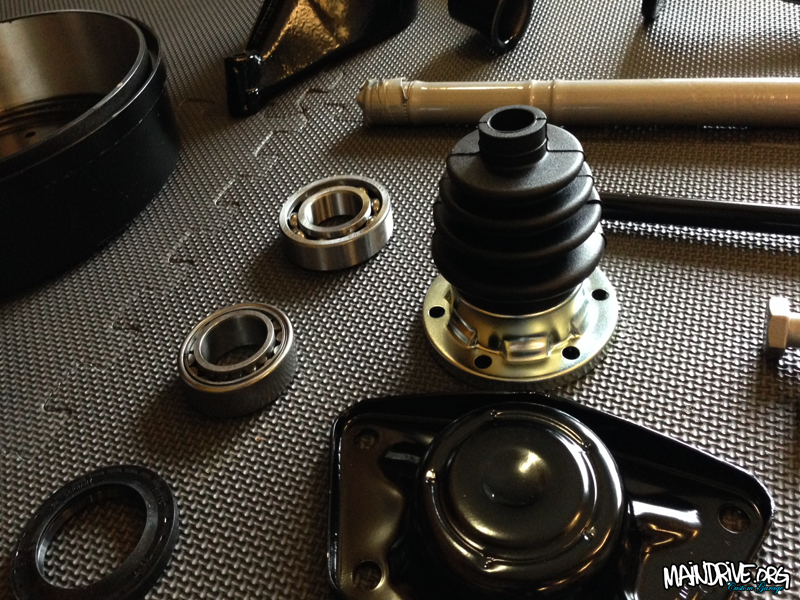
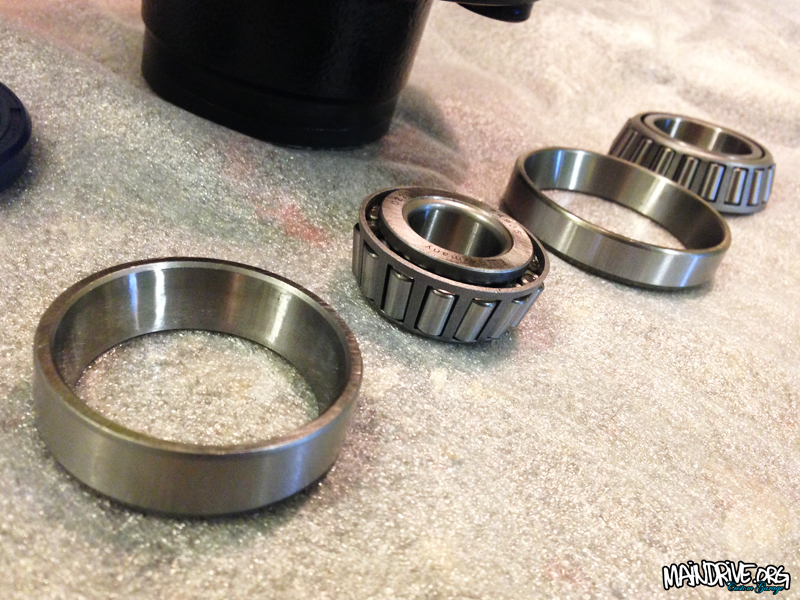
Mainbearings
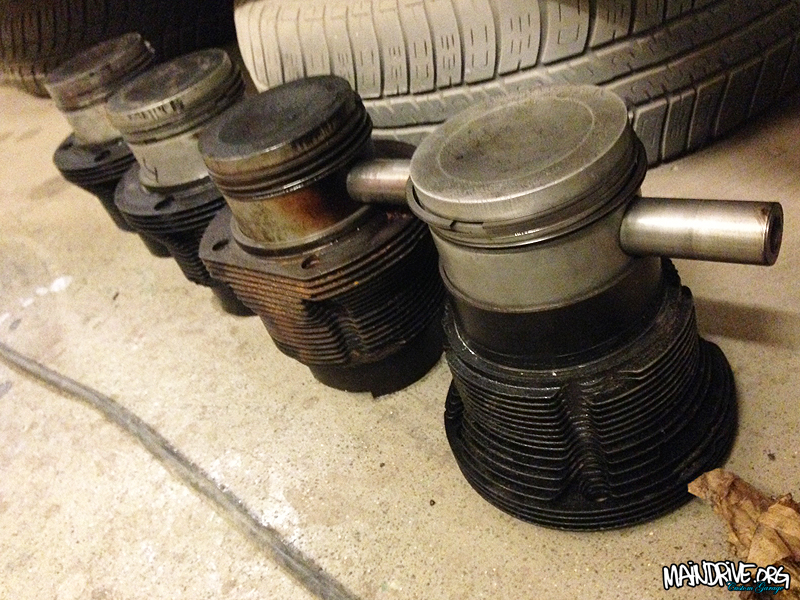
The old 93mm (1800cc) cylinder and pistons, will get replaced with new 96mm and will make it to a 1911cc.
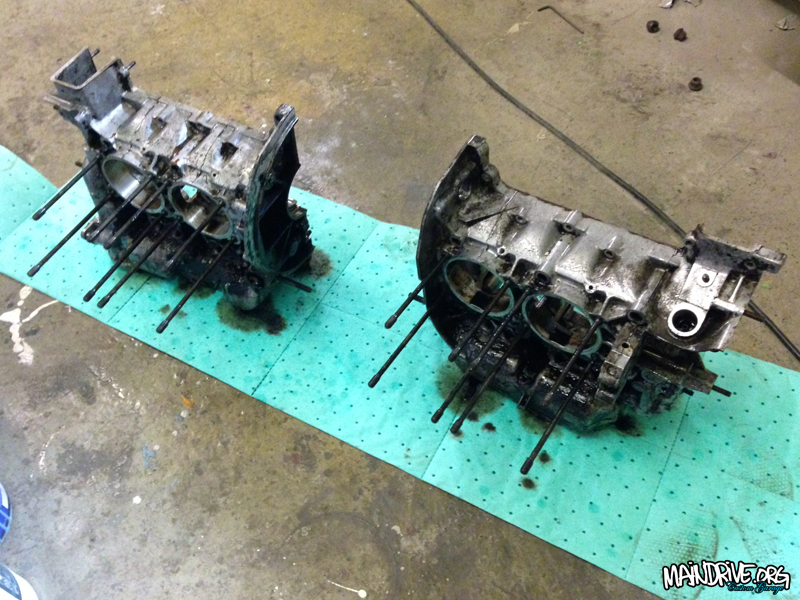
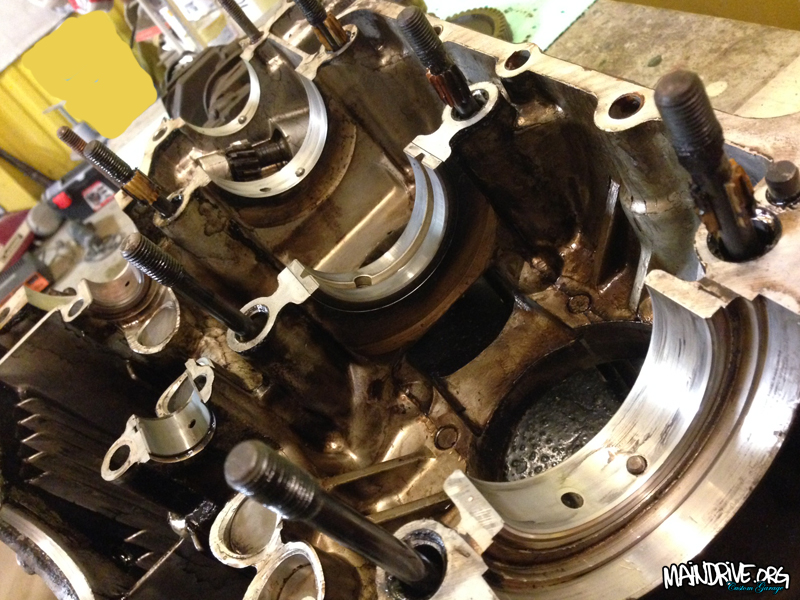
Empty engine halves ready to be 100% clean
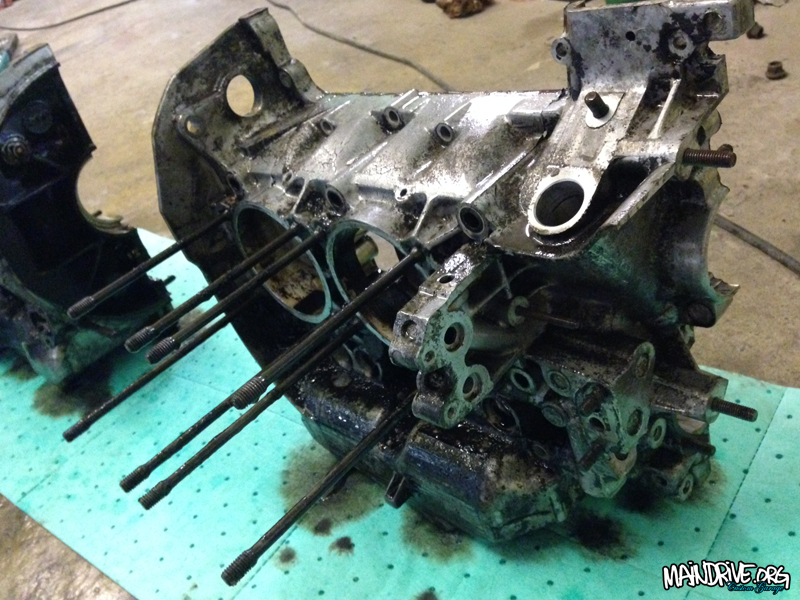
Inspection done, cleaning next on the list. Degreaser and hot highpressure washing etc.