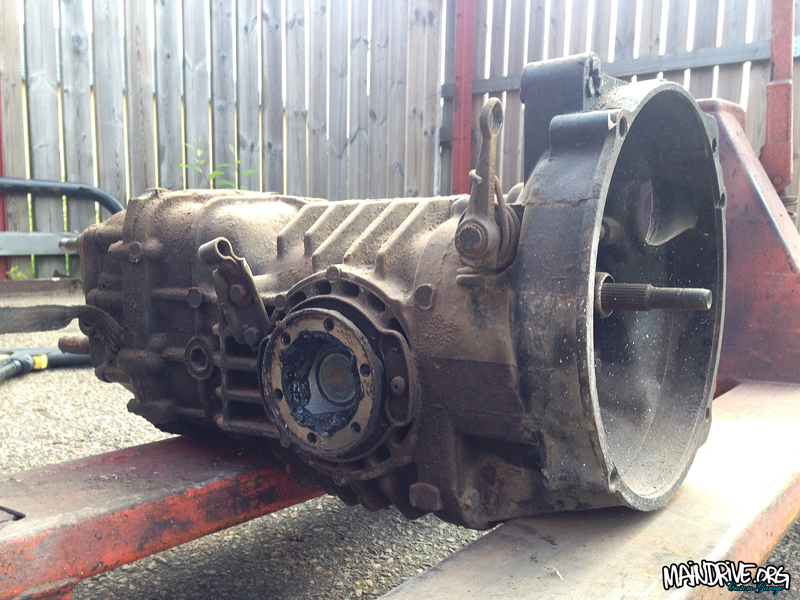
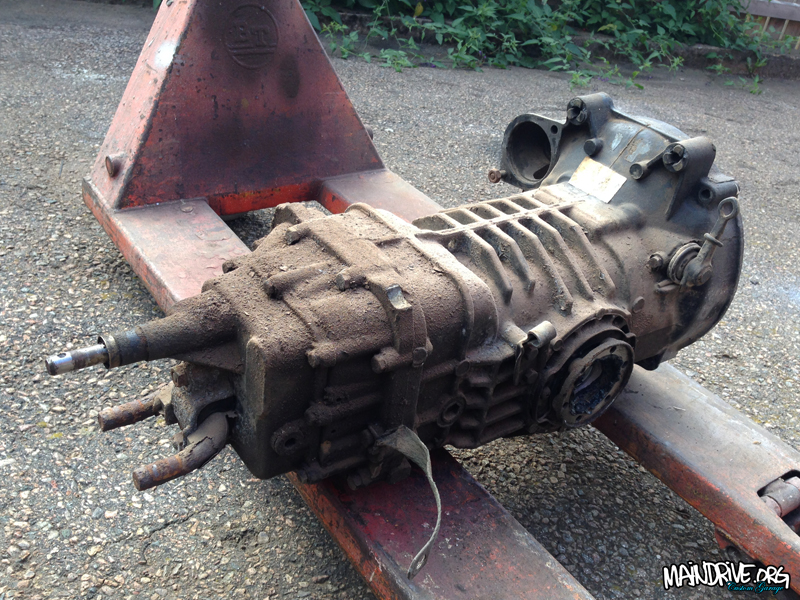
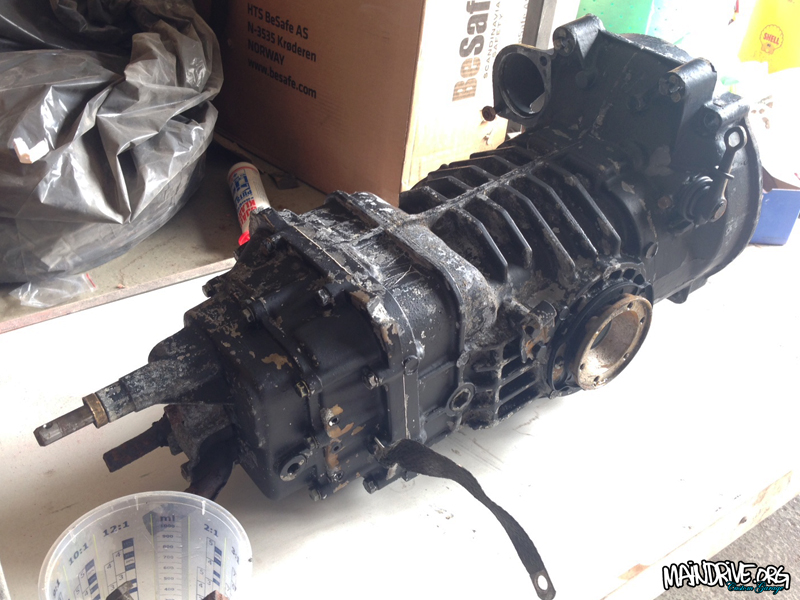
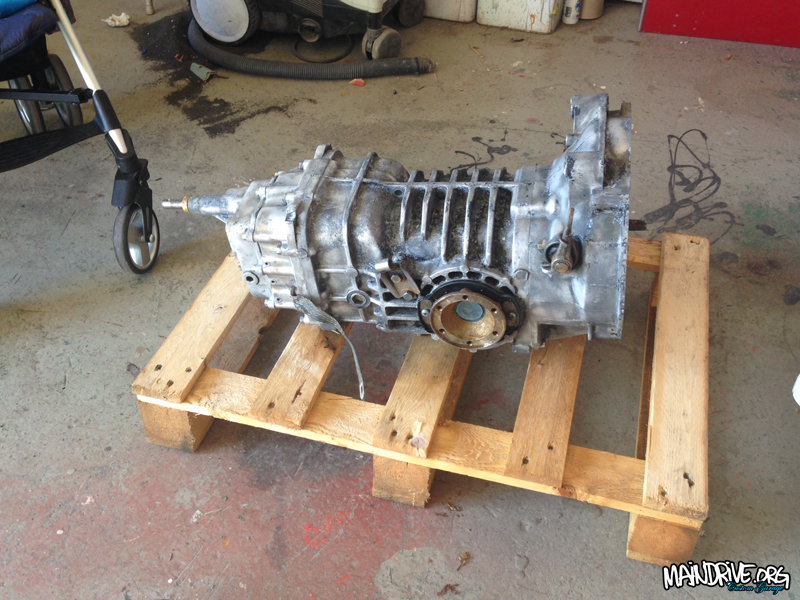
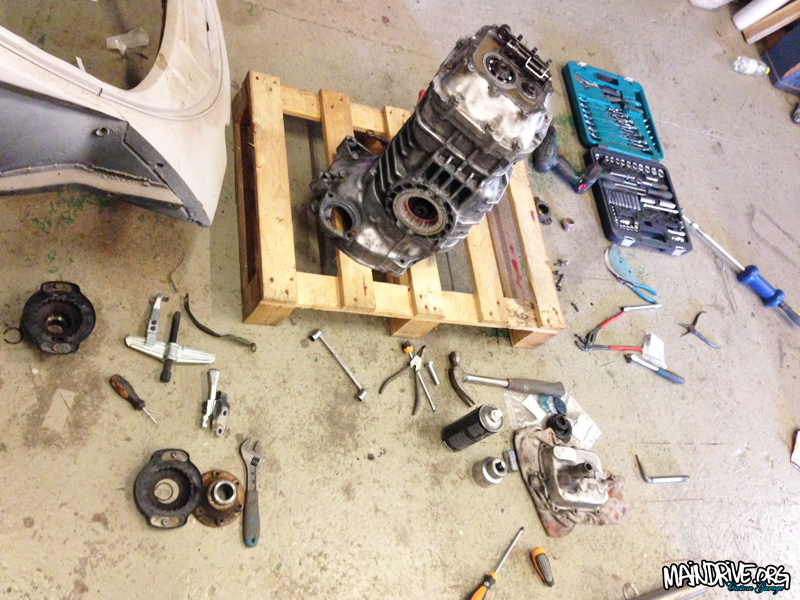
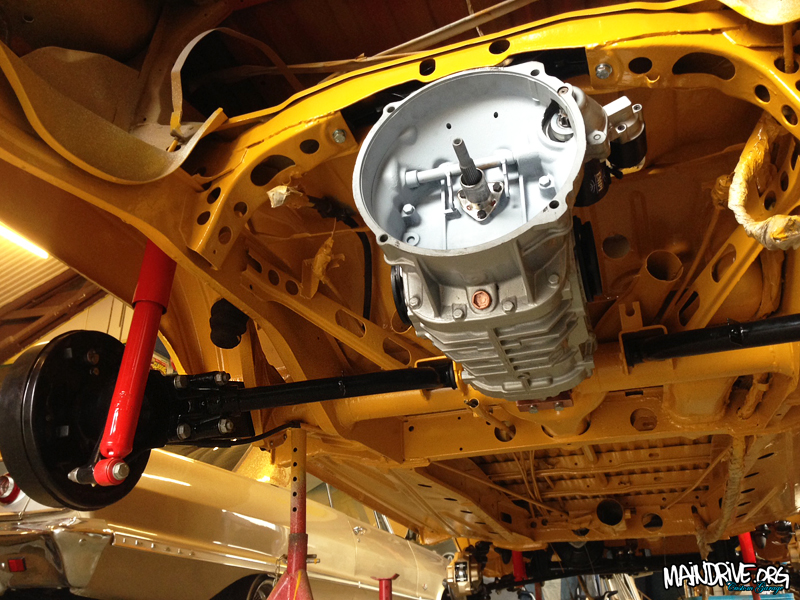
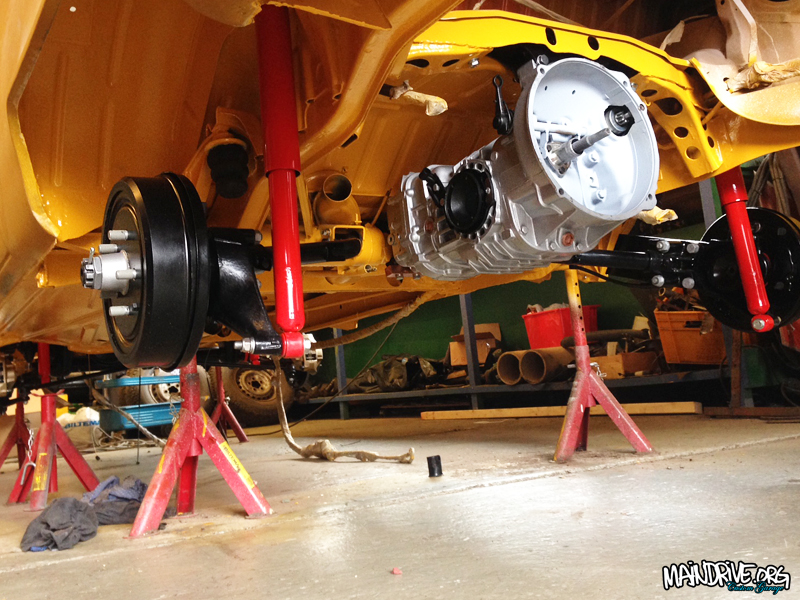
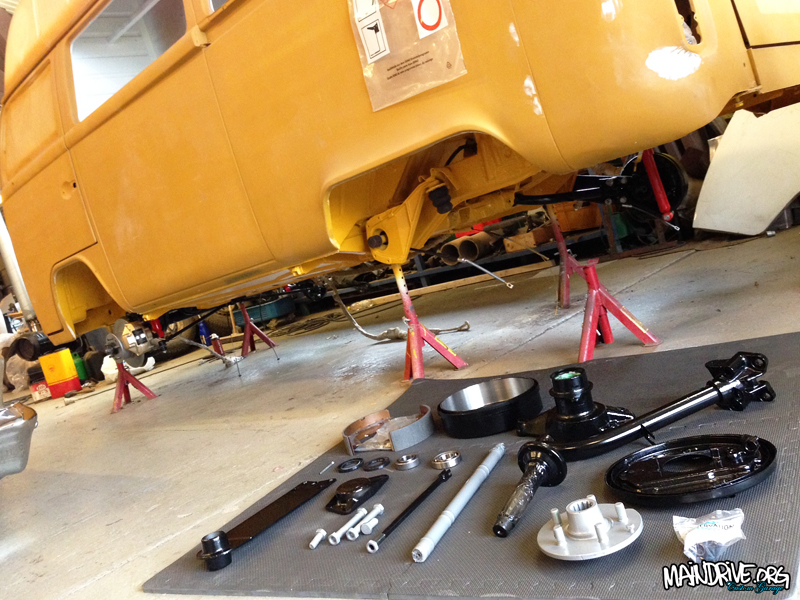
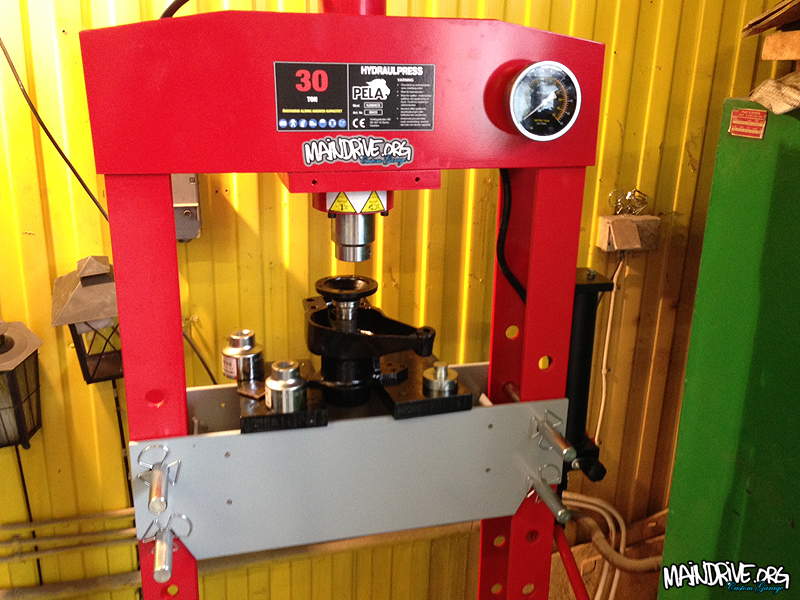
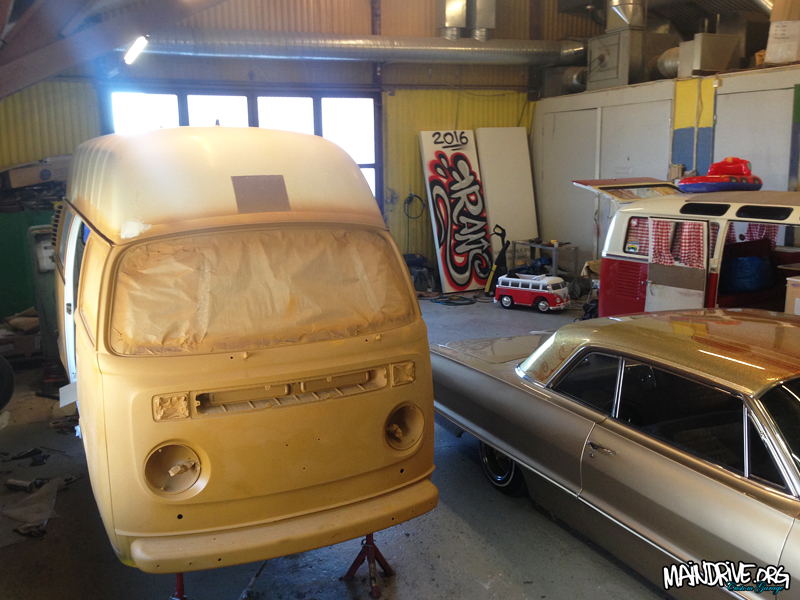
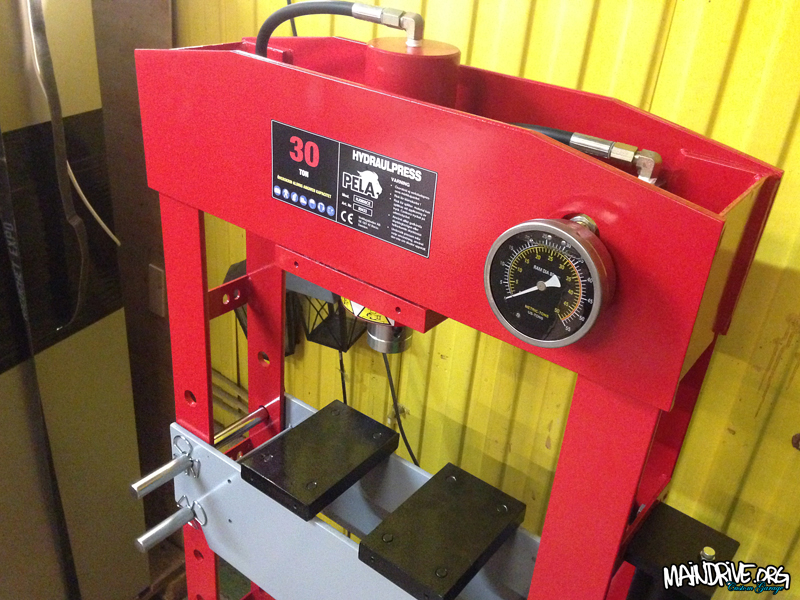
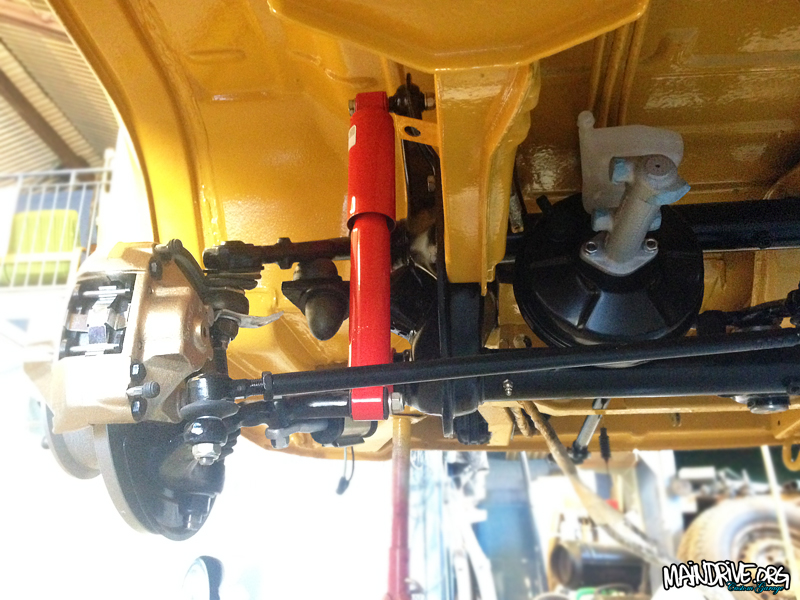
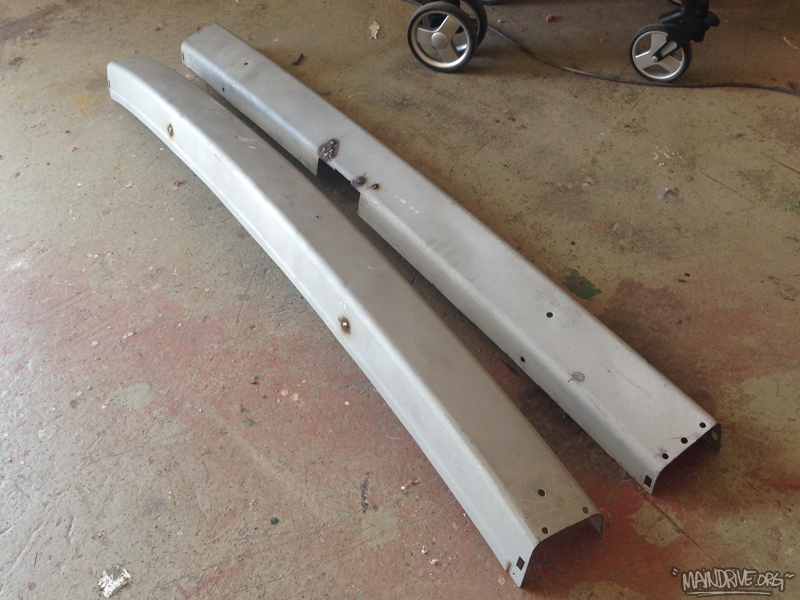
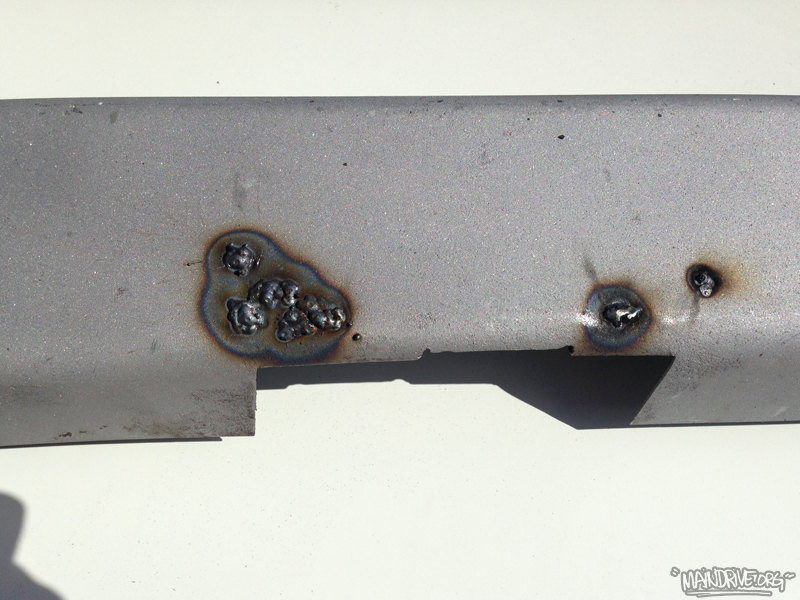
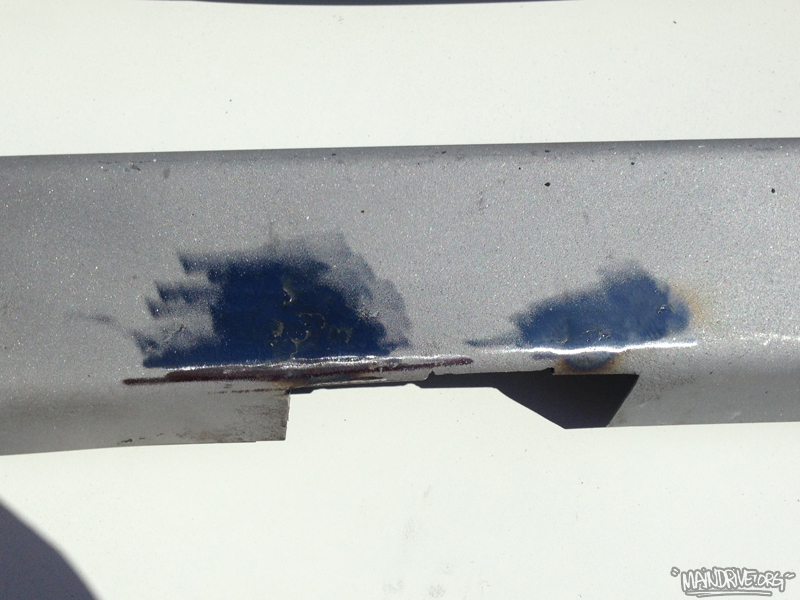
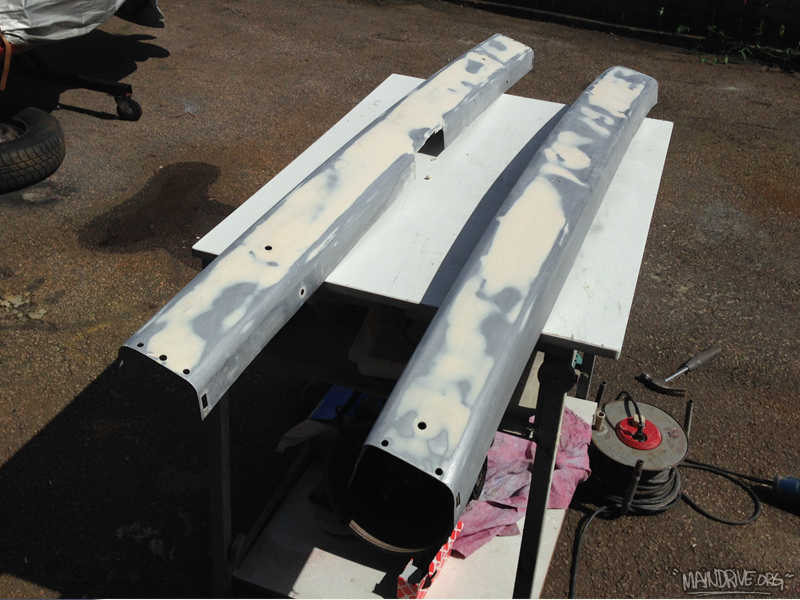
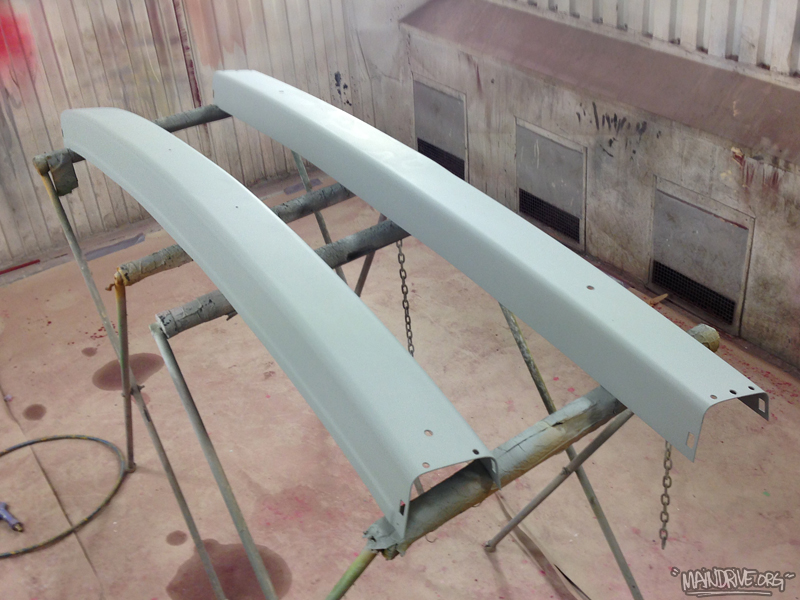
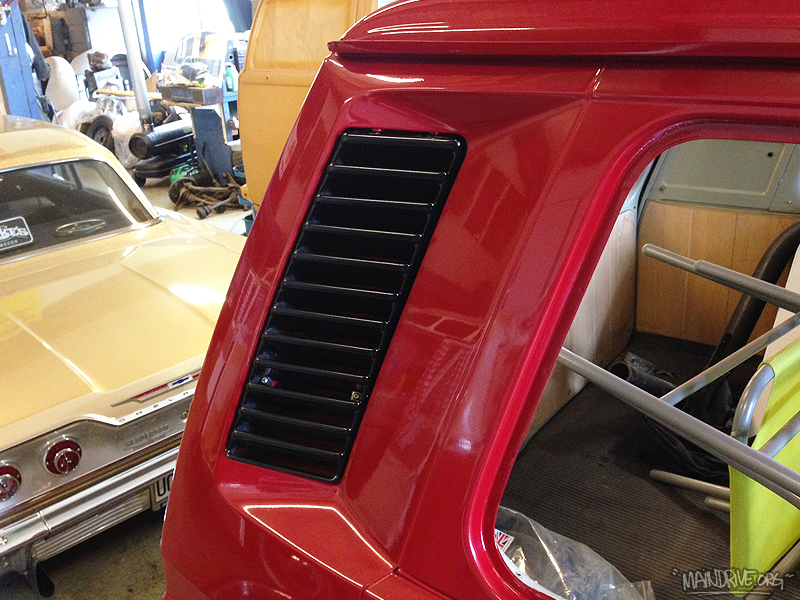
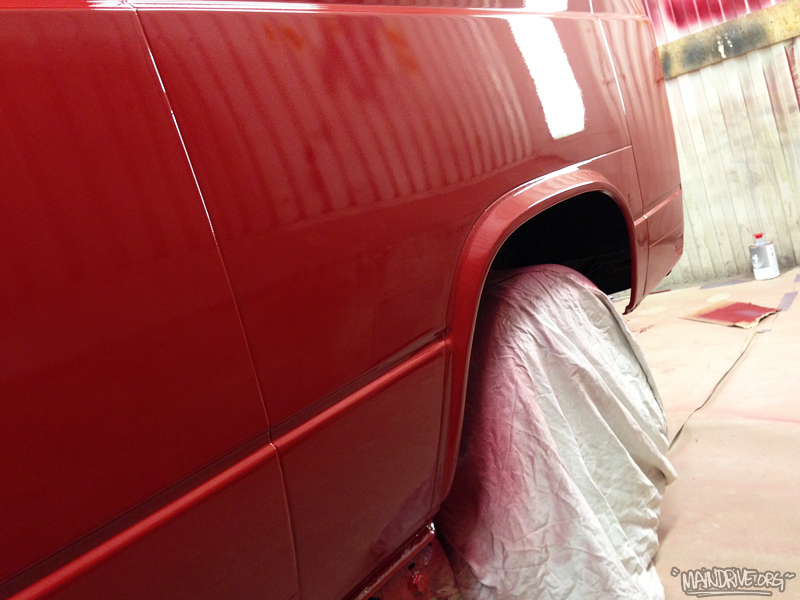
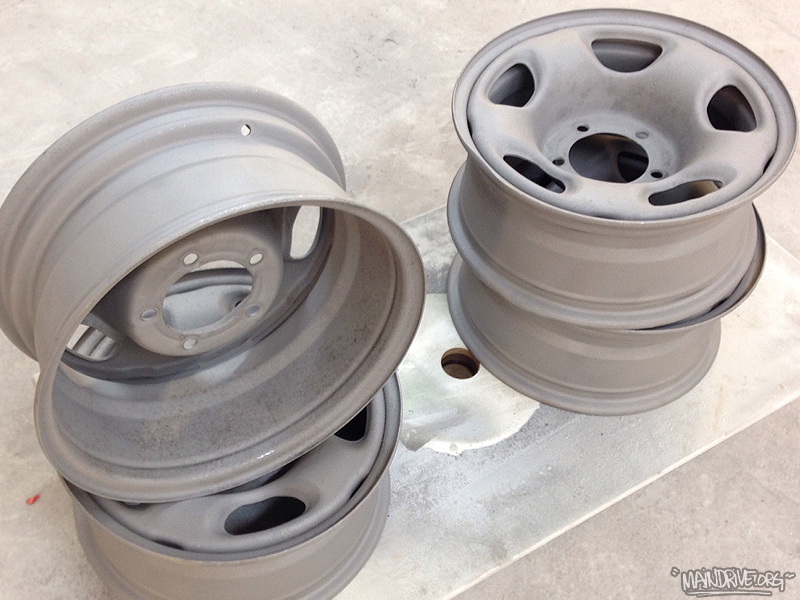
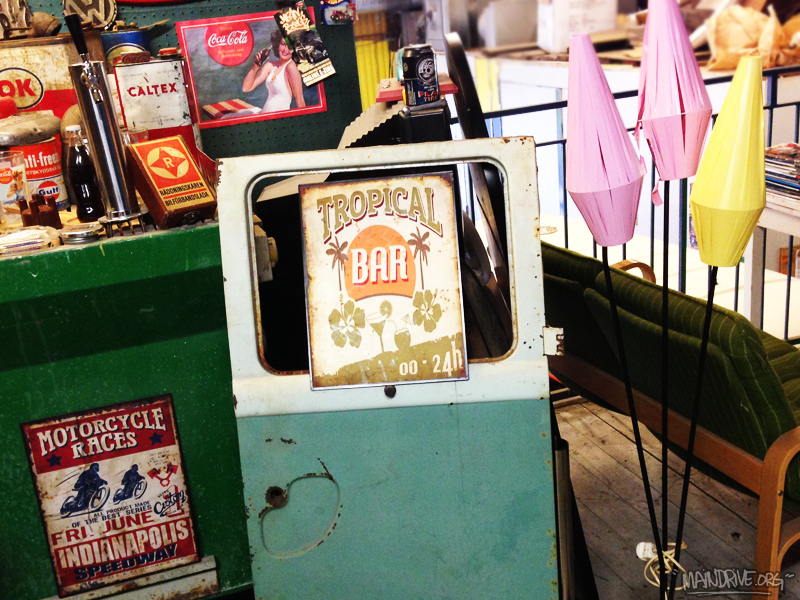
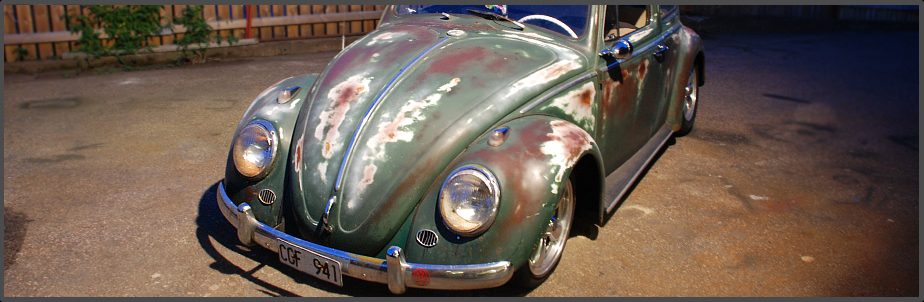
Have been working on the transmission and driveshafts lately. Had a pile of new parts from Just Kampers waiting for it. The tranny was in very good shape and have been restored by VW (exchange parts) in the 1980s. But it still needed alot of work to look good again. Highpressure washed the case 3 times, to remove dirt and old oil. Drained the oil and it still looked nice (good sign)! Then 3 coats of paintremover was added so the black paint could be peeled off the case. Degreased it one more time, wirebrushed and sanded it making it ready for paint. A coat of primer for aluminium/etch was layed down and then 3 coats of 2K silvermetallic paint on top.

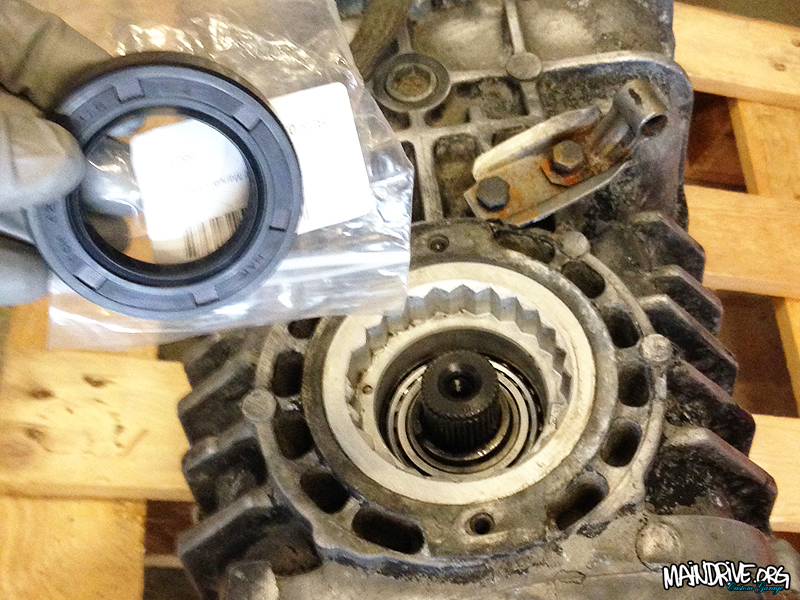
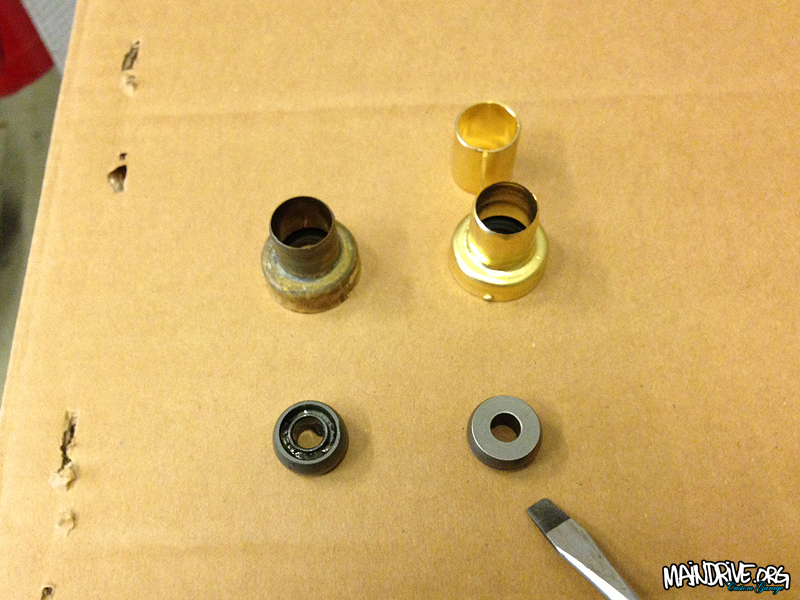
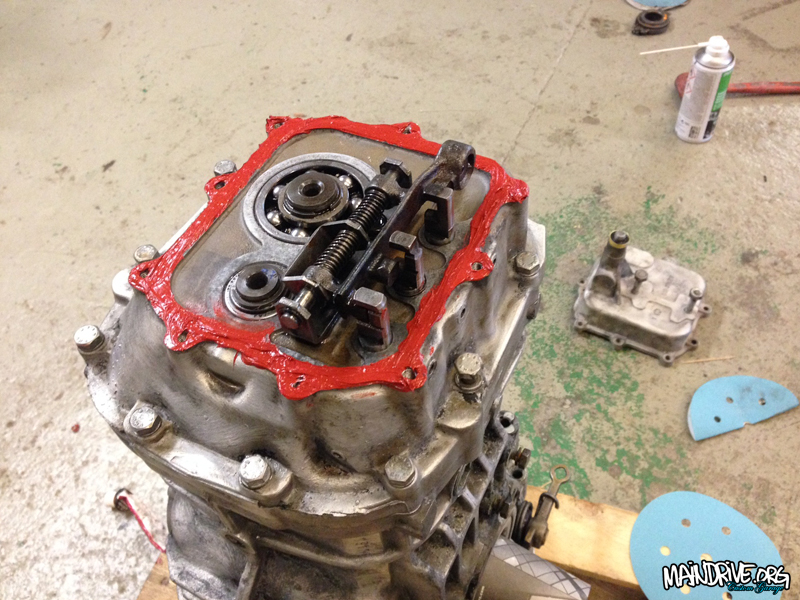
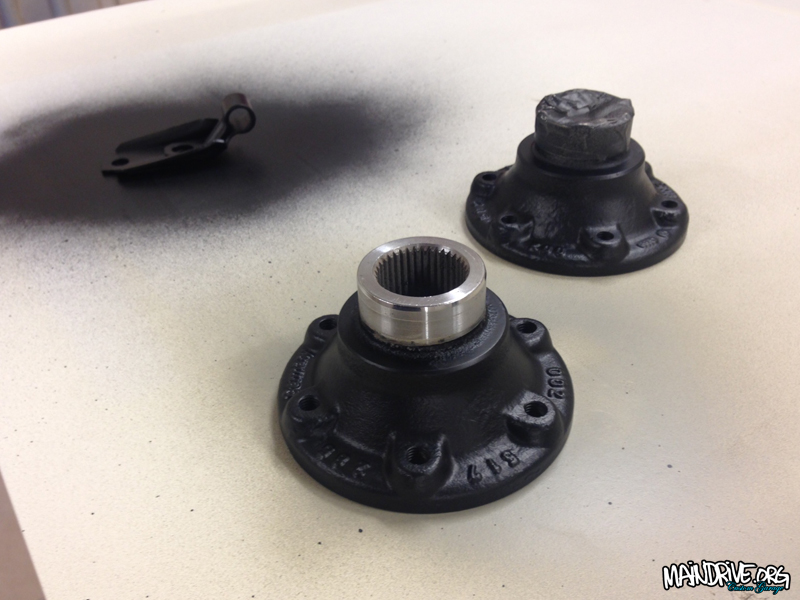
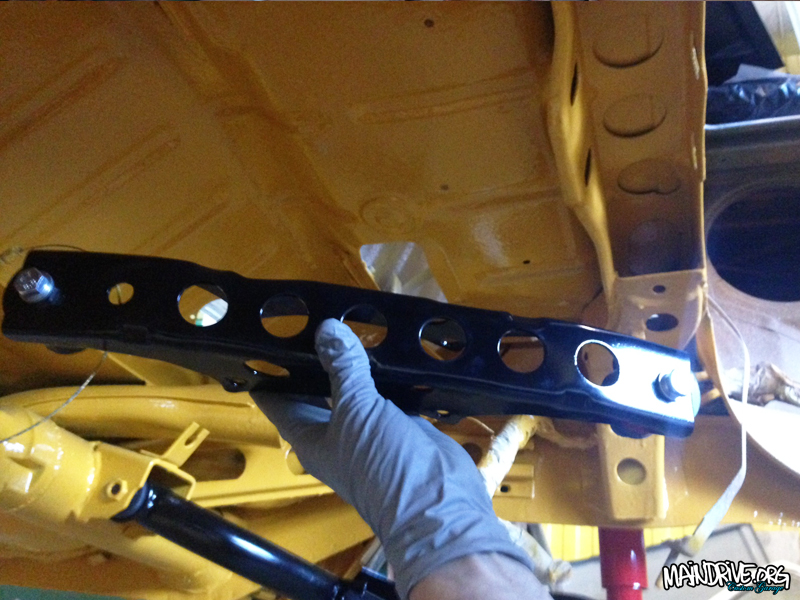
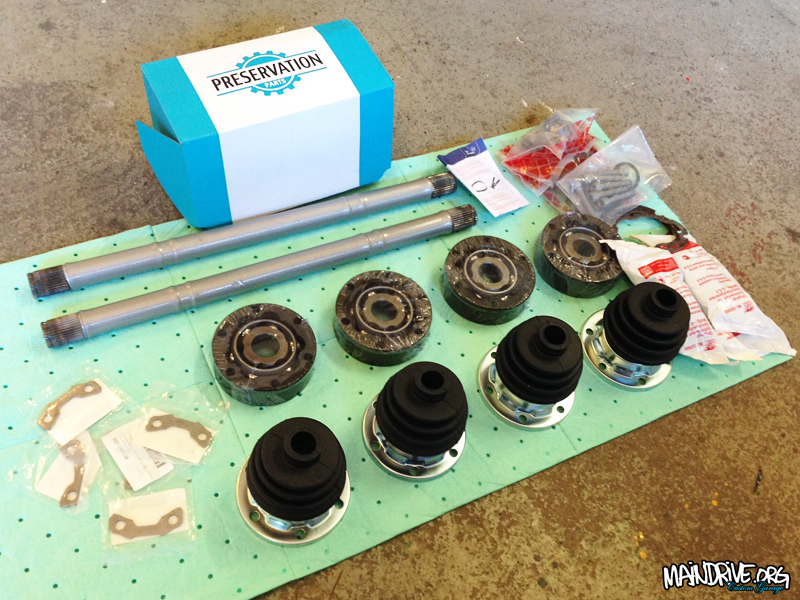
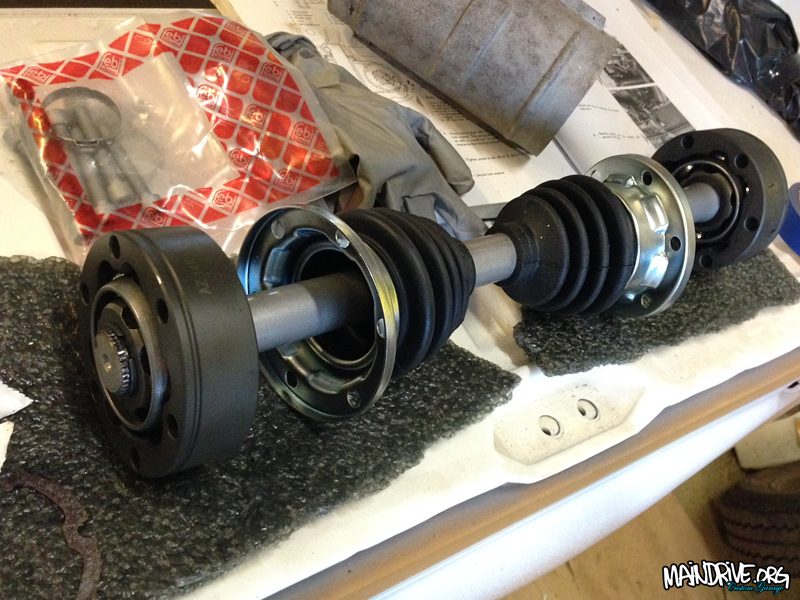
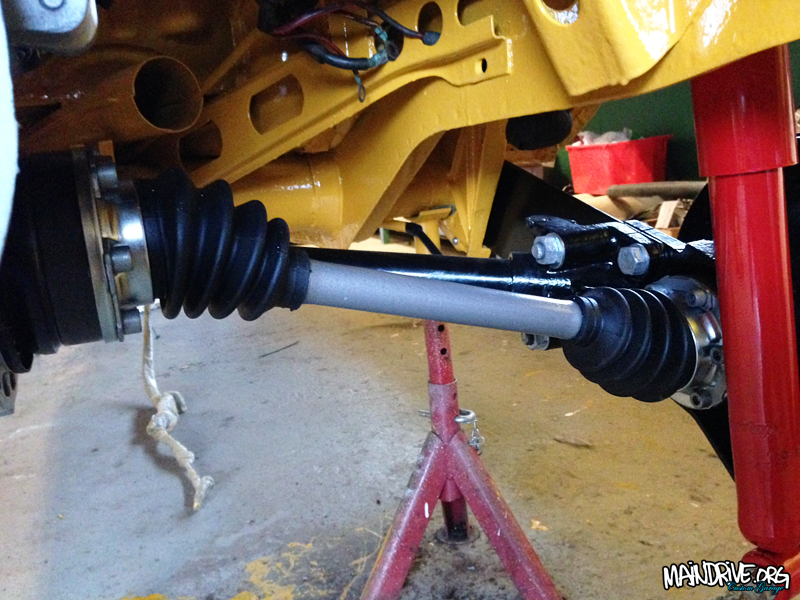
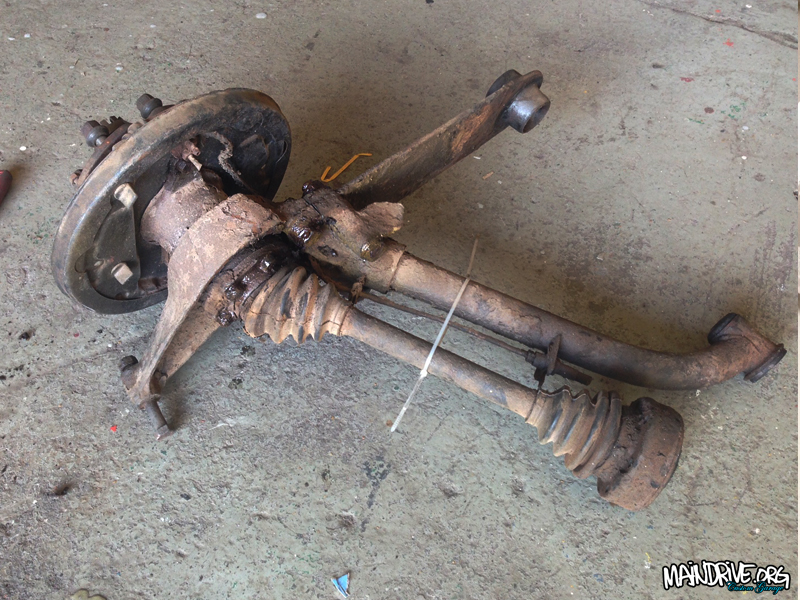
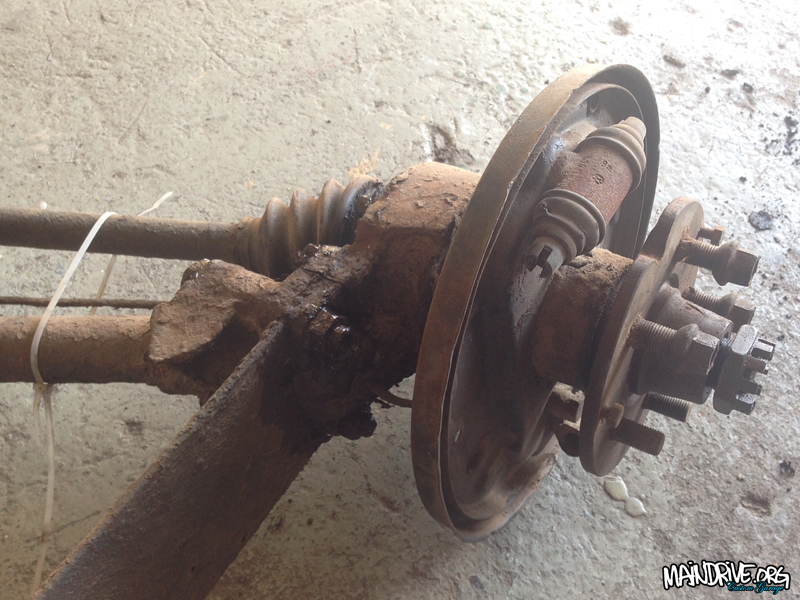
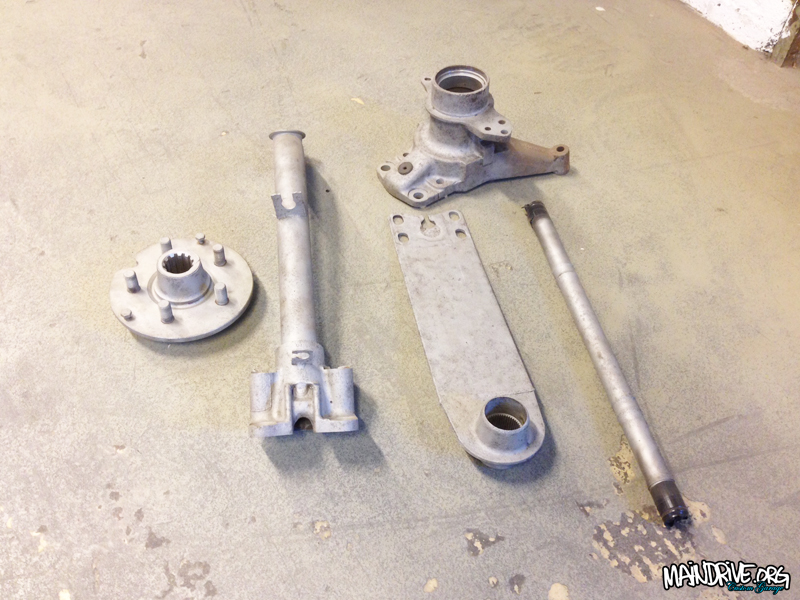
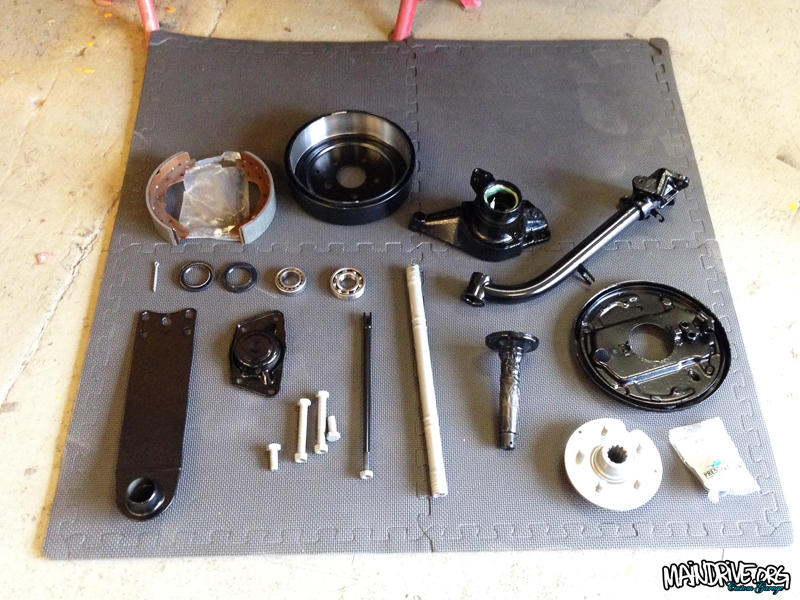
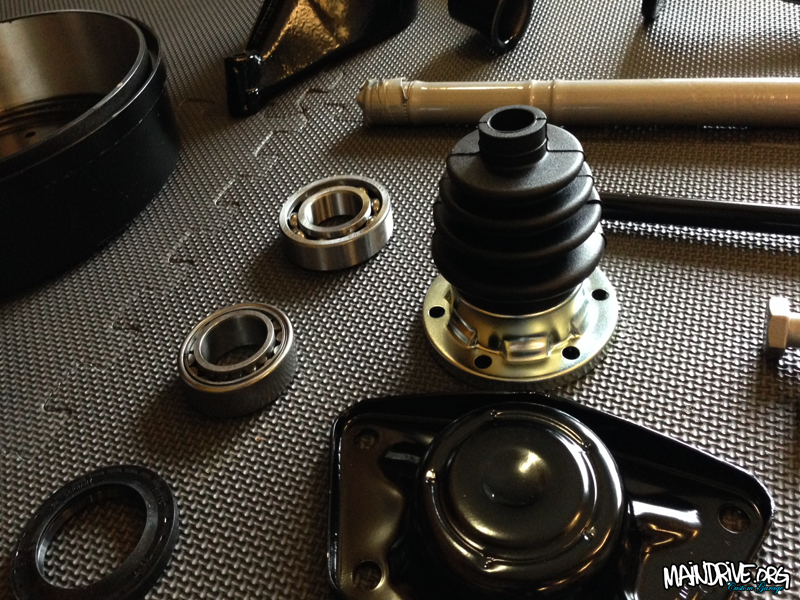
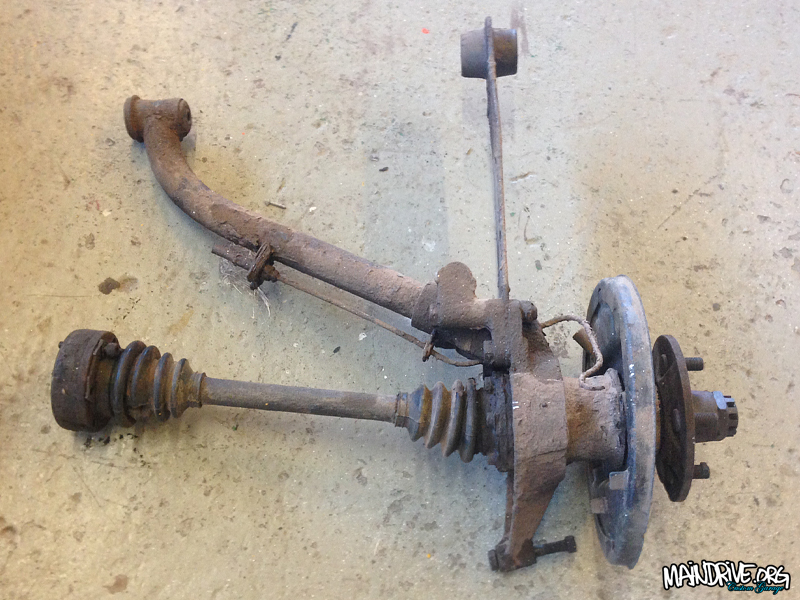
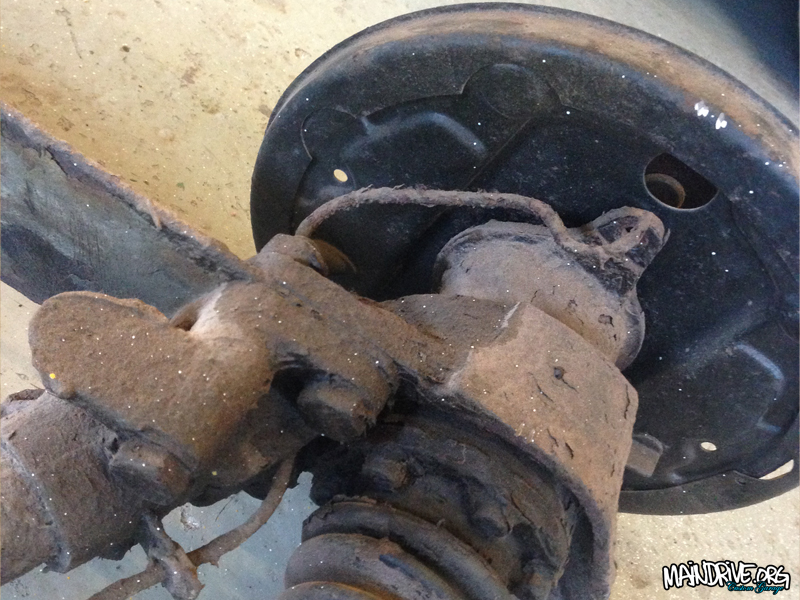
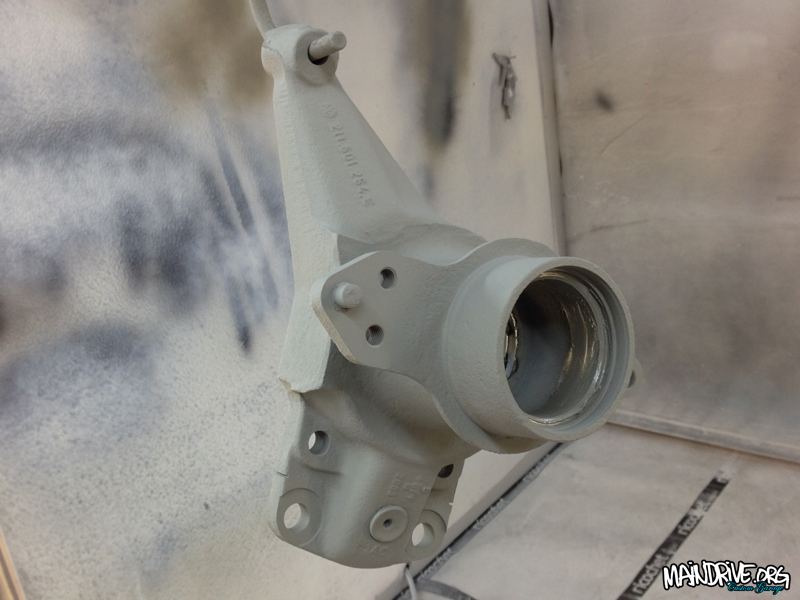
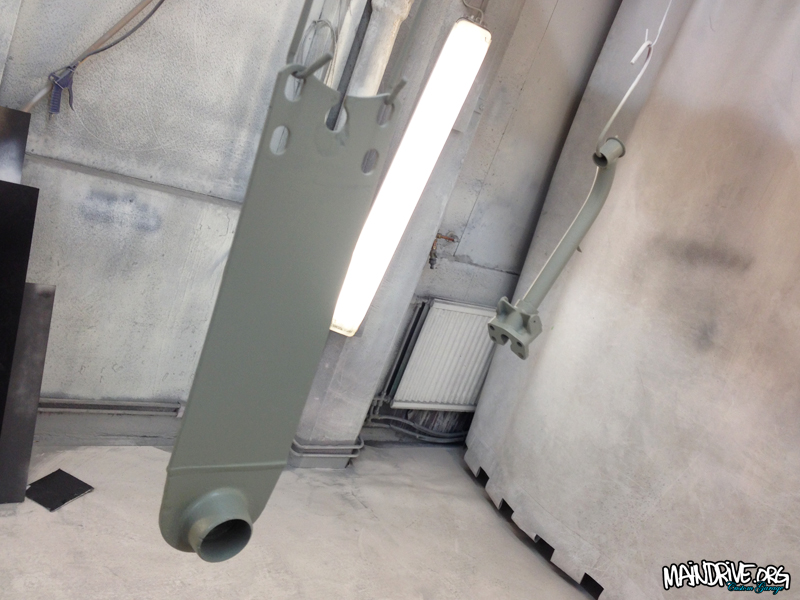
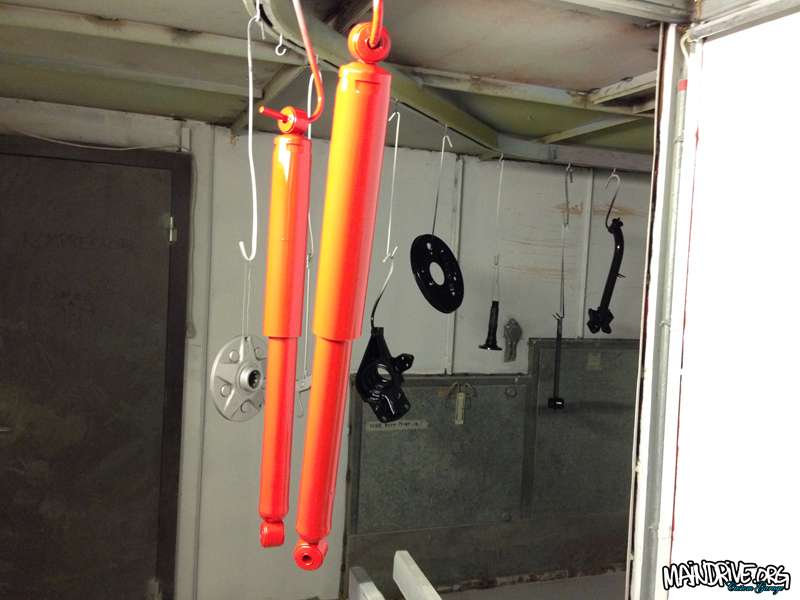
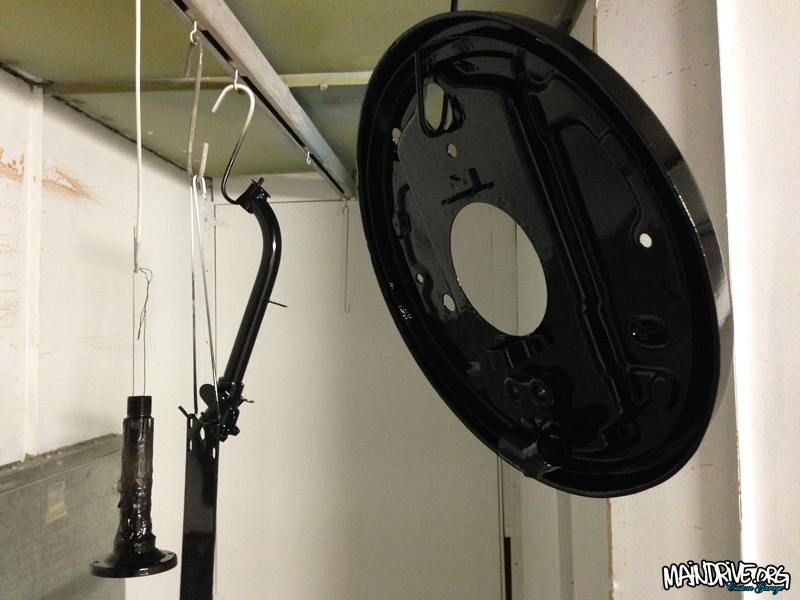
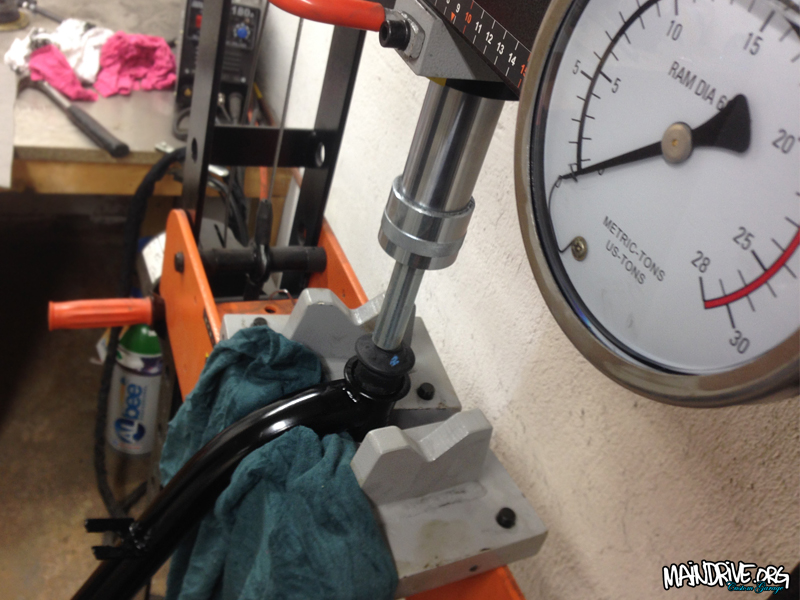
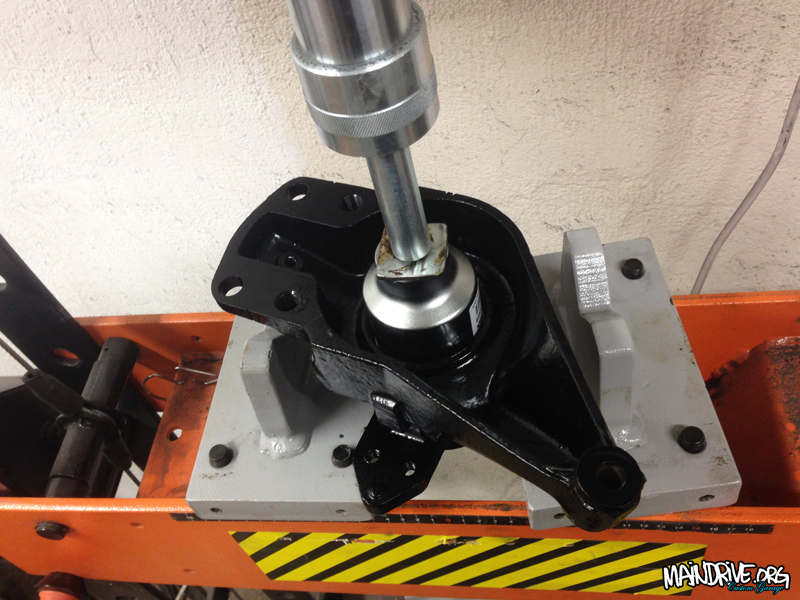
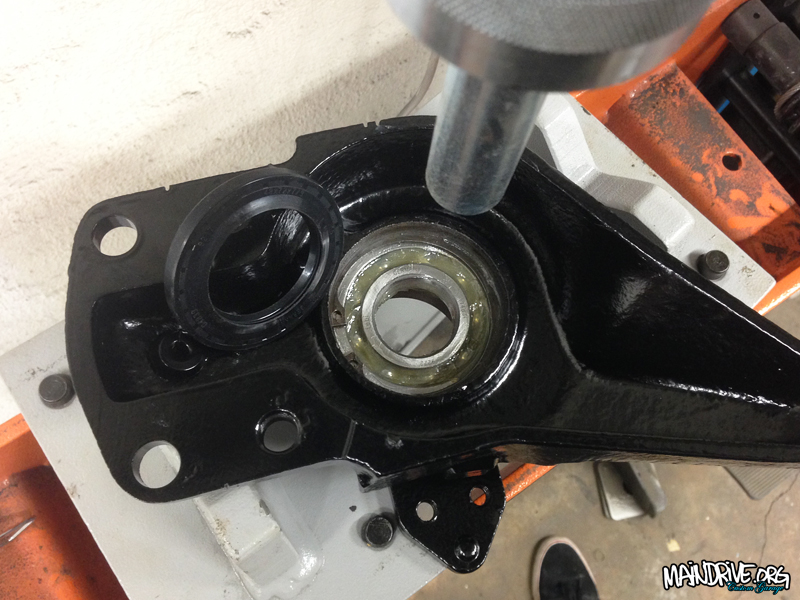
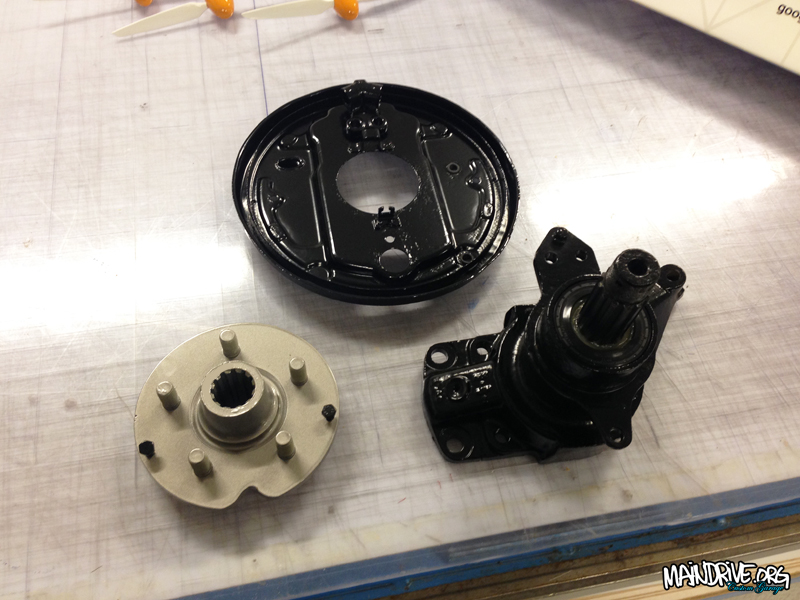
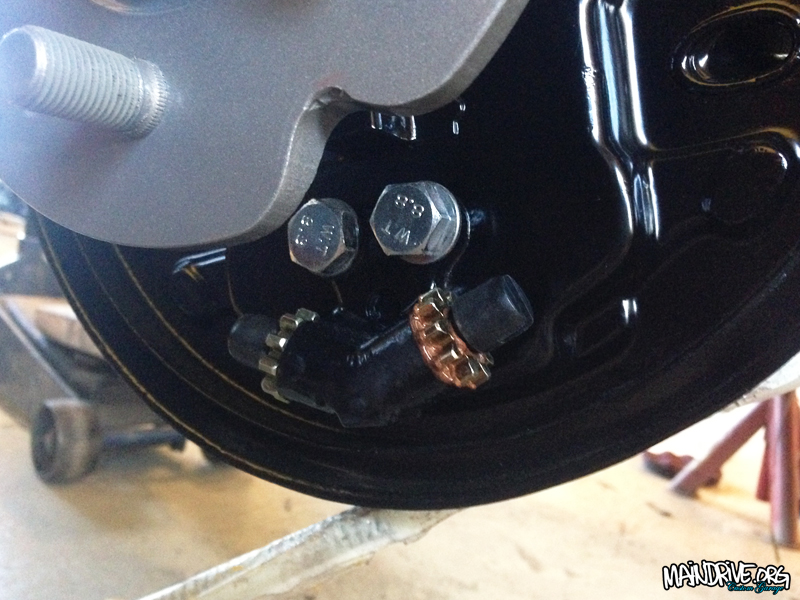
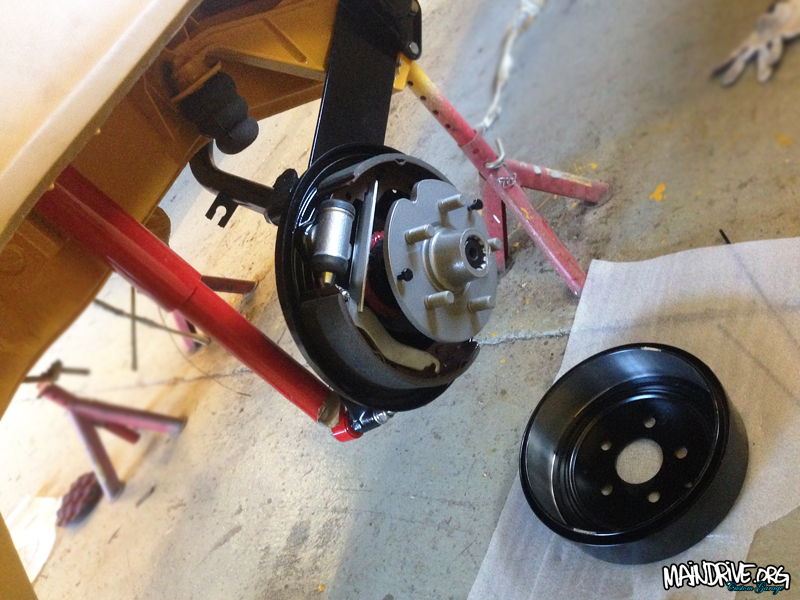
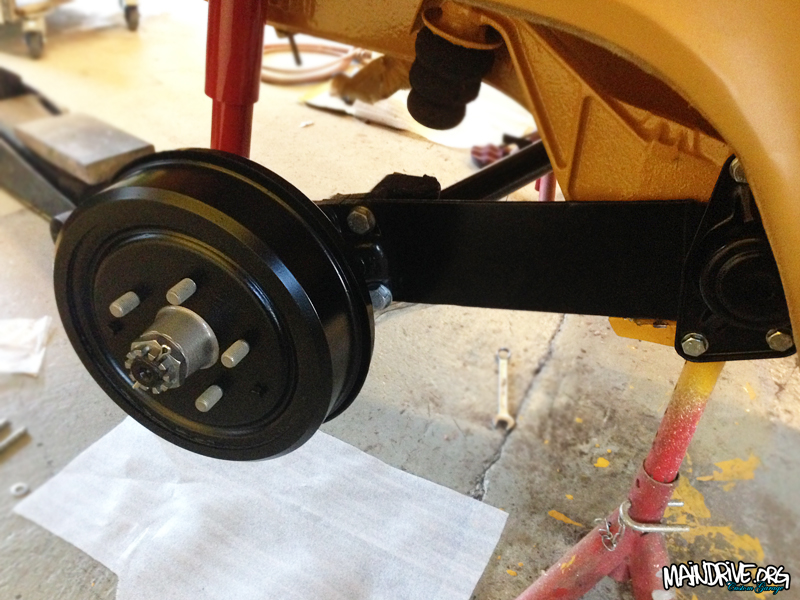
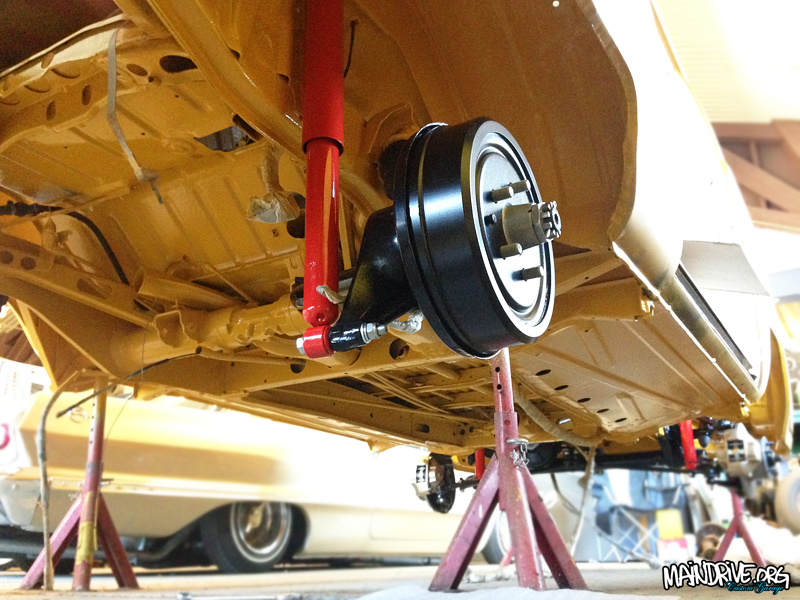
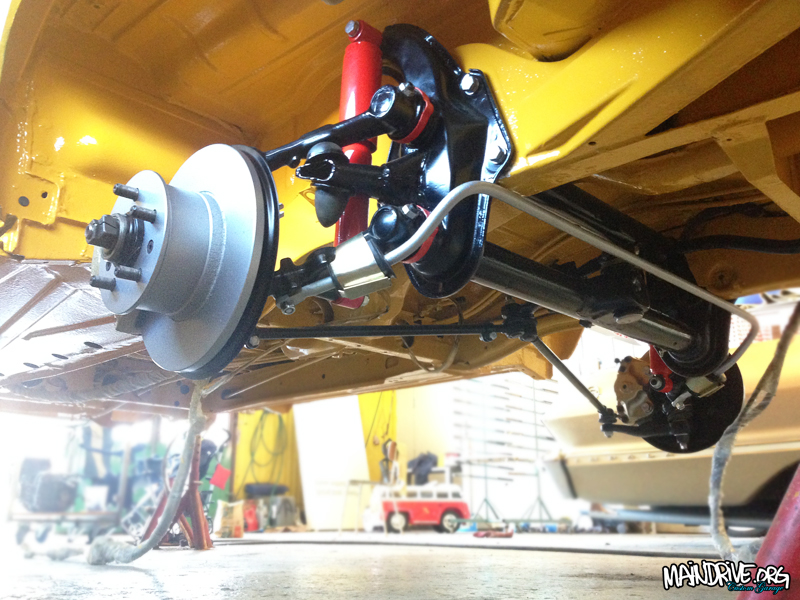
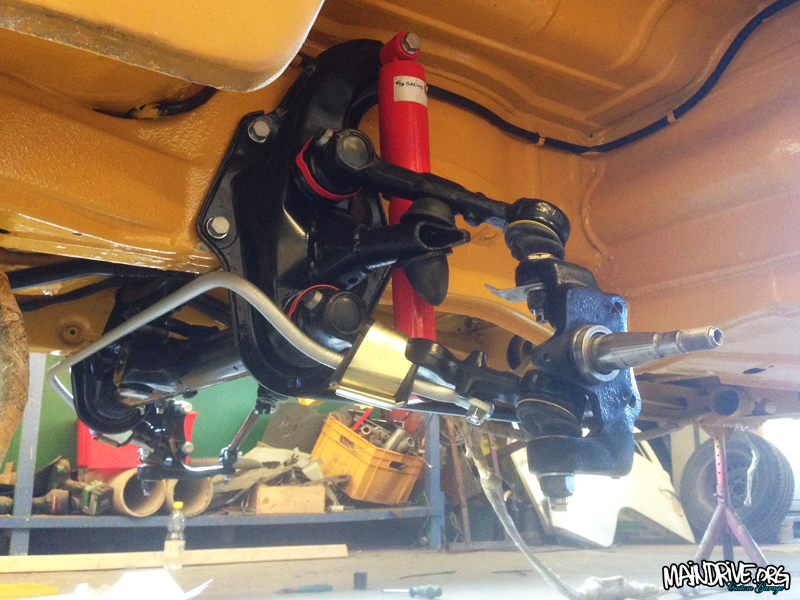
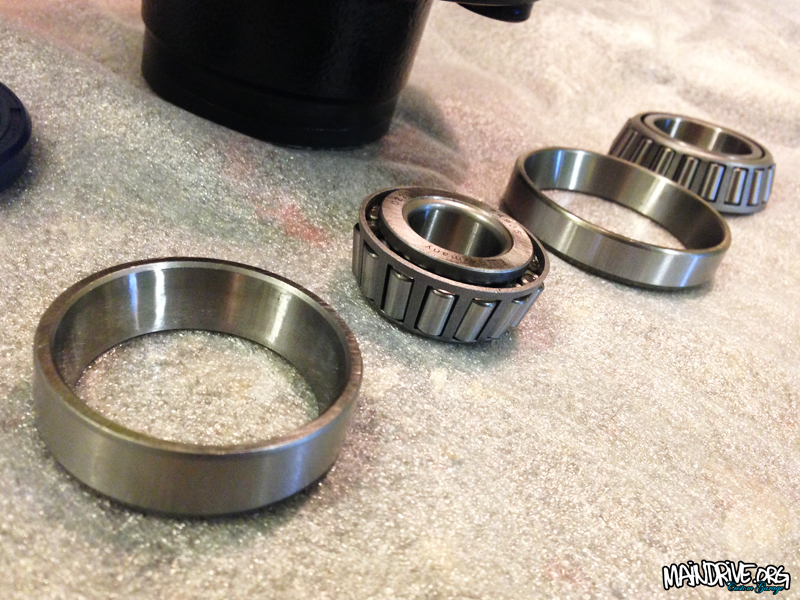
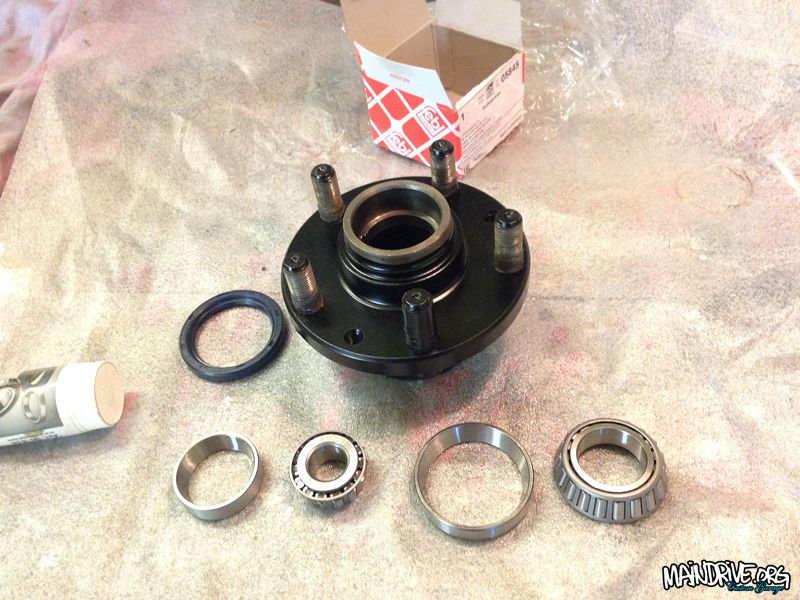
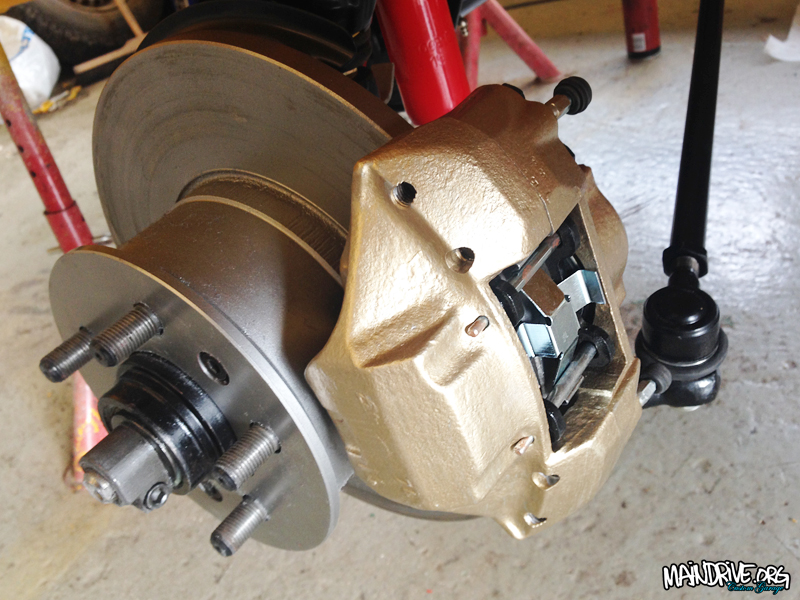
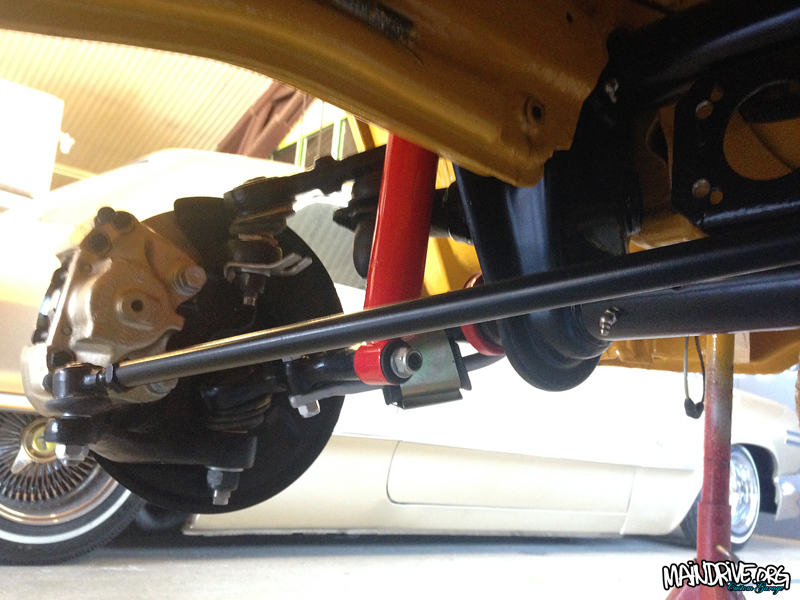
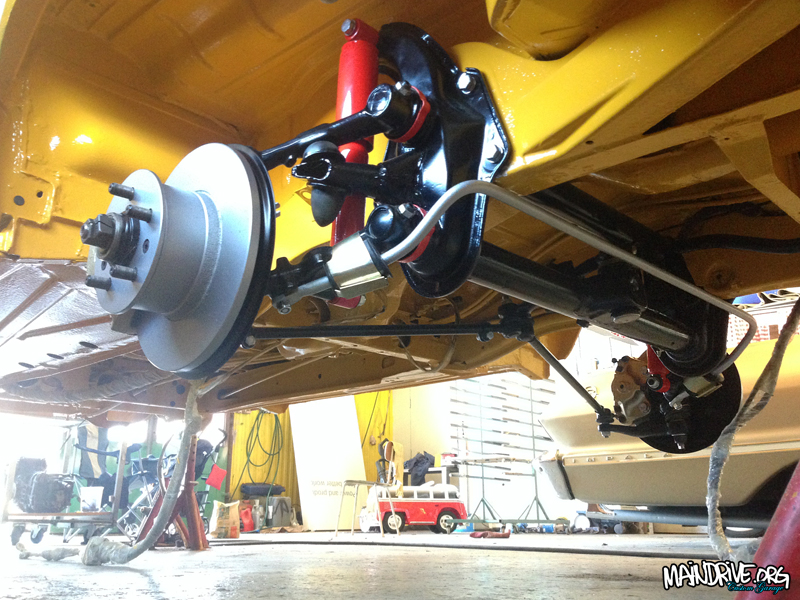
A new mainshaft oil seal was added, and both driveflange/shaft seals too. The nosecone got a new reamed bronze bushing and oilseal for the shiftleveler. Also the small plastic balljoint in the end of the shiftlever (the one that pushes gears) was replaced to a new made of steel, and will last a life time instead of a brittle plastic part that was before. The shiftrod feels very accurate and precise now, no more sloppy gearshifter! This is also a popular upgrade on VW race transmissions. Driveshafts and hubs was sandblasted and painted. New groundcable to chassi. New clutchwire. New gaskets, rubberboots and CV joints installed. New startermotor + bushing mounted too. New trans mounts upper and lower. And then the transmission was filled up with new fresh mineral API-5 grade transmission oil that VW recommended on these 002 cases. This oil is extra good to the special metalparts like syncro rings etc. Not aggressive like other grades can be to these old transmissions.  Here is the pics…

bild193
bild192
bild194
bild195
bild196
bild197
bild198
bild199
bild200
bild205
bild206
bild207
bild208
bild209
bild210
bild211
bild212

Started to get the other side done, blasted, painted and new bearings and seals. Waiting on some new parts from JustKampers and hopefully I can put the bus back on its own wheels this weekend for first time in 6 months. Also fixed the rusted and dented up front floor cover, blasted and painted ready to be installed when all wires and brakes are fixed.
bild183

bild184

bild185

bild186

bild187

bild188

bild189

bild190

bild190b

bild191

Have now started with the rear end of the bus, hope to soon have it rolling on wheels again, after 6 months in the air. Dismantled the rear IRS trailingarms, removed all old bearings and seals, cleaned it up and sandblasted everything. Then all parts was coated in zinc primer and the Deep black satin finish paint. All new wheelsbearings and seals pressed in, new bushings everywhere and also nuts/bolts. All new brakeparts and brakedrums too. One step closer…

bild165


bild166

bild167

bild168

bild169

bild170

bild171

bild172

bild173

bild174

bild175

bild176

bild177

bild178

bild179

bild180

bild181

bild182

Have finally got some stuff done on my own project, Baywindow Highroof 1975. The frontend is all done, just need to mount the new brakelines etc. The sandblasted and painted beam have all new needlebearings, new centerpin/arm bushings, new grease zerks, torsionarms have new balljoints, new swaybar bushings, new shocks, new steeringdampner, new tie rods and draglink, steeringbox is adjusted (no more play) got new oil too and a new rubber/steeringplate. Wheels bearings are new and packed with fresh grease, new brakediscs, new speedocable and brakecalipers have been blasted, and have all new seals and pistons, brakepads etc. New masterbrakecylinder and new brakebooster is in place too. Basicly every nut and bolt are new on this car!

Here is some new pics…

bild149

bild150

bild151

bild152

bild153

bild154

bild155

bild156

bild157

bild158

bild159

bild160

bild161

bild162

bild163

bild164

Today the bus was dropped of at the glasshop for new front windscreen and installing all windows with new rubber seals. The last final parts (bumpers) are getting painted tomorow or on Thursday. They were handpainted with brush, twisted, rusty and lots of small dents. After sandblasting they got welded, straightned and all dents hammered out. Then a light coat of bodyfiller to make them straight again, then Zinc rustprimer and after this surfacer/ground primer to get them smooth again after the sandblasted surface. Next up is some more sanding and then Deepblack paint. New covers and bolts are waiting from Just Kampers! The bus should be ready for the road in the end of the week! More pics to come…

41

42

43

44

45

46

Wheels have been fitted, needed 5mm spacers all around and longer wheelstuds (56mm) in the rear and new bolts. Wheels are 17″ inch with 225/45 tires, offset 35. Need to make a custom centercap for the speedometer tho. Lots of new parts have been installed from Just Kampers, like new taillights, fuelfiller neck, footsteps, roof ventilation, mirrors, windowfelt trim in front doors etc. Waiting on tailgate seal and new clips for the freshly painted front grills. Bumpers have been blasted and are now getting welded, straightned up and removing big dents before paint in Deep Black. Next big step is taking it to the glass shop and get all windows installed with new rubber seals! Then its ready for the road…

36

35

37

38

39

40

After alot of bodywork and sanding it was time for topcoat paint in VW Marsala Red H3D. Looks nice in red! Also got new Deepblack paint on the sun grey faded trim and parts like the front grills, handles, air intakes, wipers etc. I think all the black parts will match the black wheels perfect when its all together. The wheels from Germany will arrive this week and the other new VW parts from Just Kampers will be here tomorrow!

19

23a

23b

24

25

26

27

28

29

30

30a

31

32

33

34

Time to sand the primer and fix small dents and scratches, and its alot of them both. When this is done a new coat of grey primer/filler is needed to get a good even base that needs a light sanding with 800 grit by hand before paint! Alot of work for sure!


Vid Nobel i Karlstad kunde man förr tanka både Koppartrans, Caltex och Shell på en och samma “multi-mack” dygnet runt. Idag ligger bara Shell macken kvar här. Mittimot ligger idag en Statoil mack också. Det var hit till “multi-macken” min Koppartrans (Ljungmans 102 ACSFN.4) bensinpump levererades ny 27 September 1965. Det förklarar varför den har varit kopplad mot ett fjärrräkneverk. Pumpen hittades utanför Arvika vid Mossbergs gamla nerlagda lanthandel 2016.
nobel

star102a

Behöver du något blästrat och lackerat till bra pris så är det bara att höra av sig på: info@maindrive.org
These rusty wheels got a new life with some sandblasting and new paint!

falgar1

falgar2

falgar3

Yesterday the Coke machine was finished. Got the new lite-up sign to glow with new lightbars. Also added a cold white LED stripe to the bottle/door and a red stripe in bottom off front door. The Coke gets really cold just after a couple of minutes when running. Drop by the garage if you are thirsty! 🙂

bild25

bild26

bild27

bild28

bild29

bild30

Almost finished with the Coke machine! I cut the metalsign up and converted it to a lite-up sign instead, this was an original option on these machines. Powdercoated the frame that was left in silvermetallic and installed two LED lightbars 3000K warmwhite color. Cleaned up the shelfs and compressor, checked all wires, oiled up the coin mechanism. Got all new emblems, locks and water decals on. Only waiting for the stickers on the sides of the machine “Have A Coke” the ones I got from US was in wrong color. Soon its time to load it up with bottles and just plug it in! The last final pics coming soon…

bild15

bild16

bild17

bild18

bild19

bild20

bild21

bild22

bild23

bild24

Looked like this 6 days ago (!) Quick turn around time!
bild1

Today I started to sand down the black surfacer/primer so it was all smooth! Found some new dents that needed to be fixed also. And when it was all done it was time for shooting the Coca-Cola red paint. It was a hardtime to find the paintcode. Maybe it is trademarked. But the paintshop sells paint directly to the Coca-Cola company in Sweden so they had all the codes. It turned out great, looking really good. Next up is mounting back all hardware, trims and logos etc. The sign was in metal on the machine but Im going to convert it to a light up sign instead and using modern LED lightning. Also going to check up the compressor and all wirings before its ready to be put in service.

bild7

bild8

bild9

bild13

bild10

bild12

bild11

bild14

Coca-Cola retro crate made in wood for sale. Perfect for Coke bottles, interior design piece, carparts, flowers or what ever you want to use it for. I only have four of these reproduction crates. As long as you can read this I have atleast one left. They are located in Sweden but can be shipped anywhere. Intrested? Send an e-mail to: info@maindrive.org

colaback2

colaback

Started on the Vendo HA56 Coke Machine from the 1960s today. Got it stripped down on parts and then started on the bodywork. Painted two coats of surfacer/primer on it and it dryed fast in the warm sun outside the garage. I choosed a black basecoat to get that nice deep Coca-Cola red paint. The real and correct shade of red paint is ordered and also some parts from the US. More to come soon!

bild1

bild2

bild3

bild4

bild5

bild6

Some more progress made on the Highroof bus. More parts have been sandblasted and painted during the week. The chassi is finally painted too, after months of hard work. 2k polyurethane paint with elastic attribute. Good if you dont want to have stonechips in the paint later on. Cant wait to start bolting on all the new parts on the shiney chassi, no more dirty work! Also got a NOS 1960-70s roofrack that will get modified to fit on the highroof, perfect for the future solarpanels etc. Got a spare BA6 Eberspacher burner too, will be good to take parts from when I start the restoration of the original one. Here is the pics…

bild118

bild119Sandblasted and painted silver metallic. RAL9006.

bild115BEFORE.

bild116DURING. Straightned out and sandblasted baremetal

bild117AFTER. Painted, also made a custom mesh in stainless for it but forgot to take photo.

bild120

bild121Marinoyellow VW L20A period correct.

bild122

bild123

bild124

bild125

bild126

bild127