Follow MainDrive on Instagram: @maindrivegarage

Follow MainDrive on Instagram: @maindrivegarage
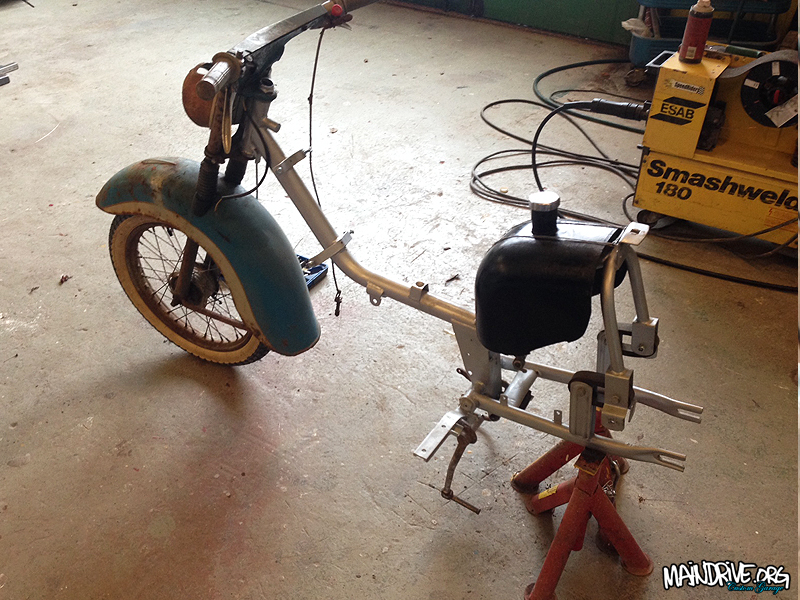
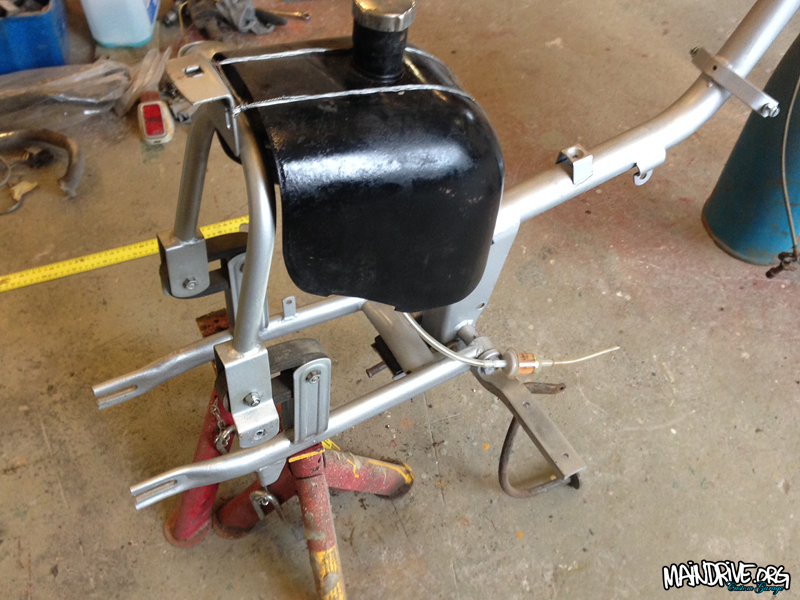
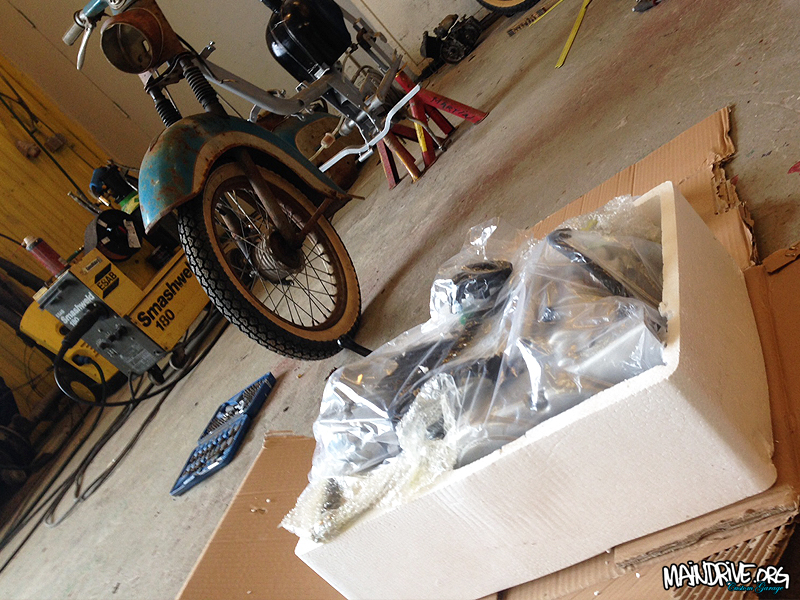
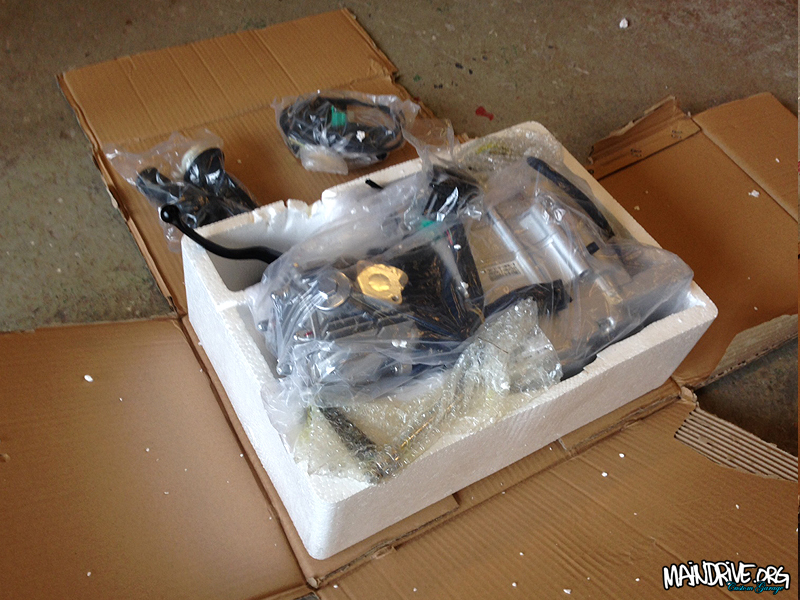
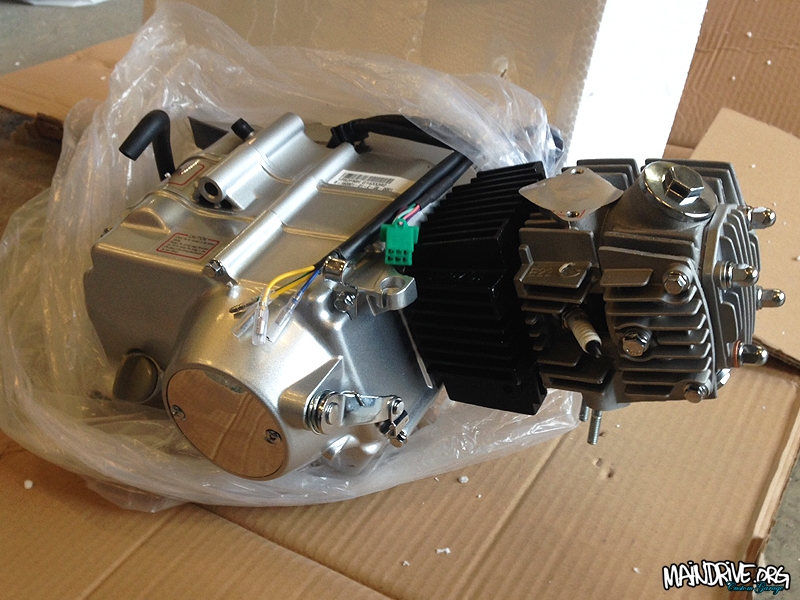
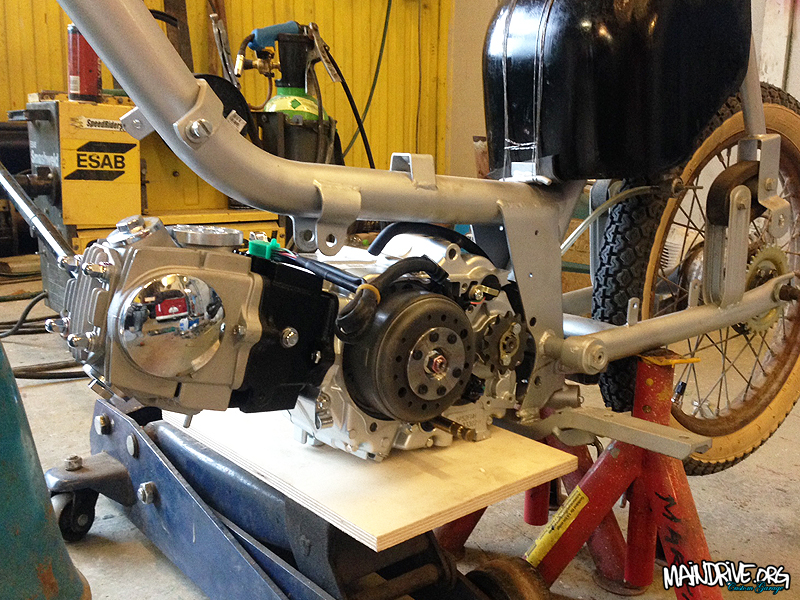
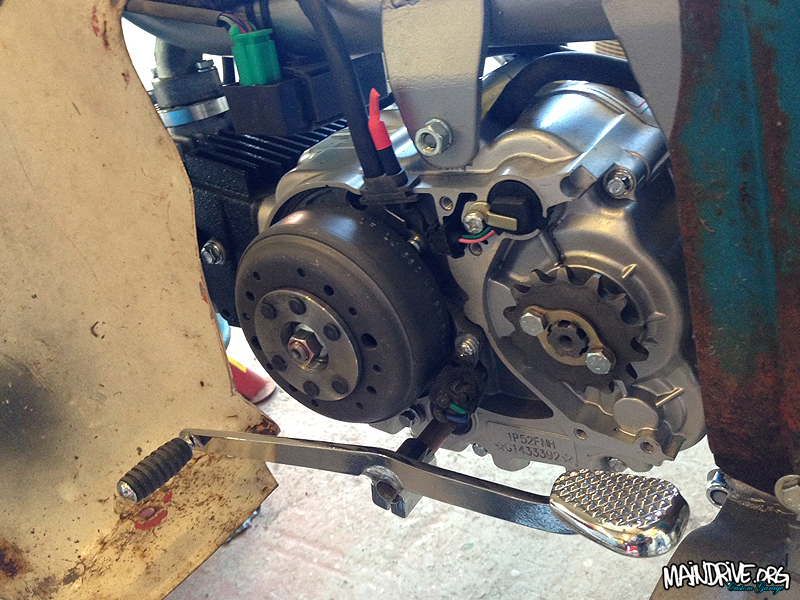
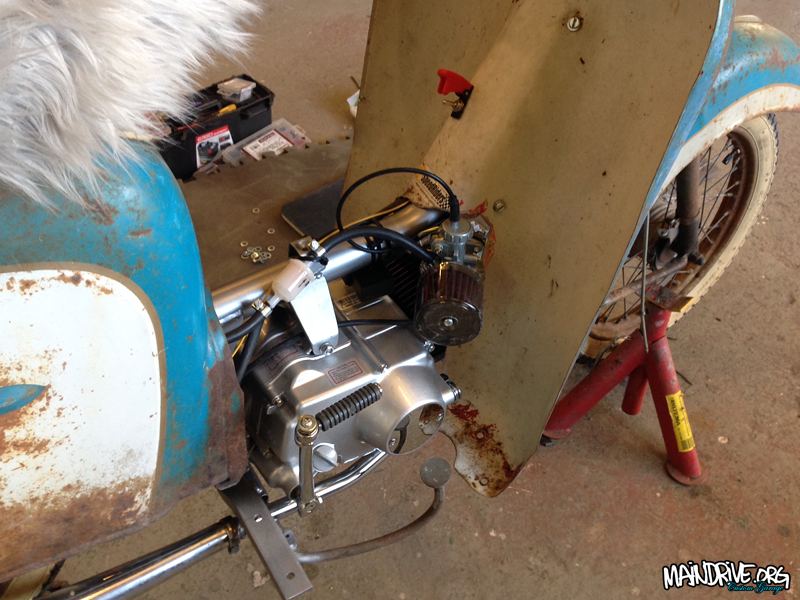
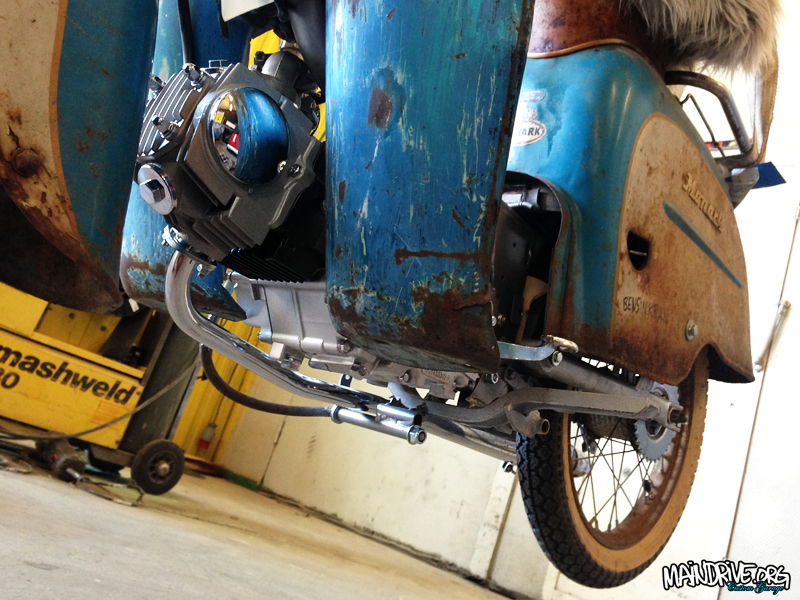
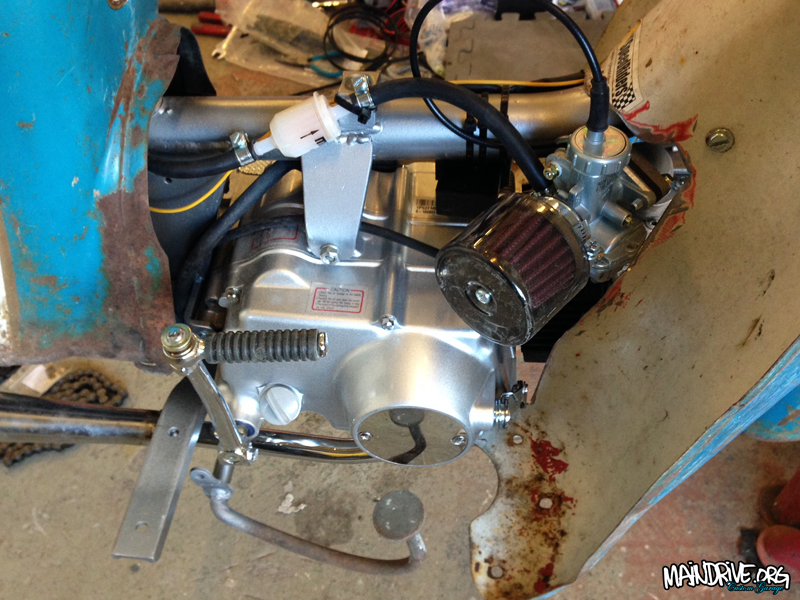
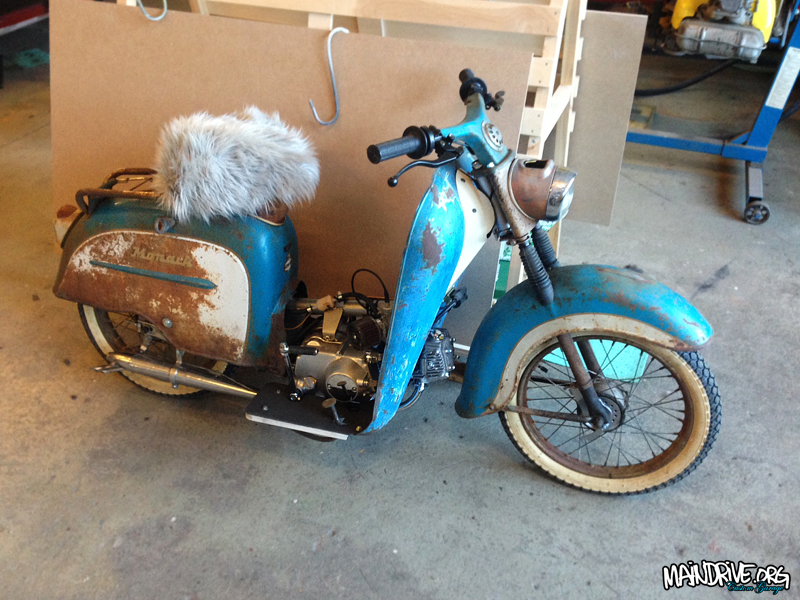
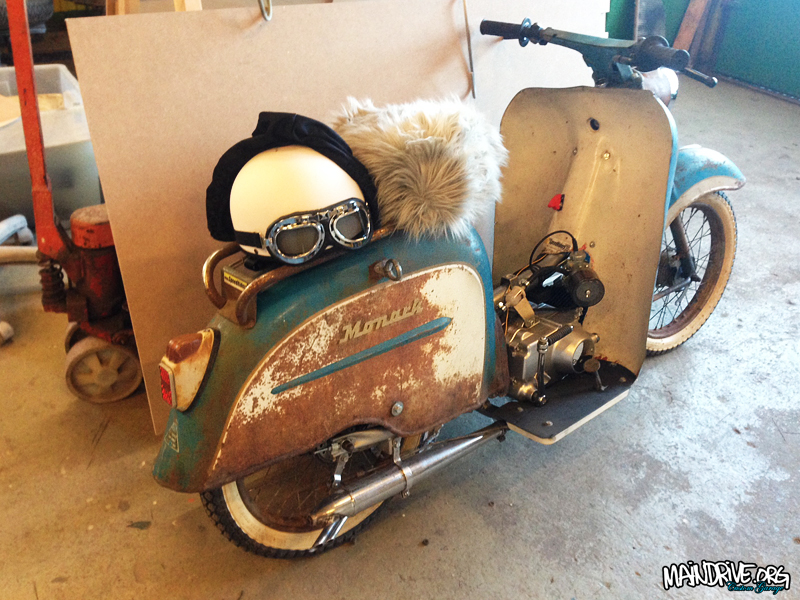
Sorry for late update! ALOT have been done to this project. Fueltank have been cleaned with citrusacid inside, looks like new now. Frame have been reinforced, all seams have been fully welded instead of factory spotwelds and rear swingarm have been boxed for the extra torque from the new engine. Rearend have been lowered in the suspension 40mm also for looks. Frame have got new engine mounts welded in place after alot of measurements and calculation, then frame was stripped and sandblasted then painted in 2k silver. A brand new engine have been installed, a manual 4 speed trans, 4-stroke 110cc Lifan (Honda copy). Carburetor have fullflow airfilter. Footplates and sheetmetal around the engine had to be trimmed to make it fit. Will be a fast rustbucket! To get the same power as the new engine have I would need 8 Ilo Piano engines. 🙂
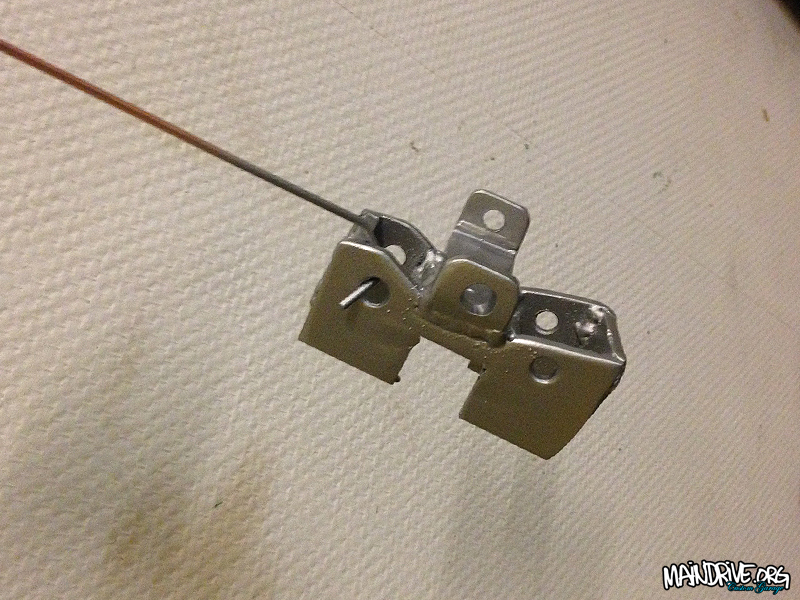
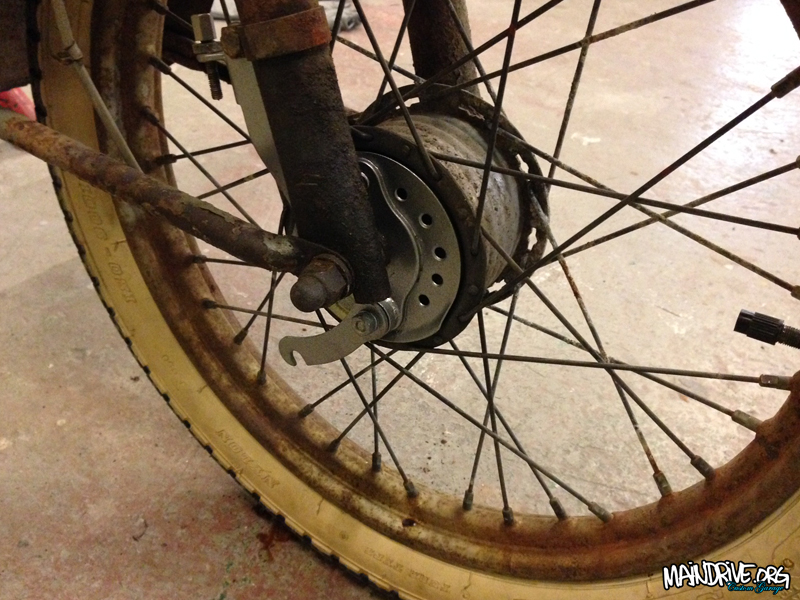
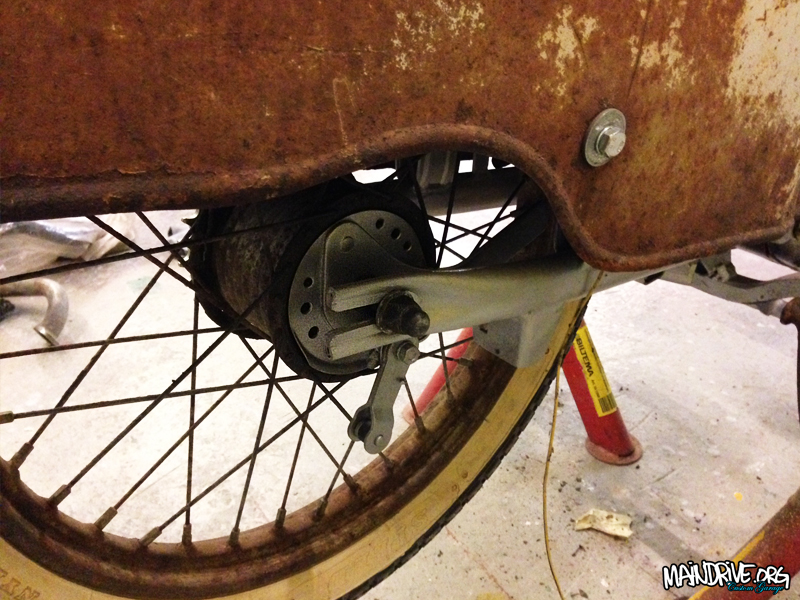
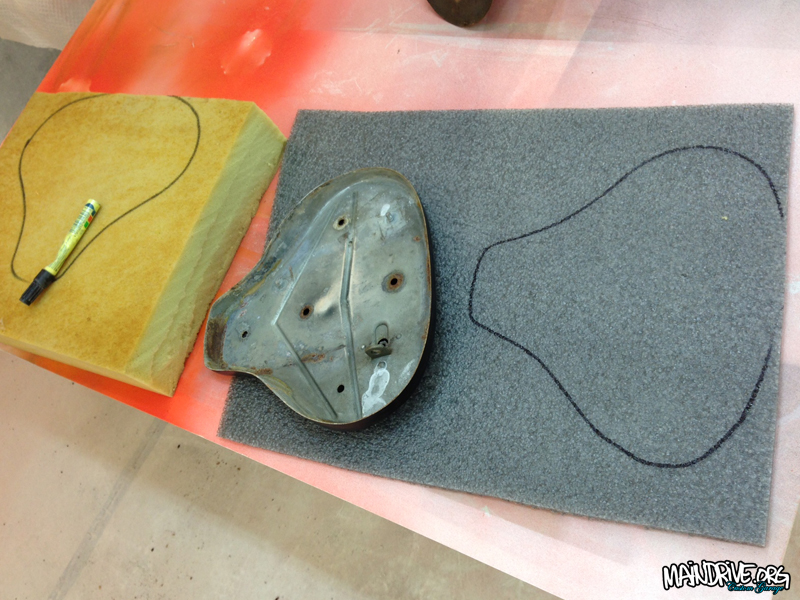
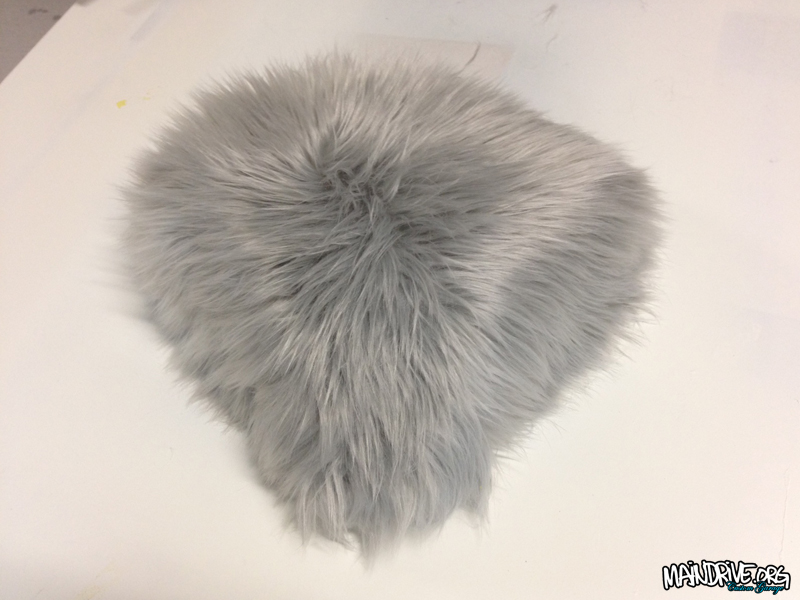
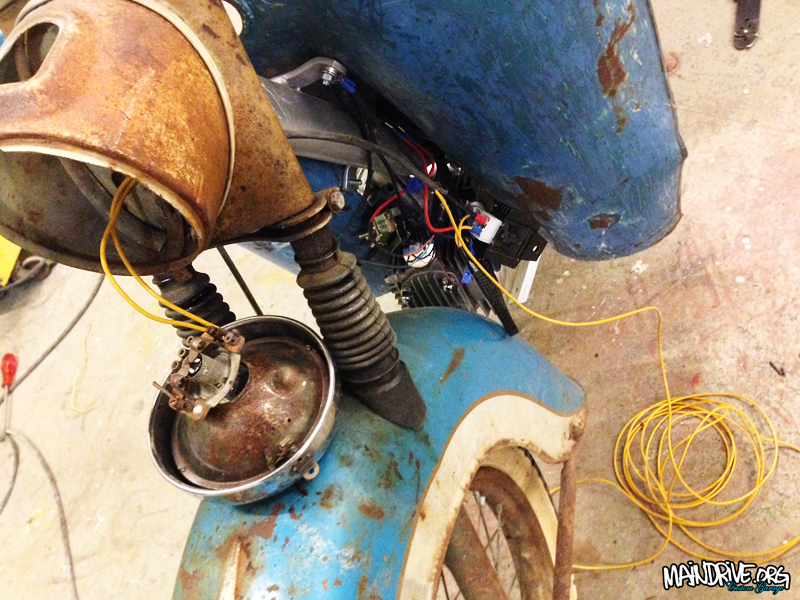
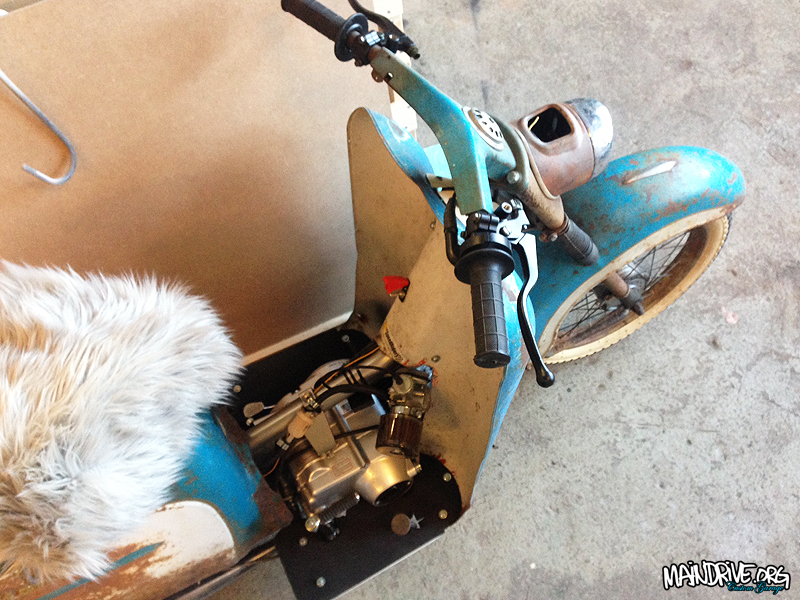
Seat got new foam and a hairy touch. 🙂 Brakes is new, front and back, new bearings and grease. Also made some holes in the brakehubs/covers for better cooling the brakes at high speeds. New tires with whitewalls in place too. New chain and rear sprocket is 36 cog and front (engine) 14 cog (maybe change to 16 cog later on). Had to fabricate a own chain tensioner, plastic wheel with bearing, to get the right slack and to clear swingarm mount, similar like on a motocross dirtbike. Rear brake mechanism have been shorted and moved and welded 15mm lower than stock location, to clear the exhaustpipe. The old rear stock muffler is used again, but modified inside for better flow of course and extra outlet pipes. New wireharness is in for CDI box, coil, ignition, voltregulator, switch and front and rear lights etc. Managed to hide the most of the electrics on the inside of the front breastplate on the legcovers. Now also 12v instead of 6volts and electric ignition, no more adjusting points! Airplane safetyswitch to turn ON or OFF the engine. All new fueltap, fuellines and filters.
Handlebar now sports new handles and wires also a bicycle computer with speedometer. After 20km the engine oil should be changed and first after 1000km the engine will be fully “seated and runned in” since its brand new with 0 miles on it. So need to drive it nice and easy in the begining. Its now ready for start and test run. A new update will come soon!
#sleepermonarscoot


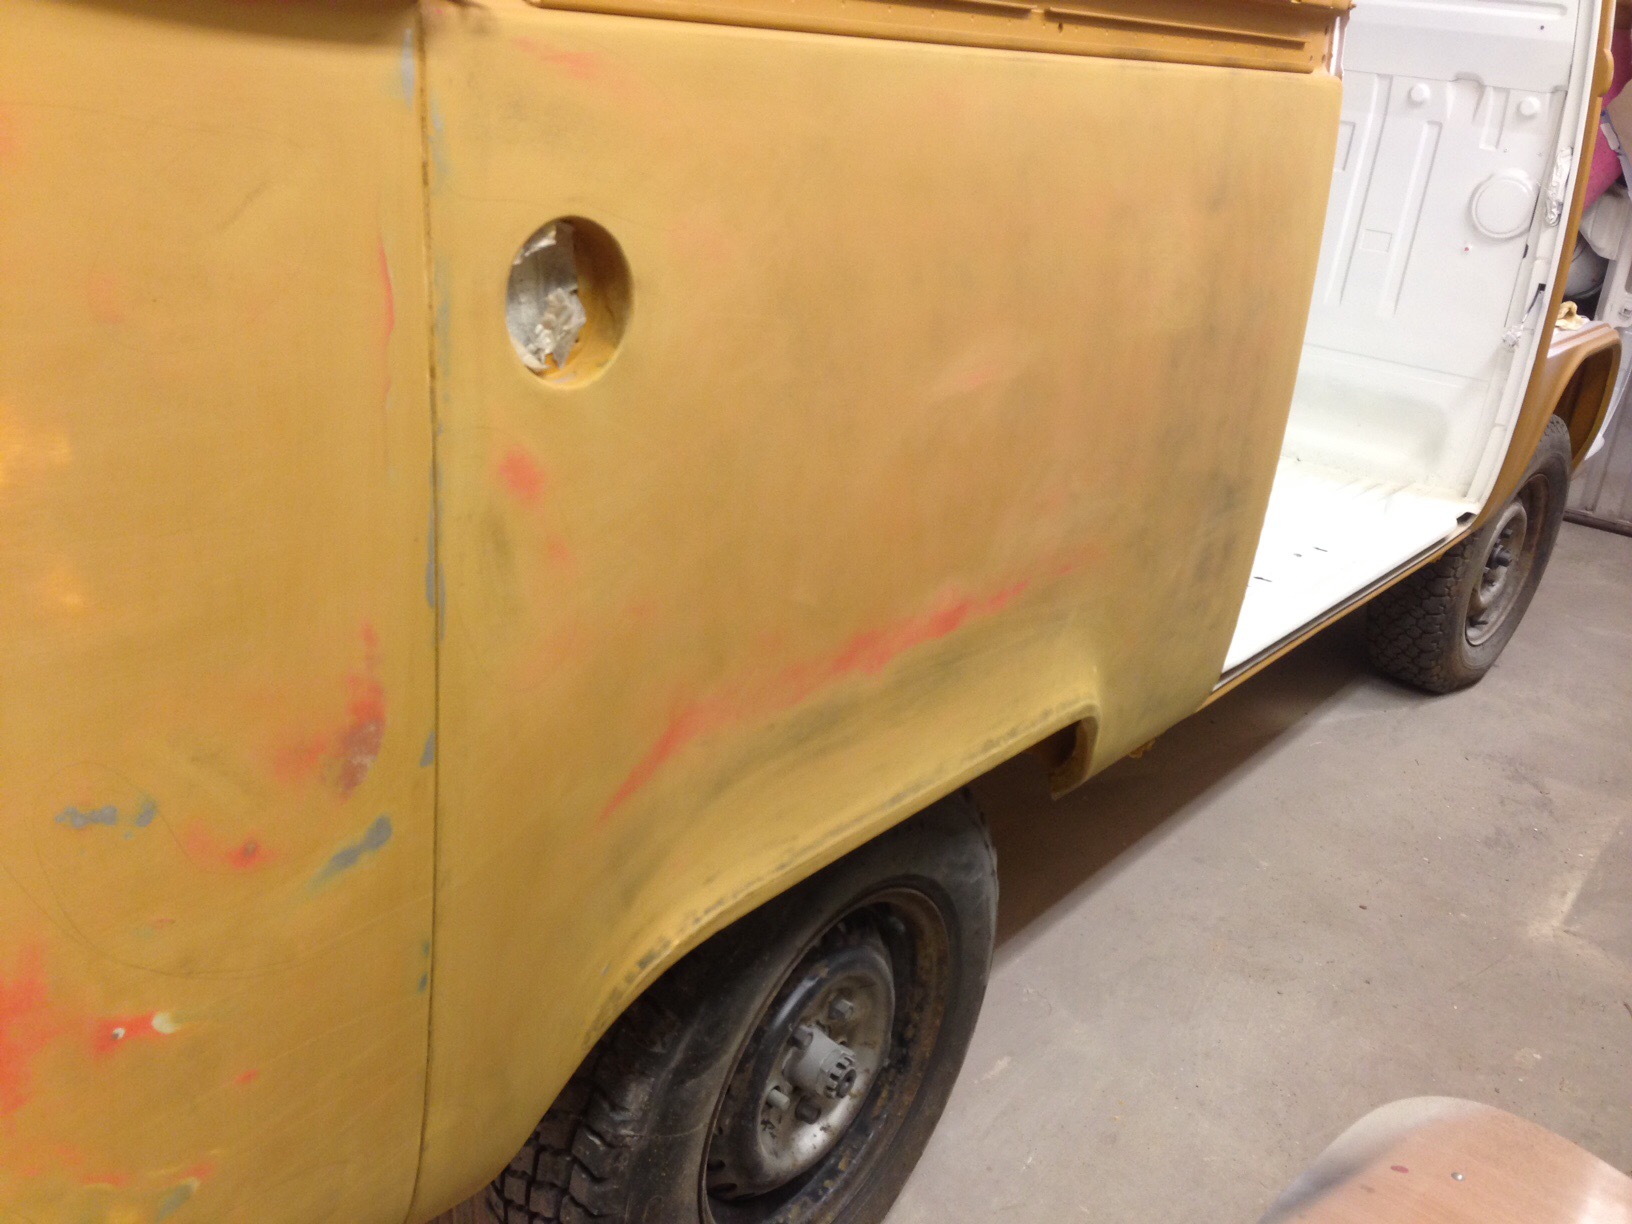
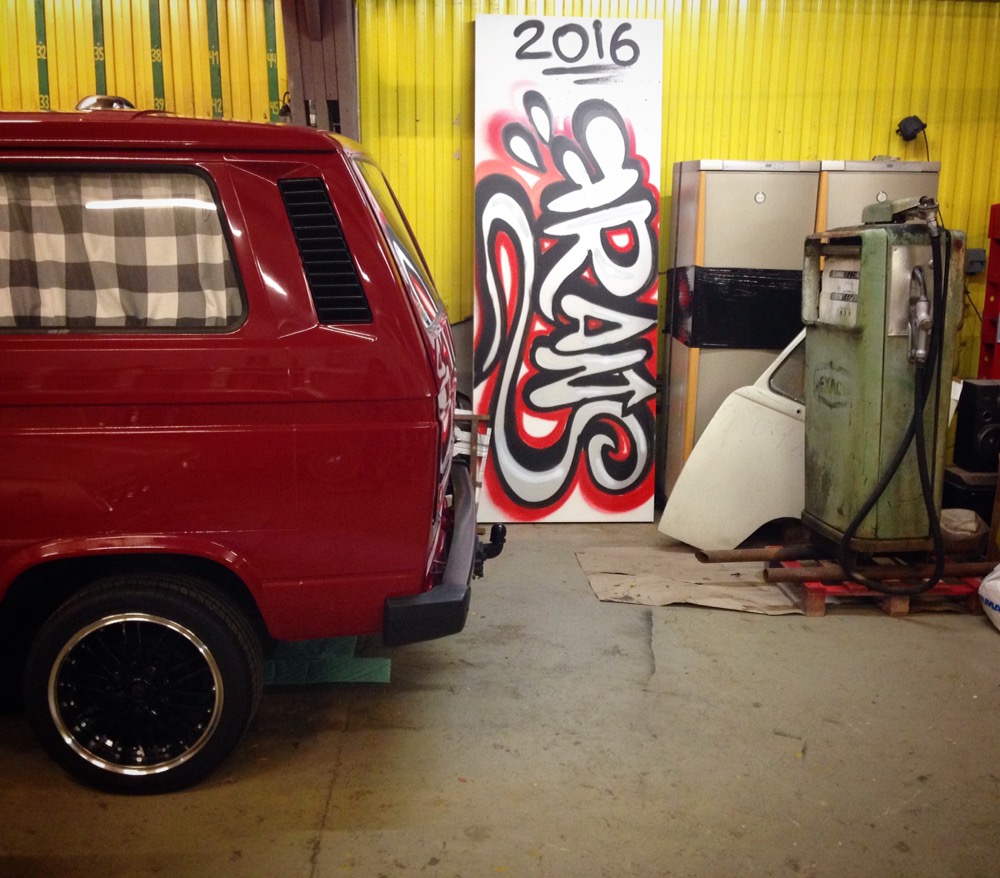
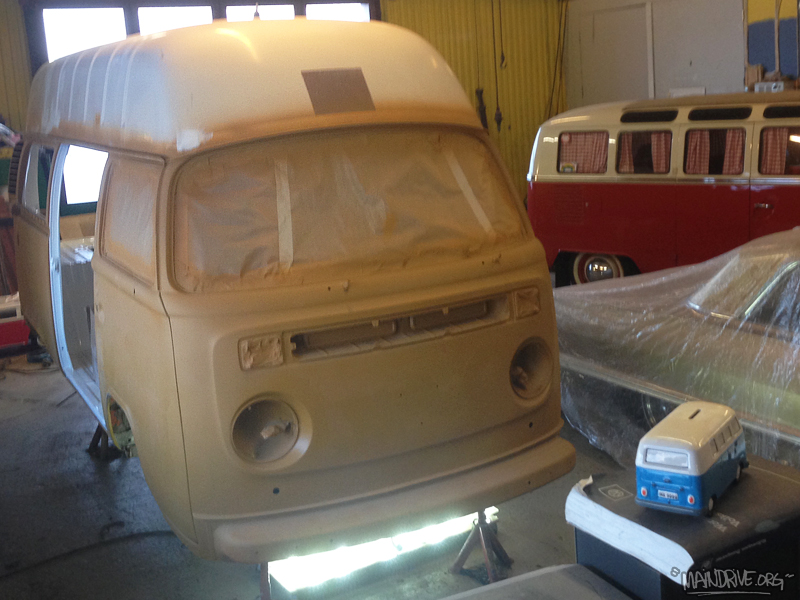
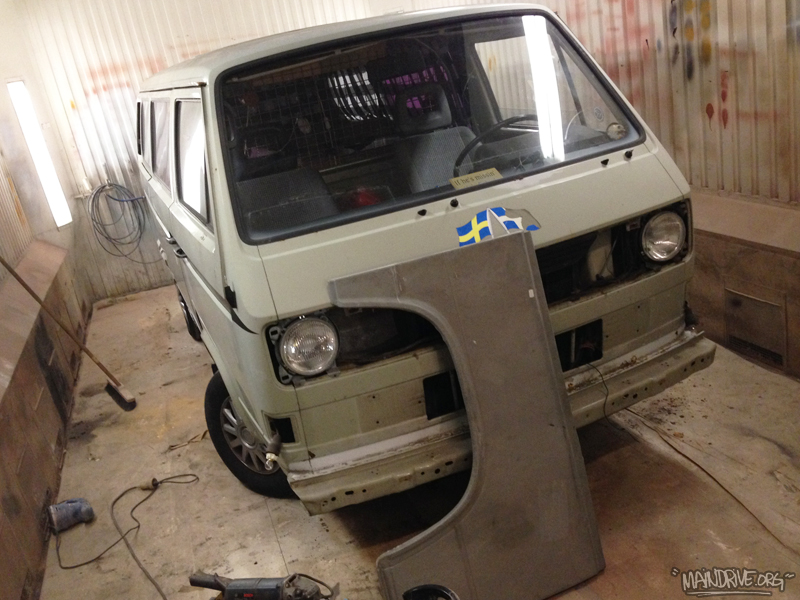
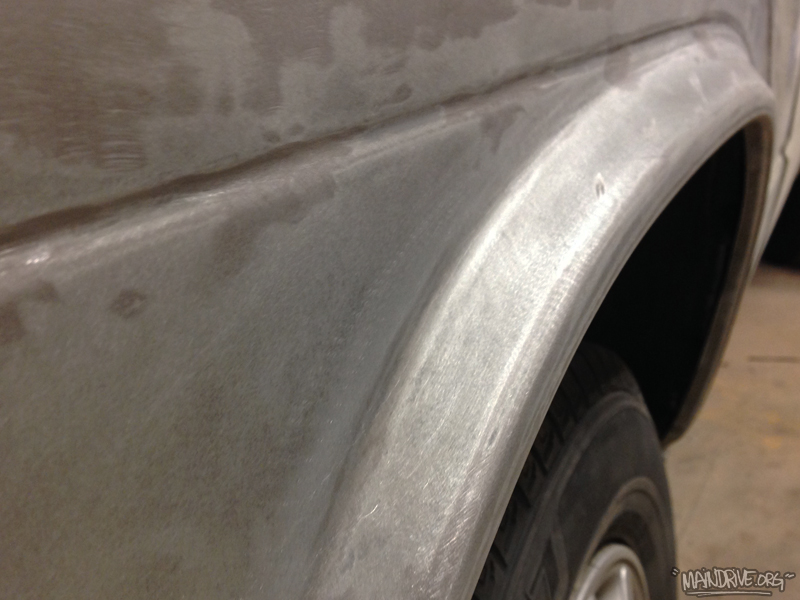
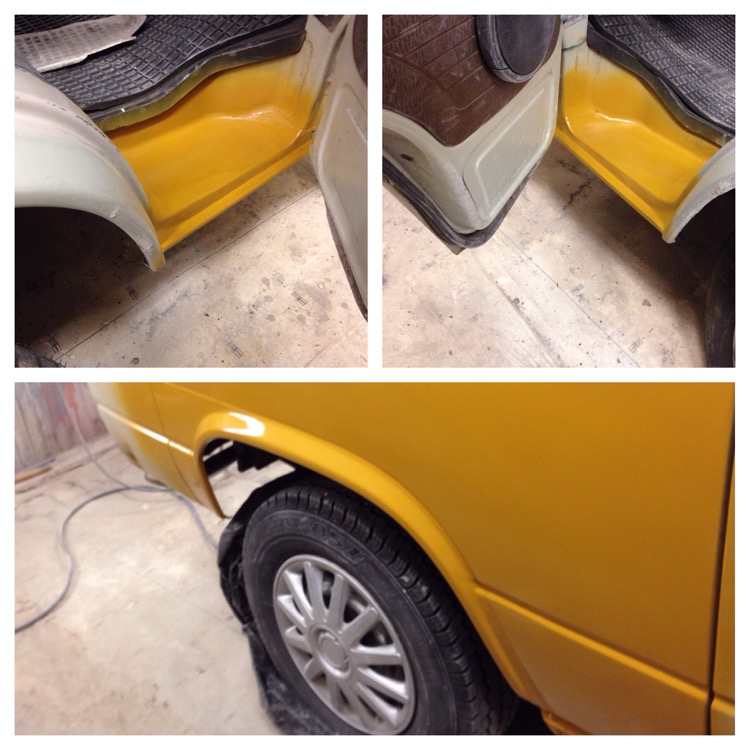
Have started the bodywork on the Highroof bus, preparing for primer and paint. Lots of sanding to do, when that is done it’s time for a coat of epoxyprimer again, to protect bare metal, then a quick sanding before a coat of surfacerprimer is layer down. Then it needs to be sanded down all over again. Then probably another coat of surffacerprimer again and then maybe it’s time for topcoat paint in VW L20a Marino yellow. A lot of people think it’s just mix paint and spray, but it’s not like that…only in fantasy!
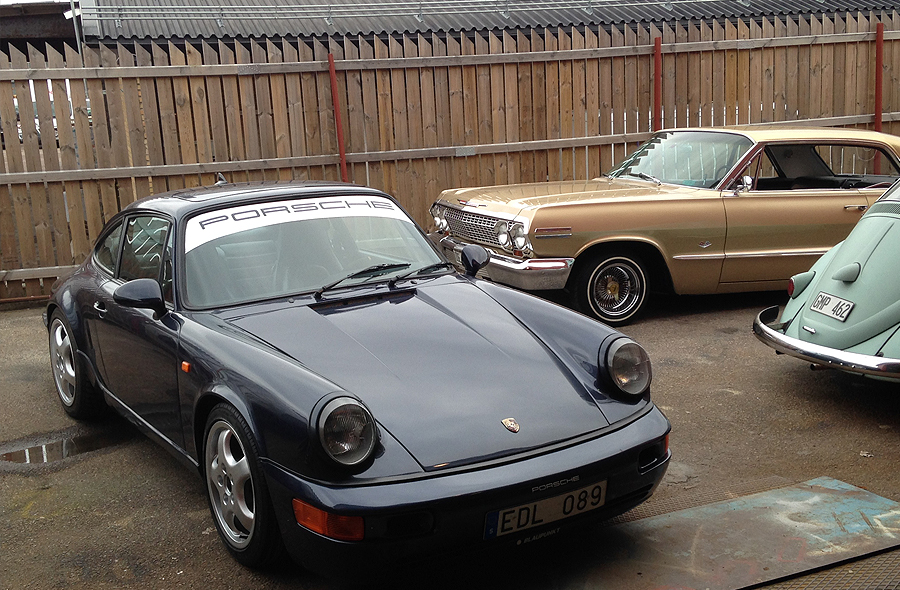
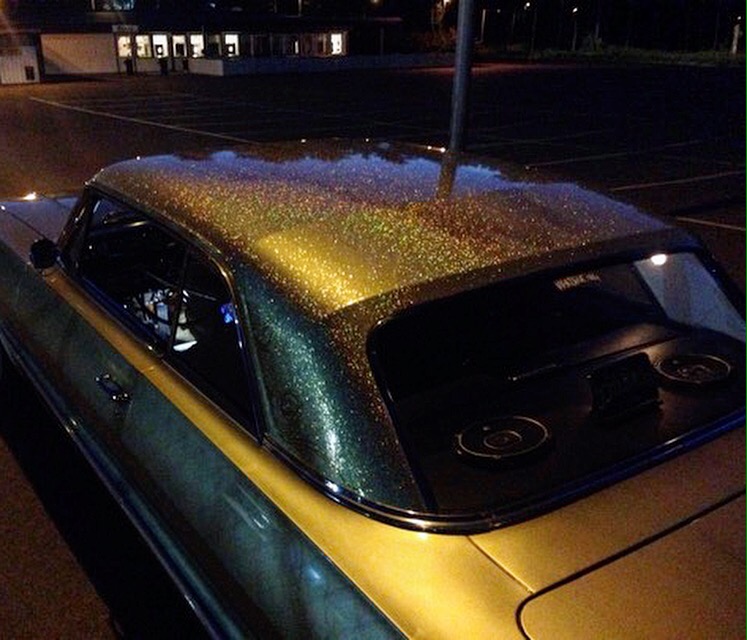
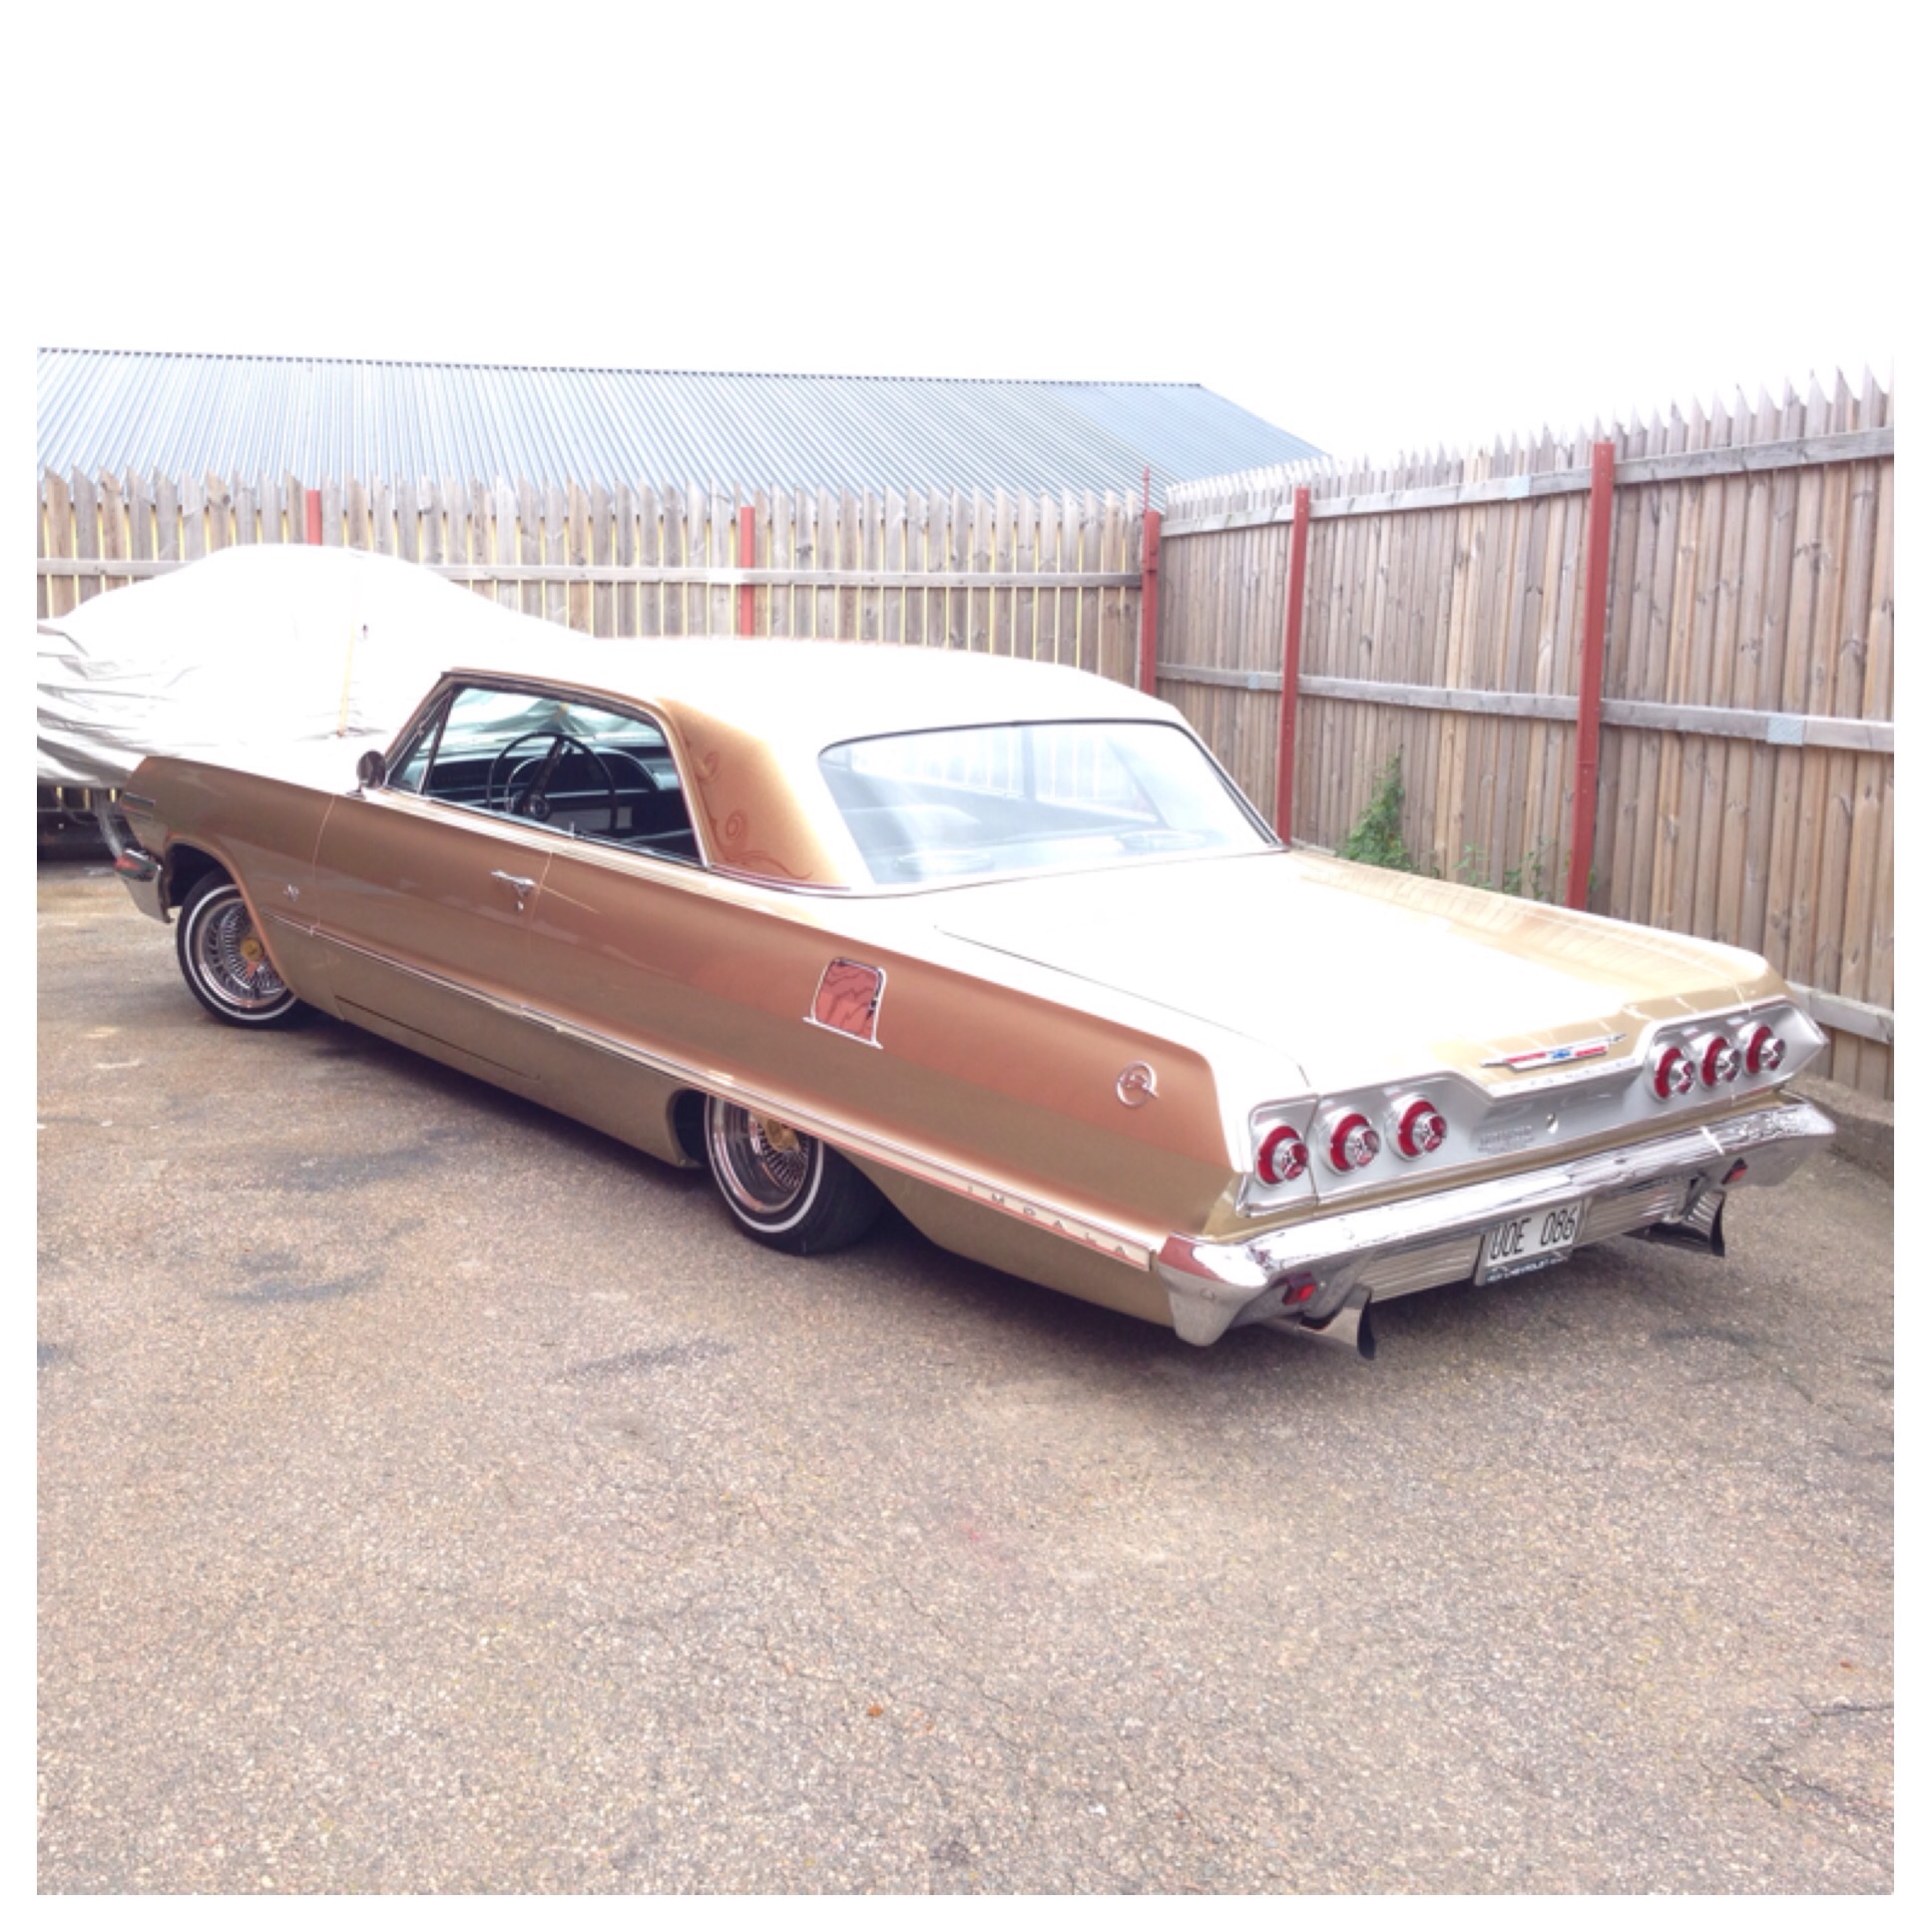
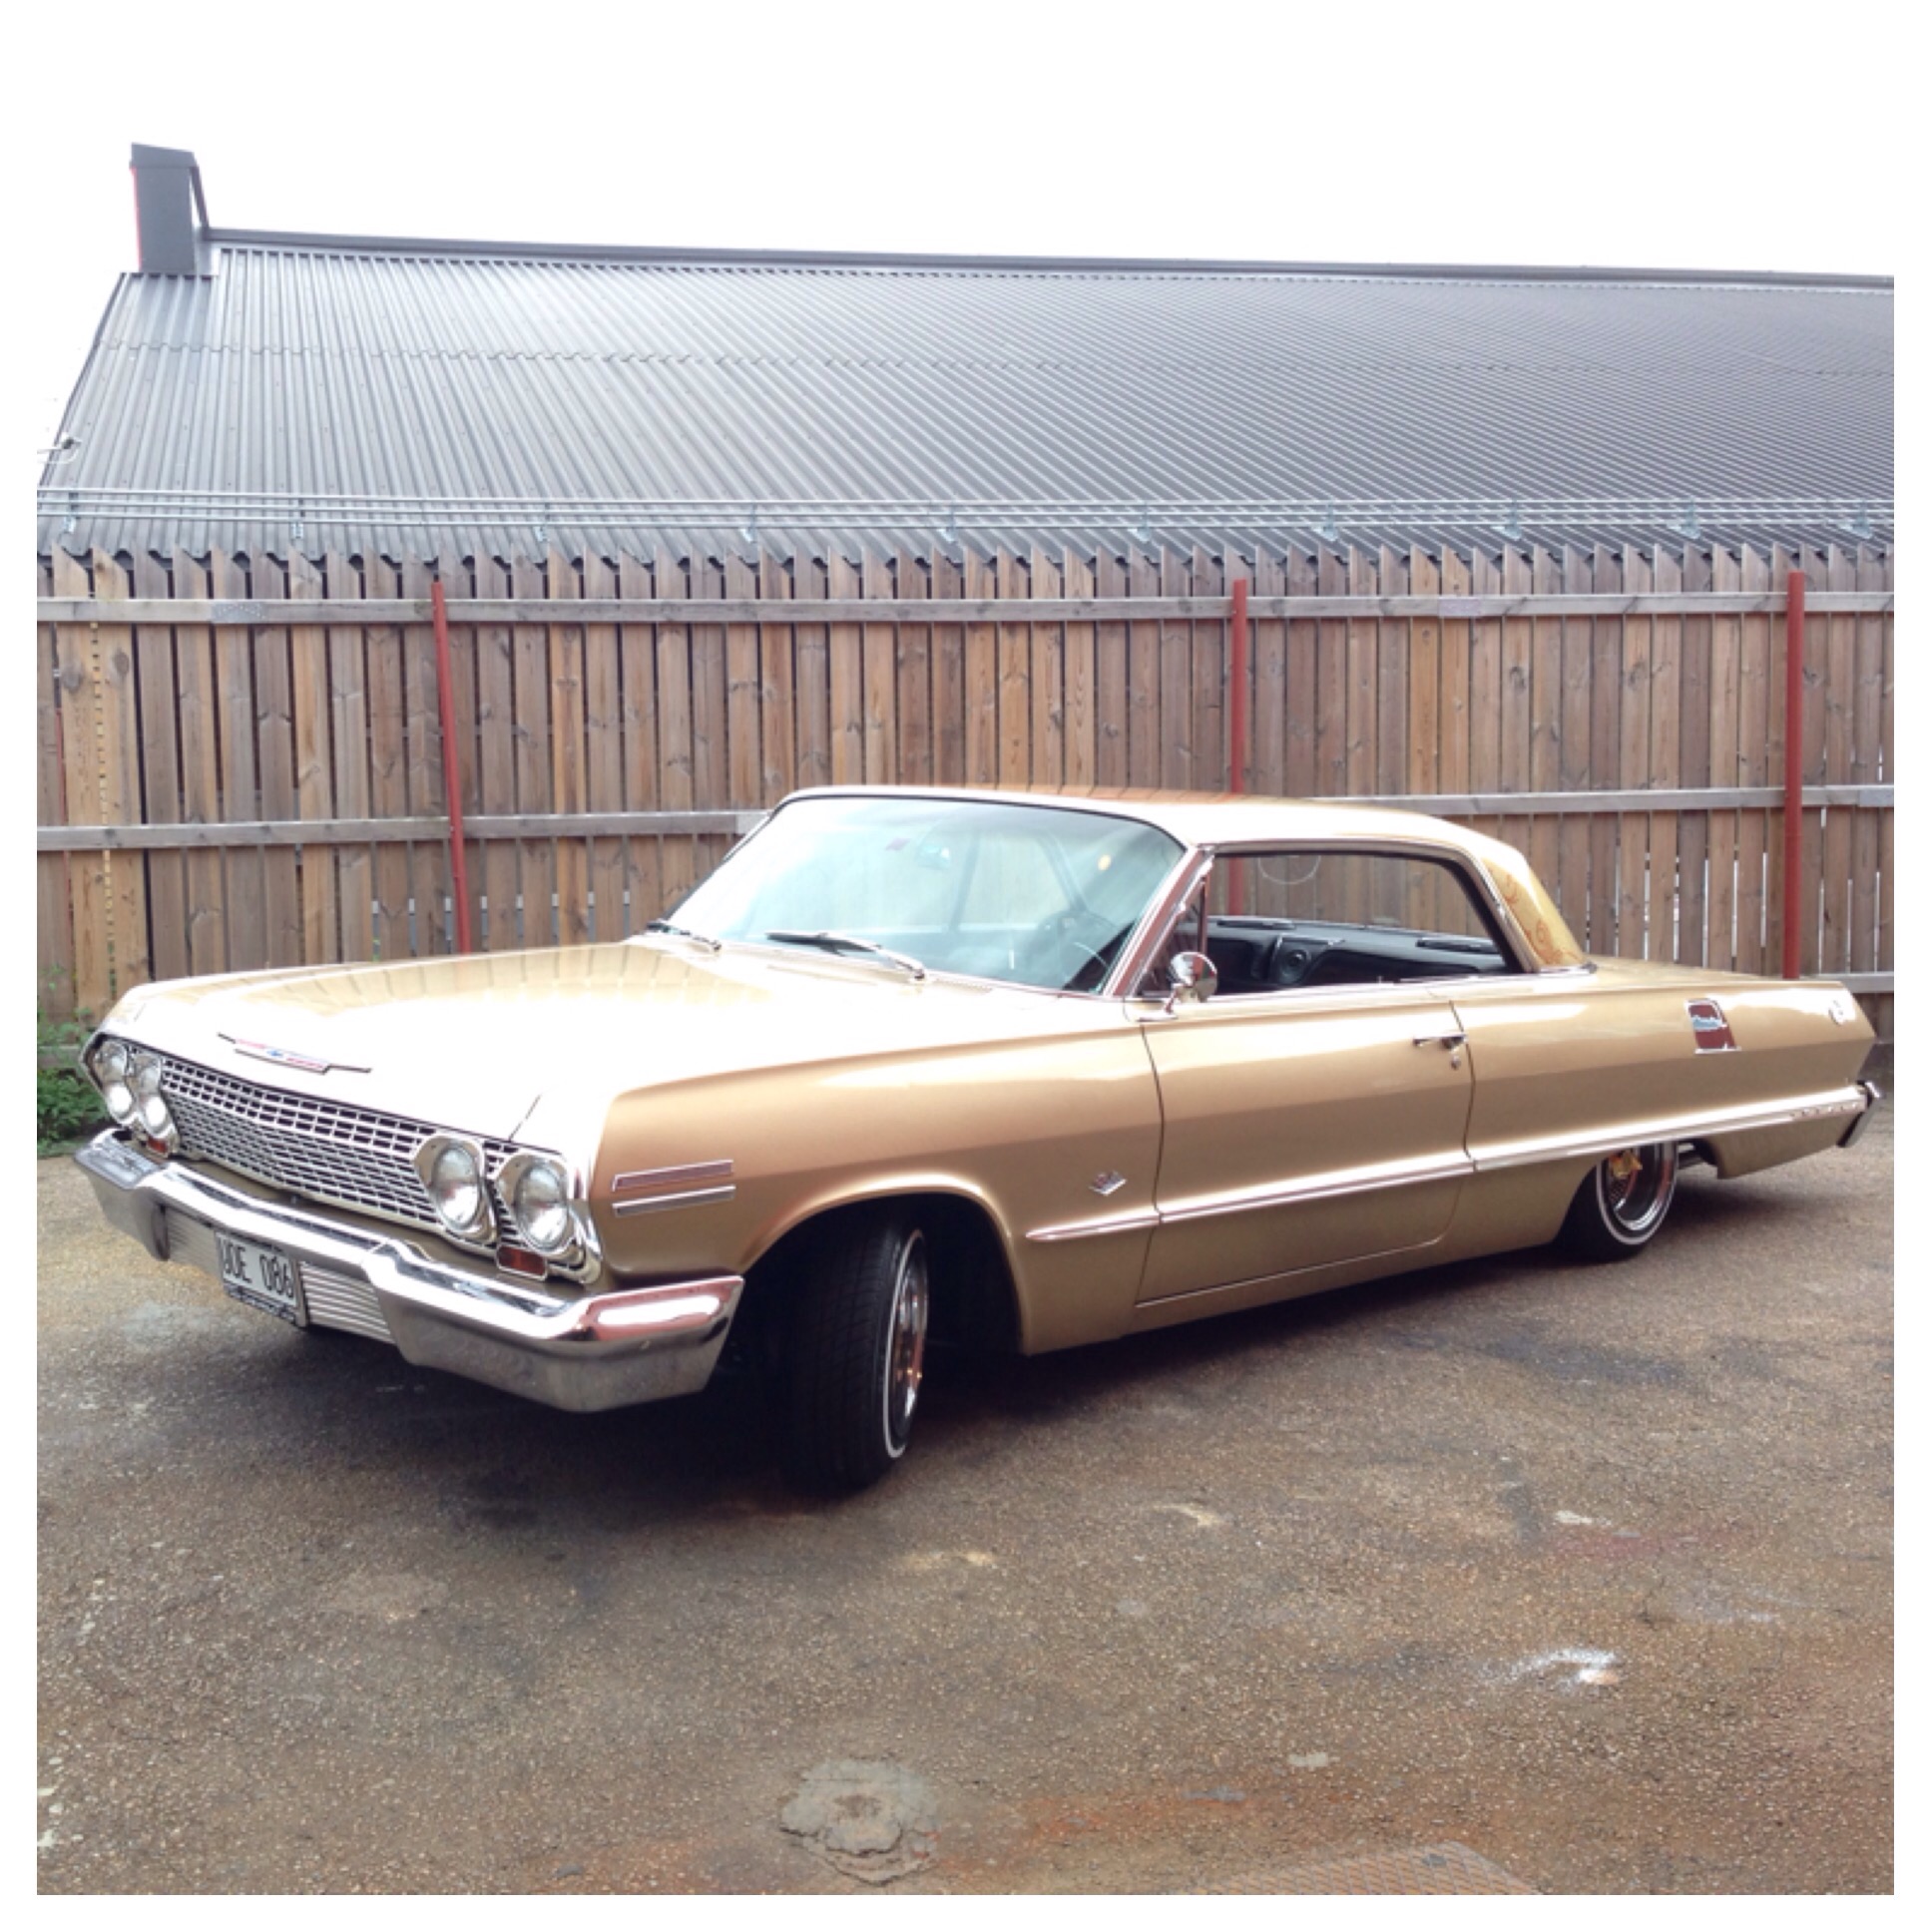
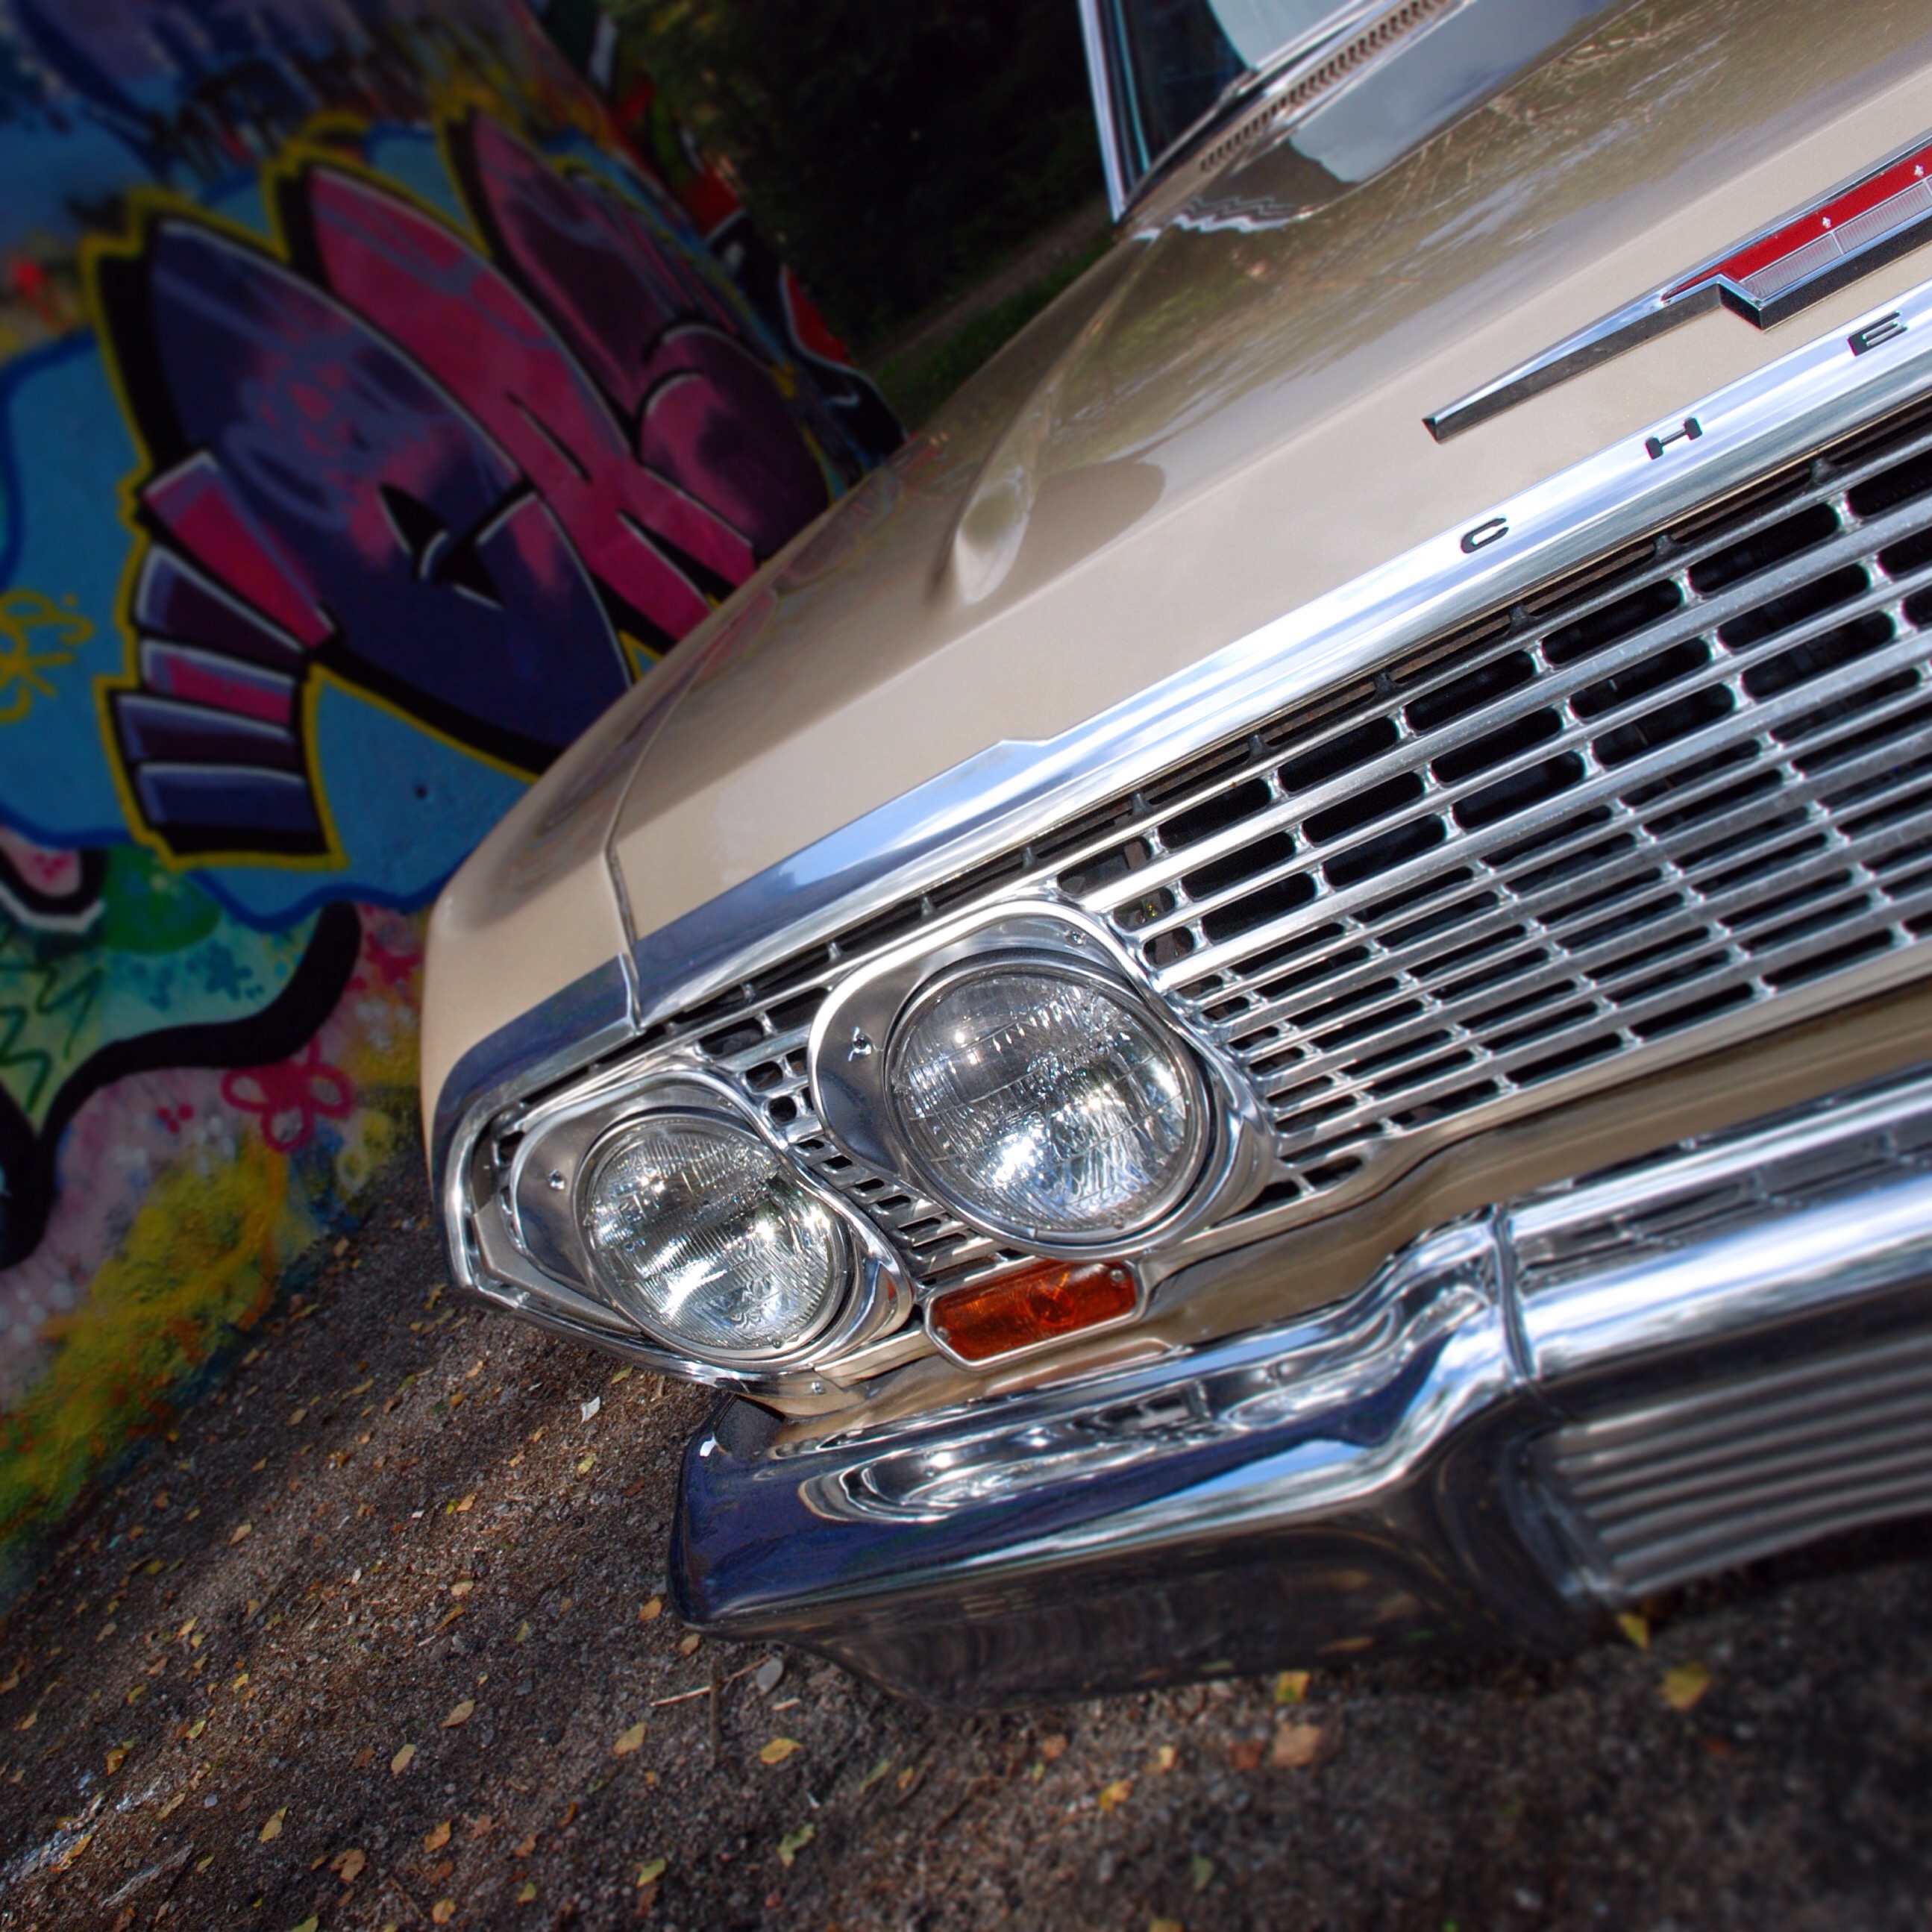
Chevrolet Impala HT 1963 lowrider
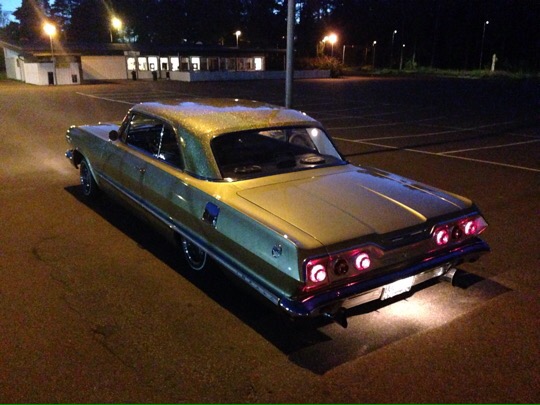
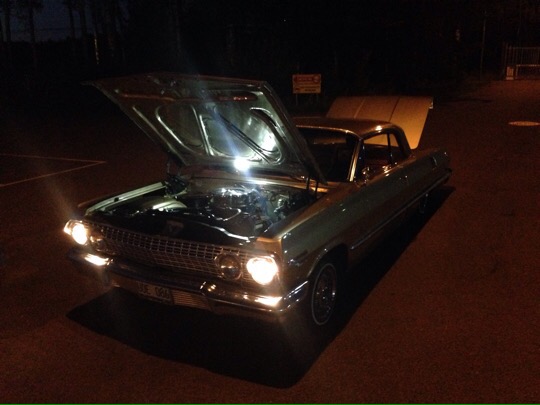
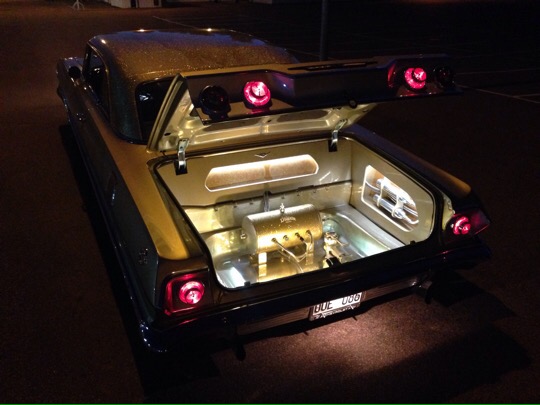
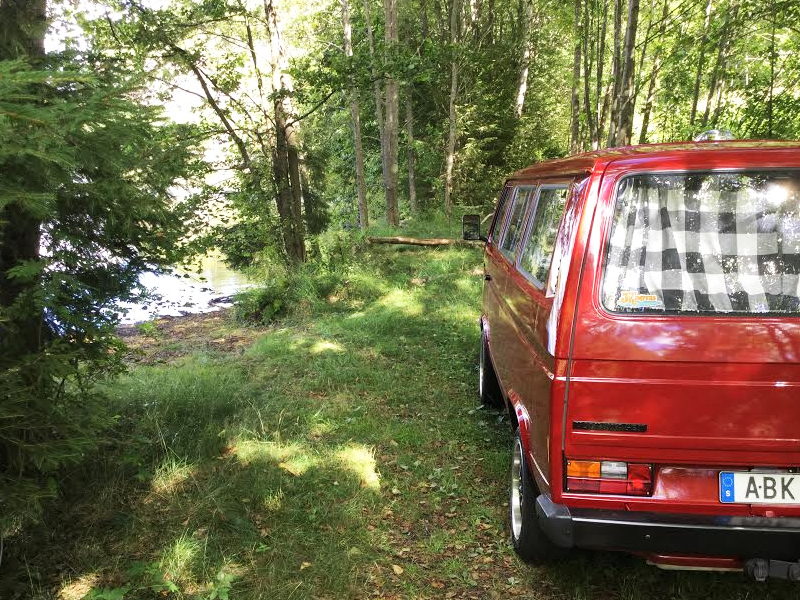
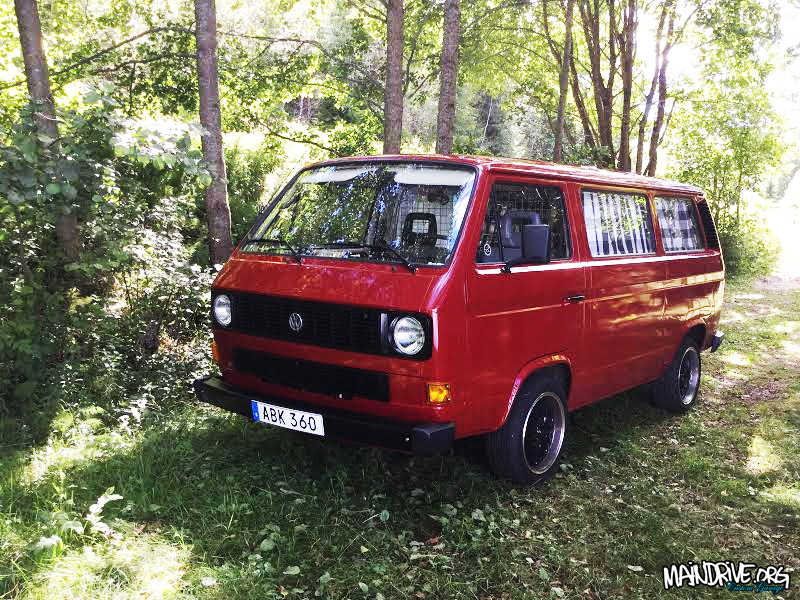
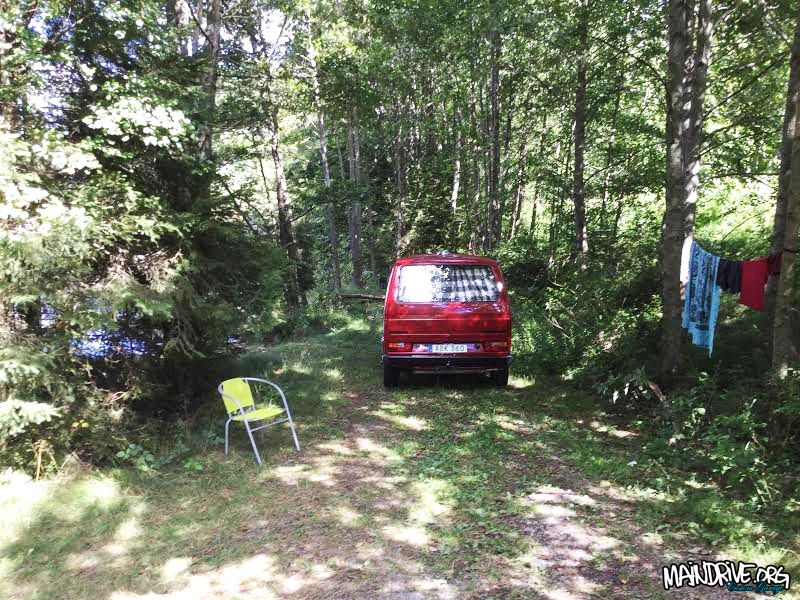
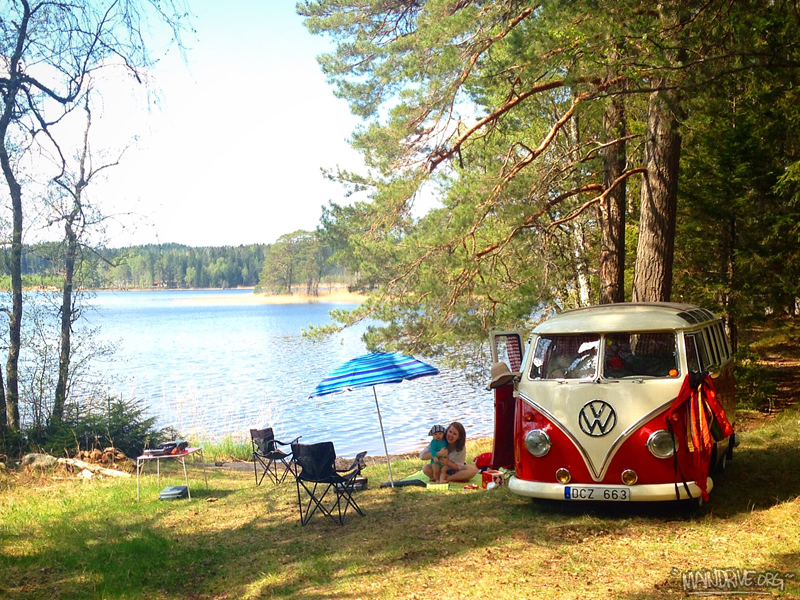
Some pics from this summer.
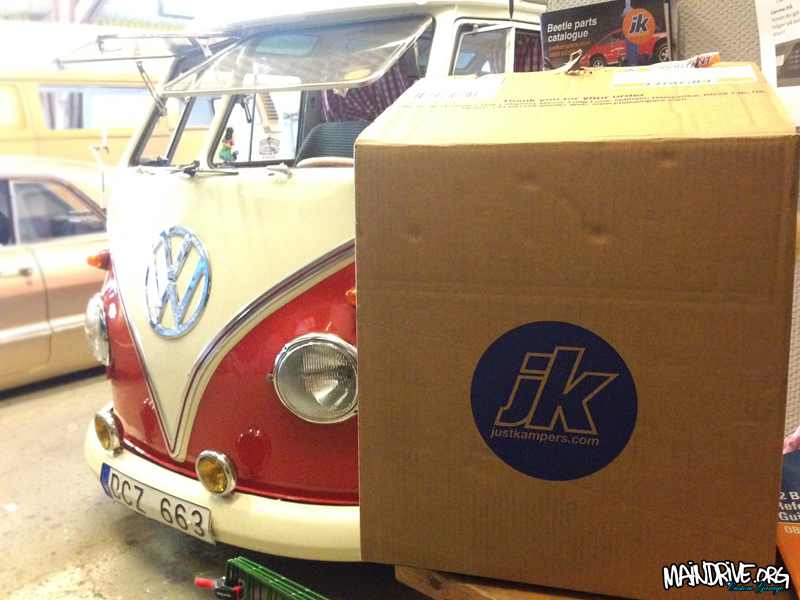
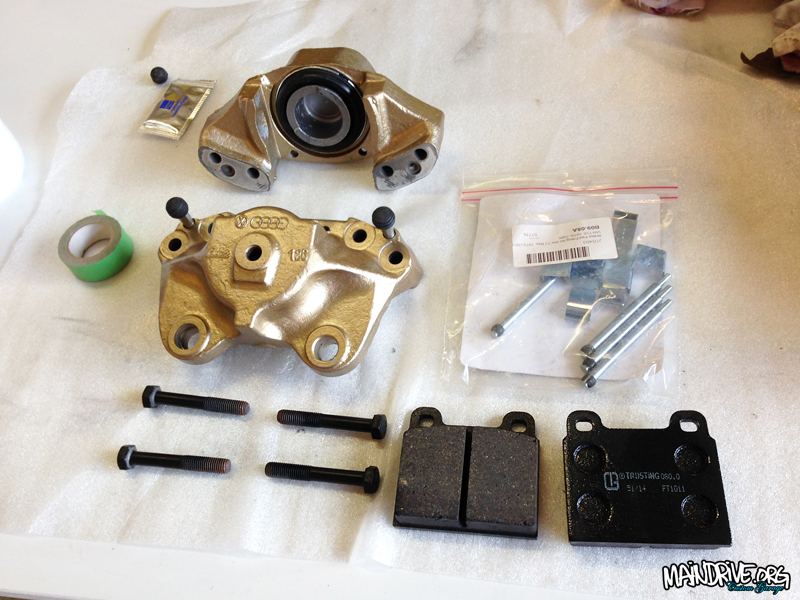
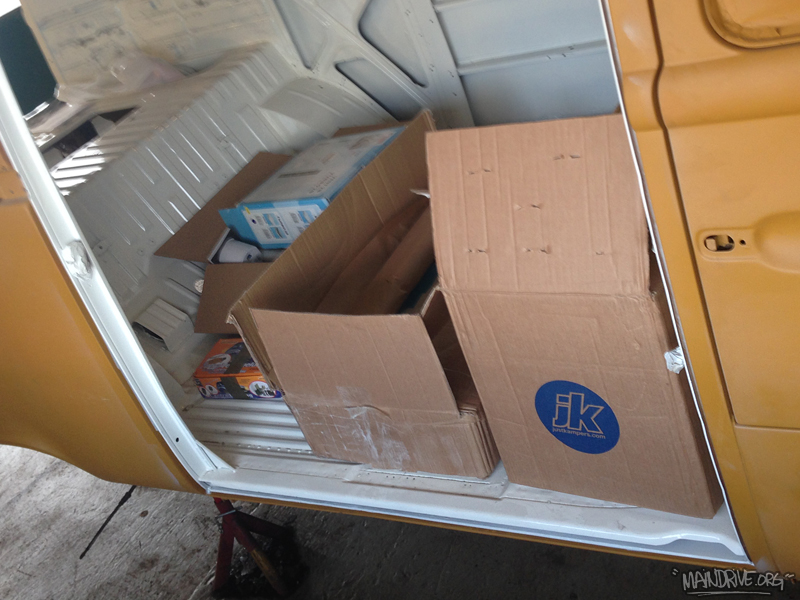
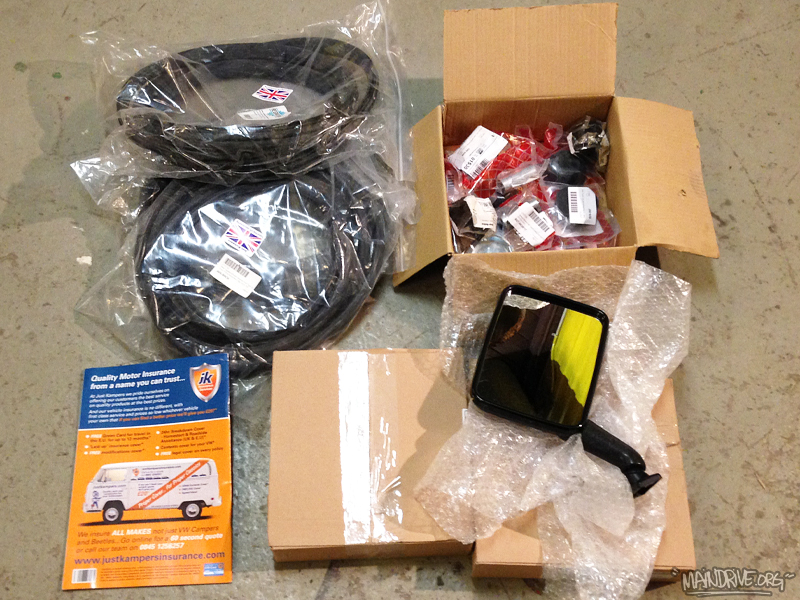
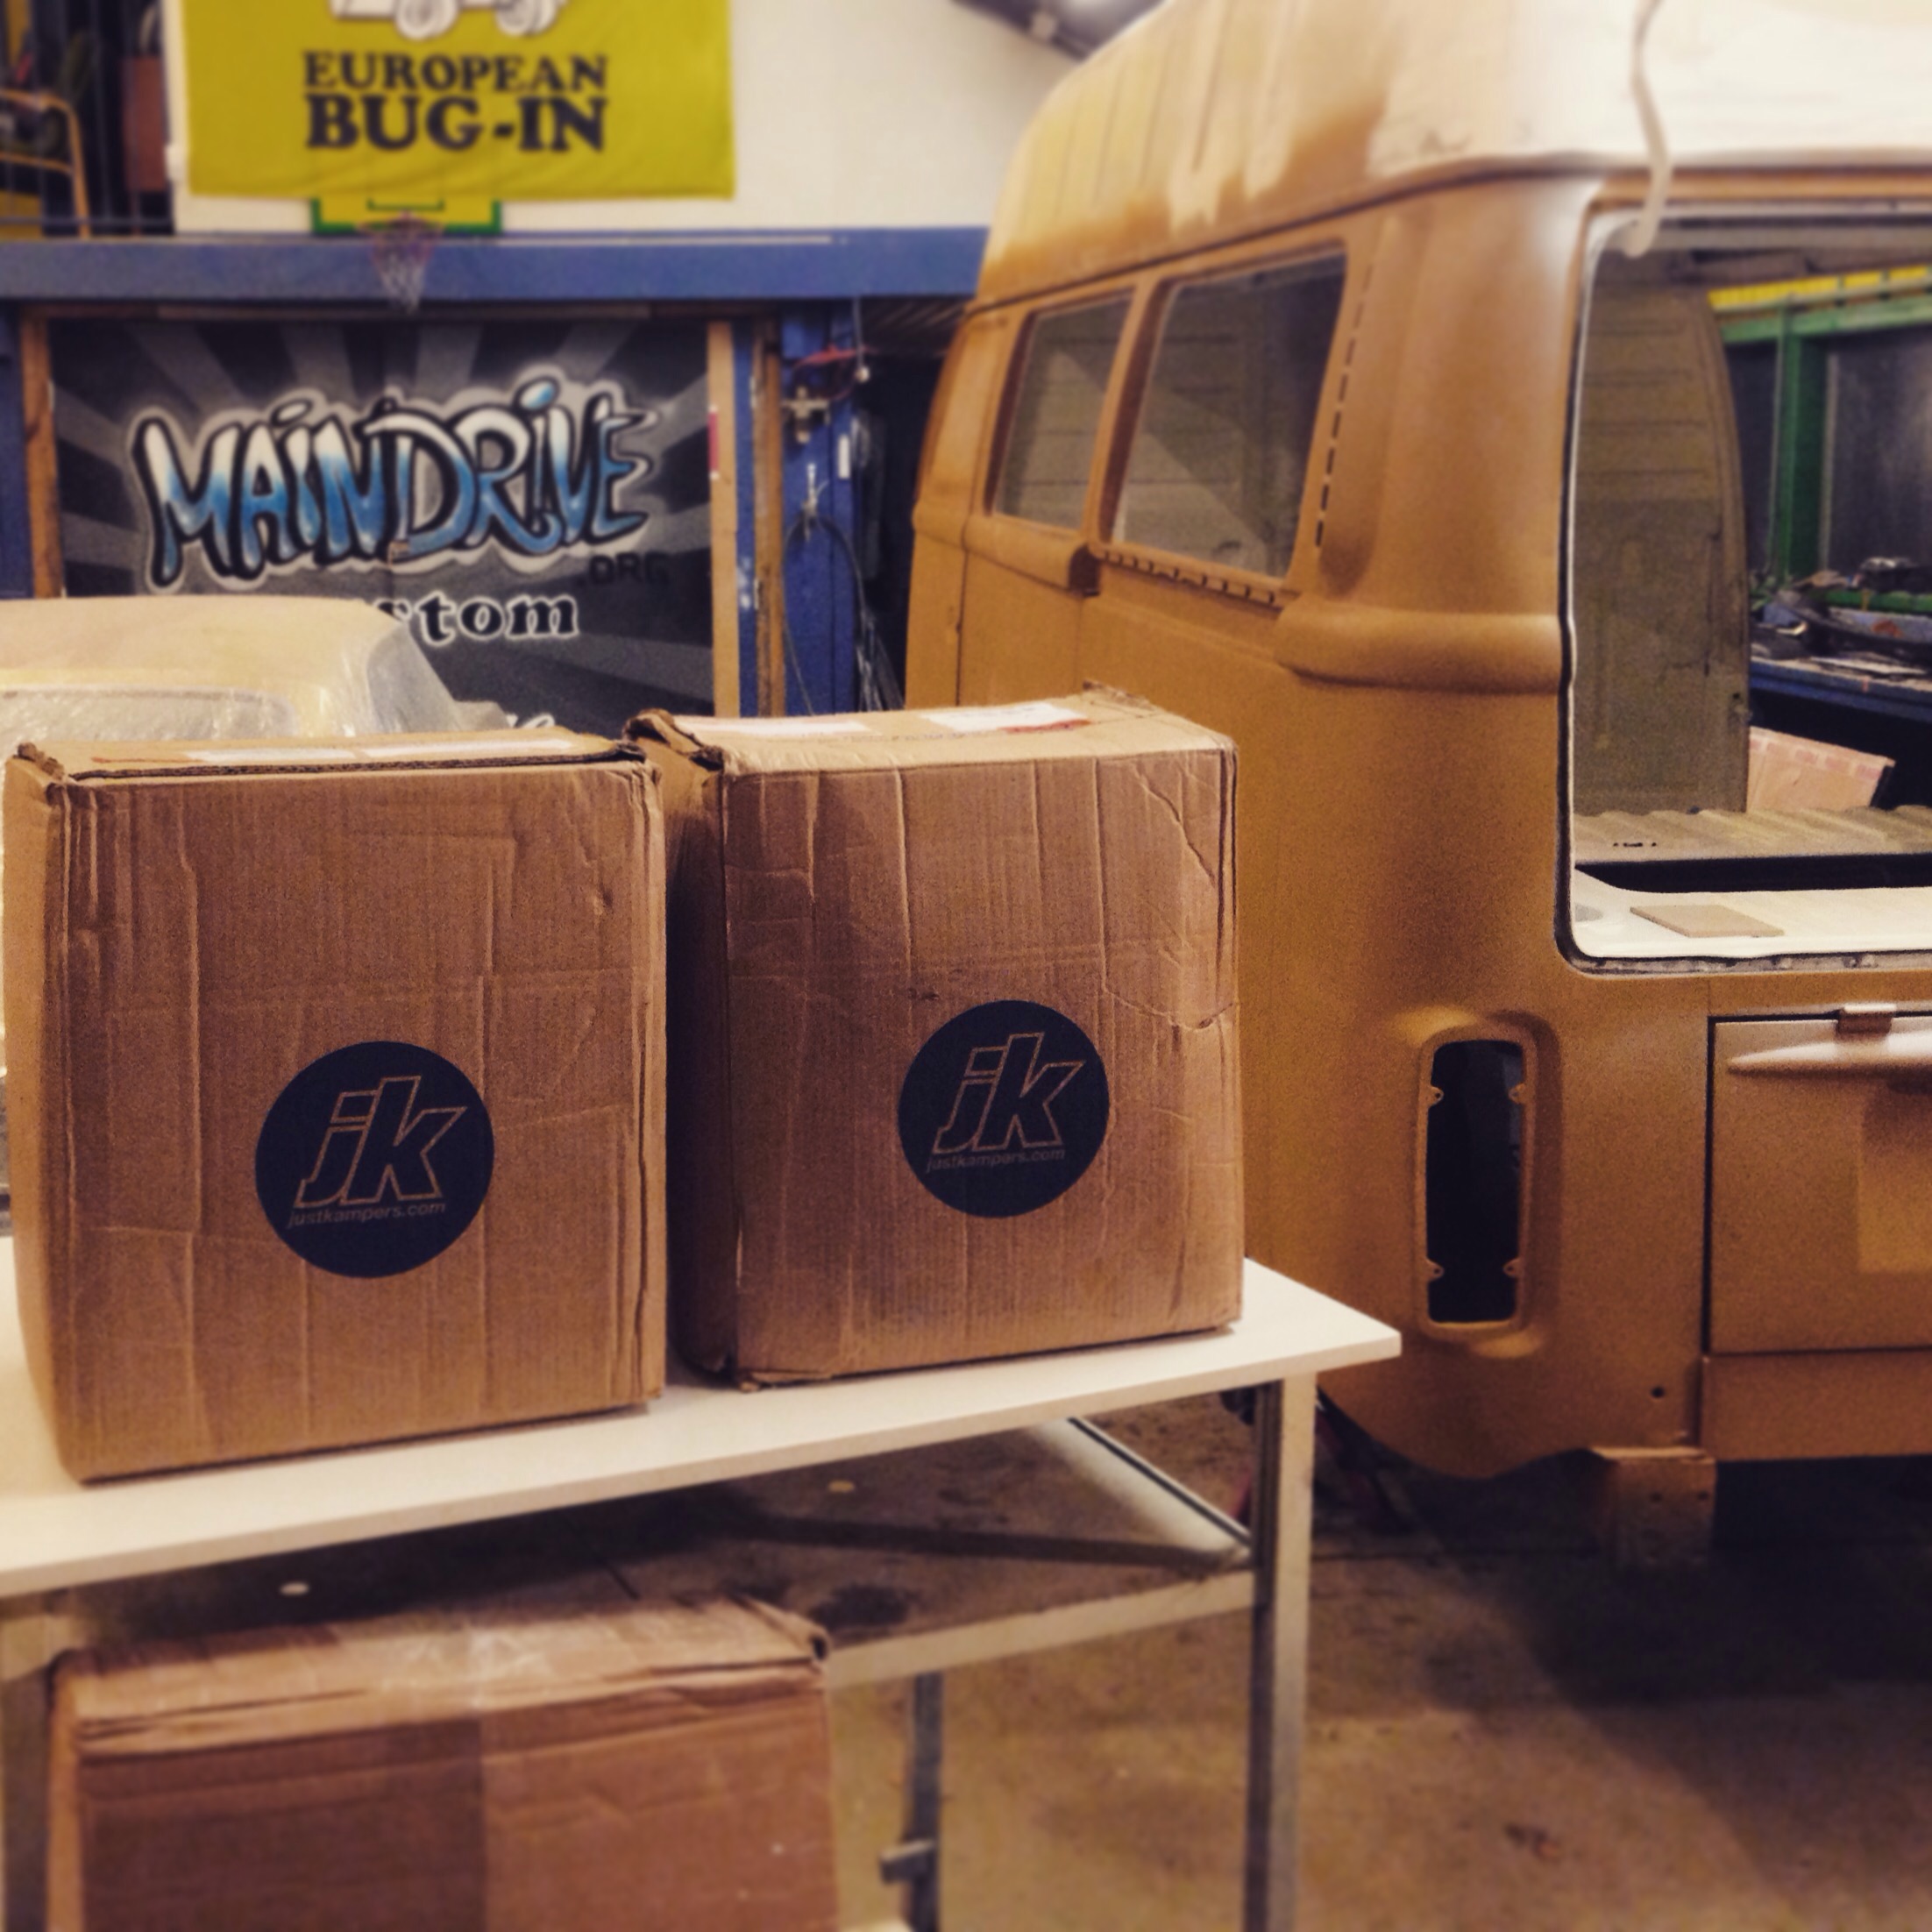
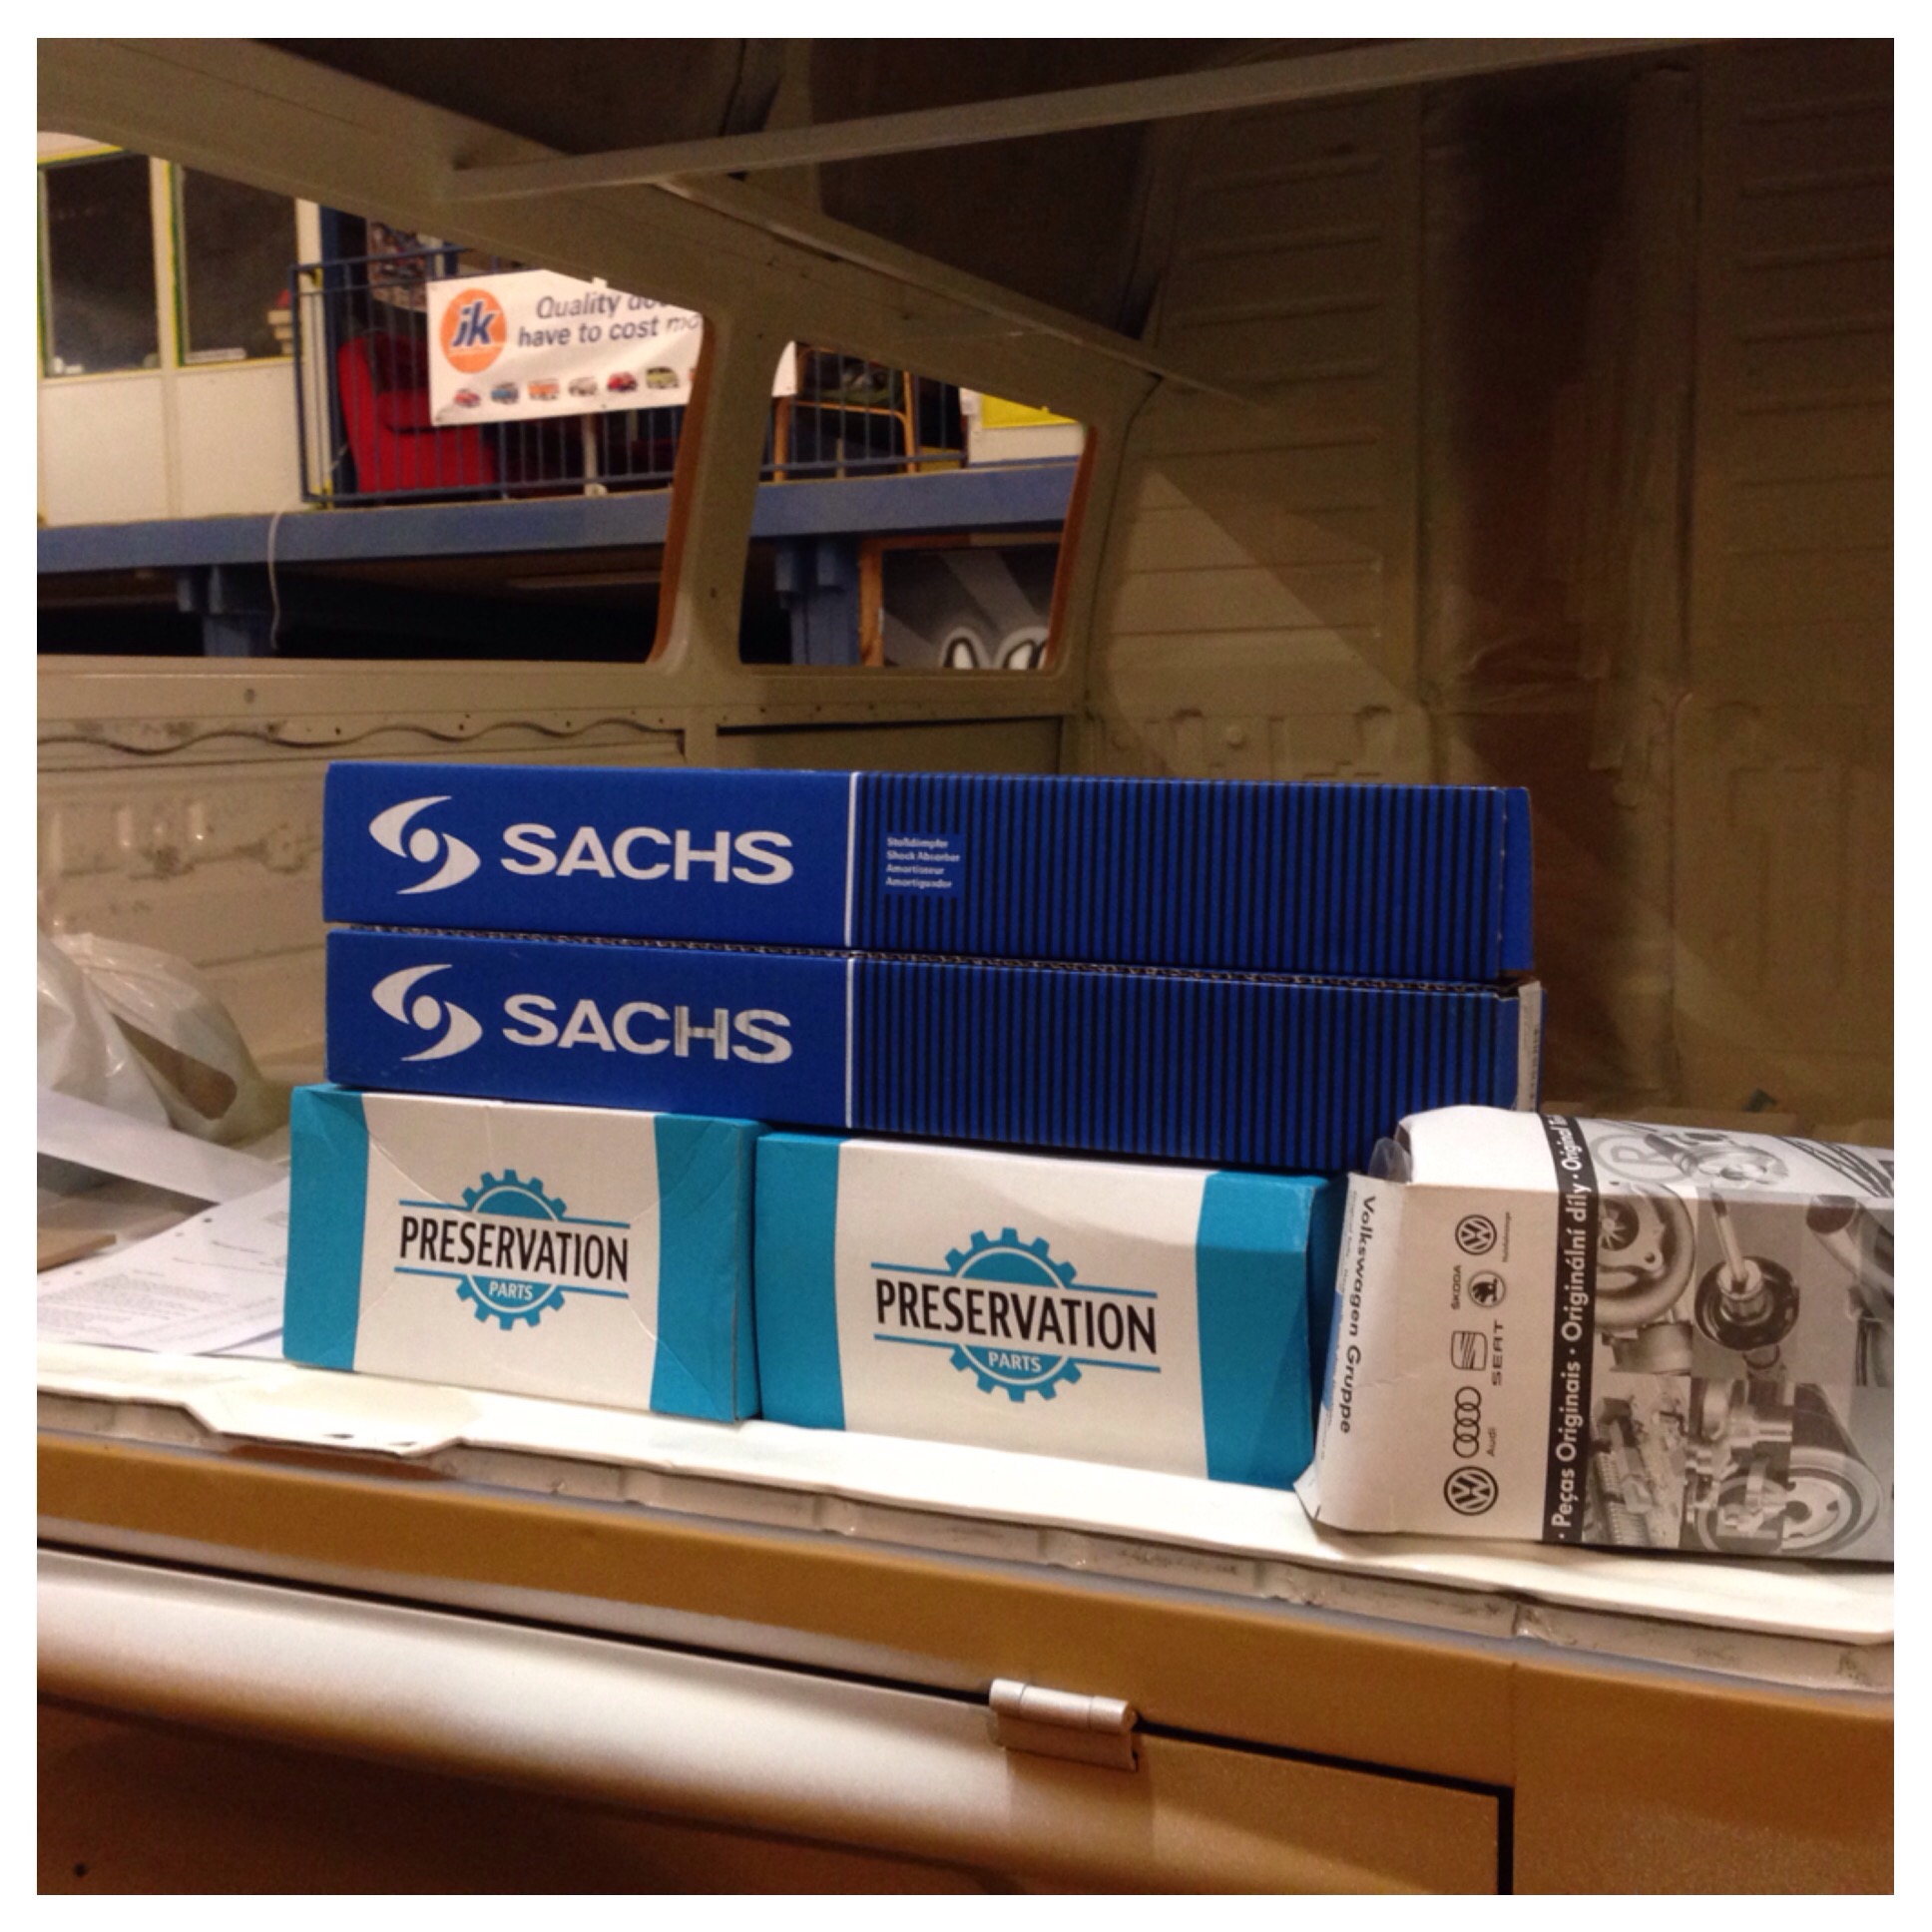
Got some new VW parts today from JustKampers, super fast delivery as always!
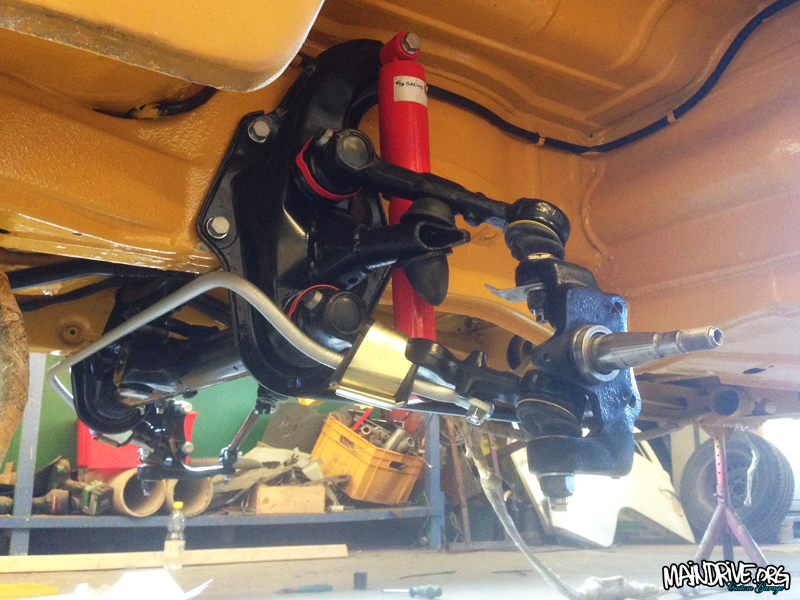
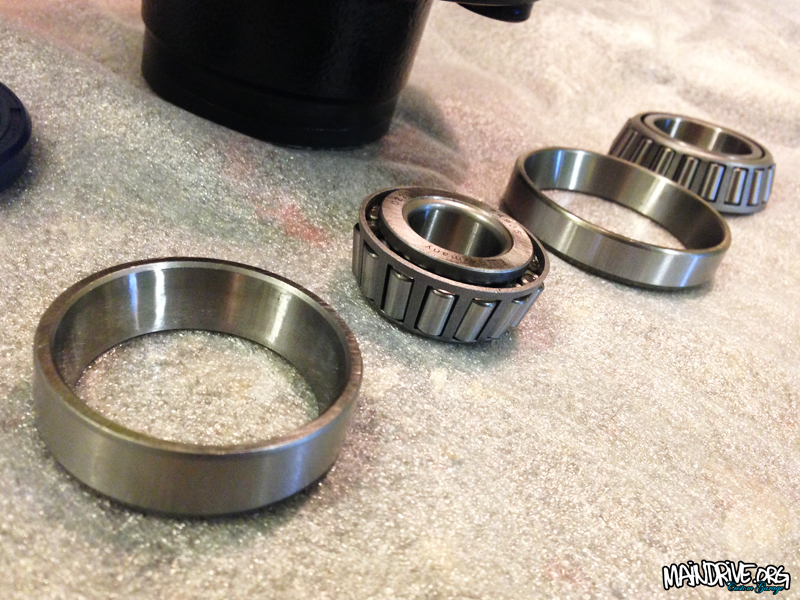
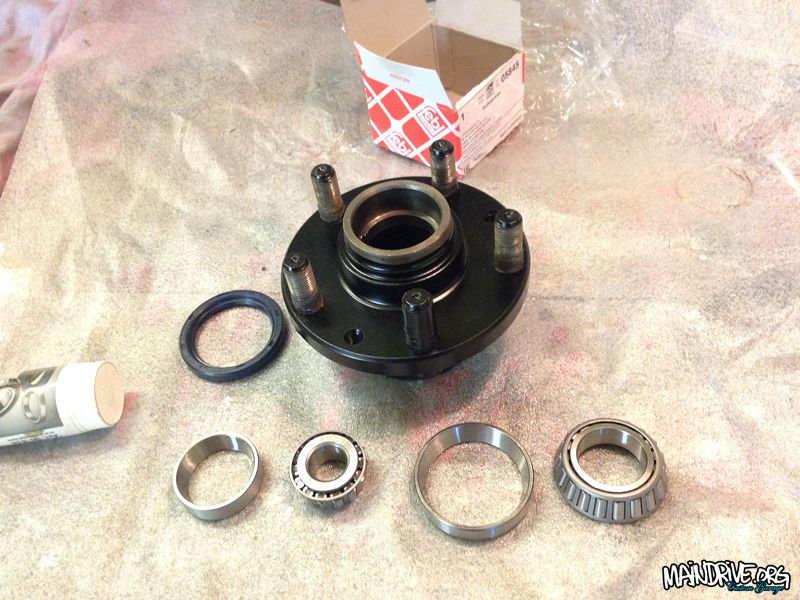
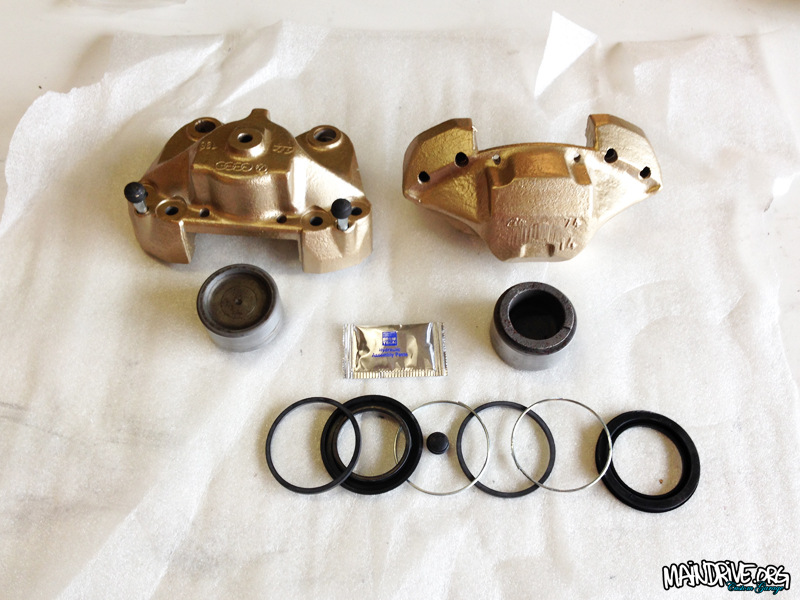
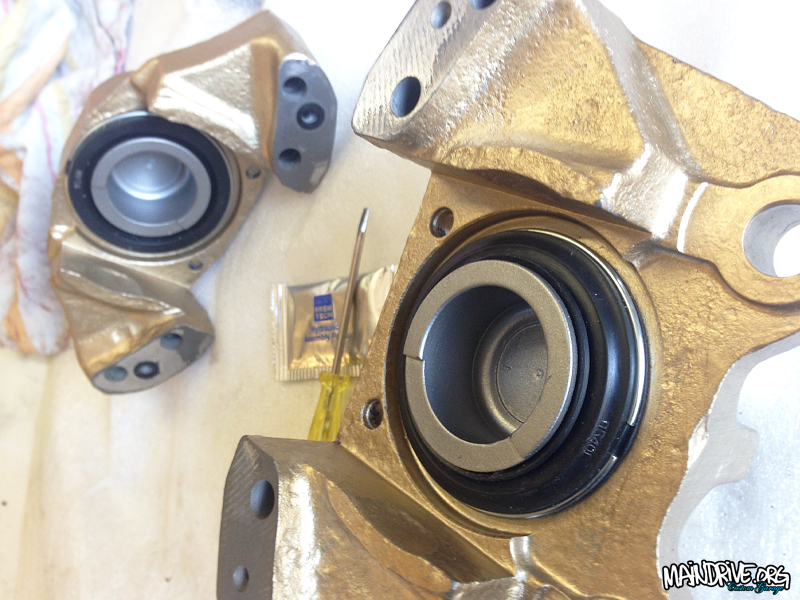
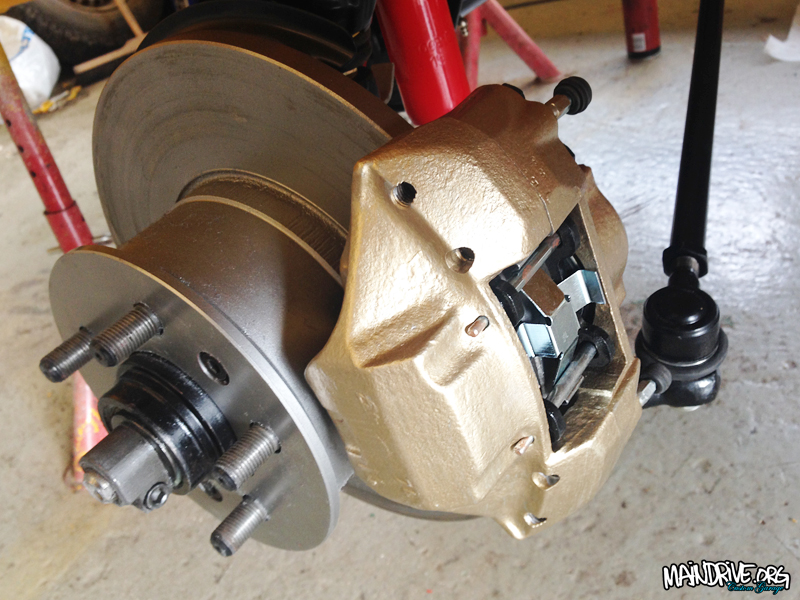
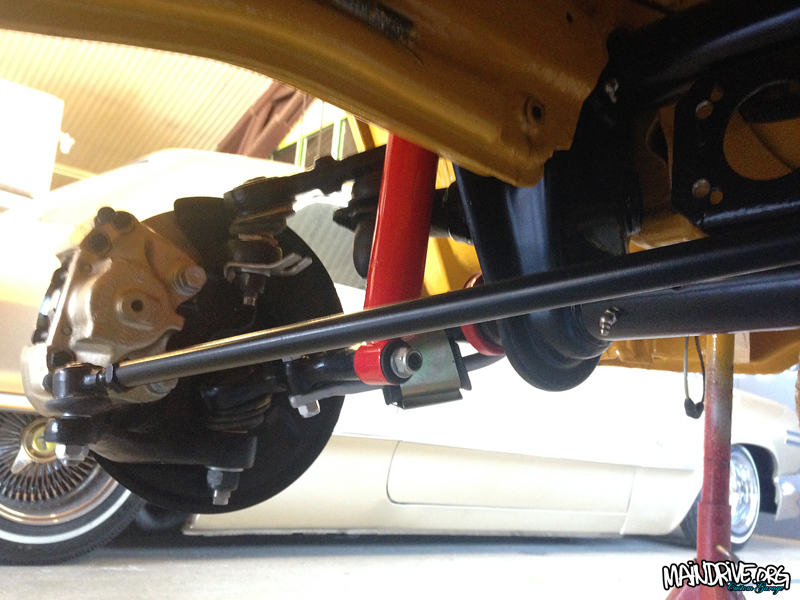
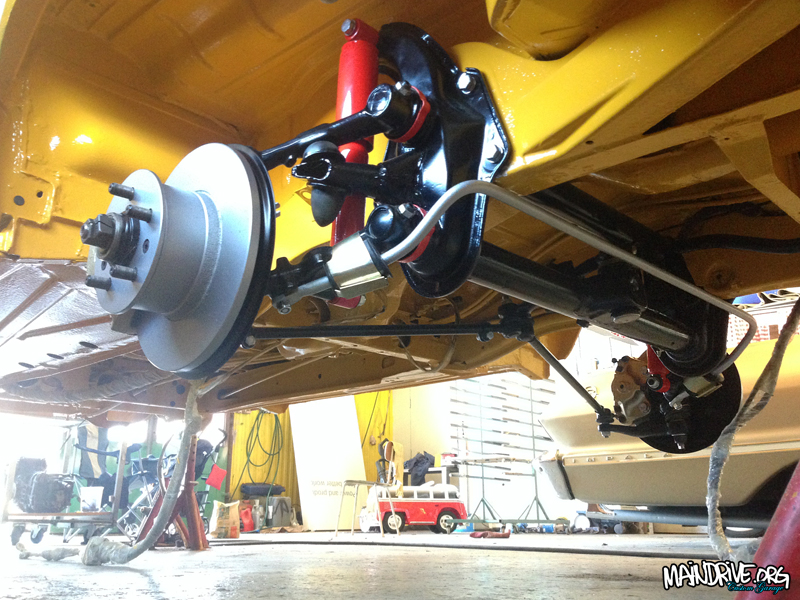
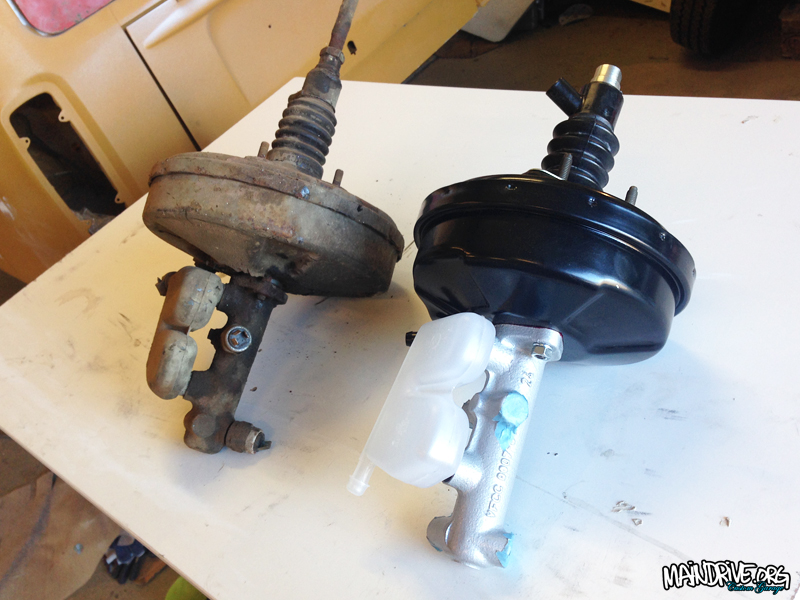
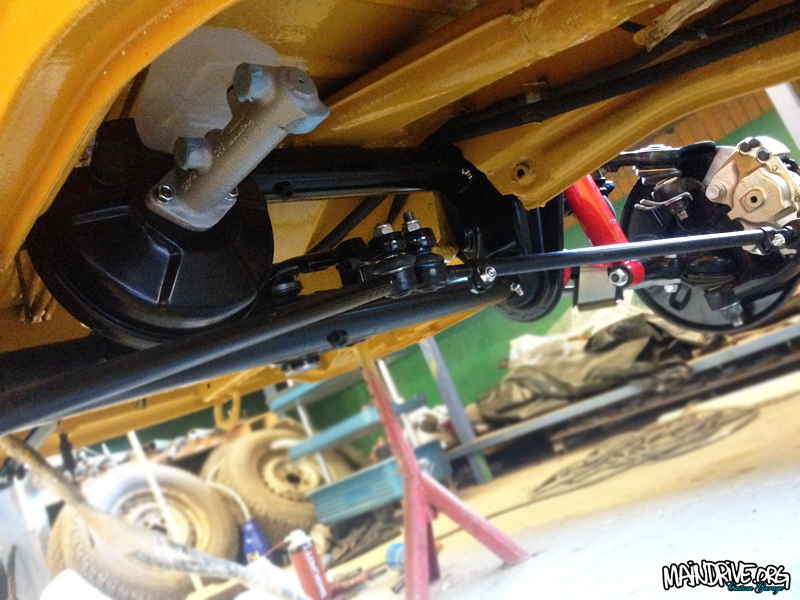
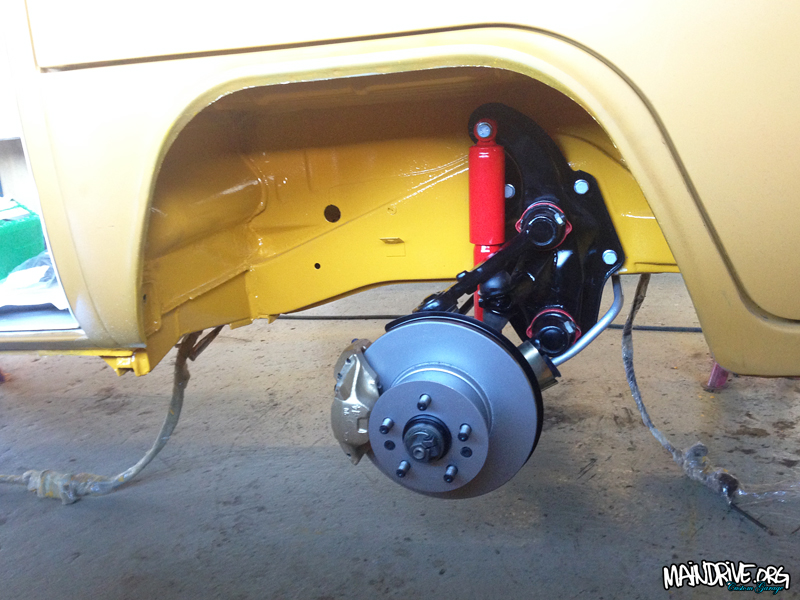
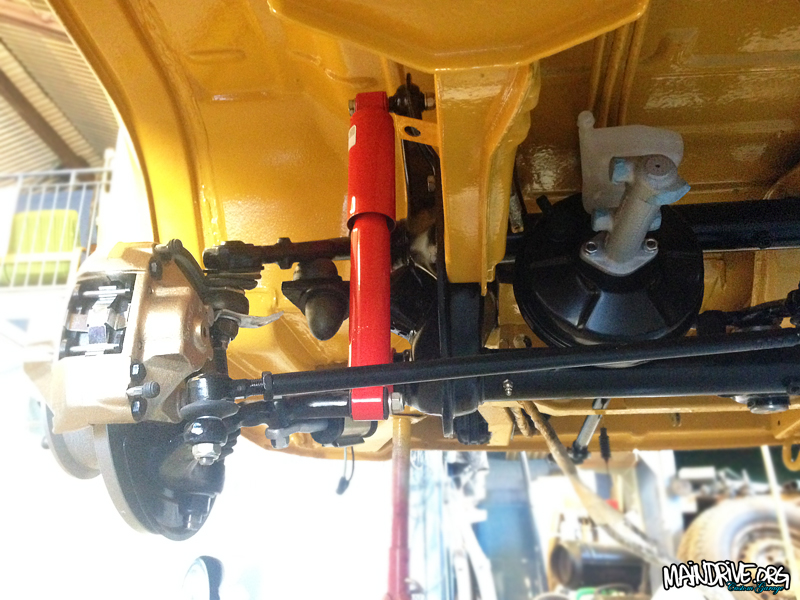
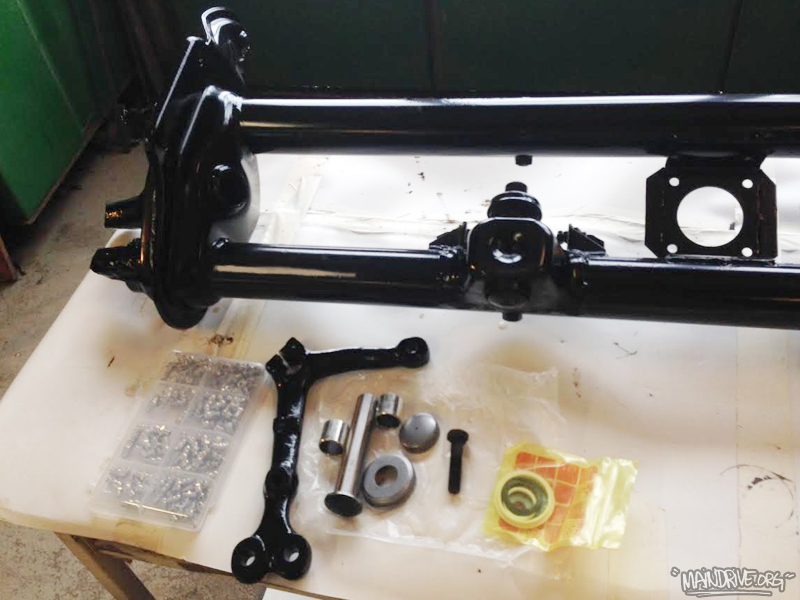
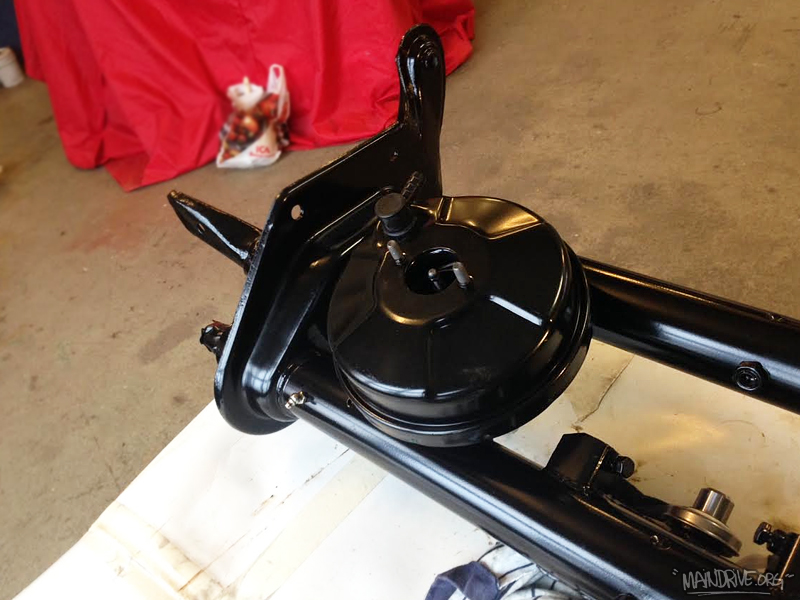
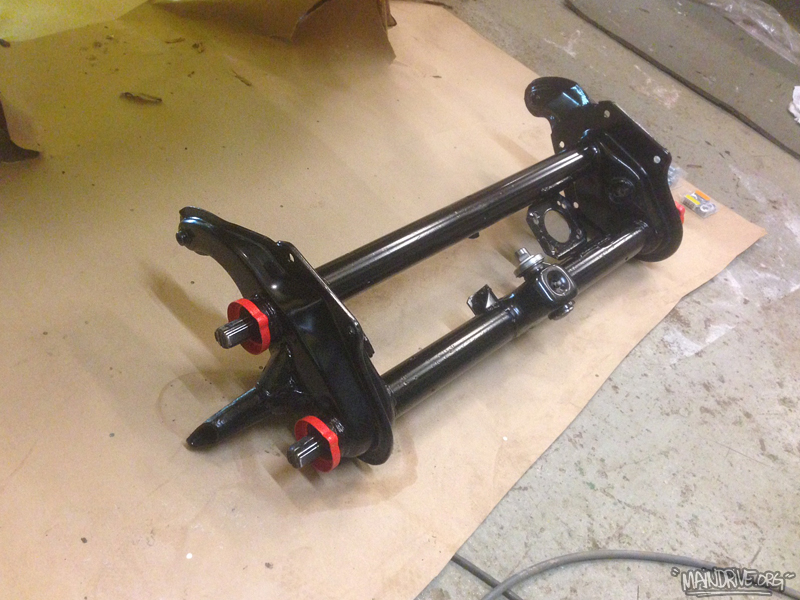
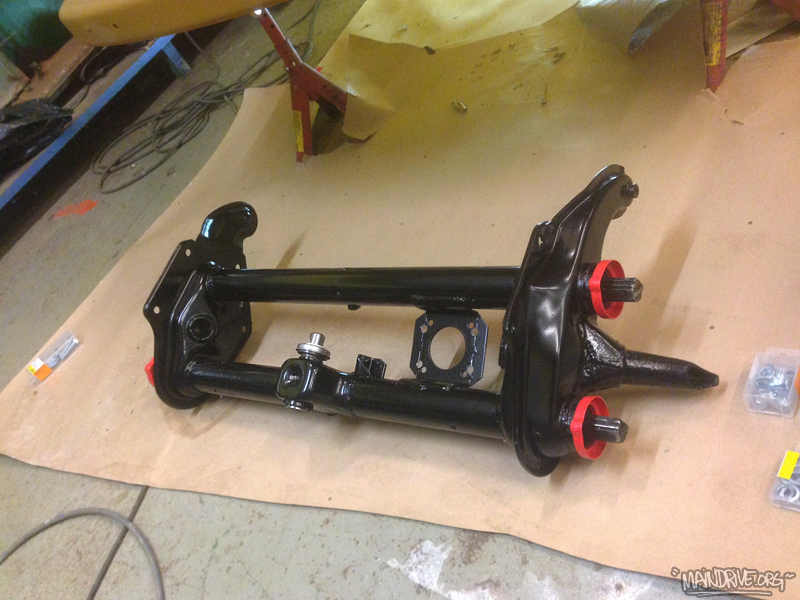
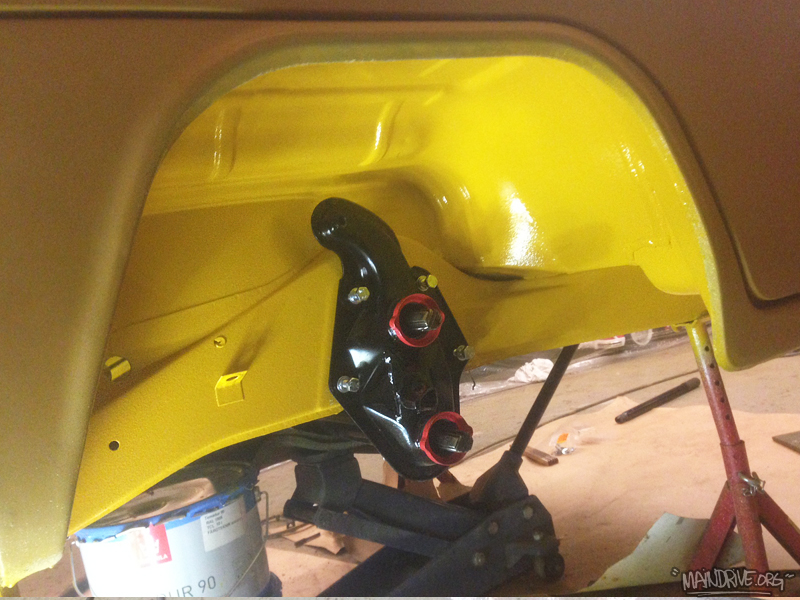
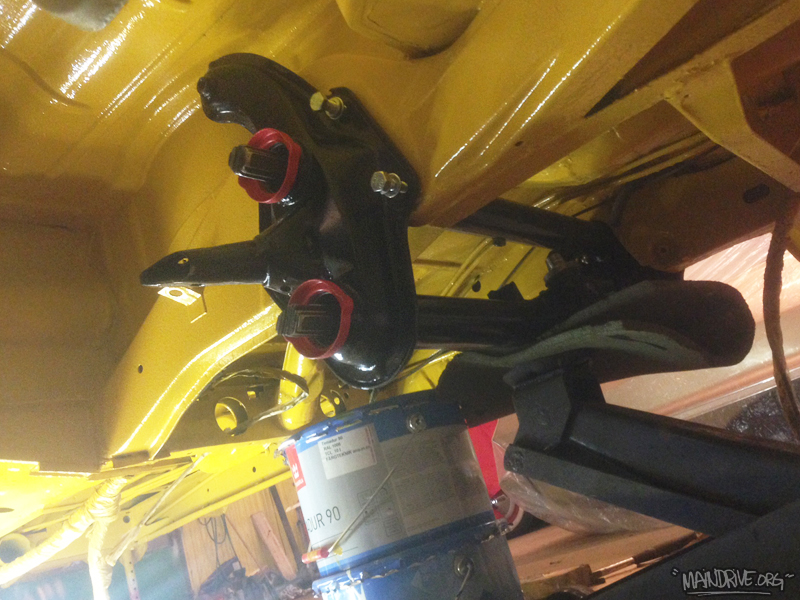
Have finally got some stuff done on my own project, Baywindow Highroof 1975. The frontend is all done, just need to mount the new brakelines etc. The sandblasted and painted beam have all new needlebearings, new centerpin/arm bushings, new grease zerks, torsionarms have new balljoints, new swaybar bushings, new shocks, new steeringdampner, new tie rods and draglink, steeringbox is adjusted (no more play) got new oil too and a new rubber/steeringplate. Wheels bearings are new and packed with fresh grease, new brakediscs, new speedocable and brakecalipers have been blasted, and have all new seals and pistons, brakepads etc. New masterbrakecylinder and new brakebooster is in place too. Basicly every nut and bolt are new on this car!
Here is some new pics…

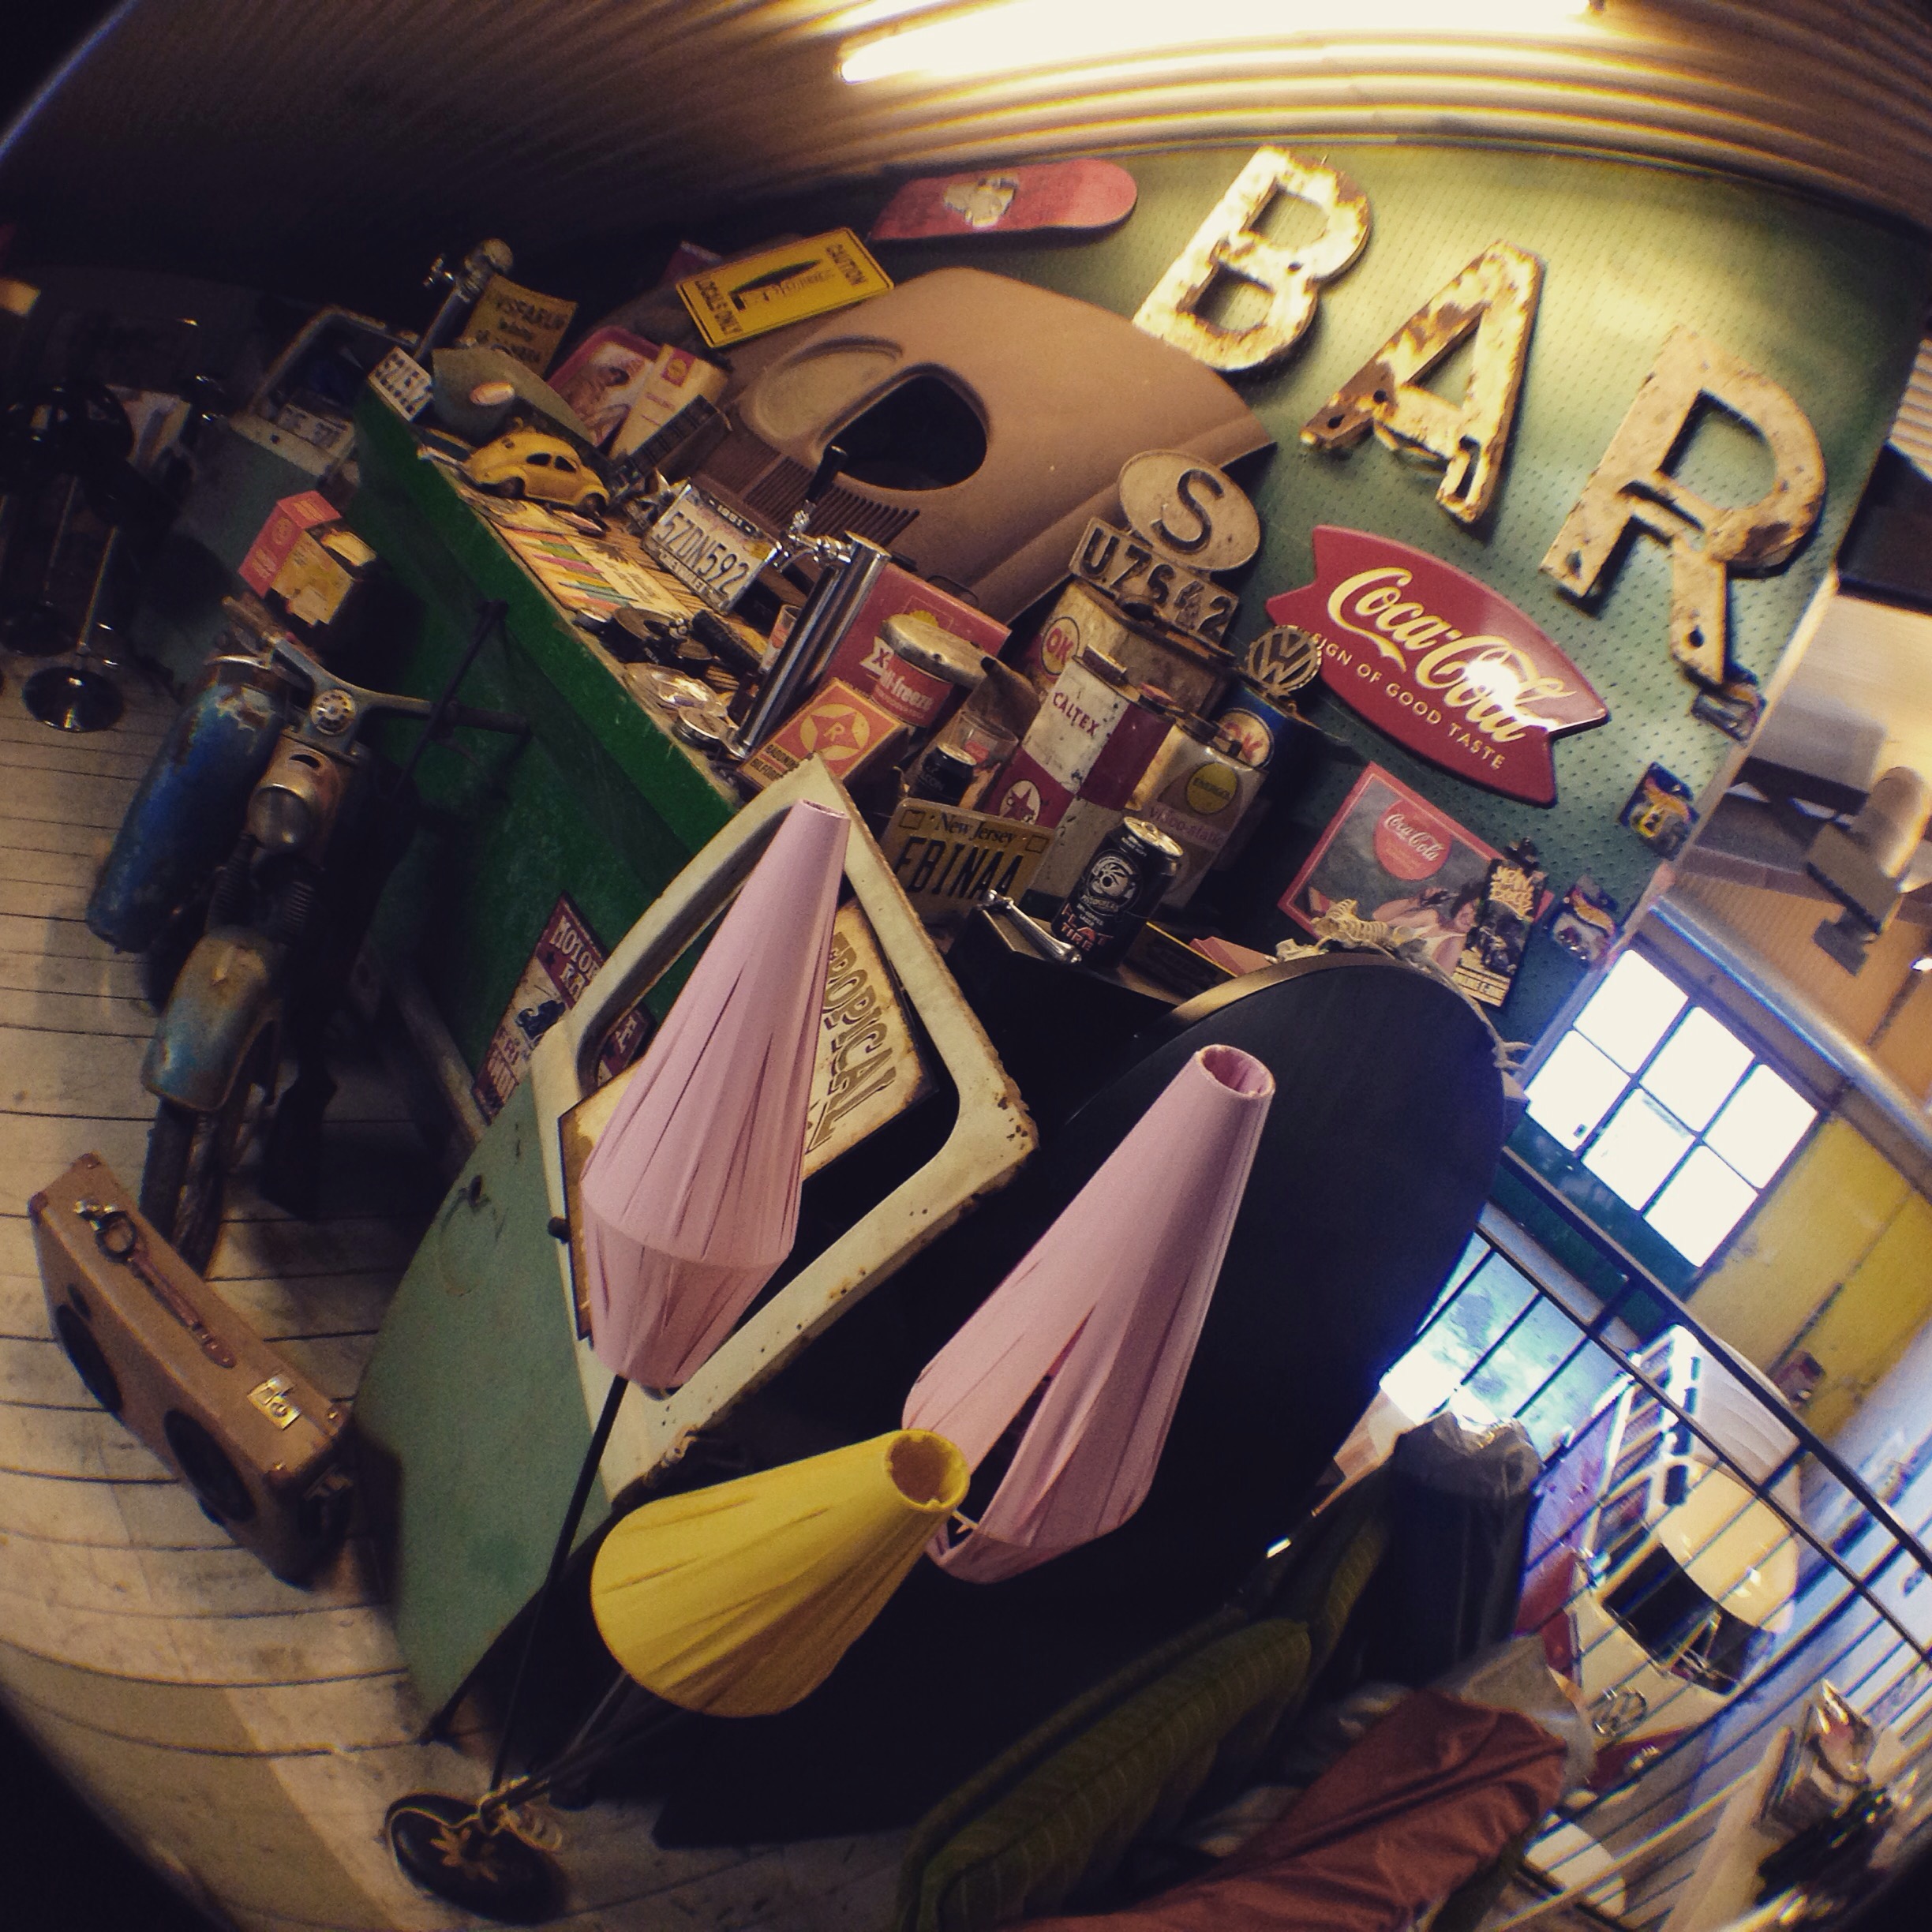
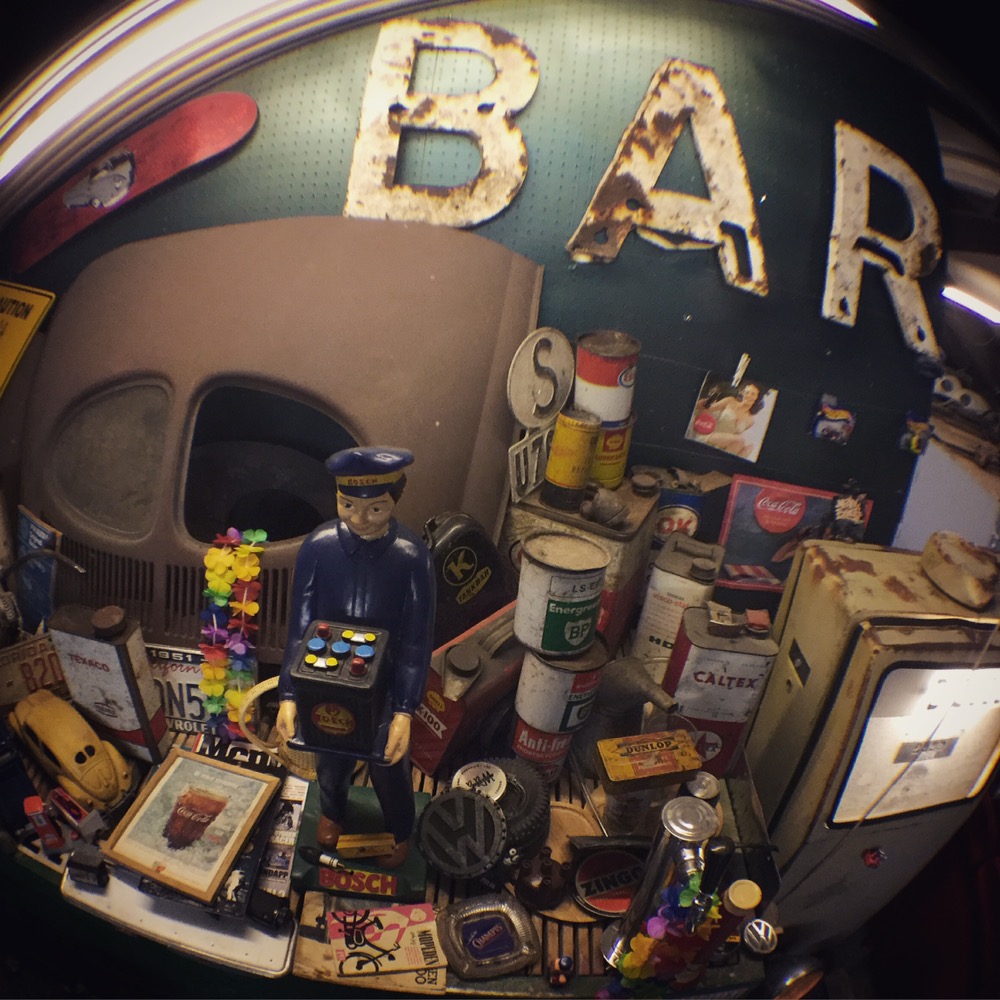
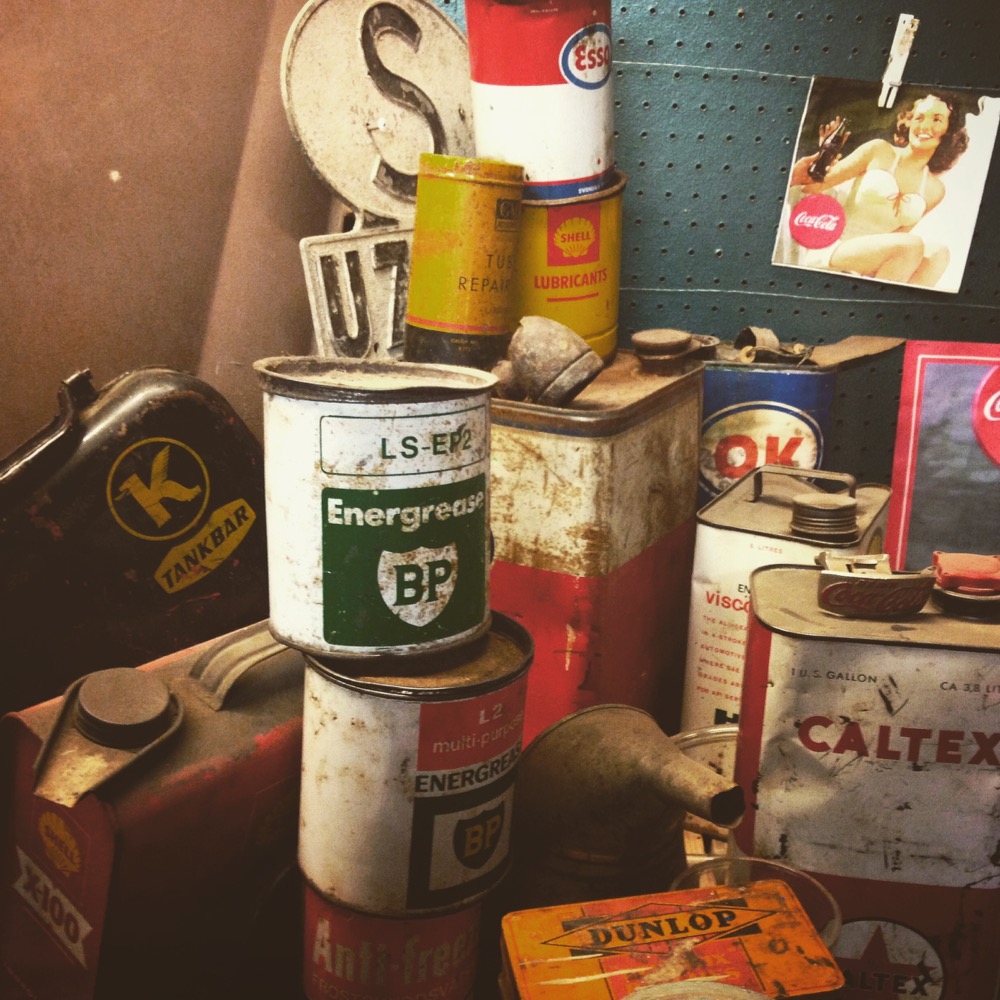
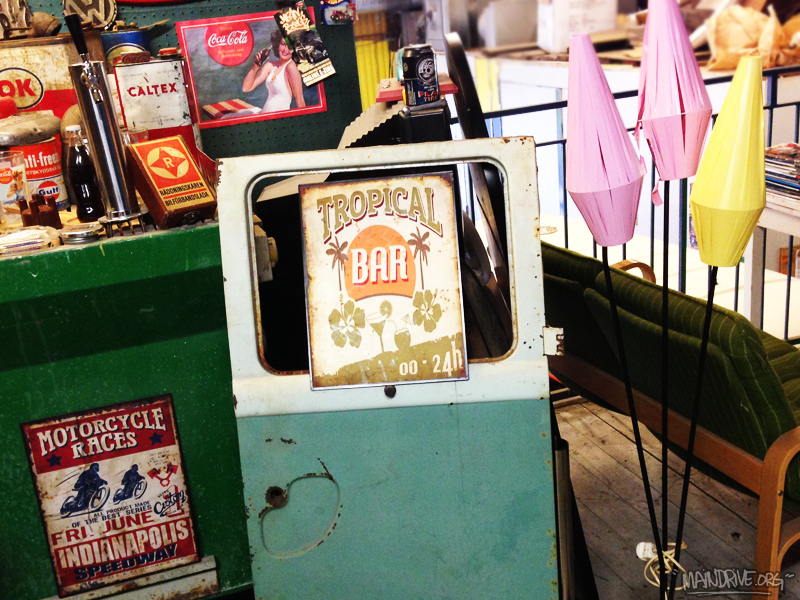
Broken pieces of yesterdays life… 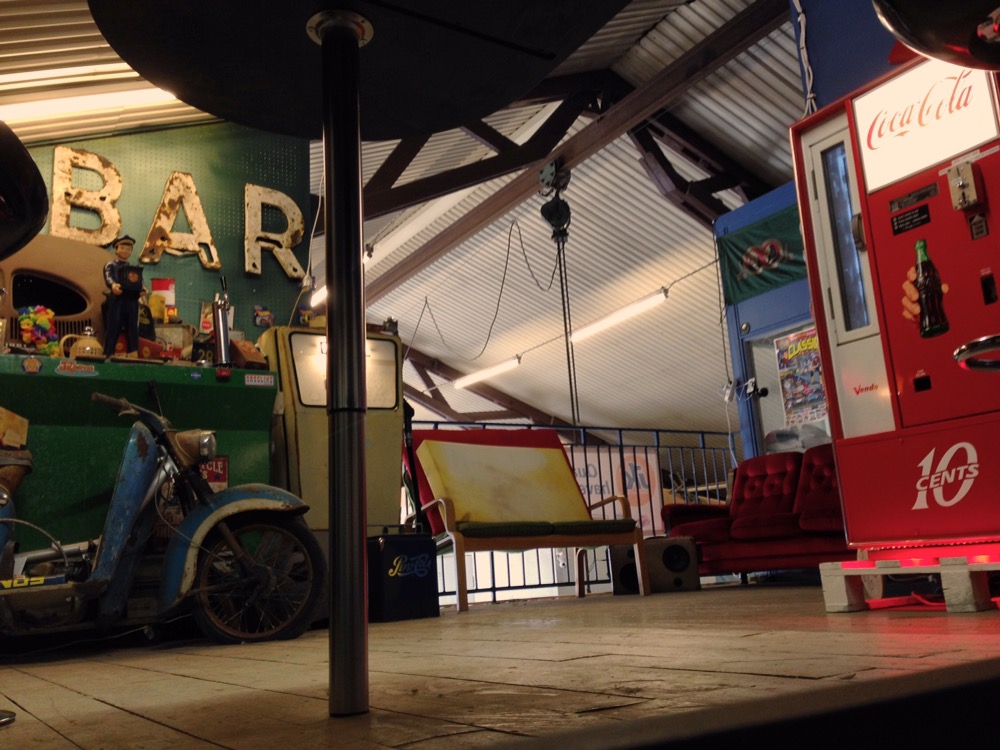
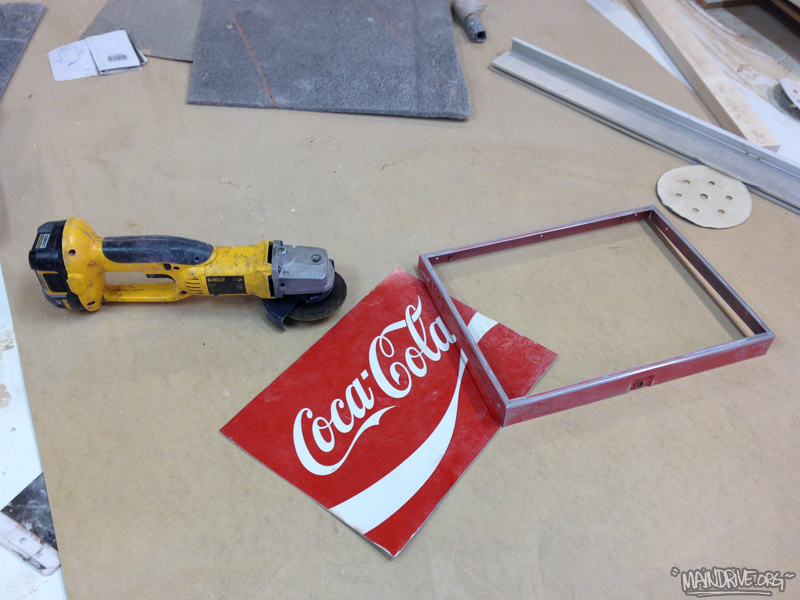
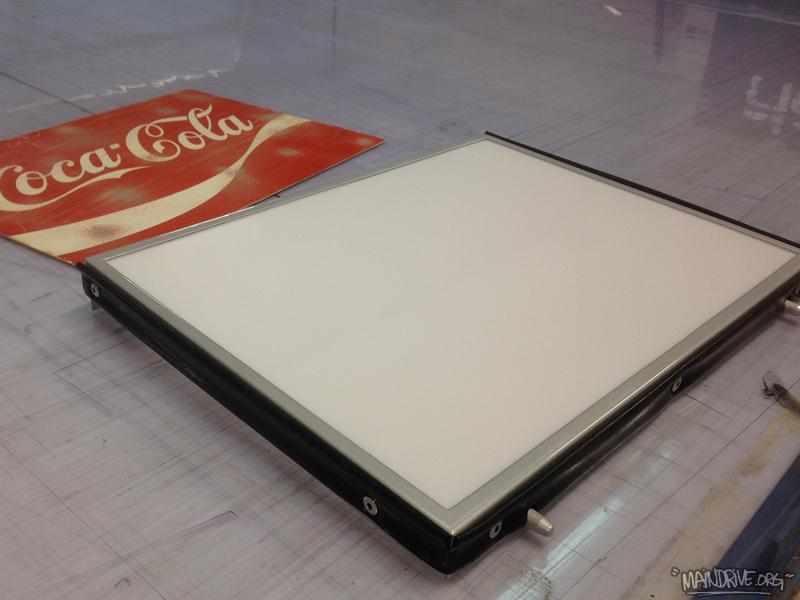
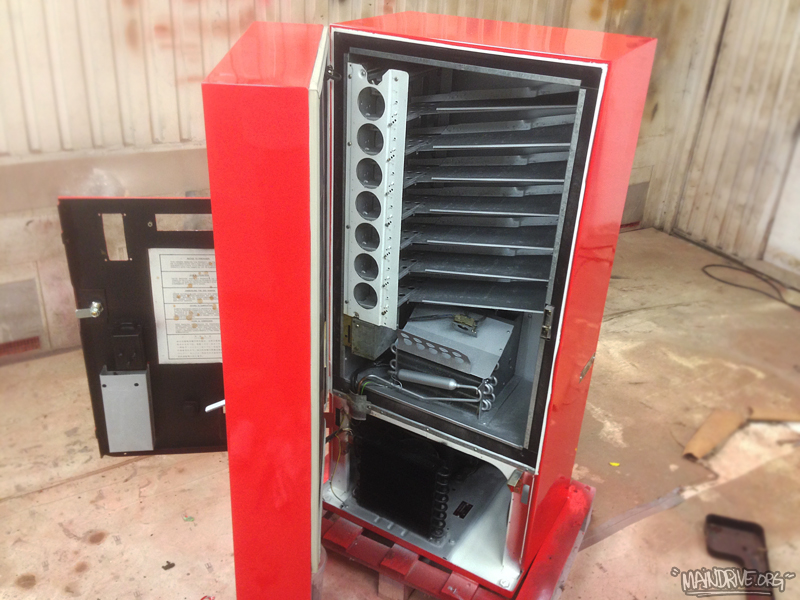
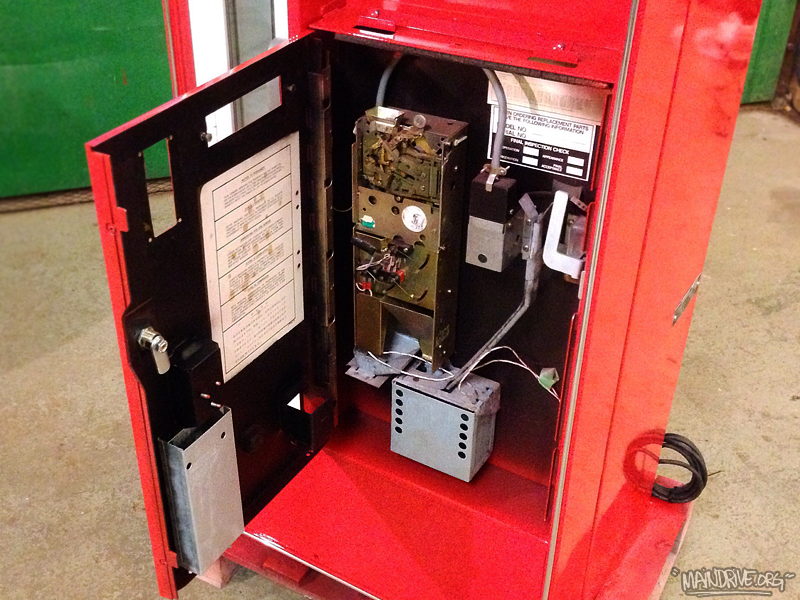
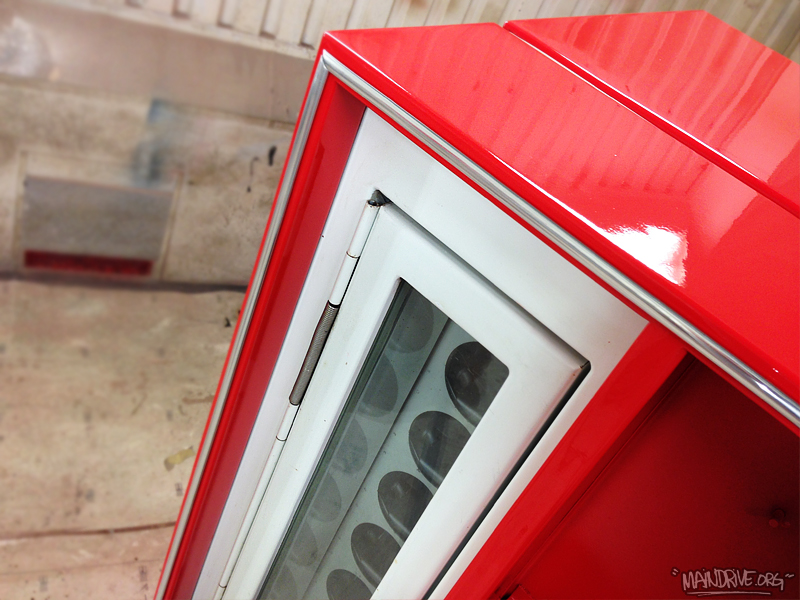
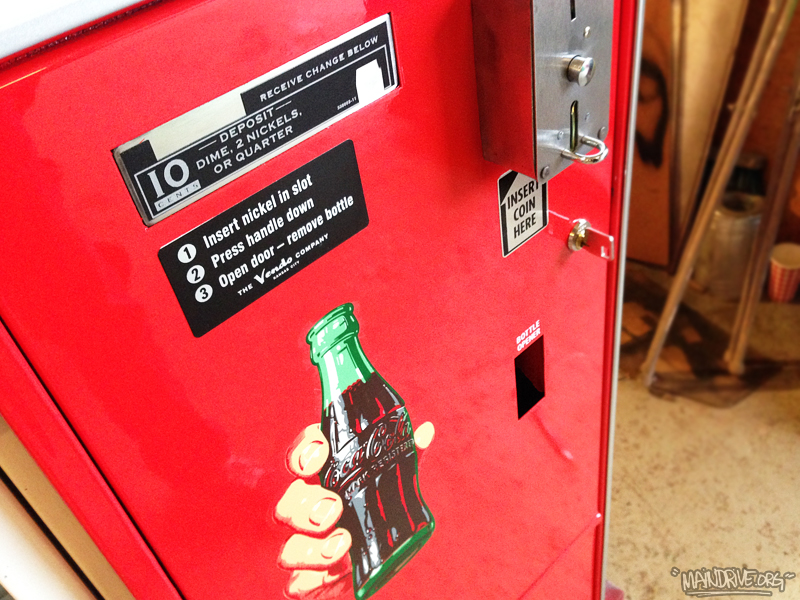
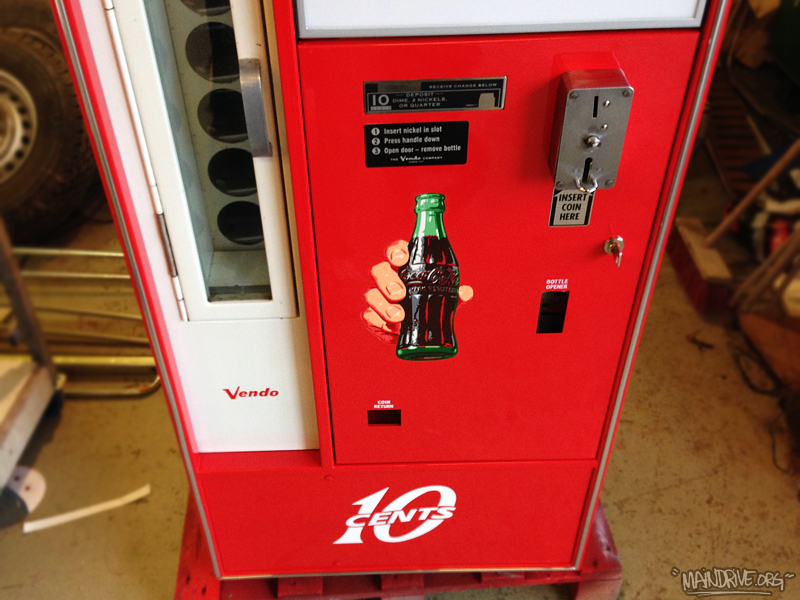
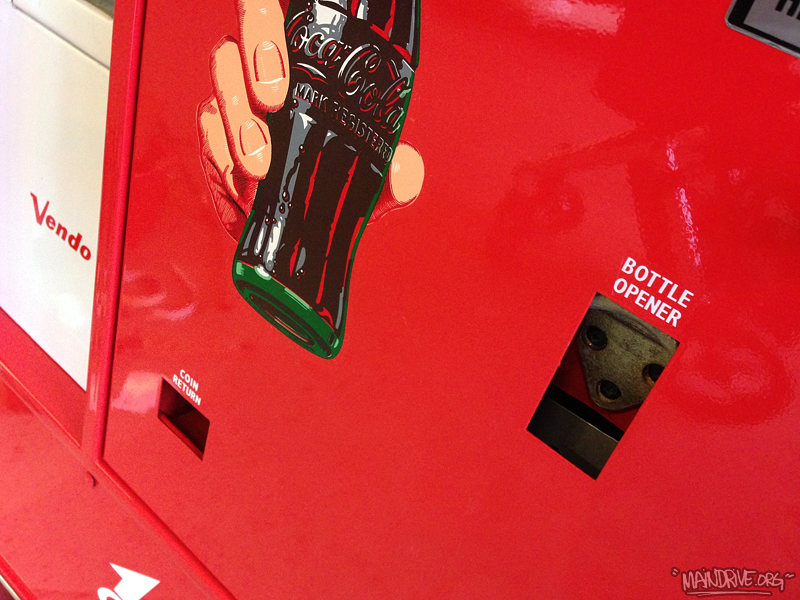
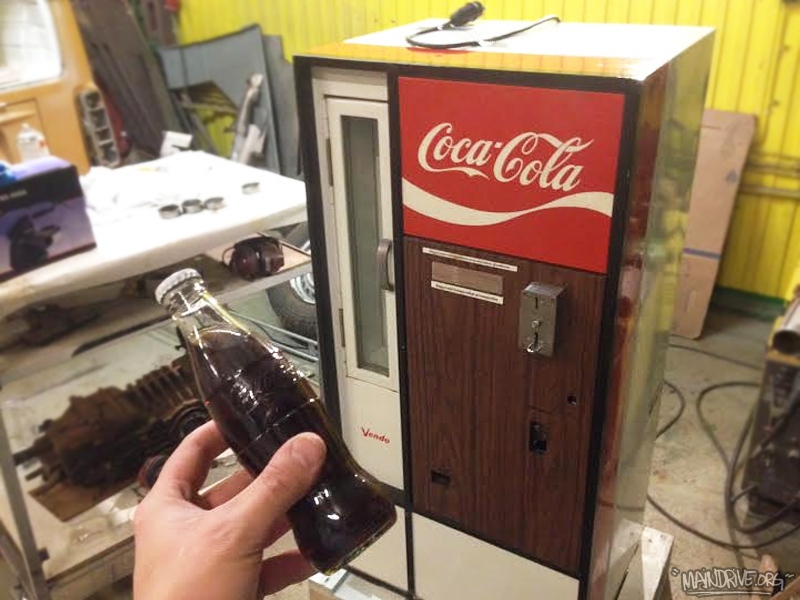
Almost finished with the Coke machine! I cut the metalsign up and converted it to a lite-up sign instead, this was an original option on these machines. Powdercoated the frame that was left in silvermetallic and installed two LED lightbars 3000K warmwhite color. Cleaned up the shelfs and compressor, checked all wires, oiled up the coin mechanism. Got all new emblems, locks and water decals on. Only waiting for the stickers on the sides of the machine “Have A Coke” the ones I got from US was in wrong color. Soon its time to load it up with bottles and just plug it in! The last final pics coming soon…
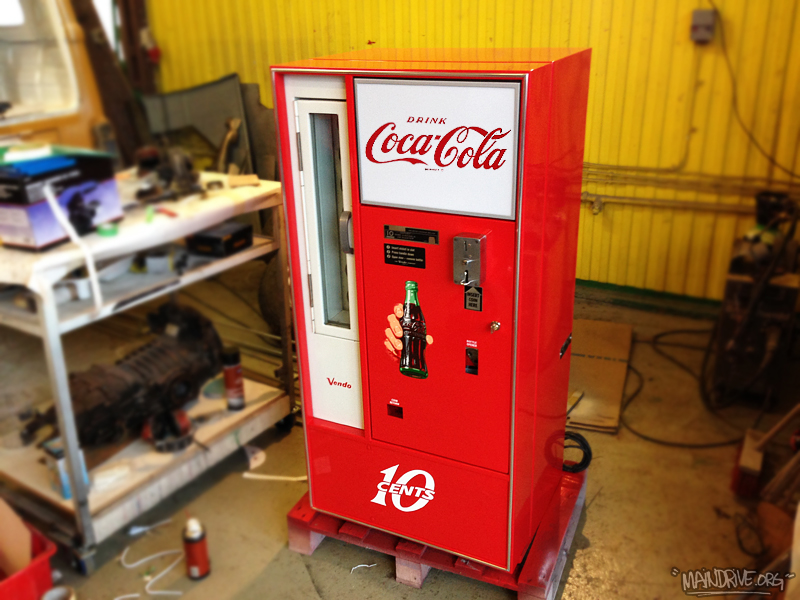
Looked like this 6 days ago (!) Quick turn around time!
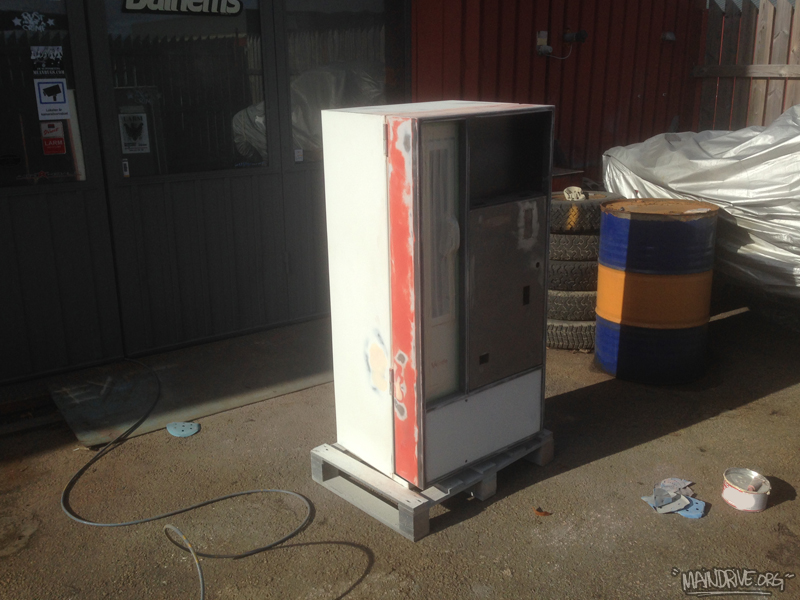
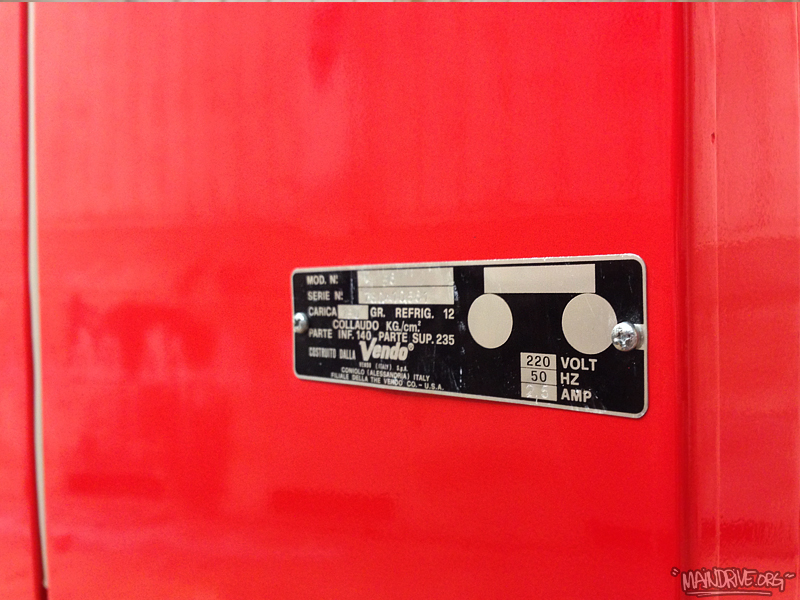
New project a genuine Coca-Cola vending machine. Hope to have it restored in record time. Nice feature to have in a garage. More pics will come!
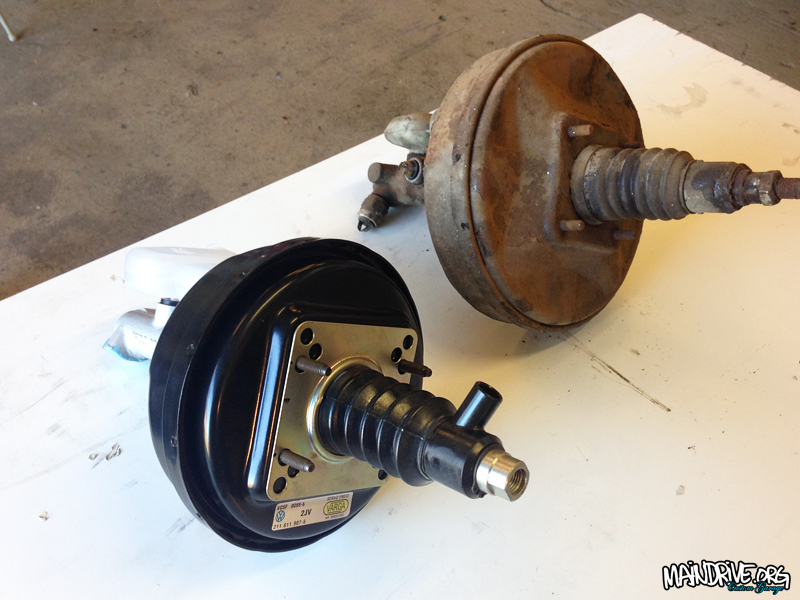
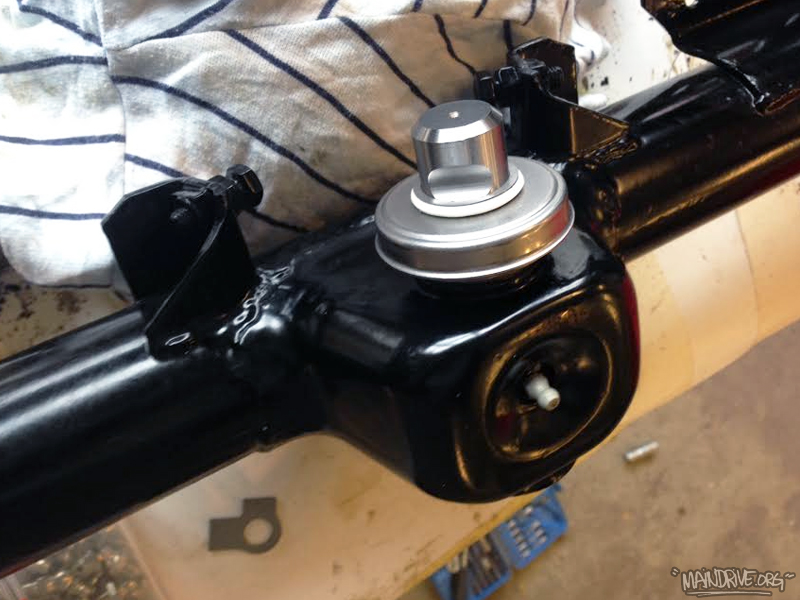
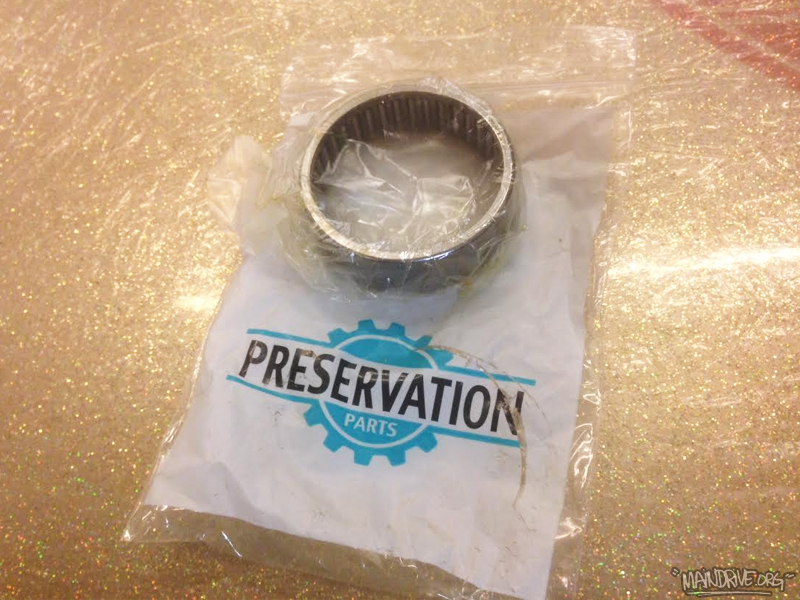
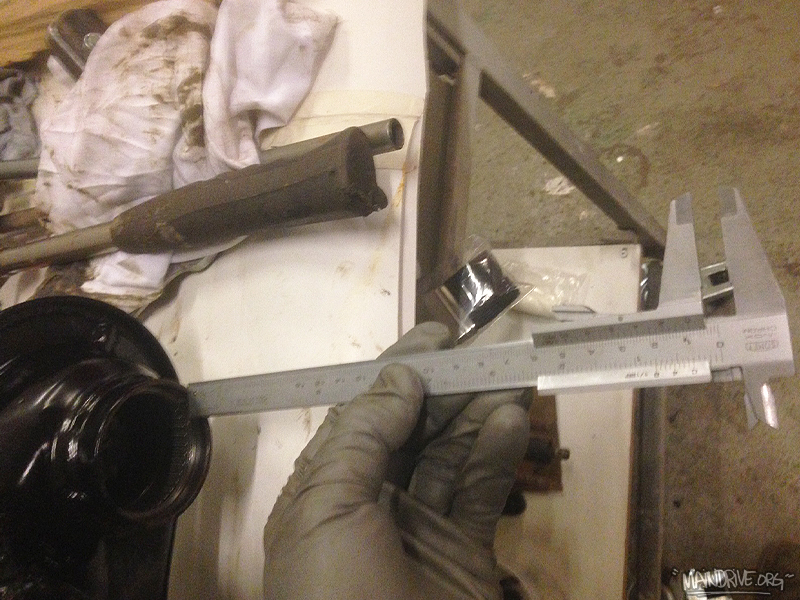
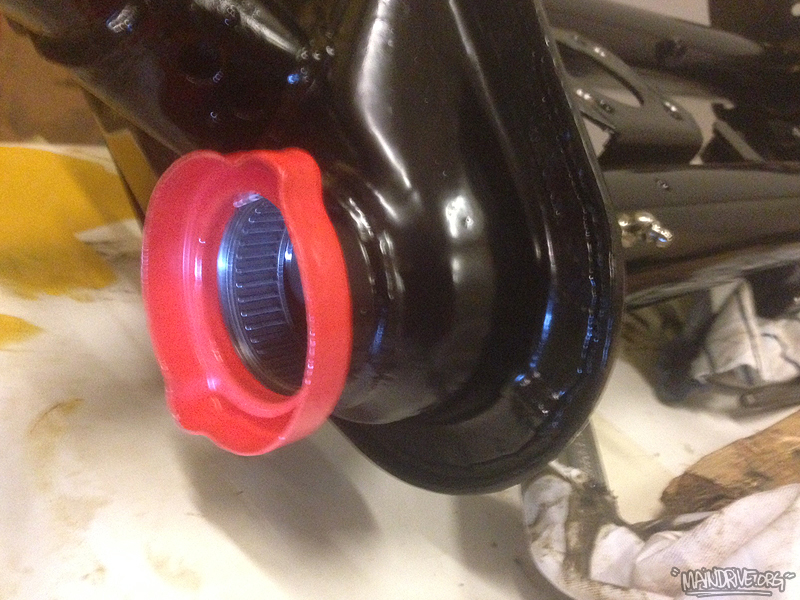
Got some stuff done on the front beam/axle on the Highroof bus this week. Fitted new grease zerks to the beam, installed a new center swivelpin and bushings, test fitted the new brakebooster, 4 new needlebearings (made a tool so they were easy to pull out). They were seated 8mm inside the tubes. Used a old bearing to knock them in again, and then the tool the last bit. New dustcovers mounted too. Got the axle bolted up in the frame on the bus and during the weekend, I will start installing torsionarms, spindles, tierods etc. The bus starts to look really nice, atleast underneath! 😉 More pics coming soon!


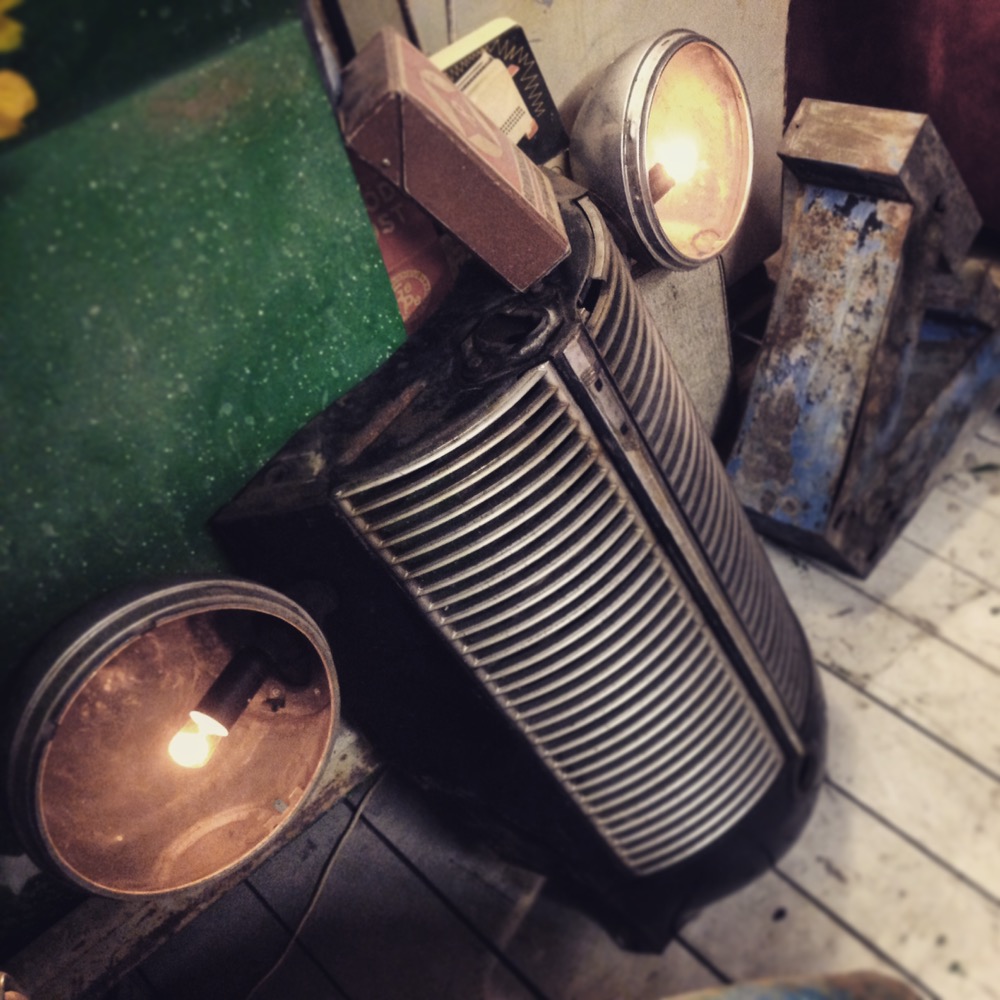
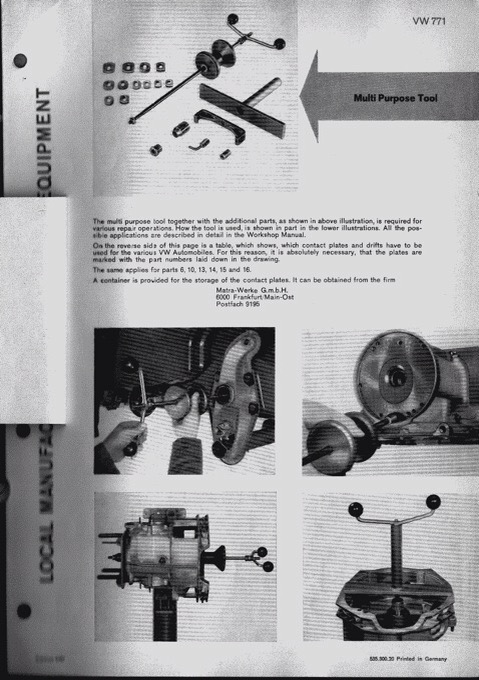
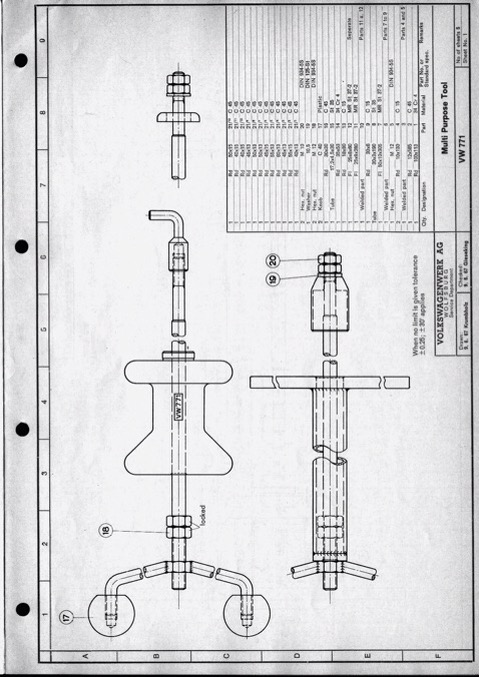 Volkswagens original tool

Get the latest updates from us on your smartphone/Instagram: maindrivegarage
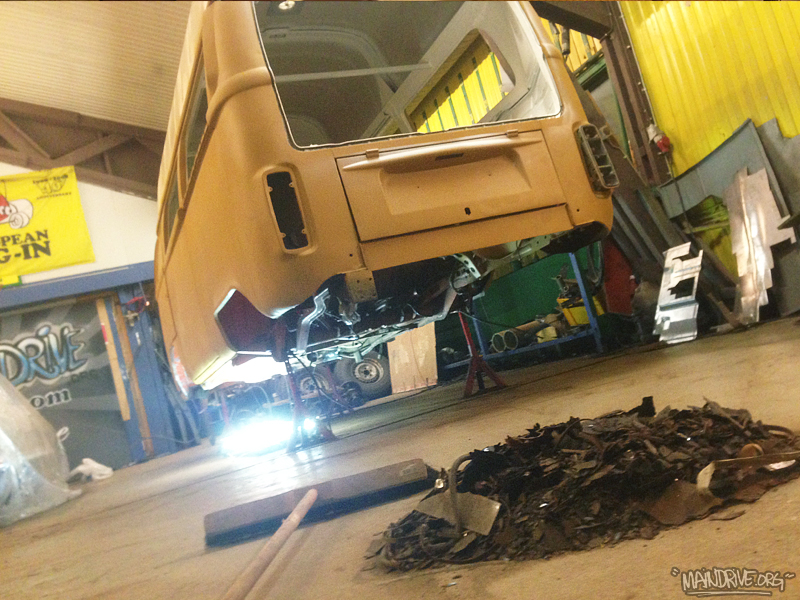
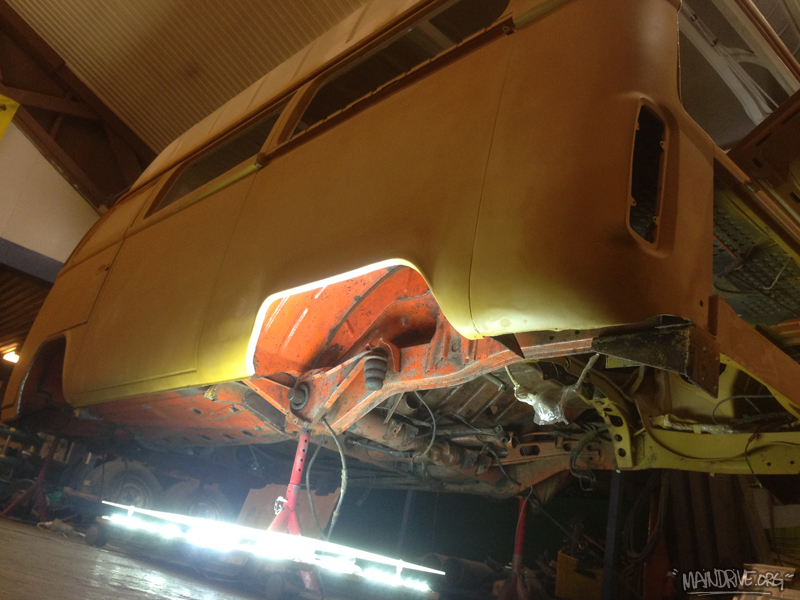
Doing some really boring work on the Highroof Baywindow at the moment. Specially when it’s -20 celsius outside. Removing all of the old undercoating. Work that takes alot of blood, sweat and tears and is not showing much later, but good to know it’s like new under also. Only going to drive it on the summers anyway. Next time I can start sanding the chassi and lay a coat of rust protection (epoxy primer). Then add a new layer of fresh undercoating, that sort thats possible to paint over. So when it have dried for some days I can paint all of the underside in top color, VW L20 Marino yellow. Ready for all the new parts, wires, hoses, grommets, bearings, bushings, balljoints, steering rods, brakelines, servobooster basicly every nut and bolt!
When the chassi is painted and ready I can start restoring the frontbeam, transmission and get the Eberspächer BA6 working again. A really good and clever heater, much better then the older BN4 ones. Will be nice on chilly mornings in the spring!
Still looking for some parts if someone have for sale? NOS parts for BA6 is intresting, like sparkplugs (BZE22) etc. Also looking for a pair of the slider rail metal covers (held with 2 screws). Engine cooling thin and heatexchangers is missing. Send me a mail on: info@maindrive.org
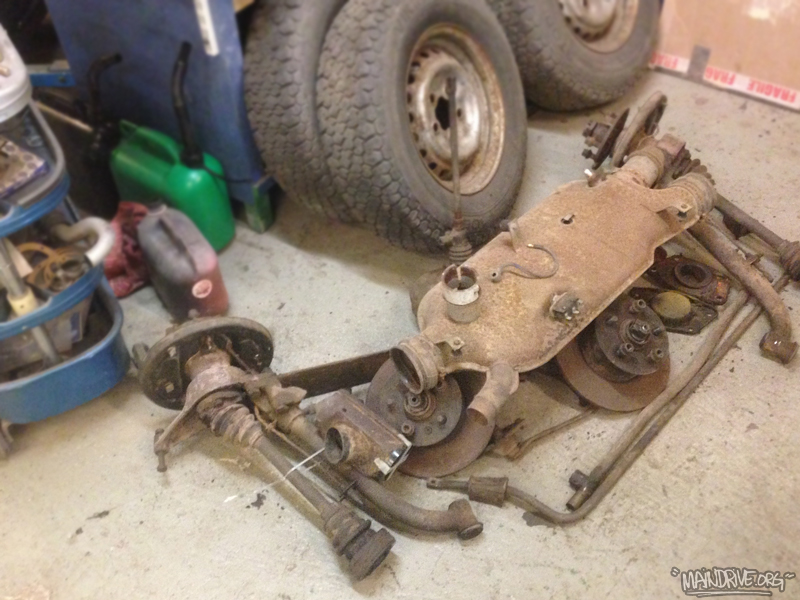
Chassi parts that are going to be sandblasted and painted/restored.
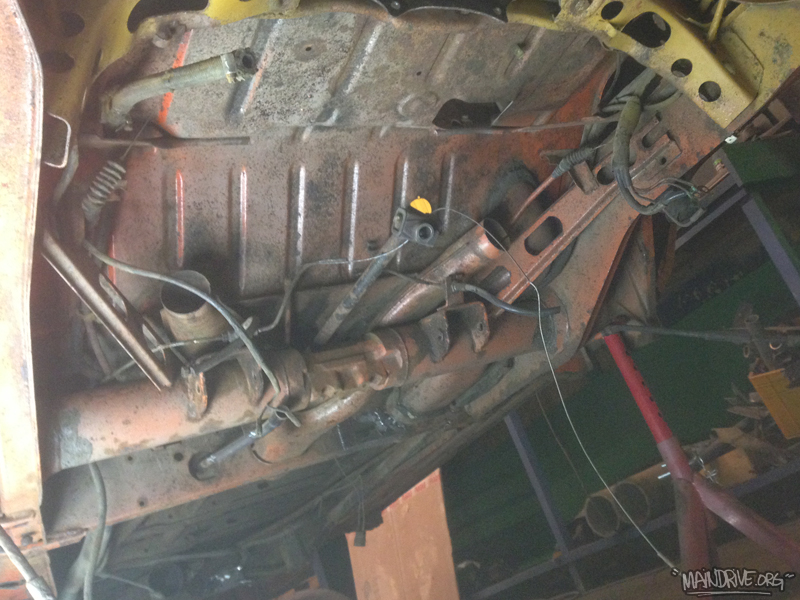
No more undercoating. Just some wires and tubes that needed to be removed before sanding and primer. Here you can see factory grey primer and the orange overspray from body. When I am done with this chassi it will be better and nicer than it was from factory for sure.
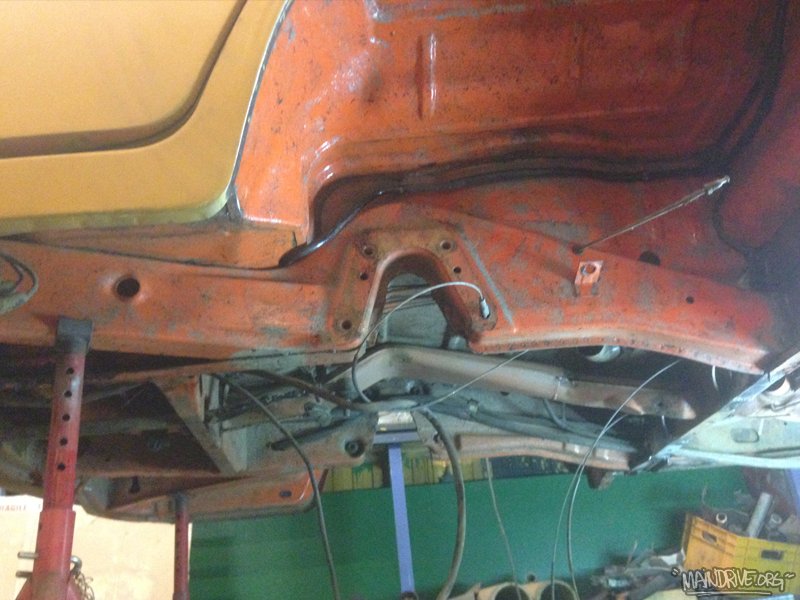
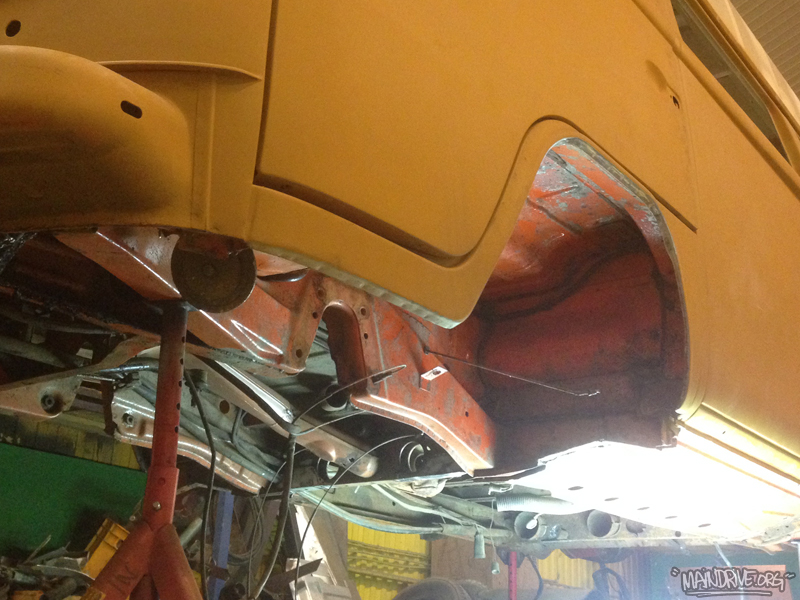
Color on chassi will be the same as on the body, original VW color, L20A Marino yellow. Period correct.
Can’t wait to start bolting on new parts on the painted chassi!
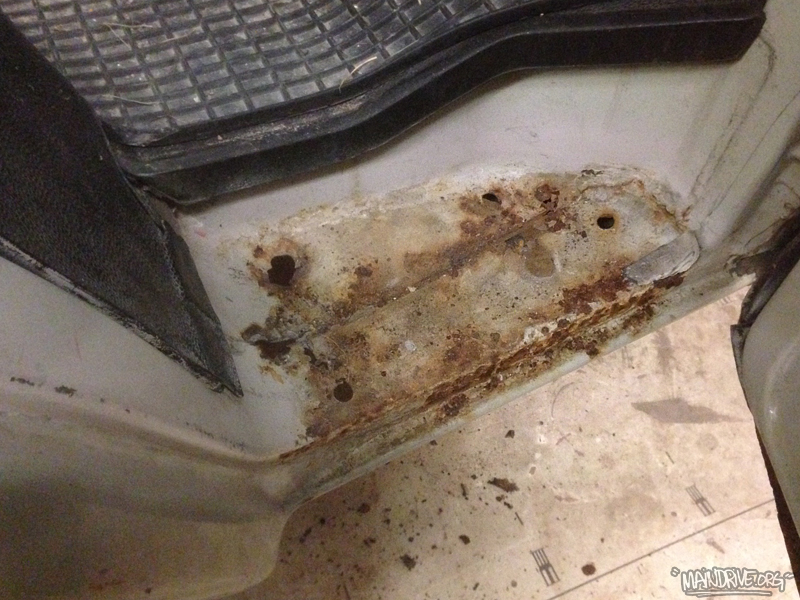
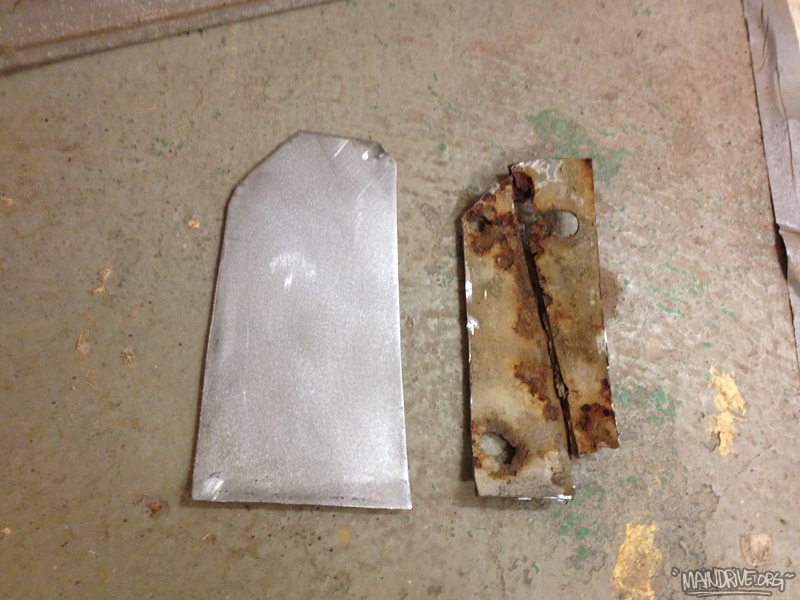
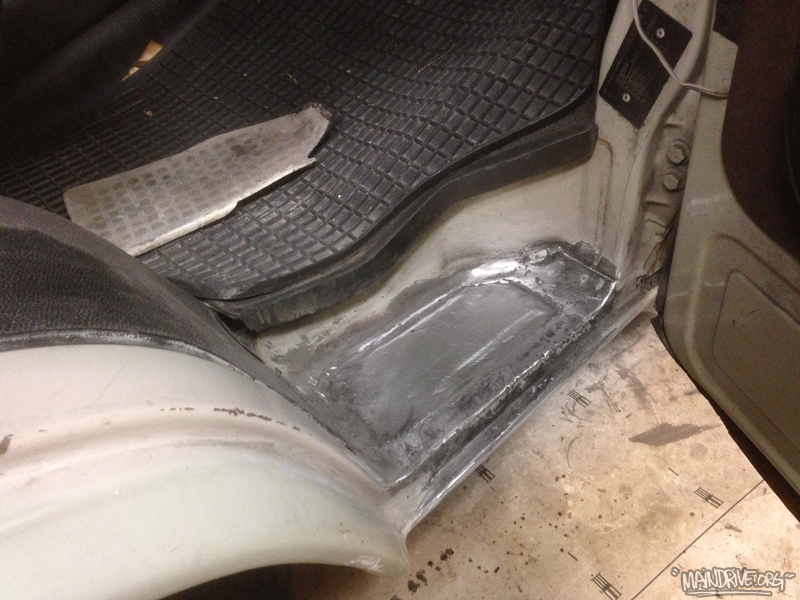
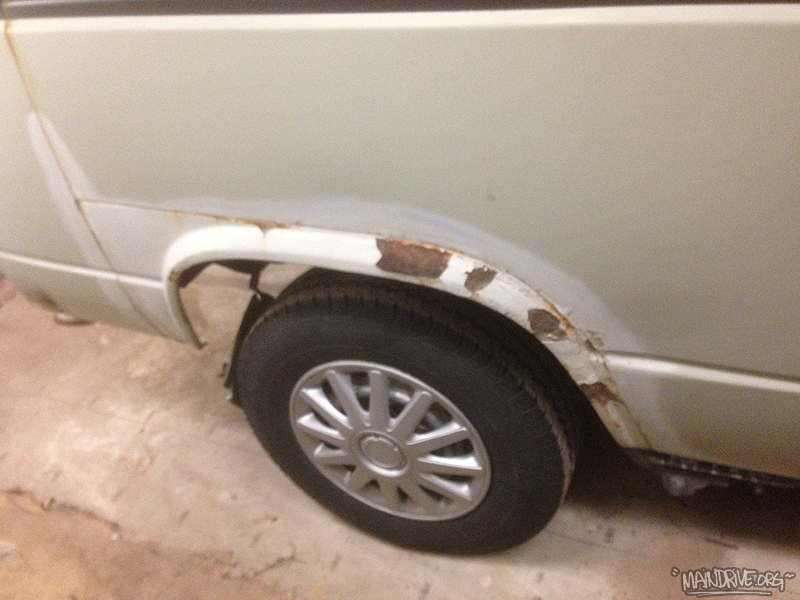
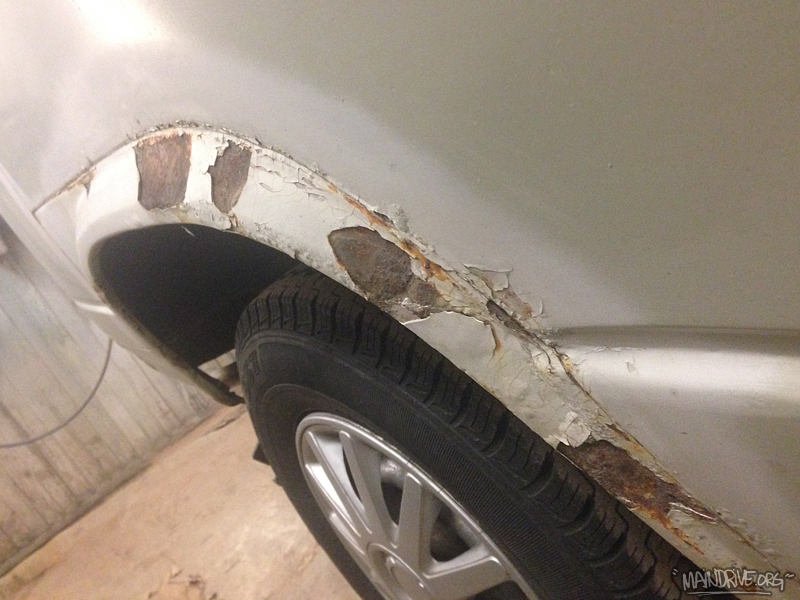
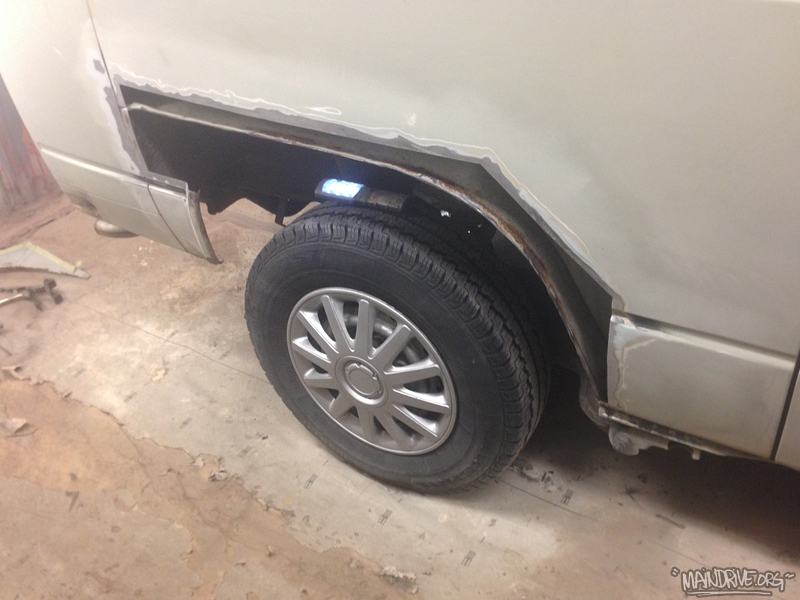
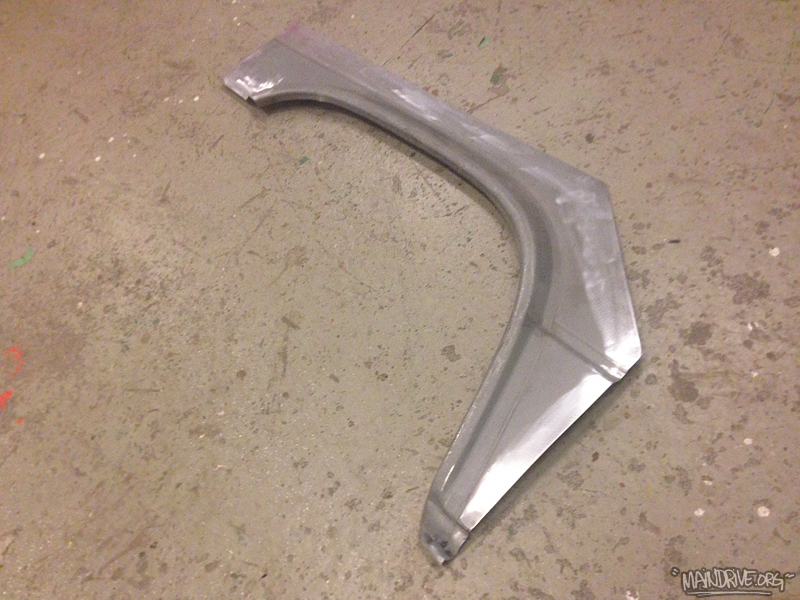
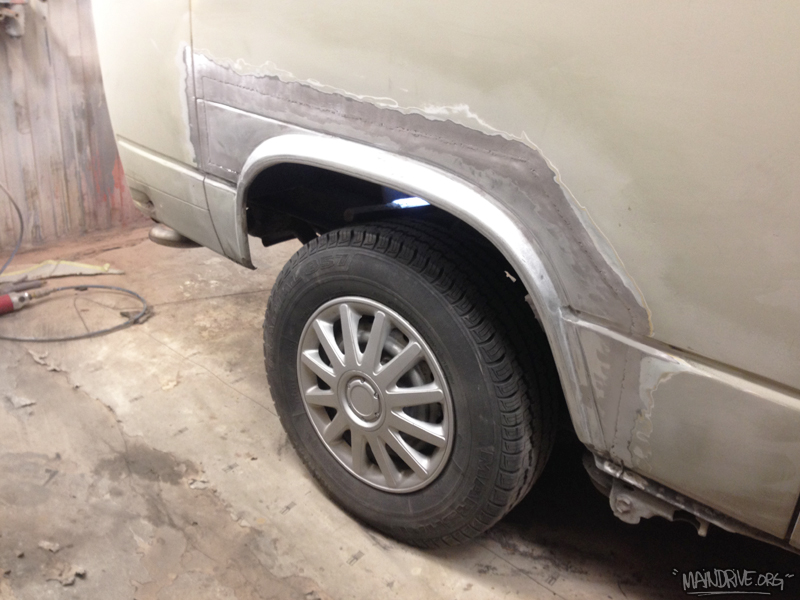
Replacing all rust with new metal on Benny’s bus, the VW transporter from 1983. Hope to finish the rest tonight and then it’s ready for sanding/bodywork/paint. New rubberseals for the all 6 windows, new bushings for frontend and new mirrors from Just Kampers.
Got loads of brand new parts from Justkampers today. Wow what a quick delivery! Basicly a new bus chassi in parts. Removed front beam, torsionarms and brakes. I think every nut and bolt had to be cut, they were froozen stuck! But it dosen’t matter everything going to be replaced with new parts anyway. Need to remove all chassi parts for sandblasting and painting!

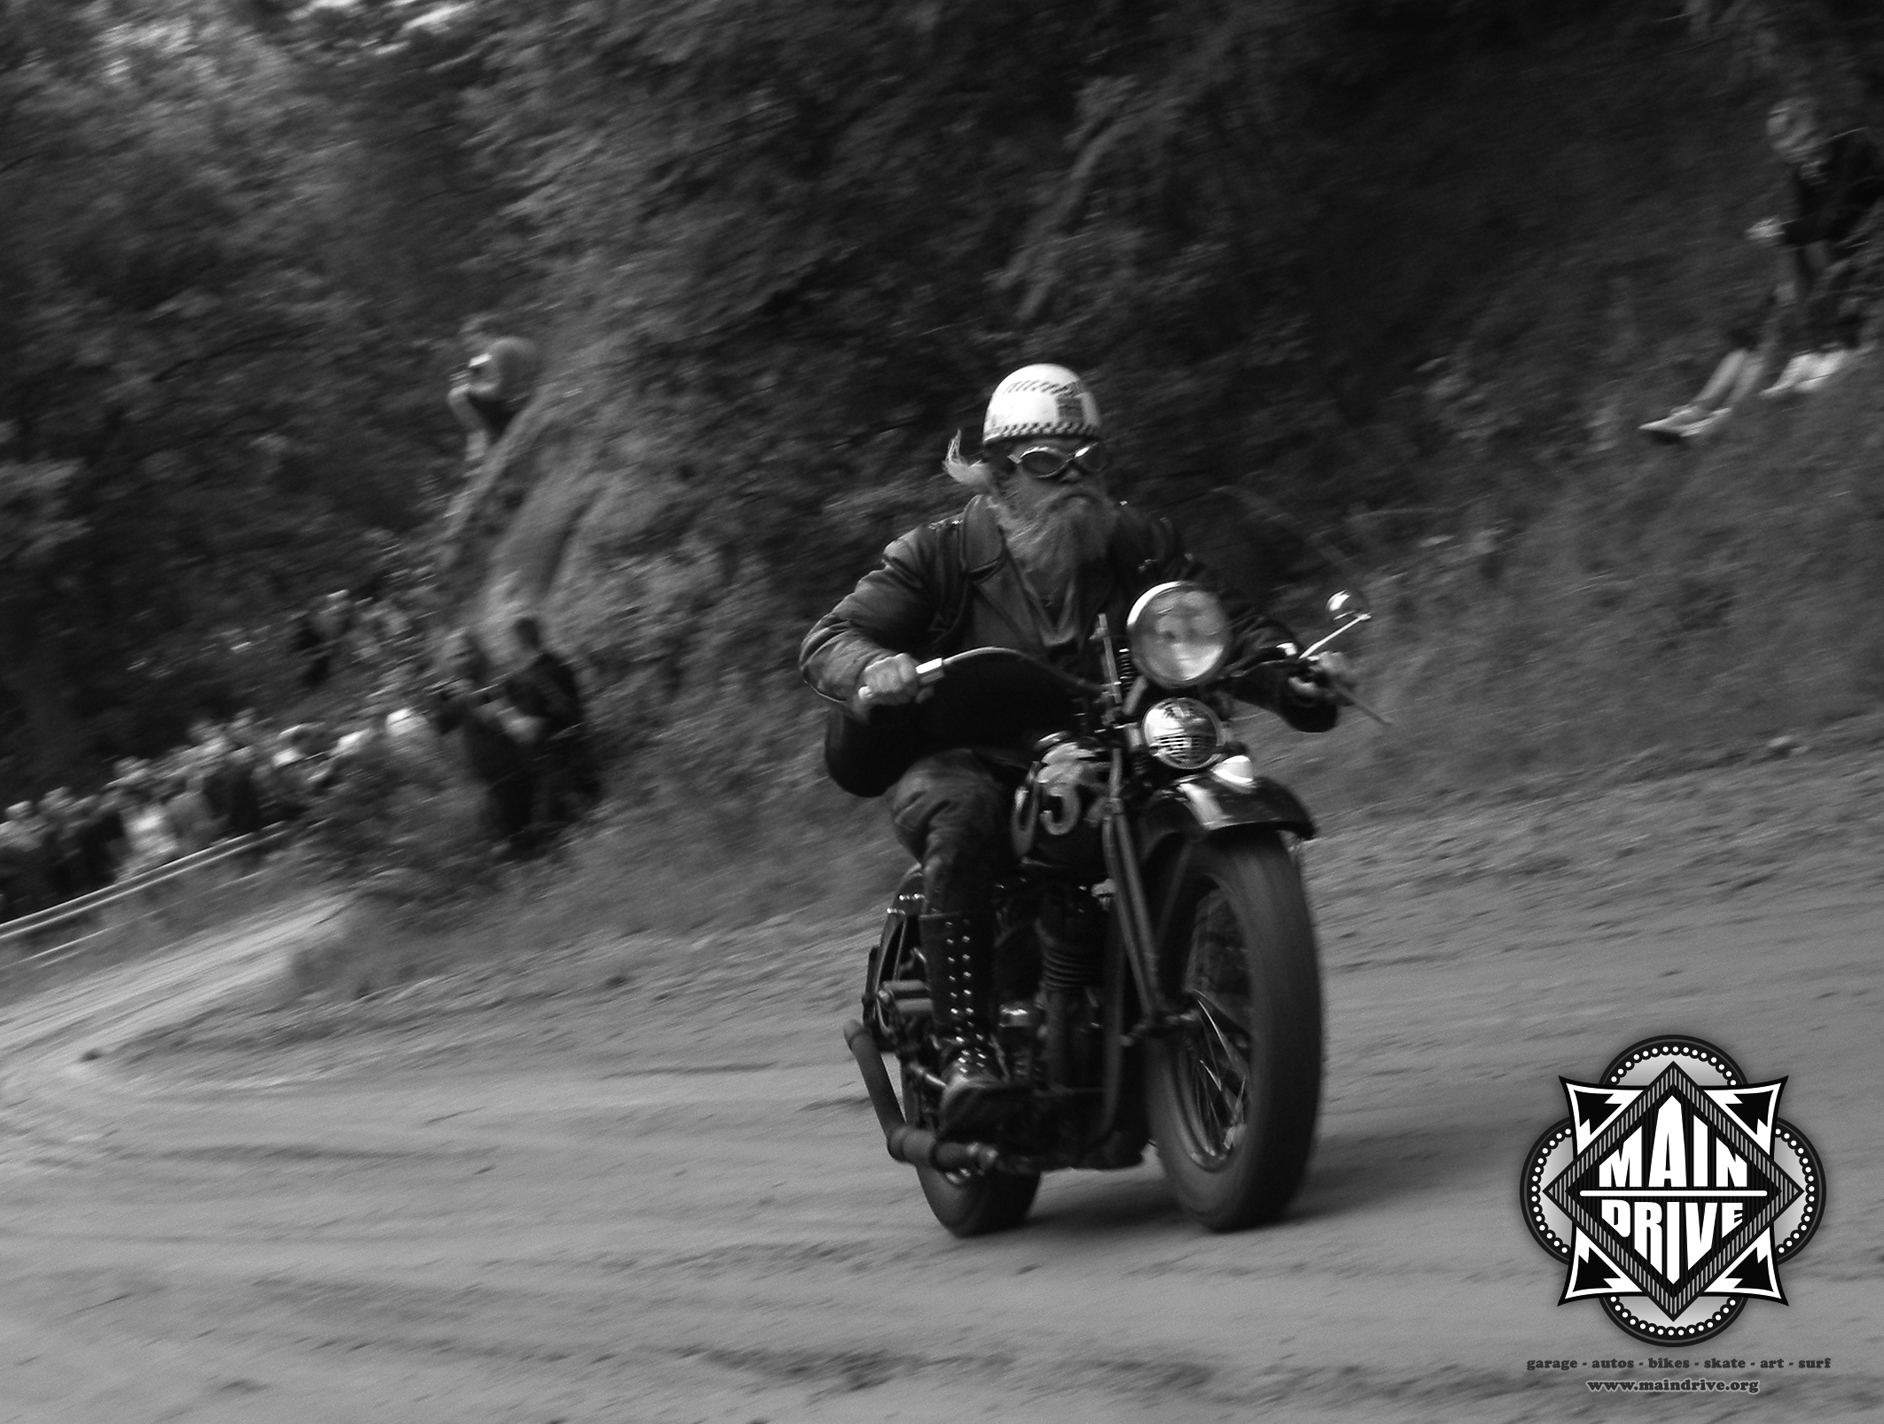
Rolling art
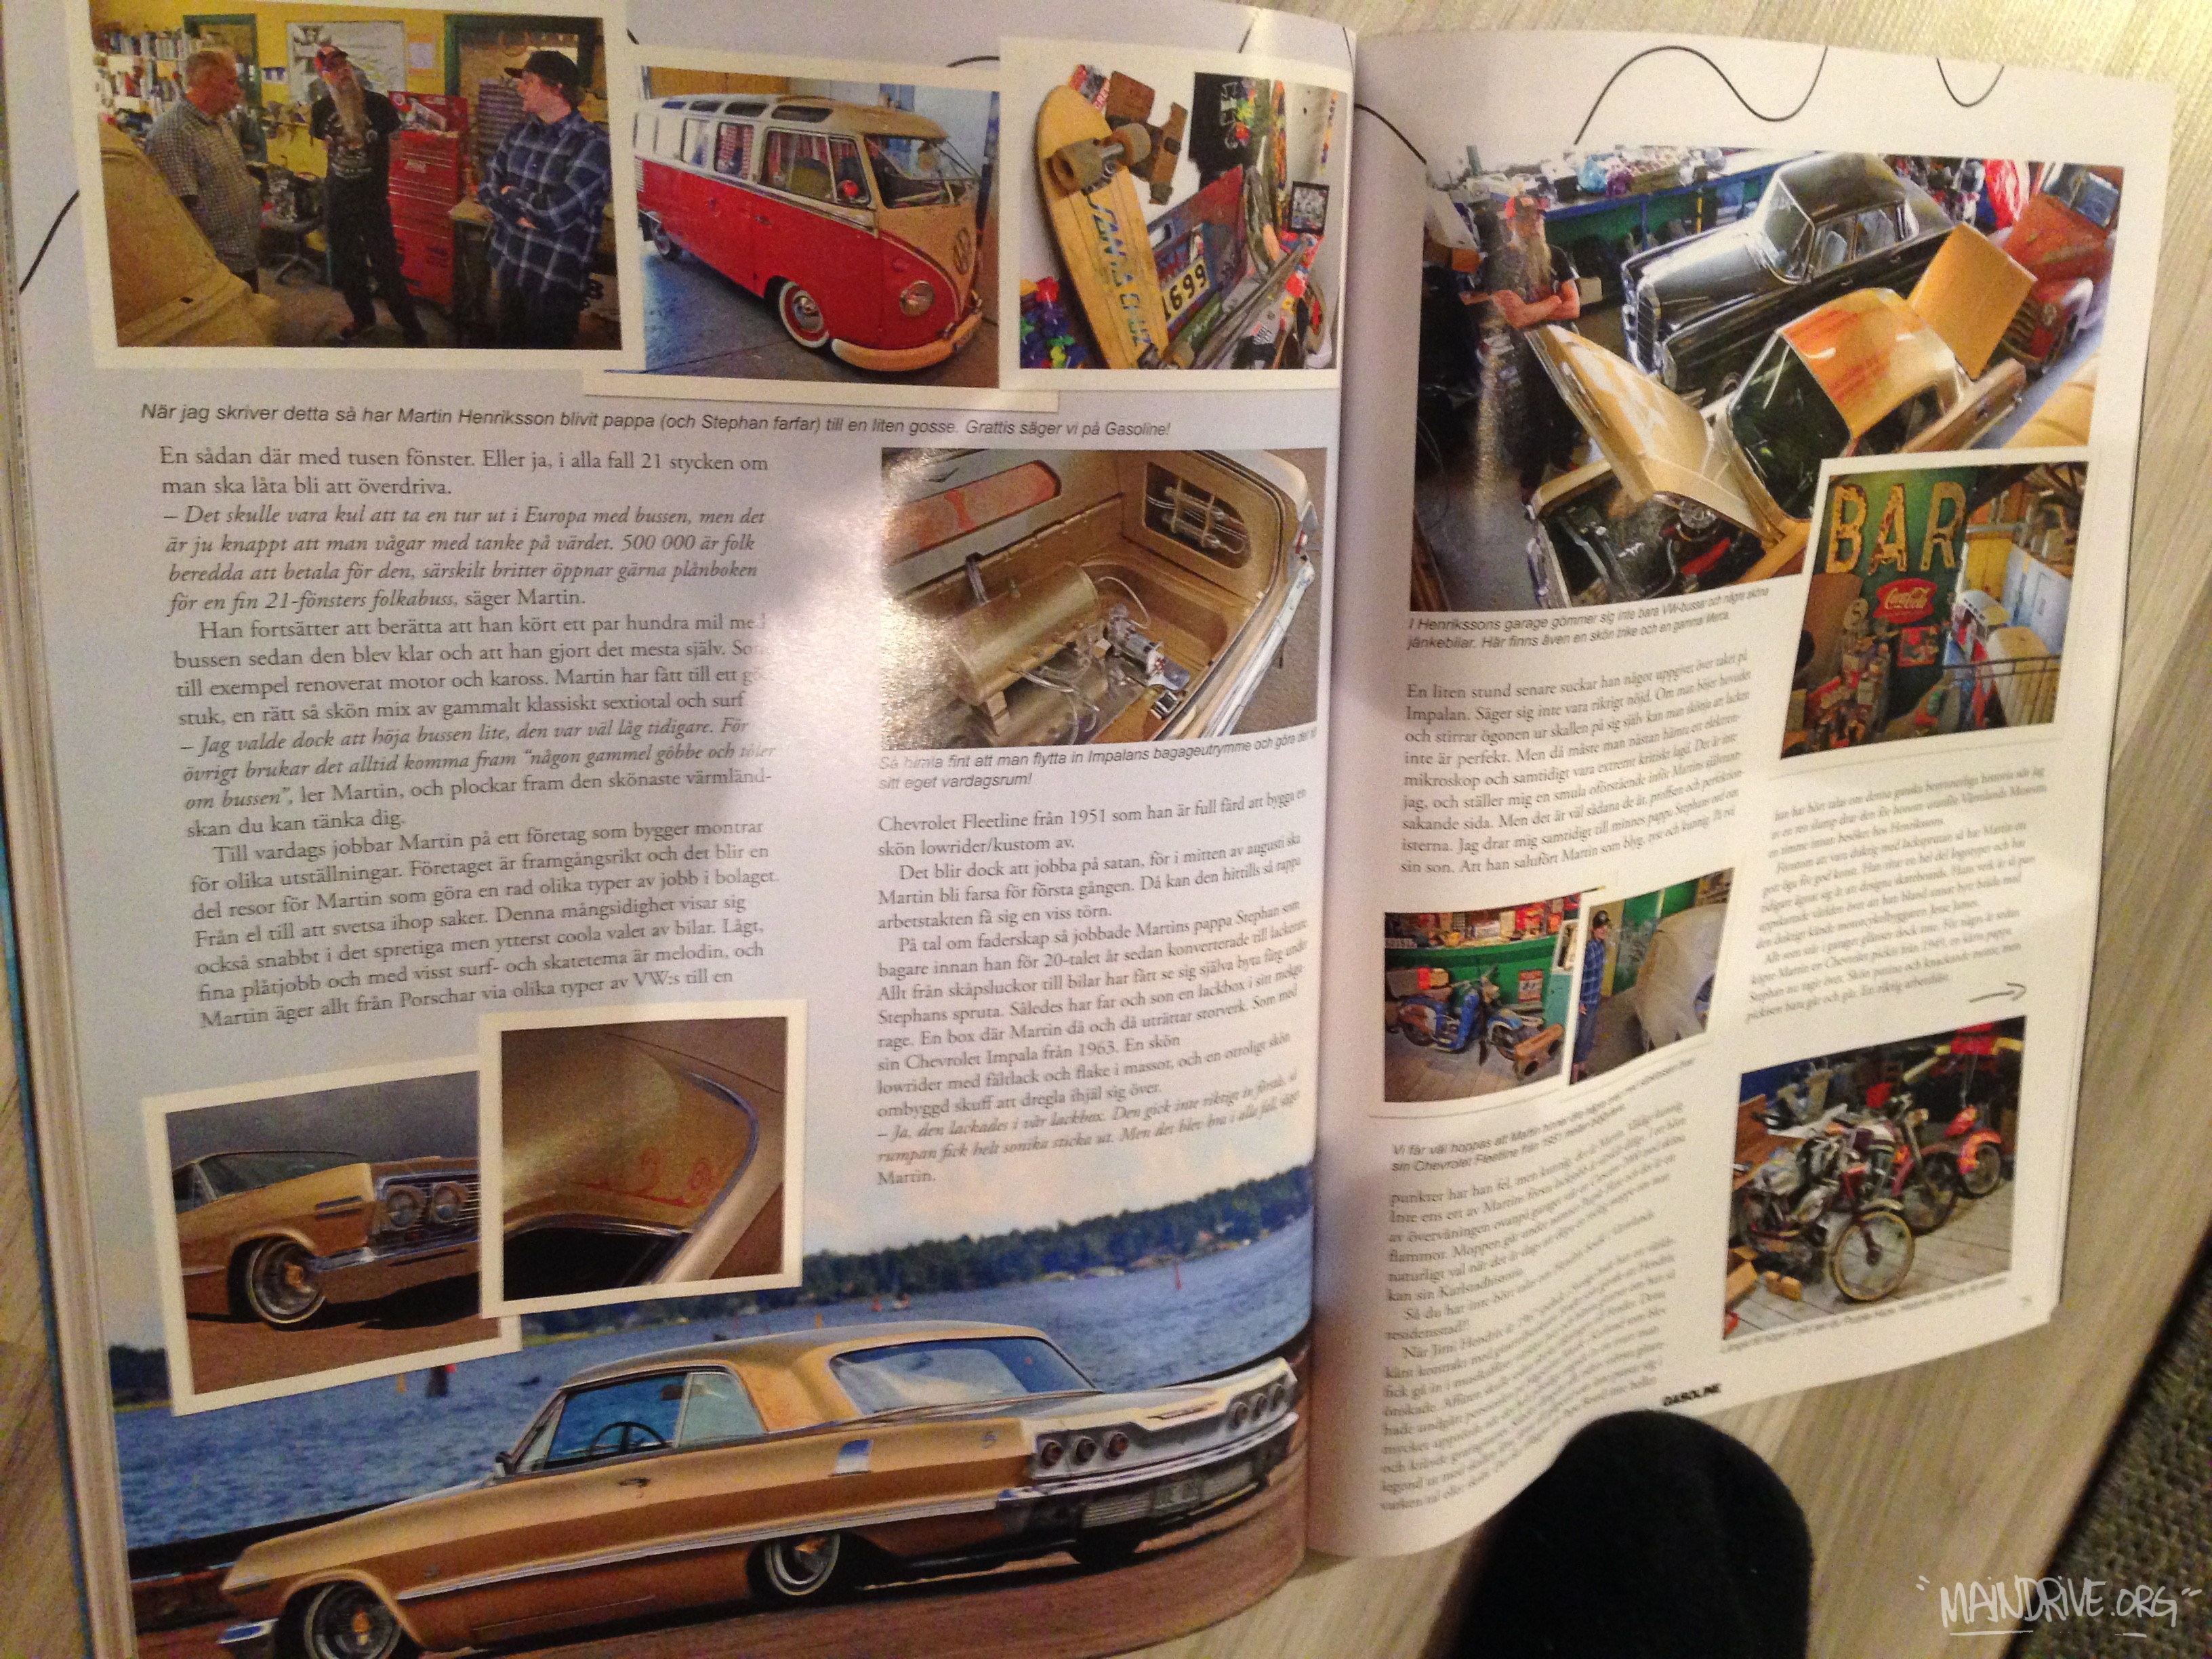
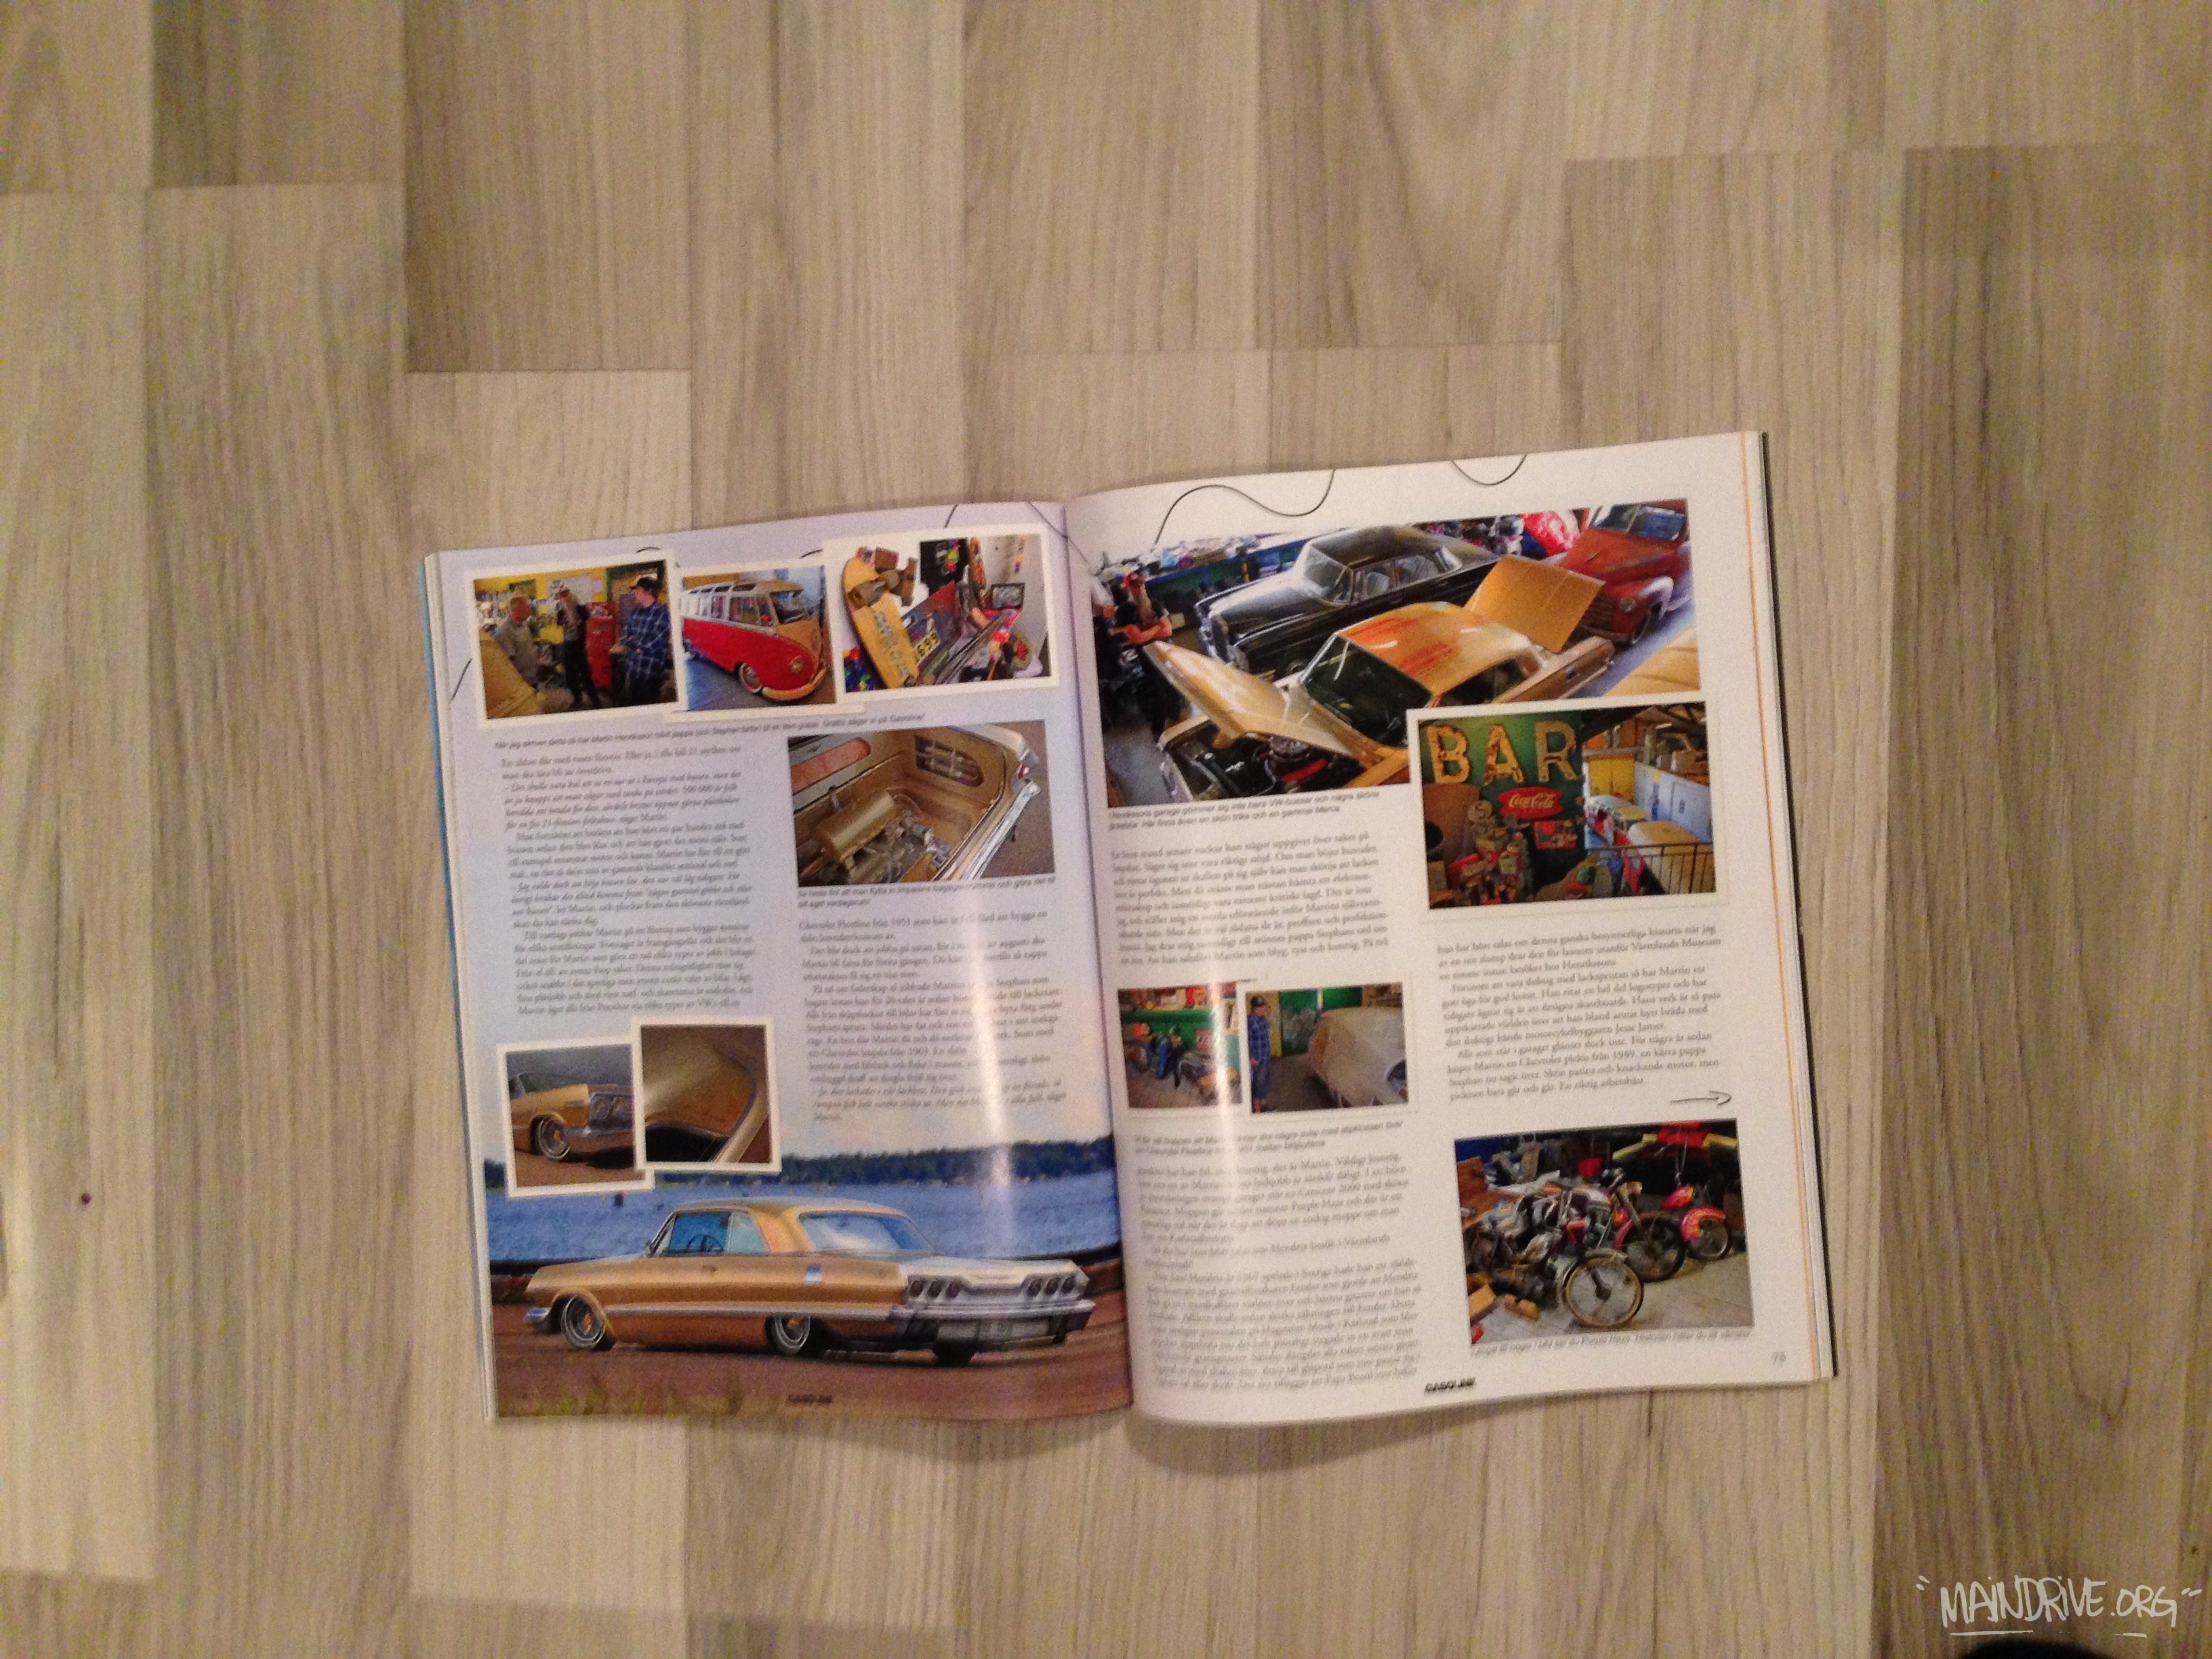
During the summer the Gasoline Magazine came by the garage for a photoshoot and quick interview. Read all about it in the latest issue, in stores now! Or visit: www.gasolinemagazine.se

Watch build up and all pictures, click here!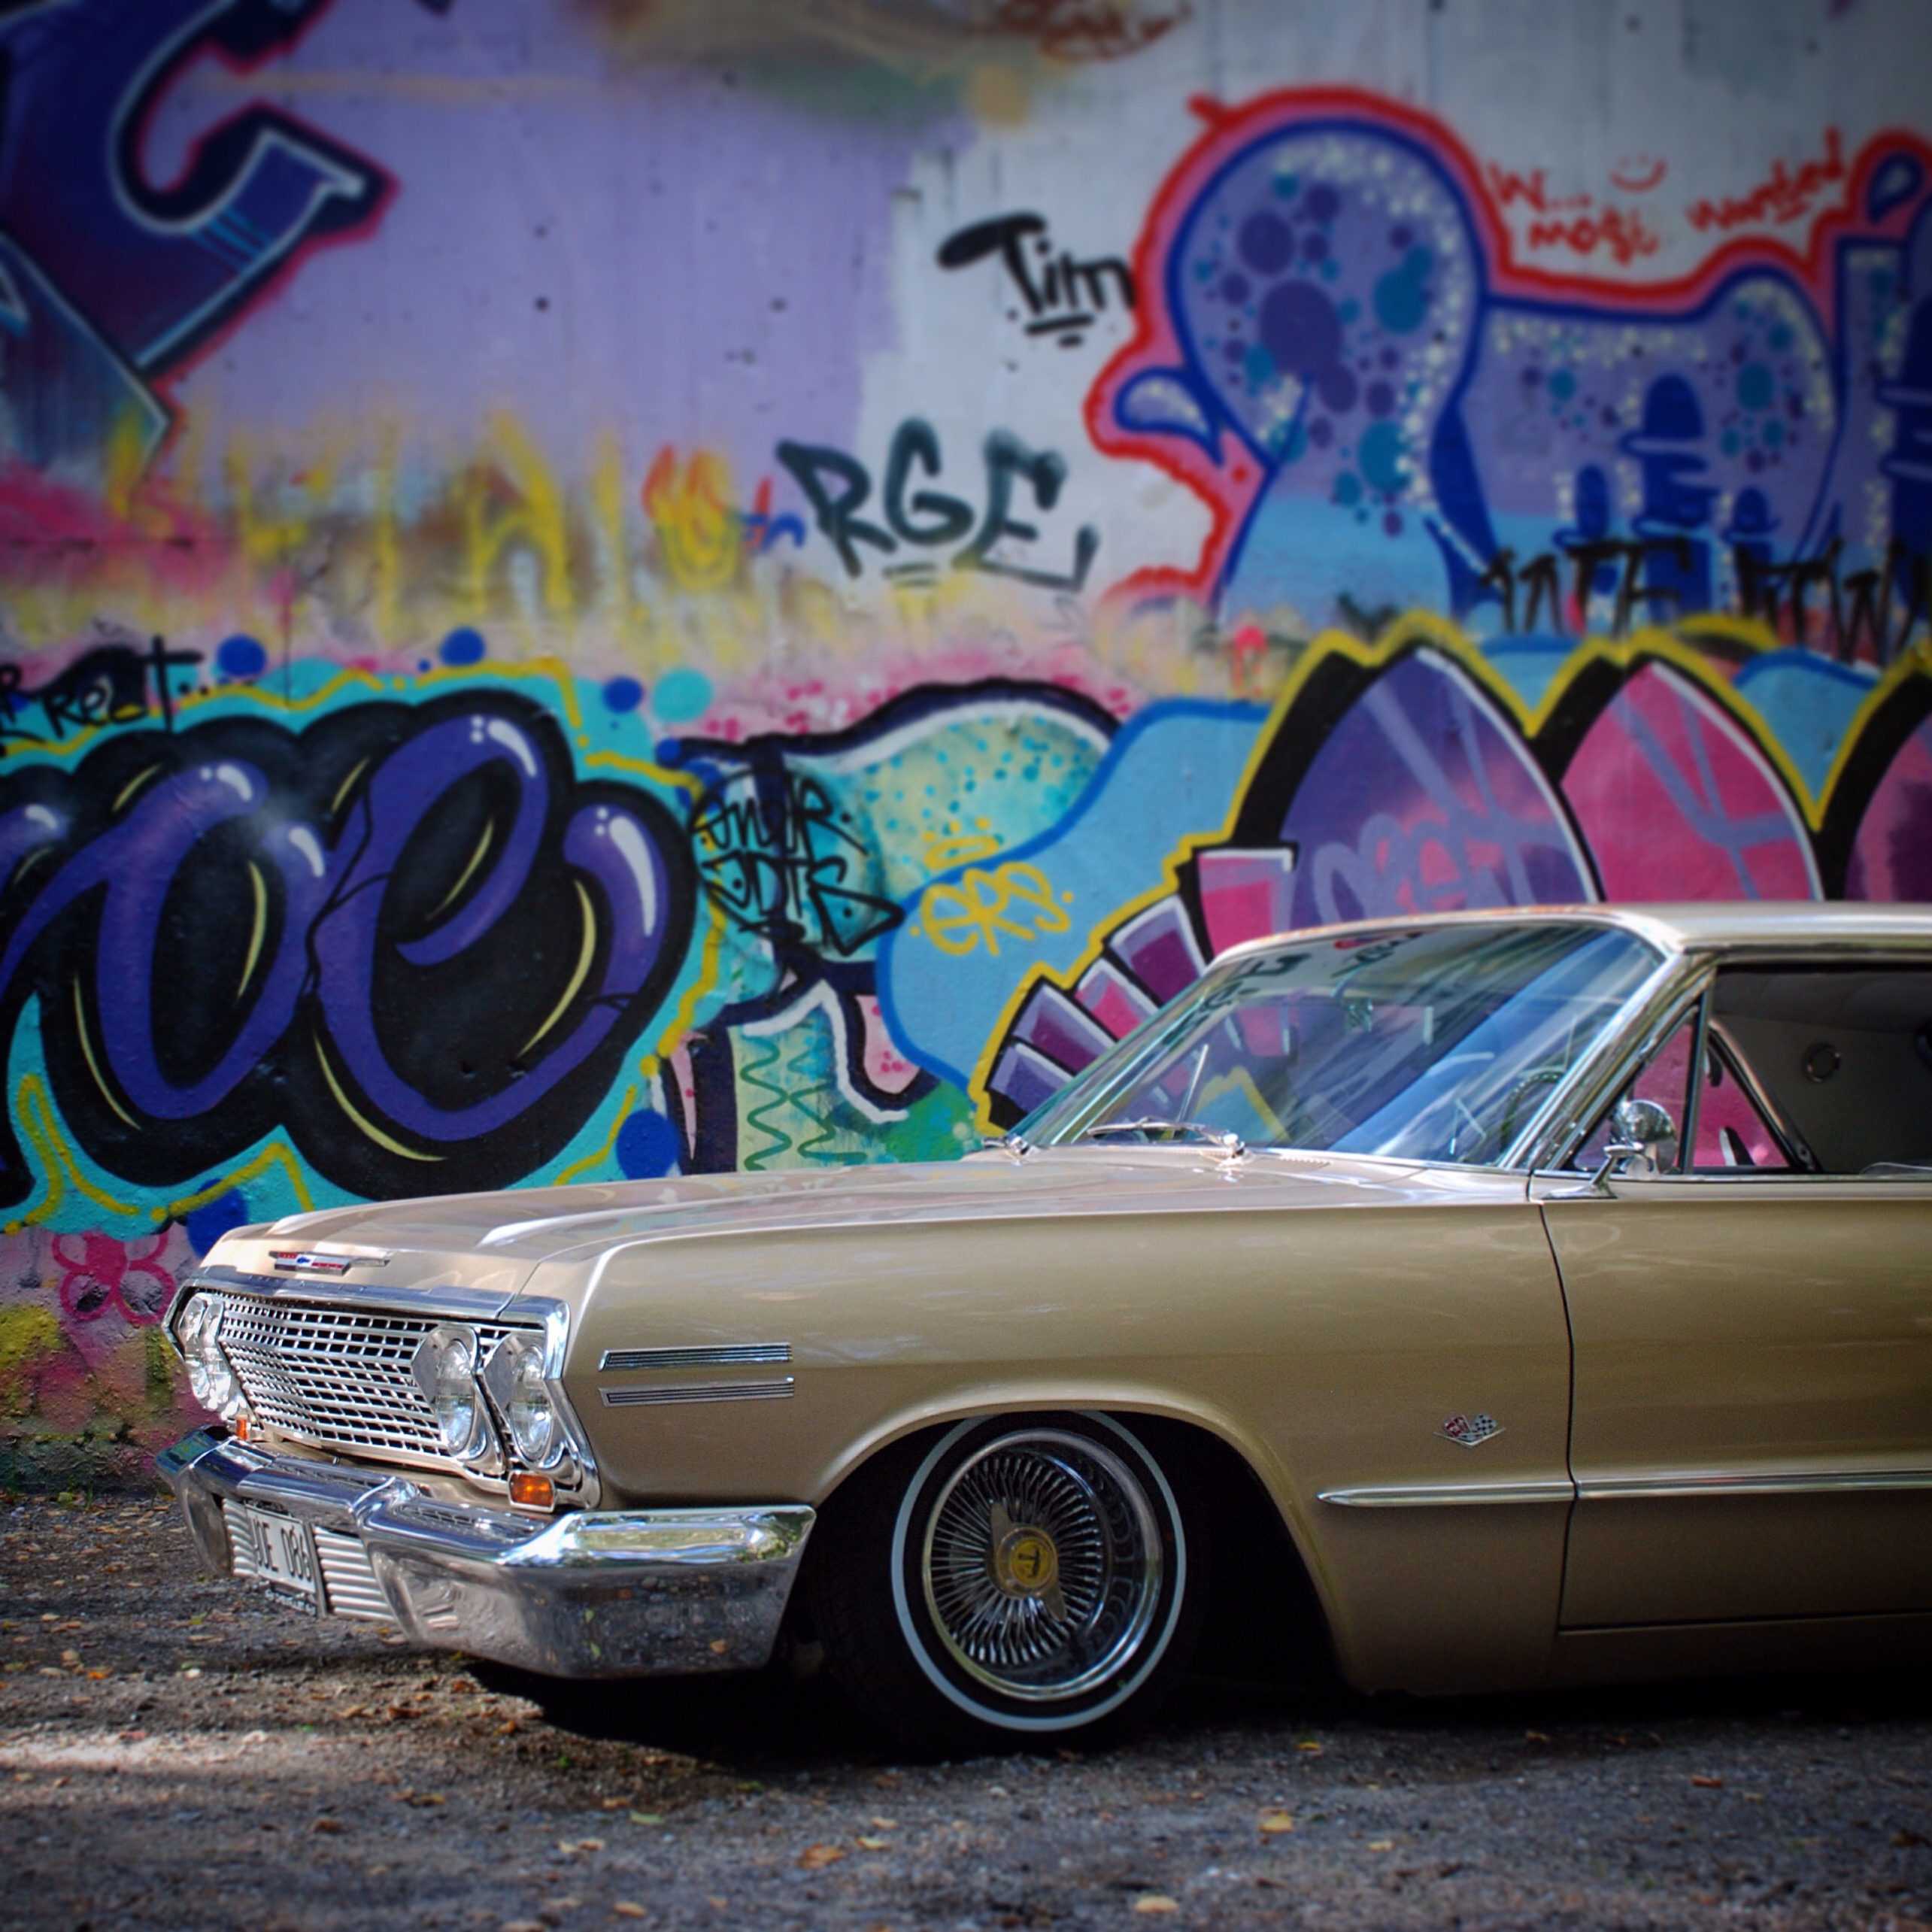
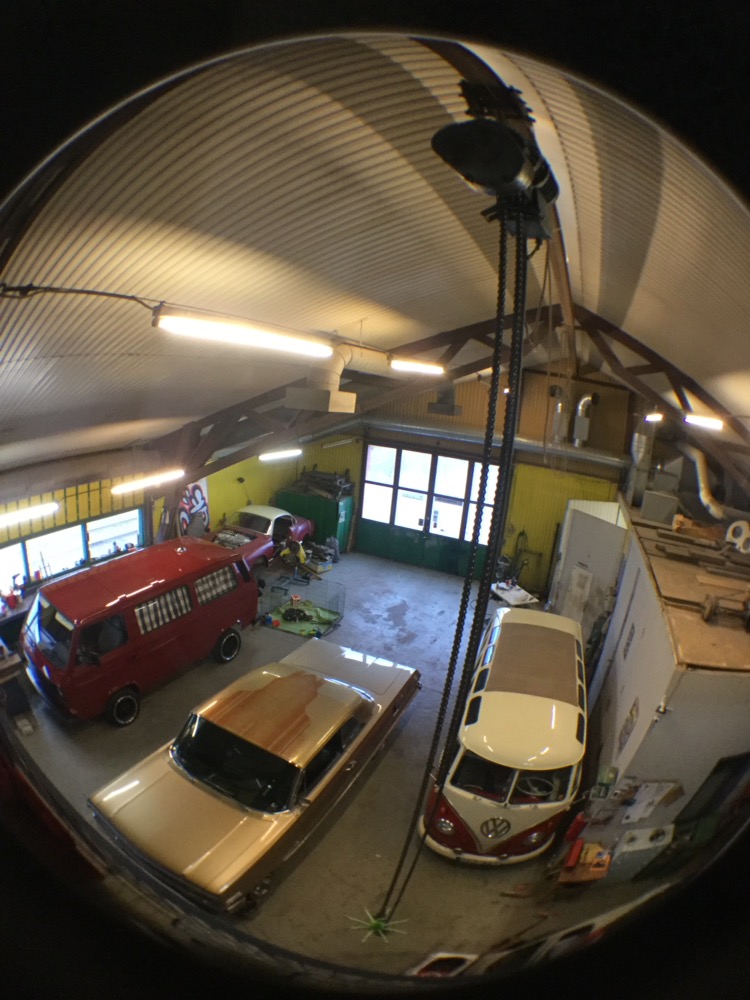
The MainDrive garage