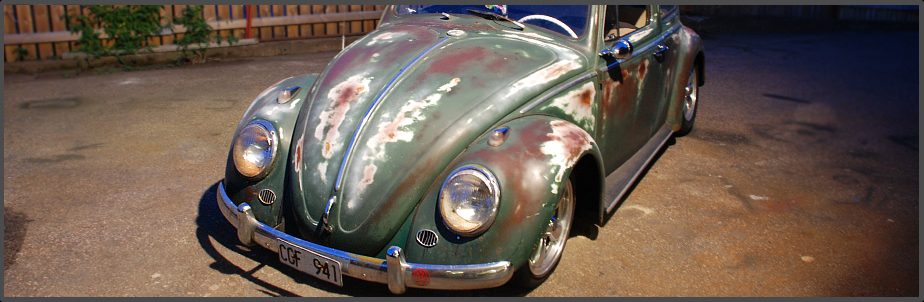
It’s been awhile since I updated anything about the 1965 Rat Beetle. Moving slowly forward but hopefully it can be ready for Safety Inspection this spring/summer.

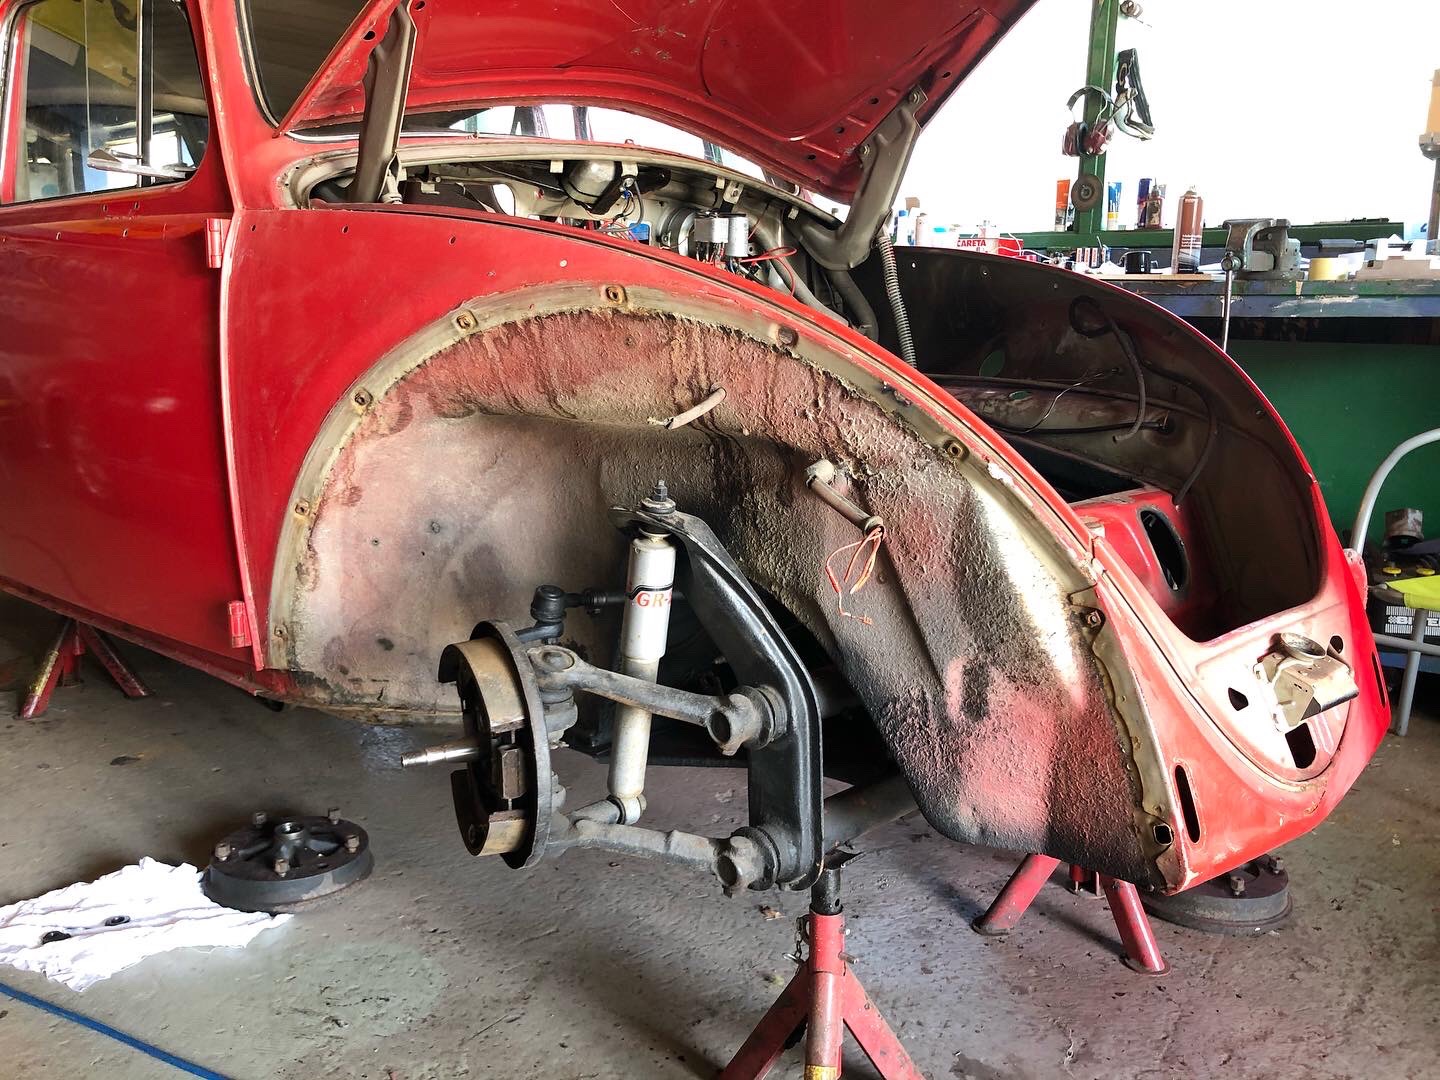
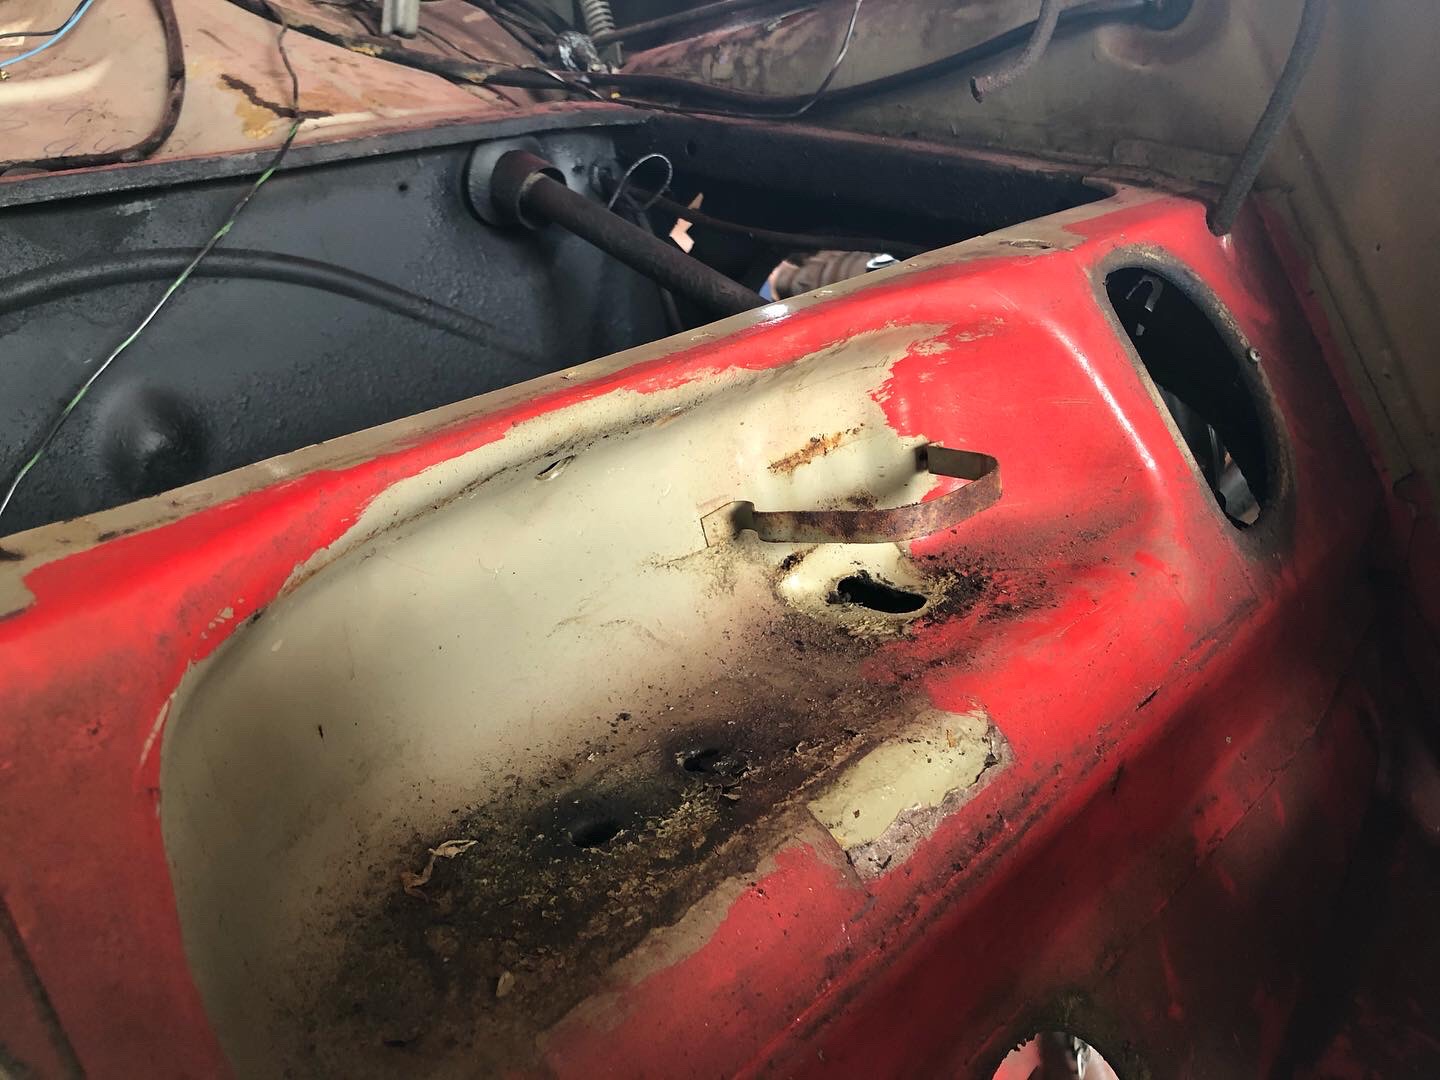
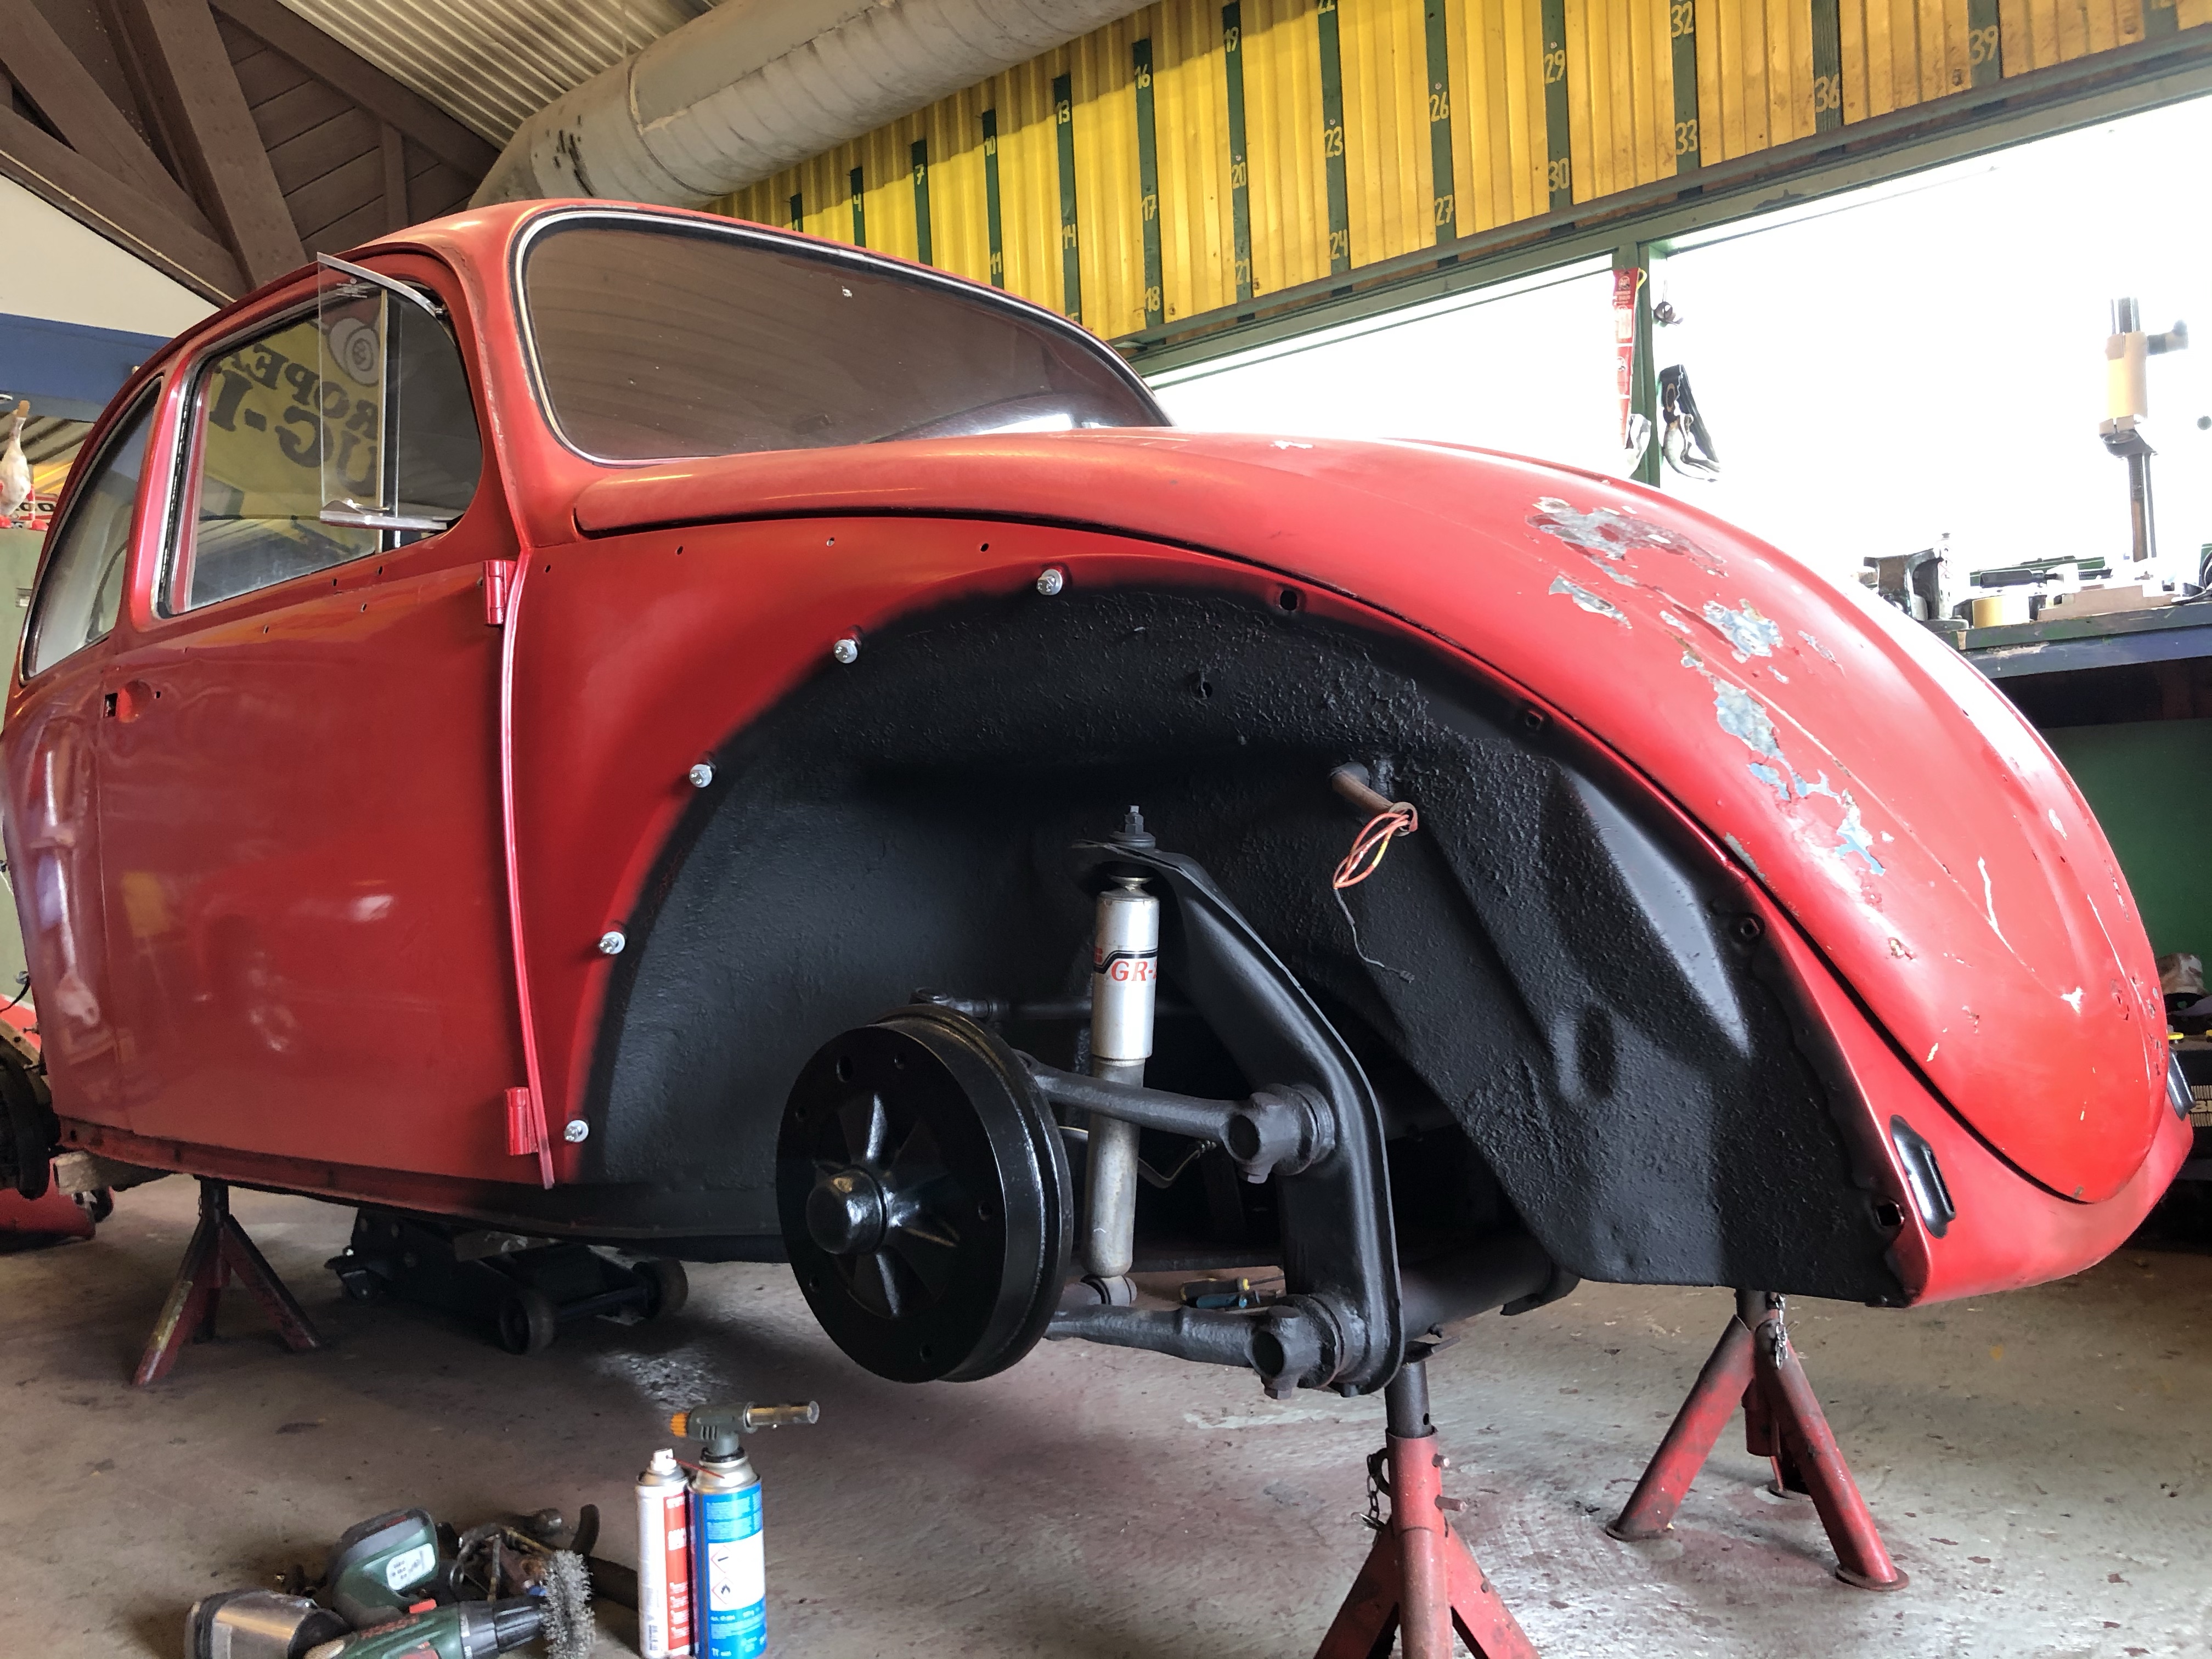
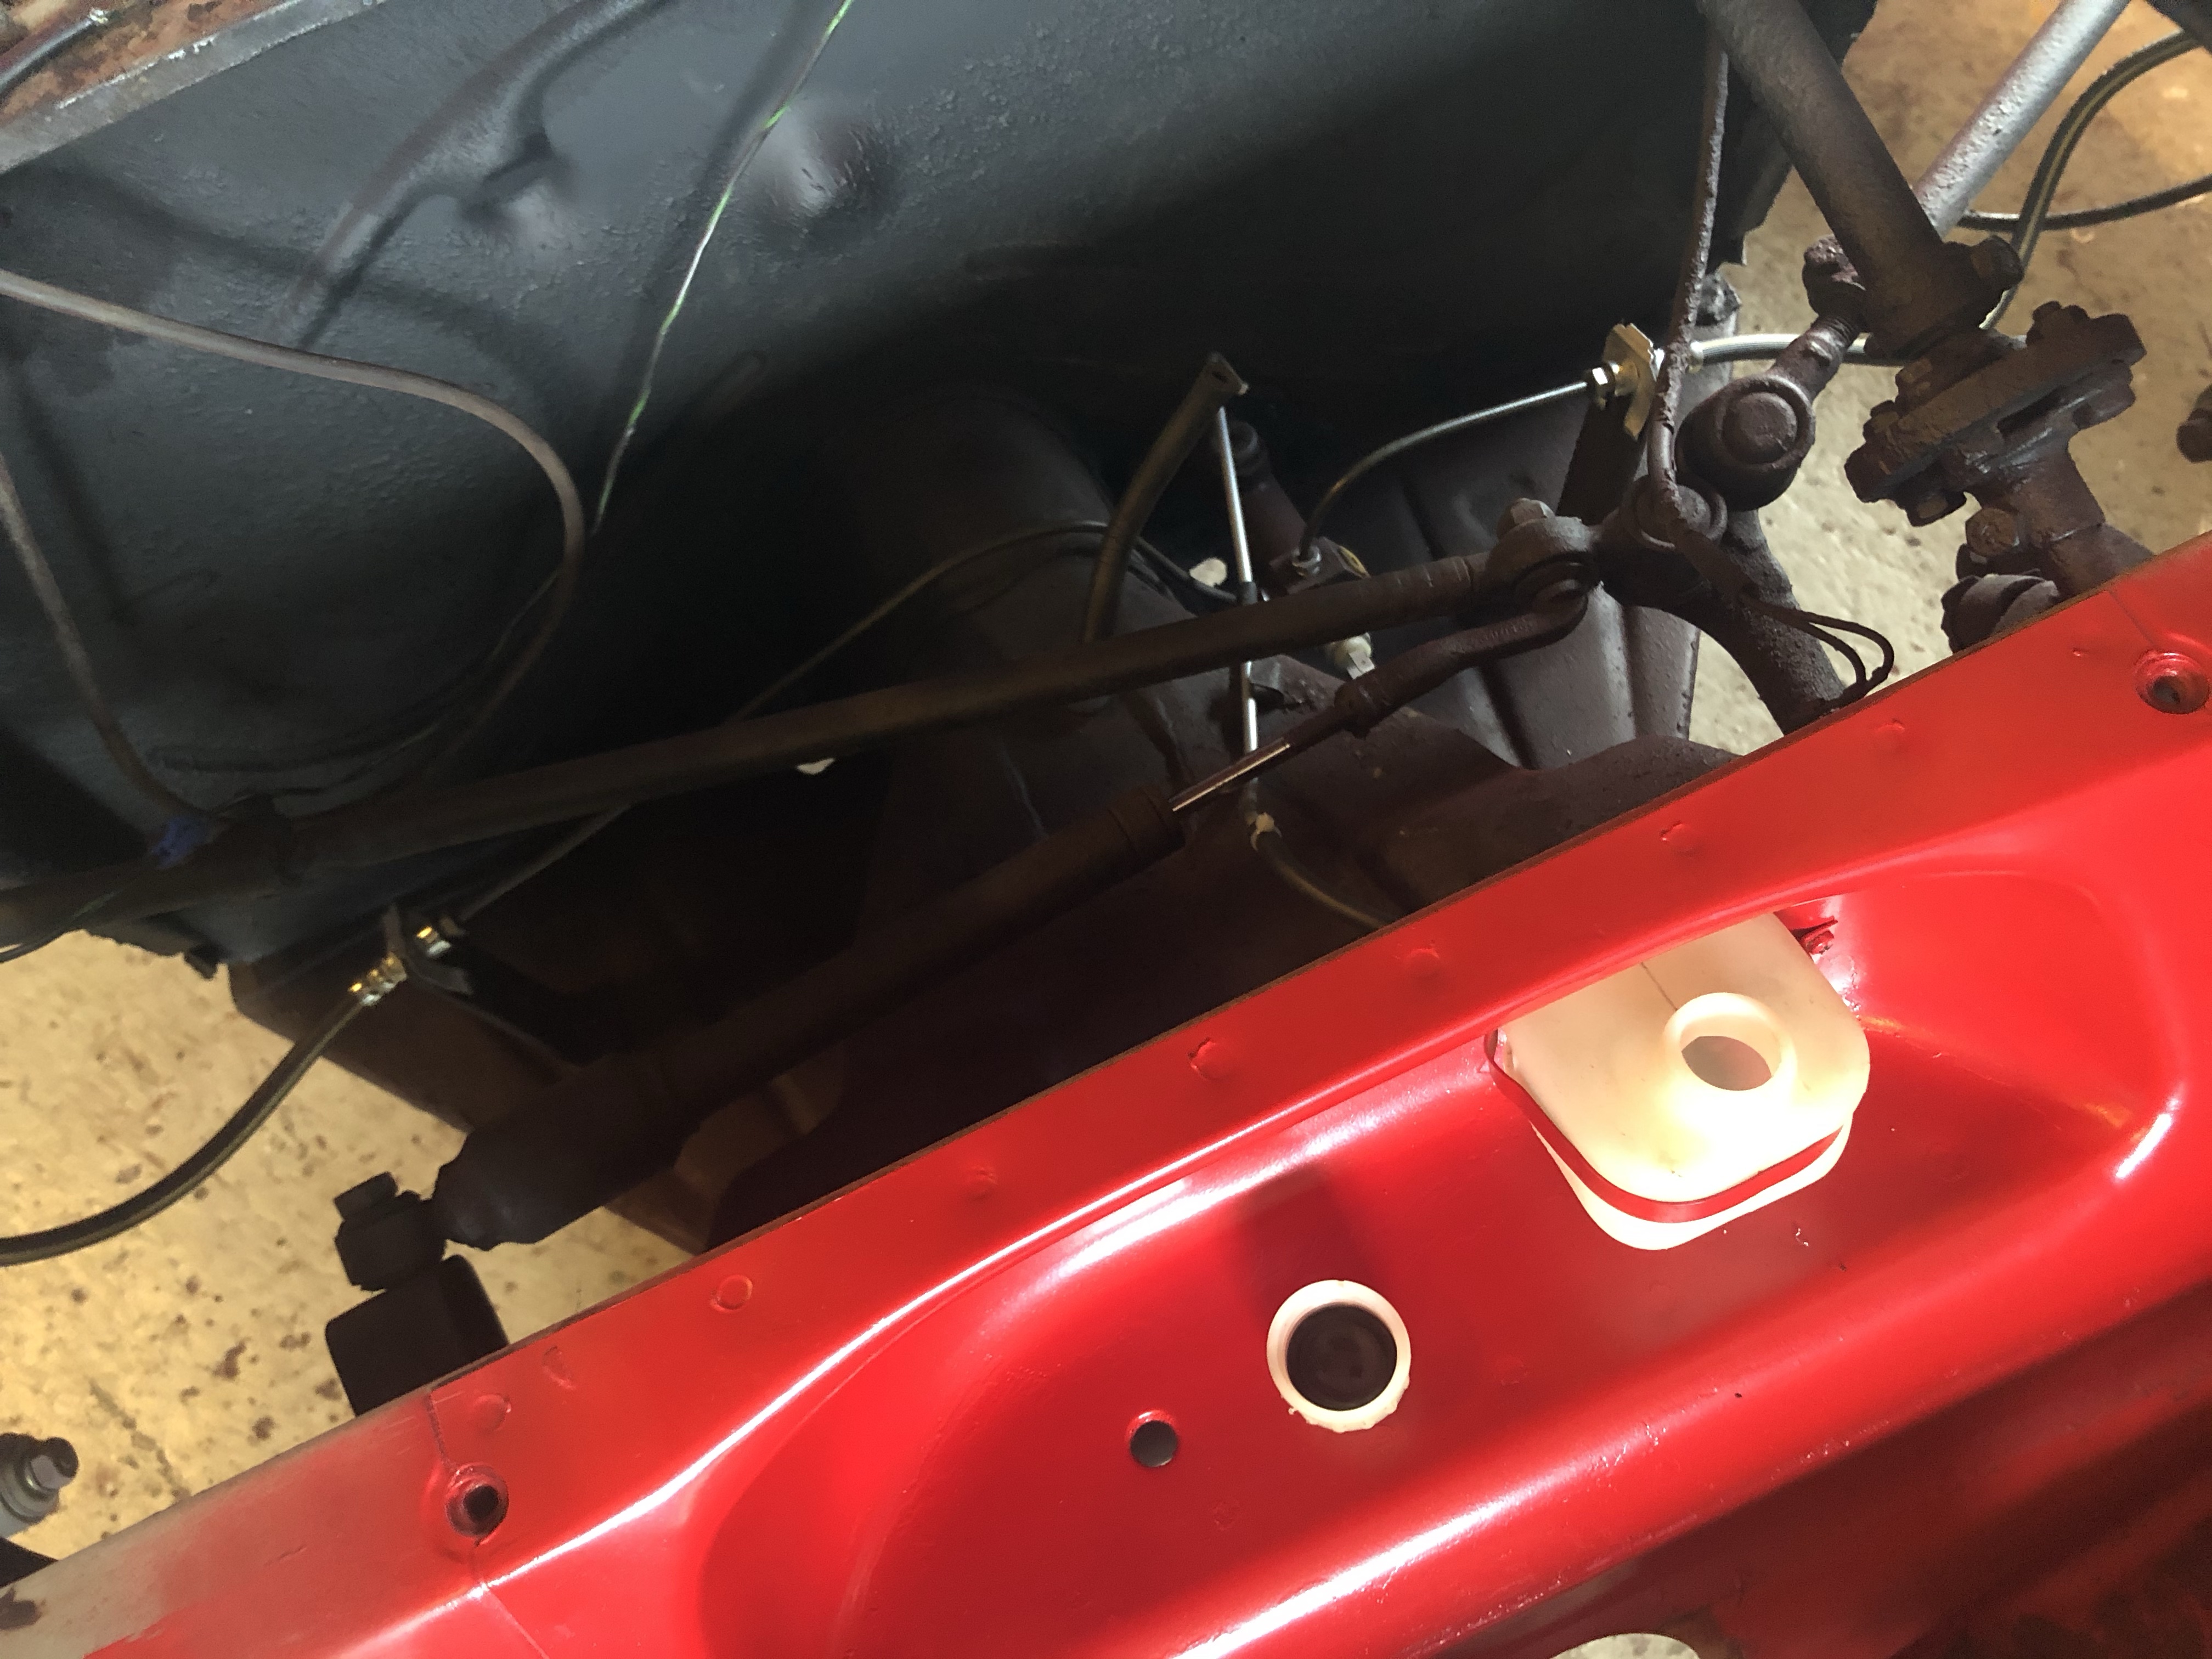
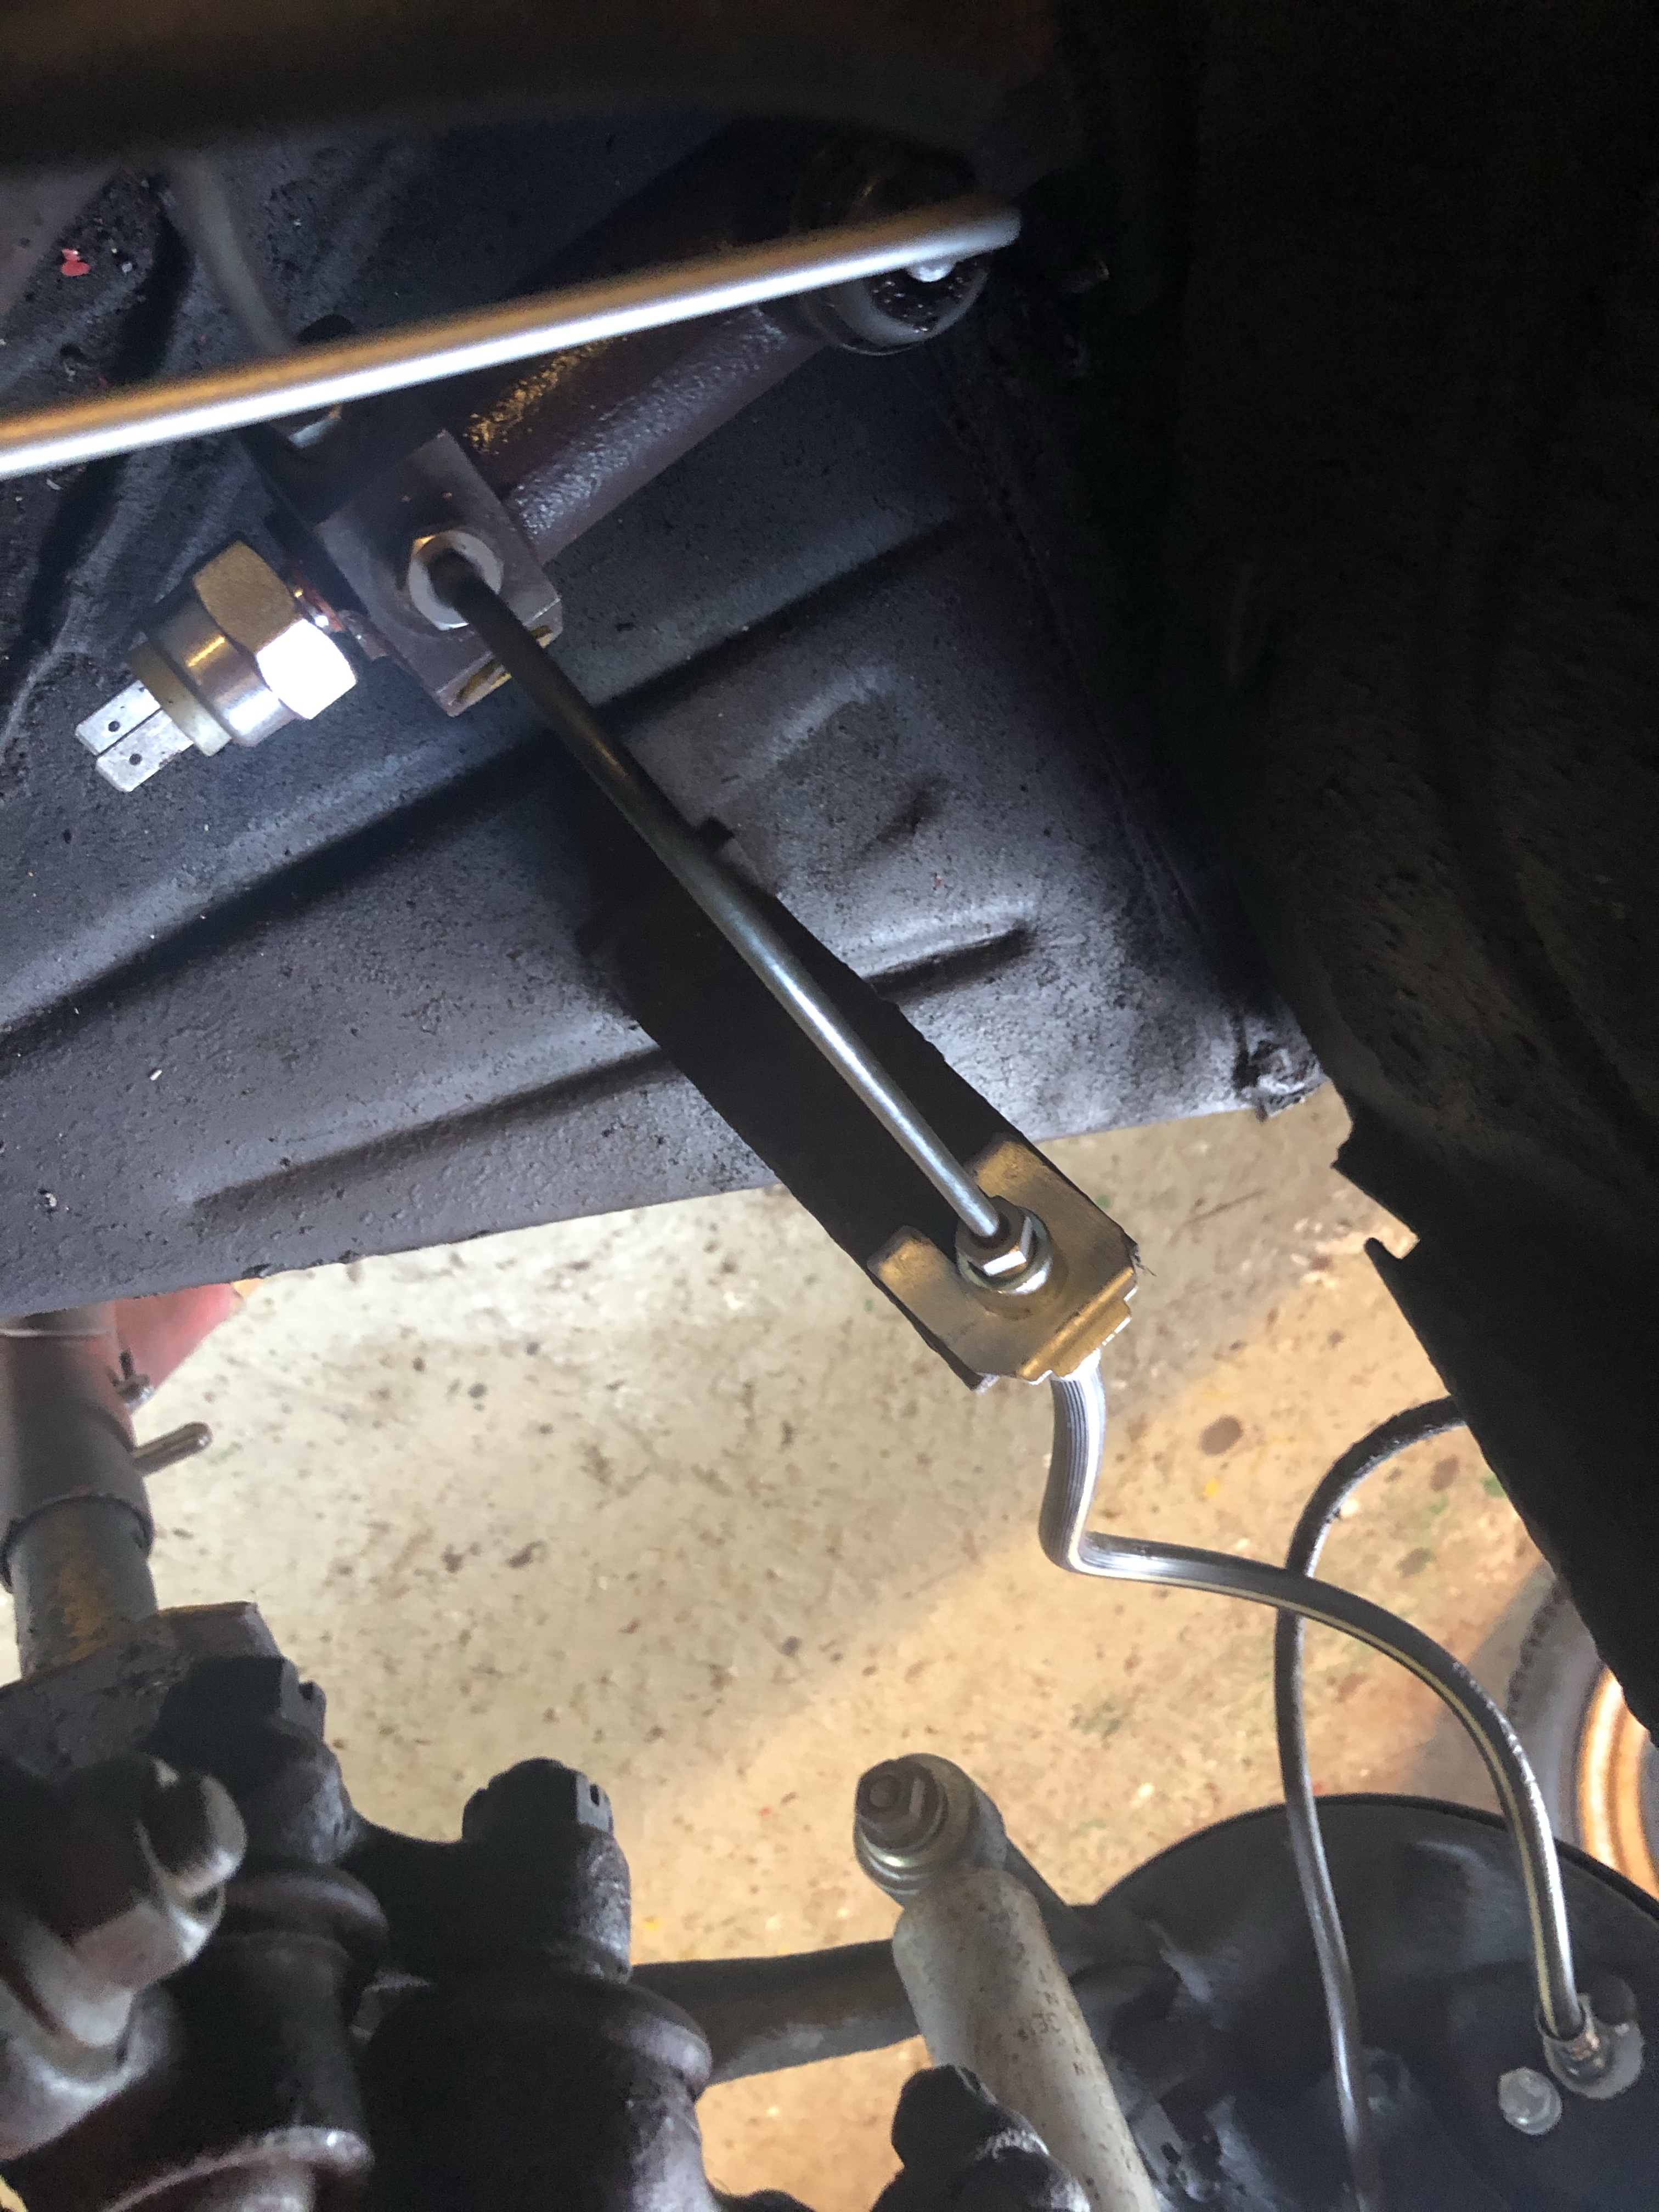
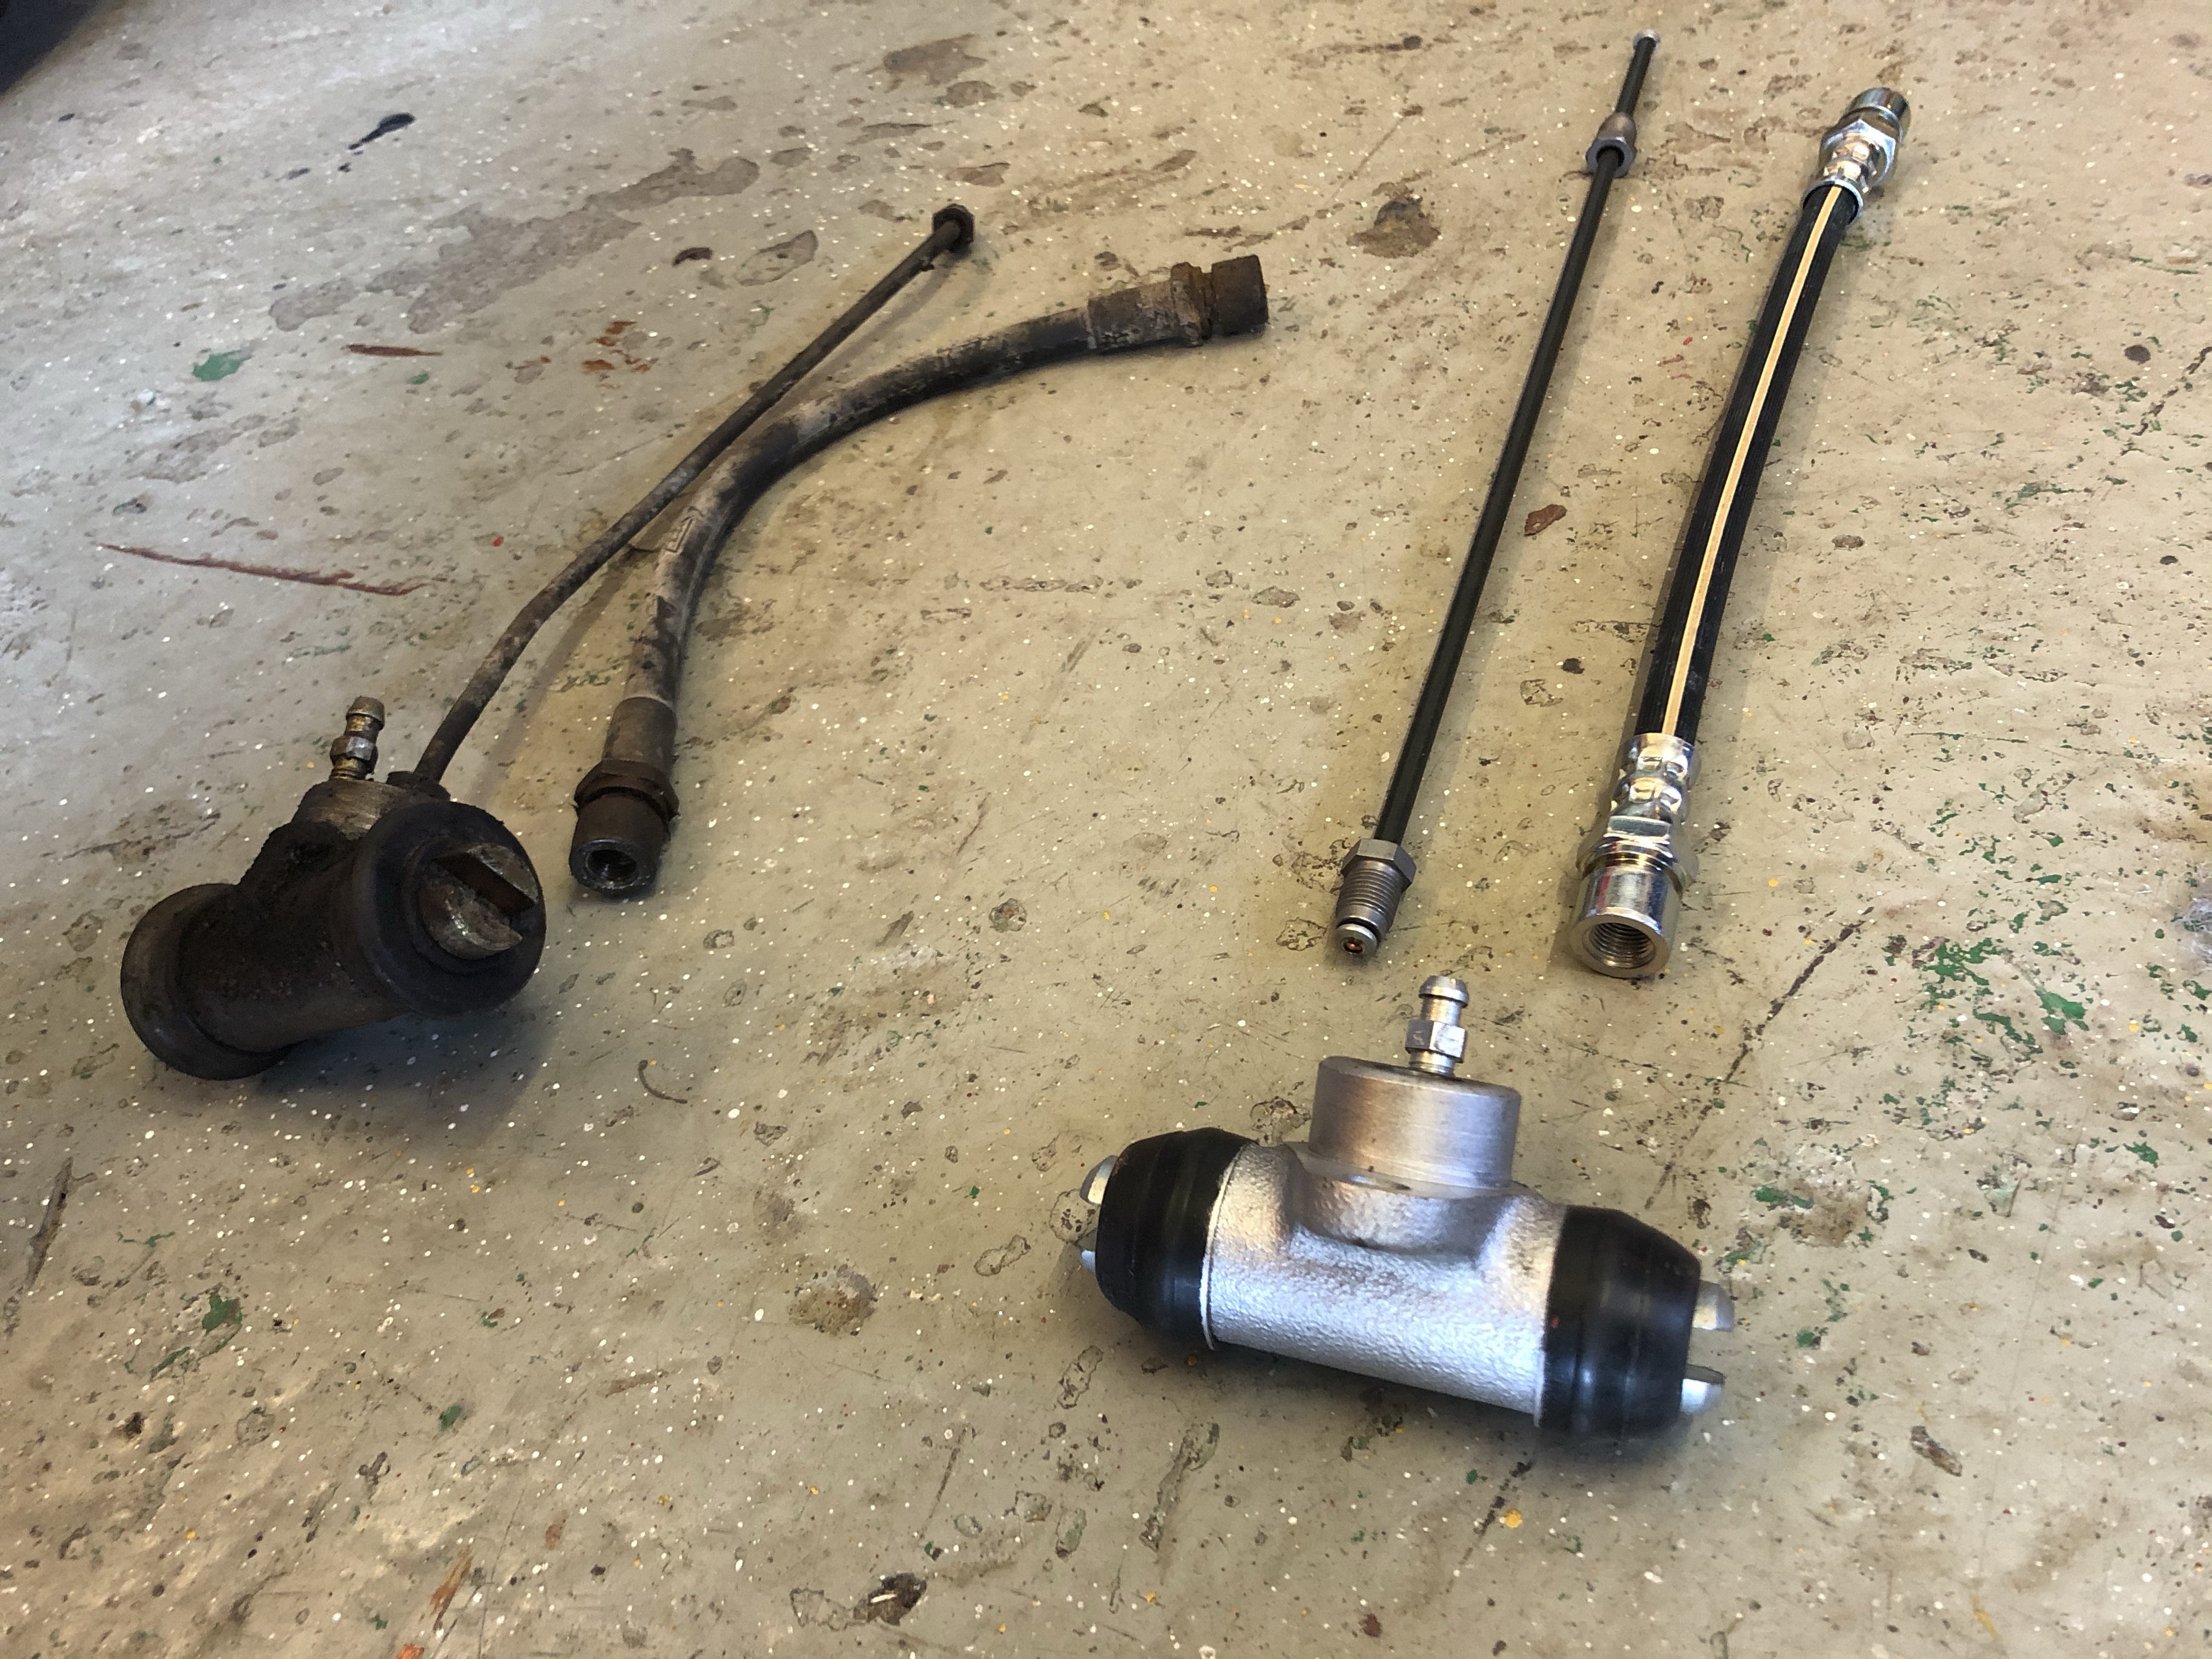
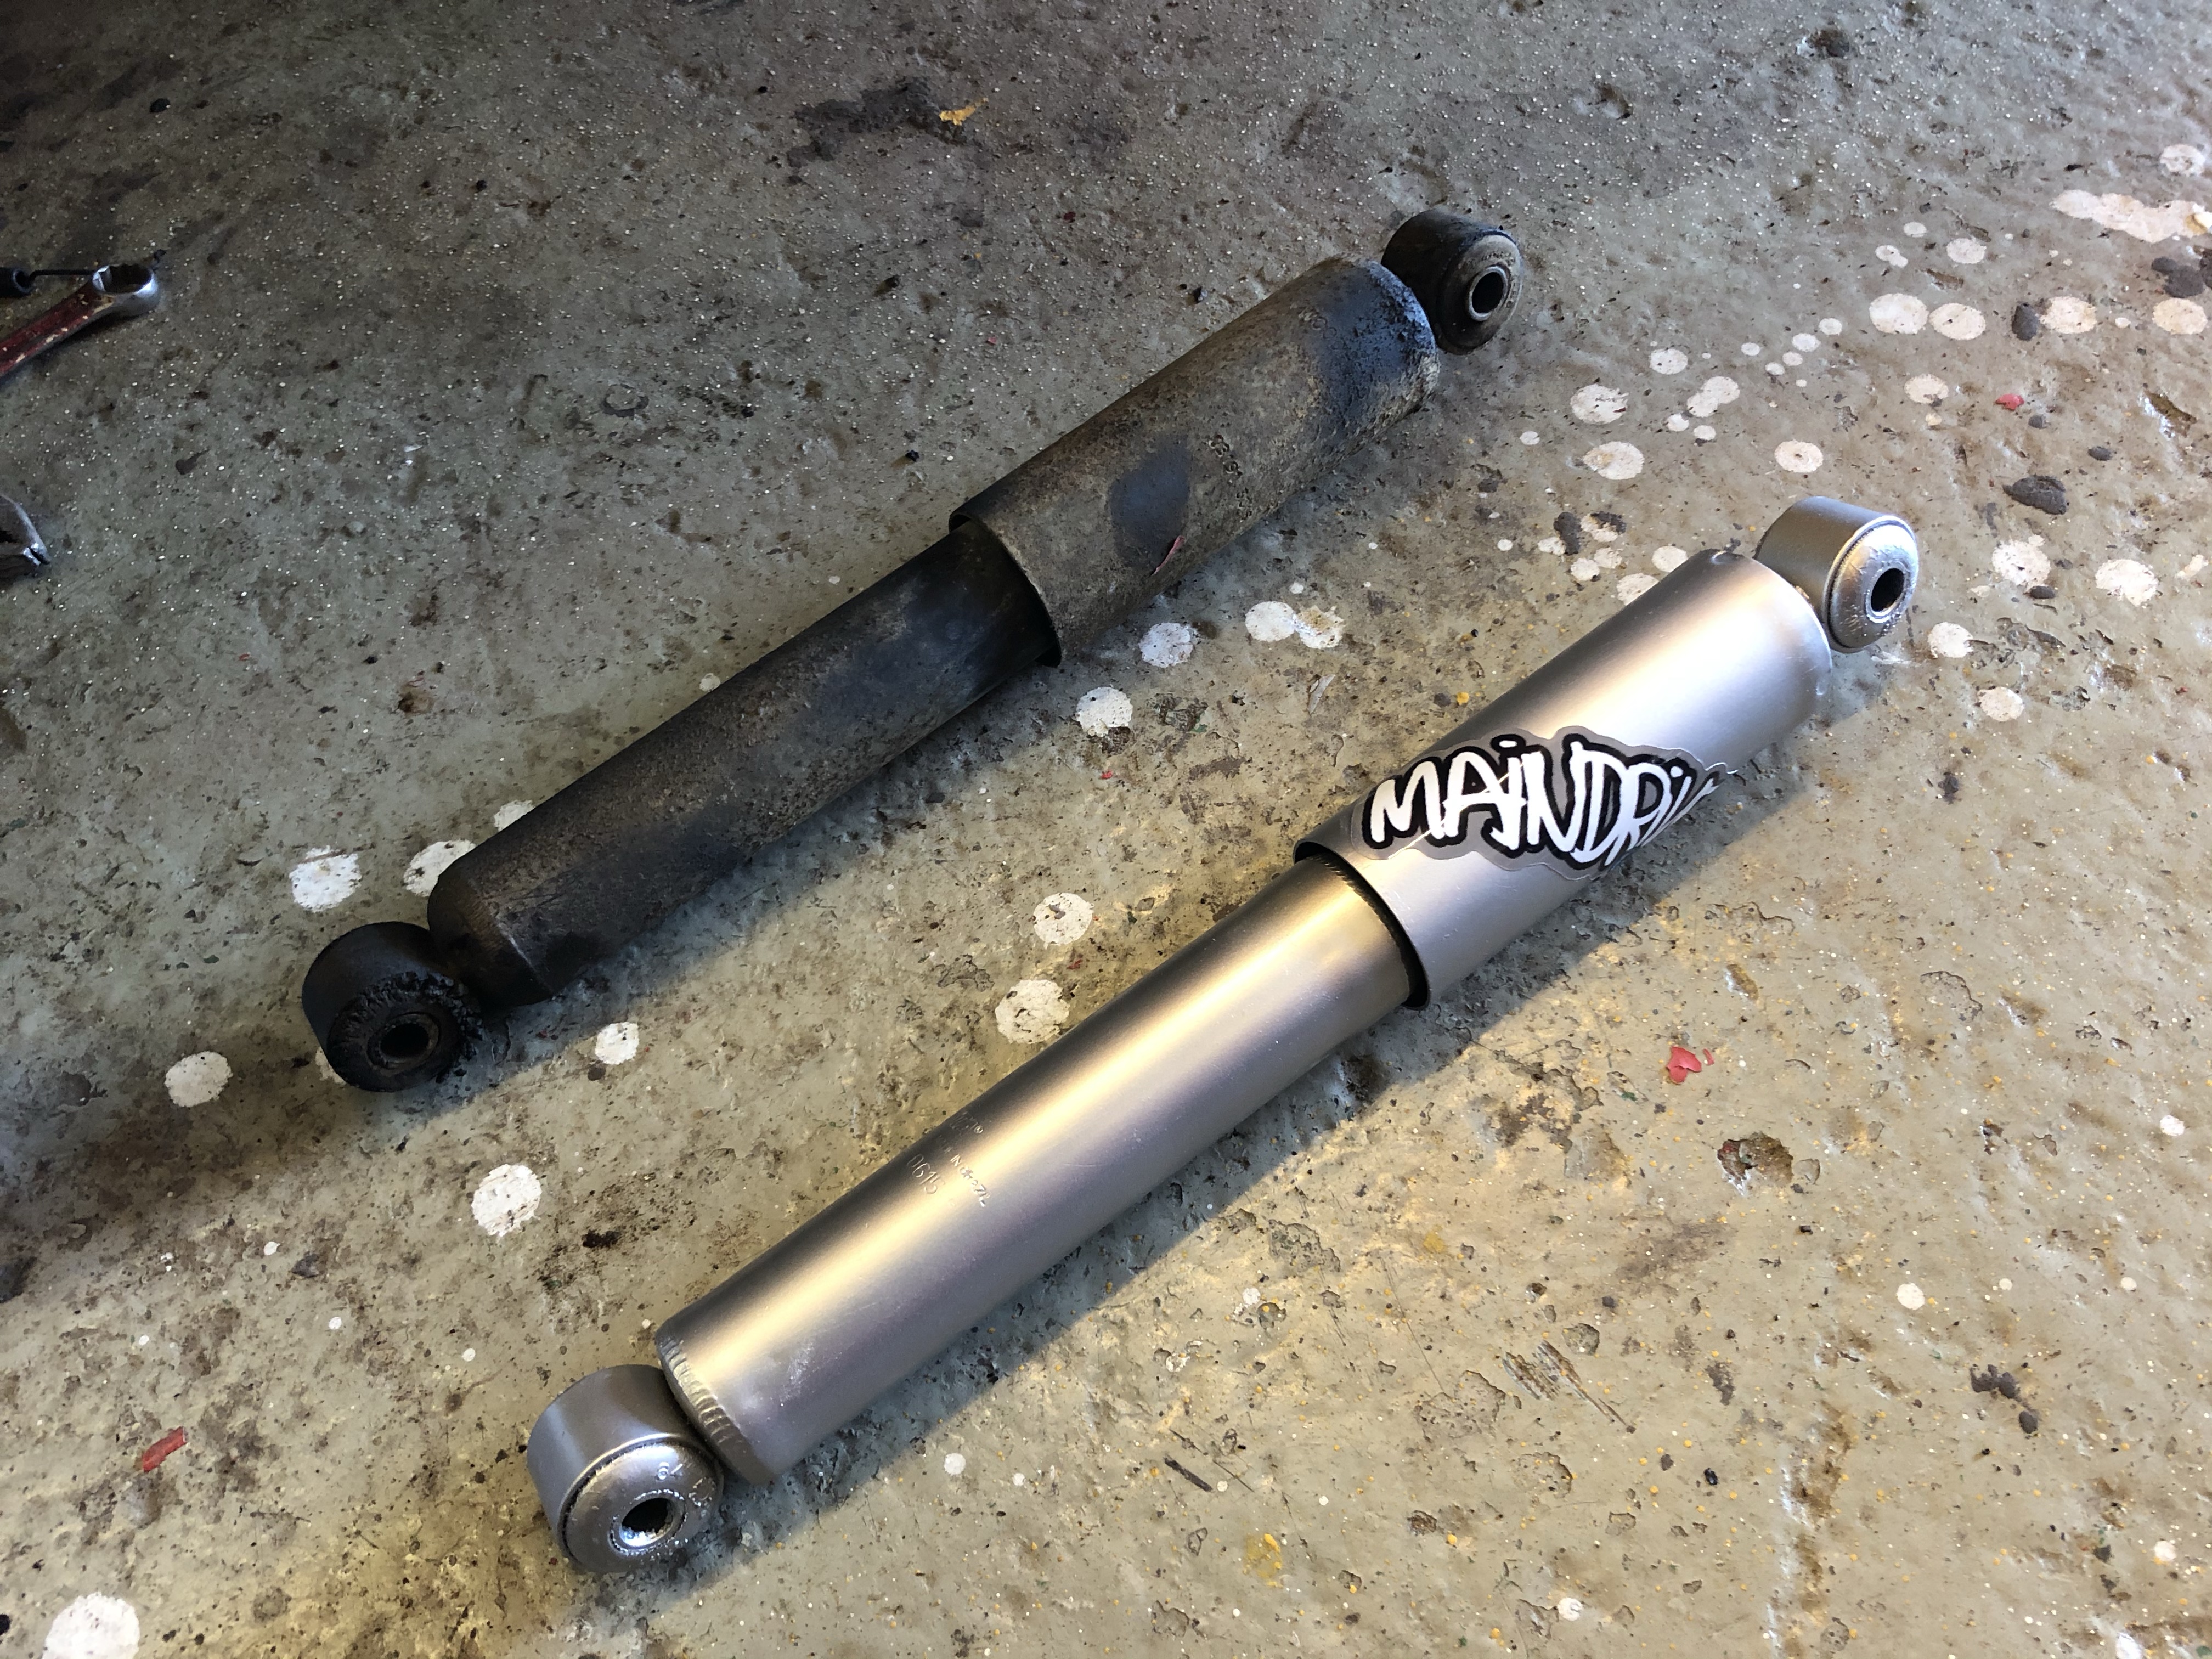
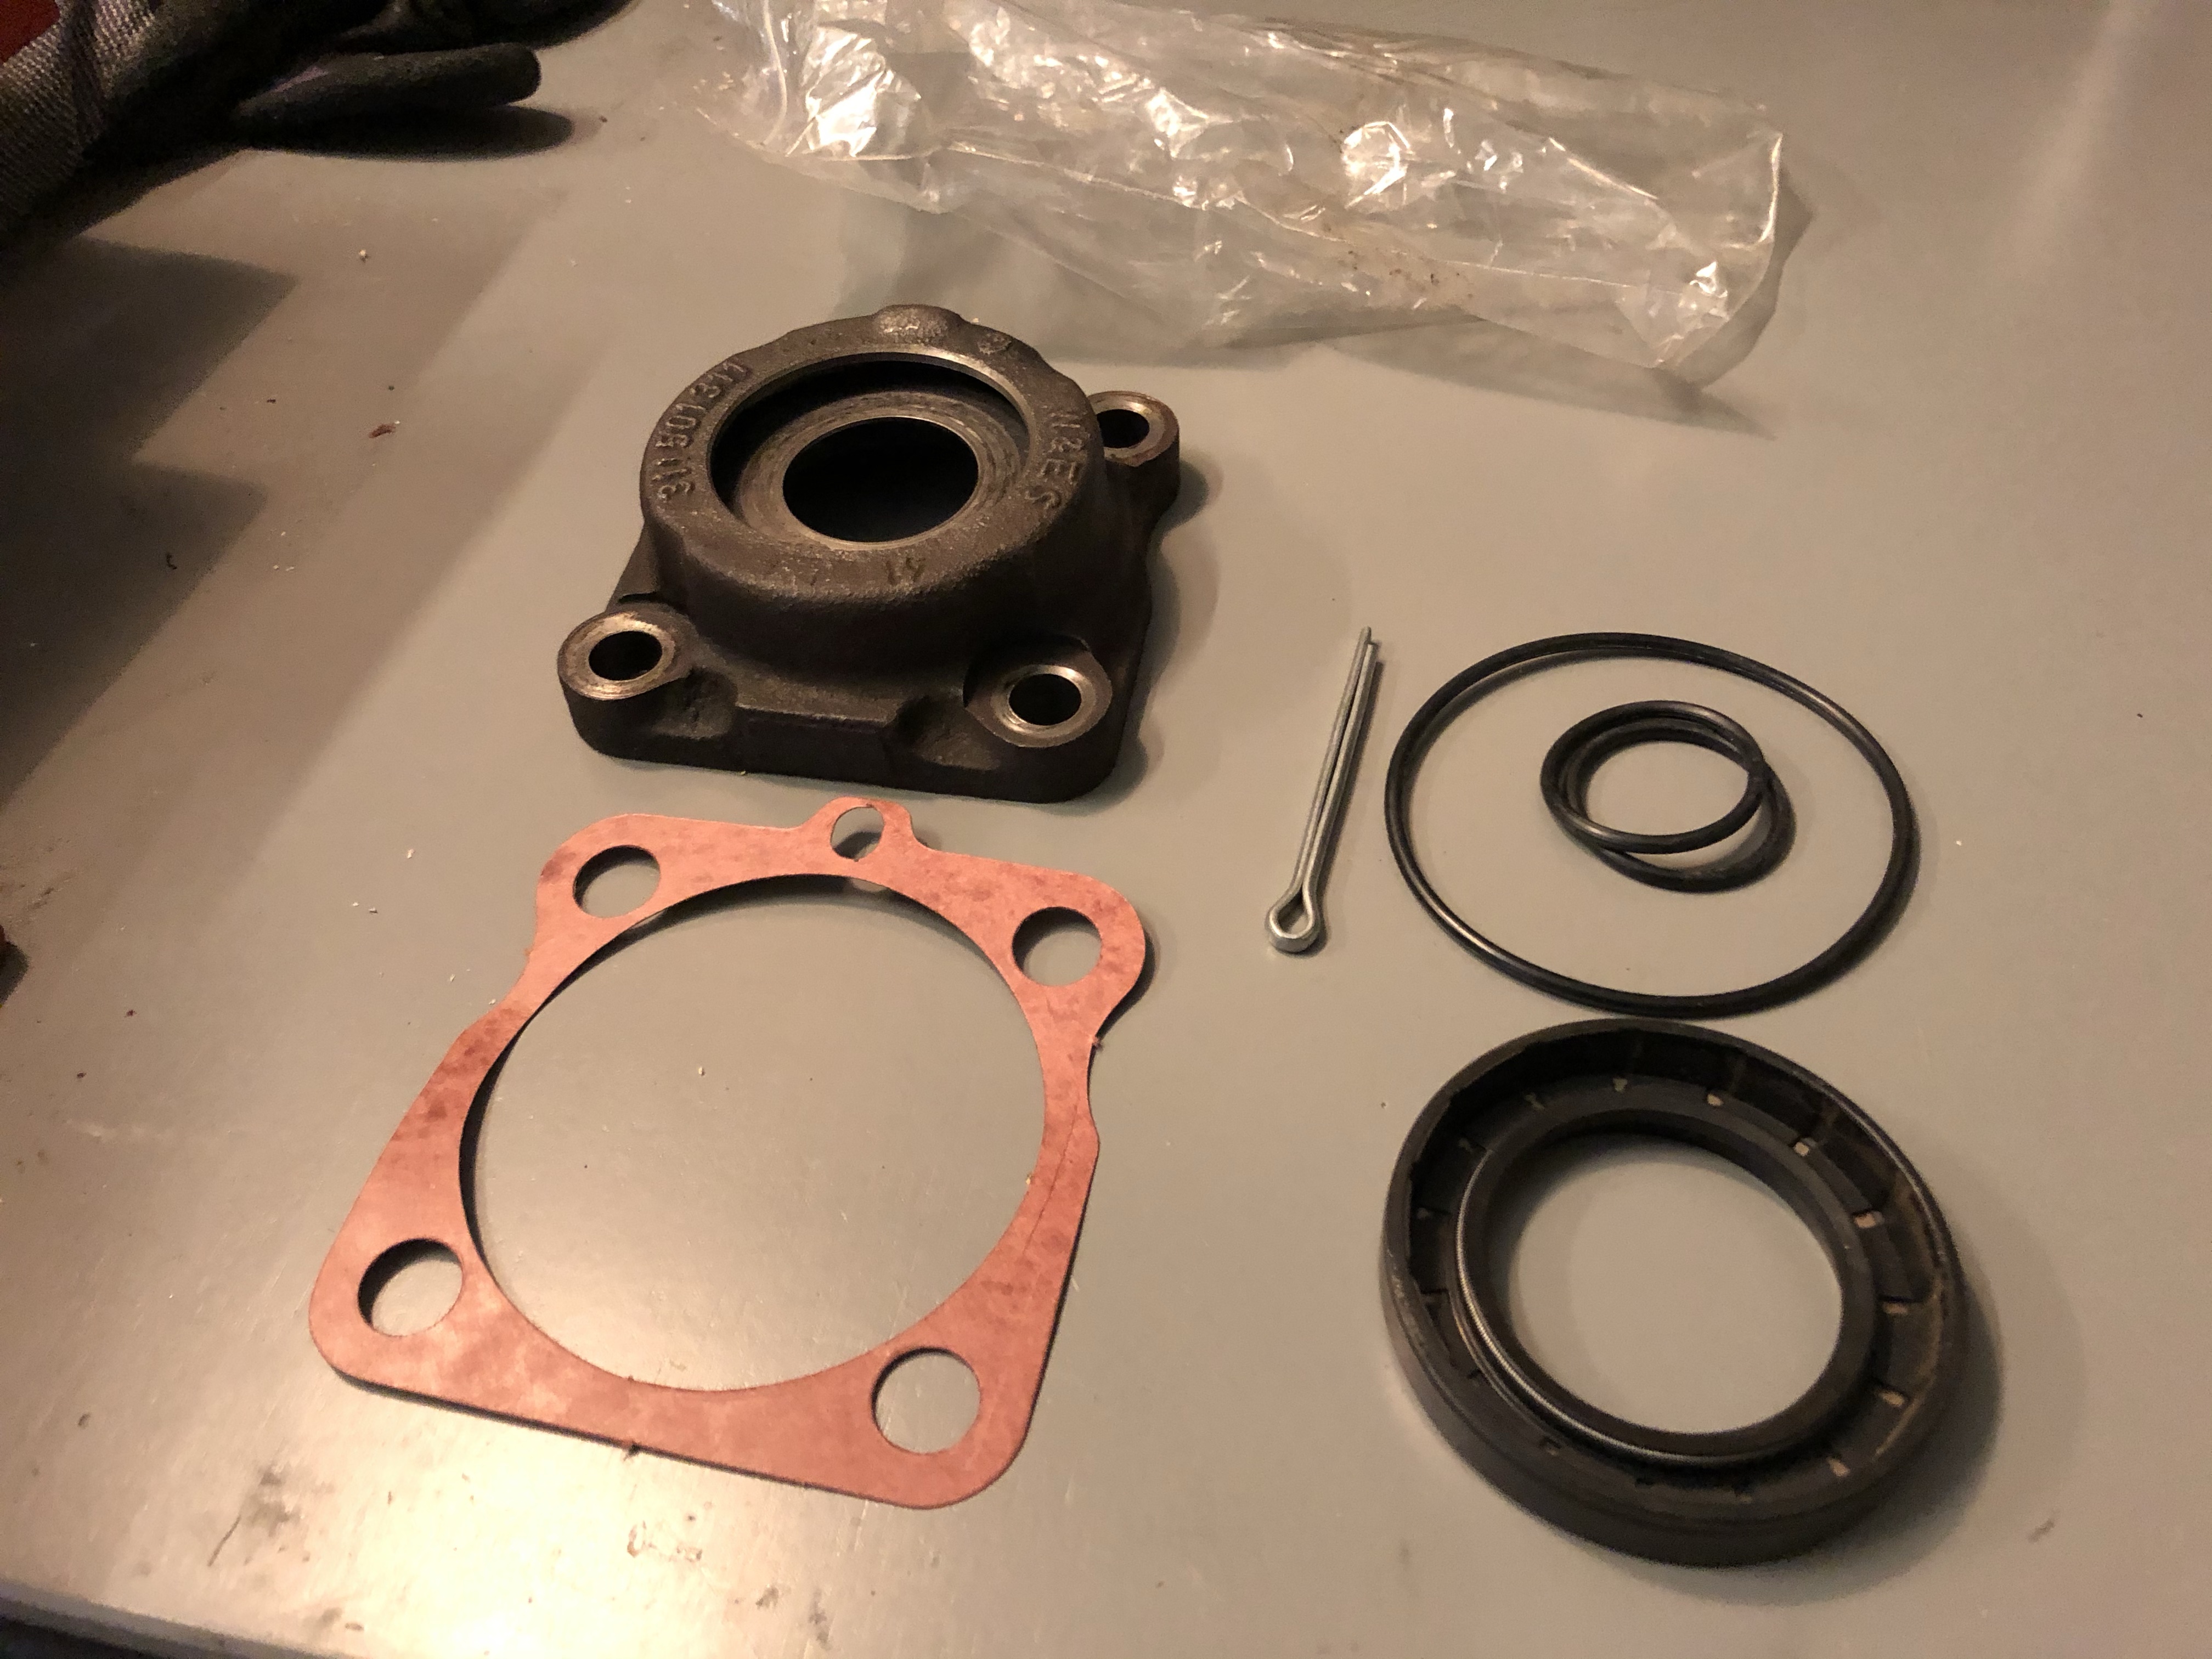
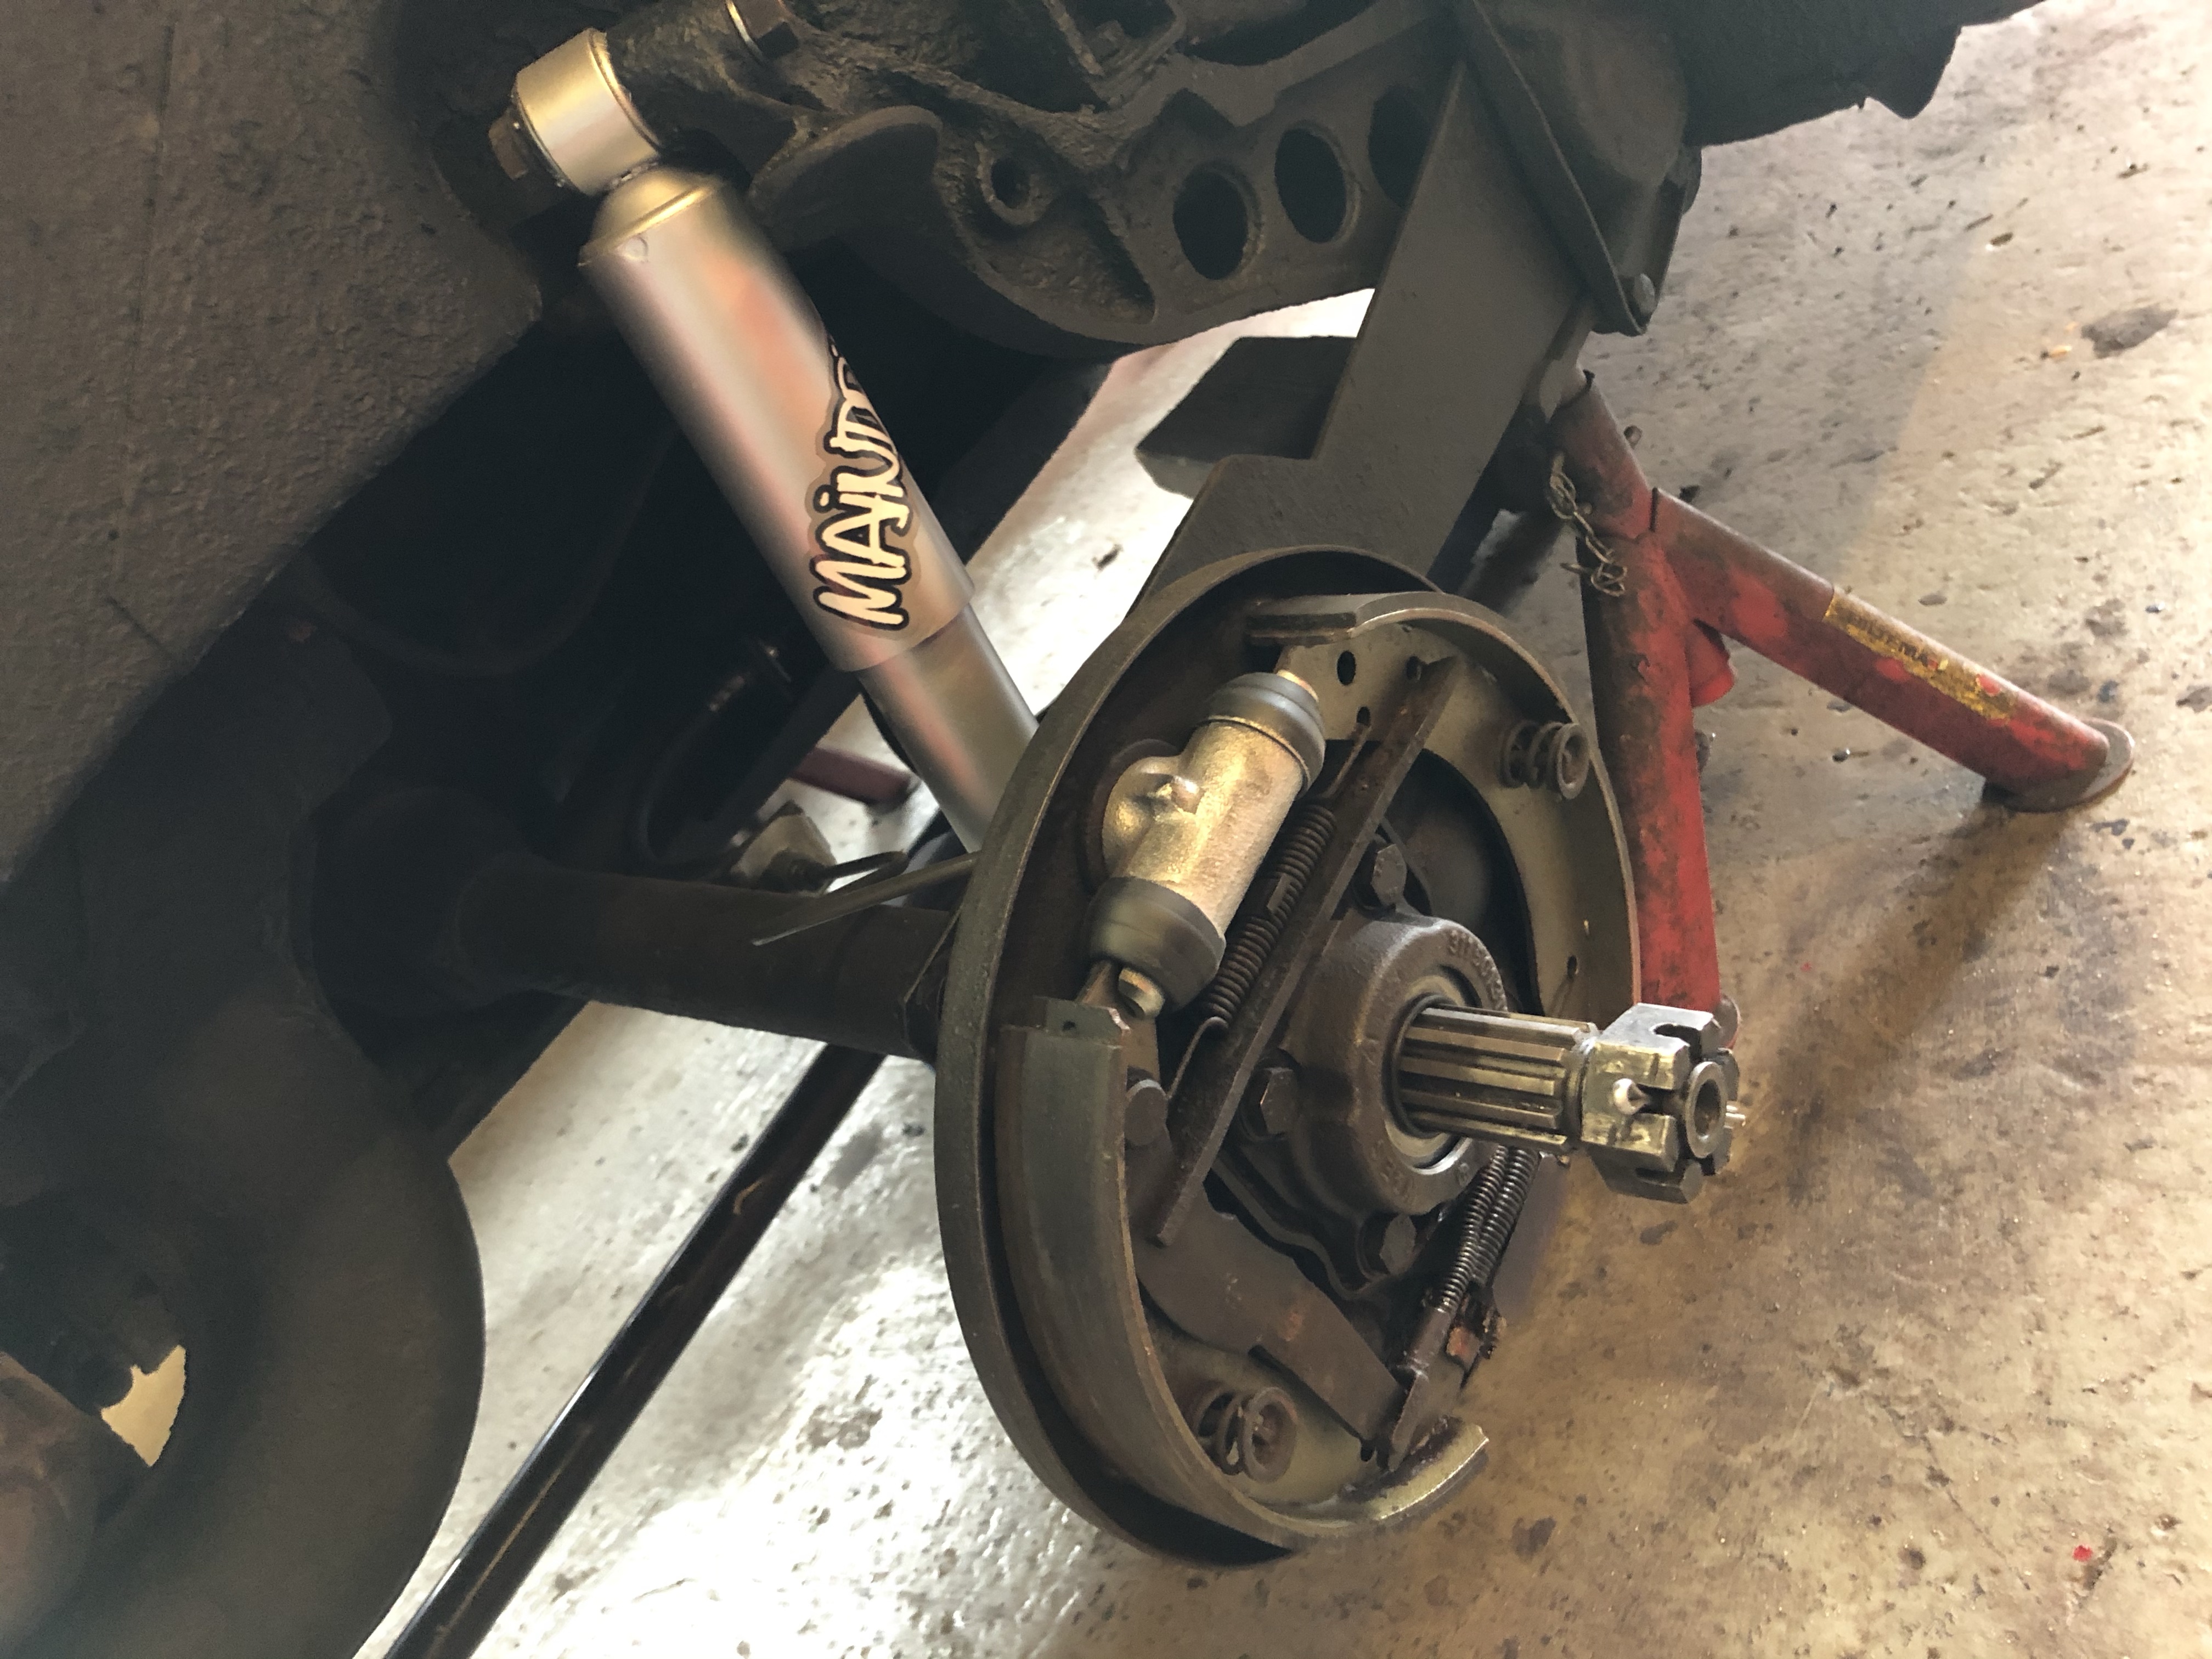
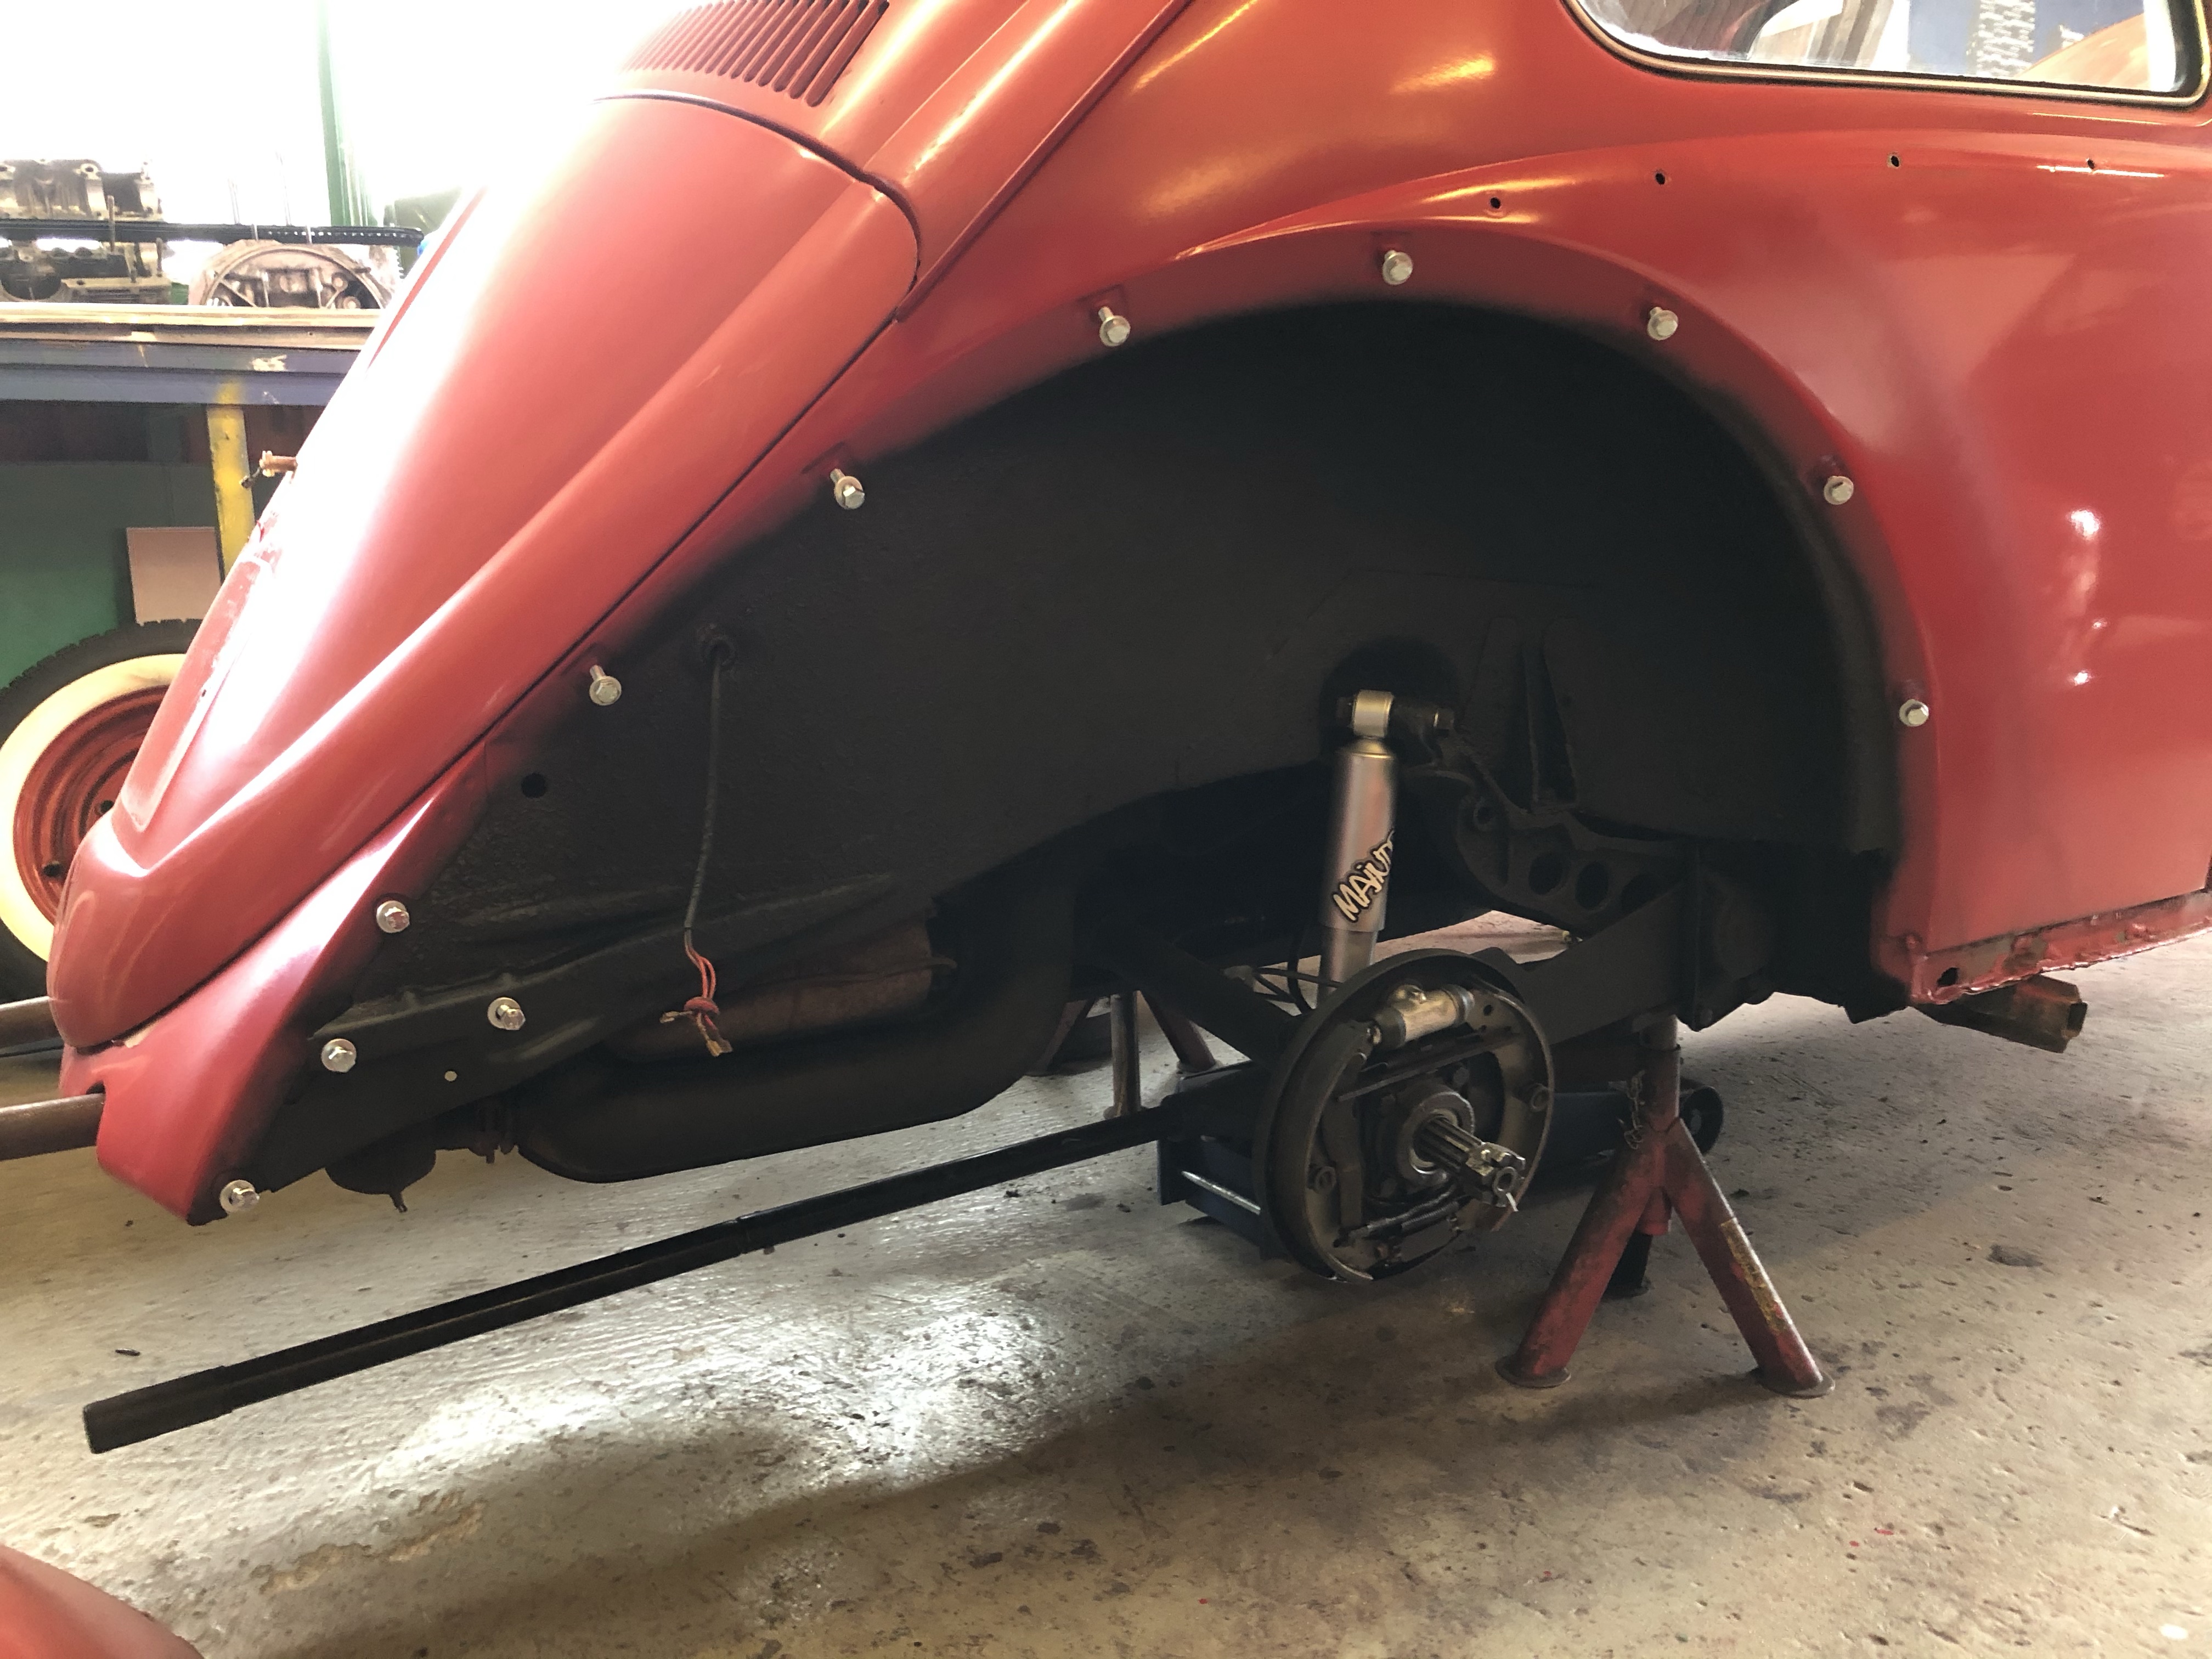
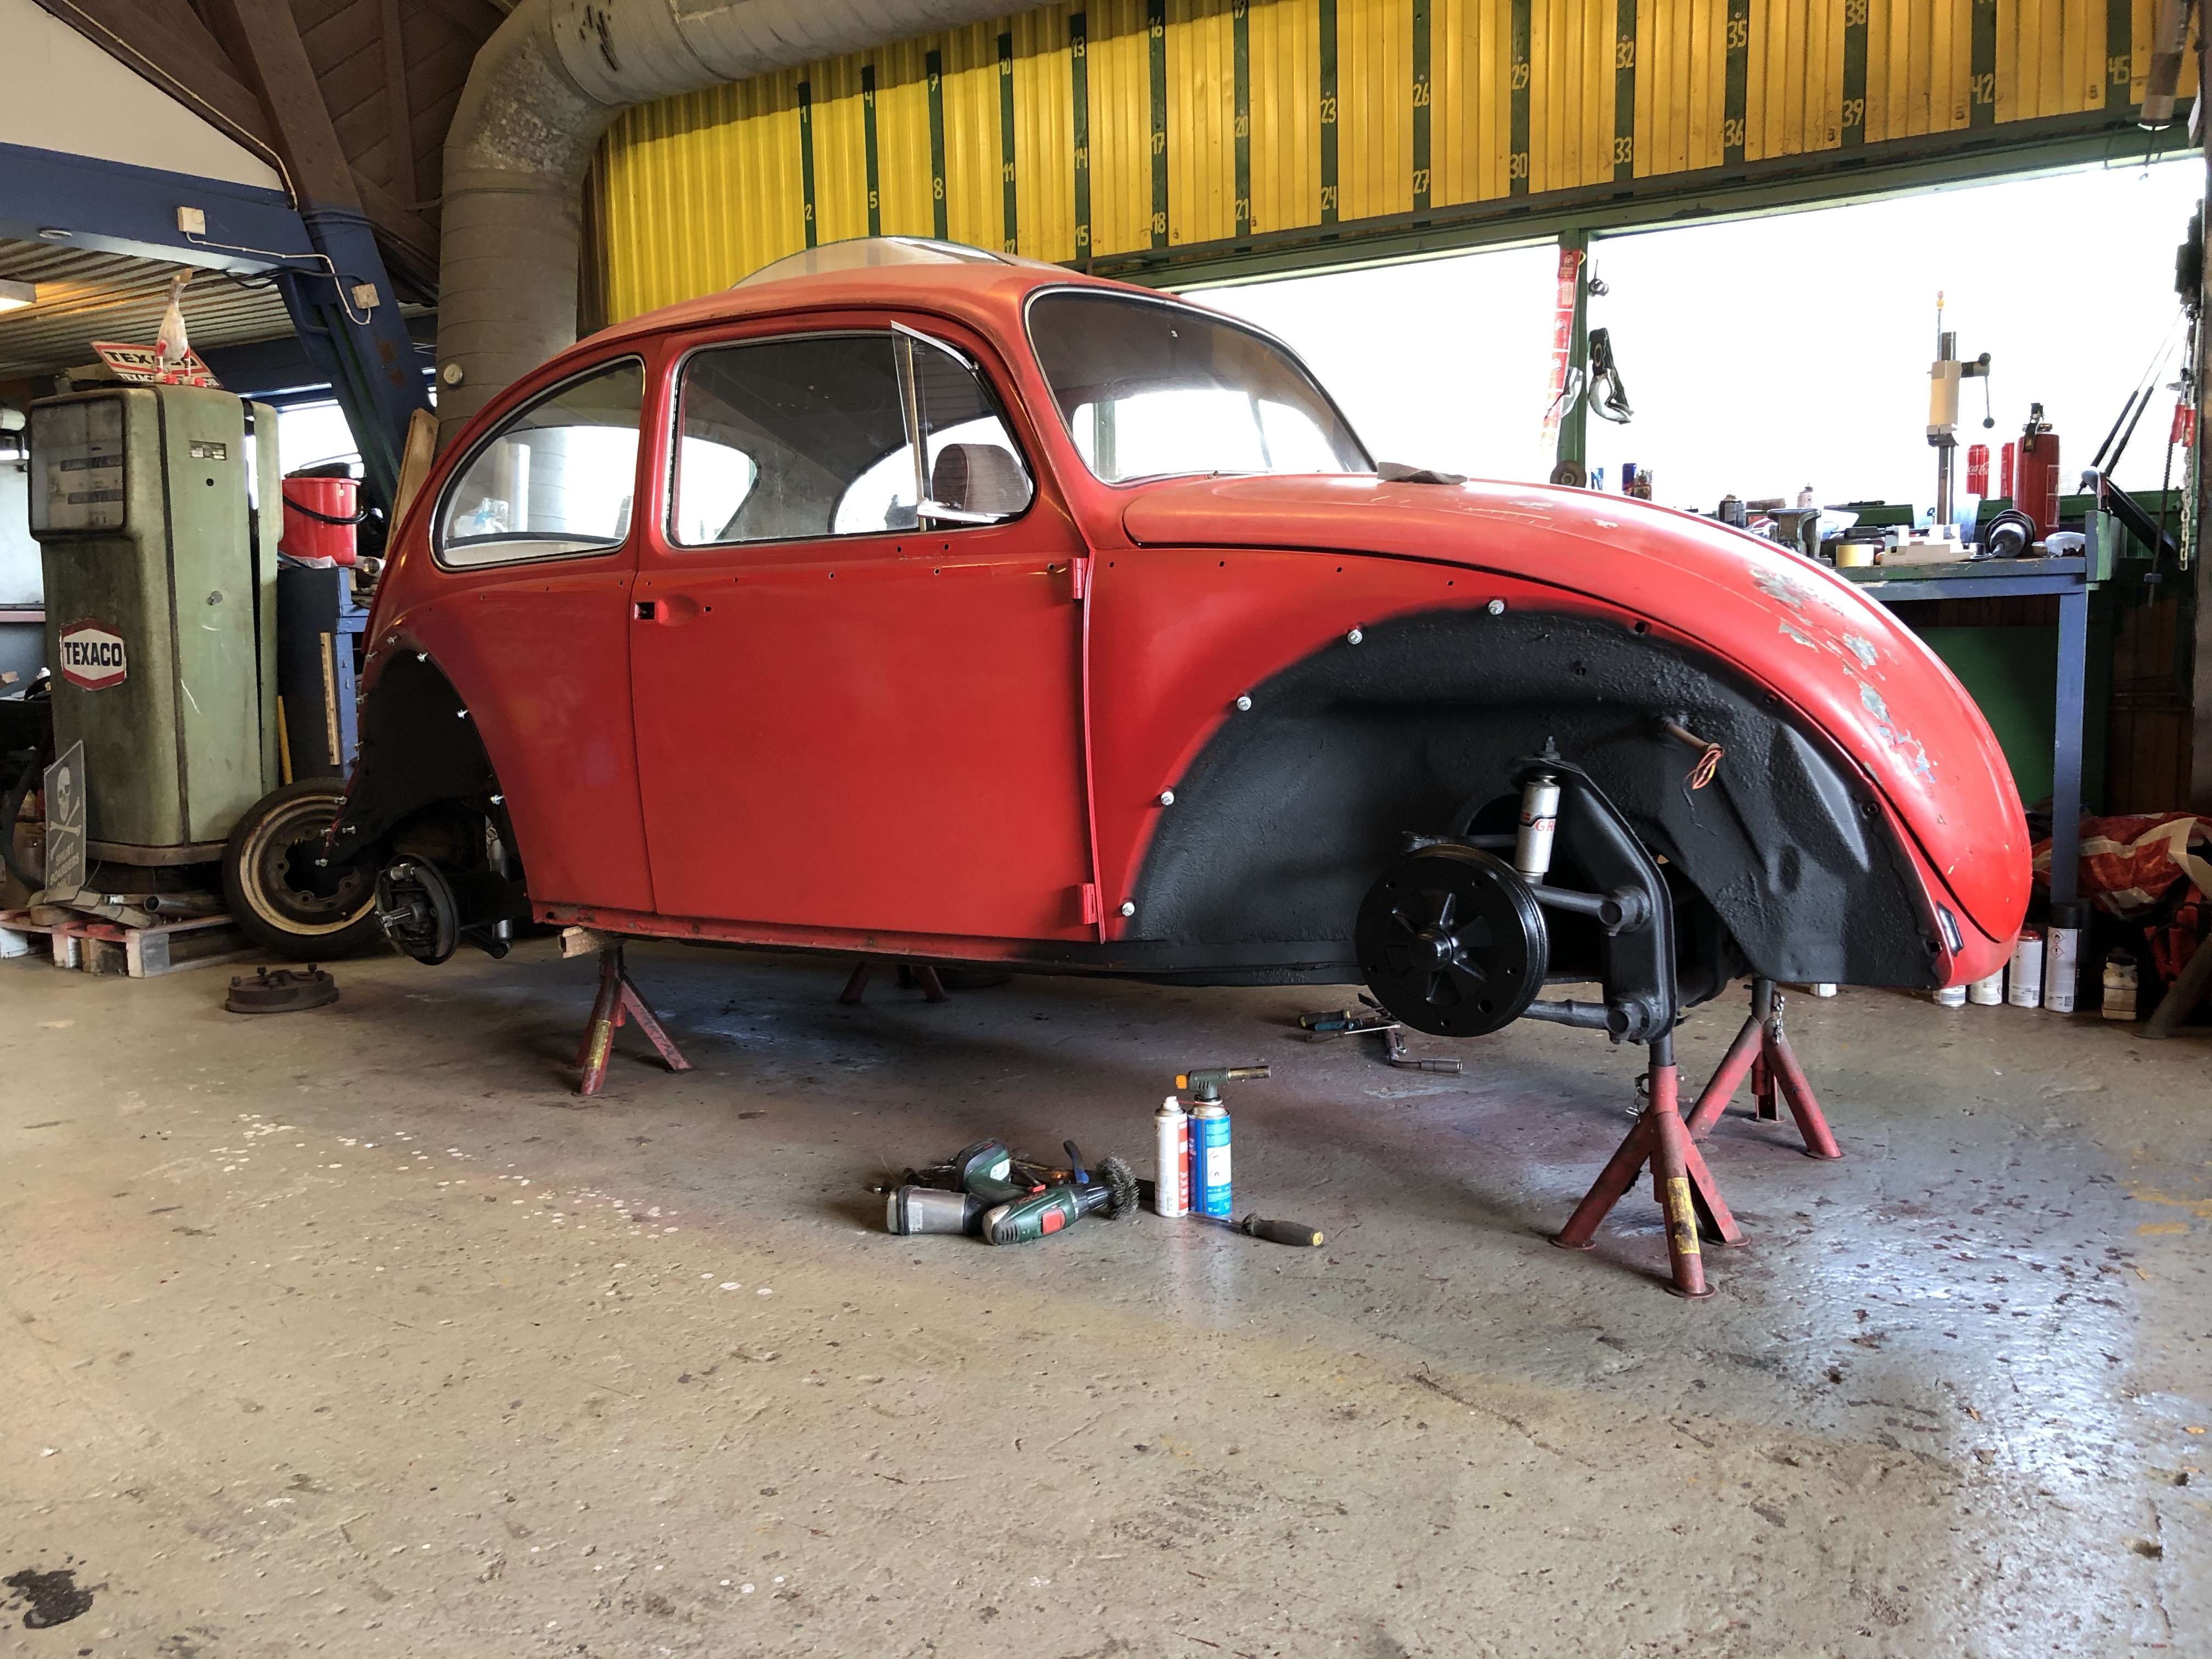
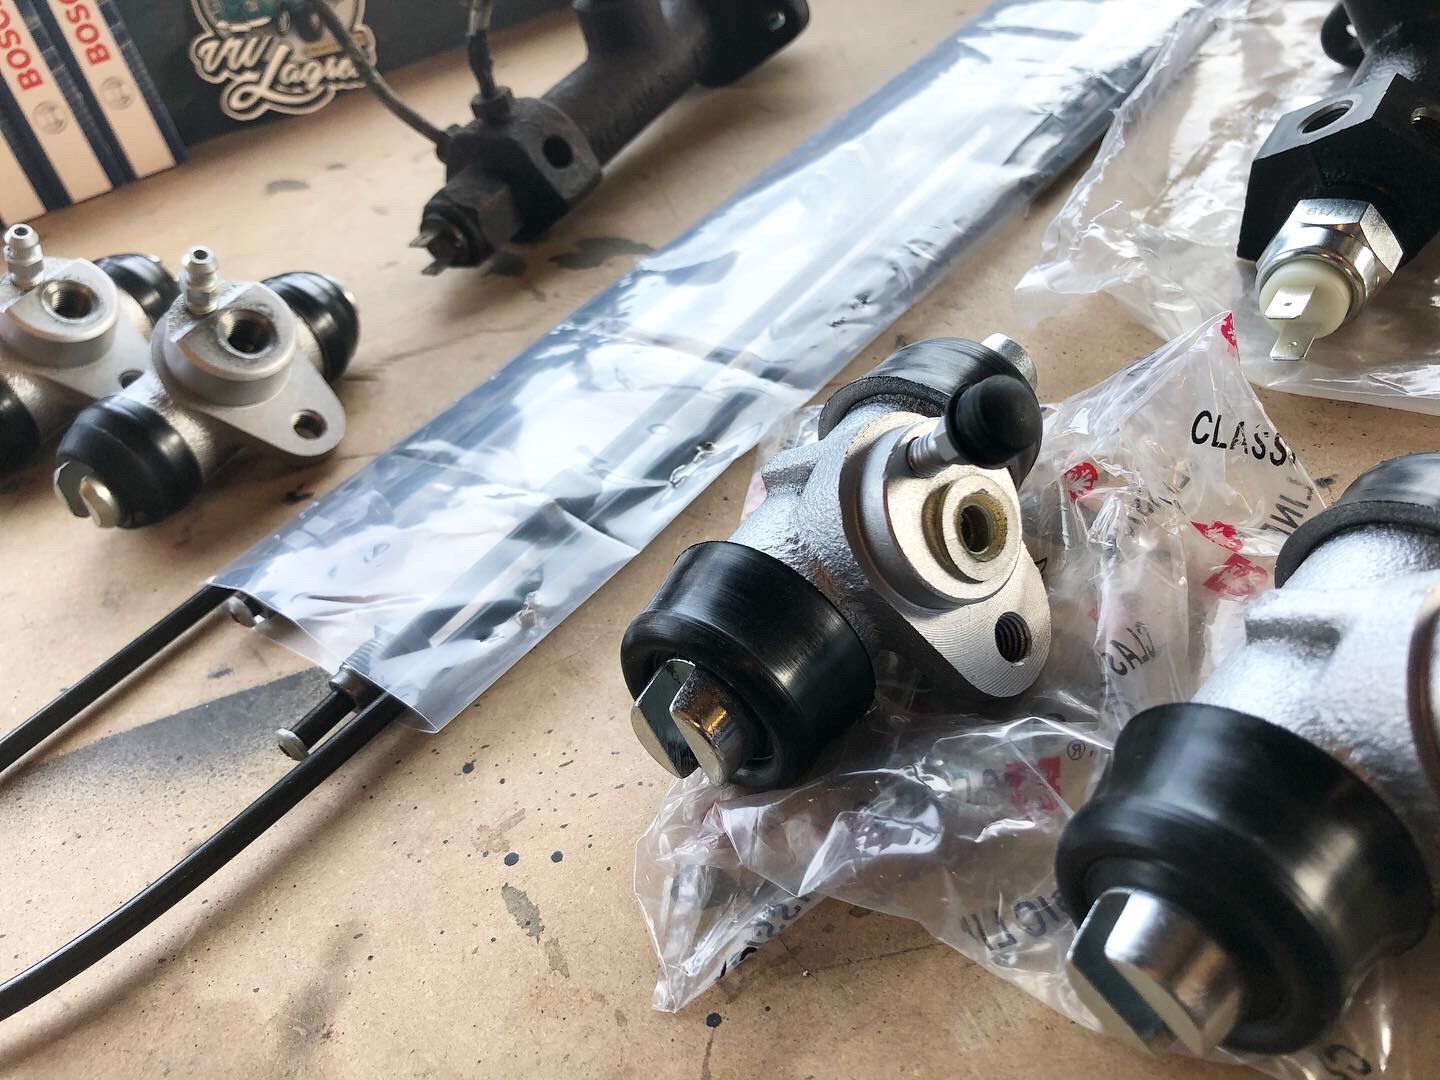
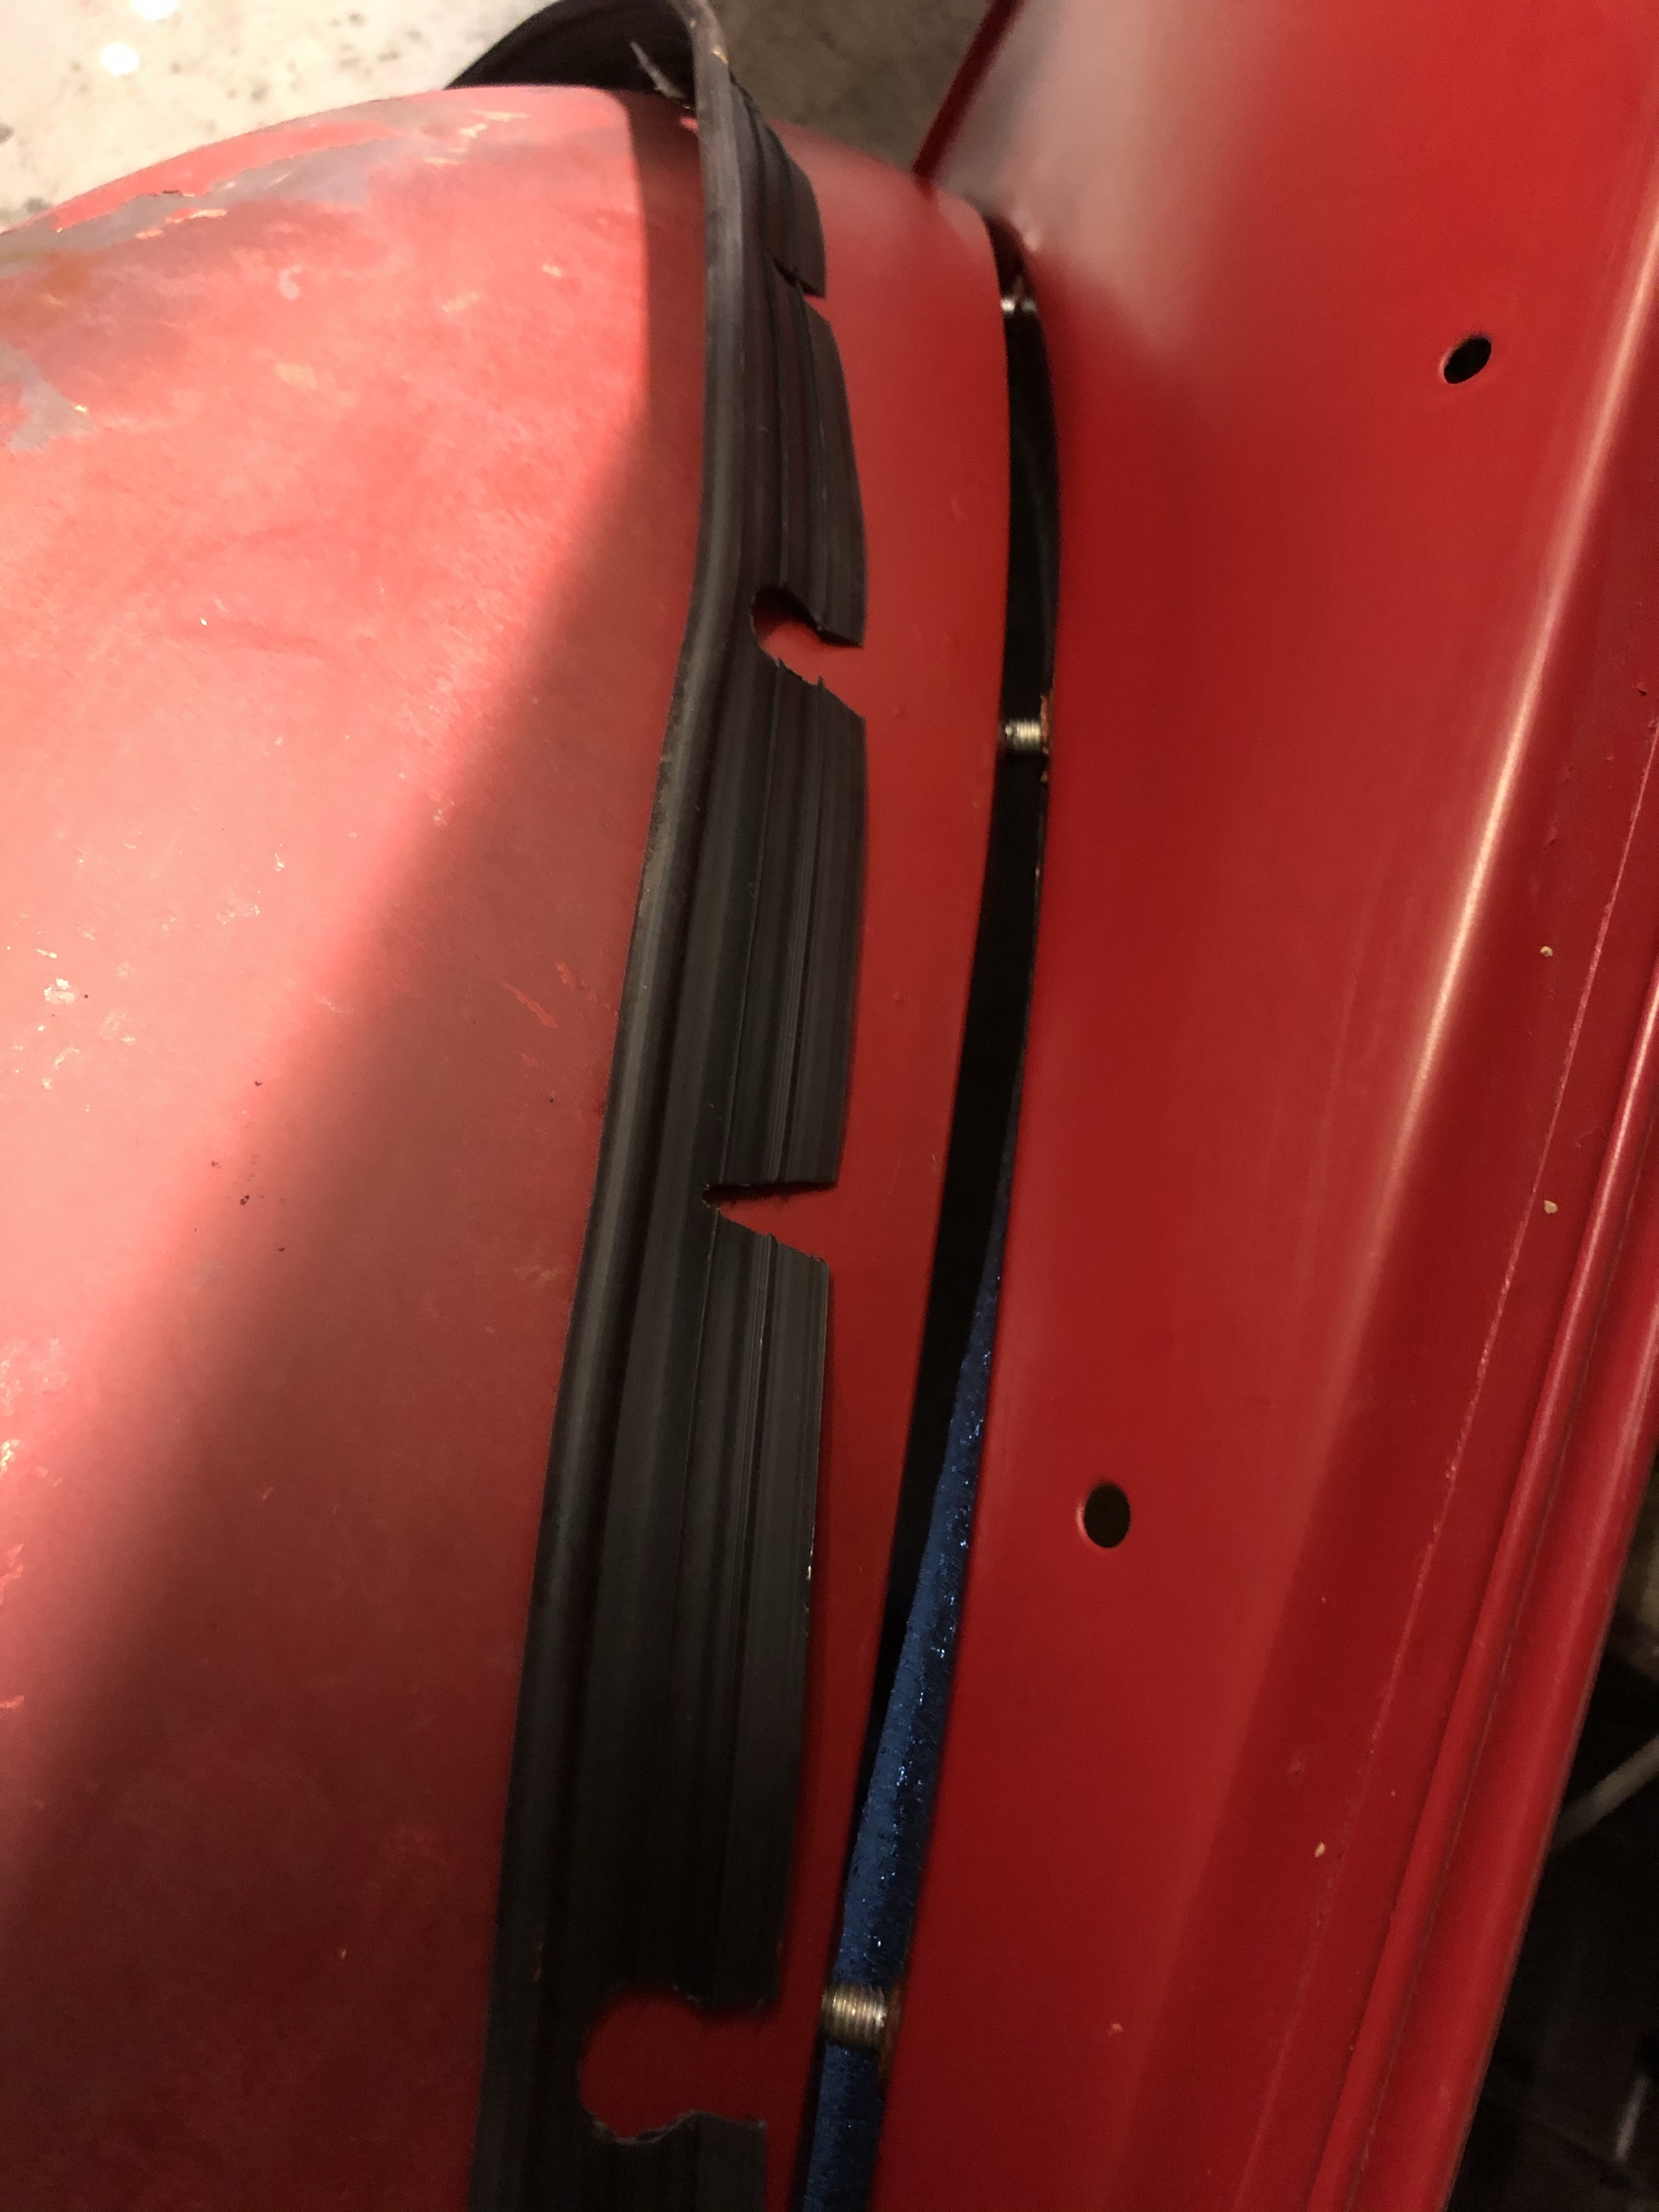
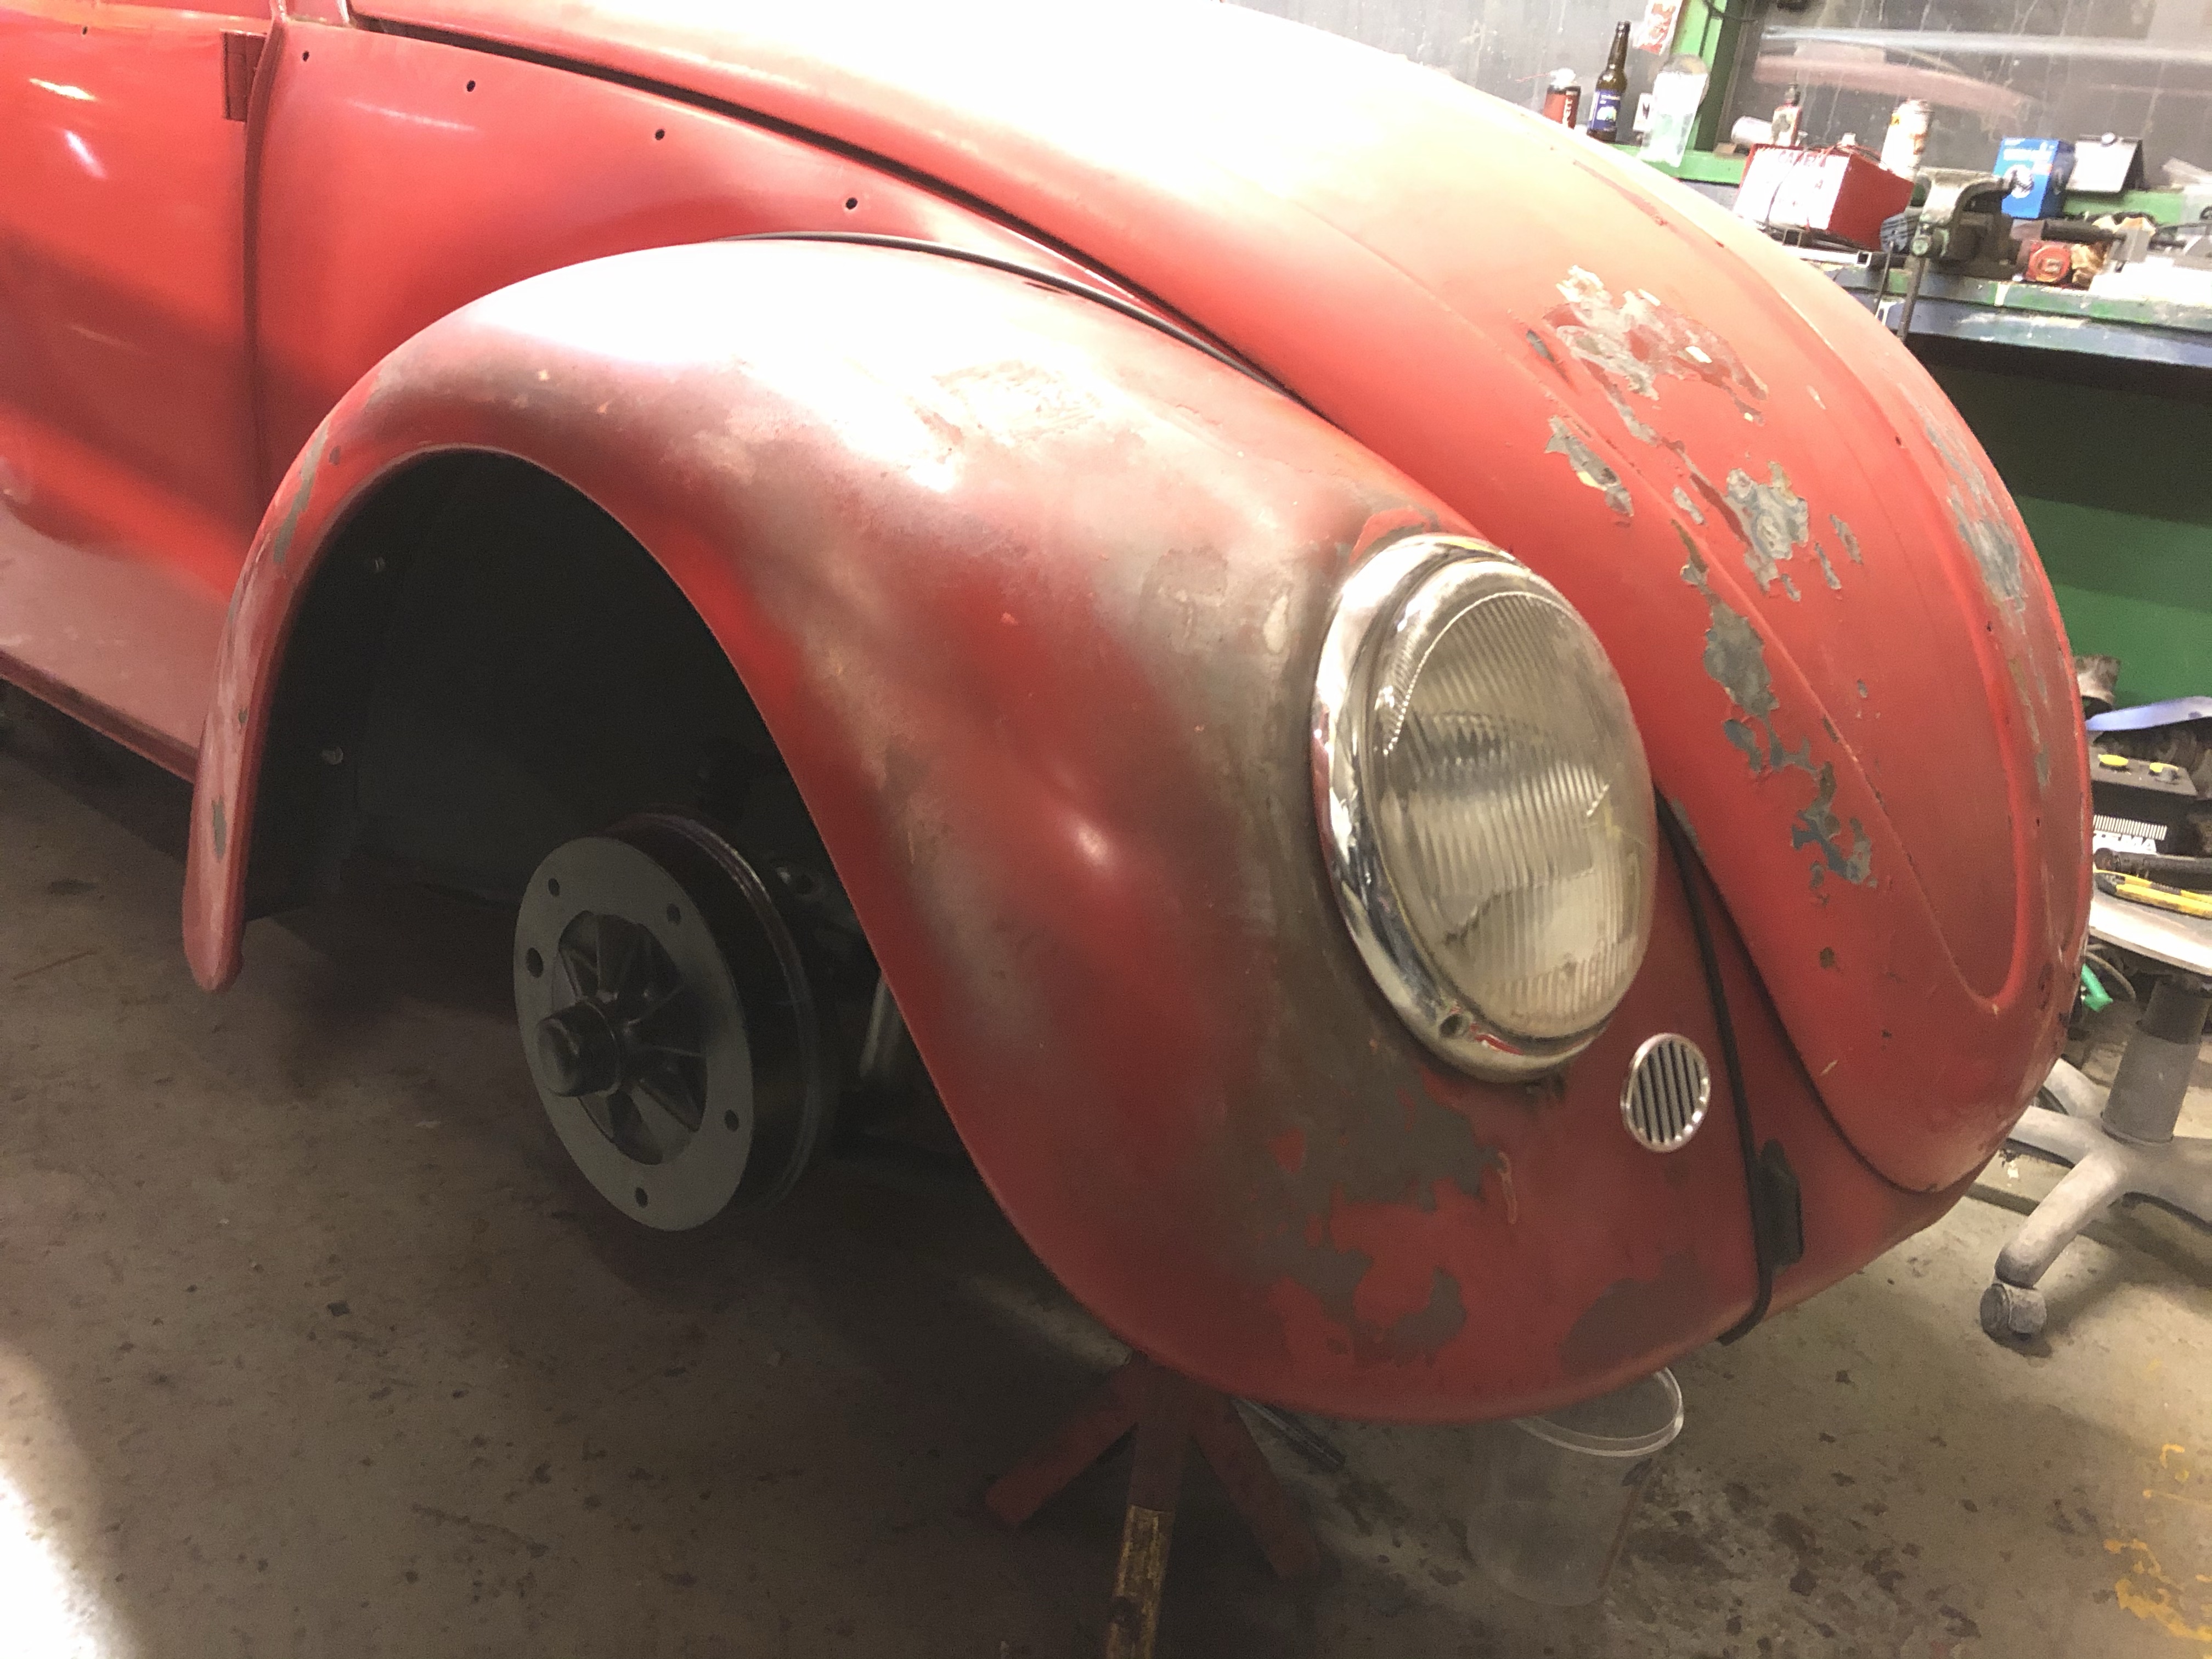
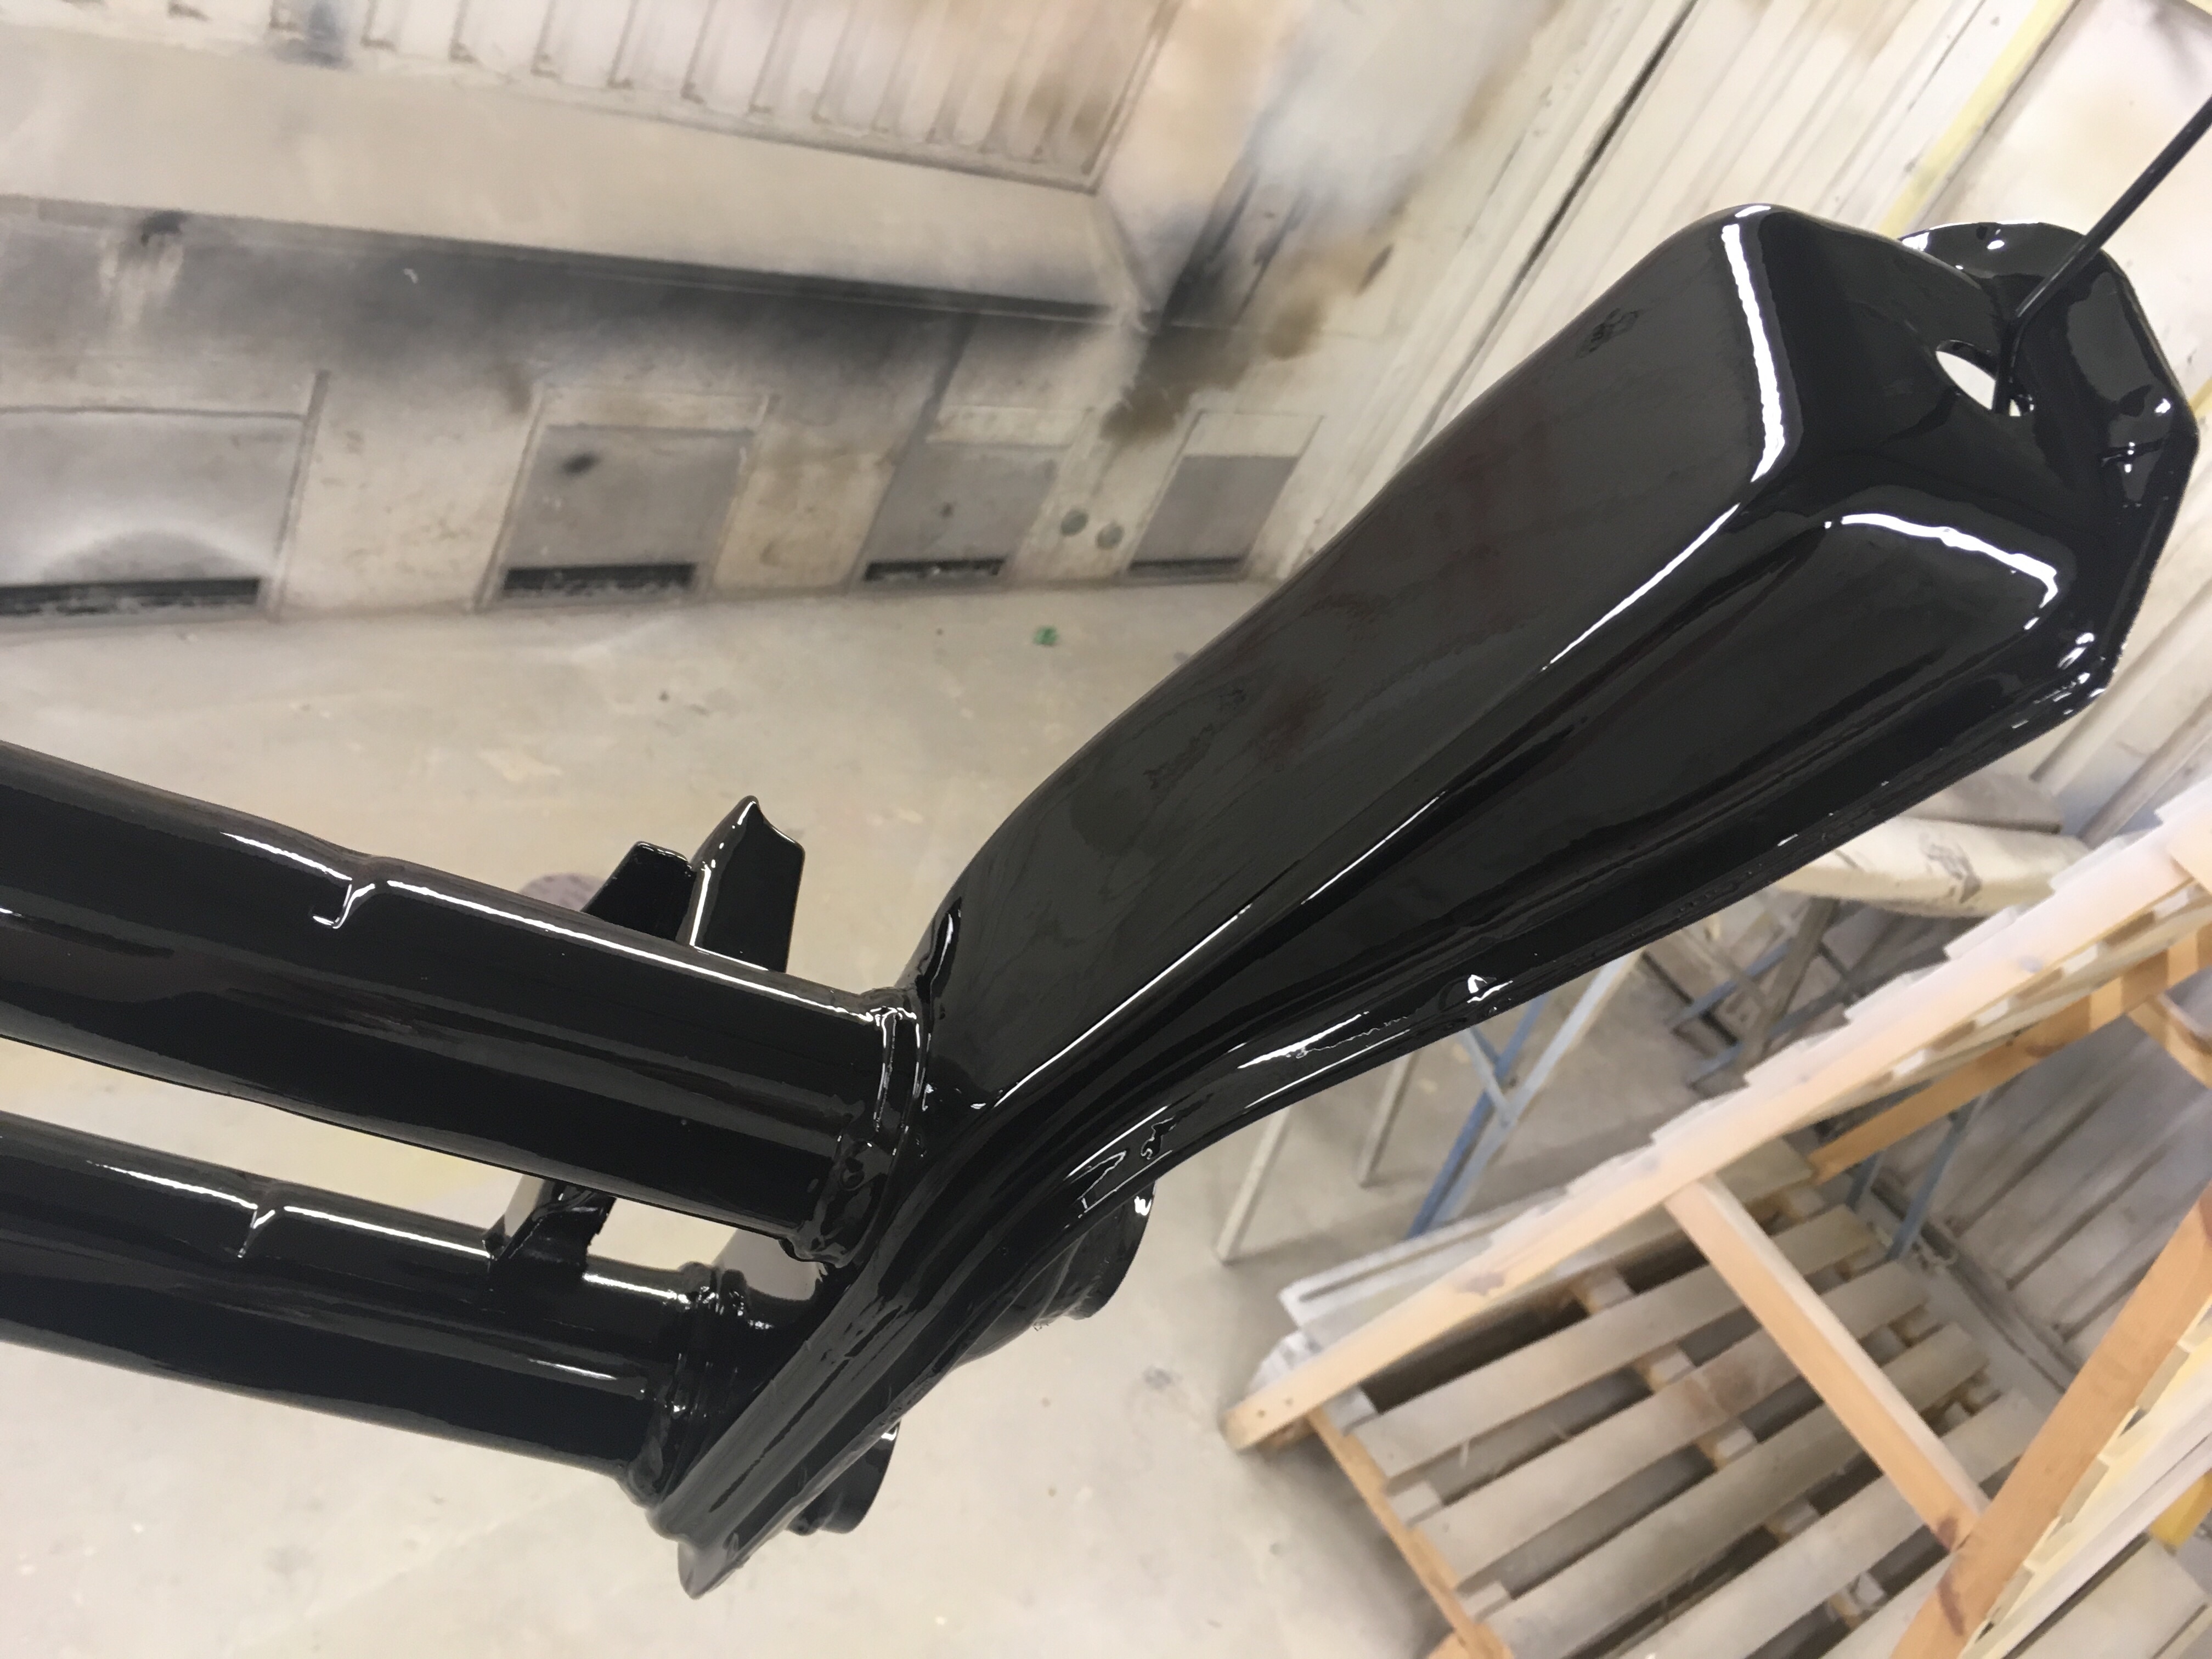
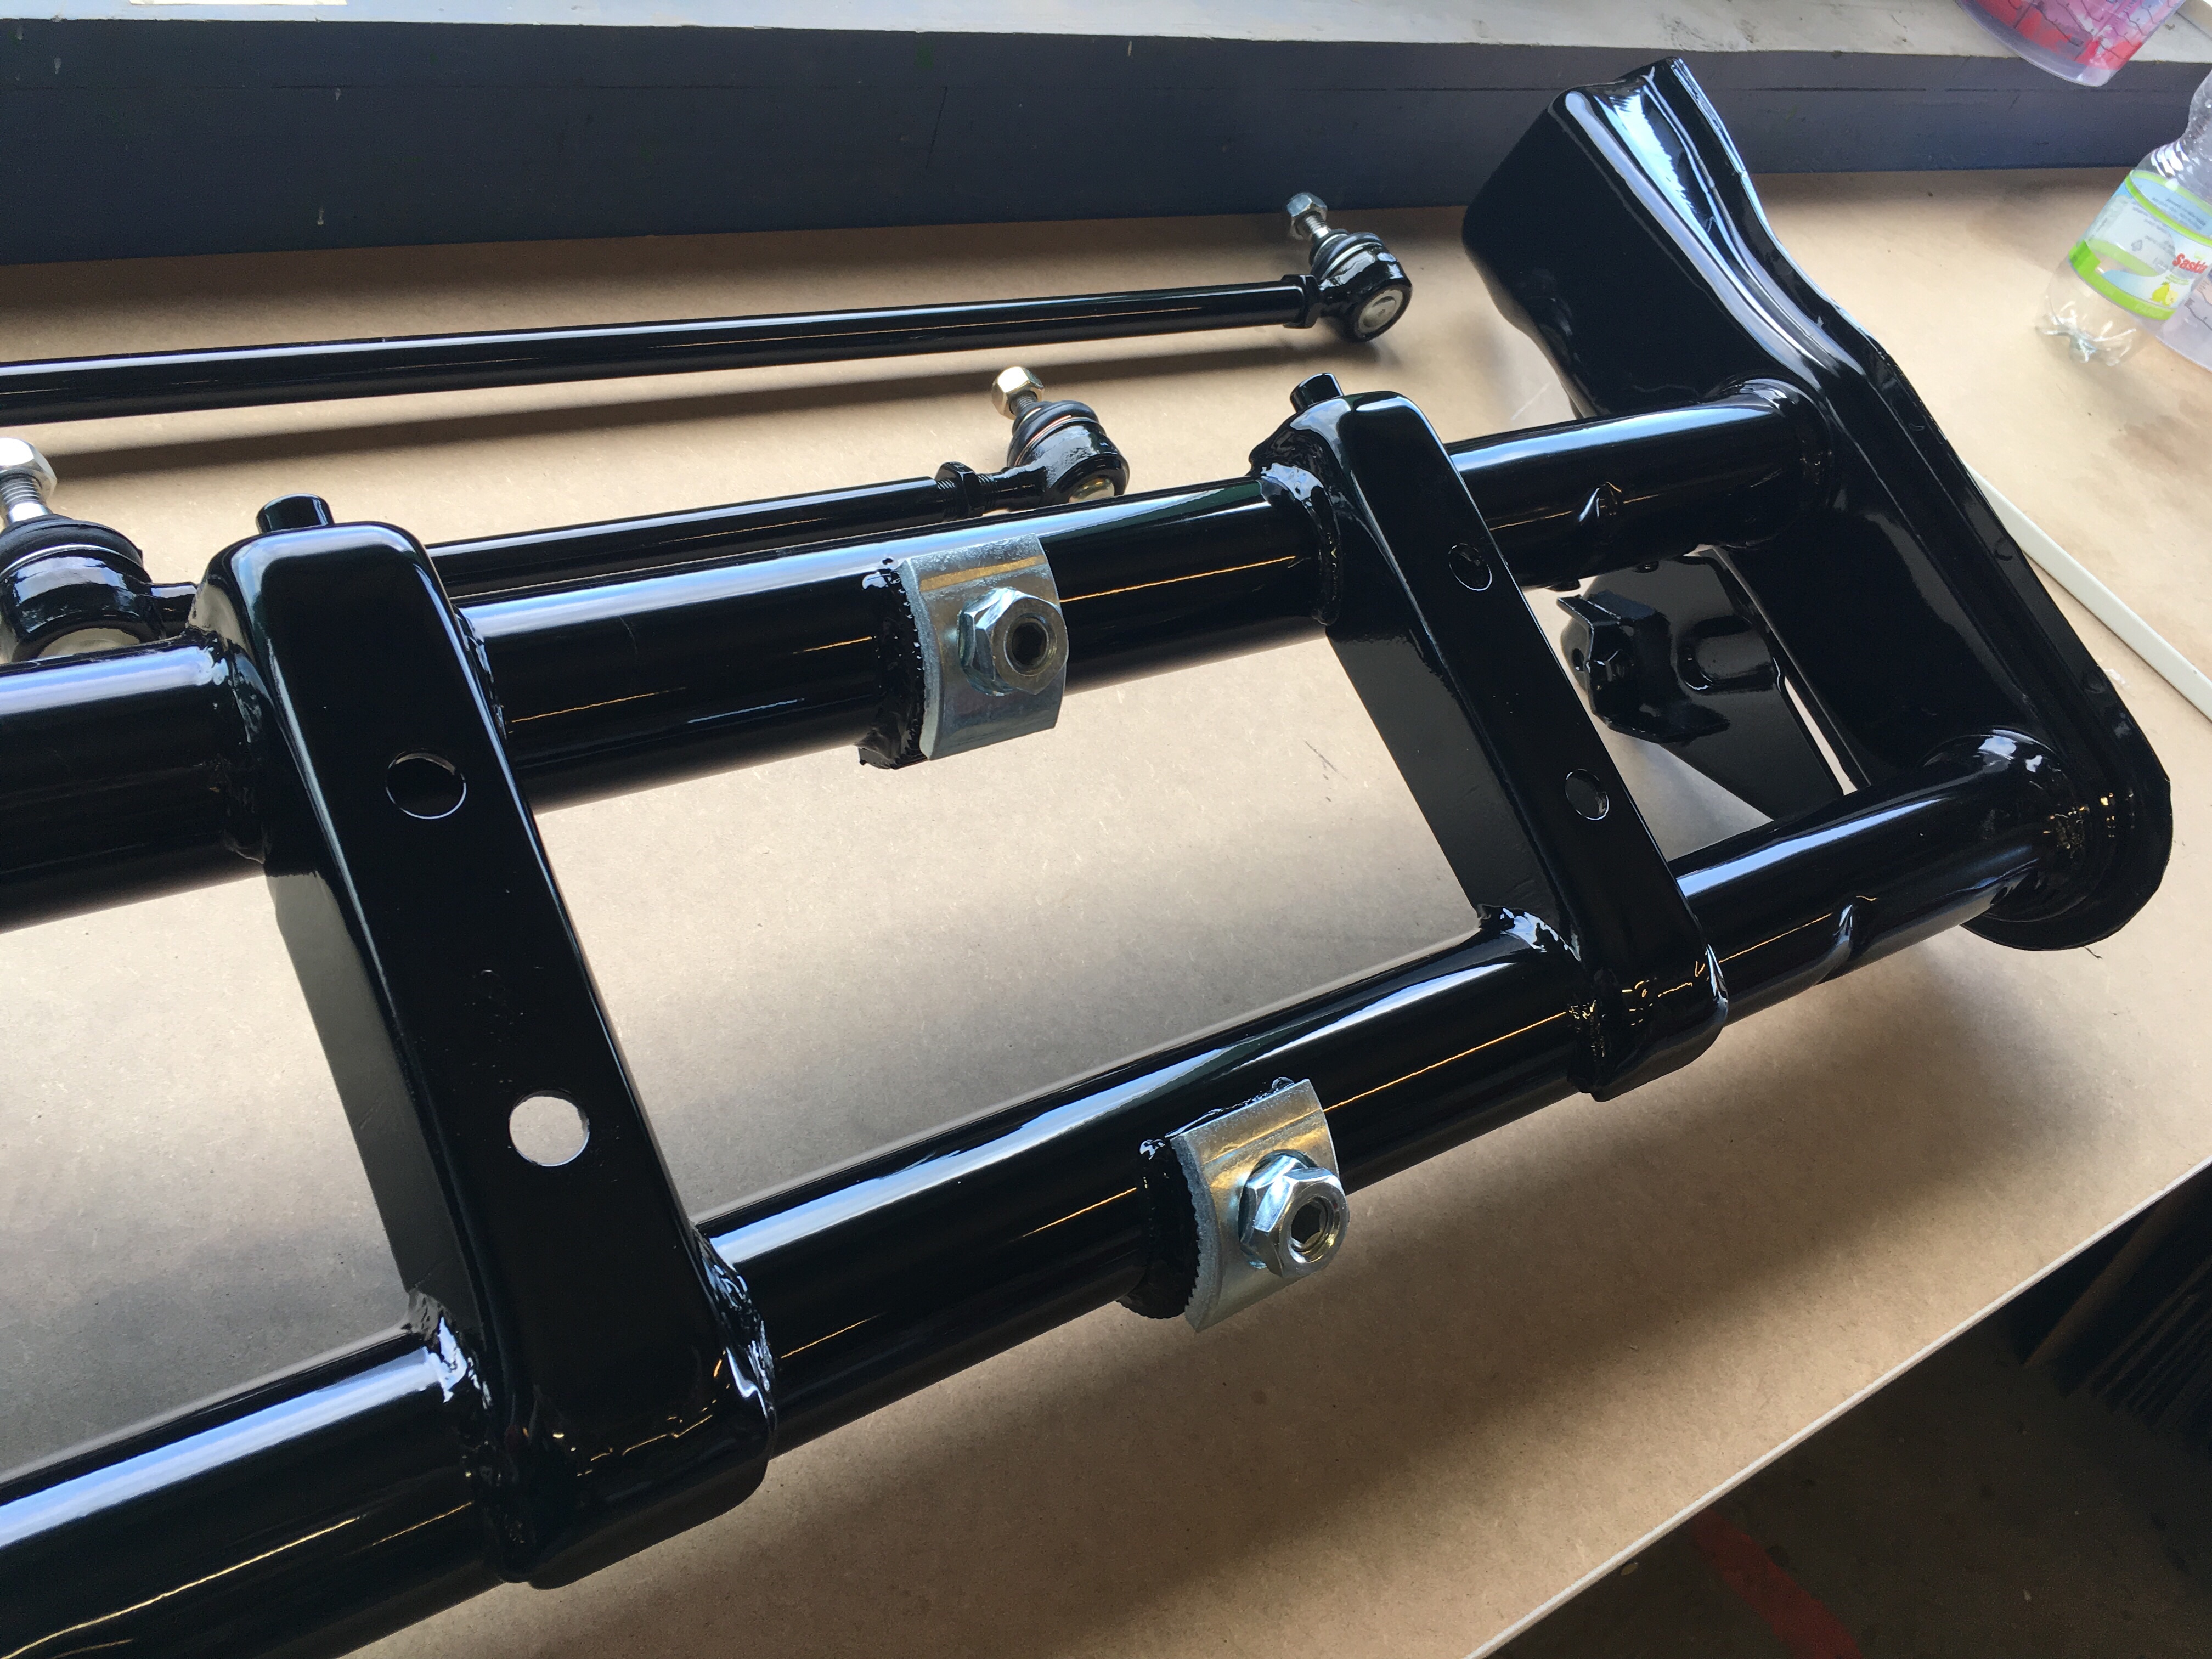
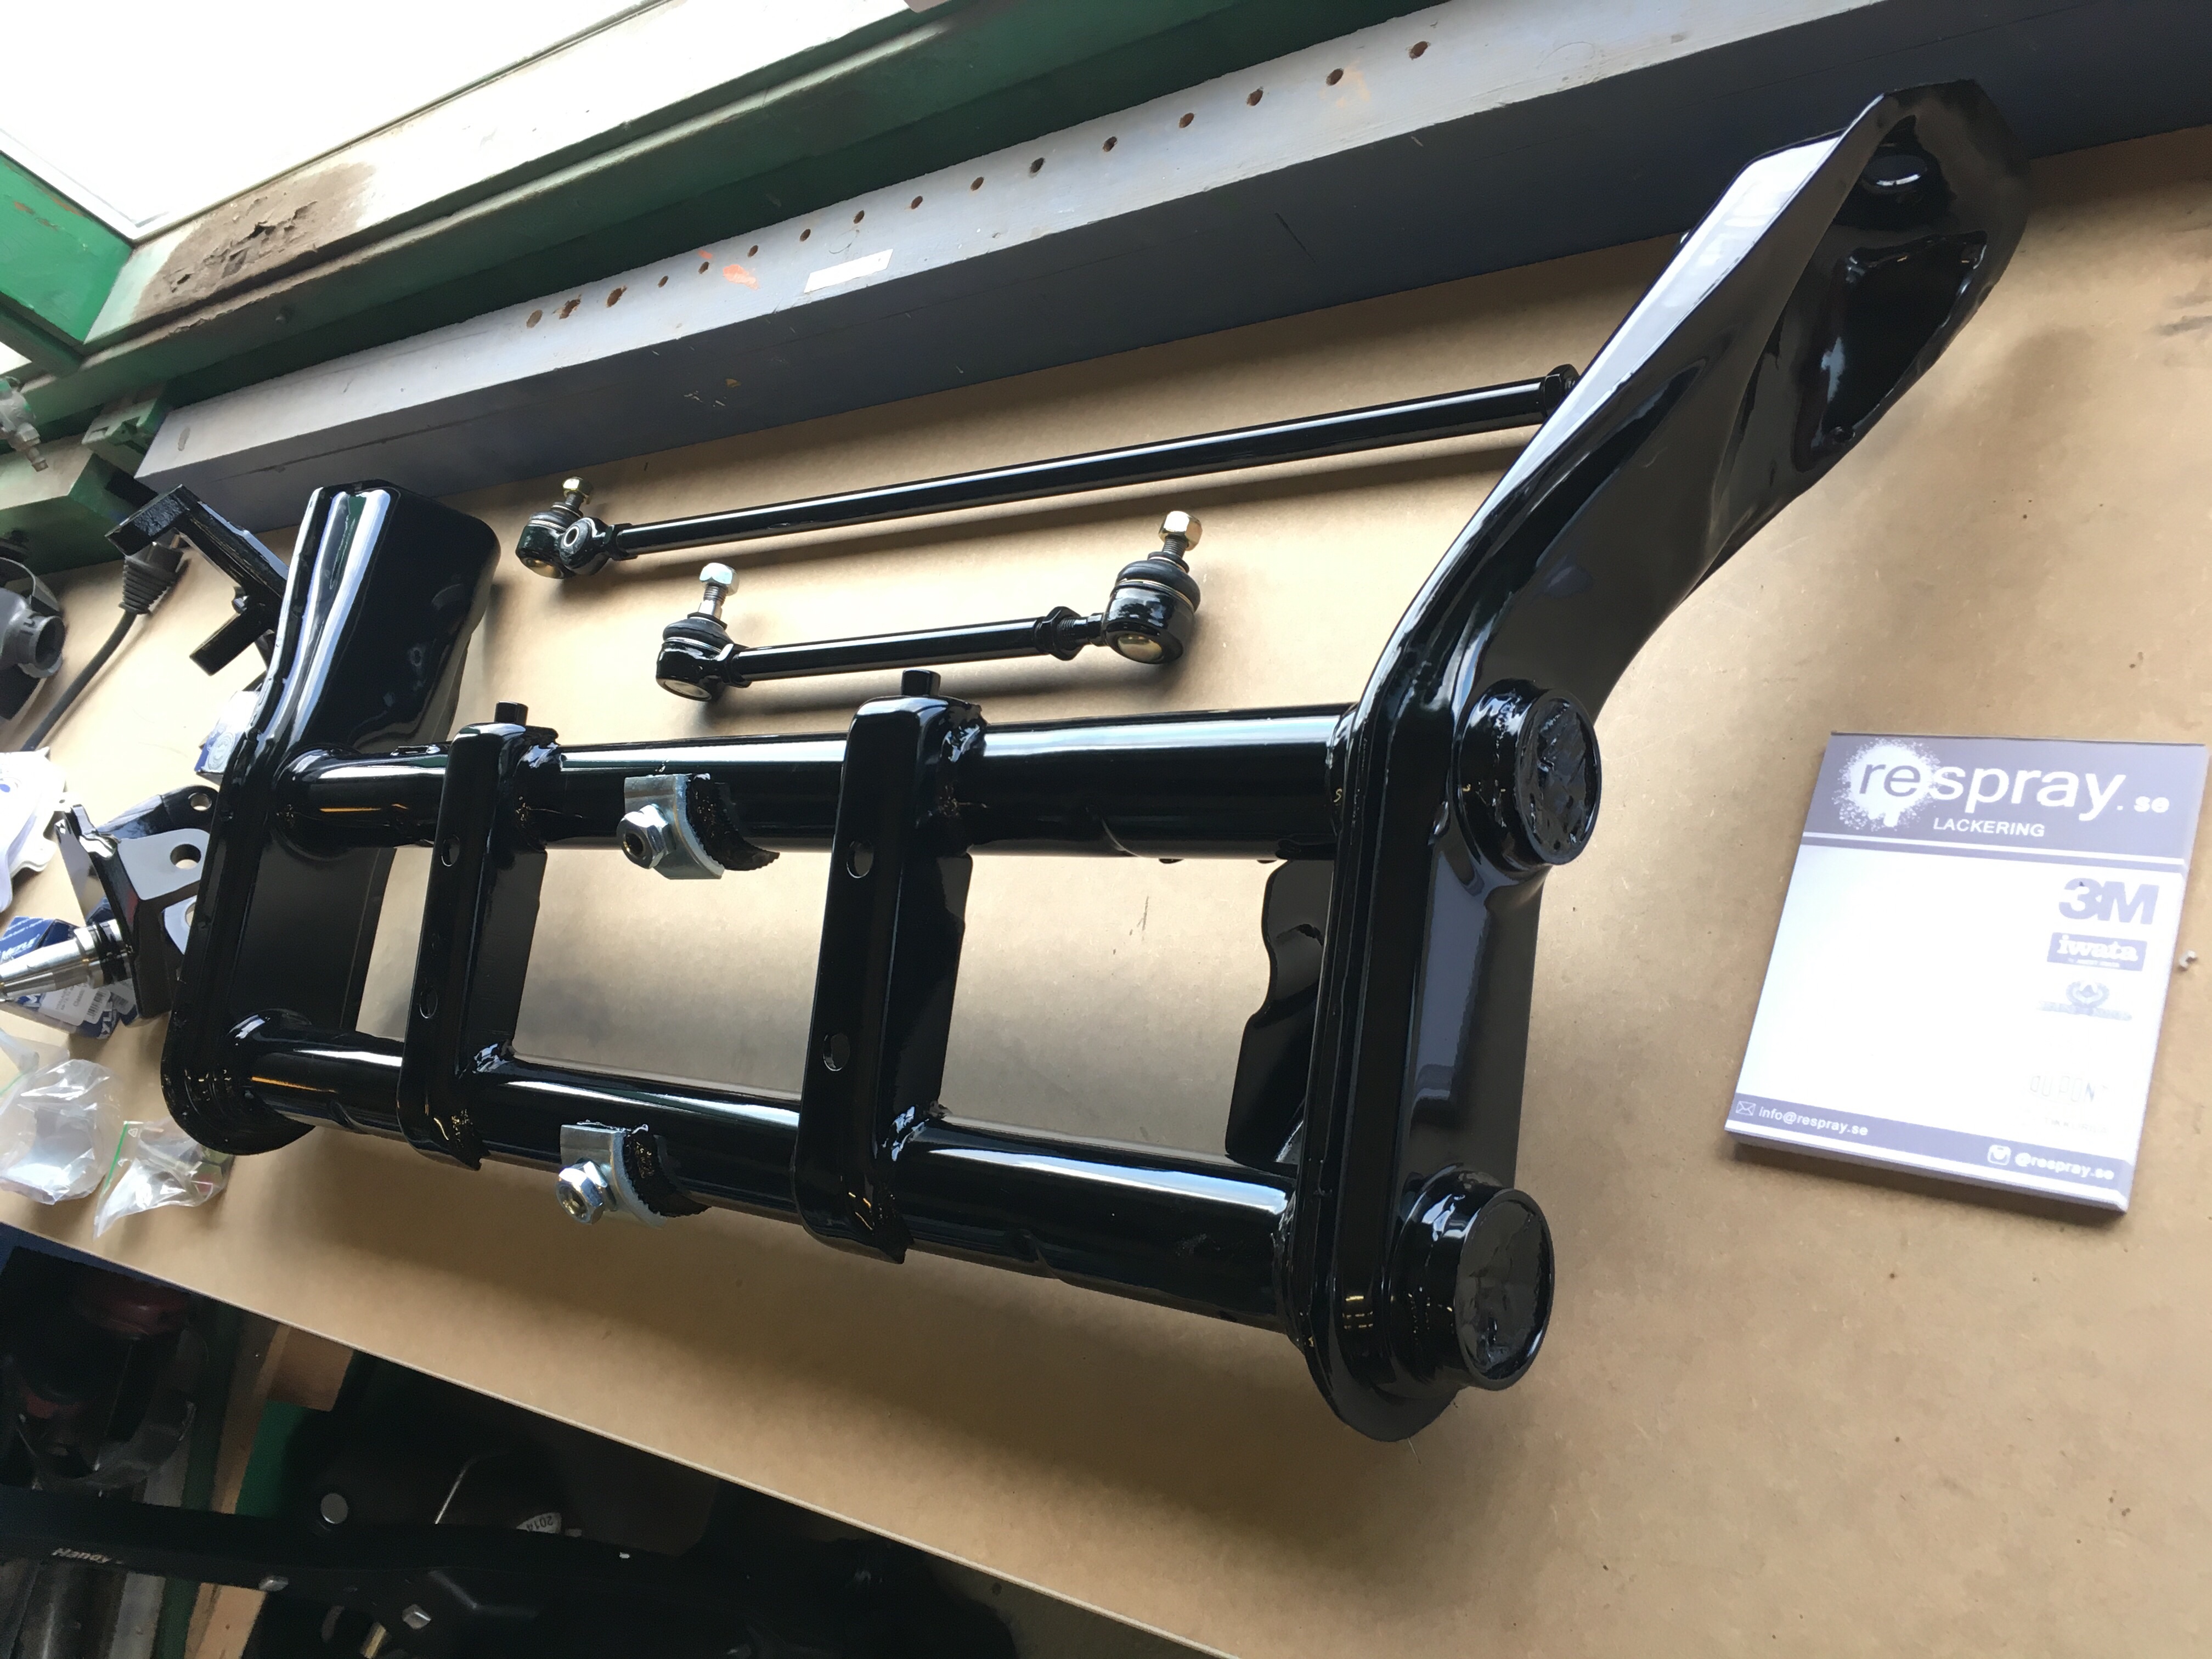
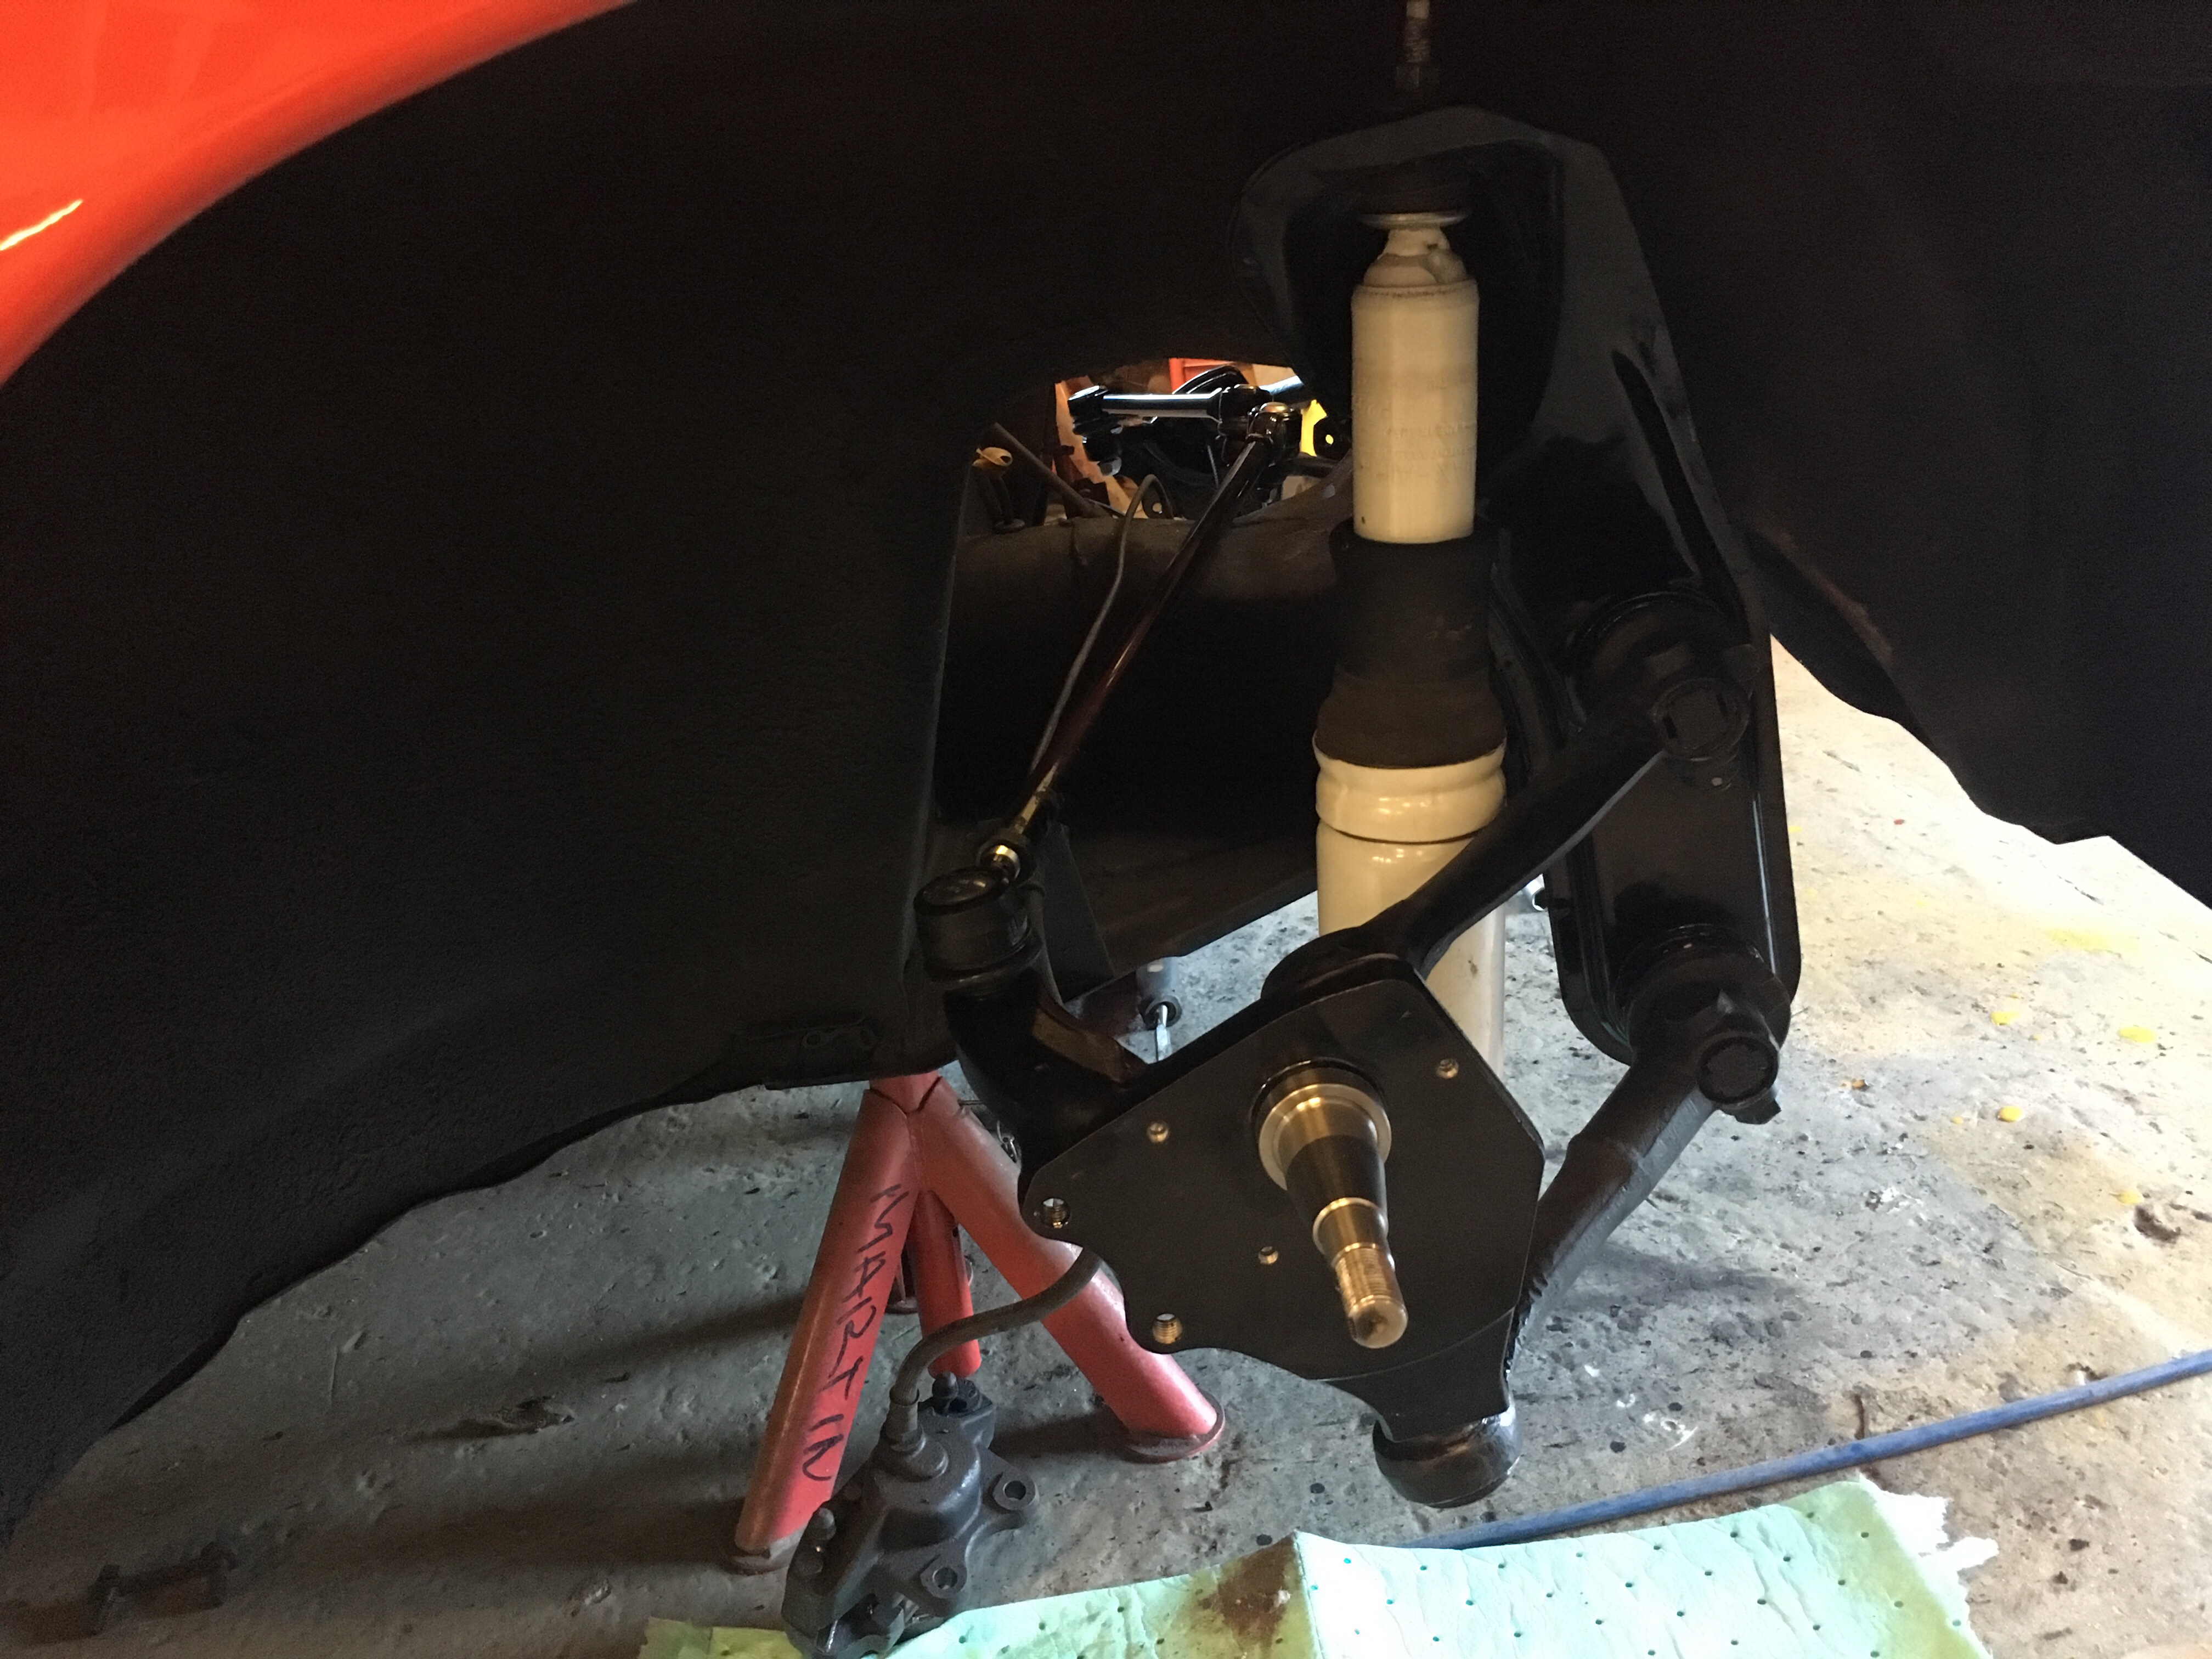
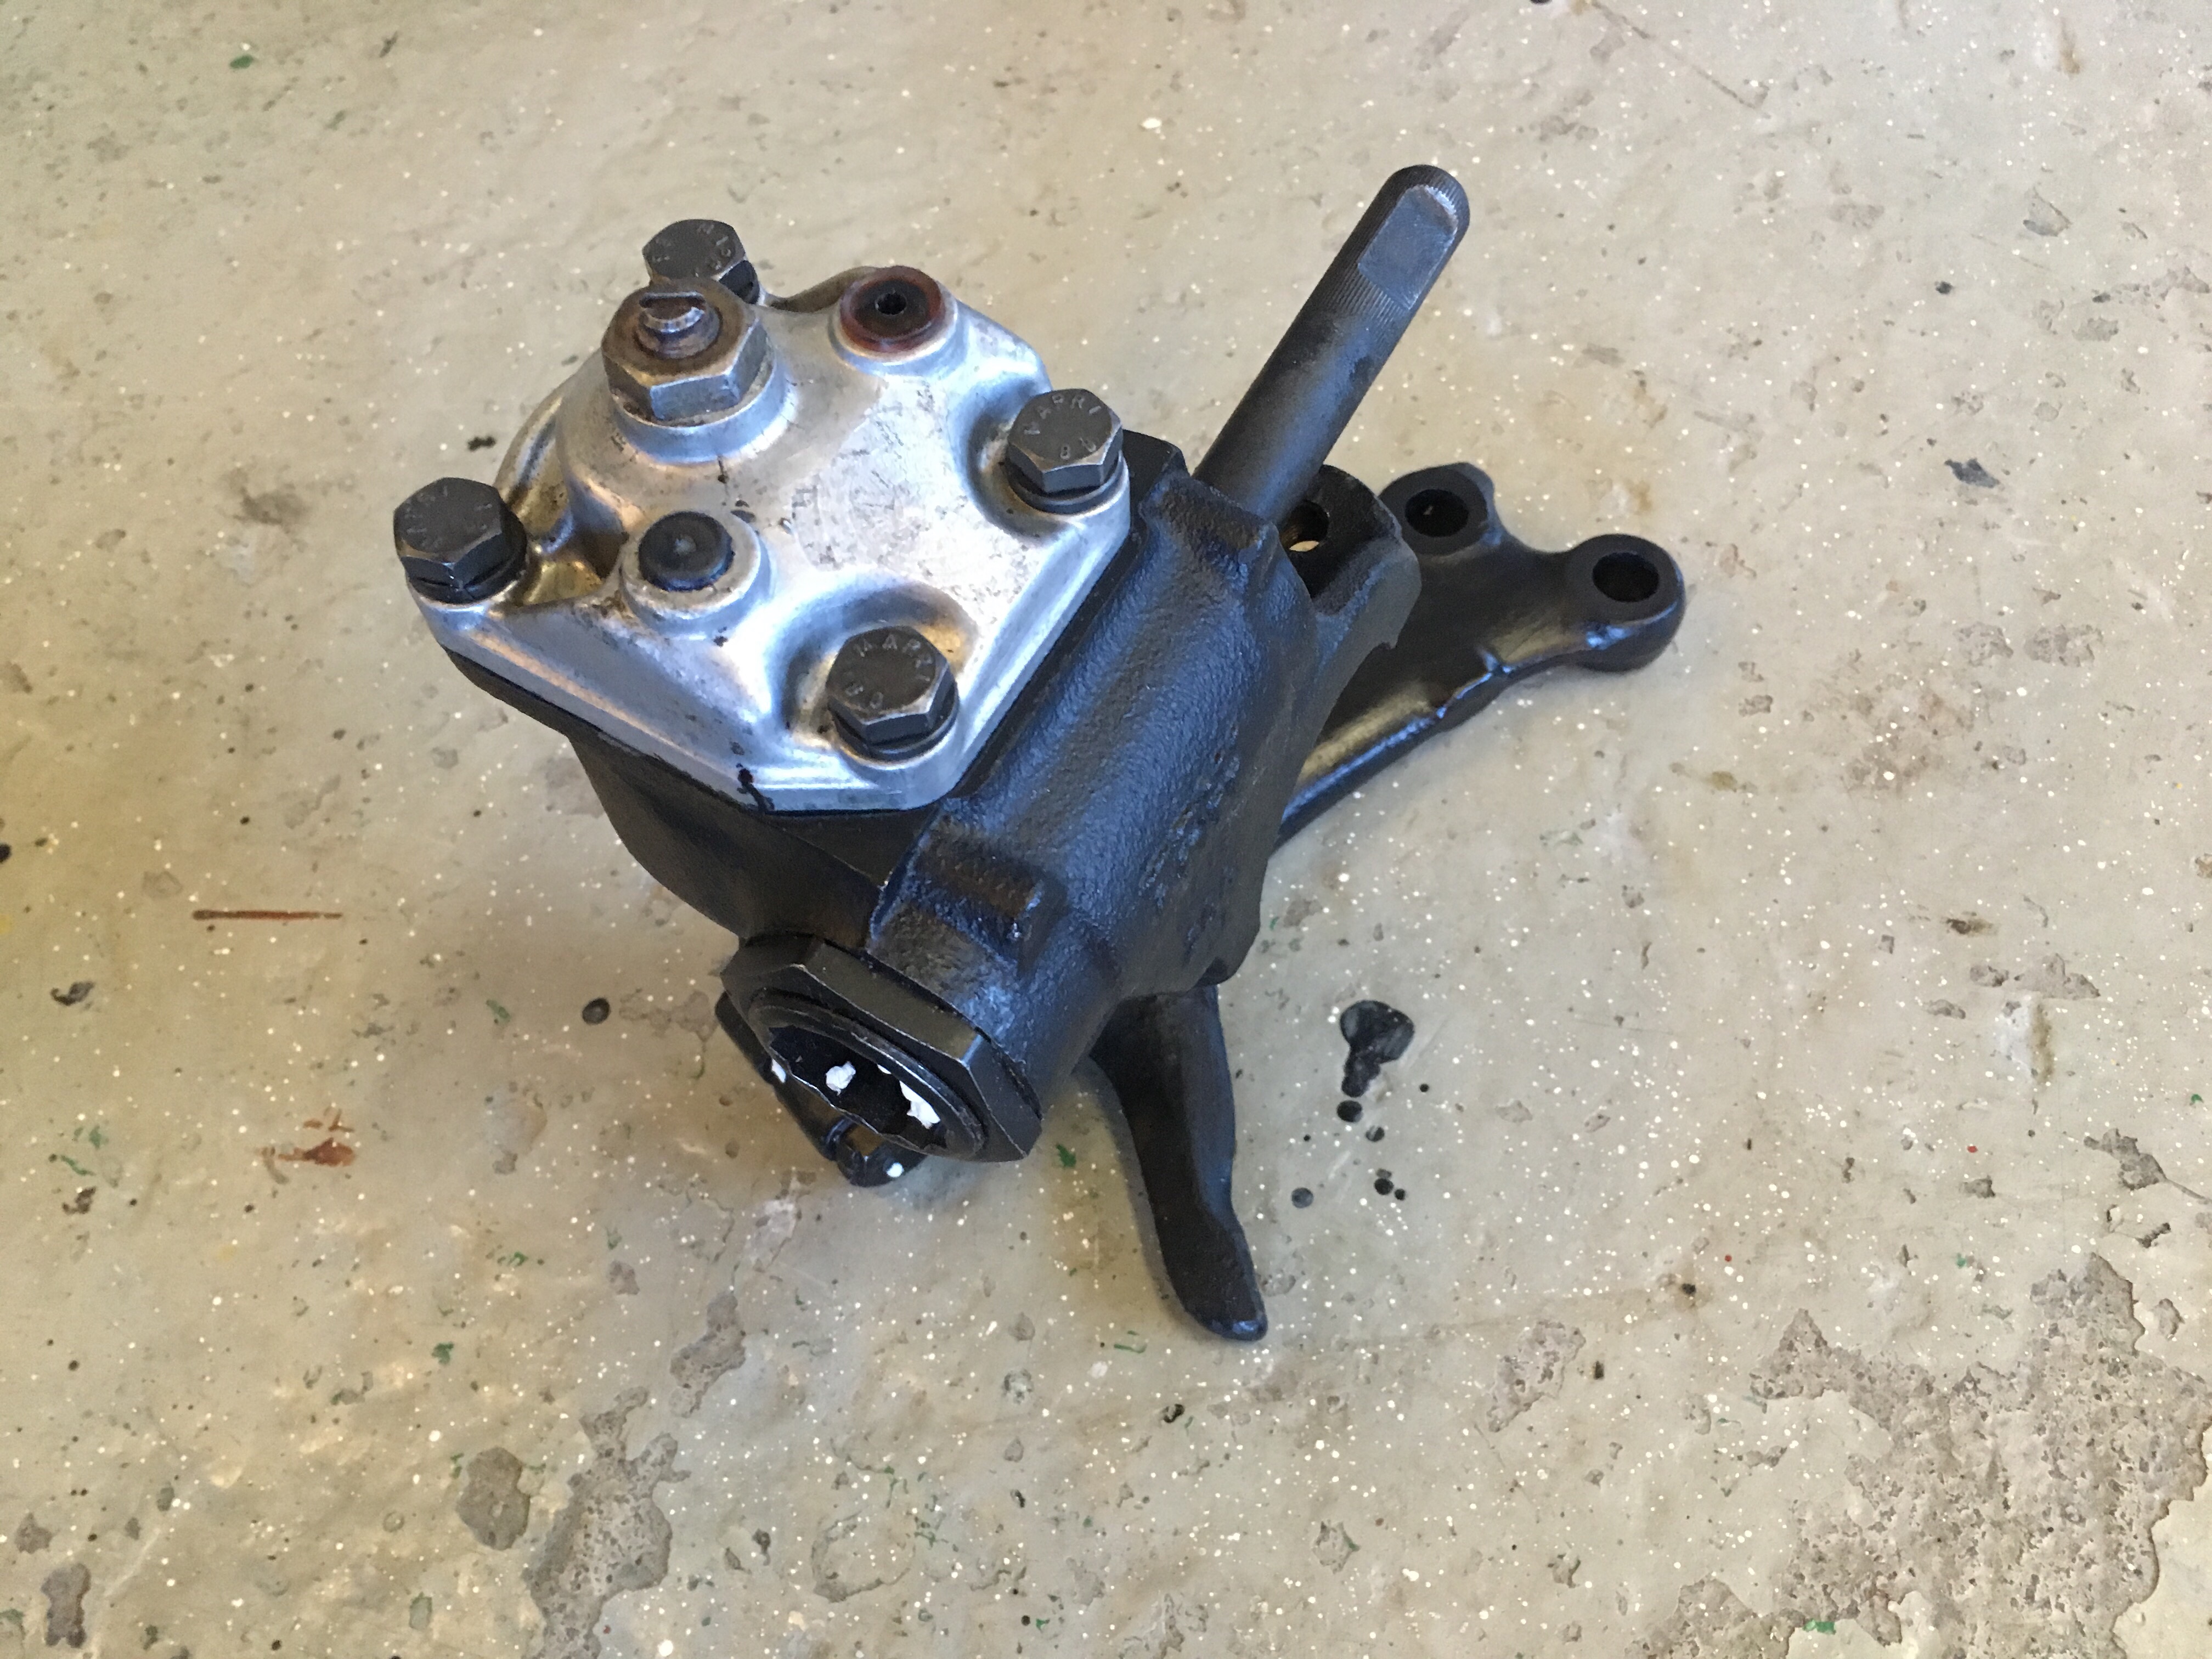
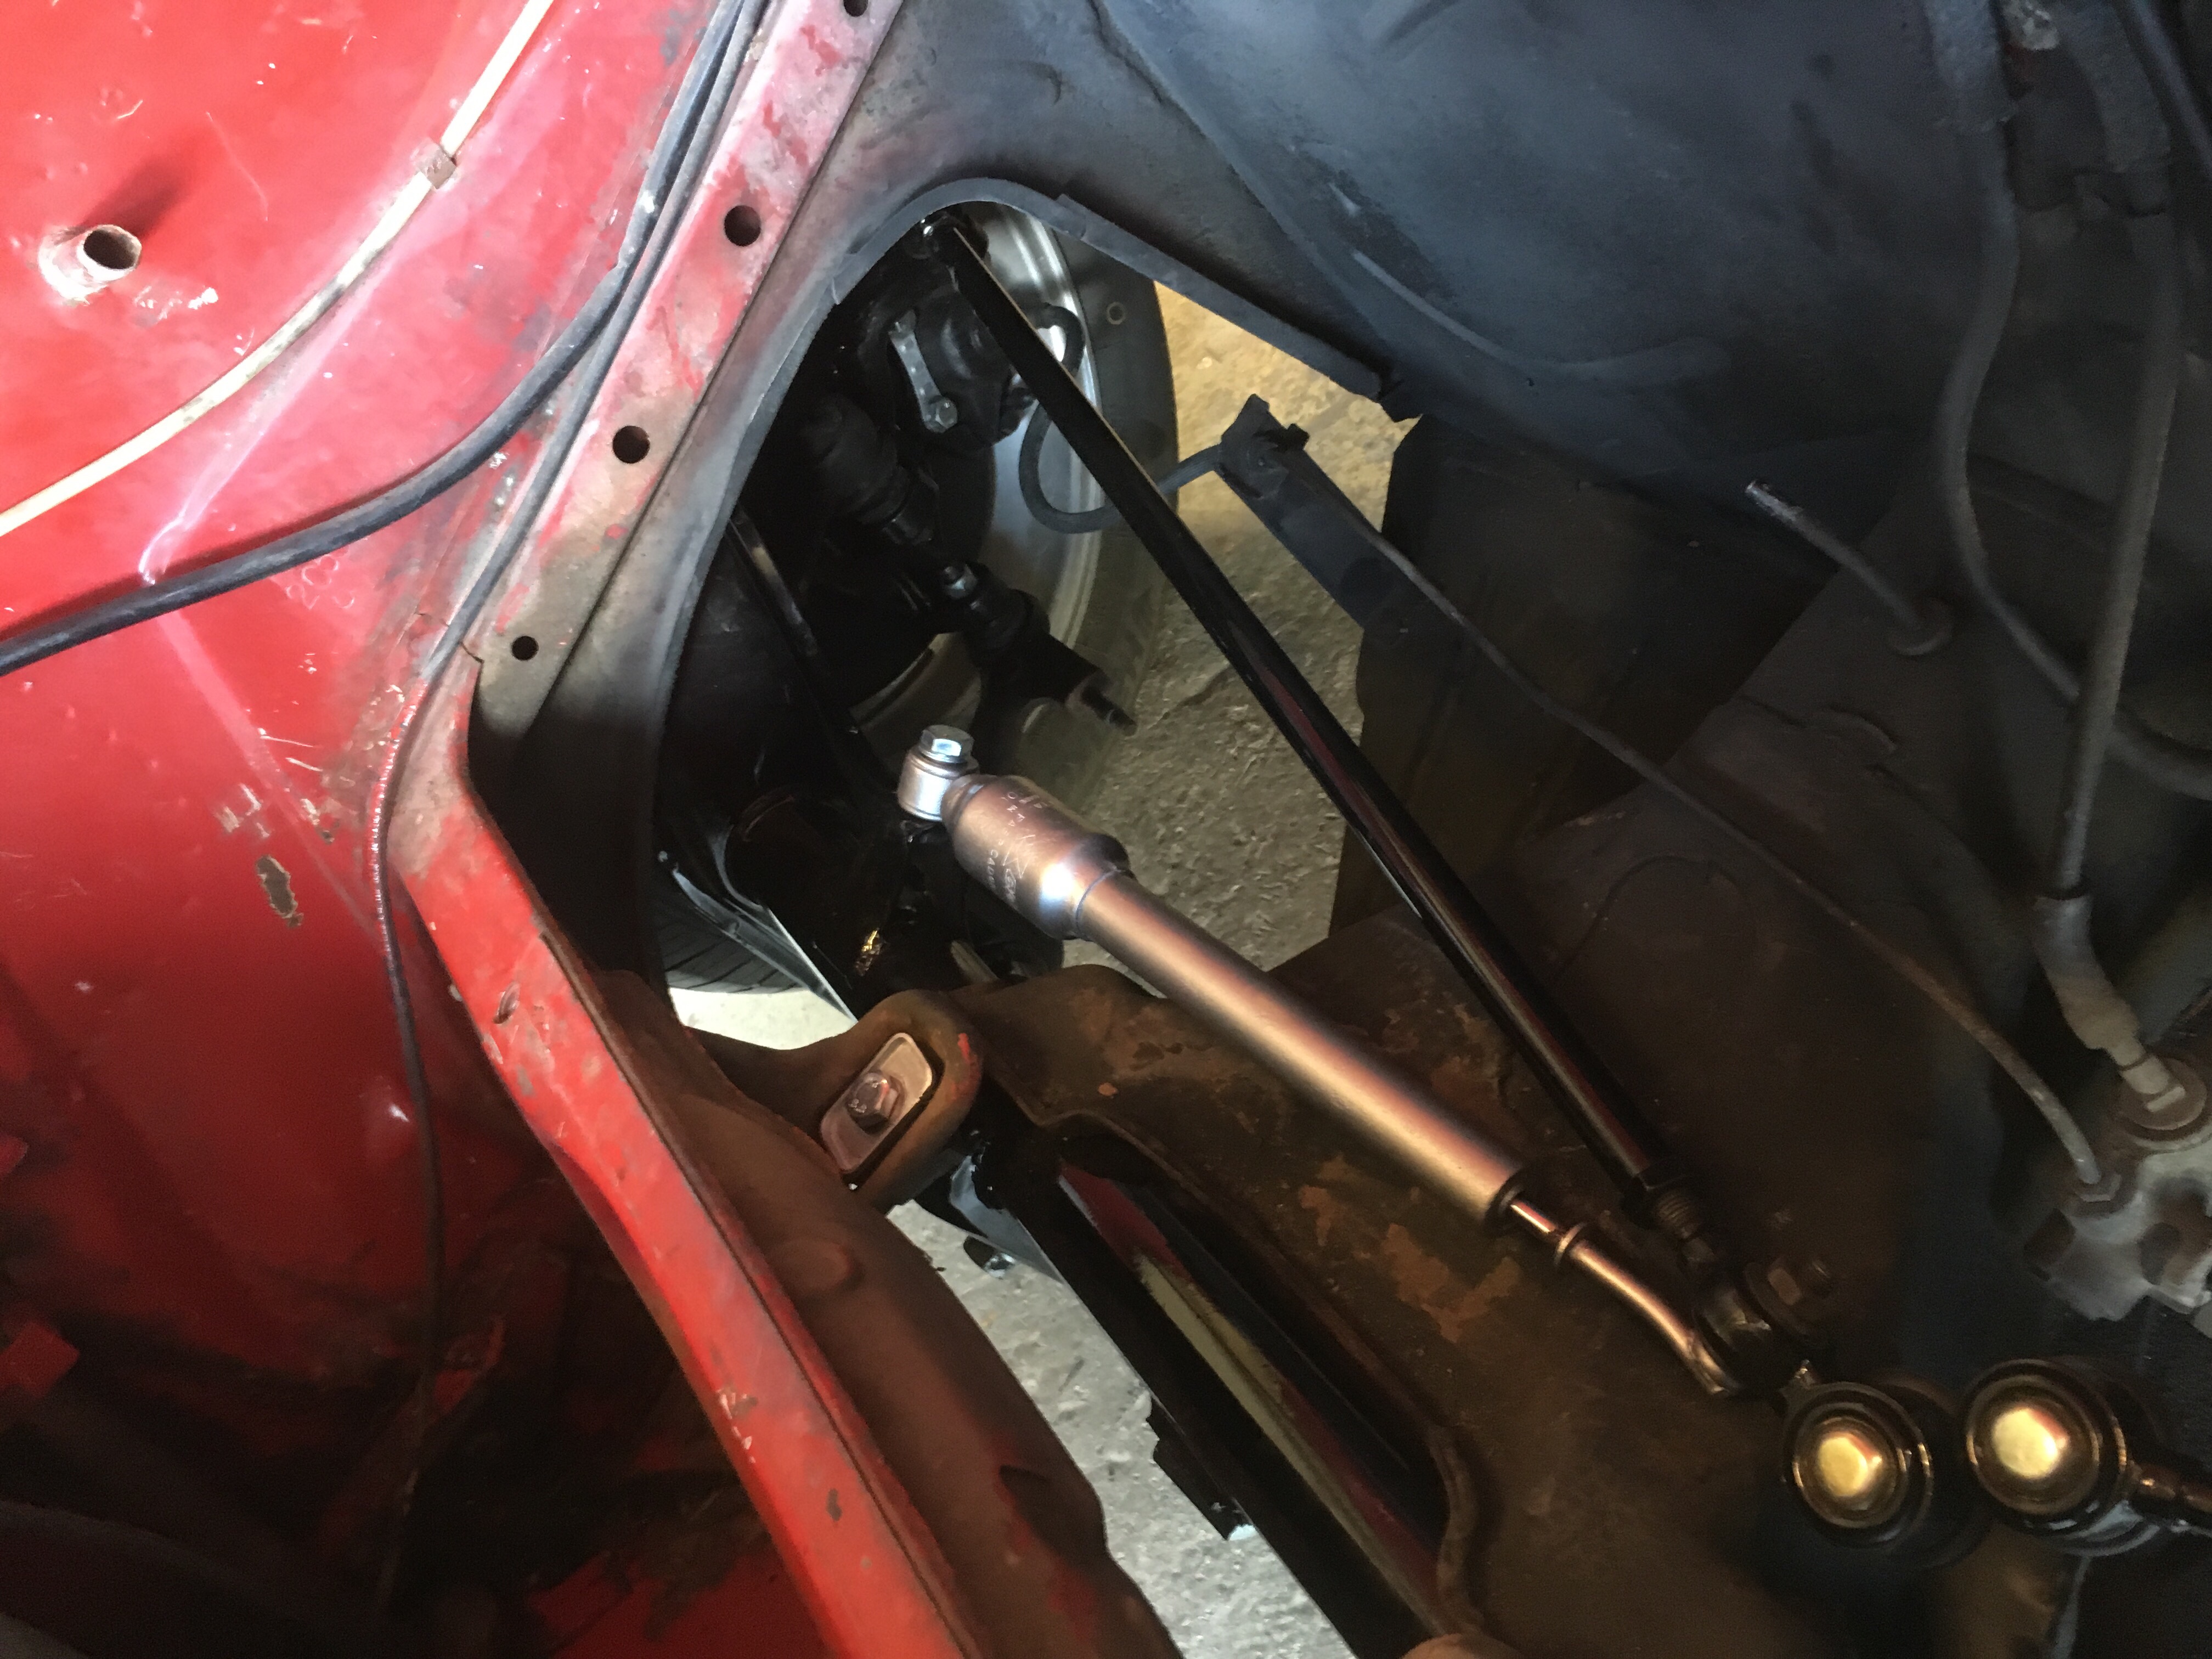
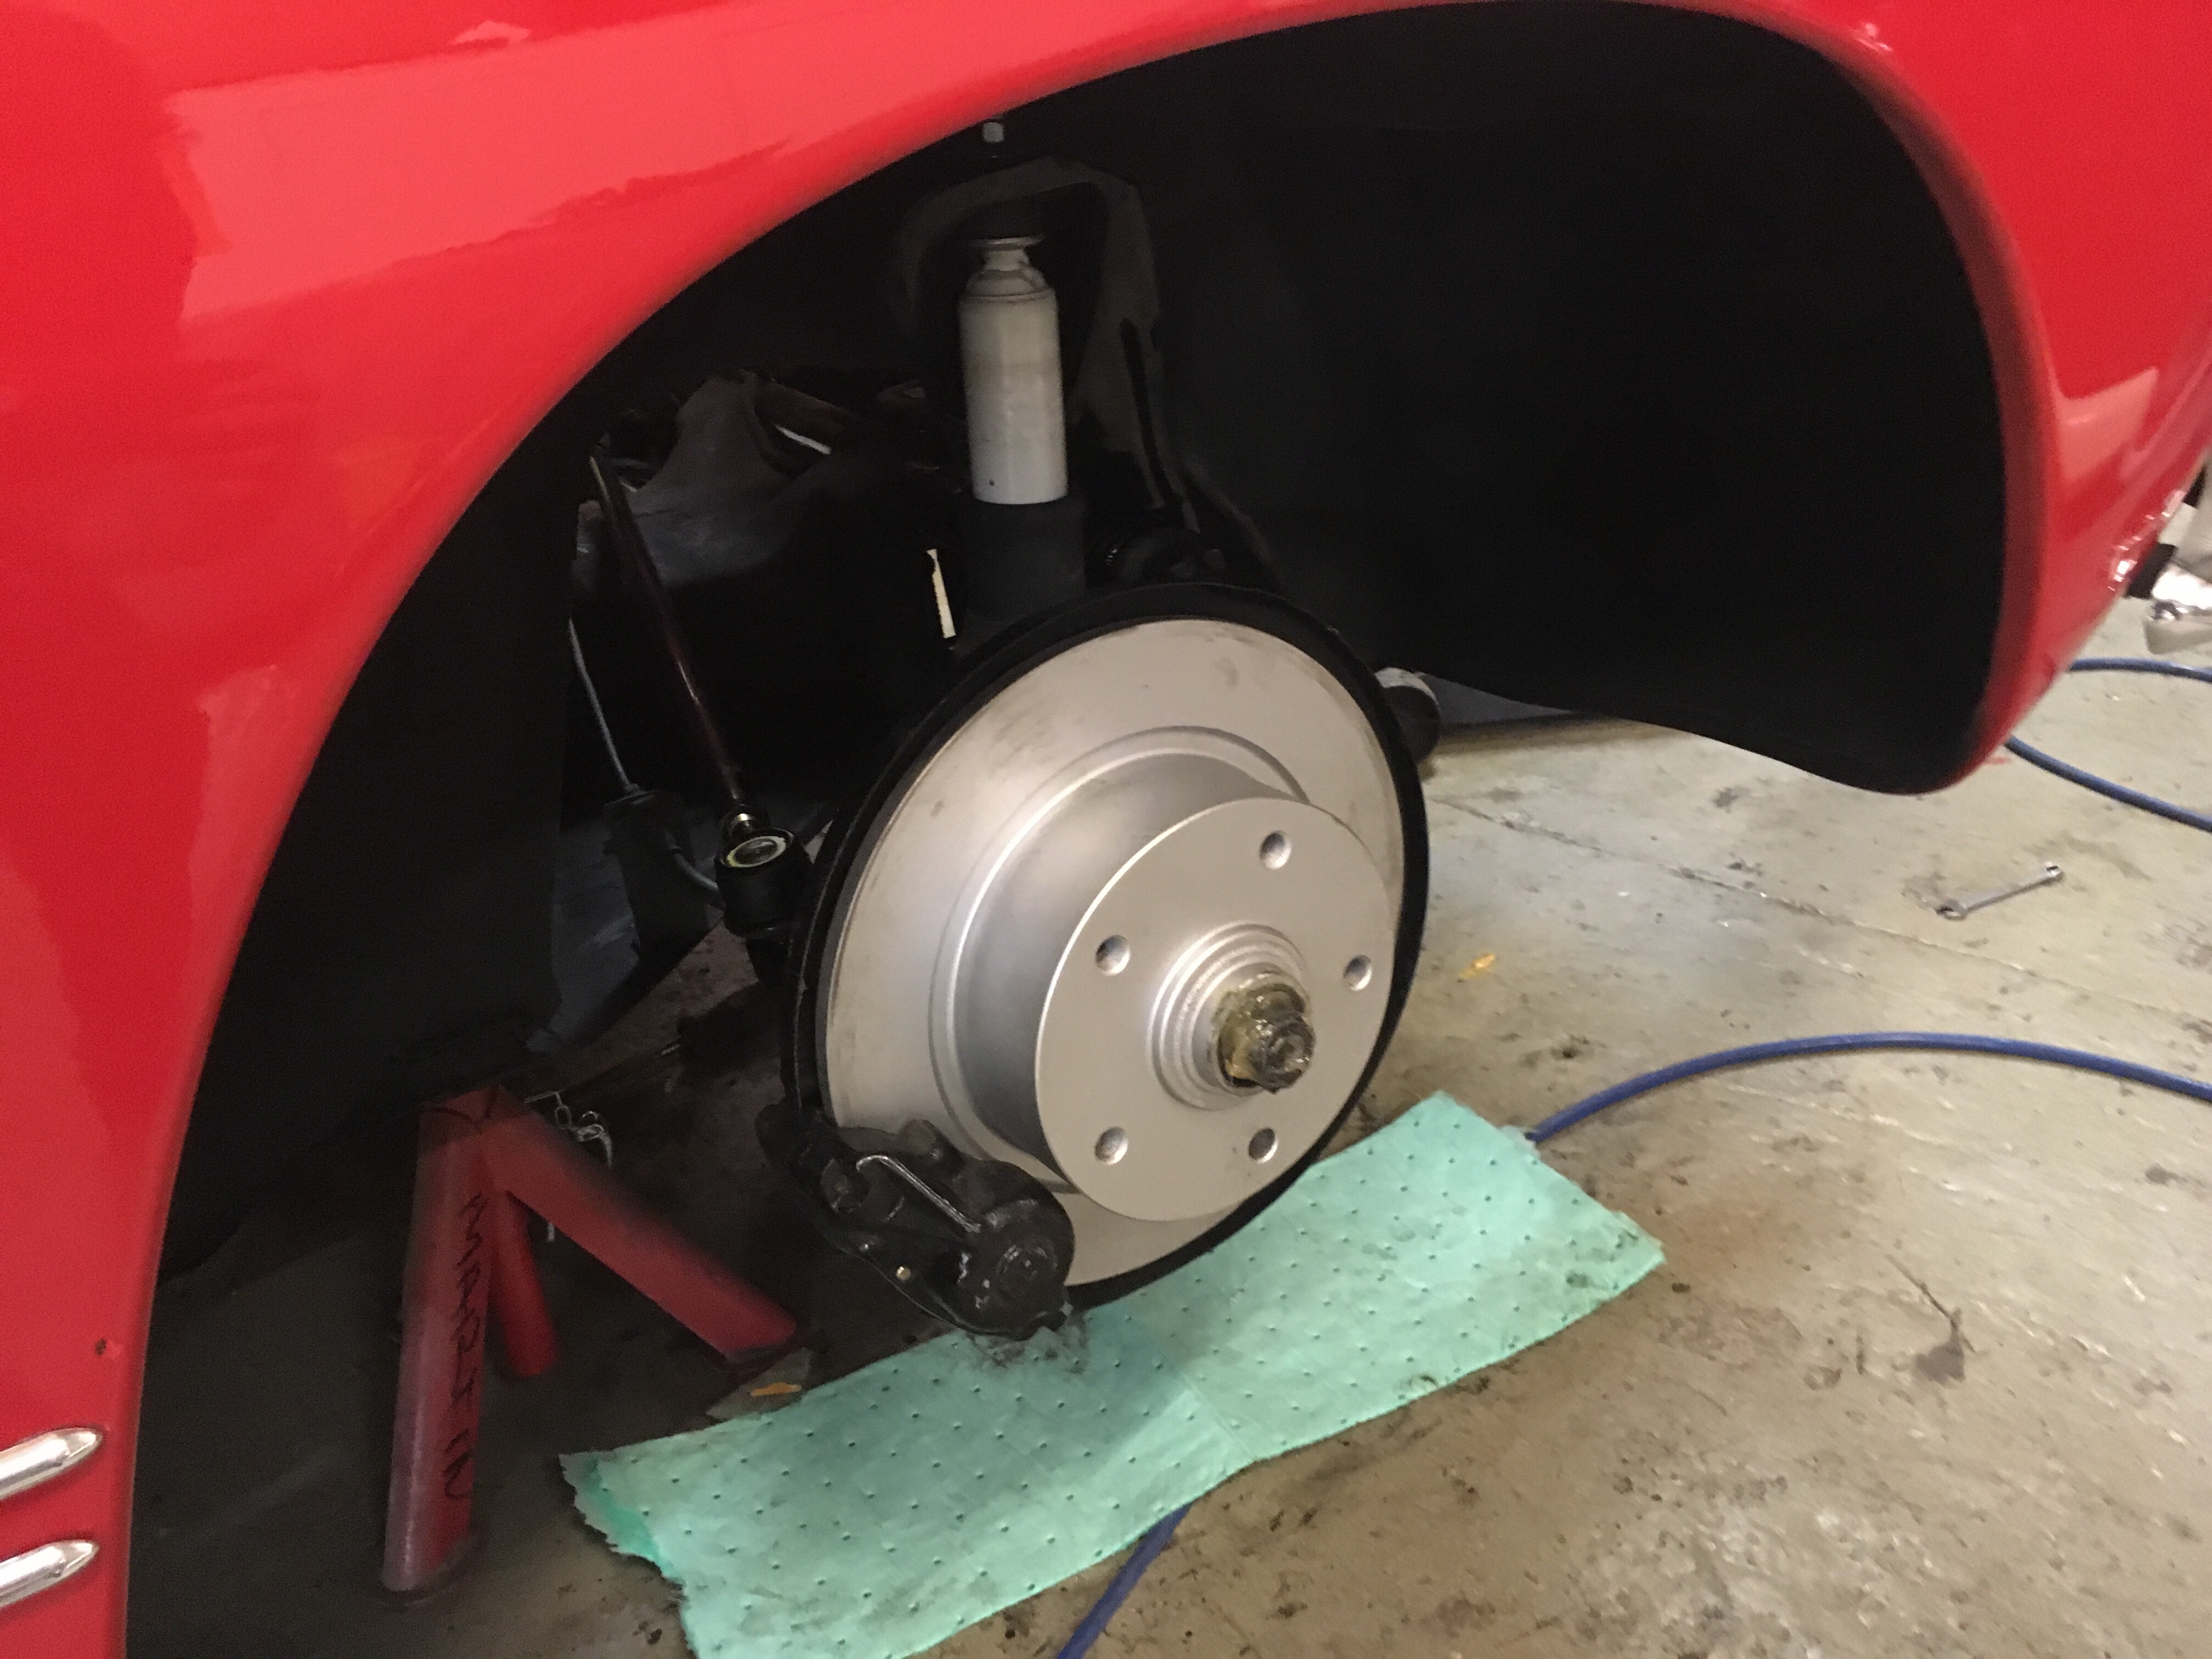
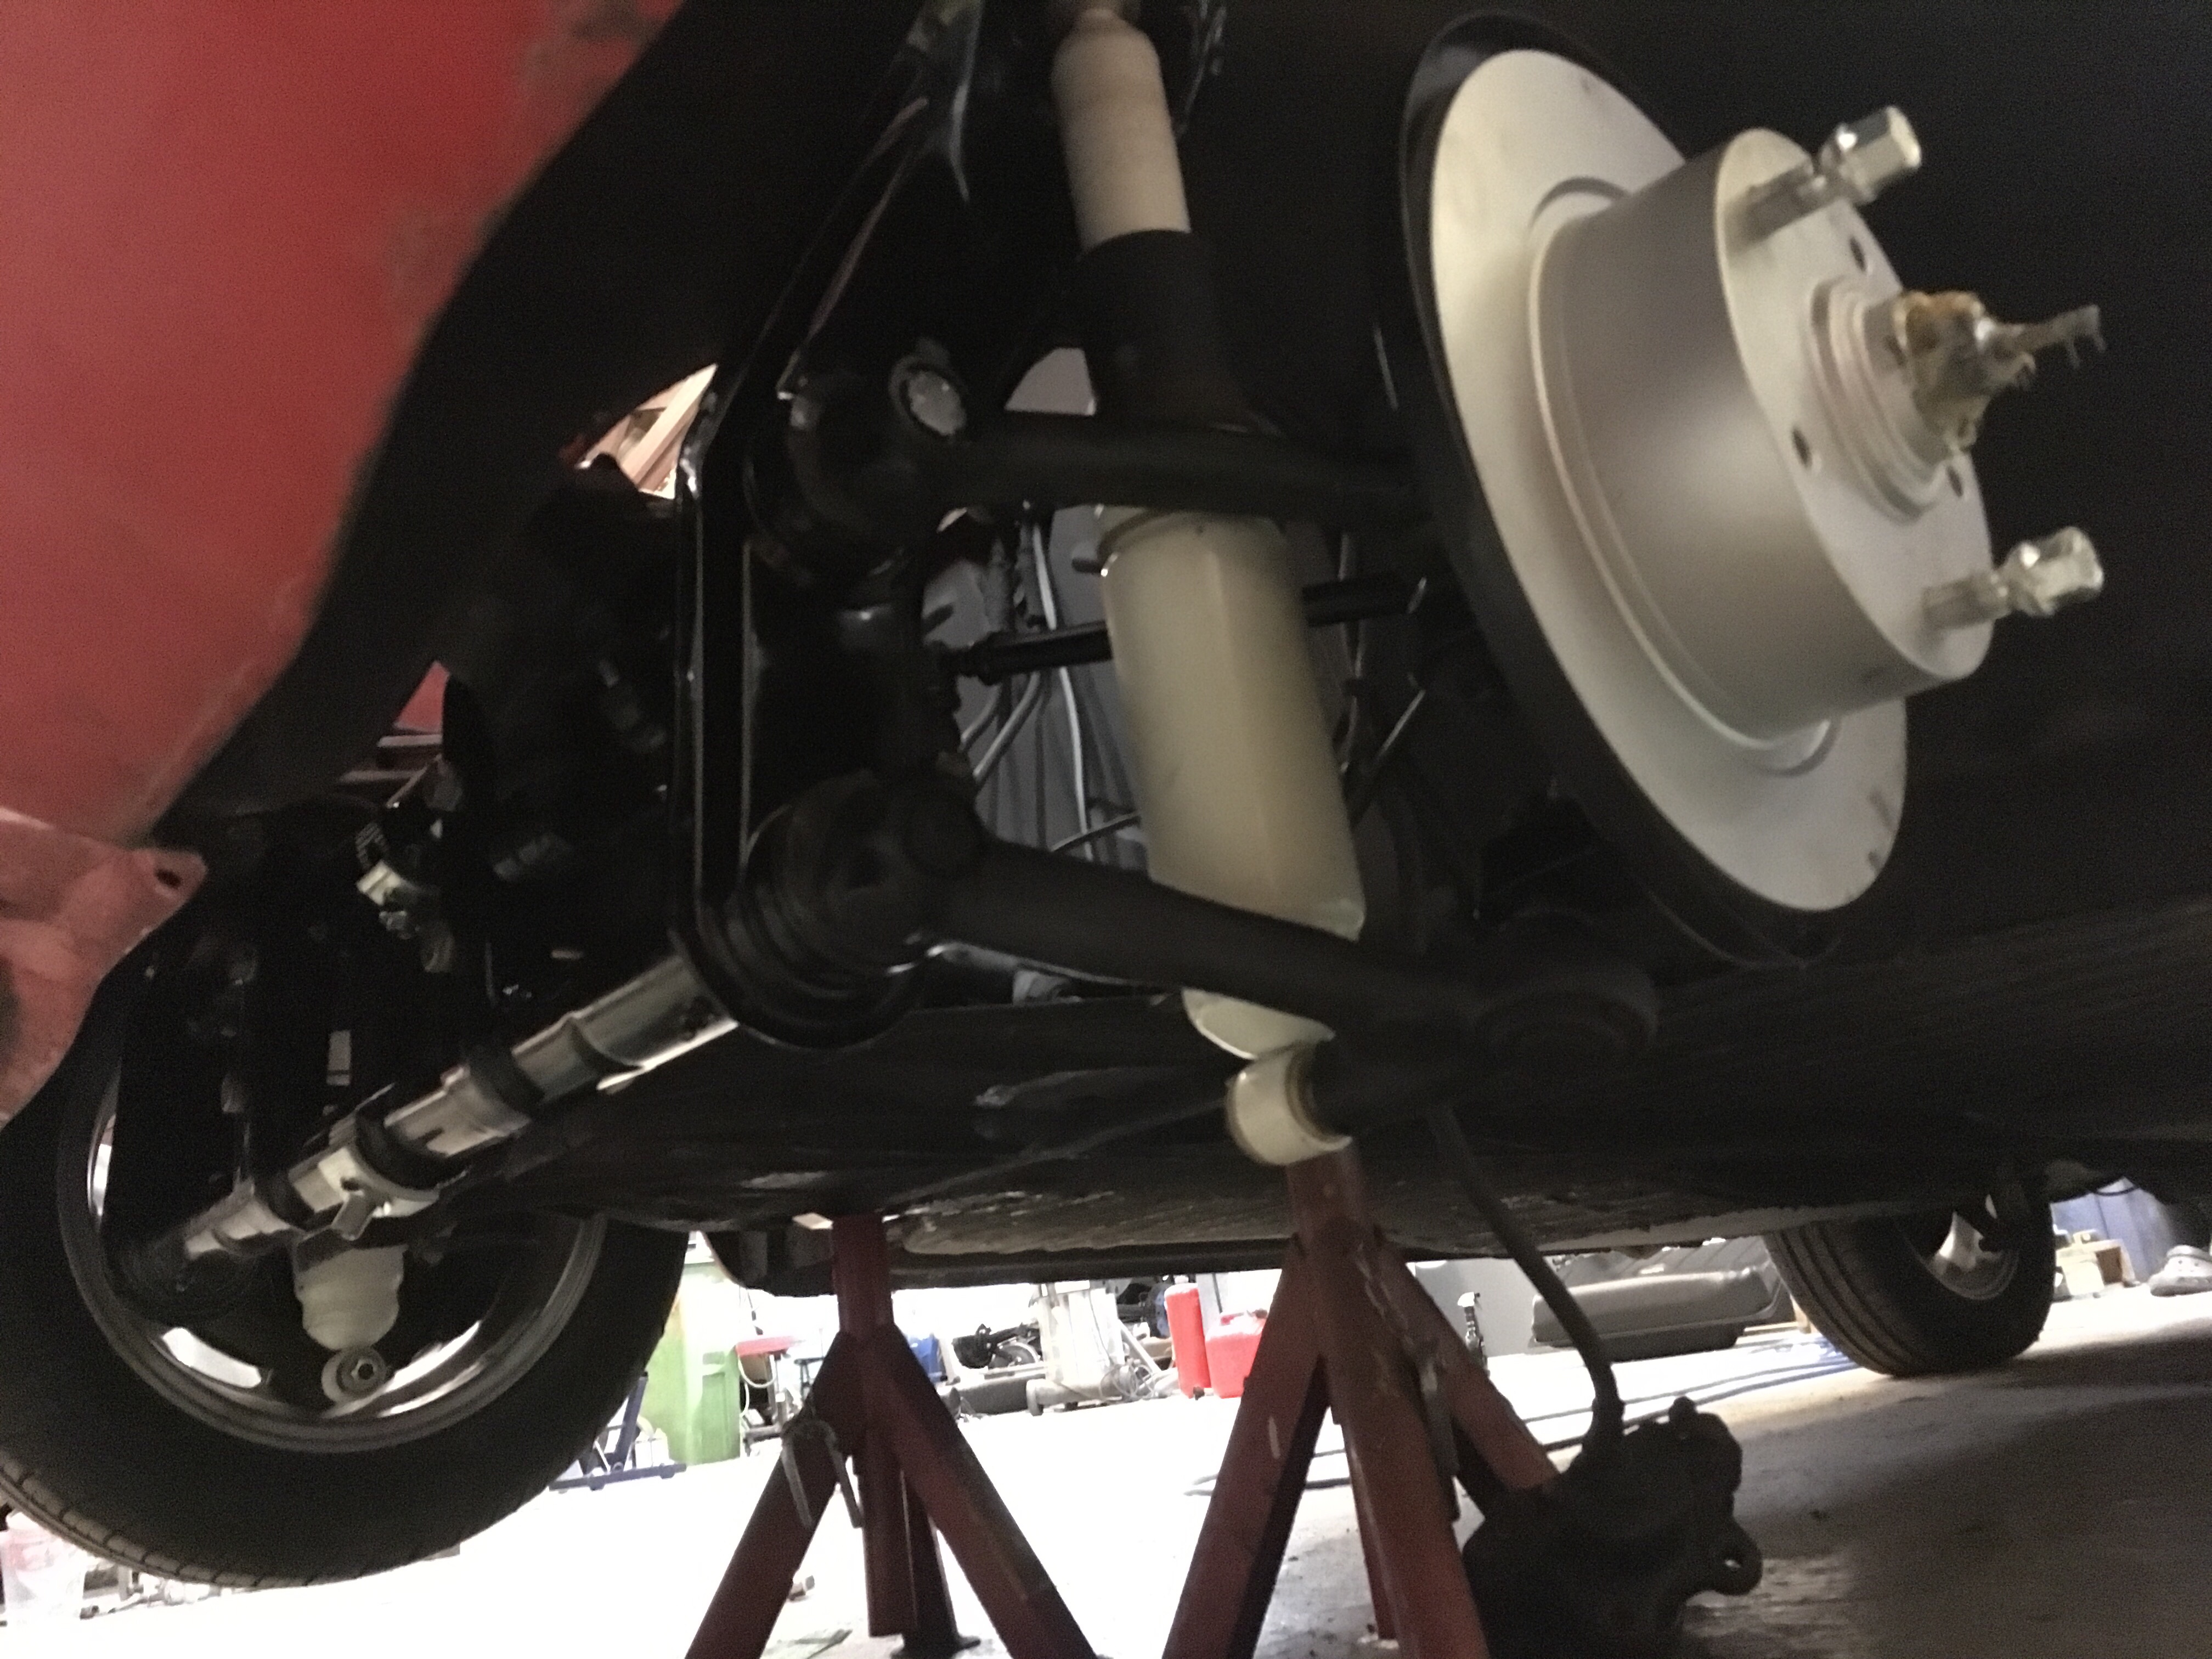
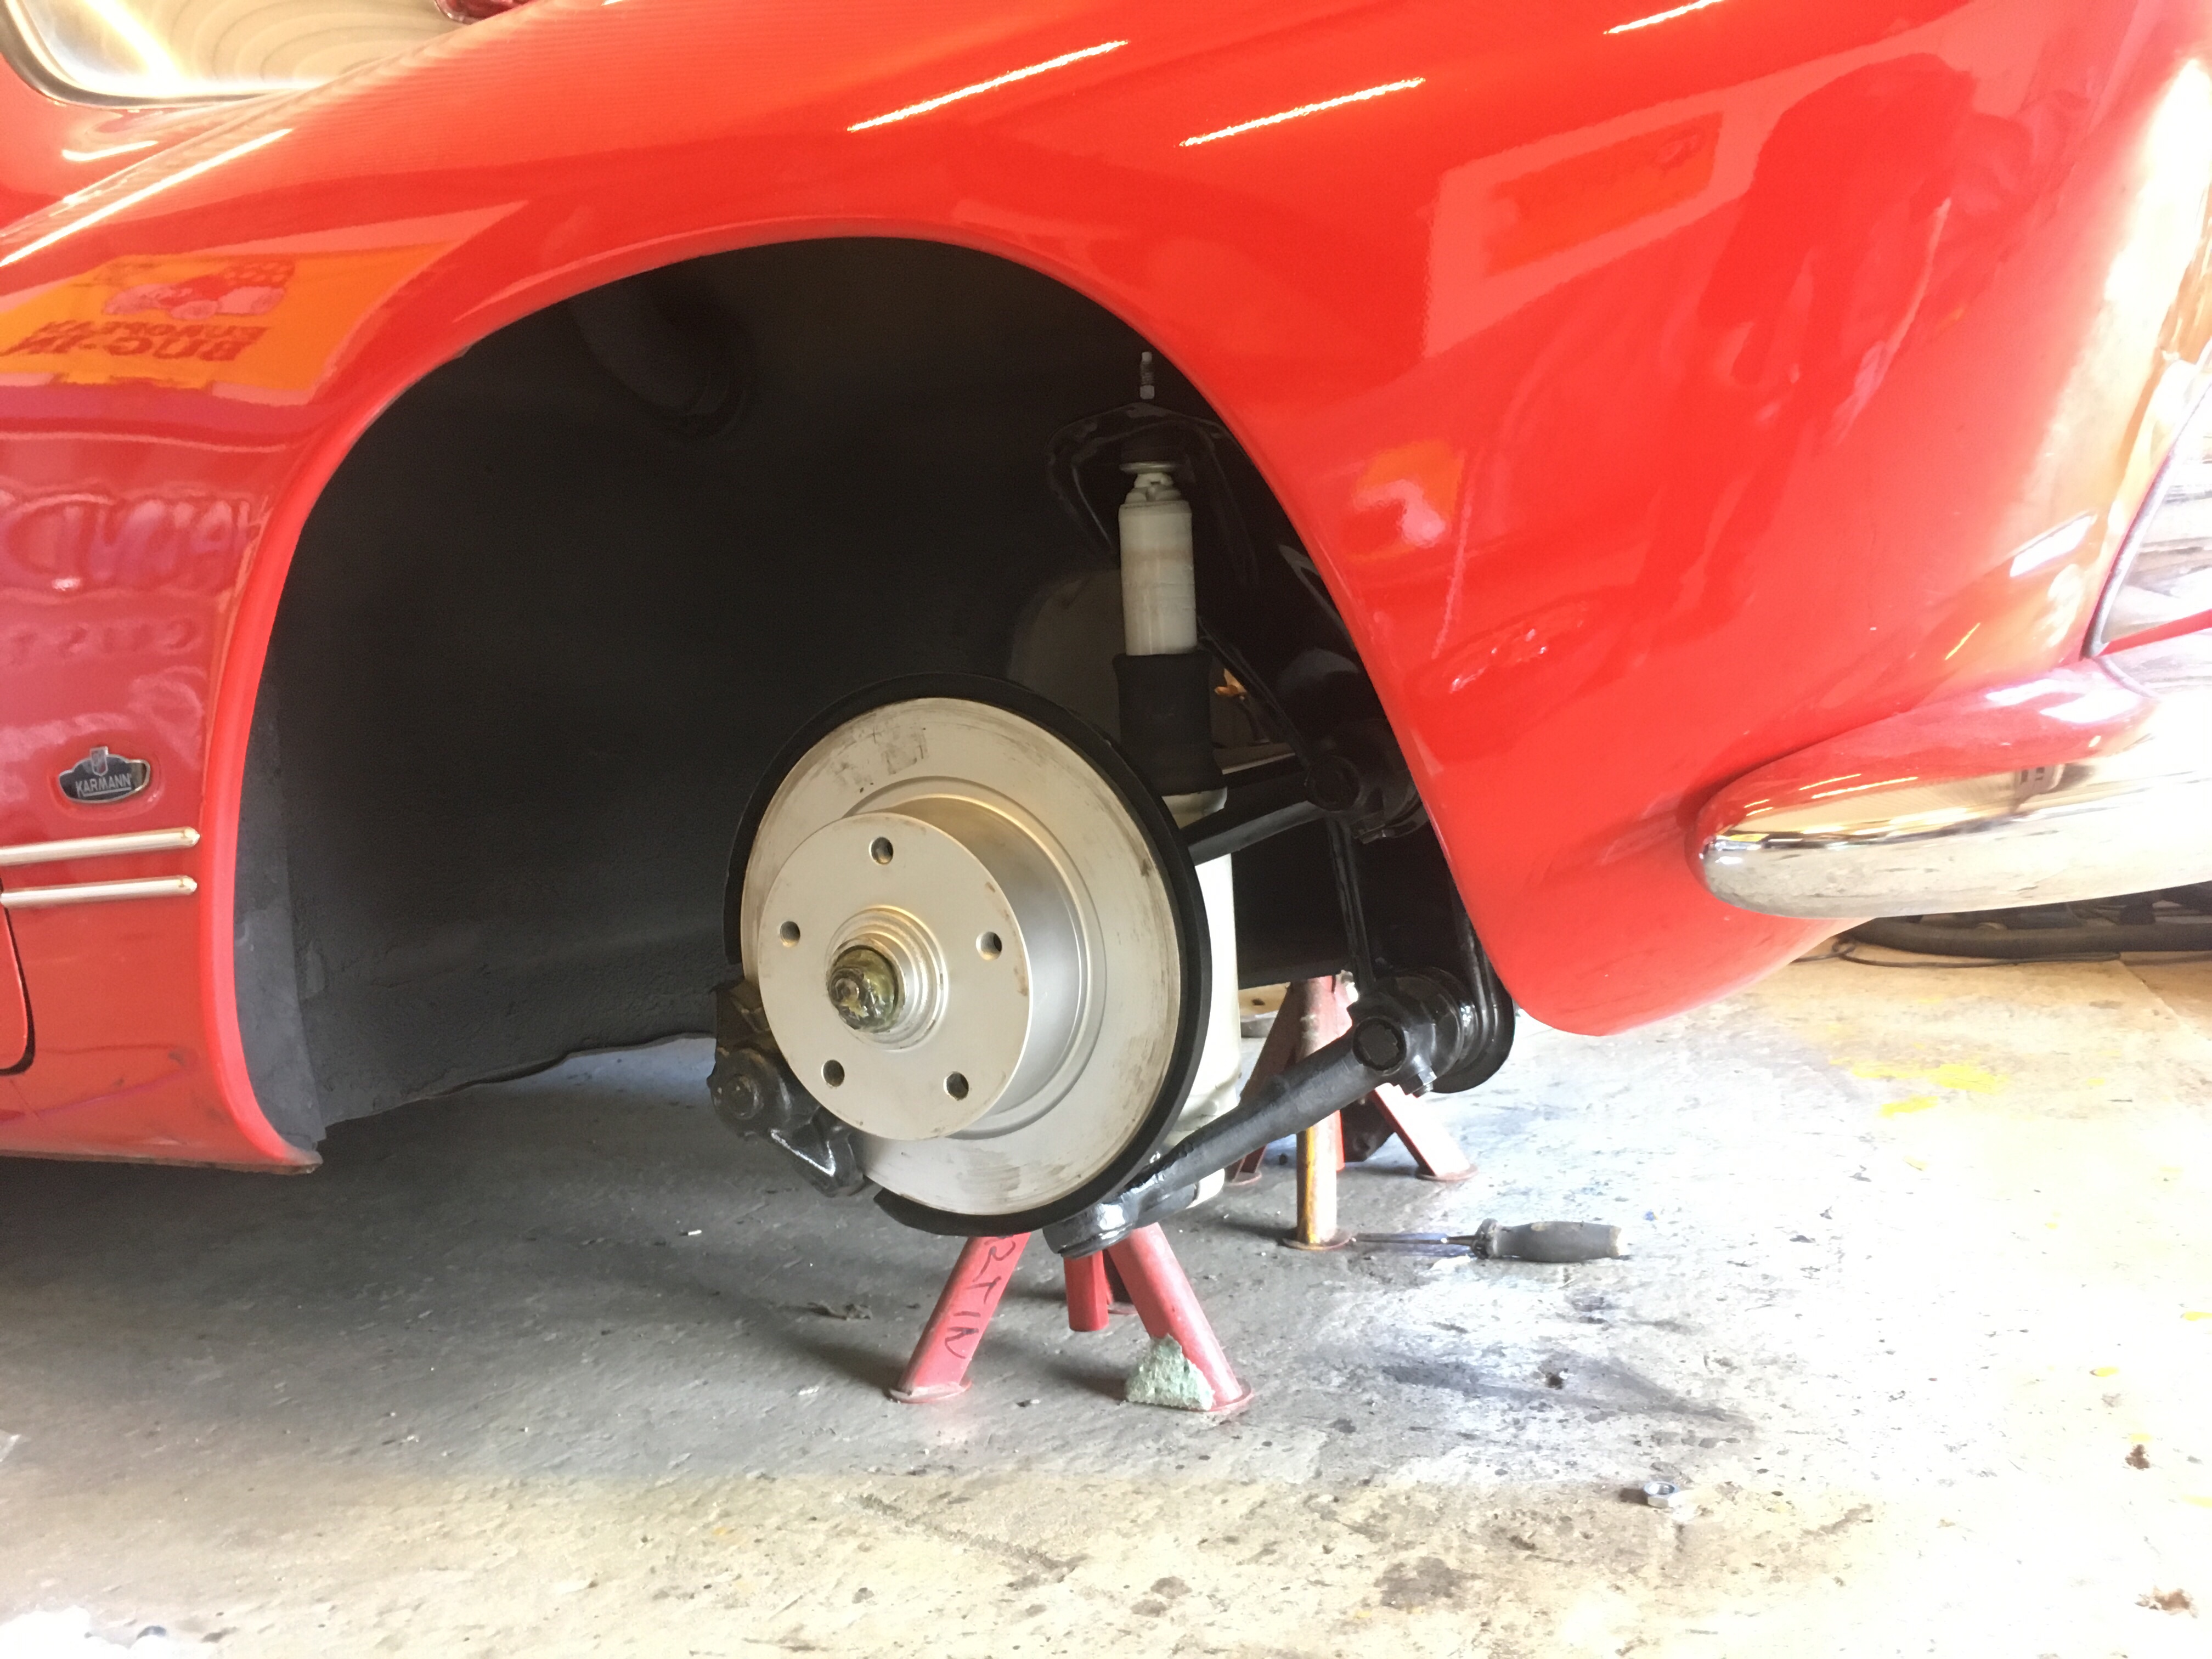
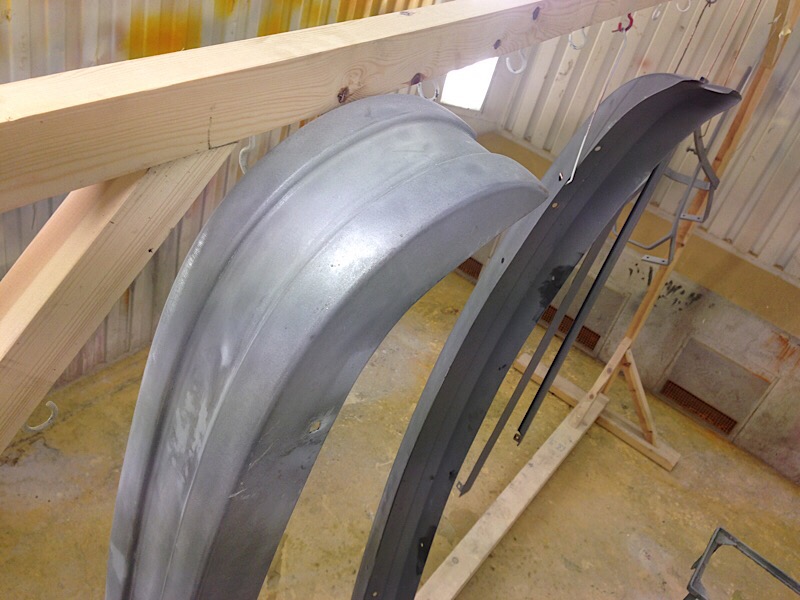
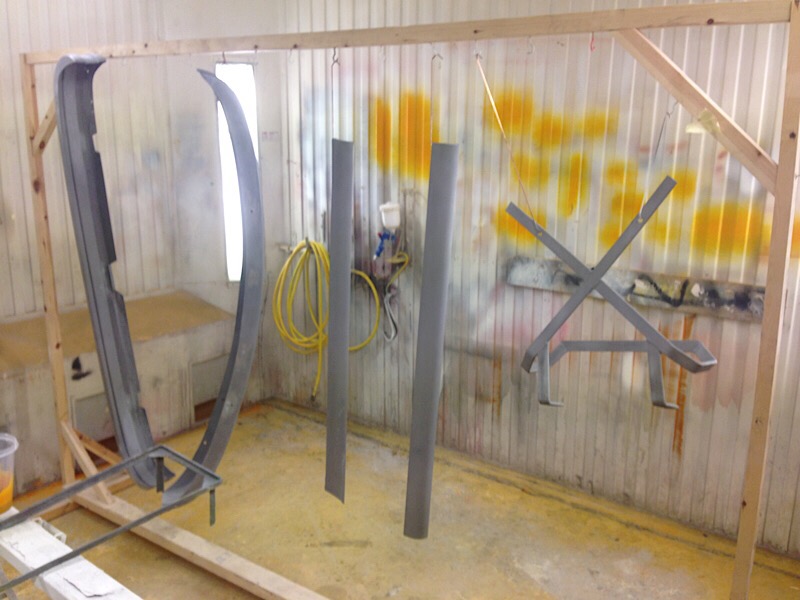
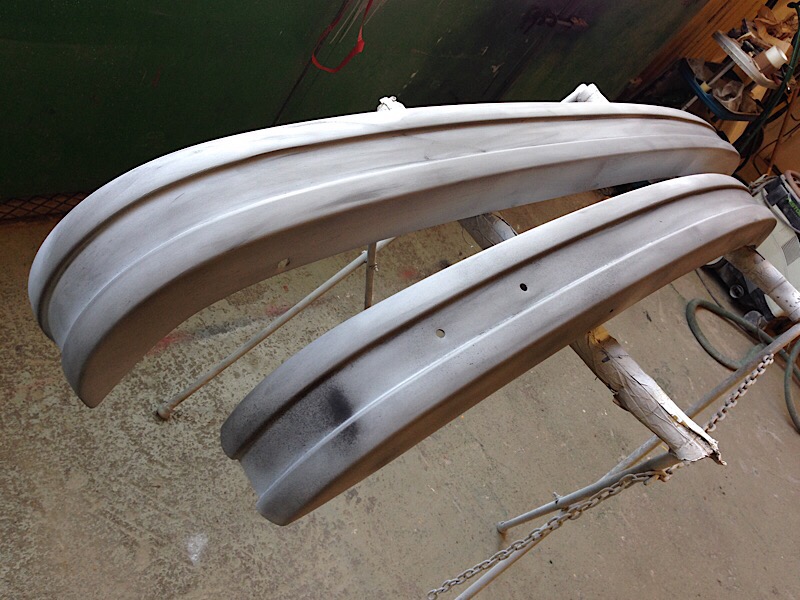
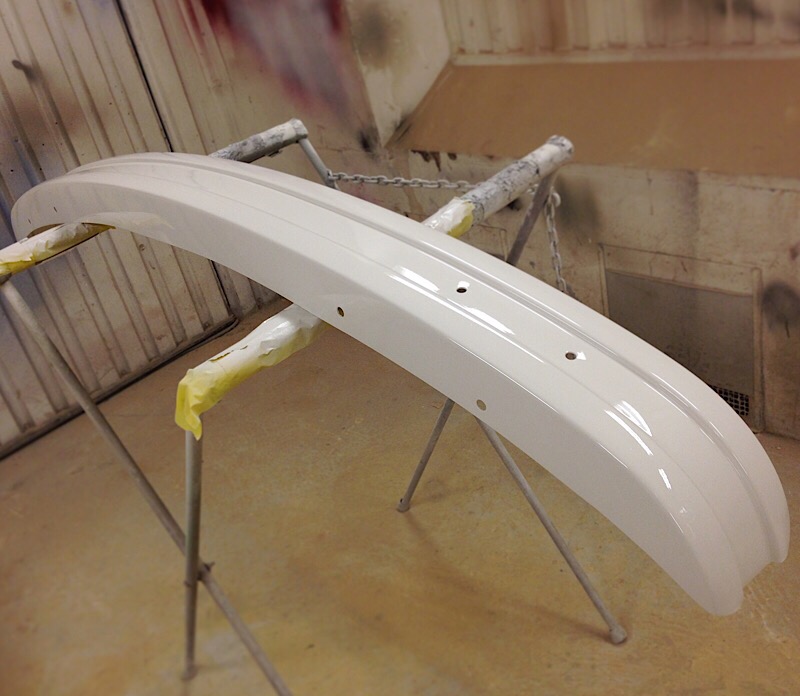
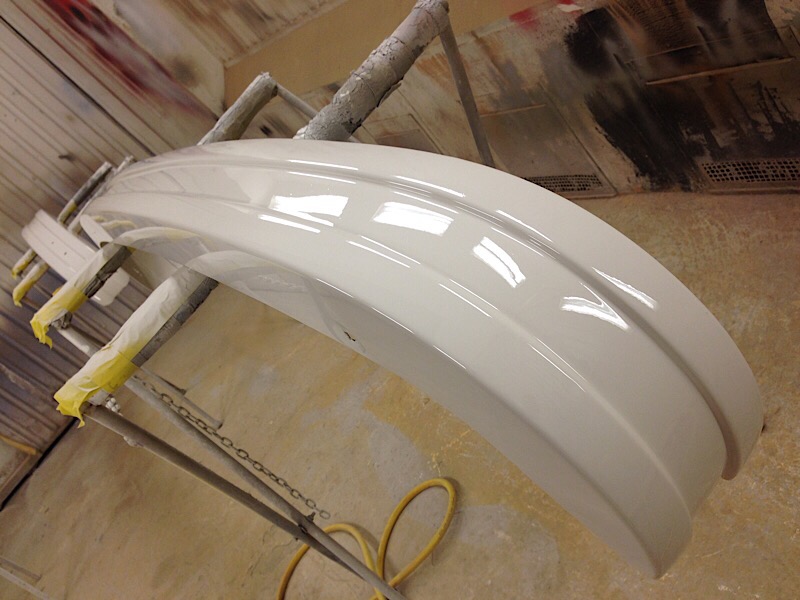
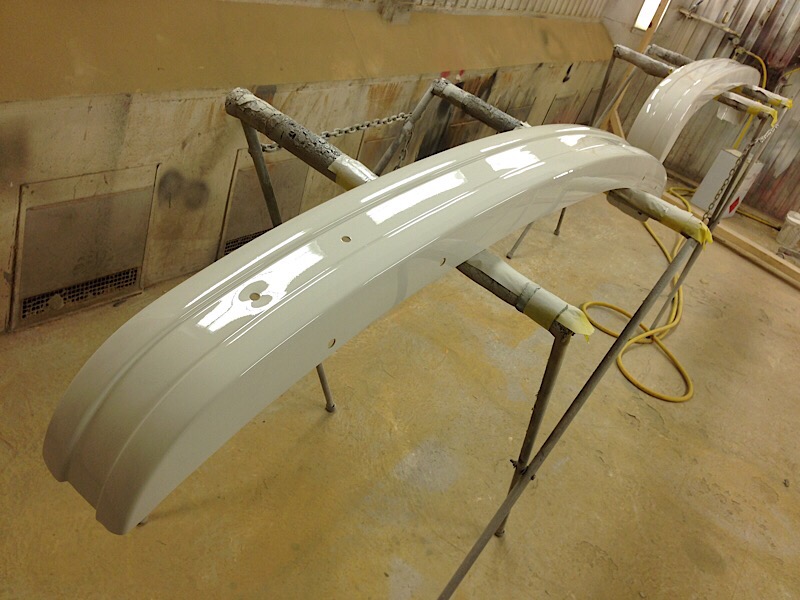
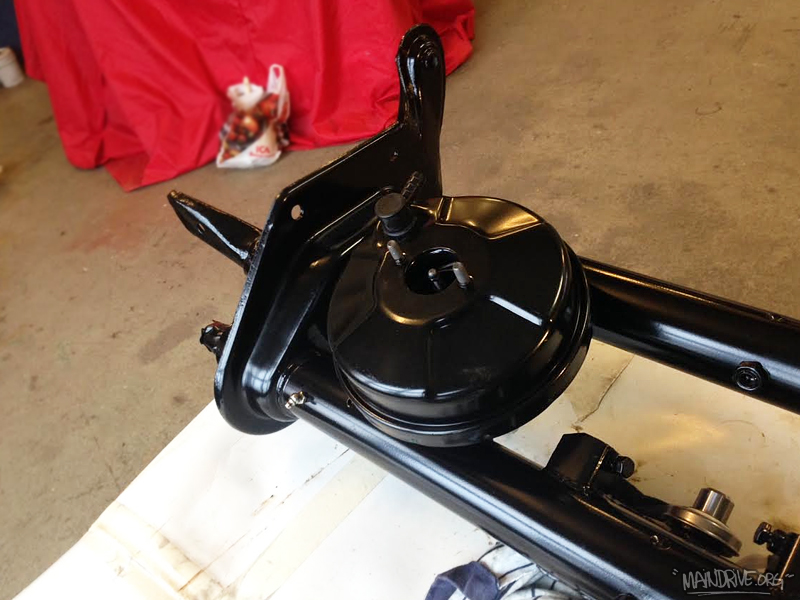
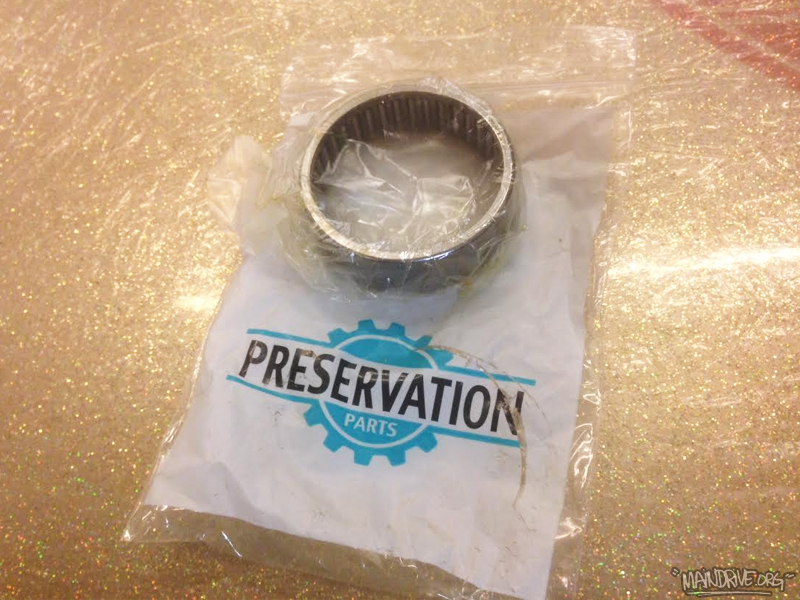
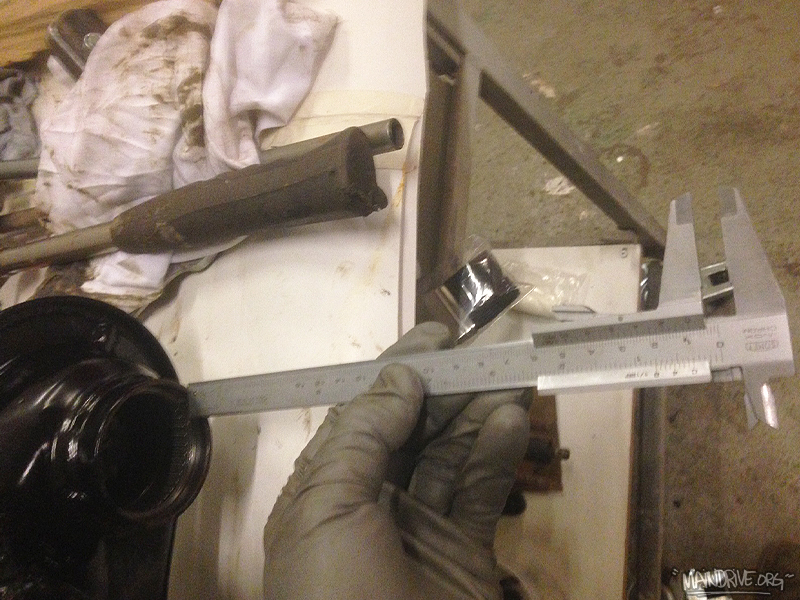
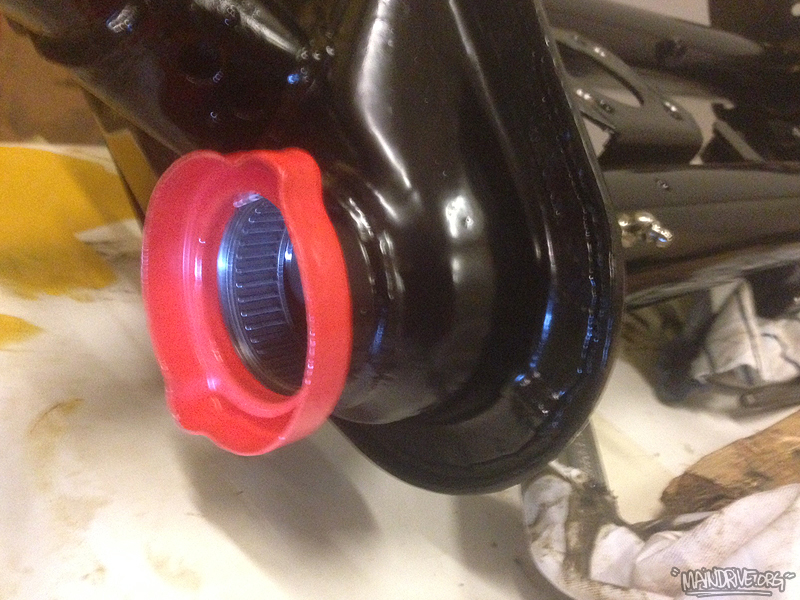
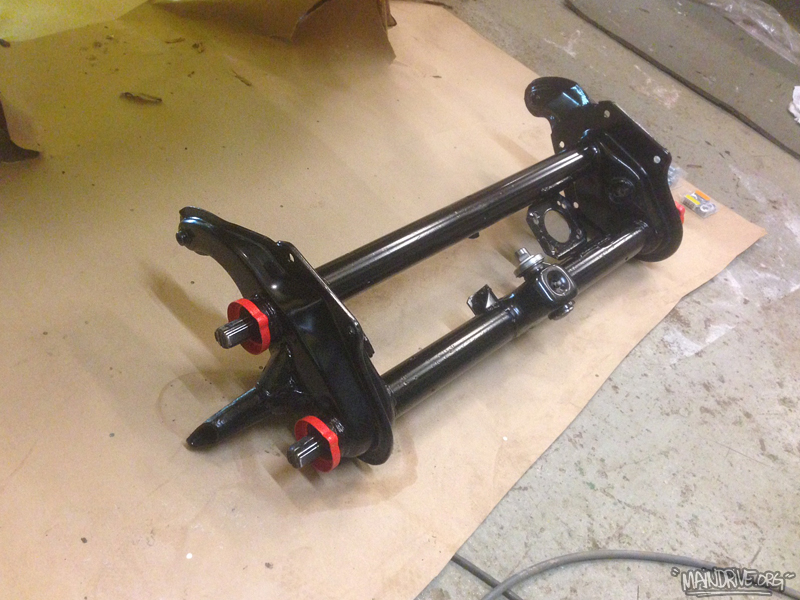
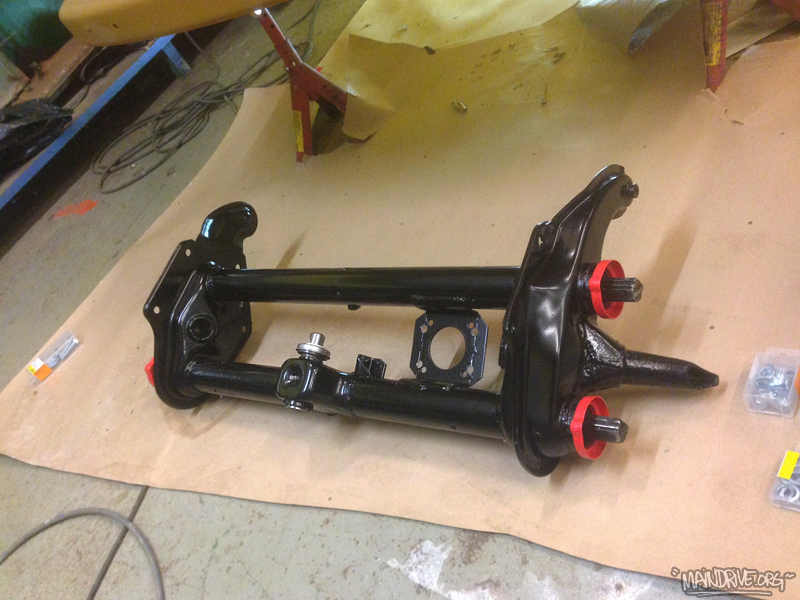
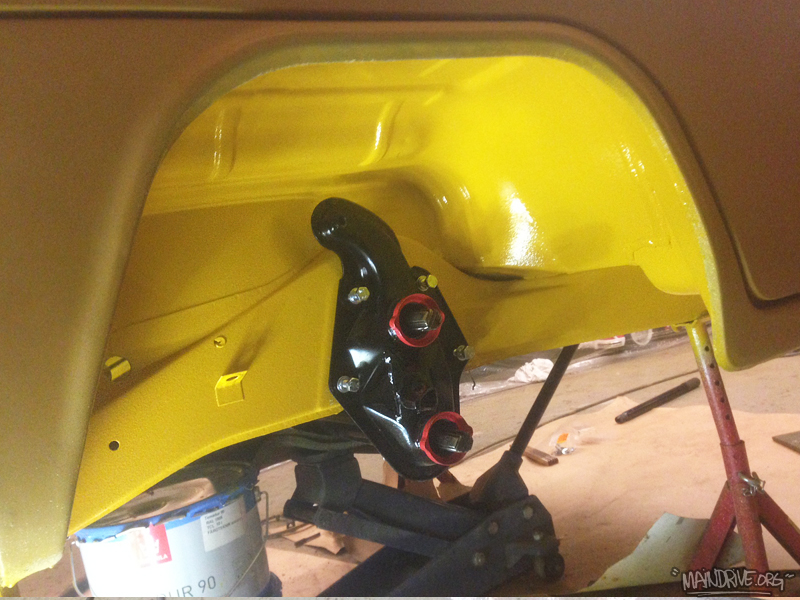
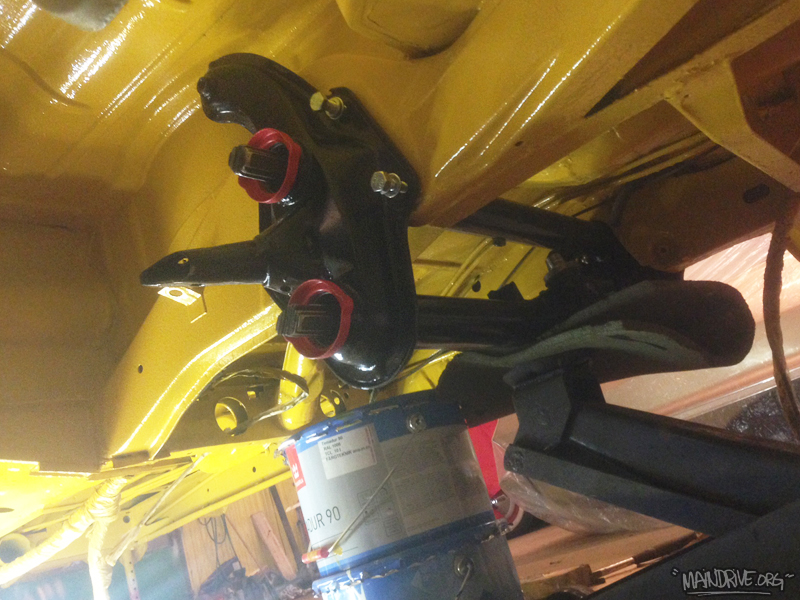
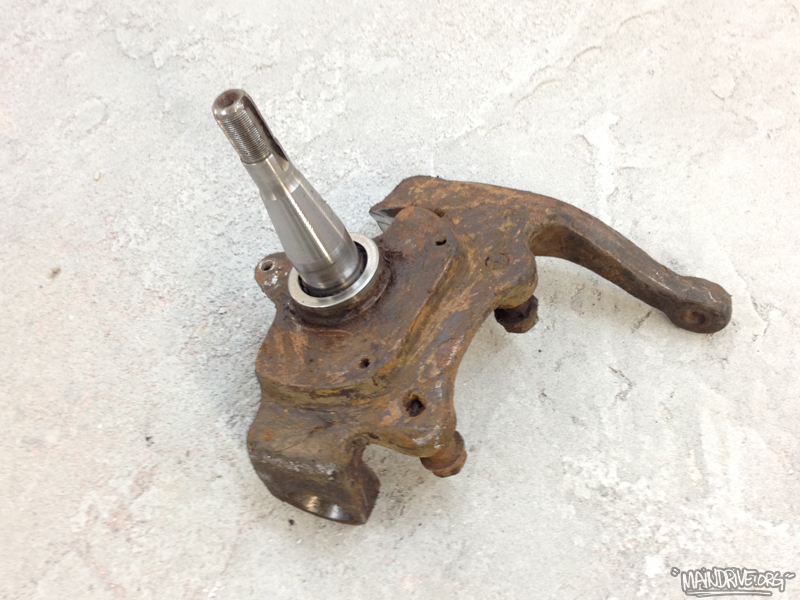
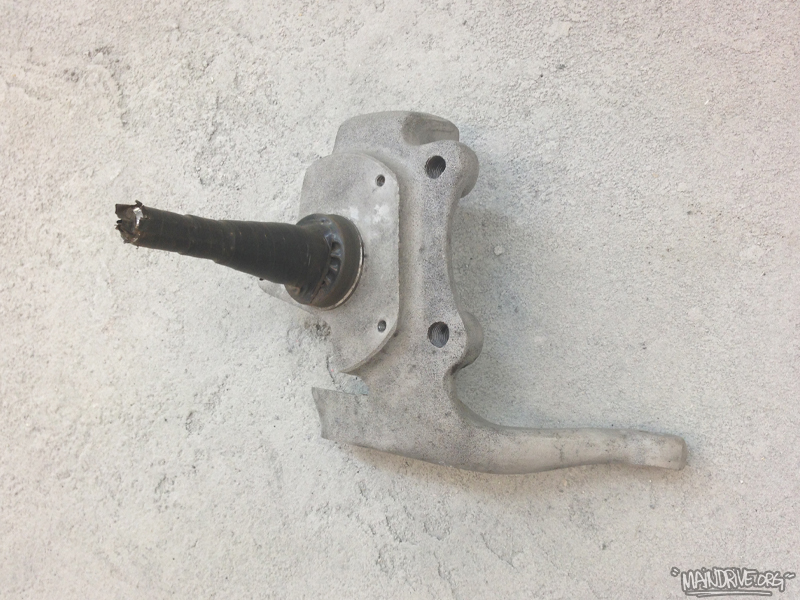
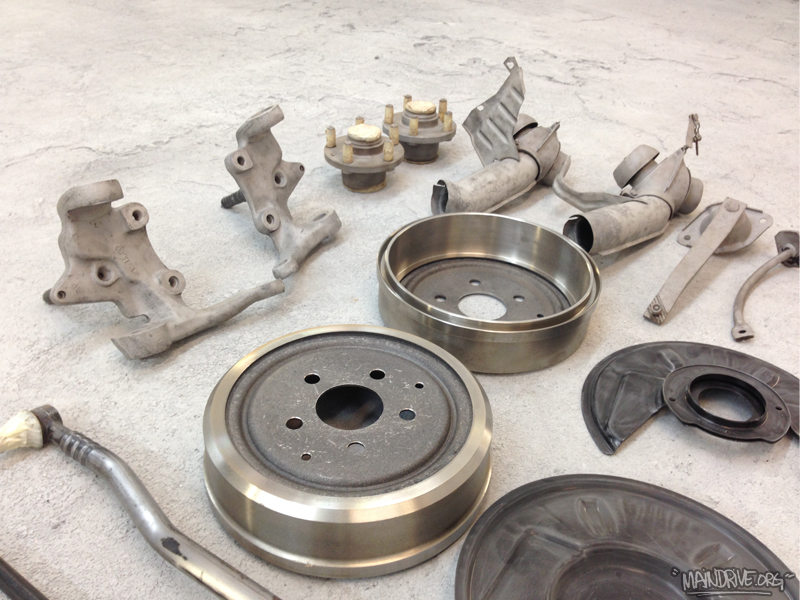
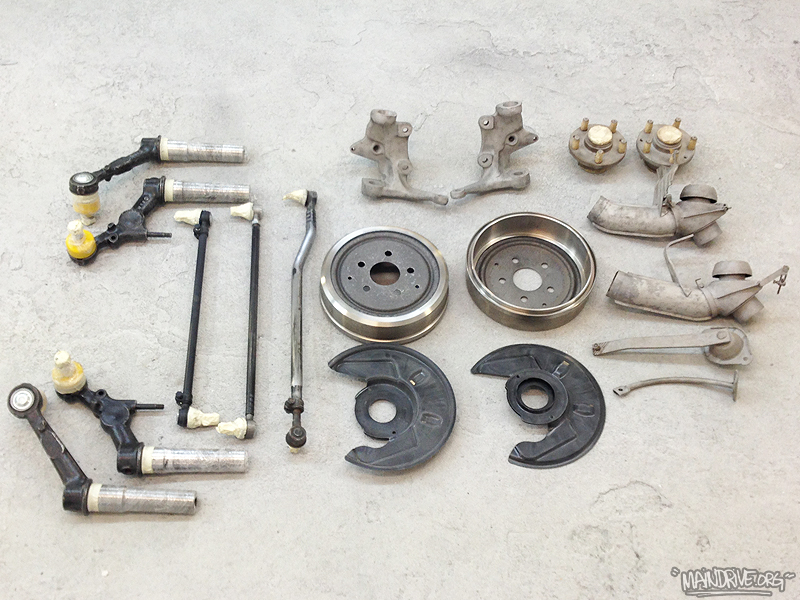
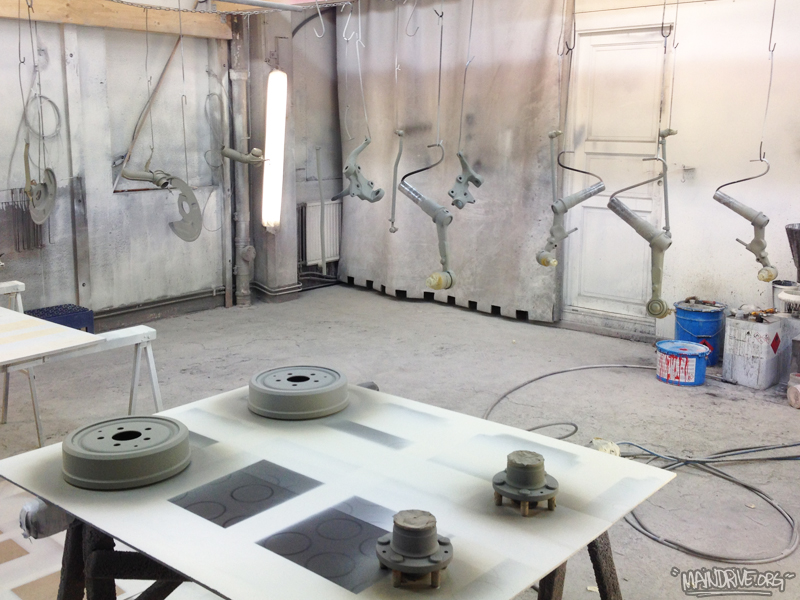
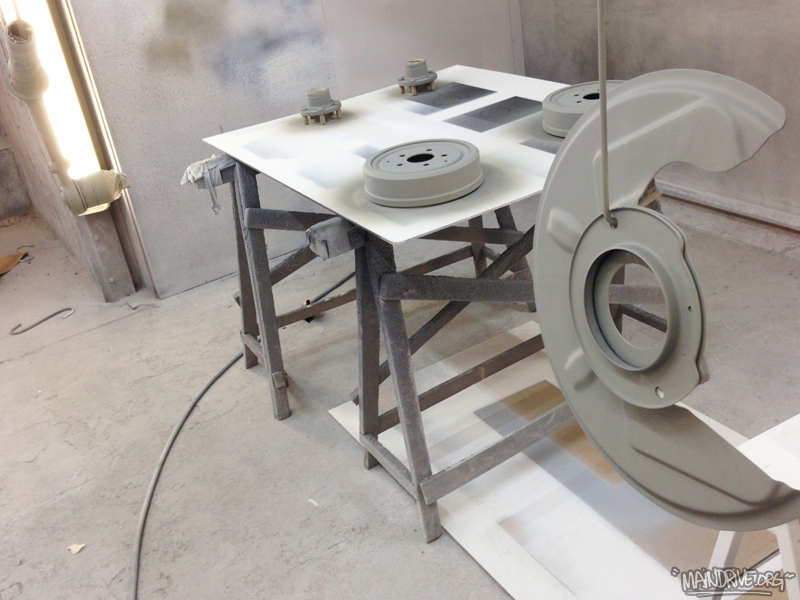
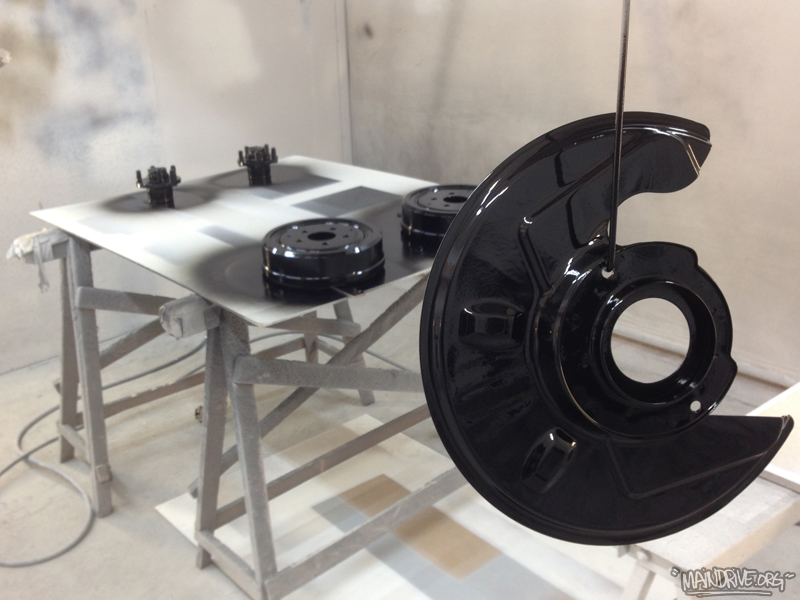
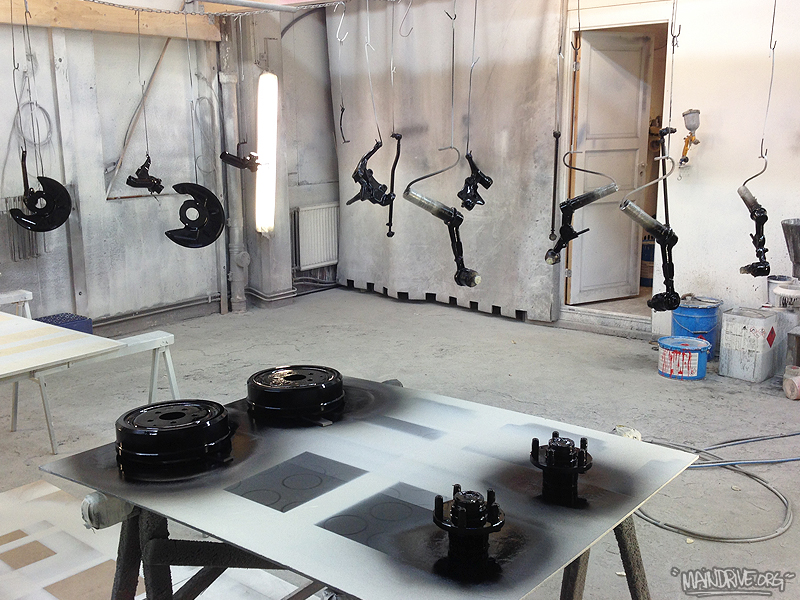
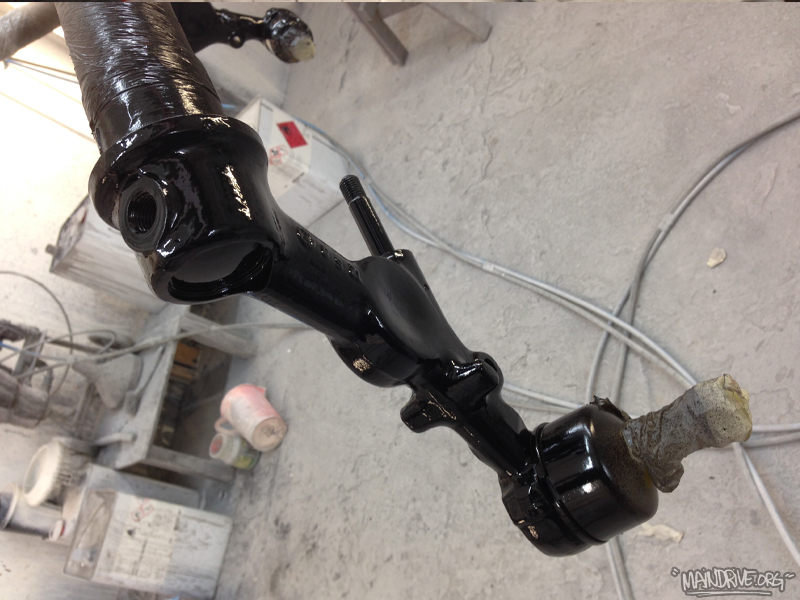
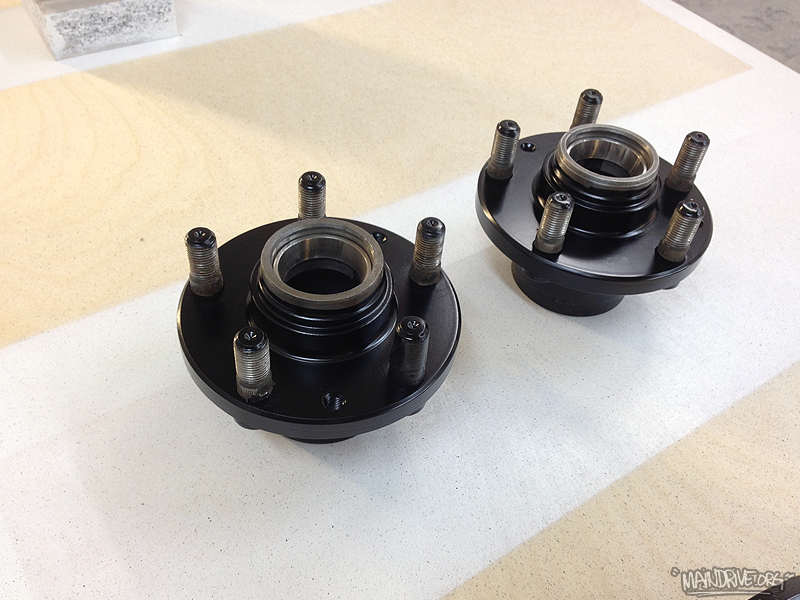
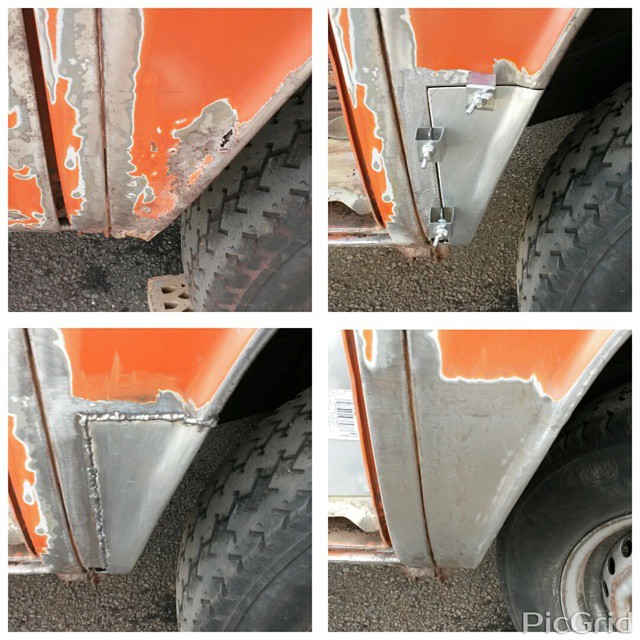
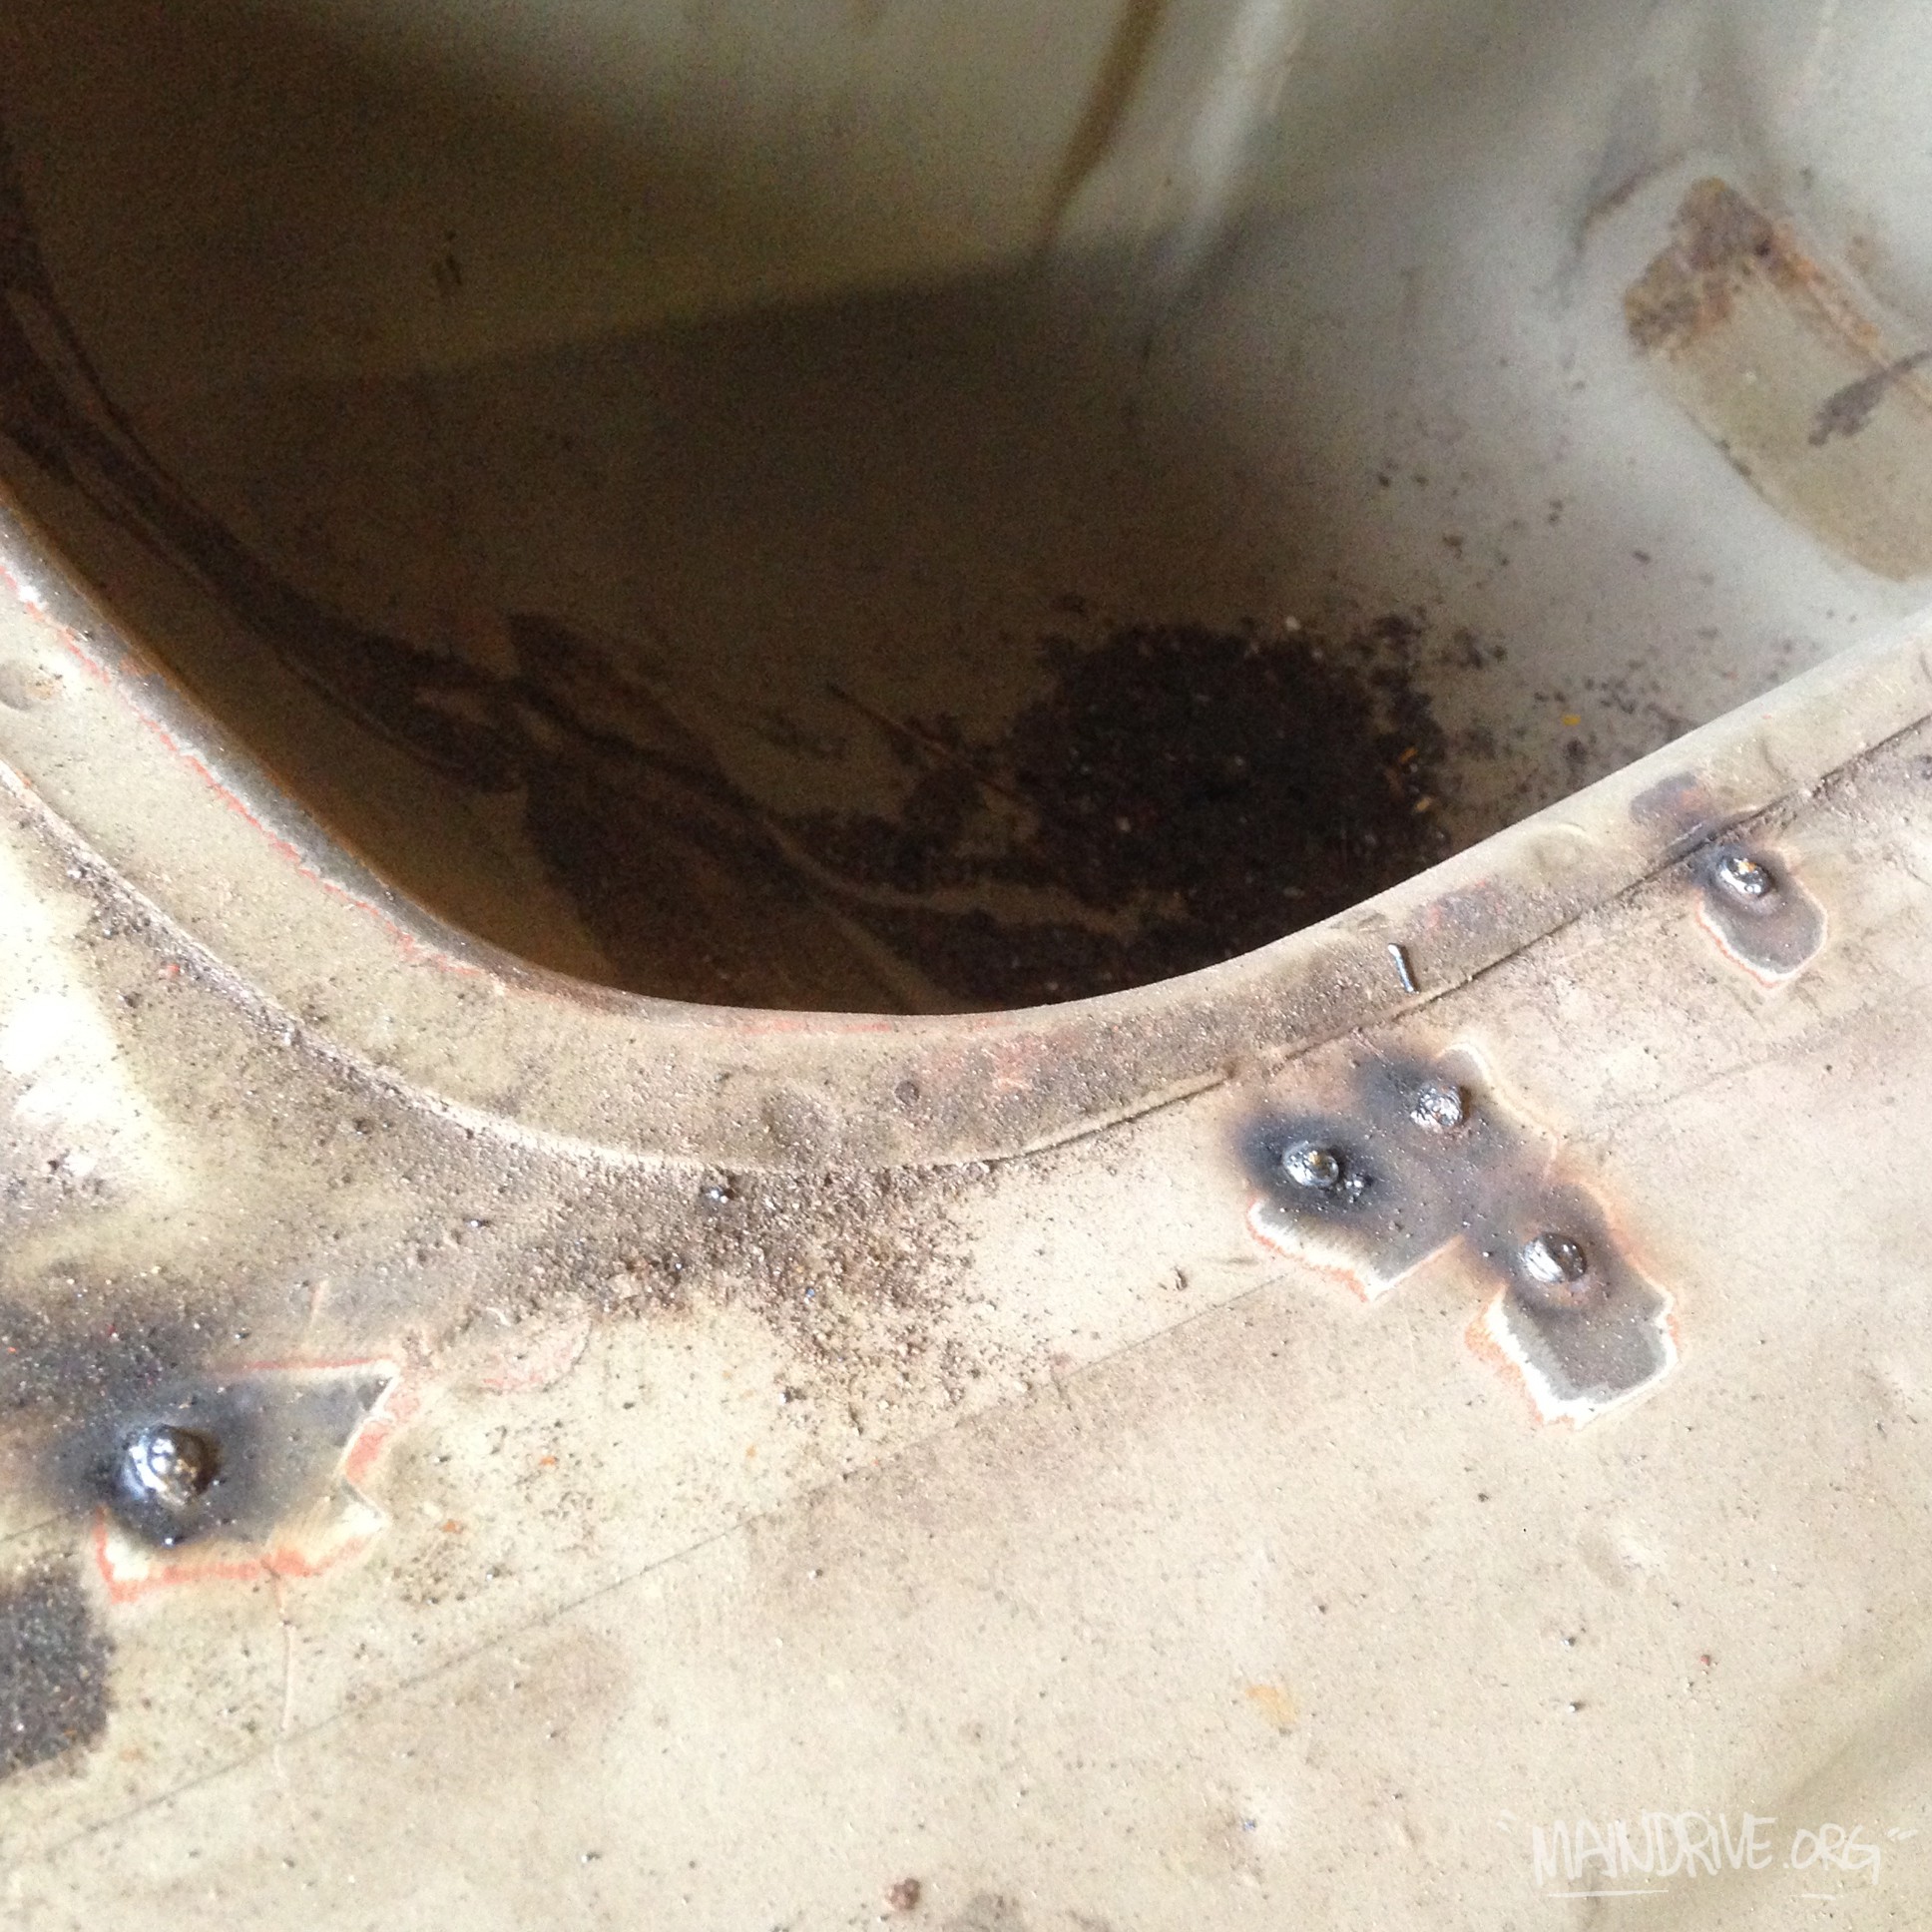
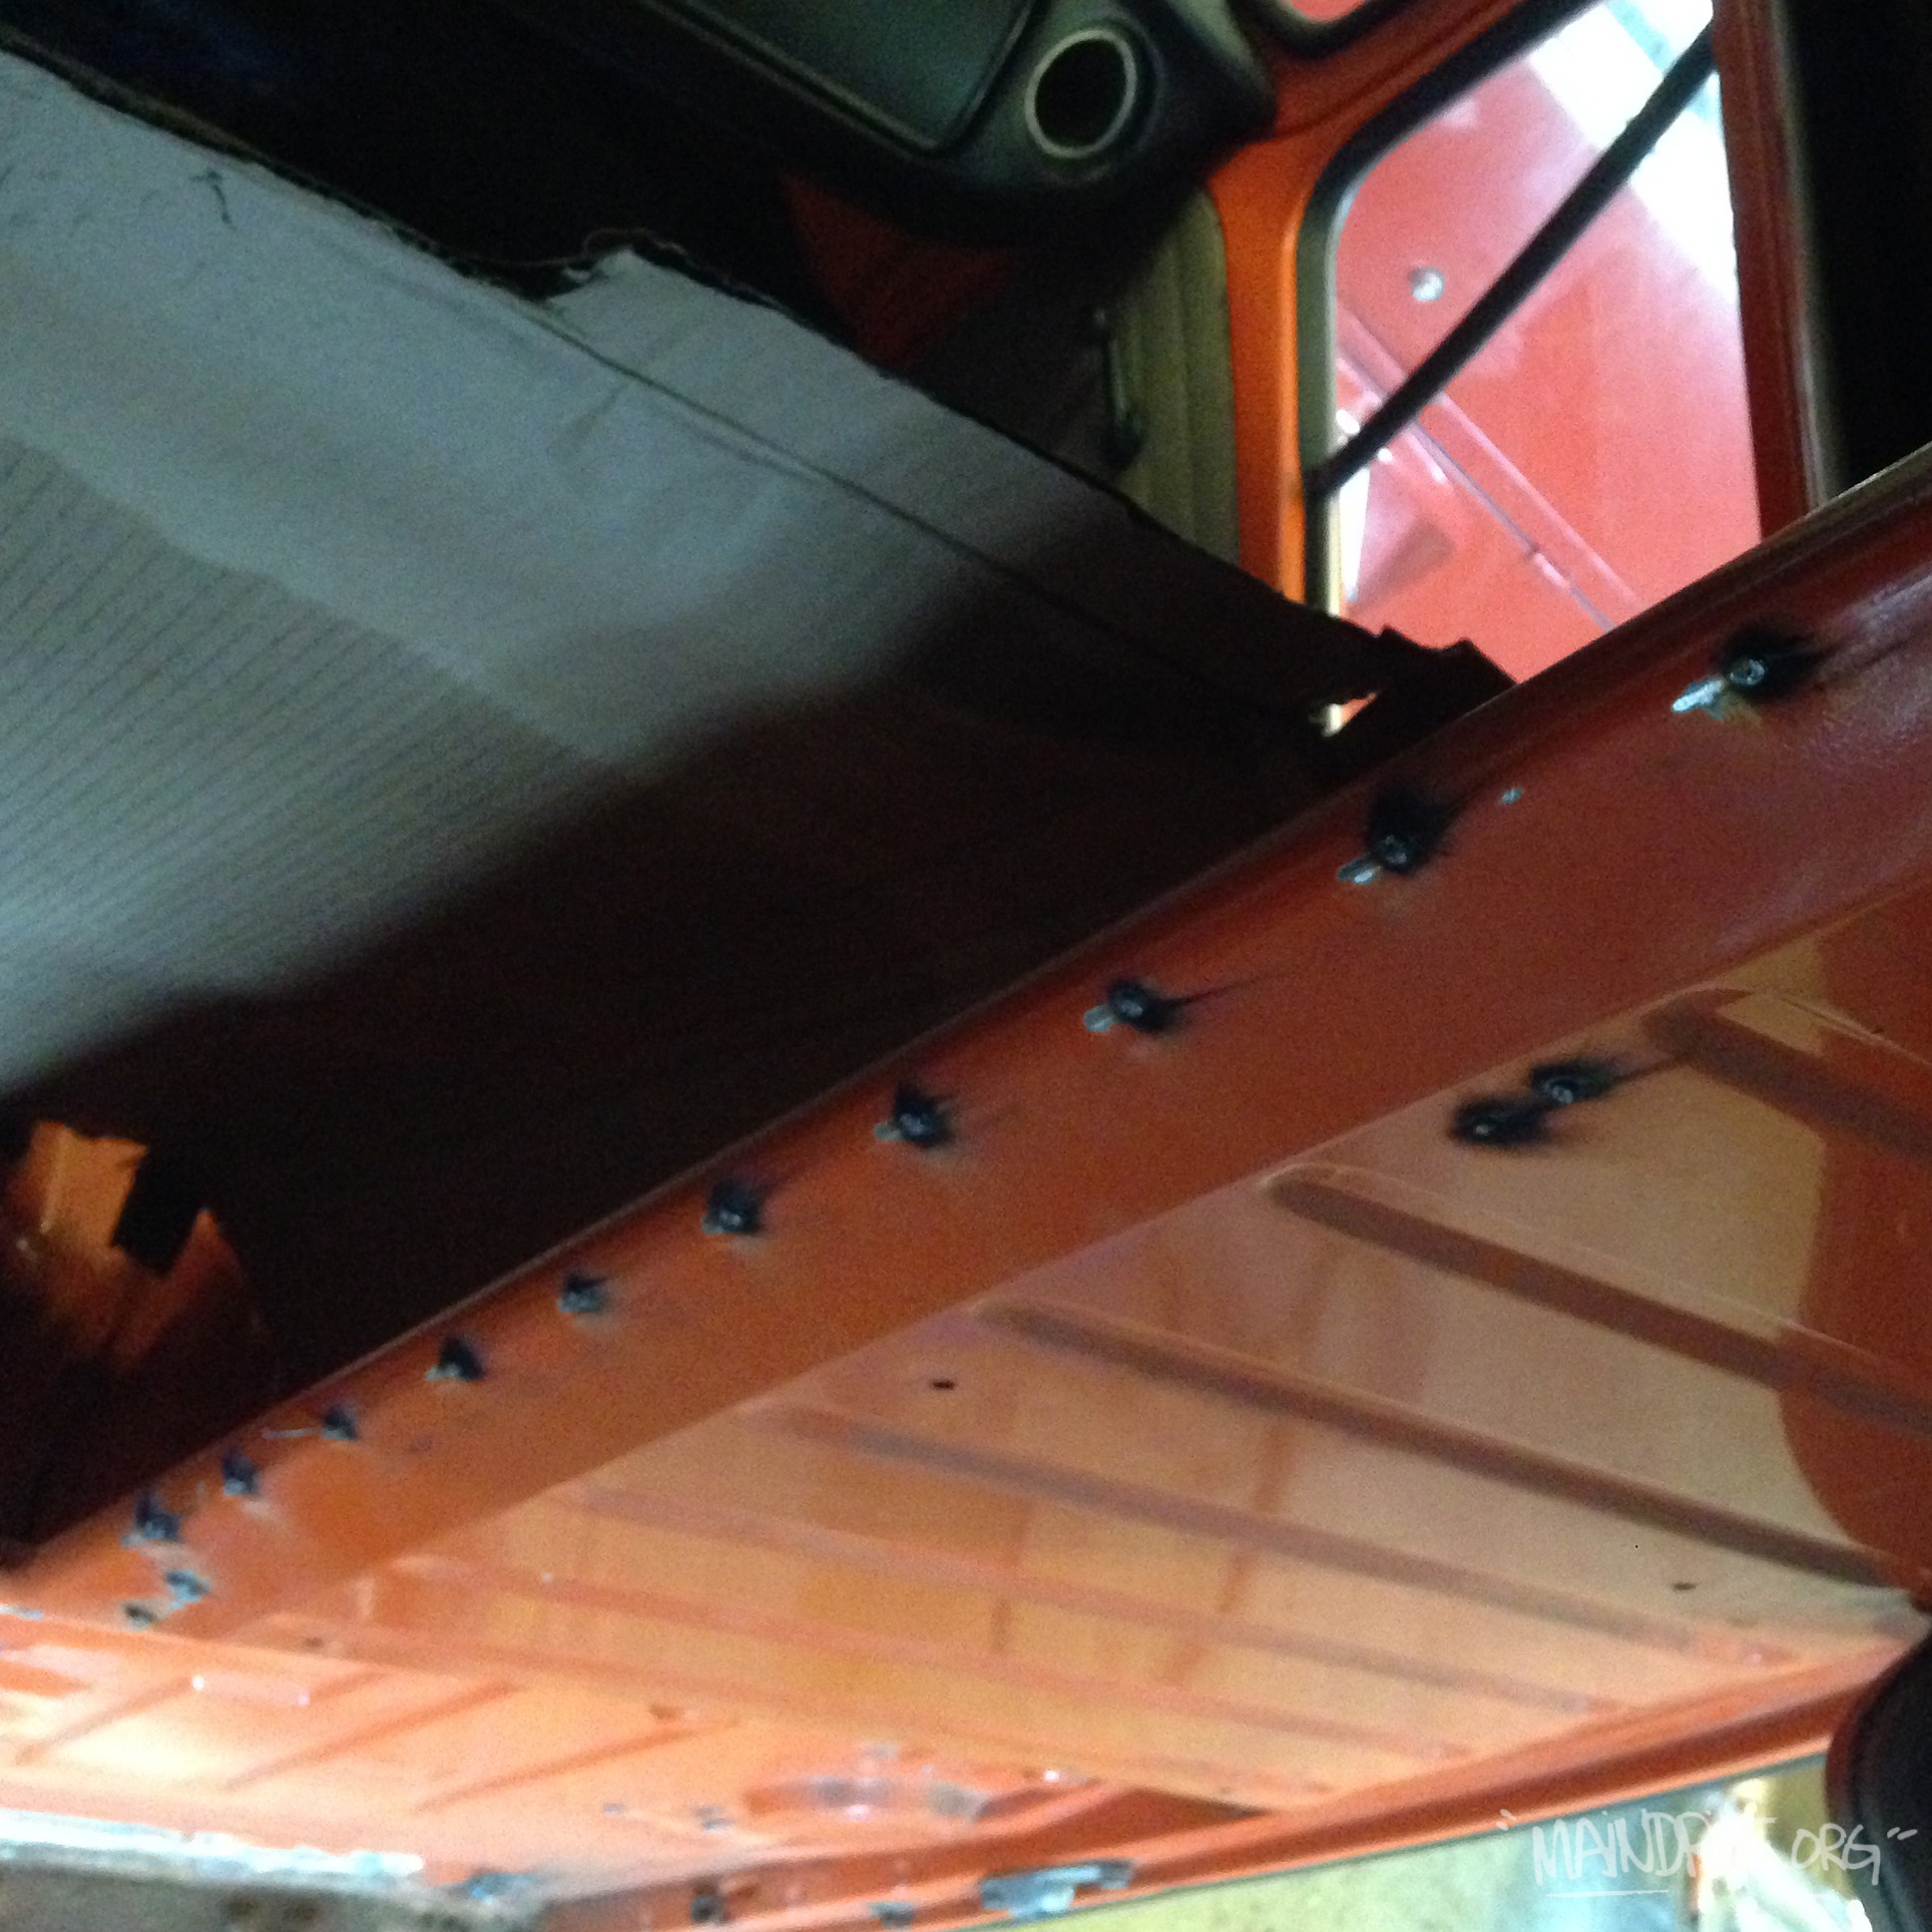
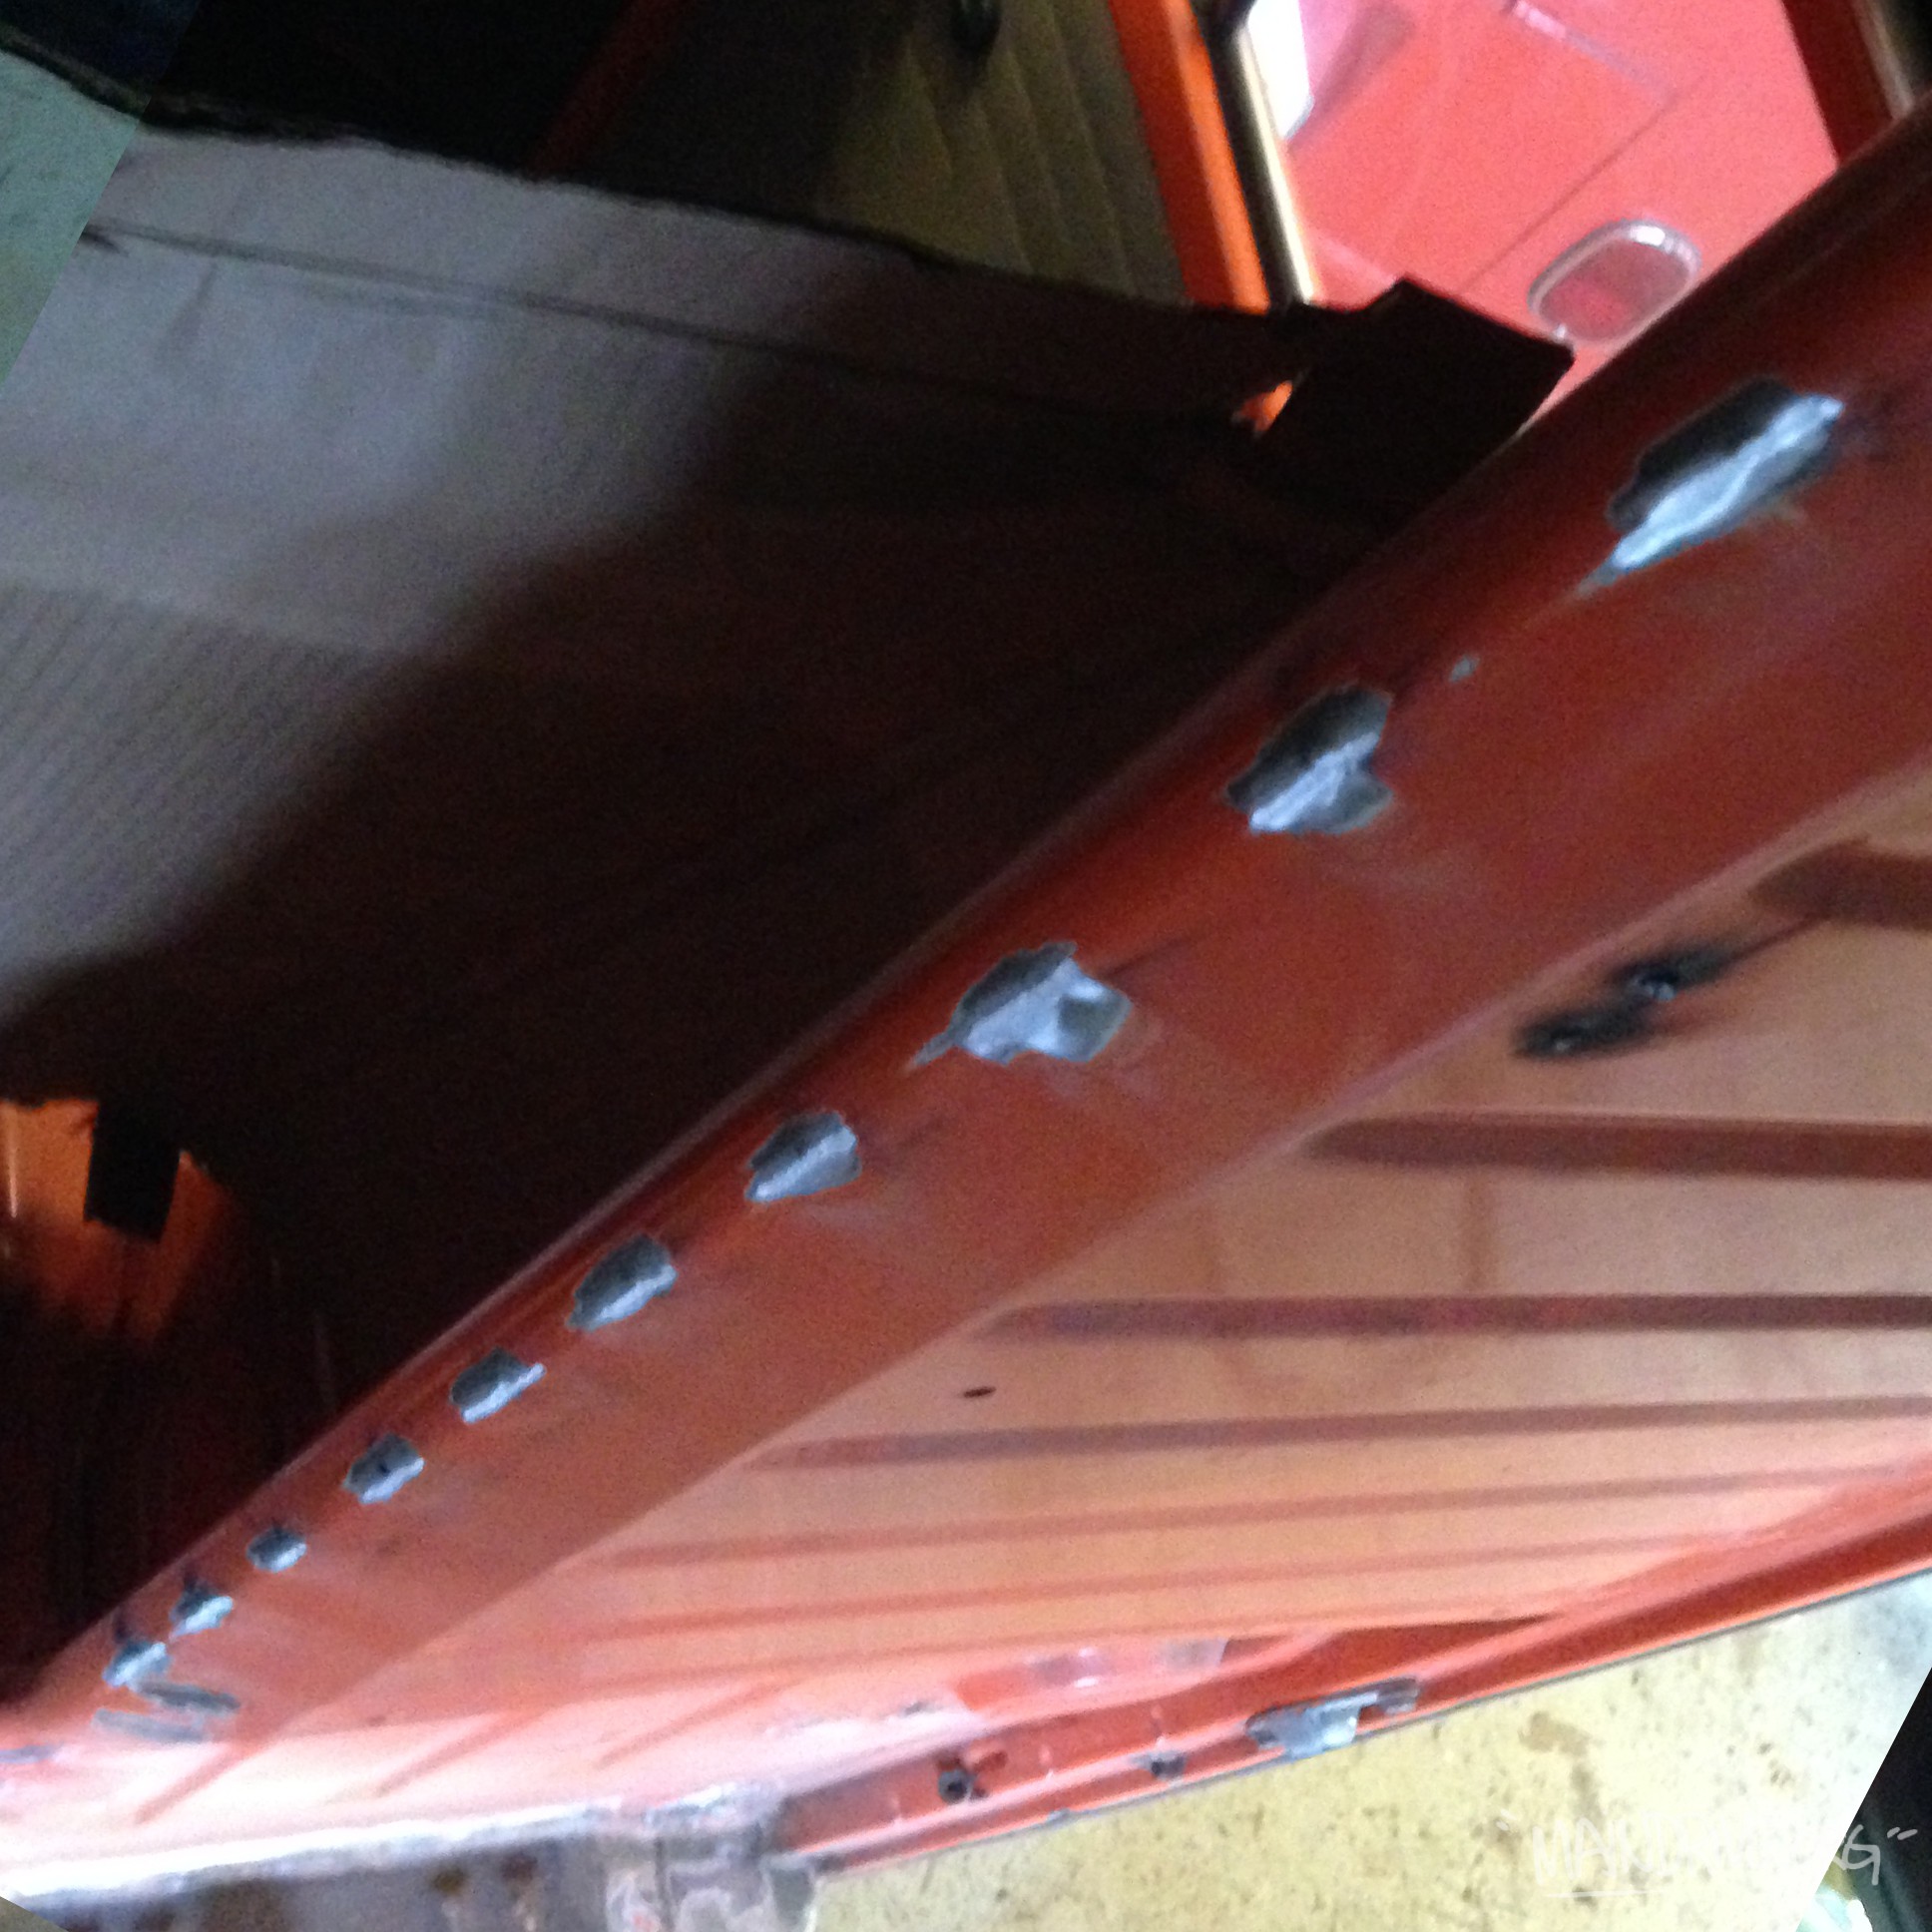
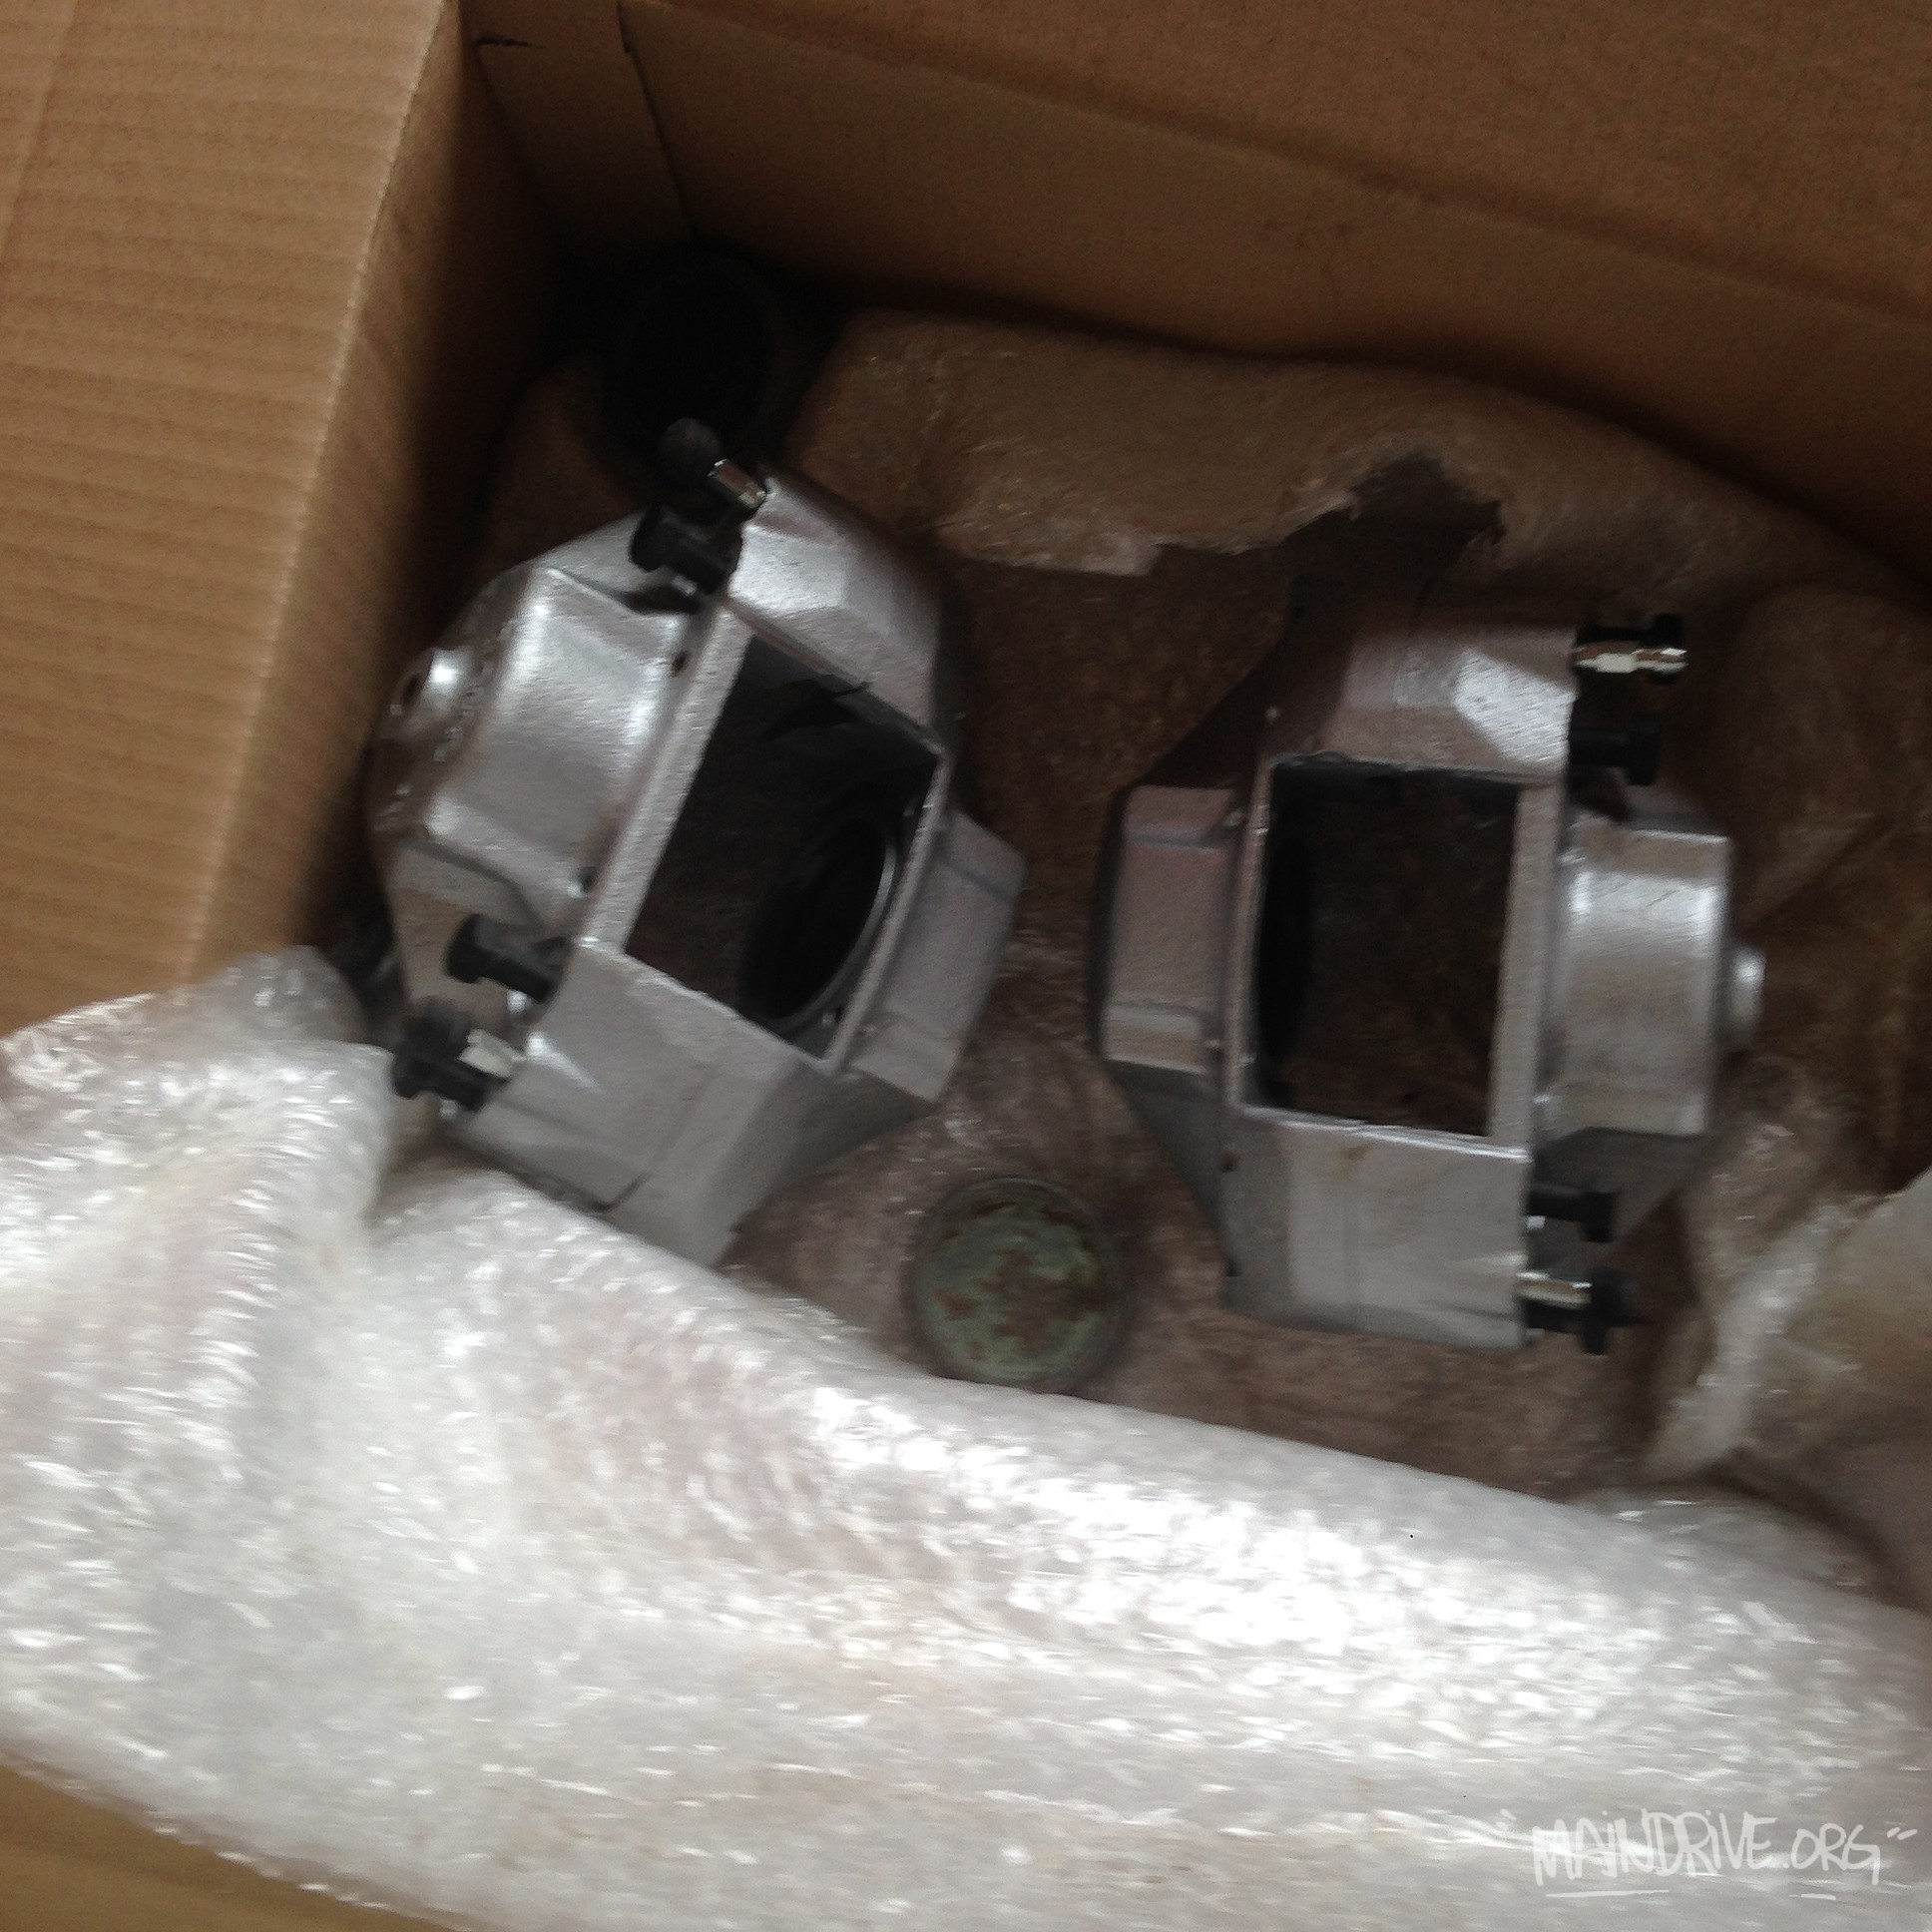
All of the old (complete!) brake system was thrown in the thrash and replaced with brand new parts. New shocks all around too. New wheel bearings. New hoses, brakelines and every nut/bolt is new in the brakesystem. Fenders have been removed for clean up and new blackbody/ship paint applied to underside. Going to be re-installed with new bolts and seals, anti rust wax etc.

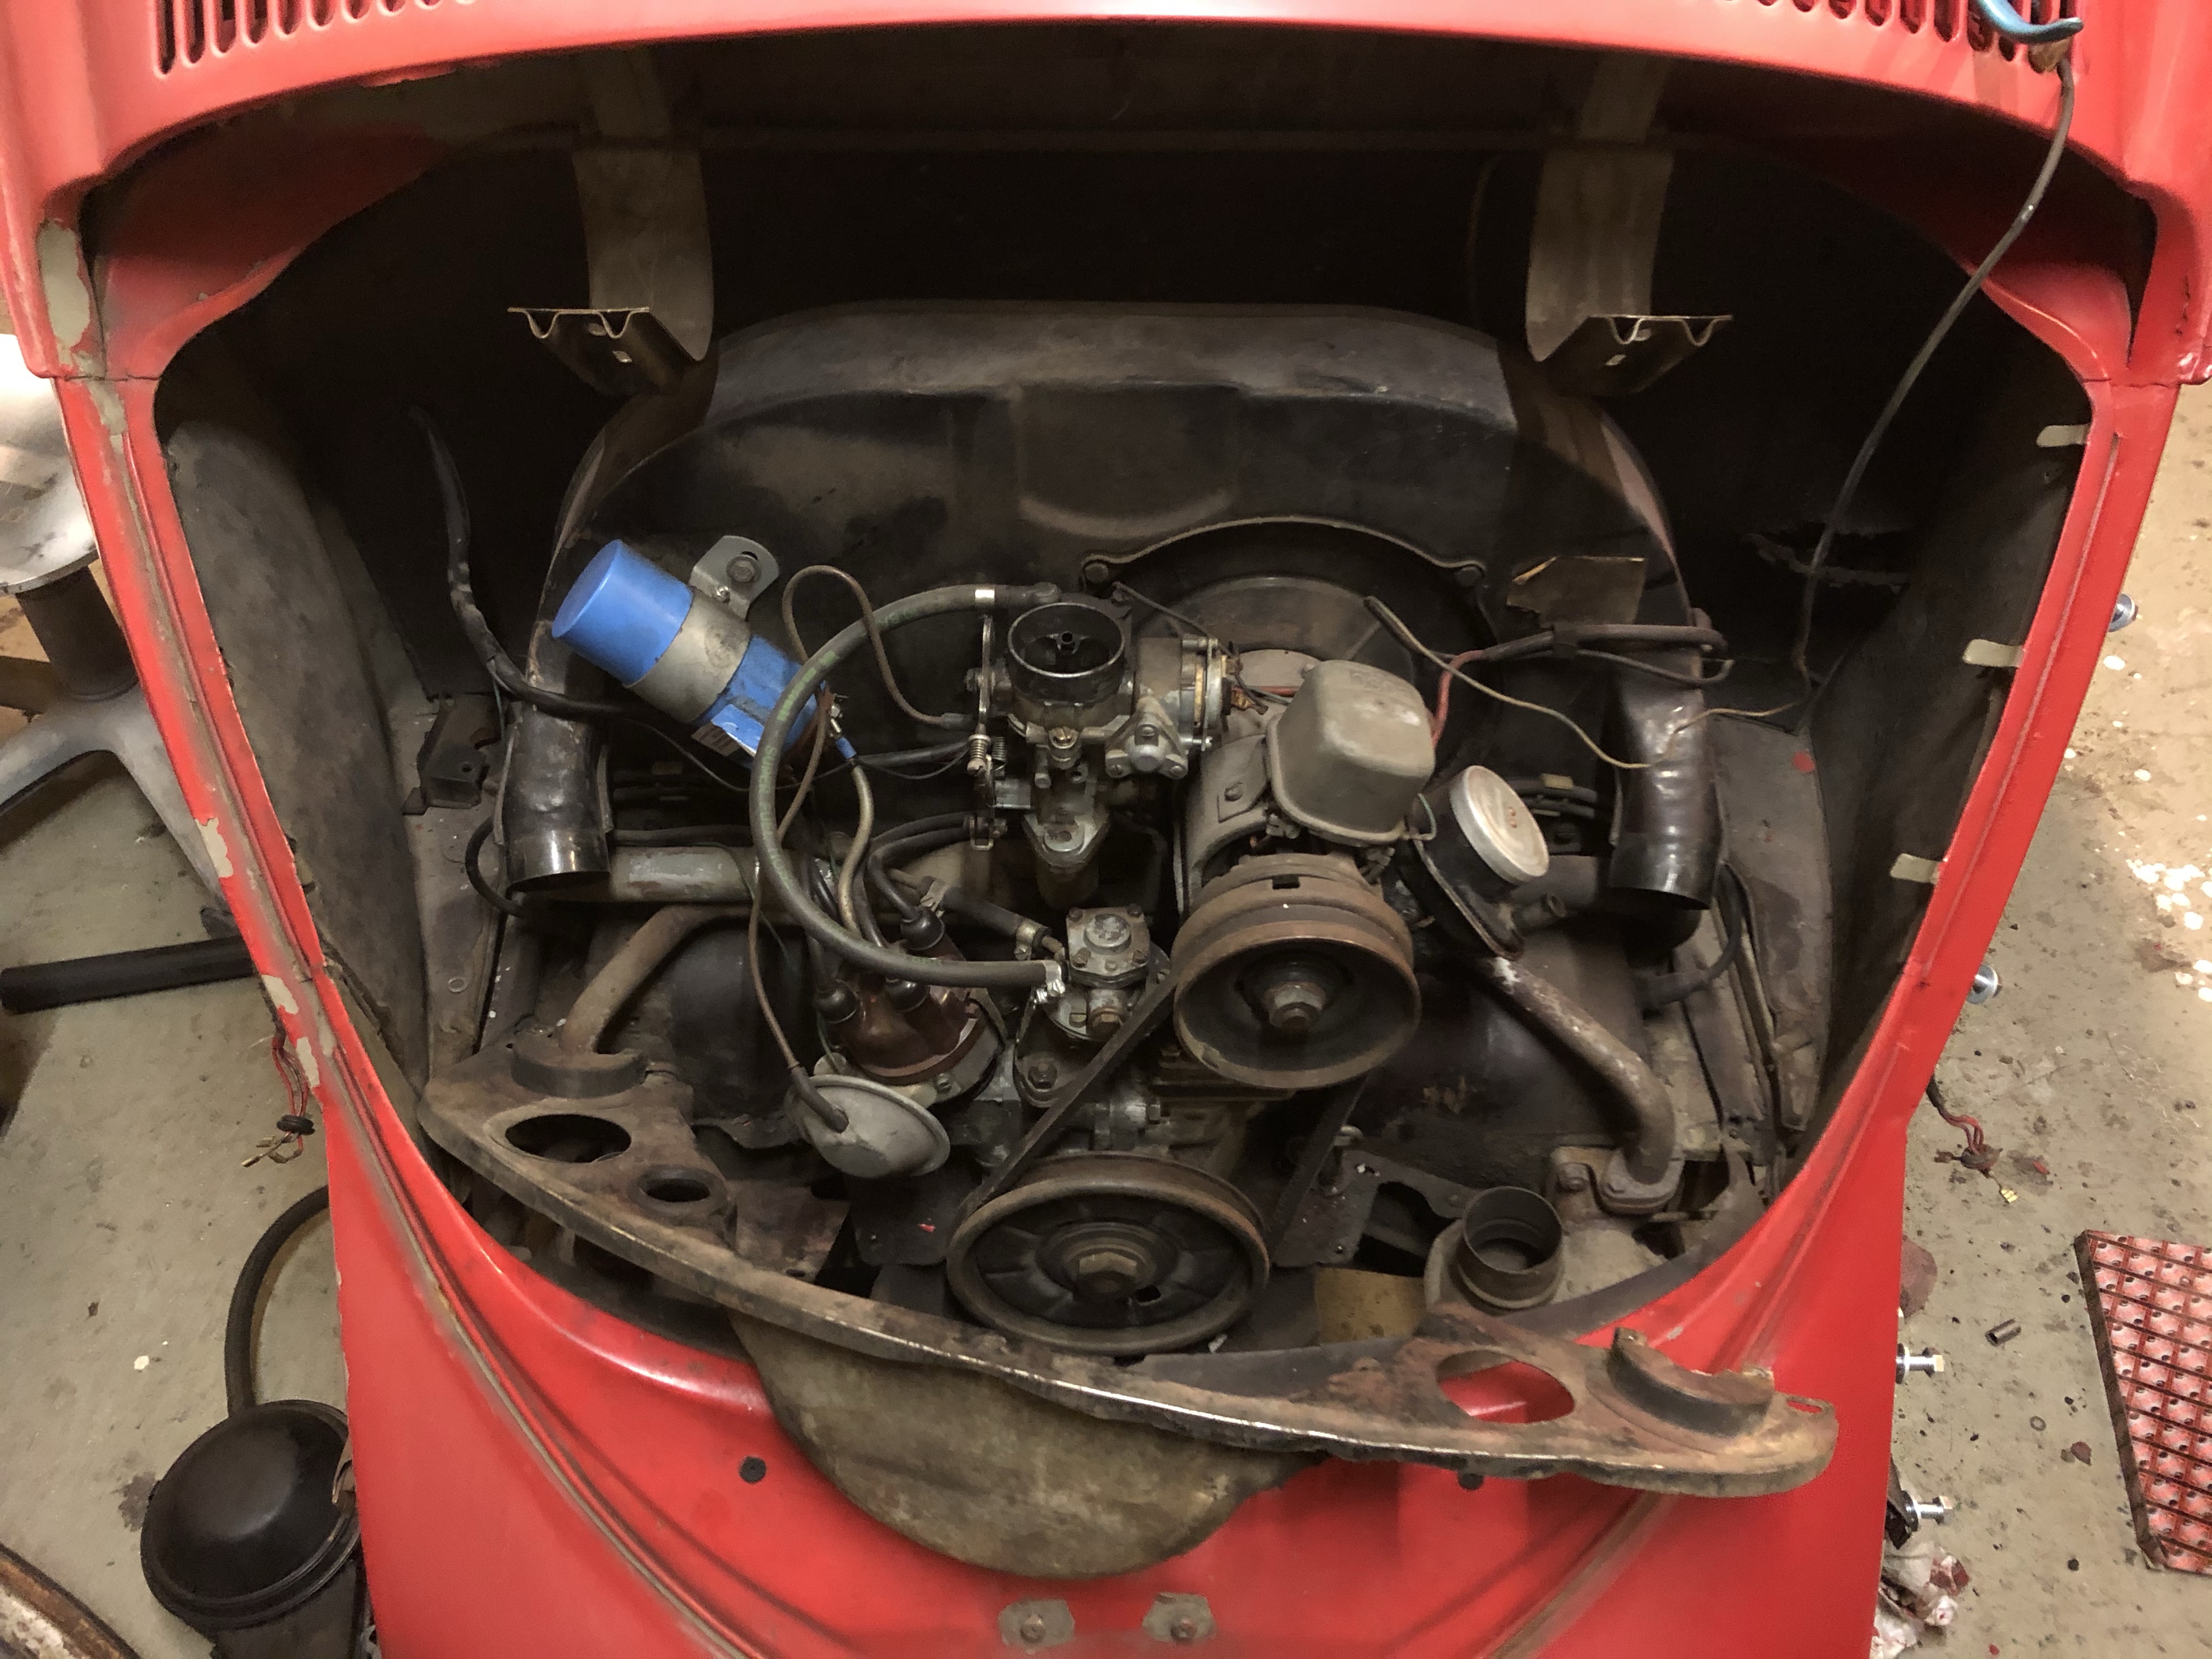
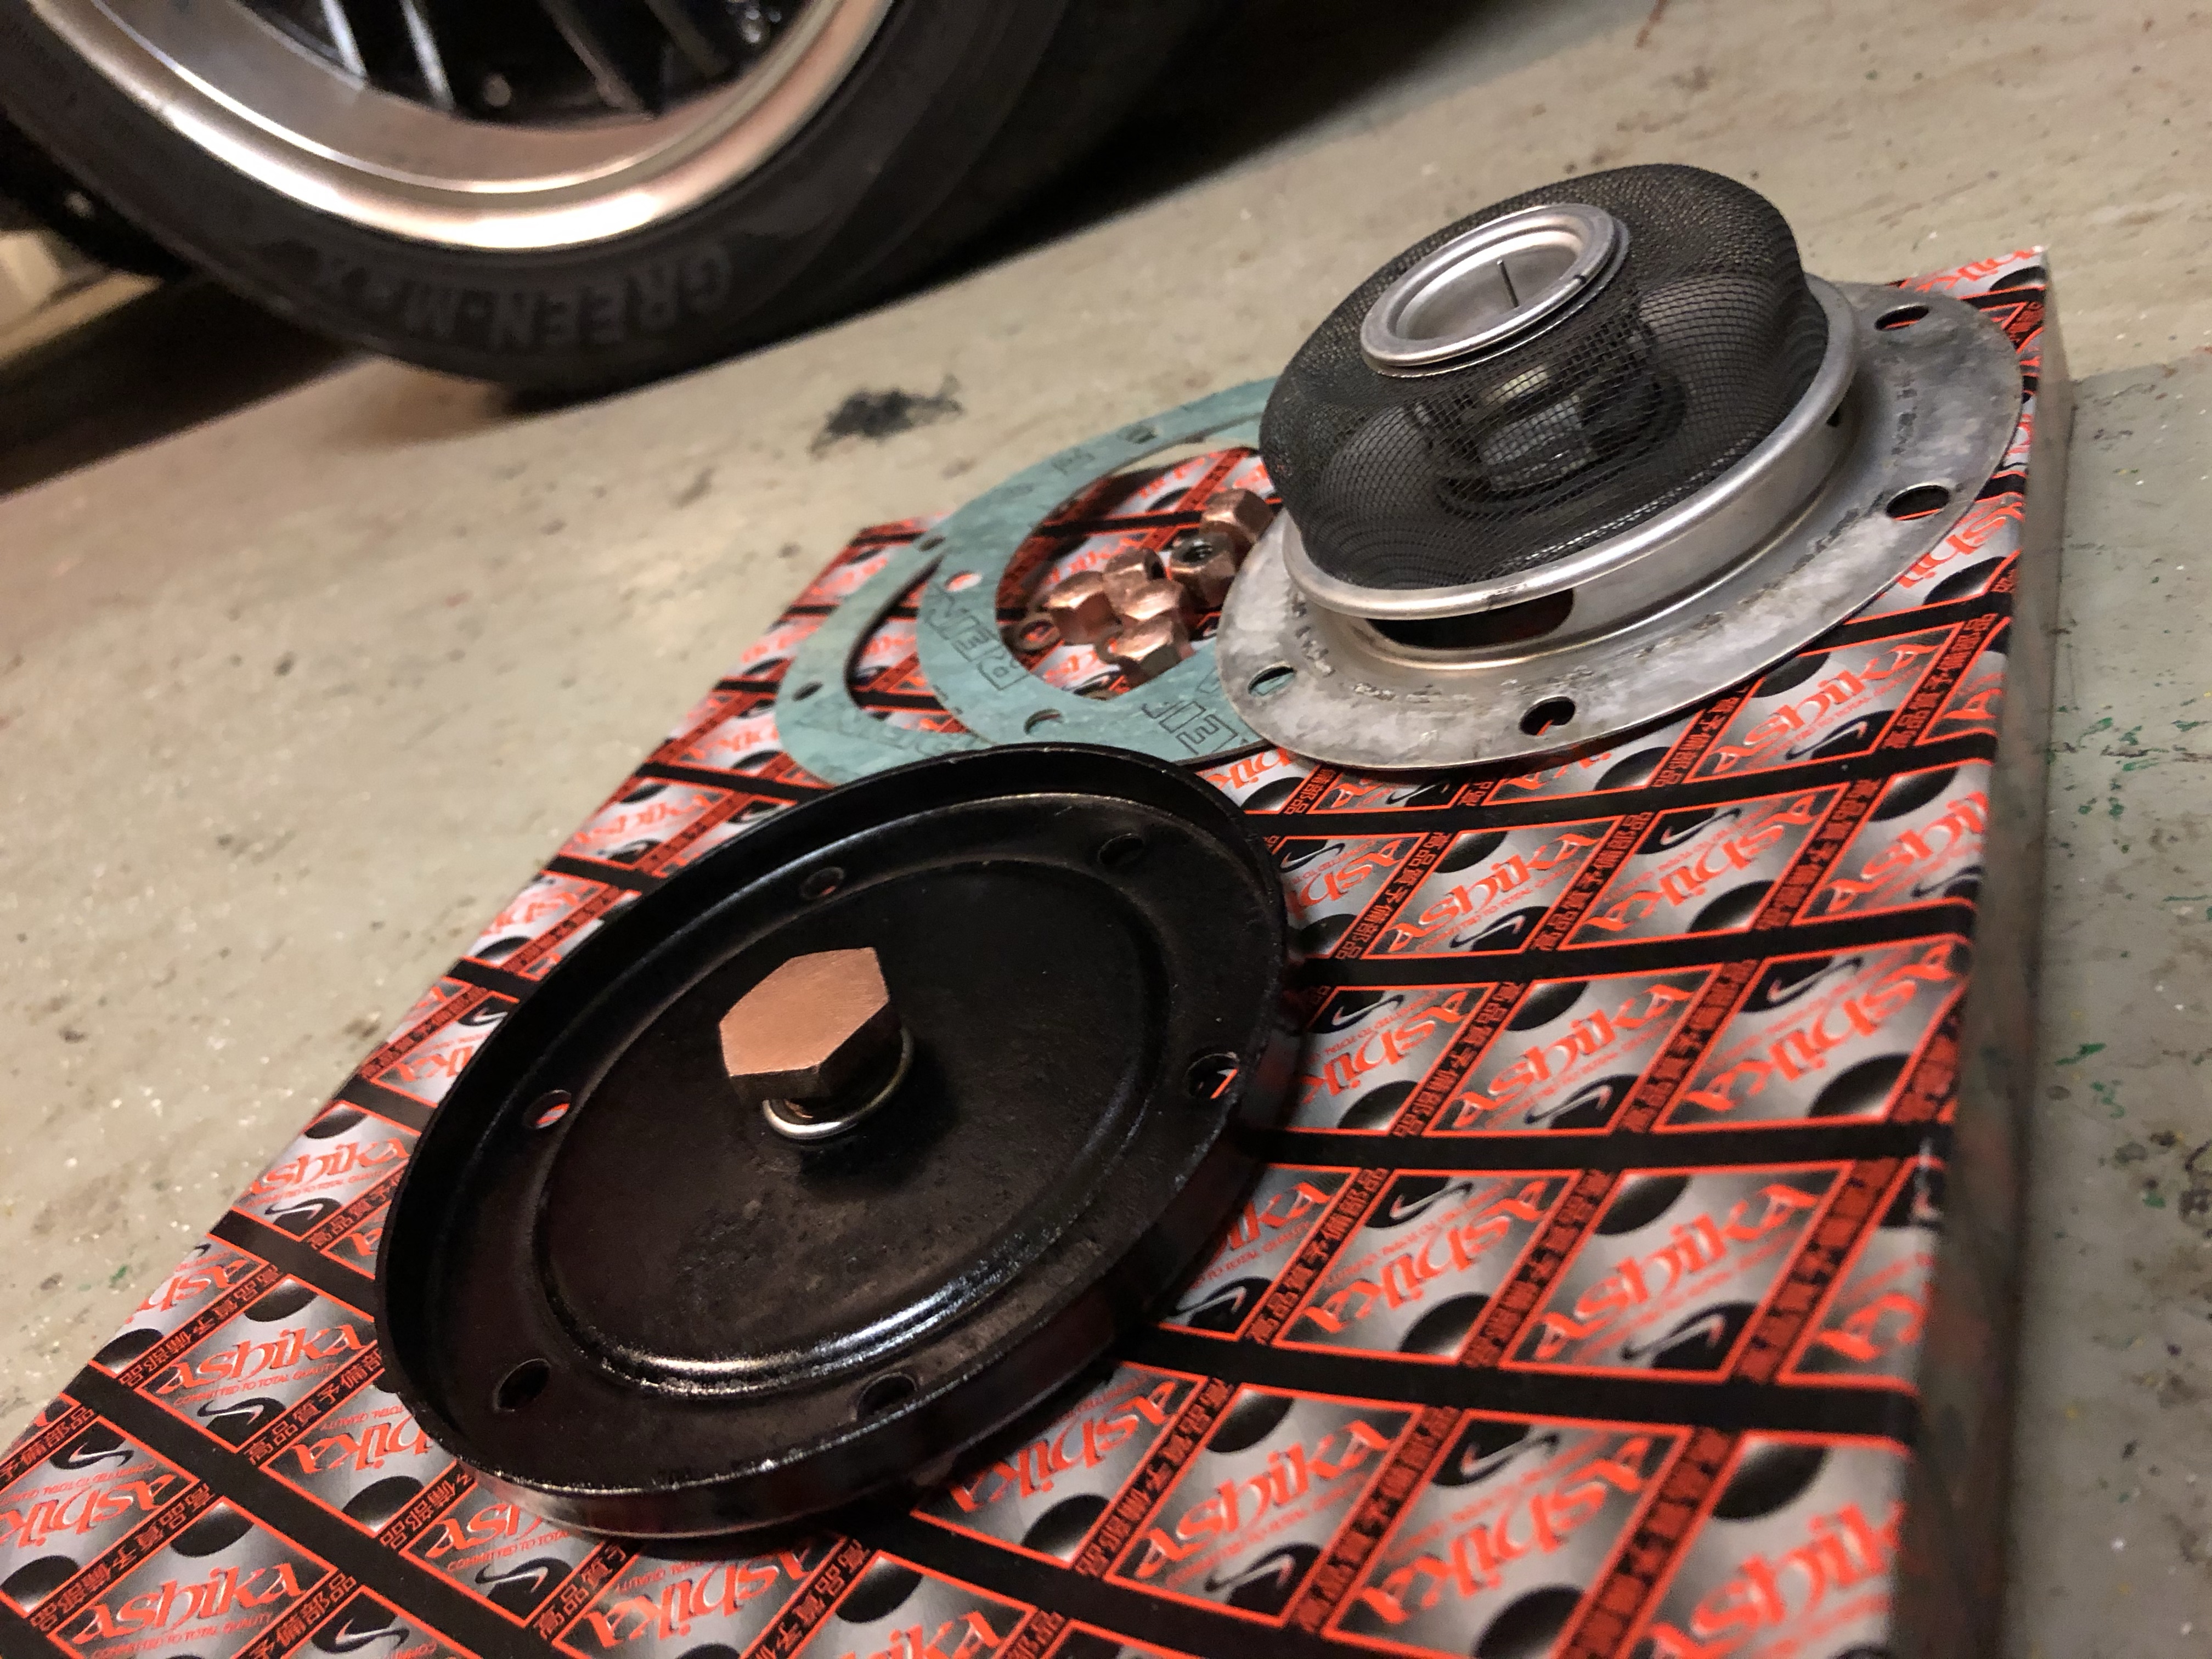
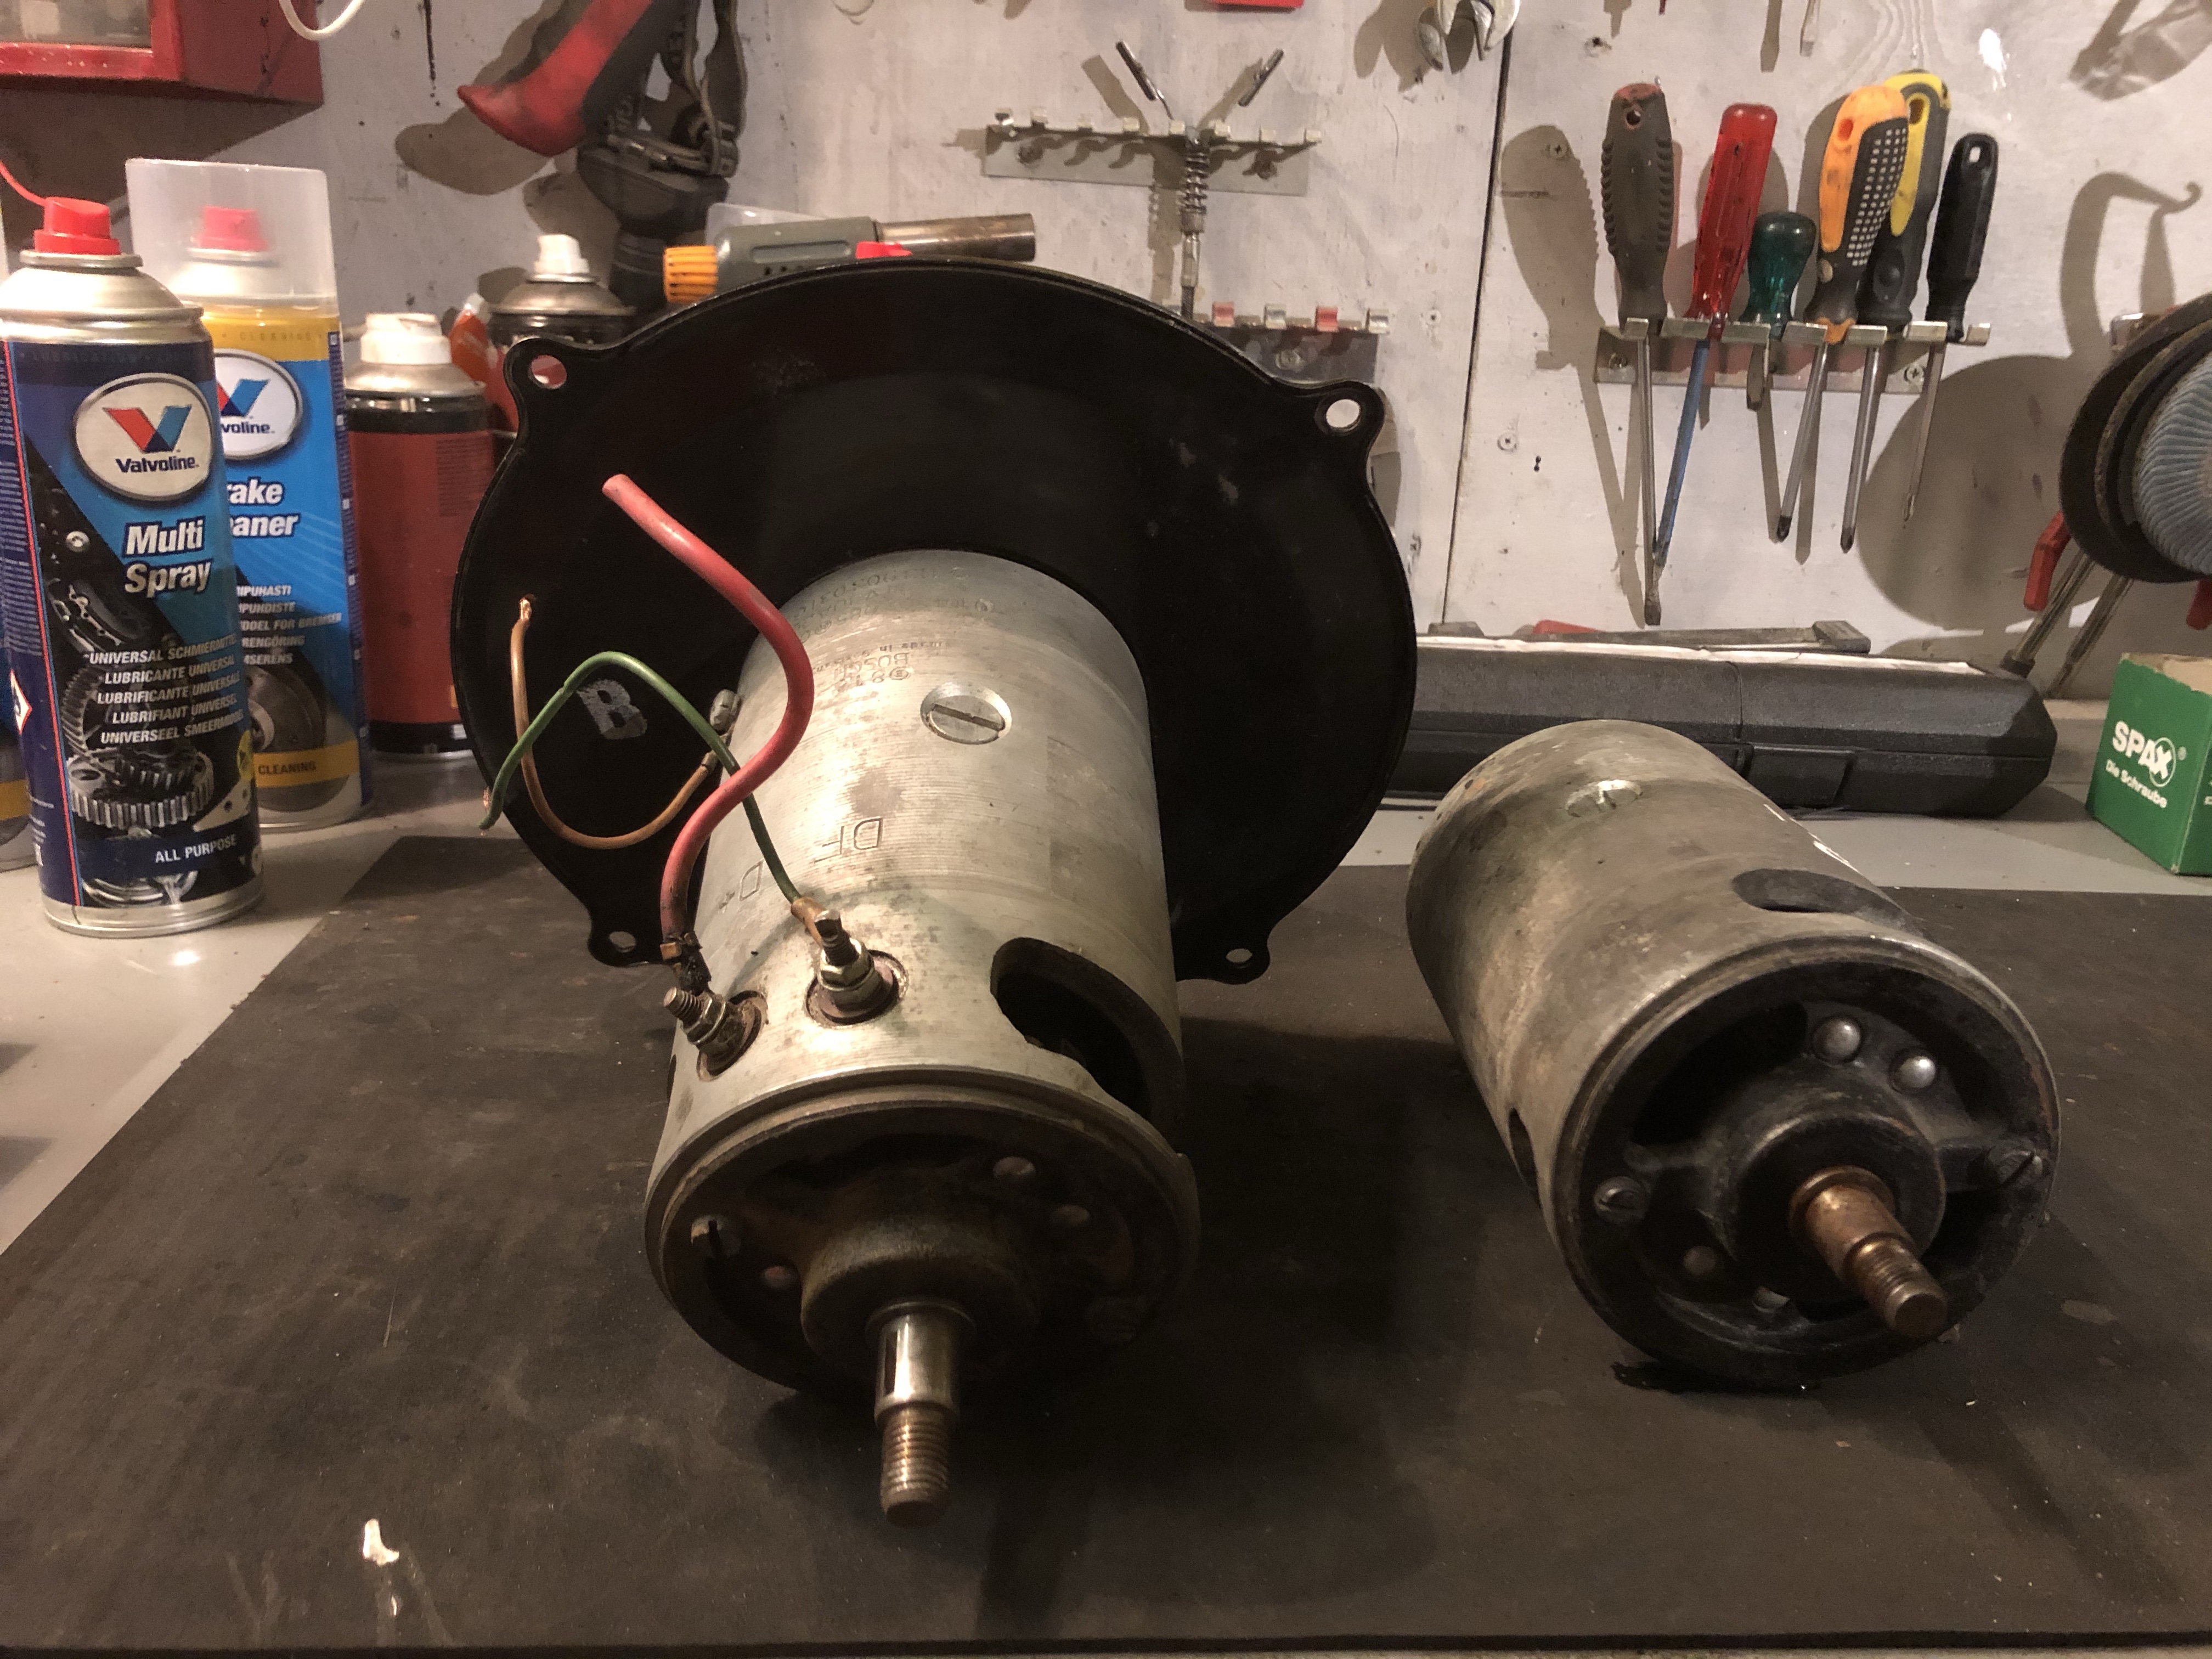
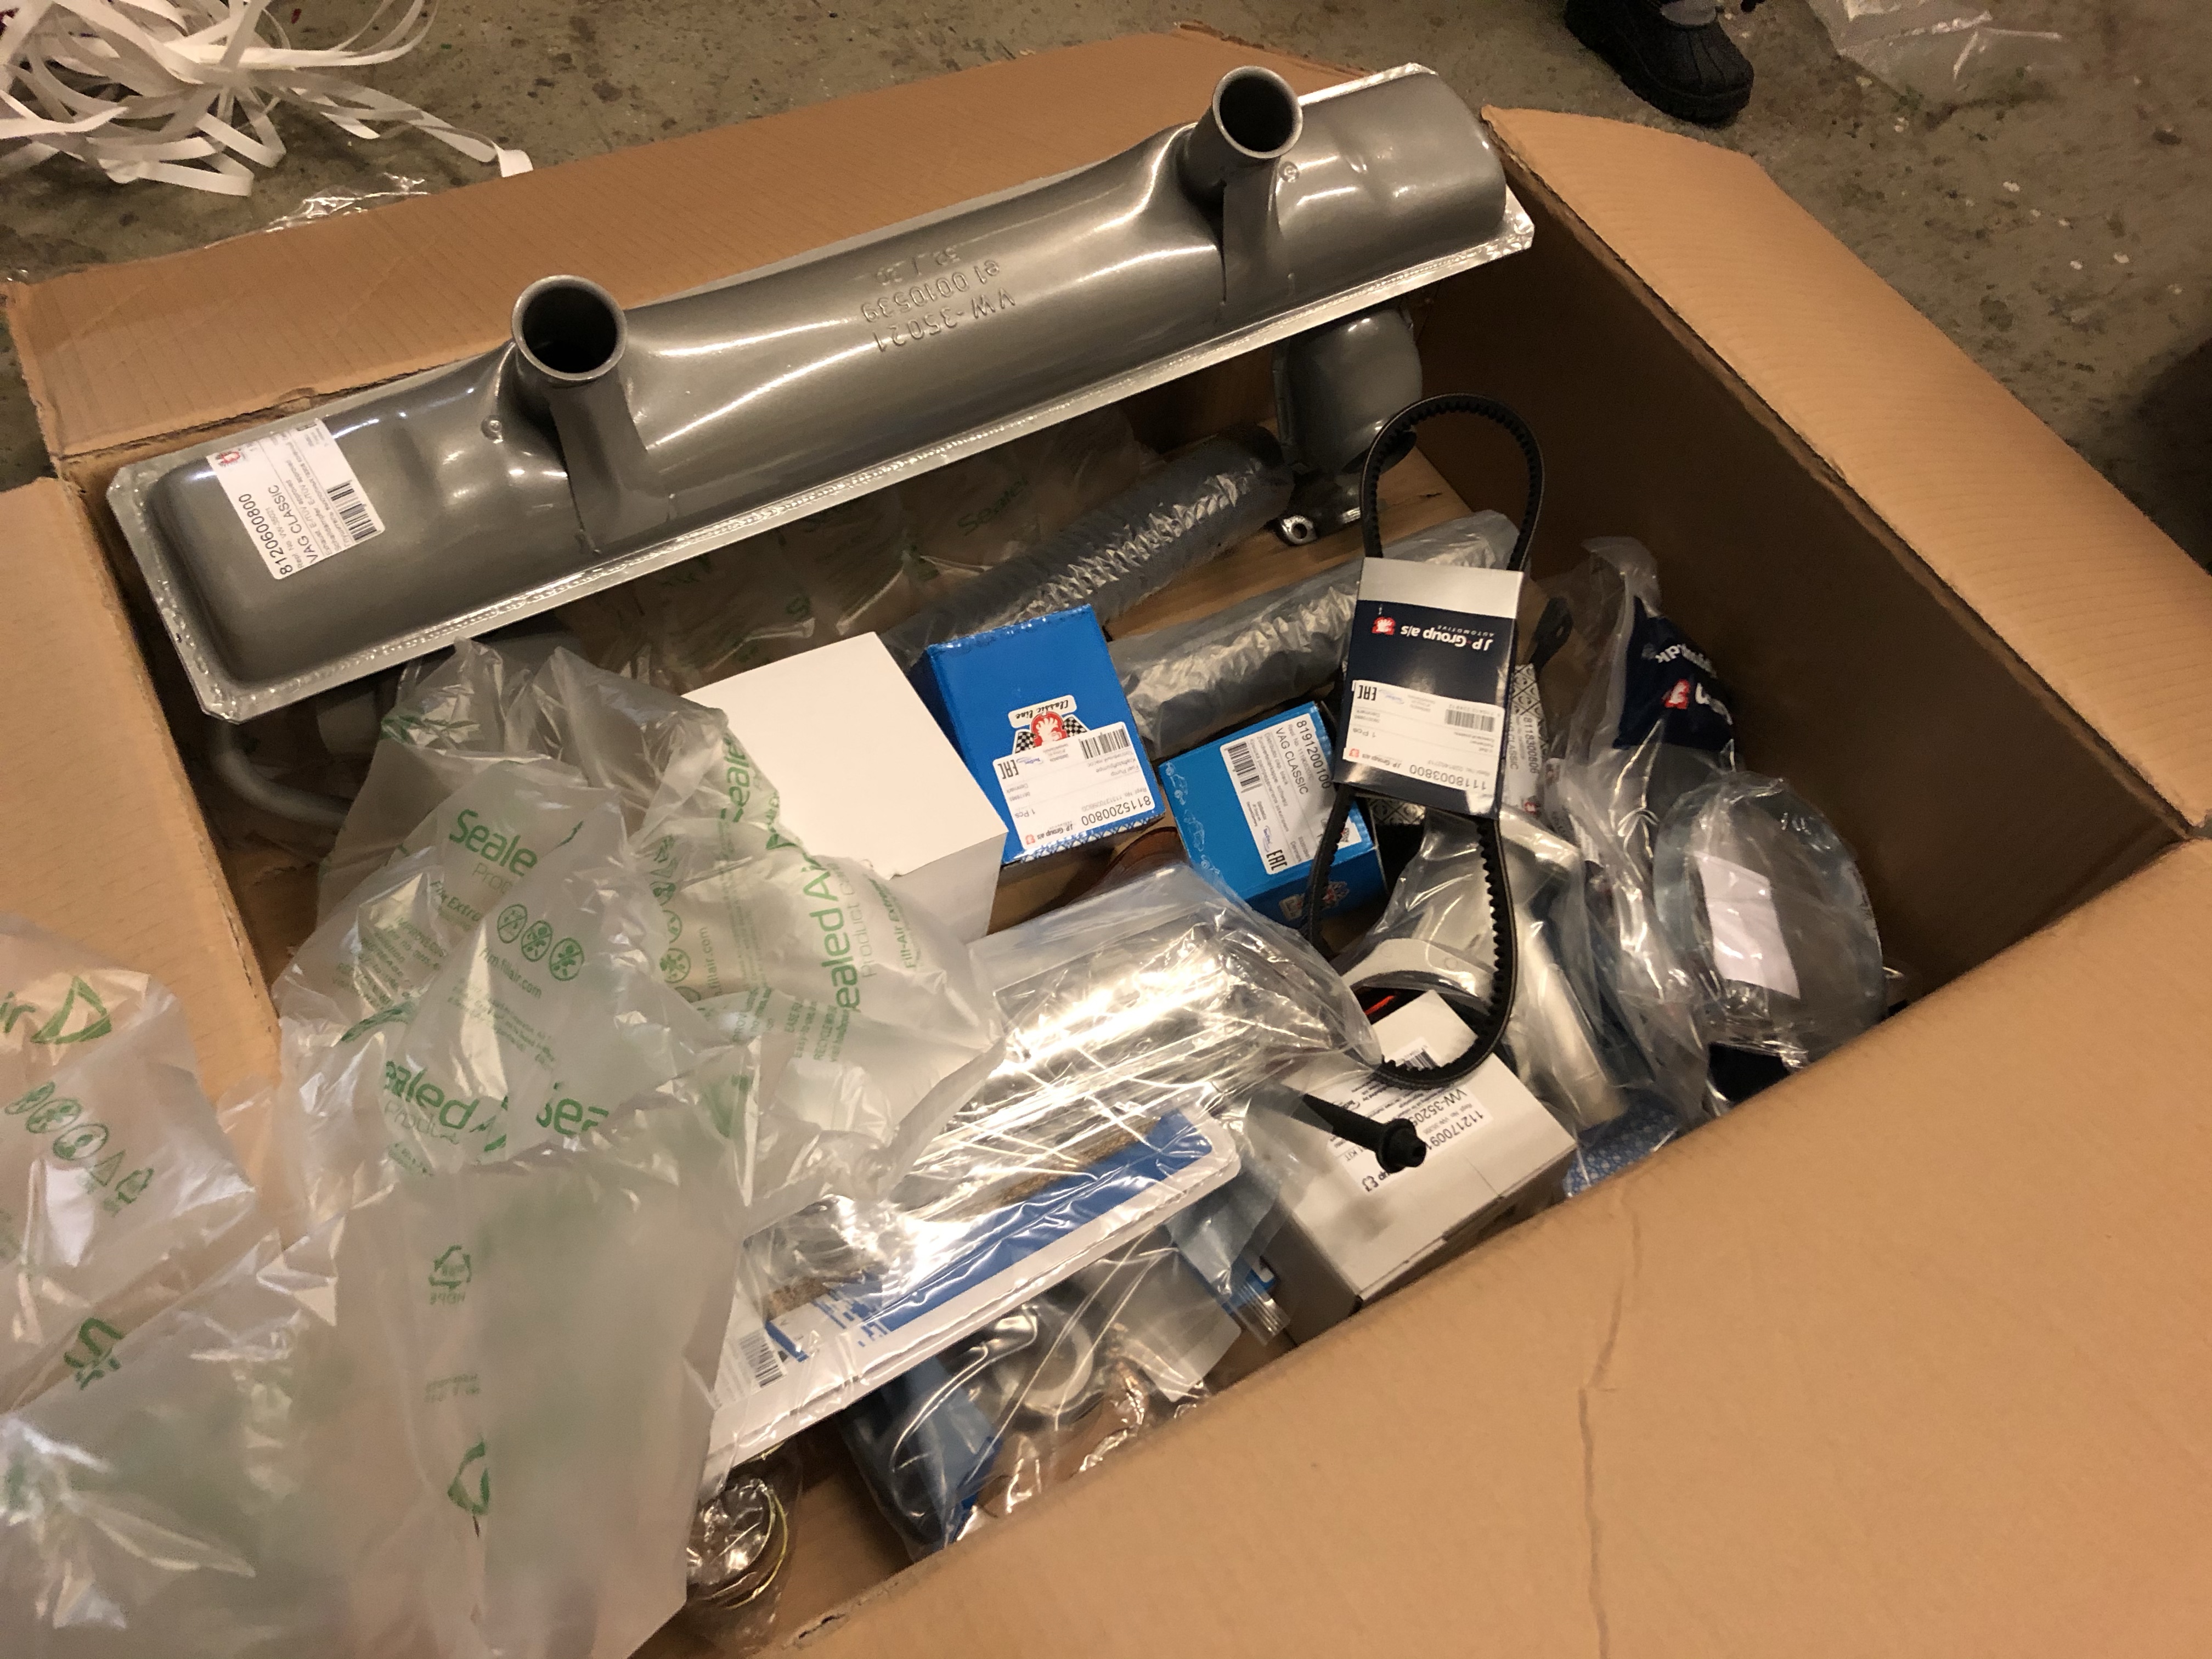
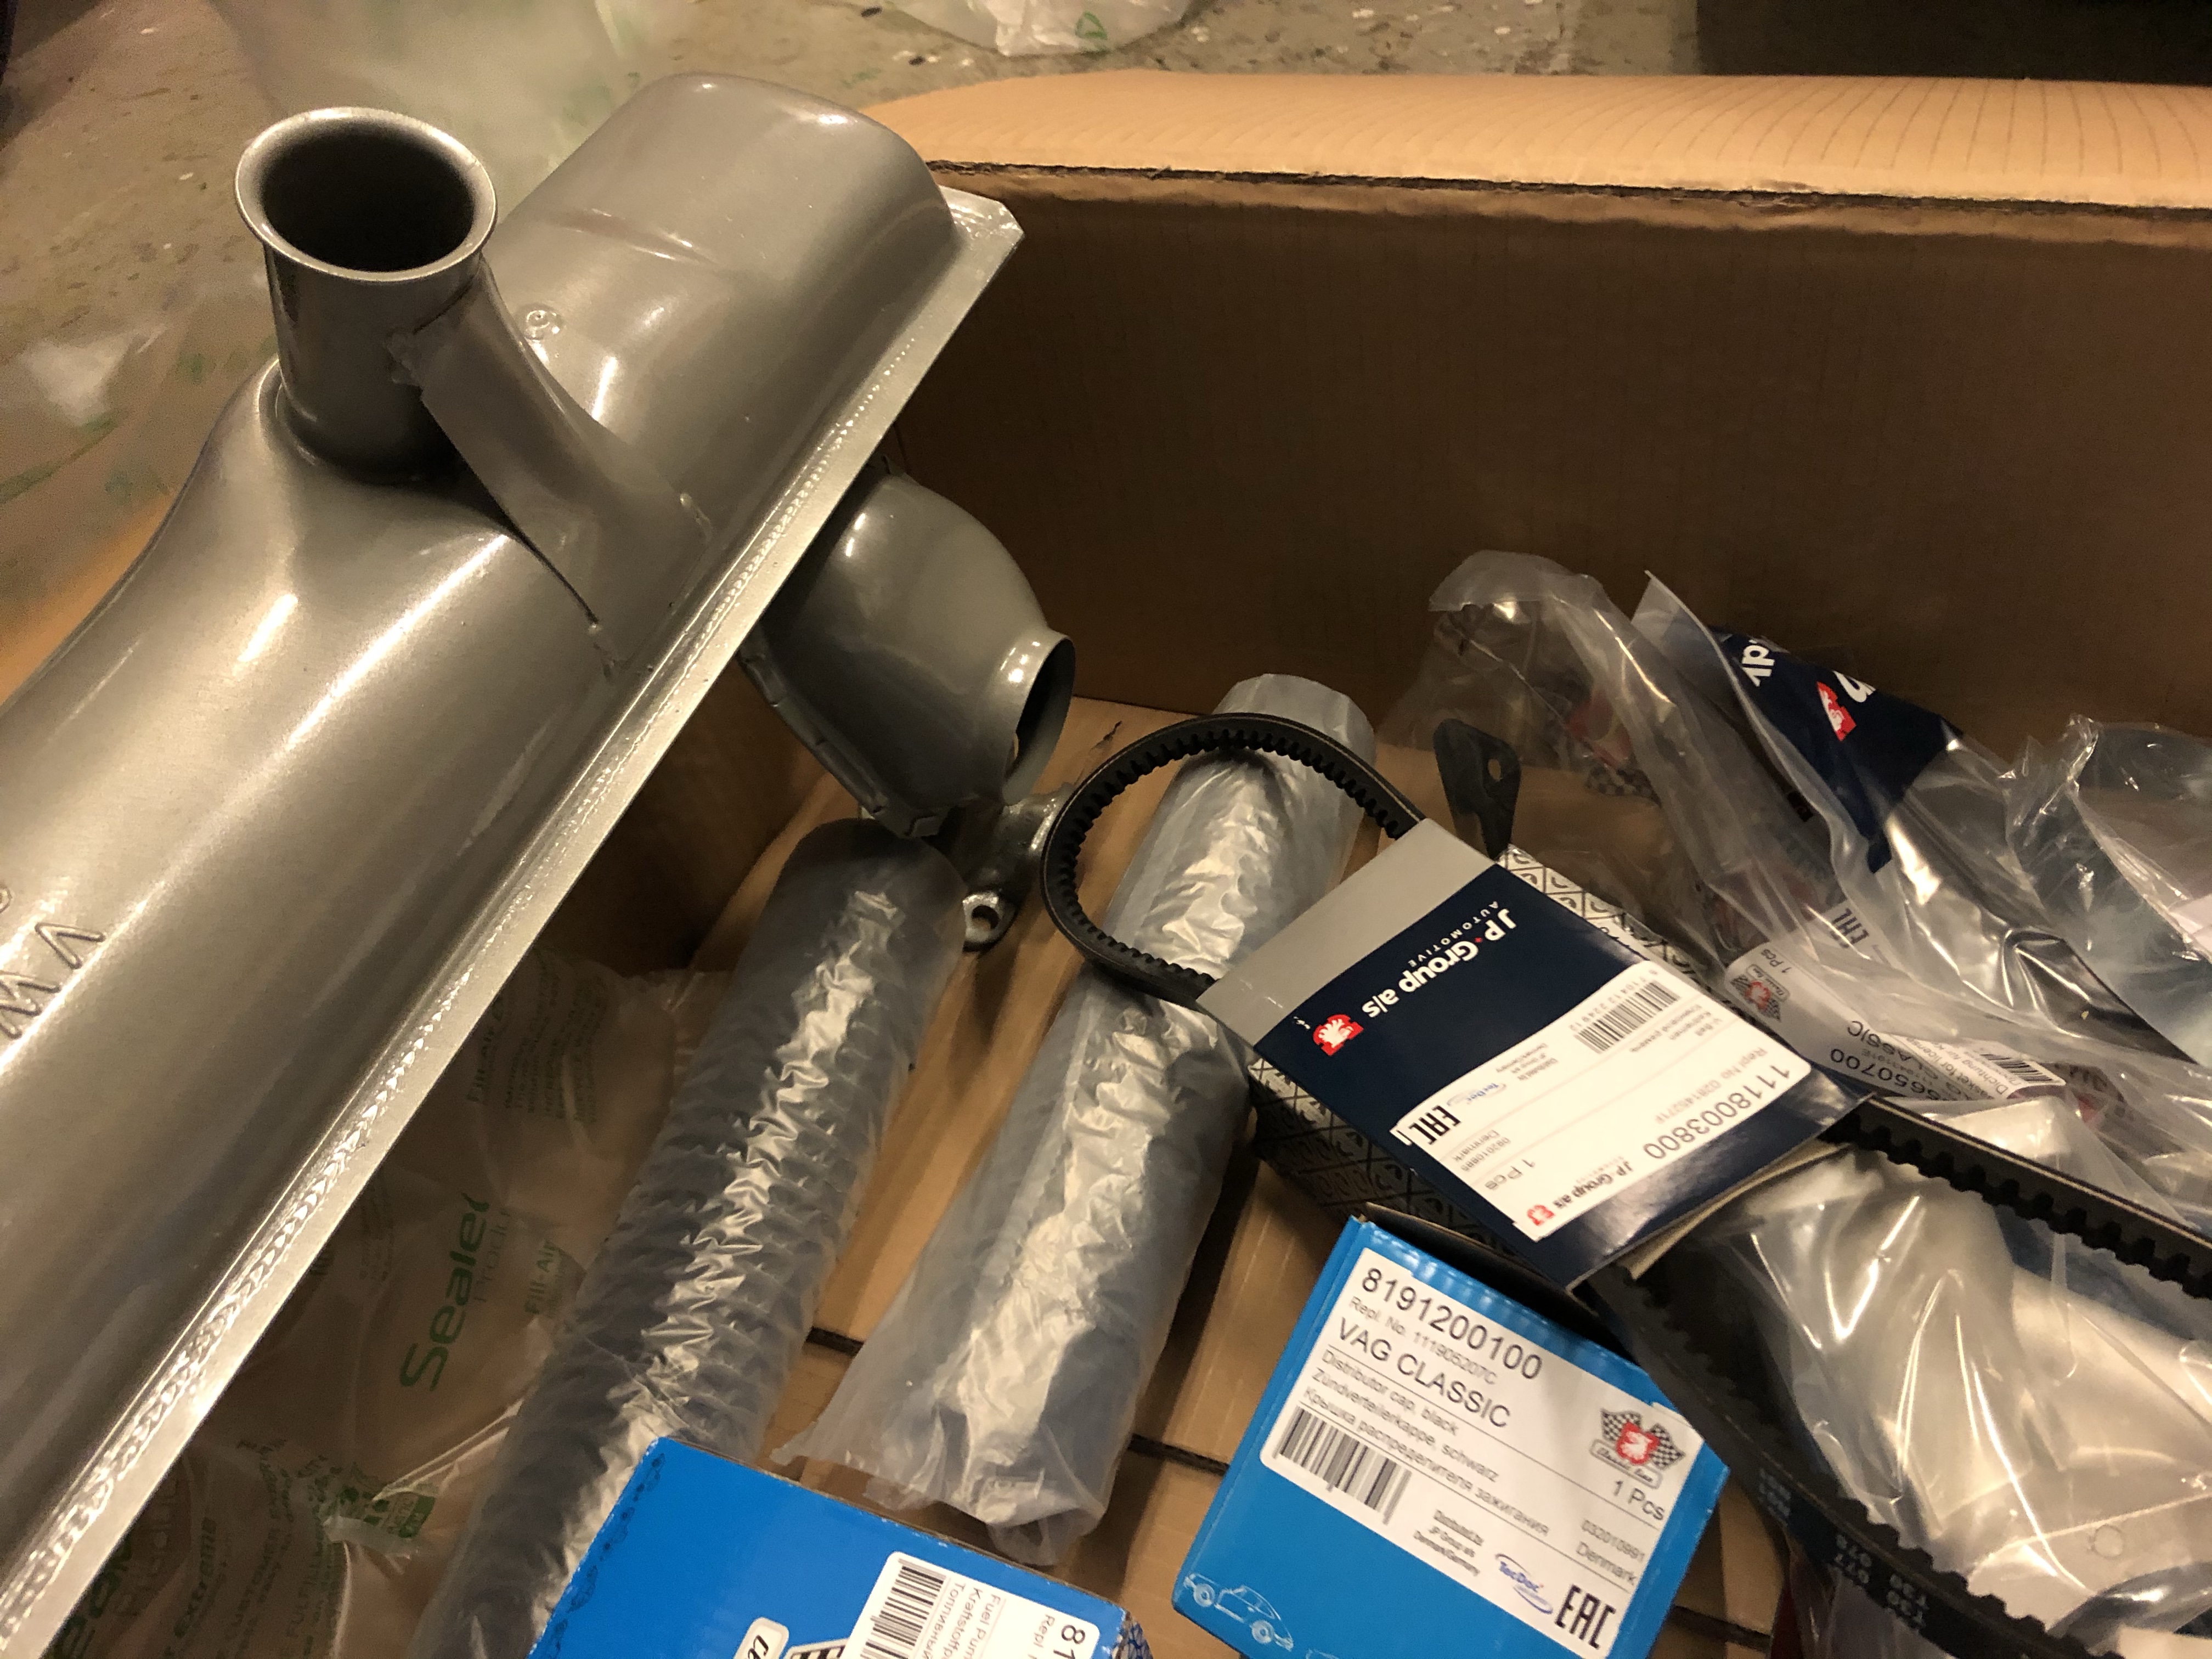
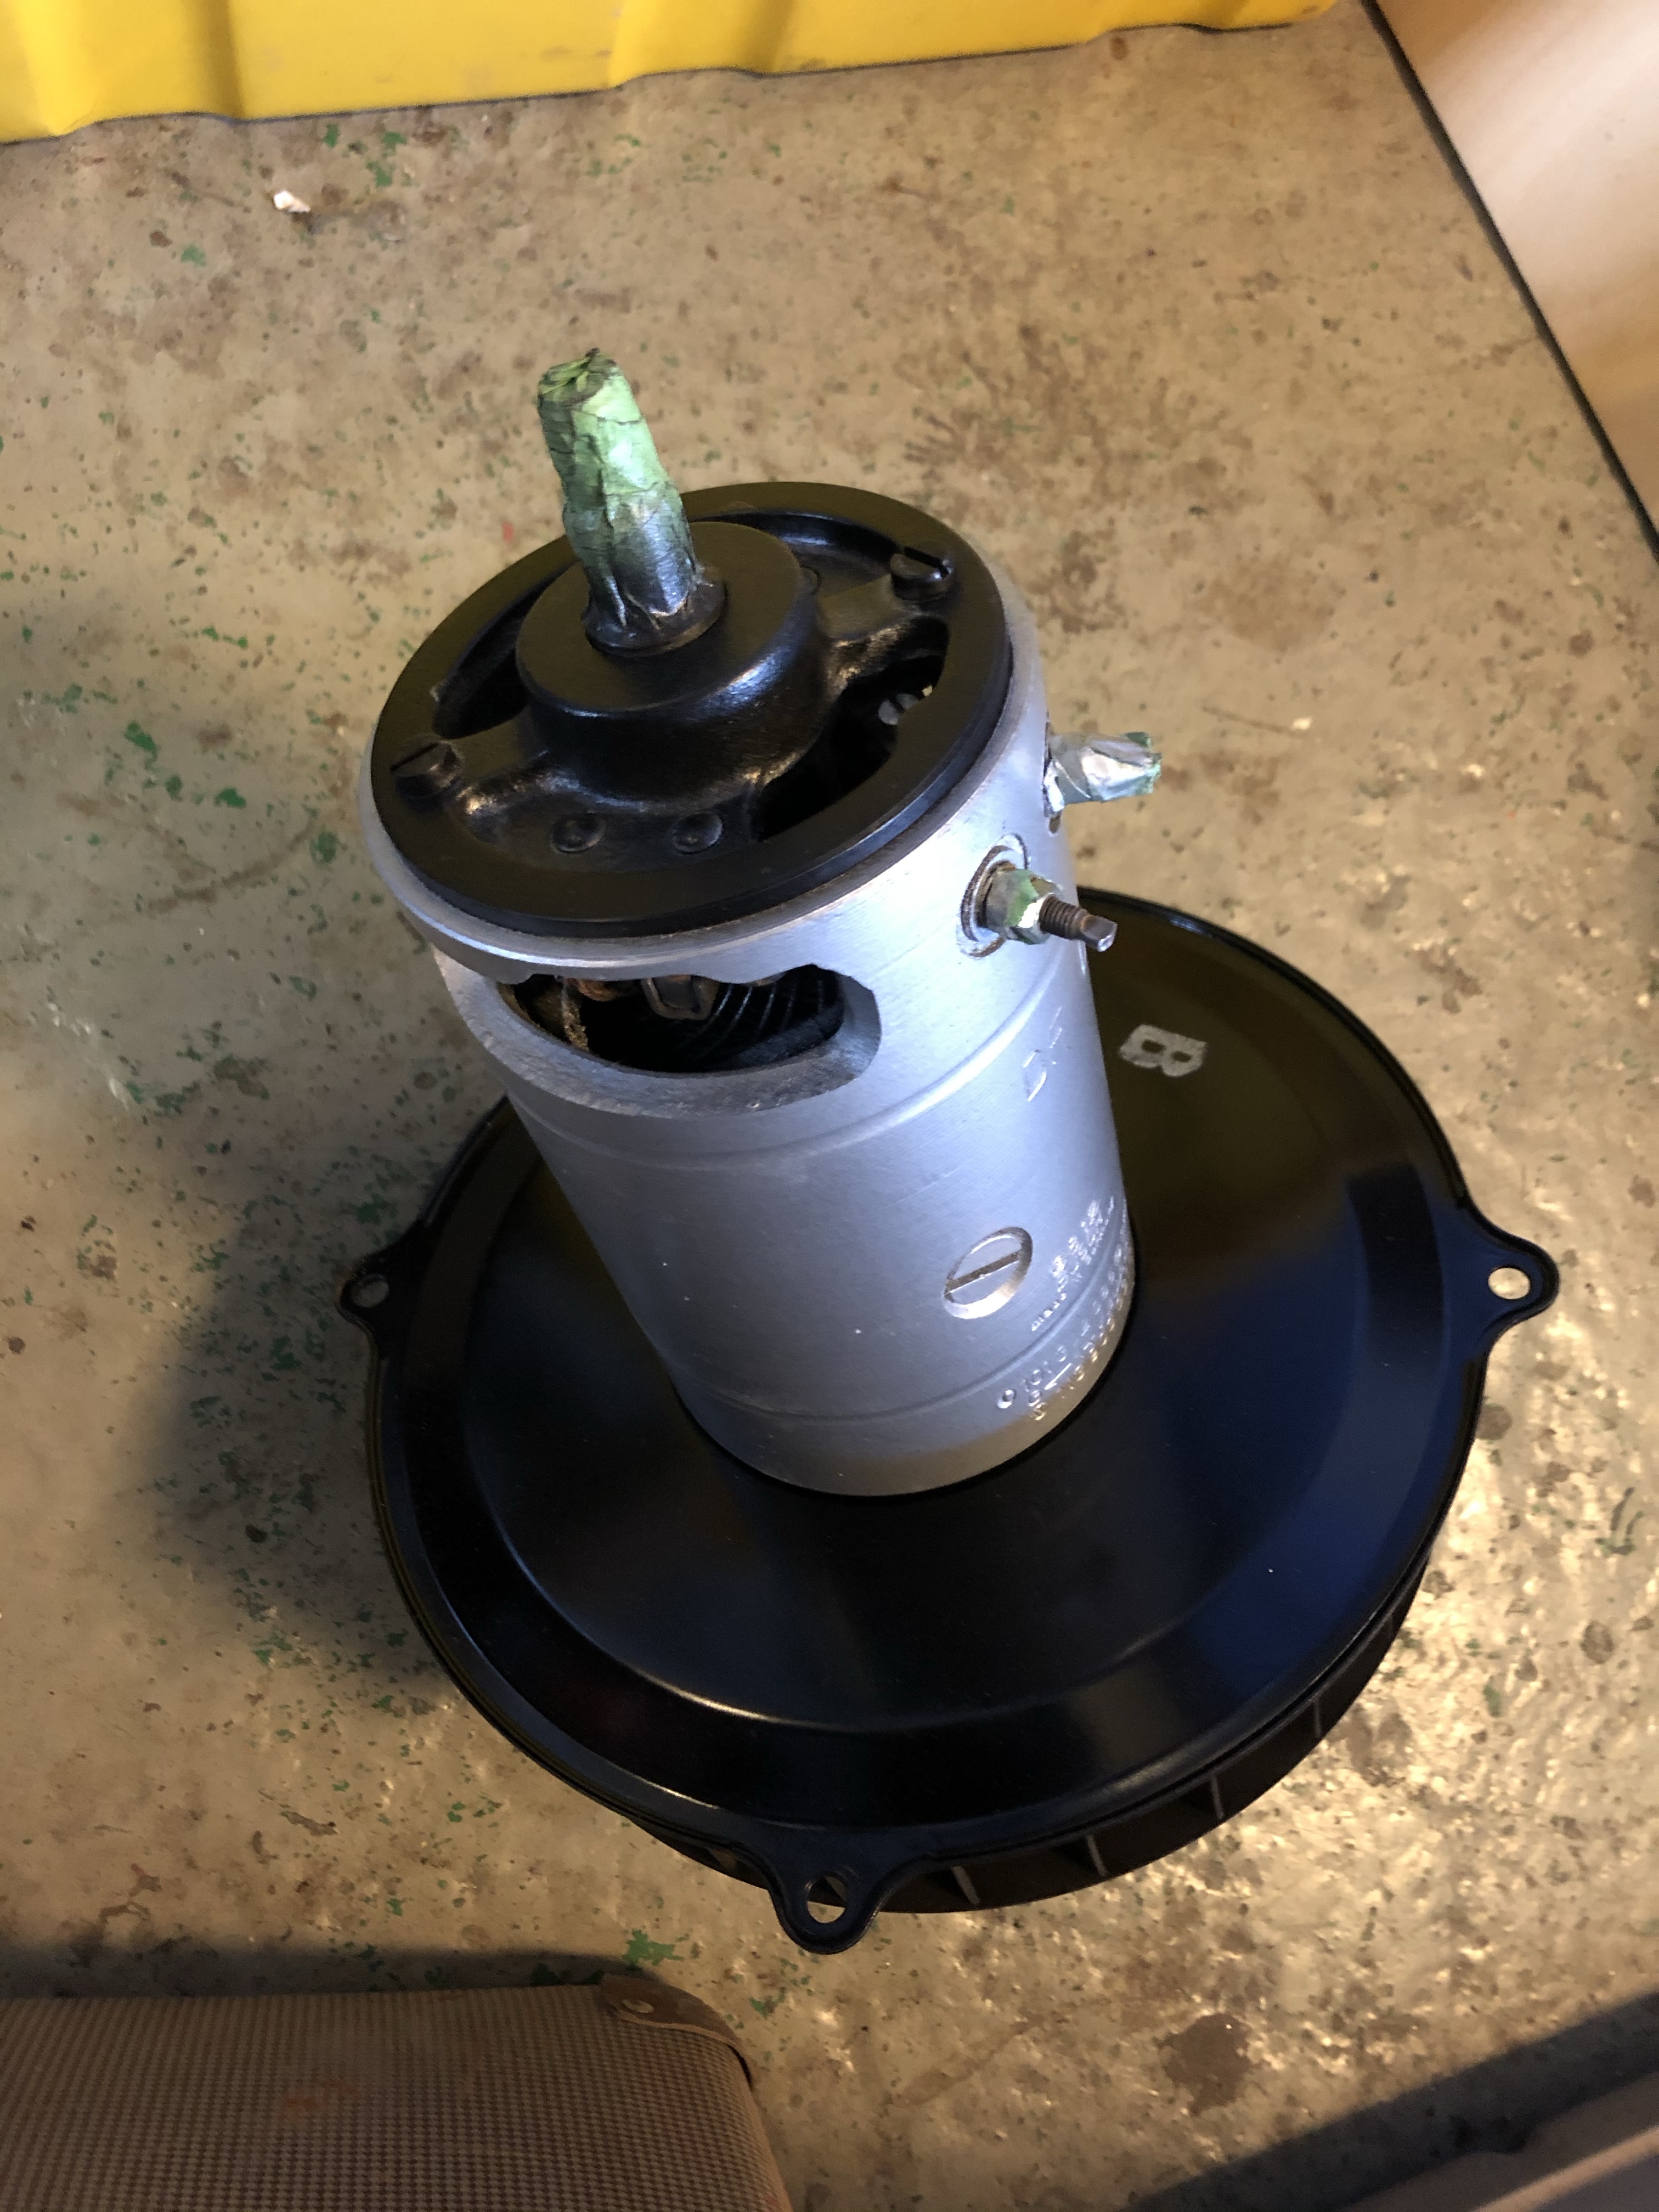
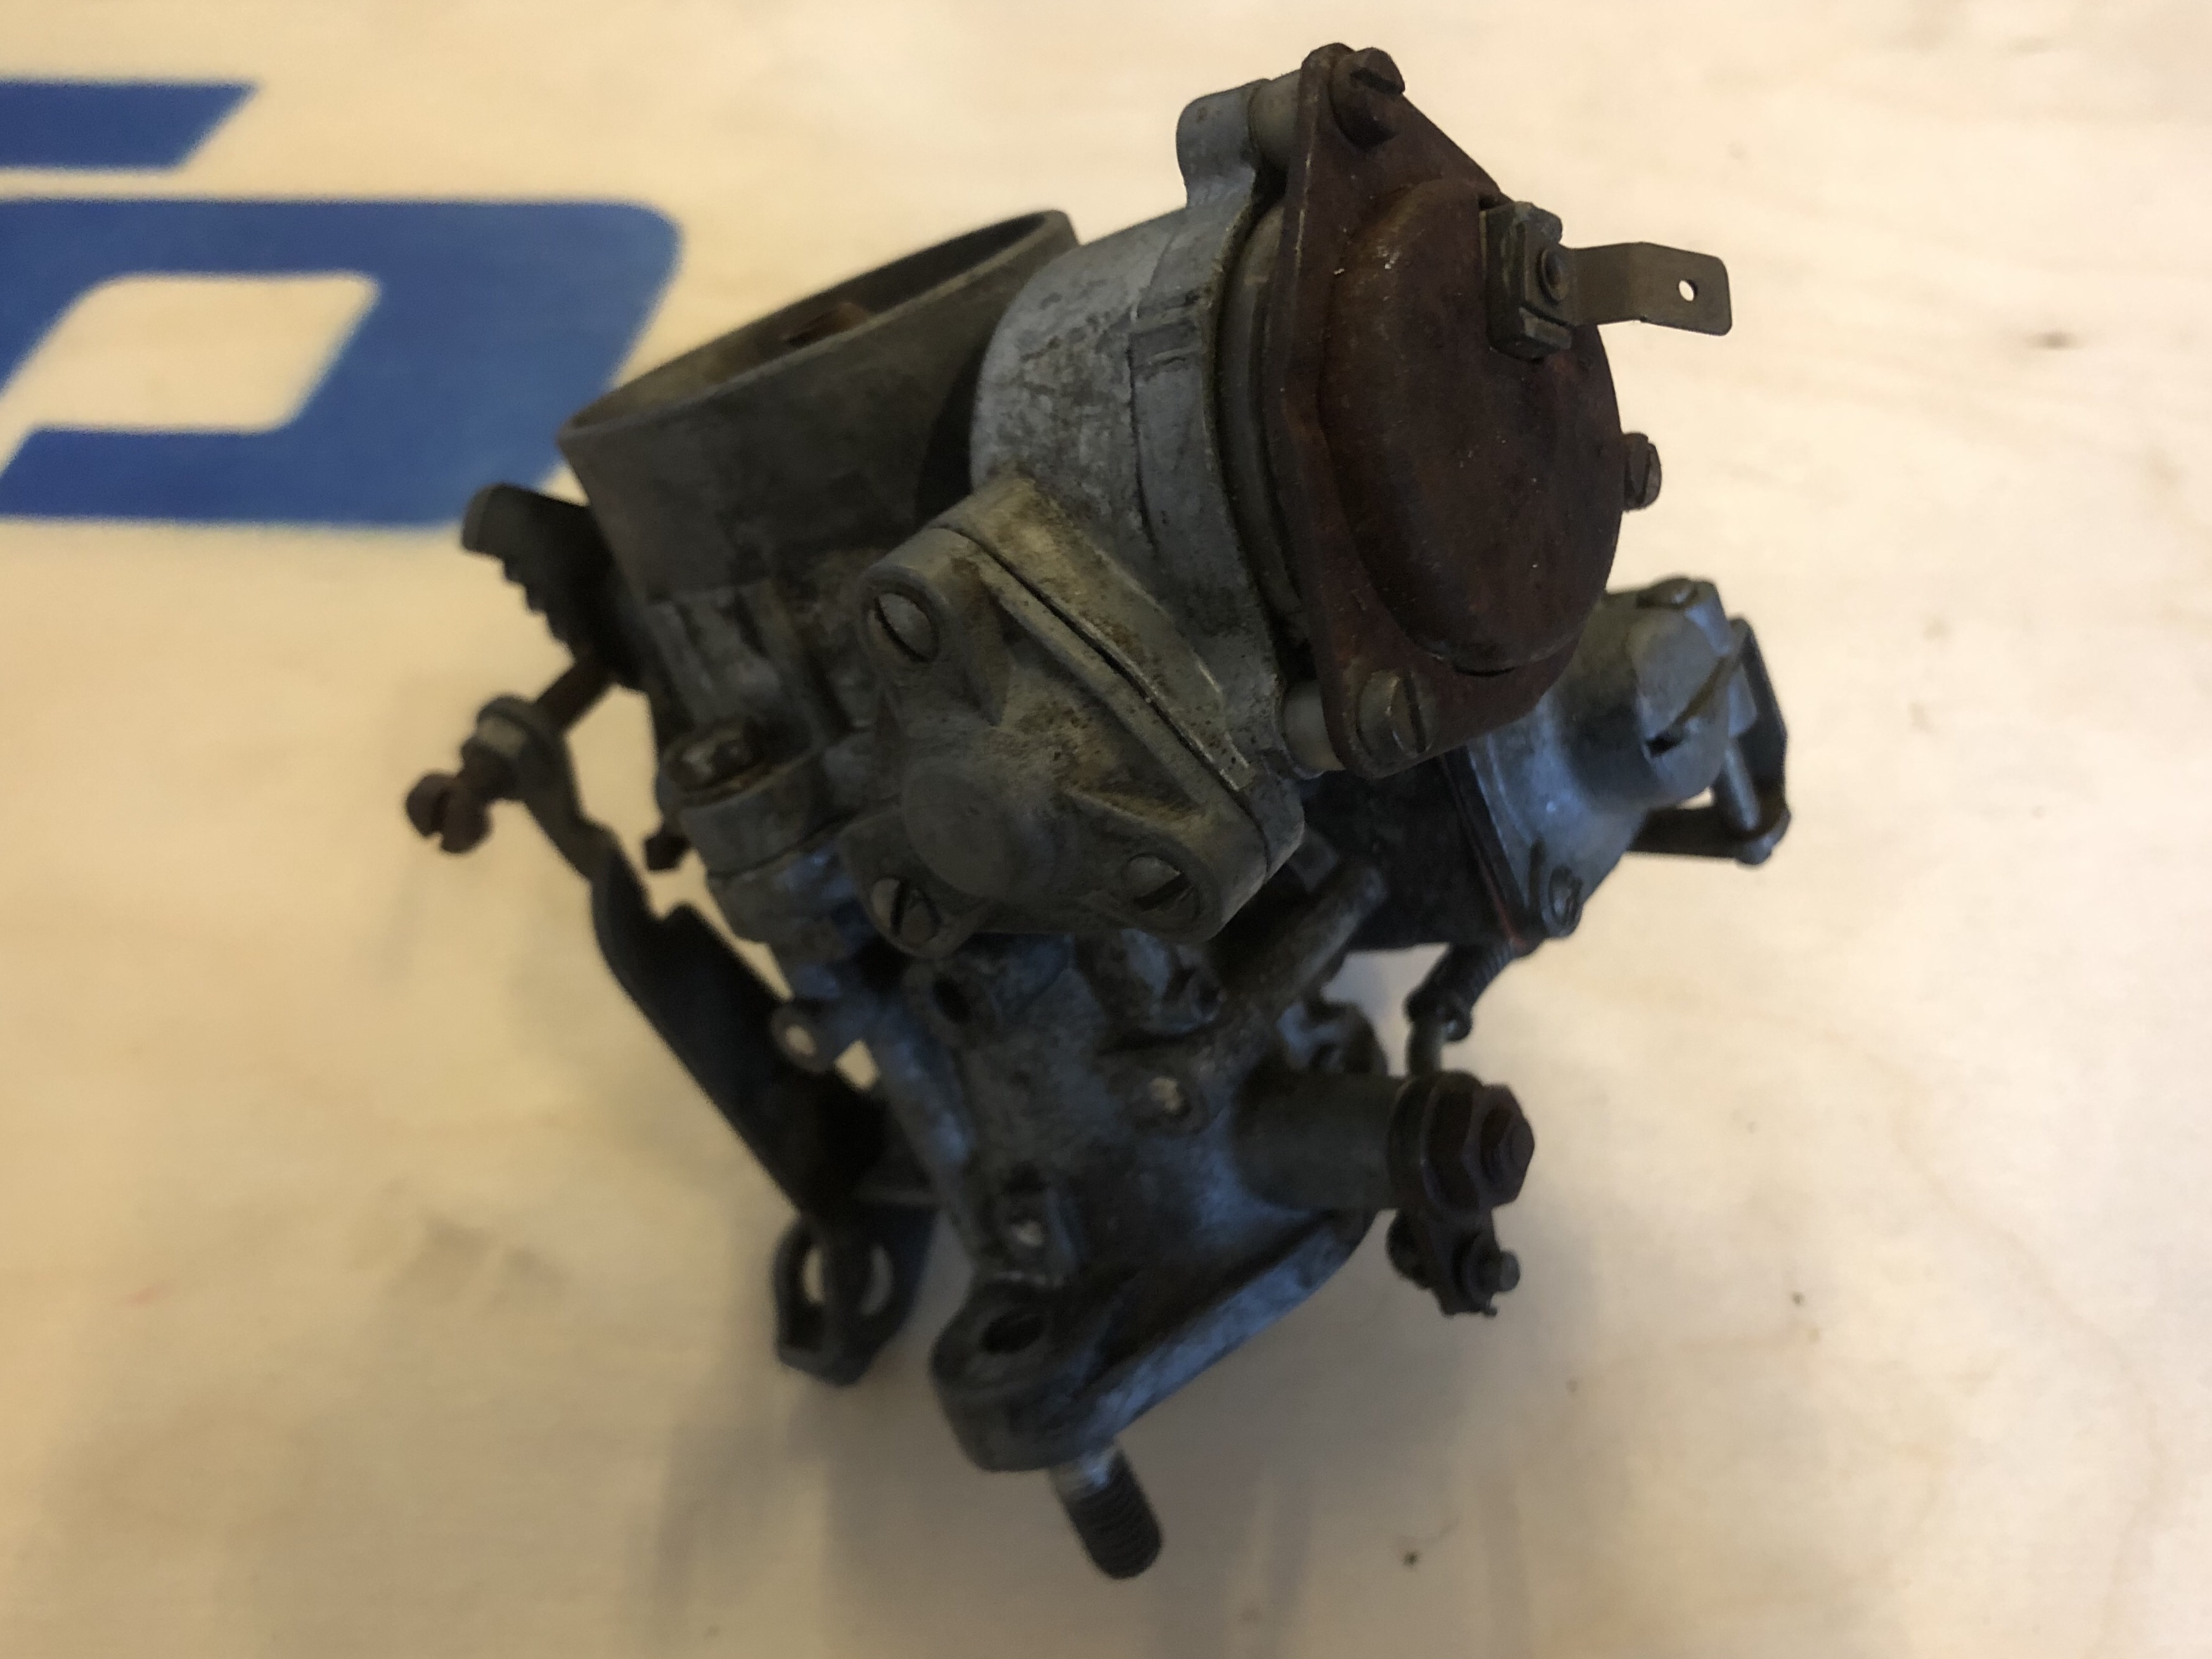
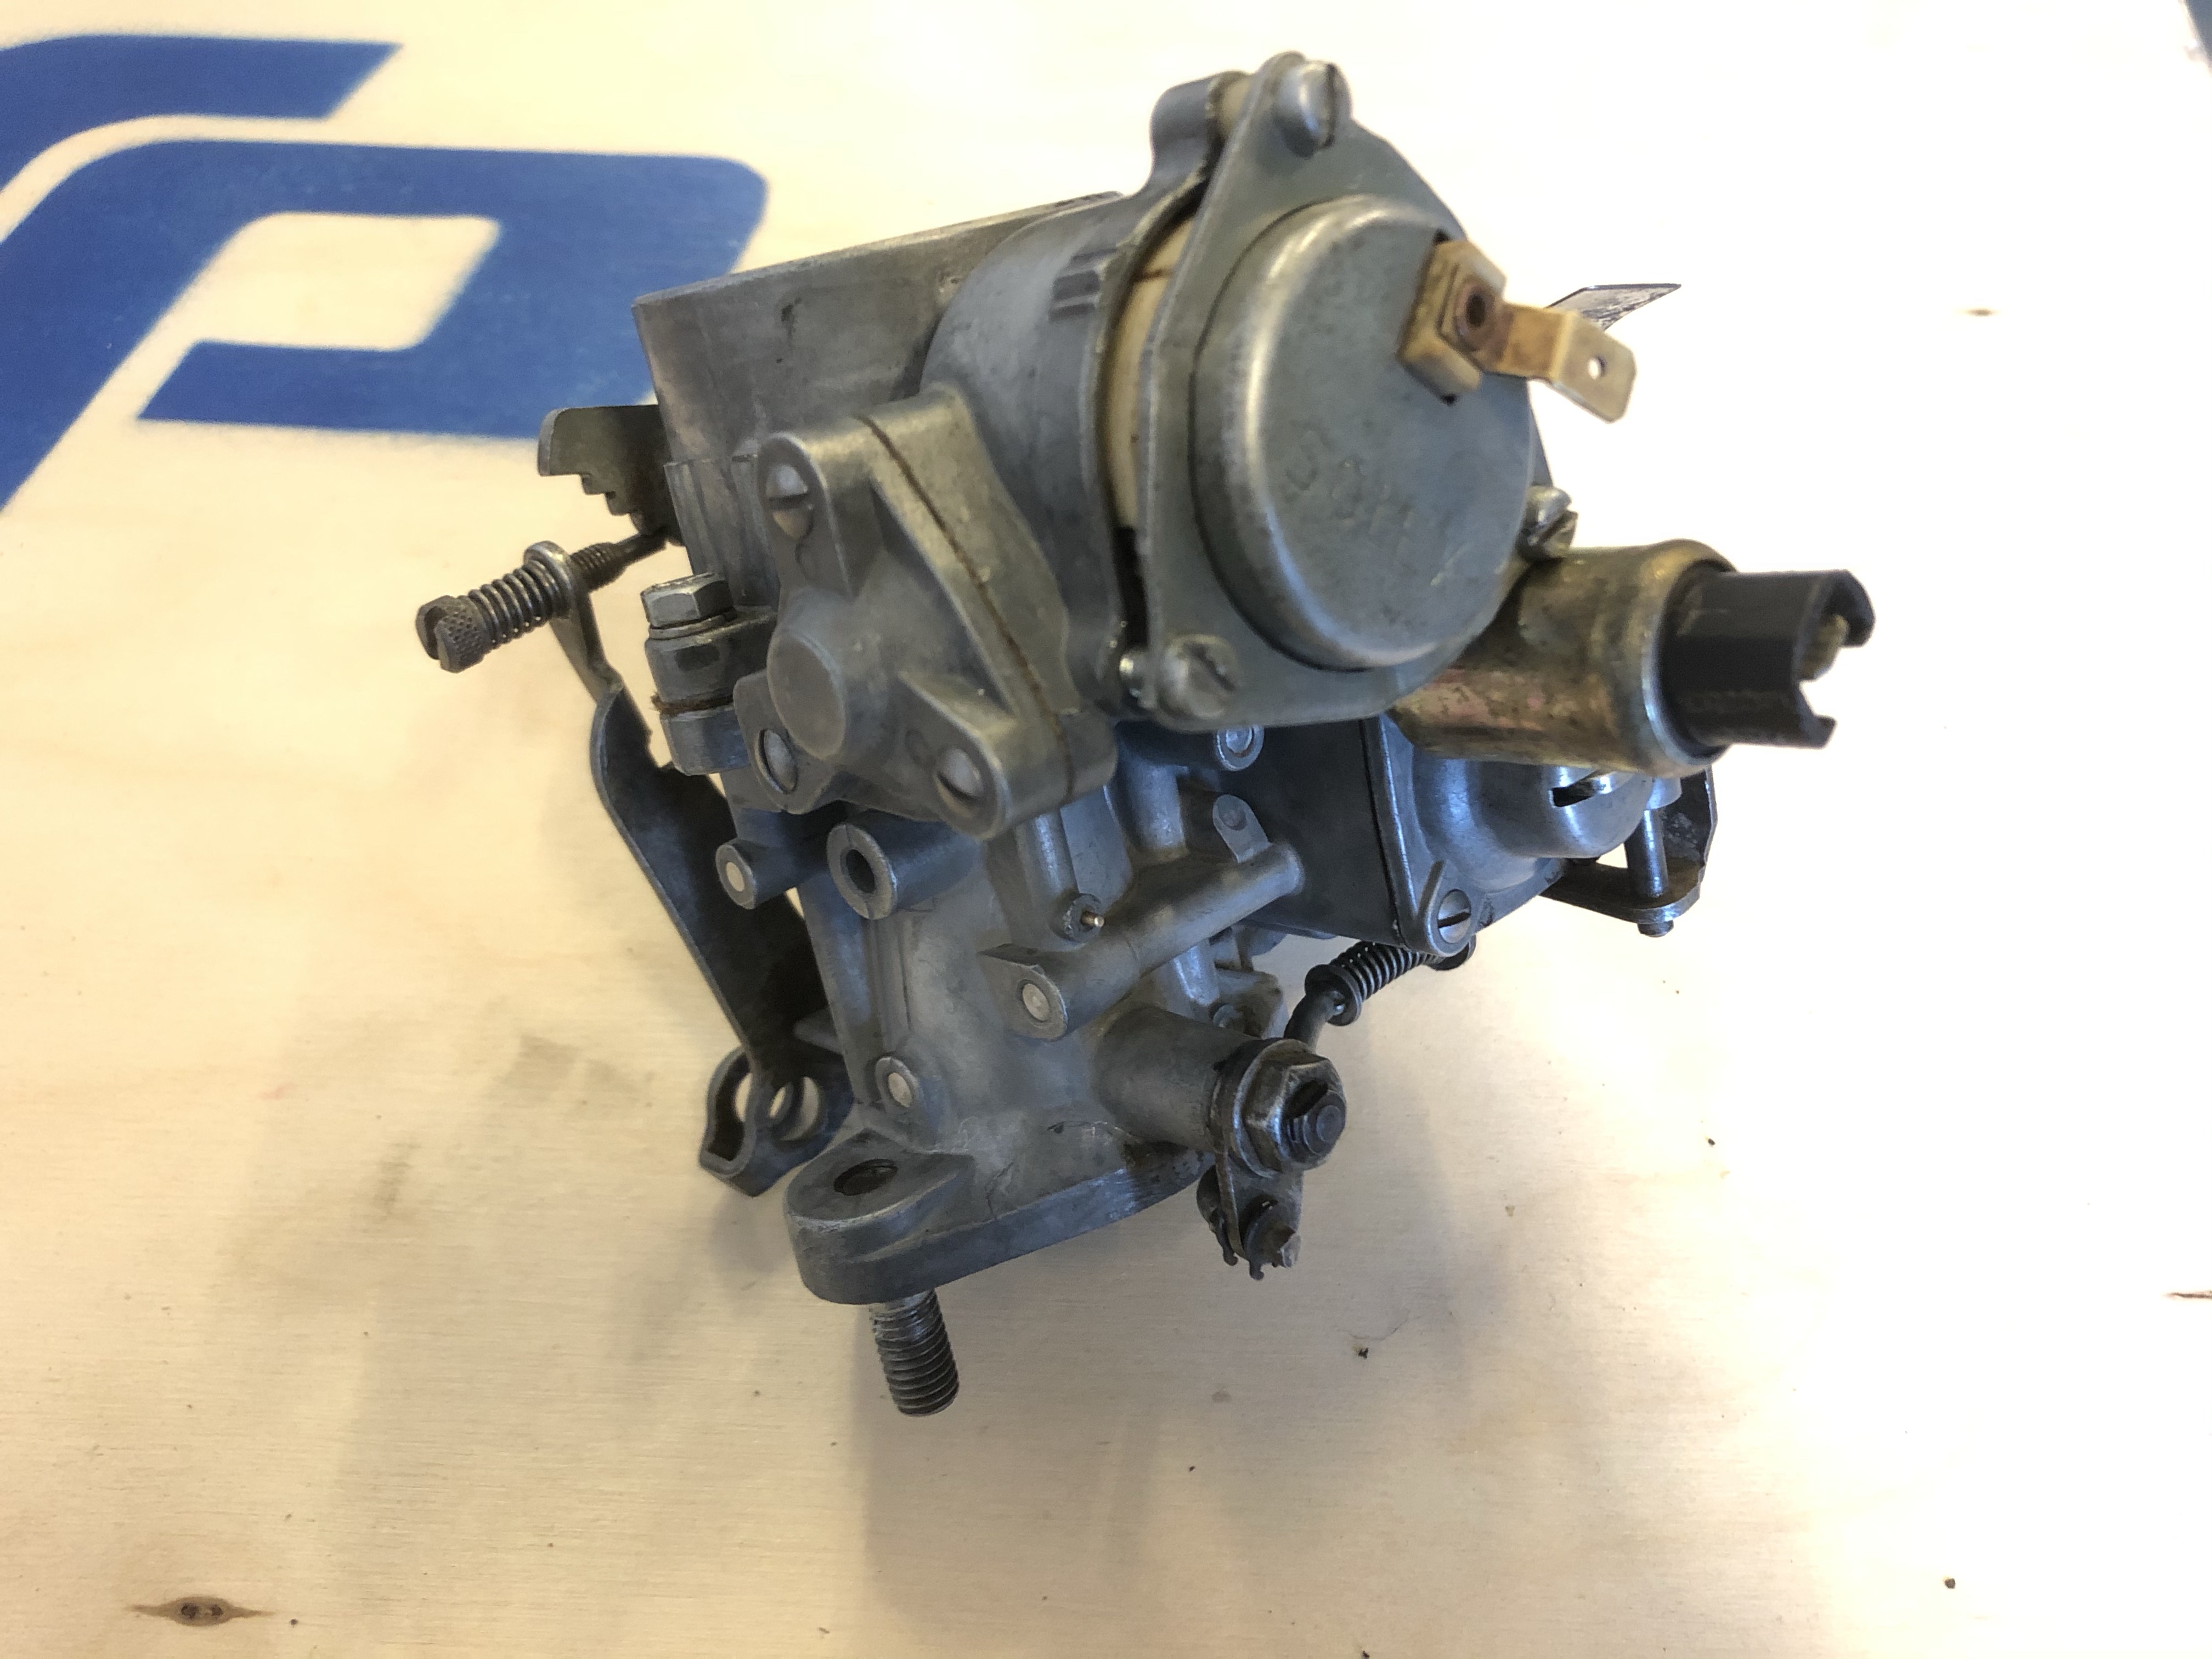
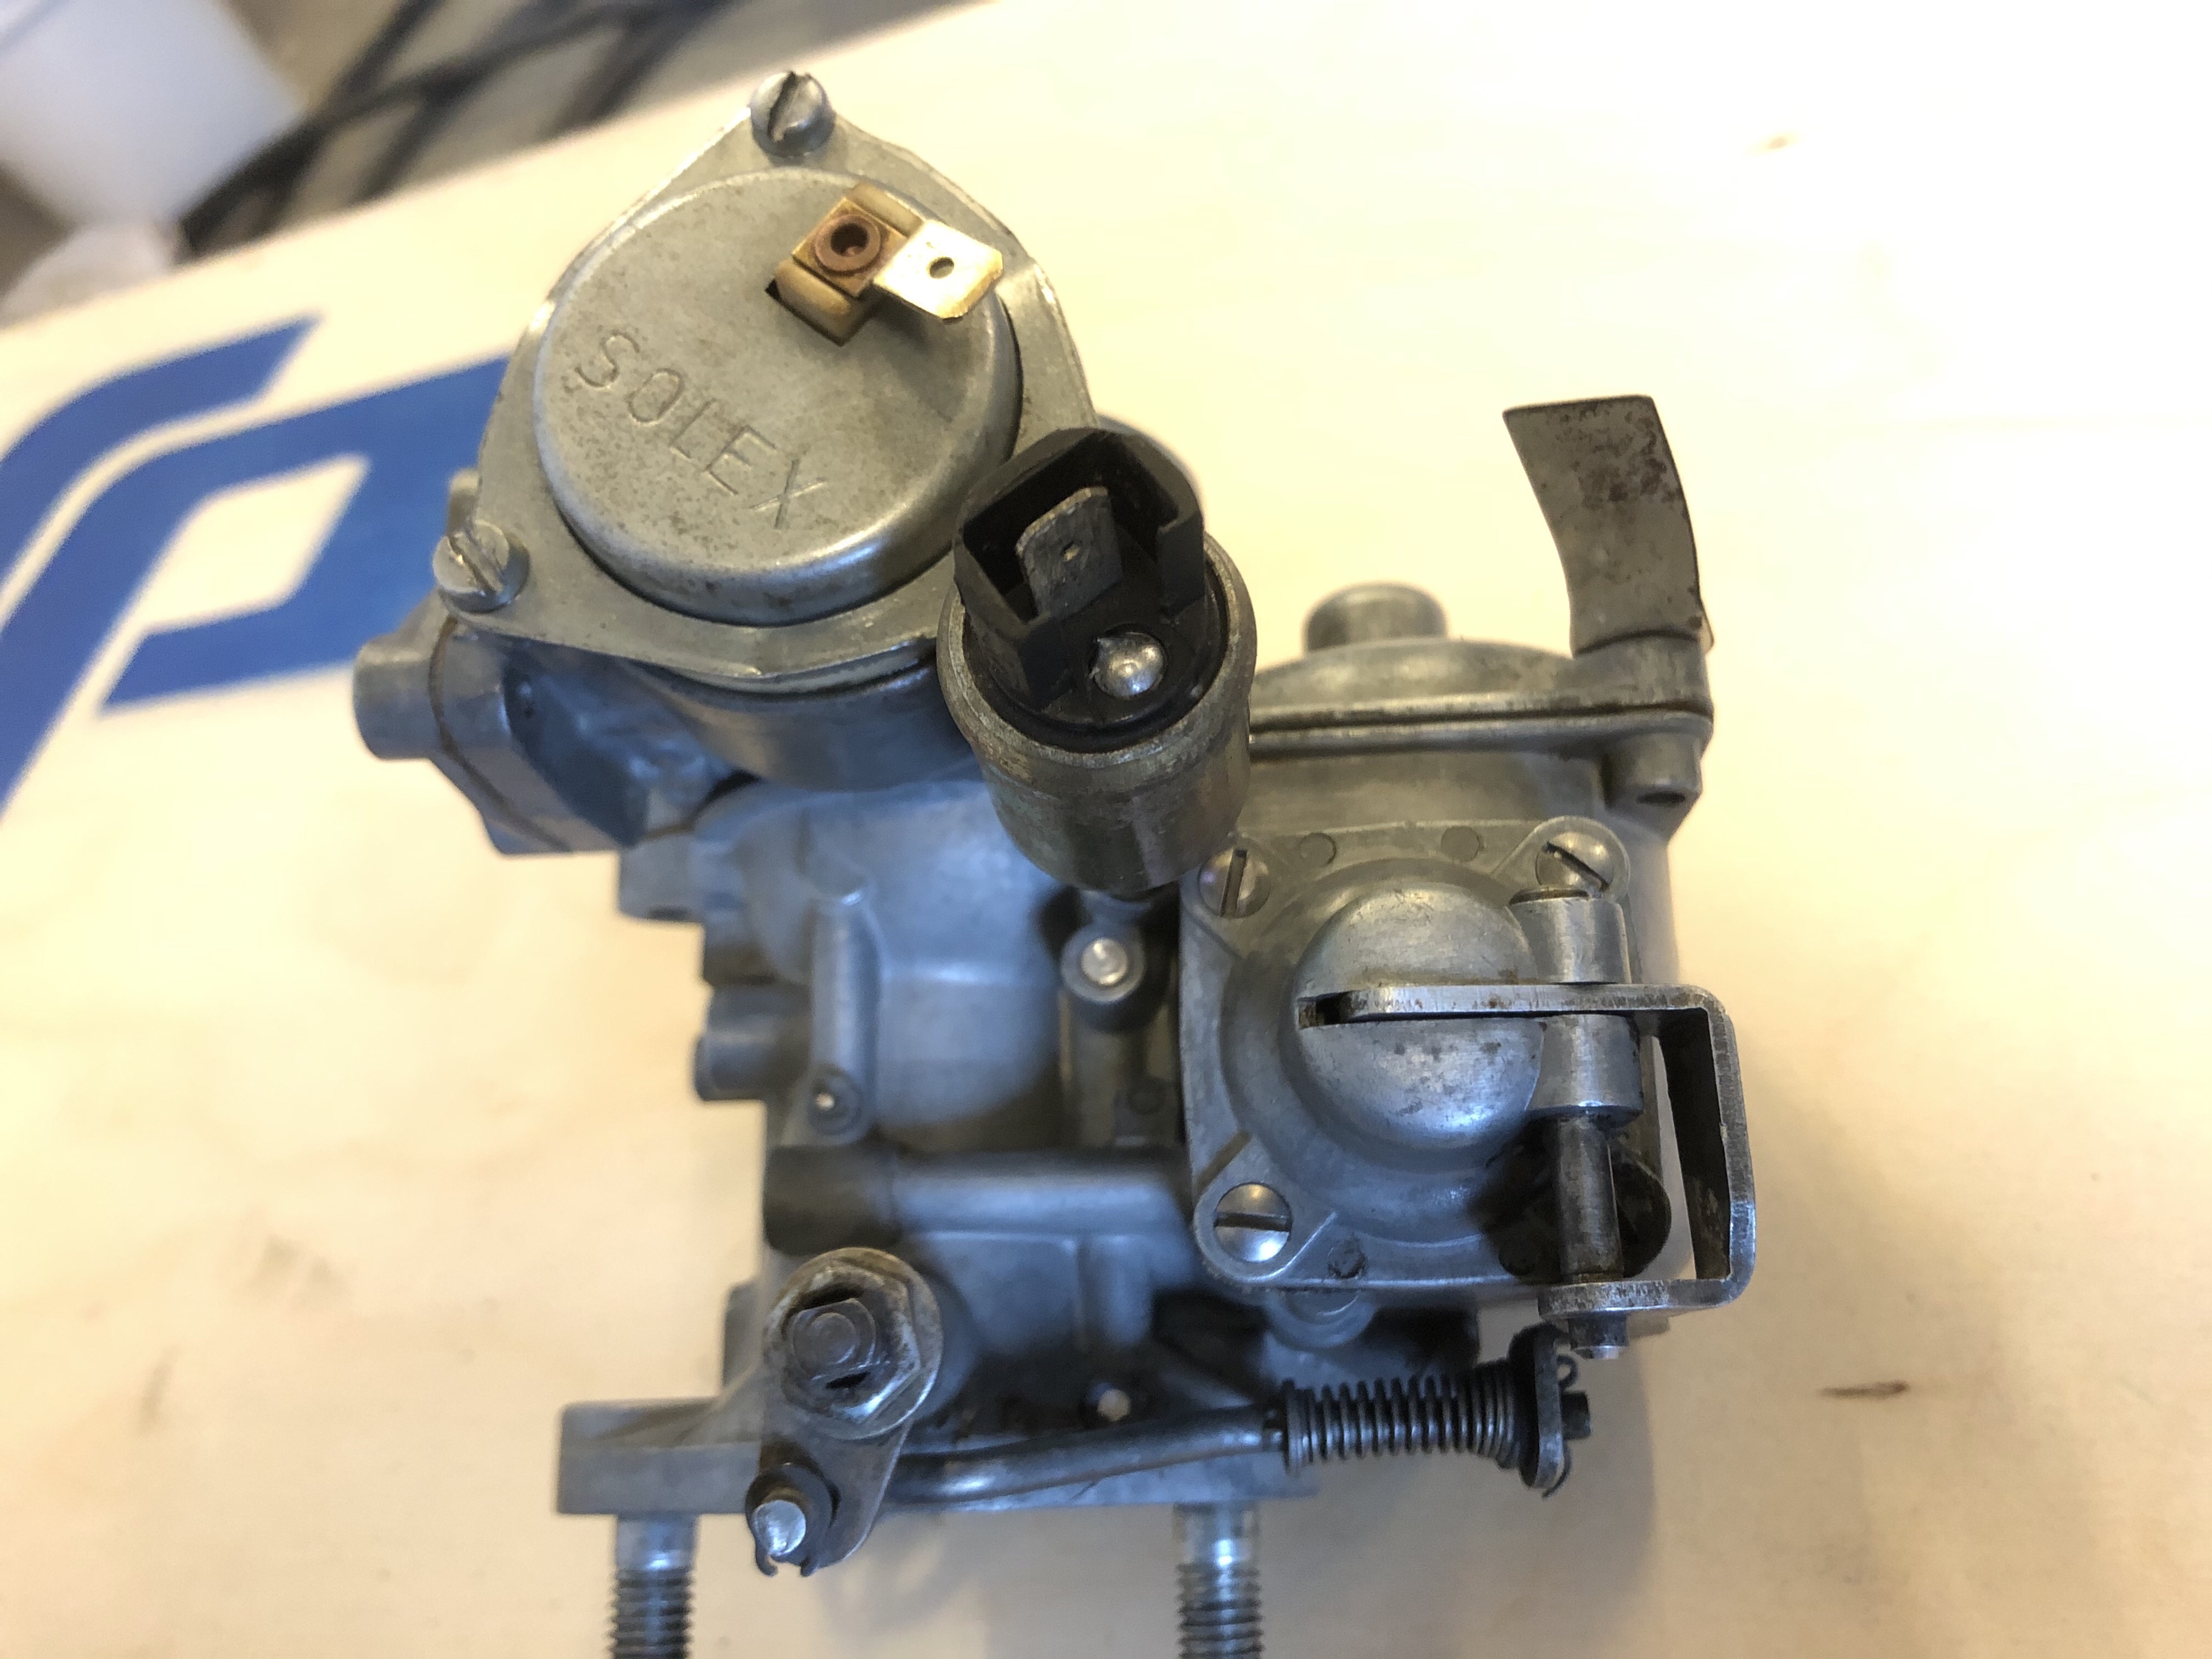
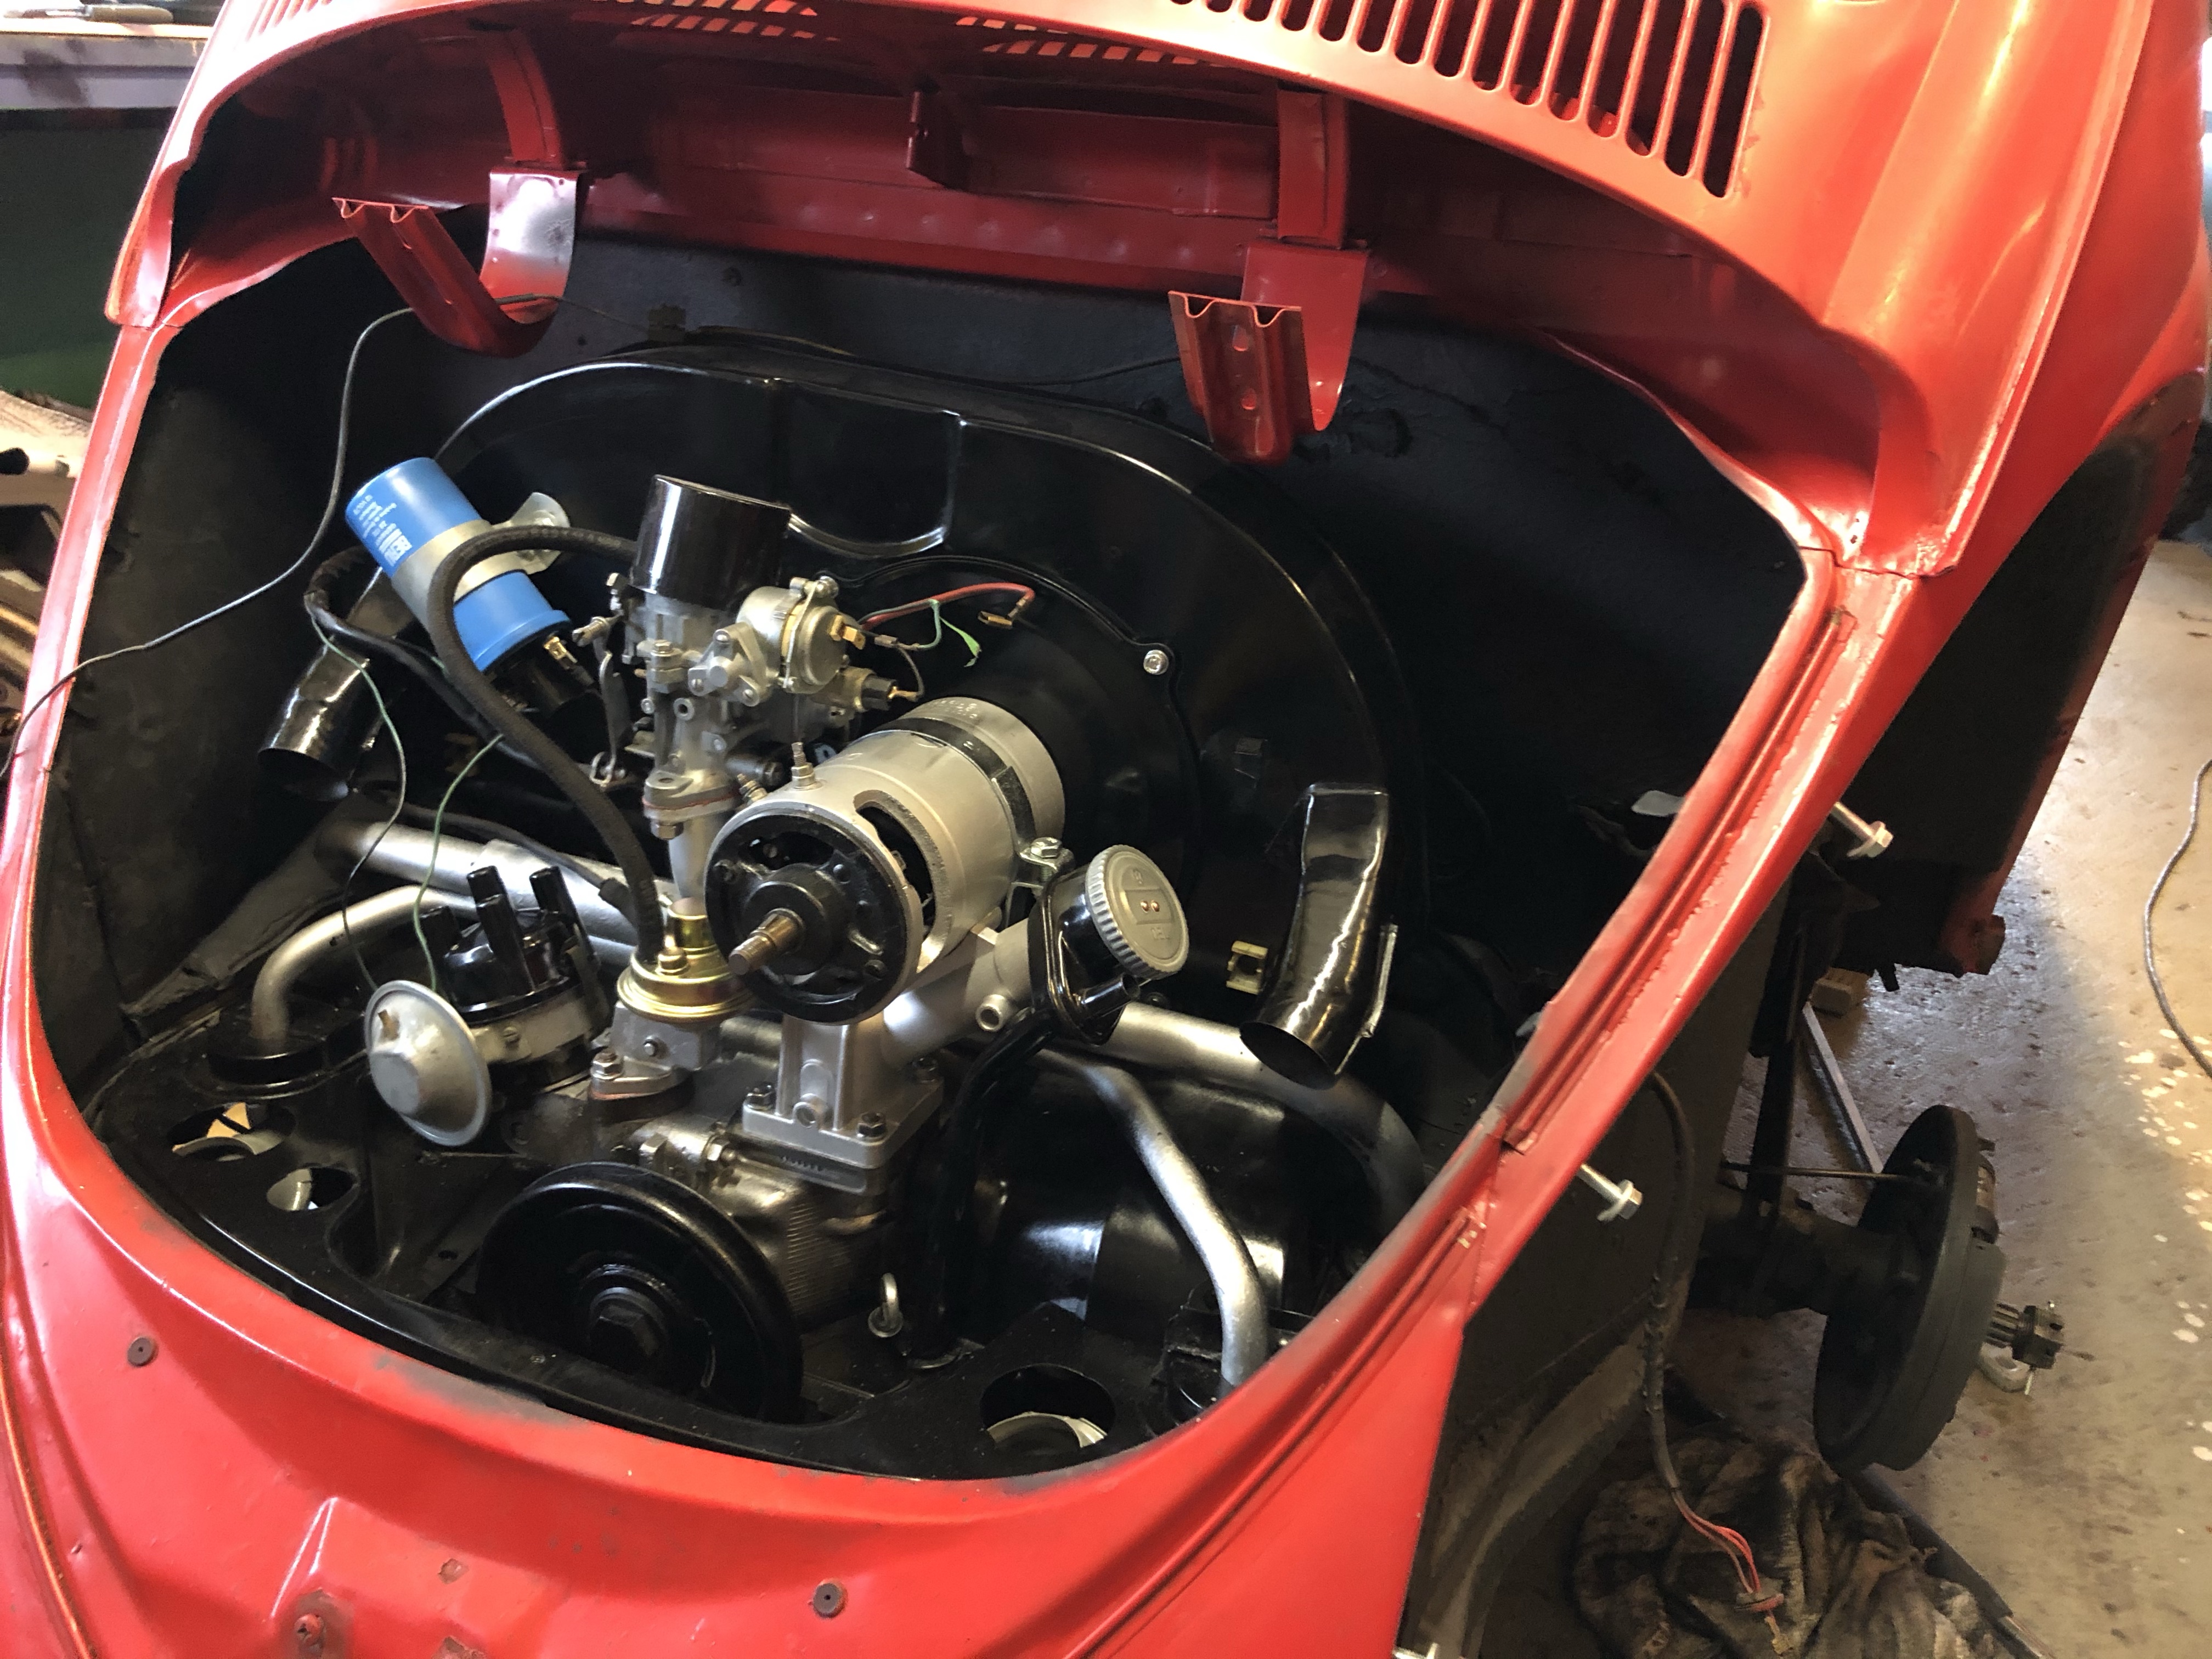
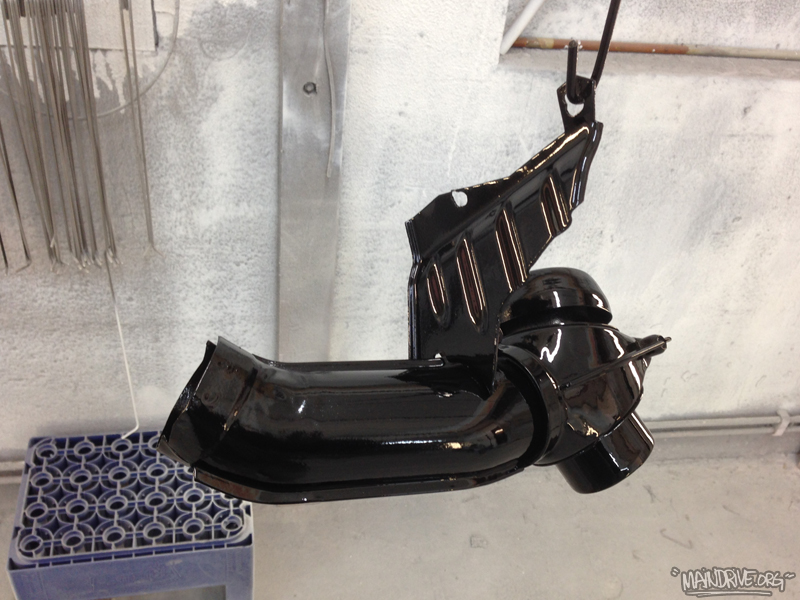
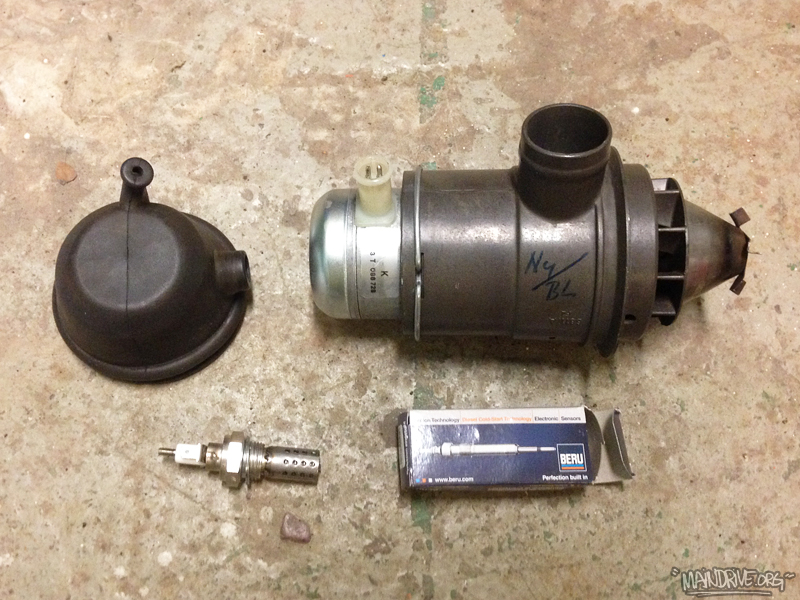
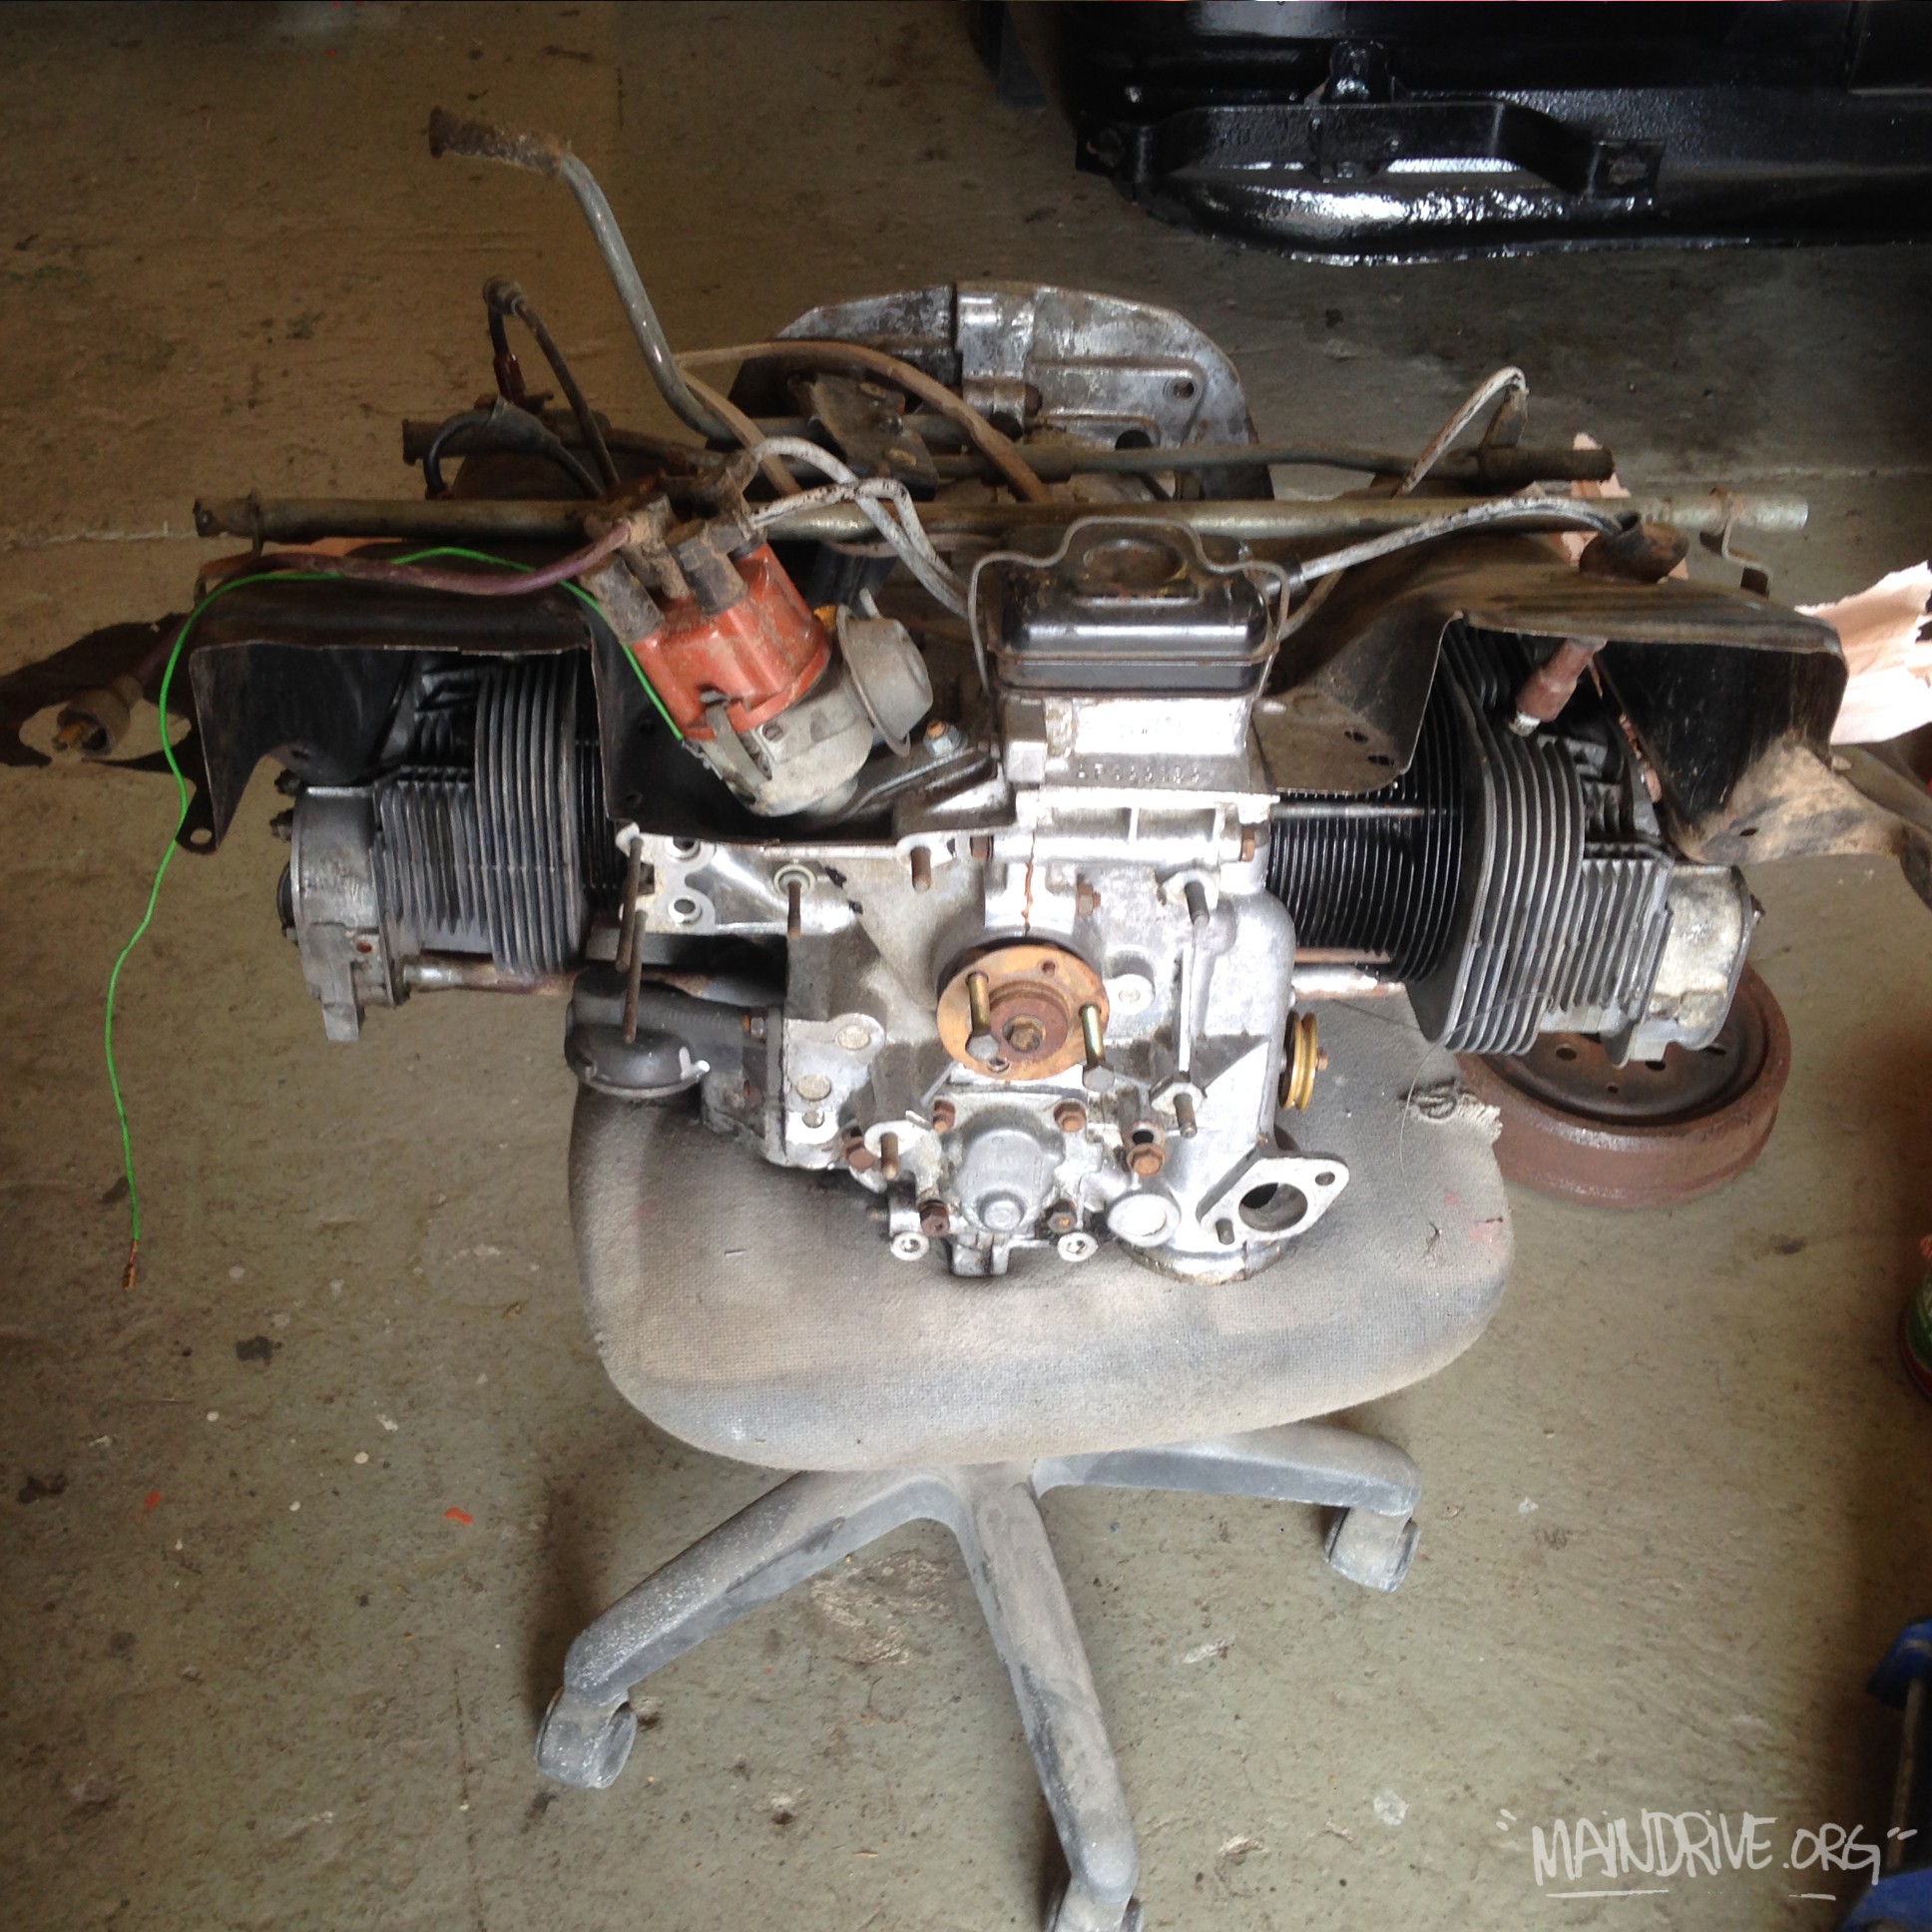
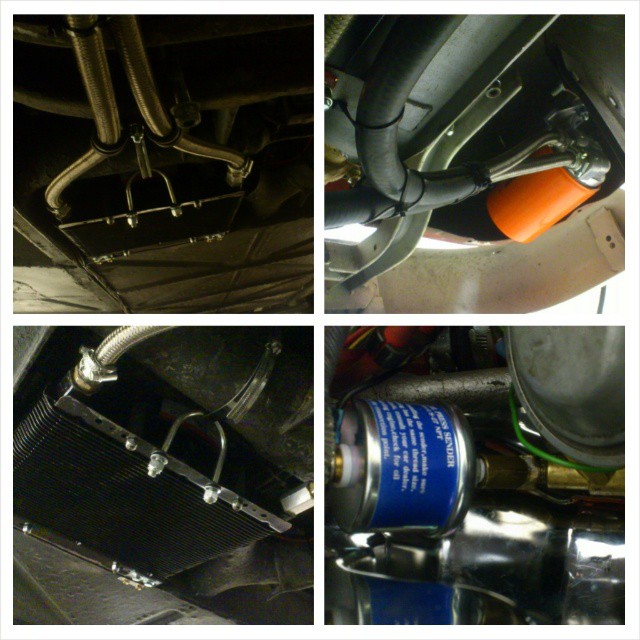
Engine have been worked on also, valves adjusted, new oilsump/gaskets, new: sparkplugs, dist.cap, ignition coil and wiring, rotor, condensator, restored Solex 30-pict carb, new fuel lines everywhere, new exhaust system and all gaskets, restored 12v generator and new Bosch charge relay and 12v generator stand, new fan belt and pulley, new throttle cable etc.

That’s it for now! Next up is transmission overhaul and then test start the engine for first time in 20 years…

My 1967 Ghia gets a complete overhaul of the frontend. It was all stock height but the front is a little to high for my taste, it needs to be lowered around 50-100mm to get the beauty lines of the car to really flow. Rear is stock height. A brand new adjustable 2″ narrowed front beam with needle bearings. New narrowed tierods, new droppen spindels, new wheelbearings, new shocks, and all the brakestuff was already new. Wheels will be polished Porsche Fuchs. Since I had to remove the fuel tank I installed new fuel lines and cleaned up the front luggage compartment a little. Here comes some pics…

Piece by piece it’s coming together! I Have been fixing with the bumpers and wheels lately. It have all been sandblasted, welded, epoxyed, sanded, primered and painted in same white as the roof. Really starts to come together now, some light in the tunnel. But still lots left to do, here is some new pics…

#highroofbayproject

Wheels have been fitted, needed 5mm spacers all around and longer wheelstuds (56mm) in the rear and new bolts. Wheels are 17″ inch with 225/45 tires, offset 35. Need to make a custom centercap for the speedometer tho. Lots of new parts have been installed from Just Kampers, like new taillights, fuelfiller neck, footsteps, roof ventilation, mirrors, windowfelt trim in front doors etc. Waiting on tailgate seal and new clips for the freshly painted front grills. Bumpers have been blasted and are now getting welded, straightned up and removing big dents before paint in Deep Black. Next big step is taking it to the glass shop and get all windows installed with new rubber seals! Then its ready for the road…

36

35

37

38

39

40

All the places that have been sanded and sandblasted down to the bare metal have been painted with yellow 2k epoxy rust primer for protection. After this, all the small dents, scratches and imperfections in surface/metal after sandblasting etc have been filled up and sanded smooth and all the seams have been sealed up with new seamsealer. Then it was covered in yellow epoxyprimer again. When it was all dryed it just needed a light sanding before 3 coats of grey surfaceprimer was added. Now it has to dry a couple of days before it can be sanded down again, but this time more carefully and must be perfect! When this is done its ready for topcoat paint in VW Marsala Red H3H3.
Bumpers and some smaller parts is at the sandblasters at this moment and more new parts from Just Kampers in UK is on its way right now. Time to choose some cool wheels also, stay tuned for more pics and updates!

13

14

15

16

17

18

19

20

21

22

23

felg
Maybe these 17″ wheels? 🙂

Got some stuff done on the front beam/axle on the Highroof bus this week. Fitted new grease zerks to the beam, installed a new center swivelpin and bushings, test fitted the new brakebooster, 4 new needlebearings (made a tool so they were easy to pull out). They were seated 8mm inside the tubes. Used a old bearing to knock them in again, and then the tool the last bit. New dustcovers mounted too. Got the axle bolted up in the frame on the bus and during the weekend, I will start installing torsionarms, spindles, tierods etc. The bus starts to look really nice, atleast underneath! 😉 More pics coming soon!

bild136

bild137

bild138

bild139

bild140

bild141

 Volkswagens original tool


bild142

bild143

bild144

bild145

bild146

bild147

bild148

Have sandblasted alot of parts in the new cabinet, so nice to have. No need for waiting on the mediablasting company any more. Just put it in the box and go! Got a box full of new parts from Justkampers.com yesterday too. Brakeservo, starter, all brakepipes, front beam seals, 4 torsionarms with new pressed in balljoints, transmission gaskets and seals etc. Also scored a NOS Eberspächer combustion/airpump for the BA6 heater. Found a supplier in the UK of new BERU glowplugs for BA6, the GZE201 plug replaces the old (original) BZE22. Have anyone tried the new GZE201? Let me know how it worked: info@maindrive.org

Have scraped and cleaned all of the chassi during the last 2 weeks. Hope to push on further with the chassi this week and weekend and get it primered, seam sealed, undercoated and painted in body color. After that the chassi is ready to get all the new parts bolted on! More coming soon…

bild89
bild89b bild90 bild91 bild92 bild93 bild93b bild94 bild95 bild96 bild97 bild98 bild99 bild100 bild101 bild102 bild103

Restored this original VW Sperrwolf shifter lock awhile back. New keys, new paint and new zinc plating. This was an option that costed extra when you bought it new, but in return you got cheaper car insurence. Because the car was now harder to steal!

Want your restored or have one for sale? Let me know: info@maindrive.org  


How it looks installed. Cool!


How it looked when I found it.

Couple of weeks ago I modified the NOS (New Old Stock) VW bus muffler with some extra drilled holes inside and welded a extra exhaust port to run dual stock exhaust pipes. I bought a new extra exhaust pipe and cut it in pieces and welded it “flipped” and “mirrored” to fit on right/passangerside of the bus. All this to get a little less back pressure and gain better exhaust flow and still keep the “stock” look, instead of bolting on a extractor pipe. Looks and sounds cool!

pipes1

Found an old picture on the patina bug from last year. Built in 2013. Now sold…was a cool ride for sure. Click on “Rides & Projects” in the menu for restoration pics….

beetle