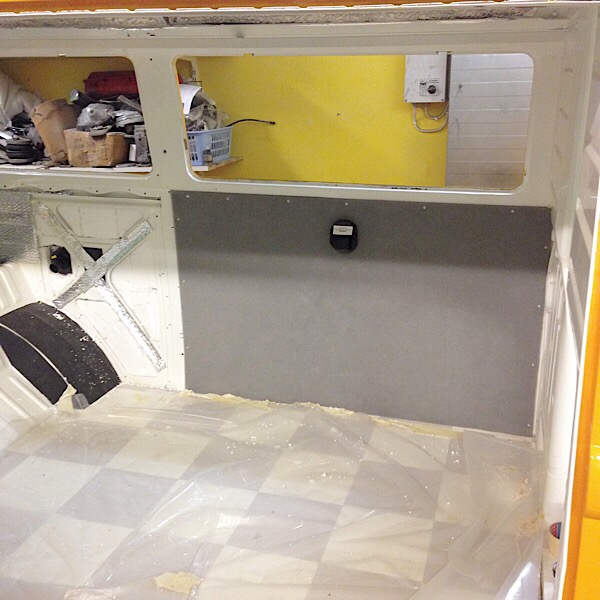
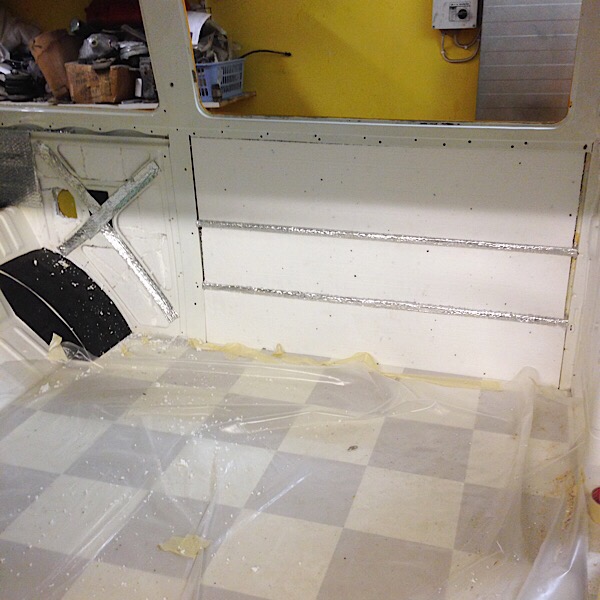
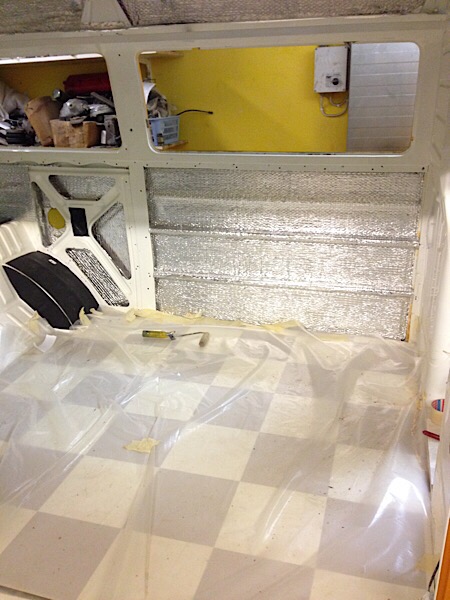
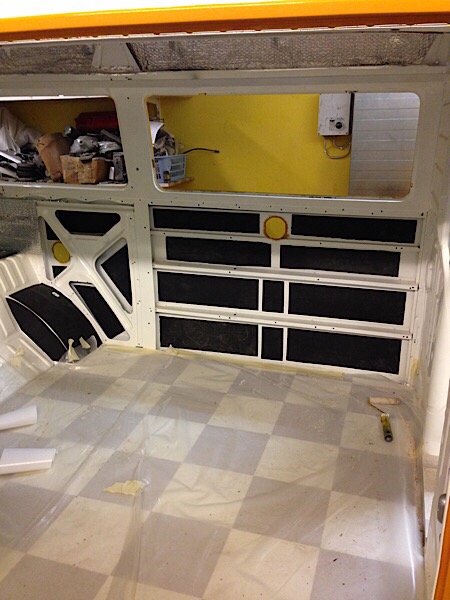
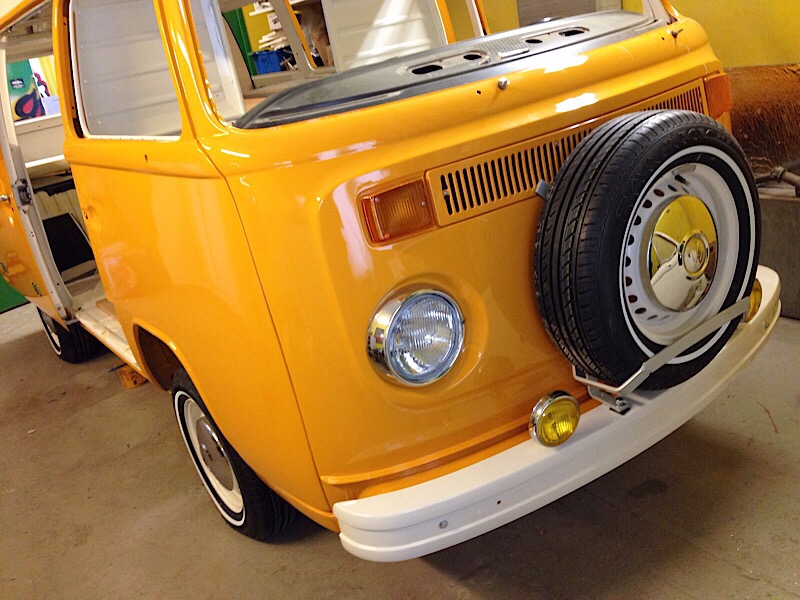
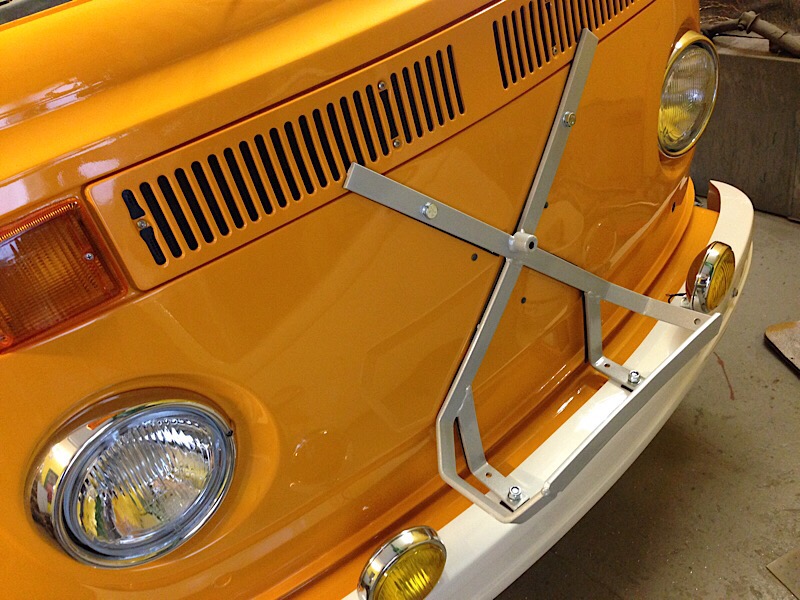
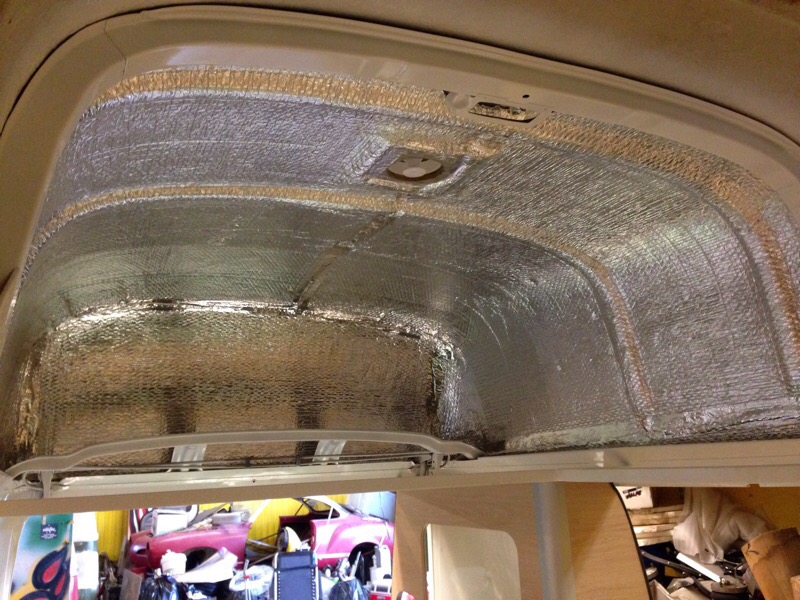
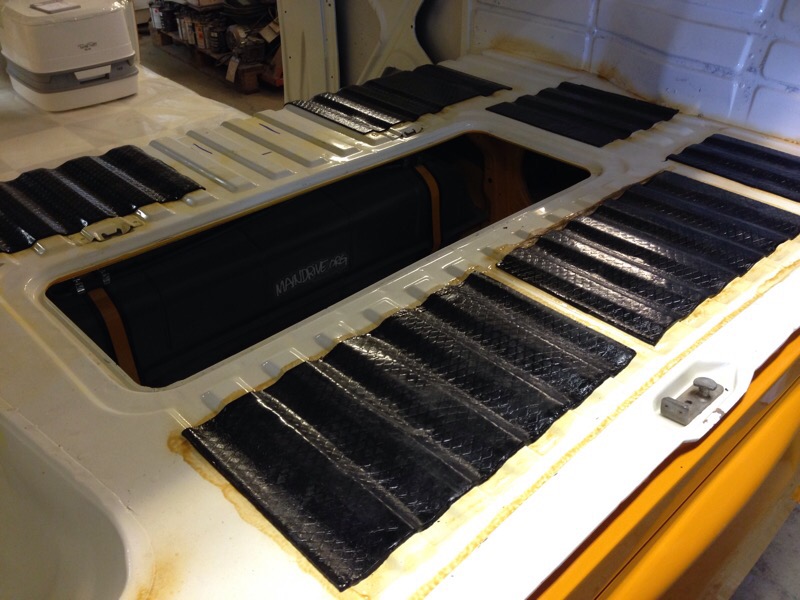
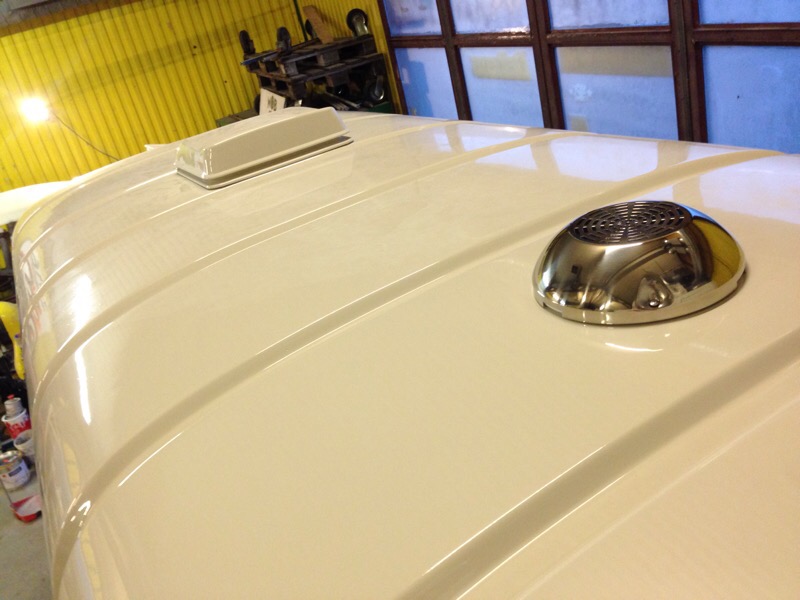
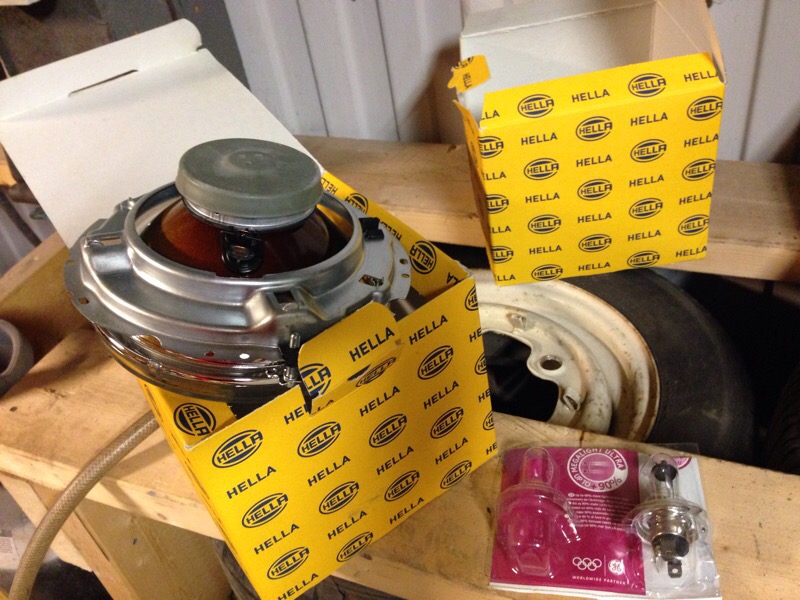
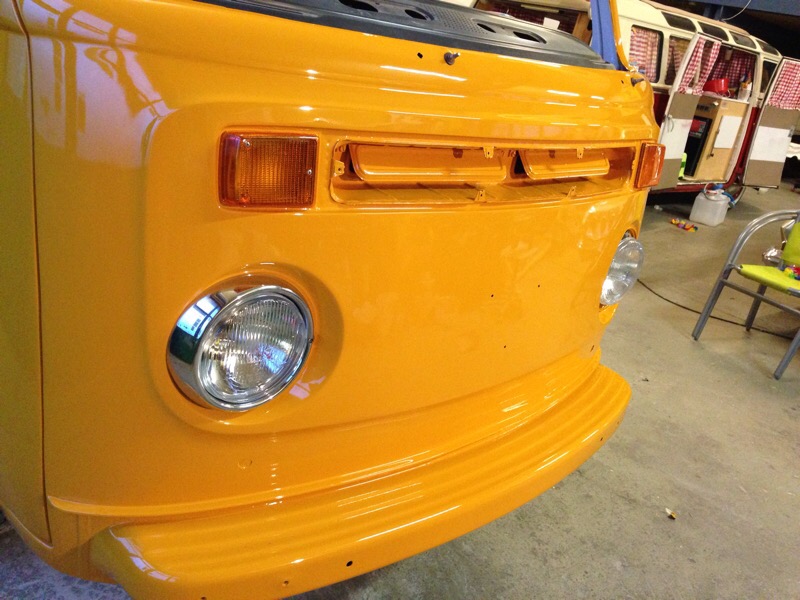
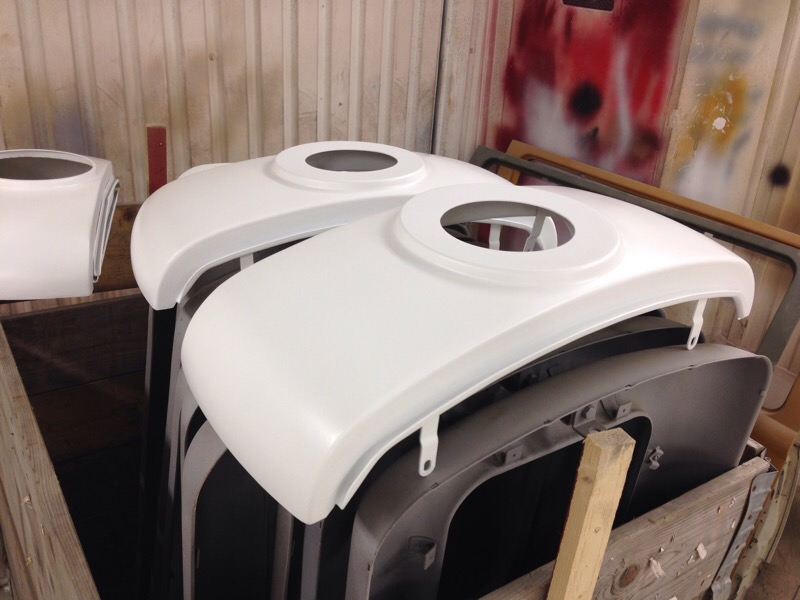
Some news, have got the front bumper and sparewheel back on and also some new fog lights. Right now I’m working on insulation. First im using sound dampning material (black Mats). Then Reflektix (or ThermoReflekt called around here in EU),aluminium folie with airbubbels. After this I add cellfoam 30mm and end it all up with 3mm oil tempered hardboard lined with grey carpet. Before the hardboard get screwed back I soak the inside with wax oil for protection. This will be used in every wall except front doors that don’t have so much space inside. Maybe just sound dampening mats, reflektix and 10mm cellfoam. Inside of the roof is already covered with reflectix and will get some blocks of 20mm cellfoam and glasswhool then 3mm hardboard or pvc board with same grey carpet. This will keep the hot out on summer and the warmth inside on winter!
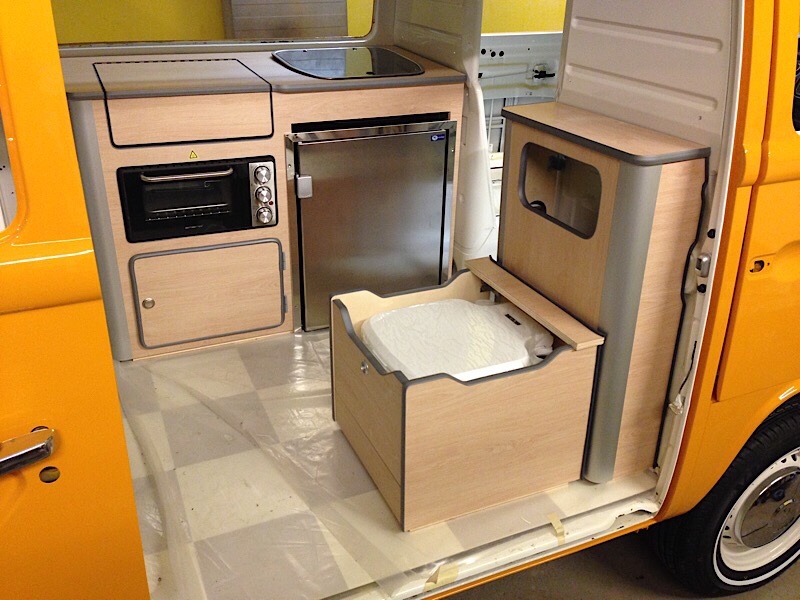
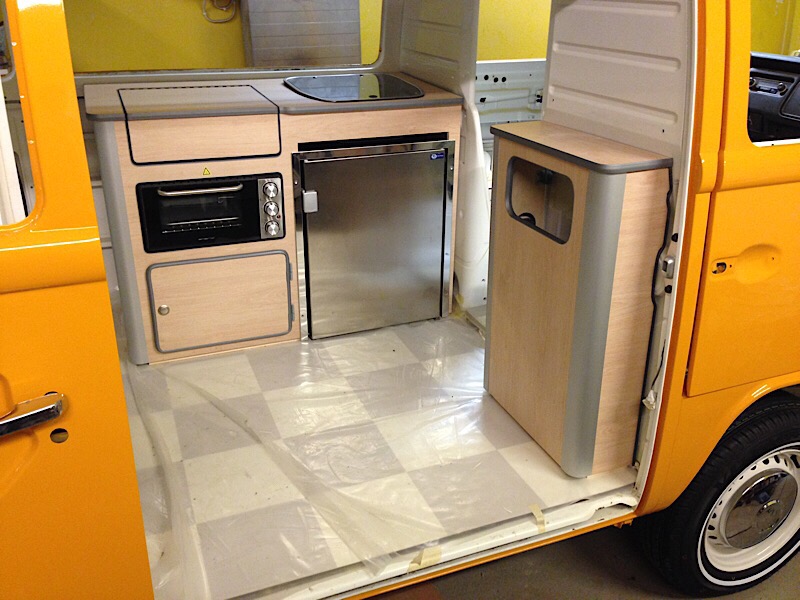
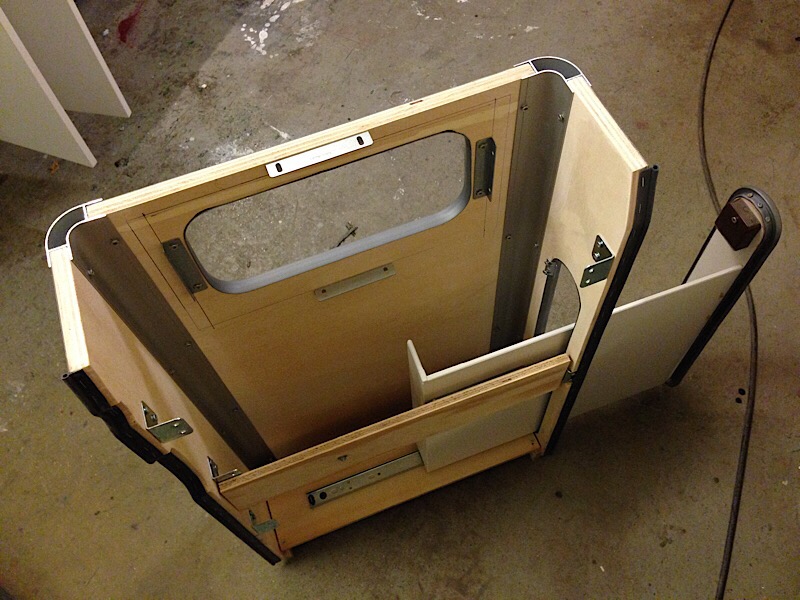
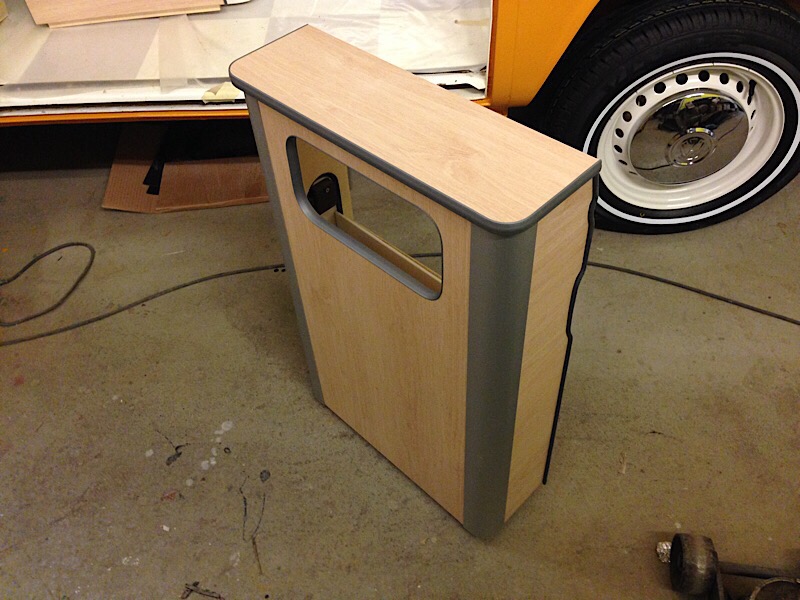
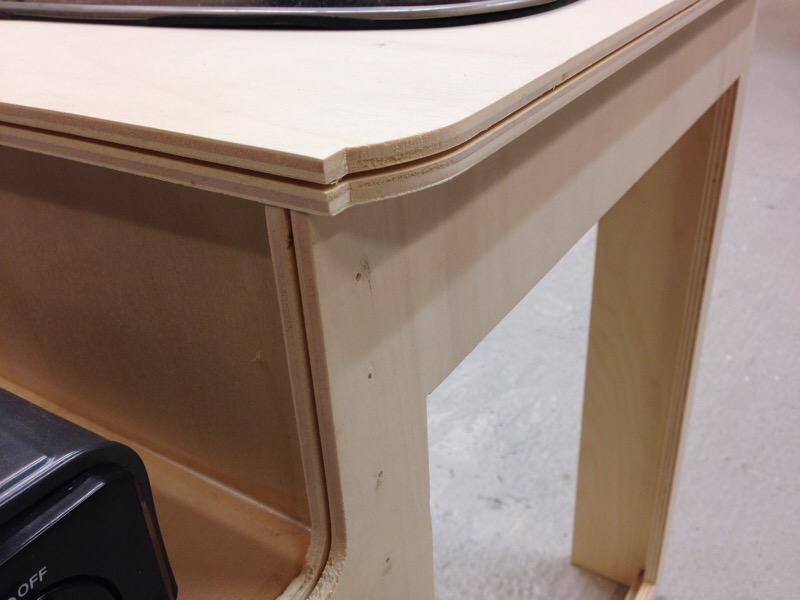
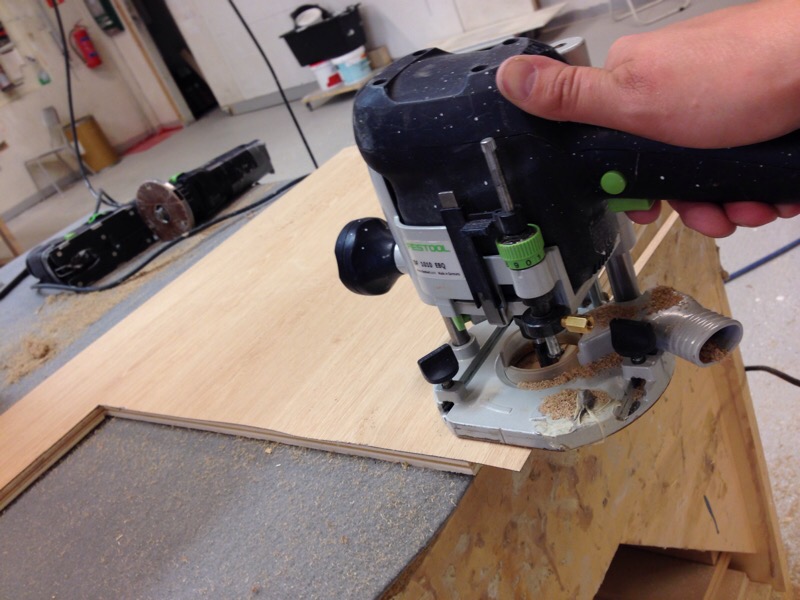
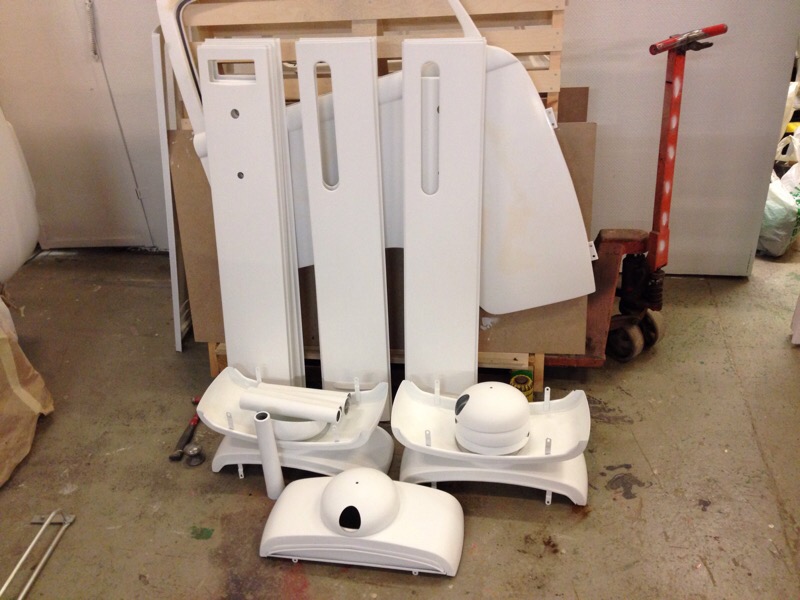
I also test fitted all the cabinets I built, the small and (what I thought) easiest furniture of the interior turned out to be the most complex so far. With a pop out dish rack storage on the side. Storage in the backrest also. And a seat (with space for PortaPotti toilet) that can be bolted on or lifted out when not needed for more space. It can also fold out a extra seat so 2 persons can sit on it. Compact living, No space goes to waste here! ?
Here is some pics!


Old and newest movies can always be found here: CampersOnTour YouTube channel.
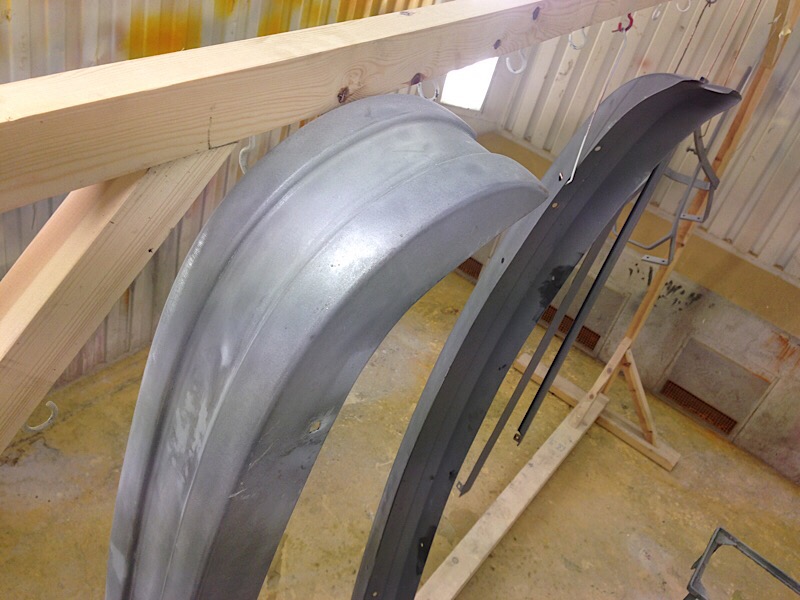
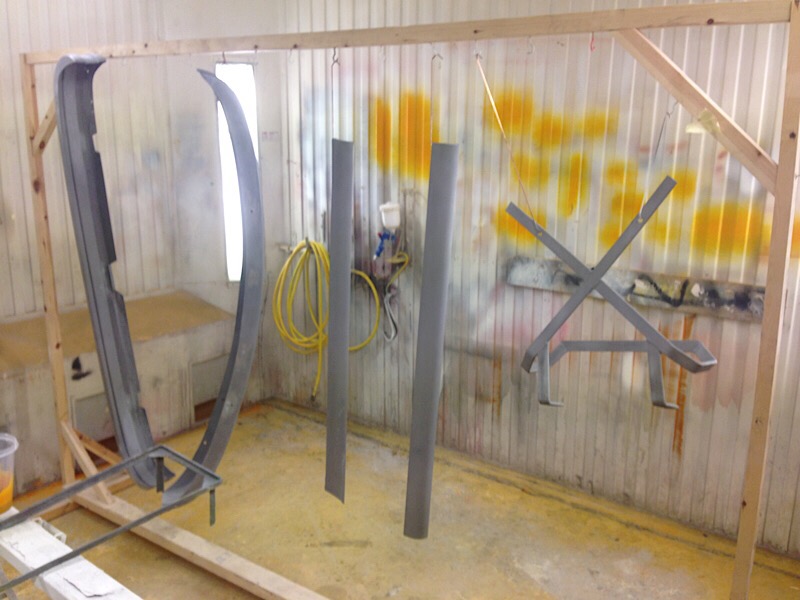
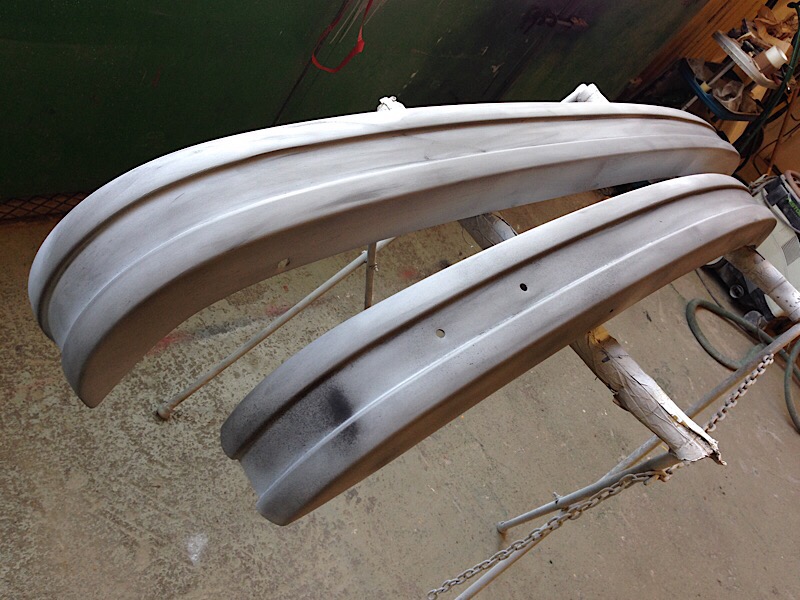
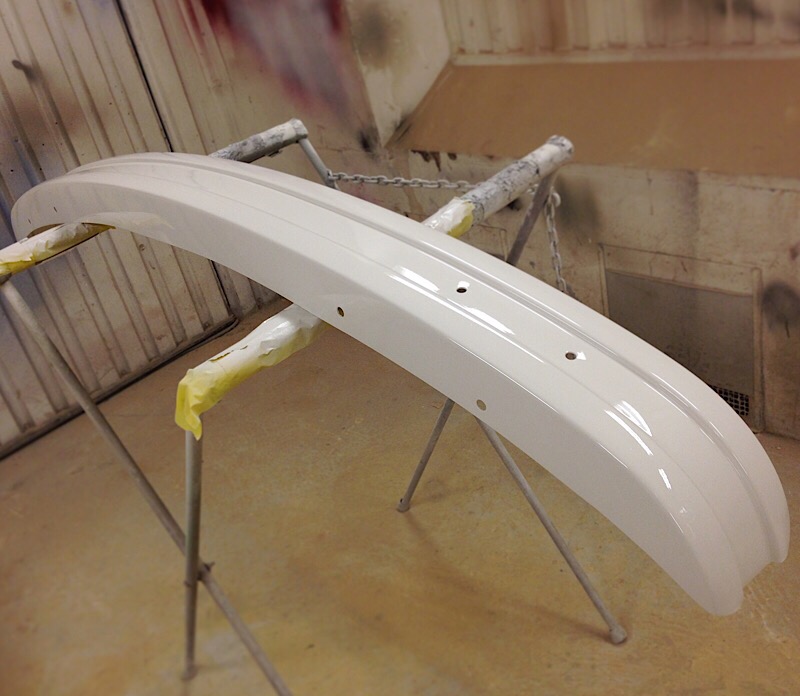
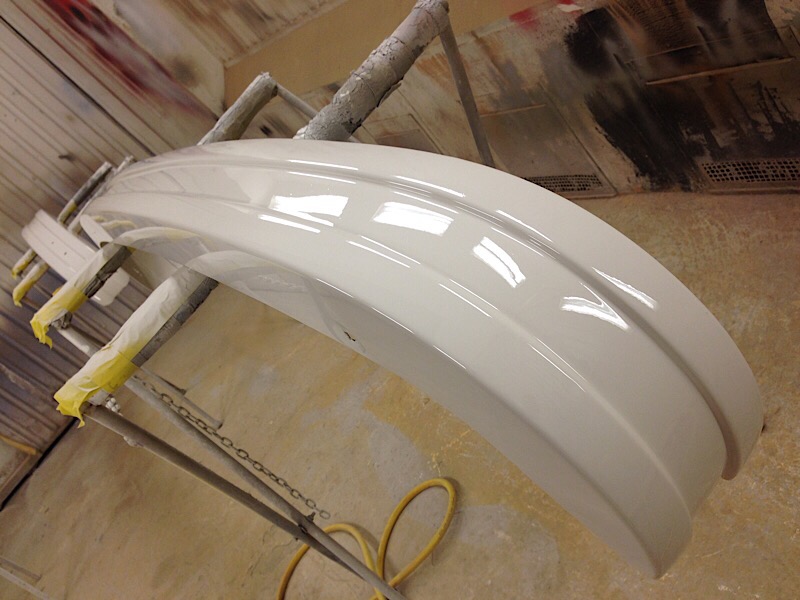
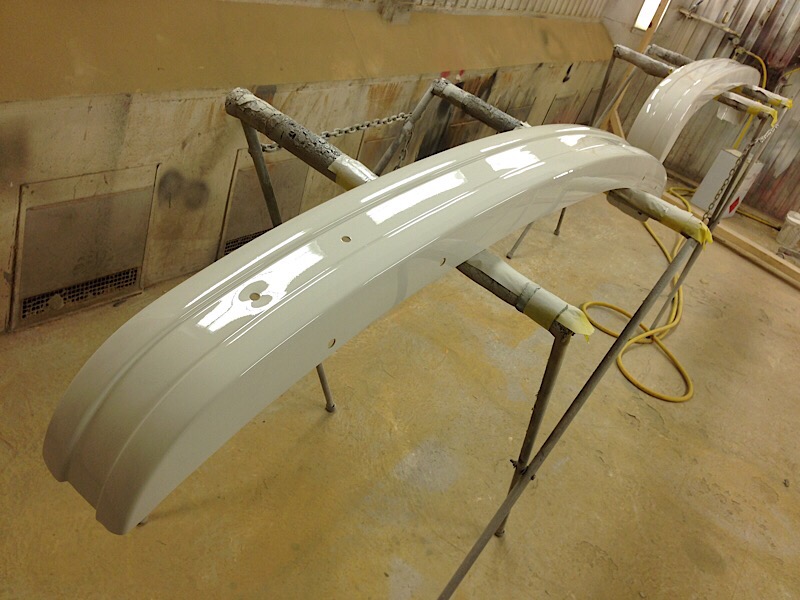
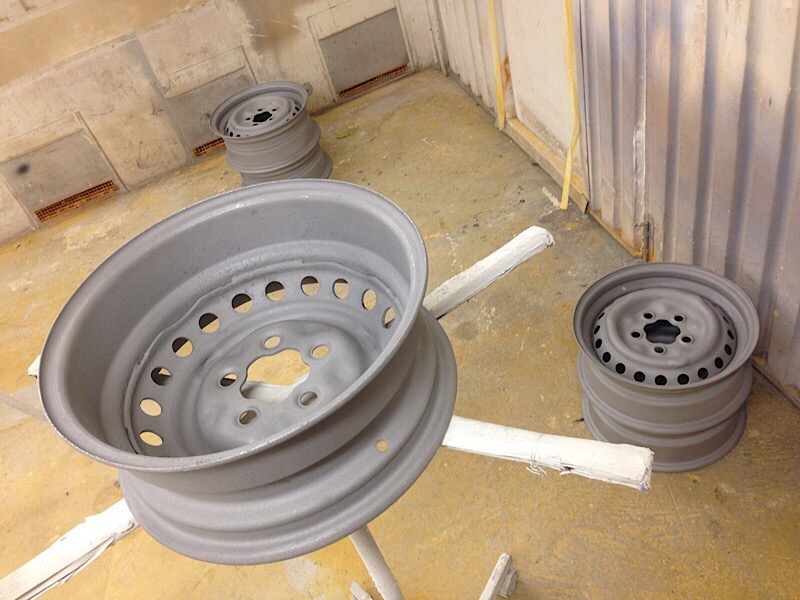
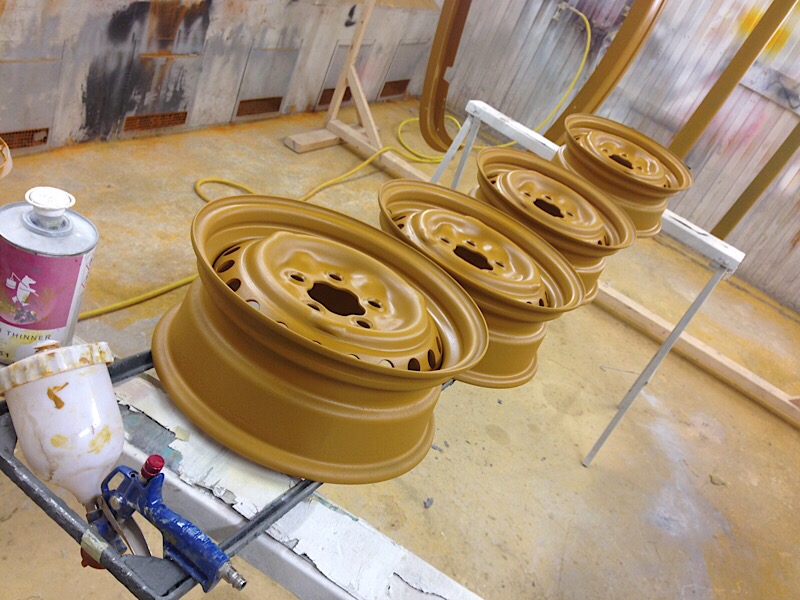
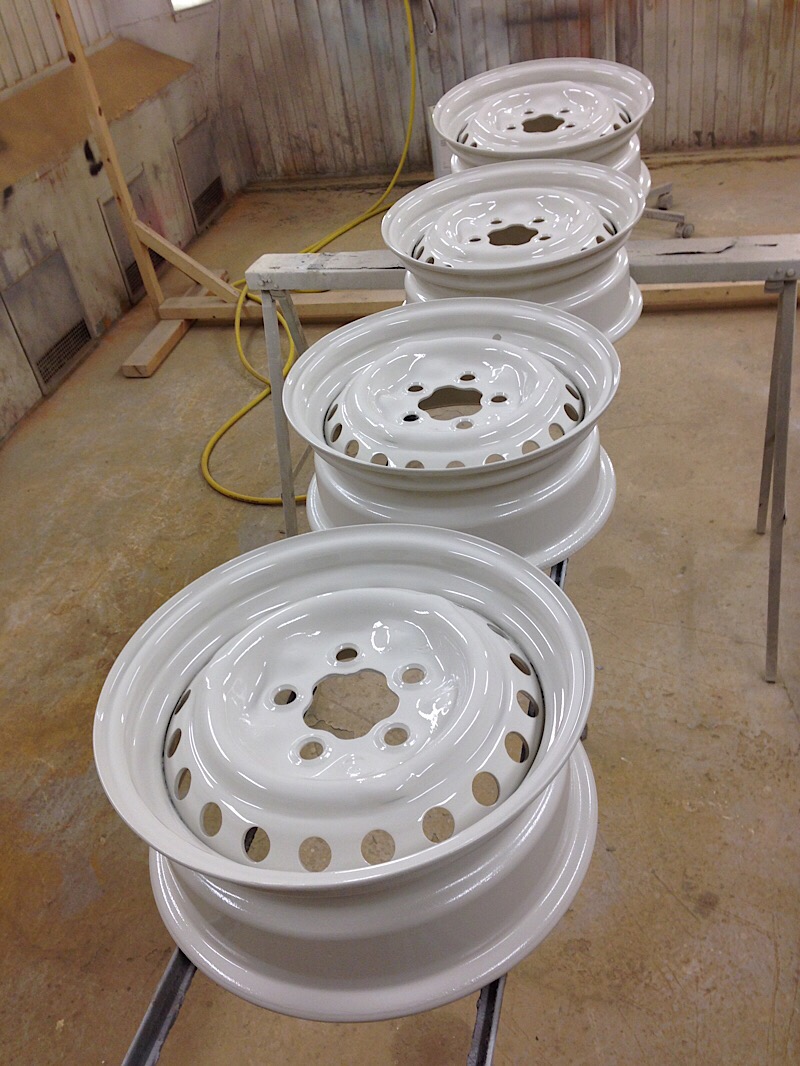
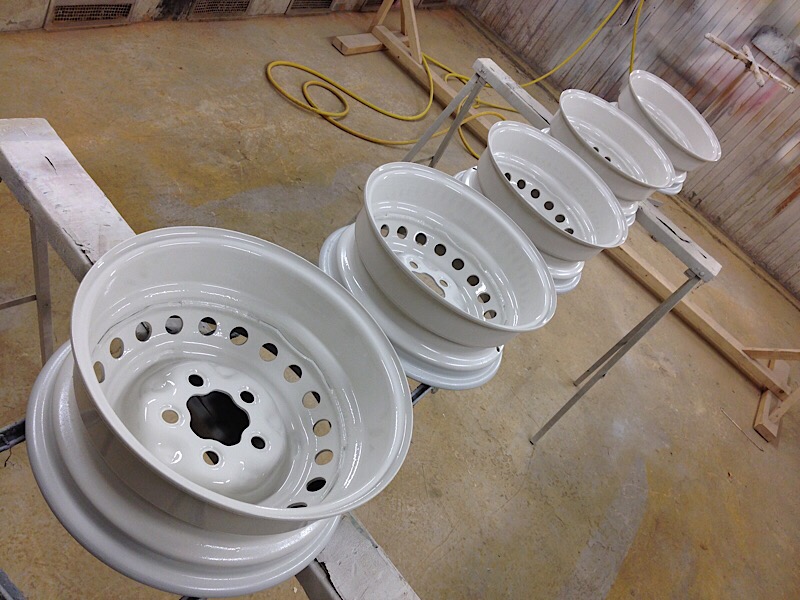
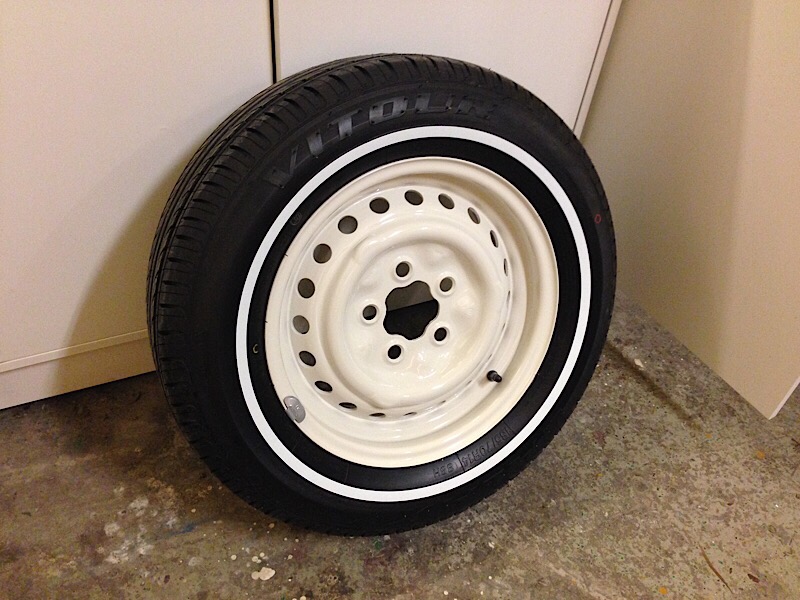
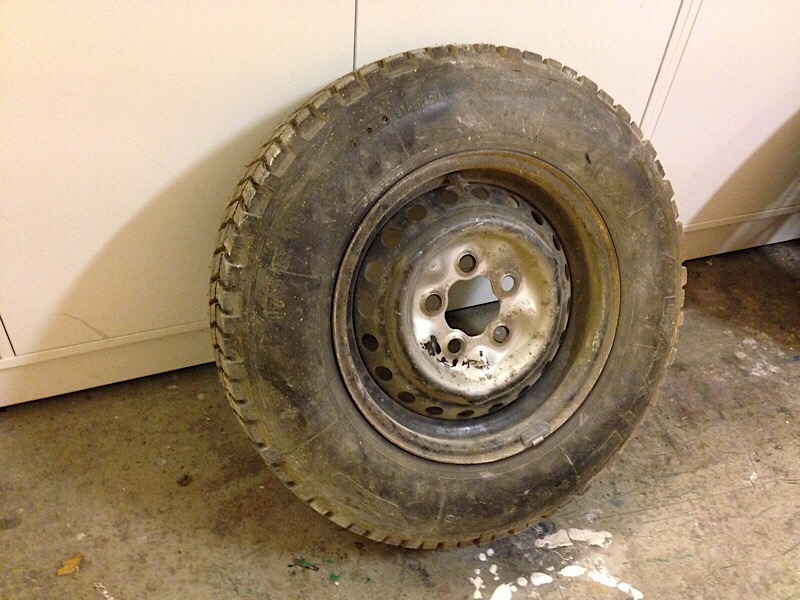
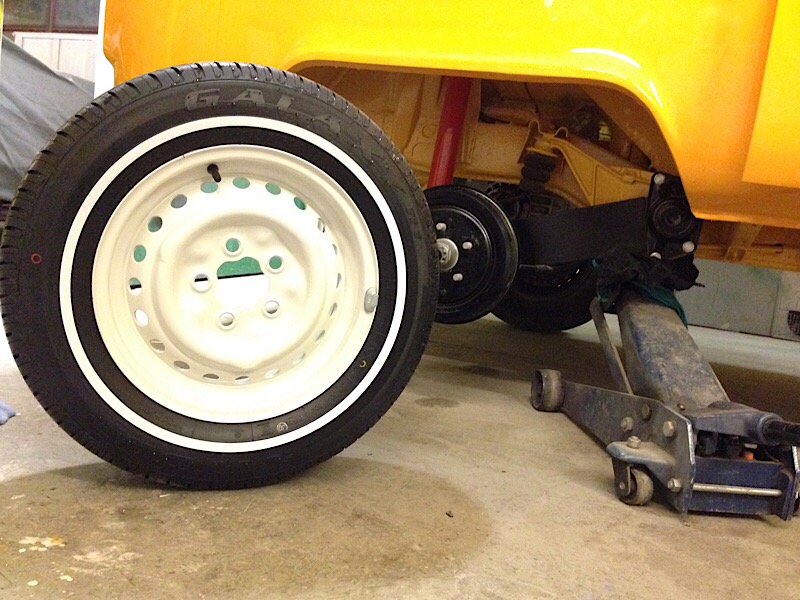
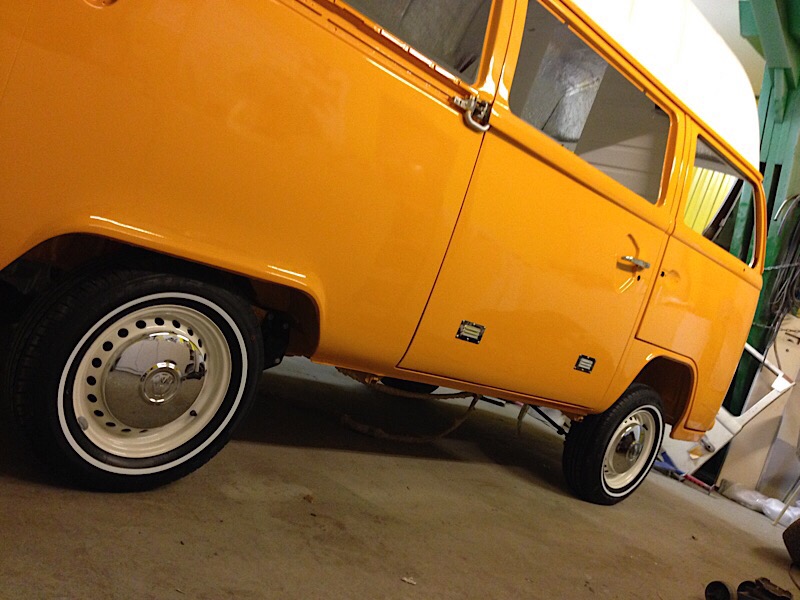
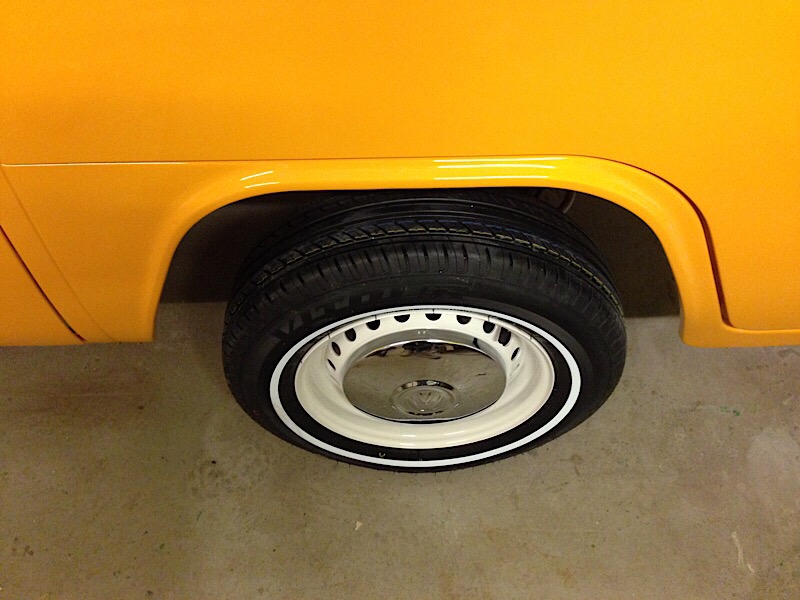
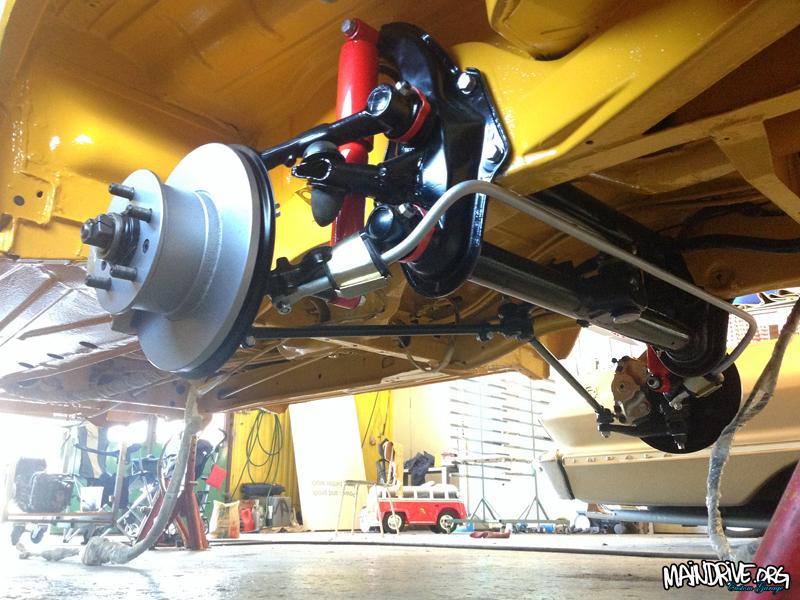
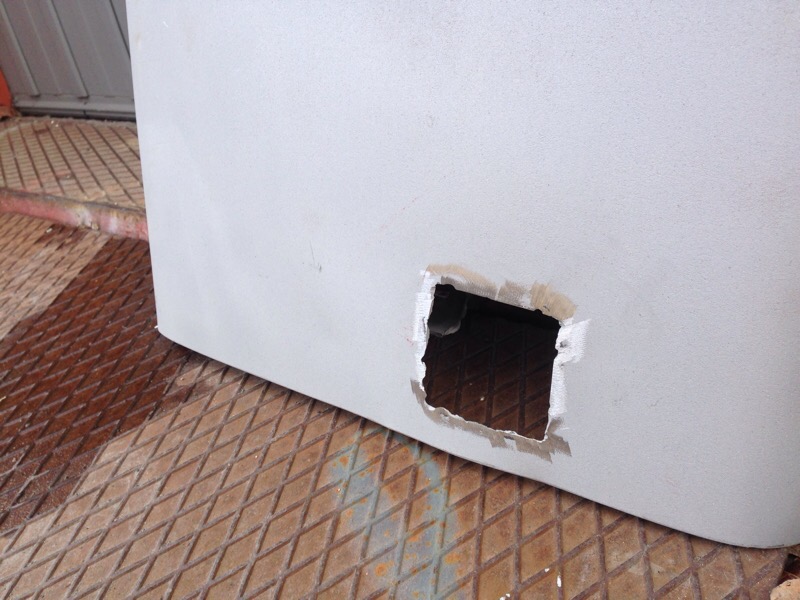
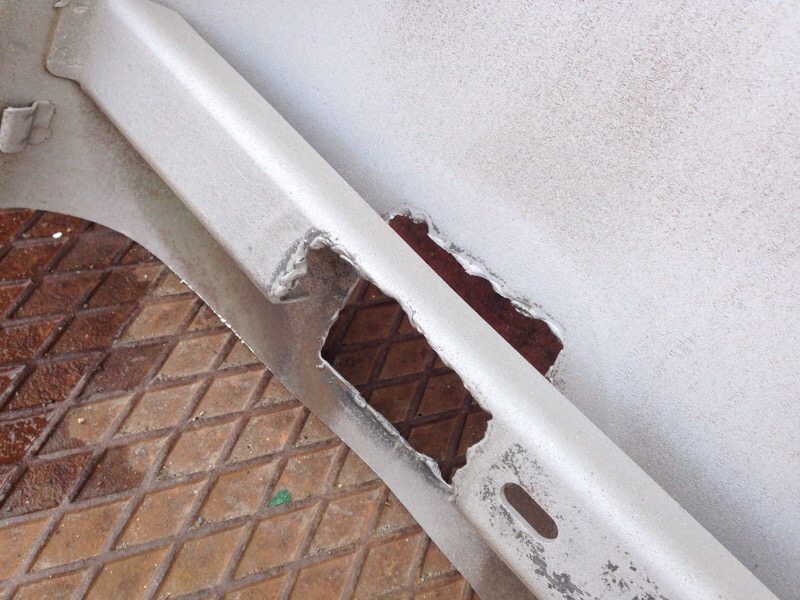
Piece by piece it’s coming together! I Have been fixing with the bumpers and wheels lately. It have all been sandblasted, welded, epoxyed, sanded, primered and painted in same white as the roof. Really starts to come together now, some light in the tunnel. But still lots left to do, here is some new pics…
#highroofbayproject

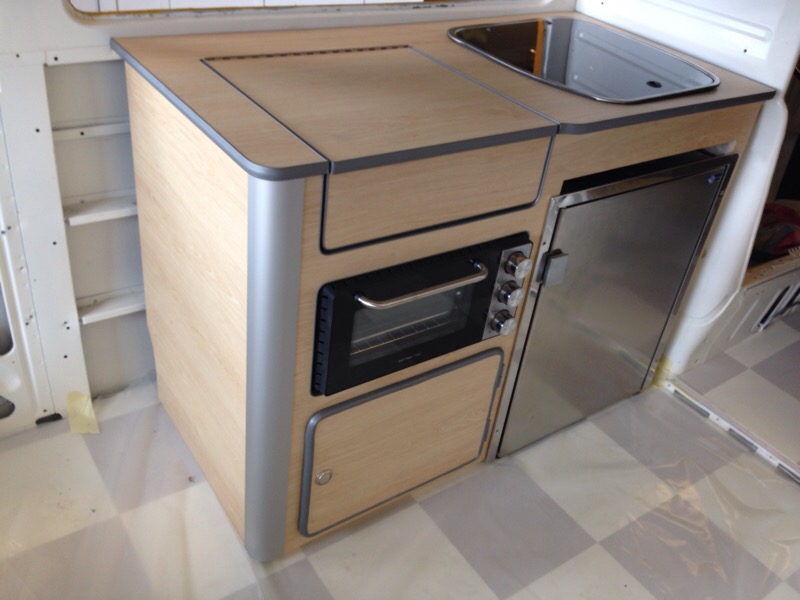
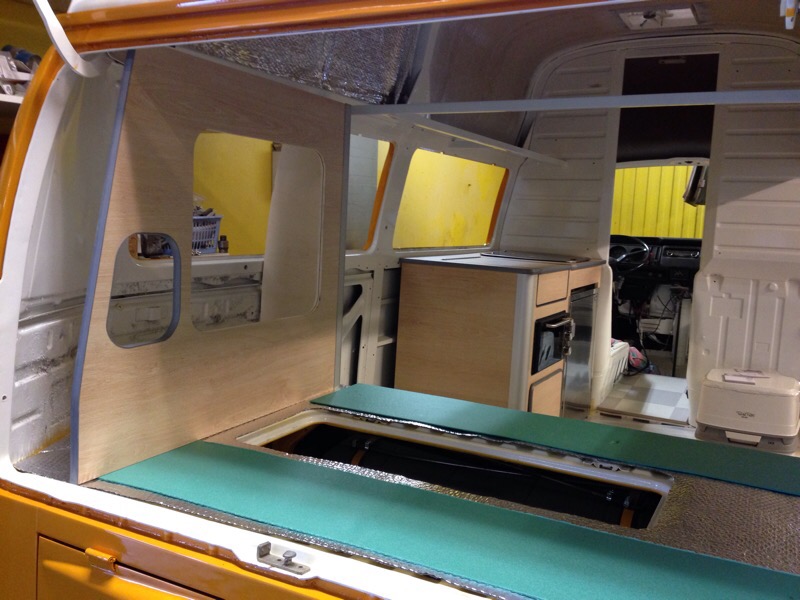
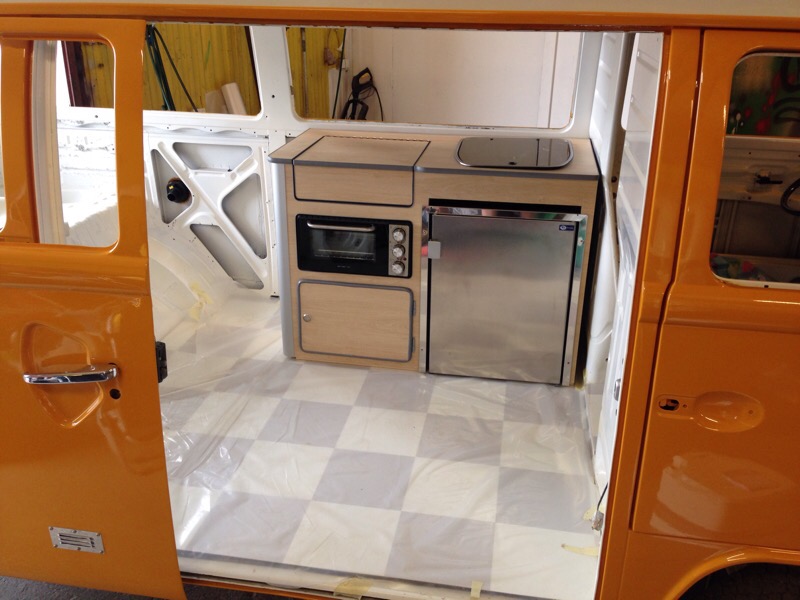
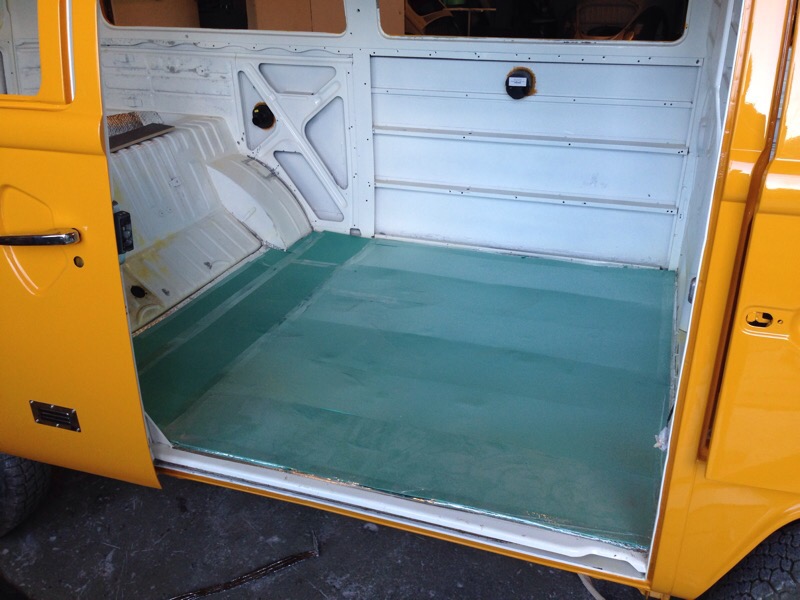
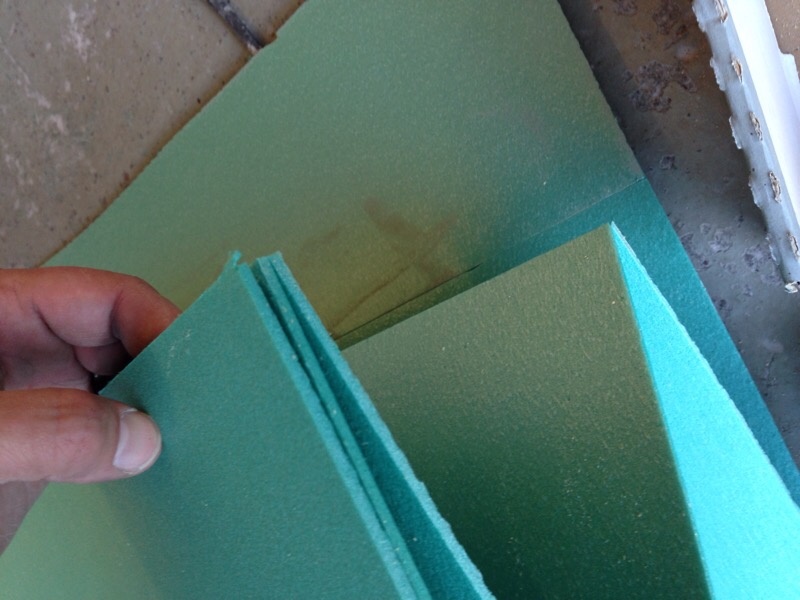
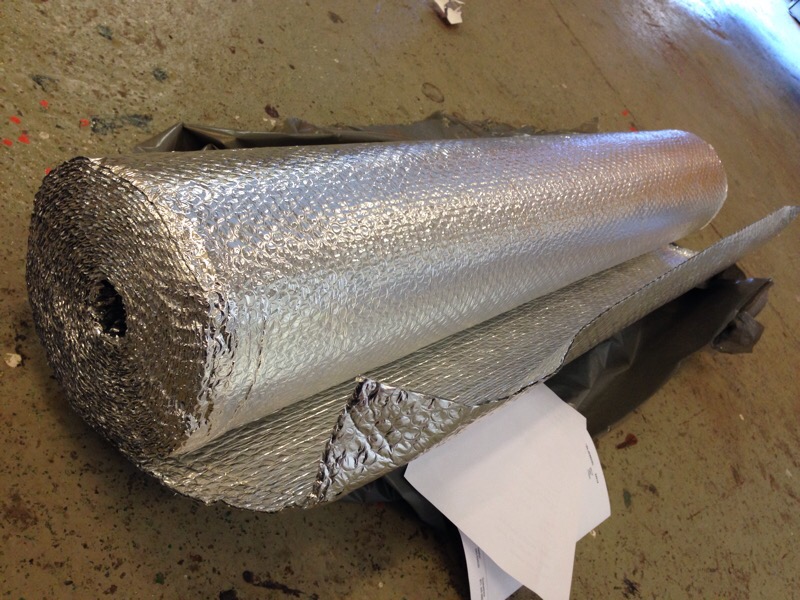
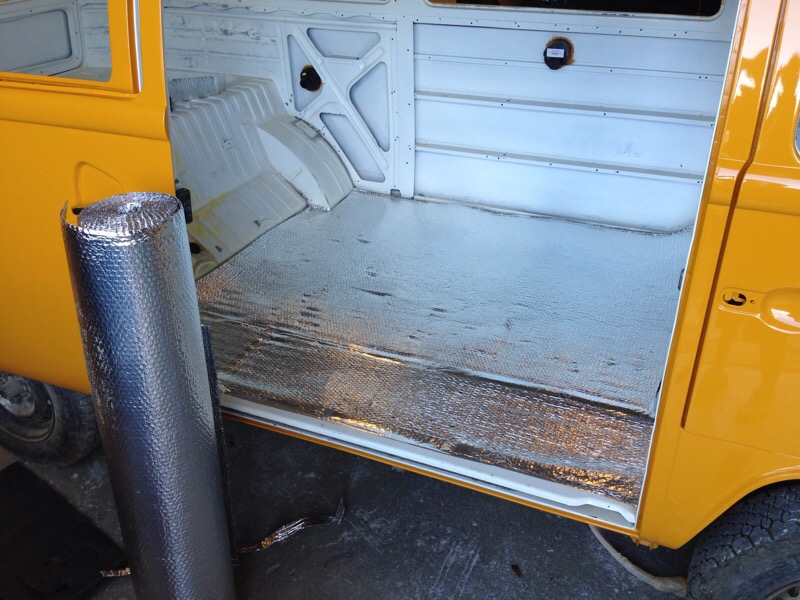
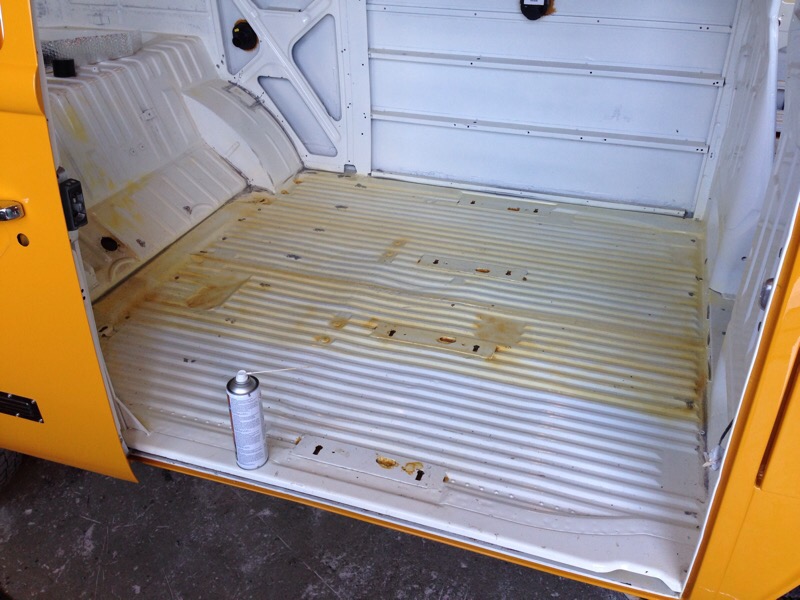
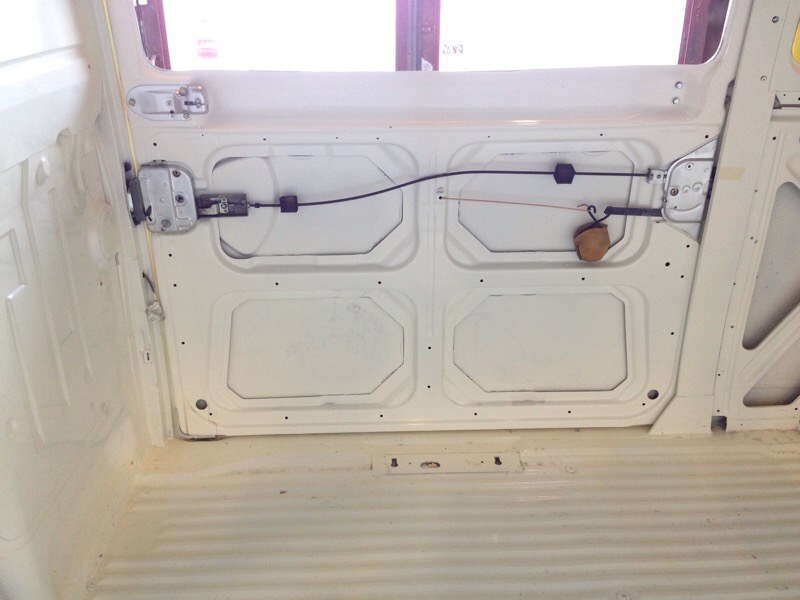
Have now started with the interior on the Highroof bus. Have put sounddeadning mats in floors and doors, sprayed it all with wax for rust protection. Then added insulation (Refectix) a material of aluminium with plasticcells of air in middle. NASA came up with this tecnology when insulating spaceships actually! After this I put some extra 5mm insulation foamboards (green) then 15mm marine plywood and then a new linoleum carpet in Classic checker pattern, went with light grey to match the grey details on furnitures. The furnitures itselfs is in Light Oak wood finish (laminate). I built it all in a special extra light plywood 15mm. This interior is gona weight nothing!! And thats great in a slow VW bus, all the stuff thats going to be loaded in the cabinets are heavy enought 😉 The kitchen pod/cabinet is featuring a new Vitifrigio fridge on 48 liters + 2 liter freezer. A new small owen in stainless that will be running on 240v (euro). The zink is from a newer crashed/parted out Knaus campervan I bought cheap online. The lid in top is hiding a gastove and the cupboard in bottom will be housing the greywater tank etc.
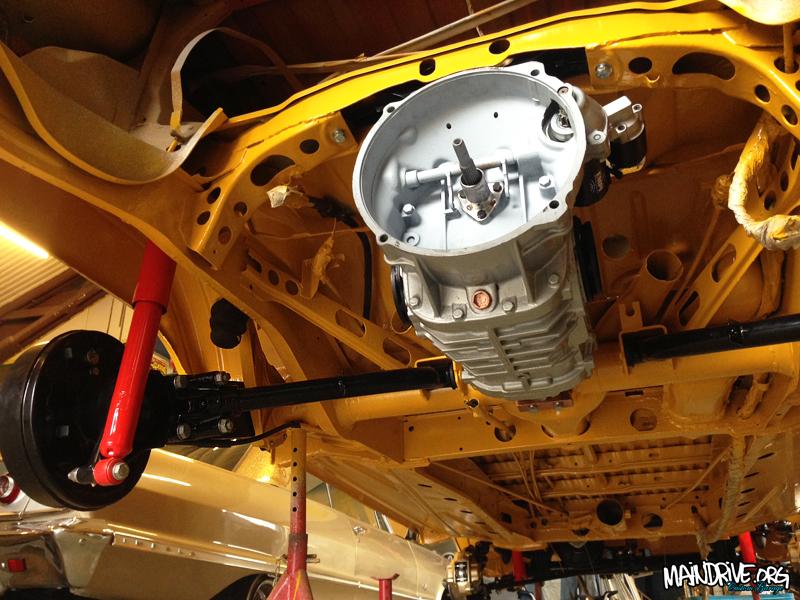
Still have plenty to do before I can start restoring the 1800cc AP engine.
More to come soon!
#highroofbayproject
Some movies from this summer with my VW Samba splitbus. Follow: @campersontour at Instagram for daily pics!
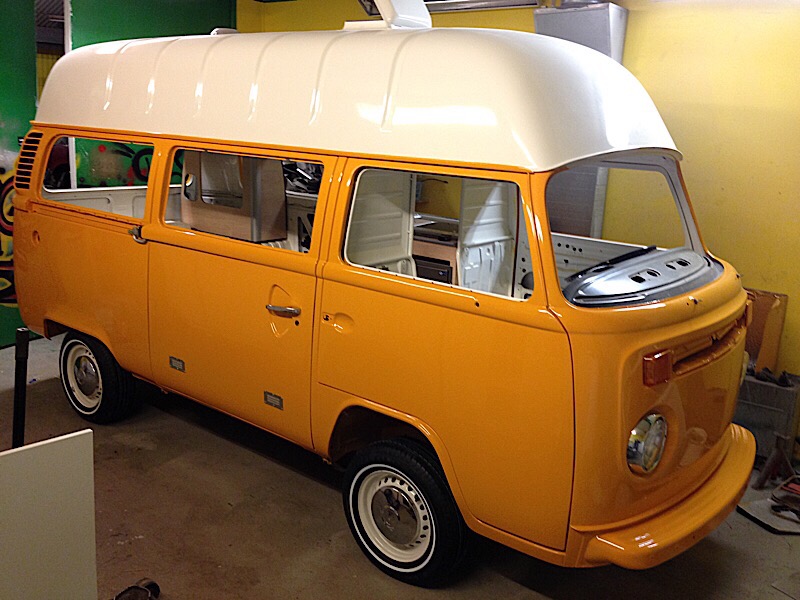
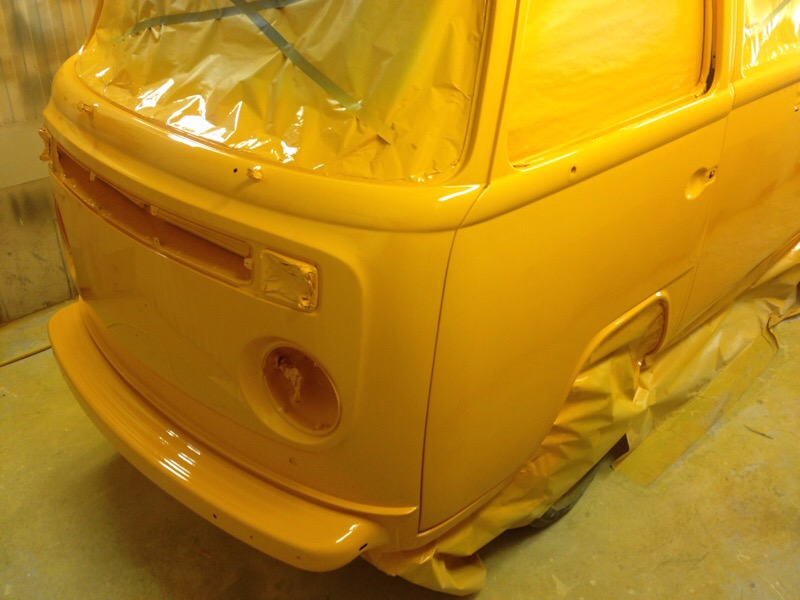
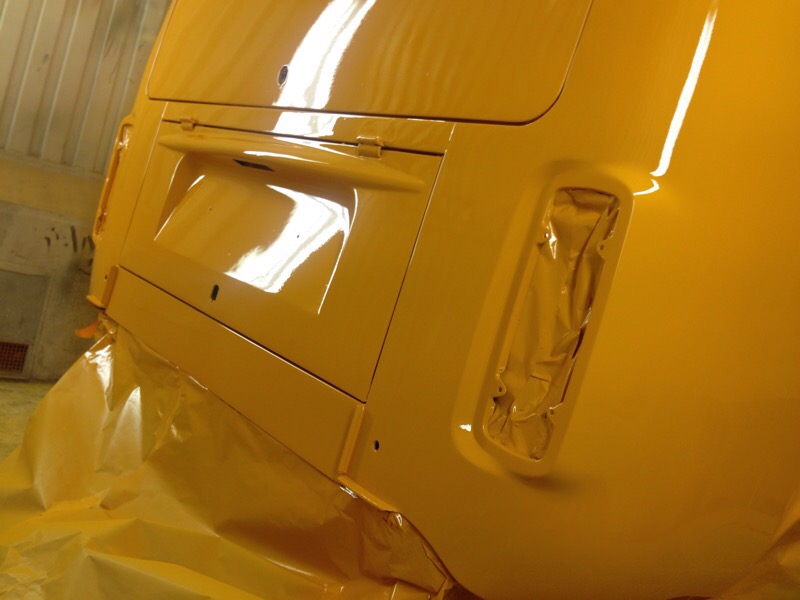
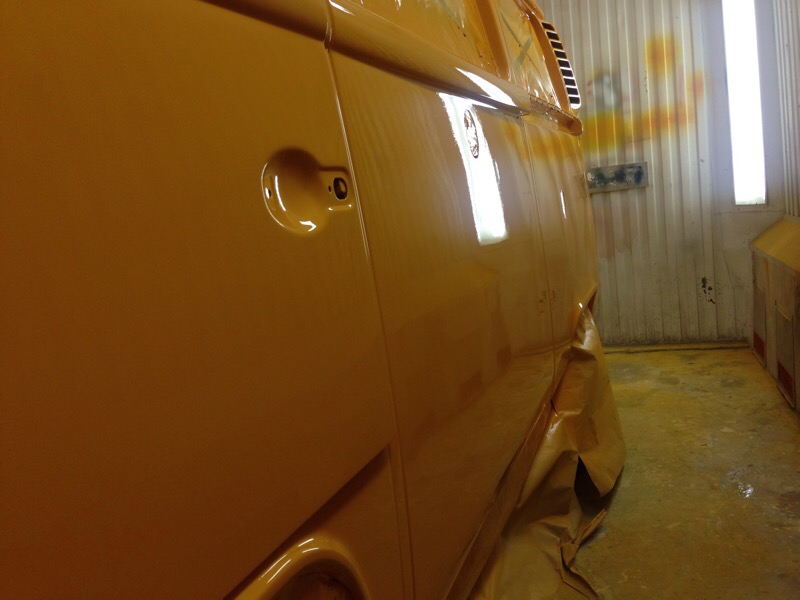
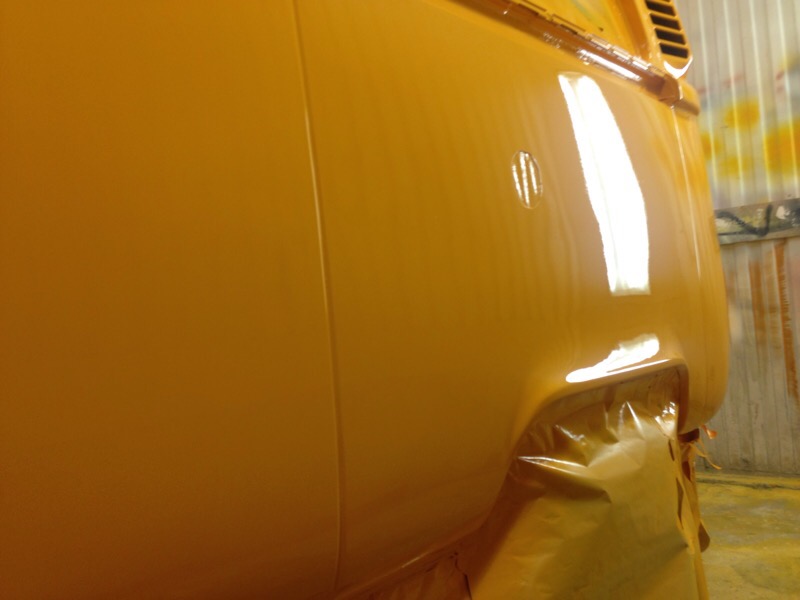
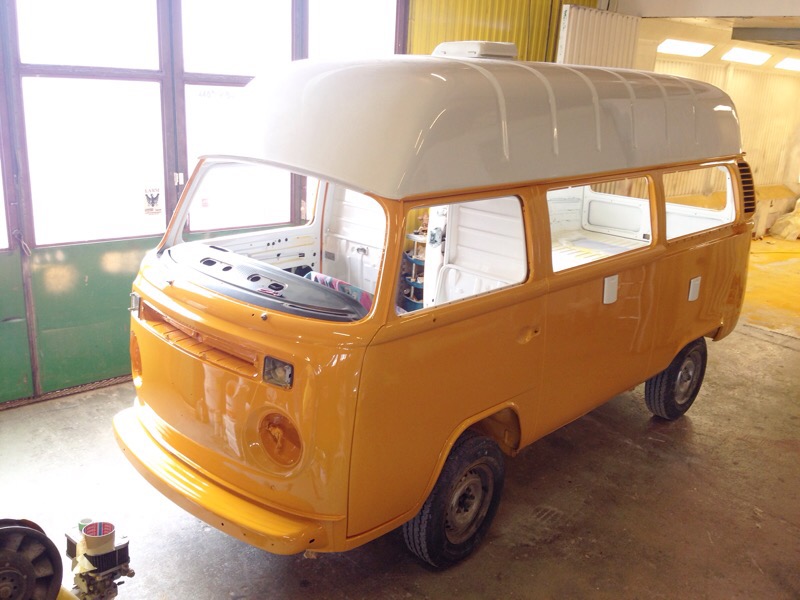
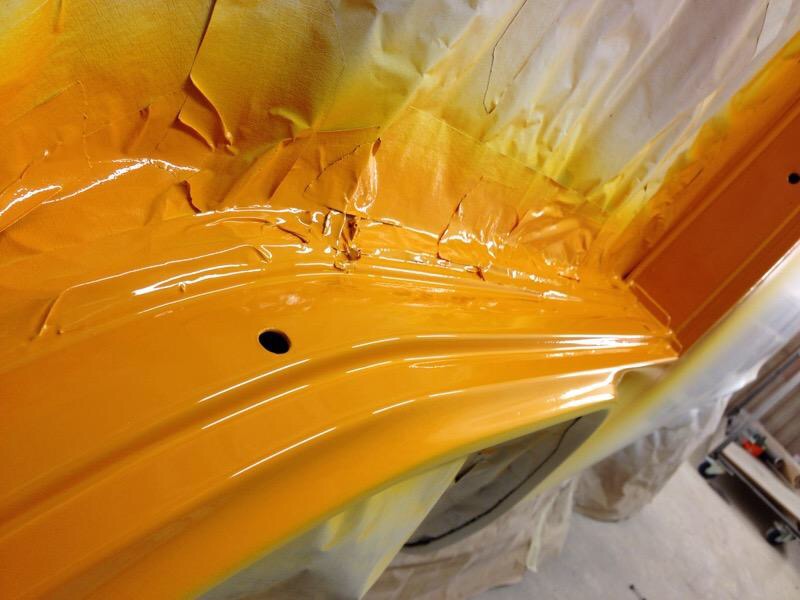
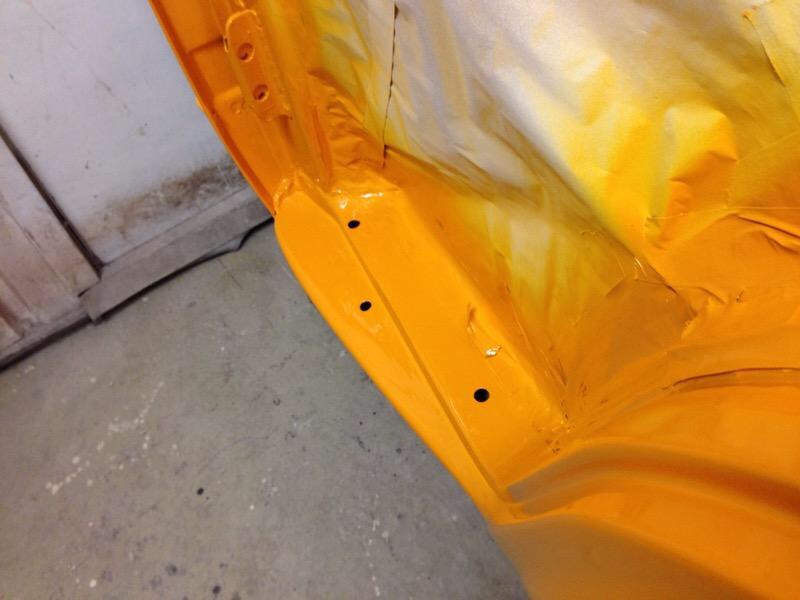
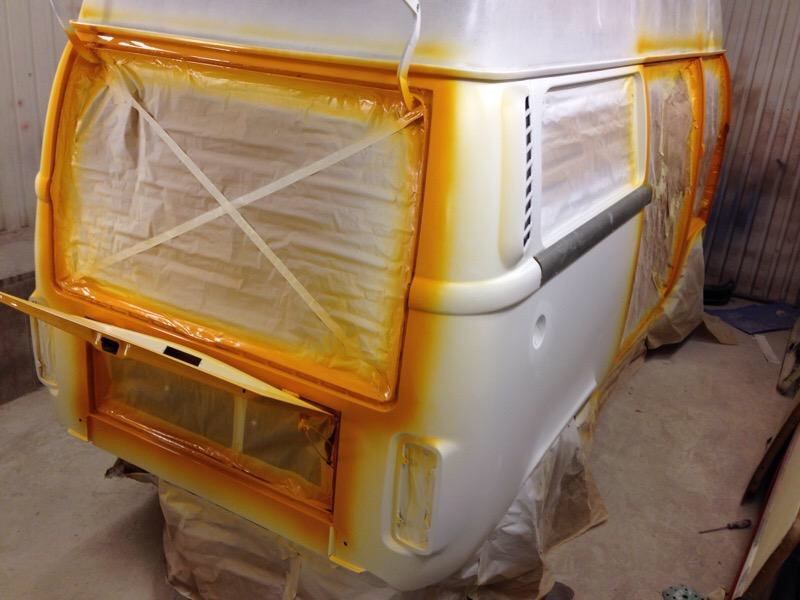
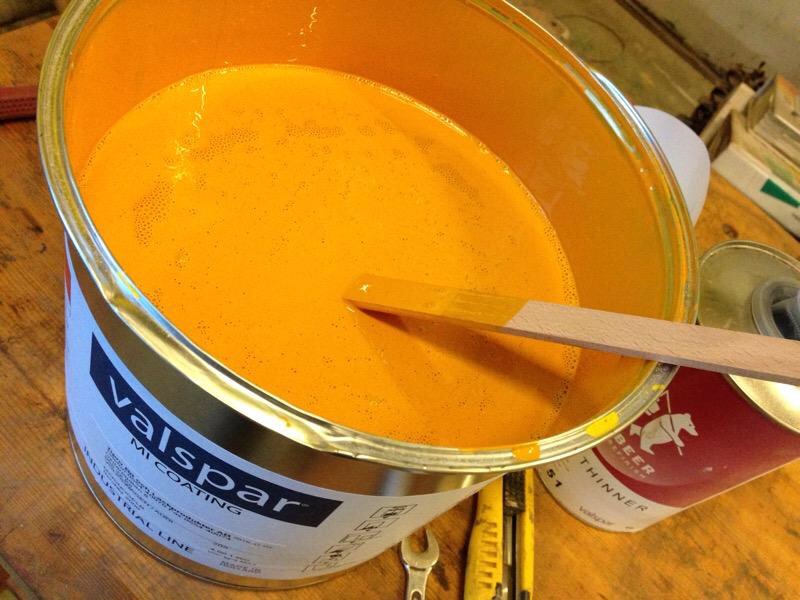
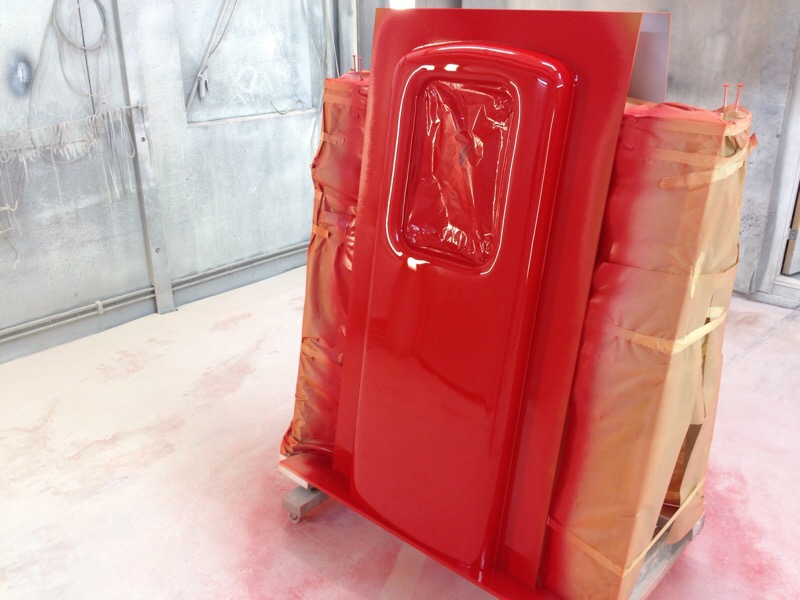
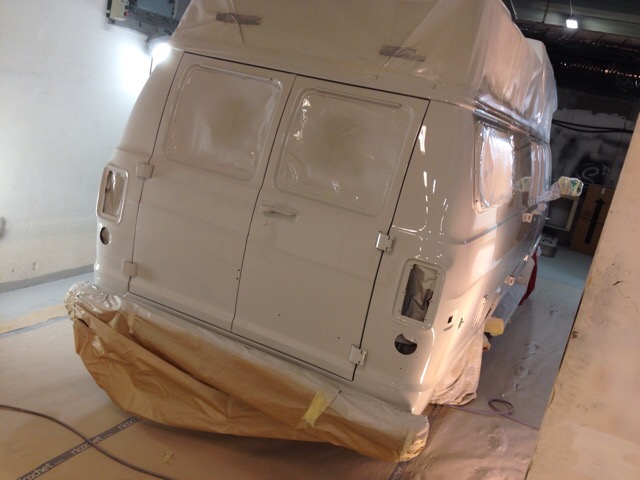
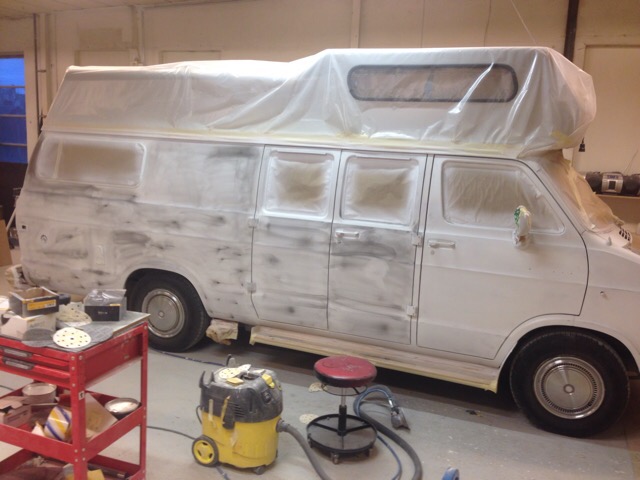
So the Highroof is now painted at last, in Marino Yellow VW L20a, period correct for 1975. It have been a ton of work and to get that yellow color to cover the bus needed to be painted 4times/coats. That because all yellow (and sometimes red) colors have less pigment than all other colors.
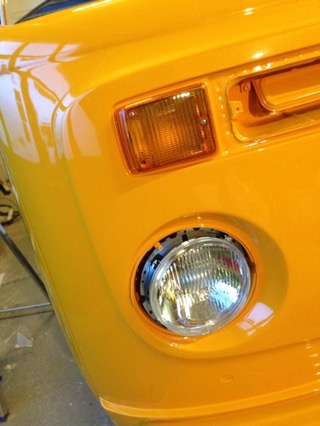
Now the fun can begin, mounting on all new parts like lights, handles etc! Next step will be to start with the interior and begin with insulation in walls and floor. Would be nice to have the most done on interior and exterior until fall so the winter can be focused on engine build and install etc.
More pics coming soon!
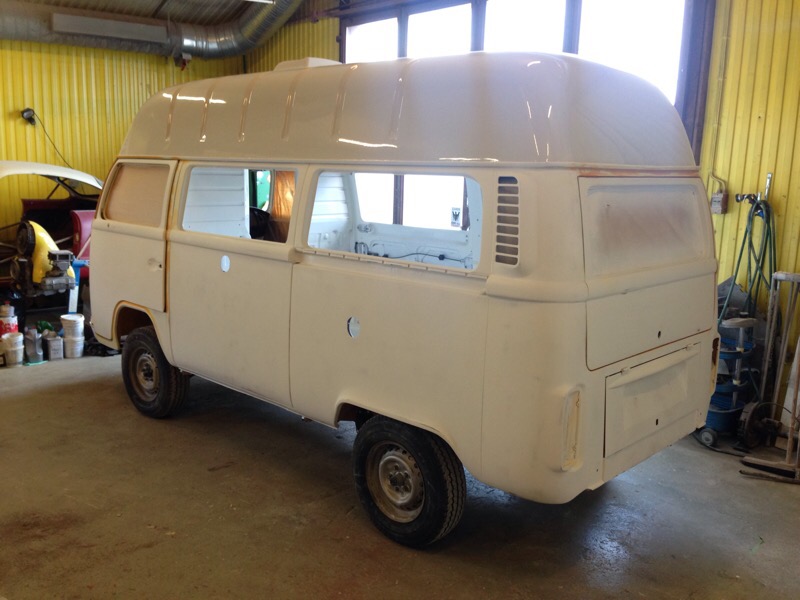
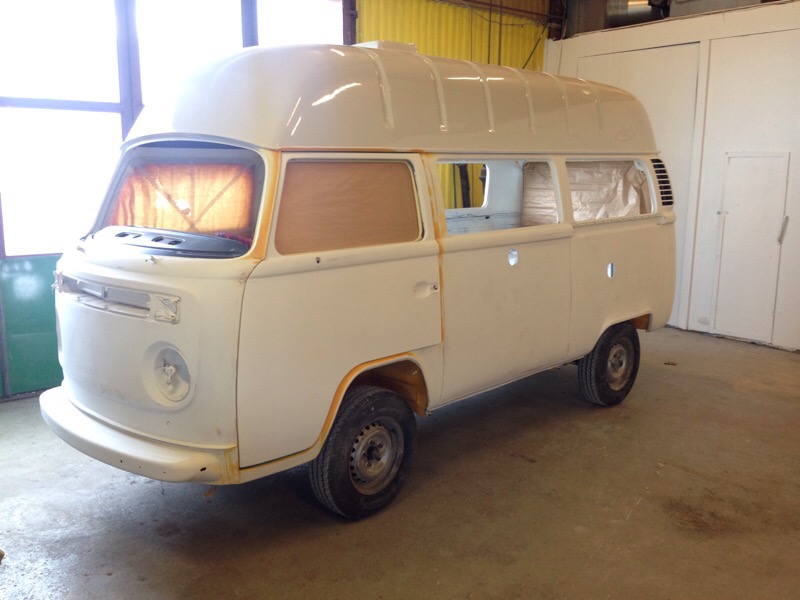
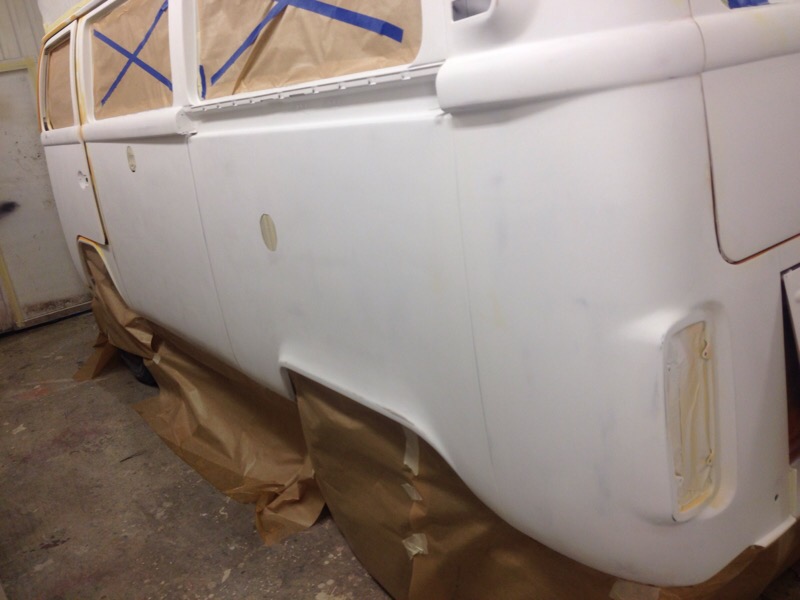
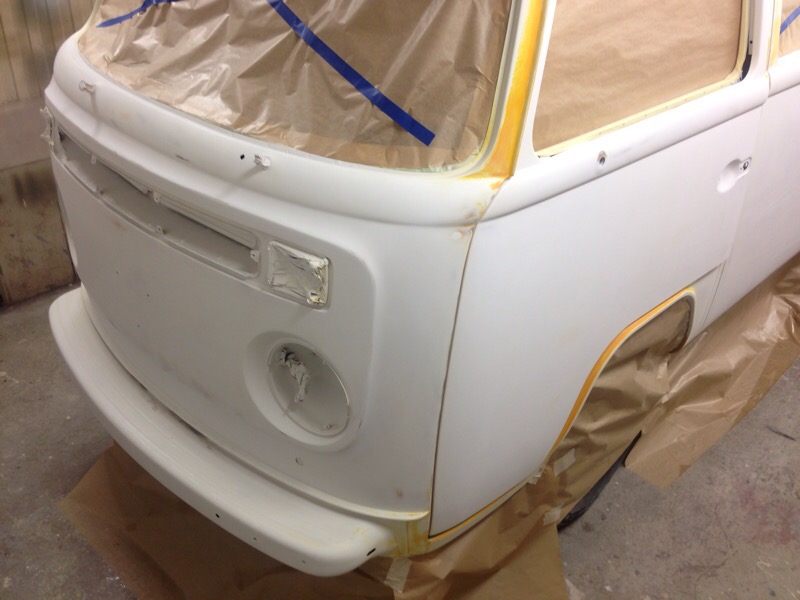


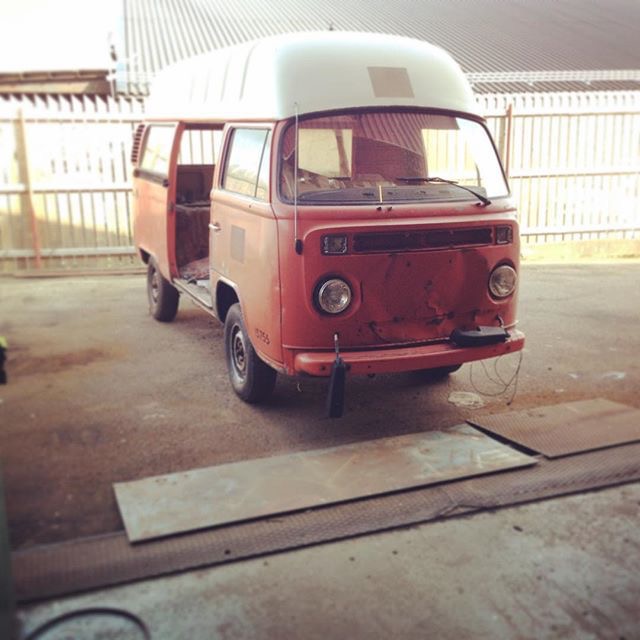
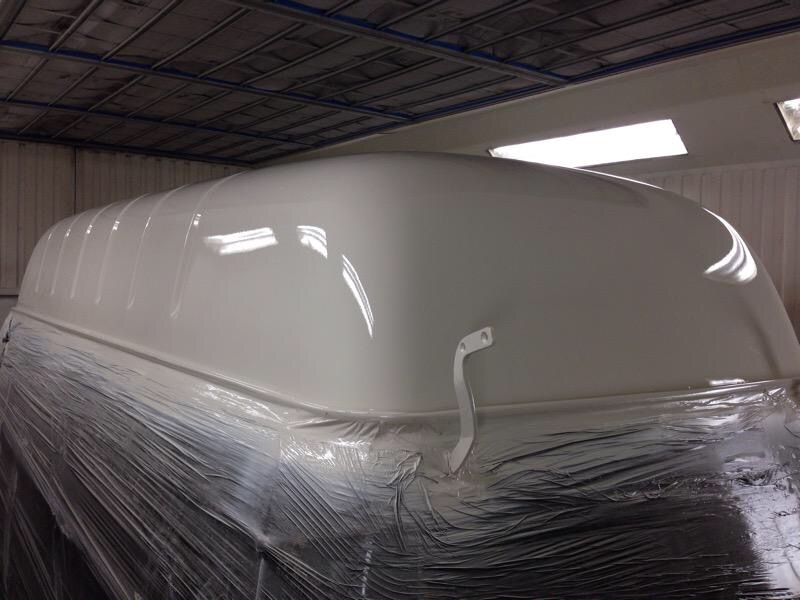
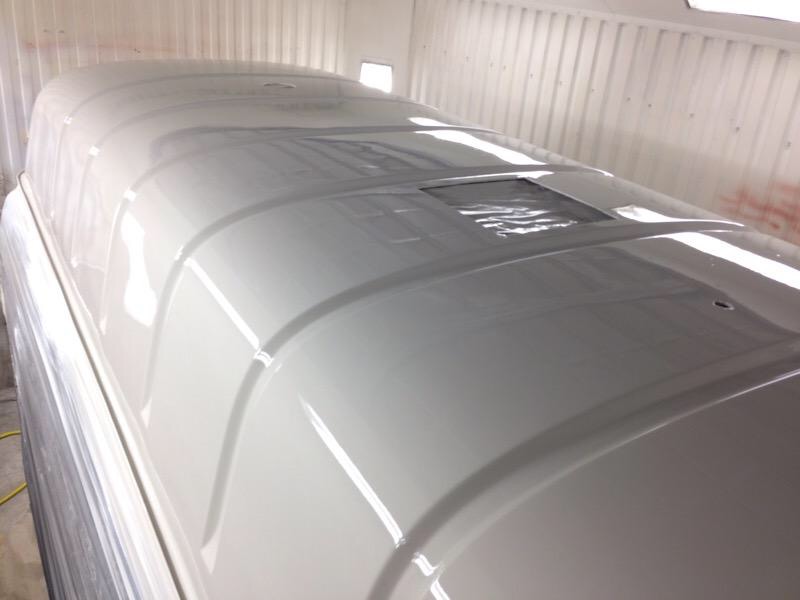
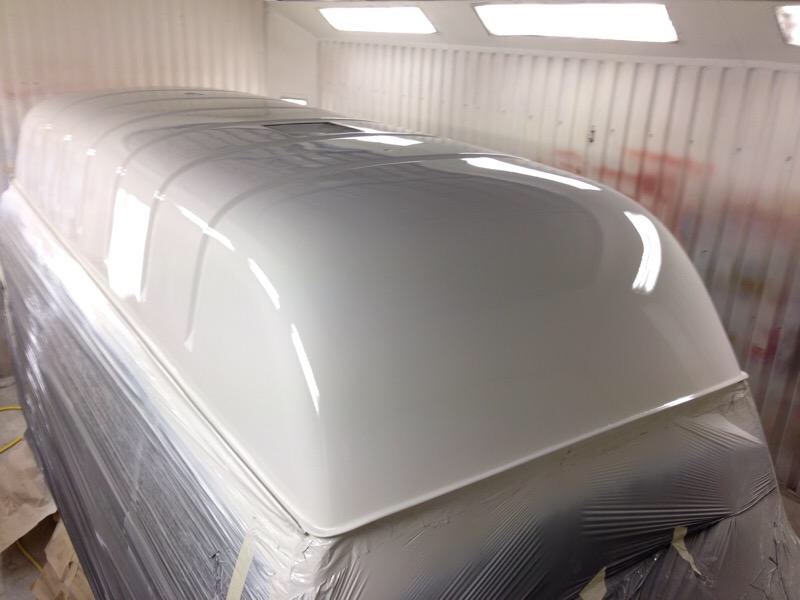
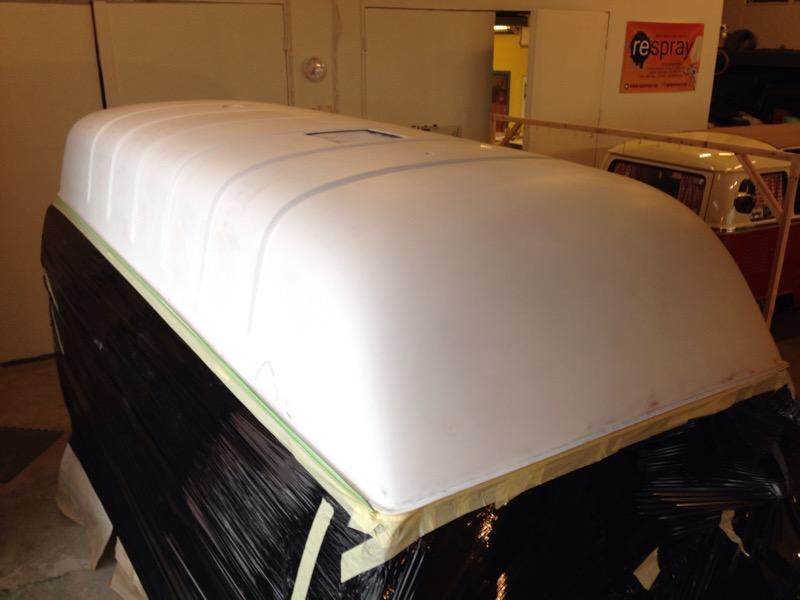
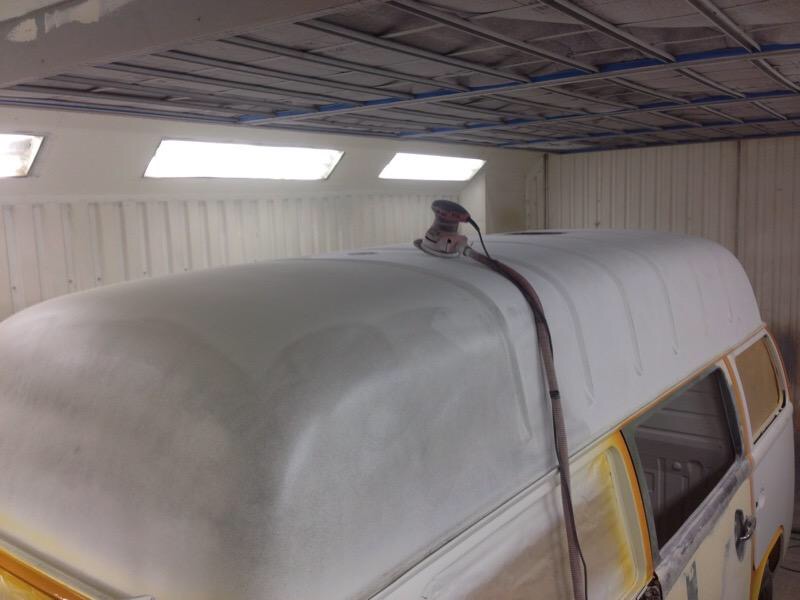
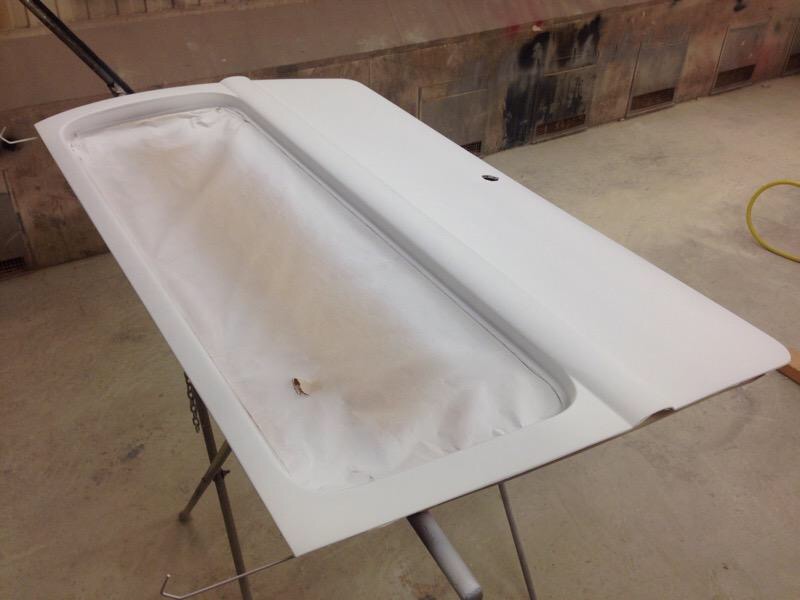
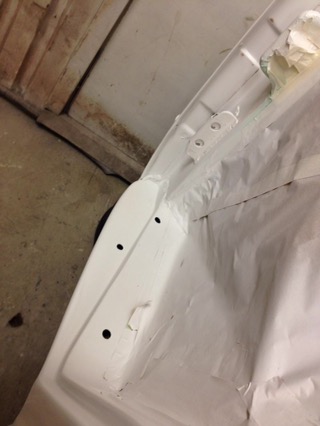
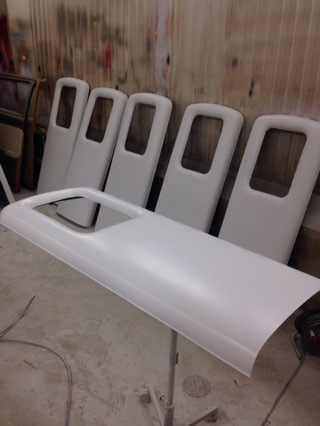
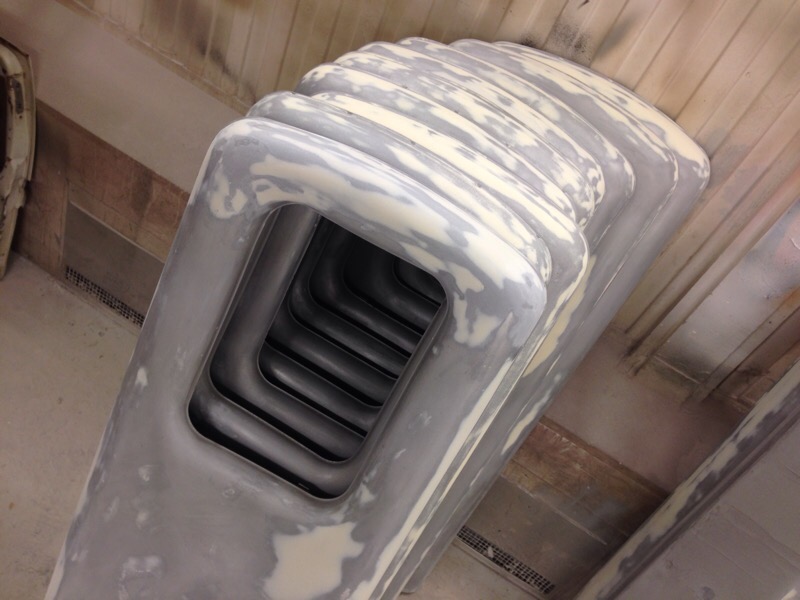
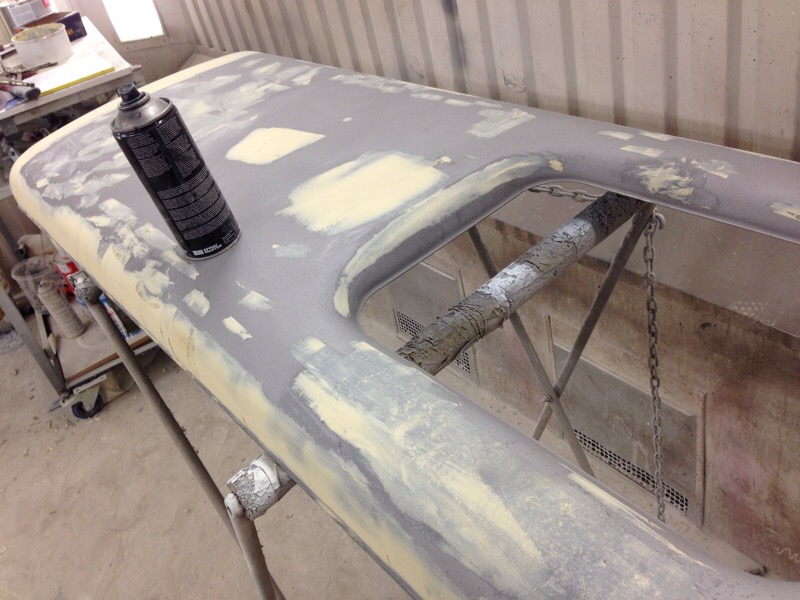
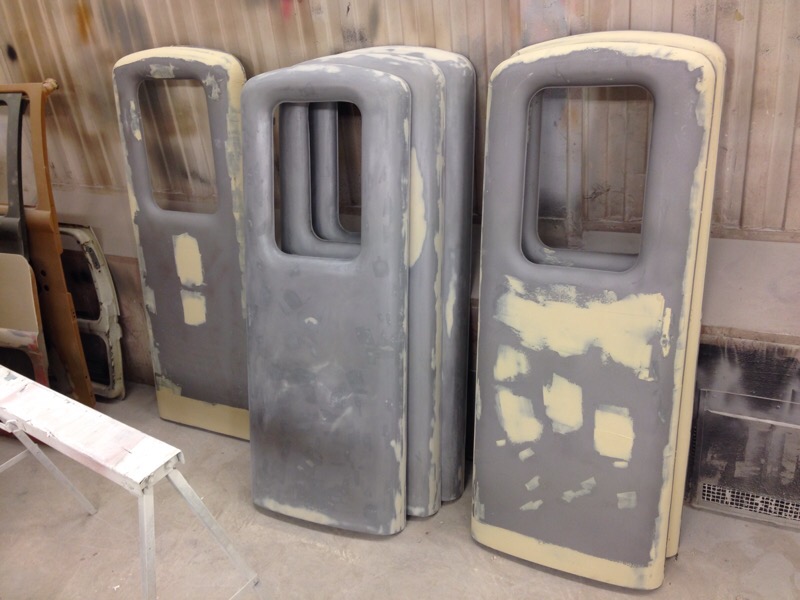
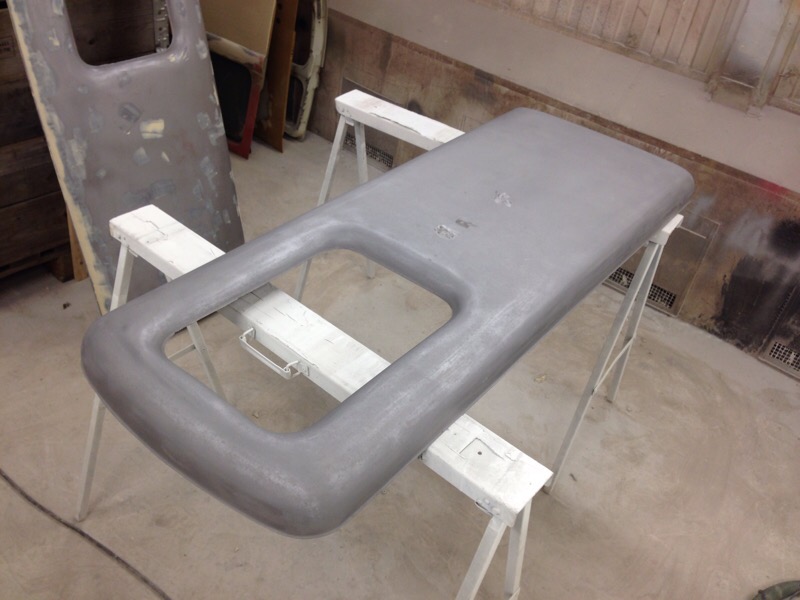
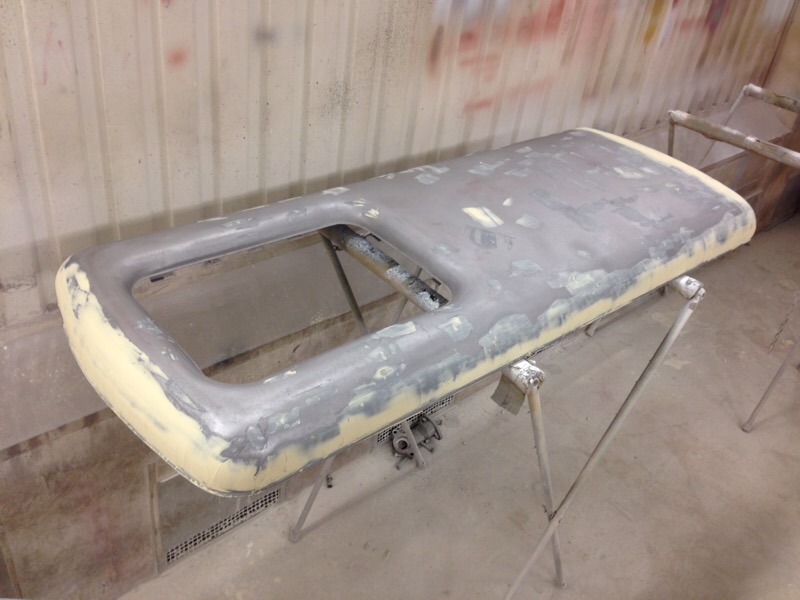
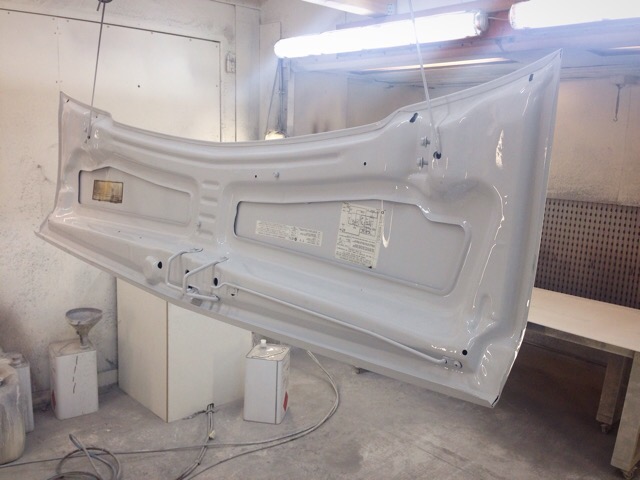
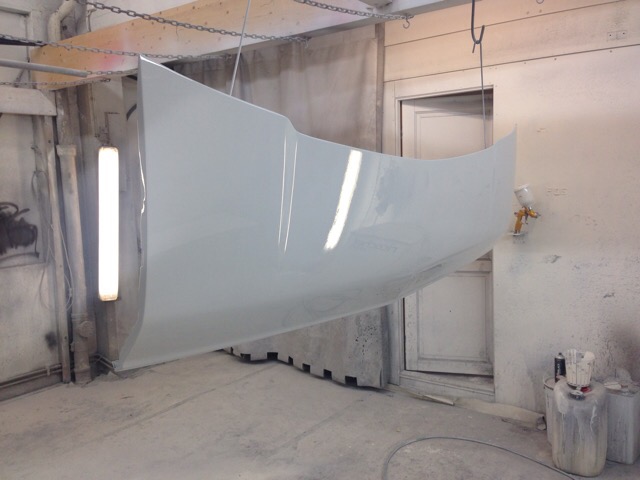
Lots of work have been done lately on the VW Baywindow Highroof! Whole roof have been finished in California White color. All doors and lids have been painted on the insides and then fitted back on the body. All panels are now sanded in 800grit and ready for toppaint in VW L20a Marino Yellow!
#highroofbayproject
Movie from this weekend with the VW bus. Fore more follow: @campersontour at Instagram.
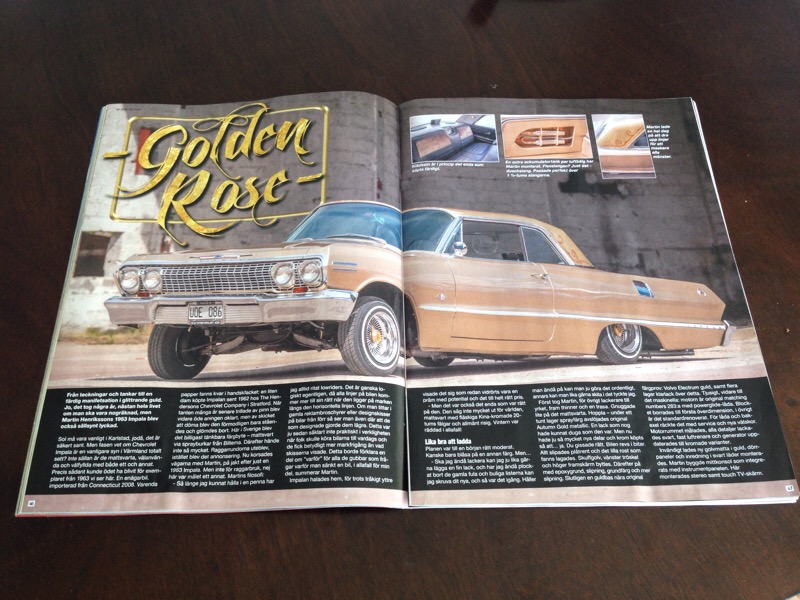
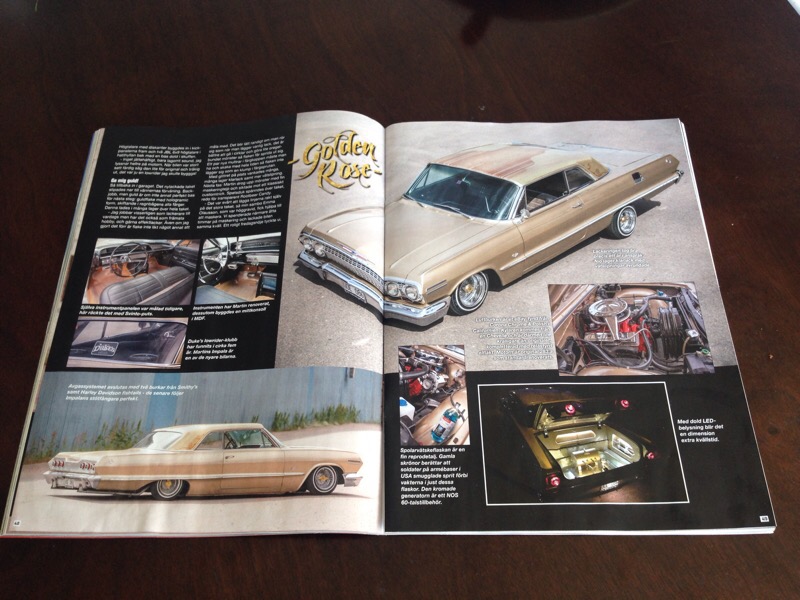
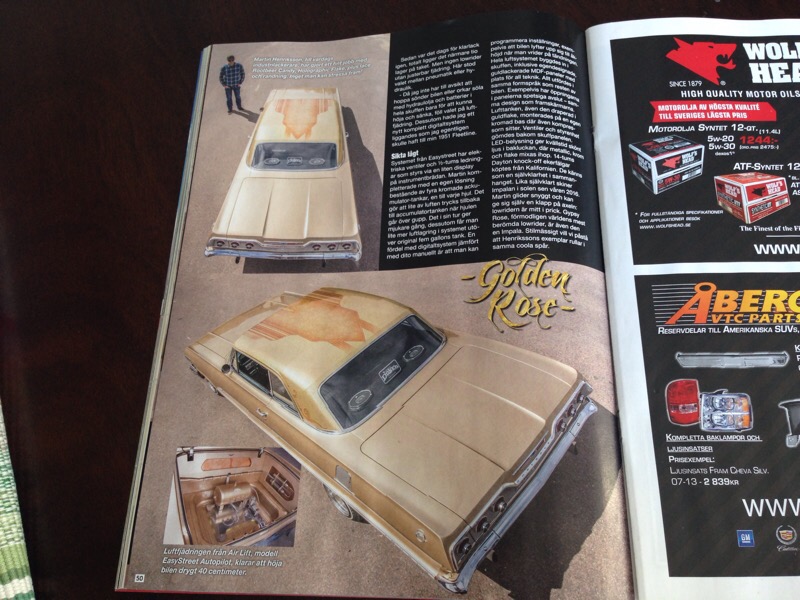
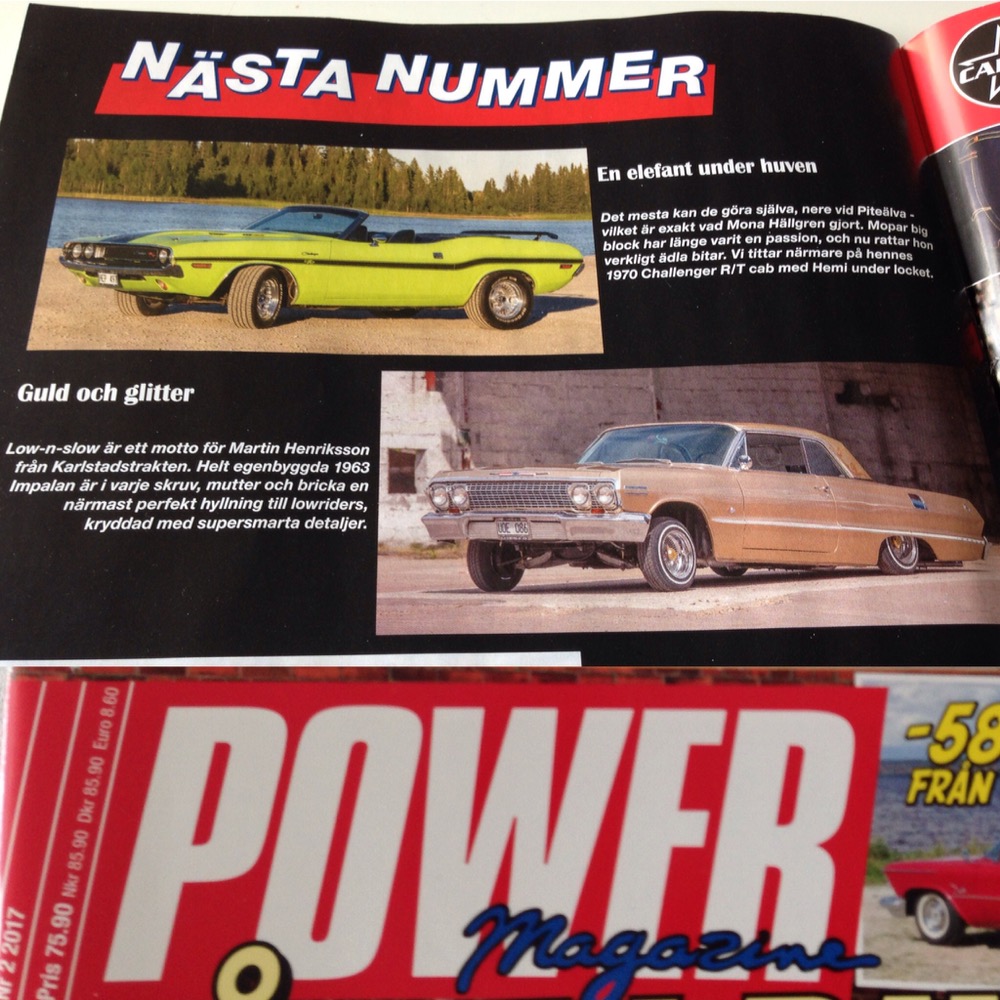
In the latest issue of Power Magazine you can read all about my 1963 Chevrolet Impala lowrider that I built finish recently. More build pics can be found here on the website under Rides & Projects in Menu.
www.powermagazine.se
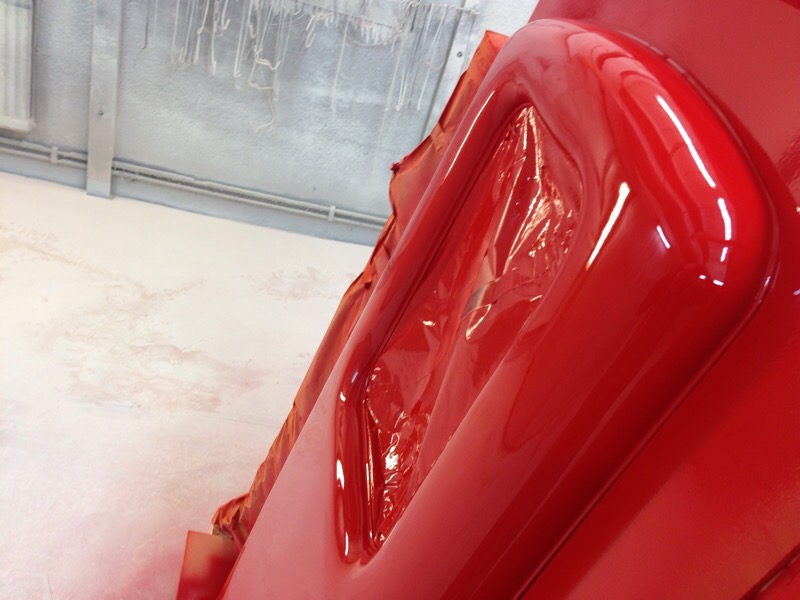
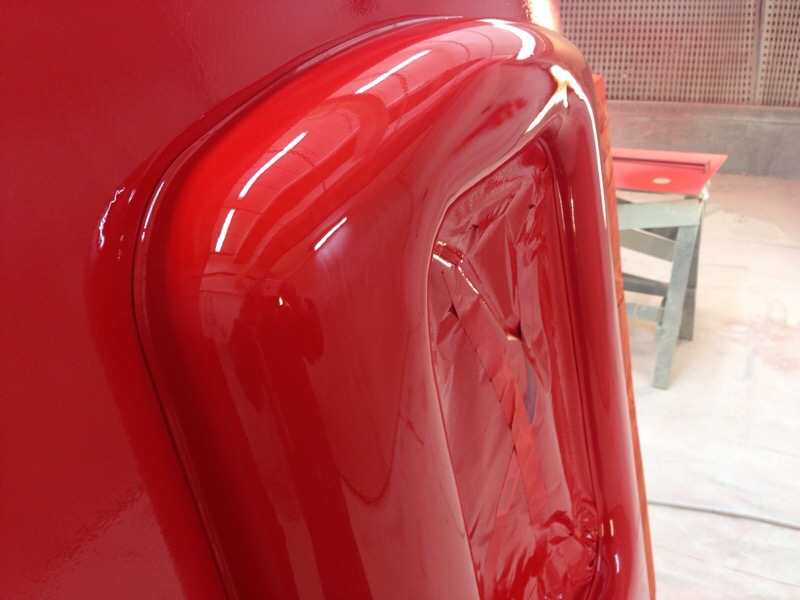
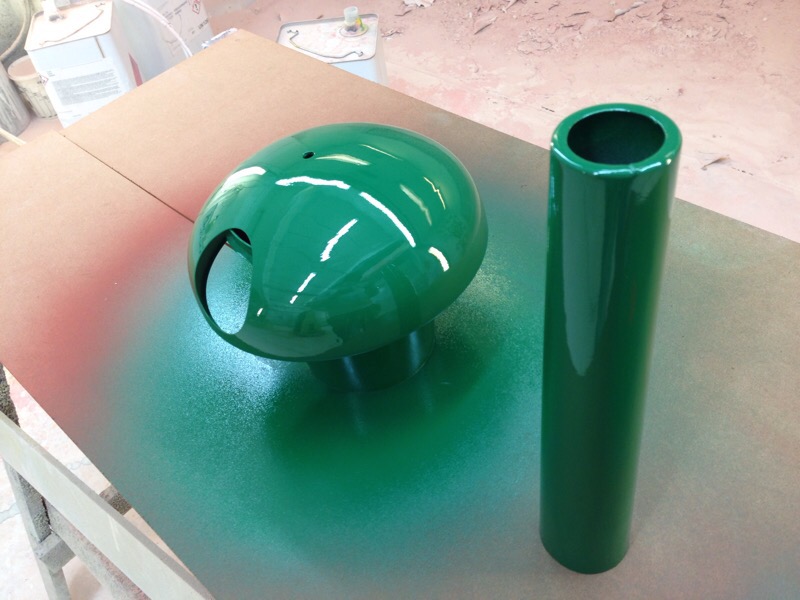
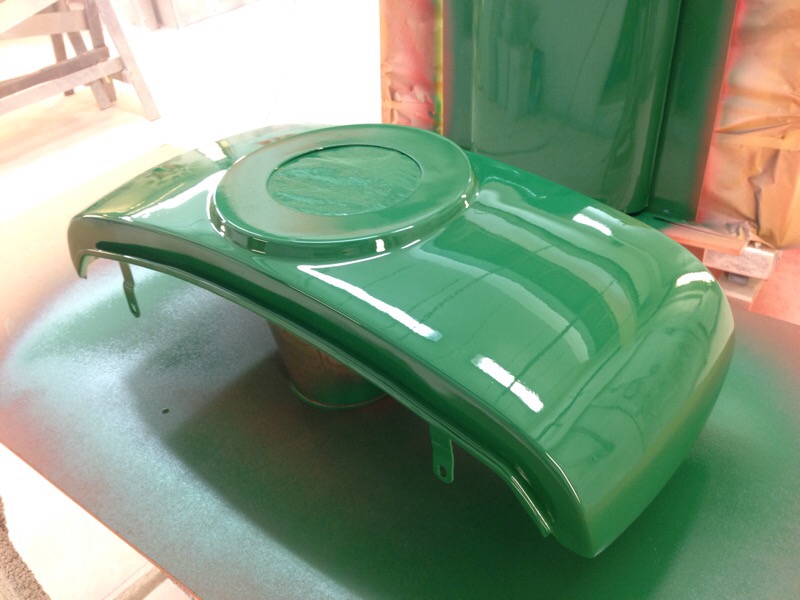
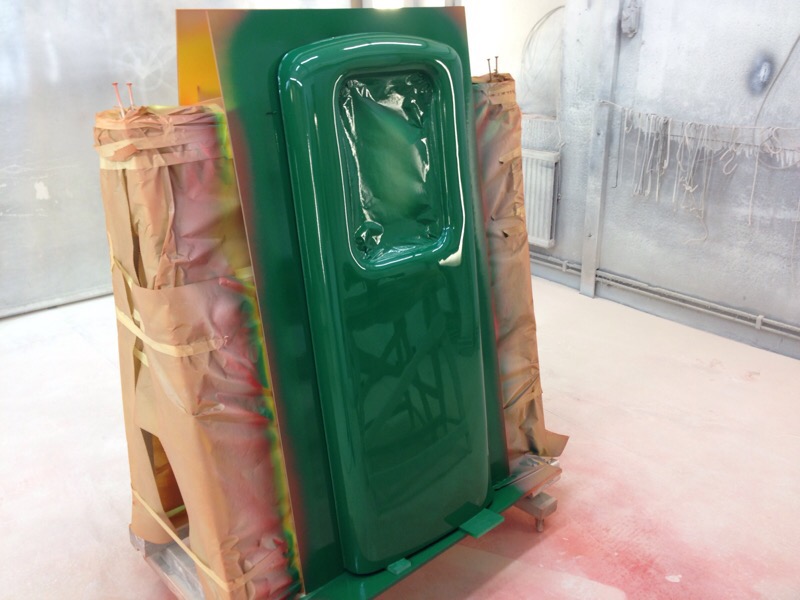
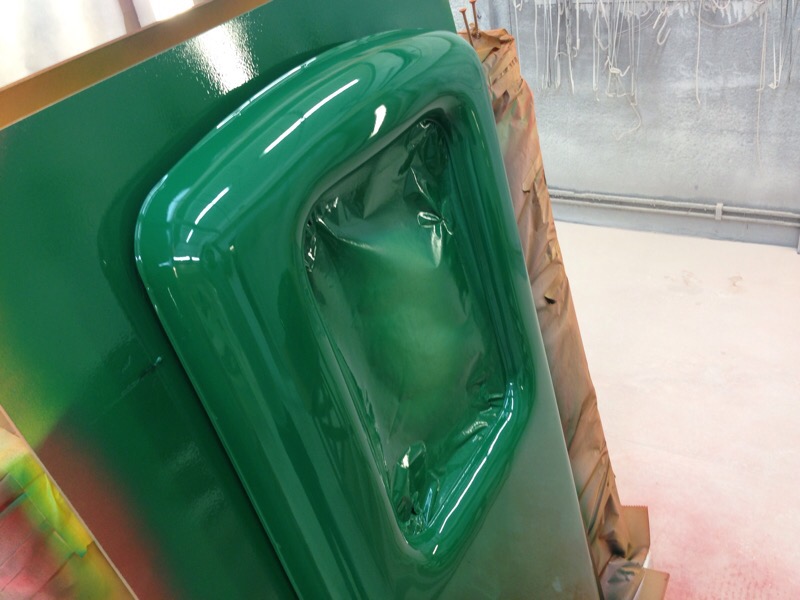
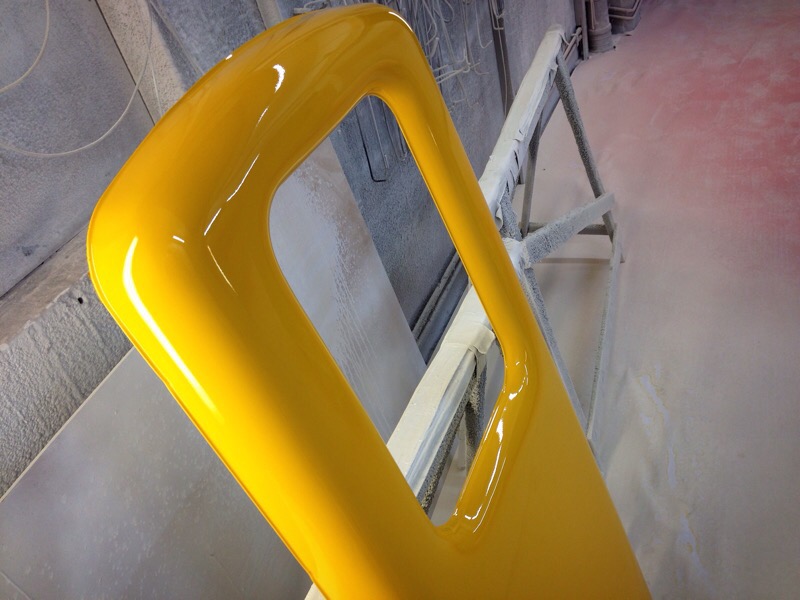
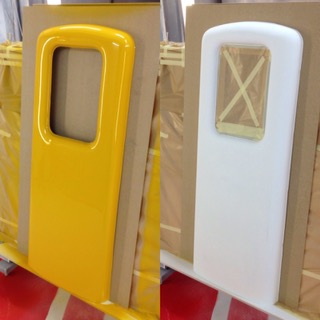
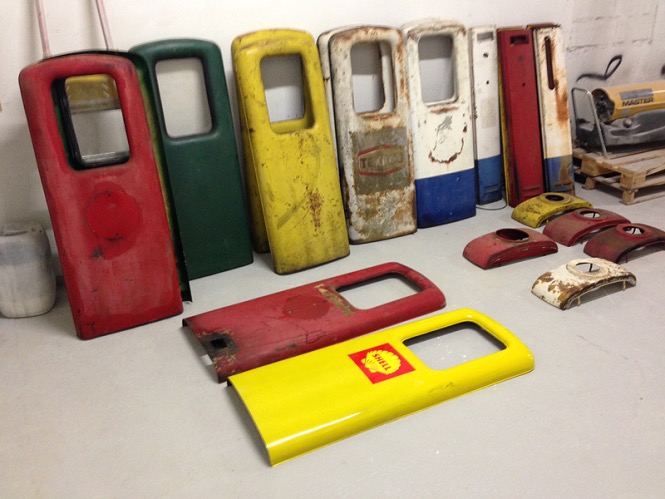
Finally time for some color! Texaco red and BP green with yellow sidecovers, next up is Gulf in dark blue and orange doors. Came out really nice, have come a longway since the start. No more rusty junk!
#star76renovering
Alot of work have been done! Four of them are ready for paint, it will be Shell, Gulf, Texaco and BP at first. They may not have been so rusty but instead alot of dings and small dents everywhere, every door and panel needed skimcoating in bodyfiller to get straight again. So much more work then they first looked to be. But now they start to look nice again, the first gaspump out was the Shell. 9 different colors mixed and scanned after original paintchips and old parts, cans etc to get the right shade of each color. More to come soon…
#star76renovering

Read all about my Impala lowrider in the next issue of Power Magazine, out in stores 27 April. More pics on the car can be found in Projects here on the website!
#goldenroseimpala63
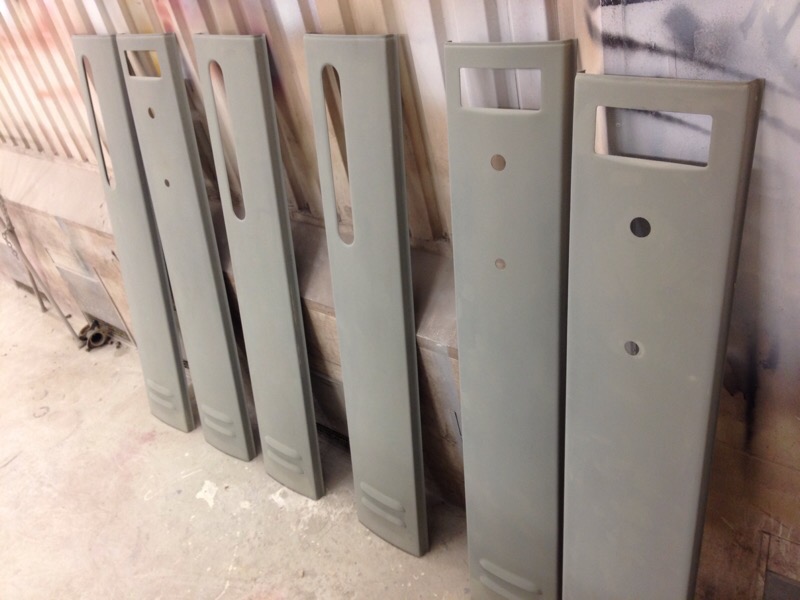
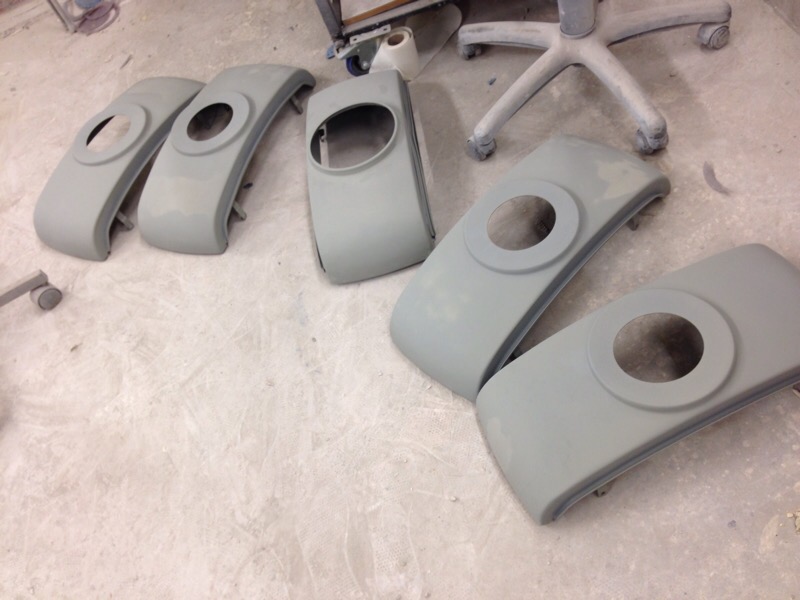
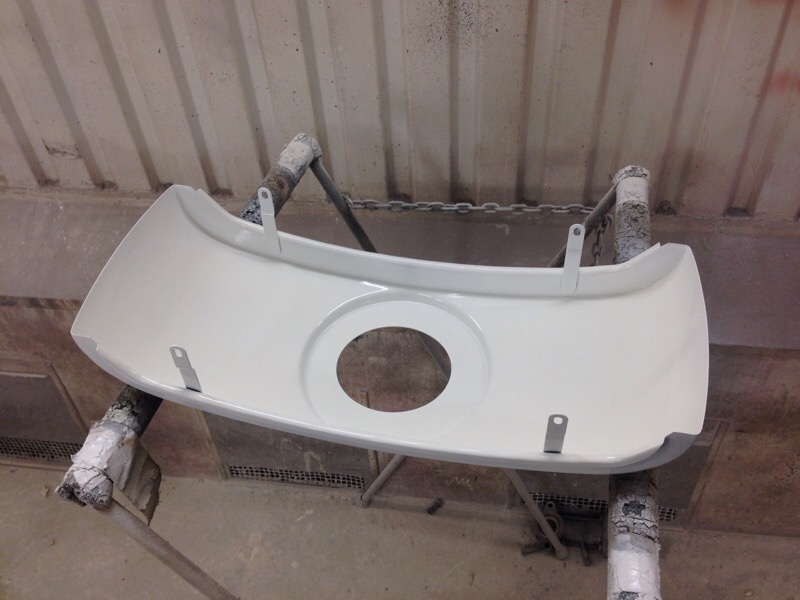
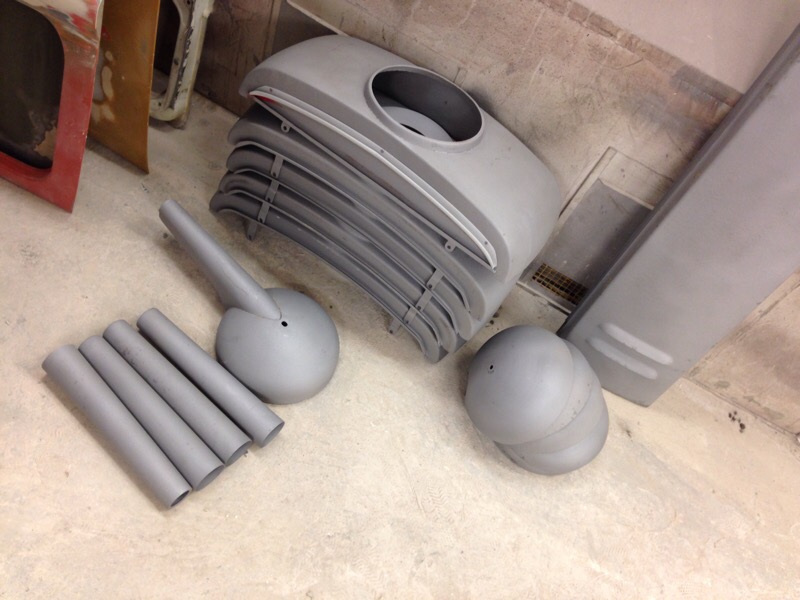
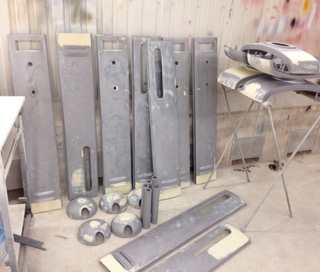
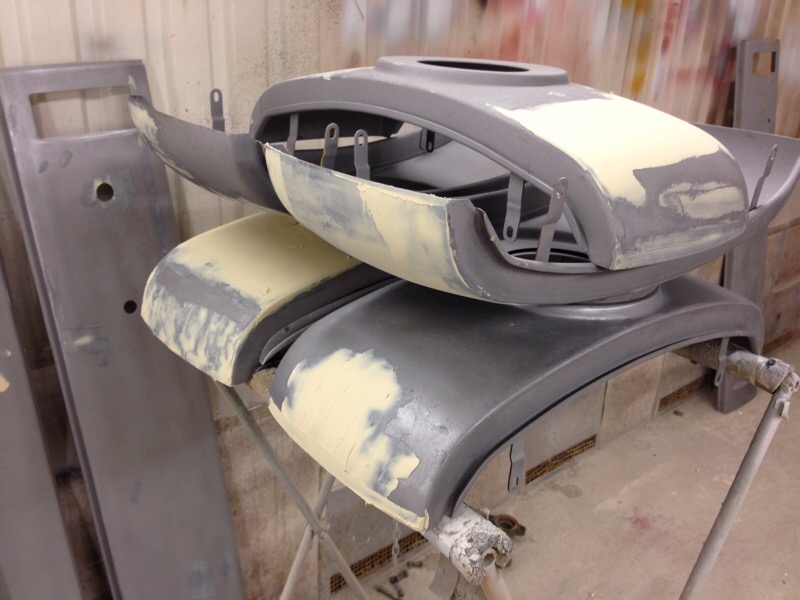
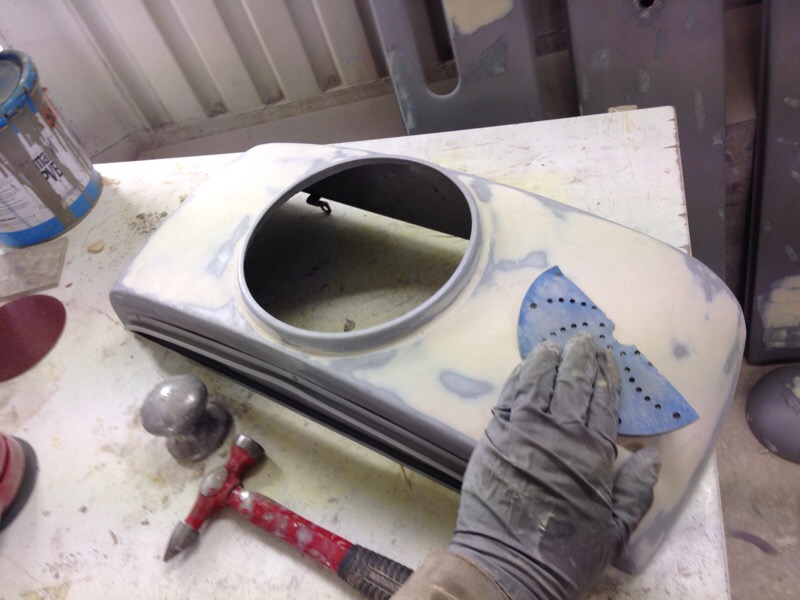
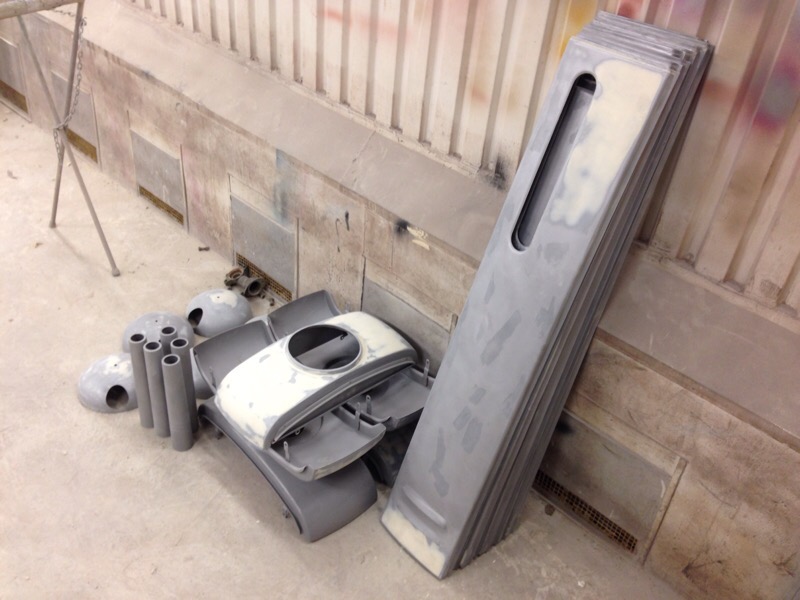
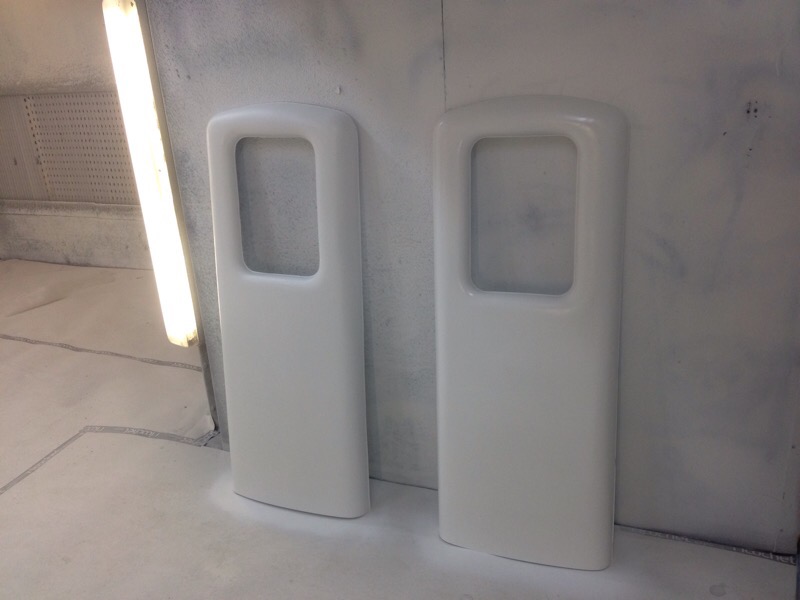
The gaspumps project moves on. It have gone from bare metal and welding to rustprimer to highsolid surface primer. And are getting prepped for paint right as we speak, hopefully we can shoot some color this weekend!!
#star76renovering
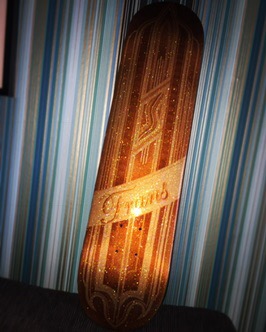
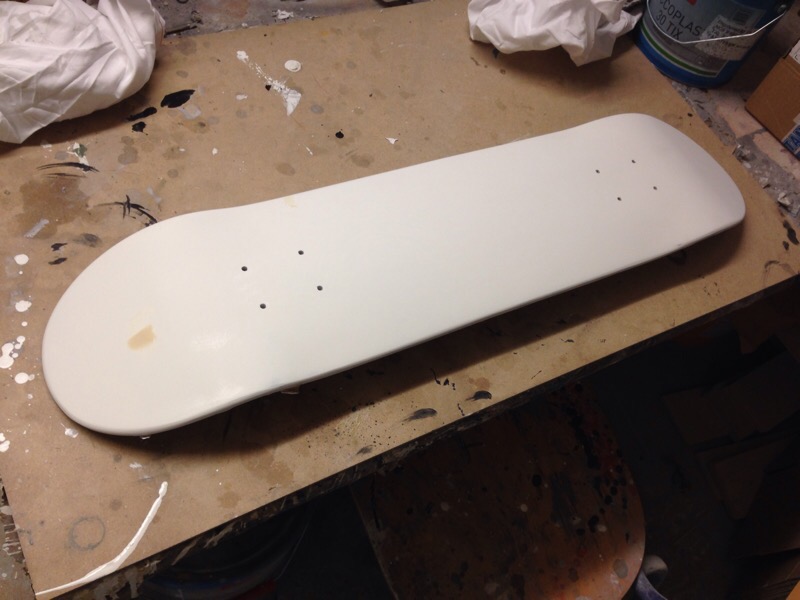
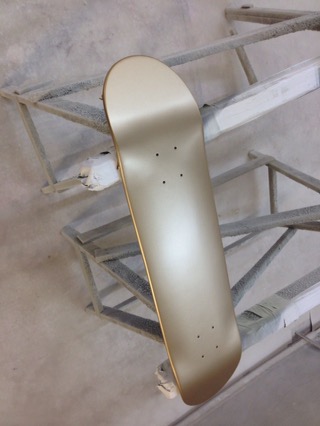
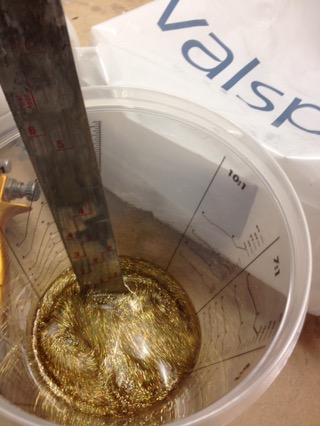
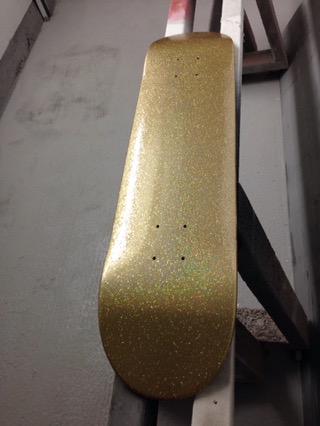
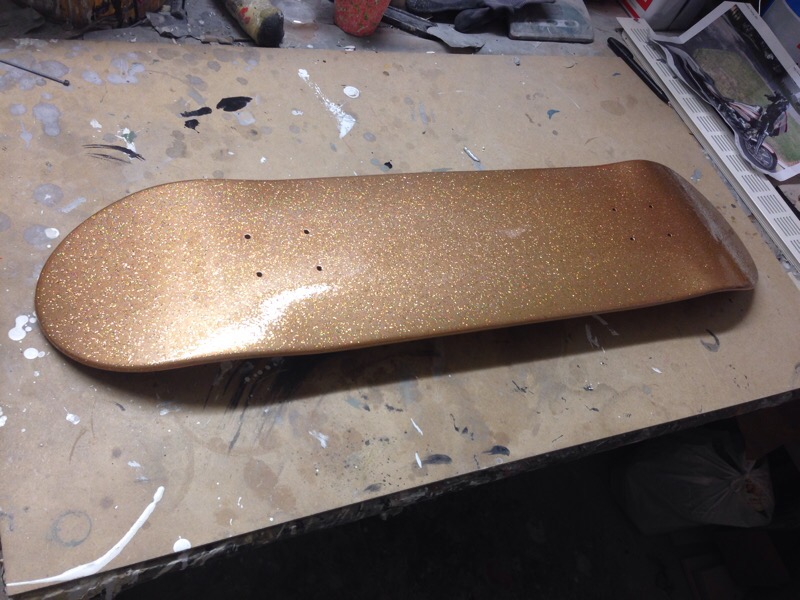
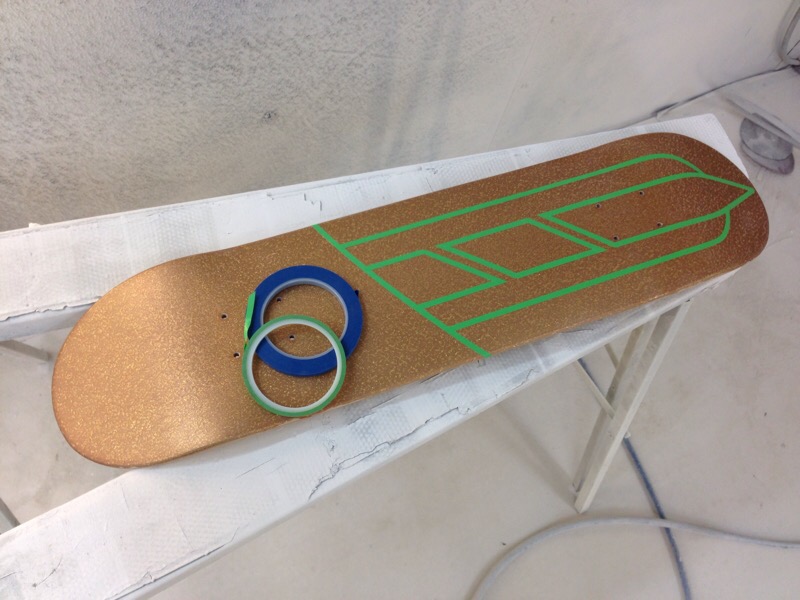
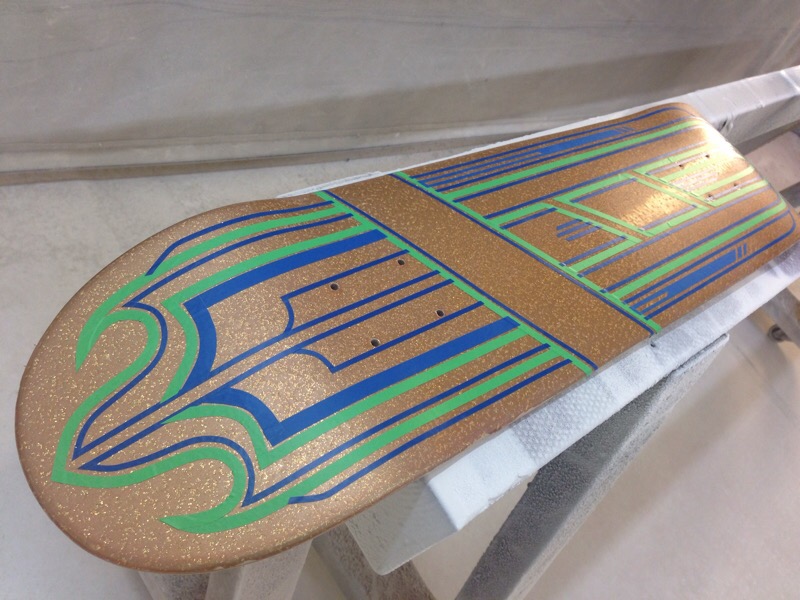
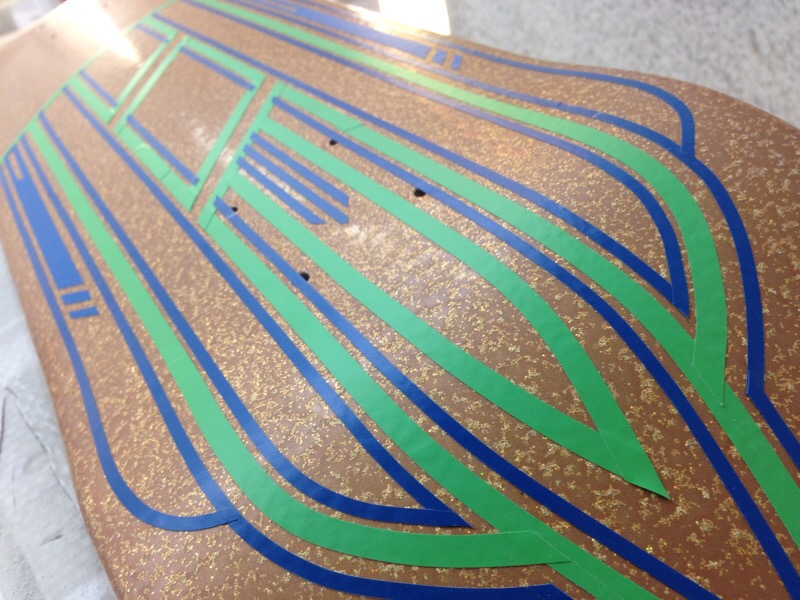
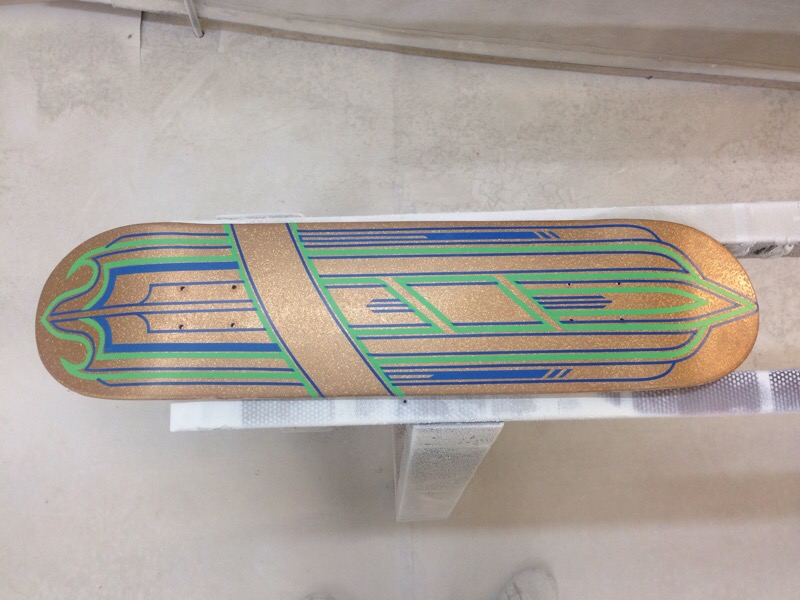
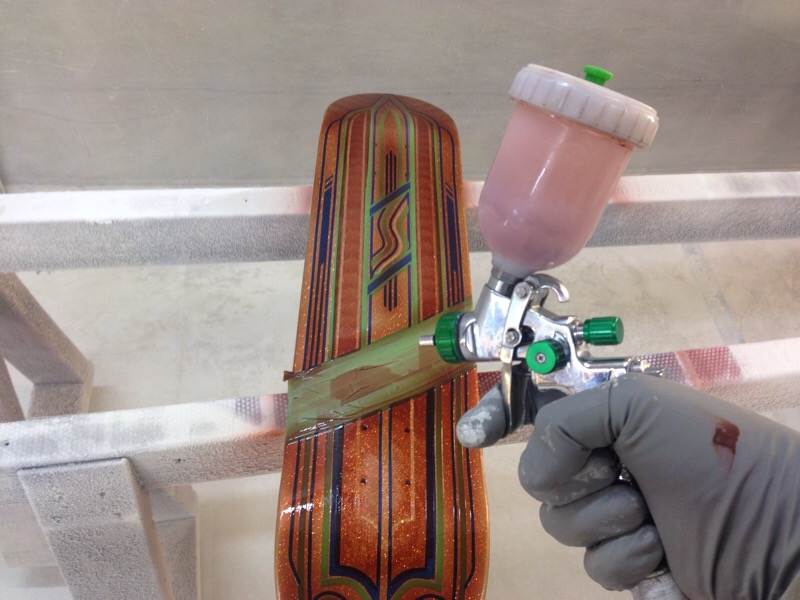
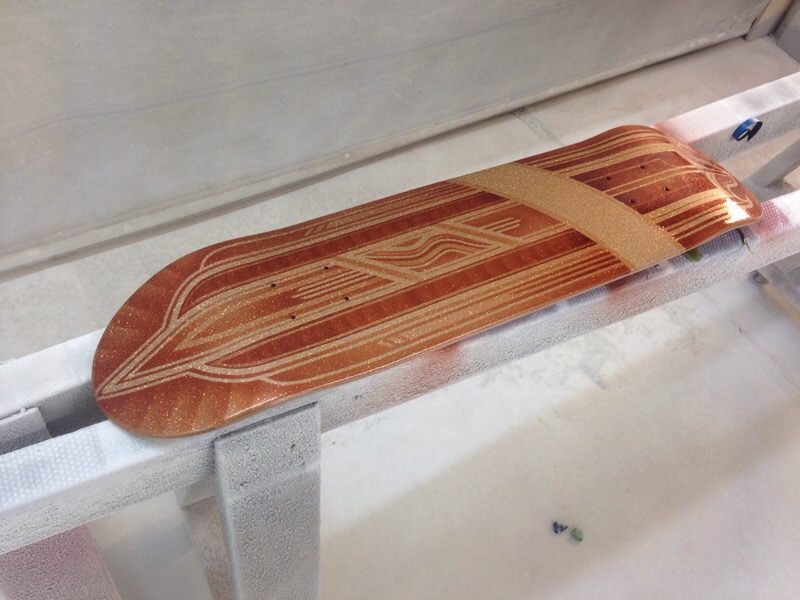
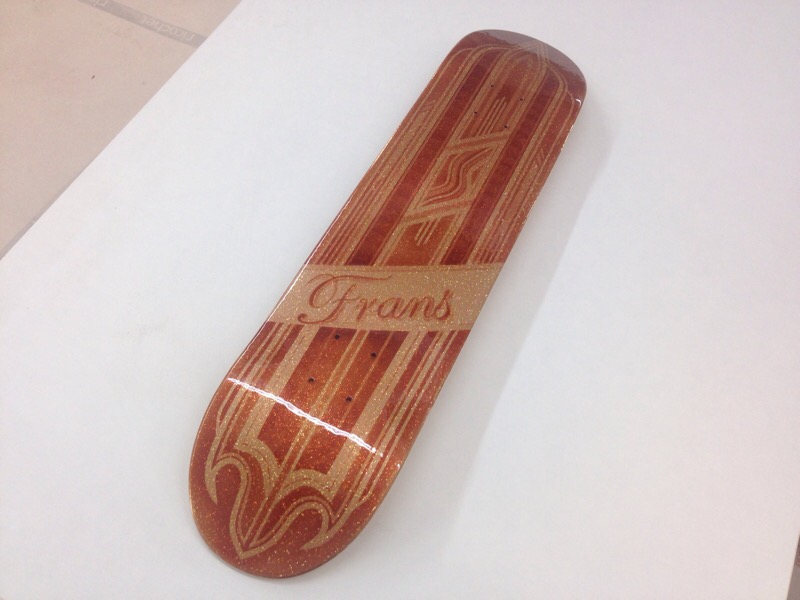
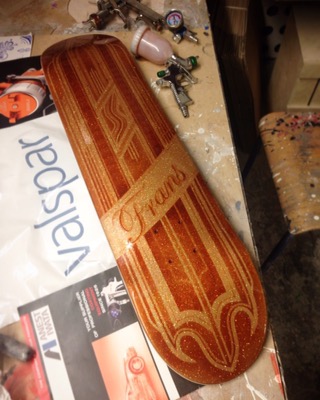
Short movieclip from when I painted the skate deck, check out all videos on the Maindrive Youtube channel and dont forget to subscribe: https://m.youtube.com/c/MainDrive
Painted a skateboard for my son Frans. Goldbase with hologramic metalflake in gold that shifts in all of the colorspectra and then I lined up a classic lowrider design that later was painted with candy paint in Root beer shade. Topping it all off with loads of clearcoat and sanding between each layer to get it super smoooth, like a mirror! Lots of hours in this board, I hope he dont make a boardslide with it 😉
Want something custom painted in flake? Just send me a message at: info@maindrive.org

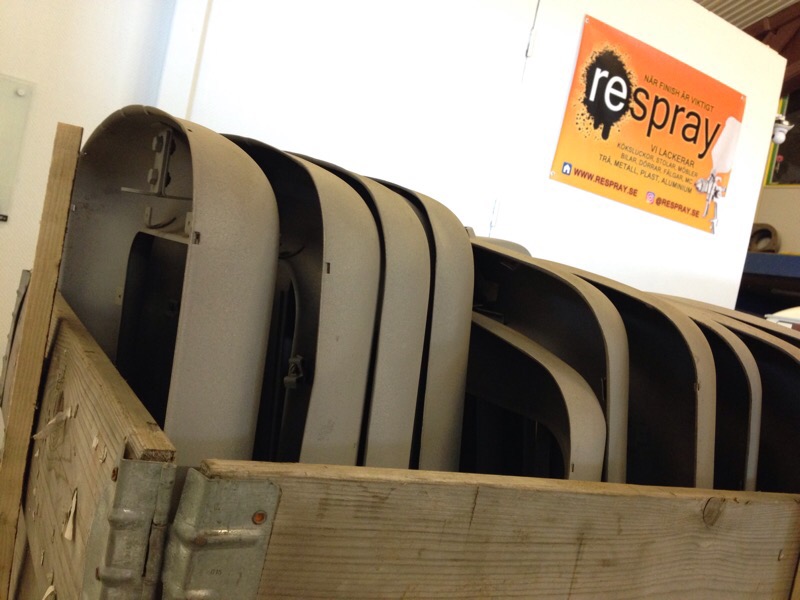
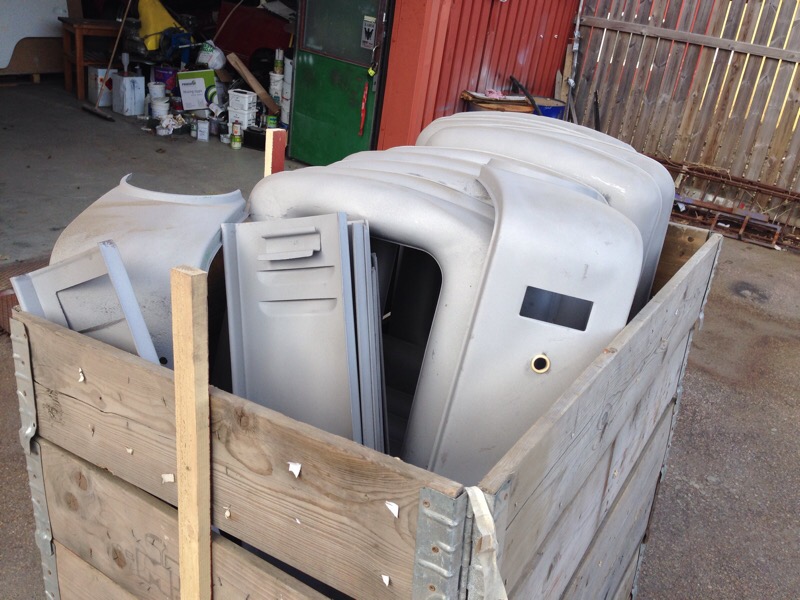
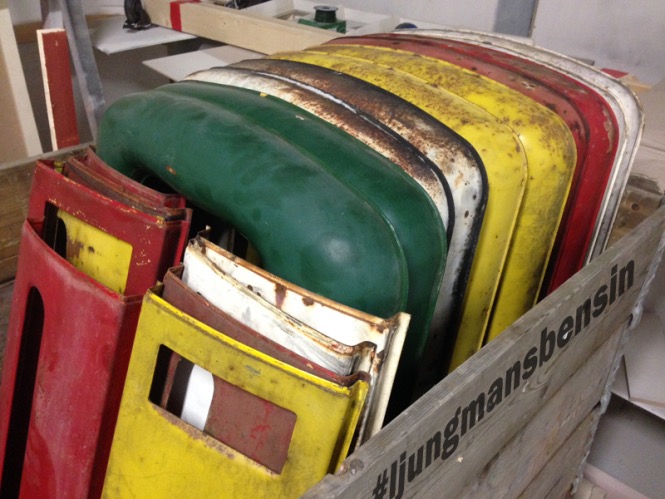
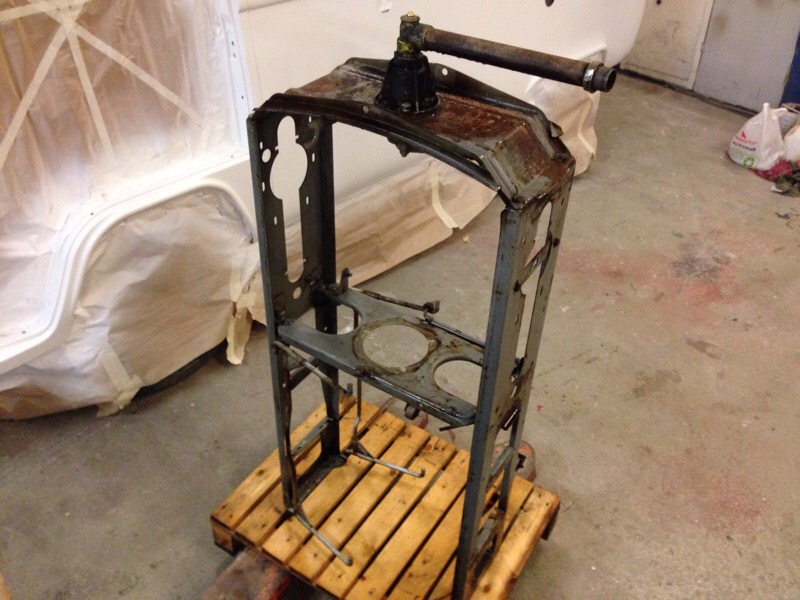
The gaspumps are back from mediablasting left are just bare and clean metal, 100% free from rust! Bodywork in progress, removing dents and welding in some new metal on bad places. Making them nice and straight again, like original. Then rust protection primer and after that ordinary surfacer/primer and then fix all small imperfections then we can start thinking of paint!
#ljungmansbensin

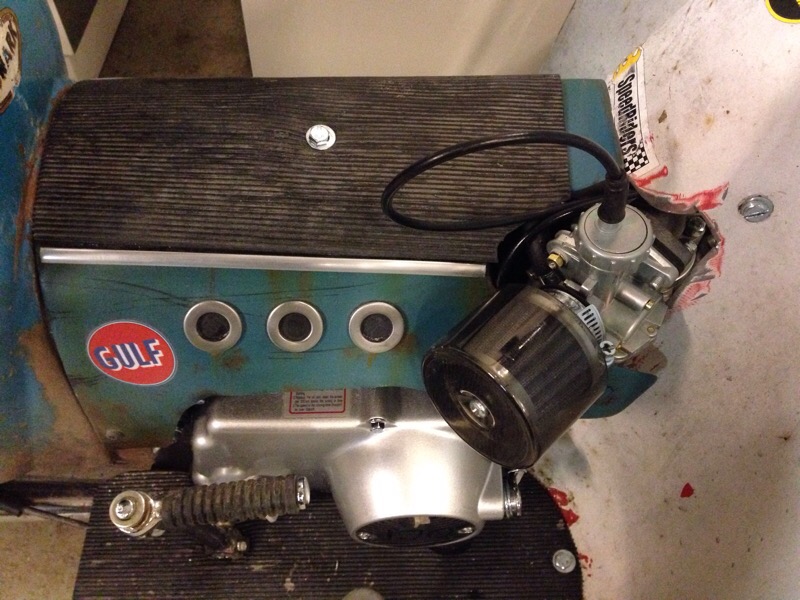
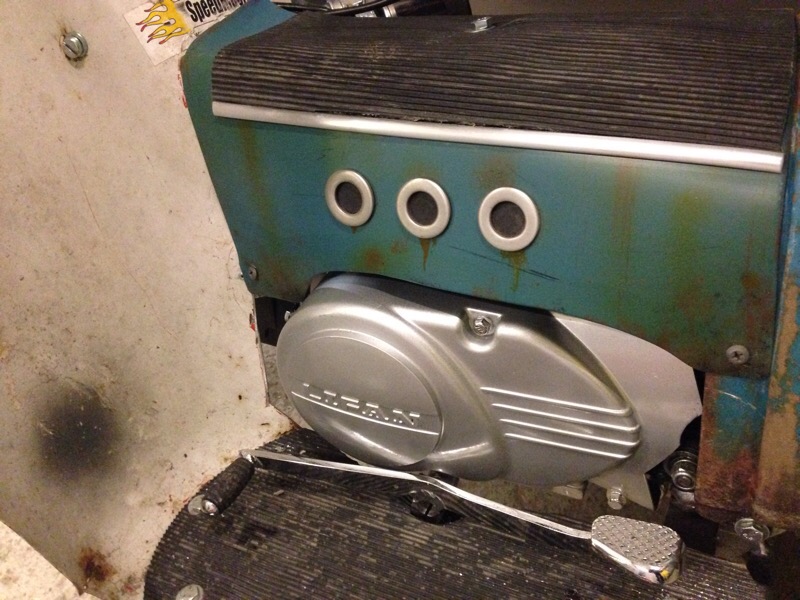
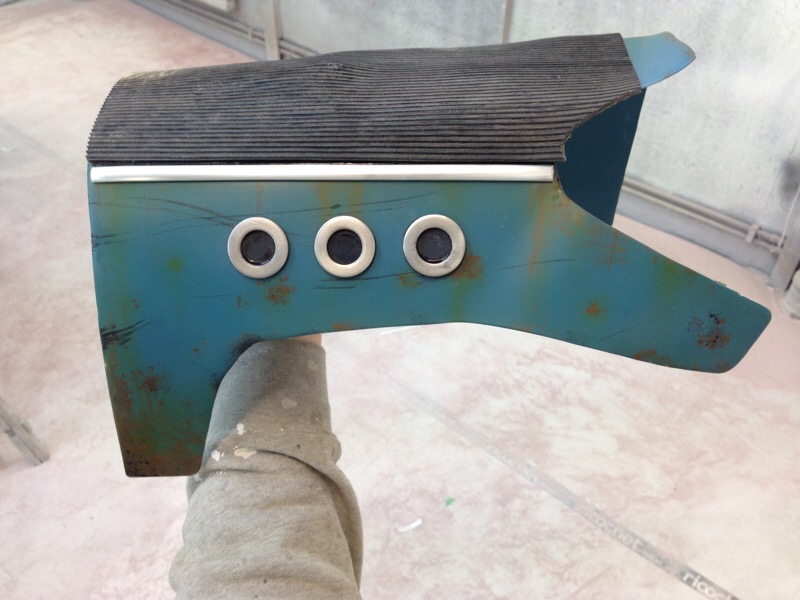
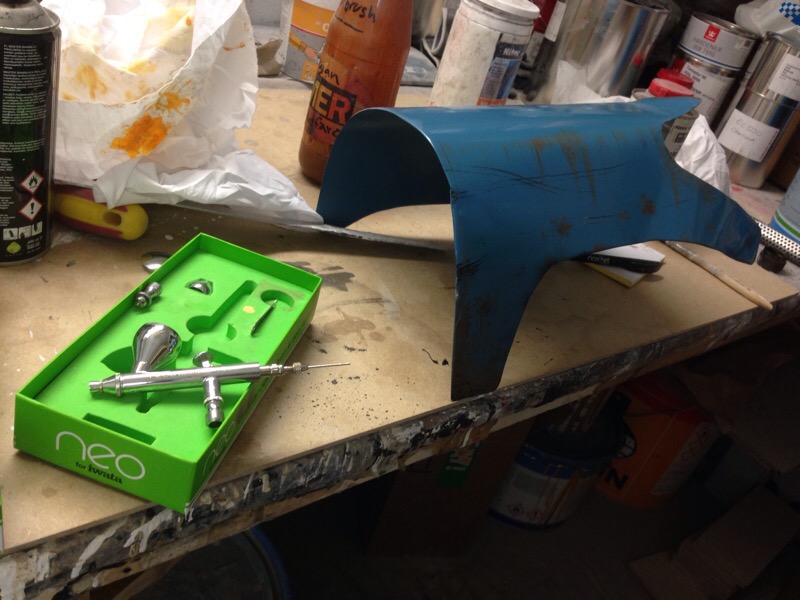
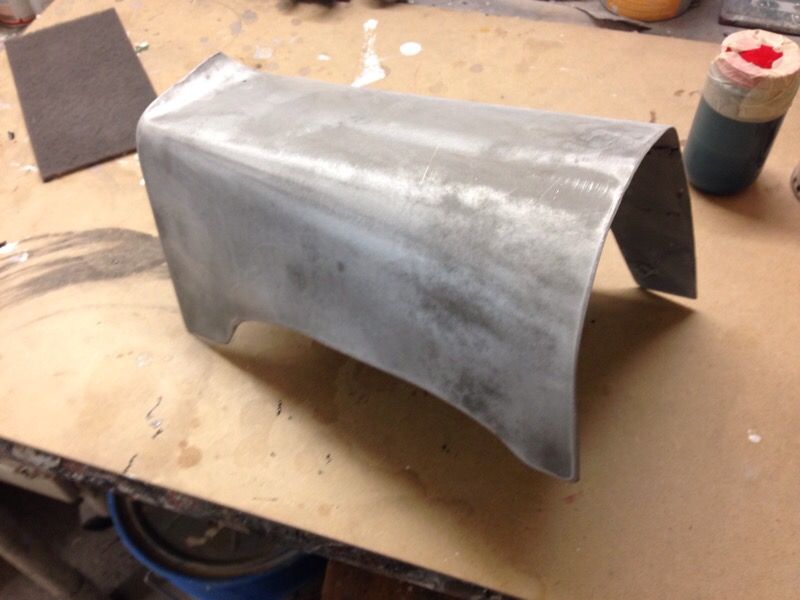
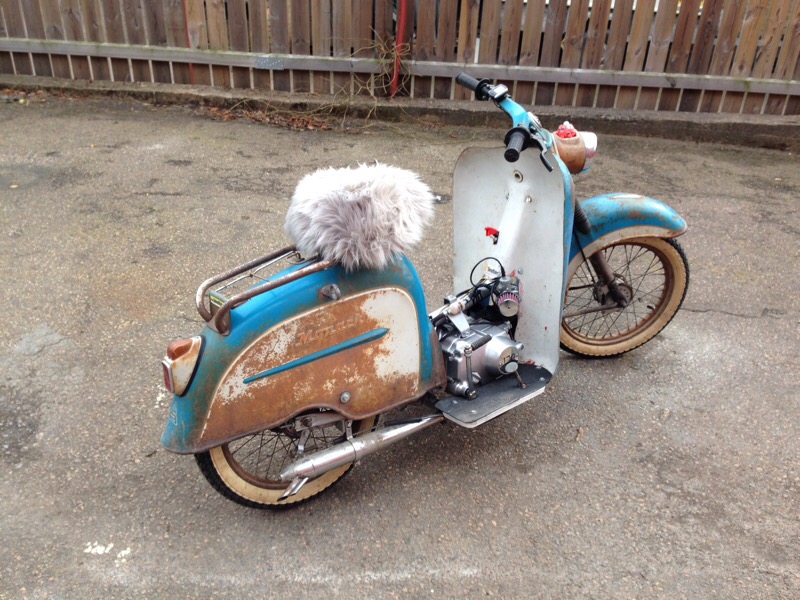
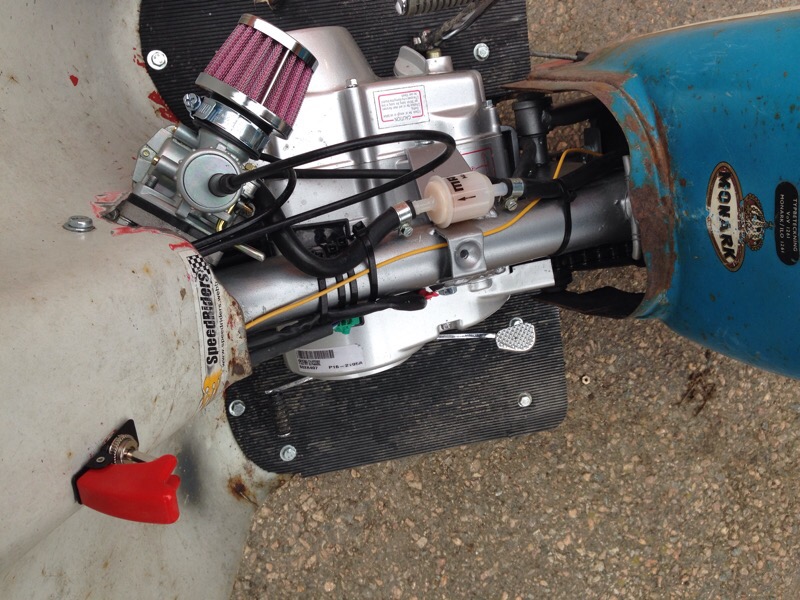
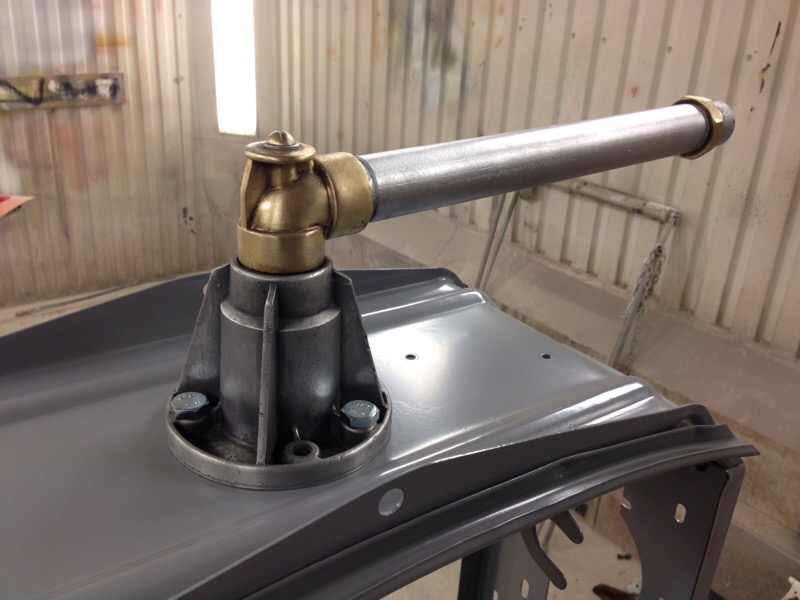
Its now all done, ready to ride! Made a engine cover from a piece of scrap metal, same as original but little modified for the bigger engine. Added some fake rust with airbrush and extra intakes, inspiration from 1950s Buick cars. Now the new part looks 50+ years old just like the rest…
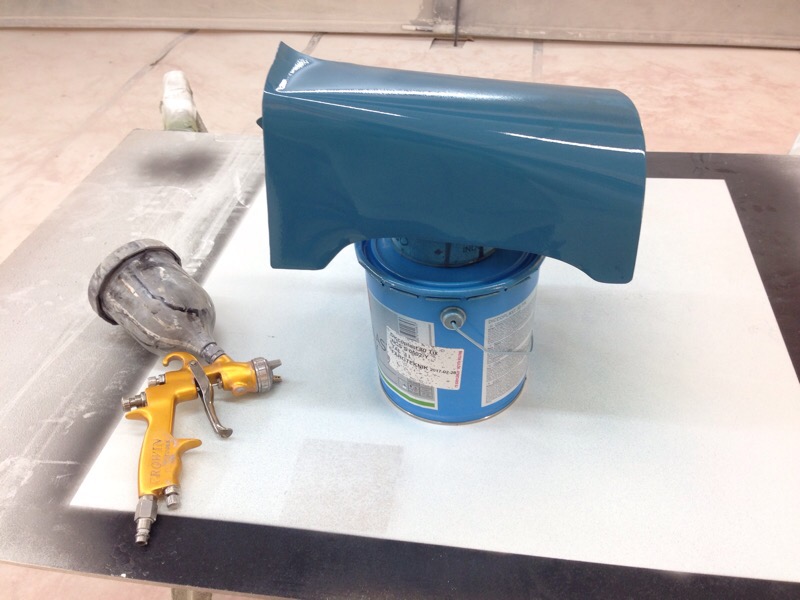
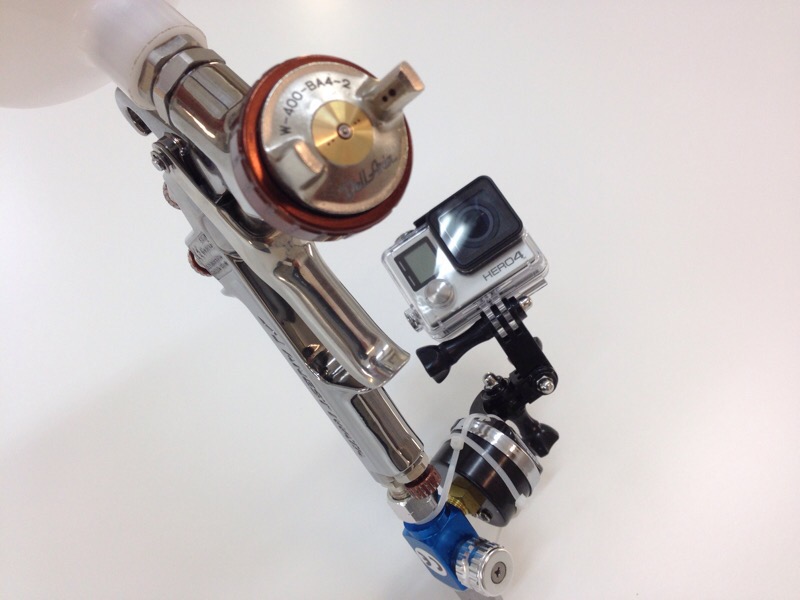
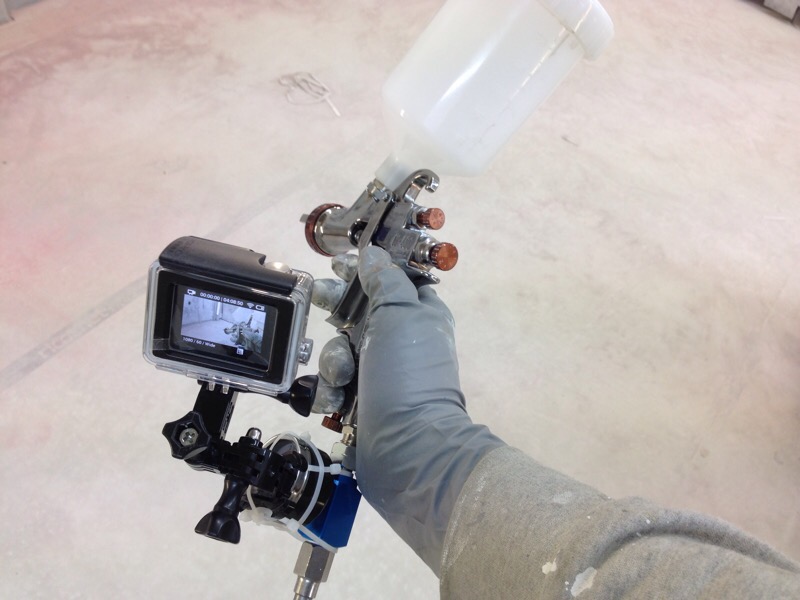
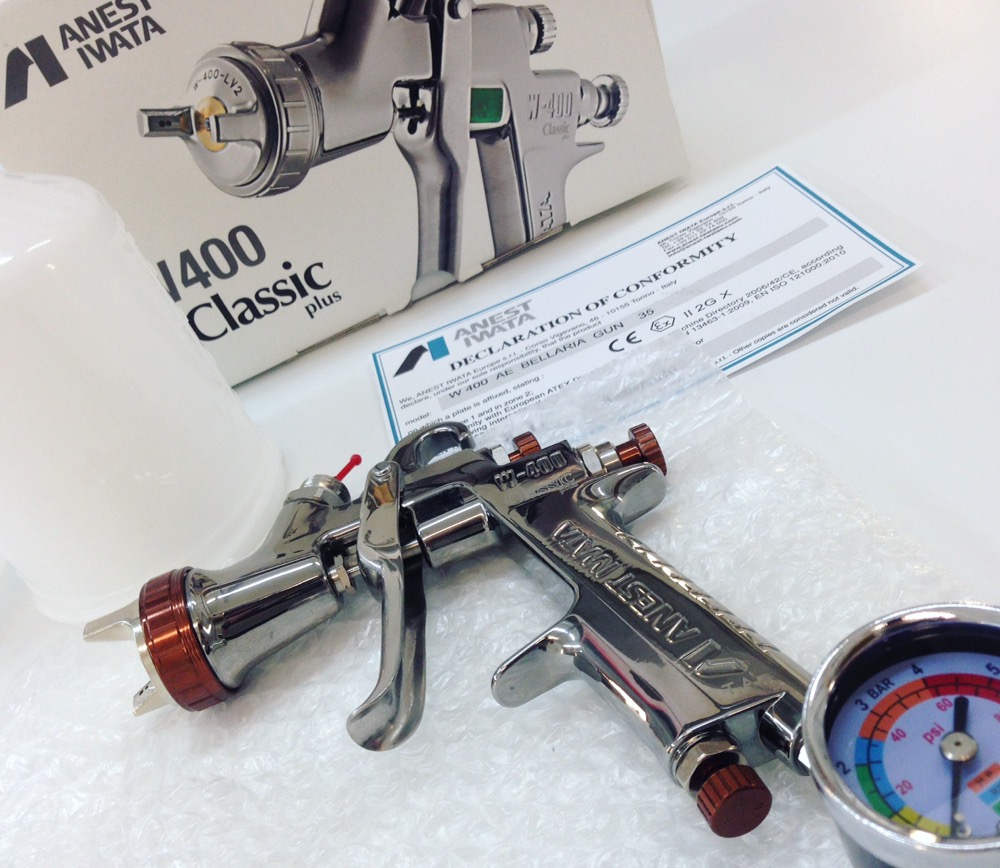
The new paintgun! Anest Iwata W400, Low Volume Low Pressure. Many professional carpainters favorite gun. Only the best, Iwata 4 ever!
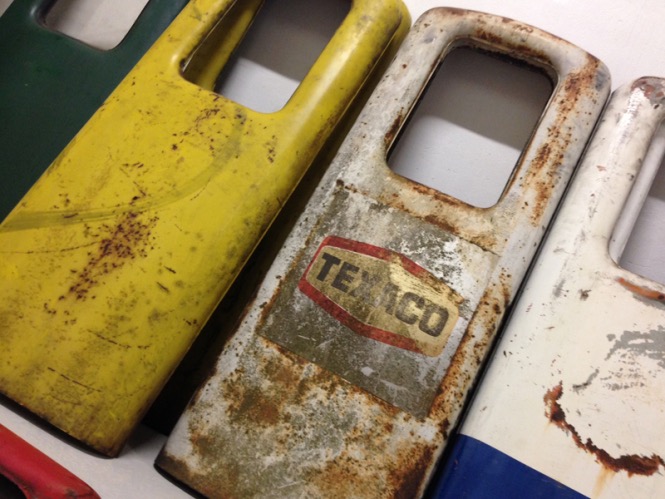
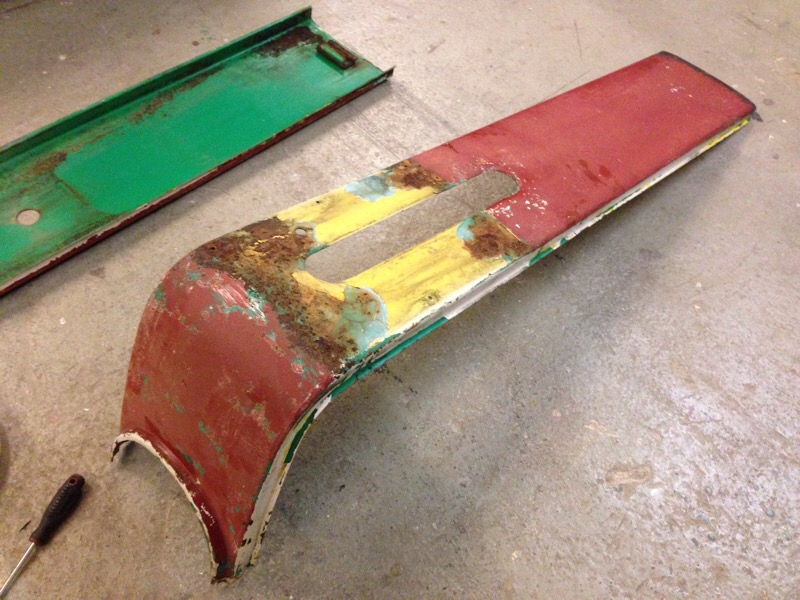
A bunch of 1950’s gaspump ready for restoration. Ljungmans Verkstäder, made in Sweden. They have all been sandblasted to baremetal now and bodywork started. Preping for primer and then paint. Will all be painted in diffrent gascompany.
Some new pics on the 1958 Ljungmans Star78 gaspump!
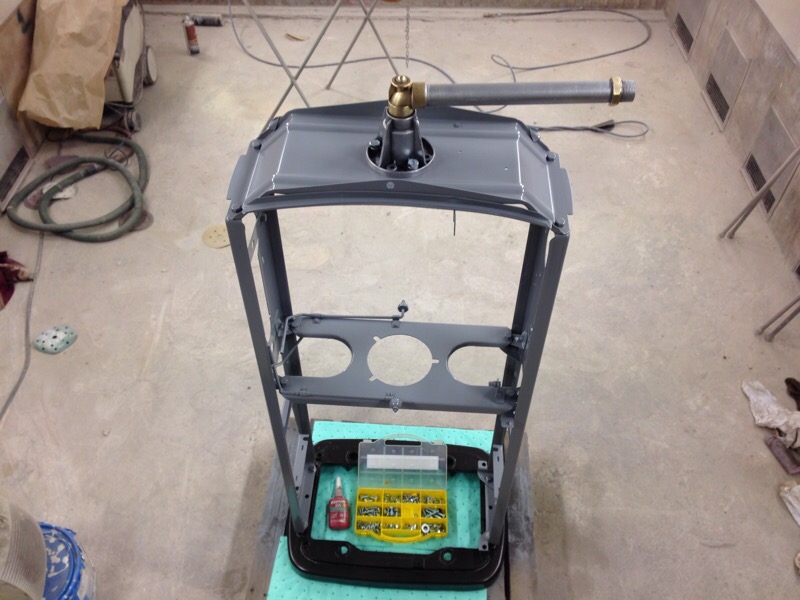
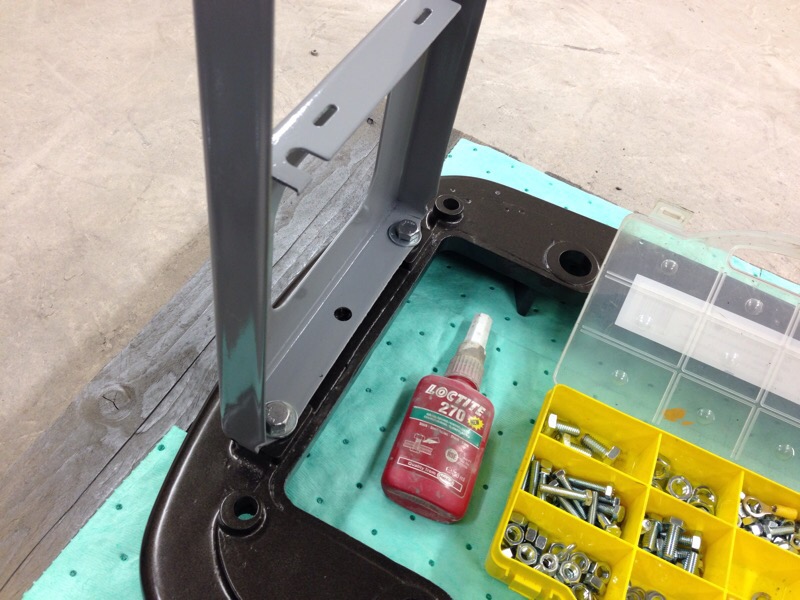
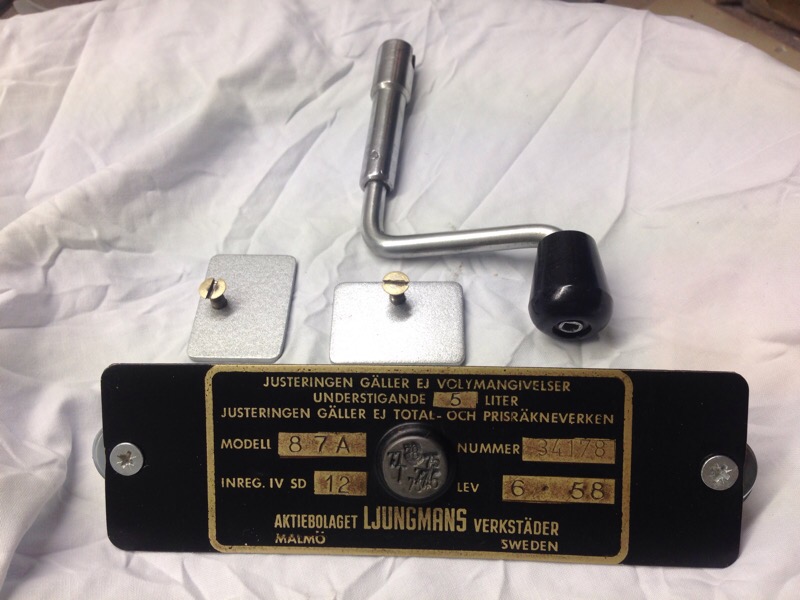
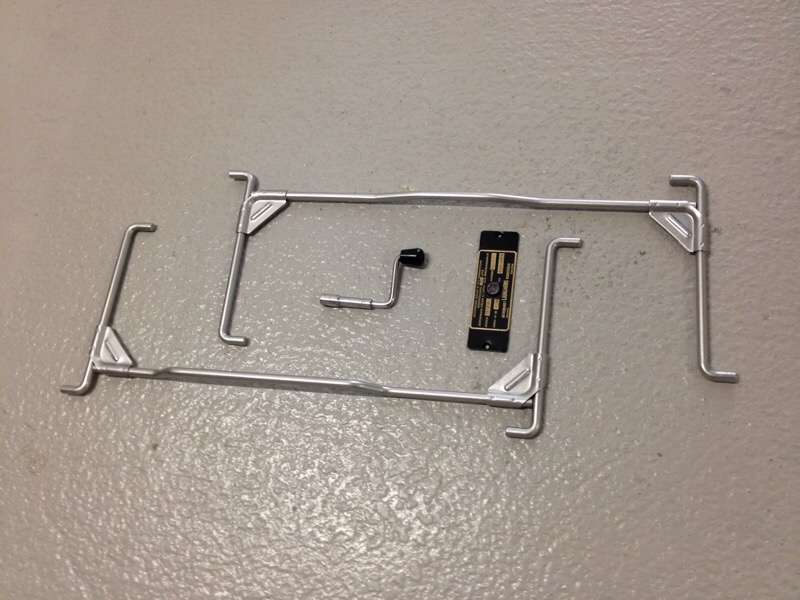
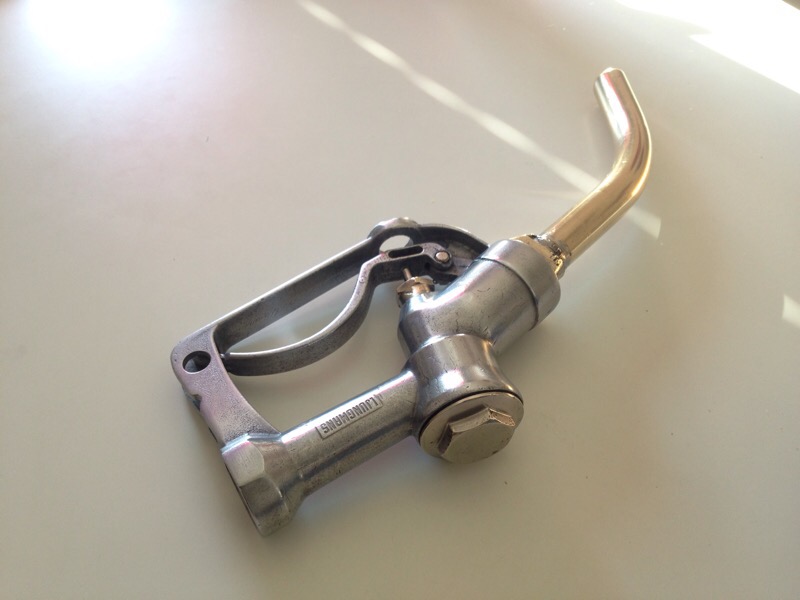
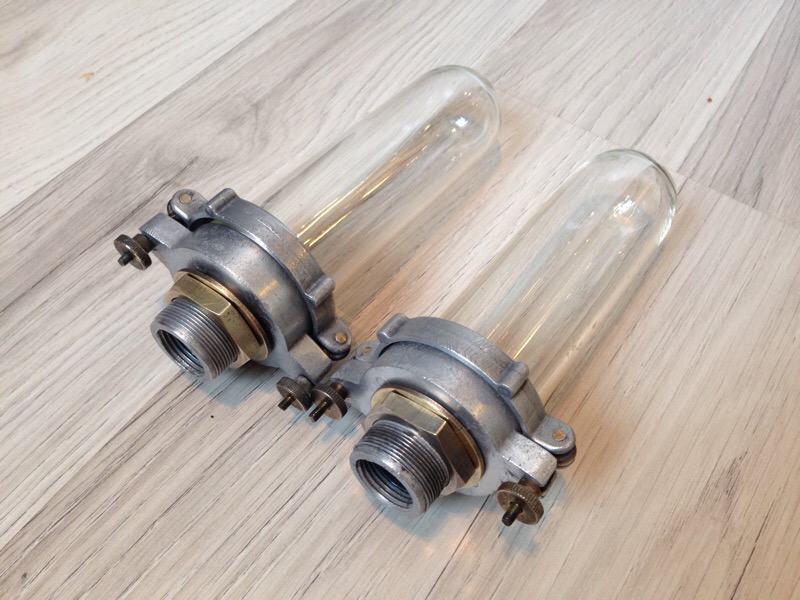

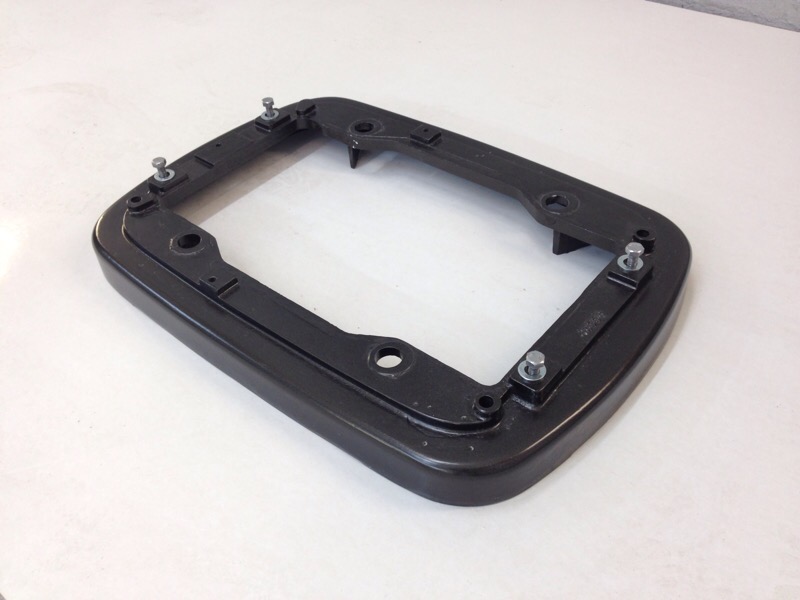
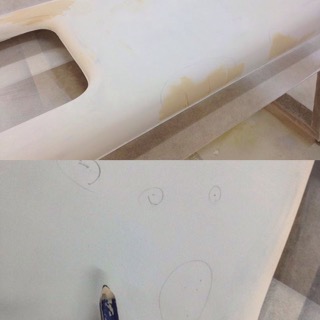
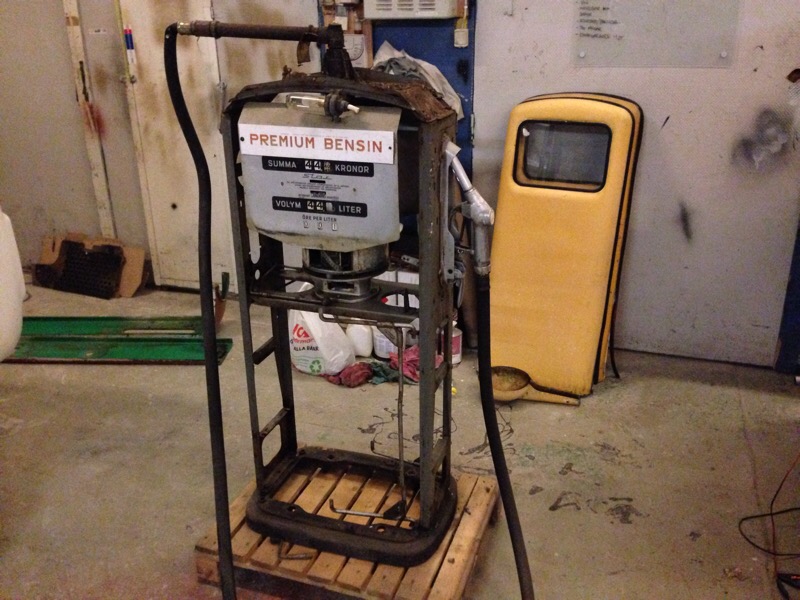
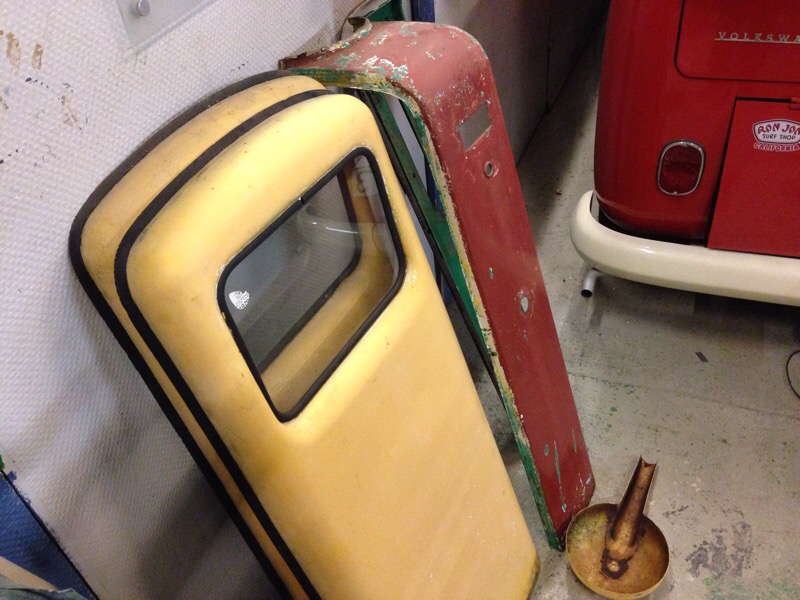
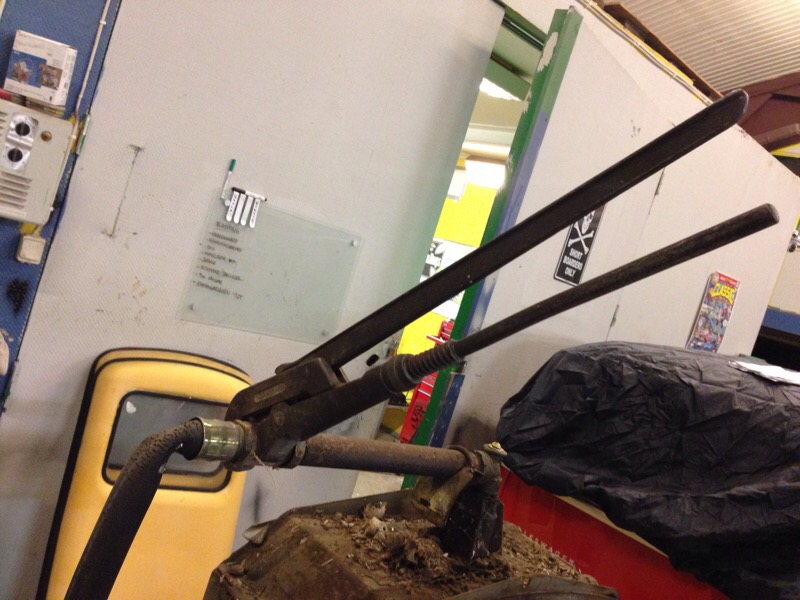
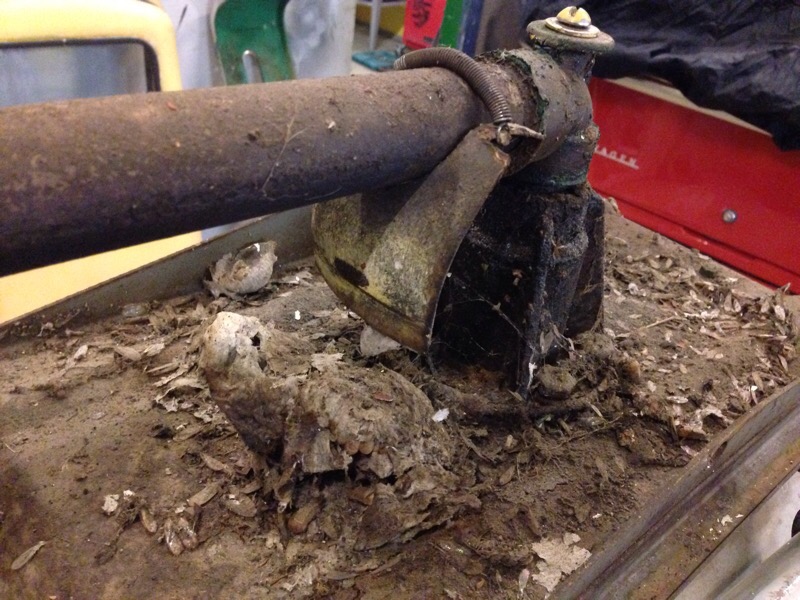
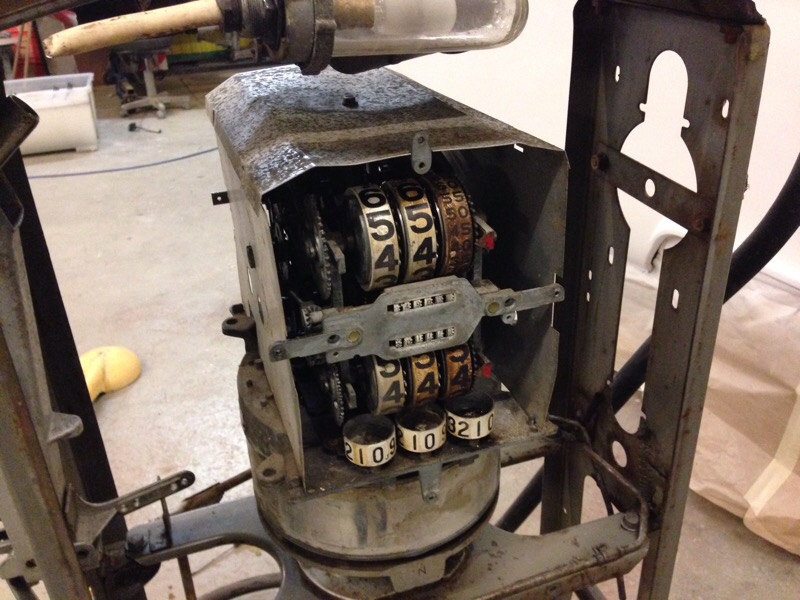
Got inspired to restore my vintage gaspump a 1958 Ljungmans Star 87. Electricmotor, pump, wires etc was removed by me earlier so just the rest of the stuff needed to be taken apart and cleaned and highpressure washed. Lots of old diesel everywhere. Going to be a BP (British Petroleum) again like it was new 1958.
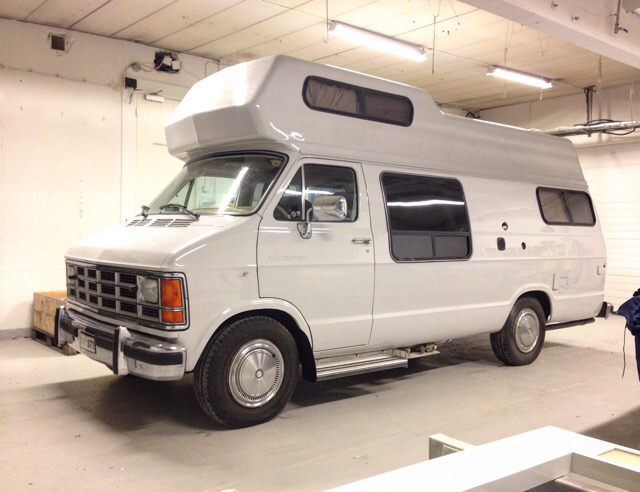
Dodge RAM campervan painted and ready.

View from my DJI Phantom drone 24.00 clock. Location: Charlottenberg, Sweden.