In the latest issue of Power Magazine you can read all about my 1963 Chevrolet Impala lowrider that I built finish recently. More build pics can be found here on the website under Rides & Projects in Menu.
www.powermagazine.se
Alot of work have been done! Four of them are ready for paint, it will be Shell, Gulf, Texaco and BP at first. They may not have been so rusty but instead alot of dings and small dents everywhere, every door and panel needed skimcoating in bodyfiller to get straight again. So much more work then they first looked to be. But now they start to look nice again, the first gaspump out was the Shell. 9 different colors mixed and scanned after original paintchips and old parts, cans etc to get the right shade of each color. More to come soon…
#star76renovering
Painted a skateboard for my son Frans. Goldbase with hologramic metalflake in gold that shifts in all of the colorspectra and then I lined up a classic lowrider design that later was painted with candy paint in Root beer shade. Topping it all off with loads of clearcoat and sanding between each layer to get it super smoooth, like a mirror! Lots of hours in this board, I hope he dont make a boardslide with it 😉
Want something custom painted in flake? Just send me a message at: info@maindrive.org
The gaspumps are back from mediablasting left are just bare and clean metal, 100% free from rust! Bodywork in progress, removing dents and welding in some new metal on bad places. Making them nice and straight again, like original. Then rust protection primer and after that ordinary surfacer/primer and then fix all small imperfections then we can start thinking of paint!
#ljungmansbensin
Sorry for late update! ALOT have been done to this project. Fueltank have been cleaned with citrusacid inside, looks like new now. Frame have been reinforced, all seams have been fully welded instead of factory spotwelds and rear swingarm have been boxed for the extra torque from the new engine. Rearend have been lowered in the suspension 40mm also for looks. Frame have got new engine mounts welded in place after alot of measurements and calculation, then frame was stripped and sandblasted then painted in 2k silver. A brand new engine have been installed, a manual 4 speed trans, 4-stroke 110cc Lifan (Honda copy). Carburetor have fullflow airfilter. Footplates and sheetmetal around the engine had to be trimmed to make it fit. Will be a fast rustbucket! To get the same power as the new engine have I would need 8 Ilo Piano engines. 🙂
Seat got new foam and a hairy touch. 🙂 Brakes is new, front and back, new bearings and grease. Also made some holes in the brakehubs/covers for better cooling the brakes at high speeds. New tires with whitewalls in place too. New chain and rear sprocket is 36 cog and front (engine) 14 cog (maybe change to 16 cog later on). Had to fabricate a own chain tensioner, plastic wheel with bearing, to get the right slack and to clear swingarm mount, similar like on a motocross dirtbike. Rear brake mechanism have been shorted and moved and welded 15mm lower than stock location, to clear the exhaustpipe. The old rear stock muffler is used again, but modified inside for better flow of course and extra outlet pipes. New wireharness is in for CDI box, coil, ignition, voltregulator, switch and front and rear lights etc. Managed to hide the most of the electrics on the inside of the front breastplate on the legcovers. Now also 12v instead of 6volts and electric ignition, no more adjusting points! Airplane safetyswitch to turn ON or OFF the engine. All new fueltap, fuellines and filters.
Handlebar now sports new handles and wires also a bicycle computer with speedometer. After 20km the engine oil should be changed and first after 1000km the engine will be fully “seated and runned in” since its brand new with 0 miles on it. So need to drive it nice and easy in the begining. Its now ready for start and test run. A new update will come soon!
#sleepermonarscoot
It is time to get this beast out on the road again! A 1961 Monark Monarscoot with a 2 speed Ilo Piano engine. It was found and digged up in the forest/woods 15 years ago and have since then been resting in my garage. Still sporting cool old SpeedRiders stickers from back in the day (1998-ish). Needs lots of love, as picture shows, basicly everything is shot and need to be replaced with new parts.
Plan is to make it a ratlooker with a updated drivetrain with more performance. 🙂 Stay tuned for more updates, this is going to be a quick build, needs to be done before the spring, so its ready for all the mopedrallys this summer. Will be a fun ride!
Got inspired to restore my vintage gaspump a 1958 Ljungmans Star 87. Electricmotor, pump, wires etc was removed by me earlier so just the rest of the stuff needed to be taken apart and cleaned and highpressure washed. Lots of old diesel everywhere. Going to be a BP (British Petroleum) again like it was new 1958.
Started to disassembly the VW Baywindow Highroof engine this weekend. A stock Type 4 1800cc AP case (no hydraulic lifters) and dual Solex carbs. Going to be rebuild from ground up and get some extra performance parts for even more torque! Plan is to resurface the heads, 96mm Porsche 914 cylinders, better carb setup and a better flowing exhaust system. Probably going to keep the stock camshaft ratio, because it gives maximum torque already around 2200 RPM, wich is perfect for a heavy bus and hills.
The engine was already unbolted when I got the bus and I did not know anything about it, more than it was a AP 1800cc VW type 4. I saw it was cleaned a little bit and the cylinders looked to have new paint on them. So somebody have started to restore it was my guess. But I saw that the lower cylinderhead cooling thins was missing, so I got a little suspicious about how good restored it really was going to be when important parts like that not was installed back. Hmm!
Here is some new pics…
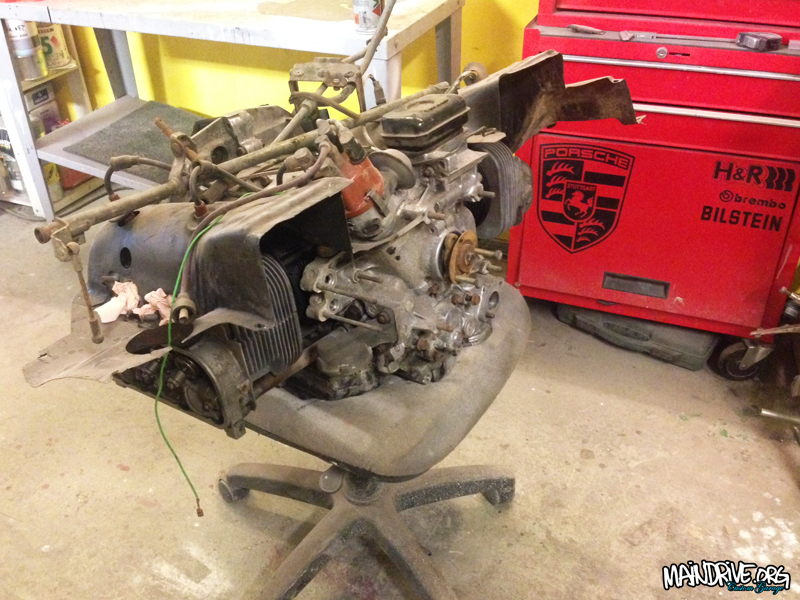
What I had to start with. Dirty old lump!
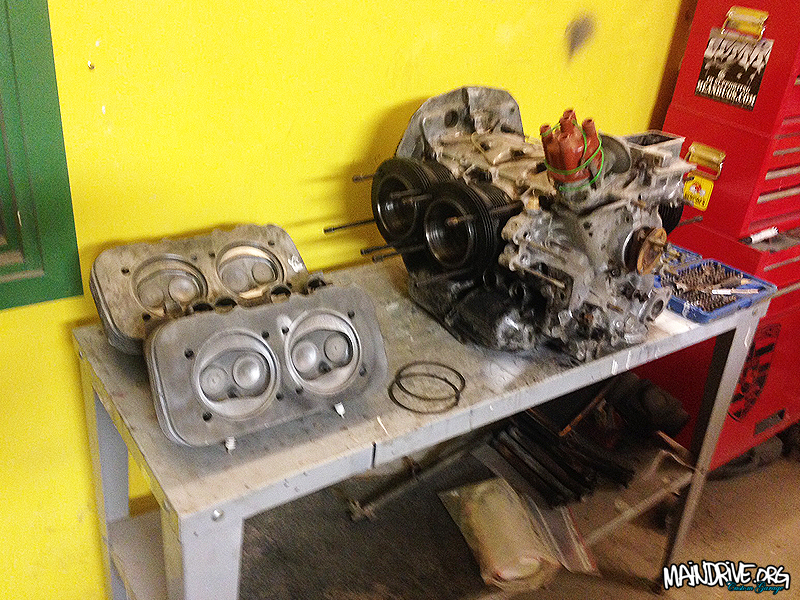
Teardown started, cylinderheads is off! Something have happend in cylinder nr 1 at some point. It had small marks and dings on the combustionchamber and on top of the piston. Nothing to serious tho. Maybe a washer or parts of a valveseat? One of the valves was new too. Funny thing is that the piston that had marks was now installed in cylinder nr 2. Not a good thing to mix them up on old used cylinders. But doesn’t matter now since I will replace them with all brand new 96mm cylinders and pistons.
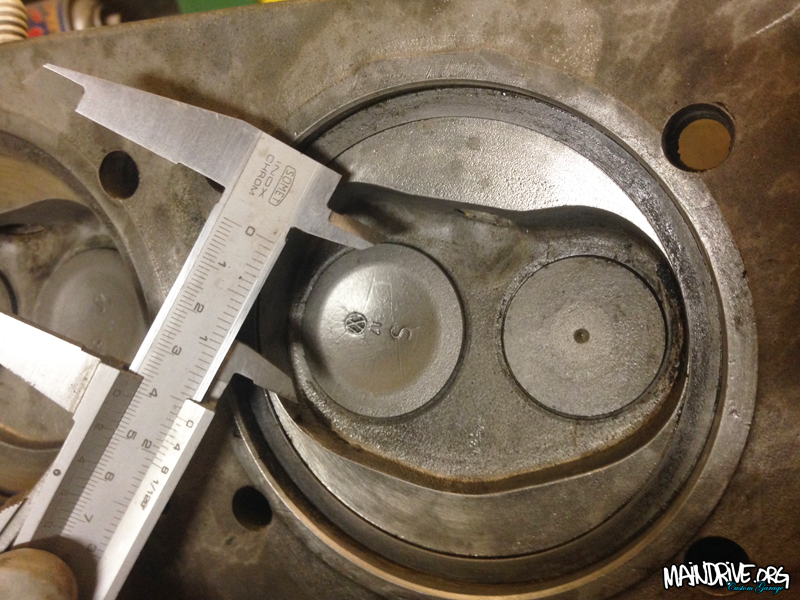
The good thing is that the cylinderheads are the ones with partnumber ending with an “S”. And have the biggest valves VW ever put in any bus! Intake 41mm and exhaust 34mm. Bingo! Only Porsche 914 had bigger, and they also had a different angle on the sparkplugs for better performance/combustion. Heads will get rid of the headgaskets, resurfaced 0,5-1mm, new valve guides, new machined valveseats in a better material (Type 4 engines are famous for dropped valveseats) and new valves and new springs etc.
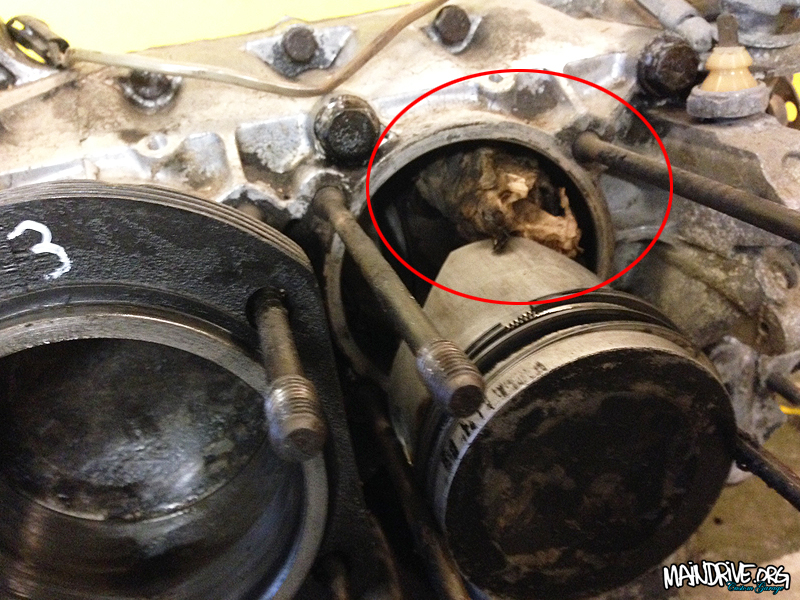
When I pulled of the nr 4 cylinder I found a rag inside the case(!) Somebody probably forgot it there. Ig the engine had been started up it would not run for a long time thats for sure! It was now confirmed that a total crackhead had restored my engine before.
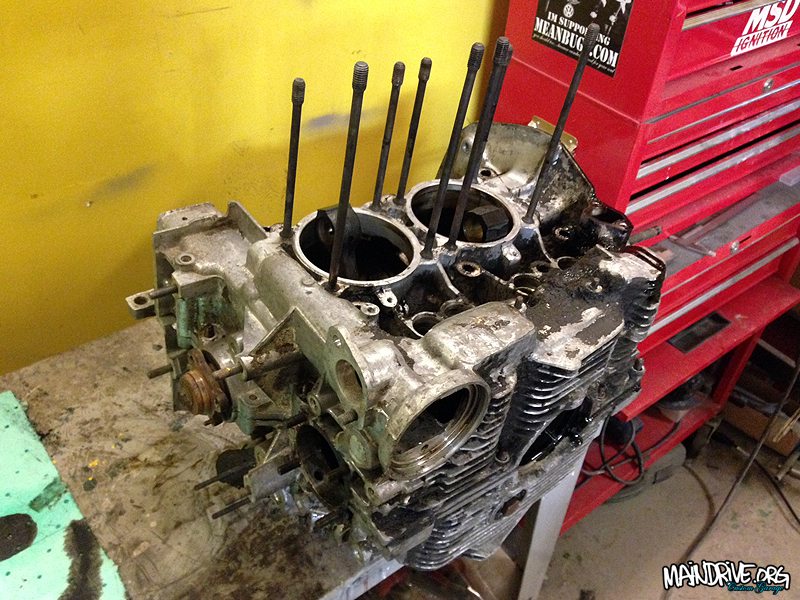
Everything removed and all bolts and washers etc. Ready to split!
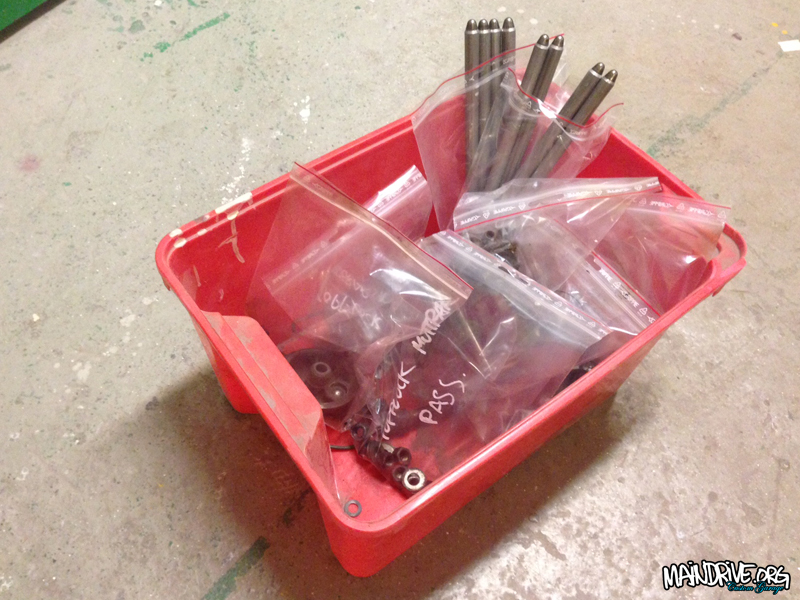
Every part labeled and bagged, keeping it organized and clean is a must when building a motor.
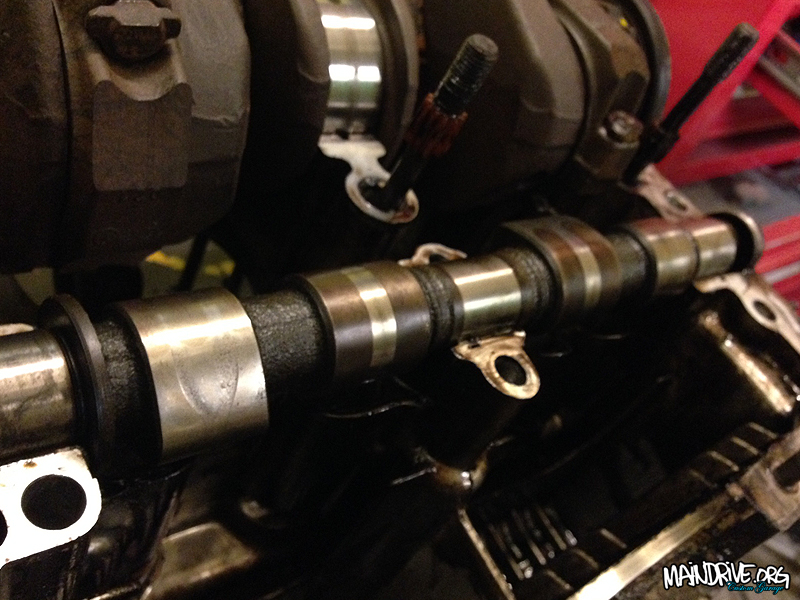
Camshaft totally shot! And nr 1 cambearing was worn down to the copper. Camshafts are almost never in good shape on the Type 4 engines, even worse on the later ones with hydrauliclifters. Highpressure and not the best design on the cam/followers are the main reason for this.
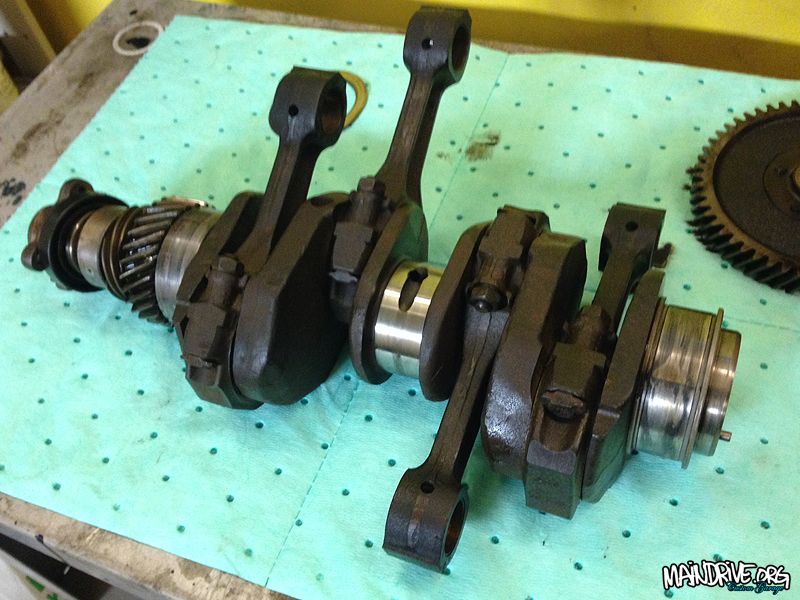
Crankshaft is out and looked to be in nice shape, bearings not to bad either. But will get replaced of course!
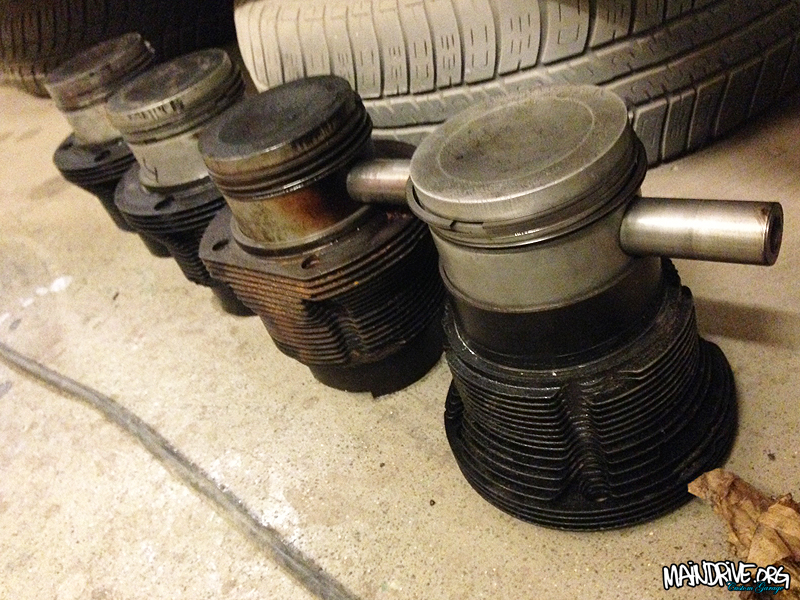
The old 93mm (1800cc) cylinder and pistons, will get replaced with new 96mm and will make it to a 1911cc.
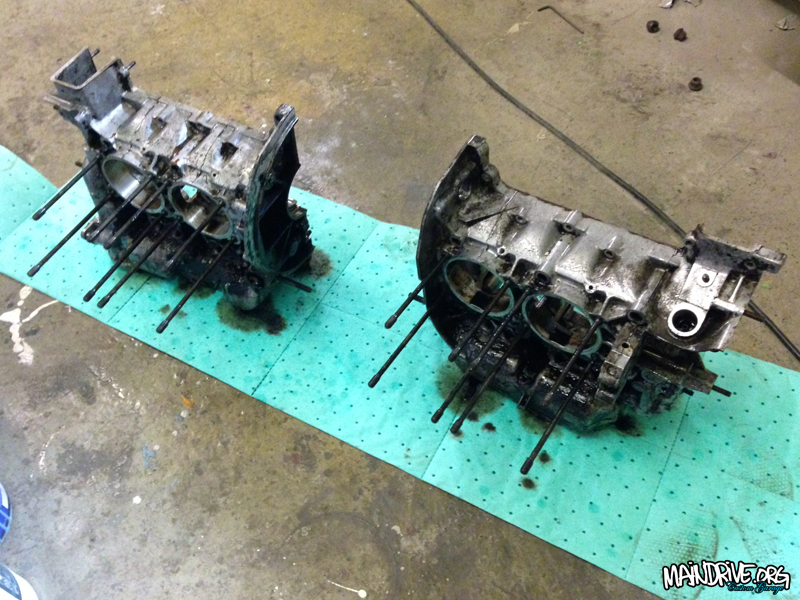
Empty engine halves ready to be 100% clean
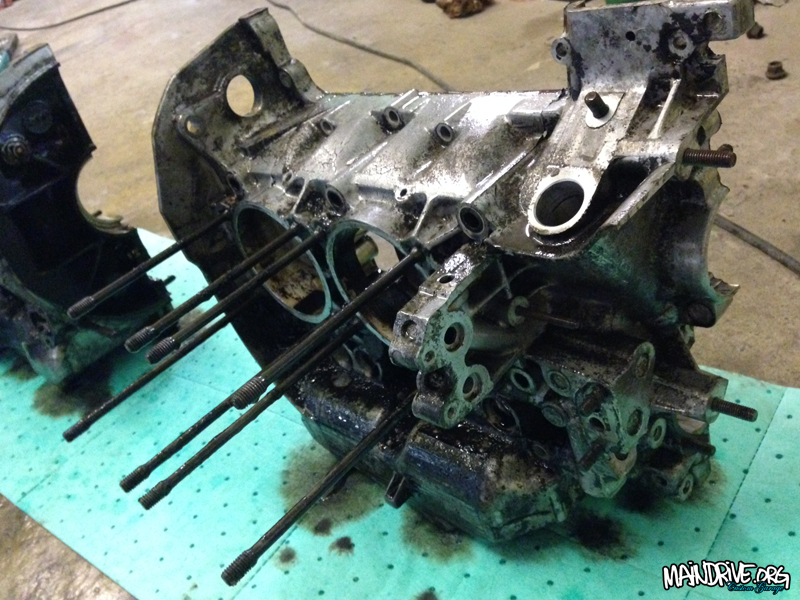
Inspection done, cleaning next on the list. Degreaser and hot highpressure washing etc.
Go and follow @campersontour at Instagram!
Have not got very much done lately. As my first son (1 year old) takes most of the time now. So that more important at the moment. But Im trying to push forward on the bus too, couple of hours after work and on weekends etc. Soon have all doors and lids in primer and then it all just needs a easy sanding and then its time for a paintjob! Have also sandblasted the fueltank cover and bellypan and got them painted and ready too. Hope to start rebuild of the 1800cc Type 4 engine in begining of February also!
More to come, but thats it for now, here is some pics…
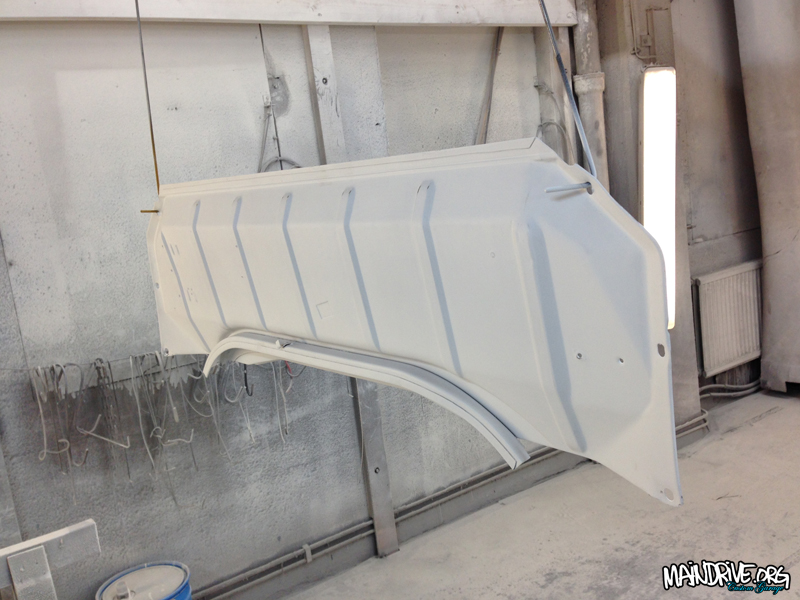
Blasted and epoxyprimer, ready for topcoat in VW factory greyish
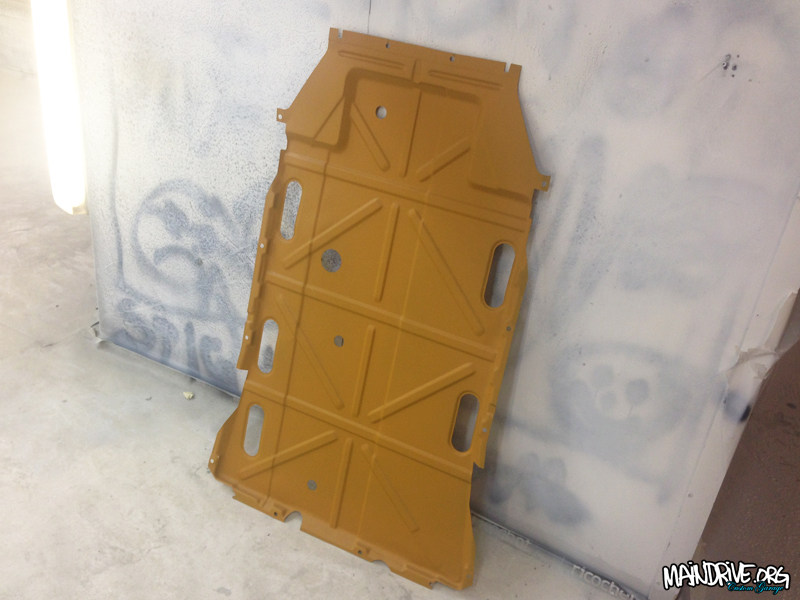
Baremetal then yellow epoxy/zinc primer
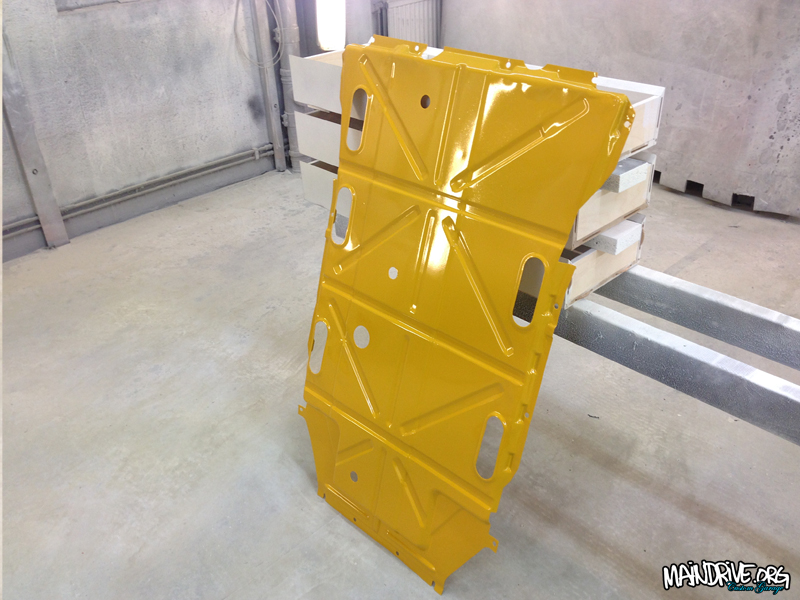
Topcoat in VW L20a Marino Yellow with 2K polypaint with elastic characteristics. So the stones wont chip the paint. The gloss on the elastic is a little less, but this panel is under the car and you normaly never see it anyway.
When winter comes knocking on the door, its nice to watch videos from the bus summer! Take me back…