The best from two worlds, Porsche 911 and VW Karmann Ghia.
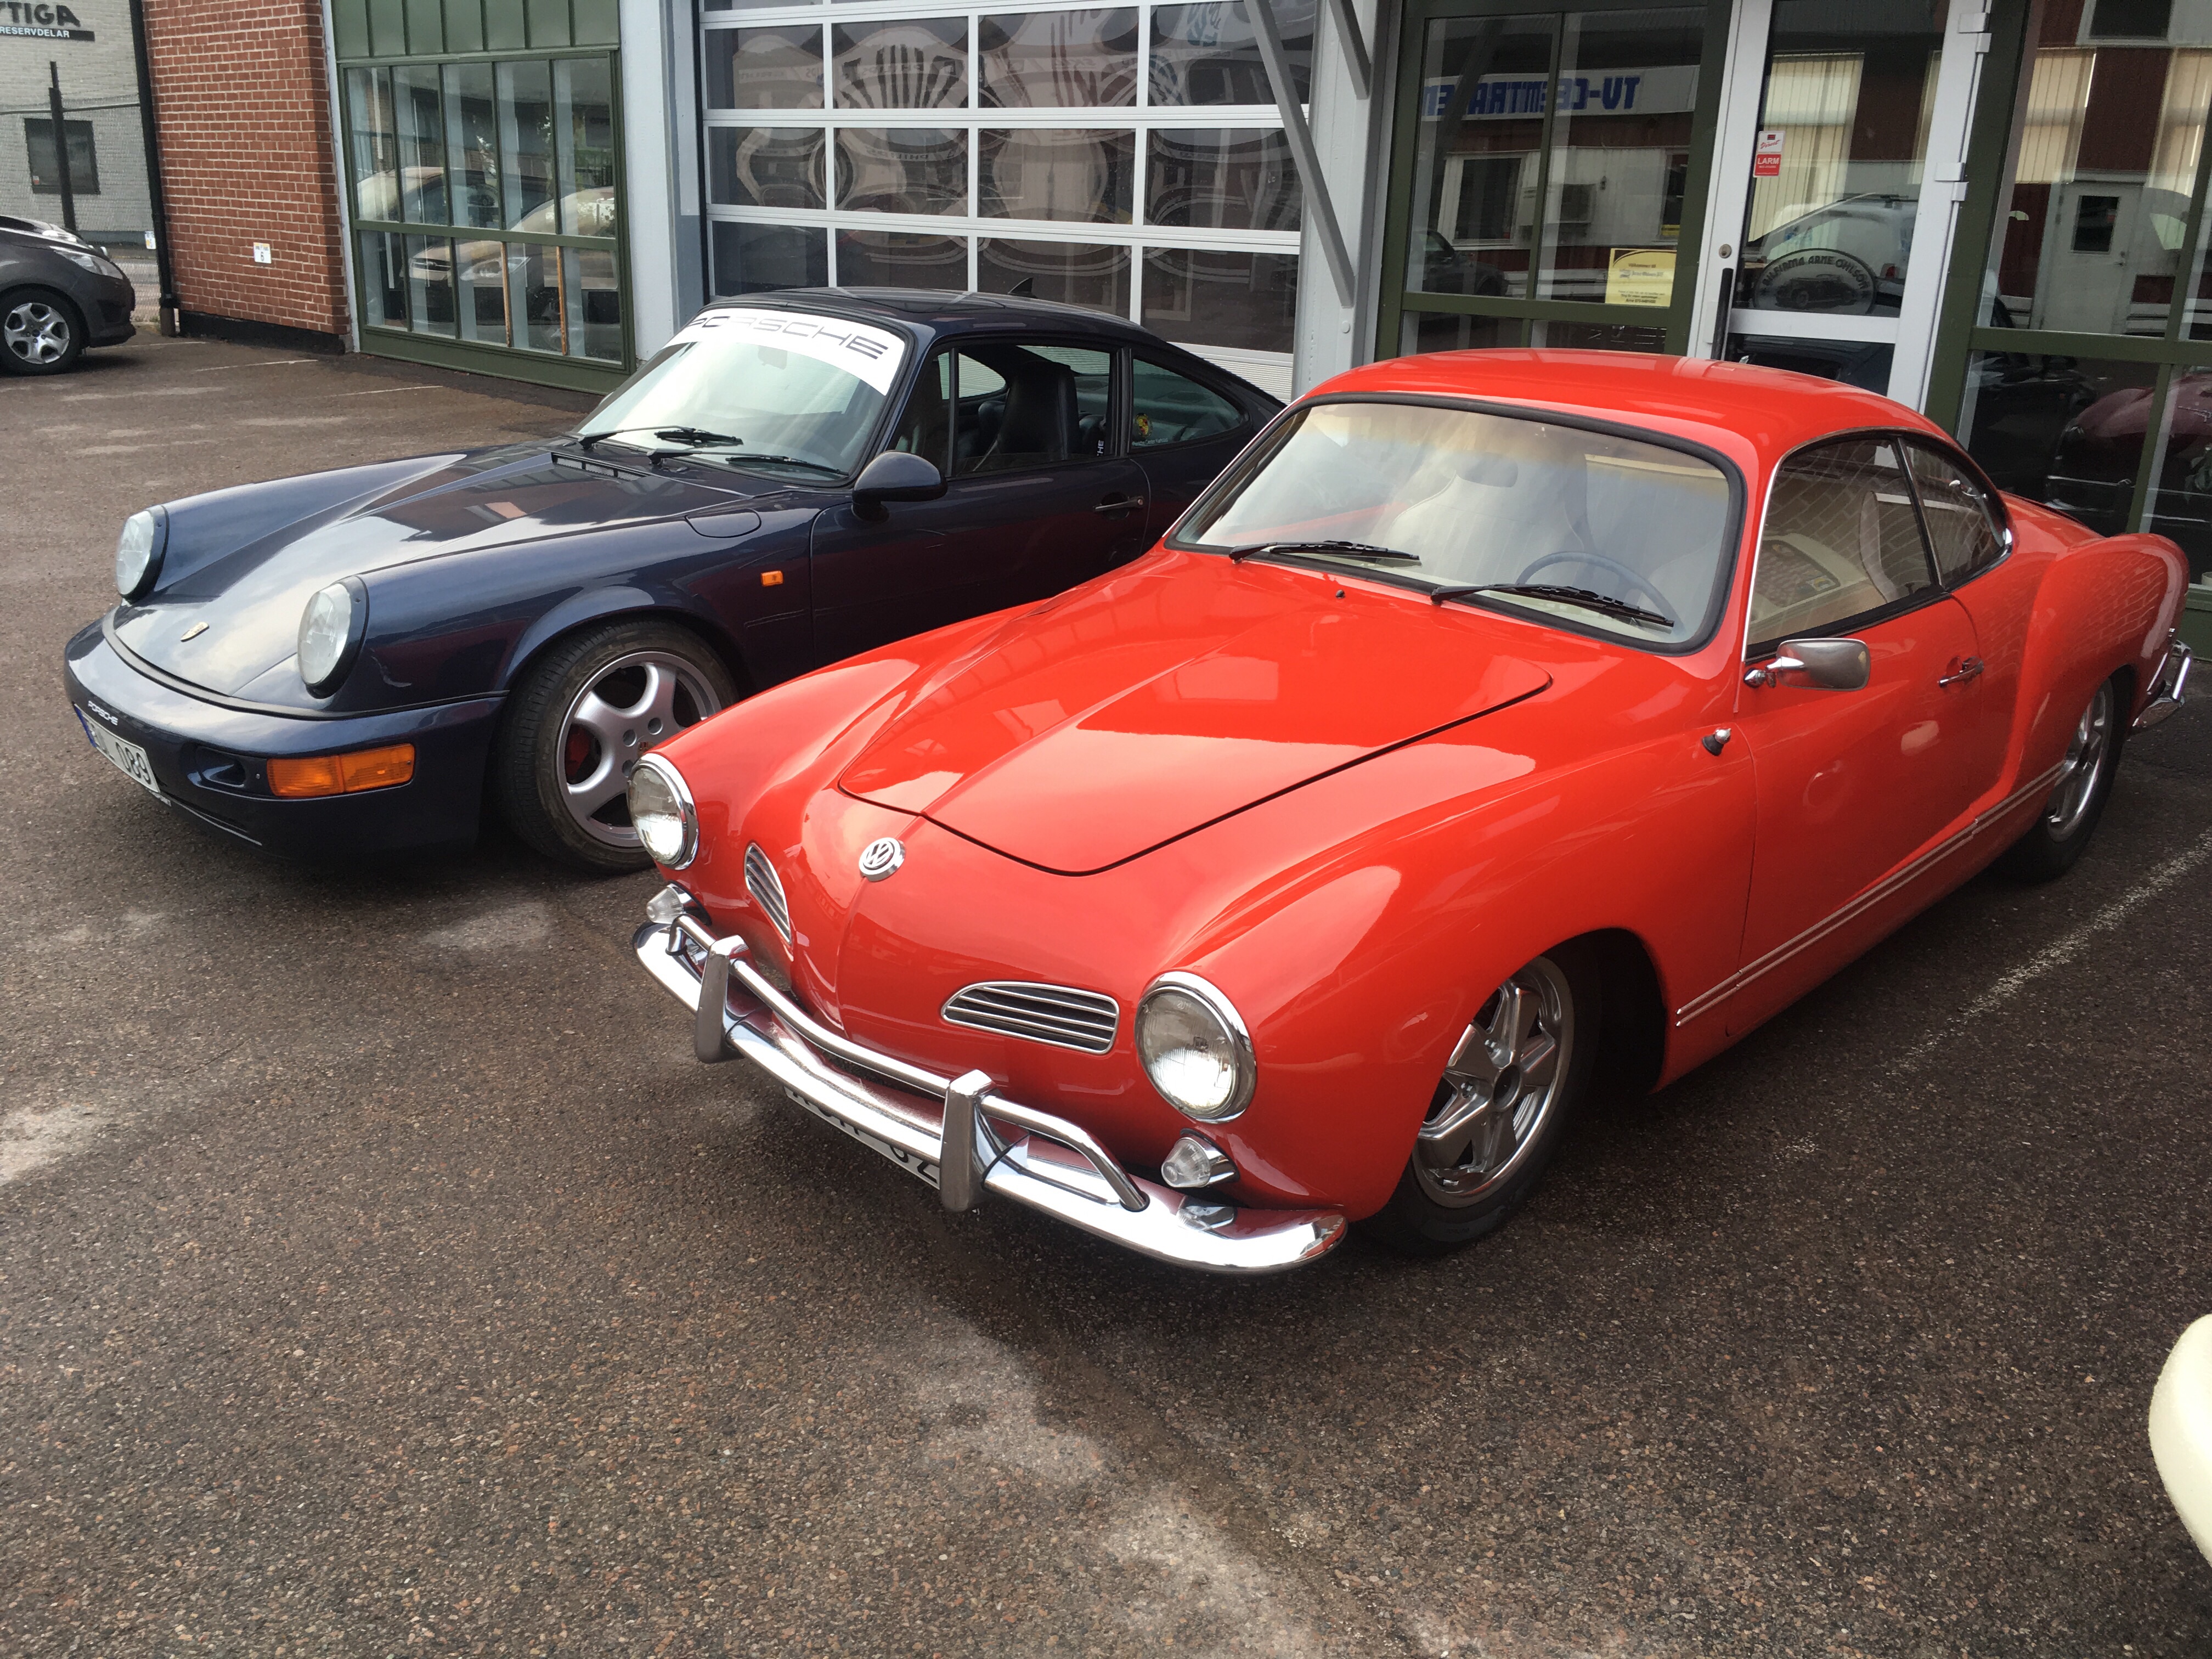

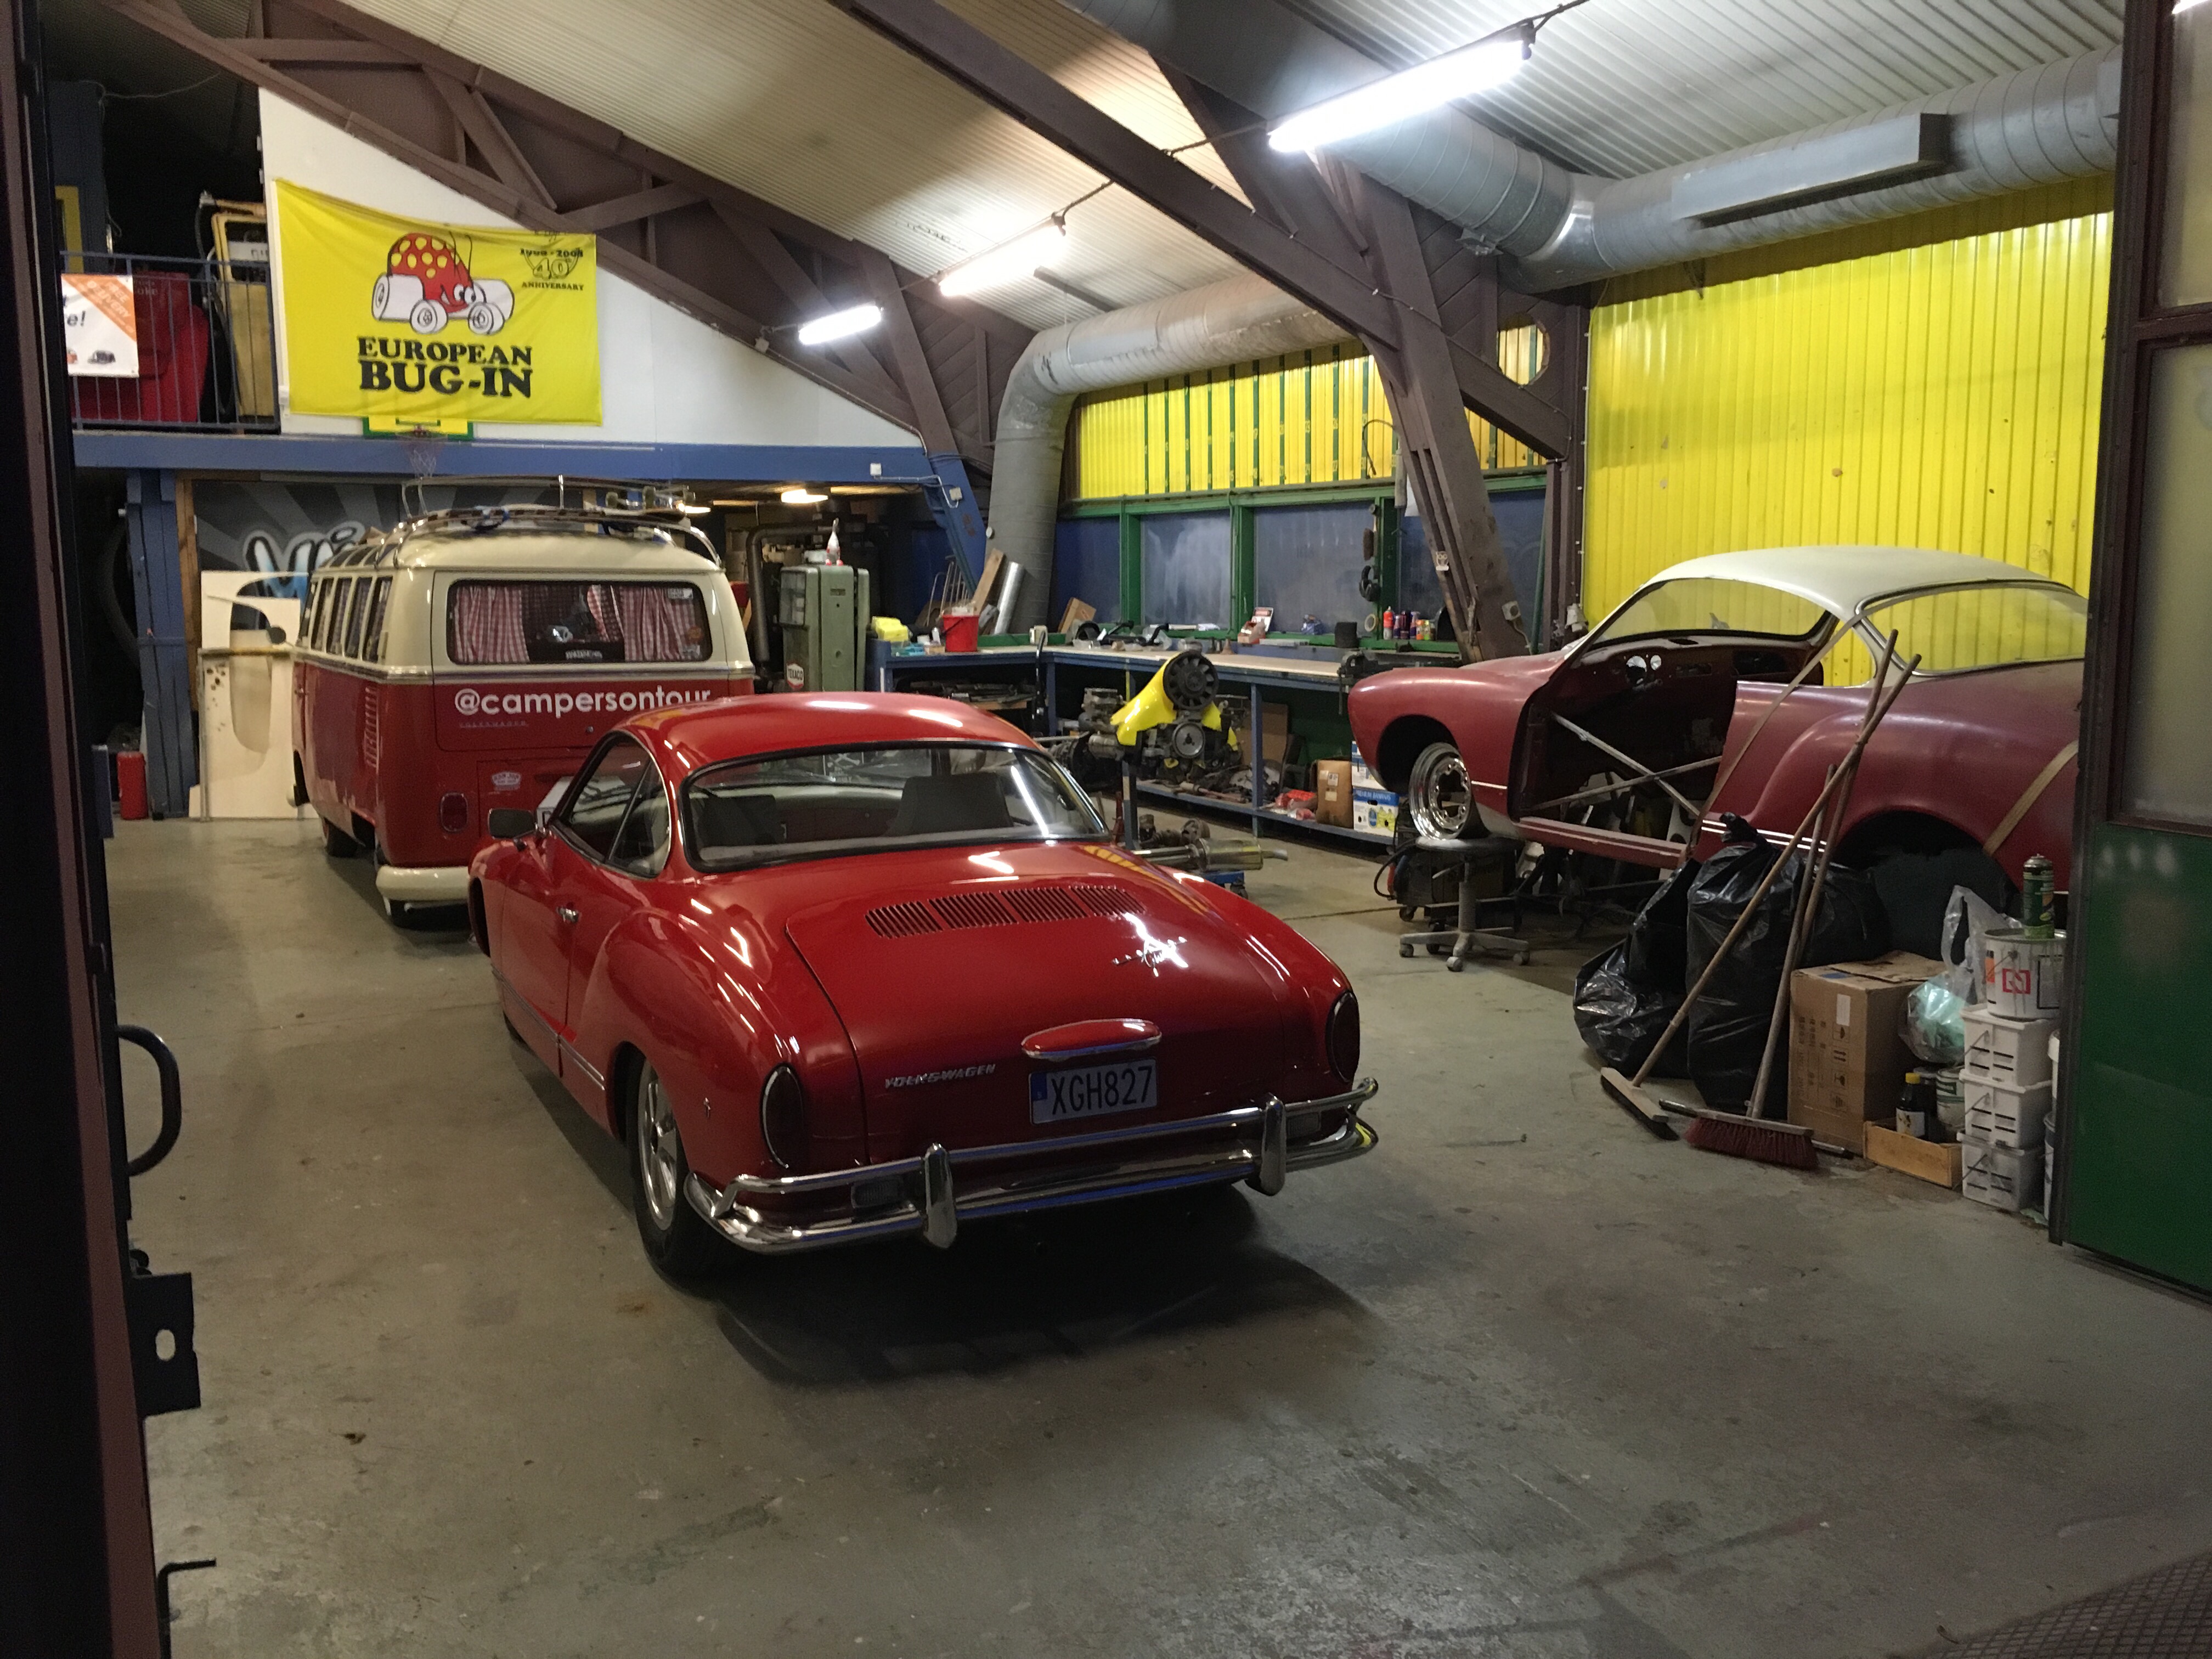
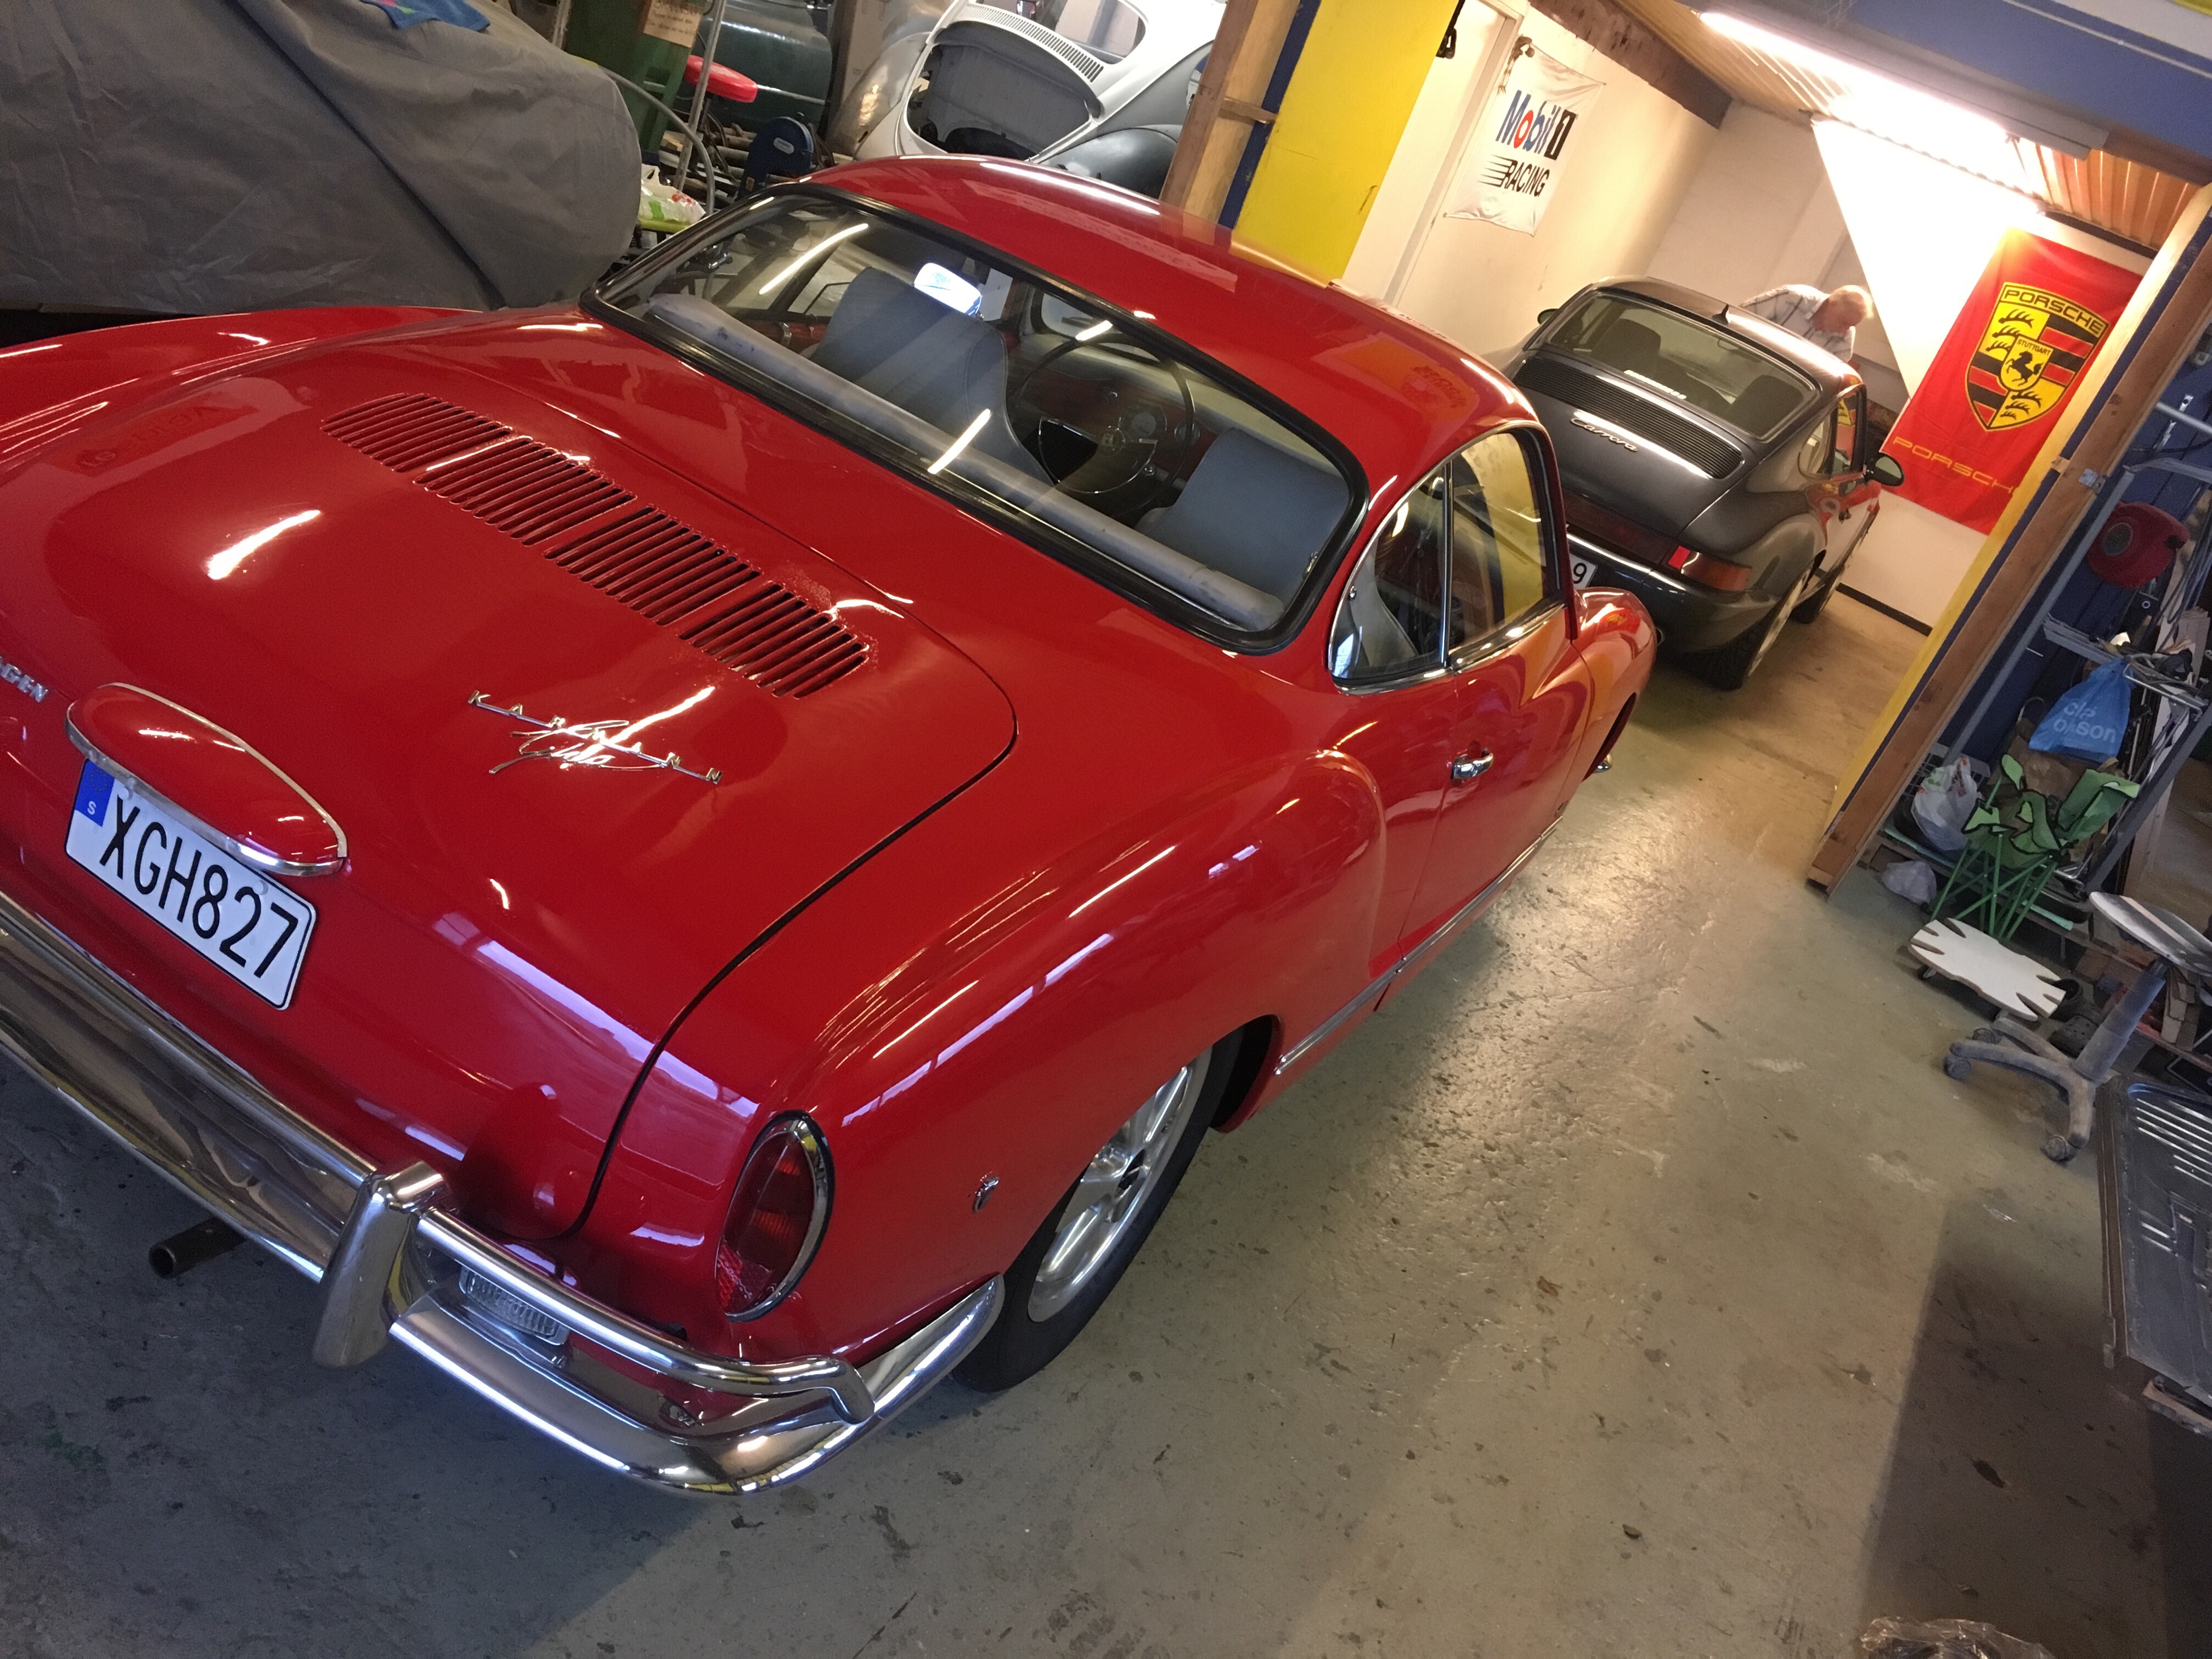
The best from two worlds, Porsche 911 and VW Karmann Ghia.
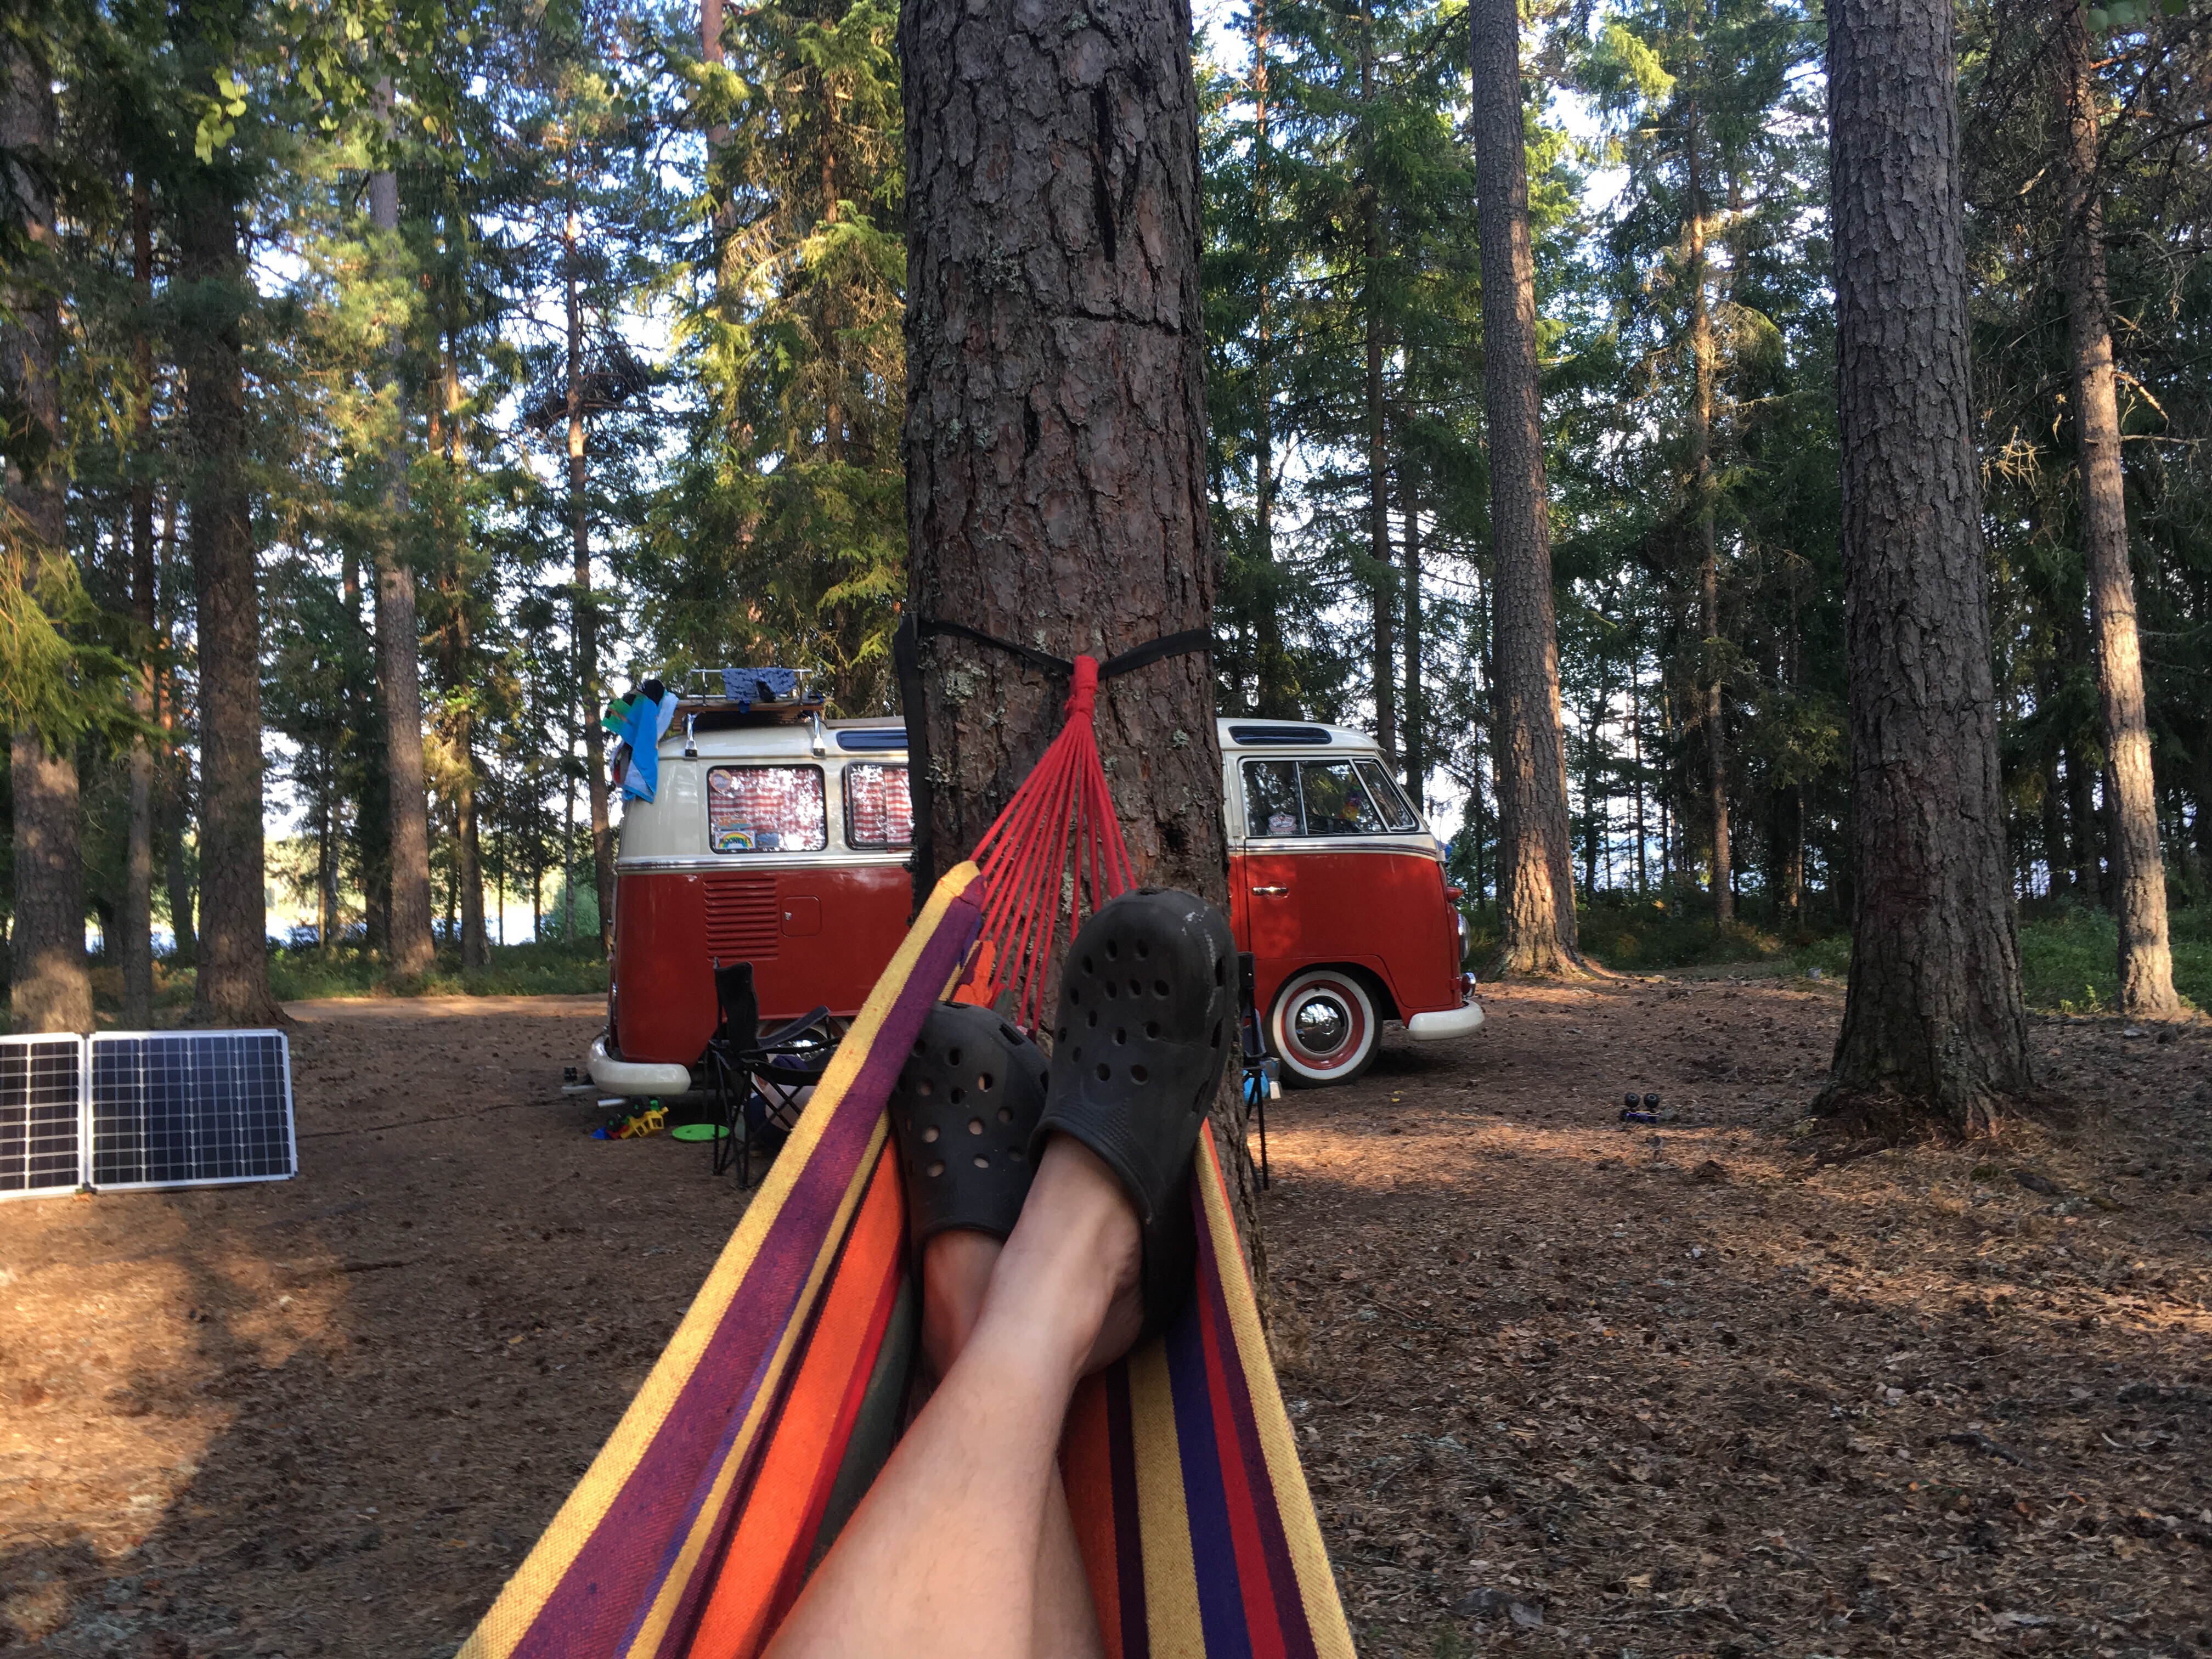
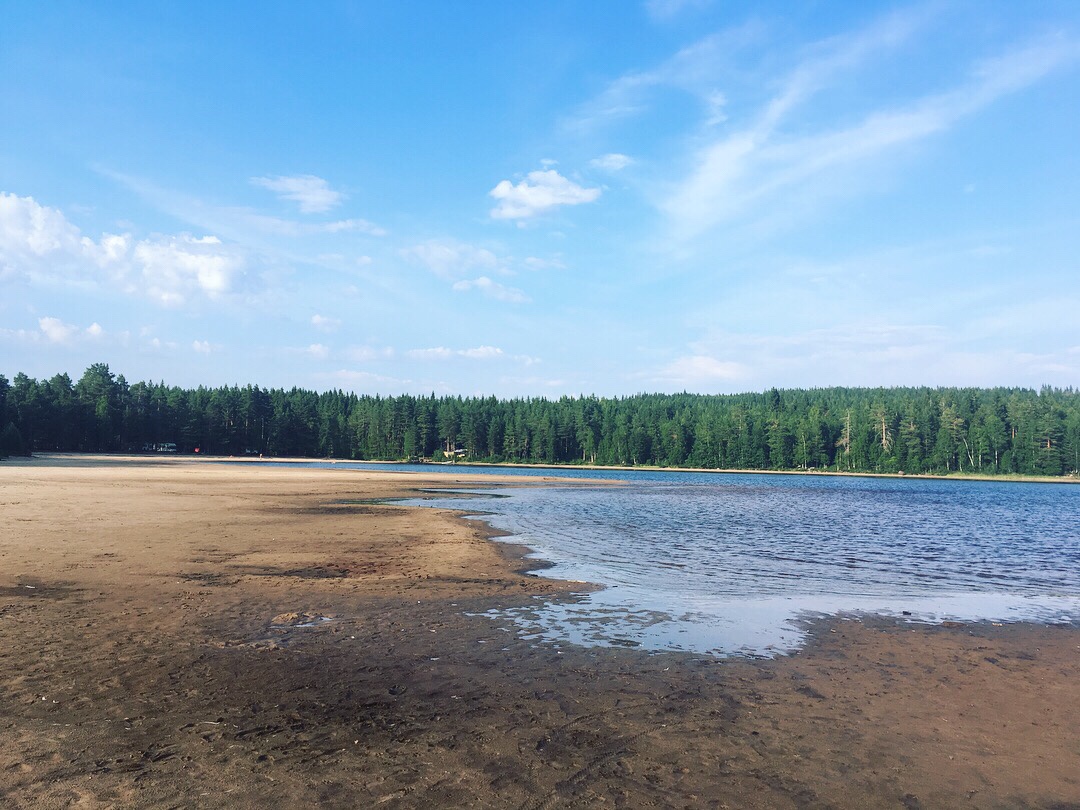
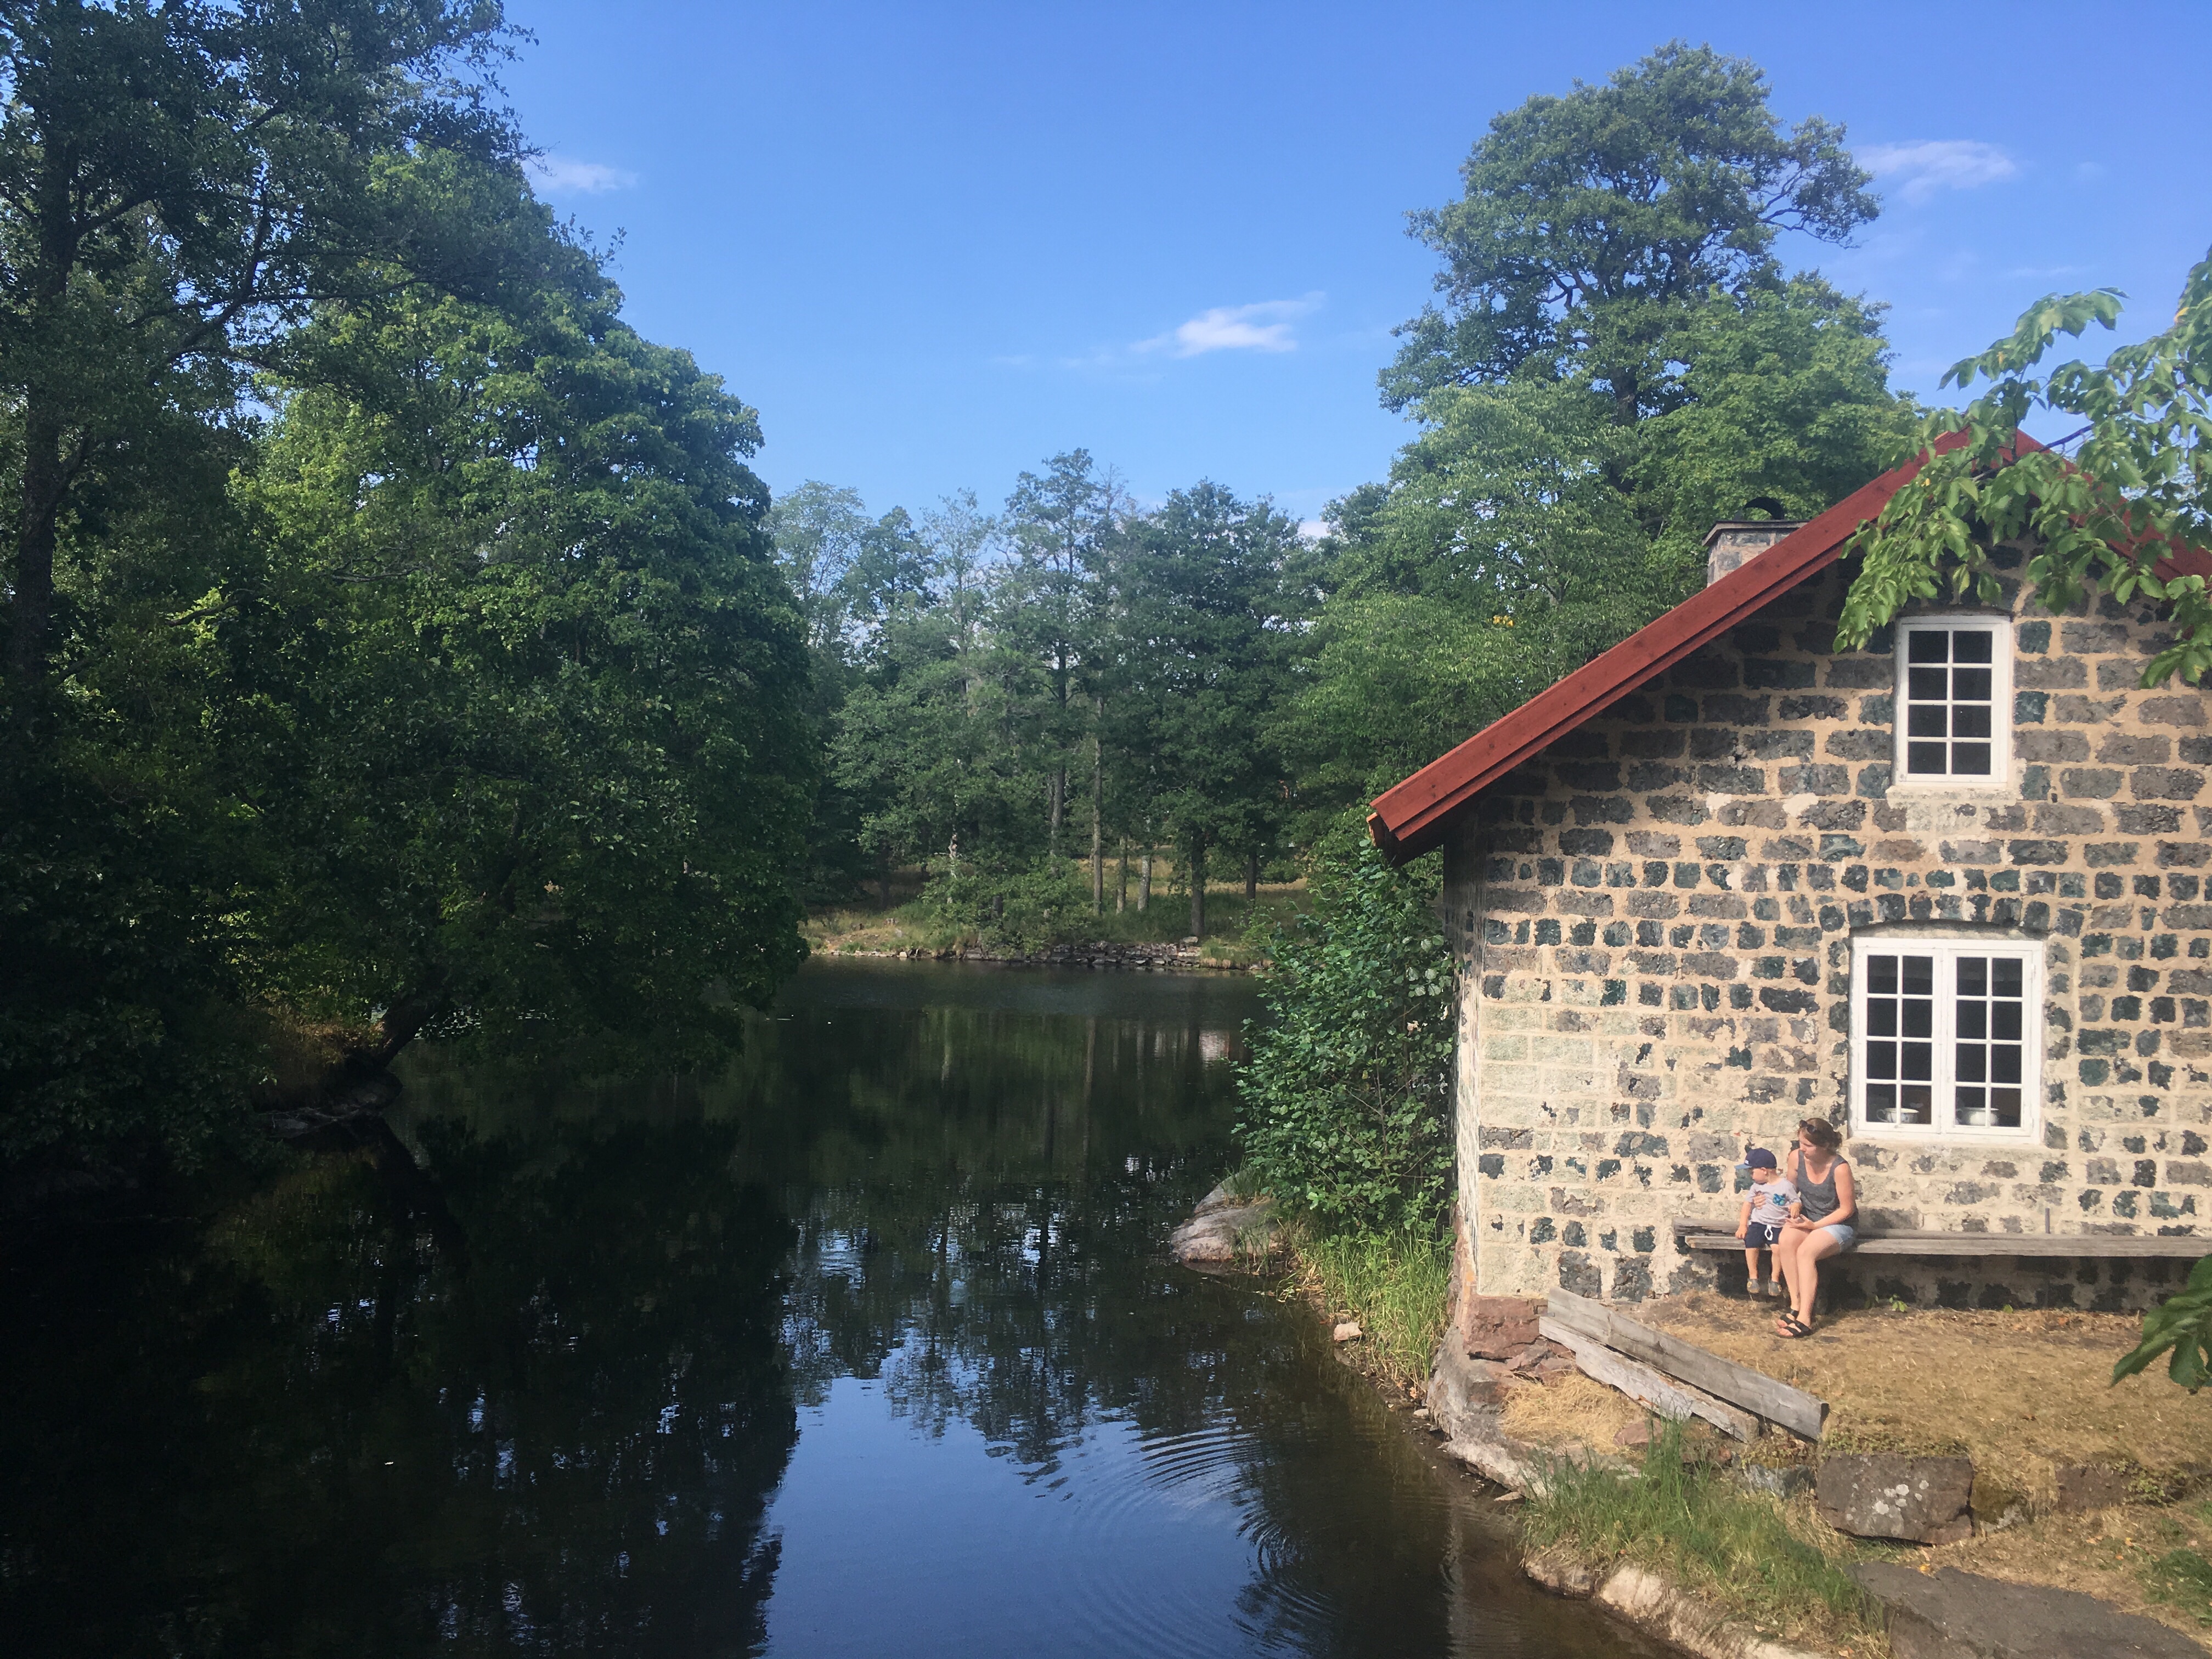
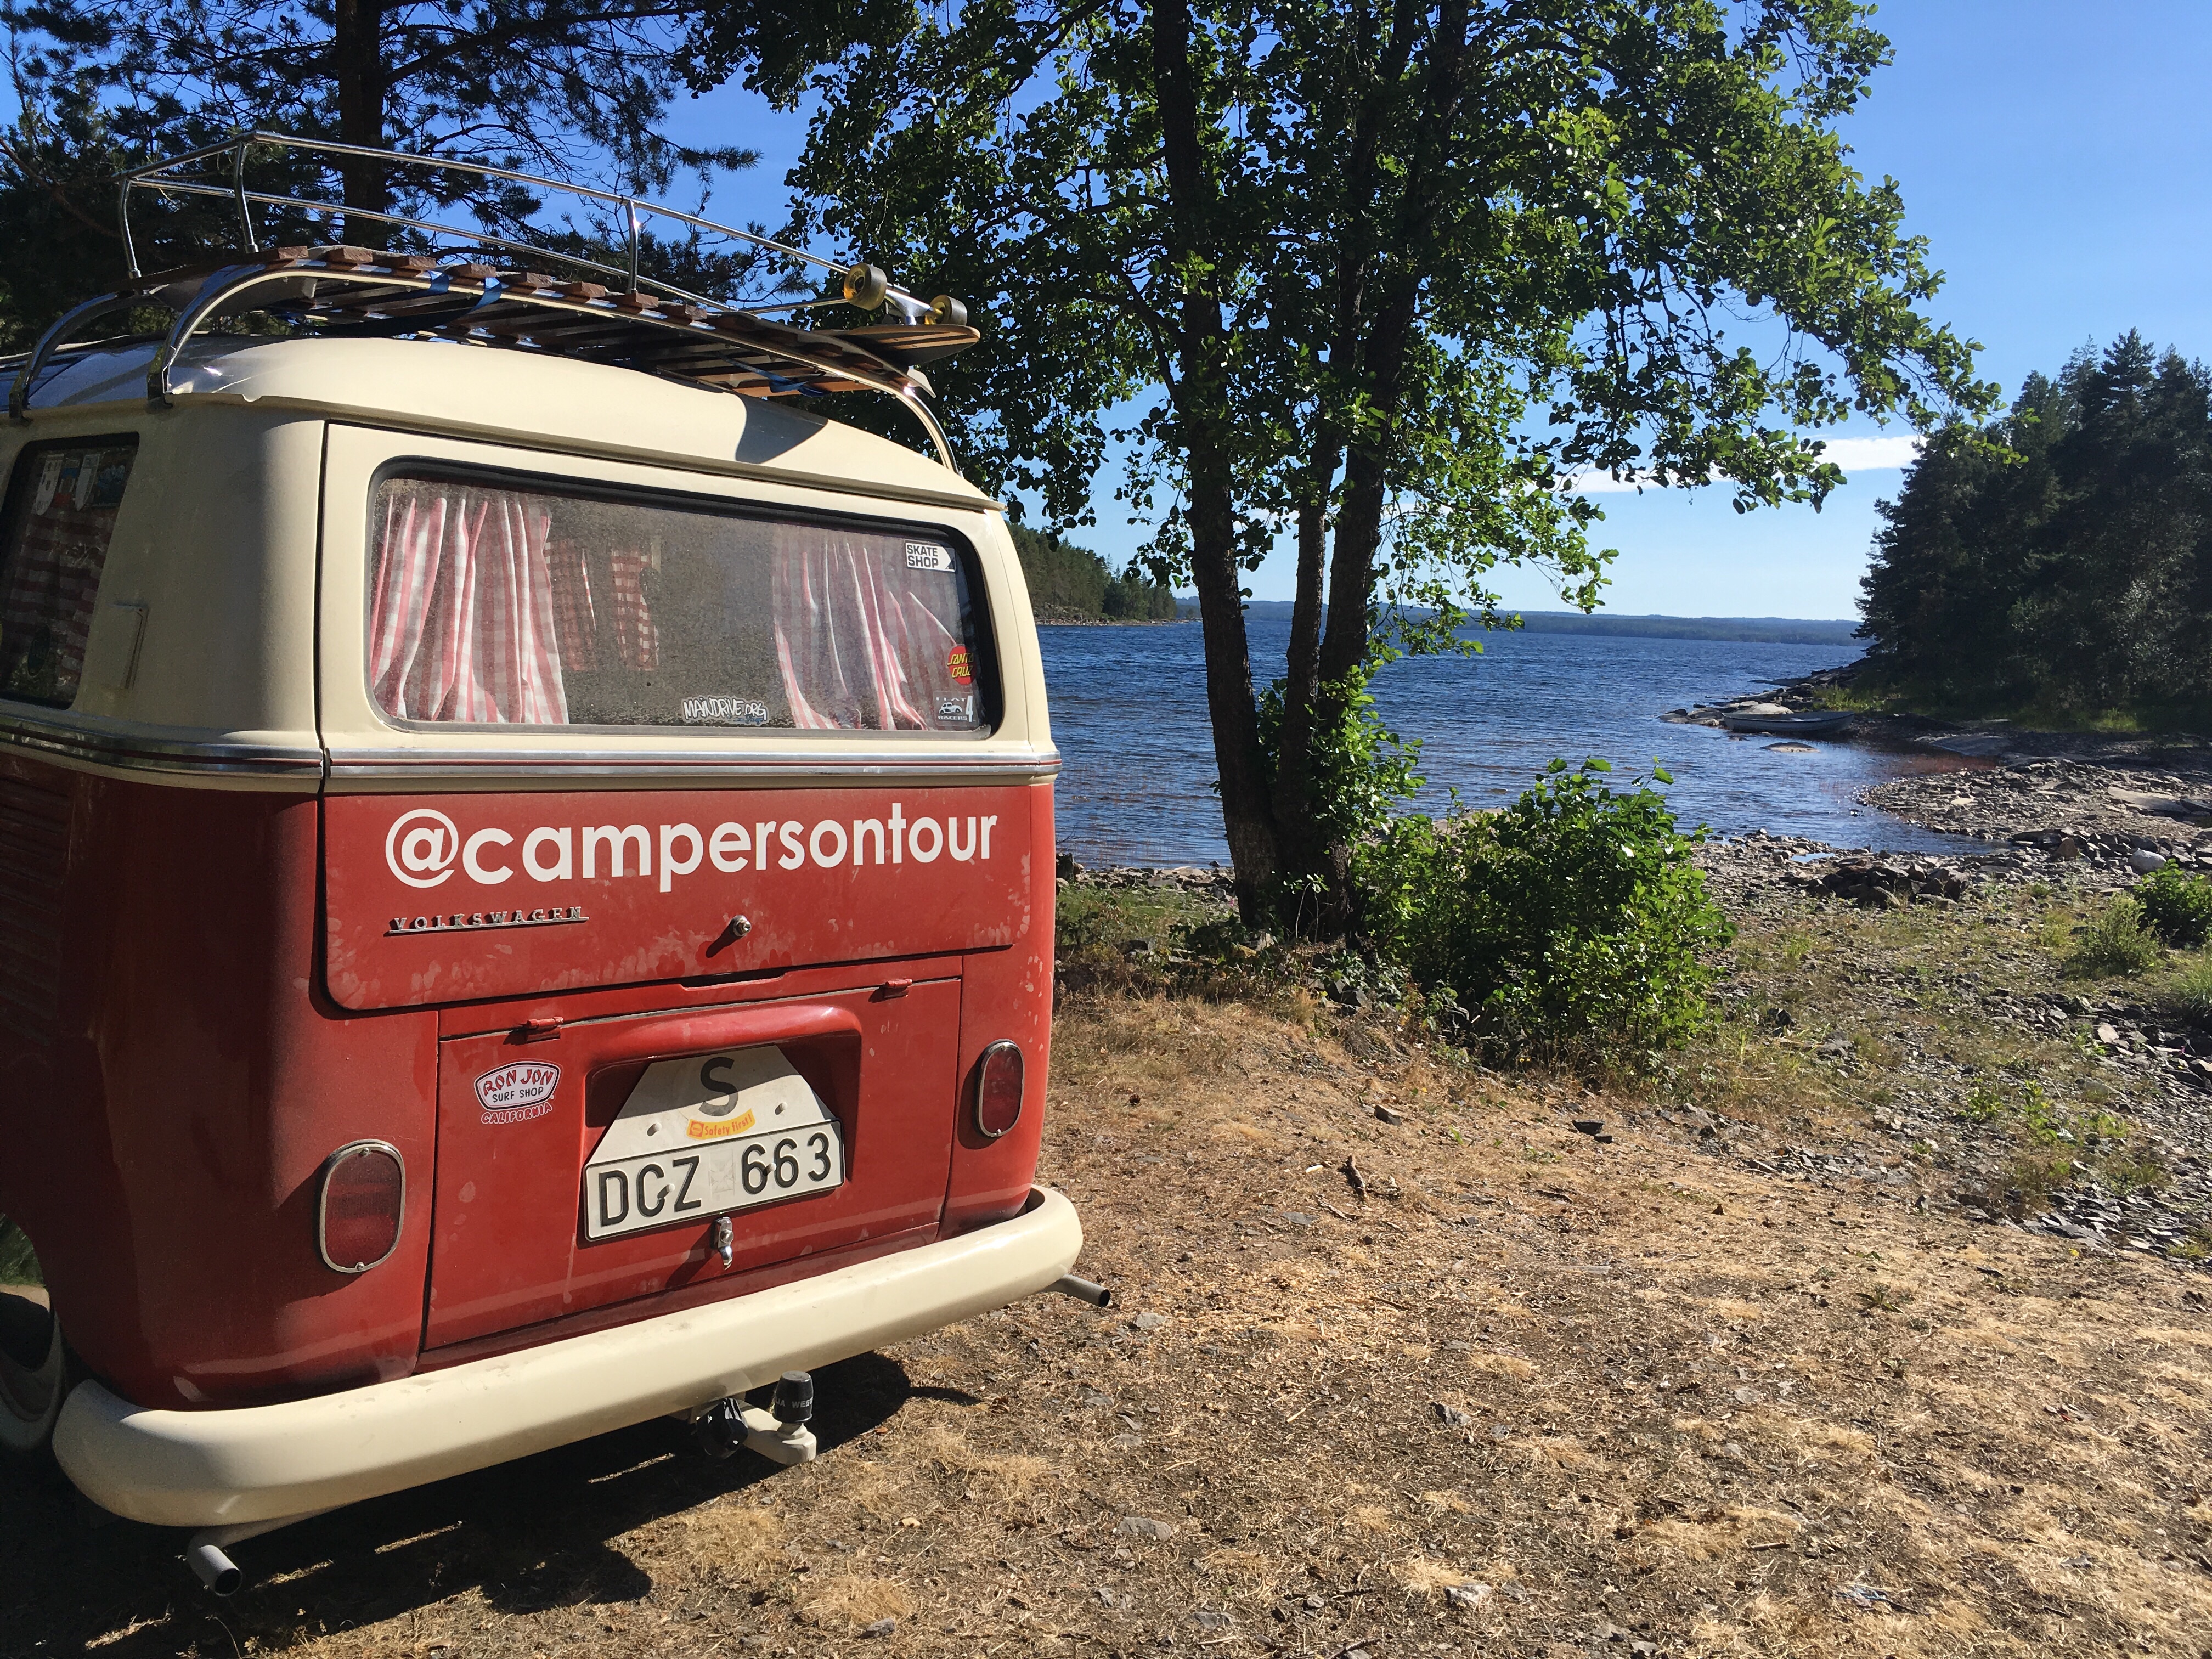
The summer of 2018, hottest summer in Sweden in 260 years!


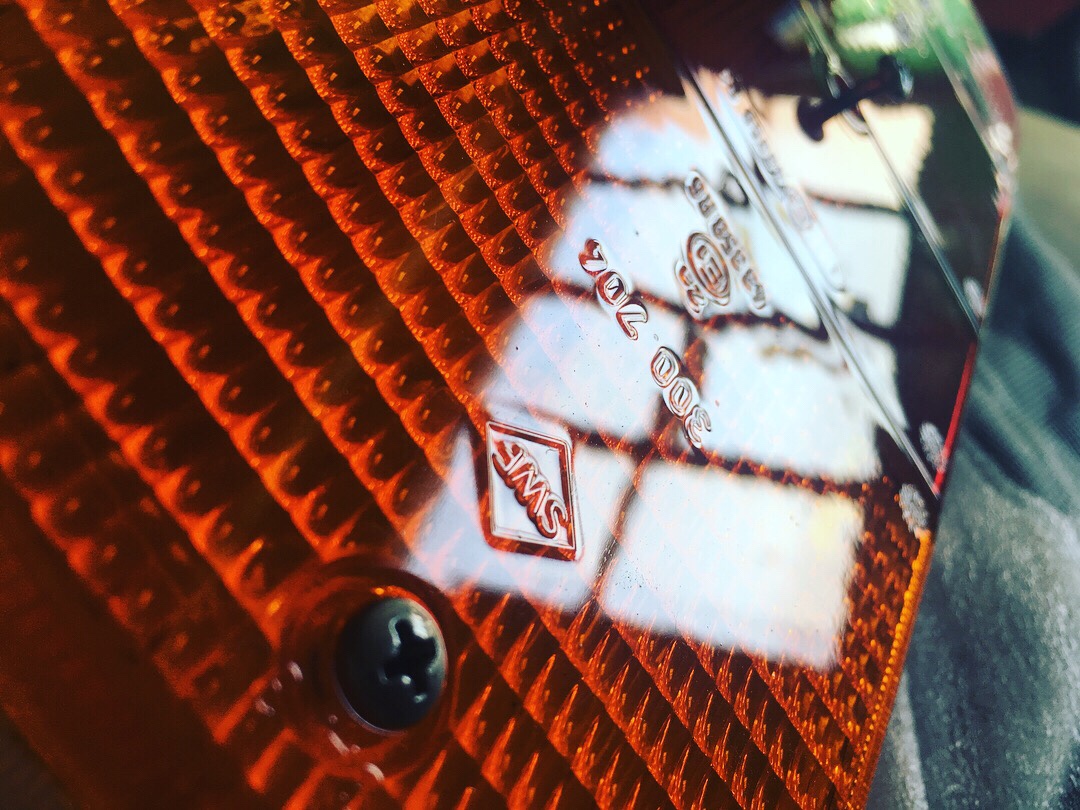
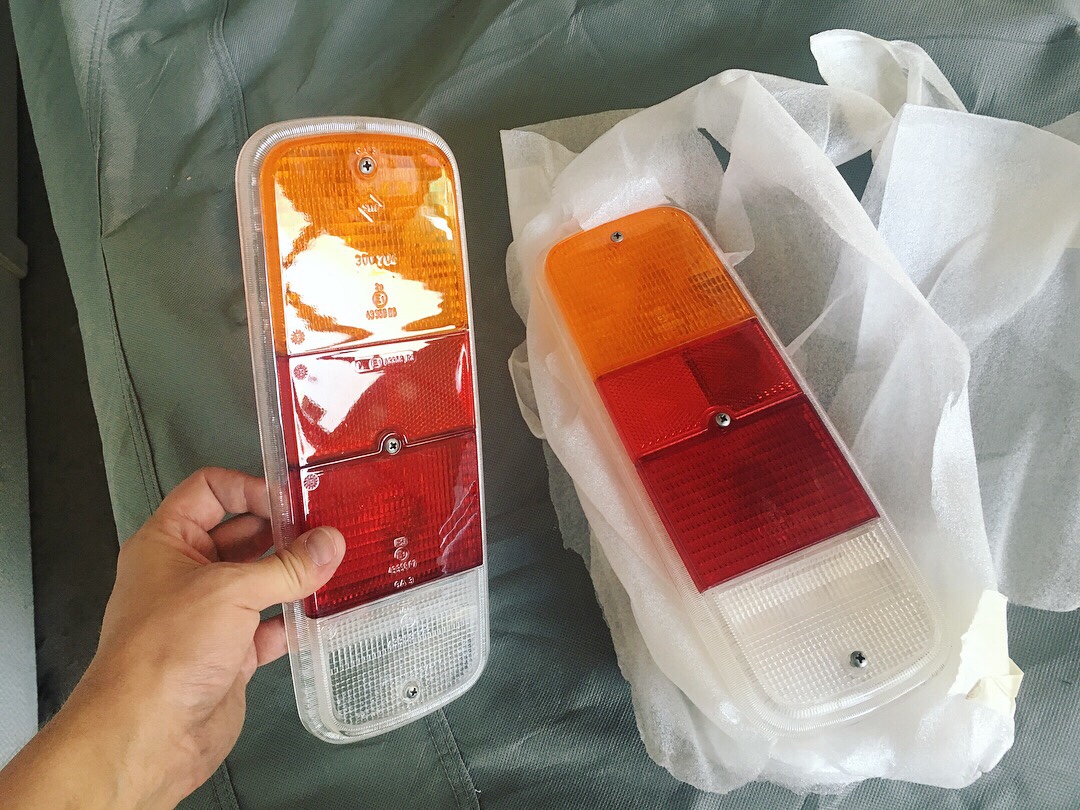
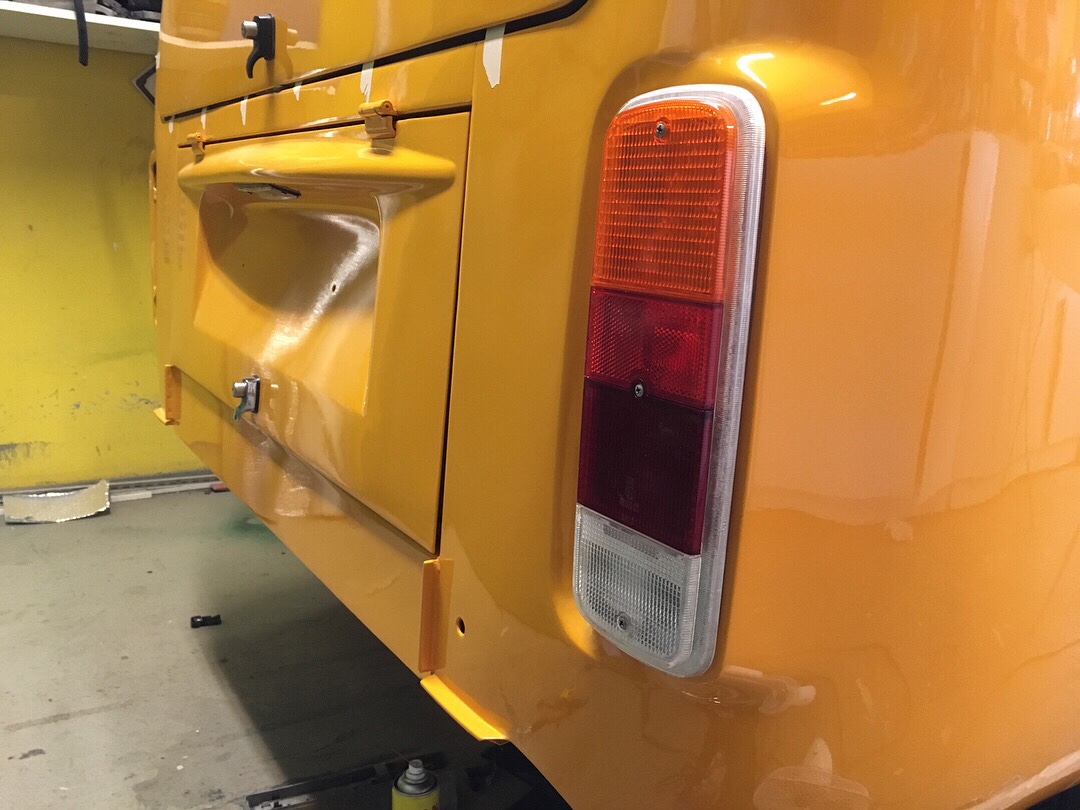
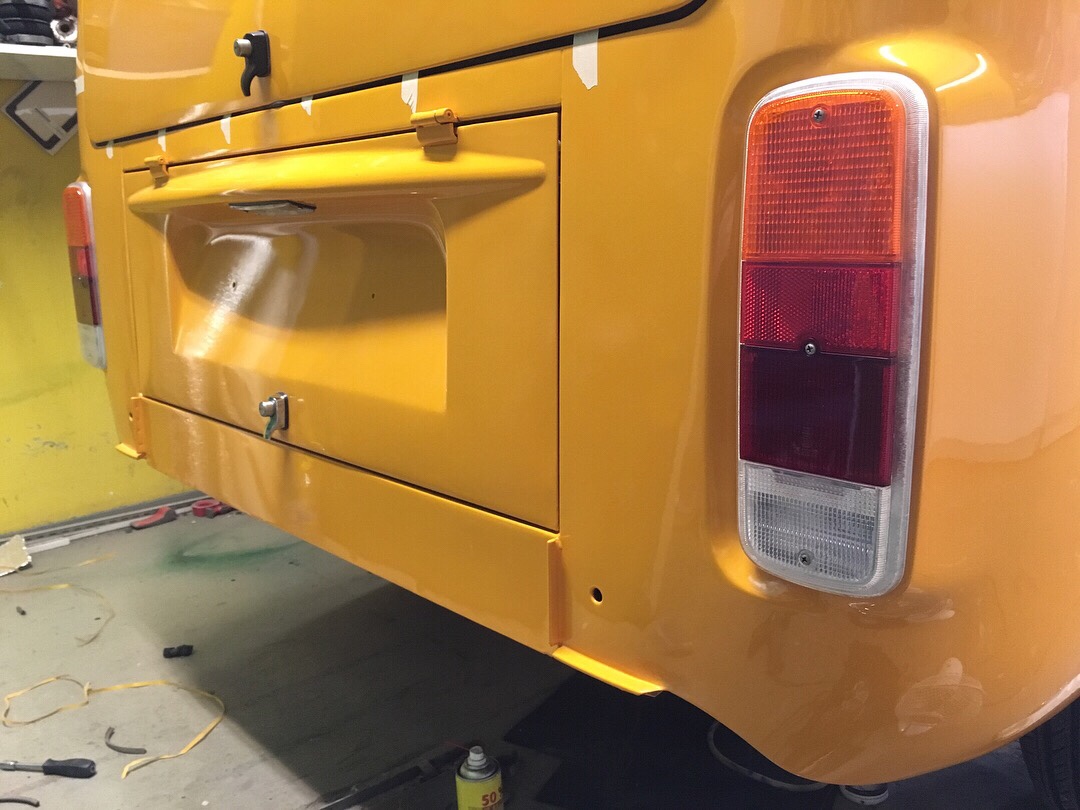
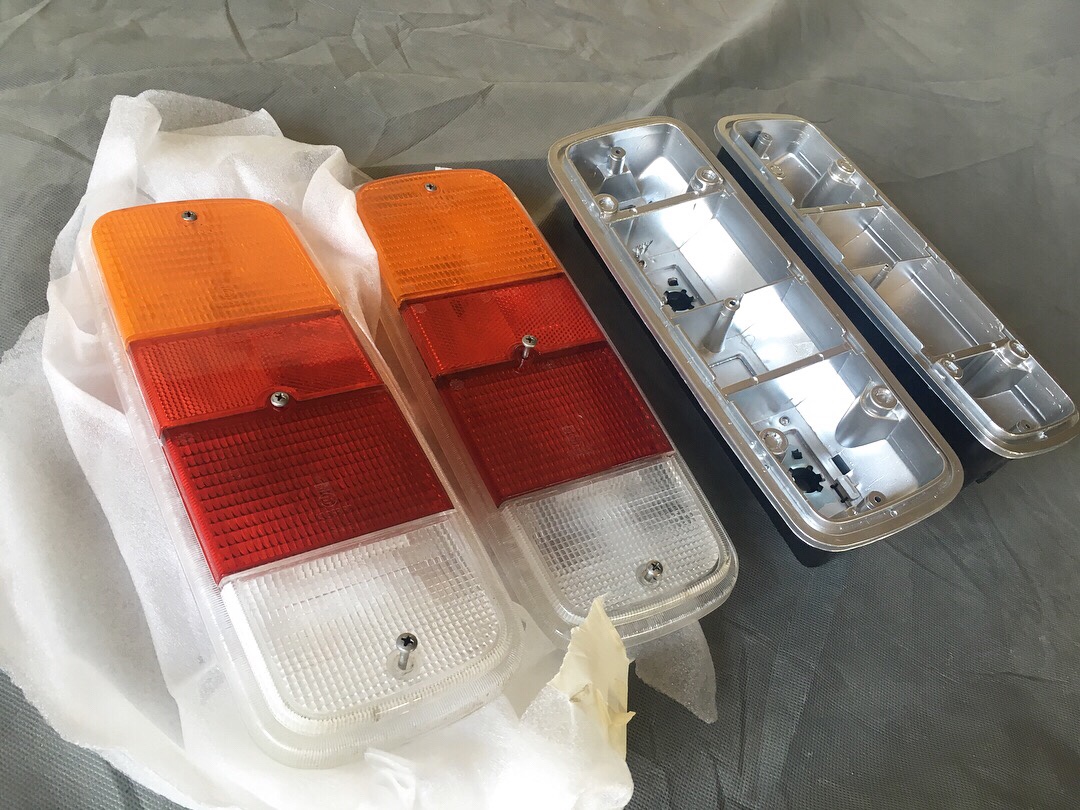
New rear taillights on the Highroof Bay bus. Housings are new aftermarket, lenses are clearcoated original VW from SWF. Some pics…
#highroofbayproject
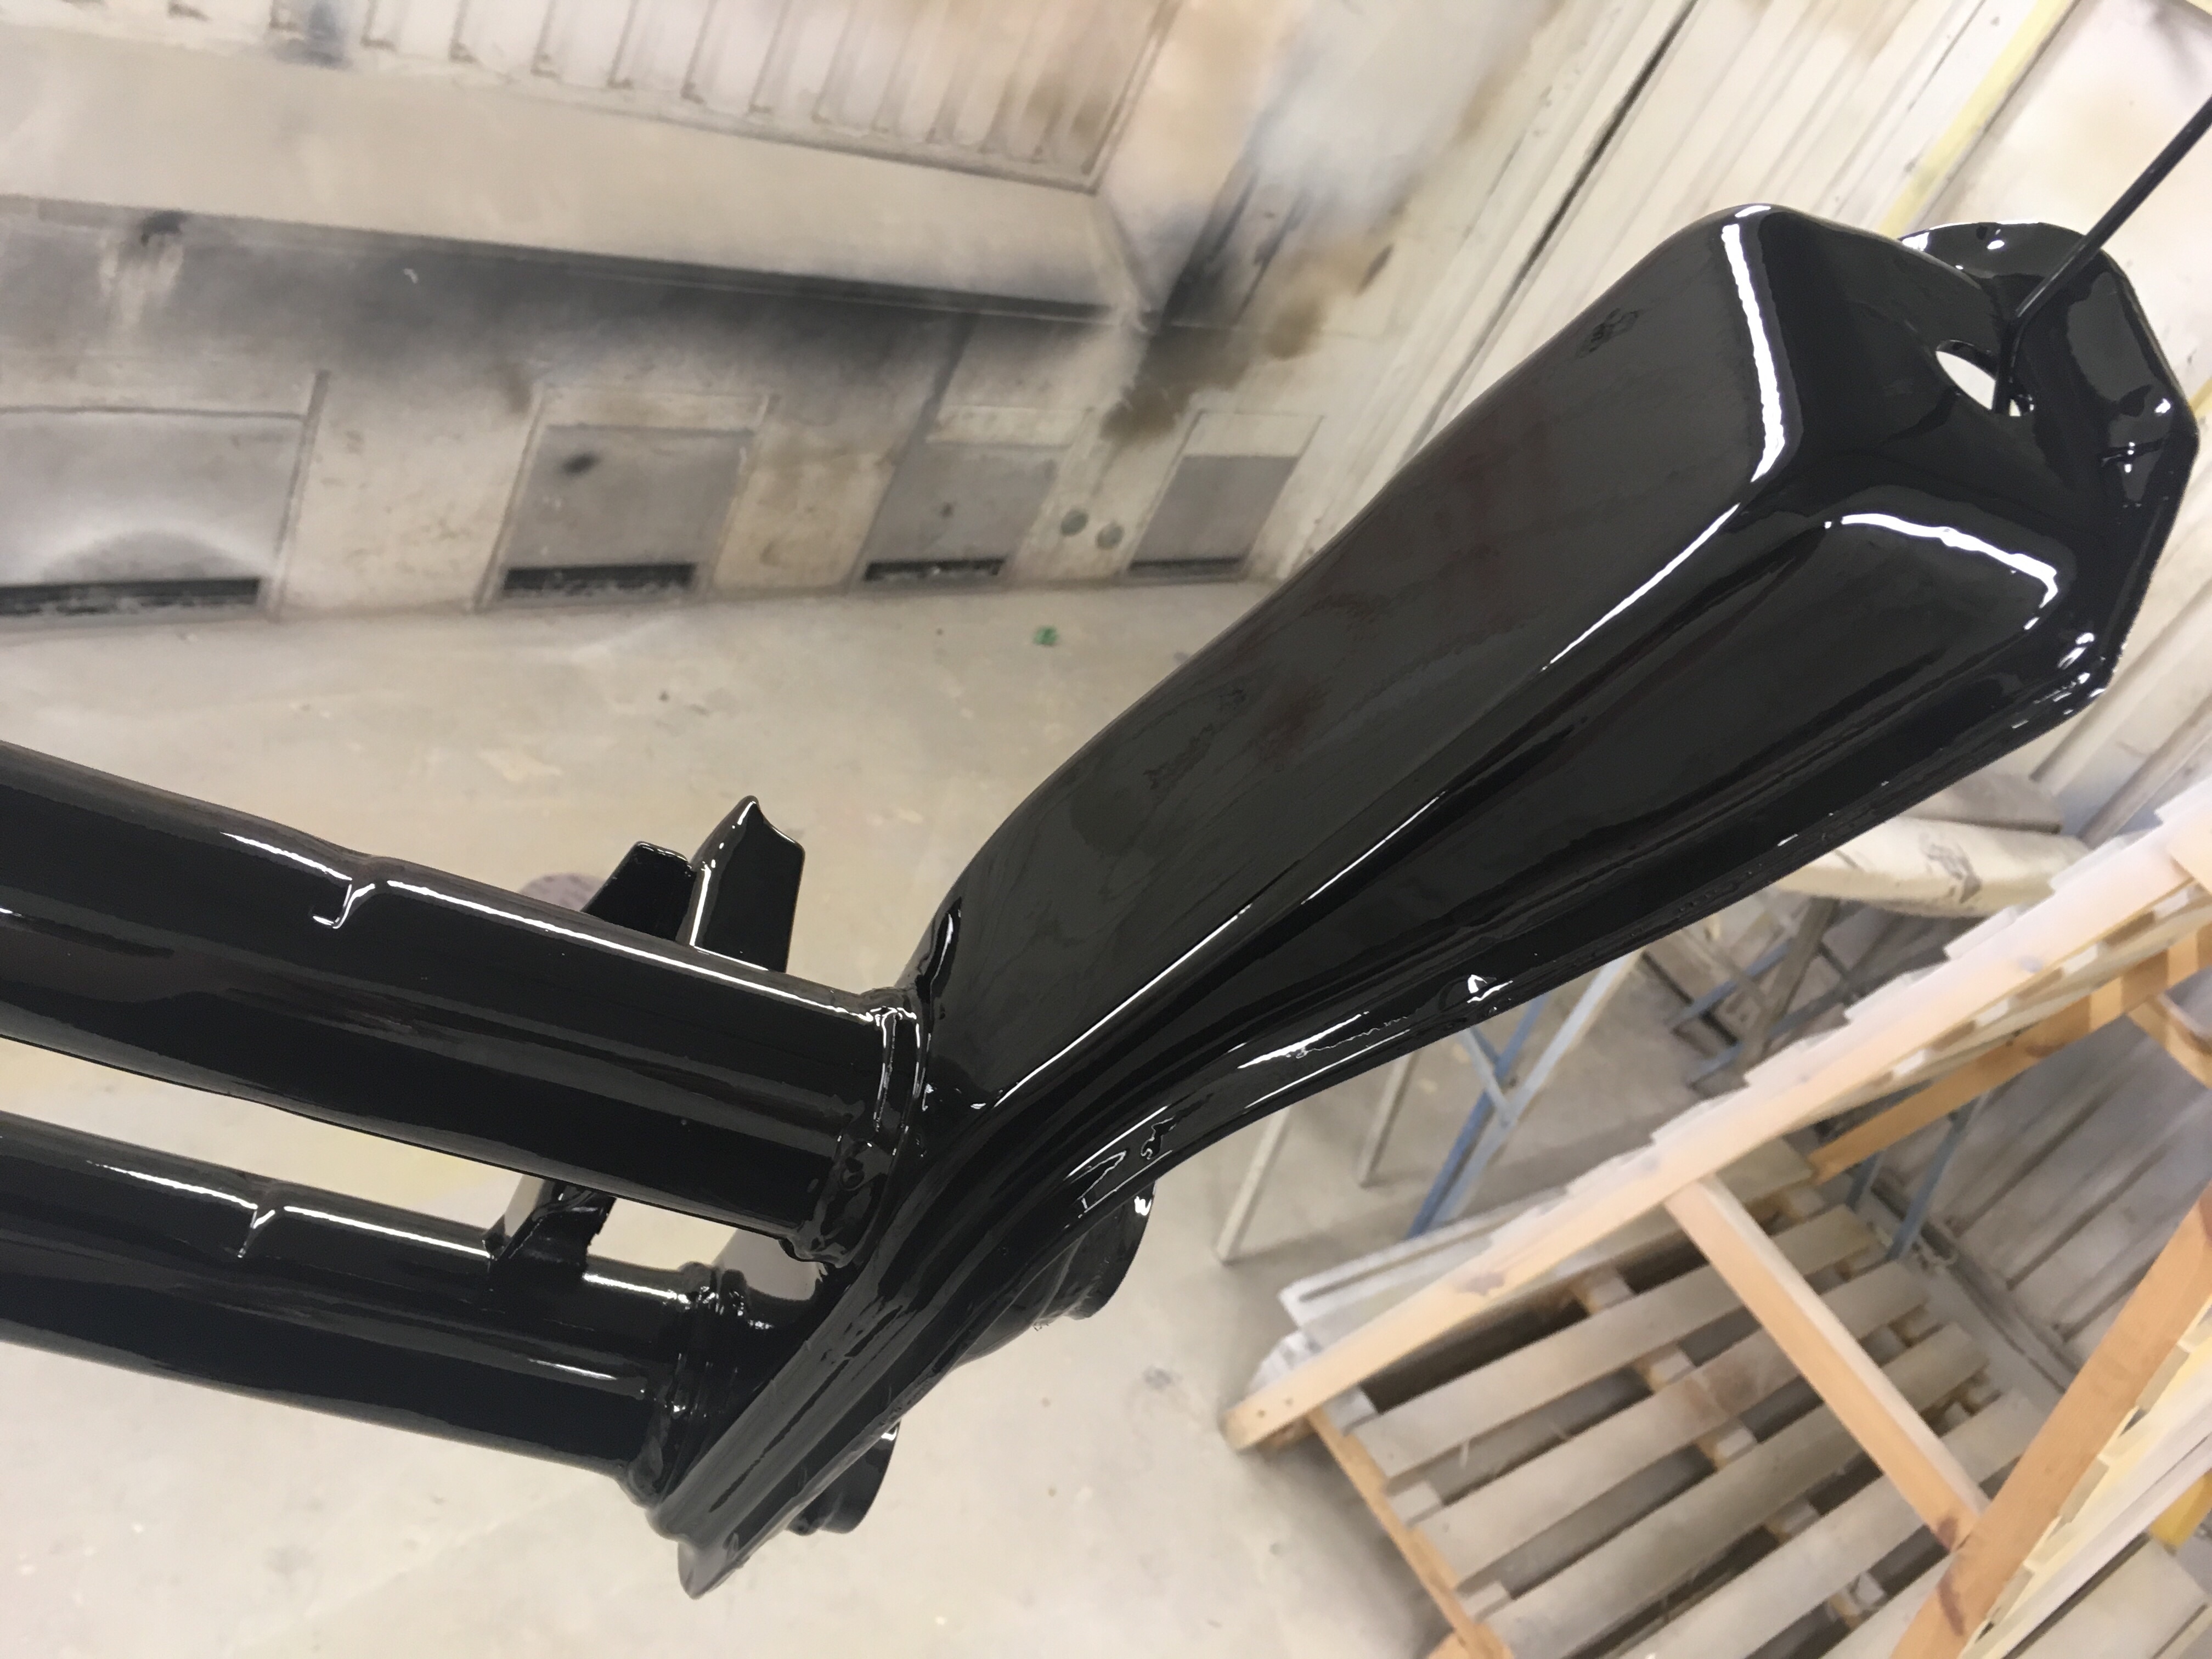
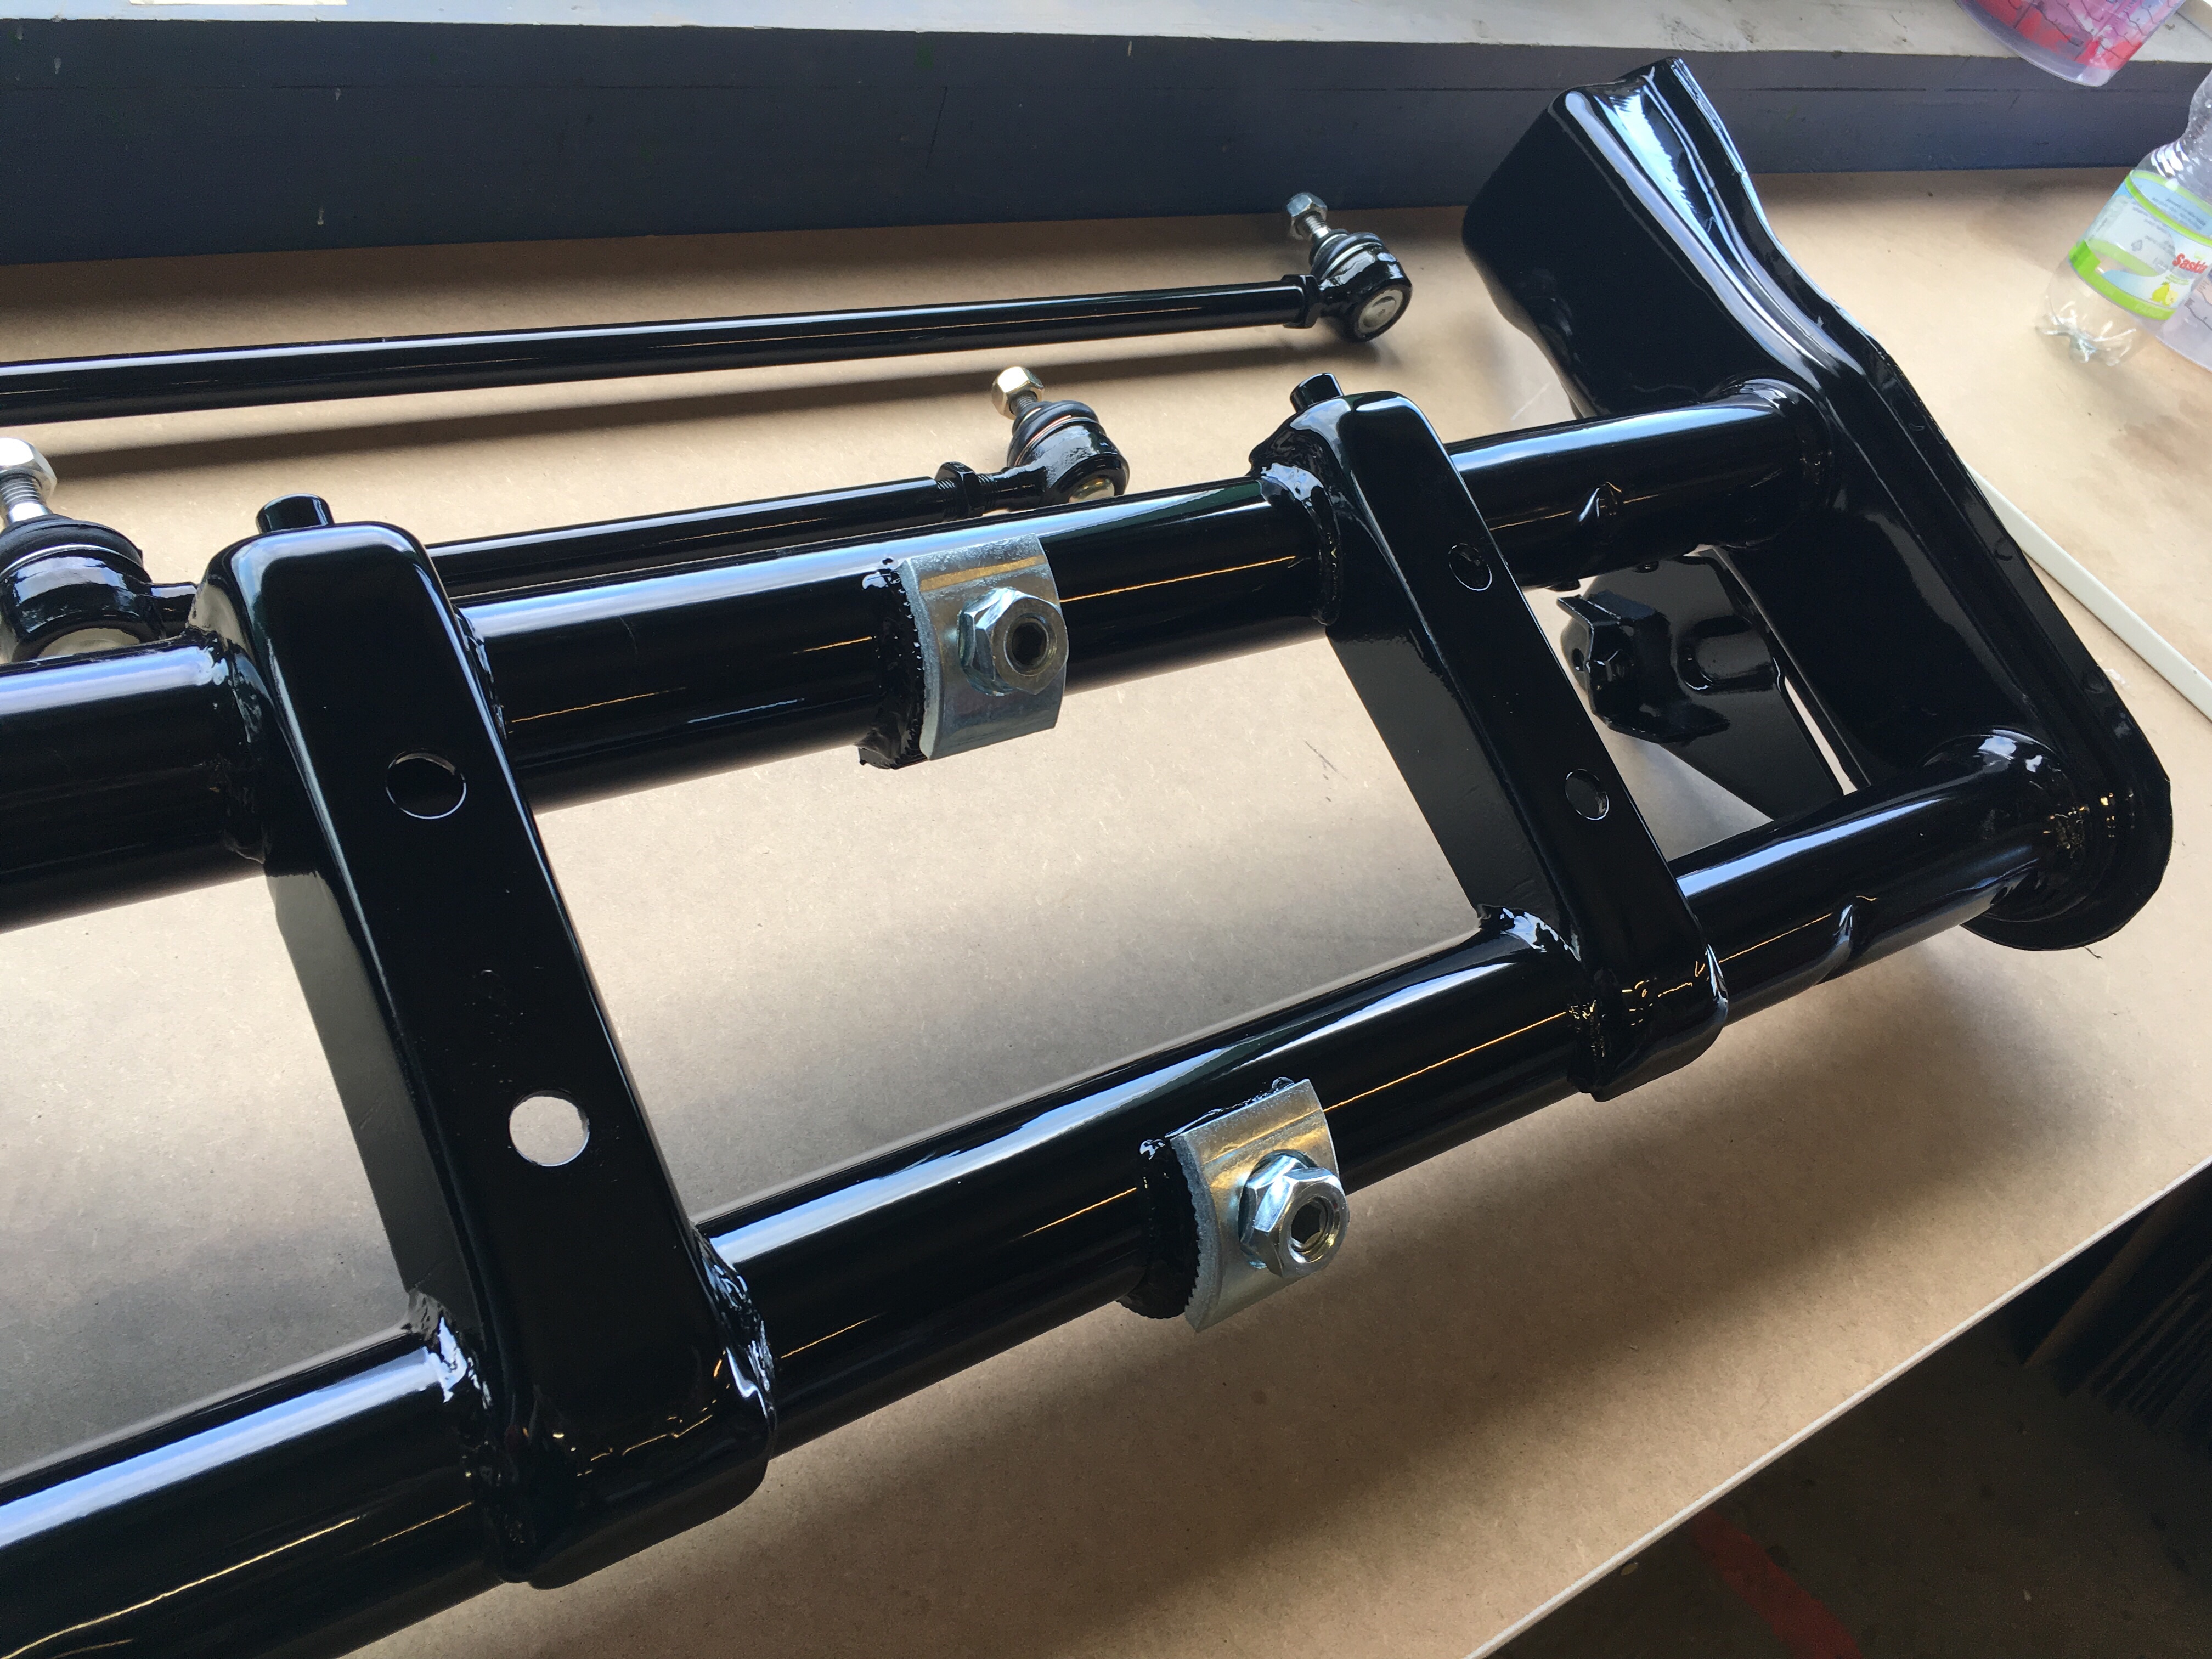
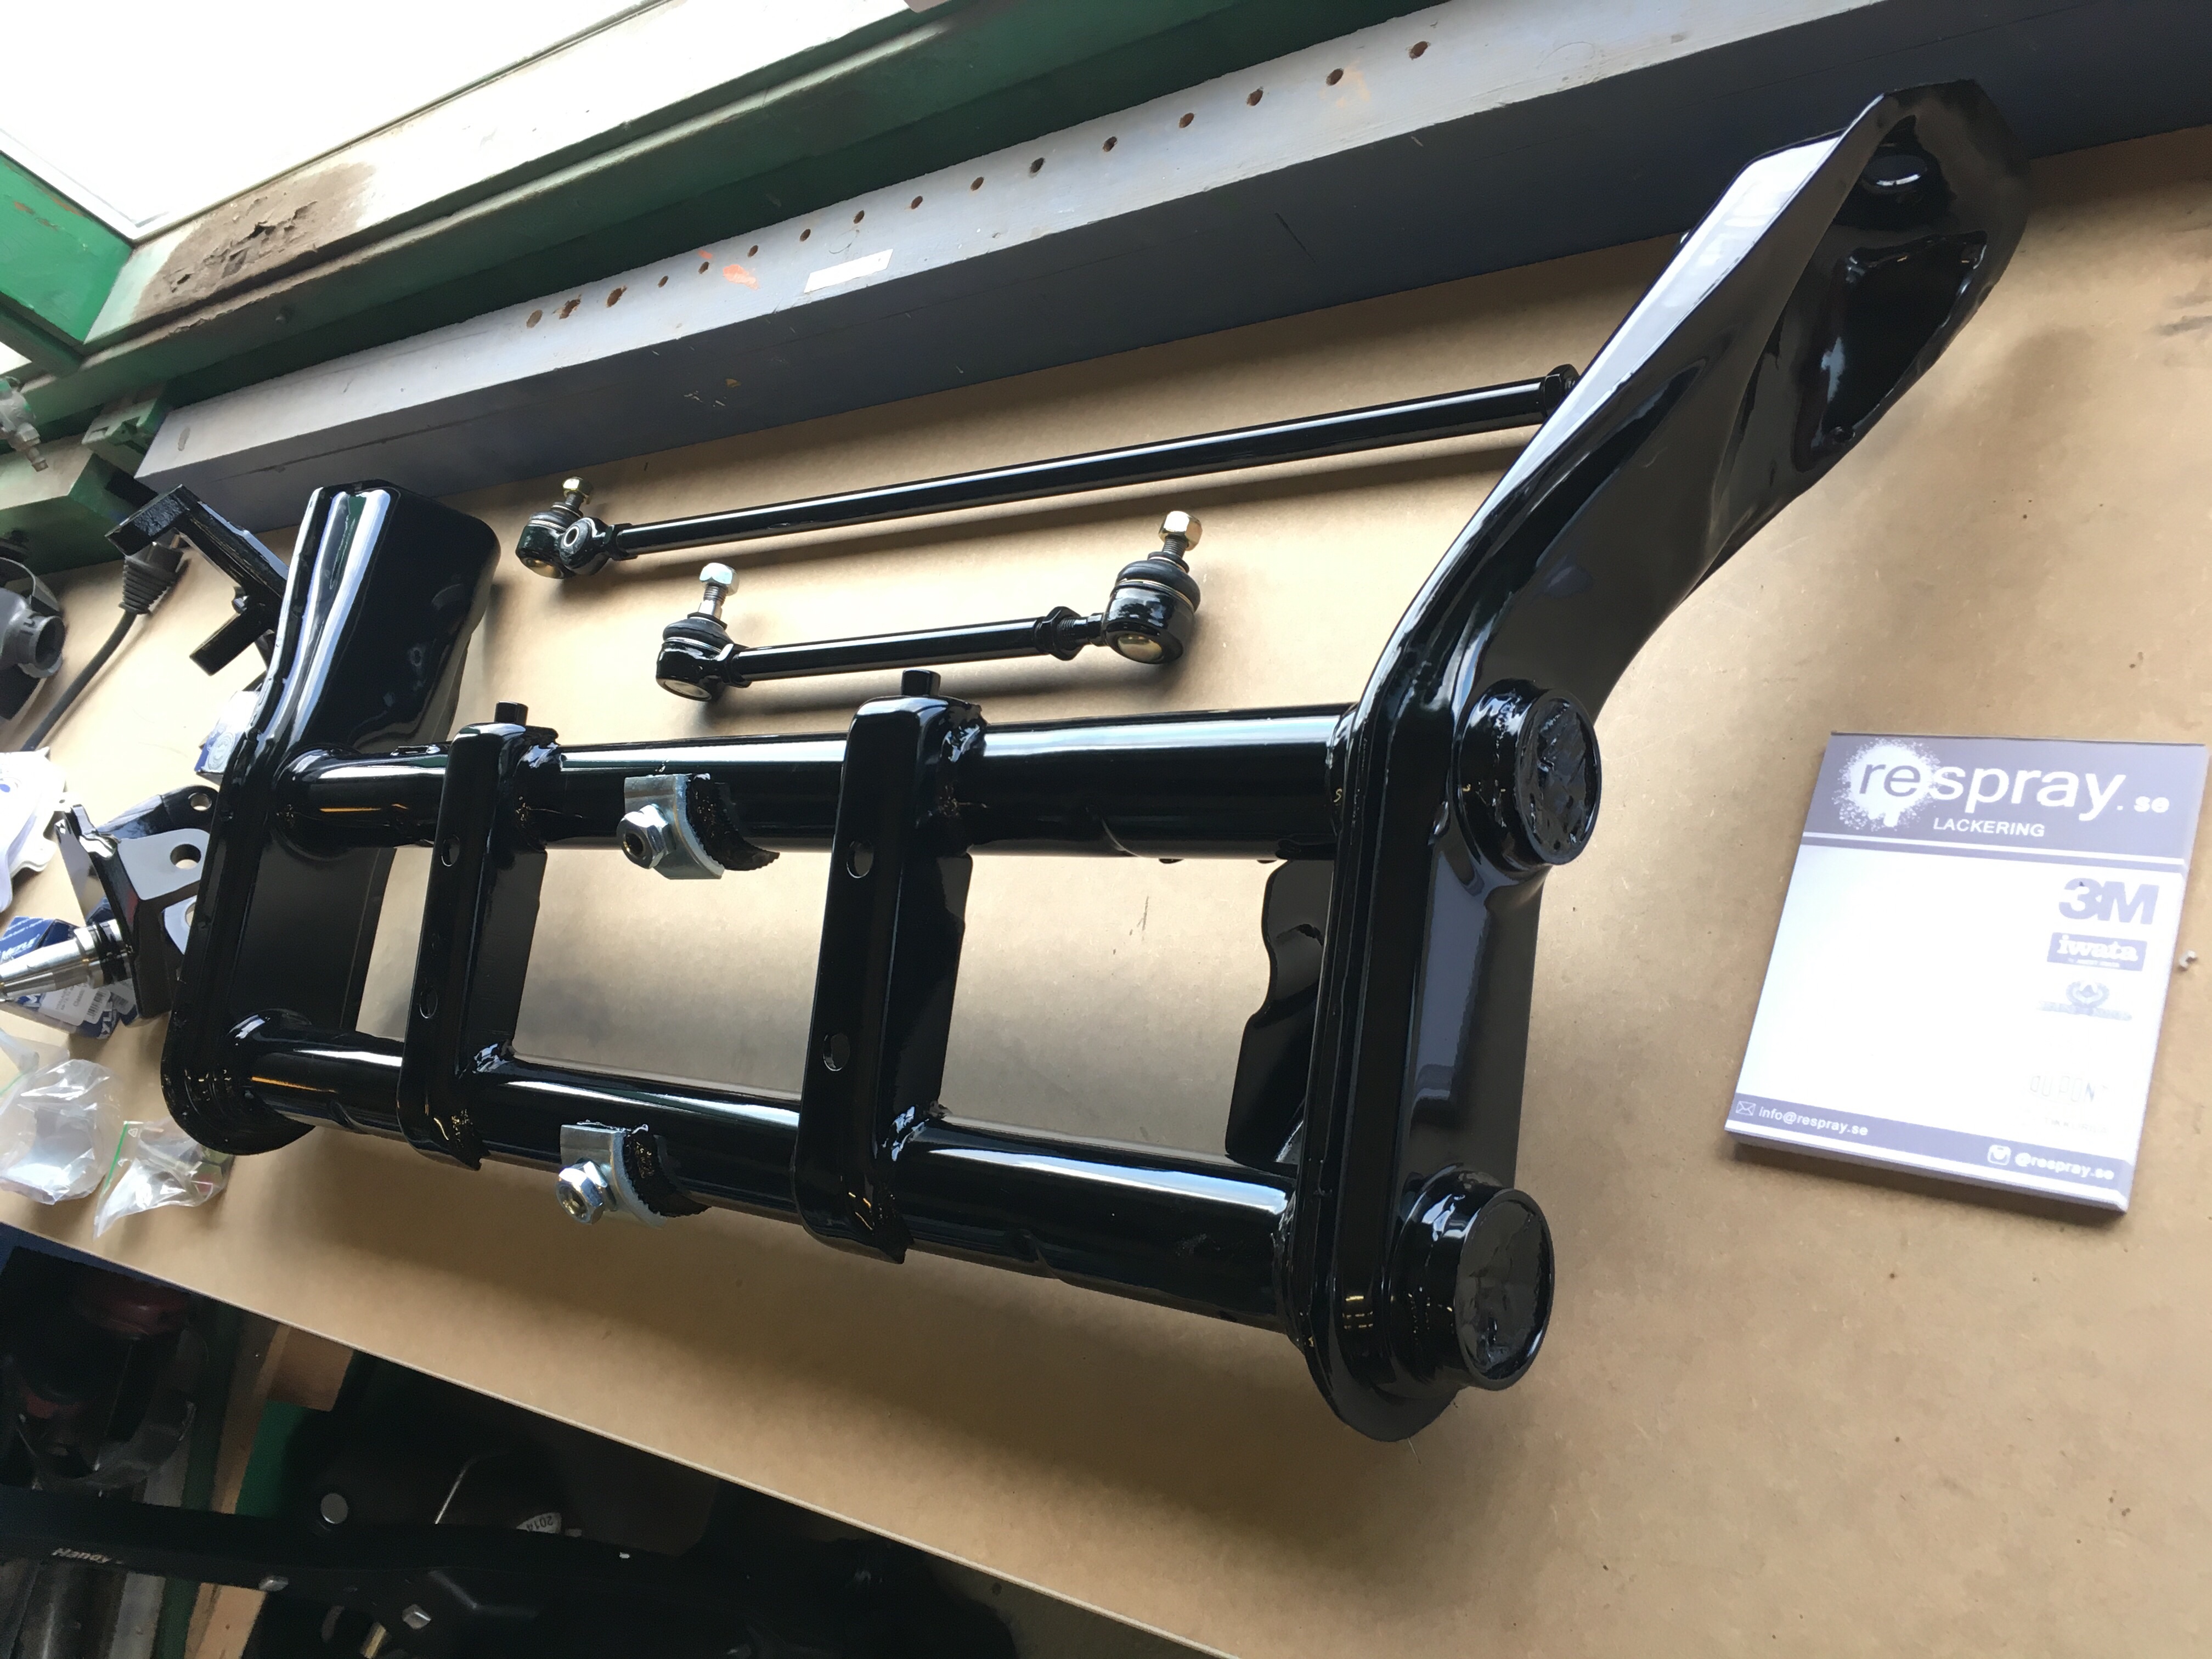
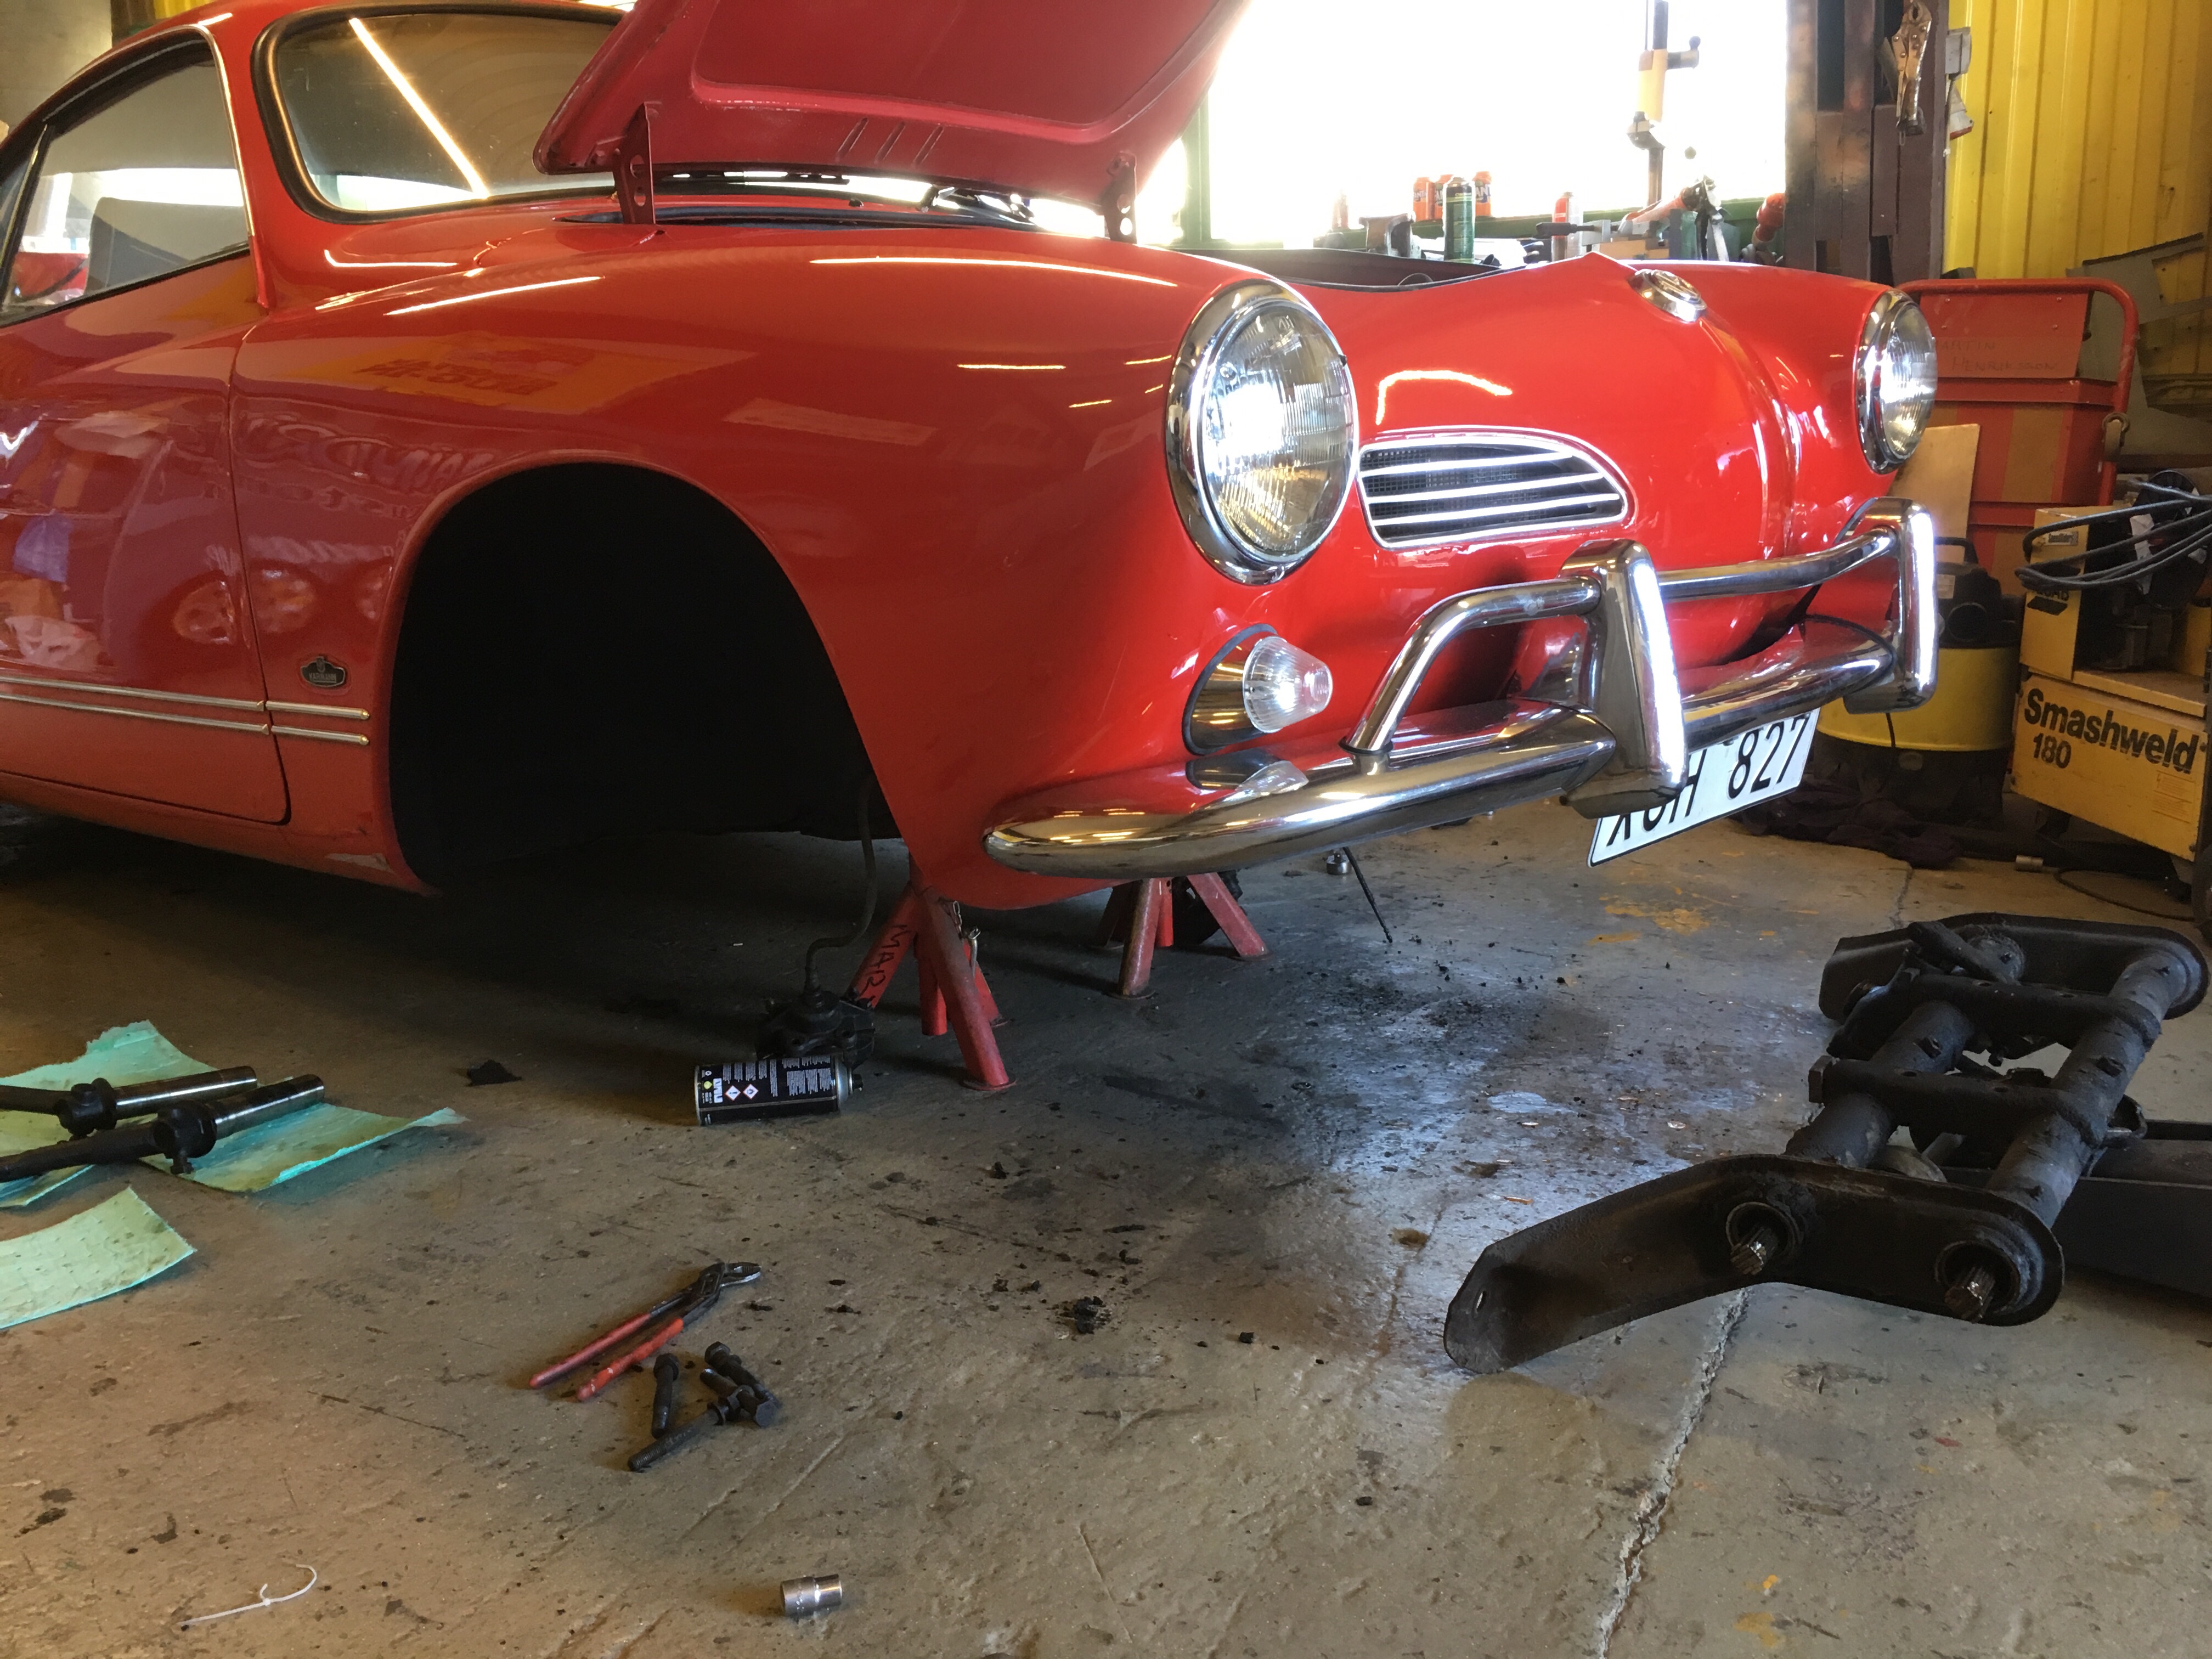
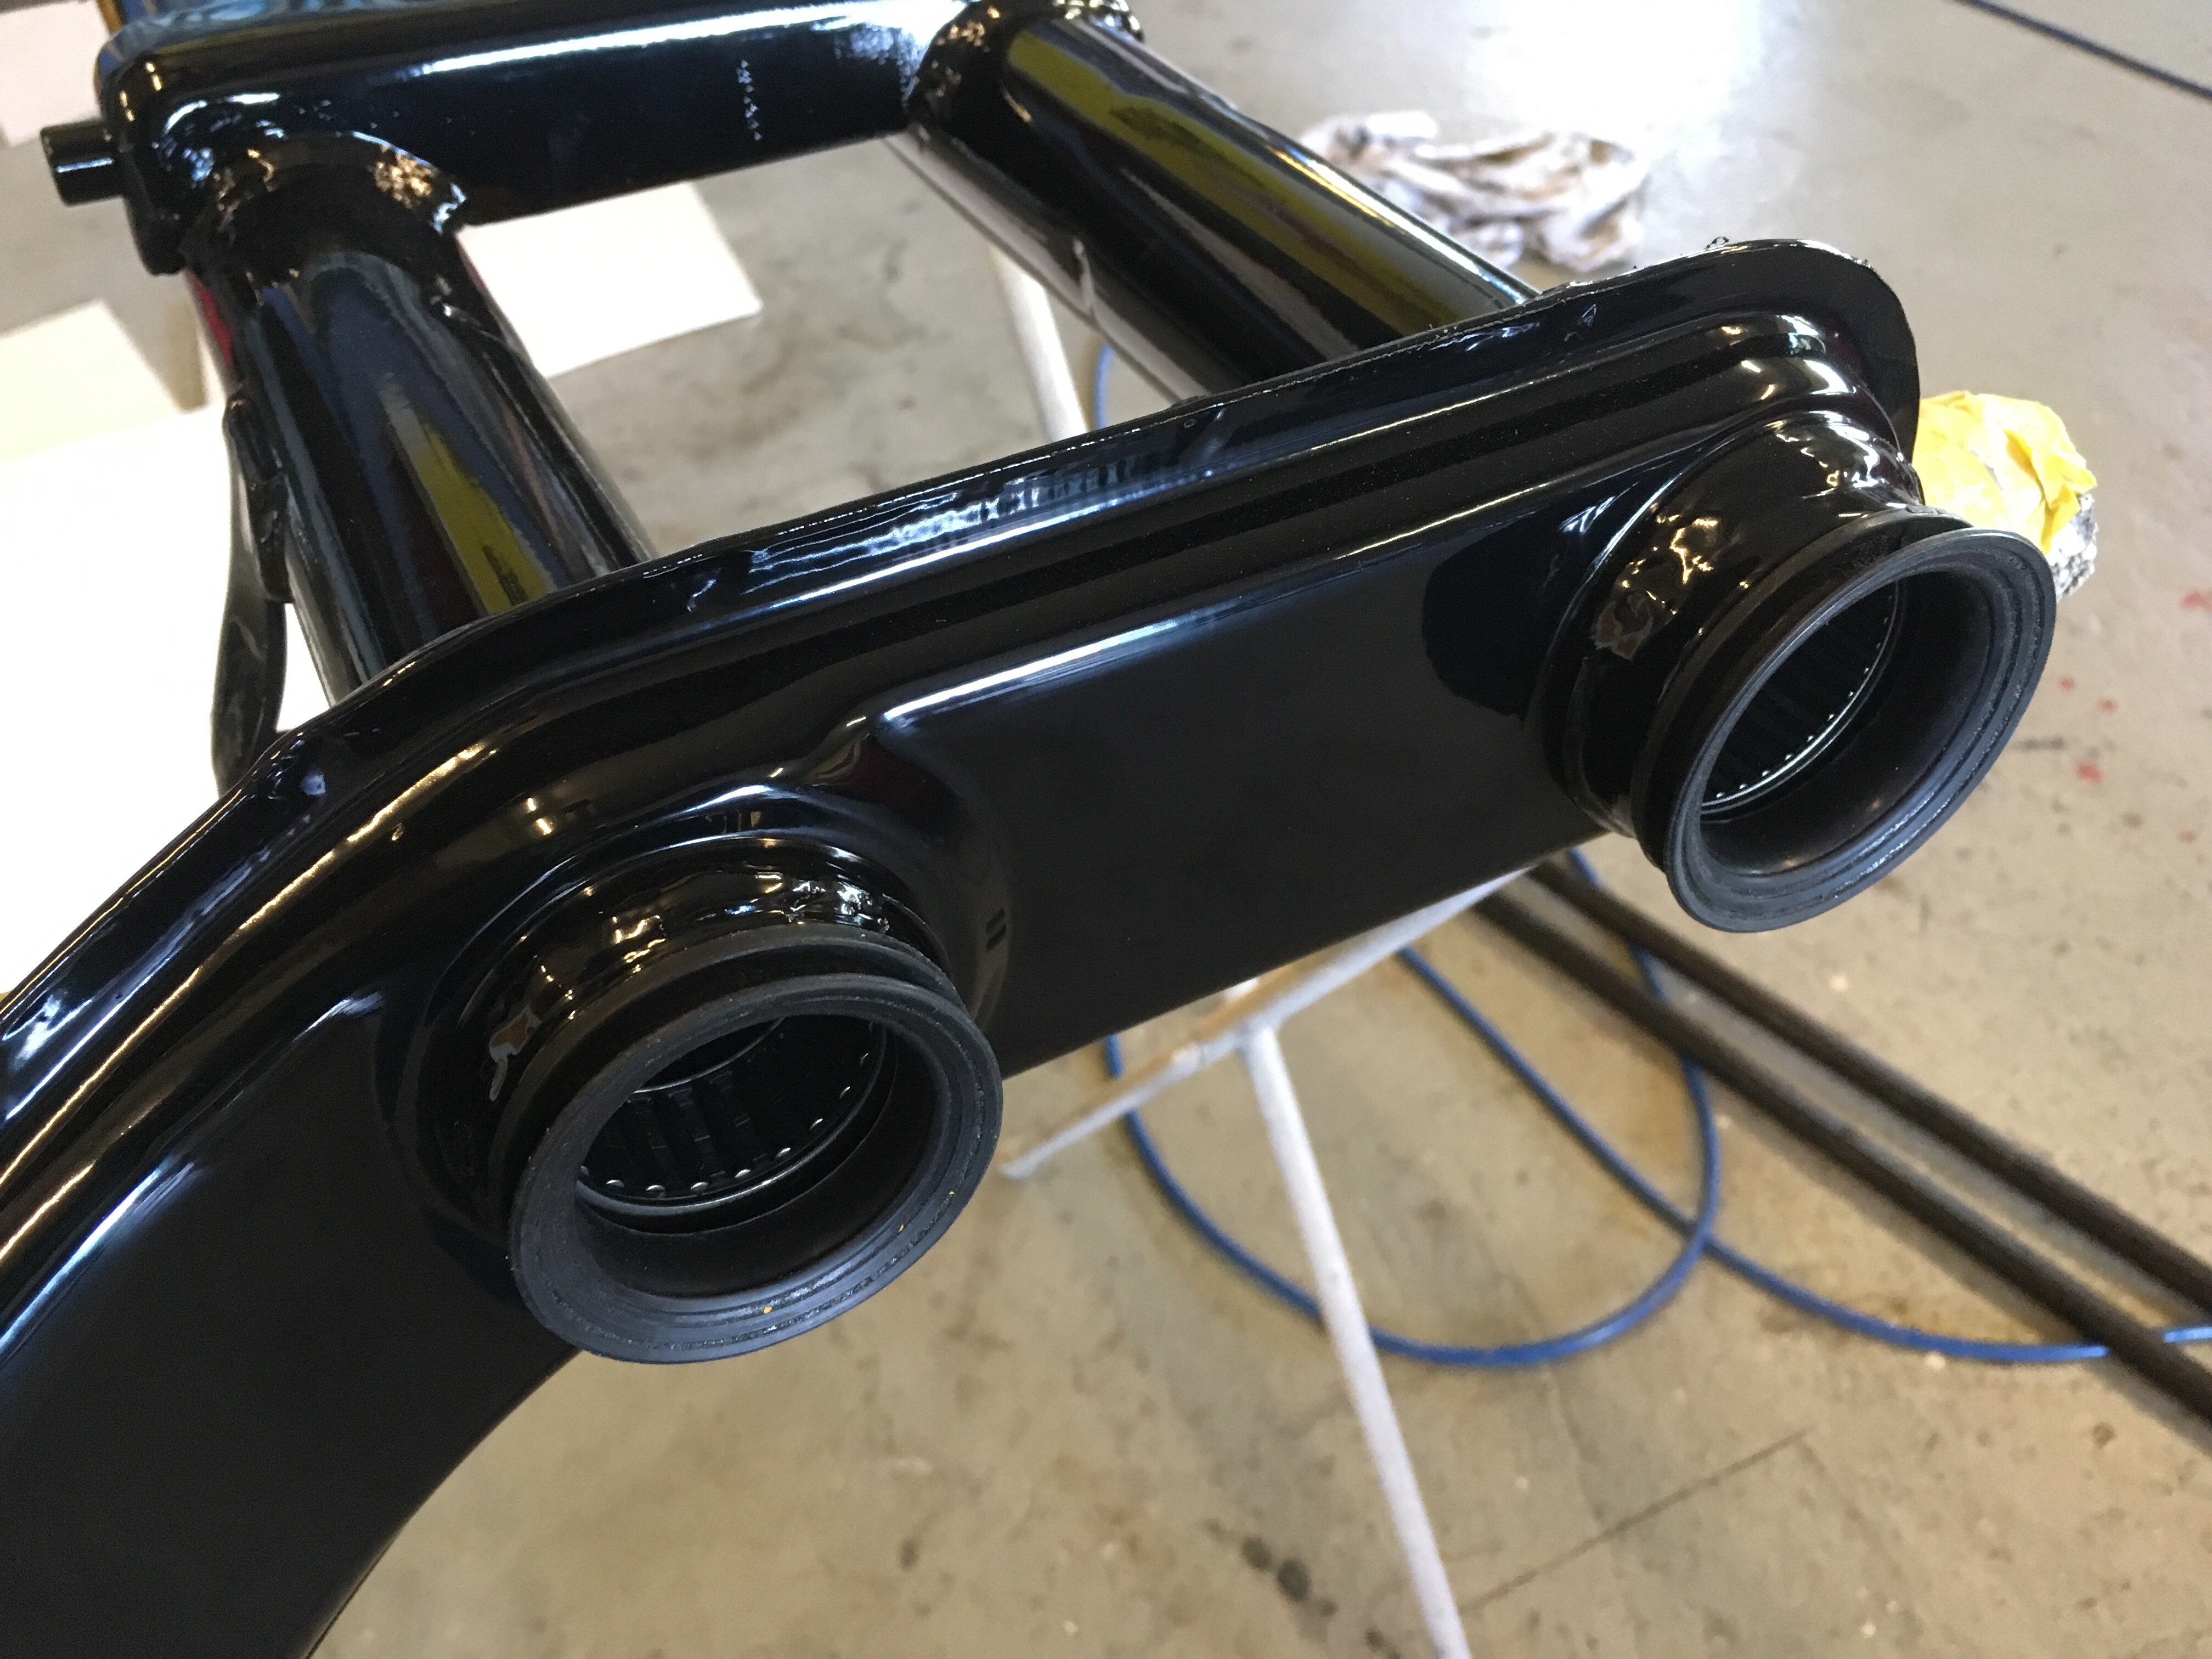
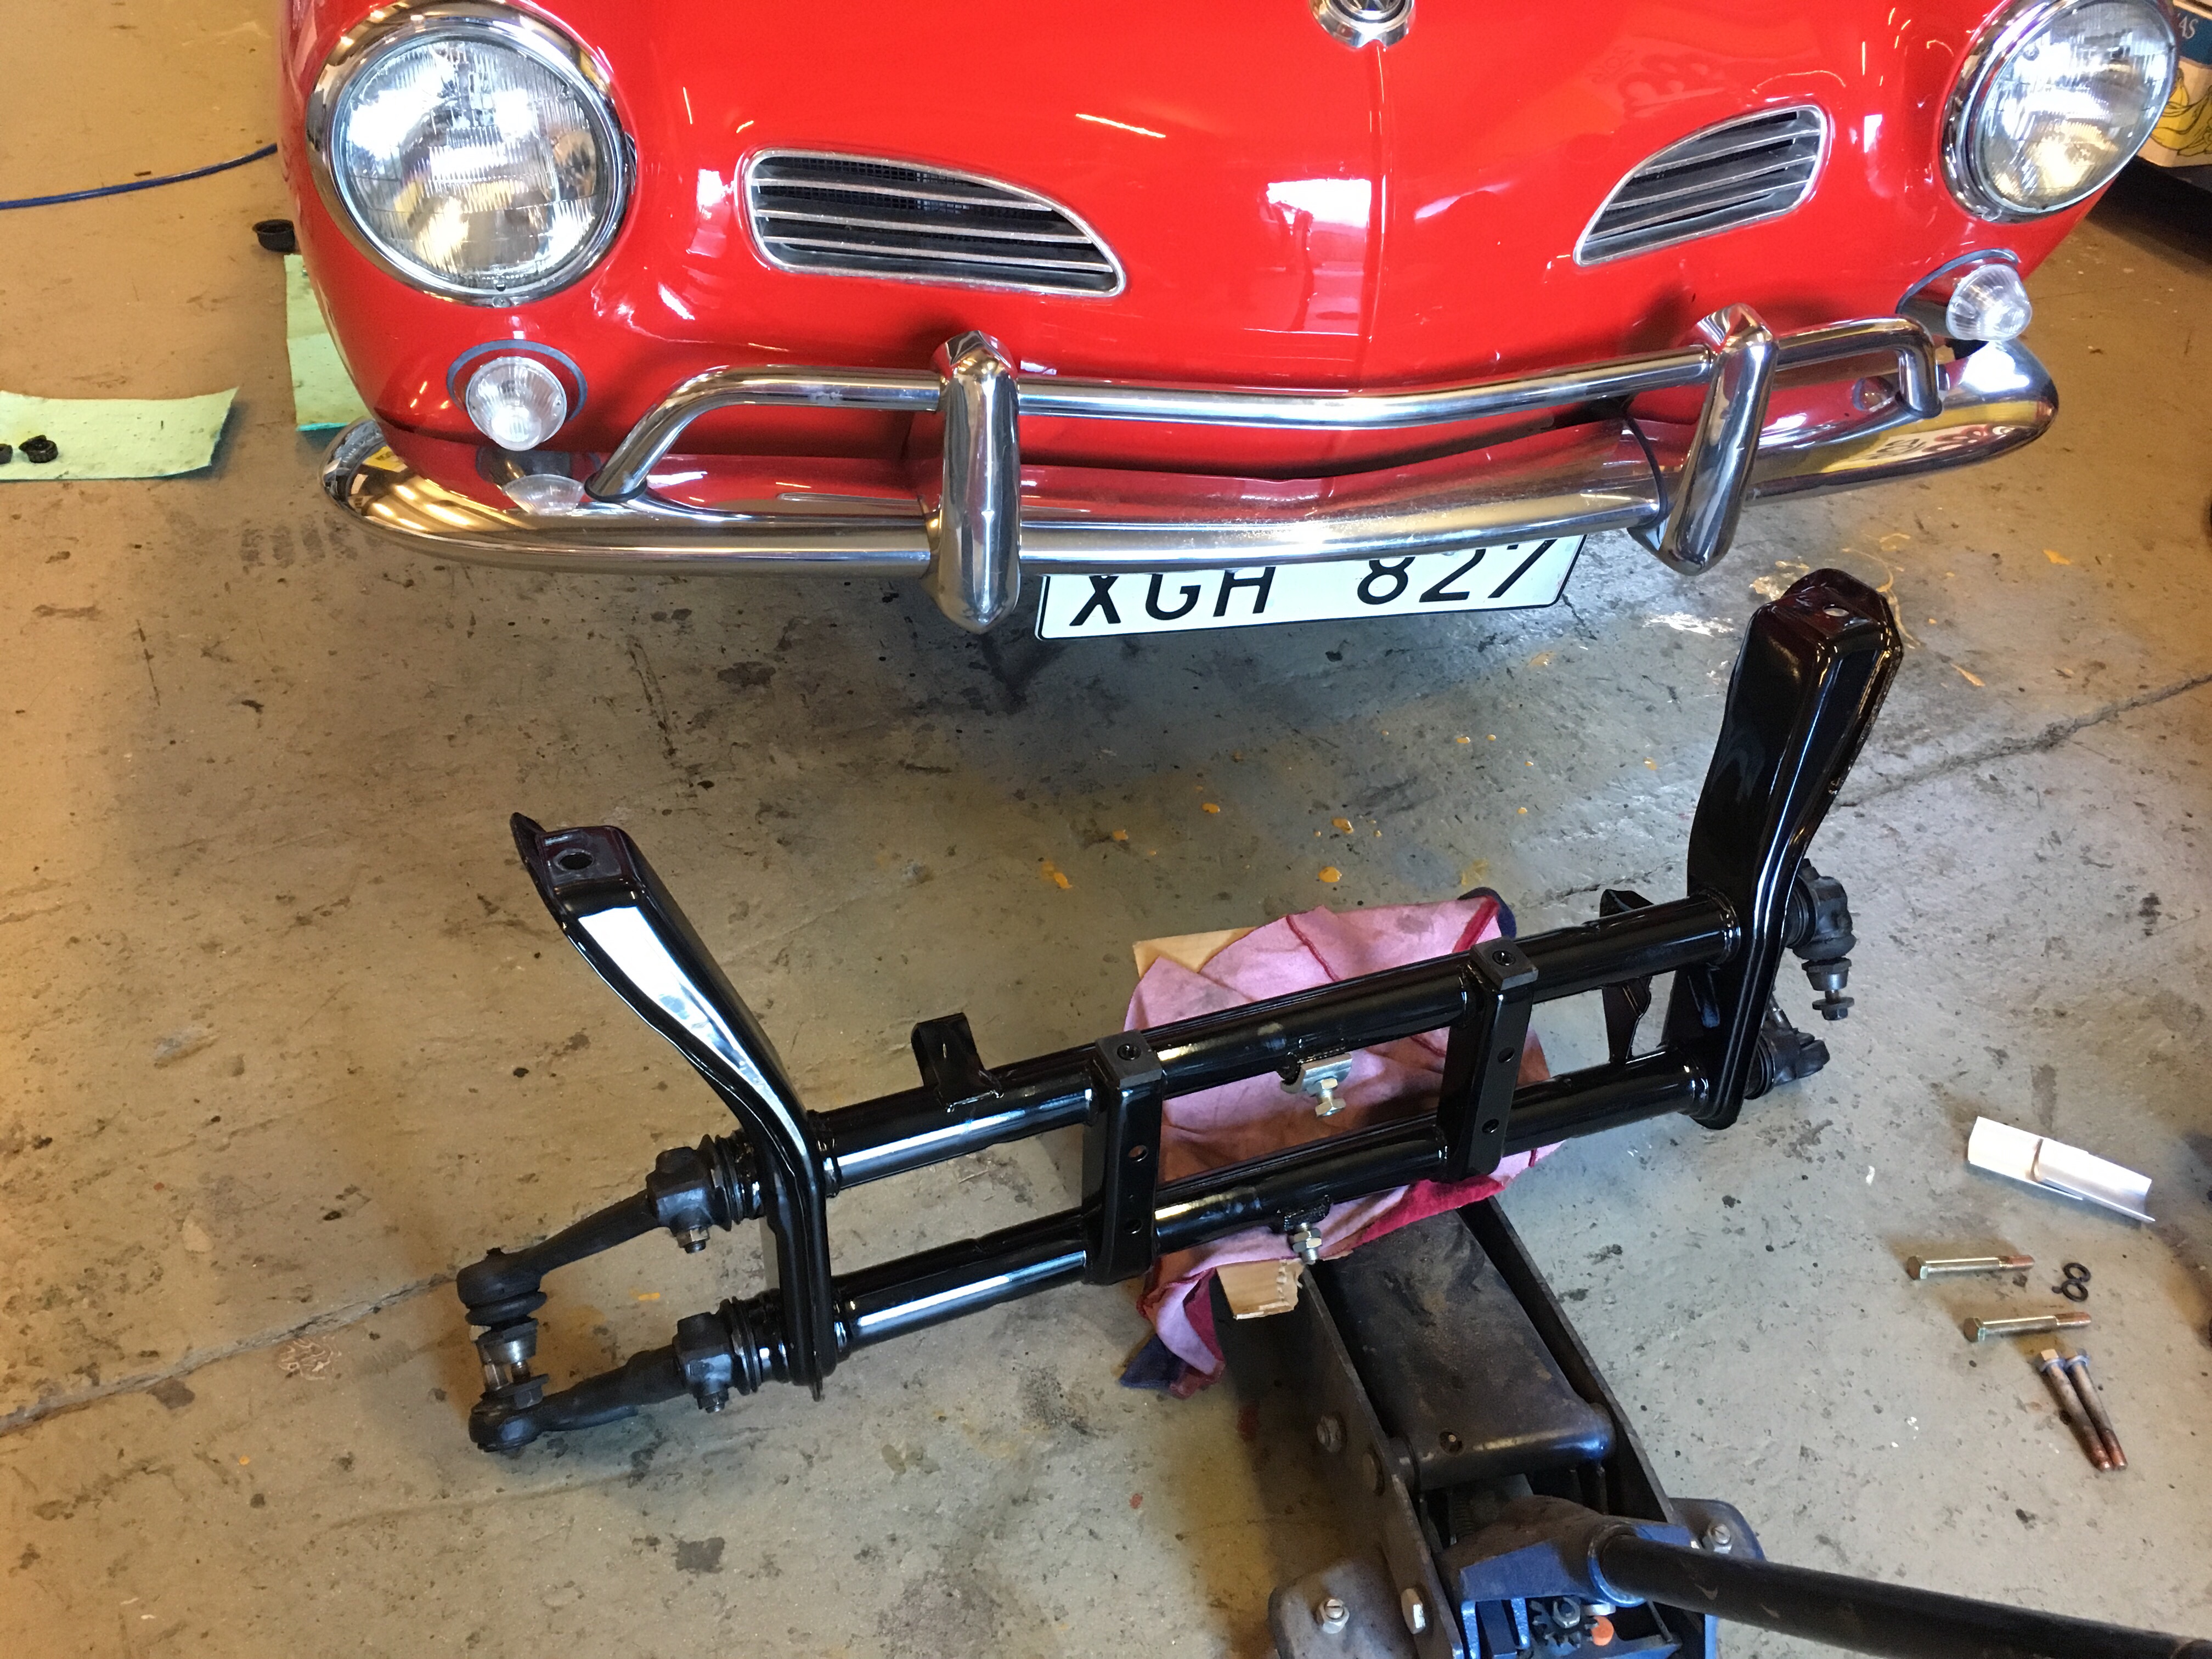
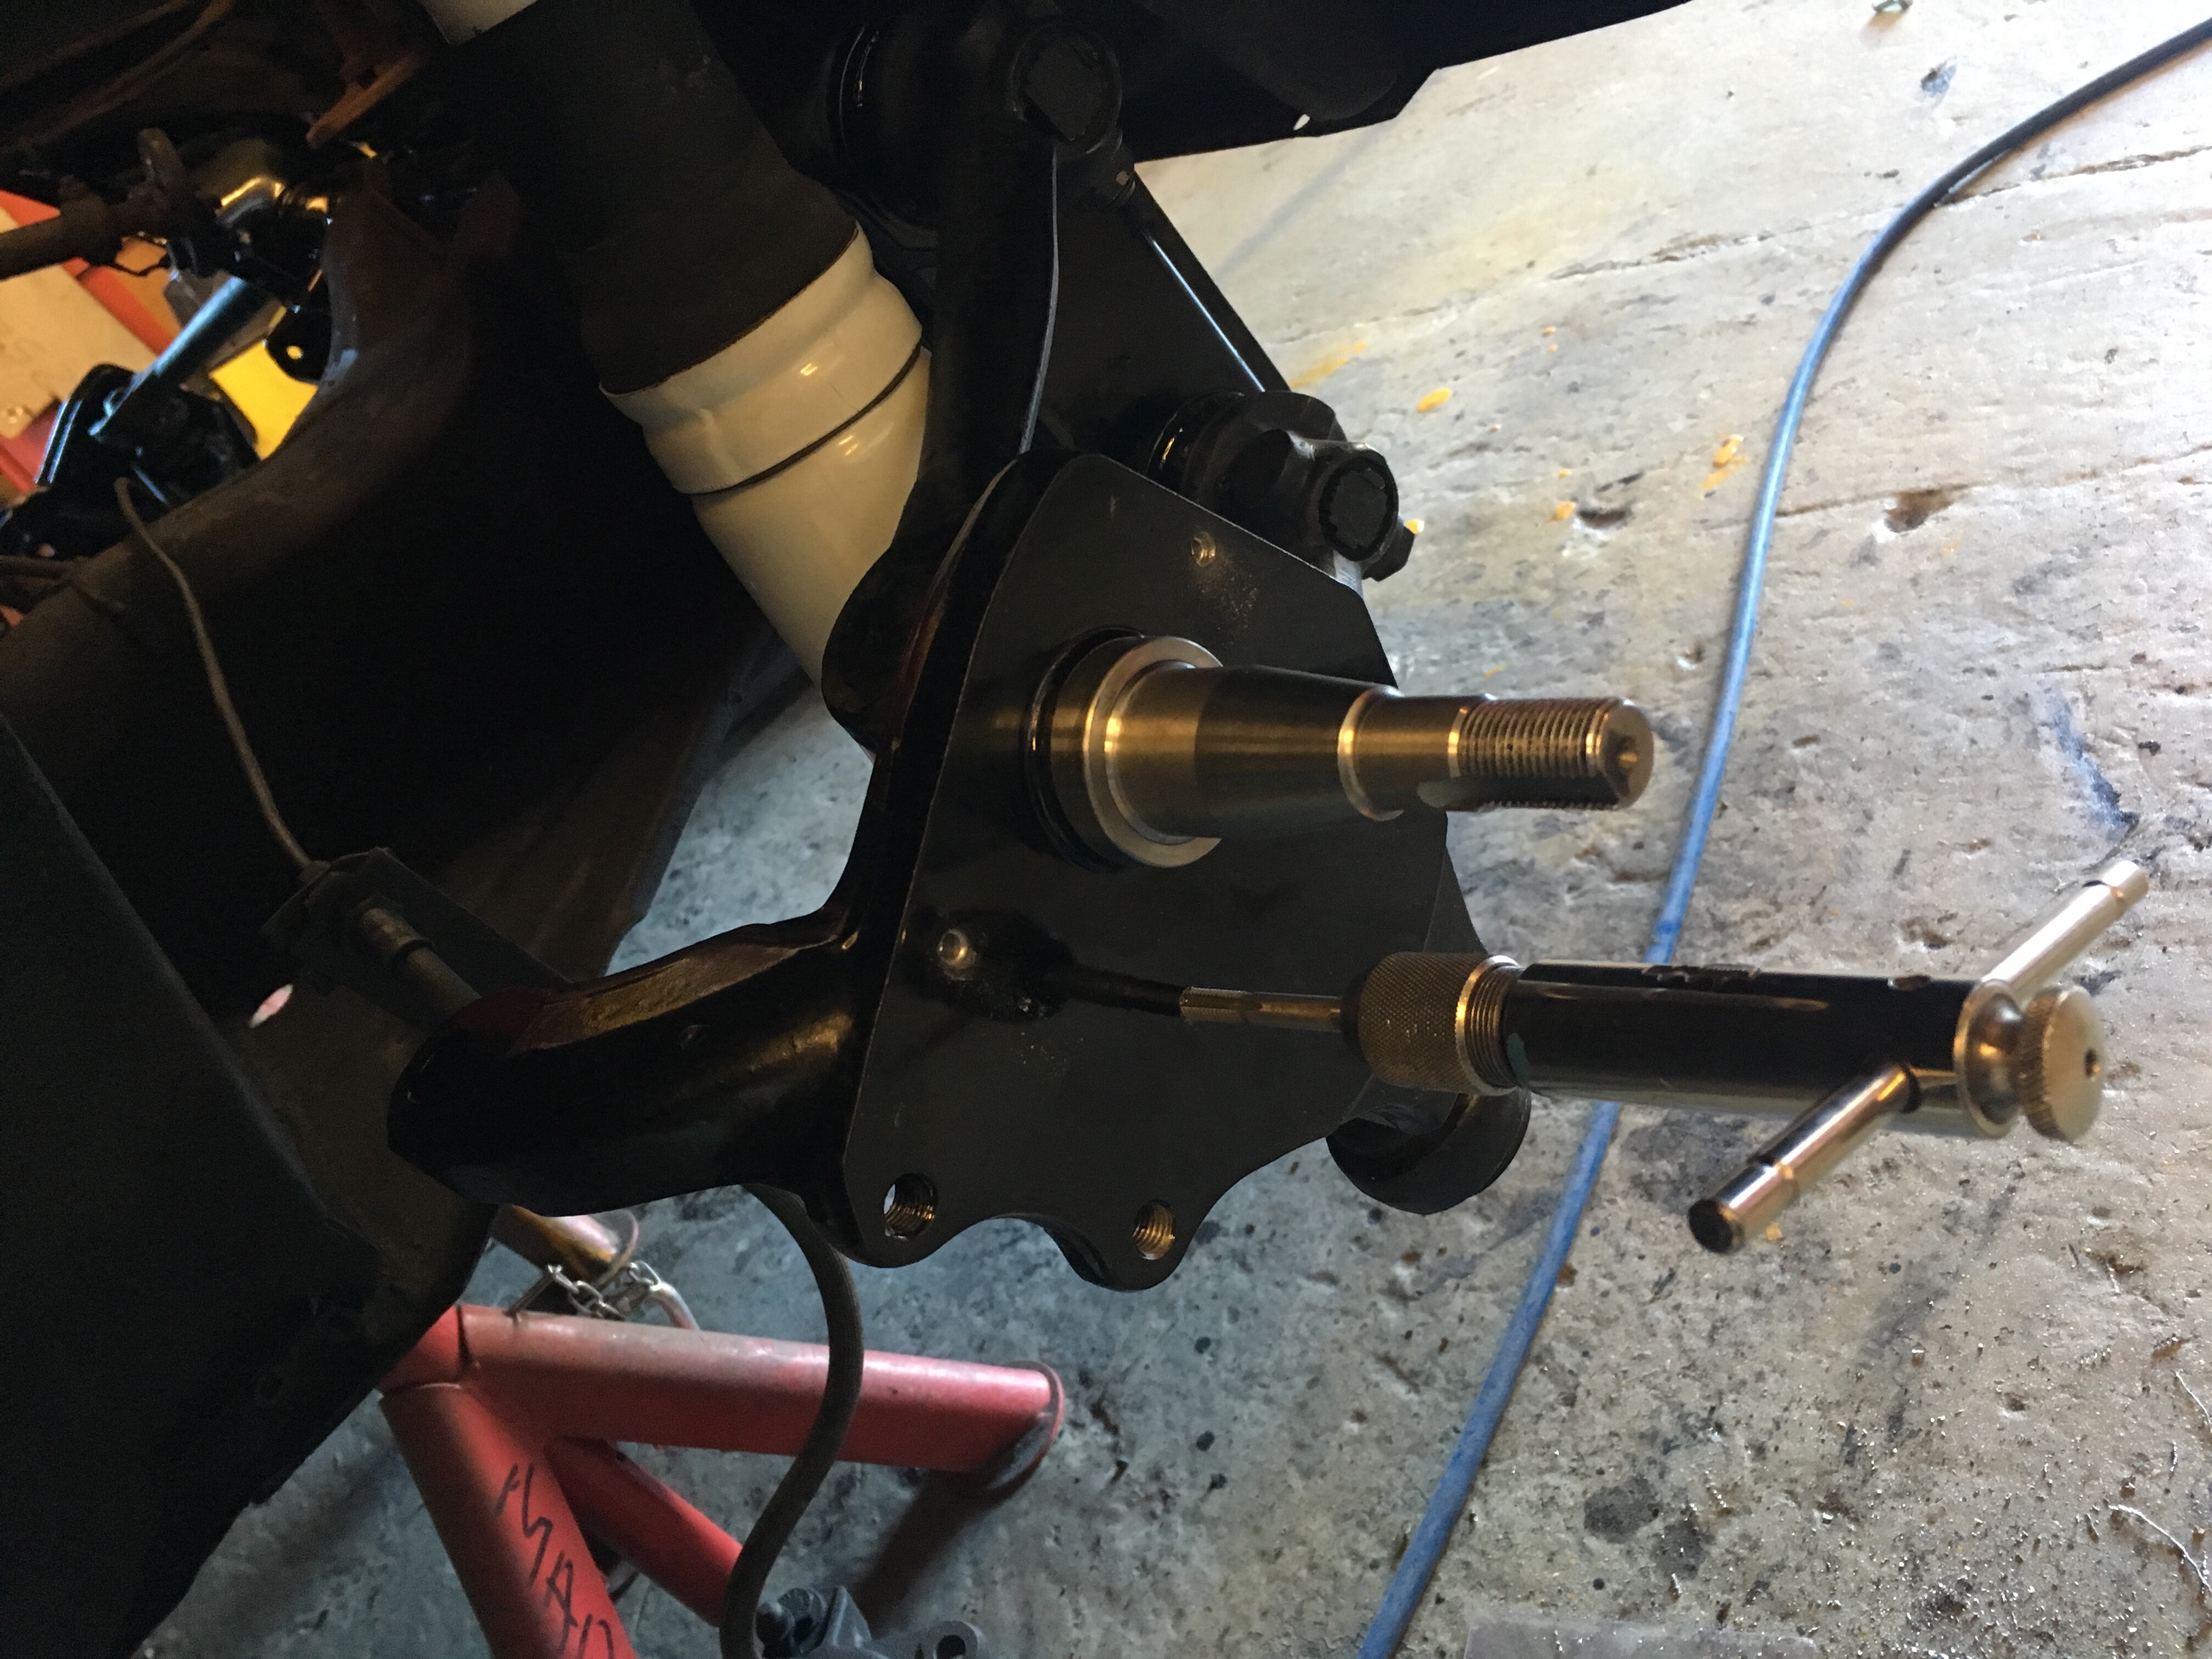
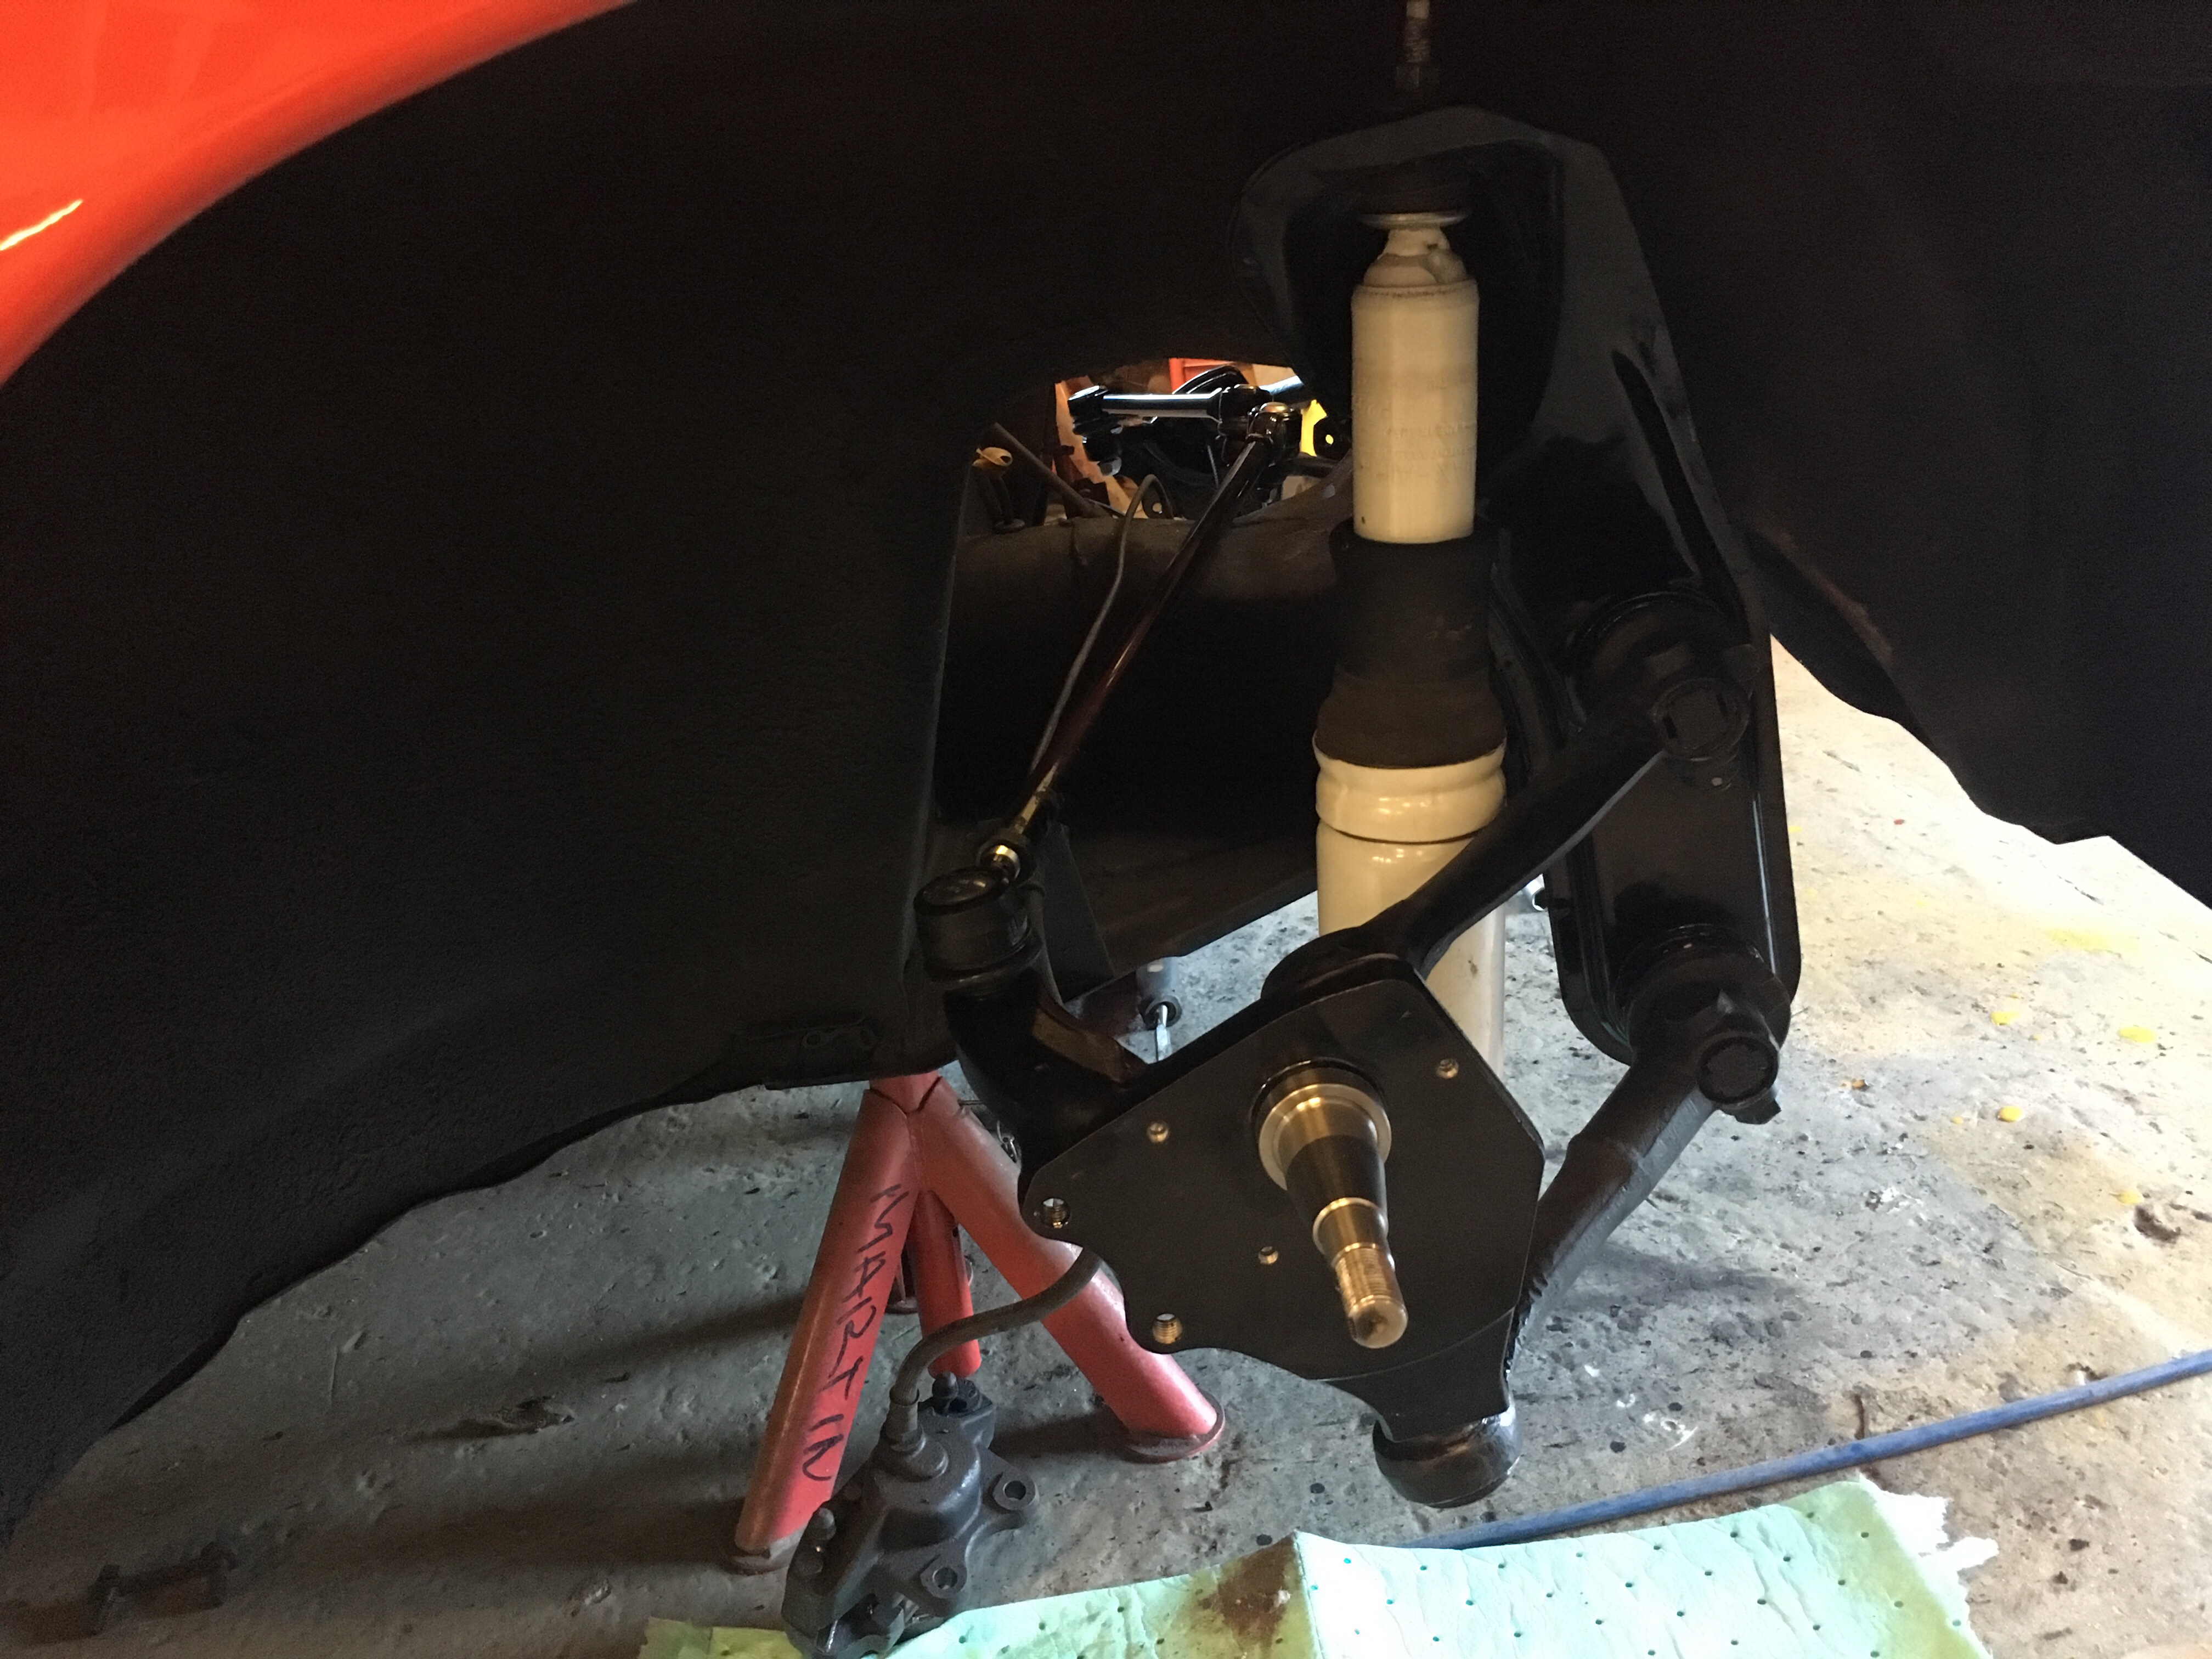
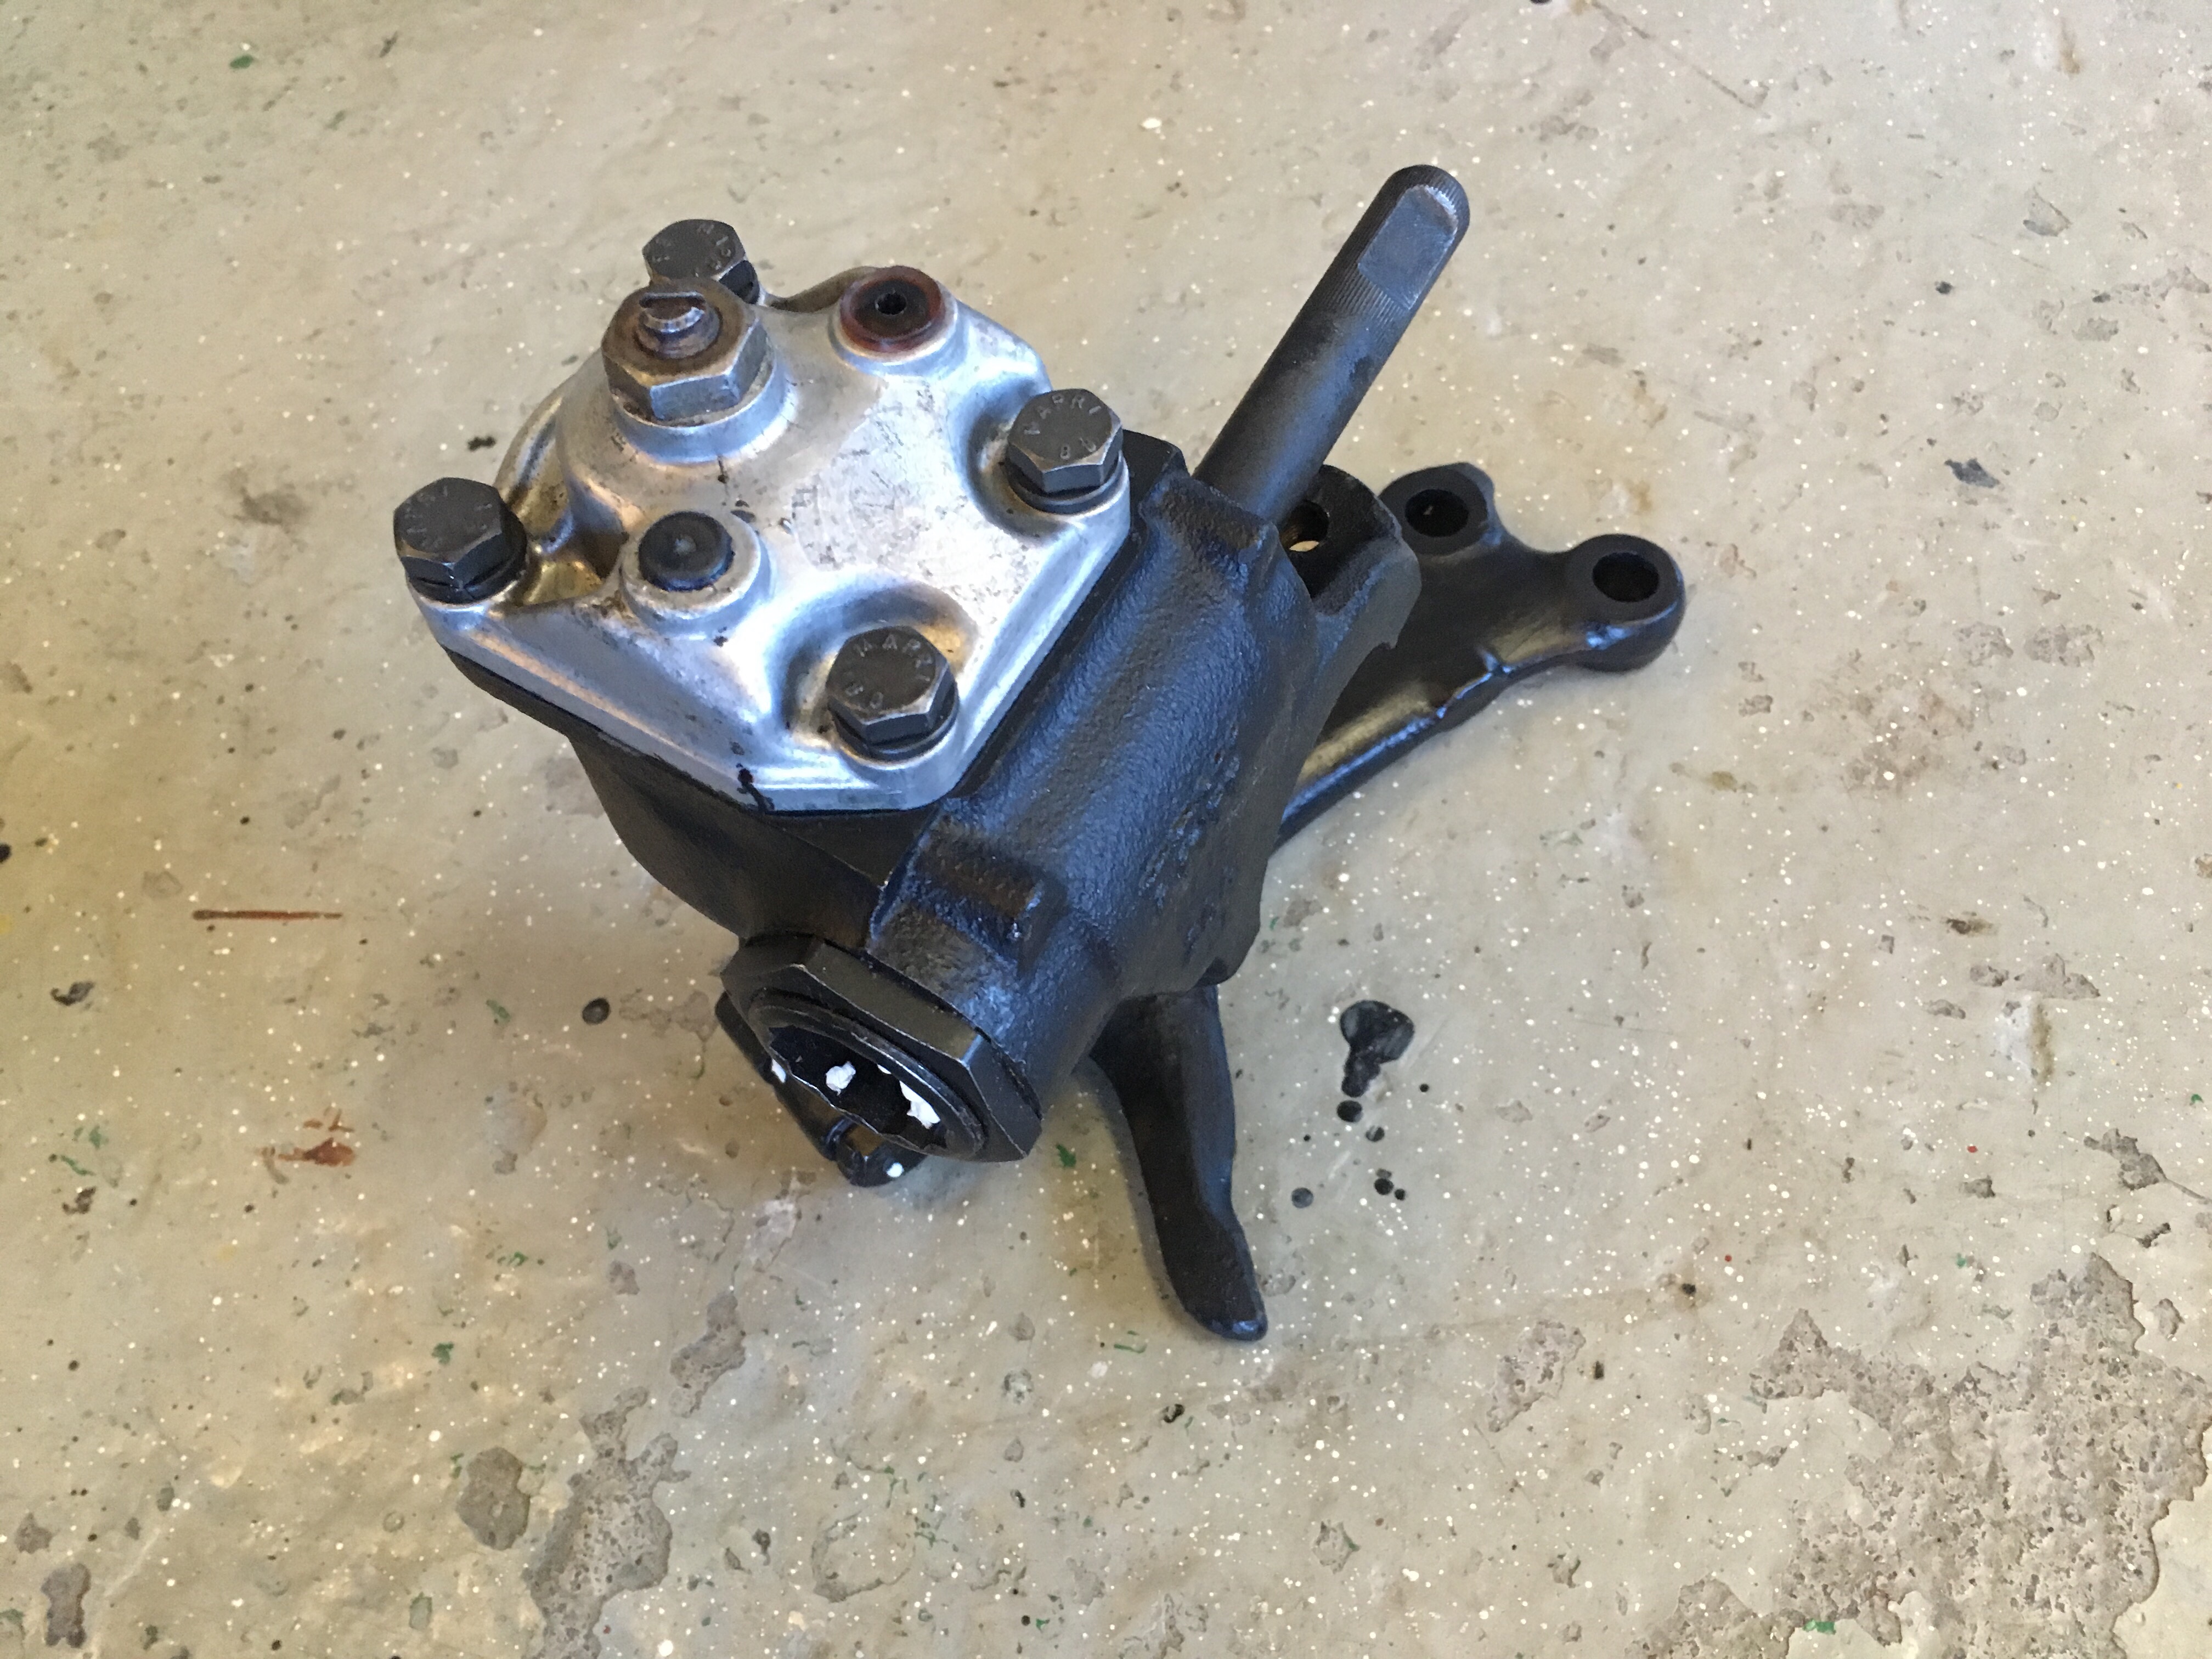
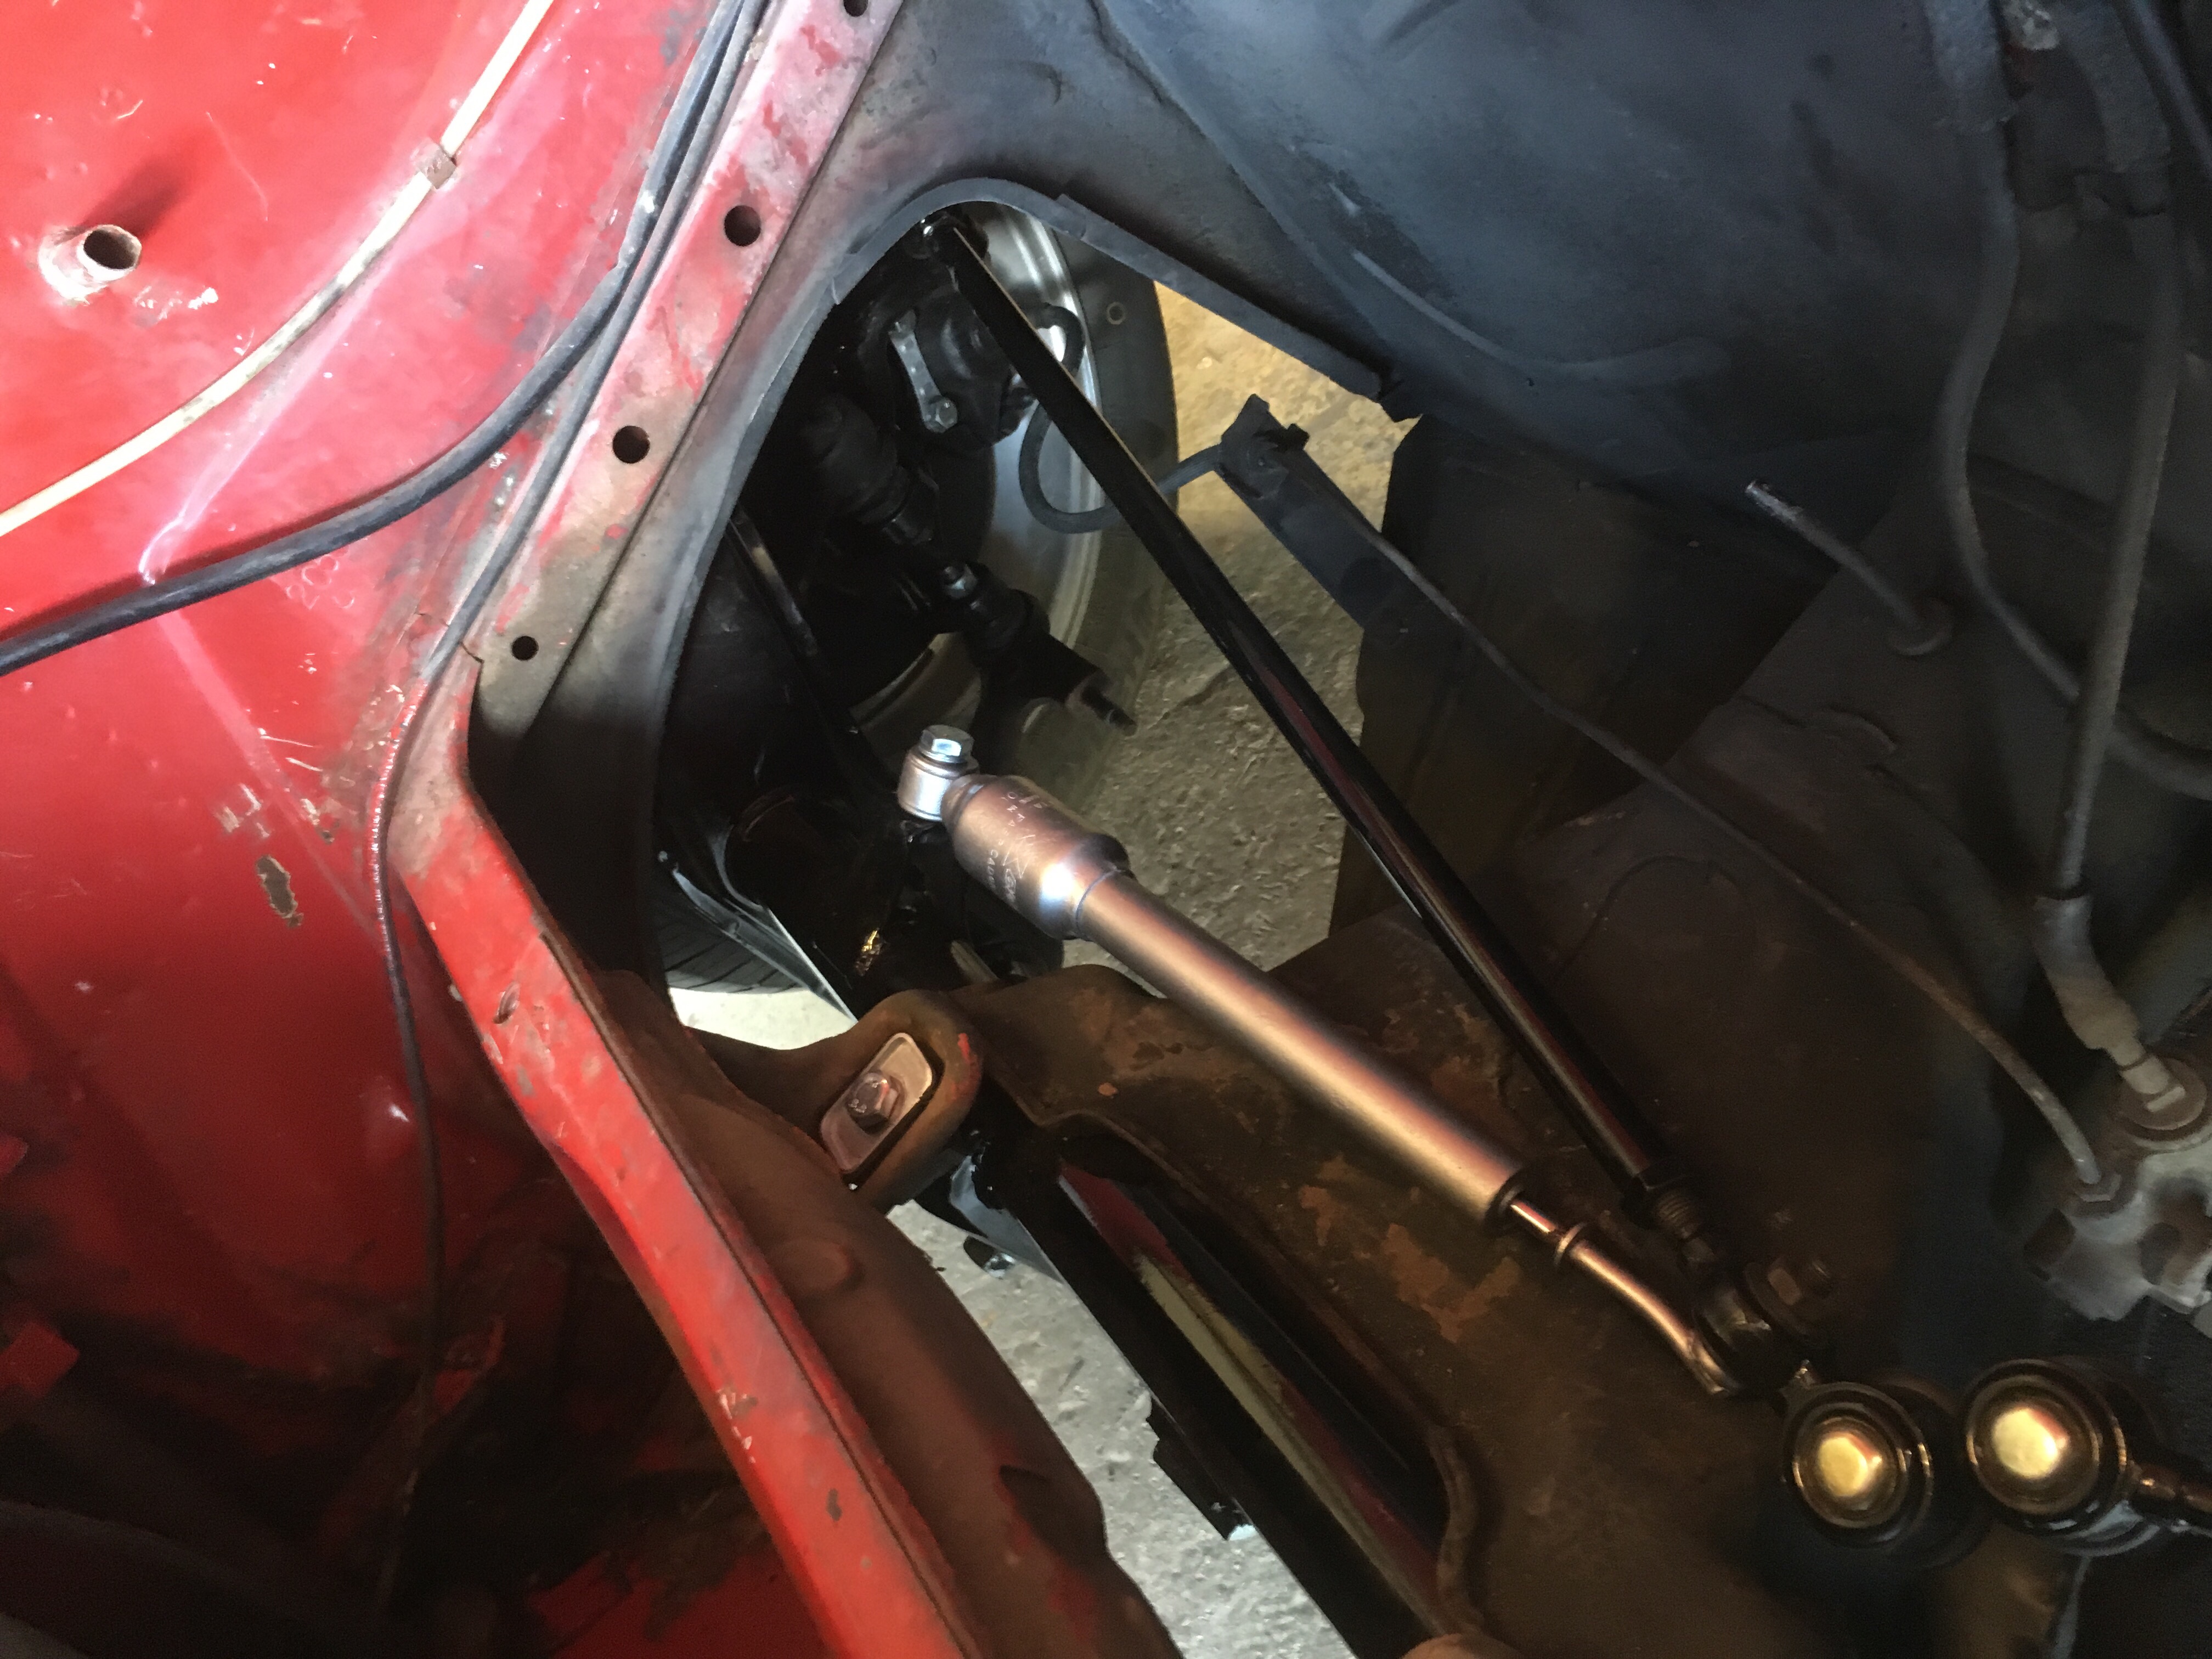
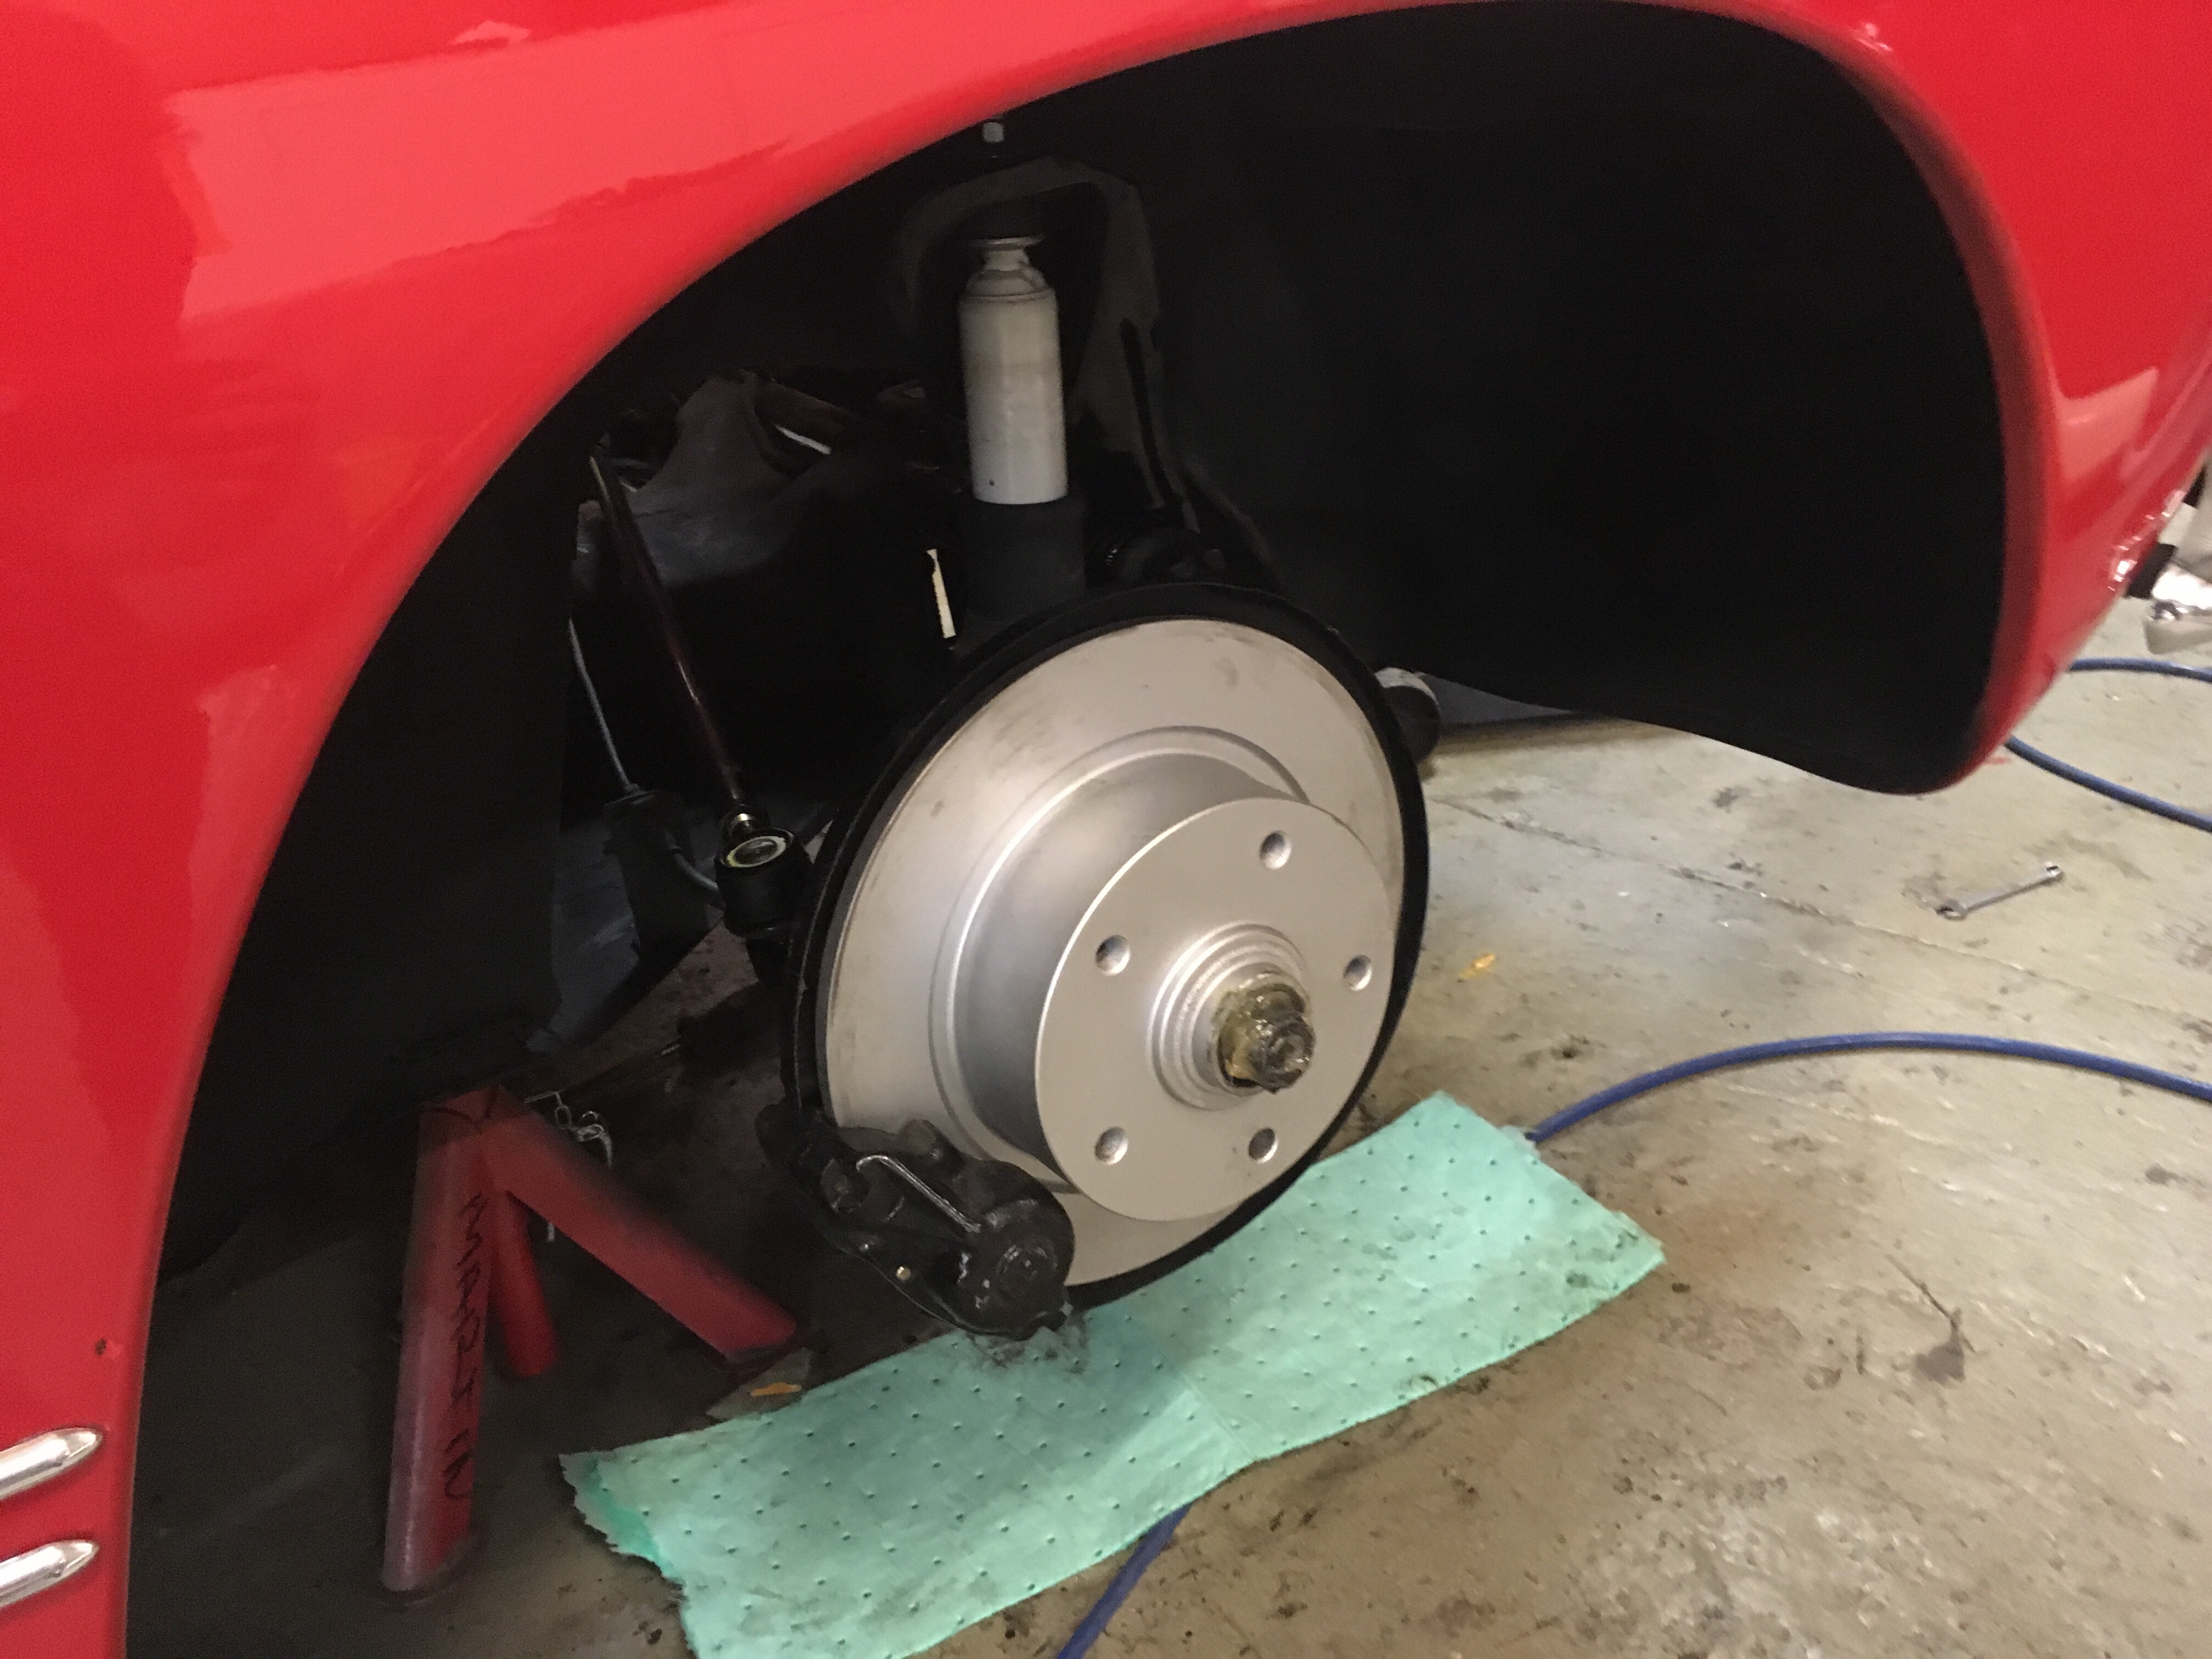
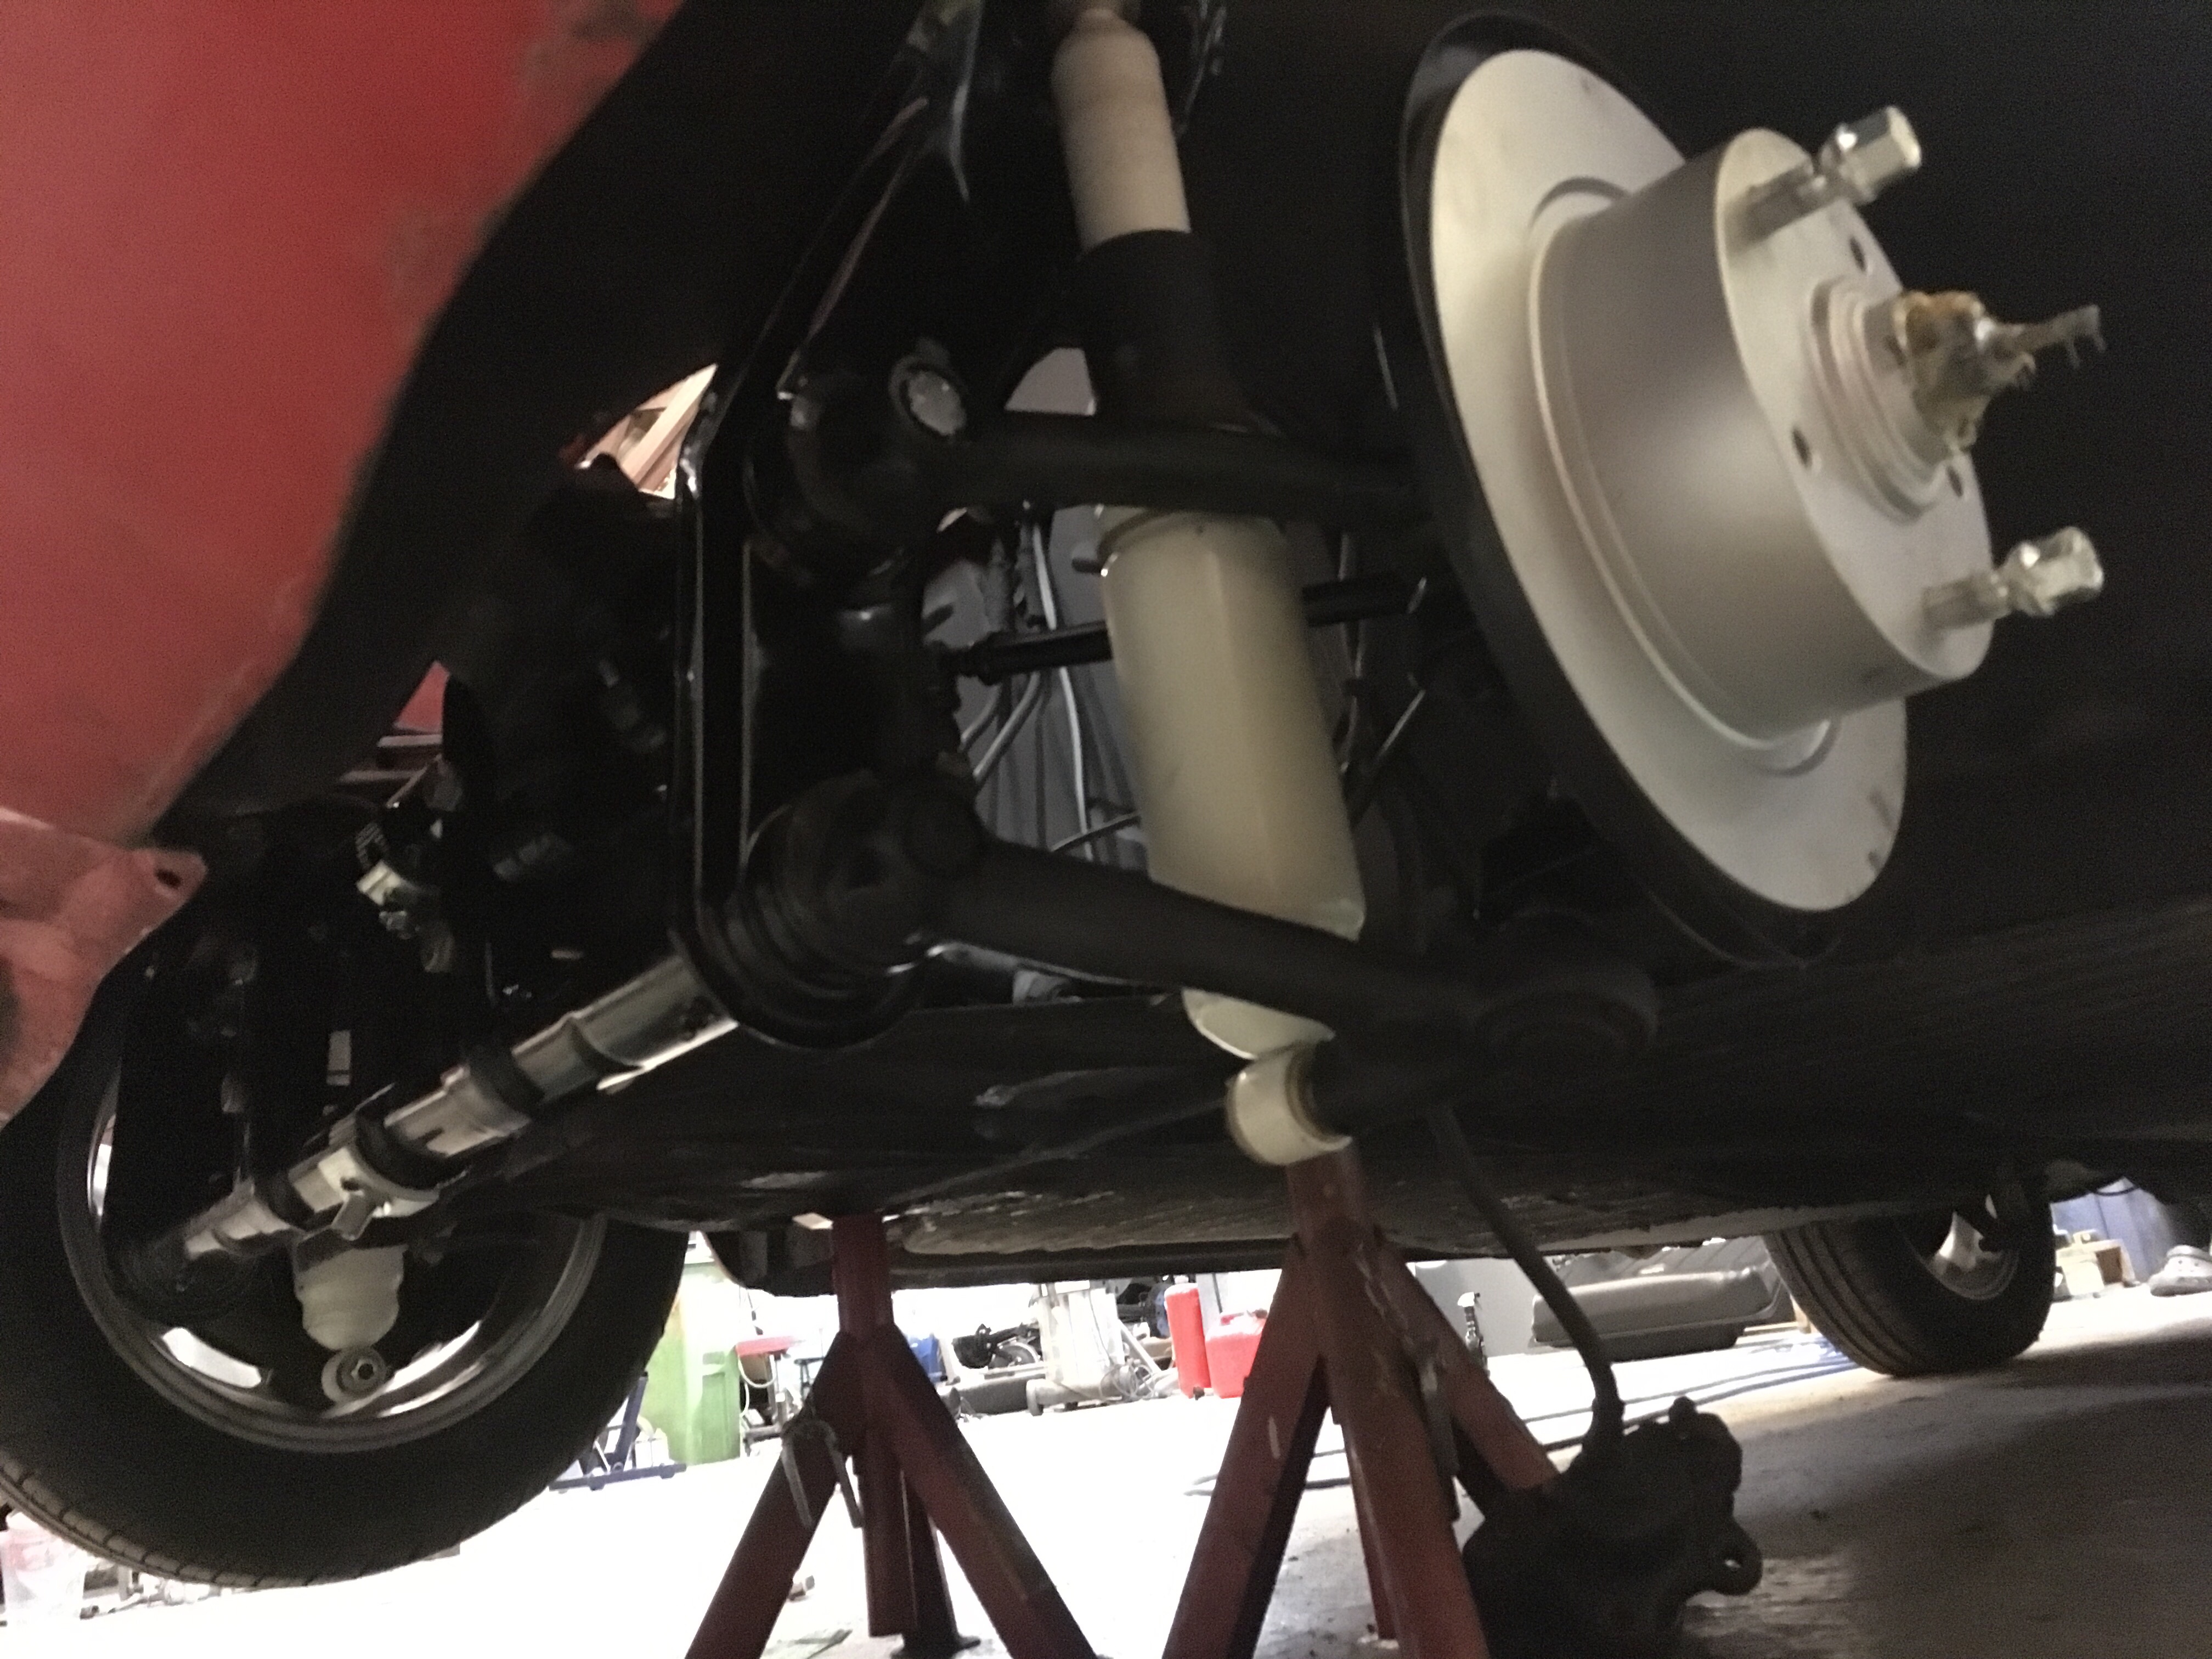
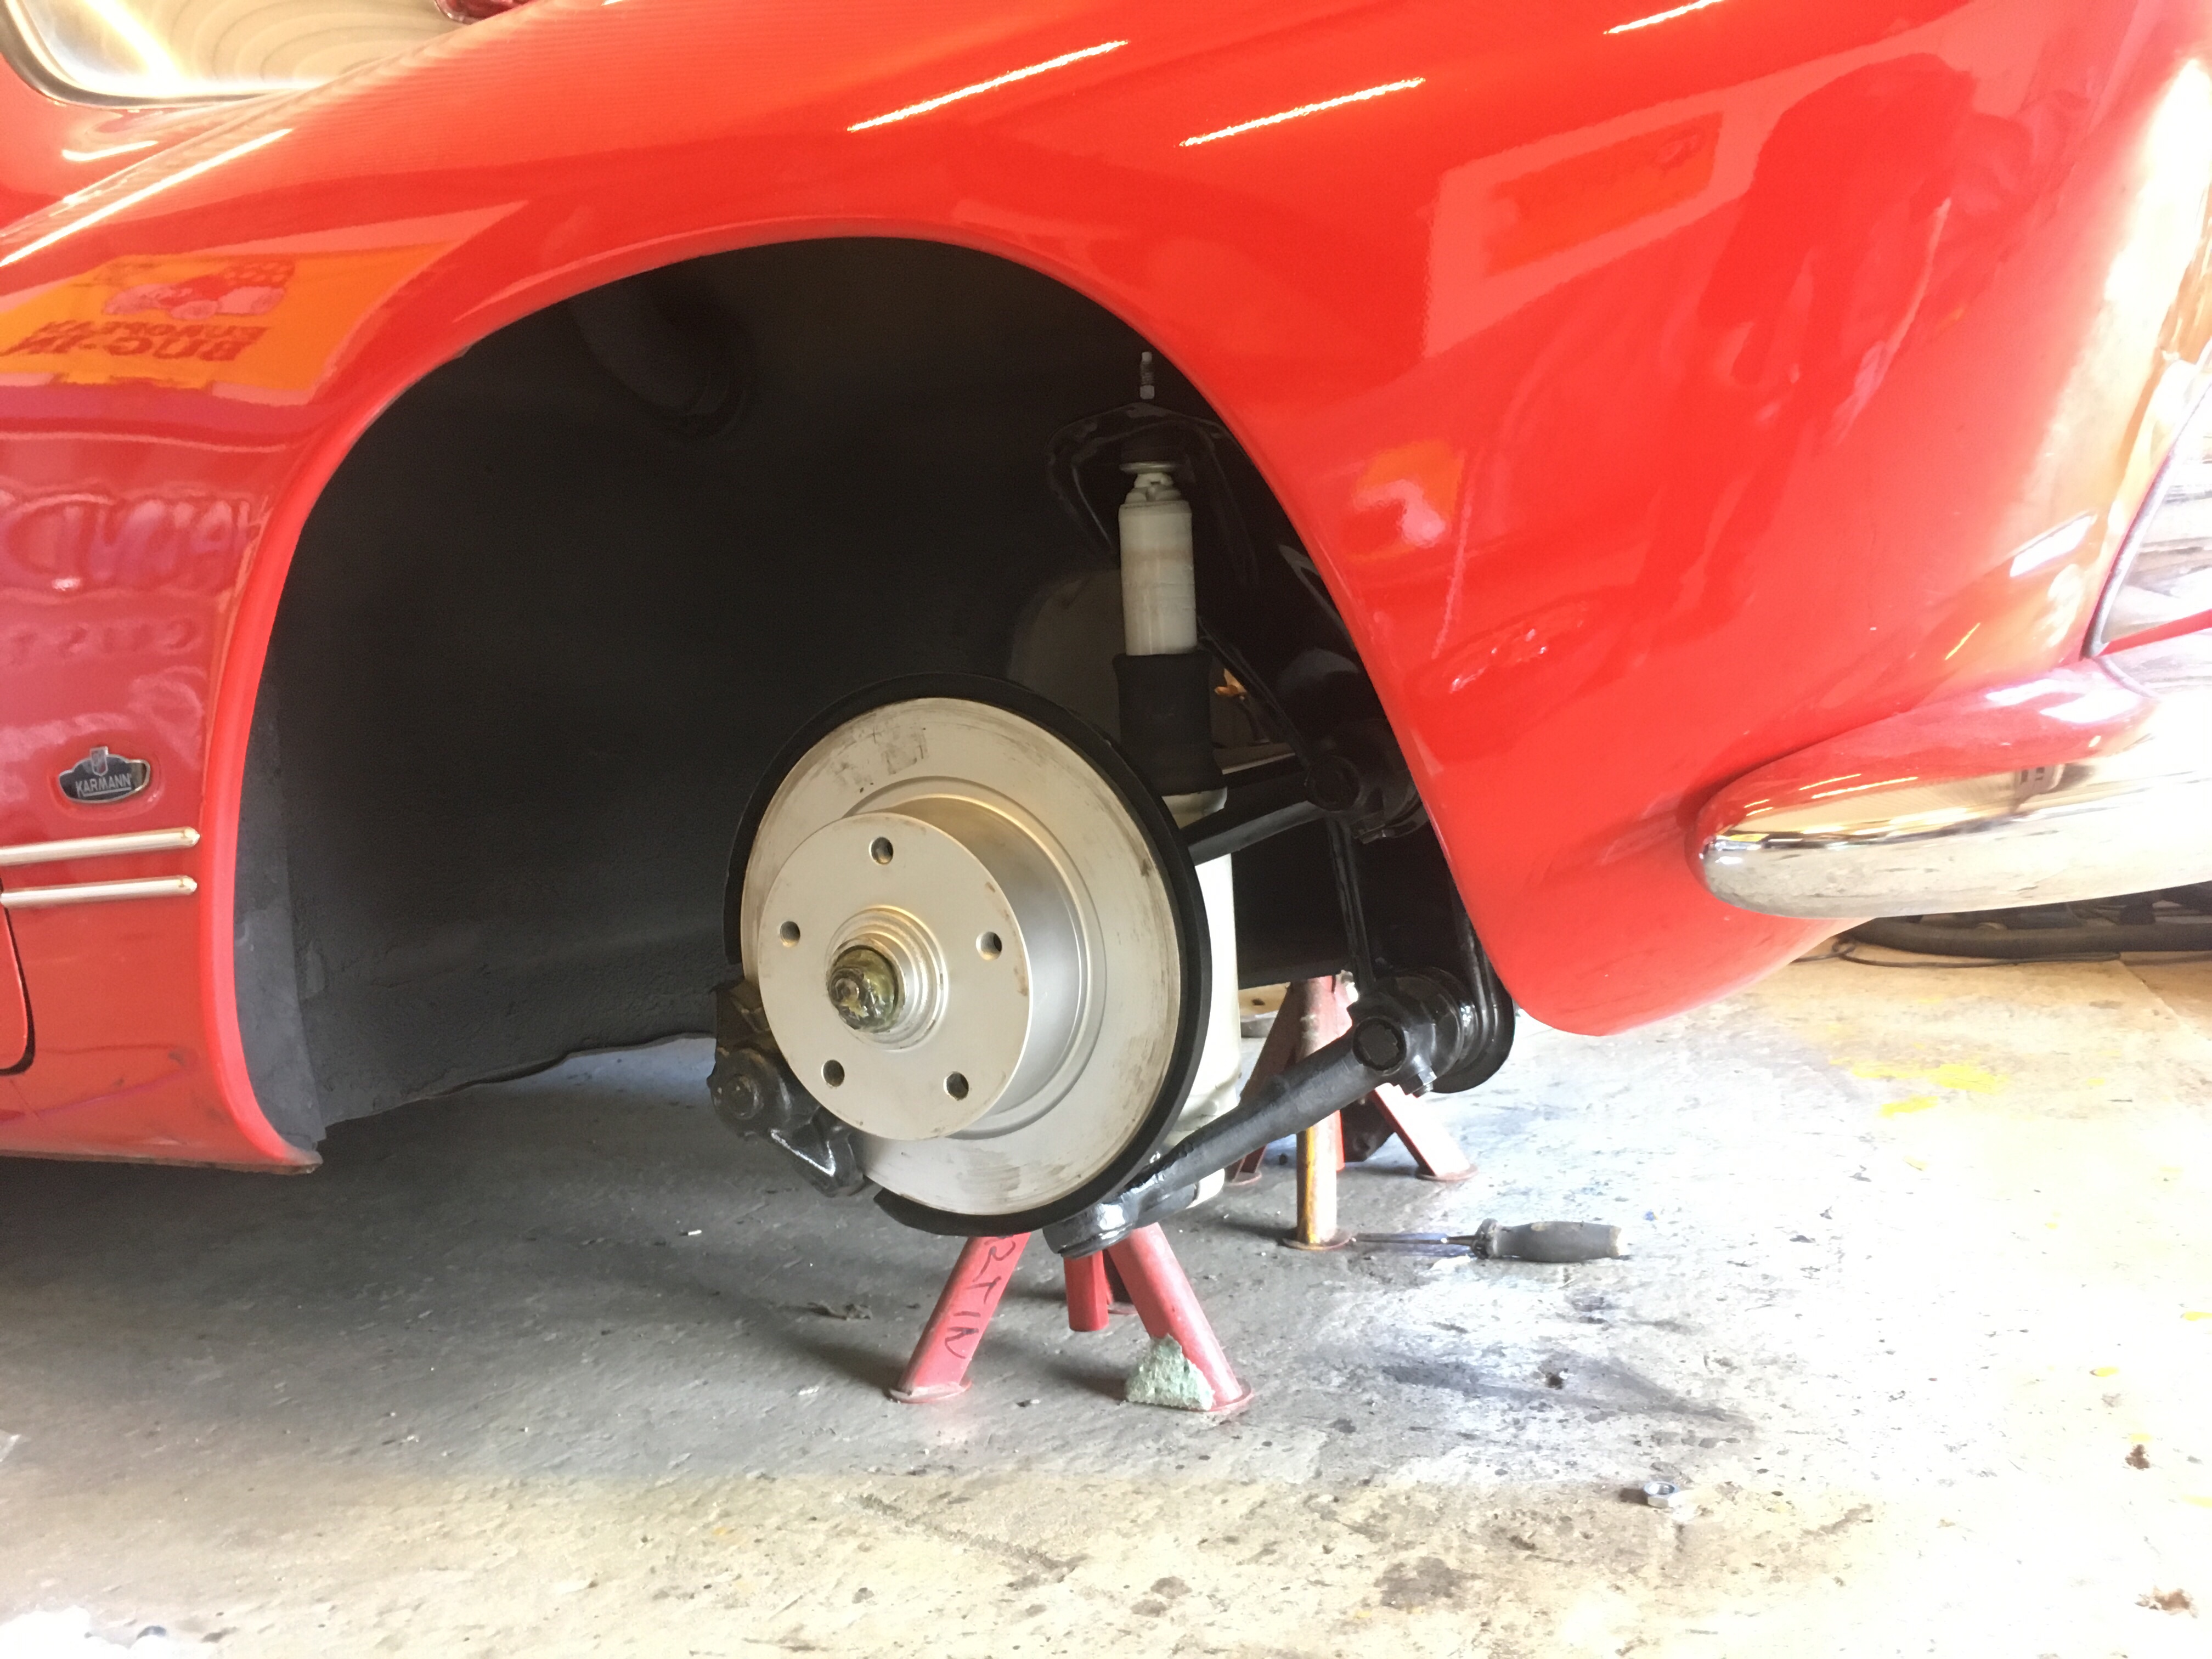
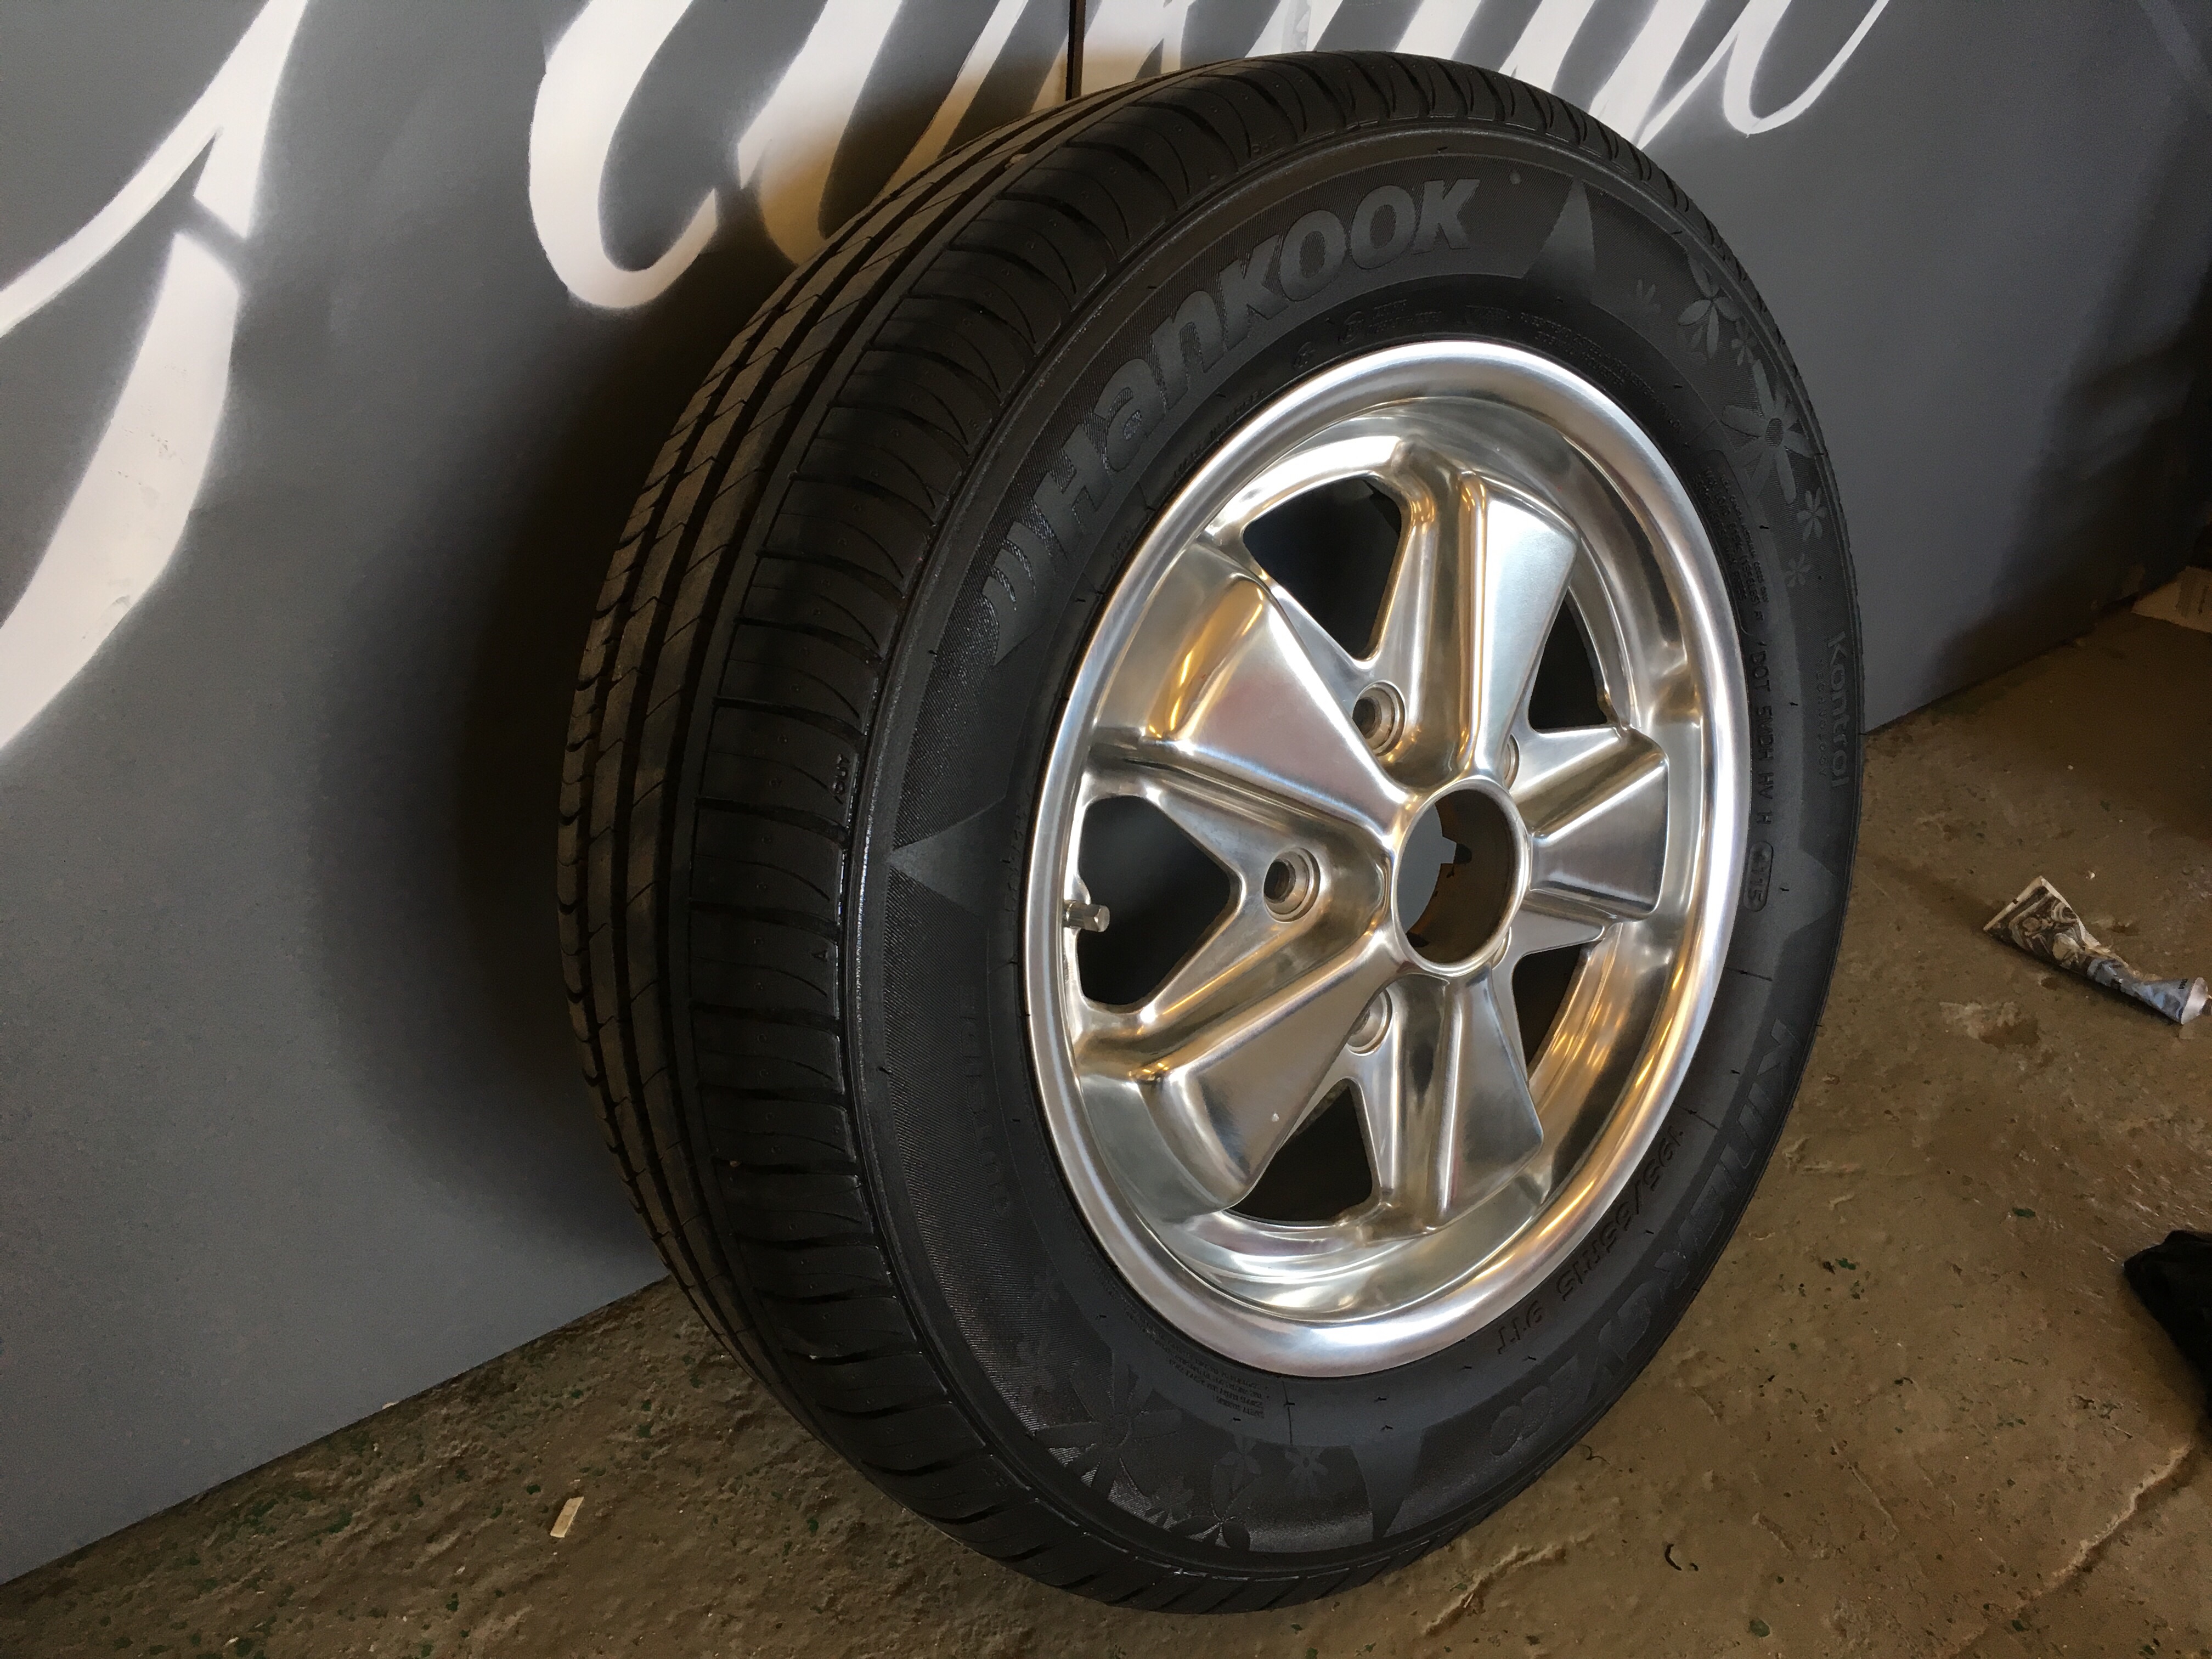
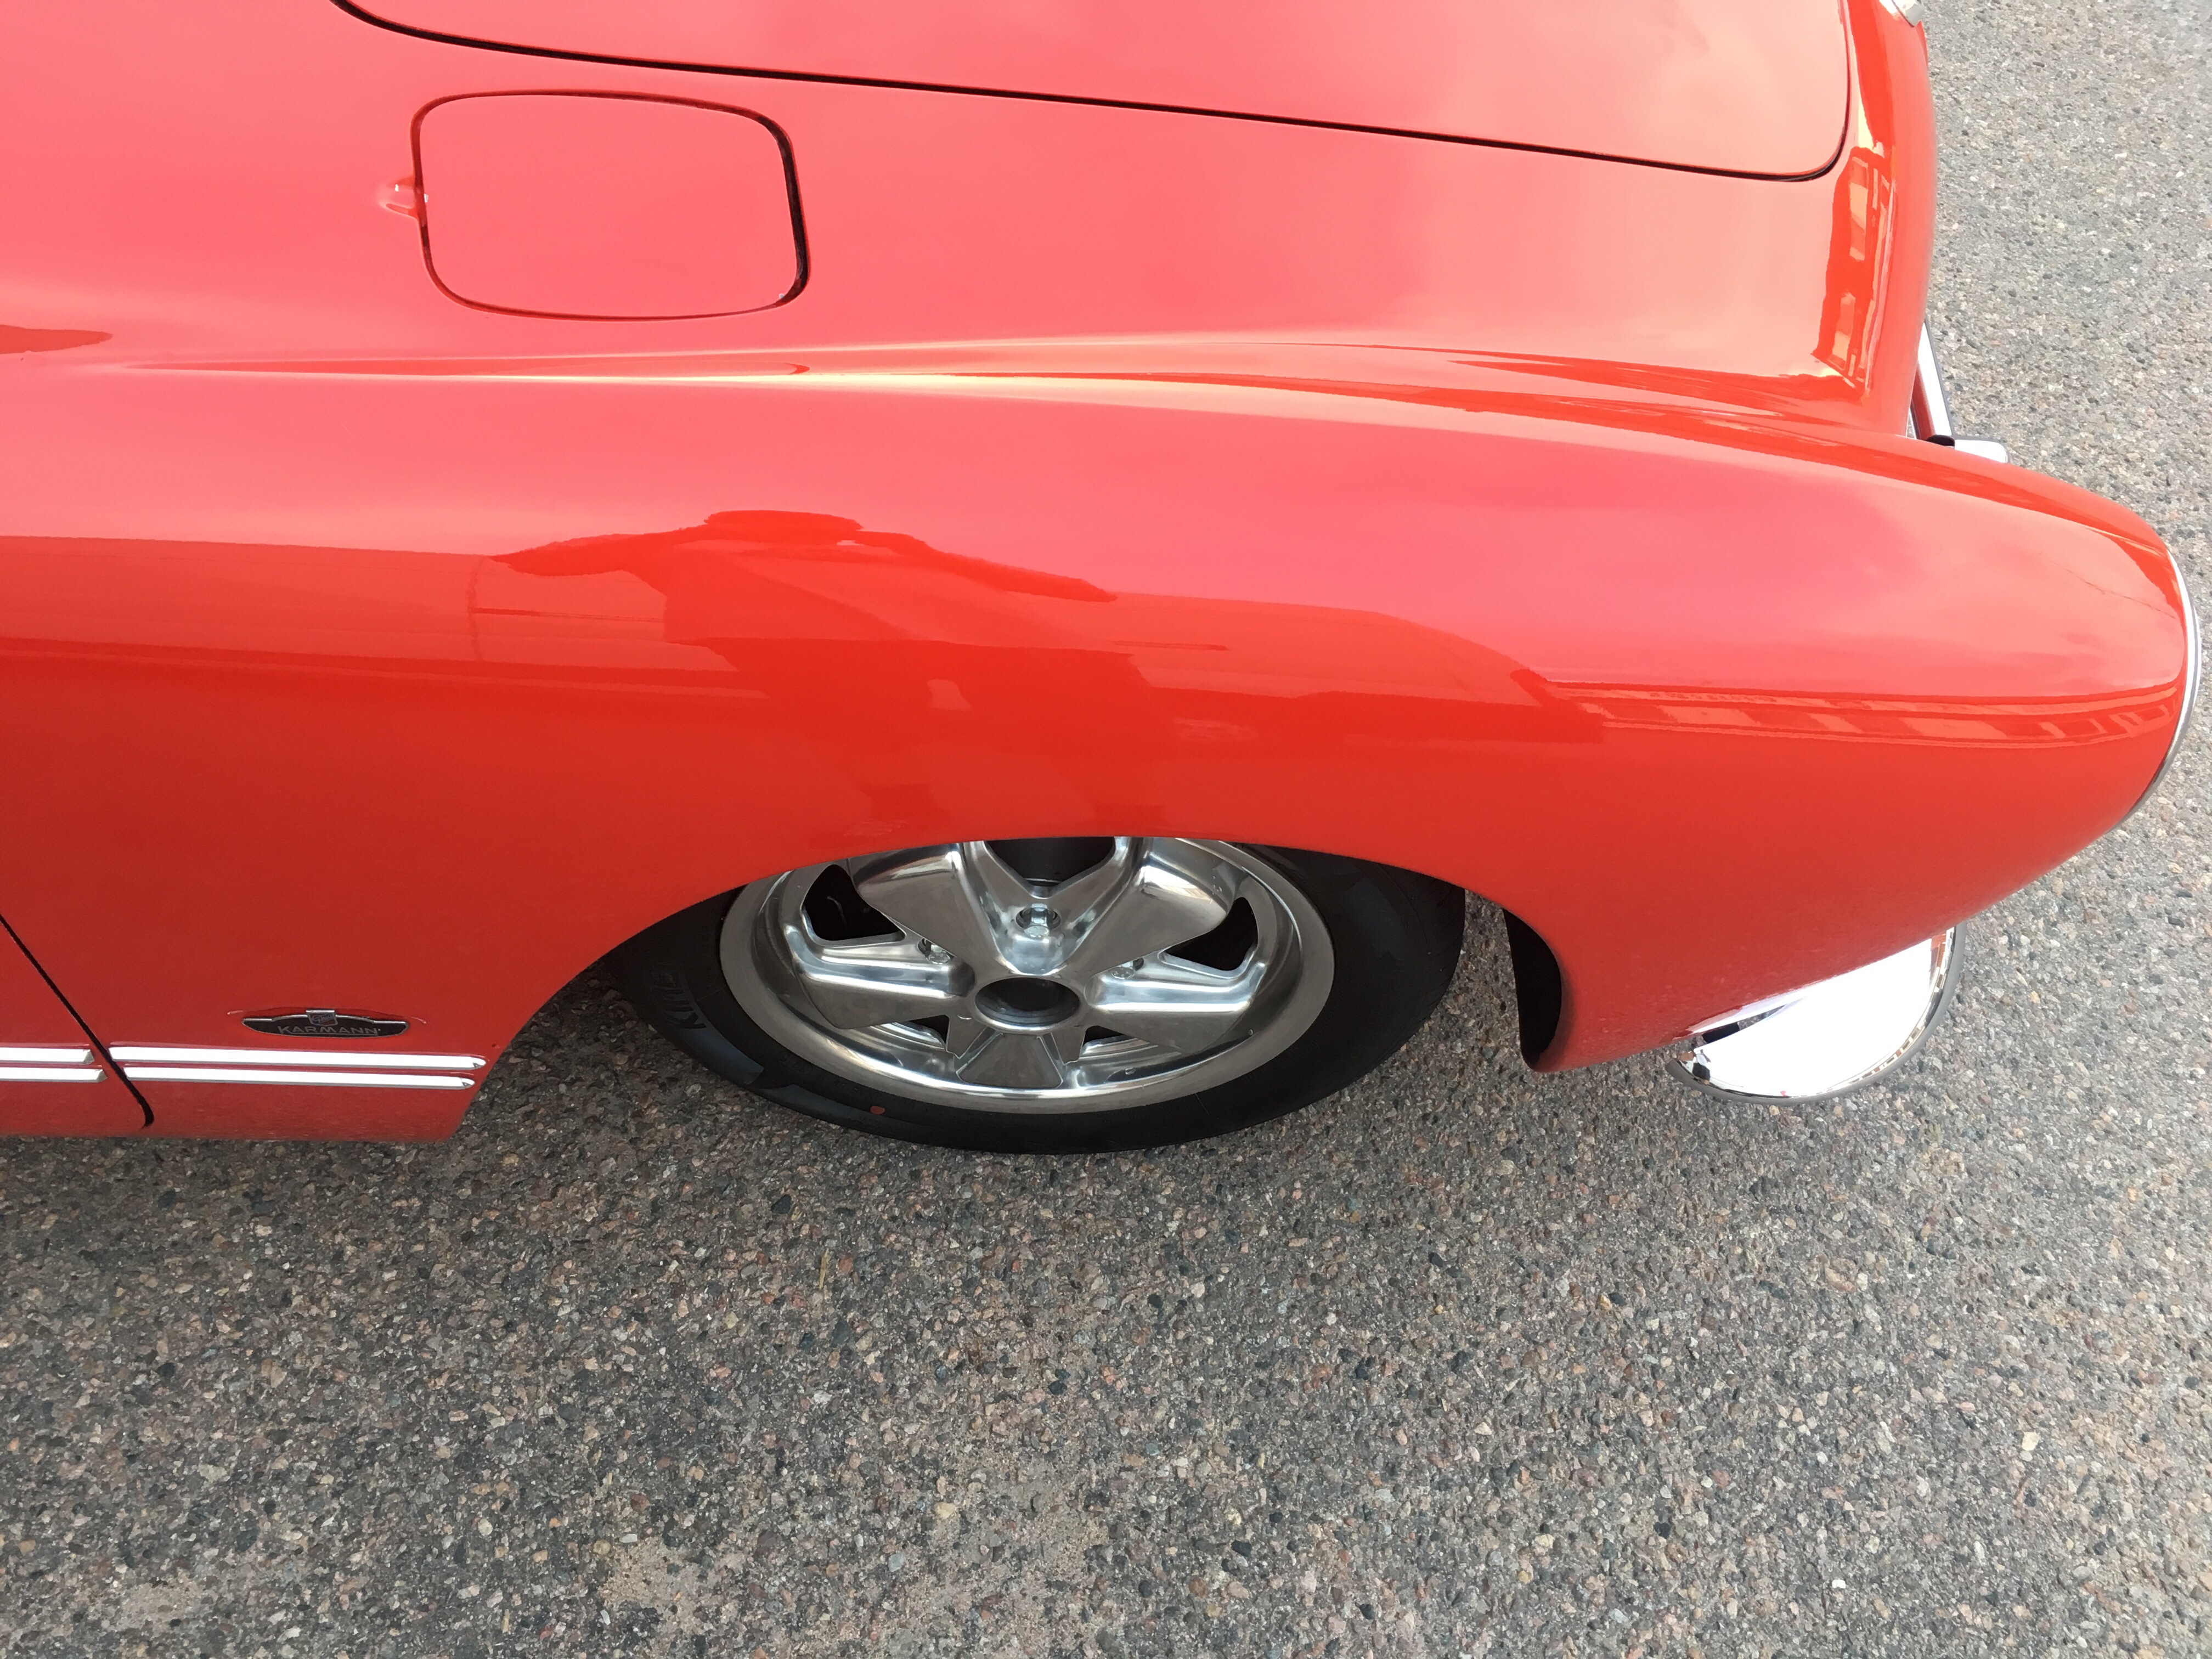
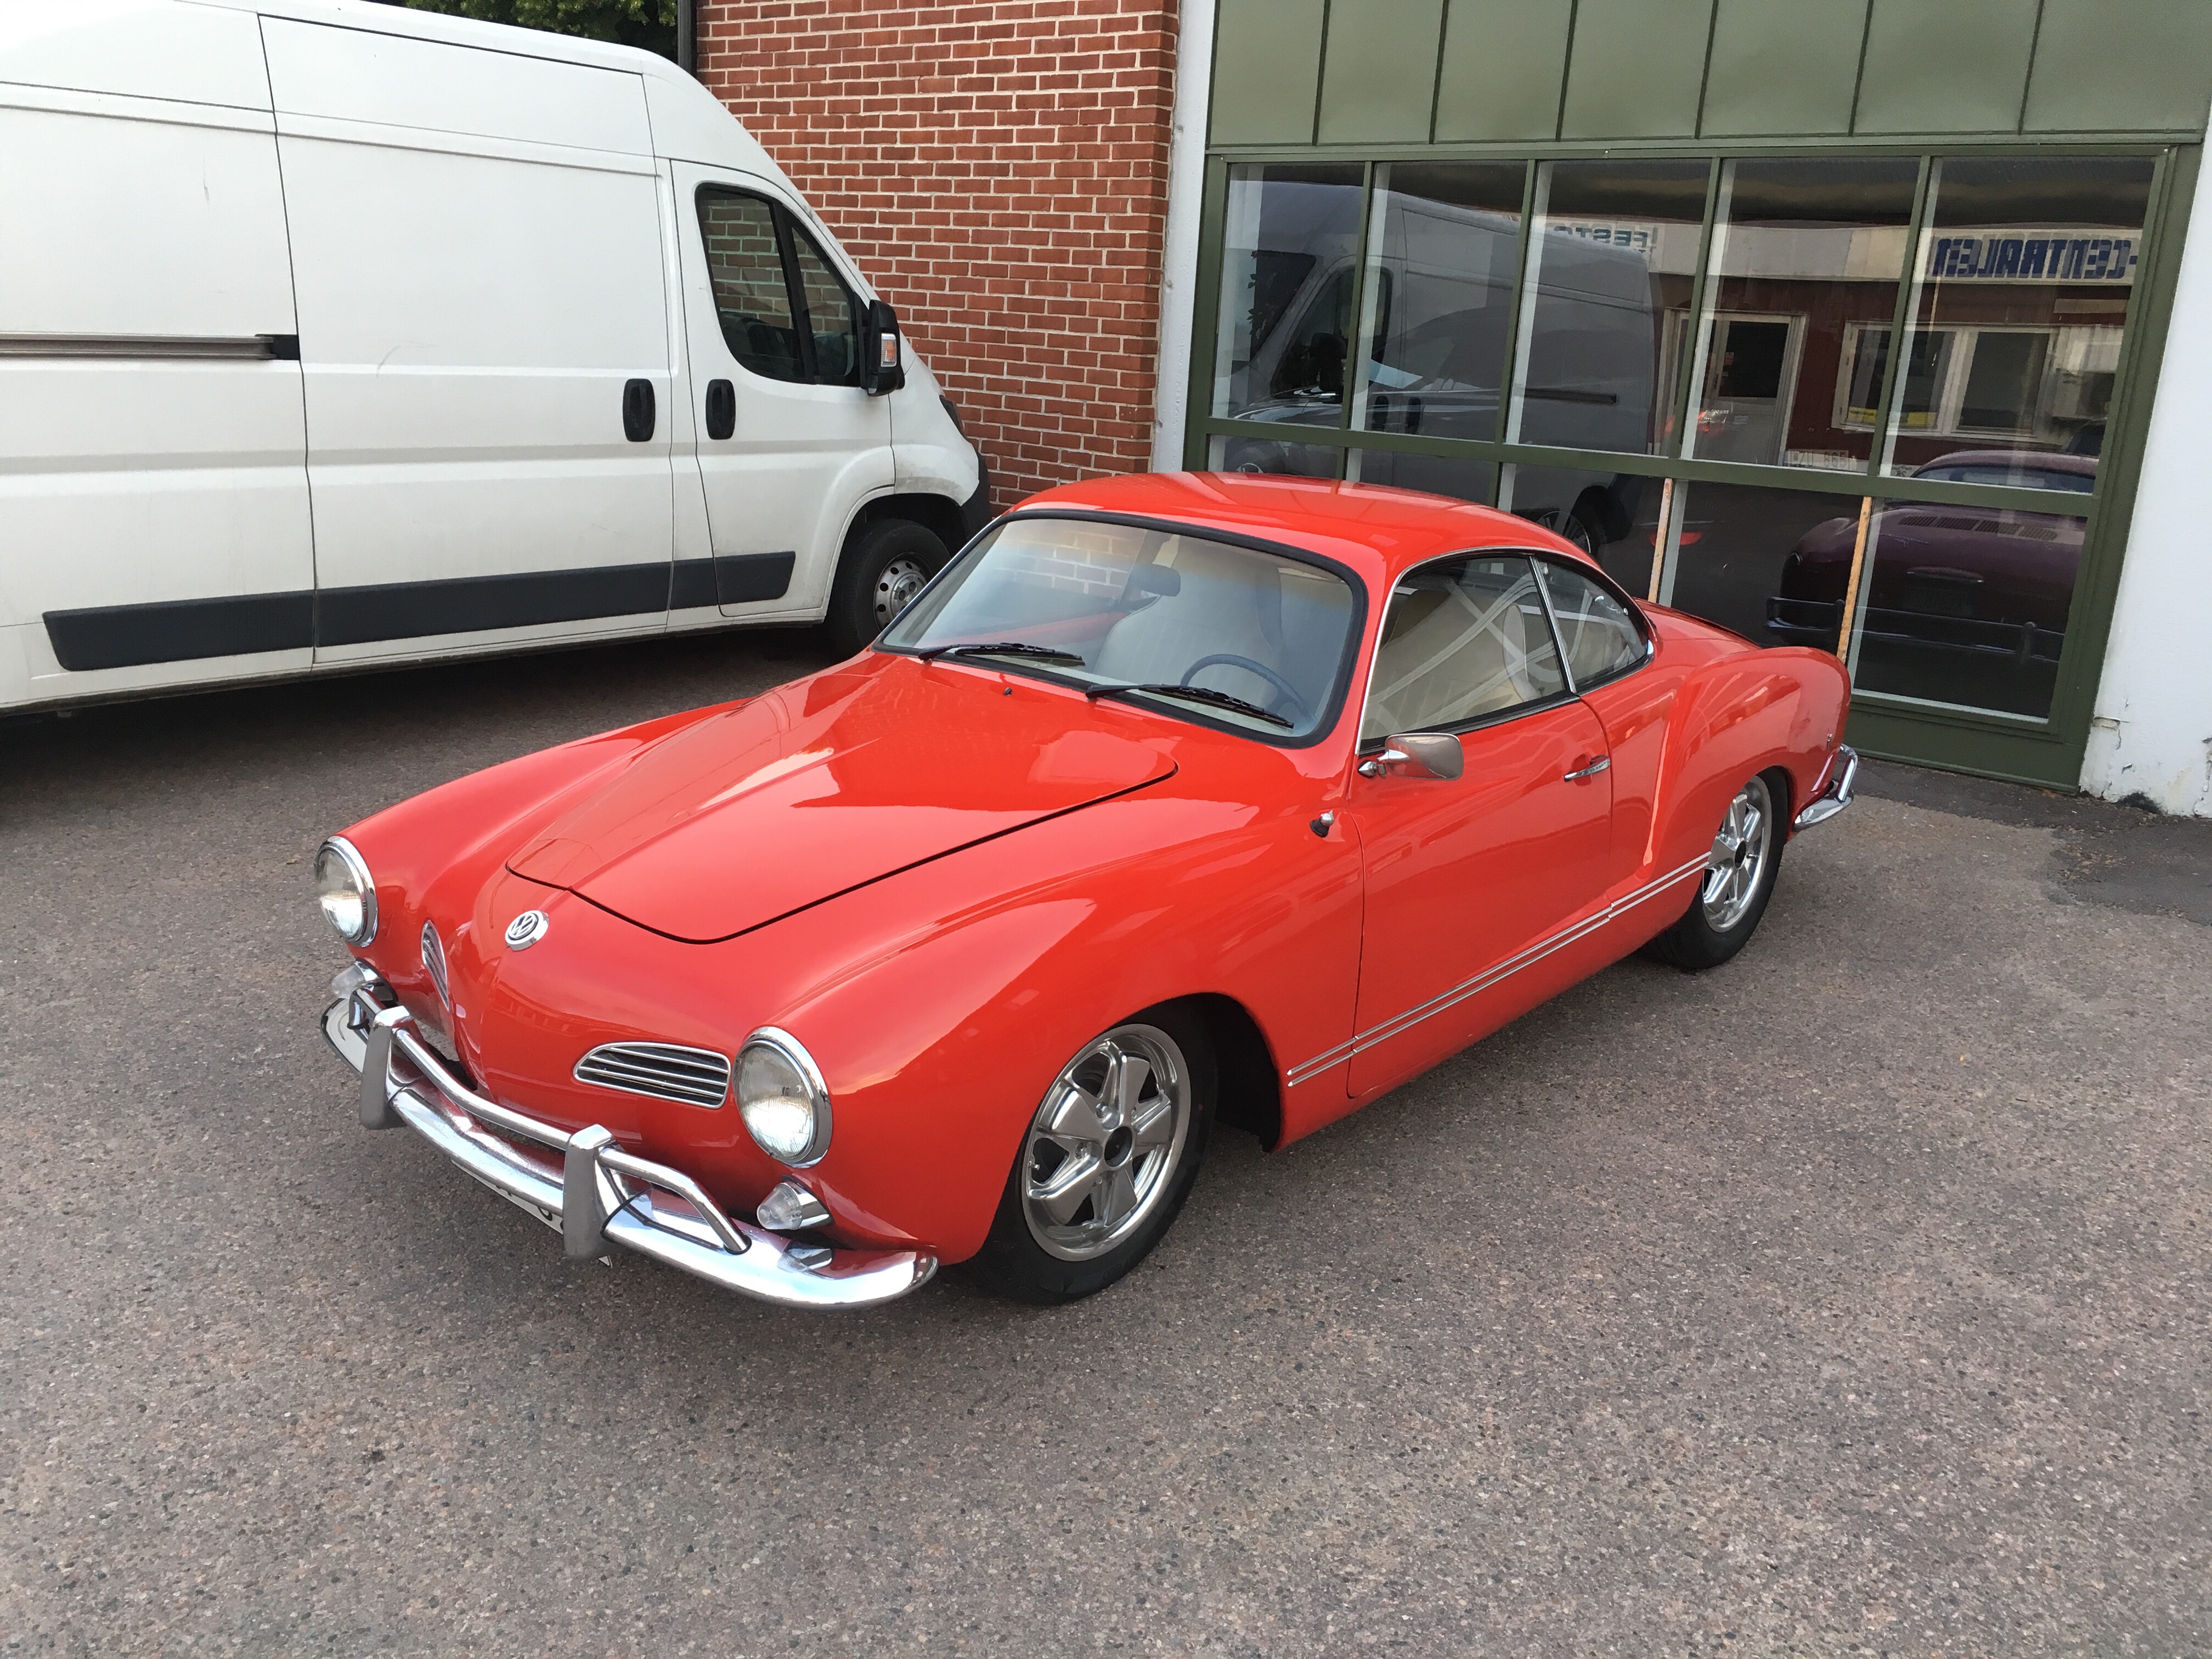
My 1967 Ghia gets a complete overhaul of the frontend. It was all stock height but the front is a little to high for my taste, it needs to be lowered around 50-100mm to get the beauty lines of the car to really flow. Rear is stock height. A brand new adjustable 2″ narrowed front beam with needle bearings. New narrowed tierods, new droppen spindels, new wheelbearings, new shocks, and all the brakestuff was already new. Wheels will be polished Porsche Fuchs. Since I had to remove the fuel tank I installed new fuel lines and cleaned up the front luggage compartment a little. Here comes some pics…


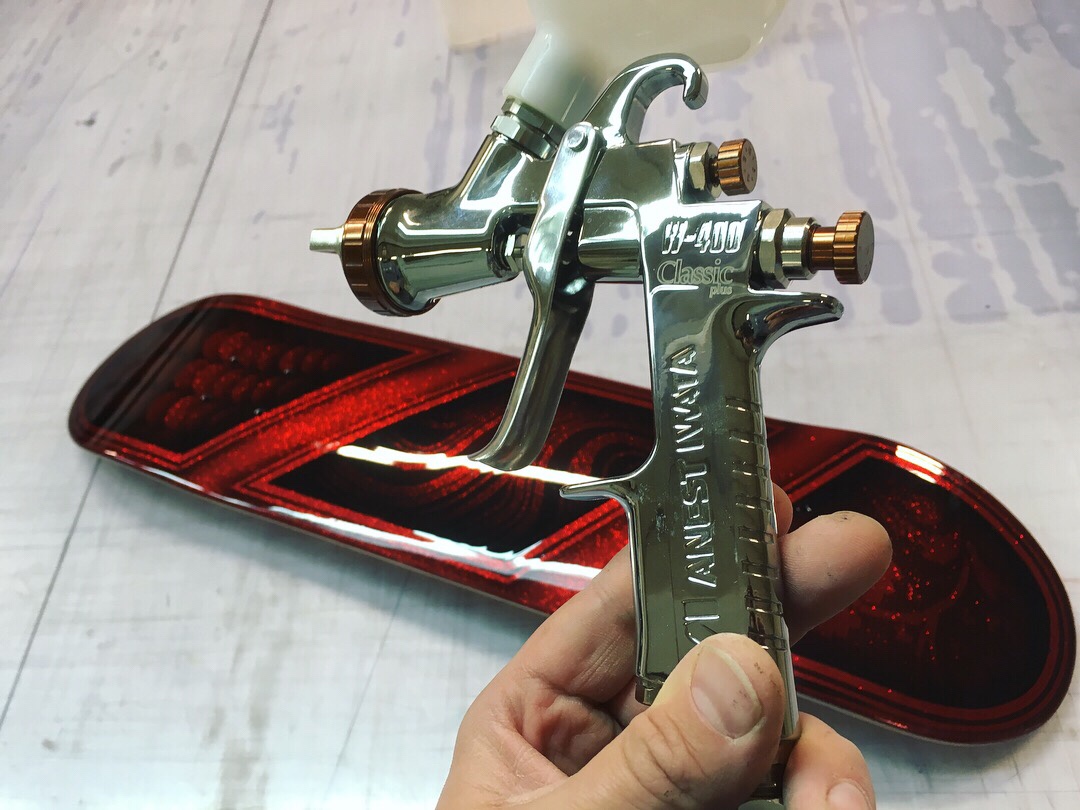
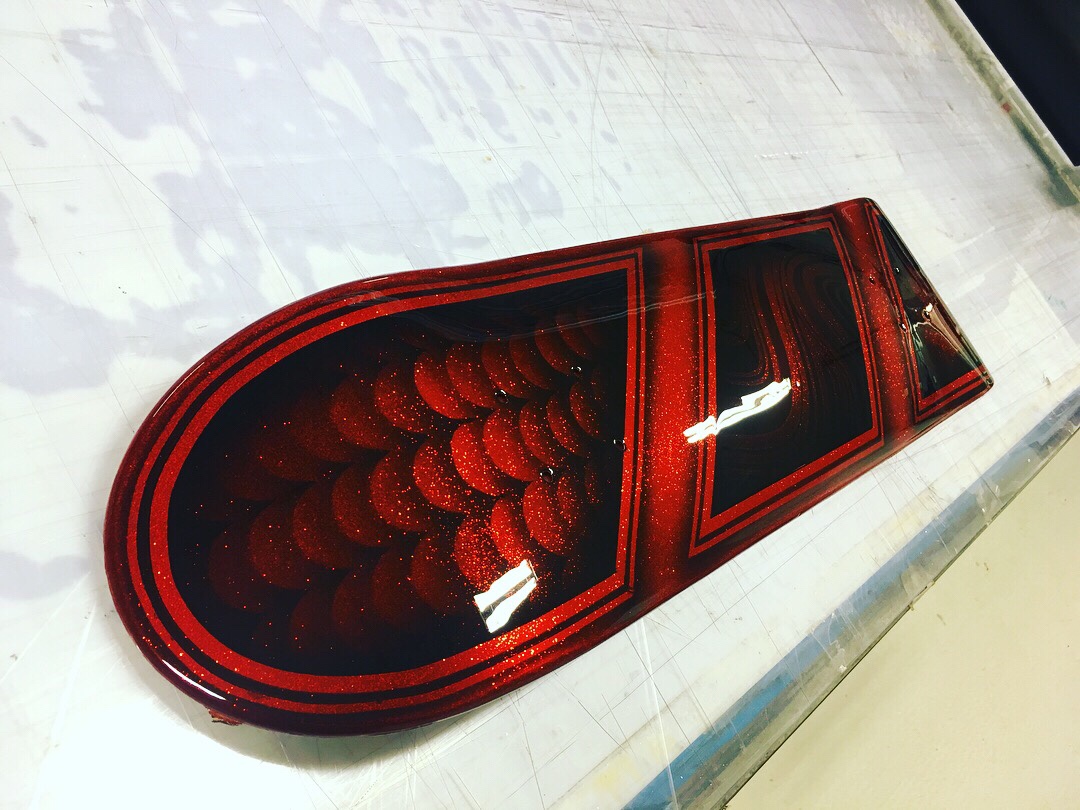
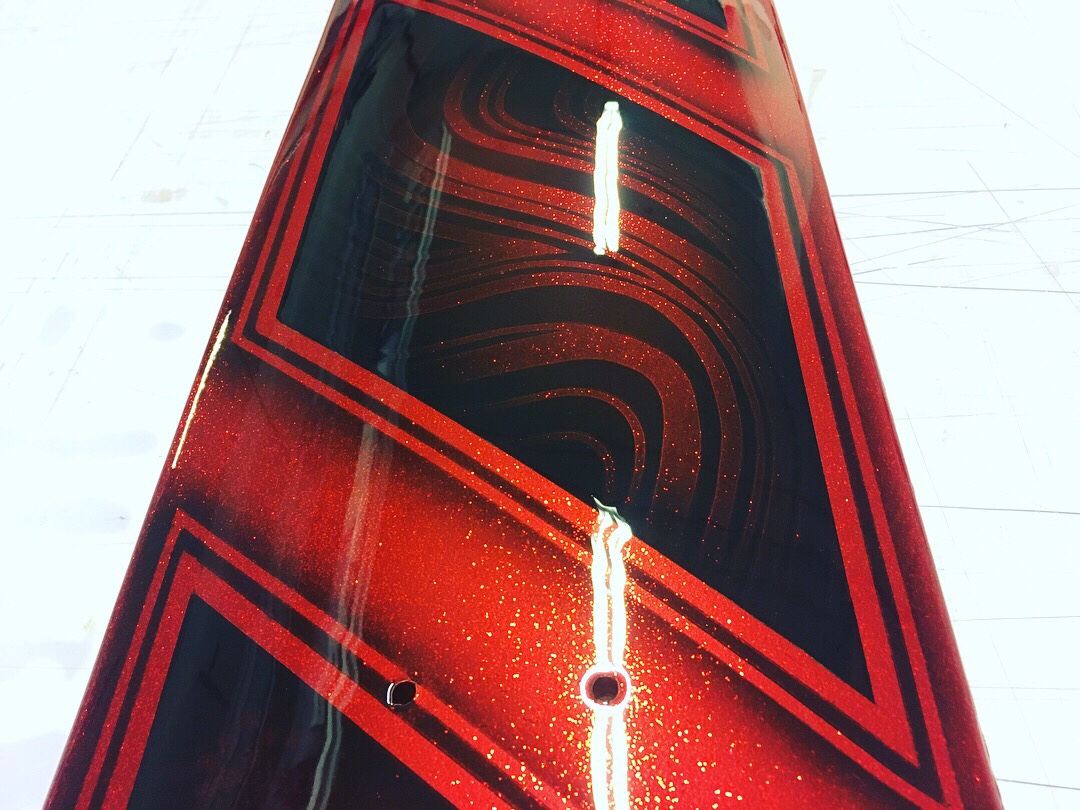
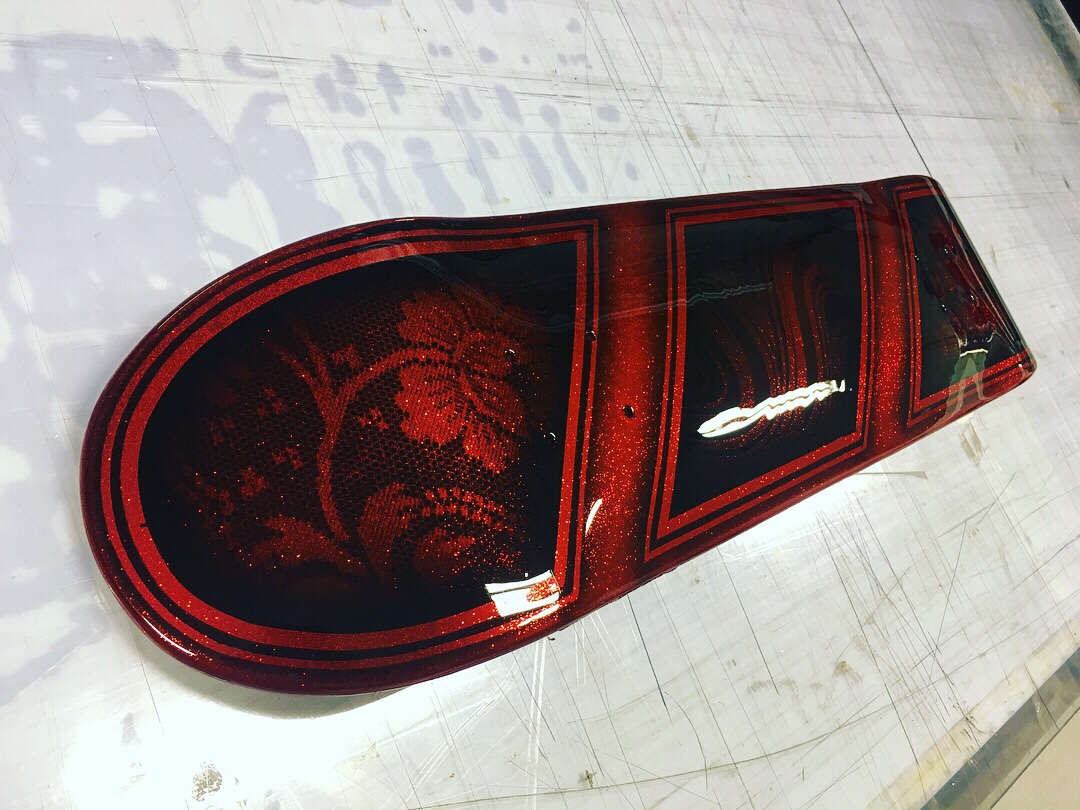
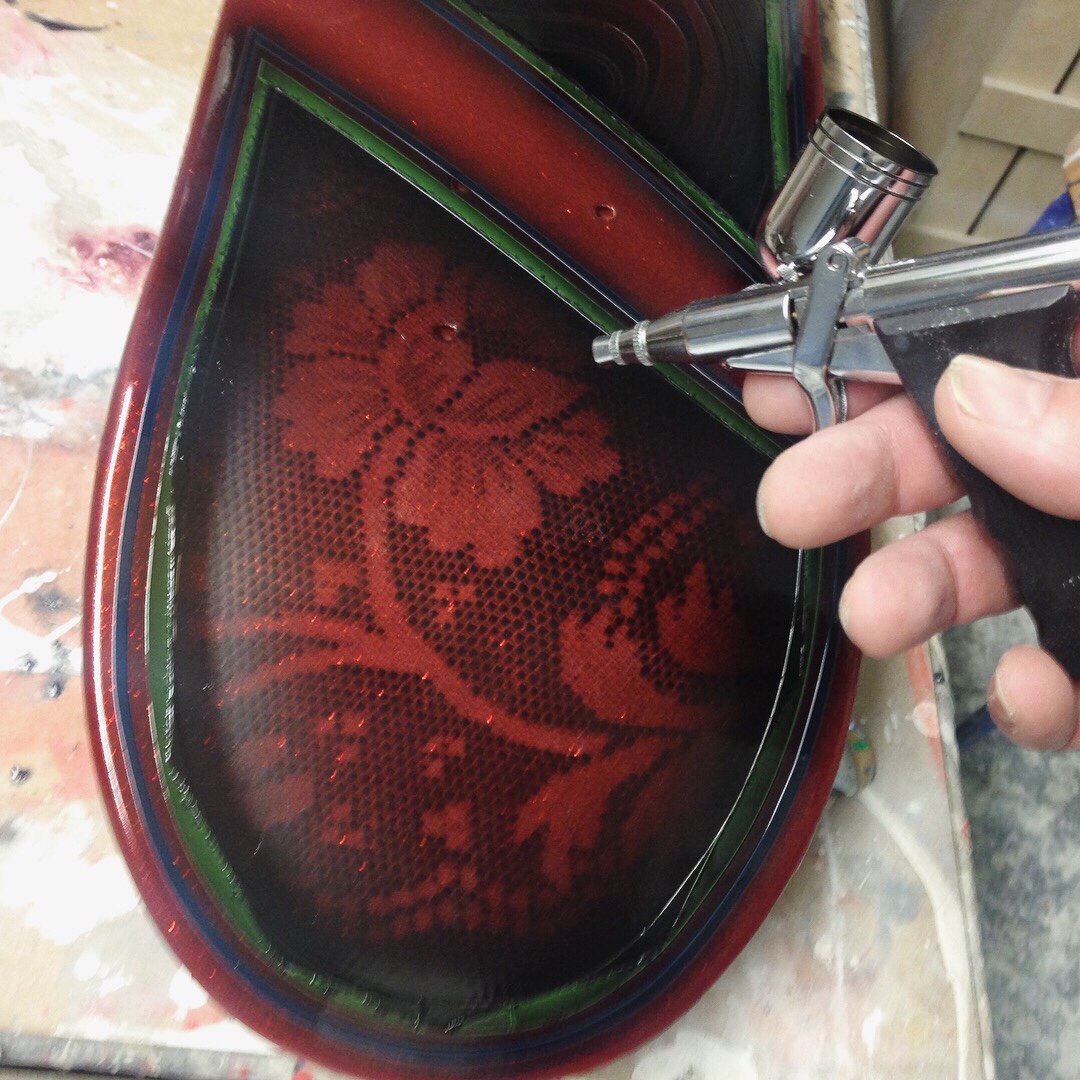
Painted this skatedeck recently. Red chunky flake with deep black paint patterns. One more to the collection! ;-p
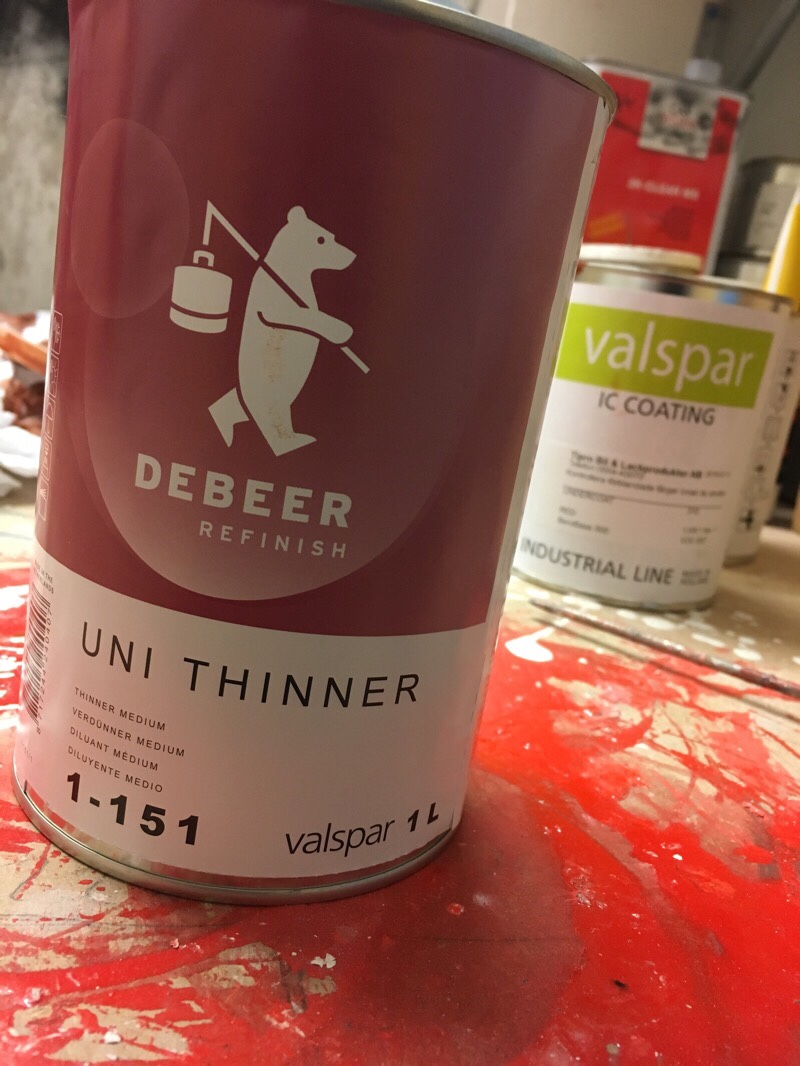
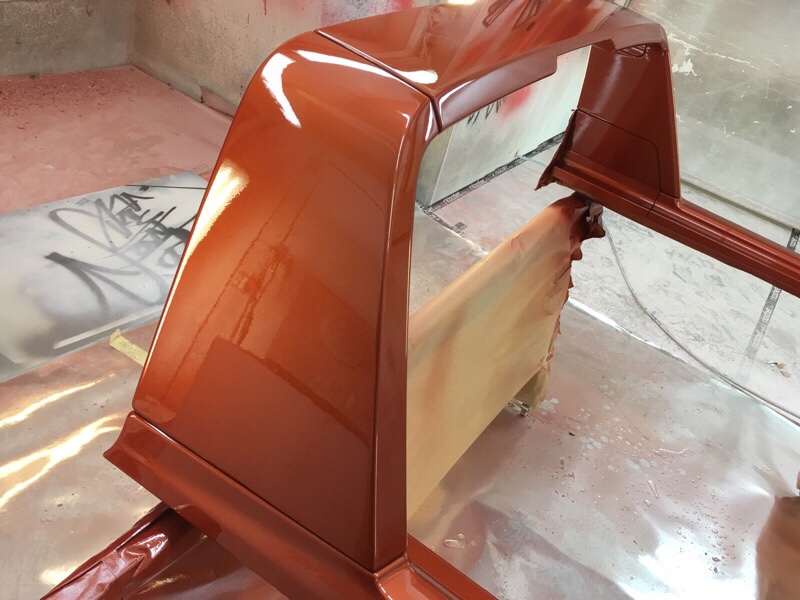
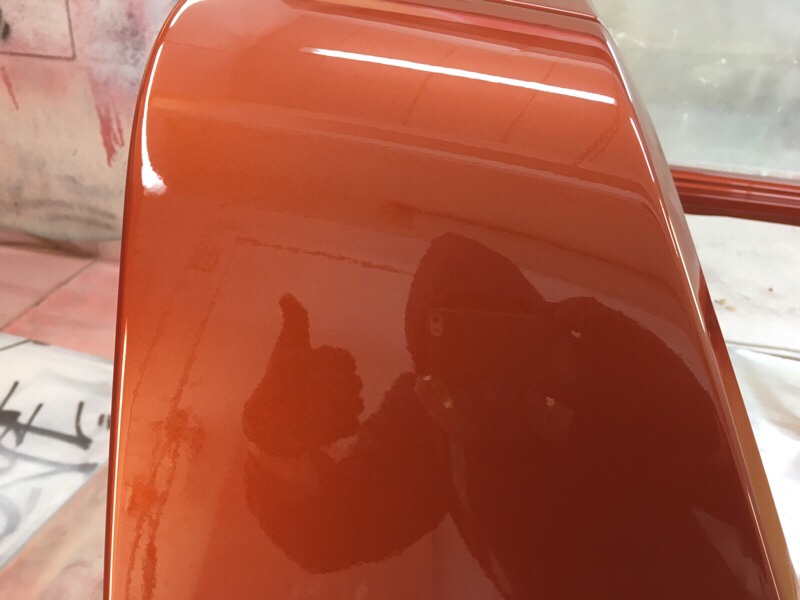
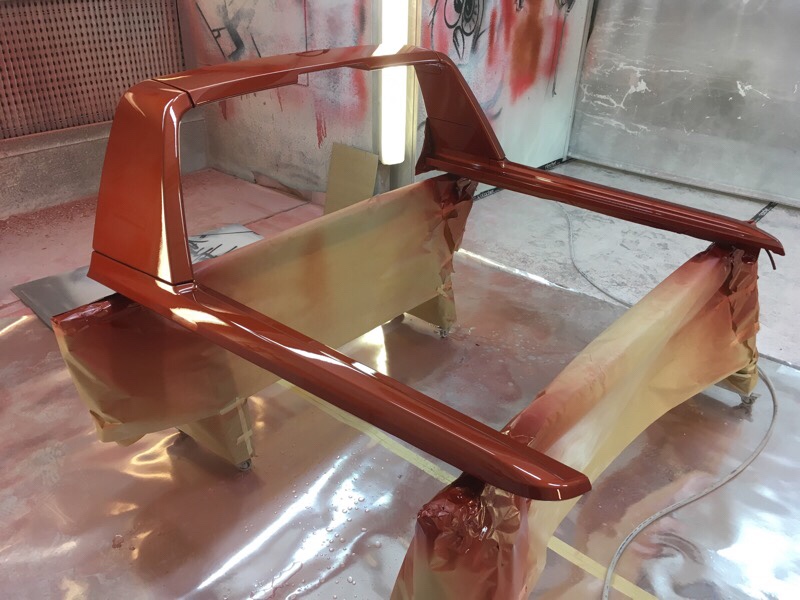
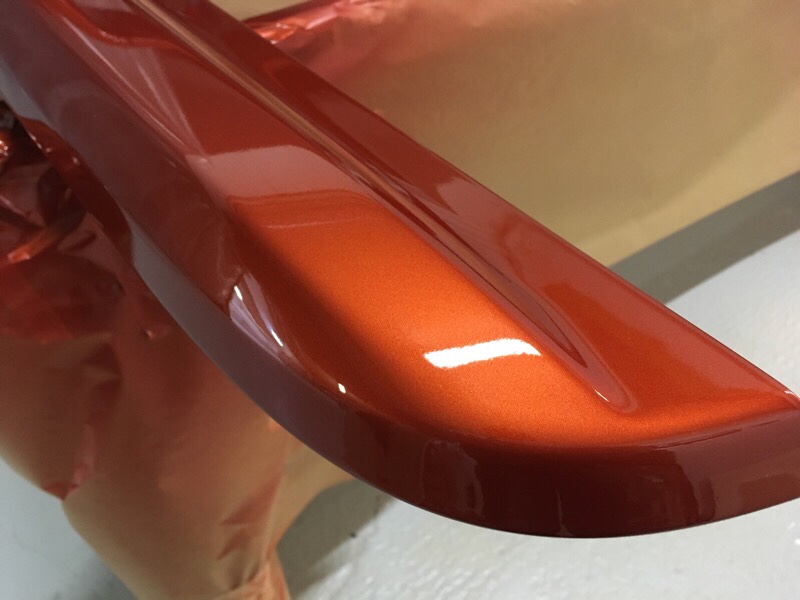
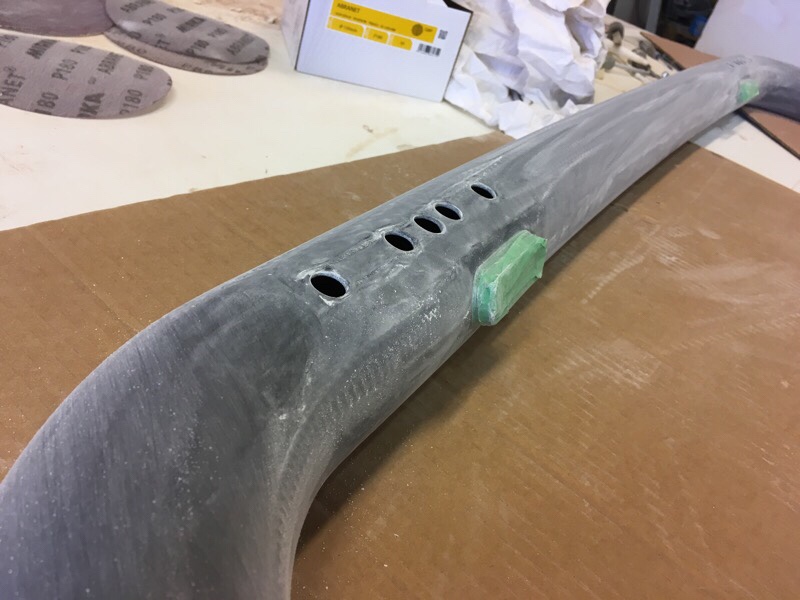
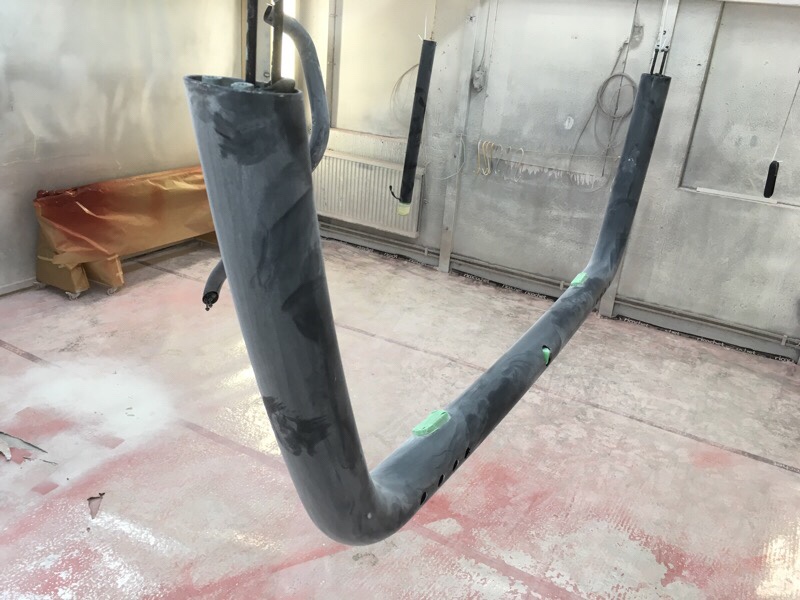
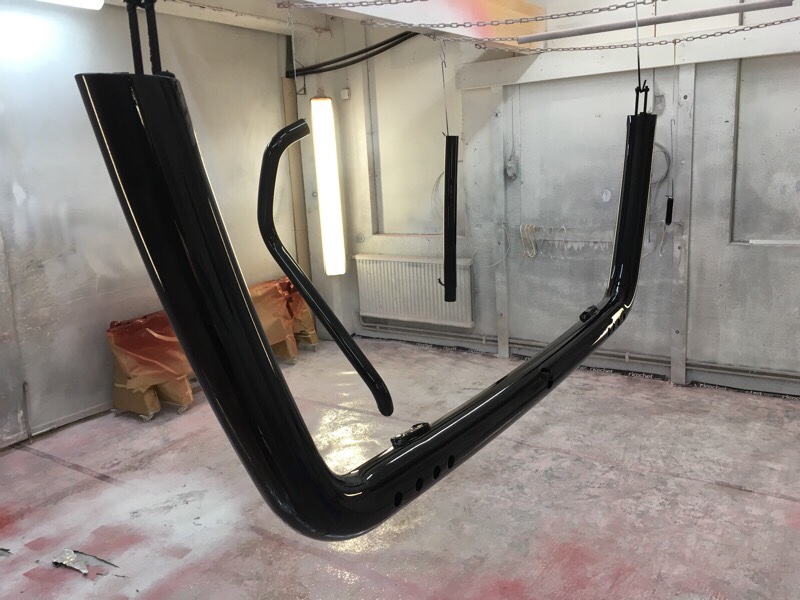
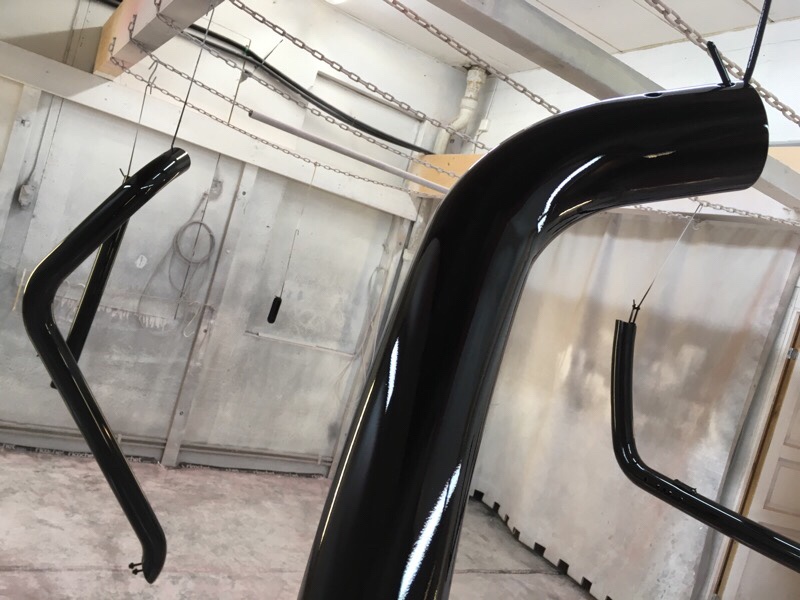
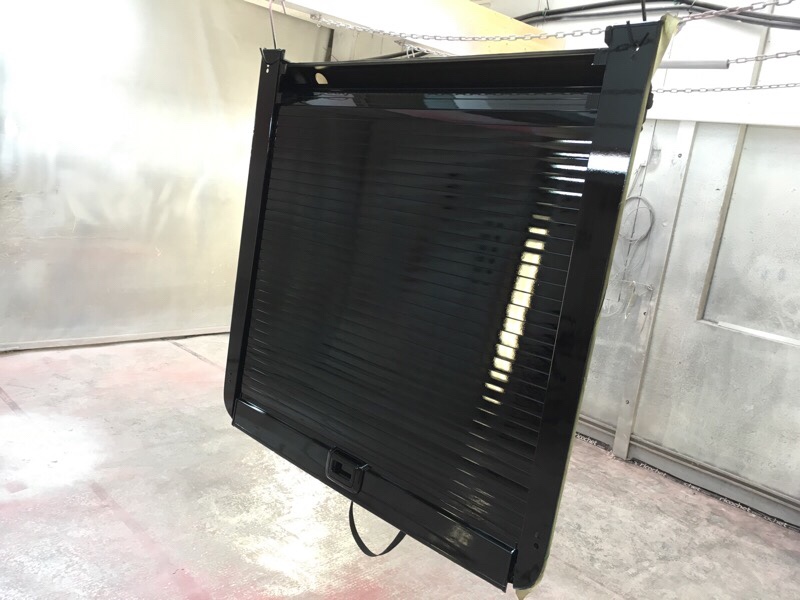
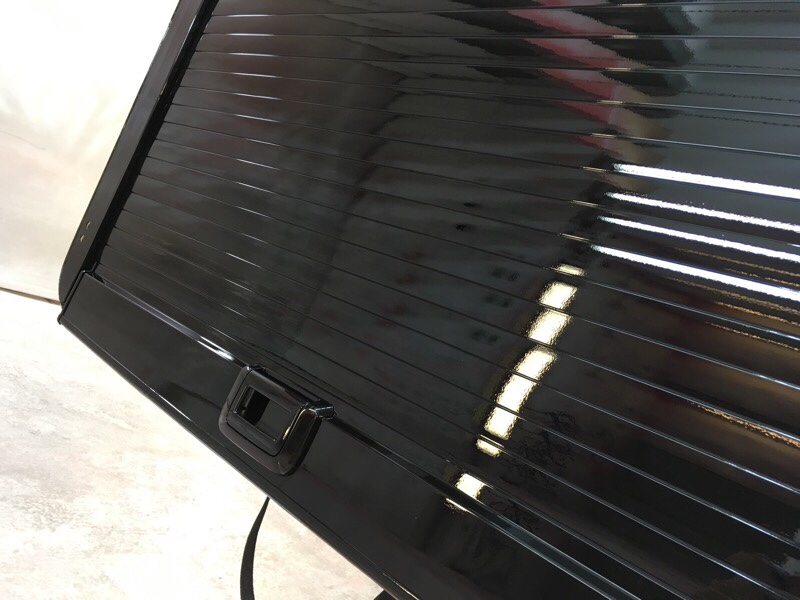
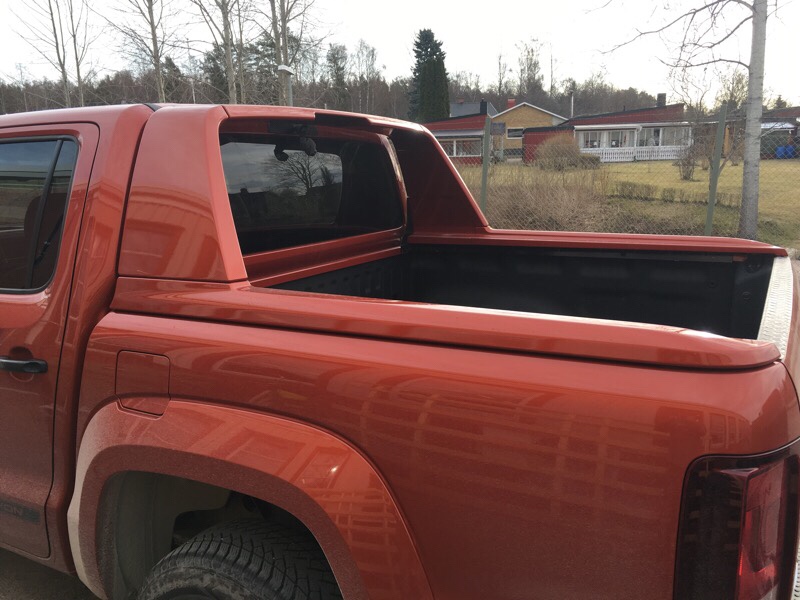
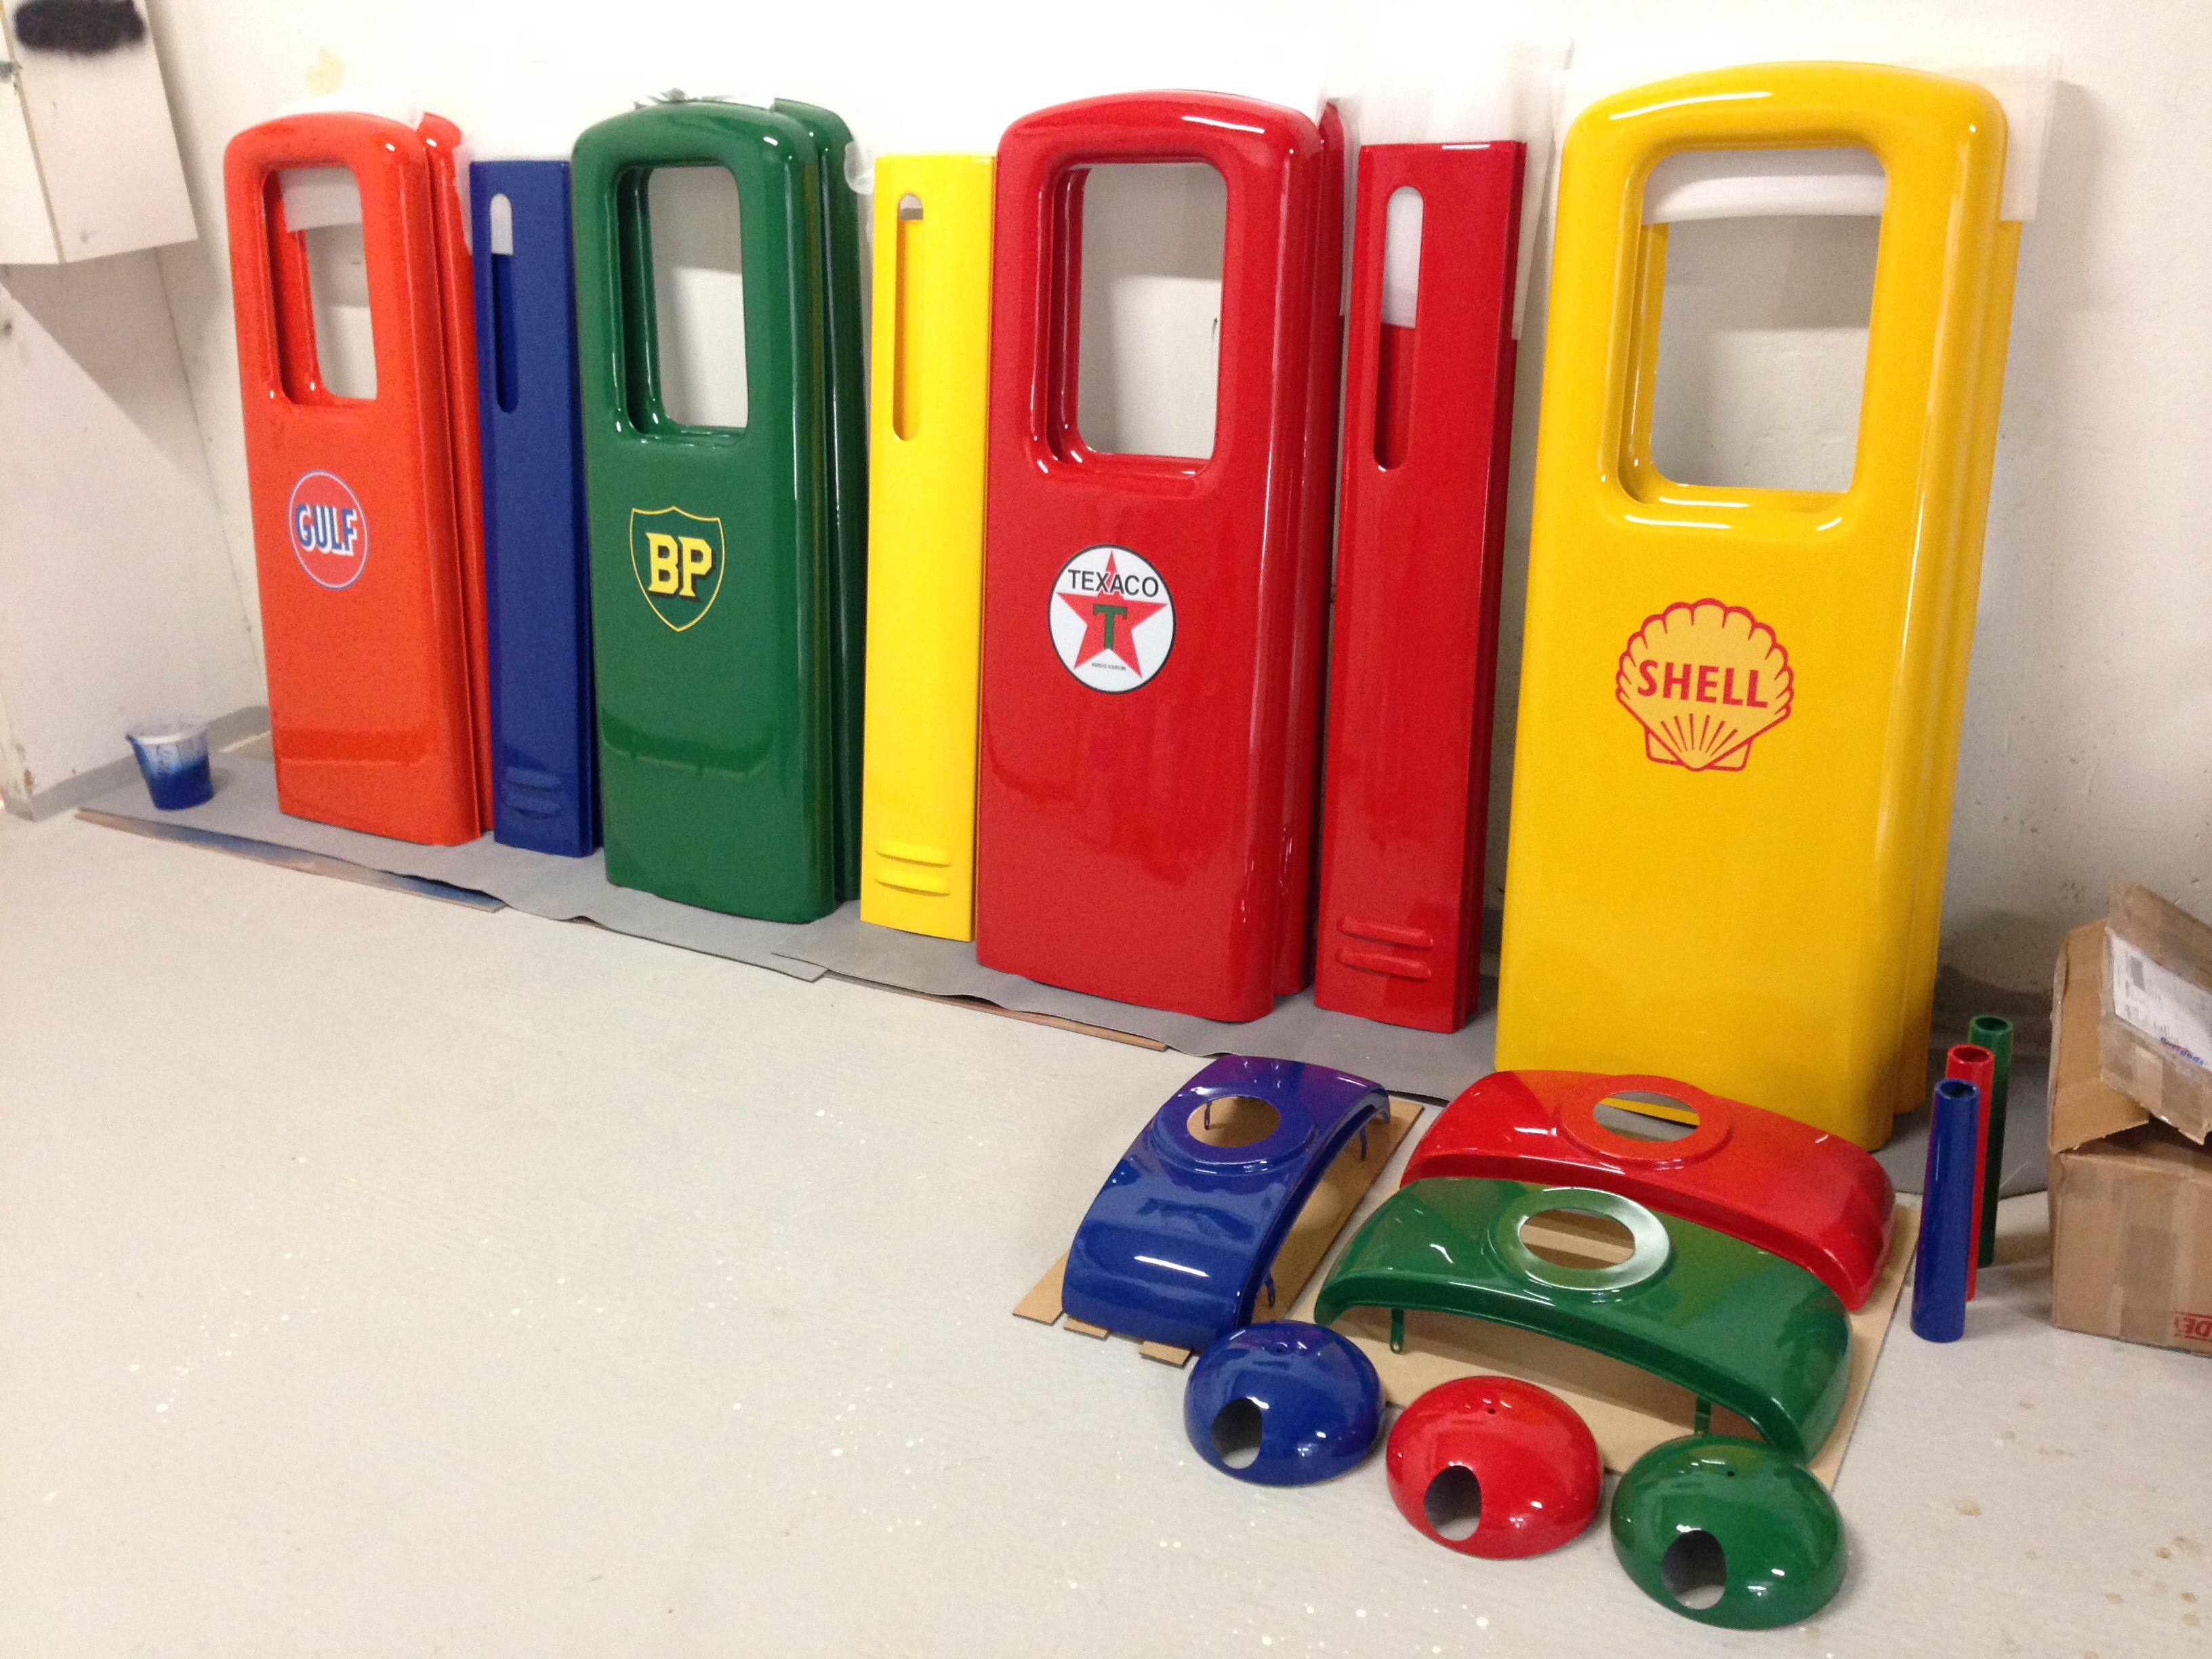
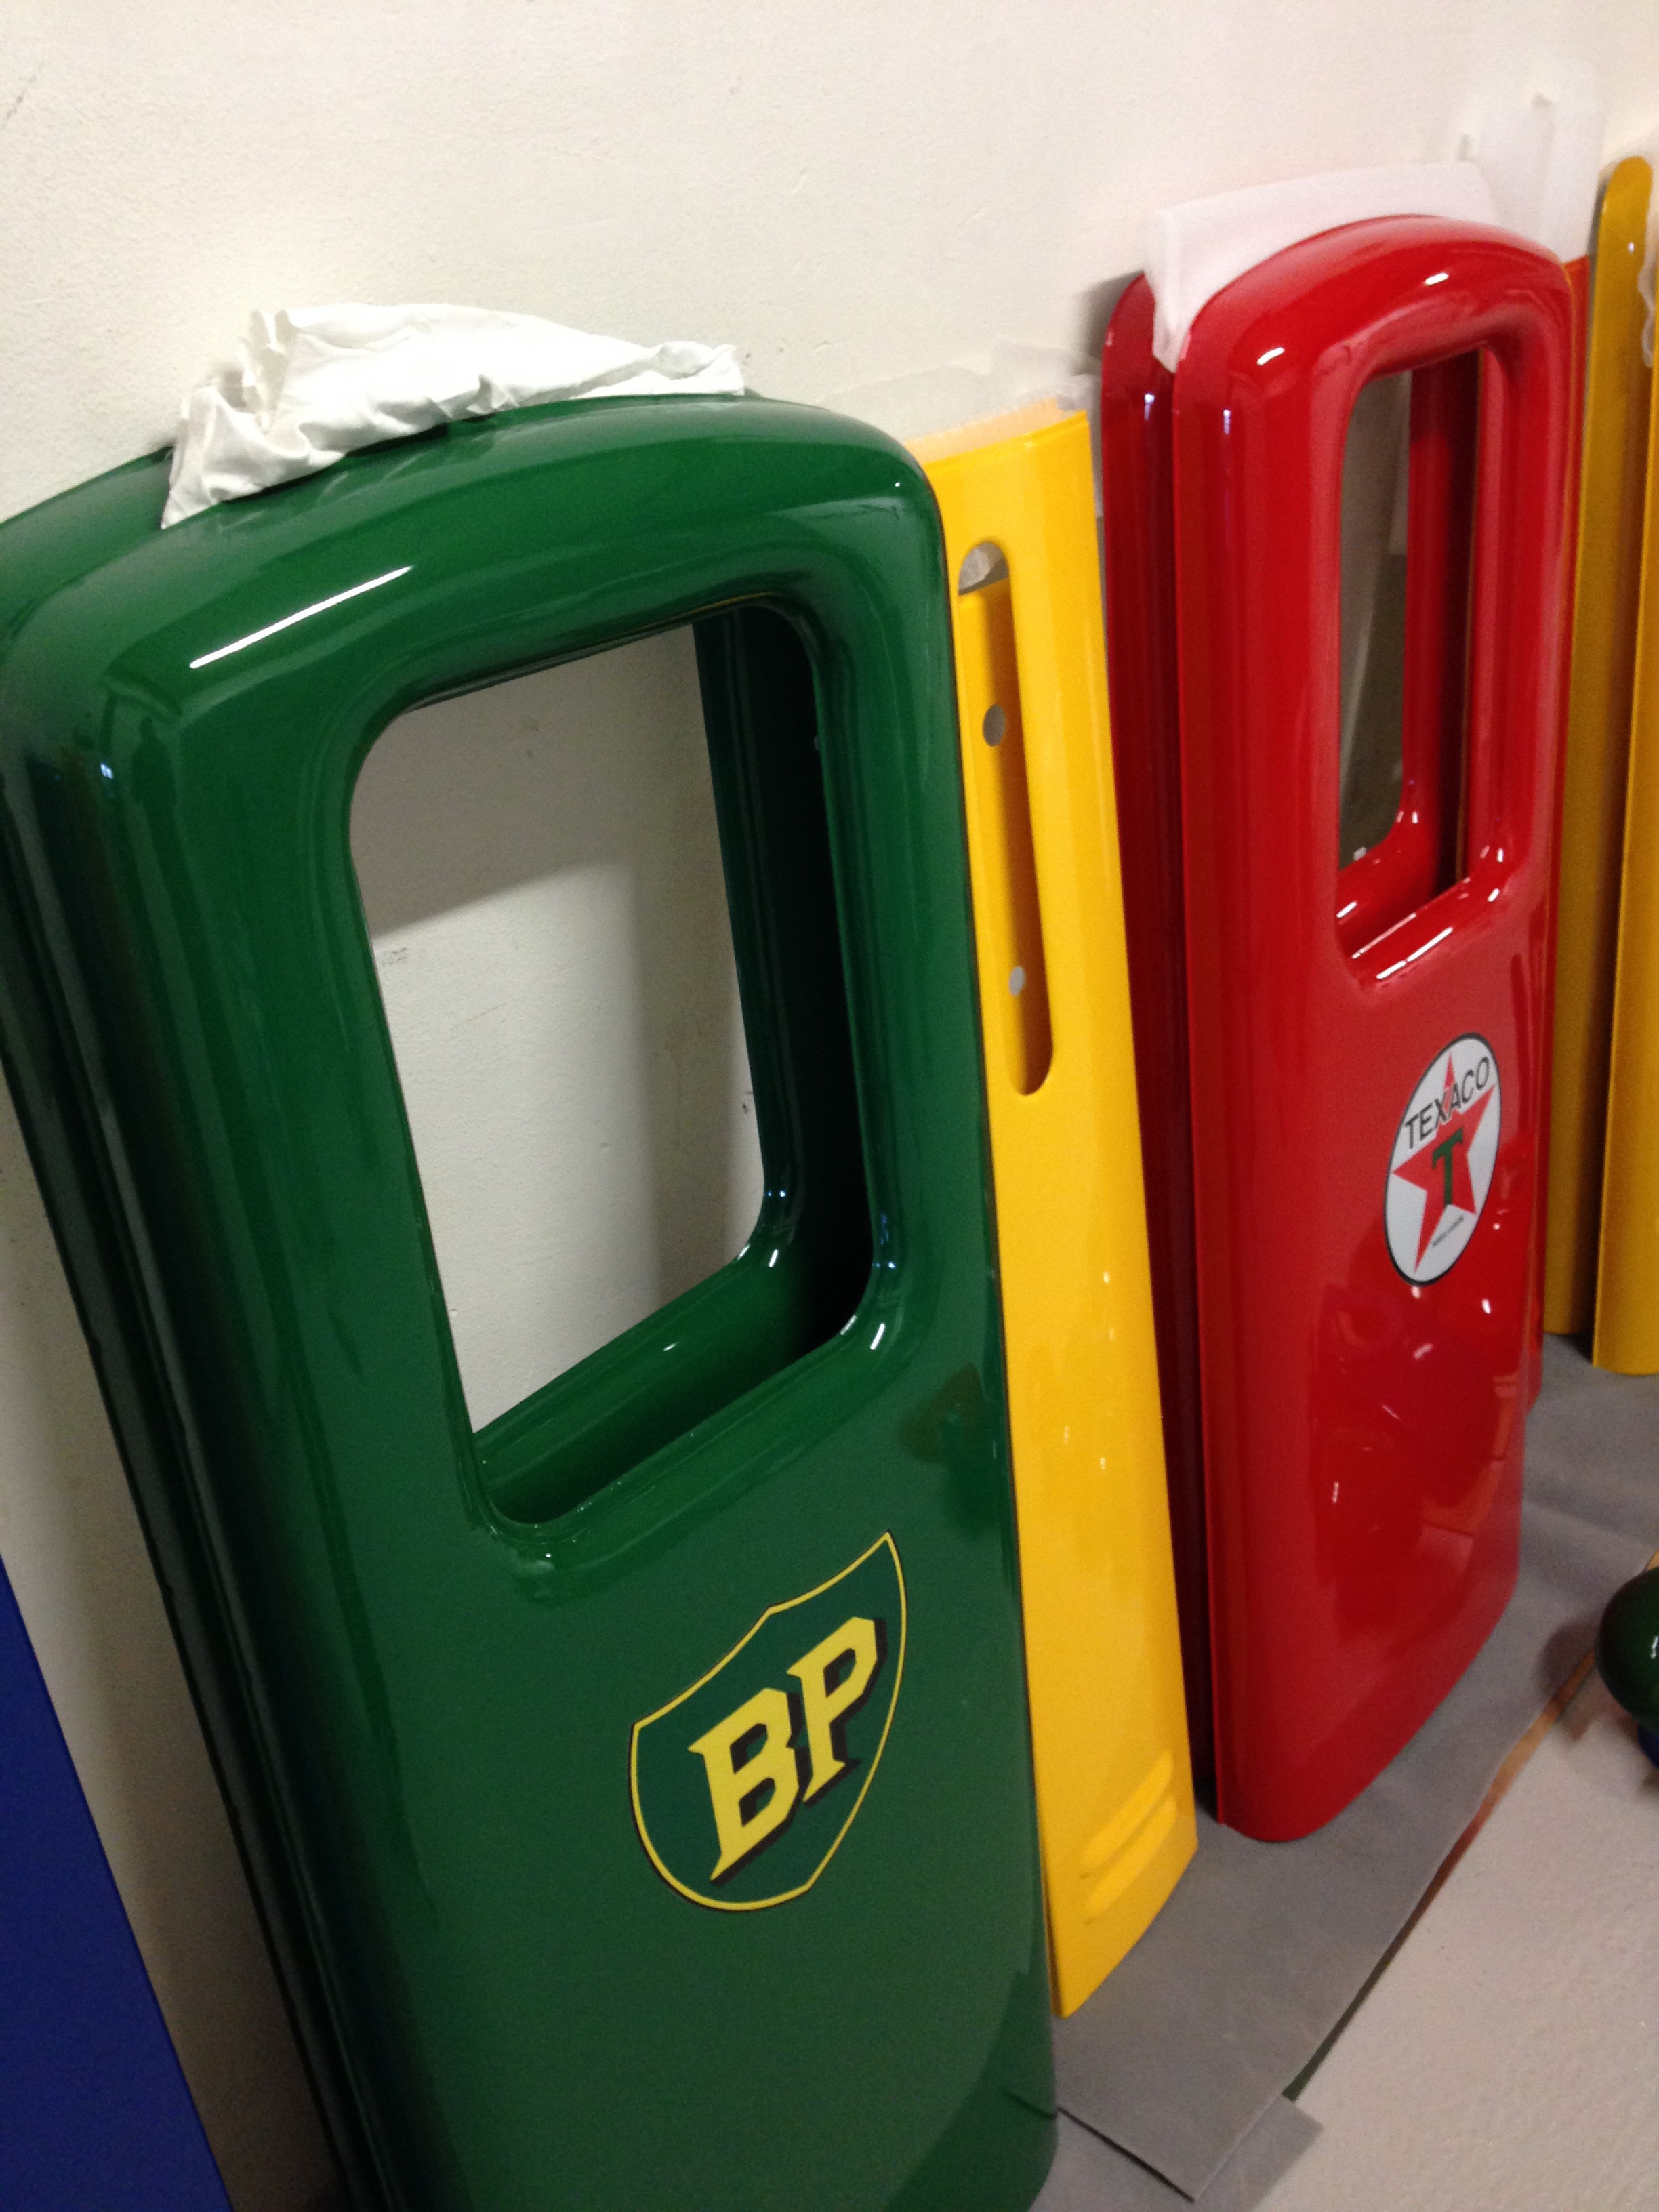
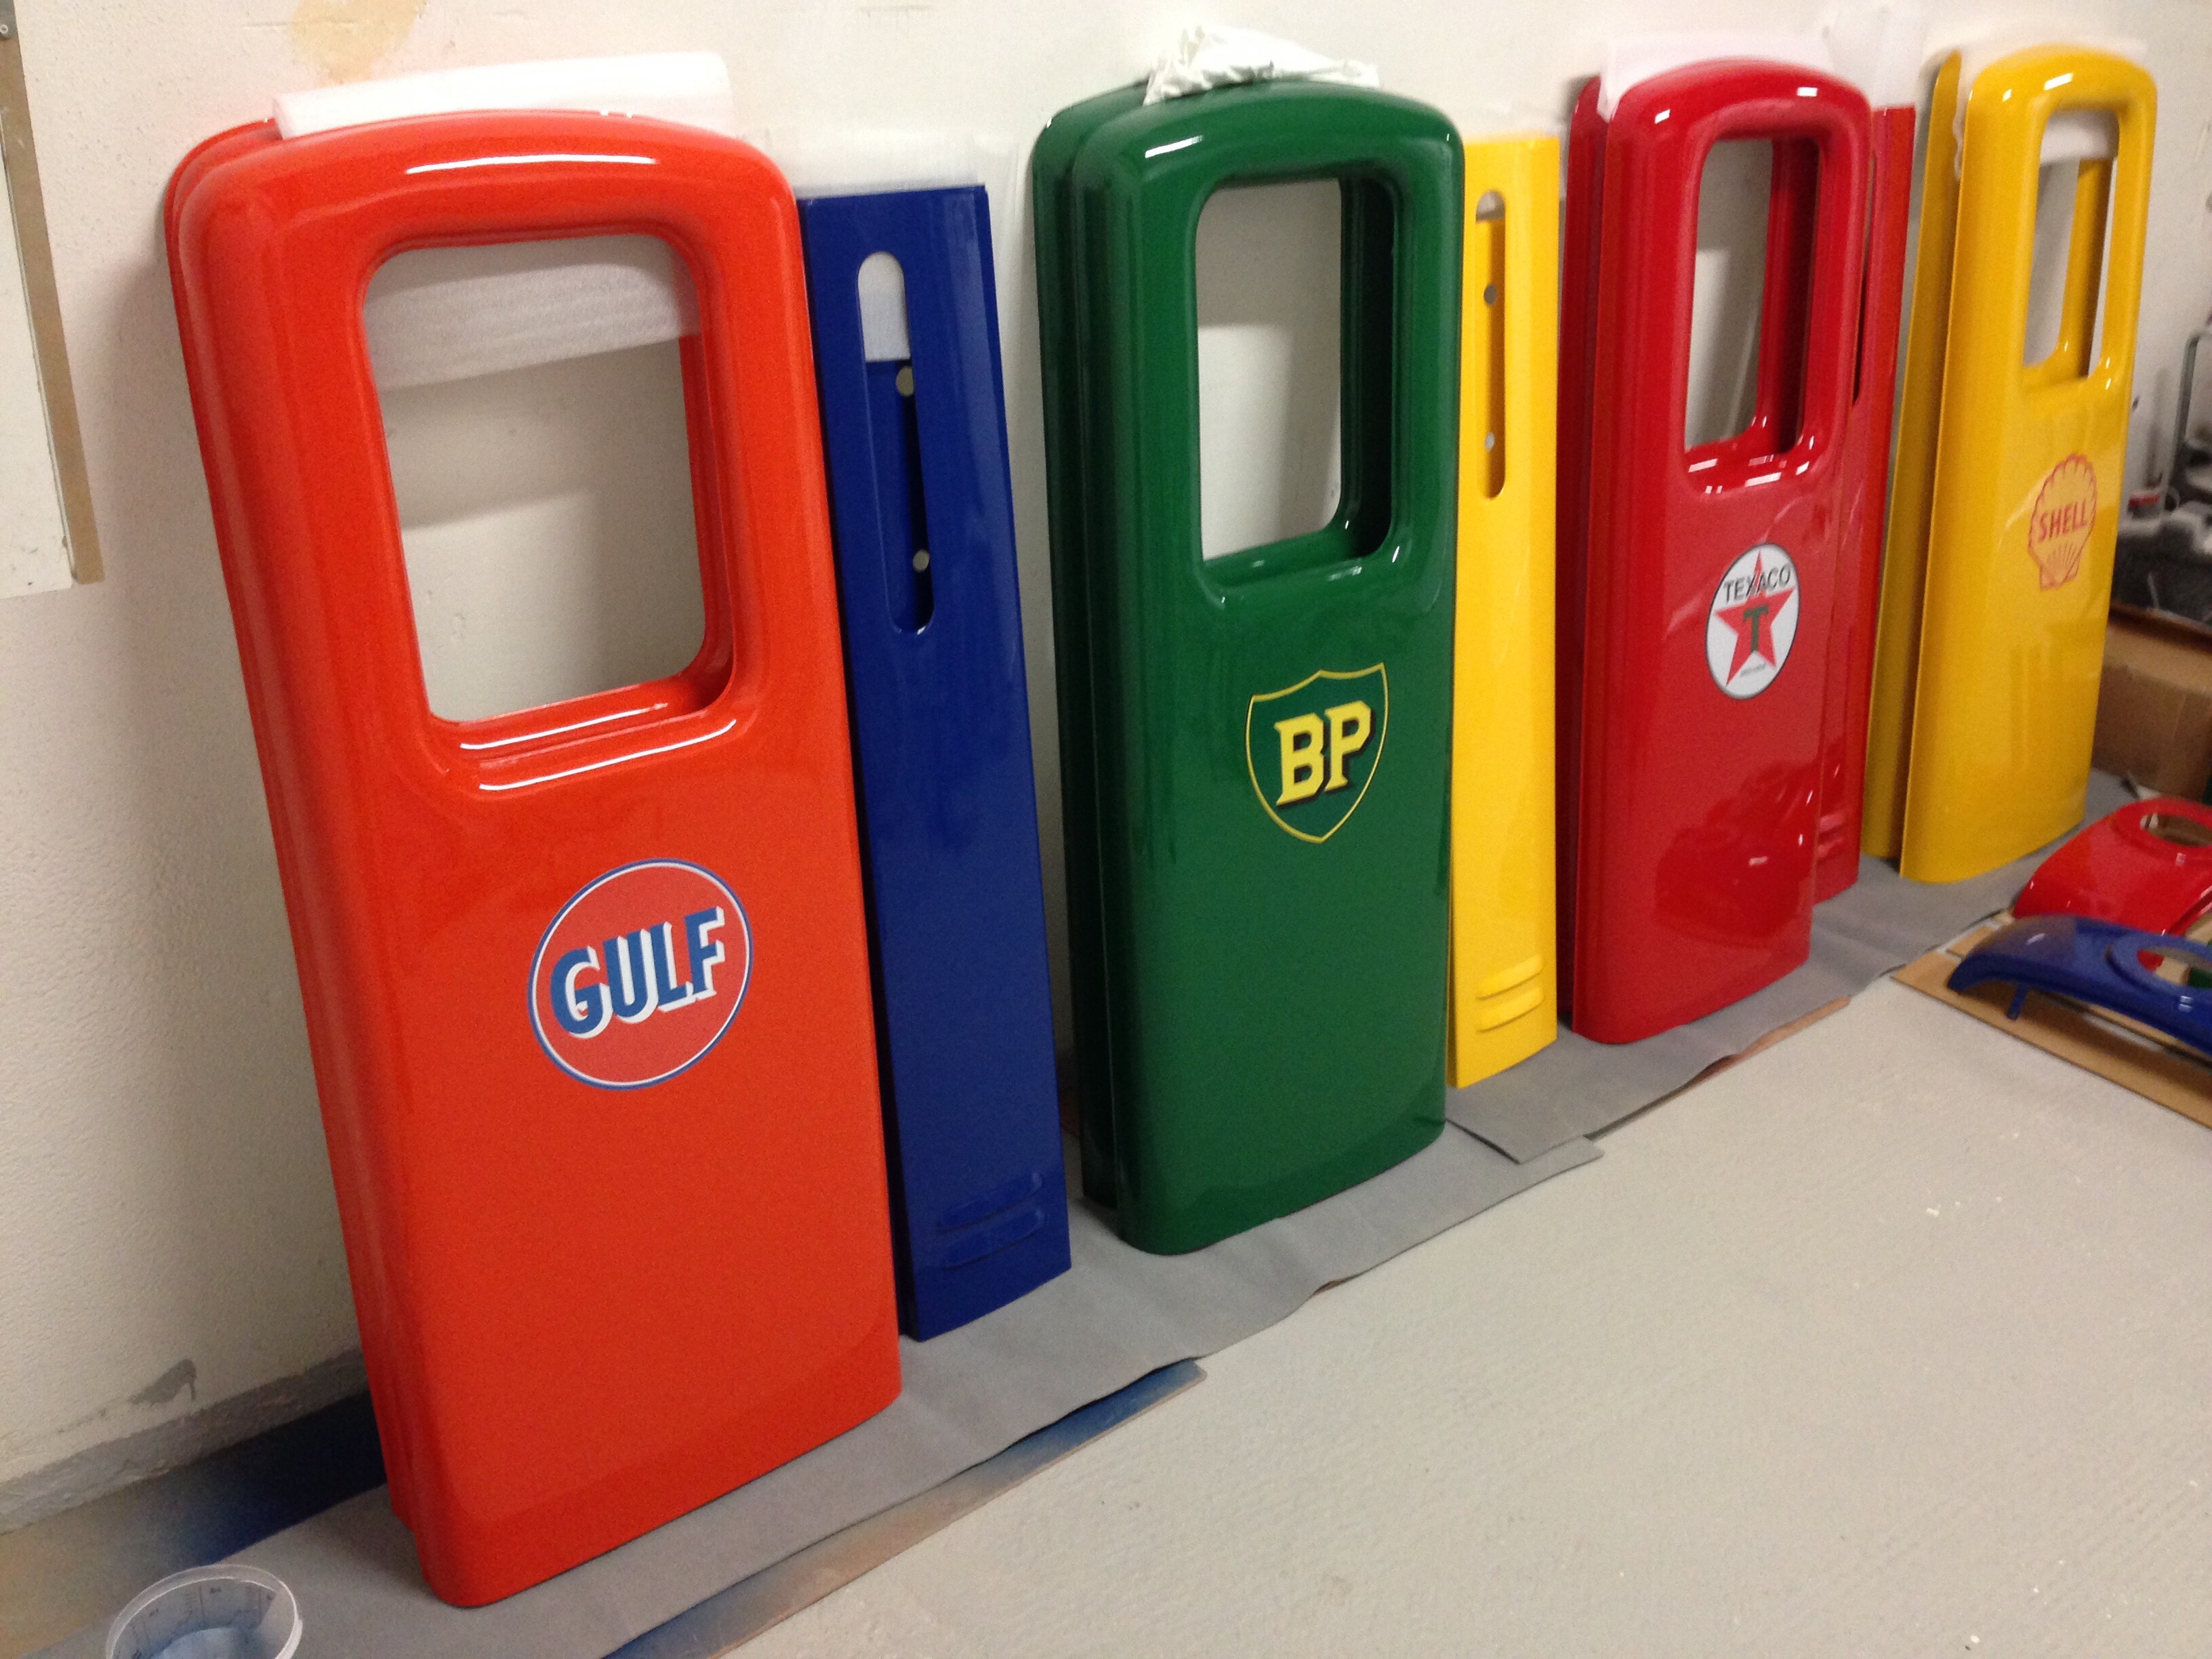
Painting this part in Canyon Red for a VW Amarok pick up truck. Nice color!


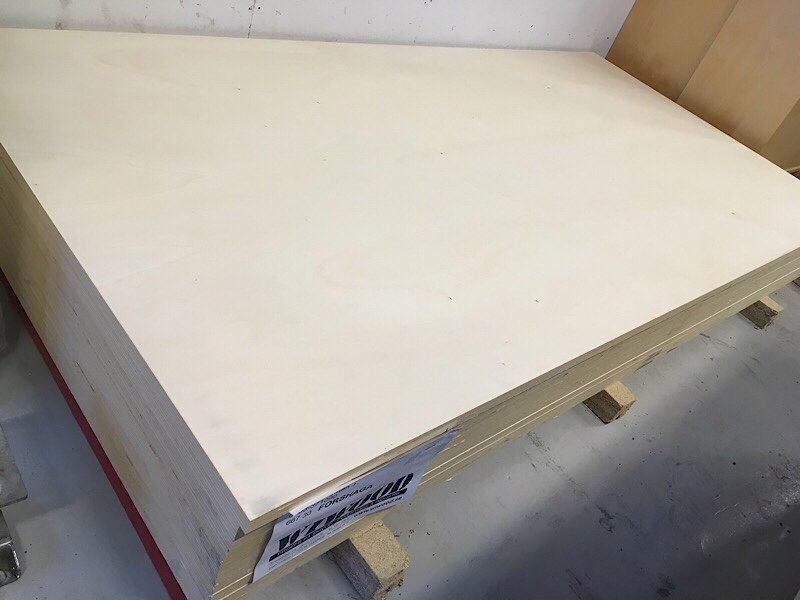
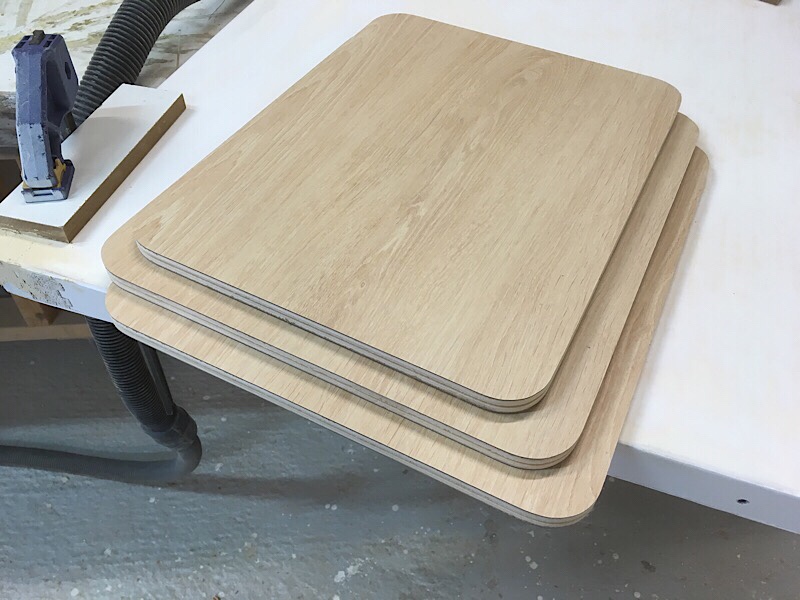
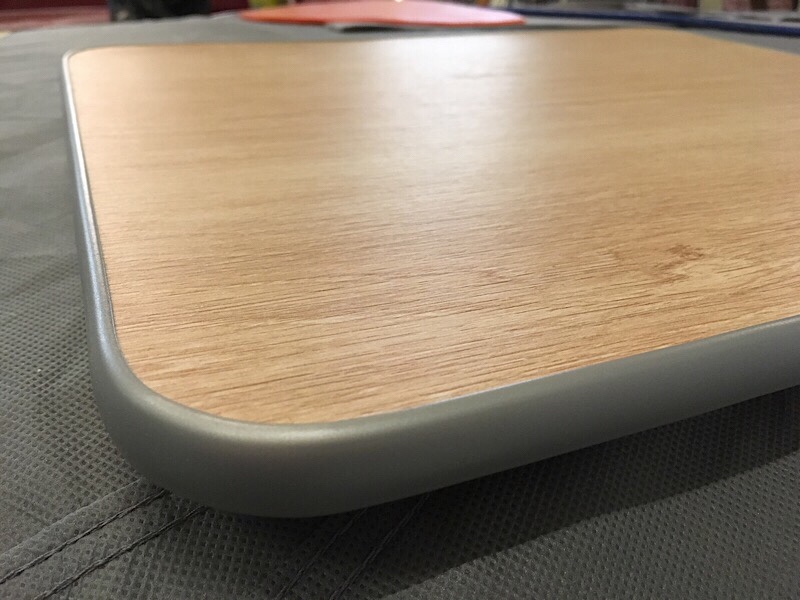
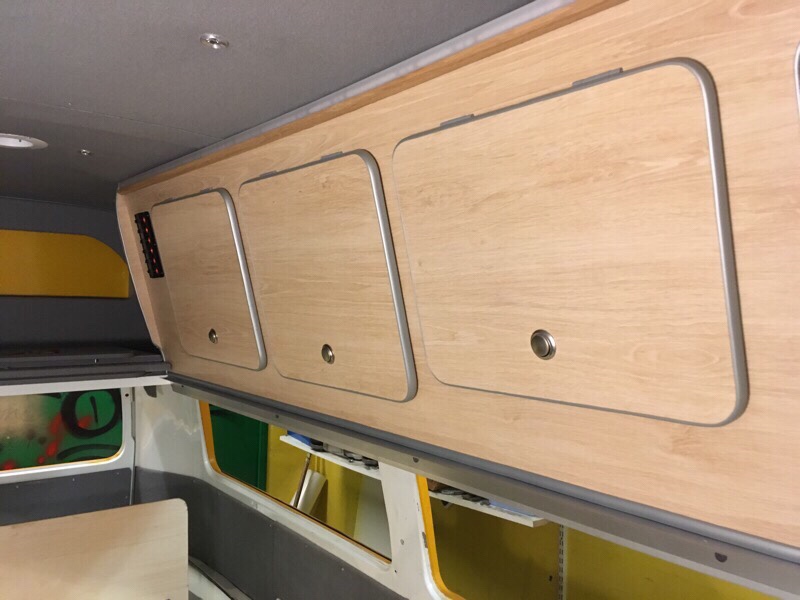
In this post I will show how I make a cabinet door from a big sheet of plywood. After lots of measures it’s time to cut these numbers out to actually real things, this time cabinet doors for a overhead locker/storage to the Highroof Bay.
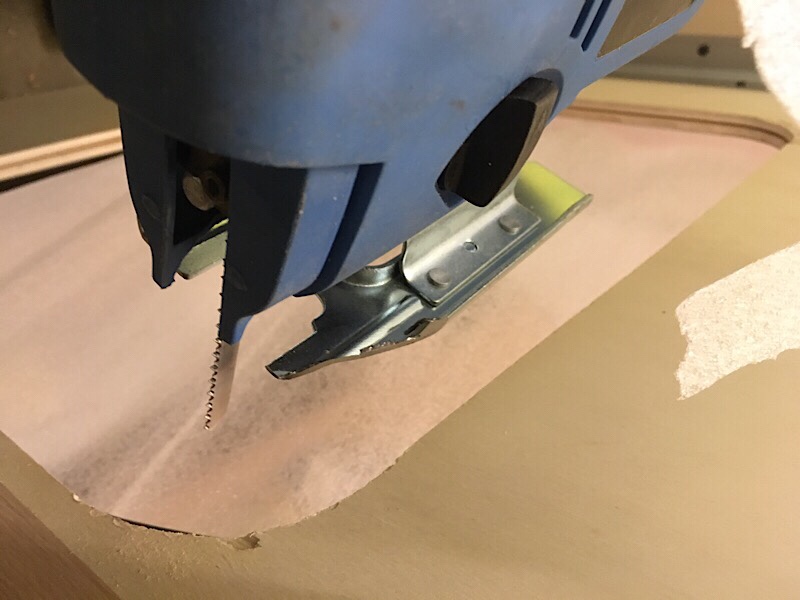
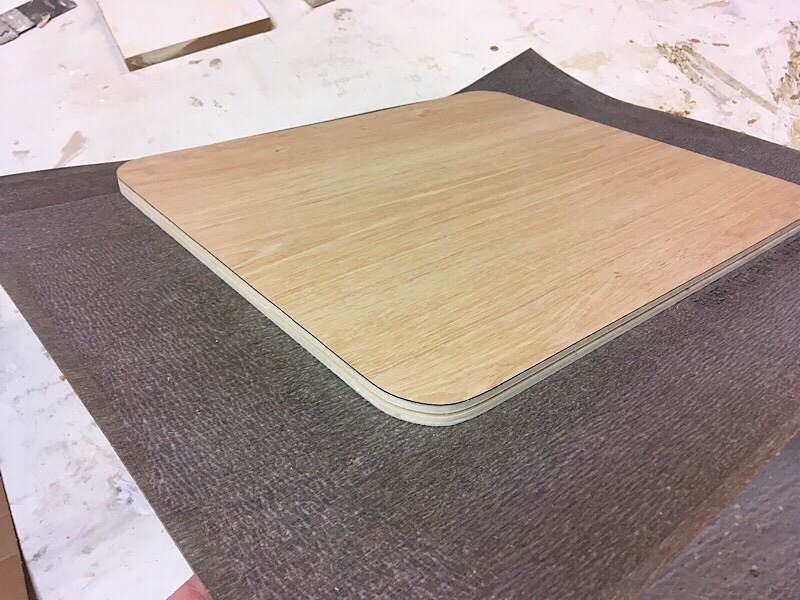
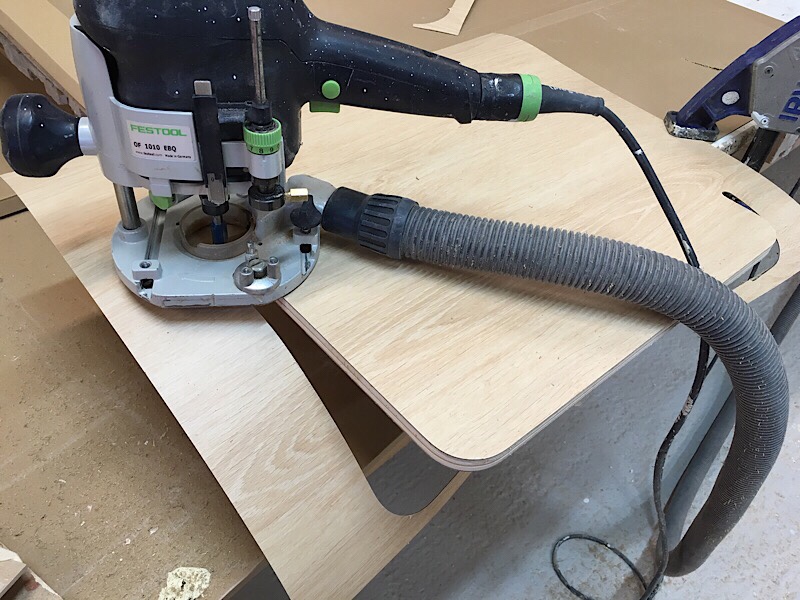
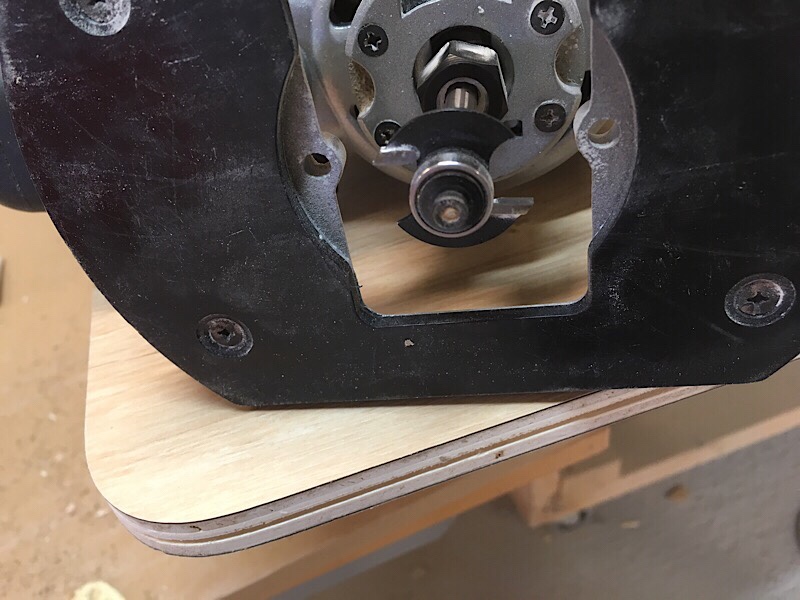
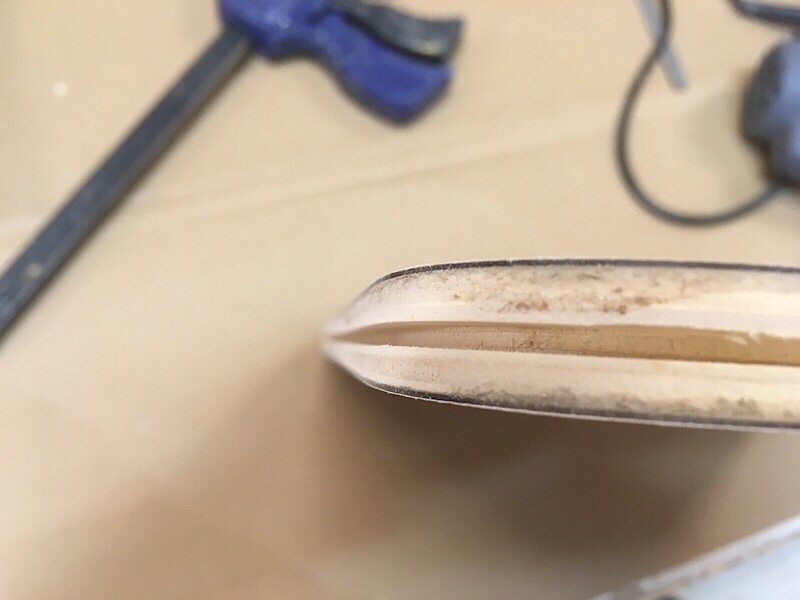
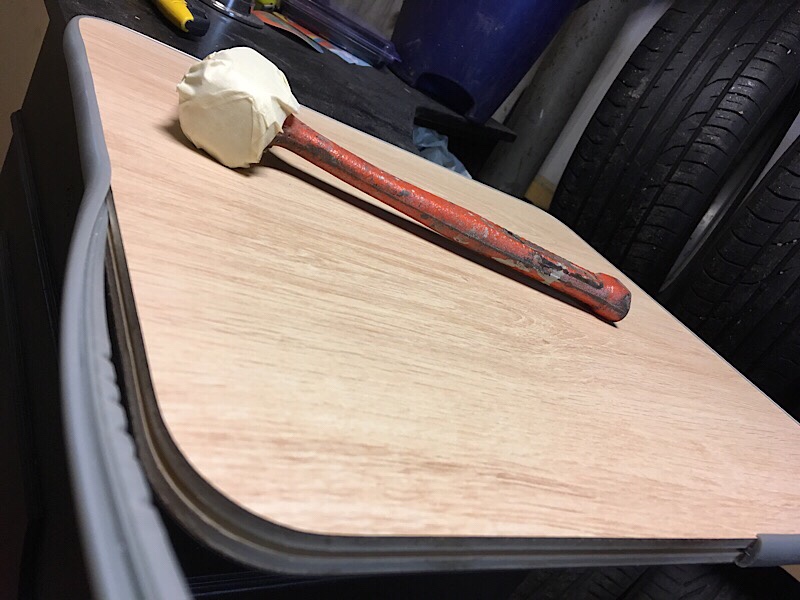
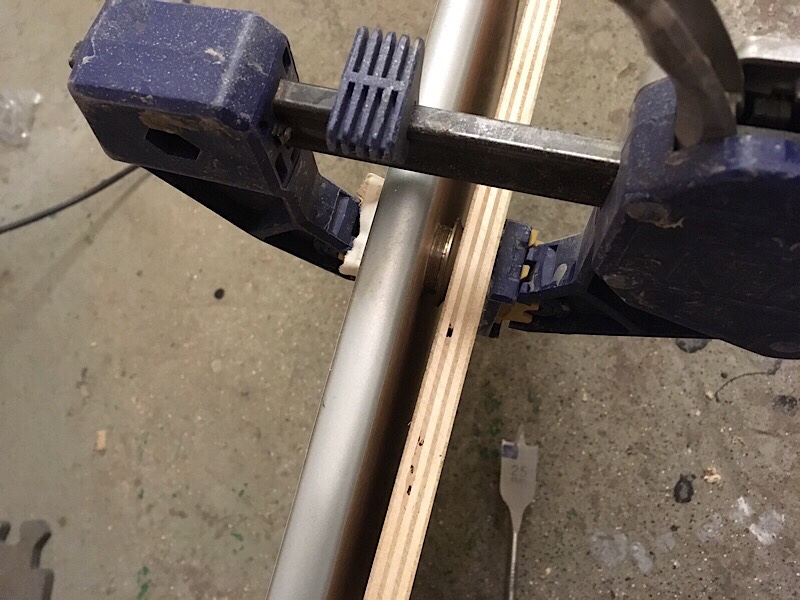
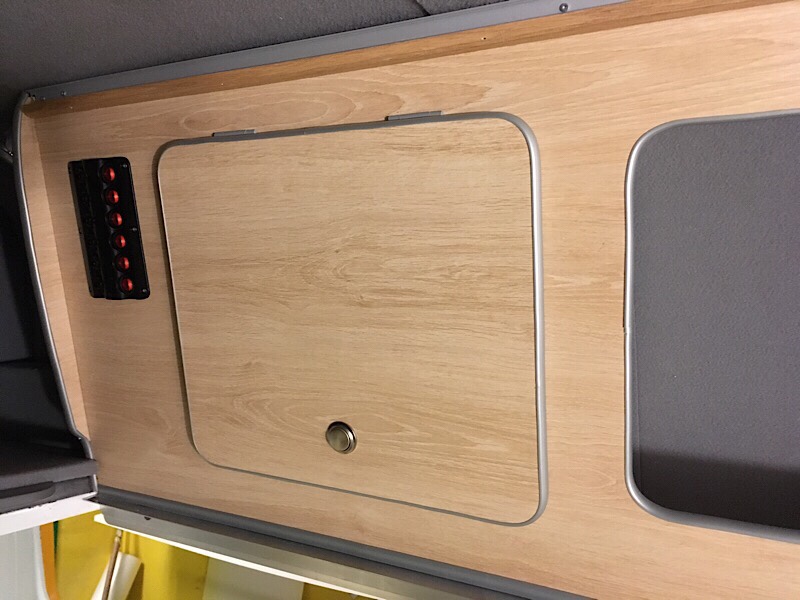
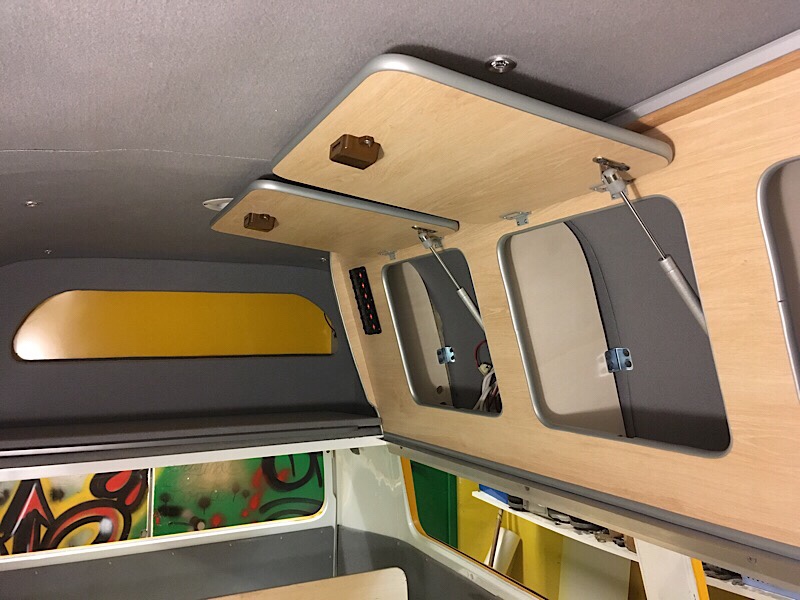
Draw up the dimensions on a 12mm lightweight plywood (never use ink pen!). Then cut it out with a steady hand and a jigsaw. Cut out laminate in slightly bigger size than the plywood, add 3M laminate glue on both sides, let it dry separate for 60mins. Then press the laminate together with the plywood and put it under pressure for at least 1hour or 2. Repeat it again to do the other side if needed. After this it’s time to use the electric wood router and cut out the coutures. Then cut a profile in the end of the door using a special router bit. When this is done you can start knocking on the edging, you can buy these from special wood company’s or camper conversion firms. Then measure out were you want the doorknob, drill it out, press in a bezel and install the lock. Mount hinges. Now you have one complete door, just everything else left to do 😉 Good luck!
Some of you have been asking for build plans for the Highroof Bay bus interior, but the only plans I have is in my head, sorry guys! 🙂
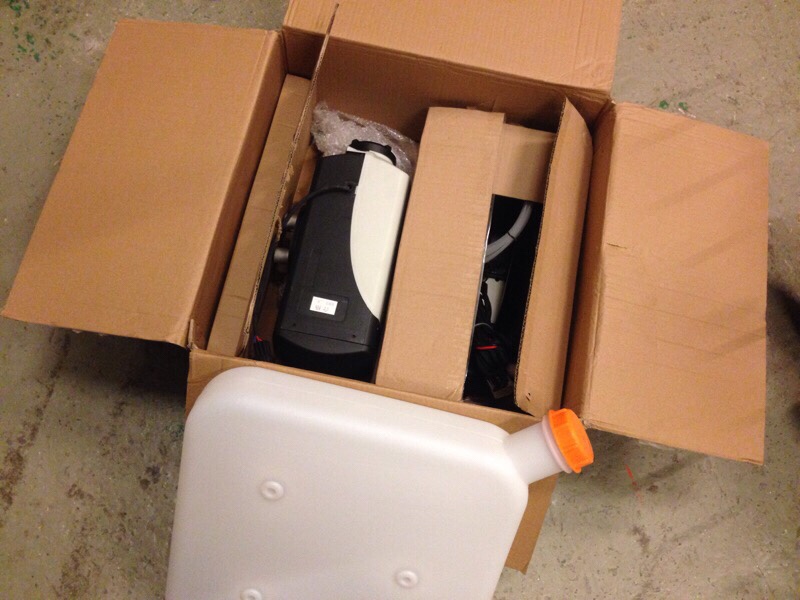
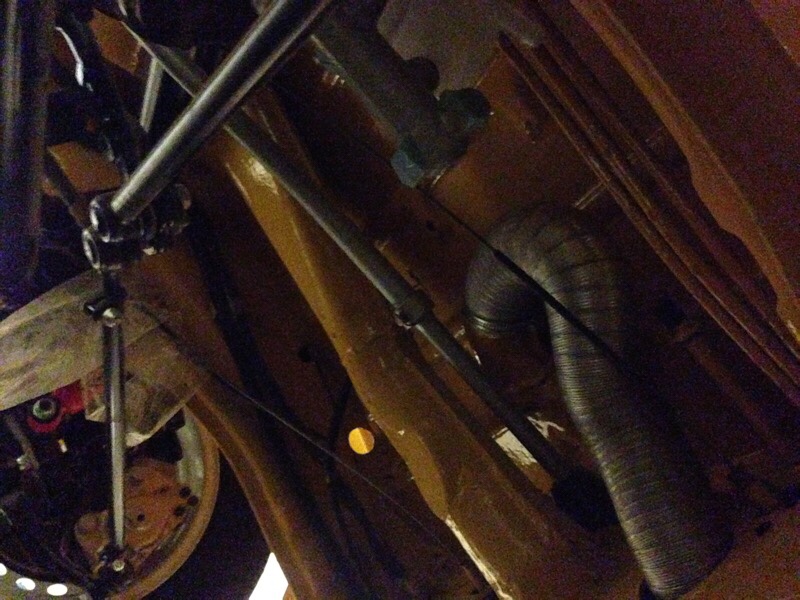
The new heater is now installed and incorporated with the old heater system design on the Highroof bus. Easiest and fastest way to install this would be to just place it under one of the sofas inside the bus and pull the heater hose out. But I decided to complicate it a little more but in the end with a much better result I believe. My bus had the Eberspacher heater M-code from factory so my idea is to remove the old heater and replace it with a new modern diesel heater.
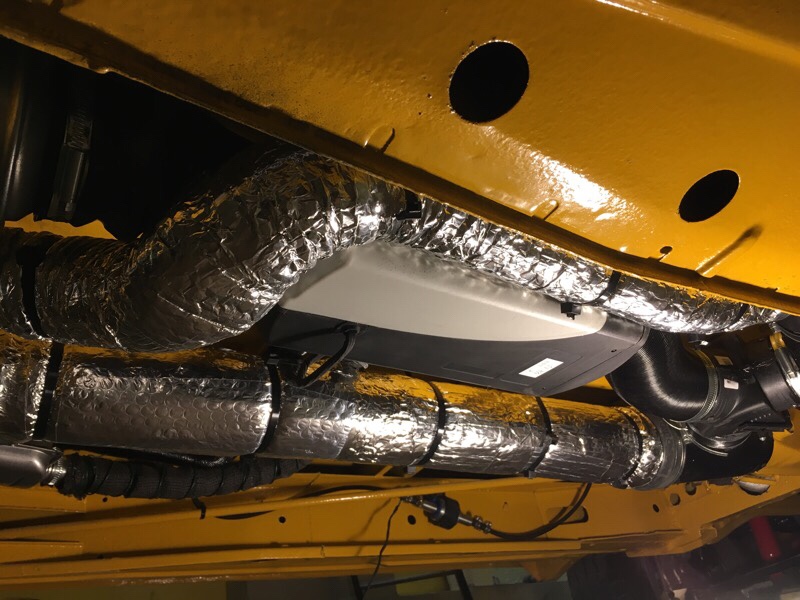
Doing it this way, I will get a modern reliable diesel non explosive/safer heater than the old which ran on petrol. I will automatically get digital display with timer, remote start, thermostat control and much more. I will not loose space or hear the noise from it (like if it was installed inside the bus) because the heater will now be outside under the middle floor (inside the protective splashpan) where the old factory heater was mounted. I will now get heat not only in the rear of the bus but also in front cab and windshield ect. I will also add some extra airflaps in the heaterchannel so I can adjust the heat to only front or back to the rear floor, bed and top bunk. I will then insulate all pipes with aluminum air bubble foil to protect the heat from the cold surrounding. More work doing it like this but I think it will be all worth it in the end.
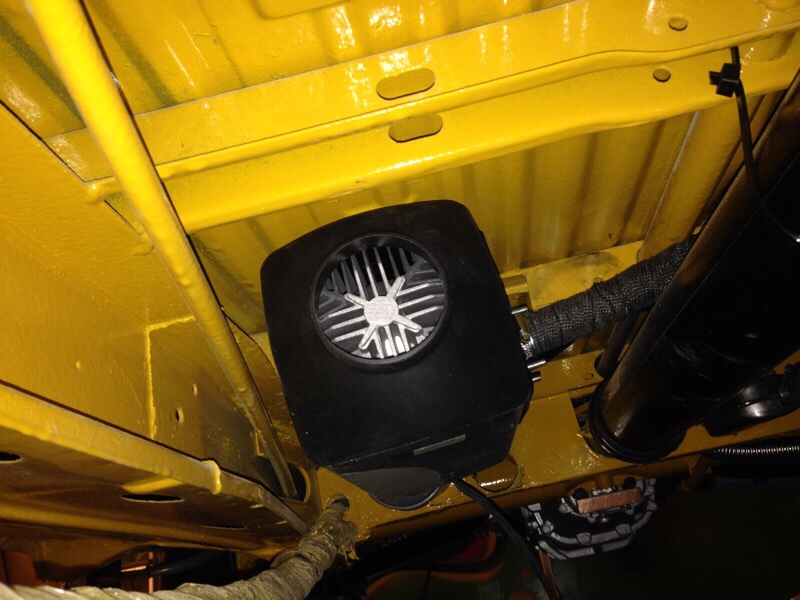
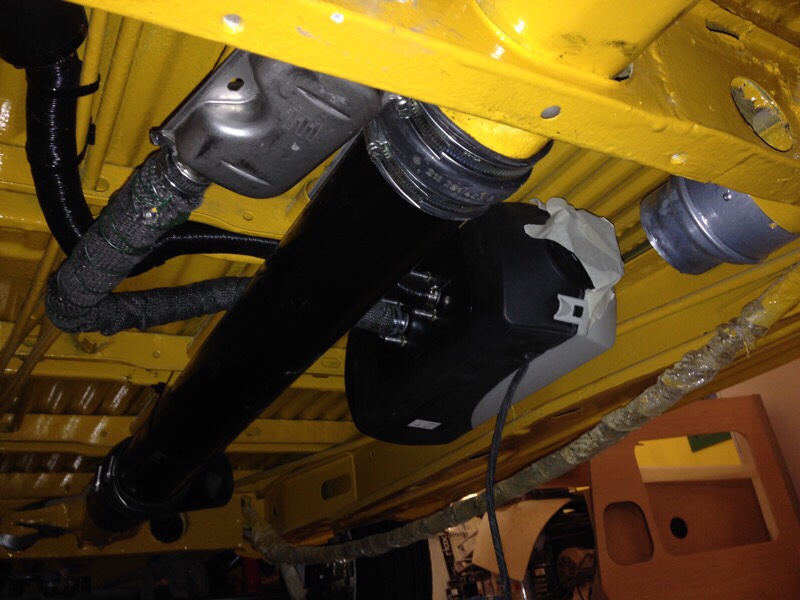
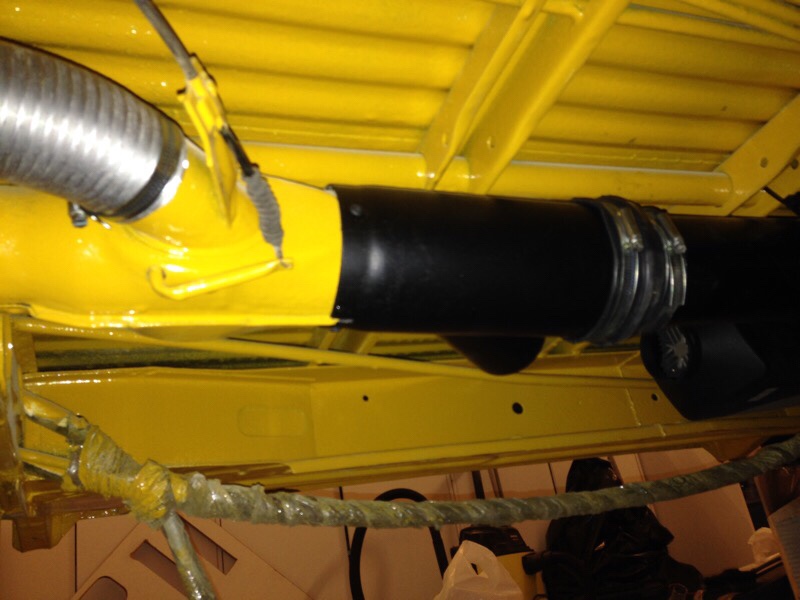
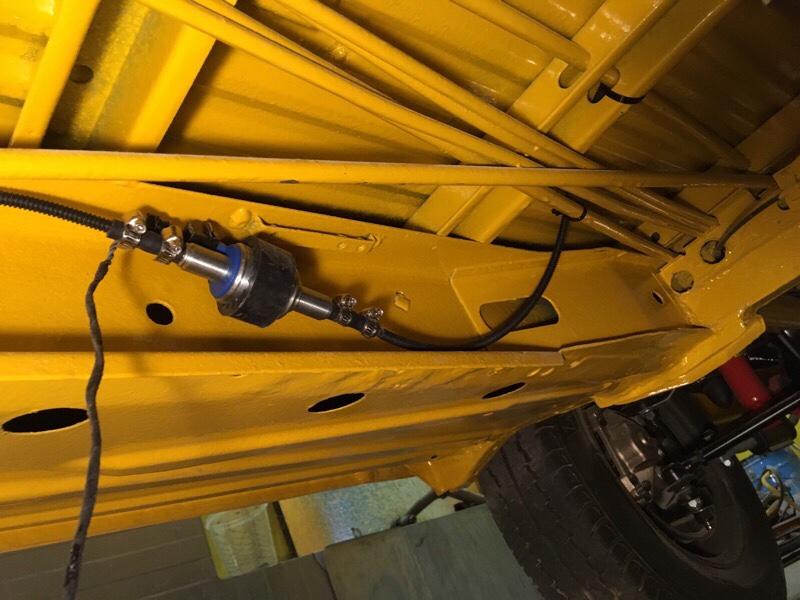
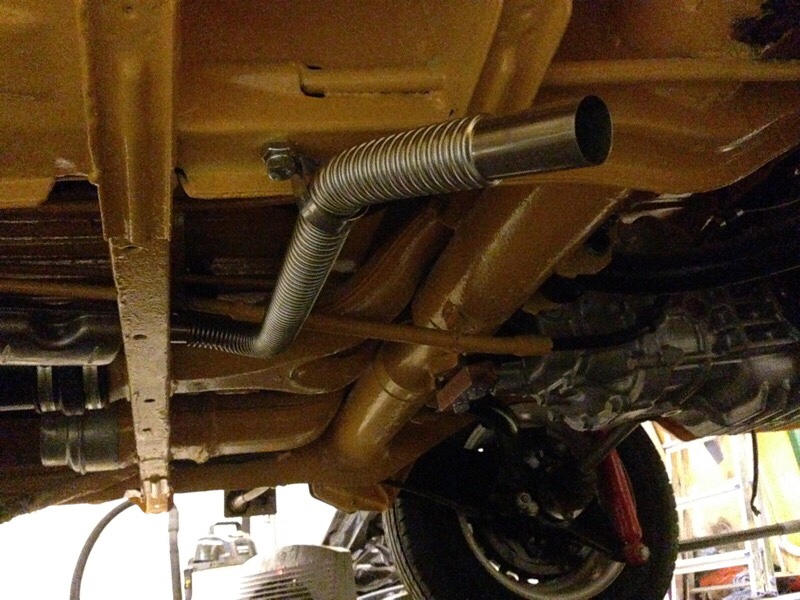
I started by removing the old crusty Eberspacher BA6 heater that was mounted in the center under the floor, mounted a new 90mm center pipe under floor instead (like on a ordinary Baywindow without the BA6 heater option). The new parking heater was the installed on the side of the new center pipe. It was a really tight fit, the height of the heater is 140mm and the space under floor was 145mm. I had to cut a 3-40mm notch out in one of the floor supports to make it even possible. The heater exhaust was wrapped in “header wrap” for less heat radiation and was routed out back to a muffler and then out in front of the left rear wheel. You don’t want to route the exhaust fumes out on the sliding door side of course! The fuel pump was mounted in a rubber holder in 40 degree angle on the frame of the bus, filter was put on outside for easier change in future. The air intake for the combustion chamber was routed back (don’t place it against wind/driving direction) and a filter bolted in the end. The air inlet to the heater fan is hooked up to the stock inlet pipe (from a hole under the rear rock n roll sofa). This means it will circulate warmer and warmer air, and don’t have to warm it up from ice cold outside air all the time. It will make it produce more heat too. The heater outlet is connected to a air flap (where I can choose where I want the hot air, front cabin or rear. I also made a extra heat pipe for the rear bed and top bunk, so you can feel the heat directly in the bed when you turn it on in the morning. 🙂 You can see the heat outlet in top bunk on the last picture. Stock is only rear floor otherwise. The small 10 liters diesel tank will be mounted under or behind the front passenger seat, this way you can easily see when it’s time to refill. It consumes only between 0,19-0,5 liters per hour. So on one tank it can run on full blast for about 20-24 hours before it time to fill it up again. Insulated all pipes from back/rear of the engine to all the way to the front cabin. Still have some electric wiring left to do before it all done. Can’t wait to test this beauty out!!
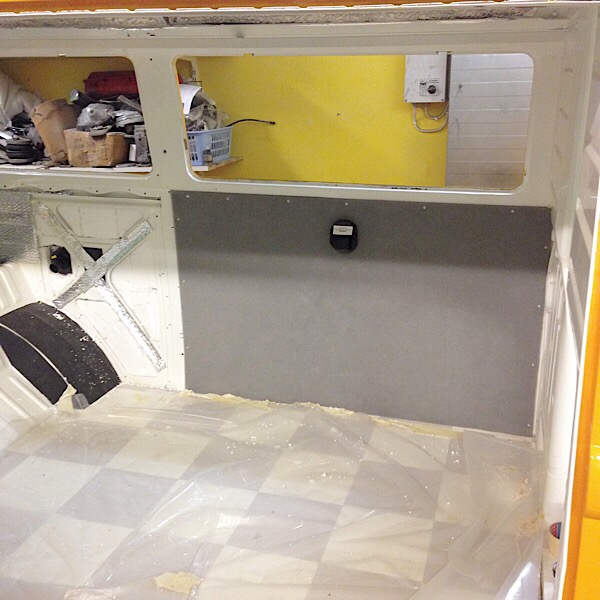
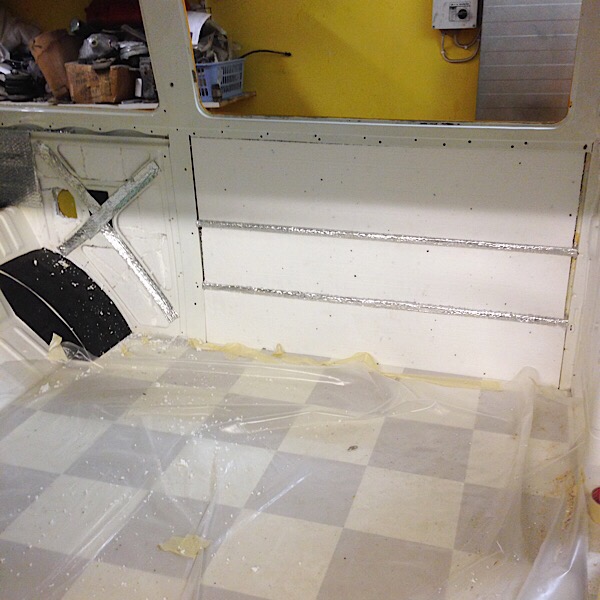
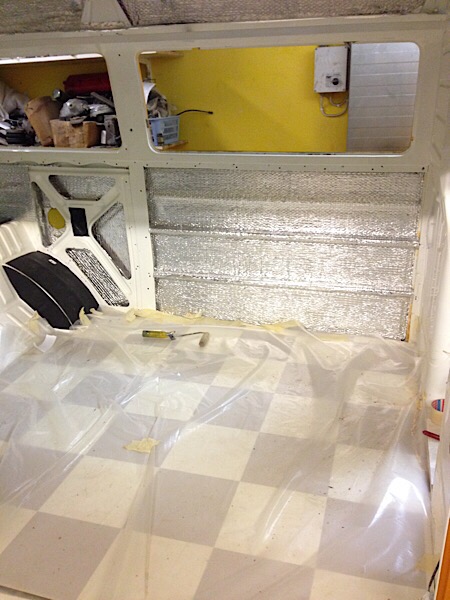
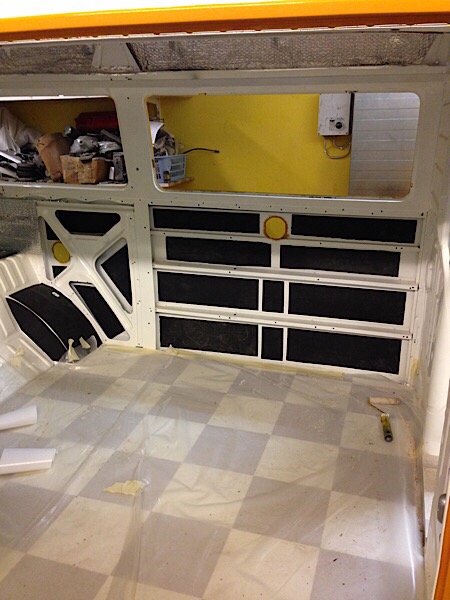
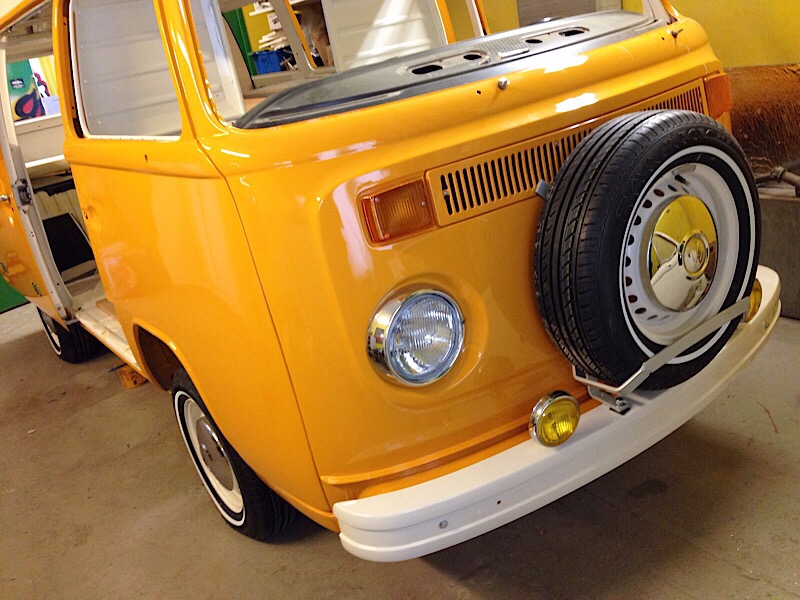
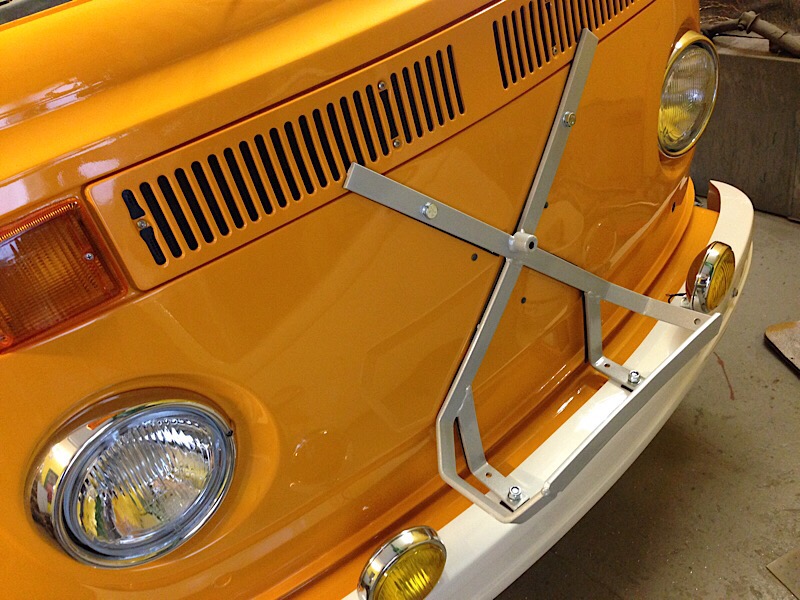
Some news, have got the front bumper and sparewheel back on and also some new fog lights. Right now I’m working on insulation. First im using sound dampning material (black Mats). Then Reflektix (or ThermoReflekt called around here in EU),aluminium folie with airbubbels. After this I add cellfoam 30mm and end it all up with 3mm oil tempered hardboard lined with grey carpet. Before the hardboard get screwed back I soak the inside with wax oil for protection. This will be used in every wall except front doors that don’t have so much space inside. Maybe just sound dampening mats, reflektix and 10mm cellfoam. Inside of the roof is already covered with reflectix and will get some blocks of 20mm cellfoam and glasswhool then 3mm hardboard or pvc board with same grey carpet. This will keep the hot out on summer and the warmth inside on winter!
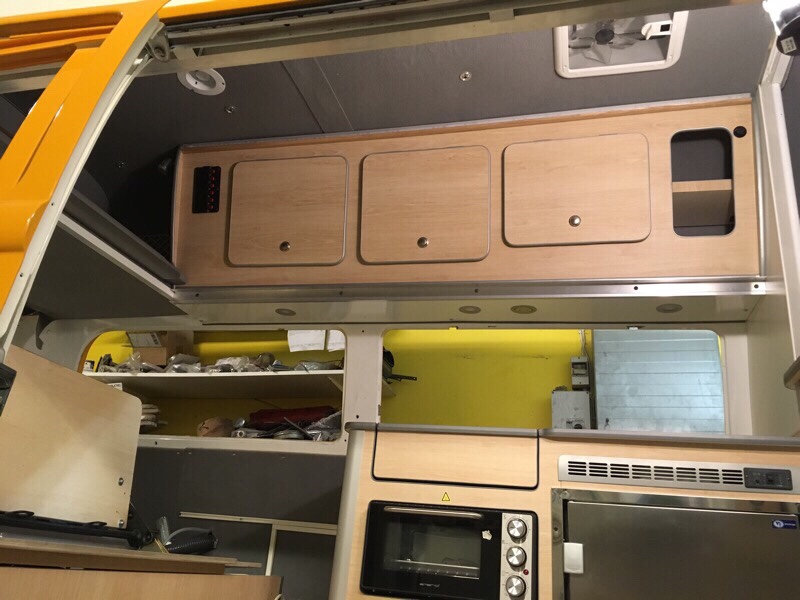
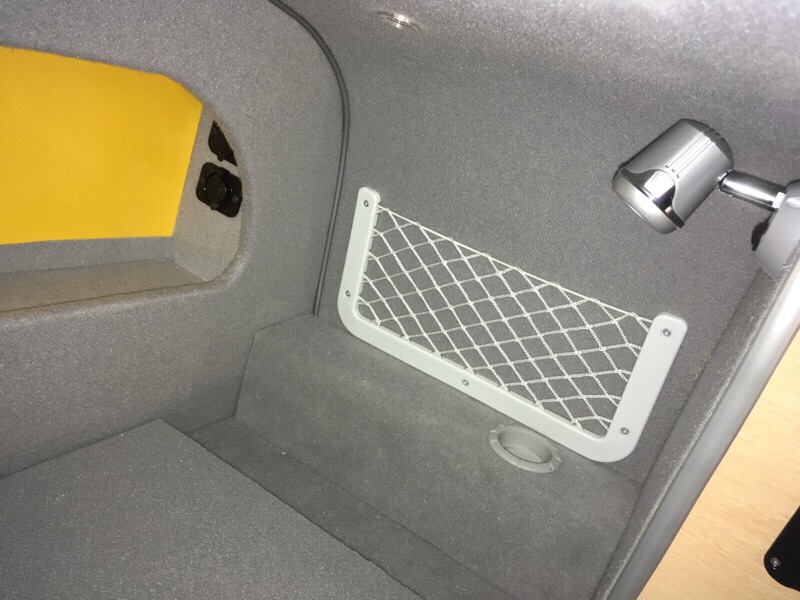
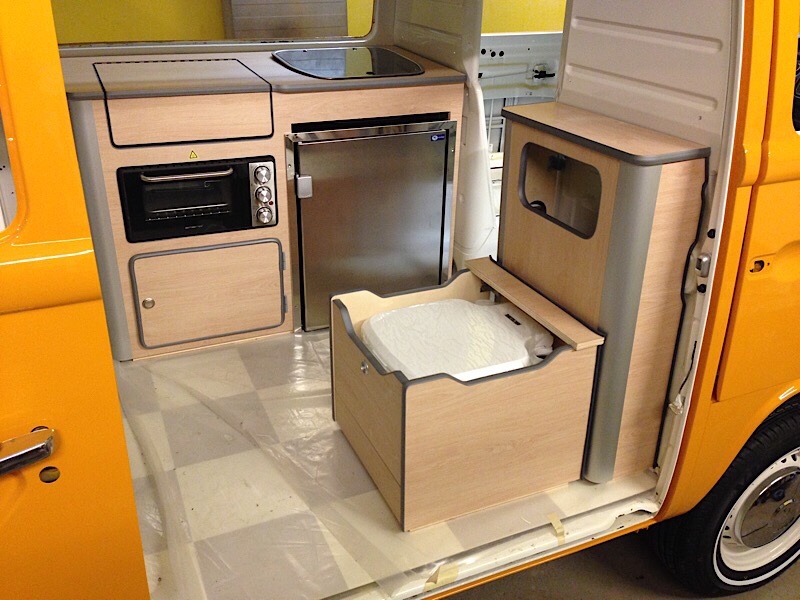
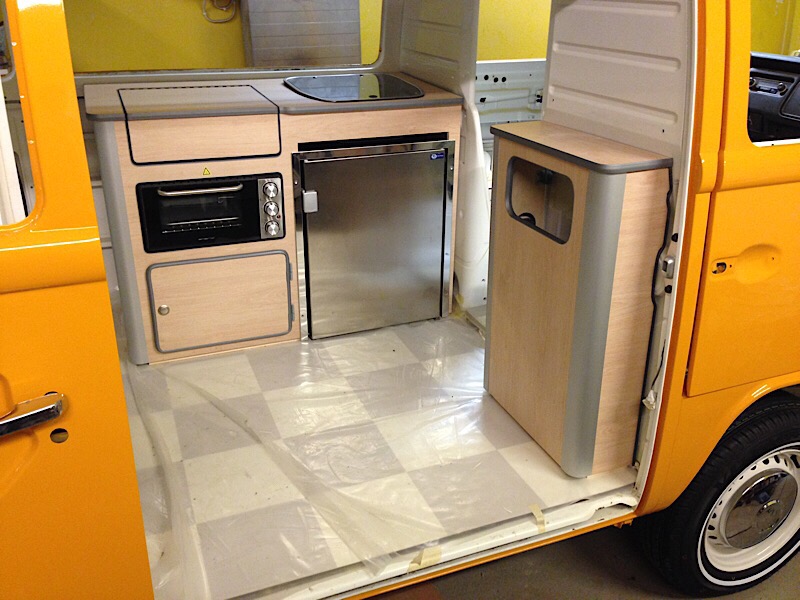
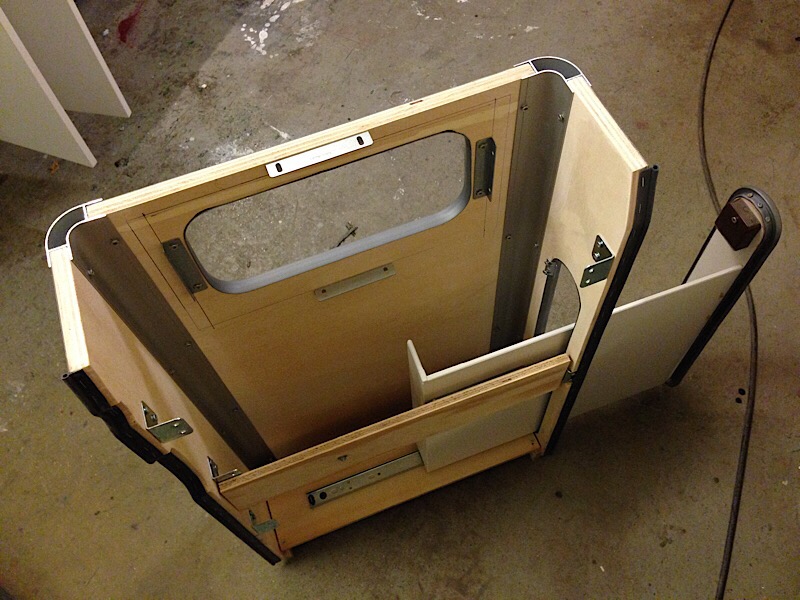
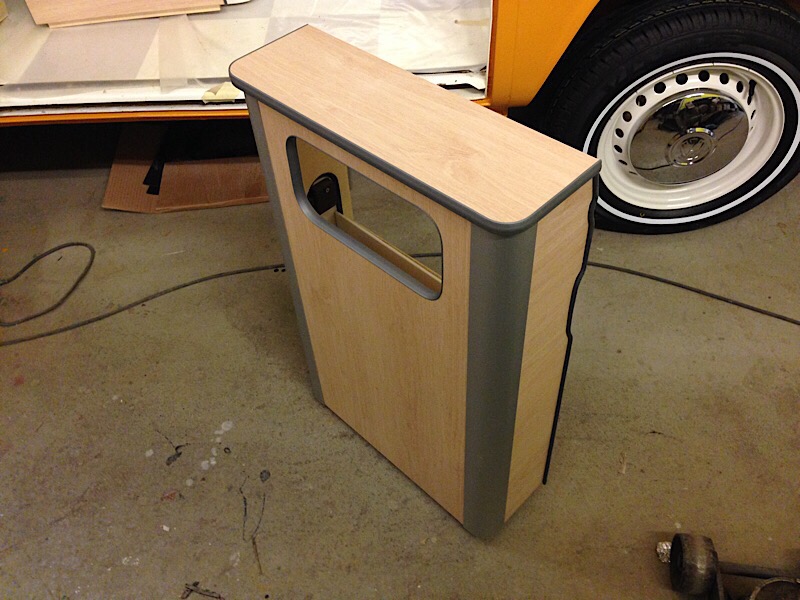
I also test fitted all the cabinets I built, the small and (what I thought) easiest furniture of the interior turned out to be the most complex so far. With a pop out dish rack storage on the side. Storage in the backrest also. And a seat (with space for PortaPotti toilet) that can be bolted on or lifted out when not needed for more space. It can also fold out a extra seat so 2 persons can sit on it. Compact living, No space goes to waste here! ?
Here is some pics!


Old and newest movies can always be found here: CampersOnTour YouTube channel.
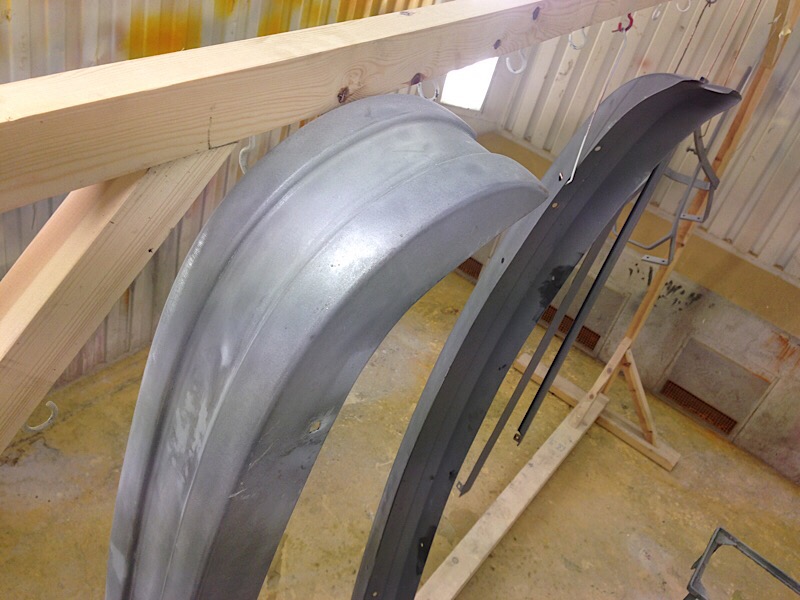
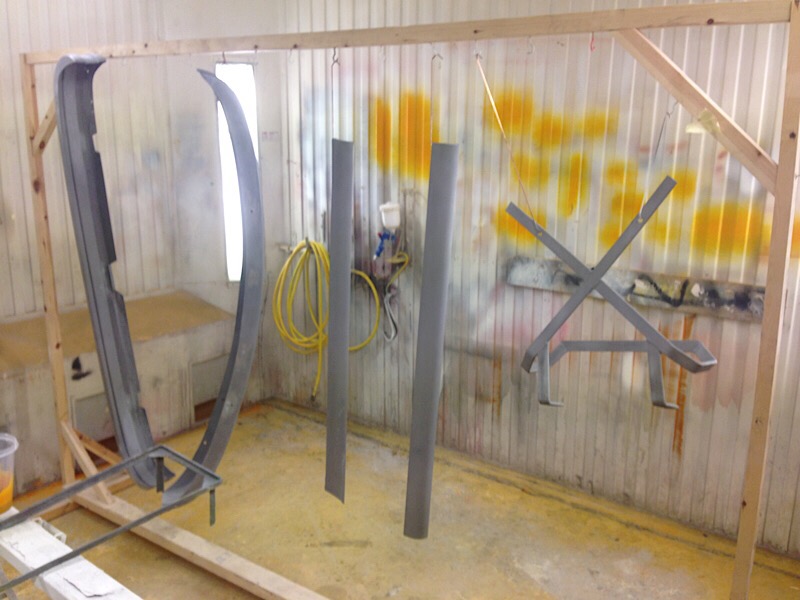
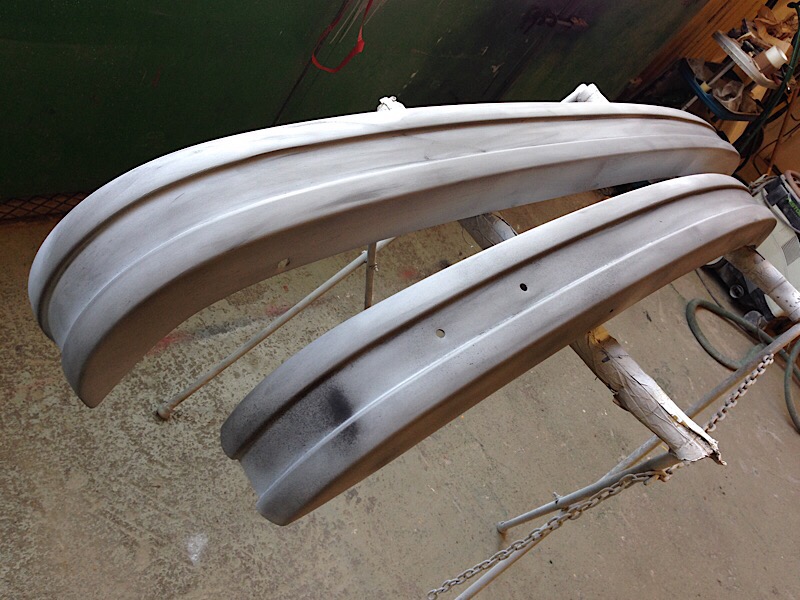
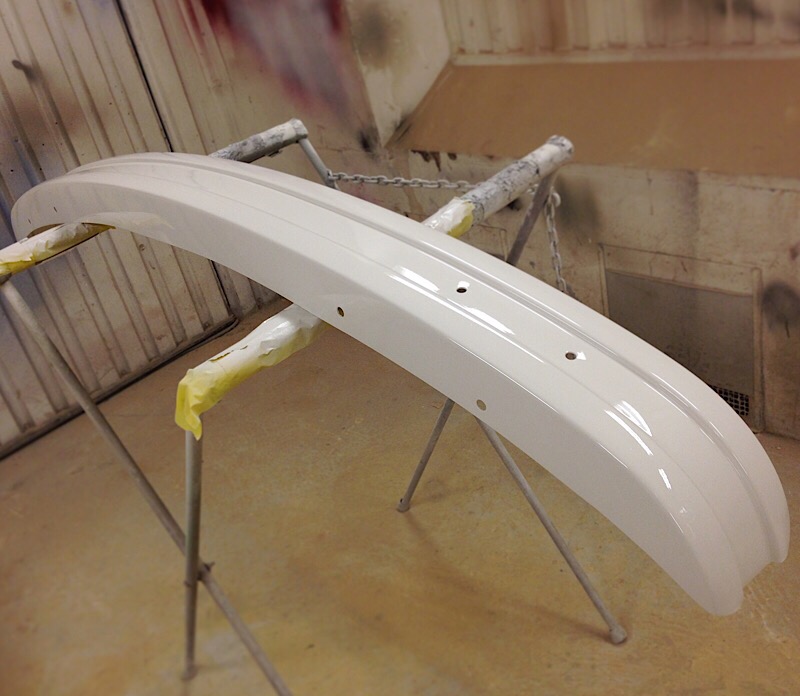
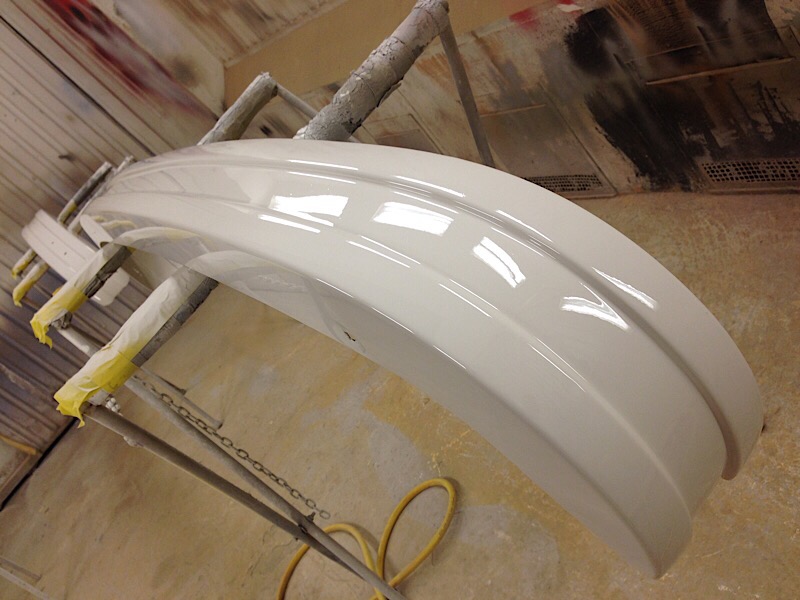
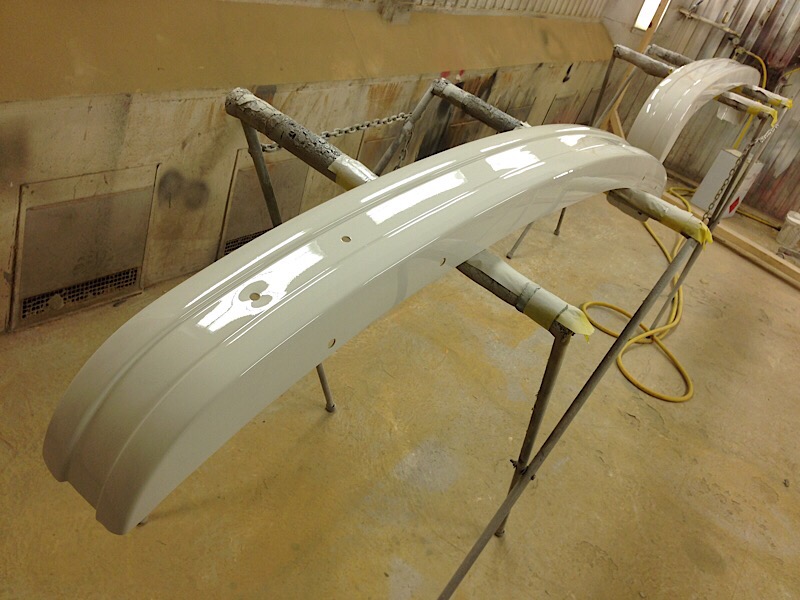
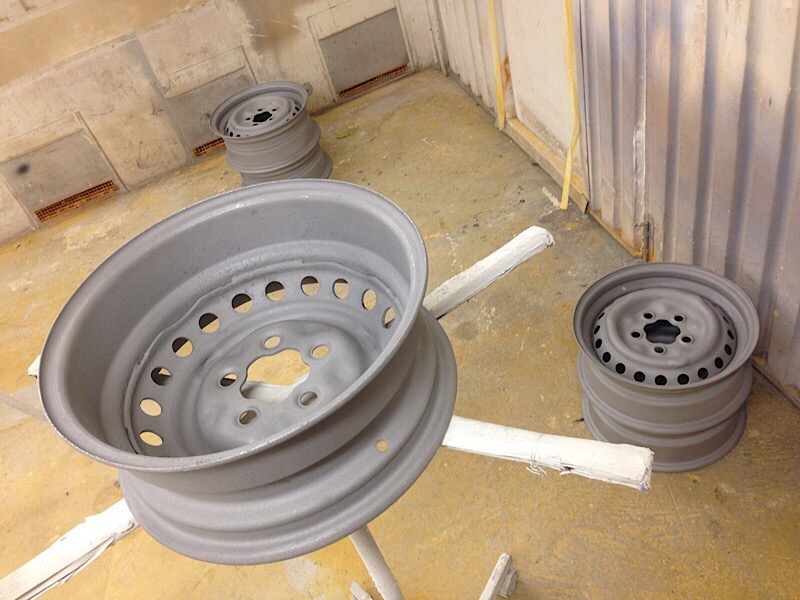
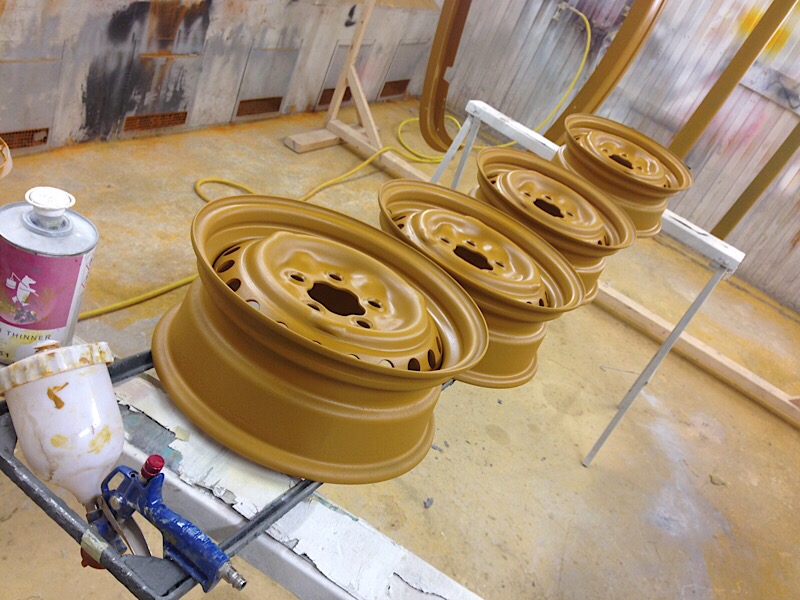
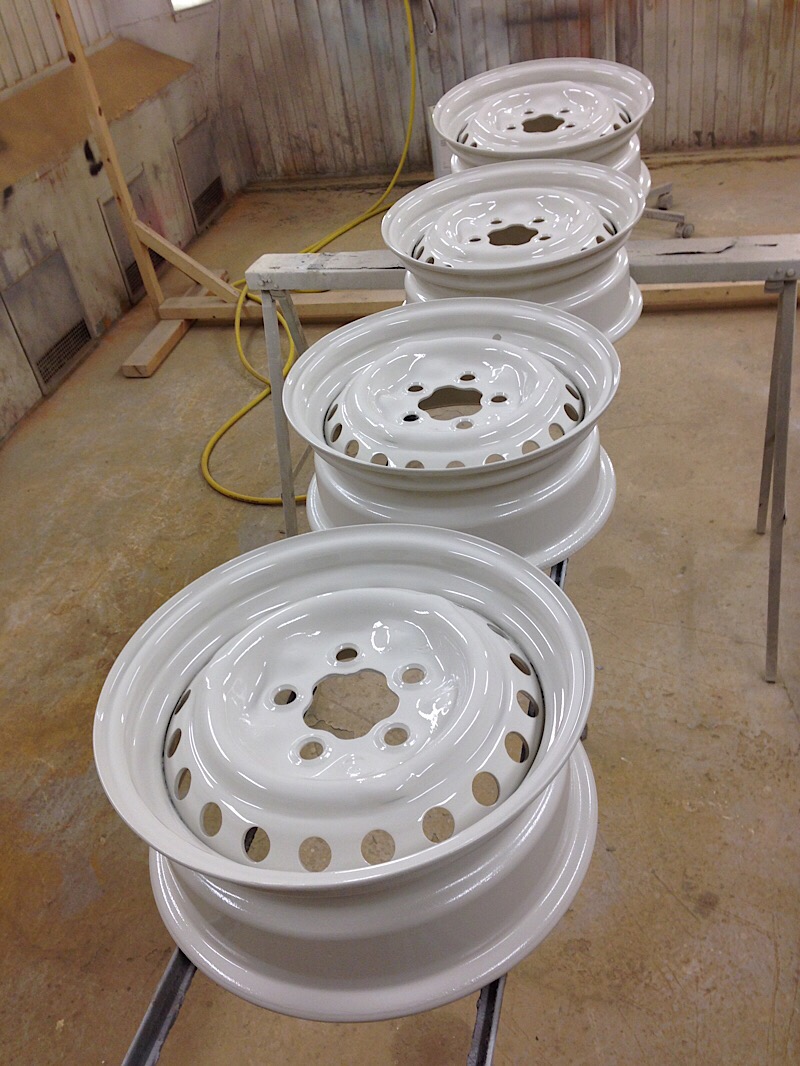
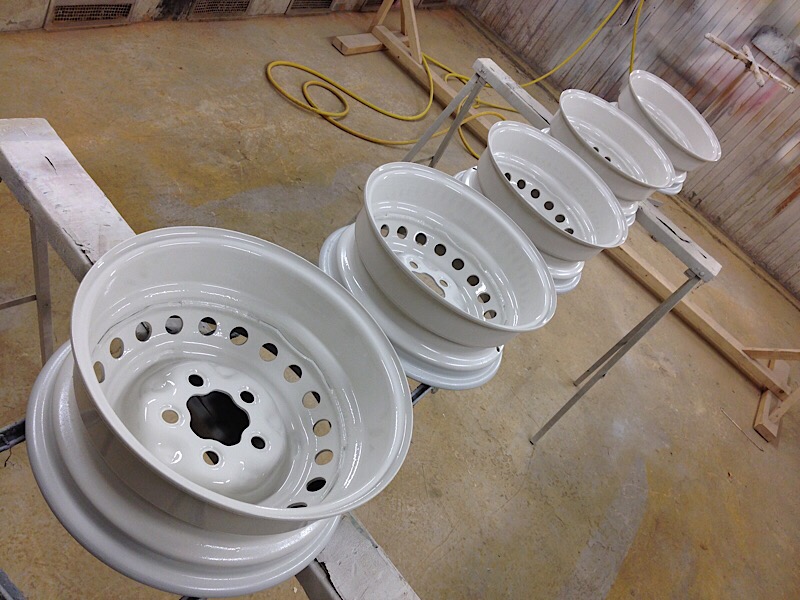
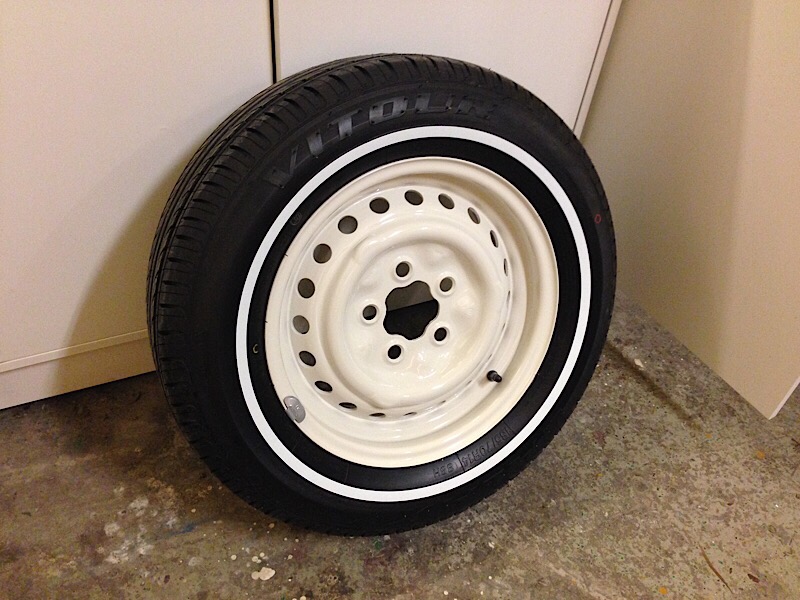
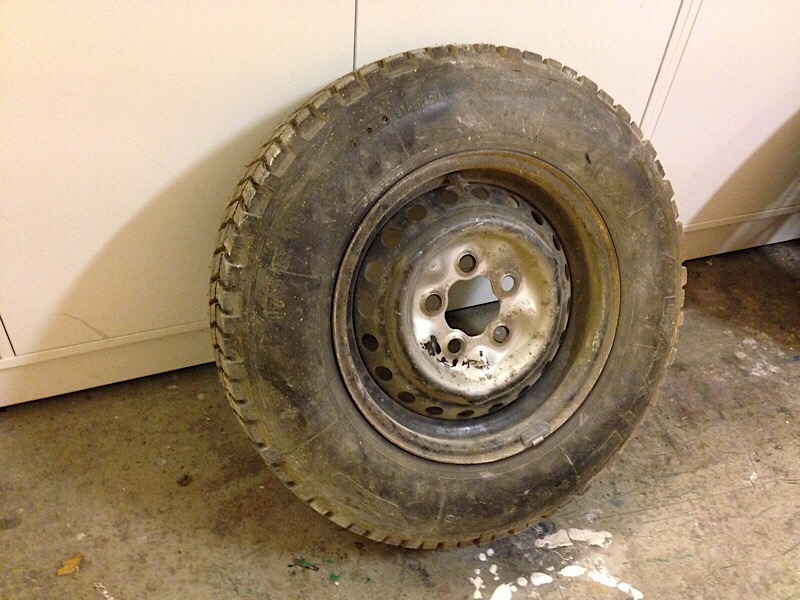
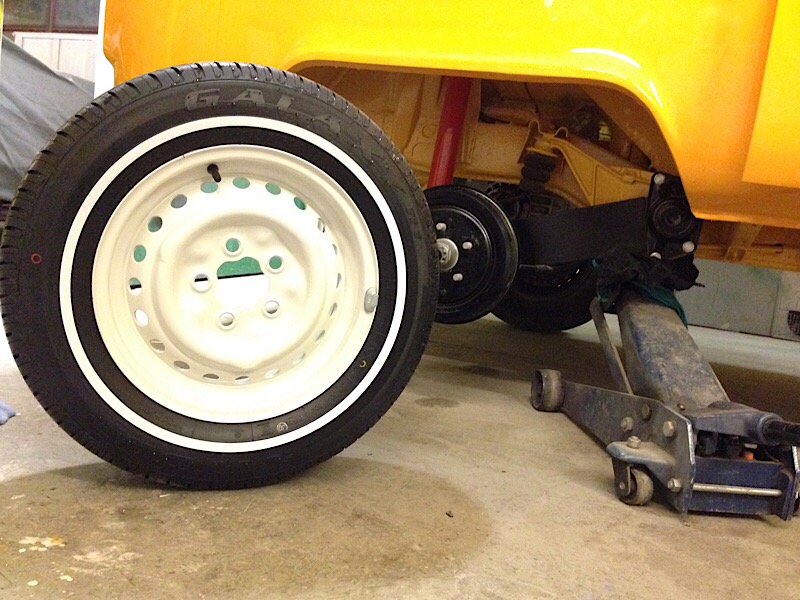
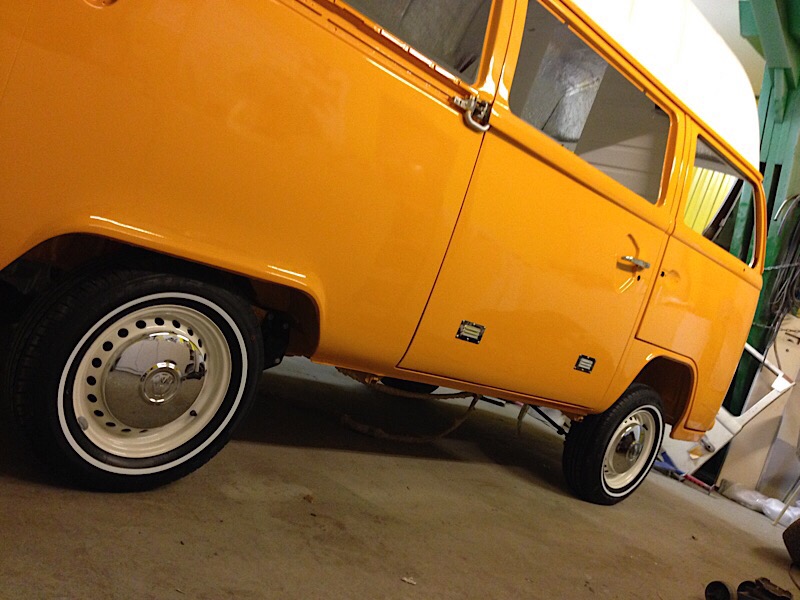
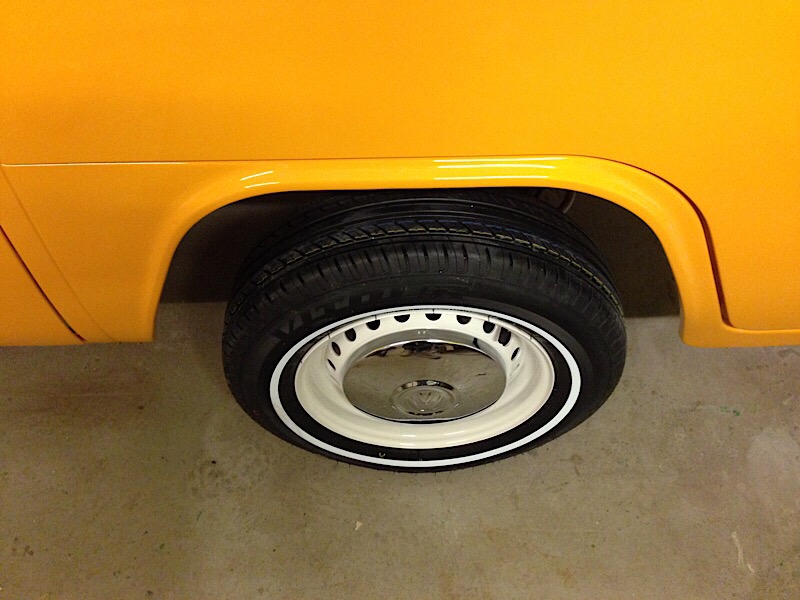
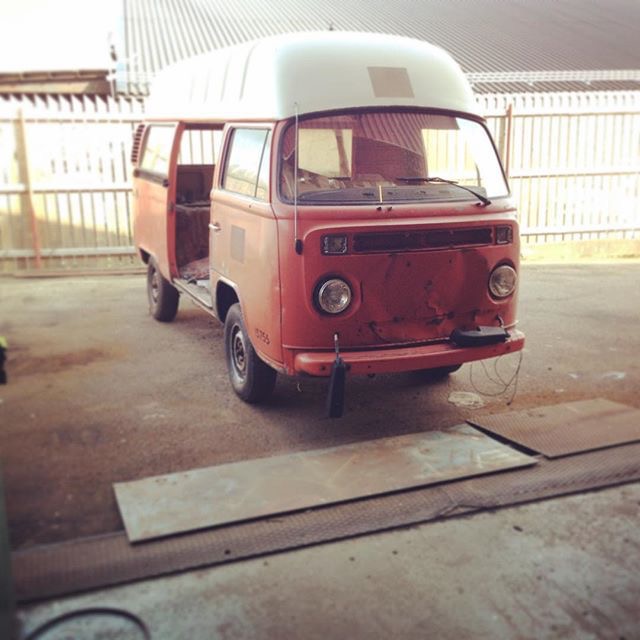
Piece by piece it’s coming together! I Have been fixing with the bumpers and wheels lately. It have all been sandblasted, welded, epoxyed, sanded, primered and painted in same white as the roof. Really starts to come together now, some light in the tunnel. But still lots left to do, here is some new pics…
#highroofbayproject

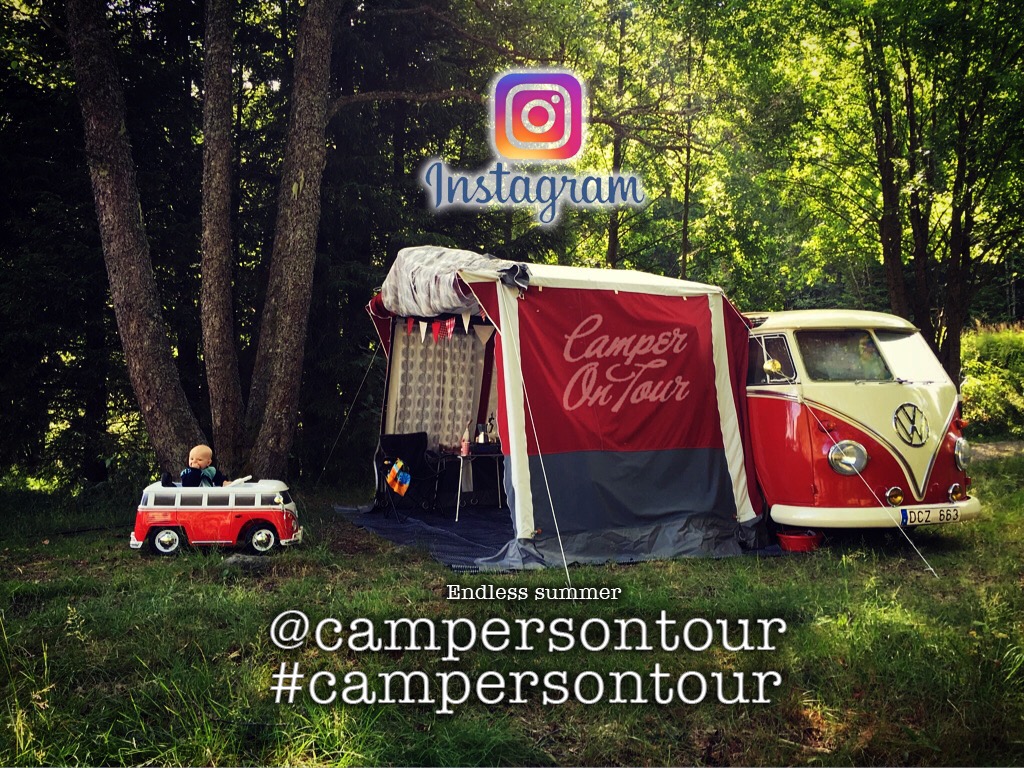
Movie from this weekend with the VW bus. Fore more follow: @campersontour at Instagram.
Short movieclip from when I painted the skate deck, check out all videos on the Maindrive Youtube channel and dont forget to subscribe: https://m.youtube.com/c/MainDrive
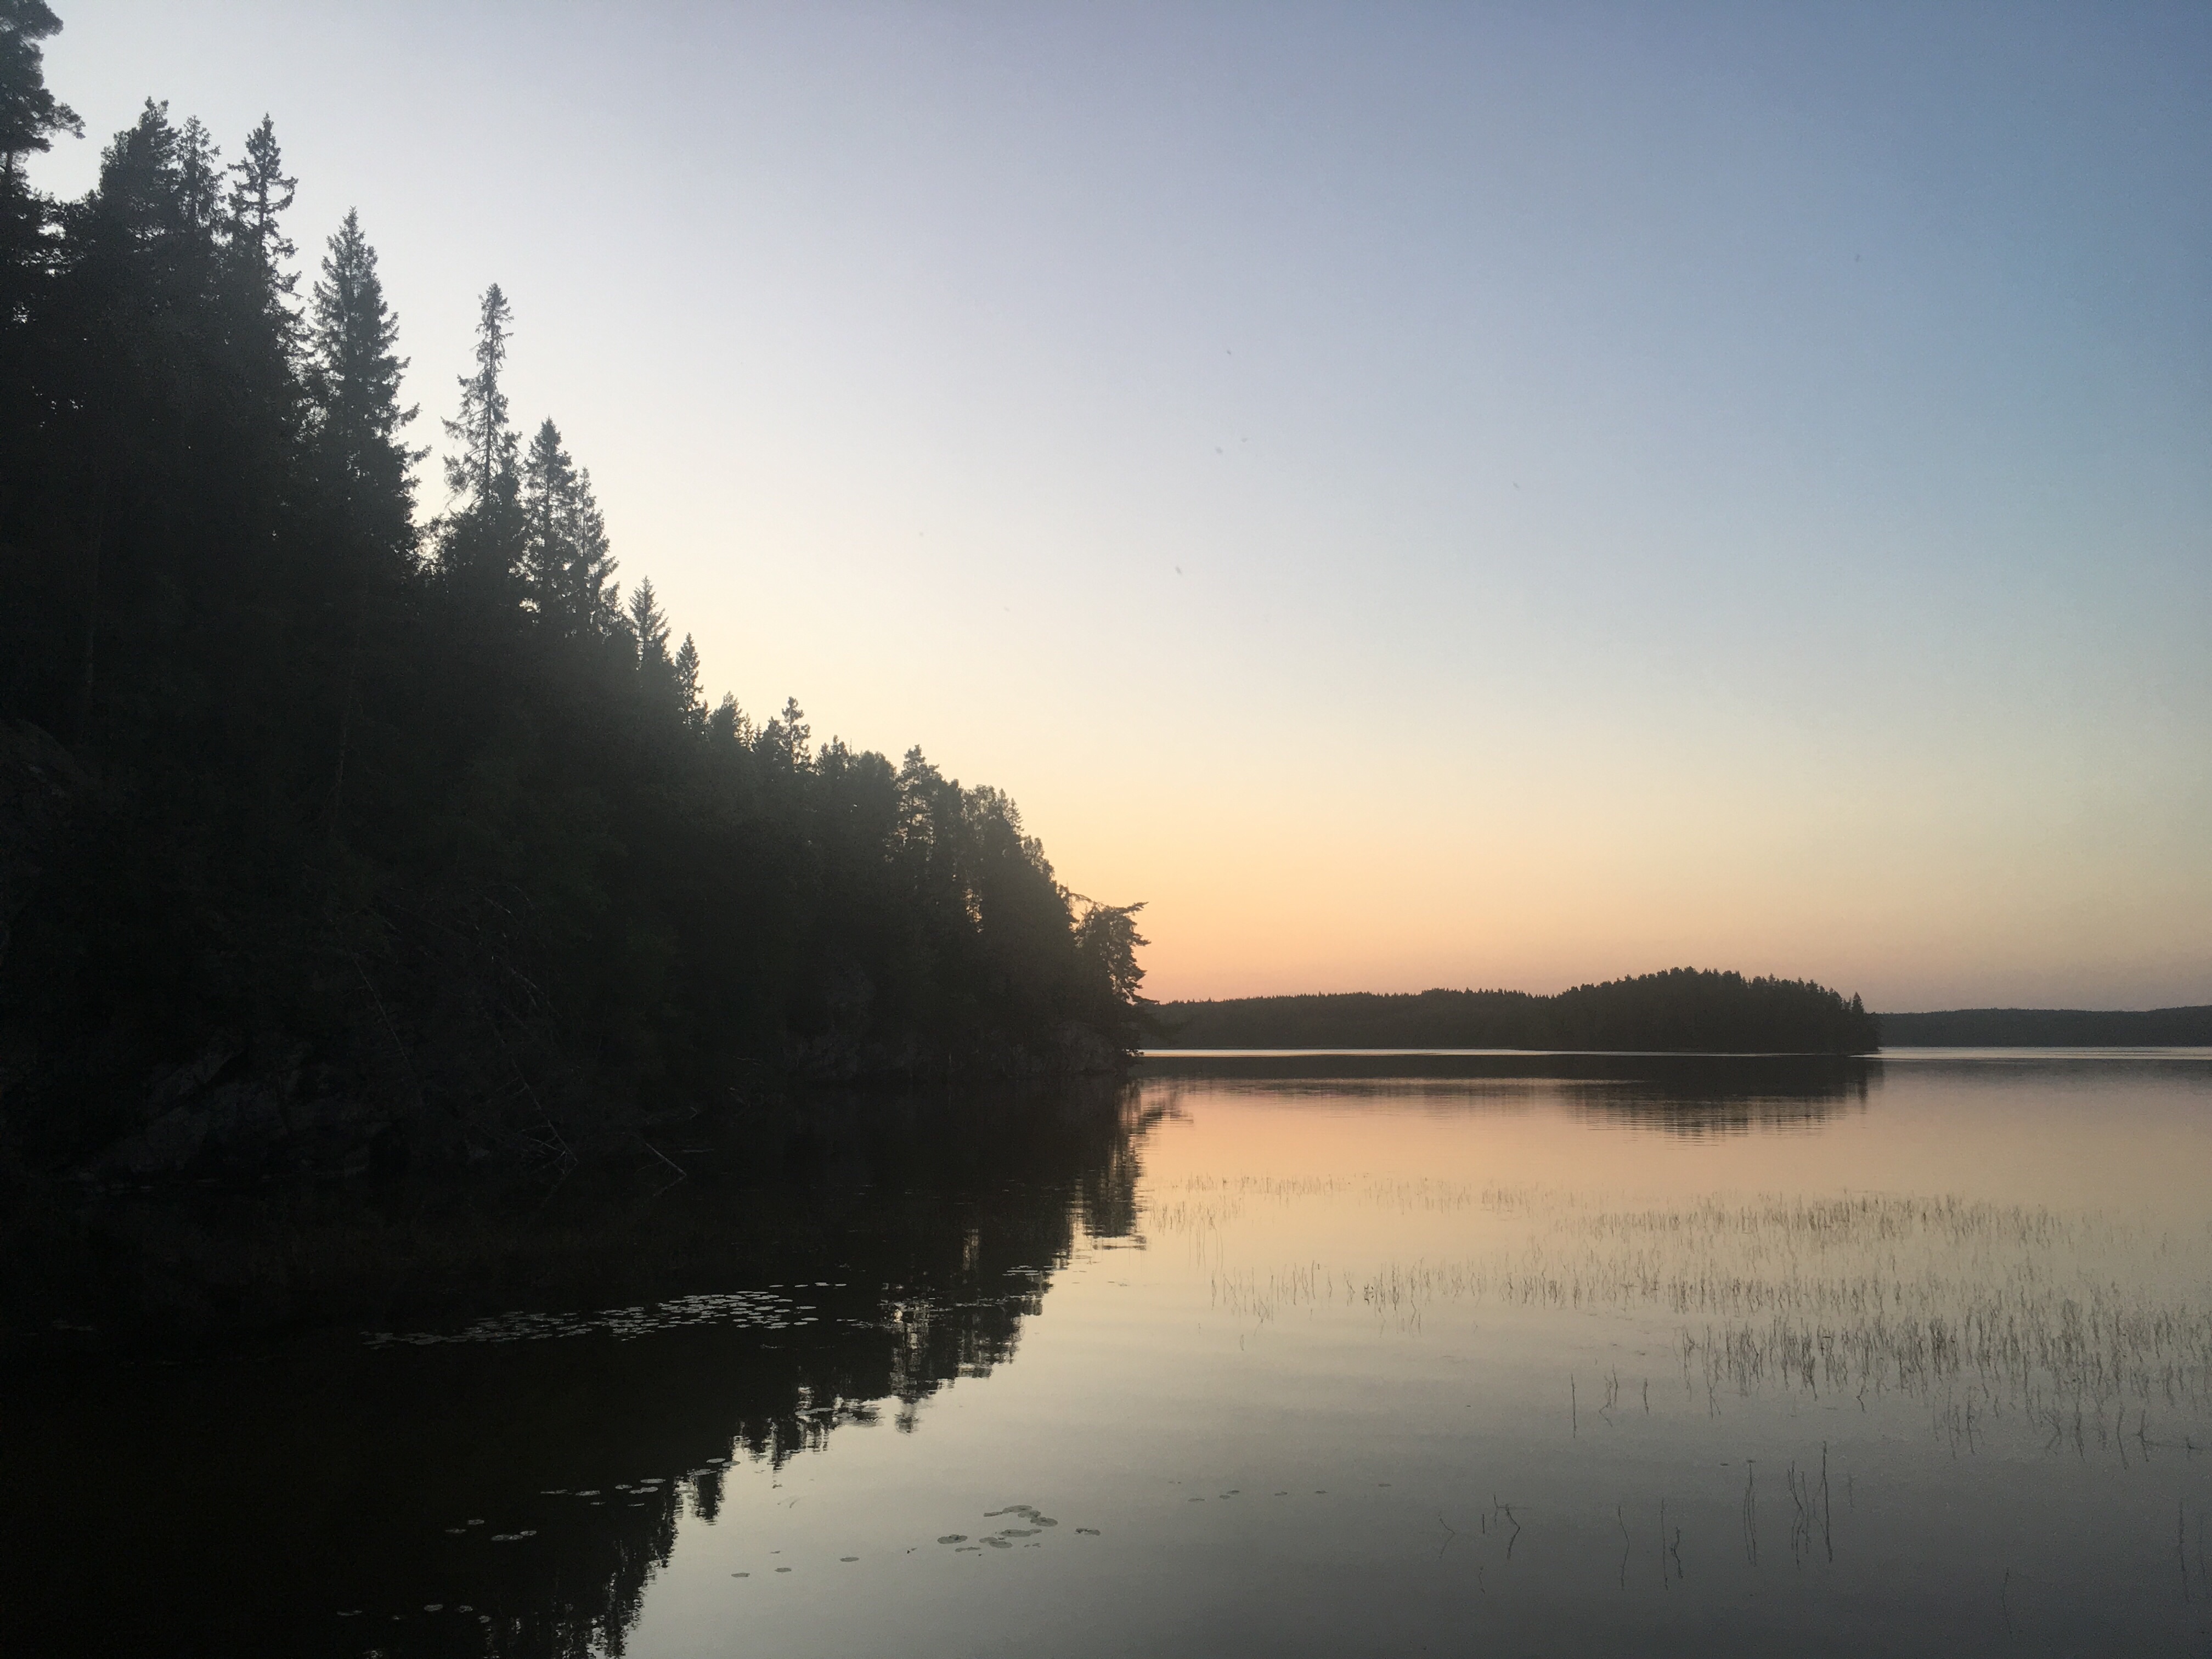
View from my DJI Phantom drone 24.00 clock. Location: Charlottenberg, Sweden.

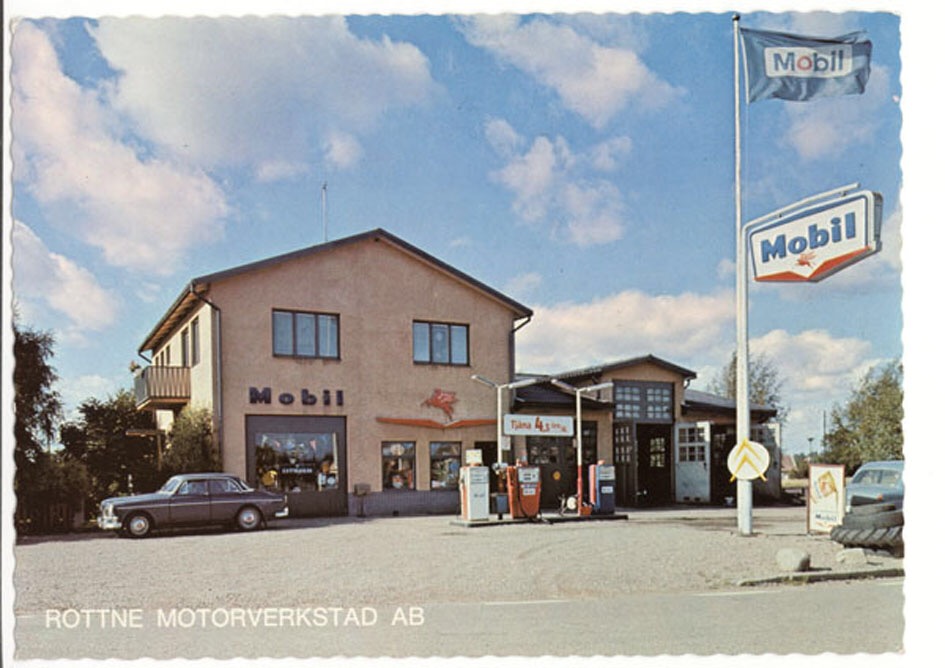
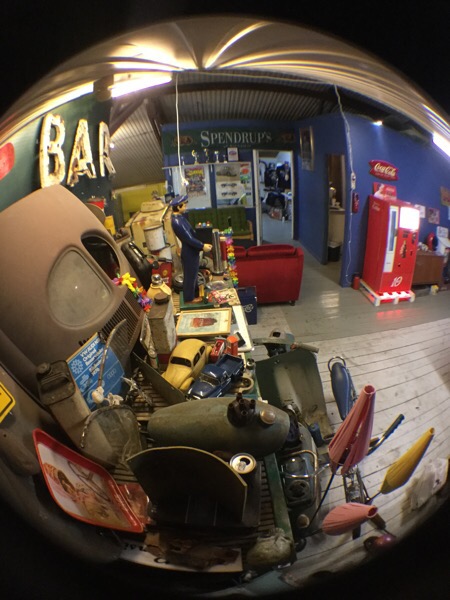
Back in the day when the gasstation was a gasstation and not a supermarket.
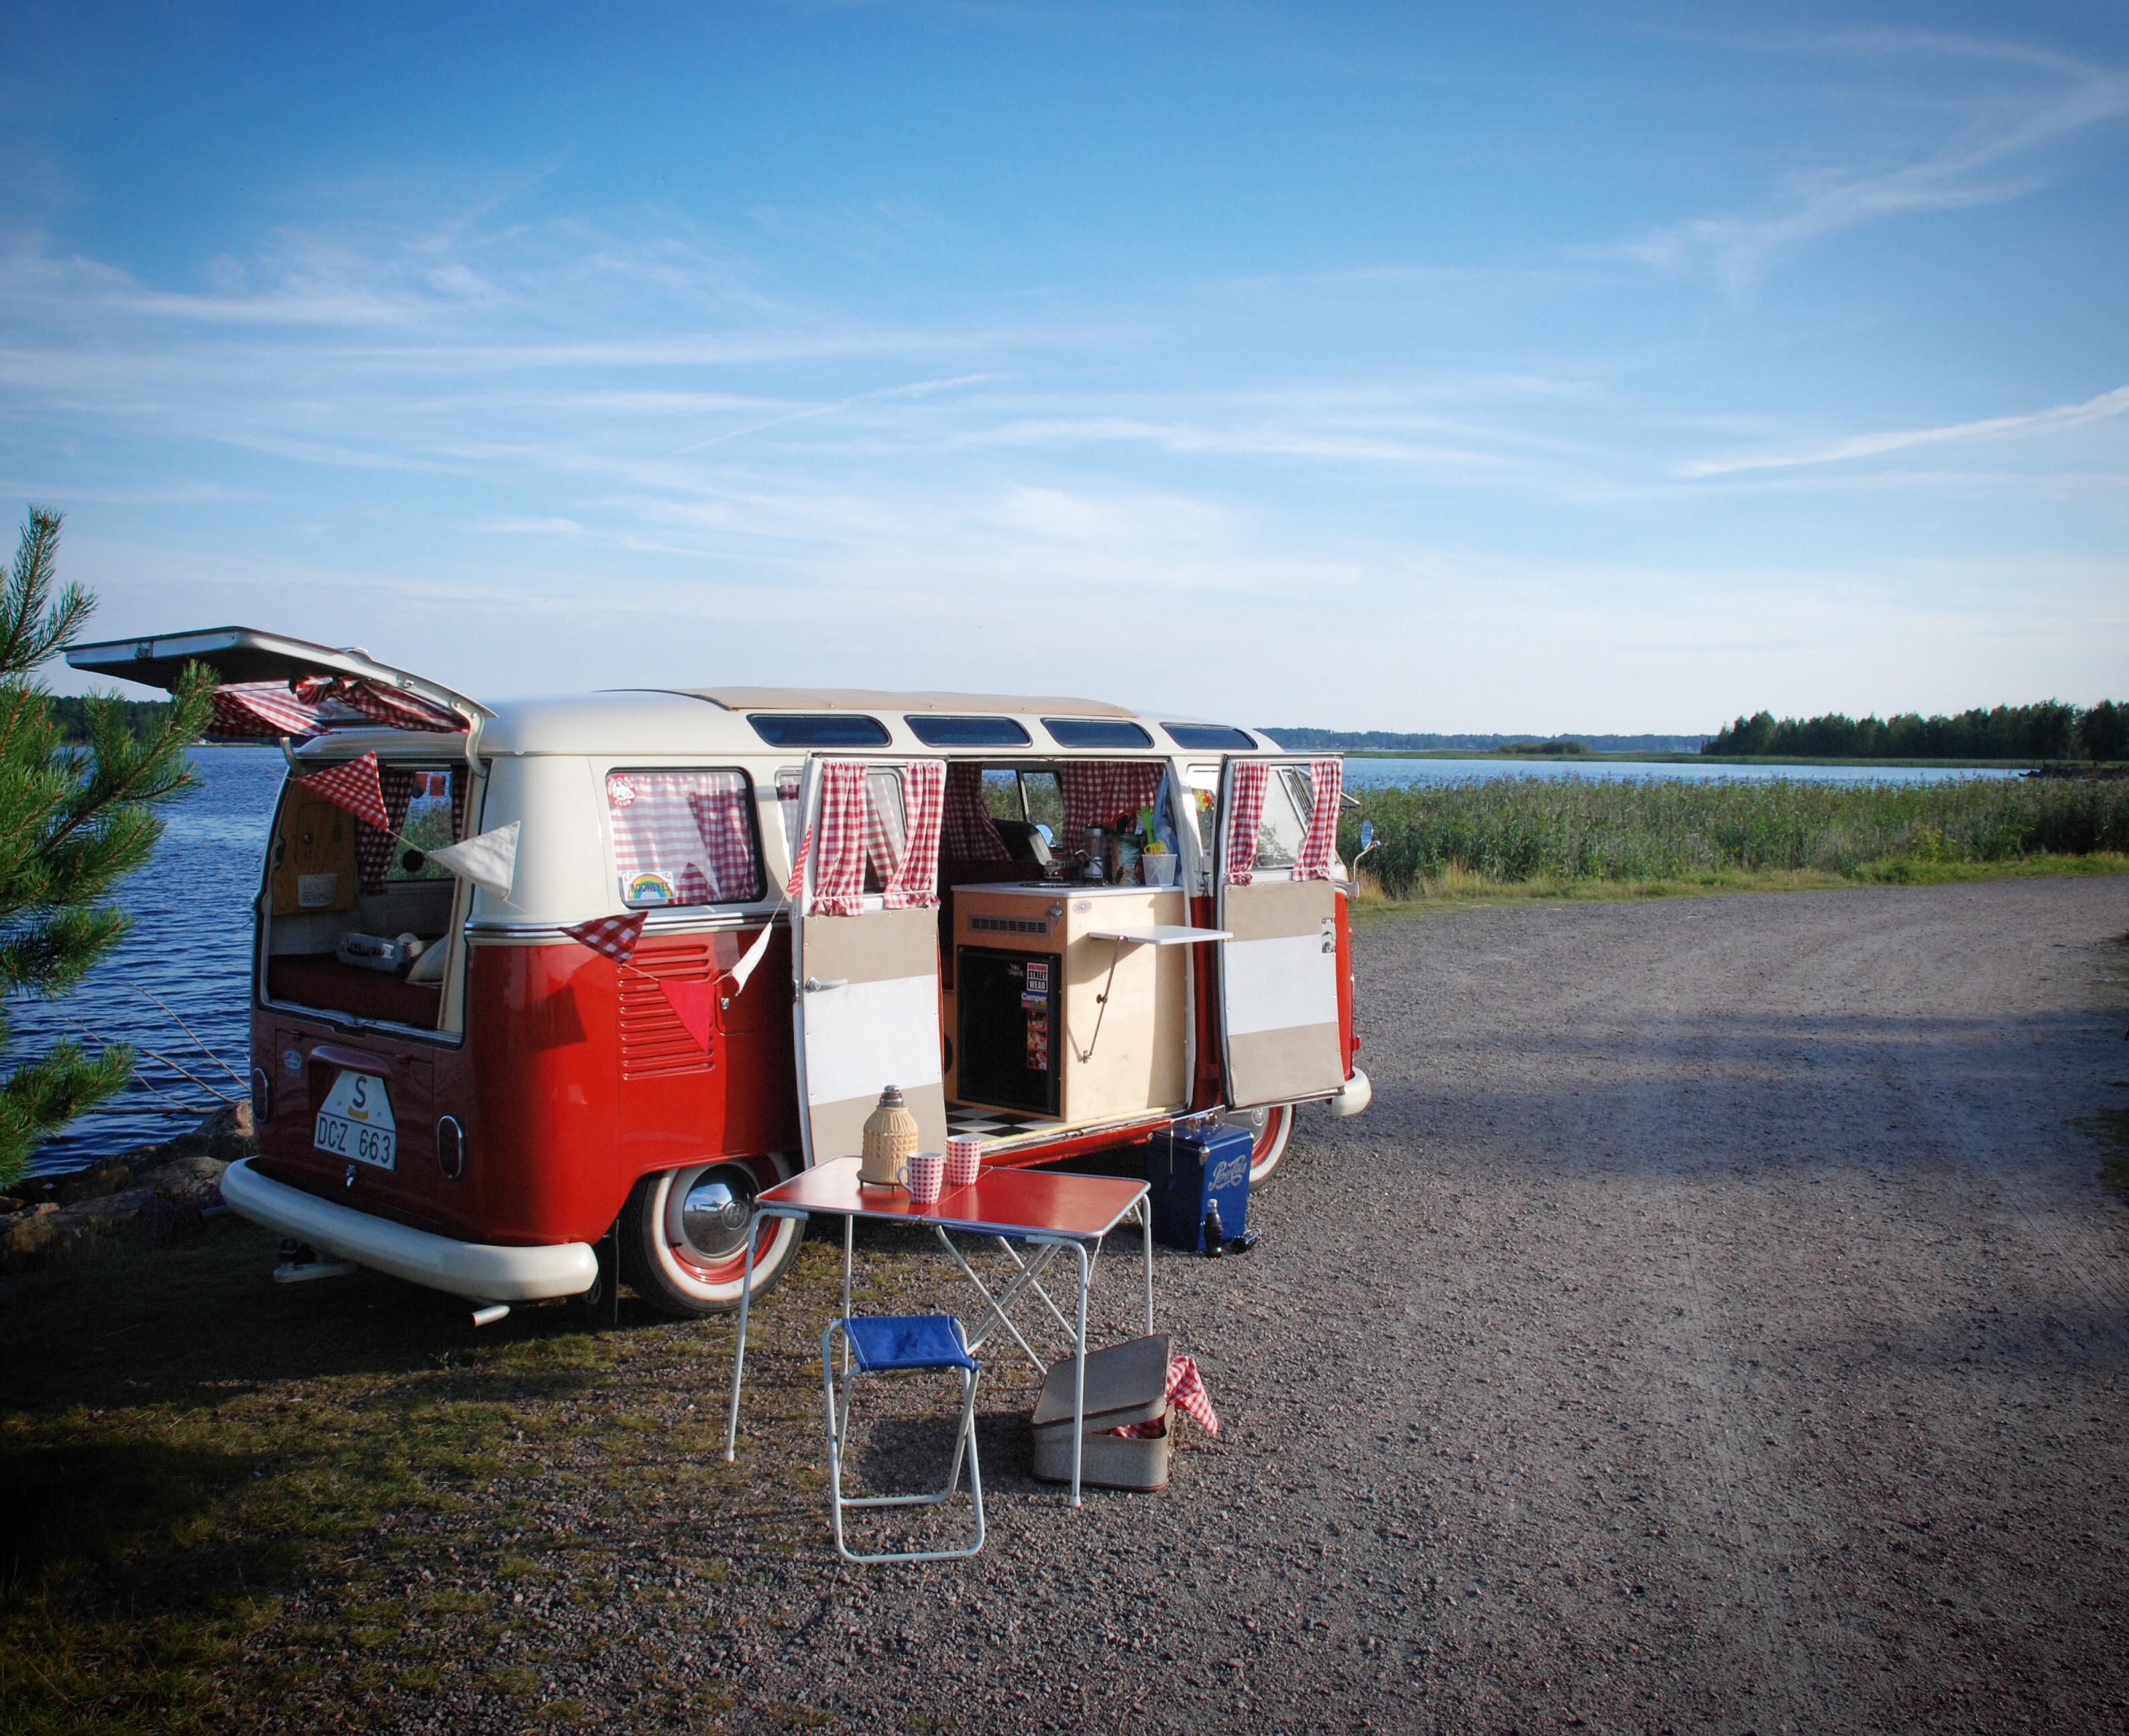
Picture from last year, photoshoot with the bus. Dont miss our YouTube channel if you are a VW bus freak like we: https://m.youtube.com/channel/UC0-_ywSTyR4m9n7uqoeiwzQ
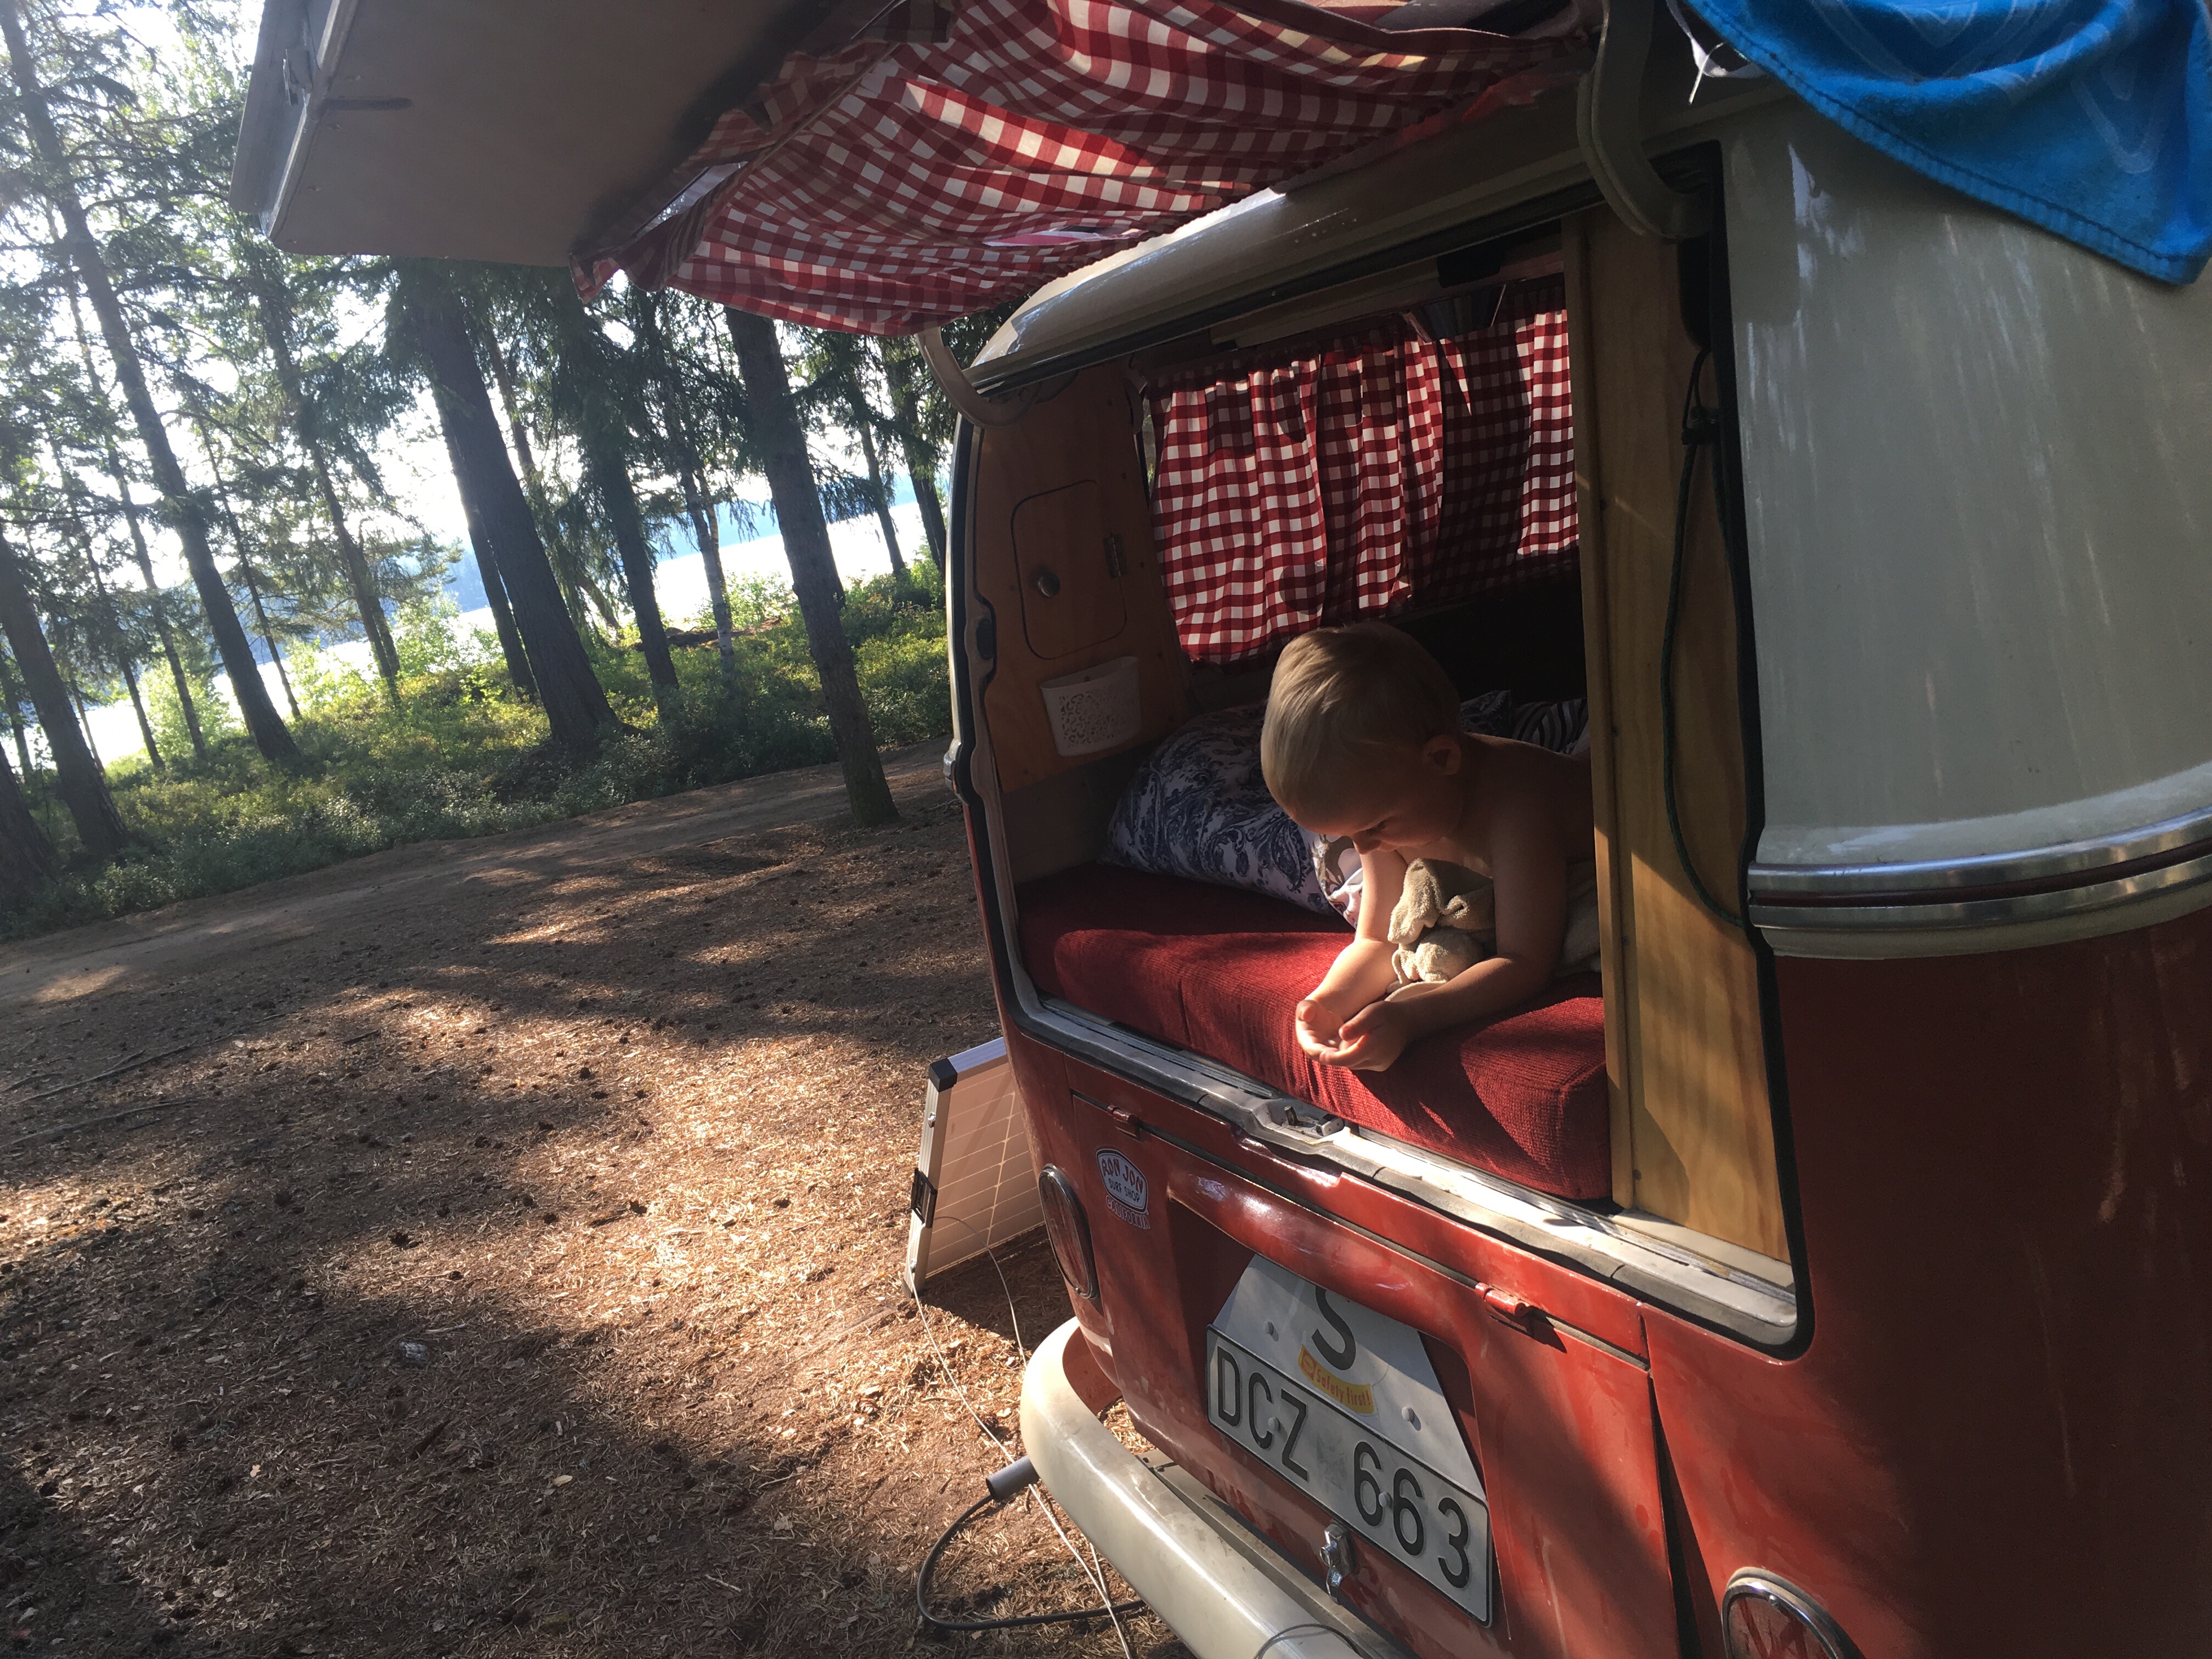
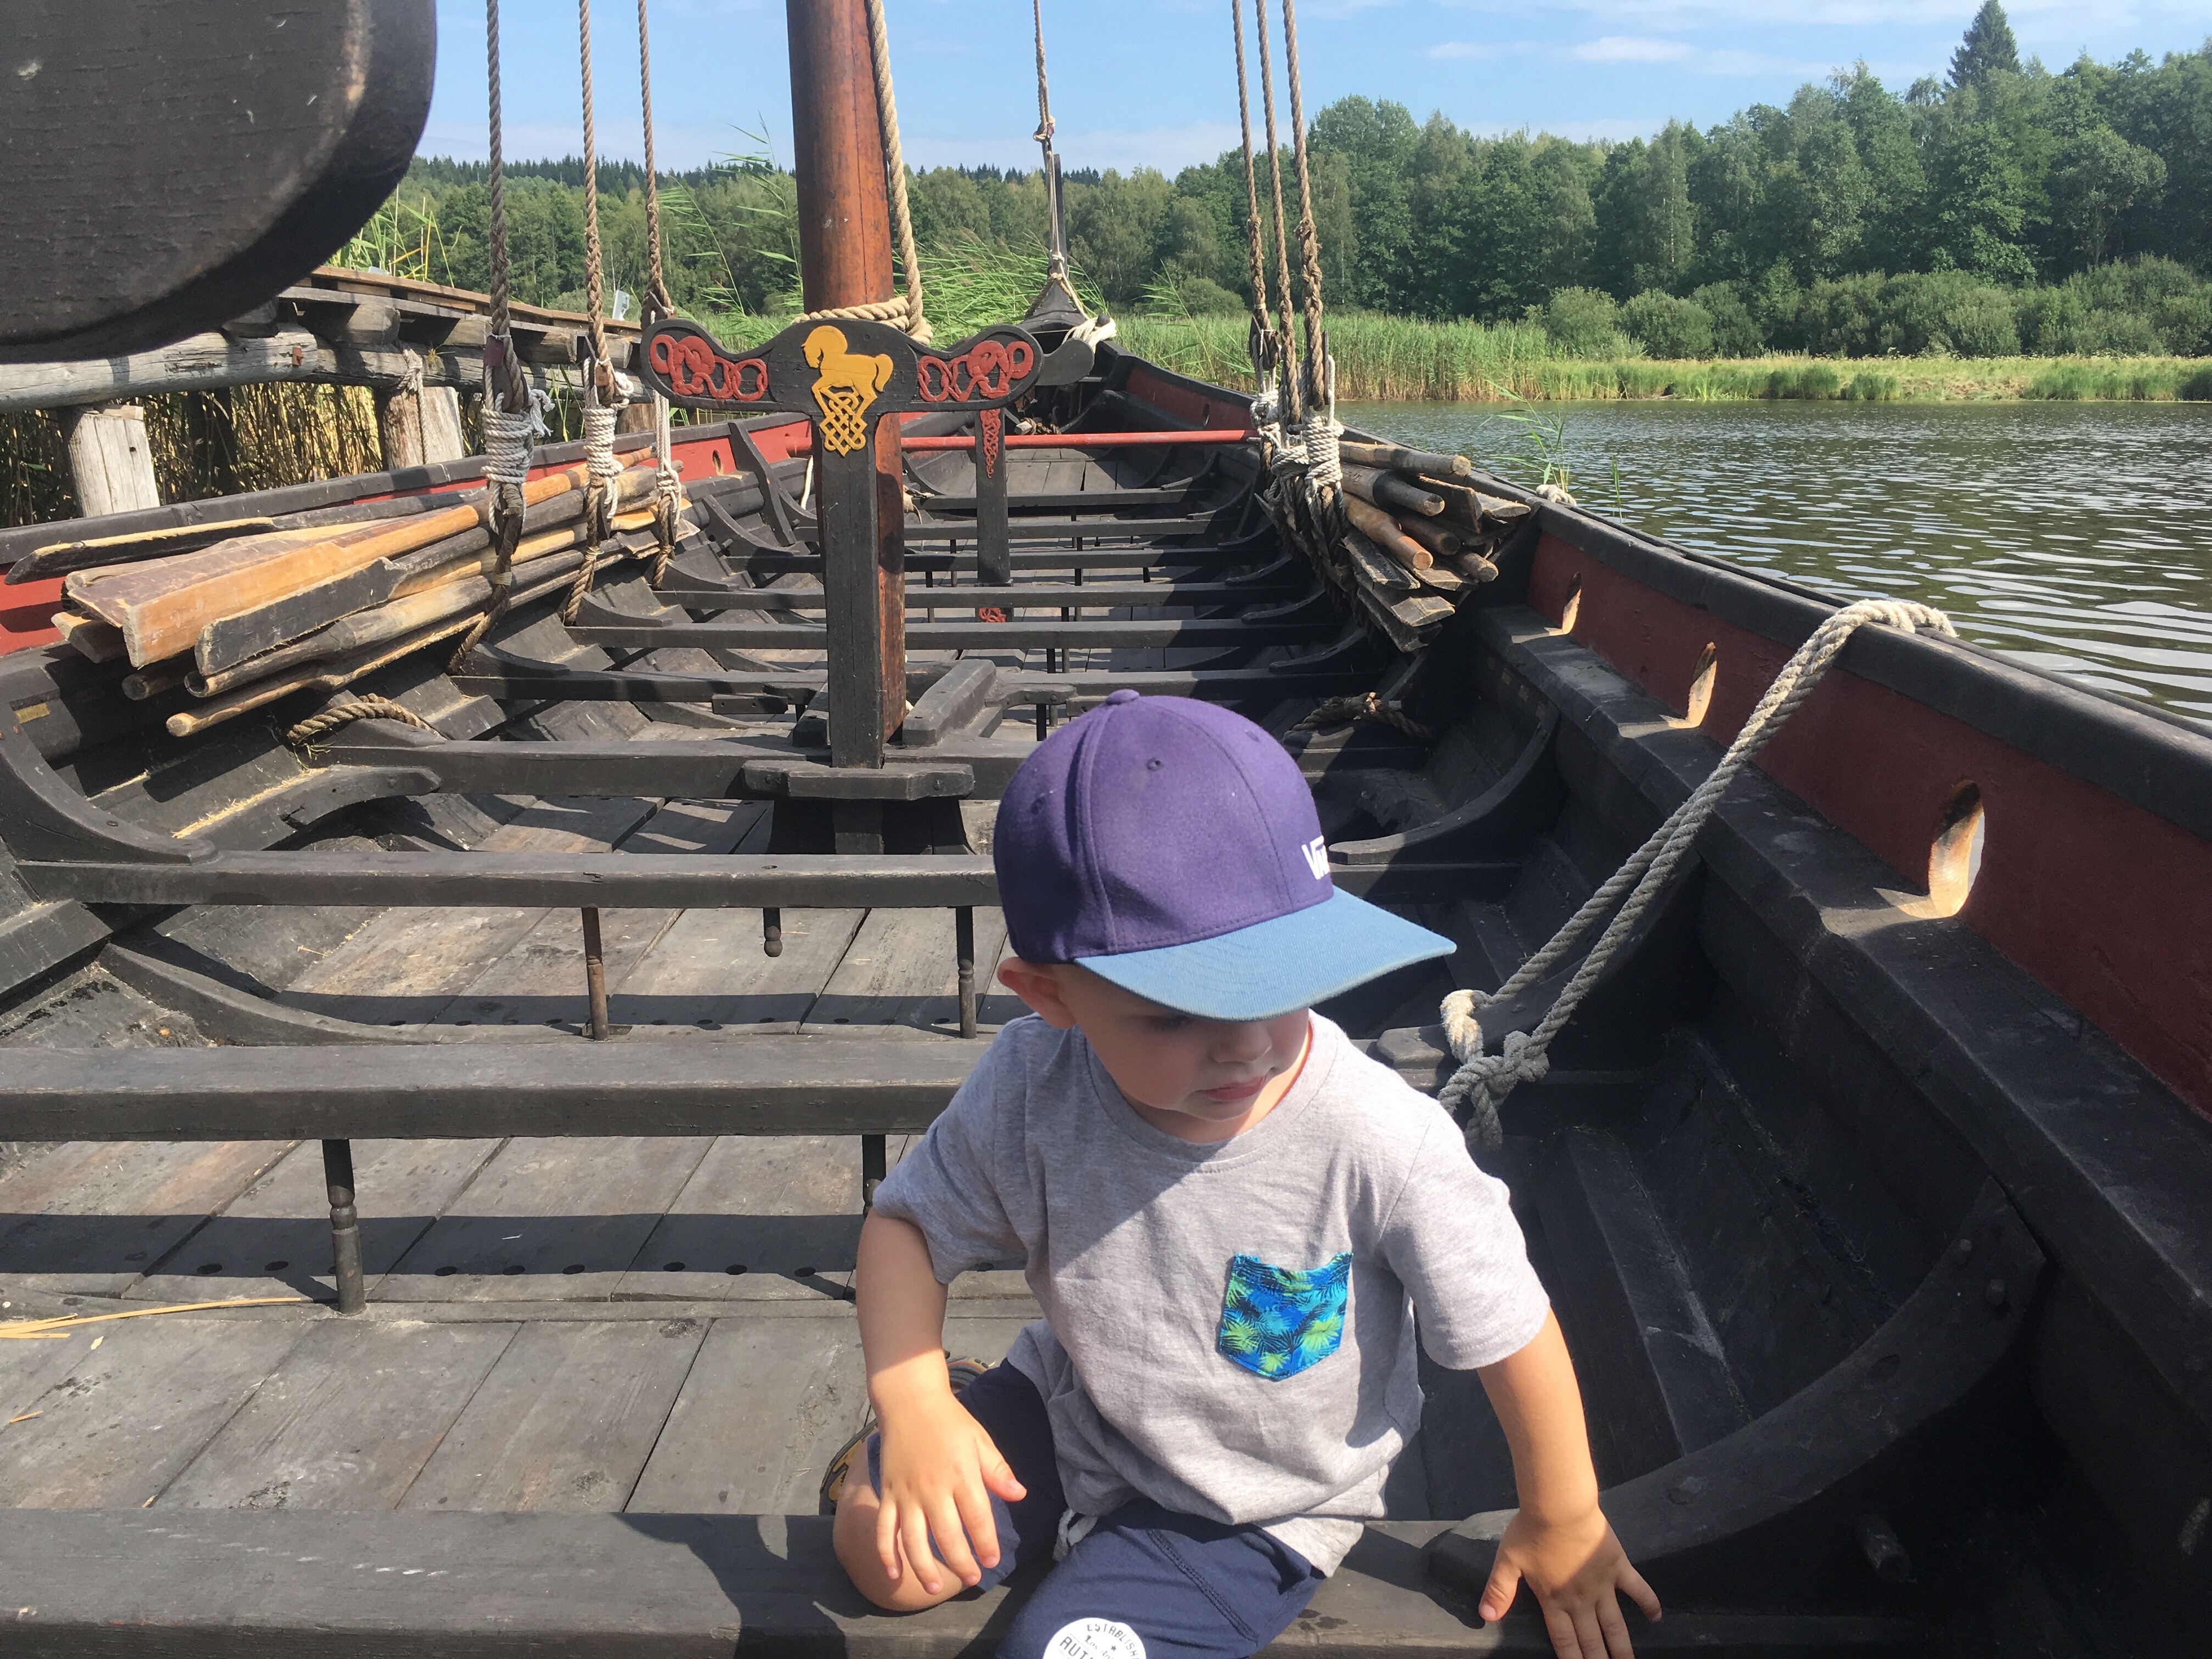
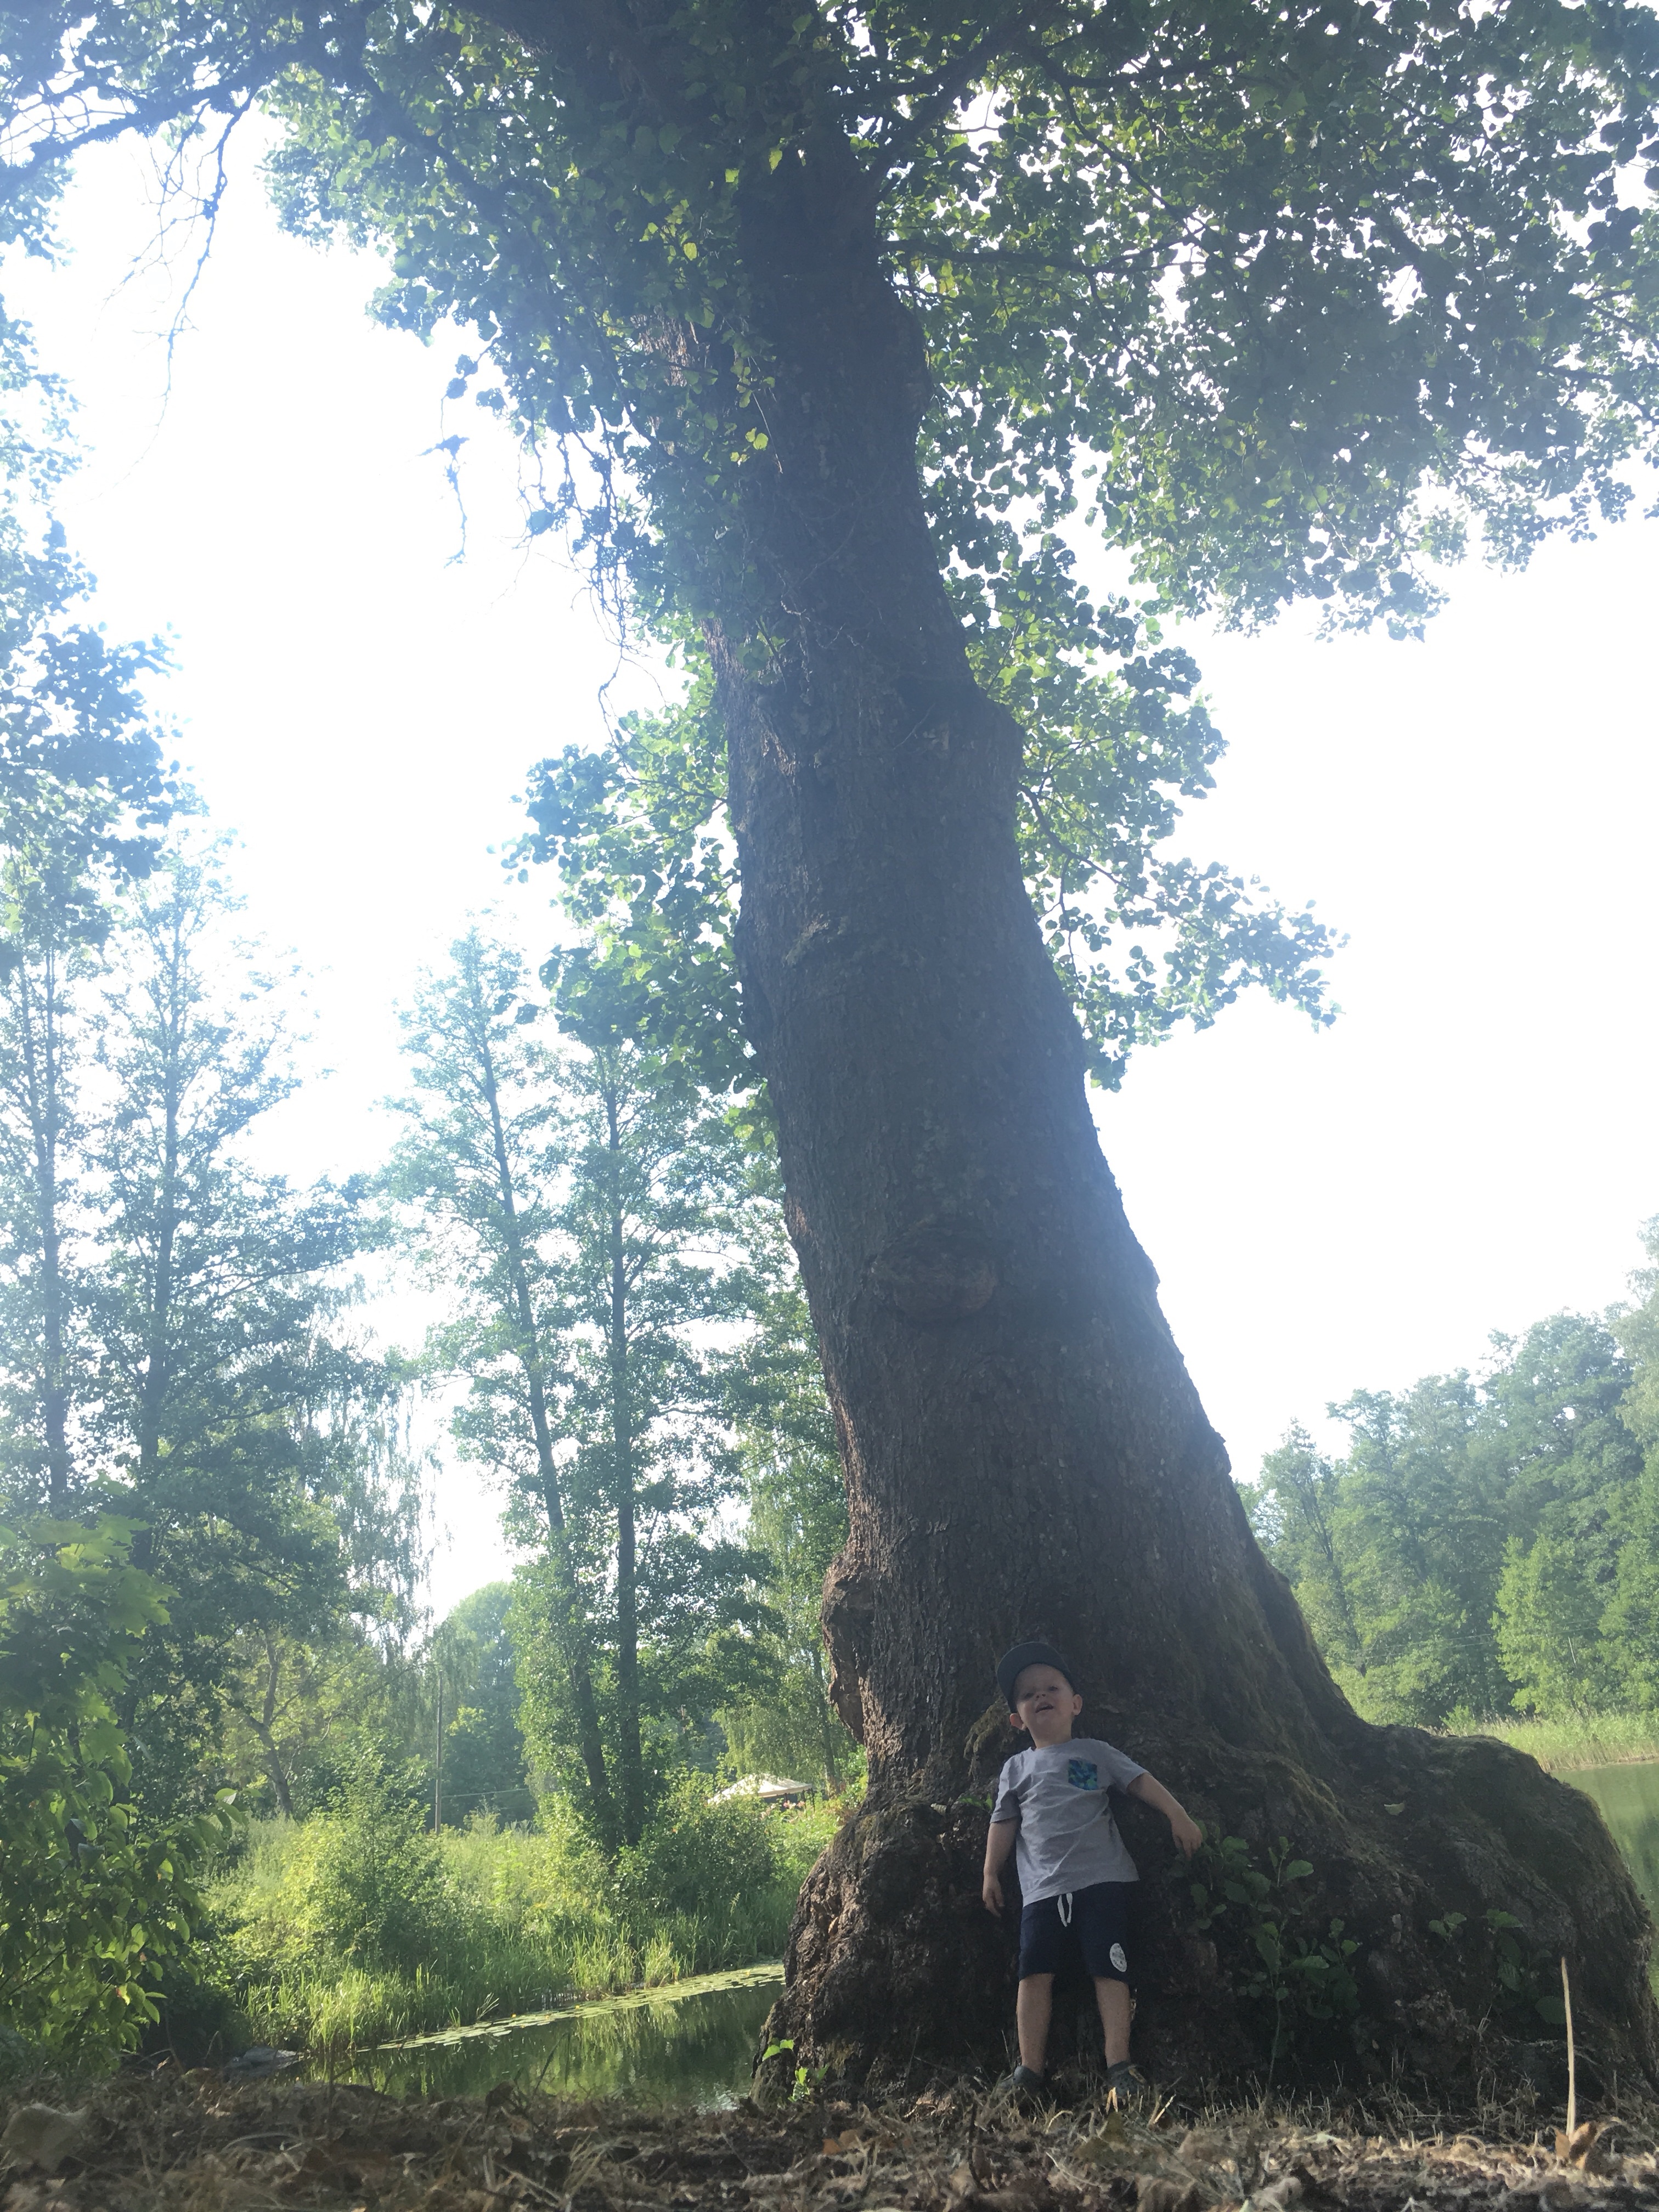
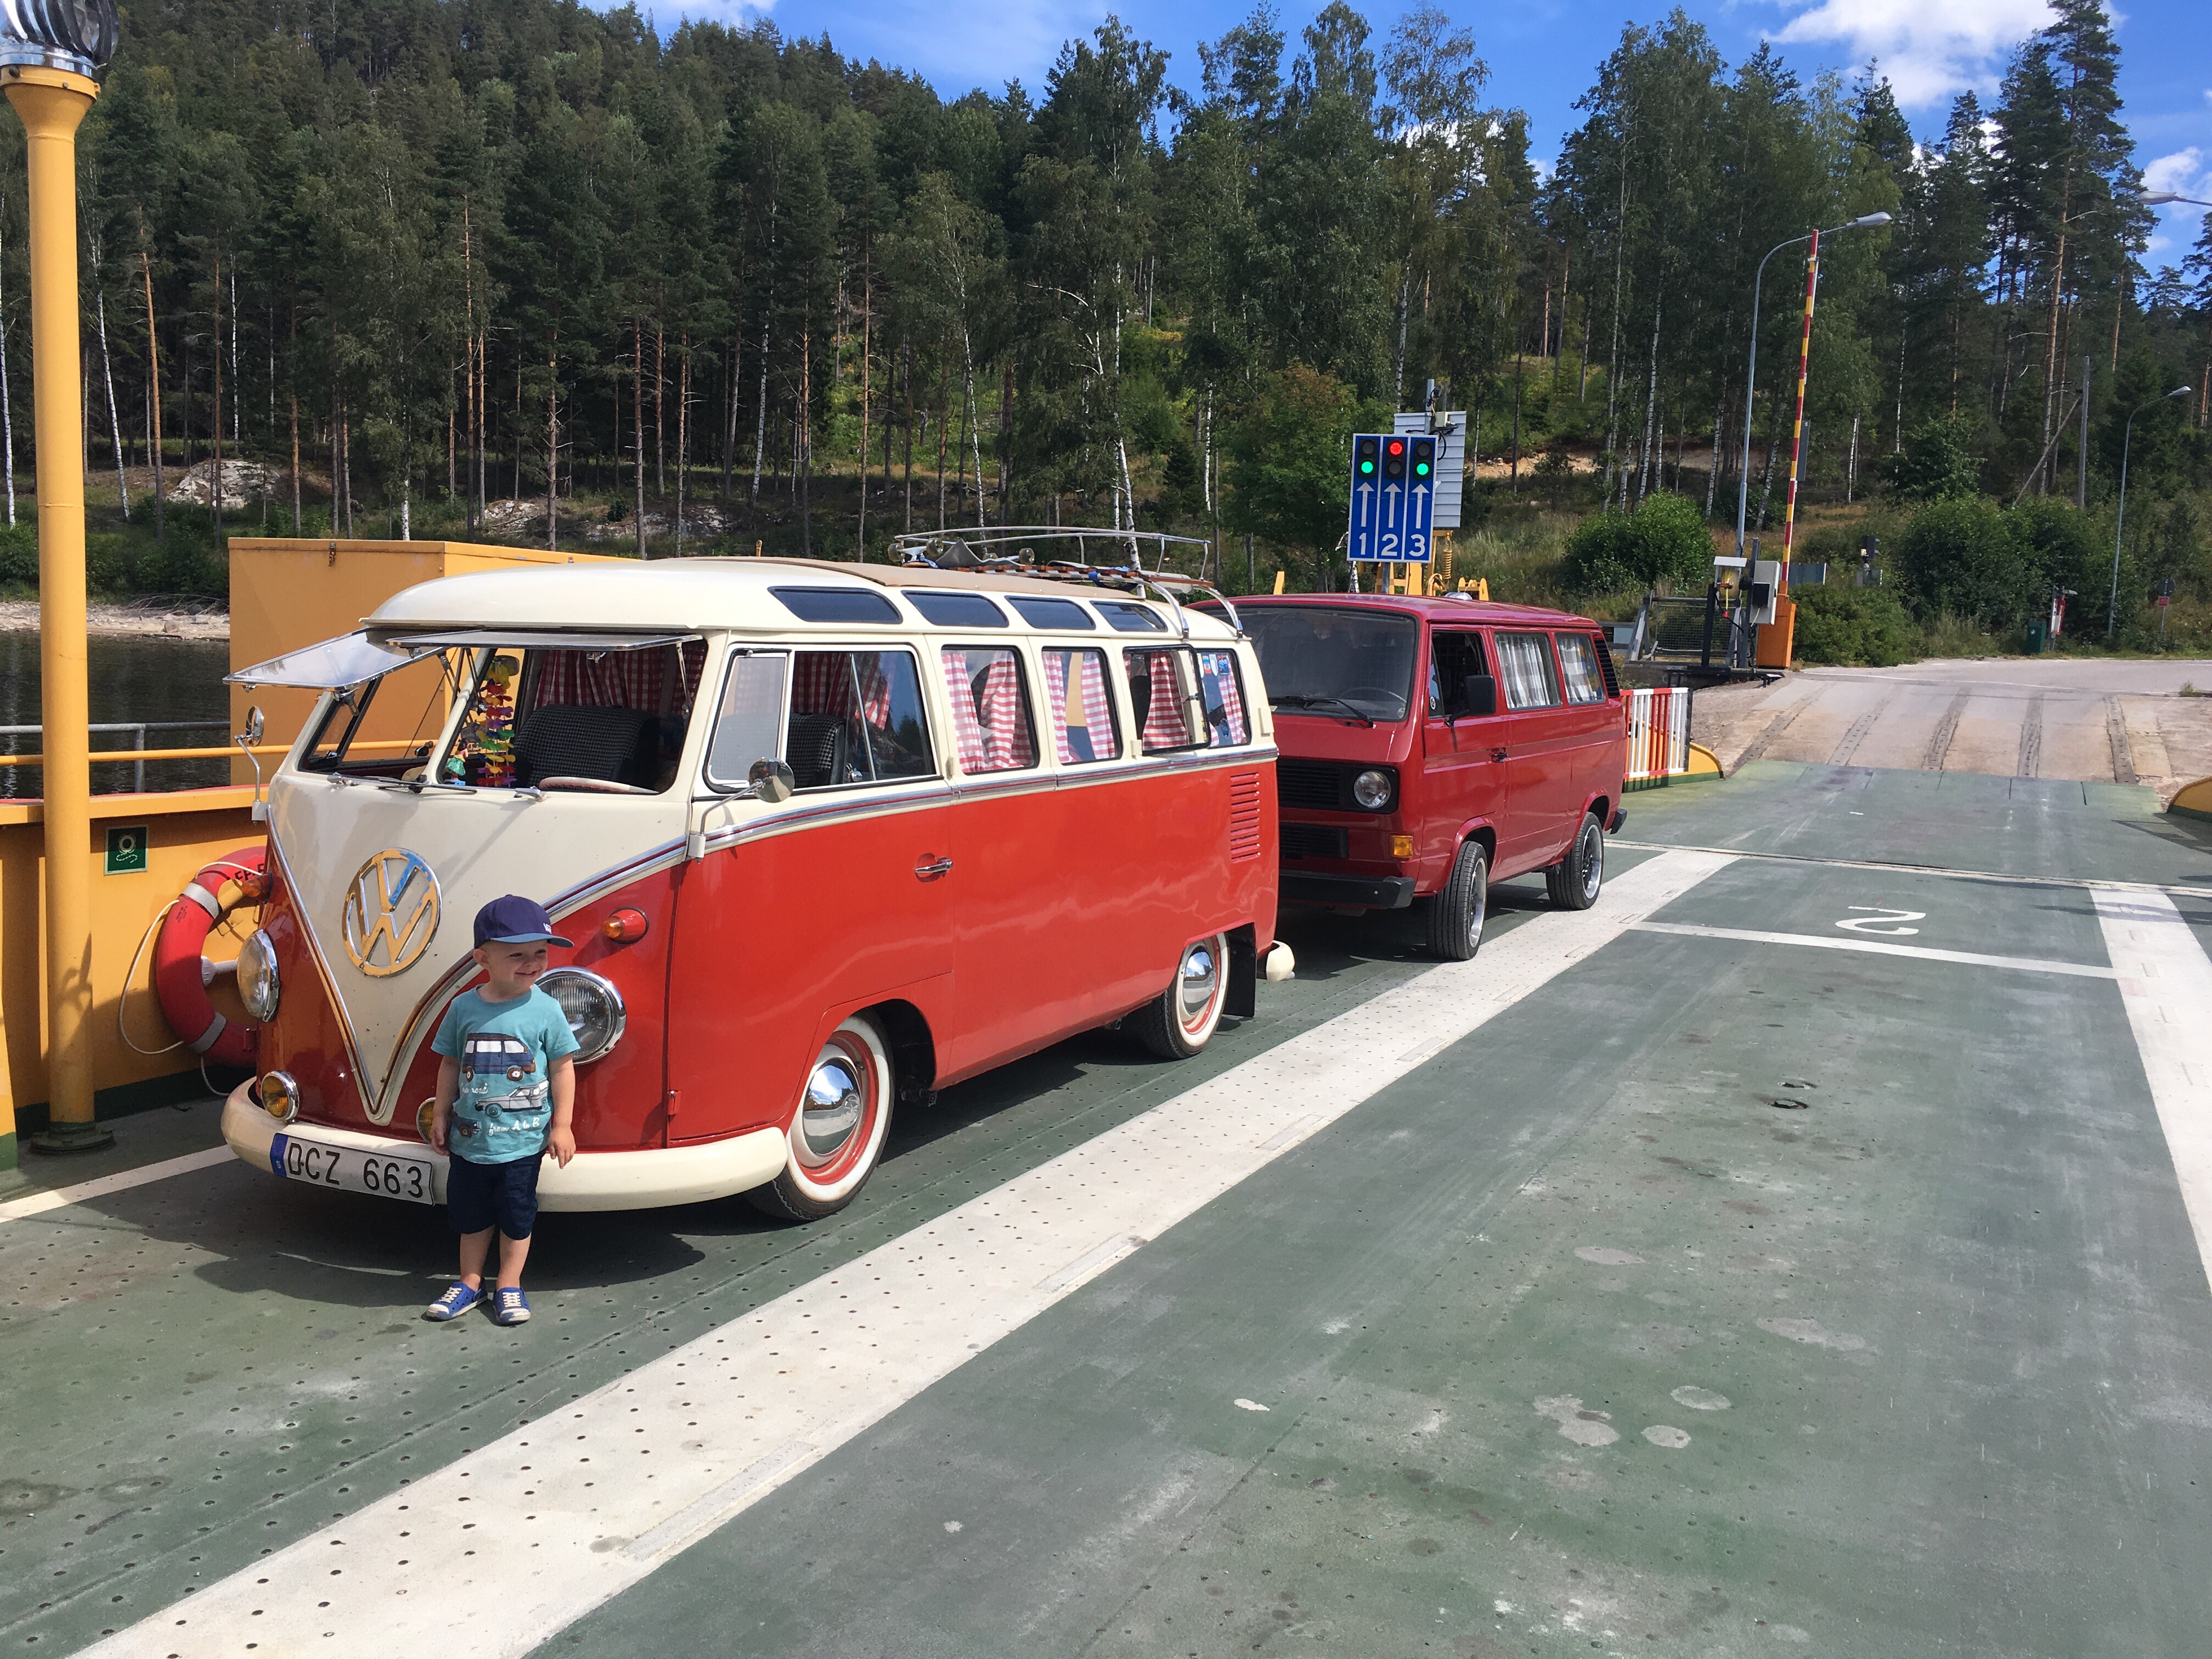
Me and my son Frans, summer 2016.

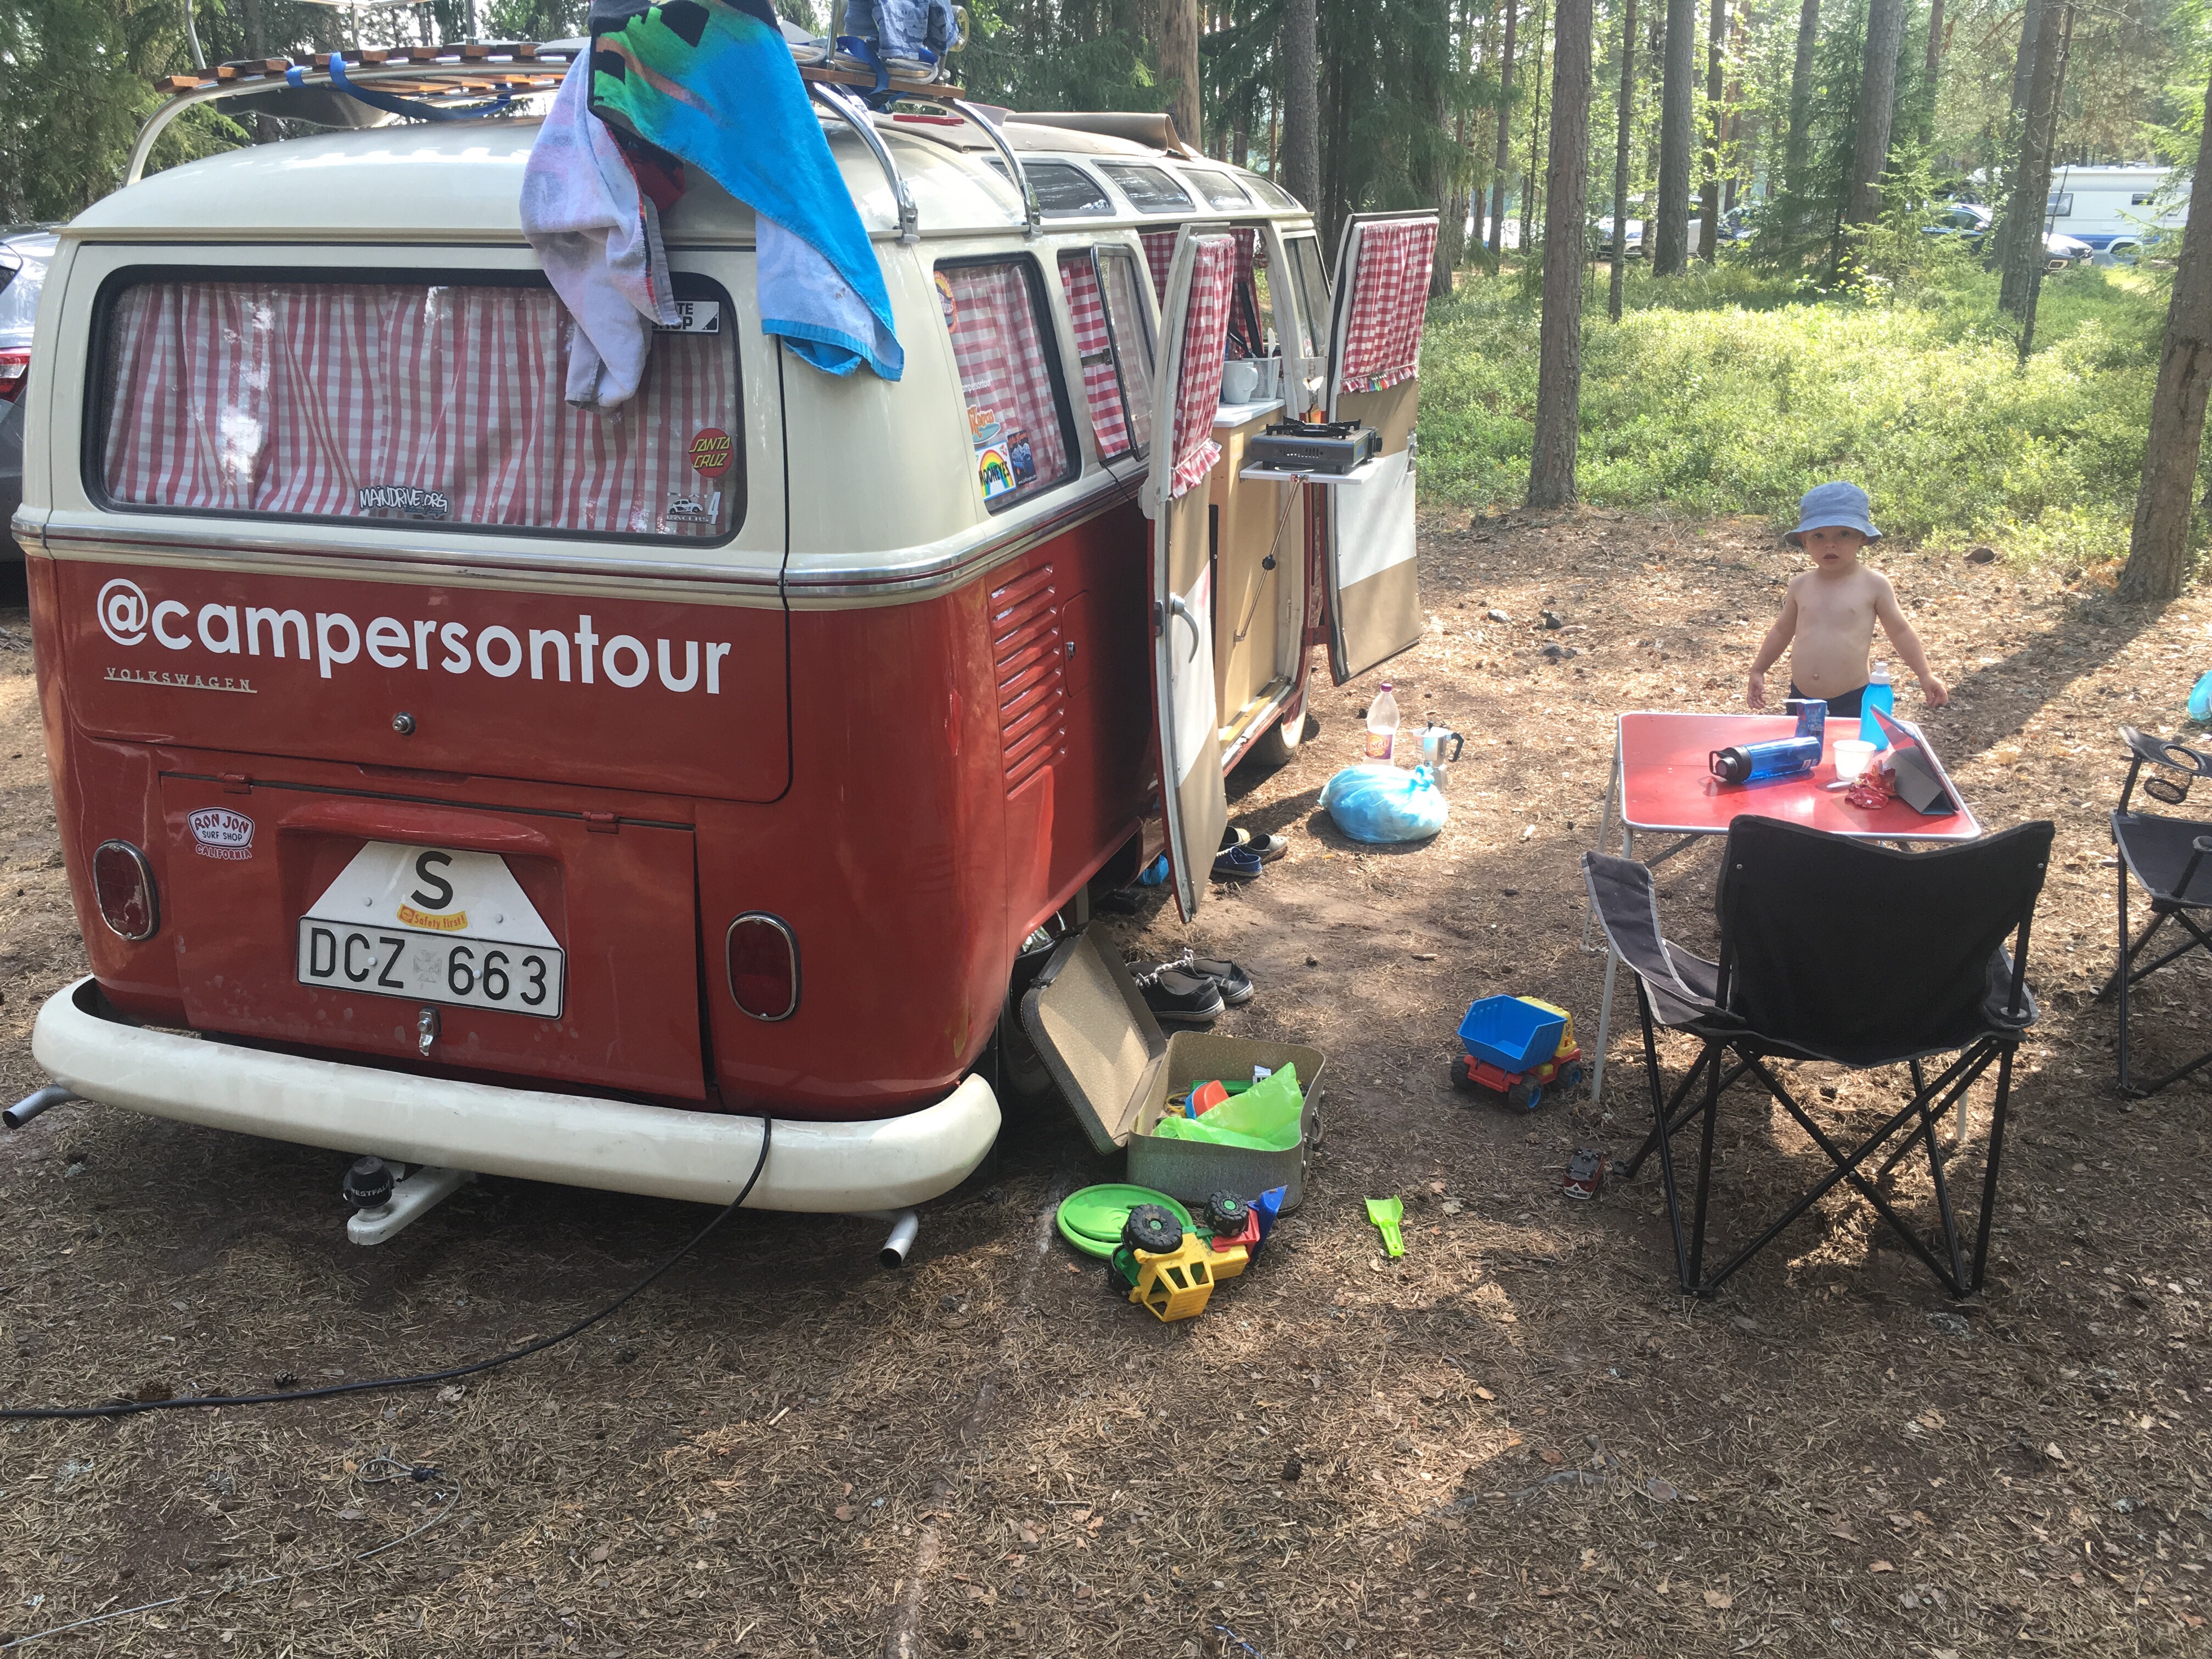
From @campersontour – #campersontour
Have nice weekend!
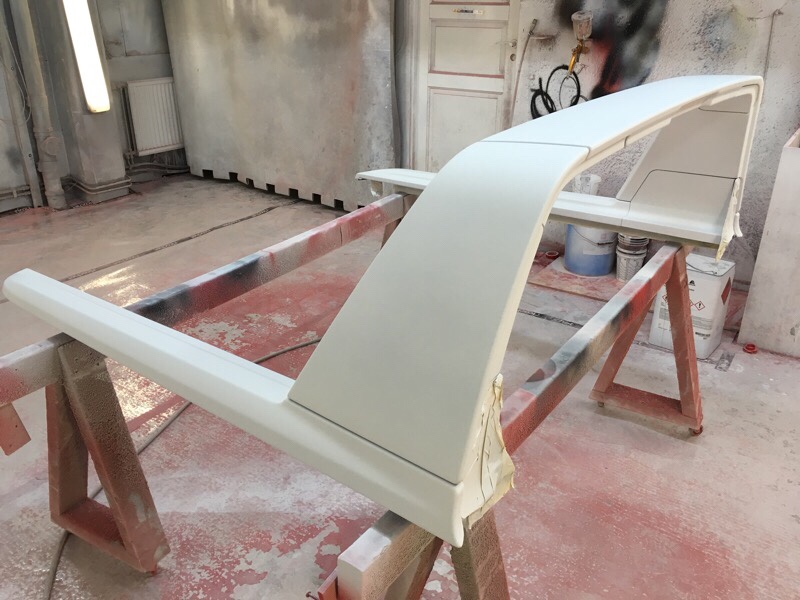
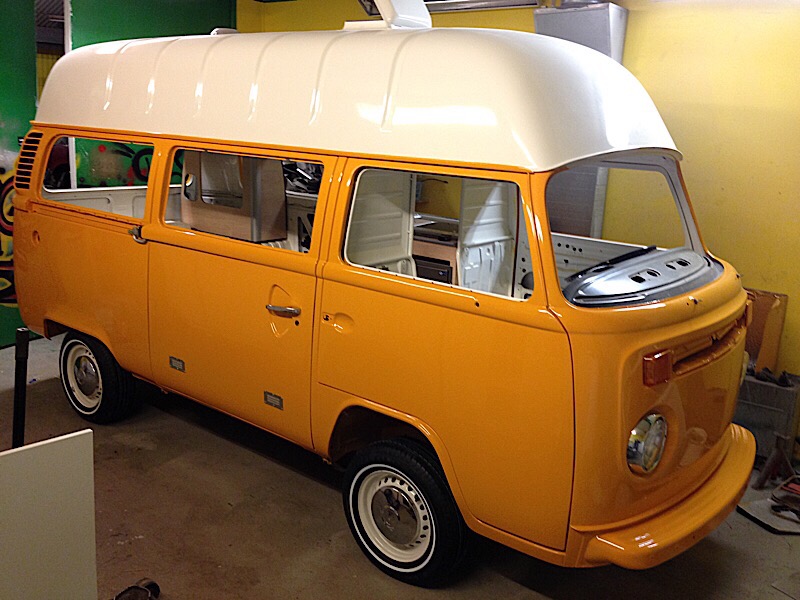
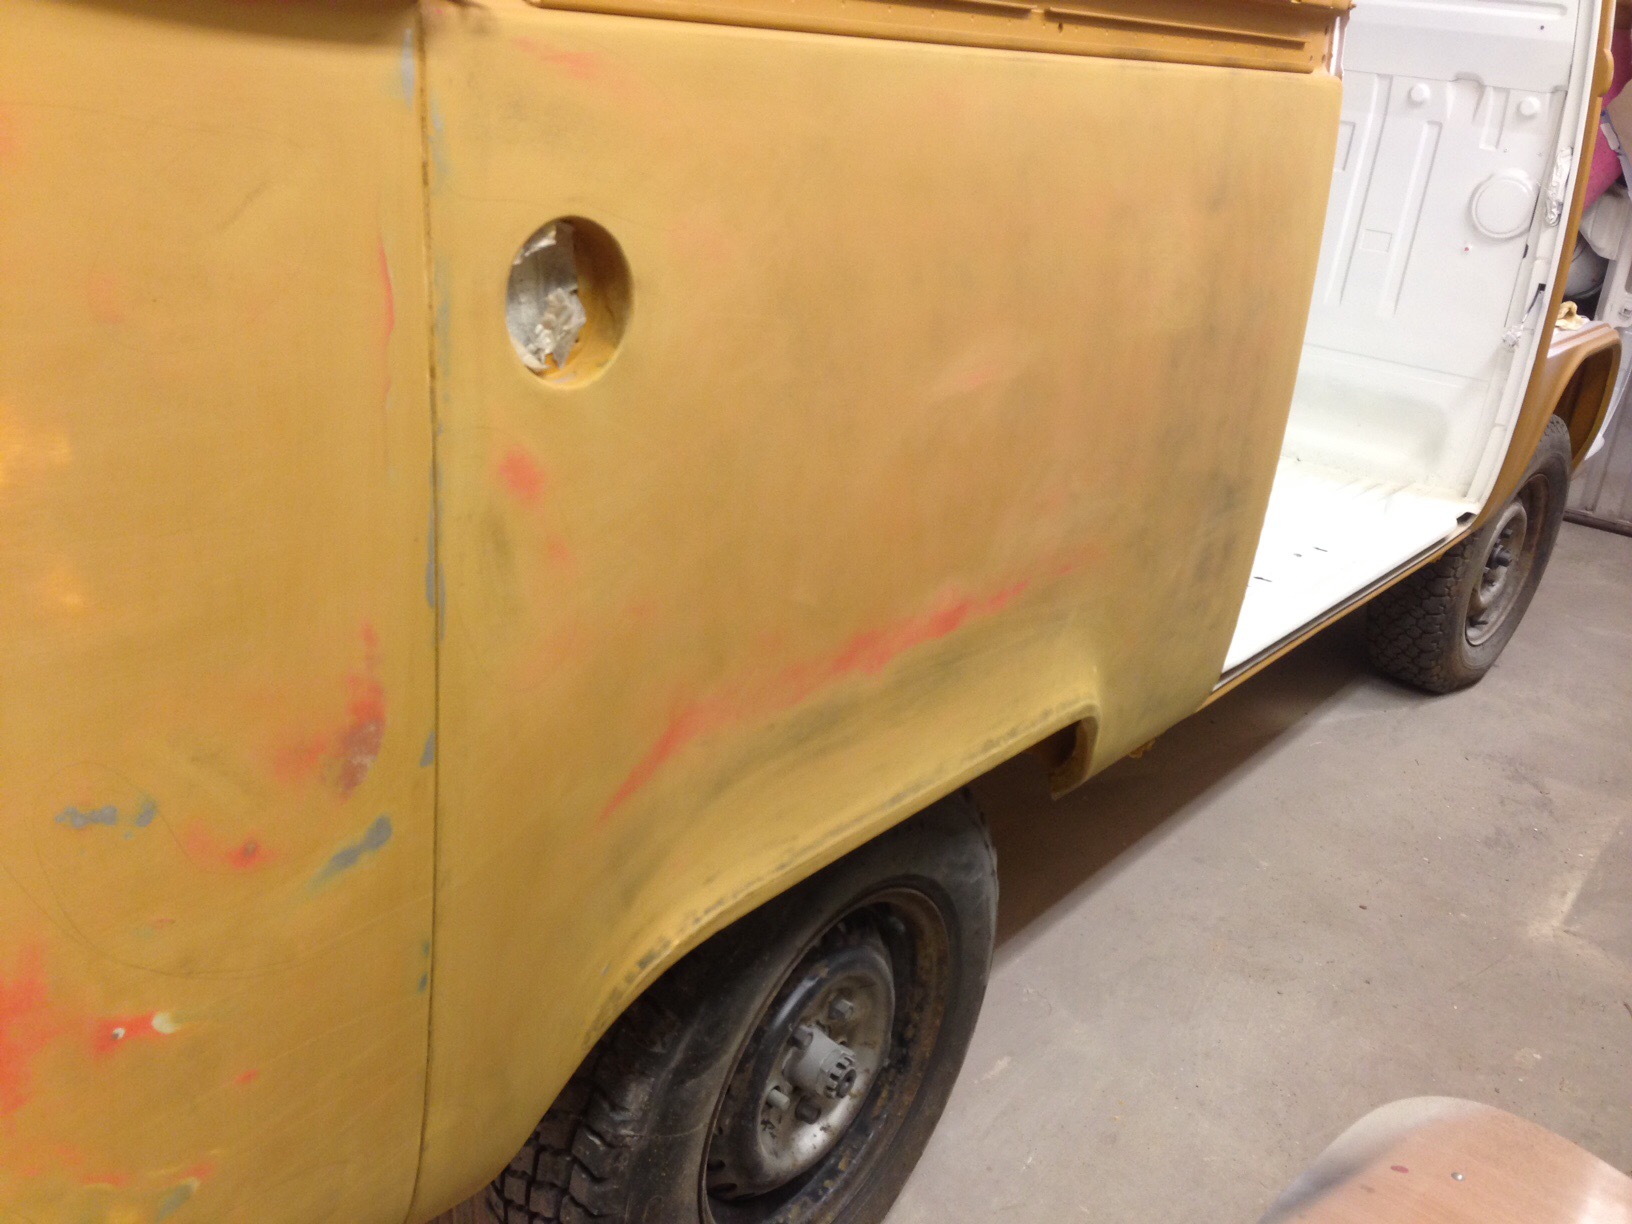
Have started the bodywork on the Highroof bus, preparing for primer and paint. Lots of sanding to do, when that is done it’s time for a coat of epoxyprimer again, to protect bare metal, then a quick sanding before a coat of surfacerprimer is layer down. Then it needs to be sanded down all over again. Then probably another coat of surffacerprimer again and then maybe it’s time for topcoat paint in VW L20a Marino yellow. A lot of people think it’s just mix paint and spray, but it’s not like that…only in fantasy!
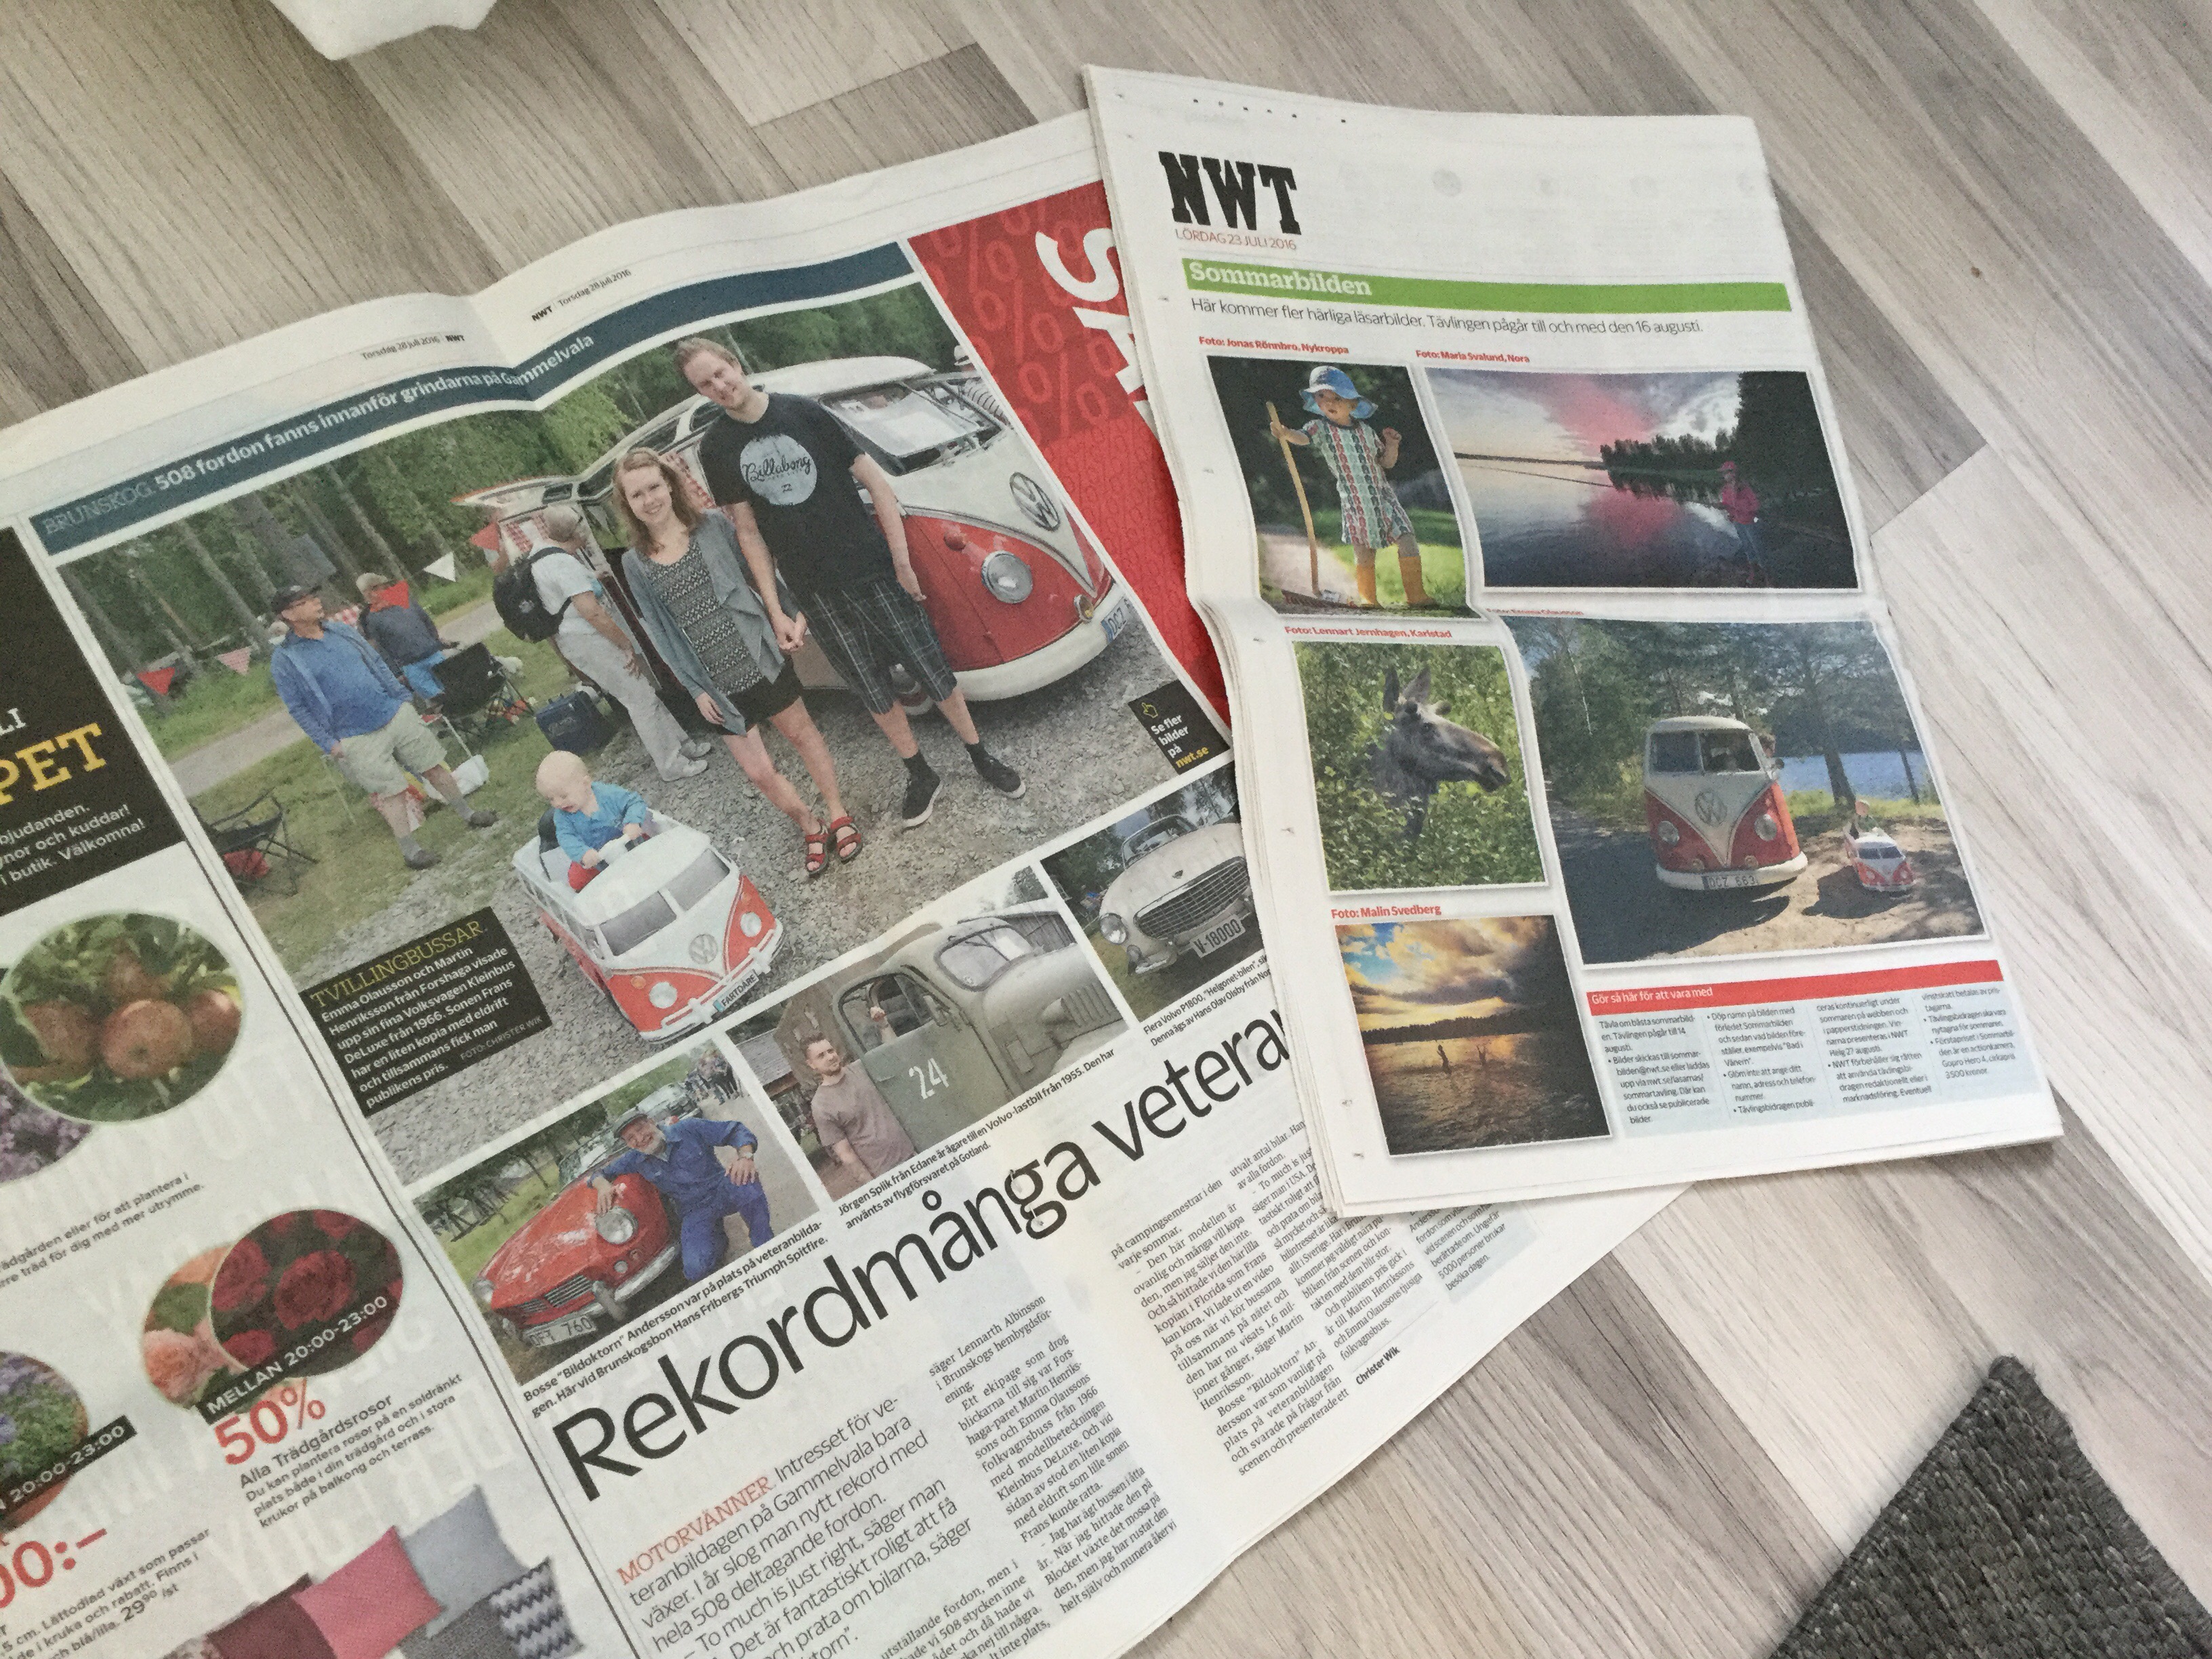
We won a photo challenge in the local newspaper! So now we can add a new GoPro hero 4 to our camera collection. Check out our VW bus/travel Instagram: @campersontour 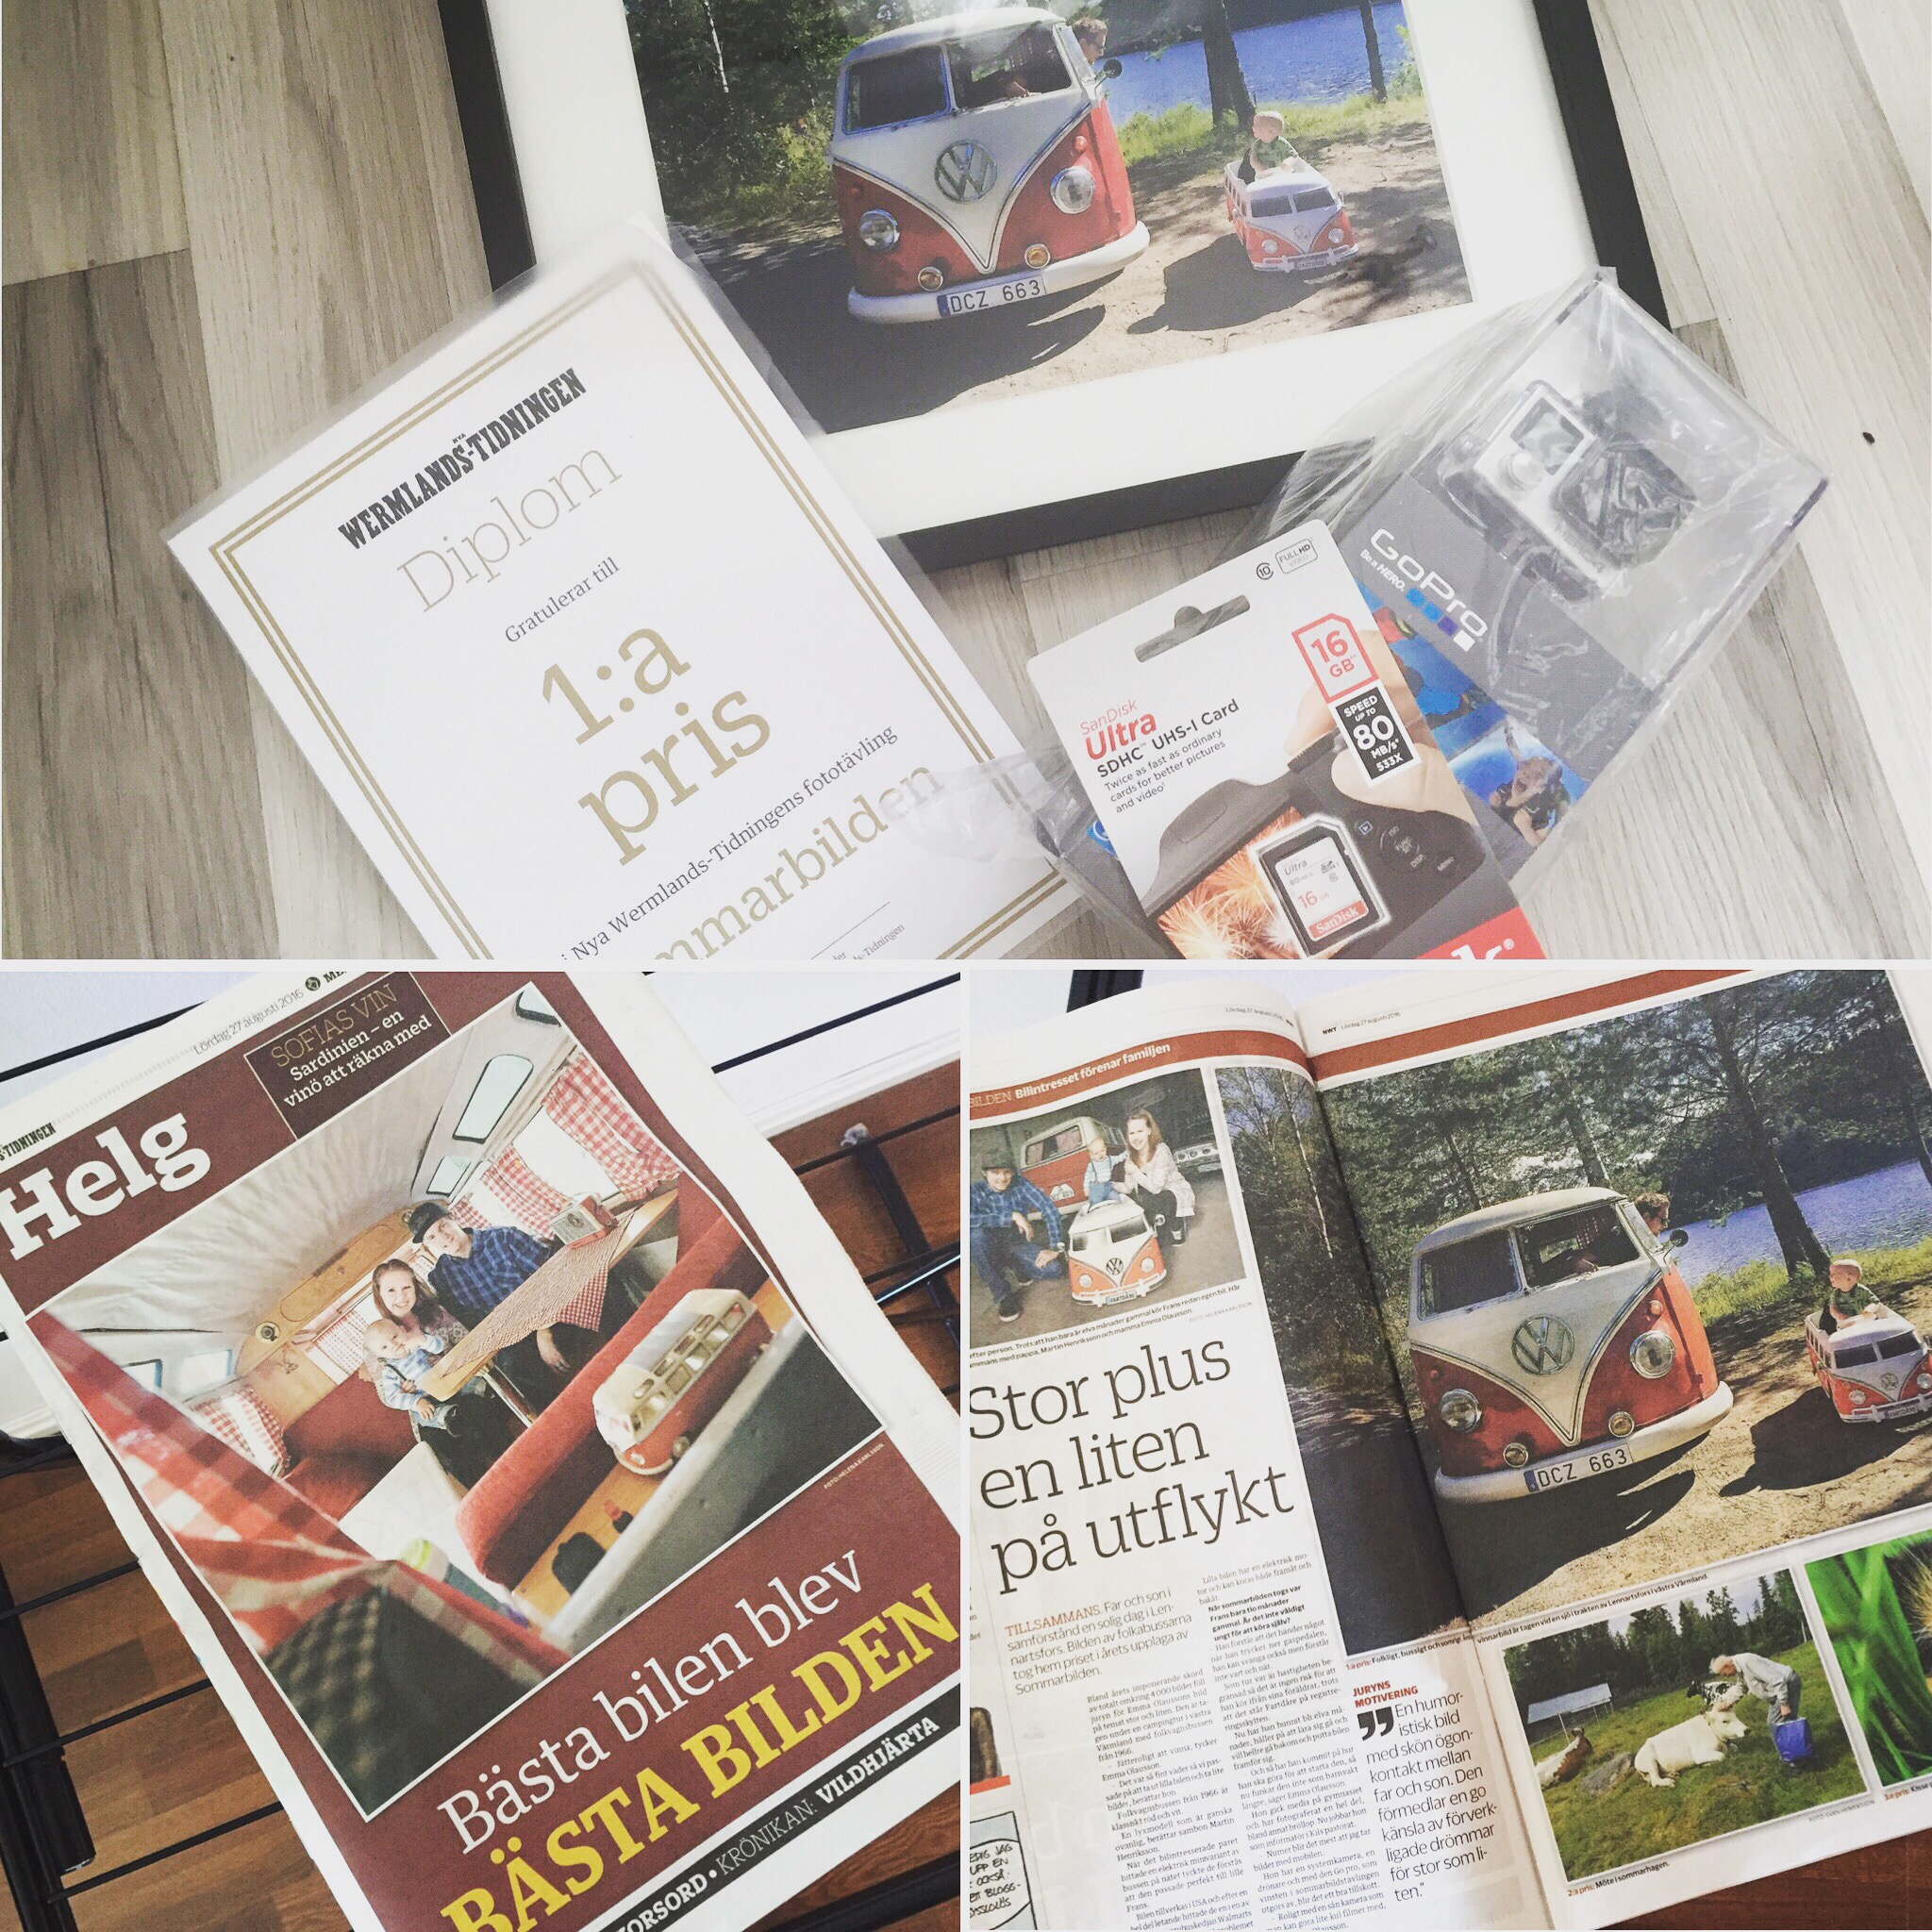
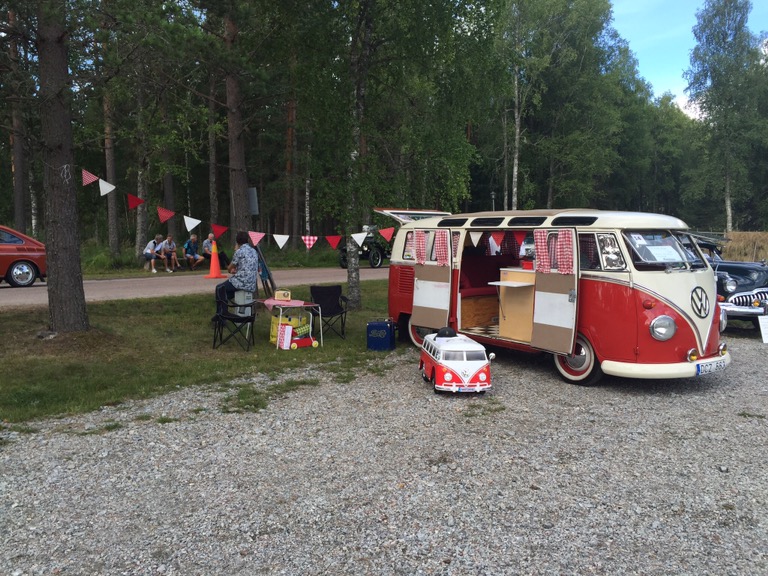
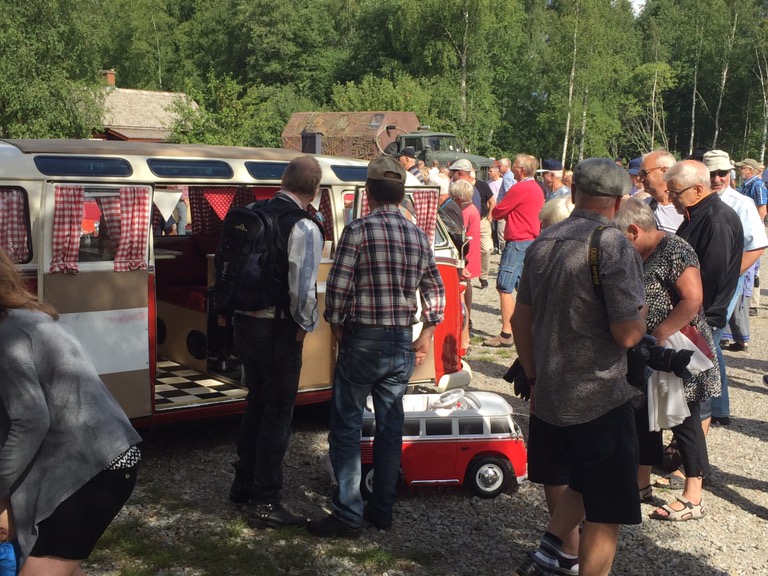
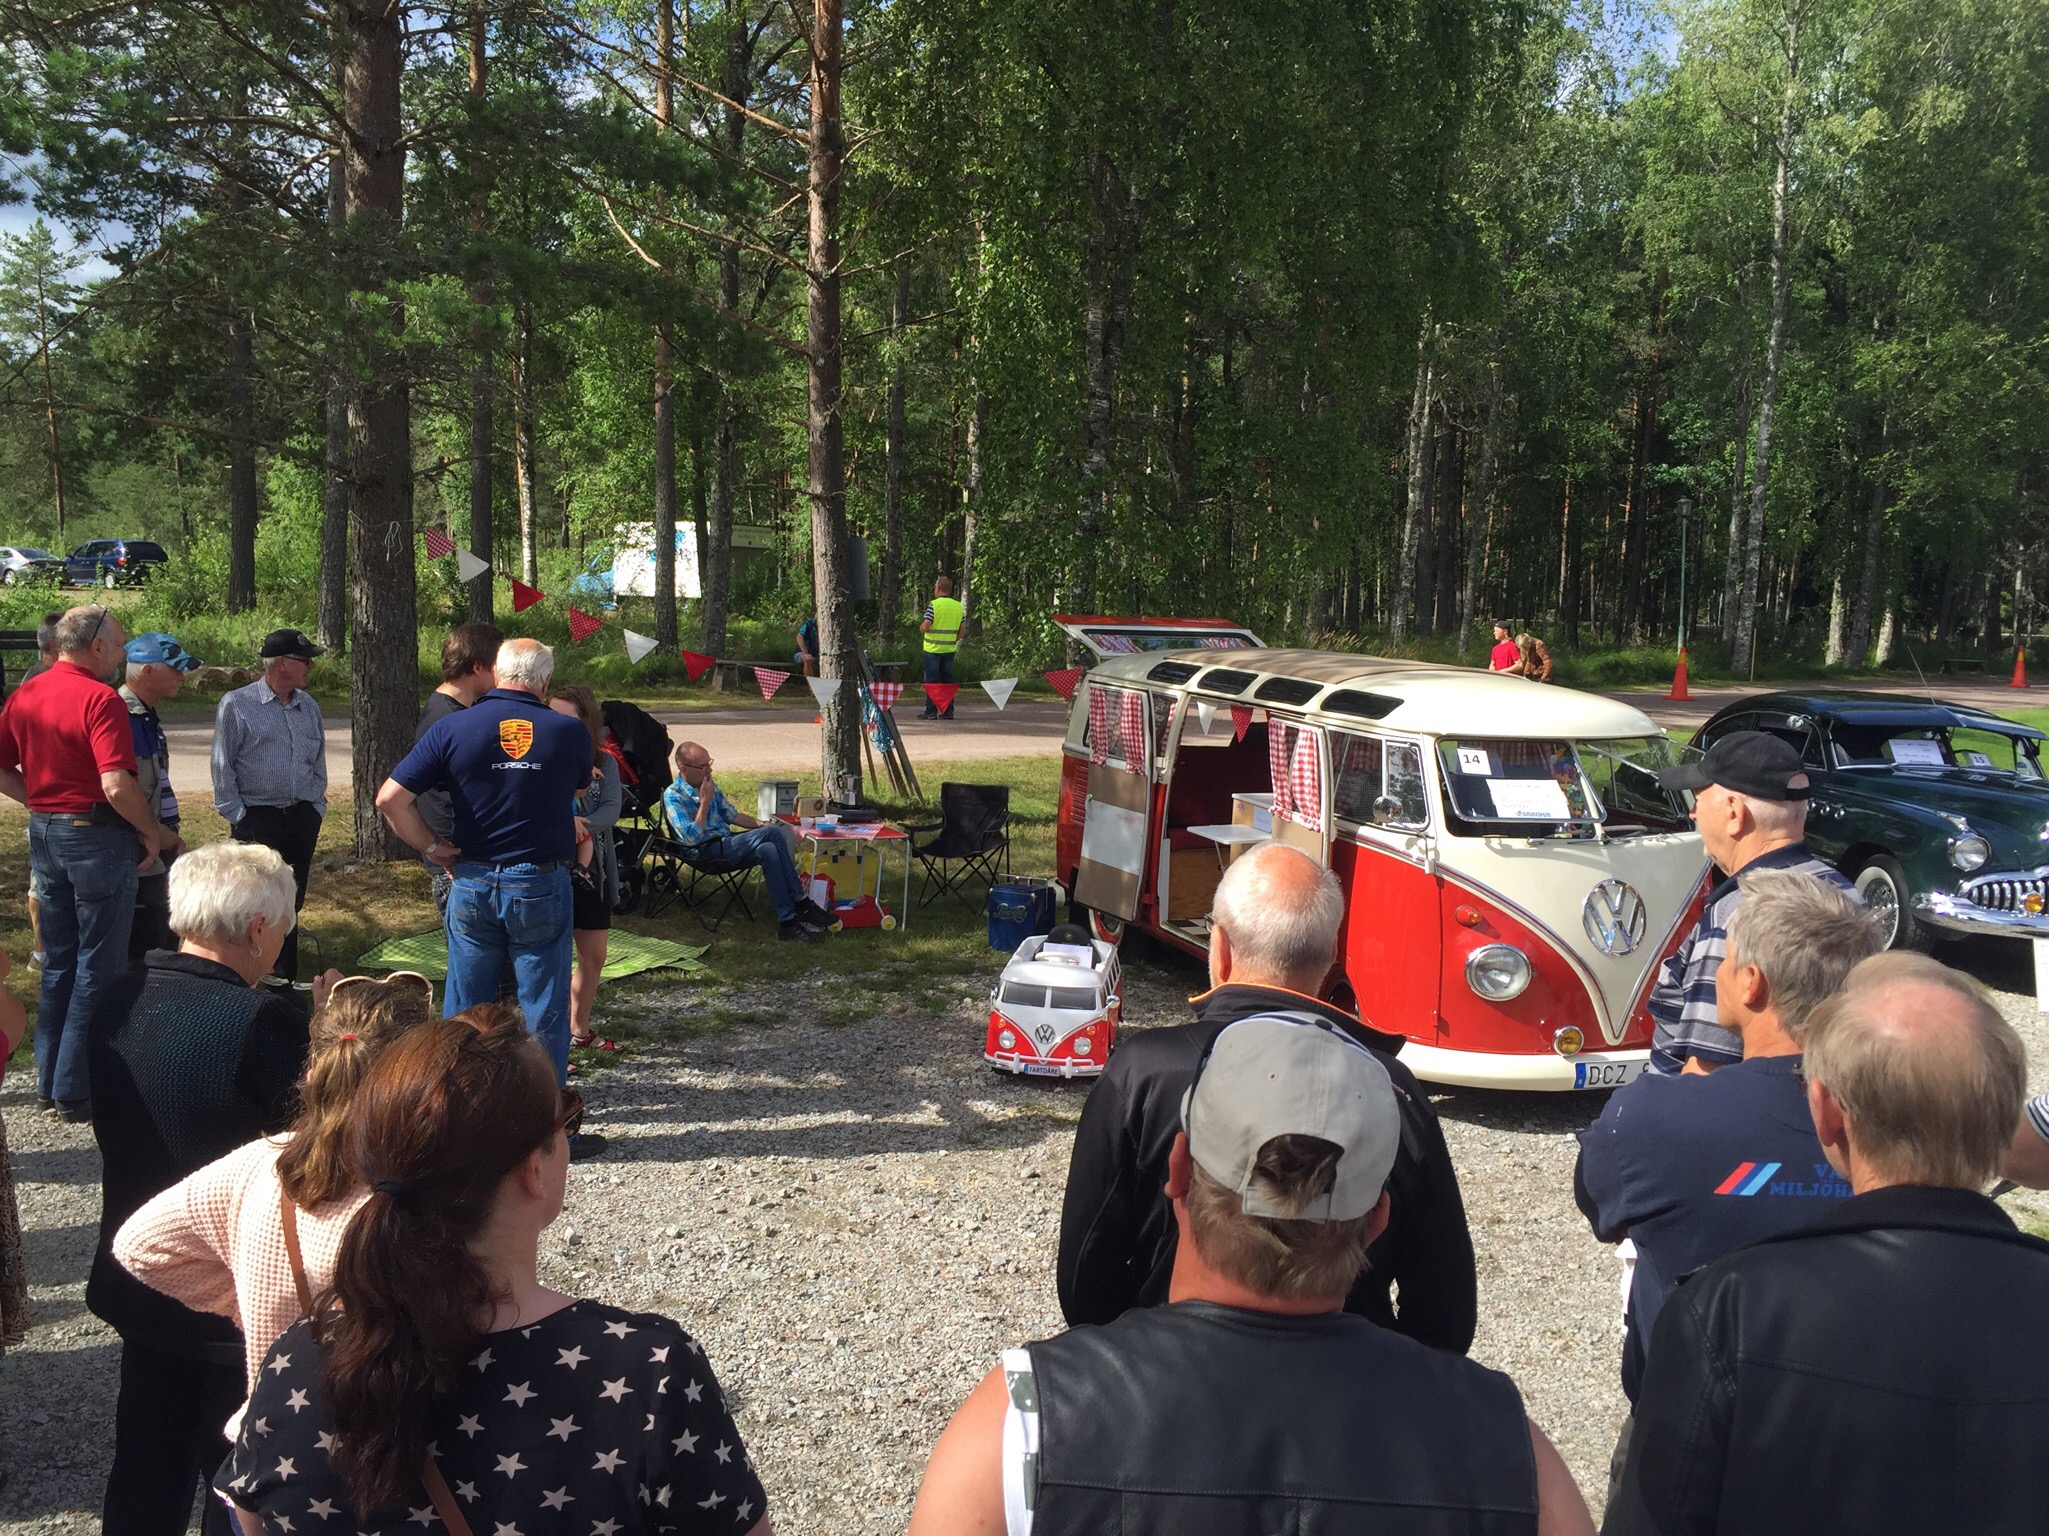
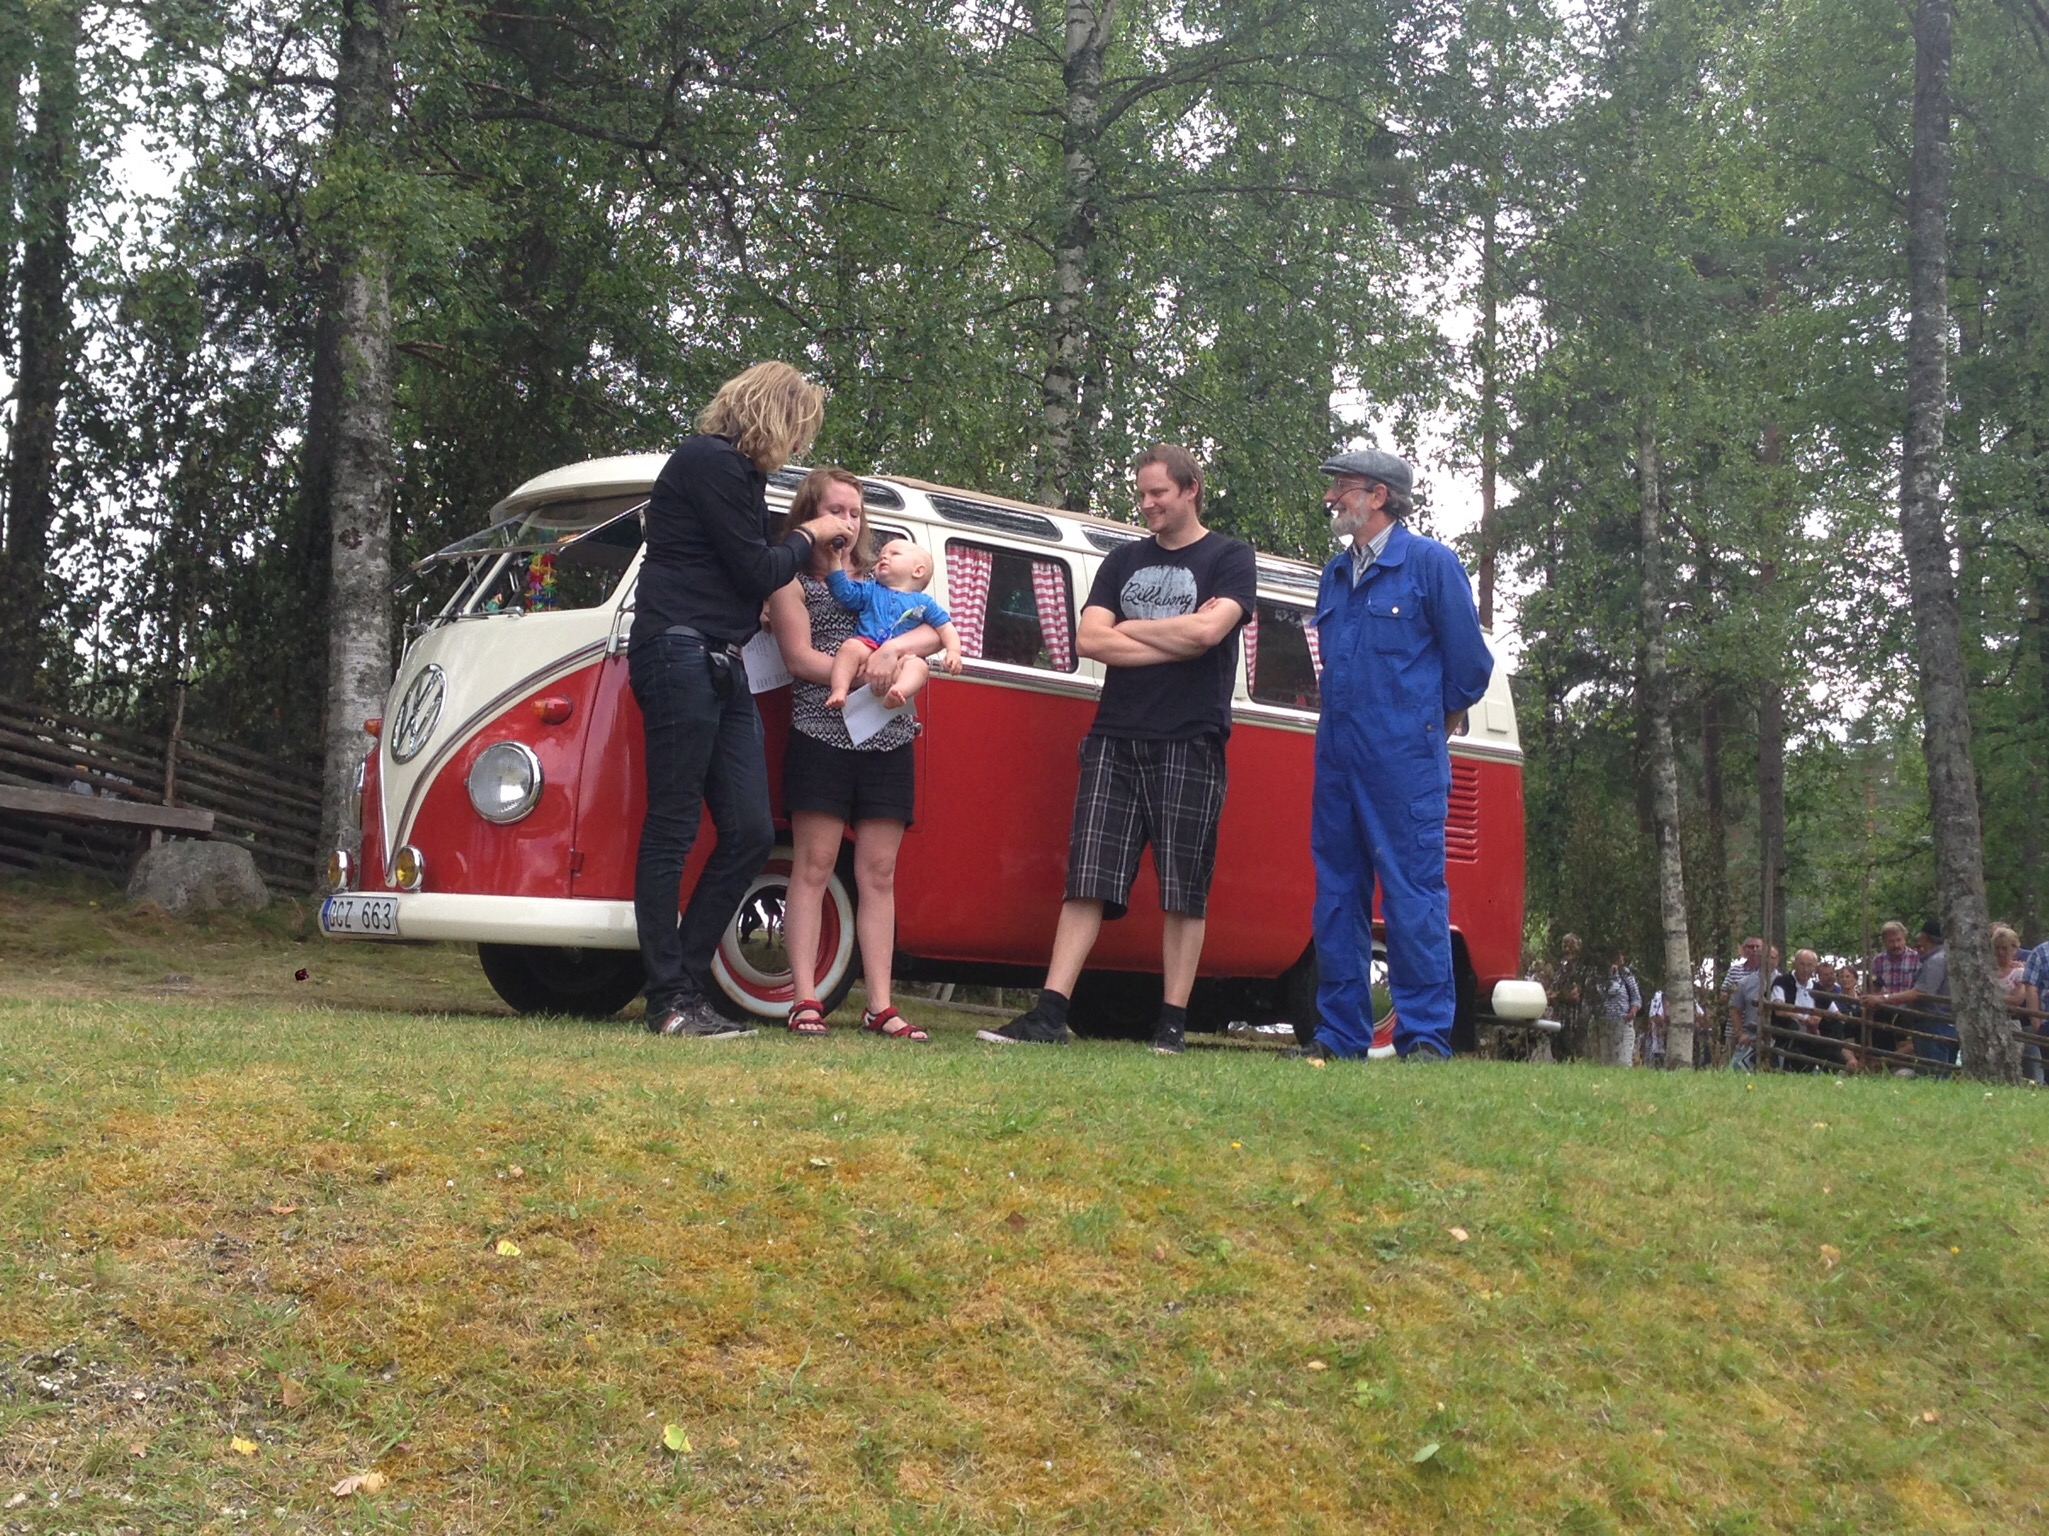
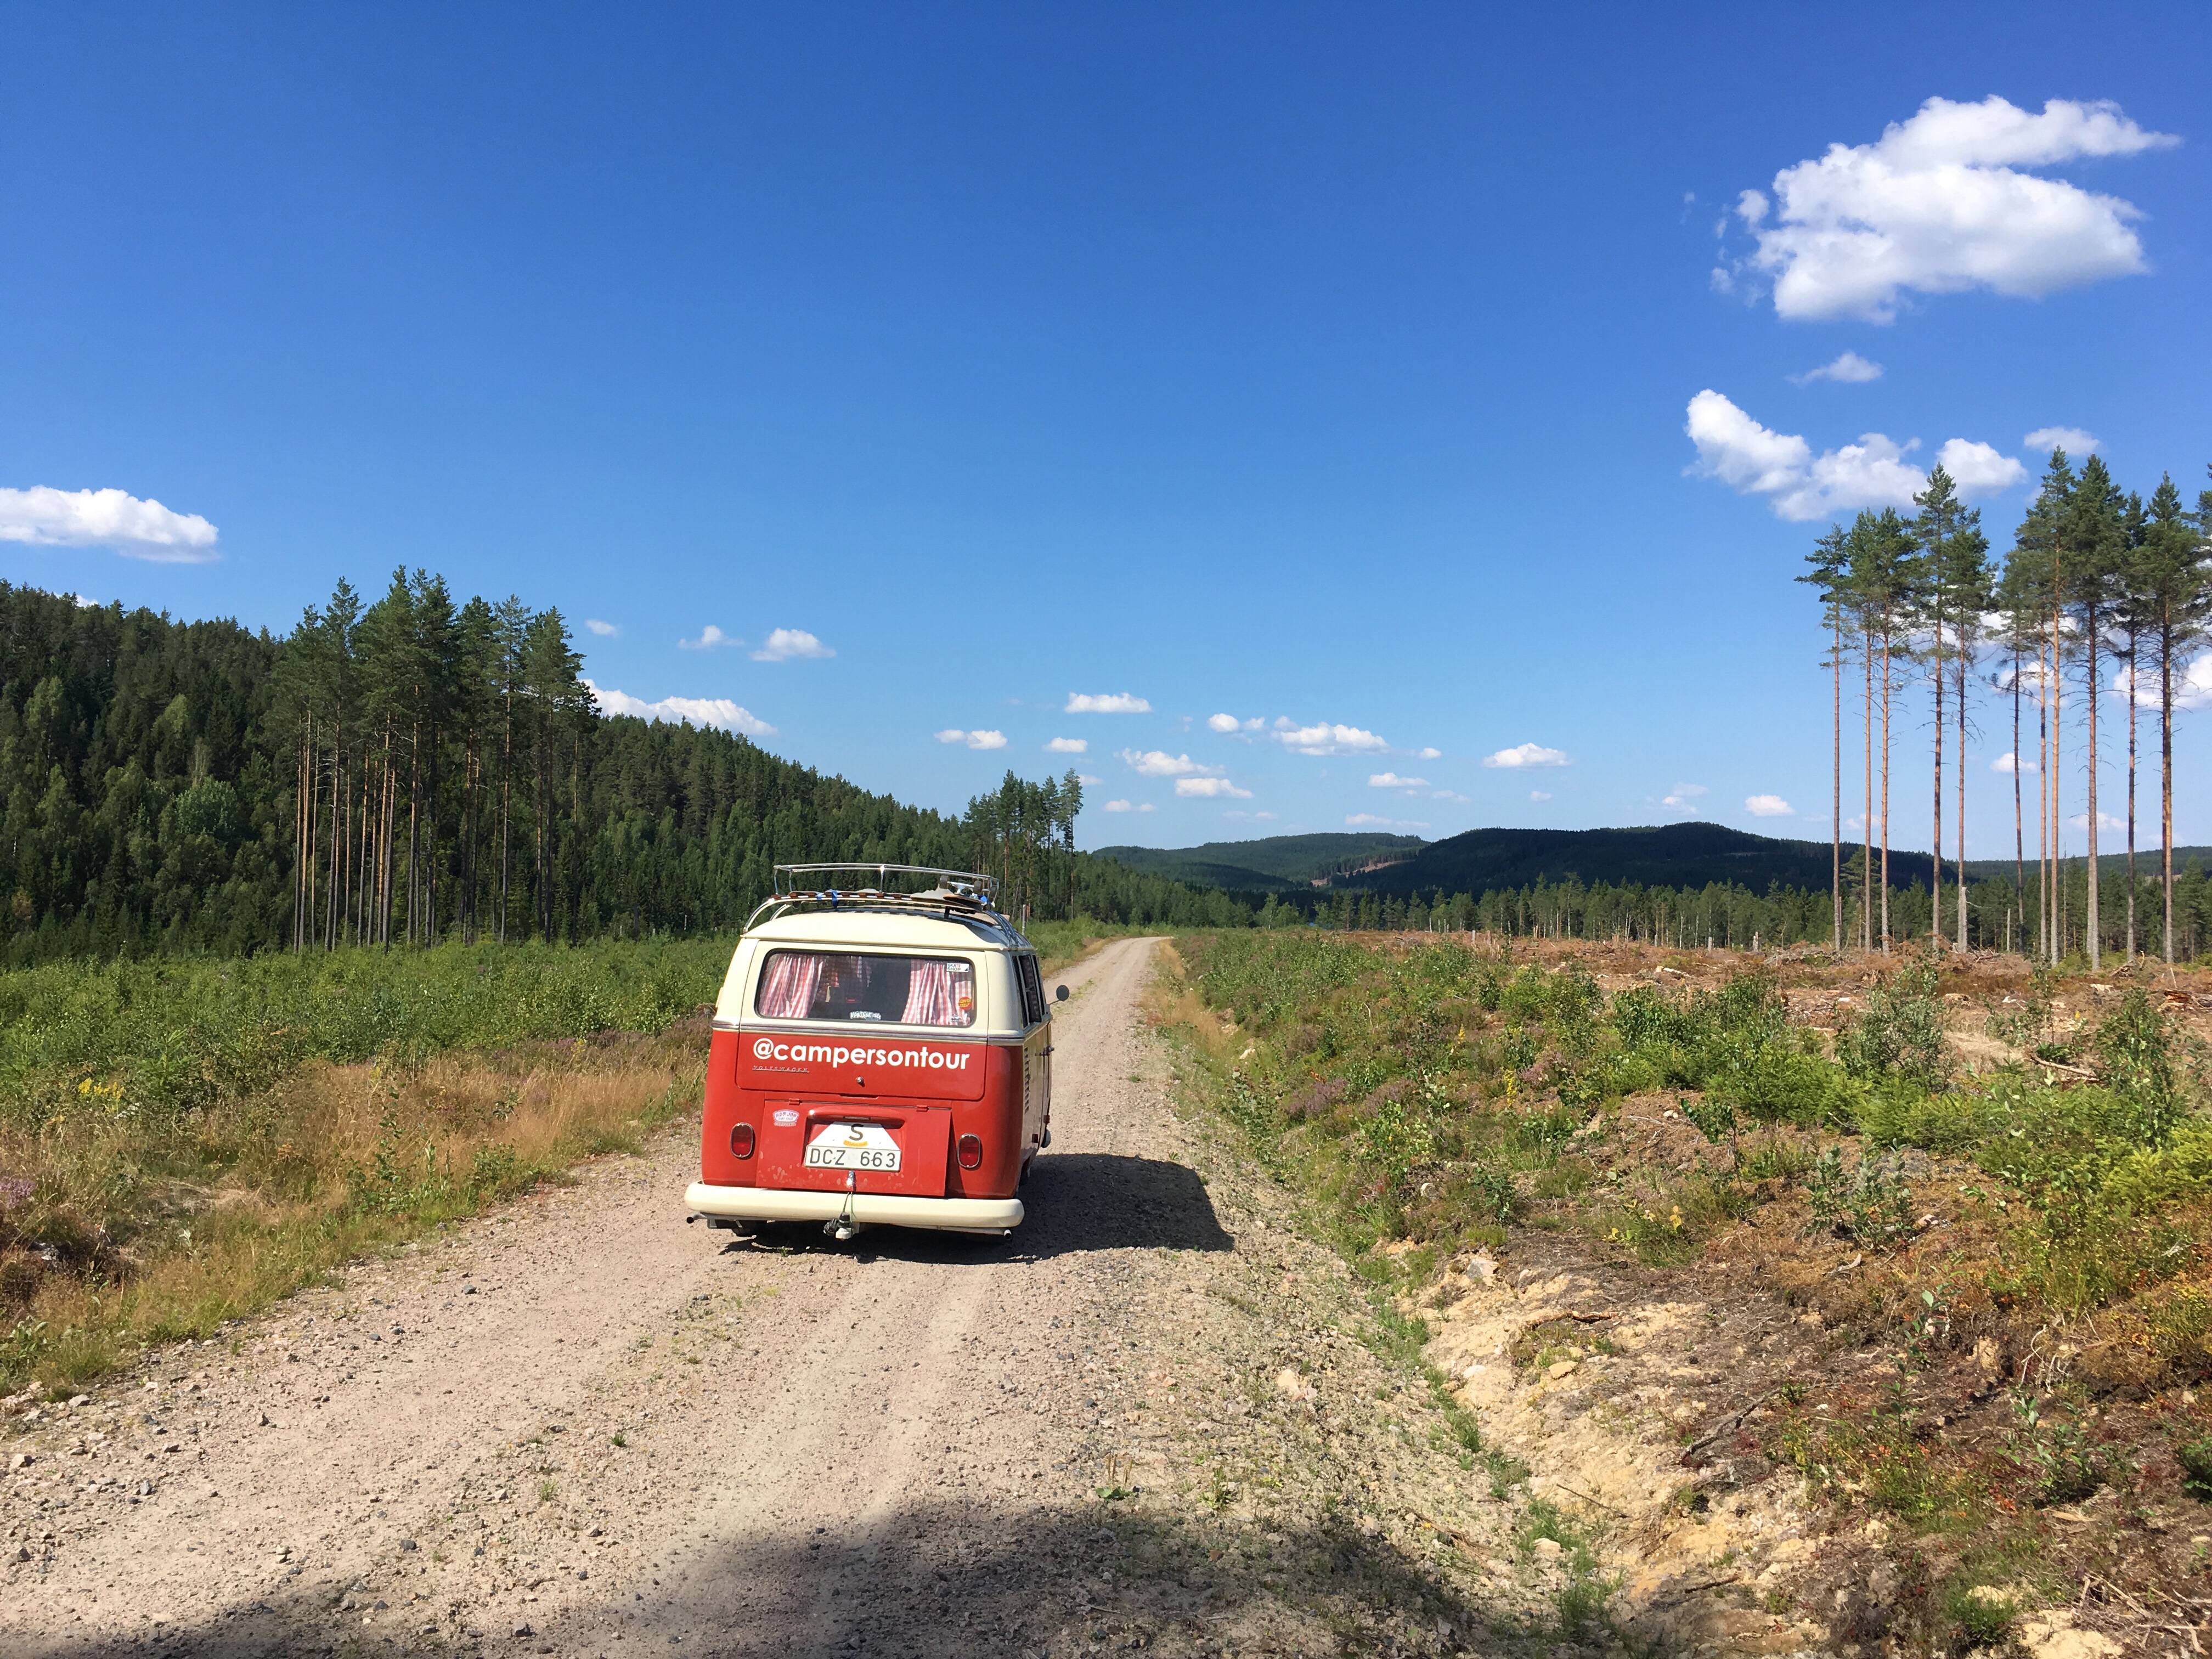
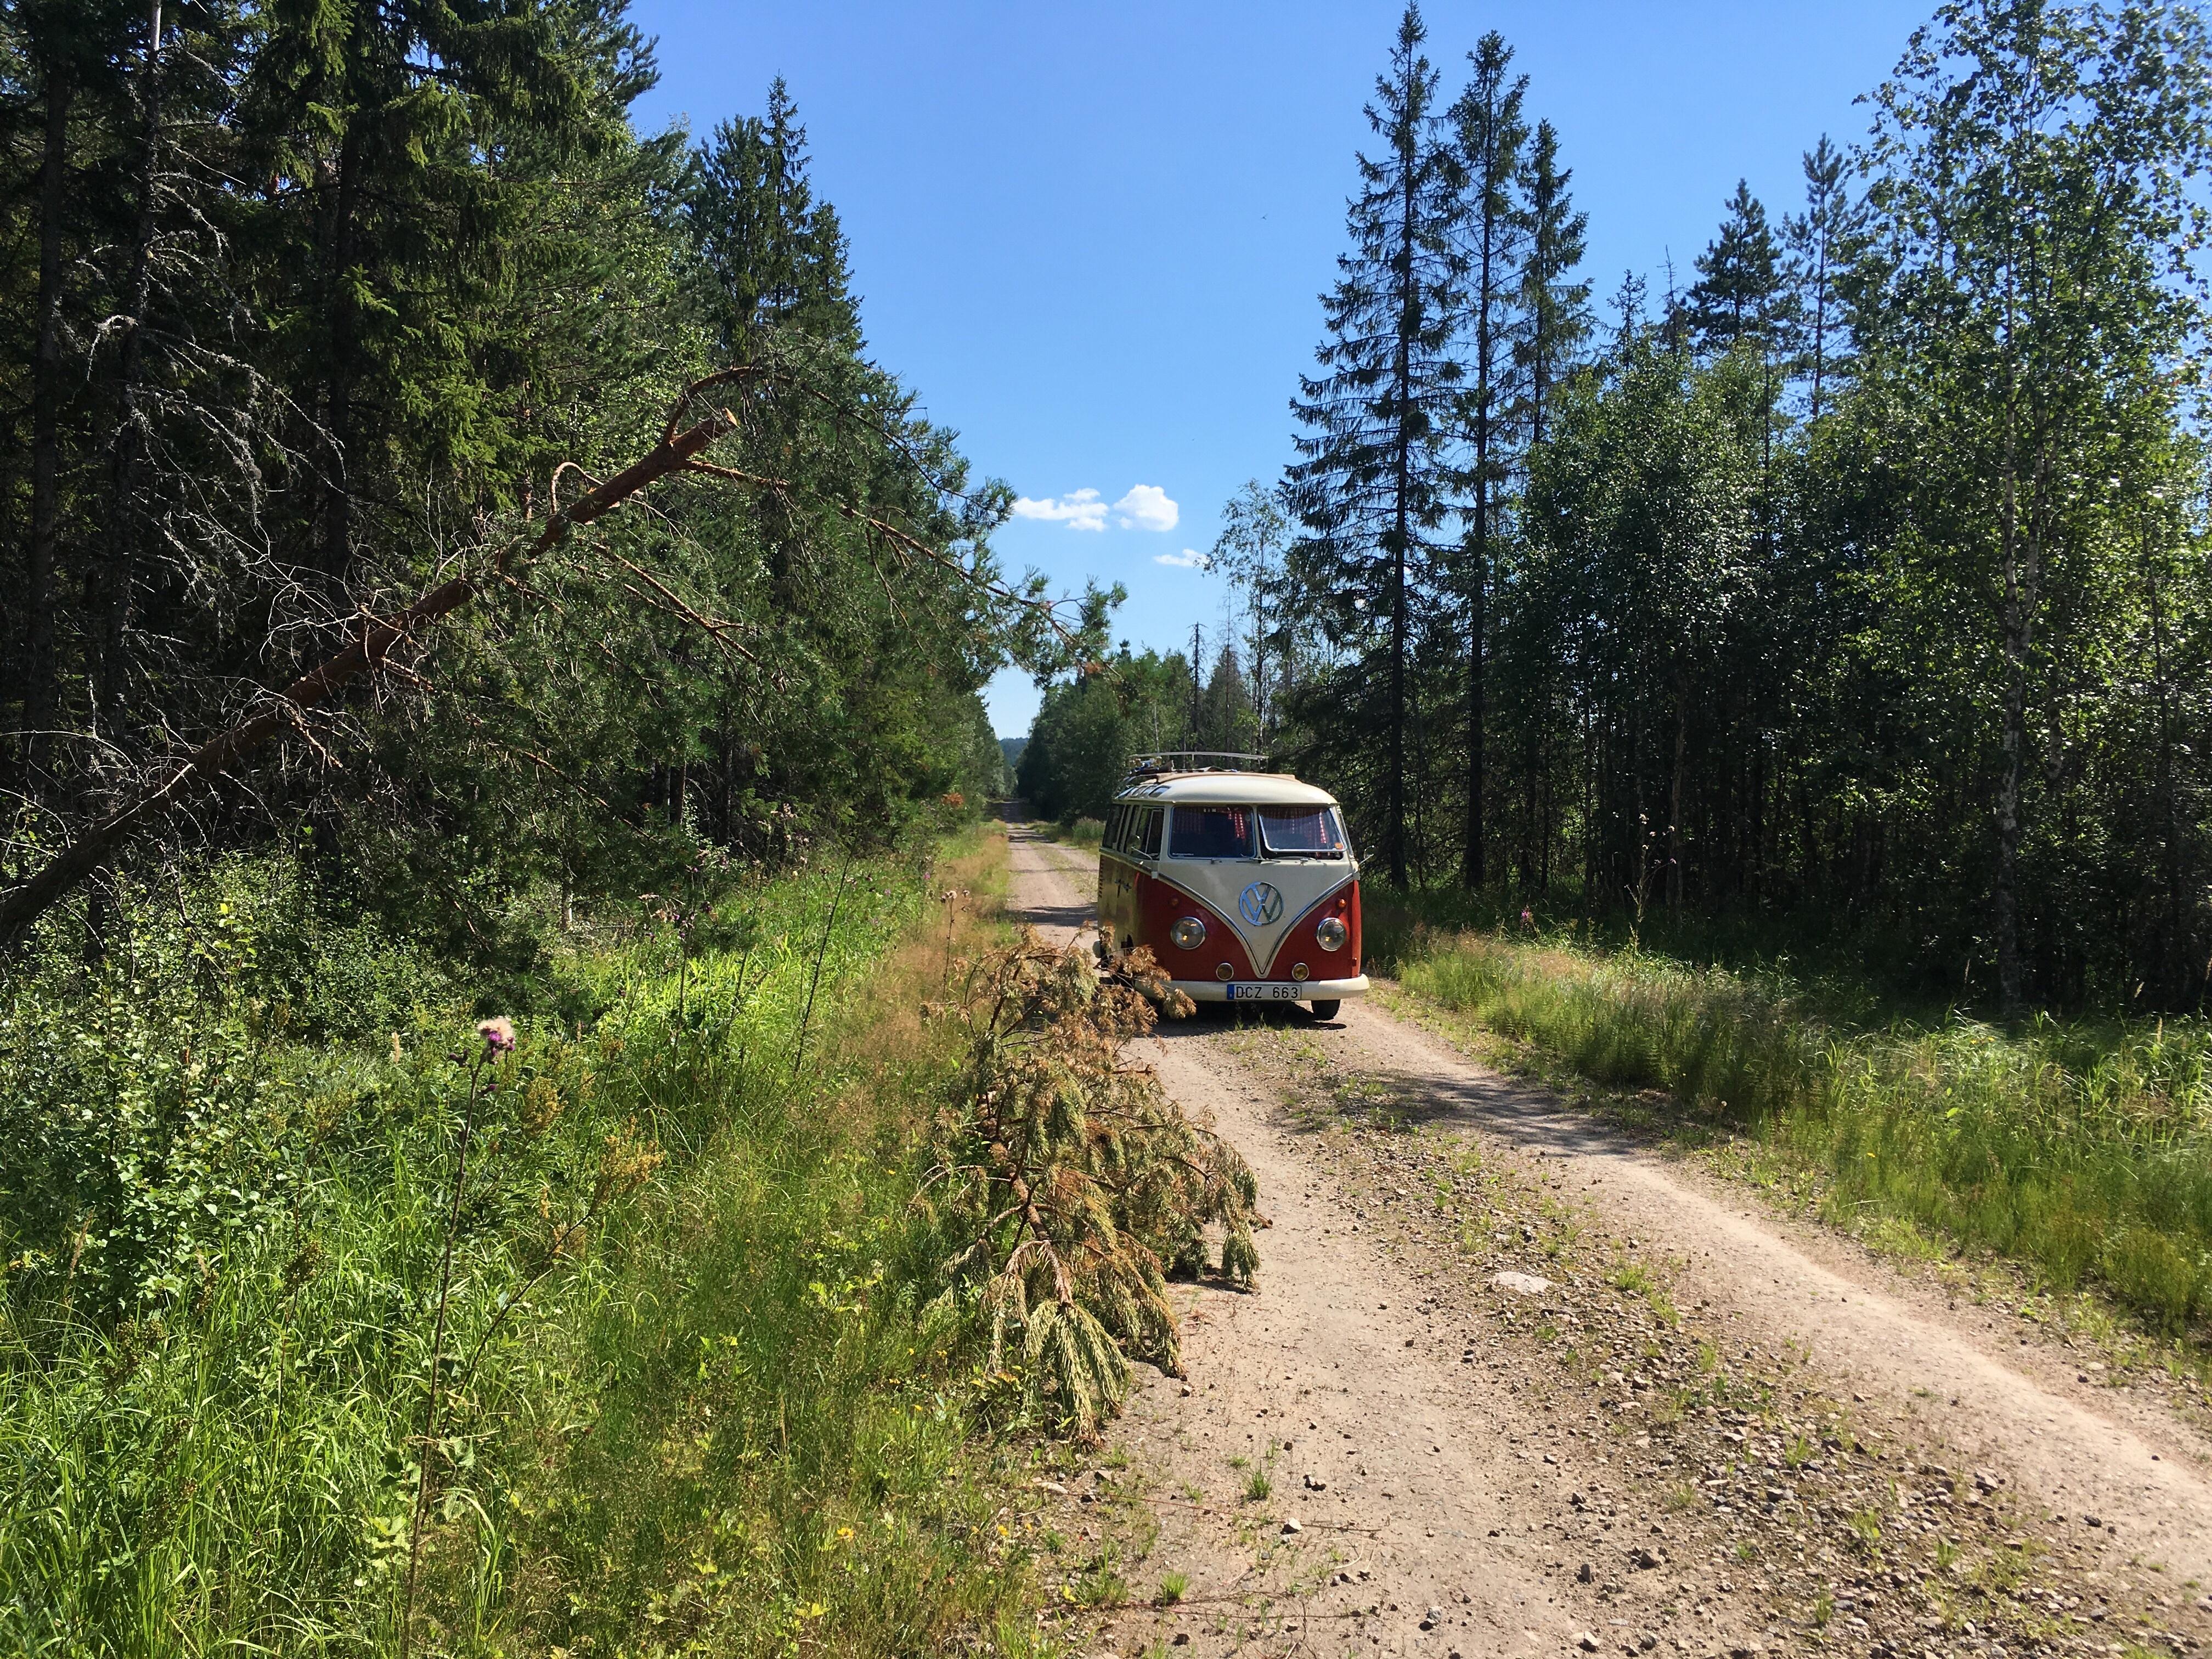
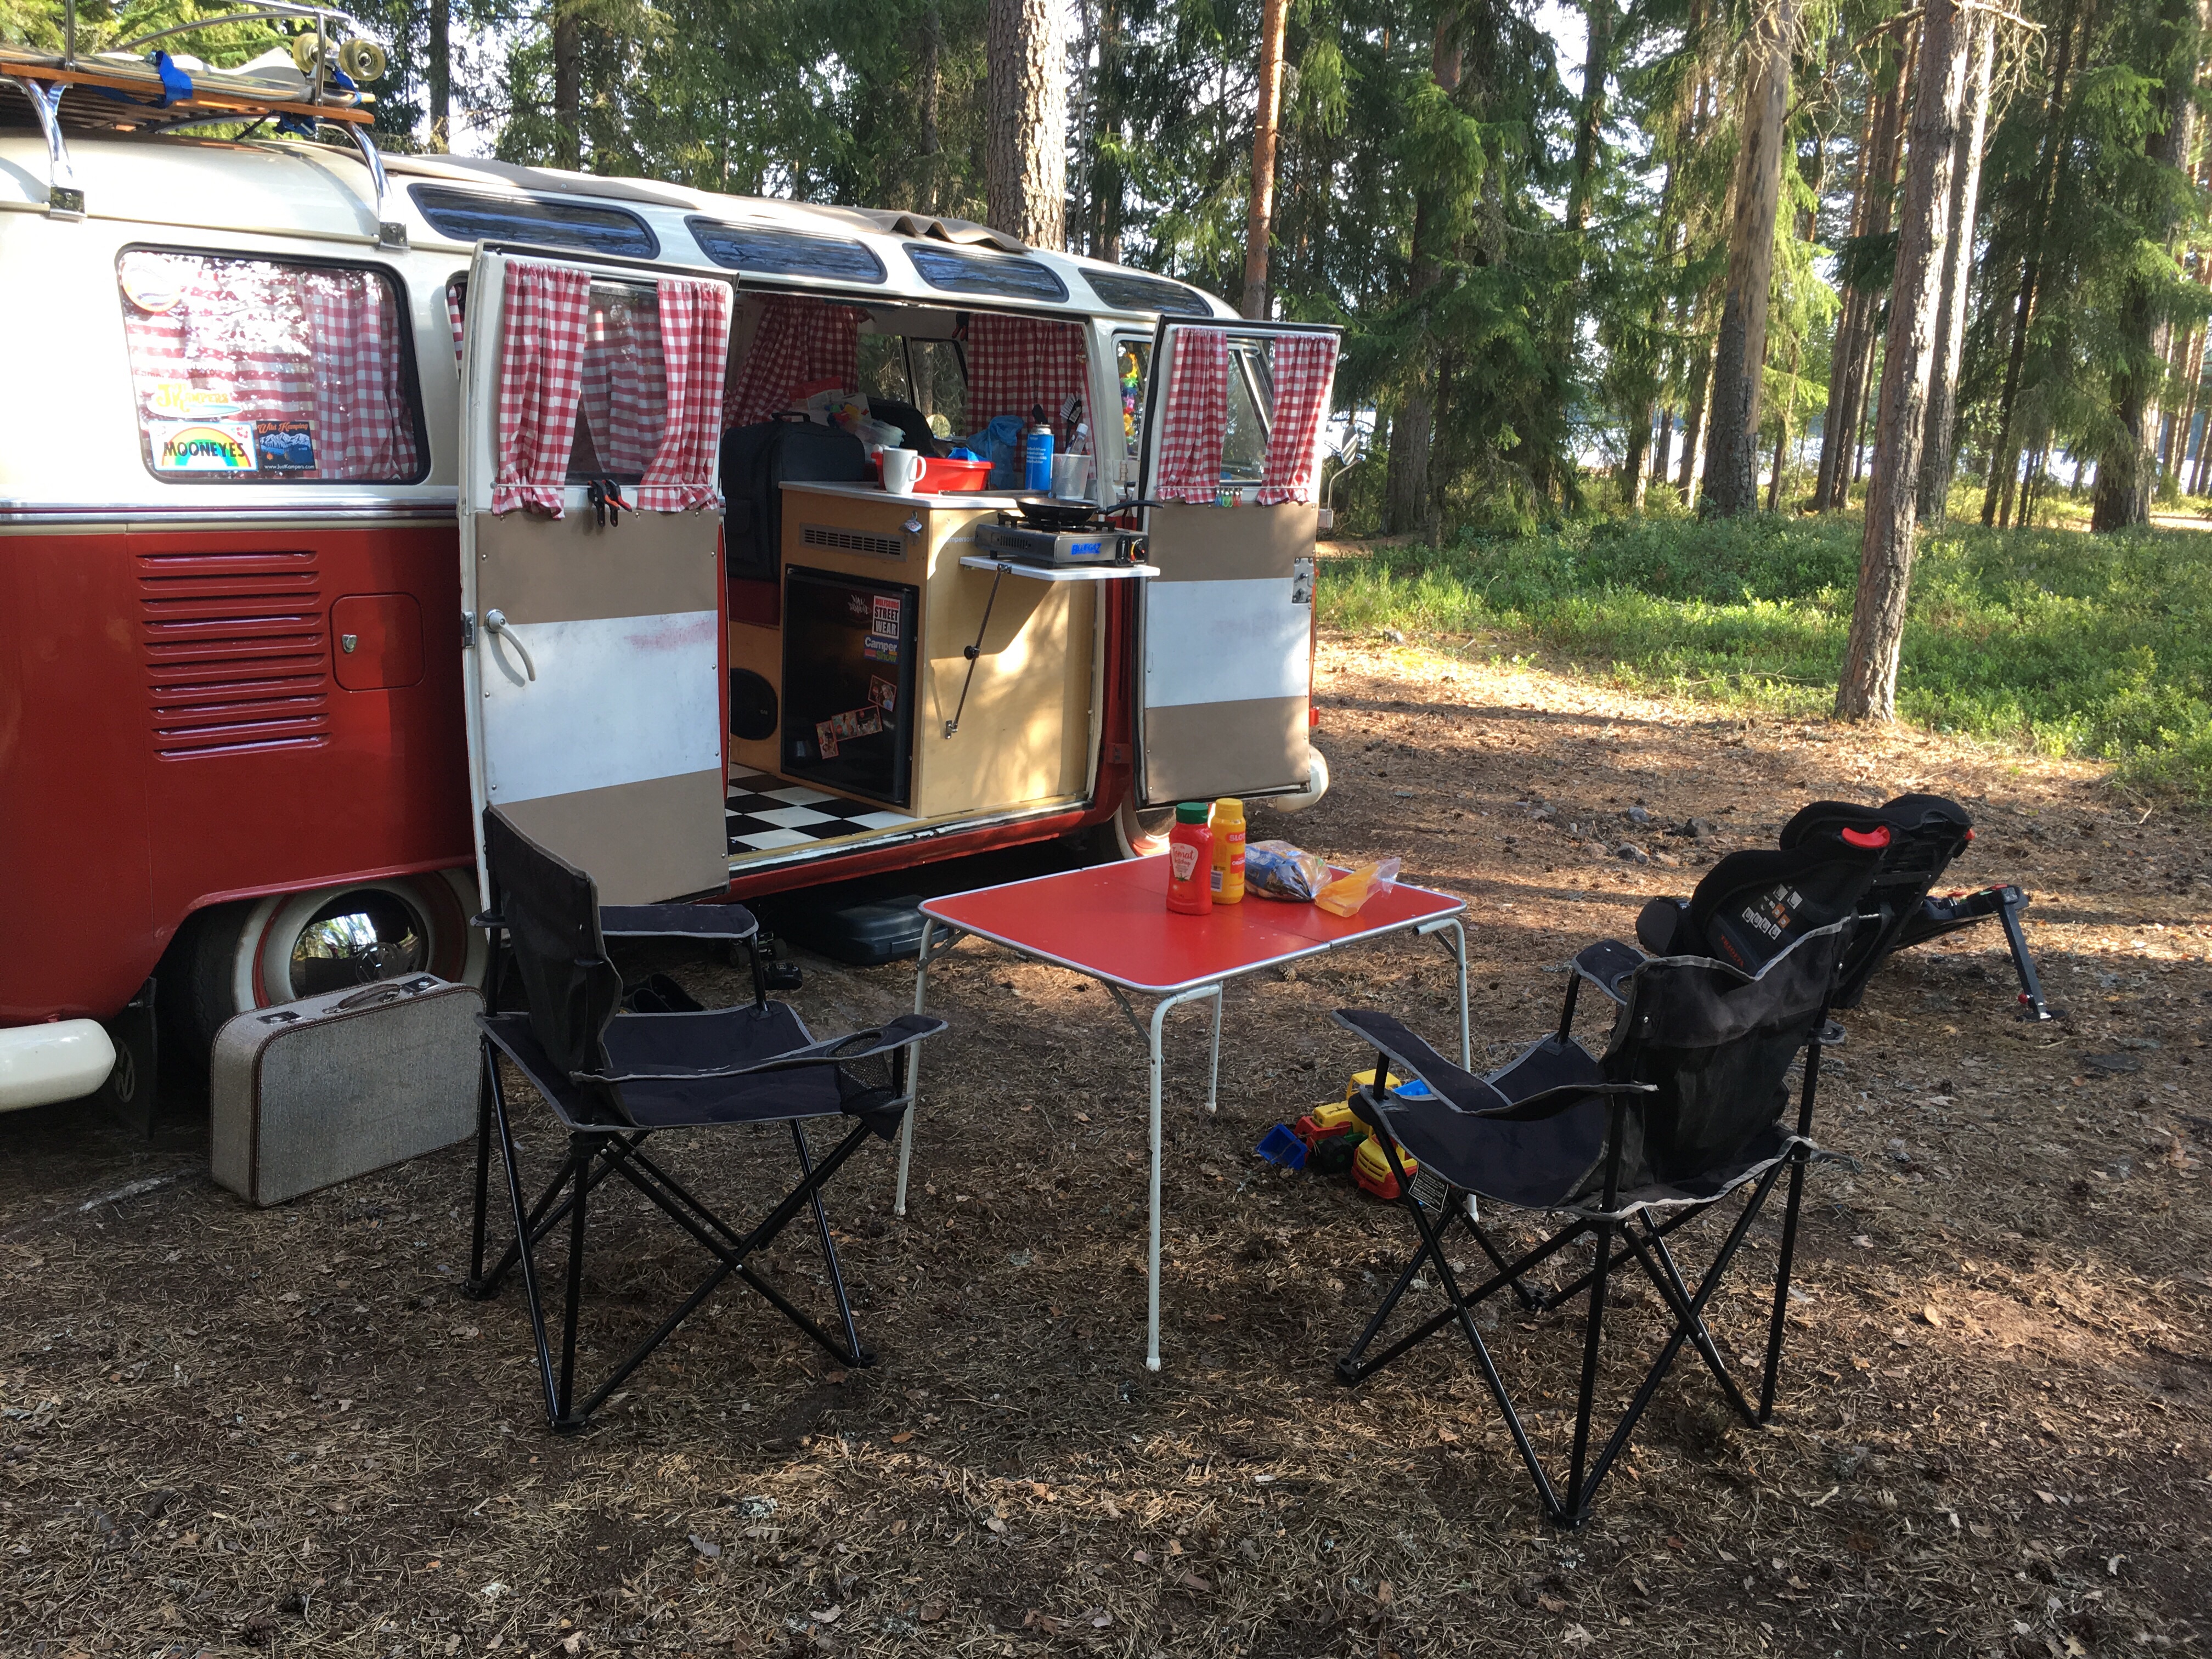
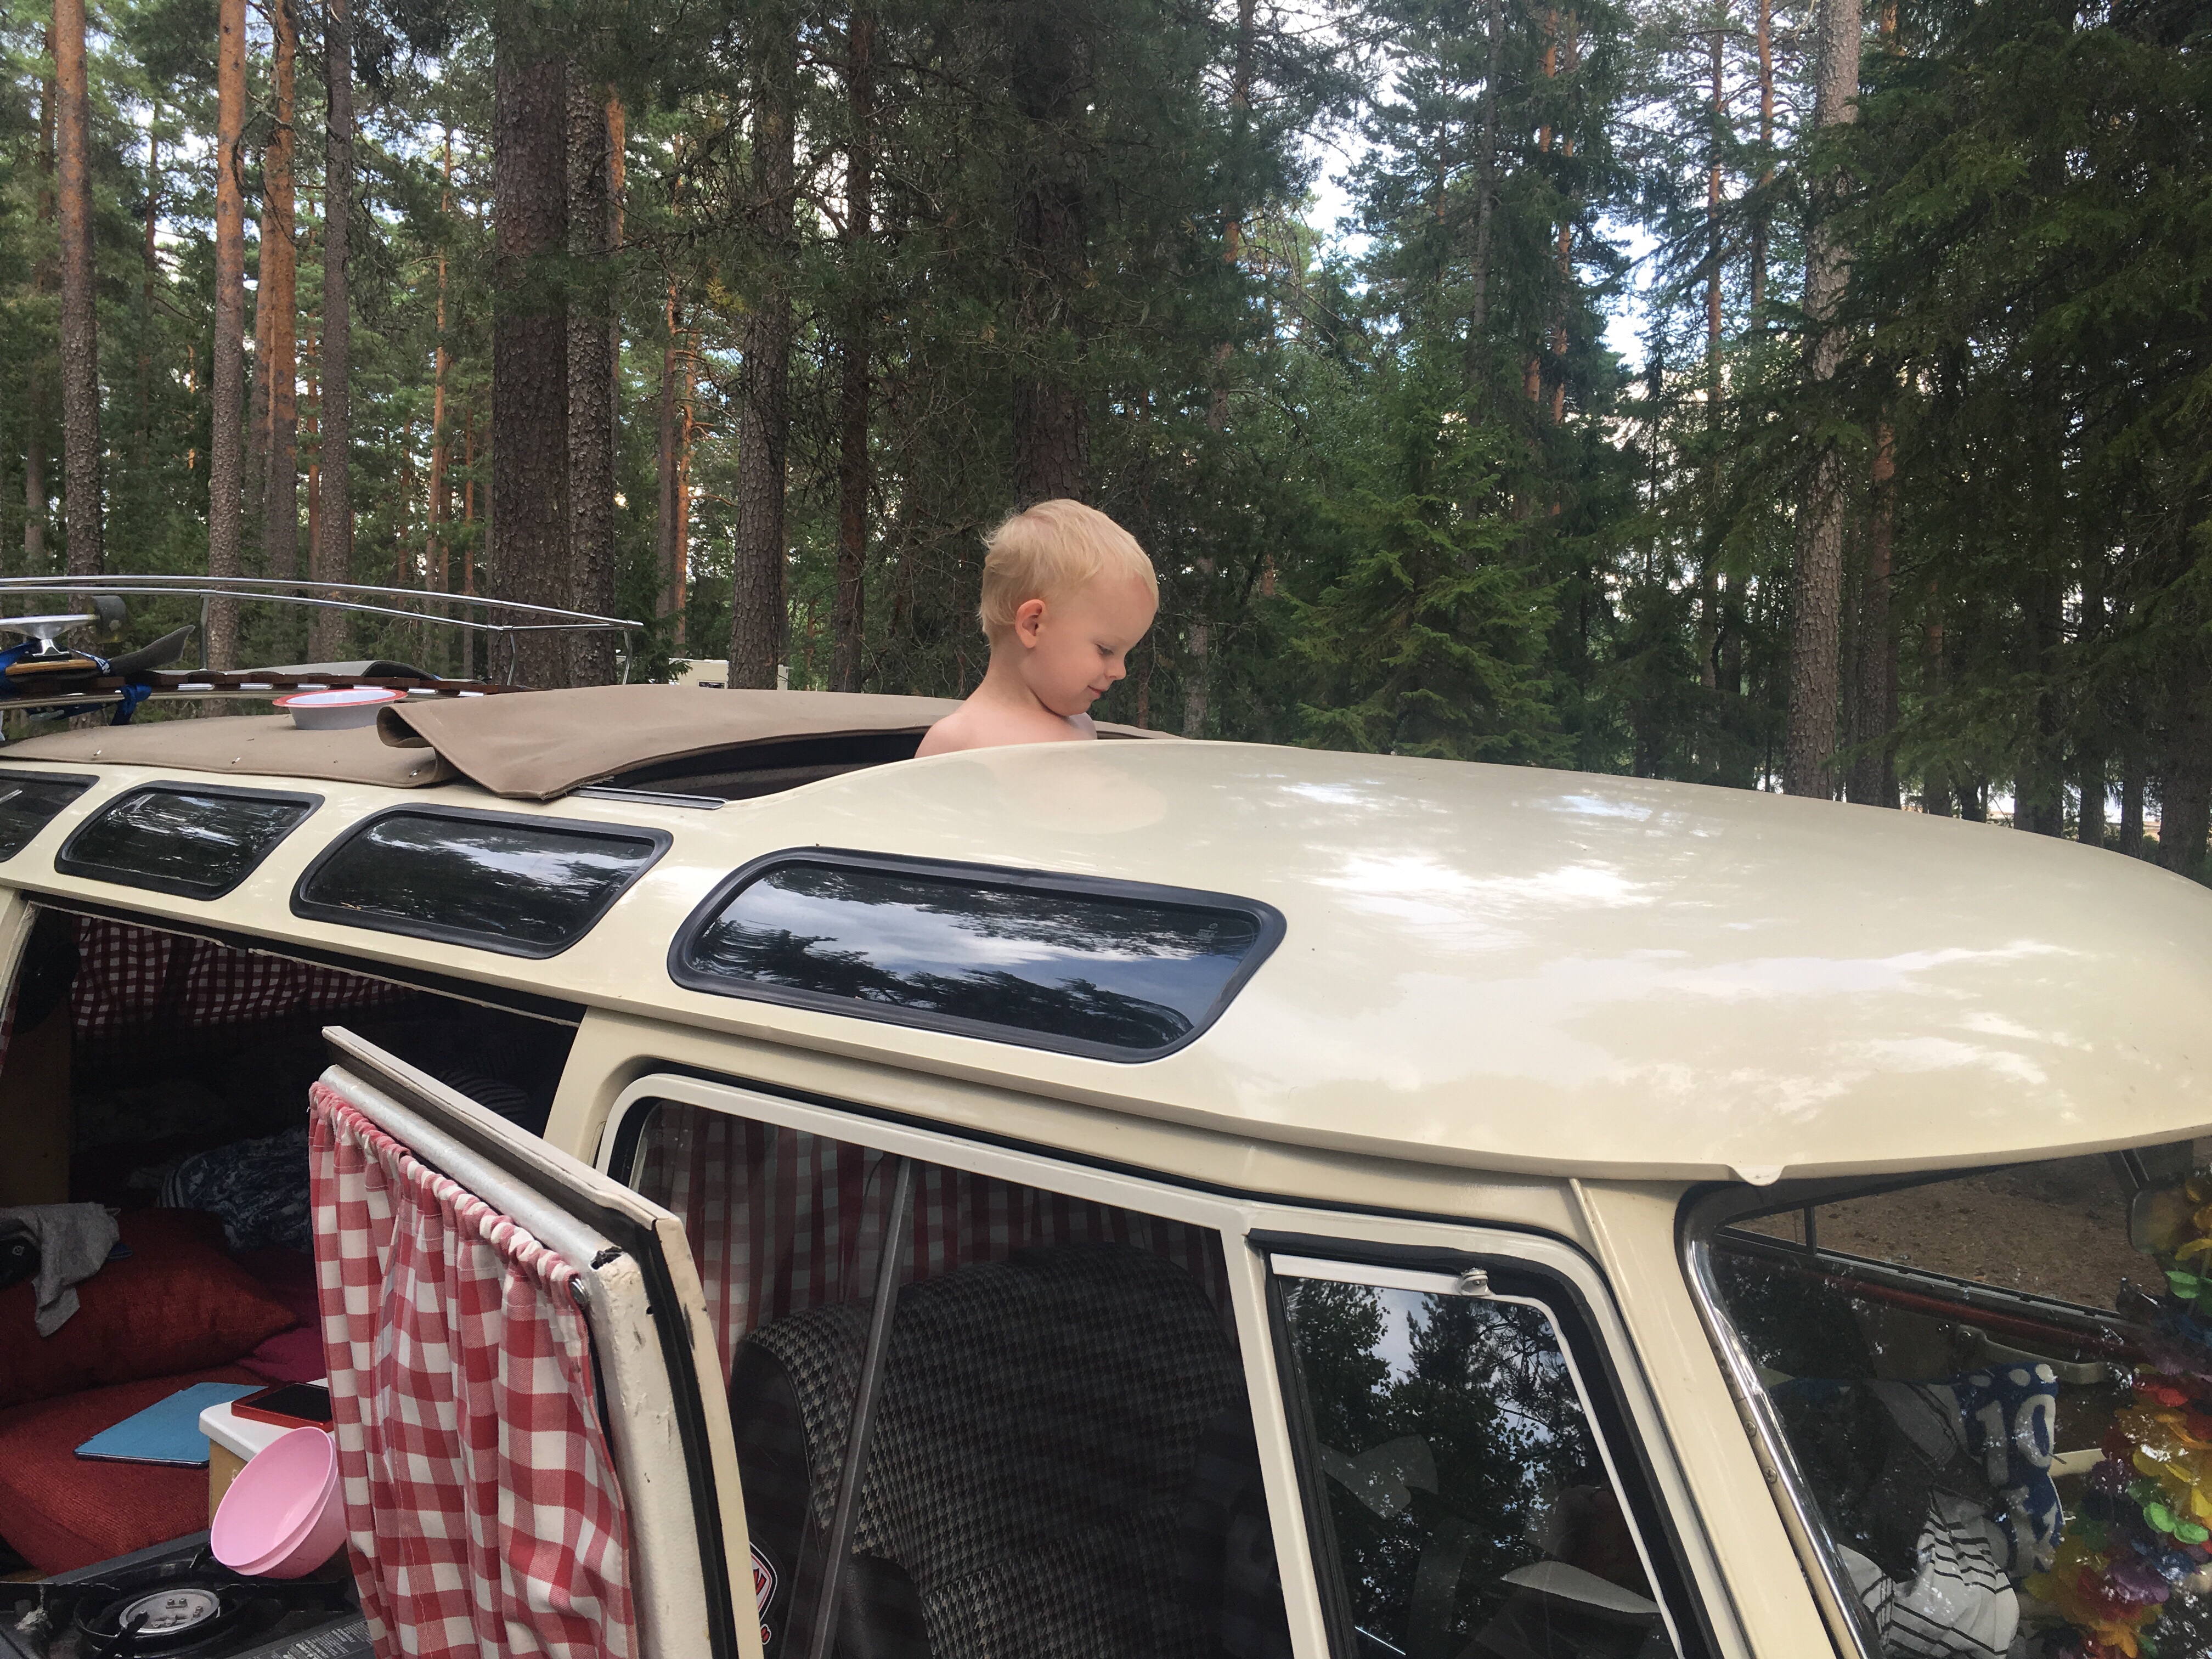
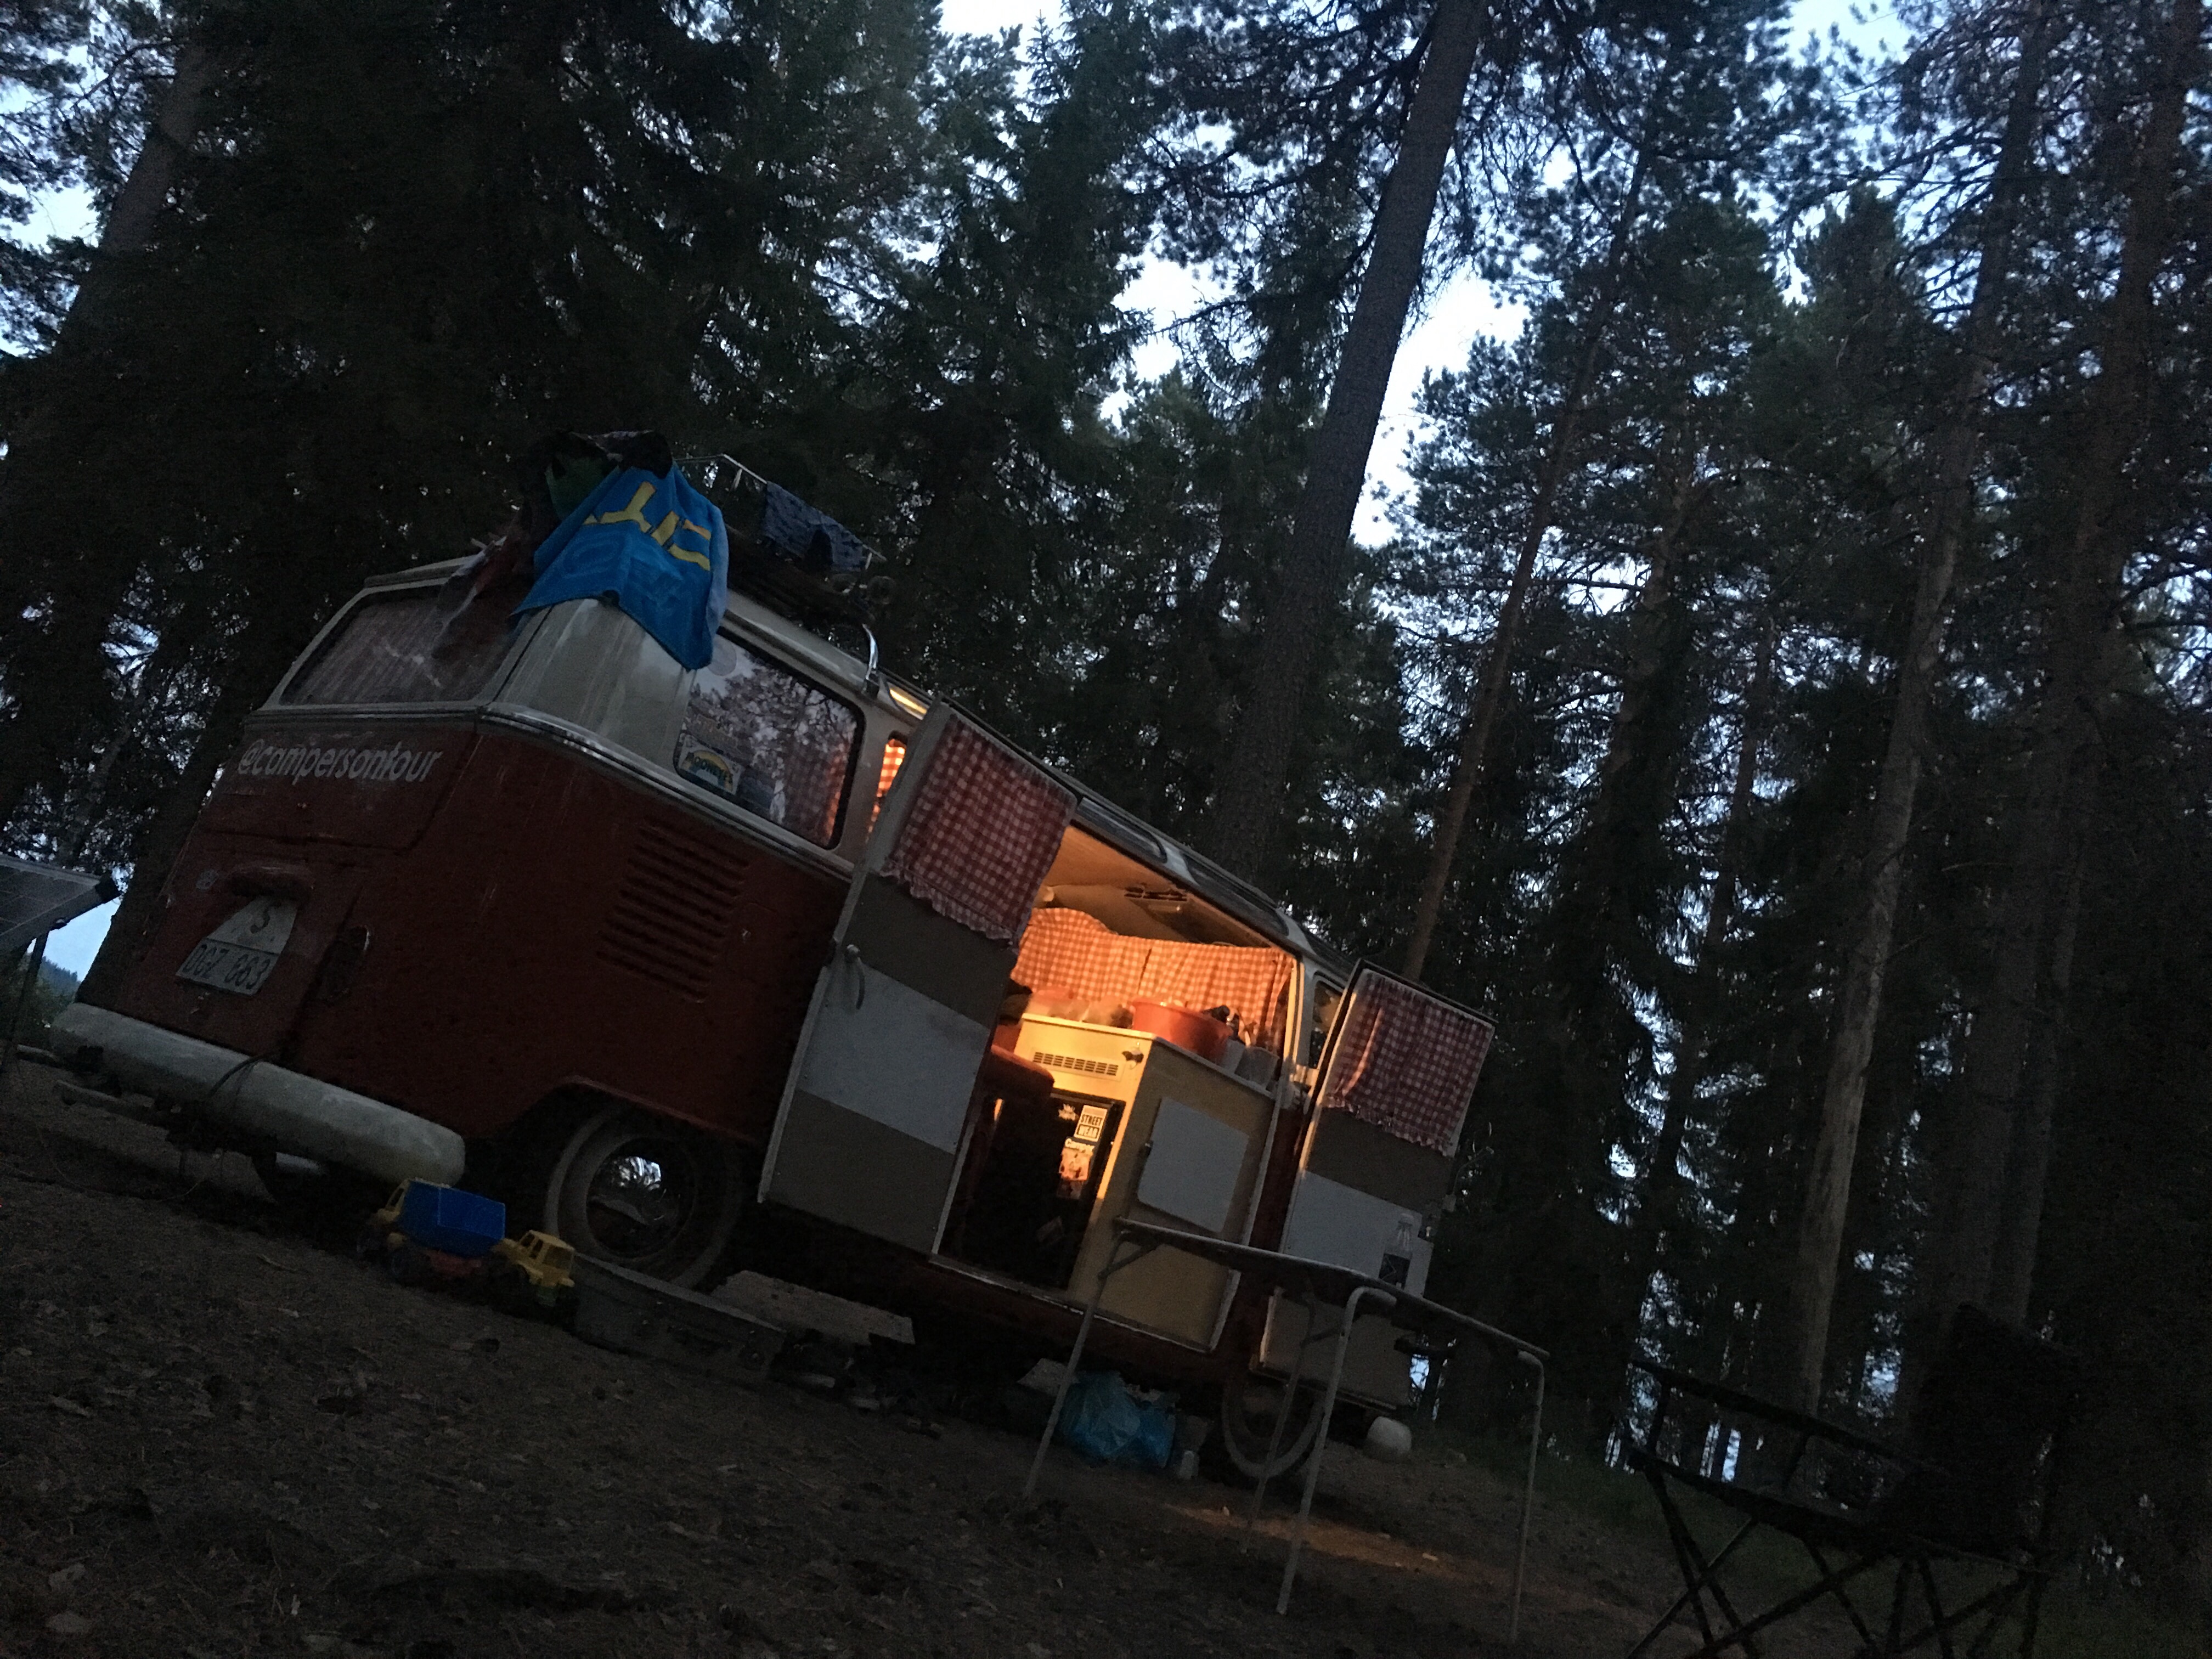
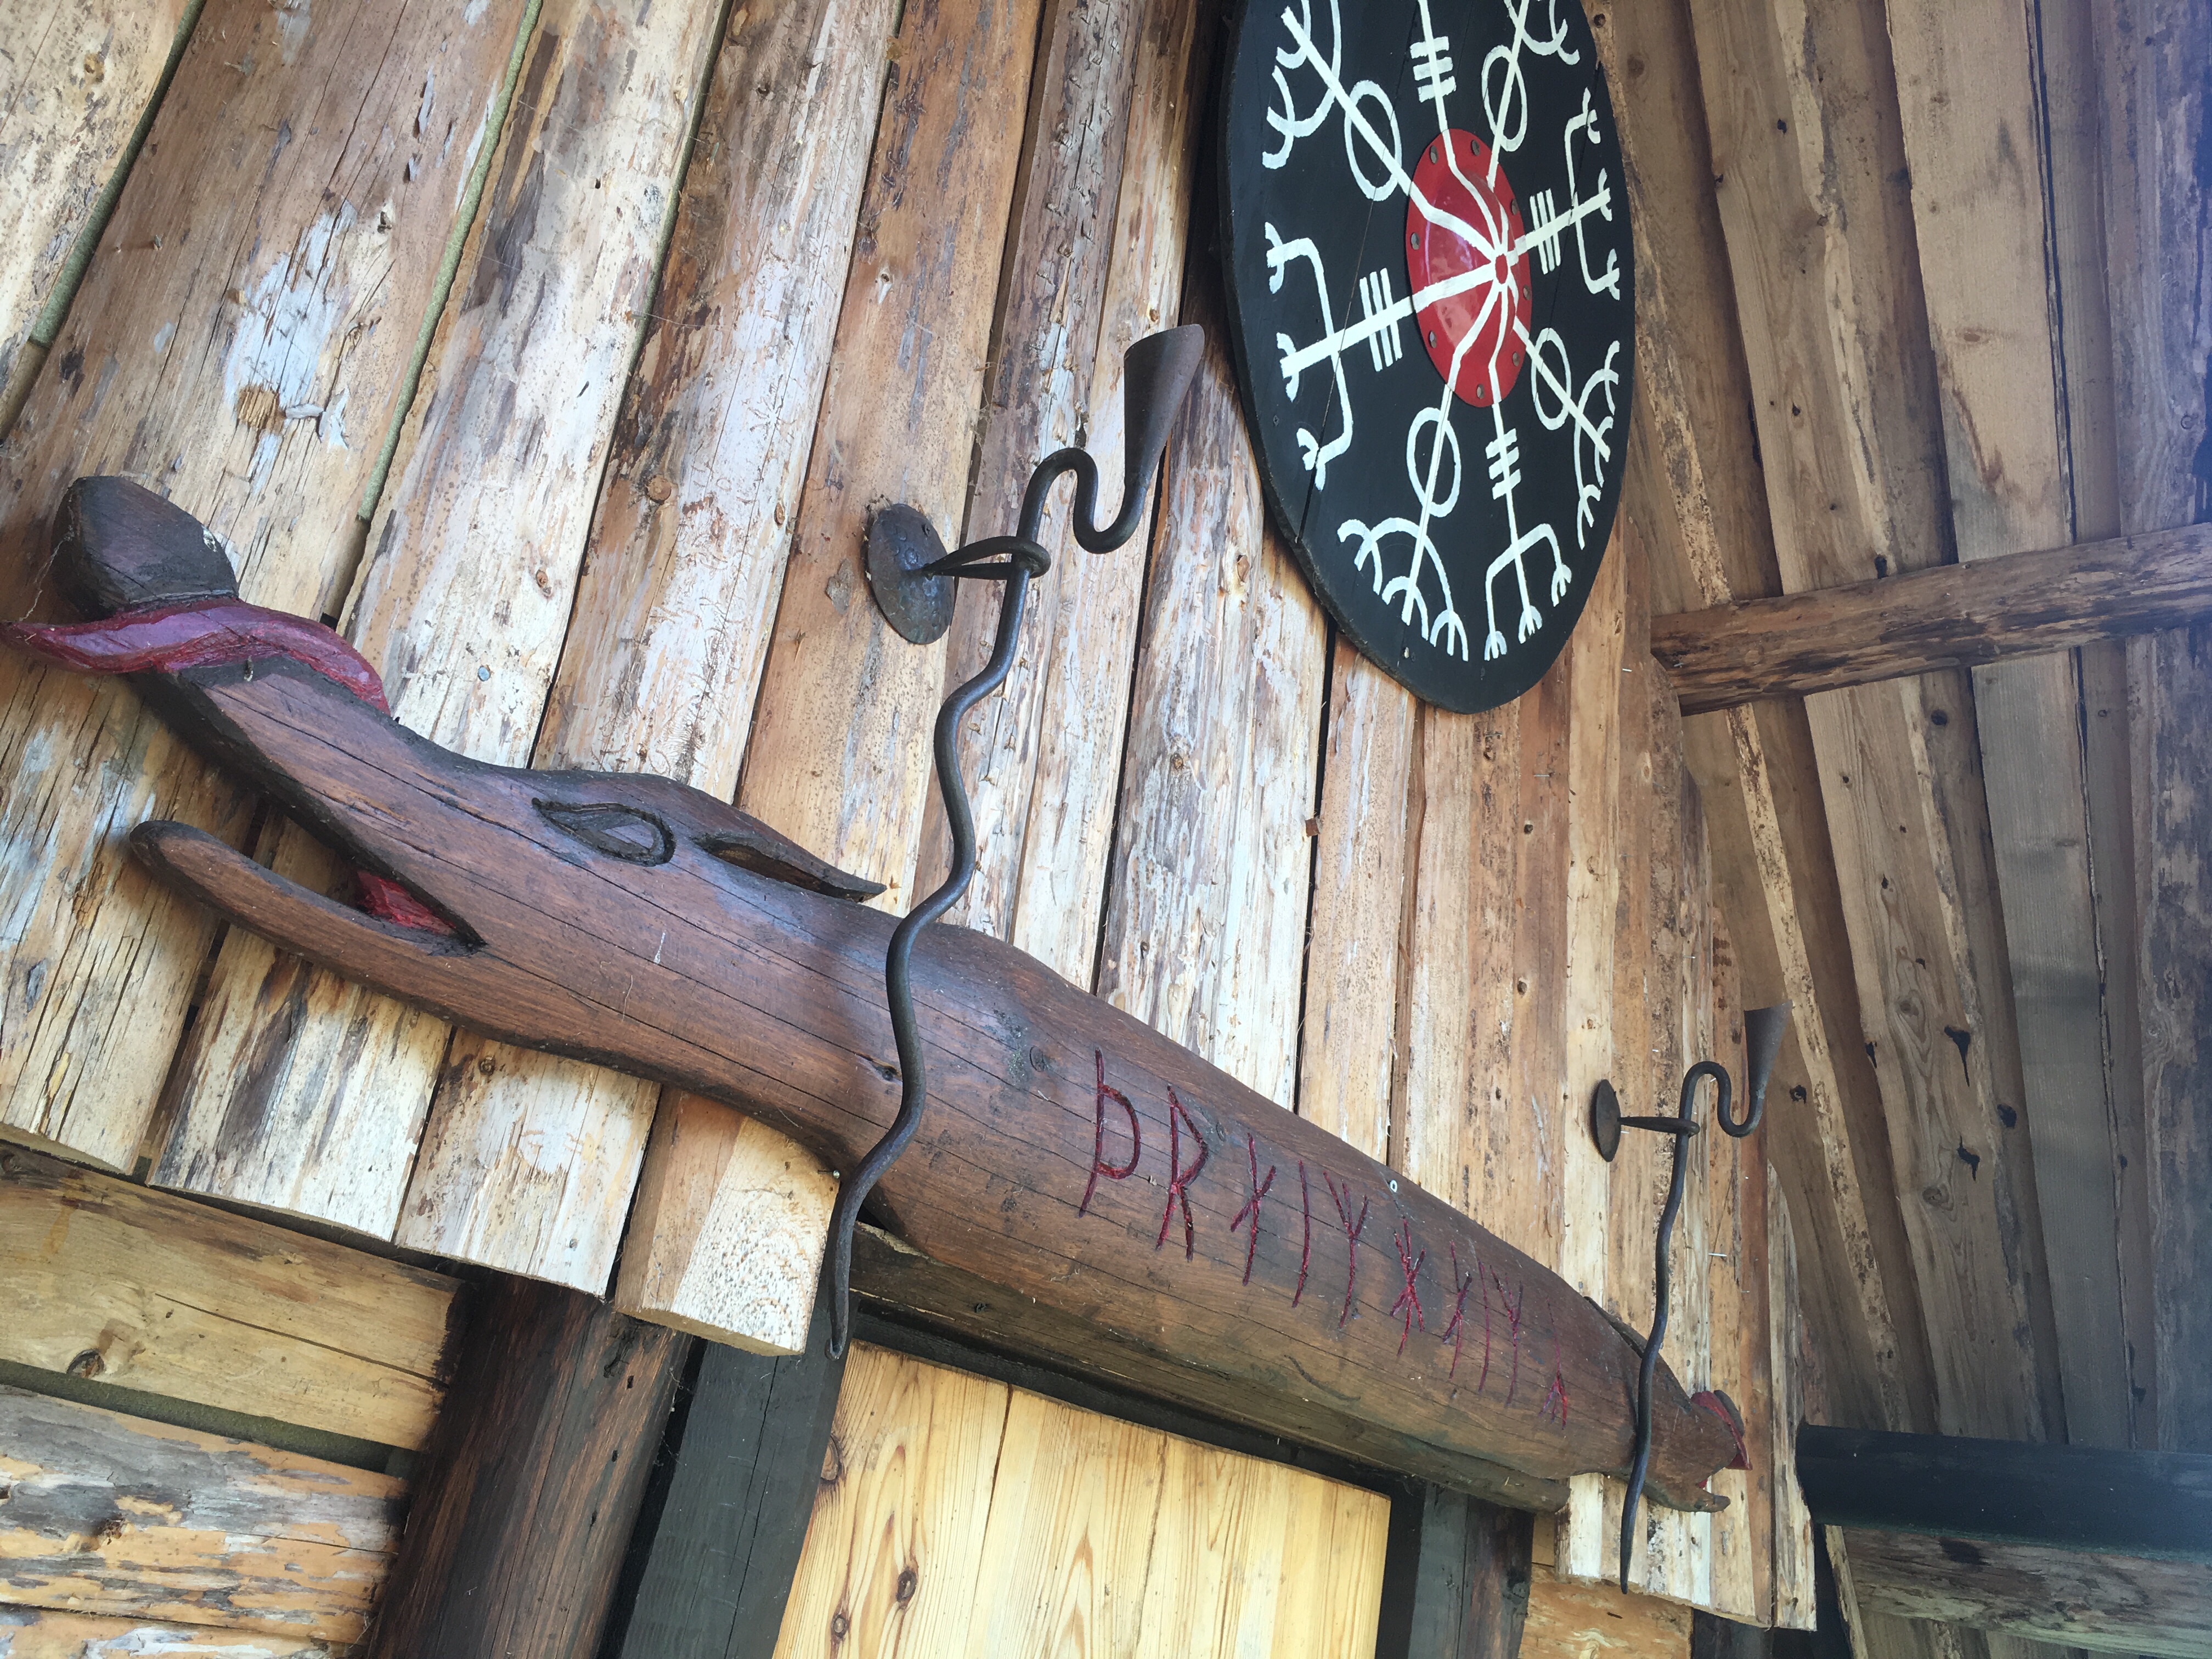
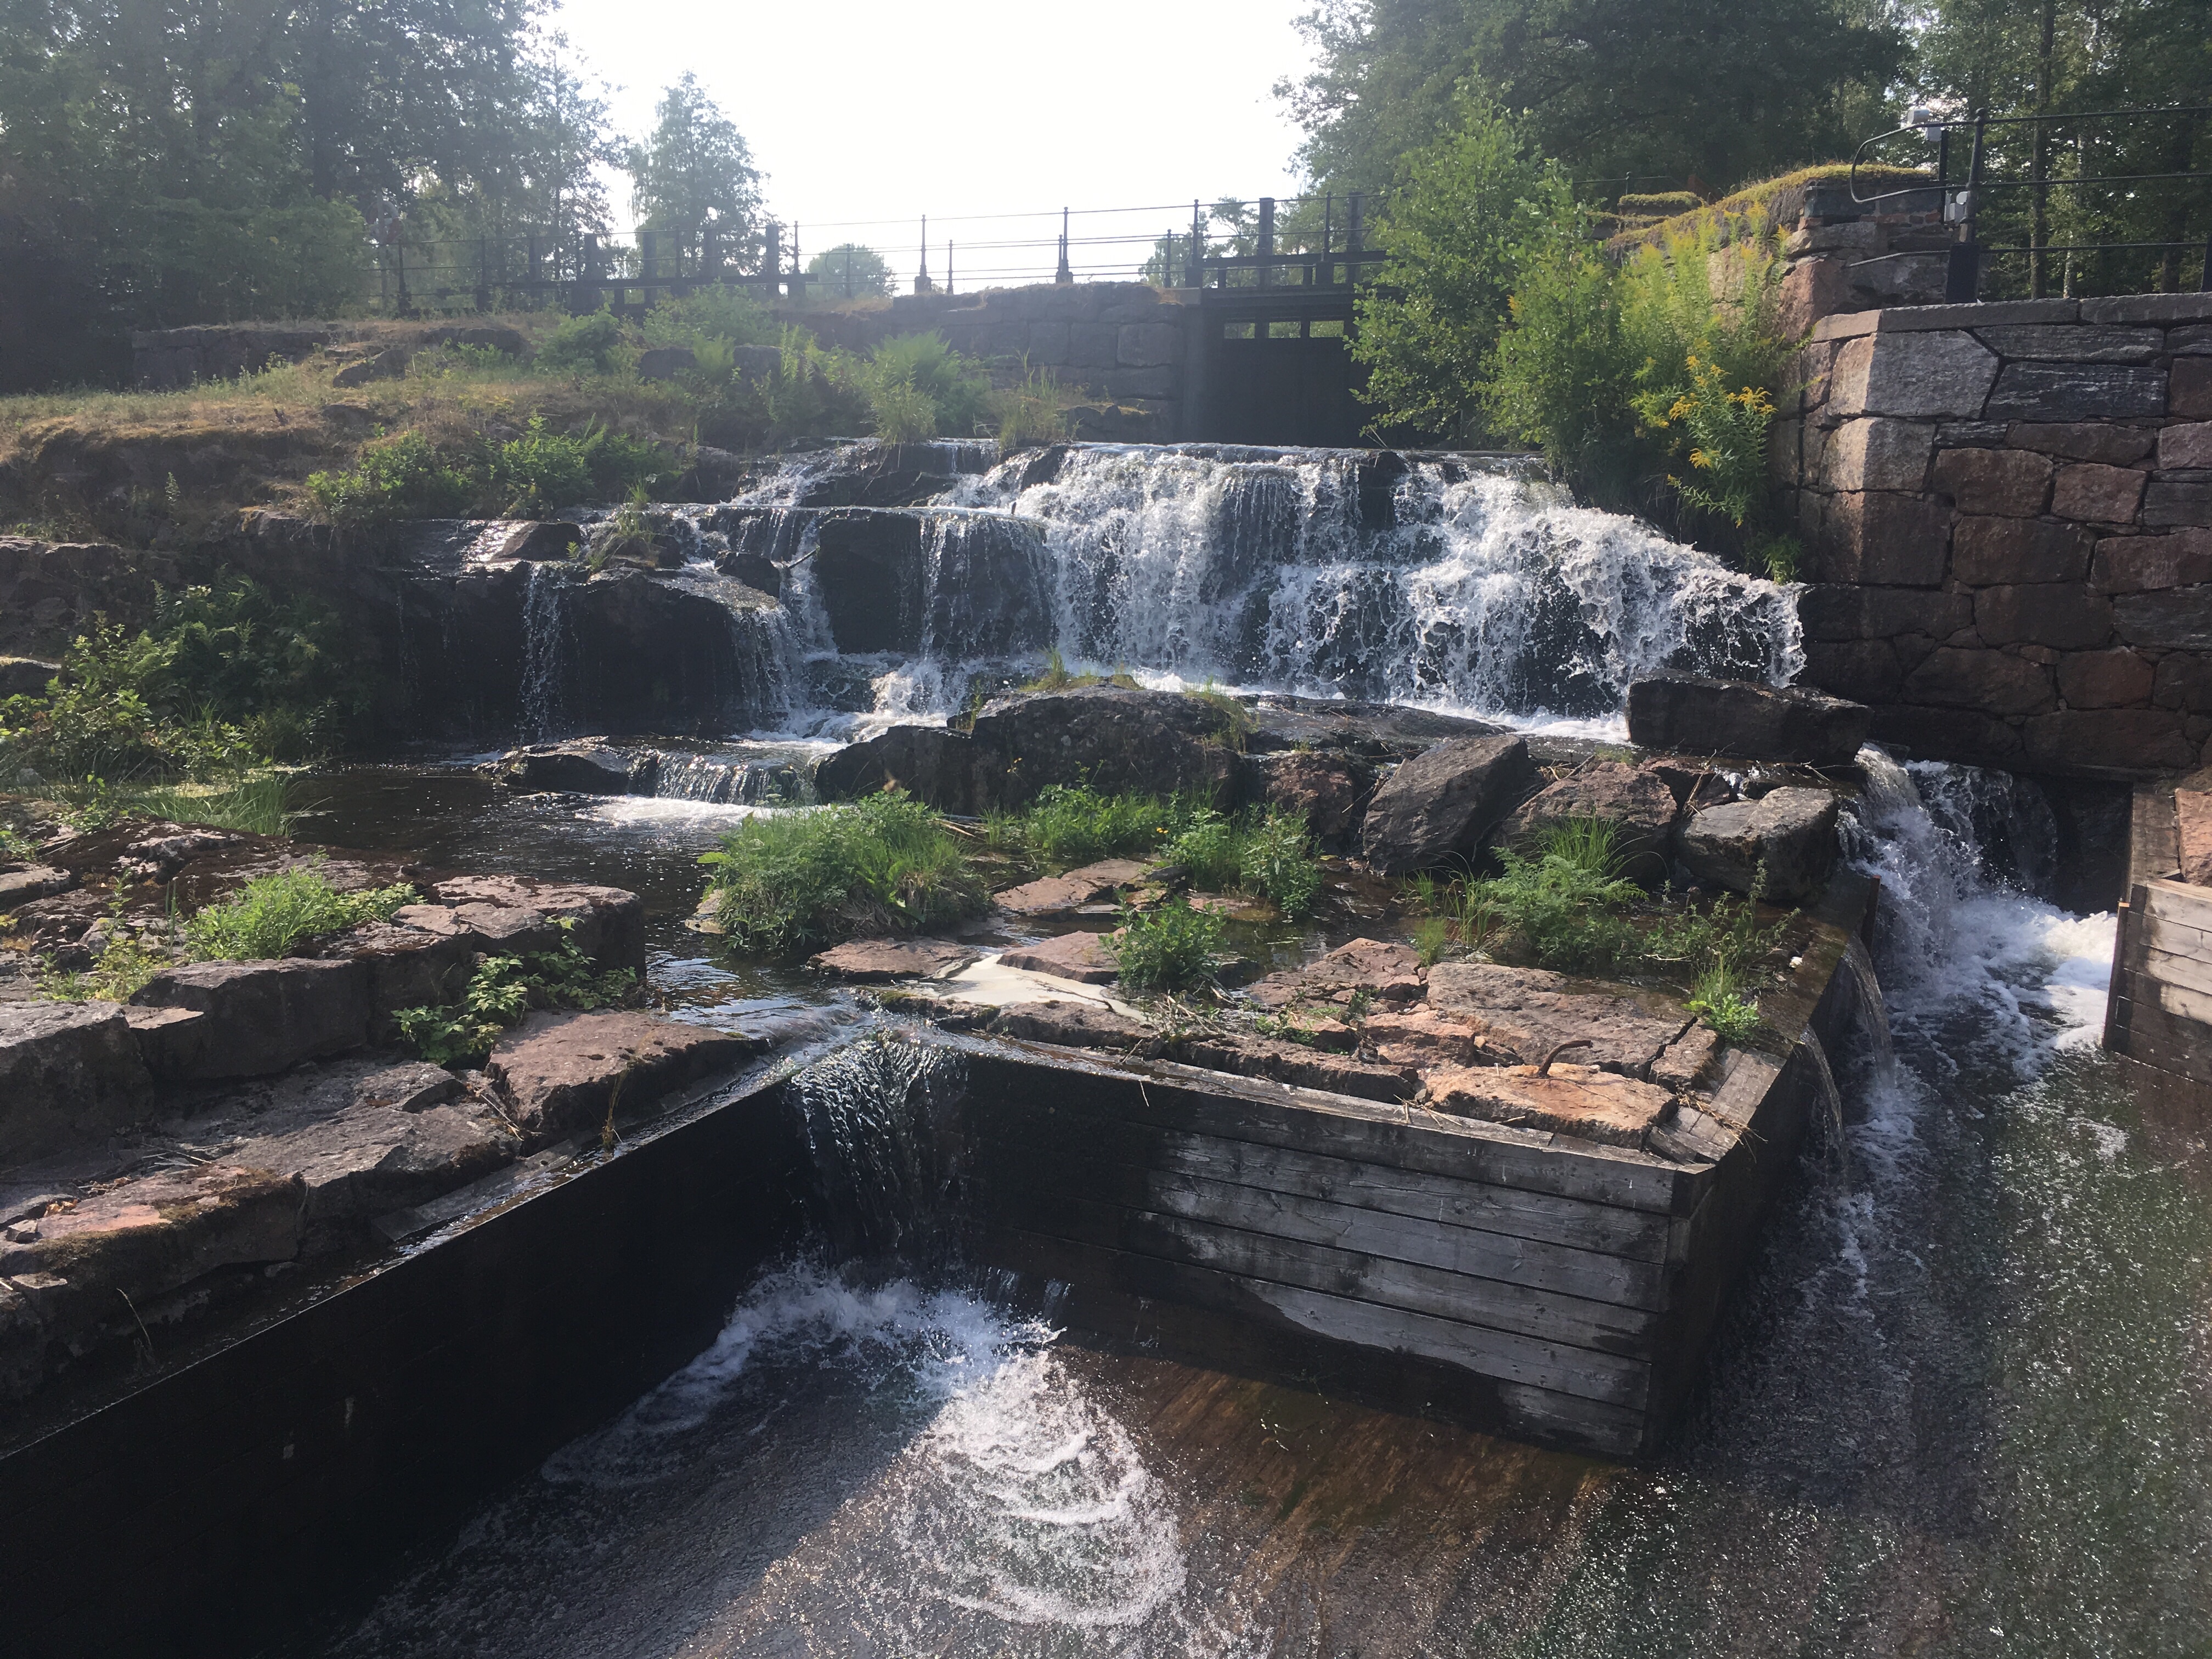
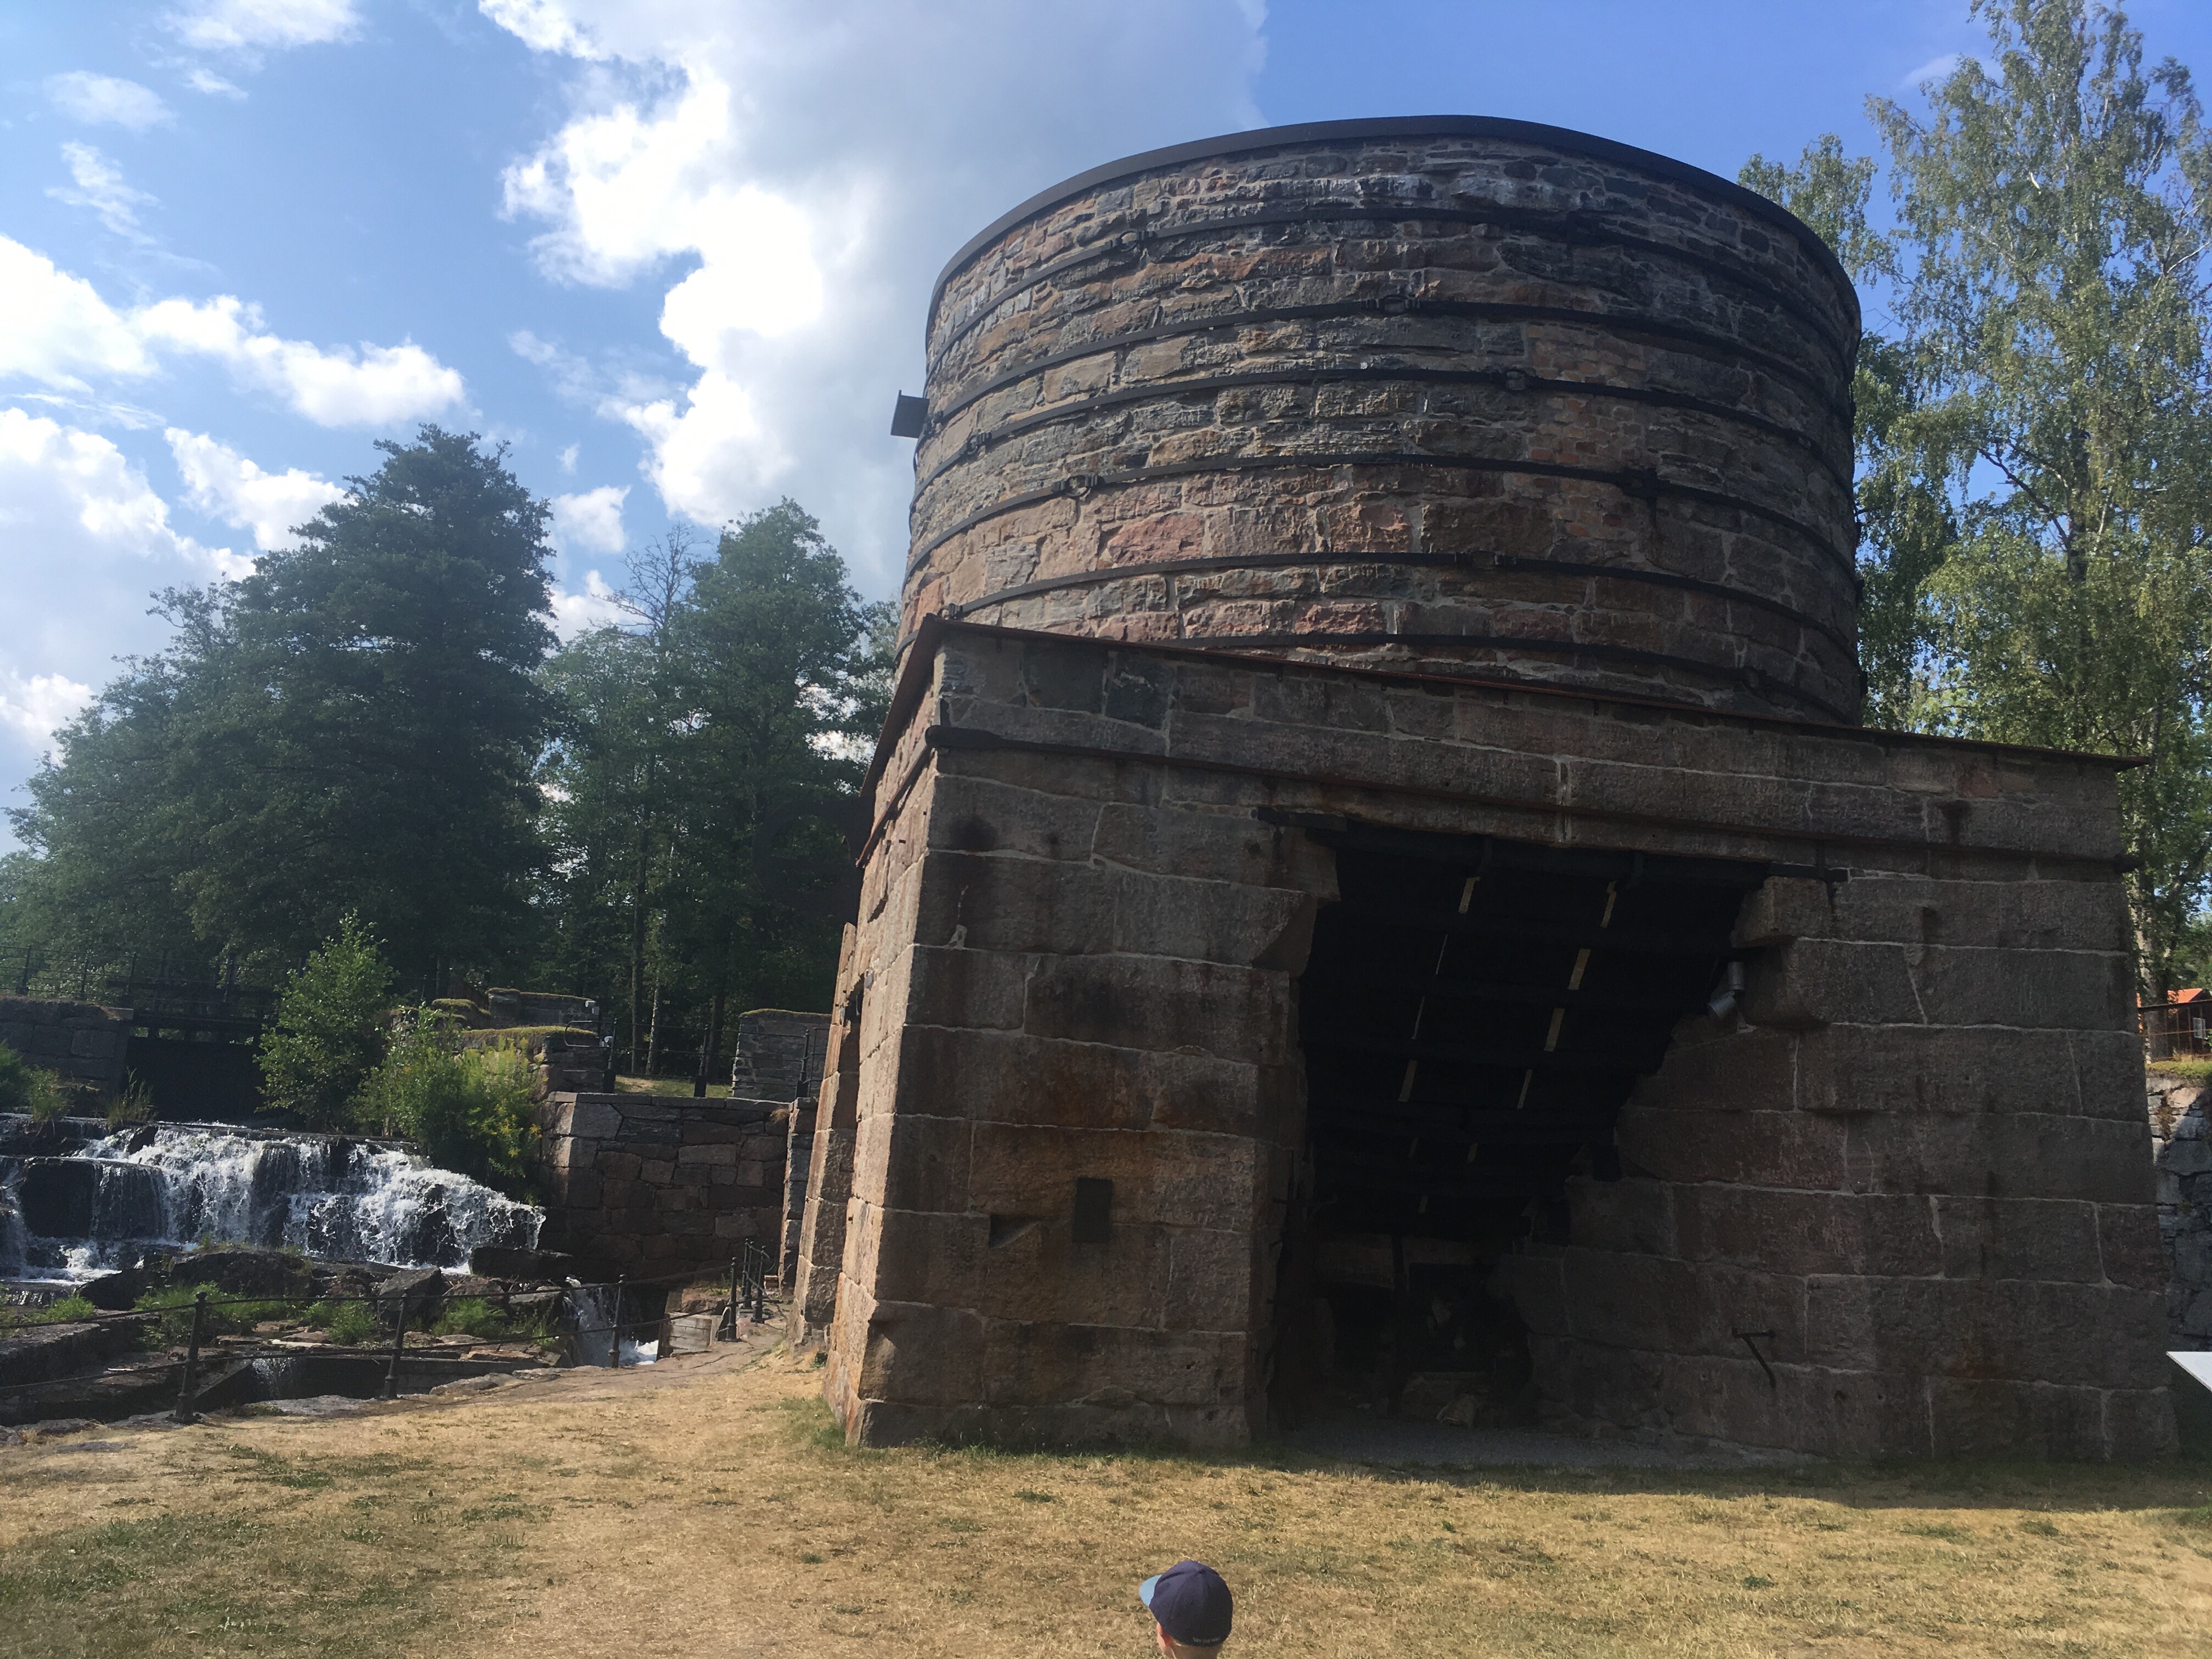
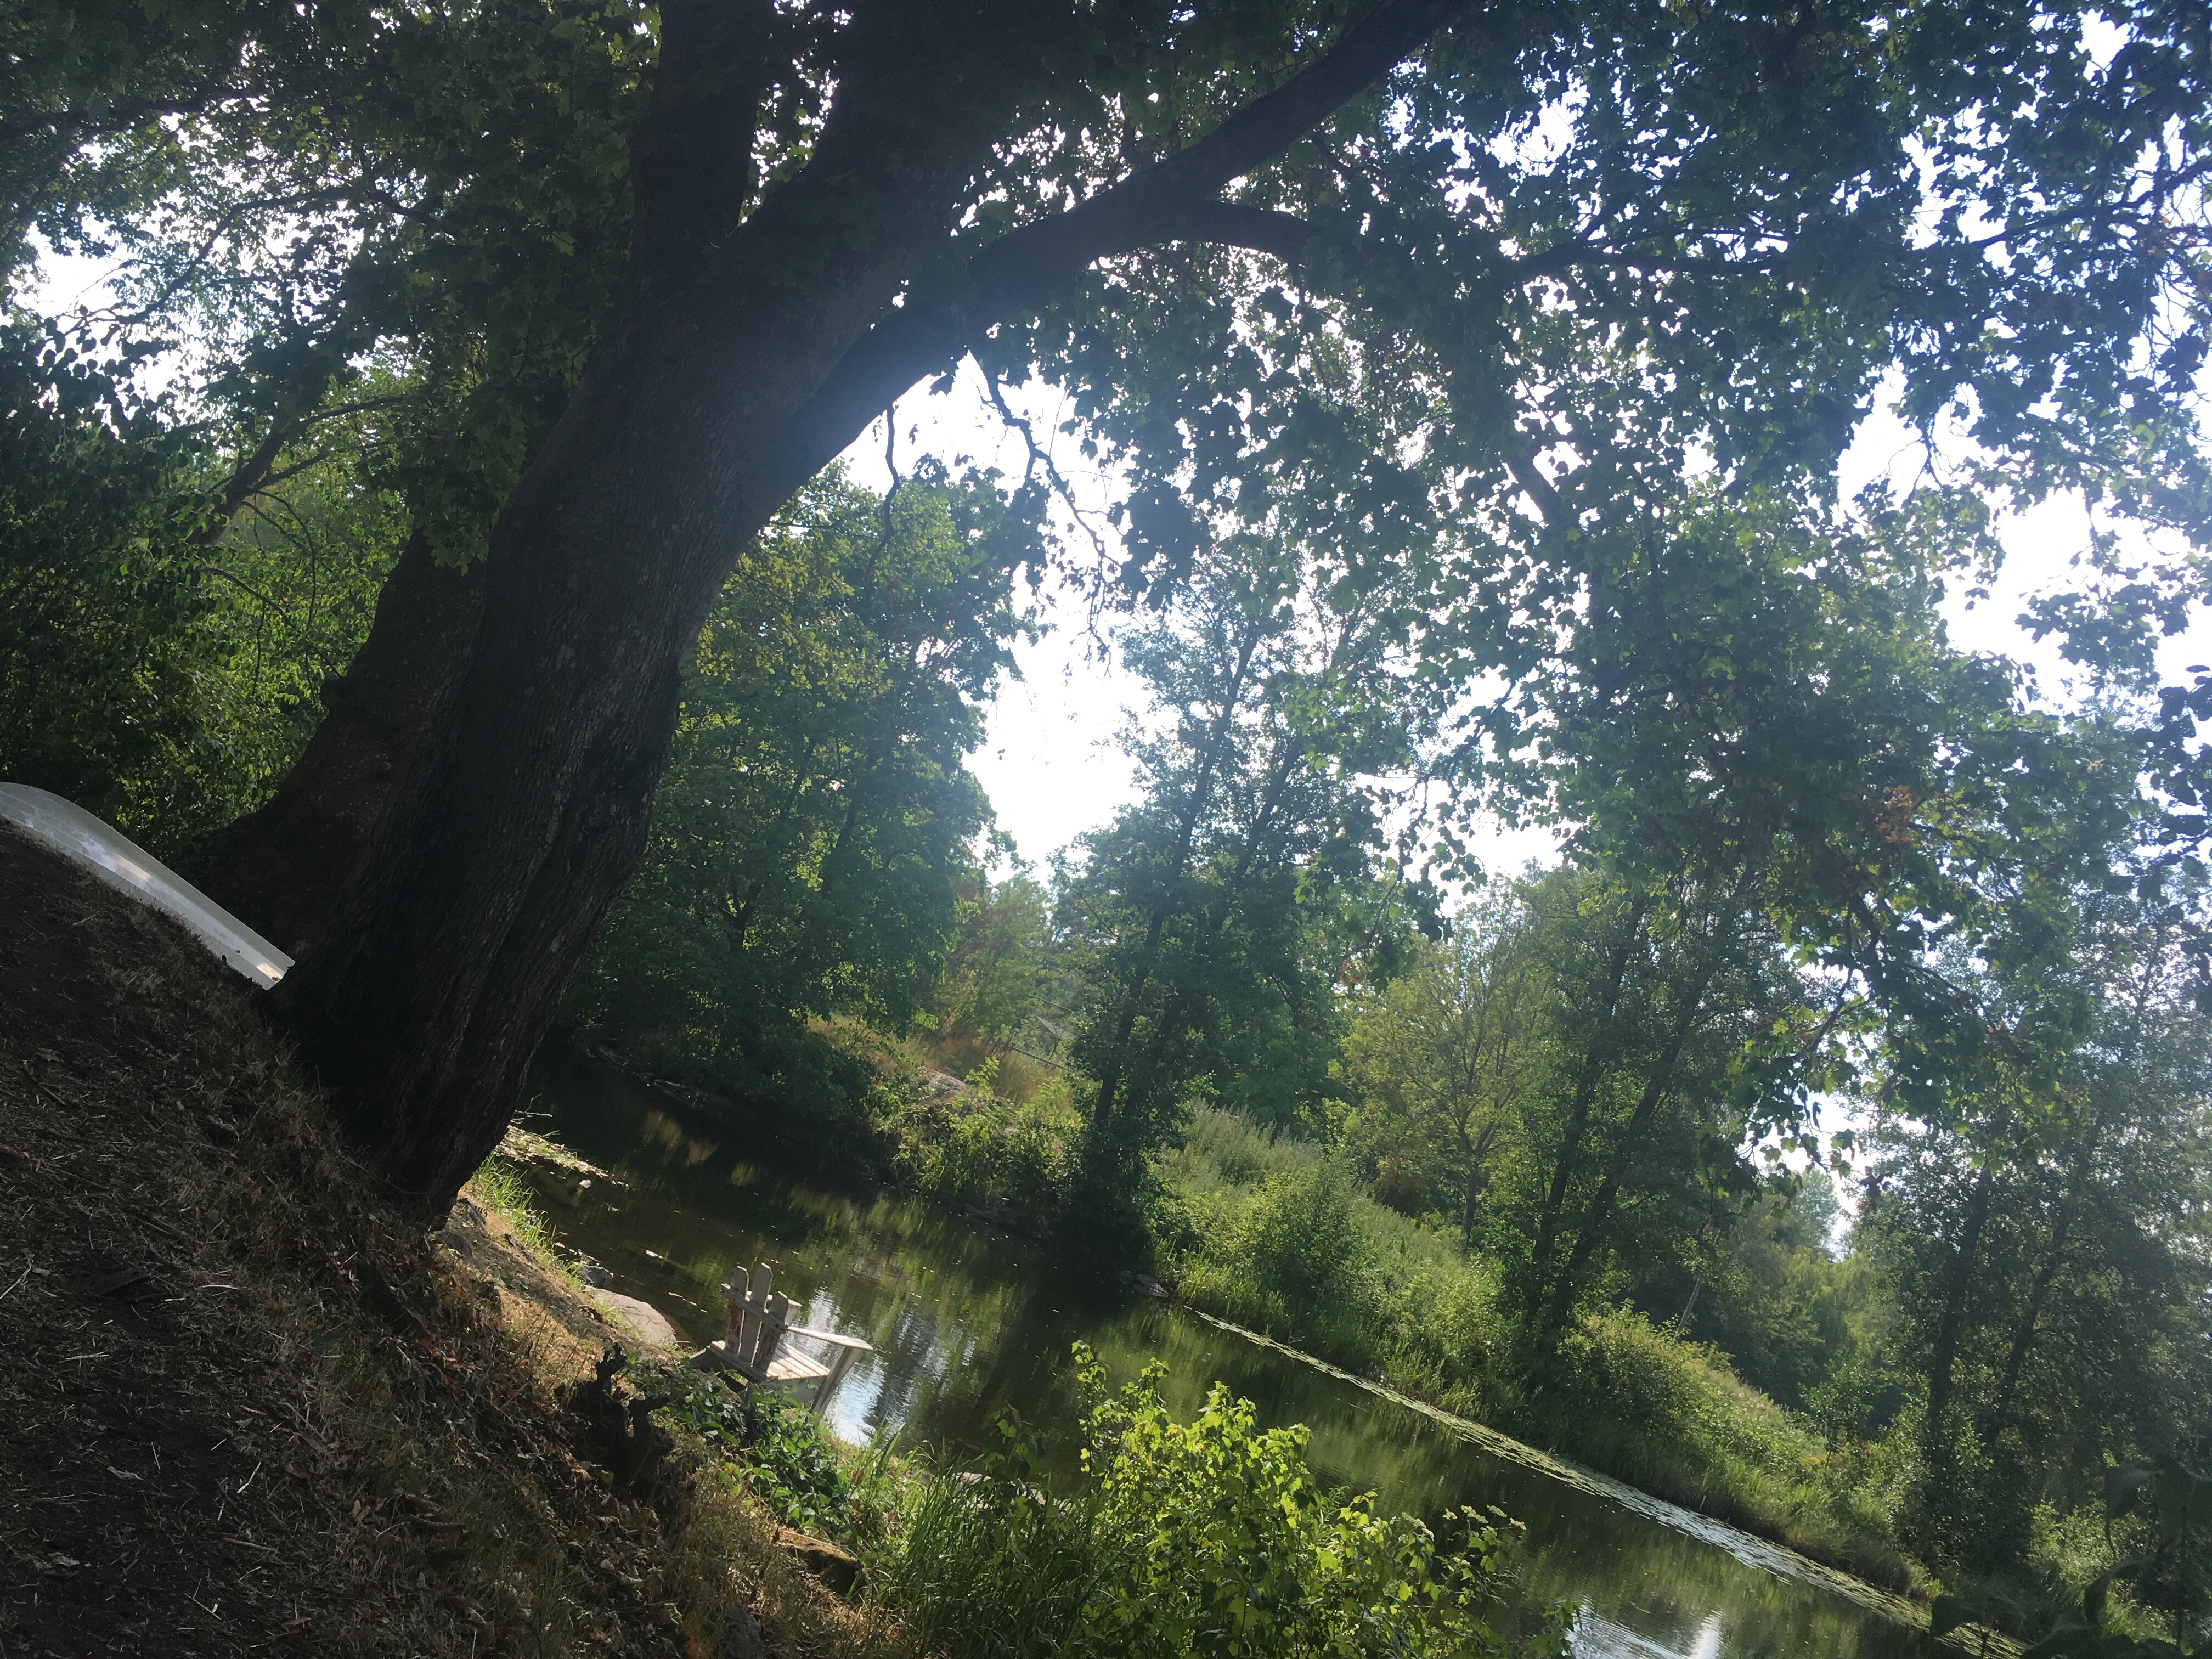
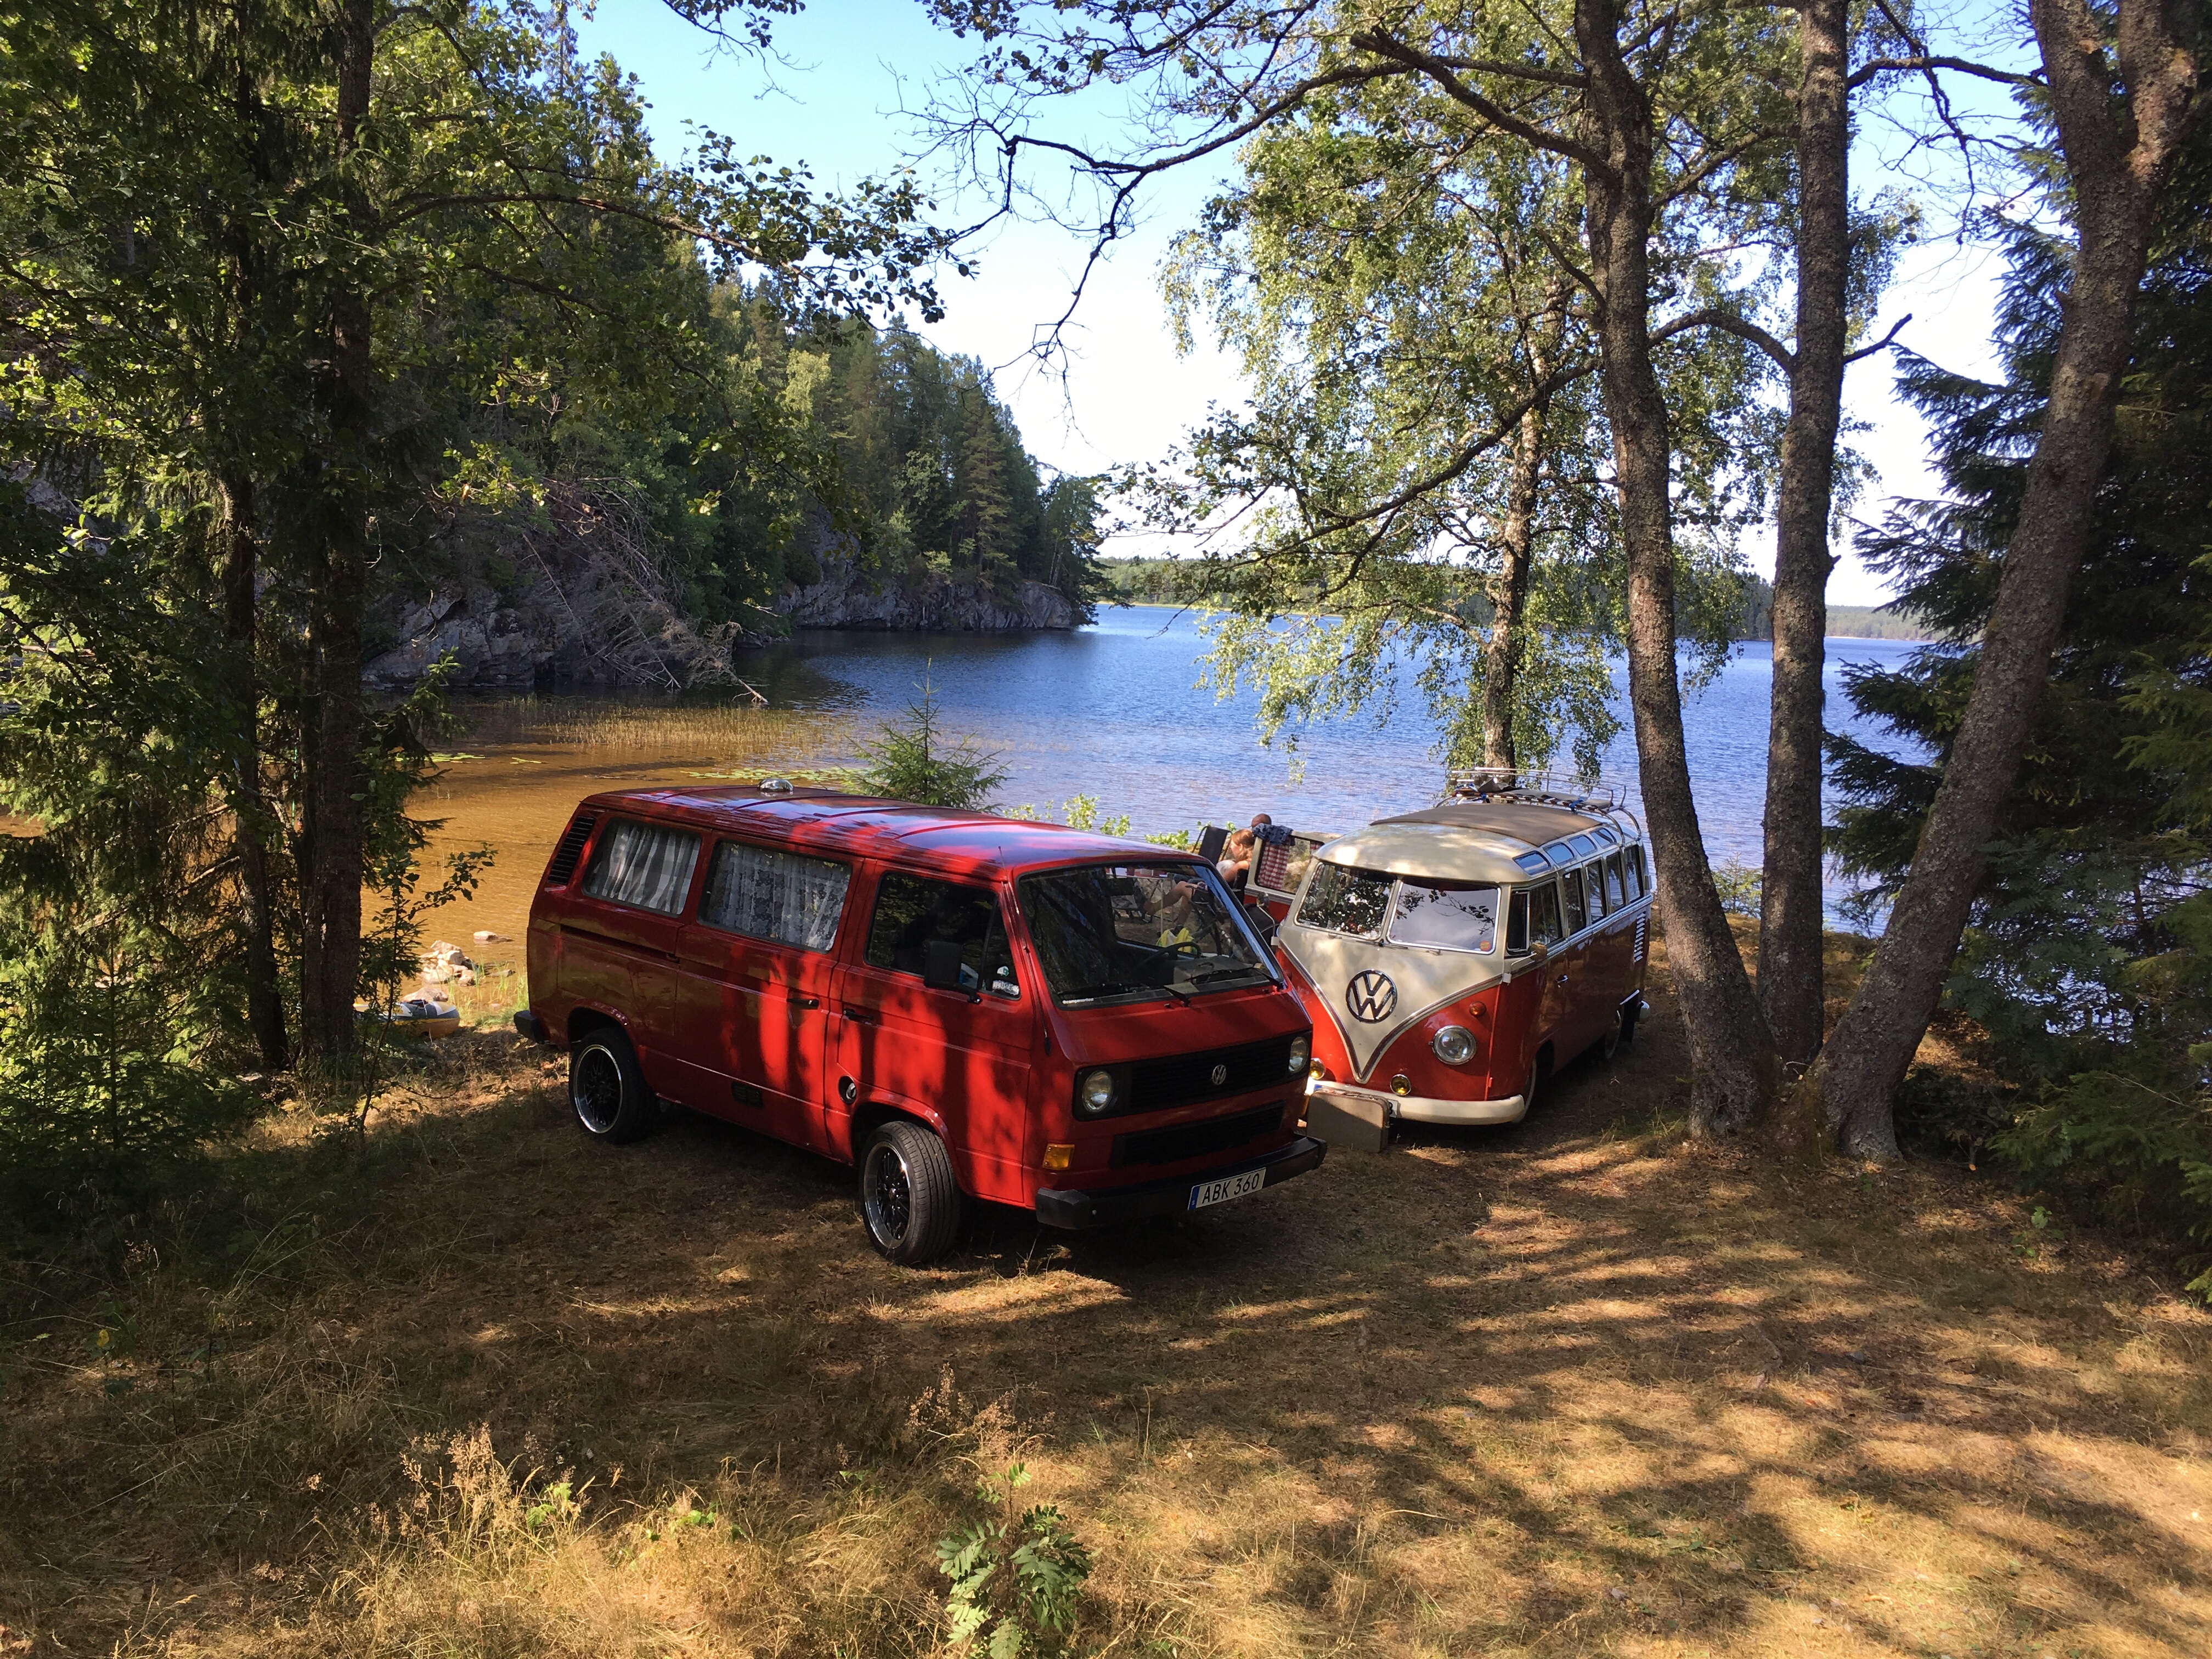
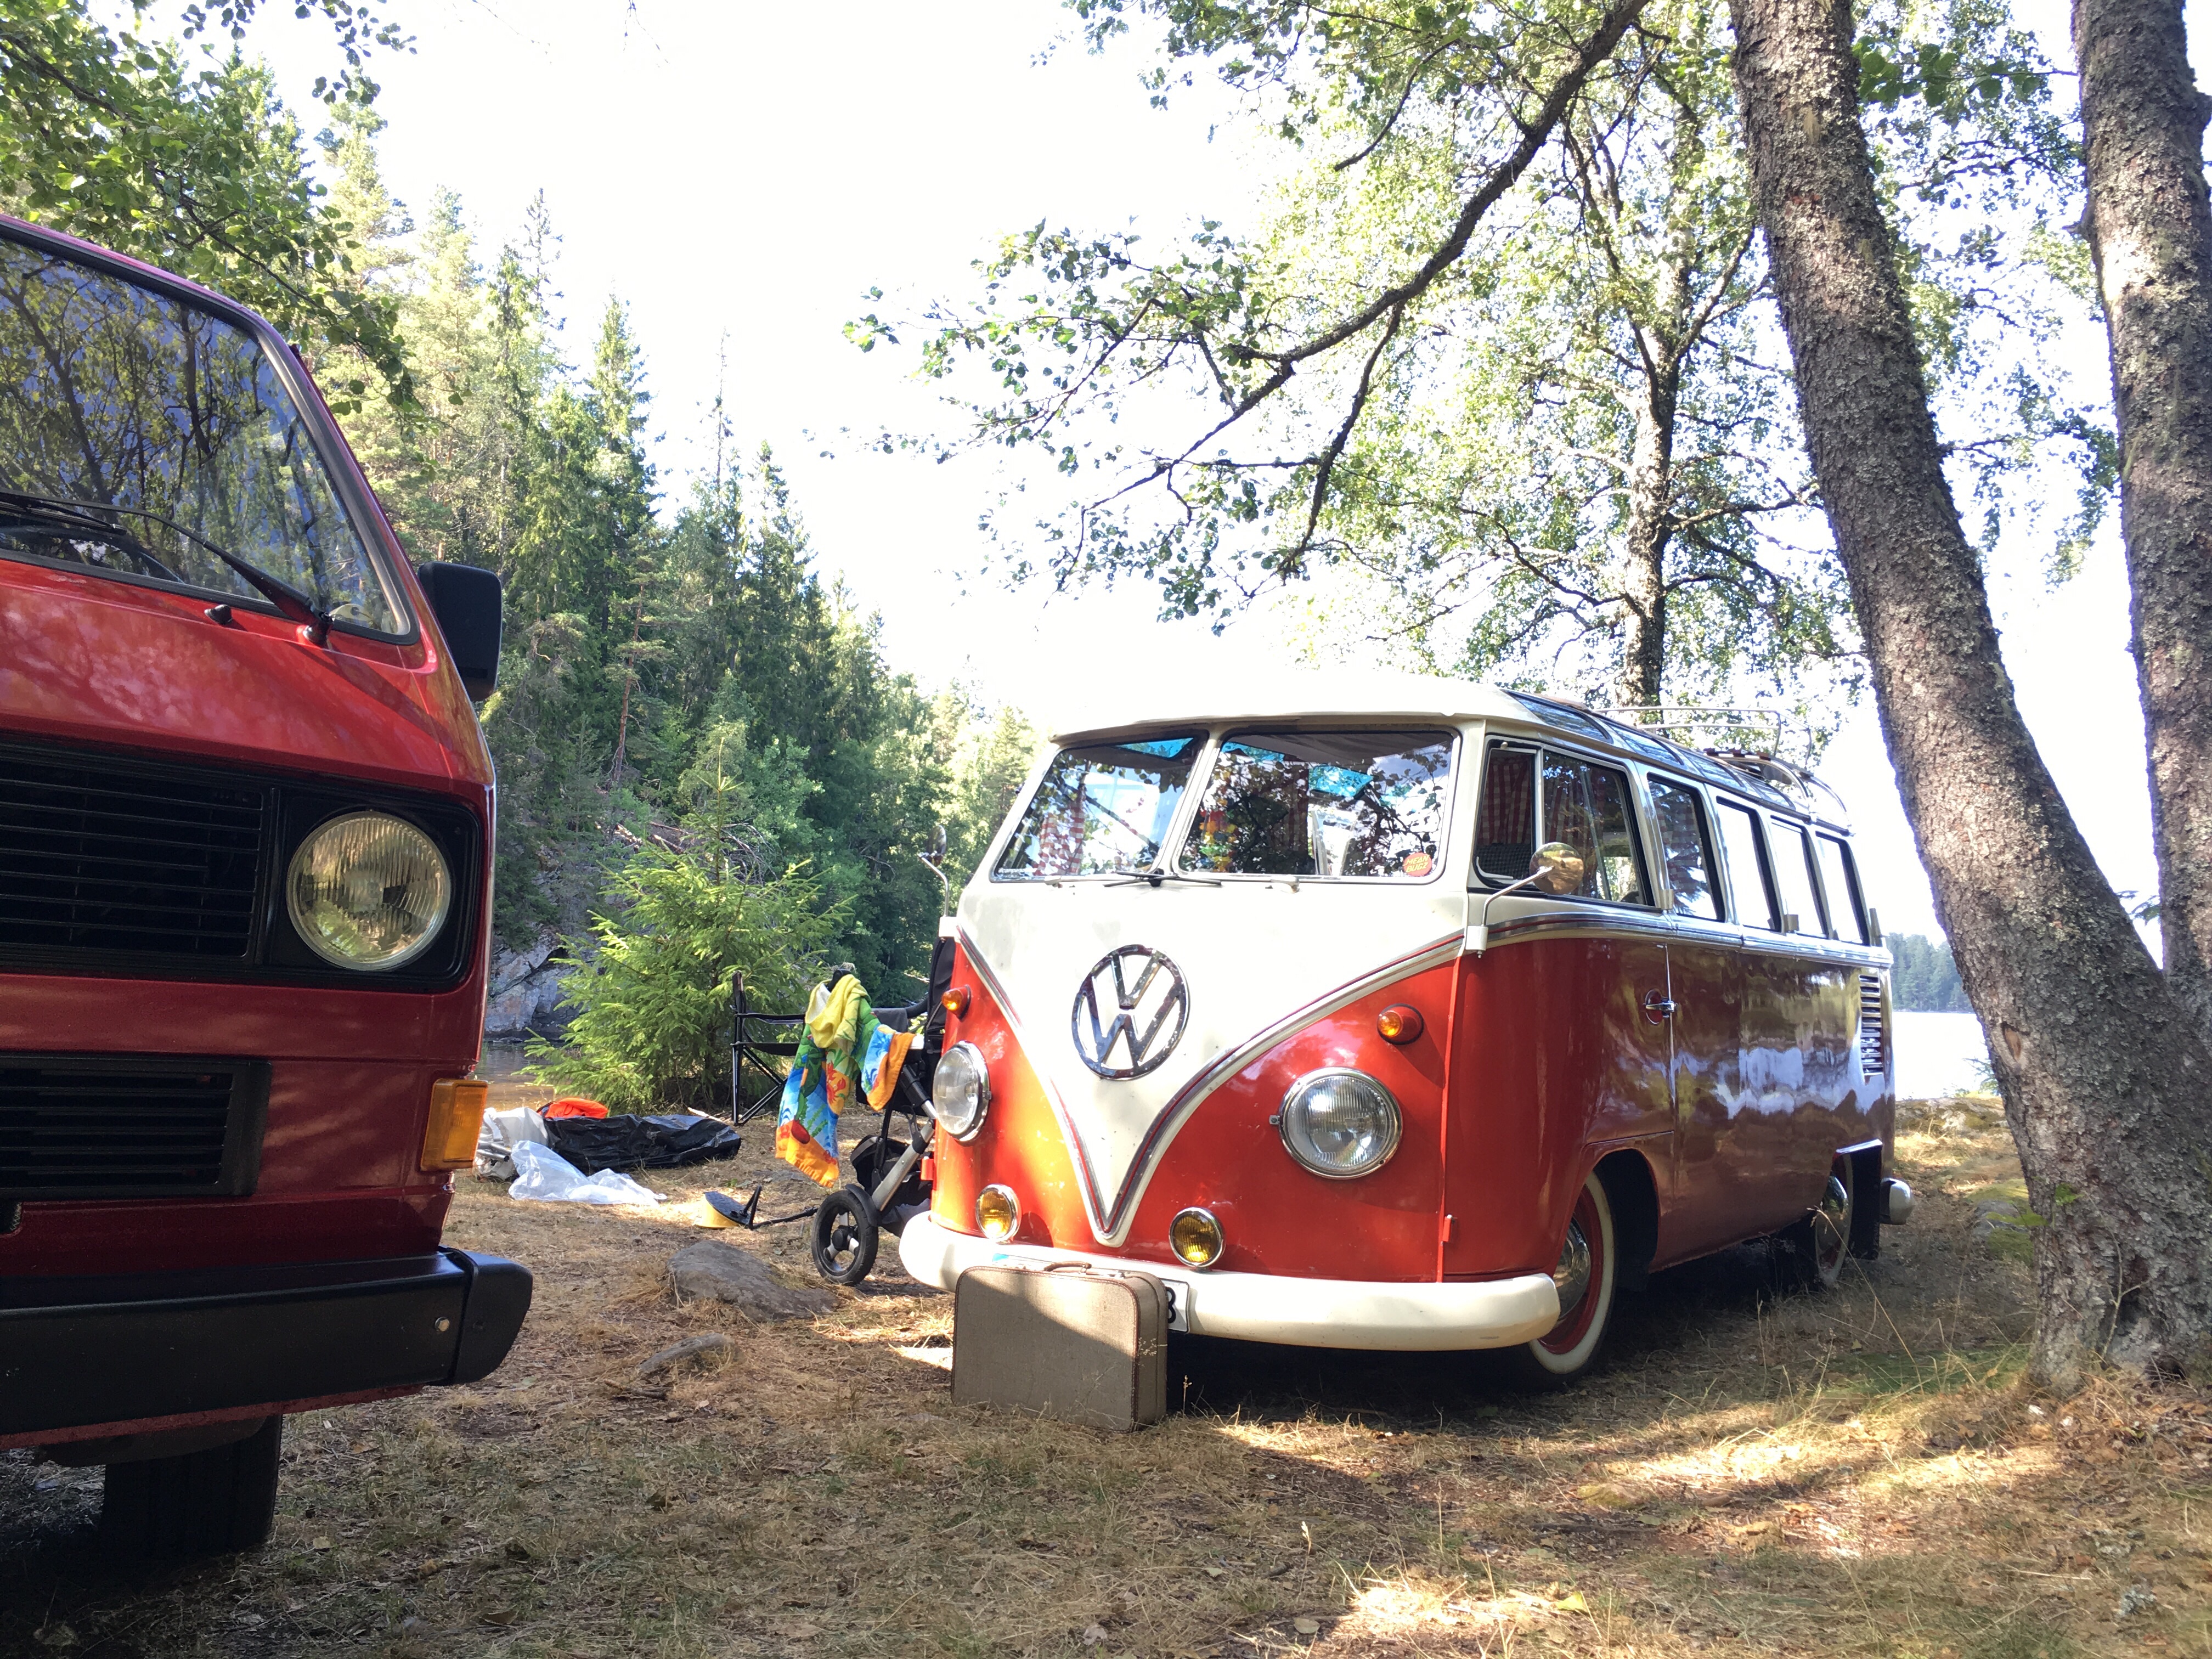
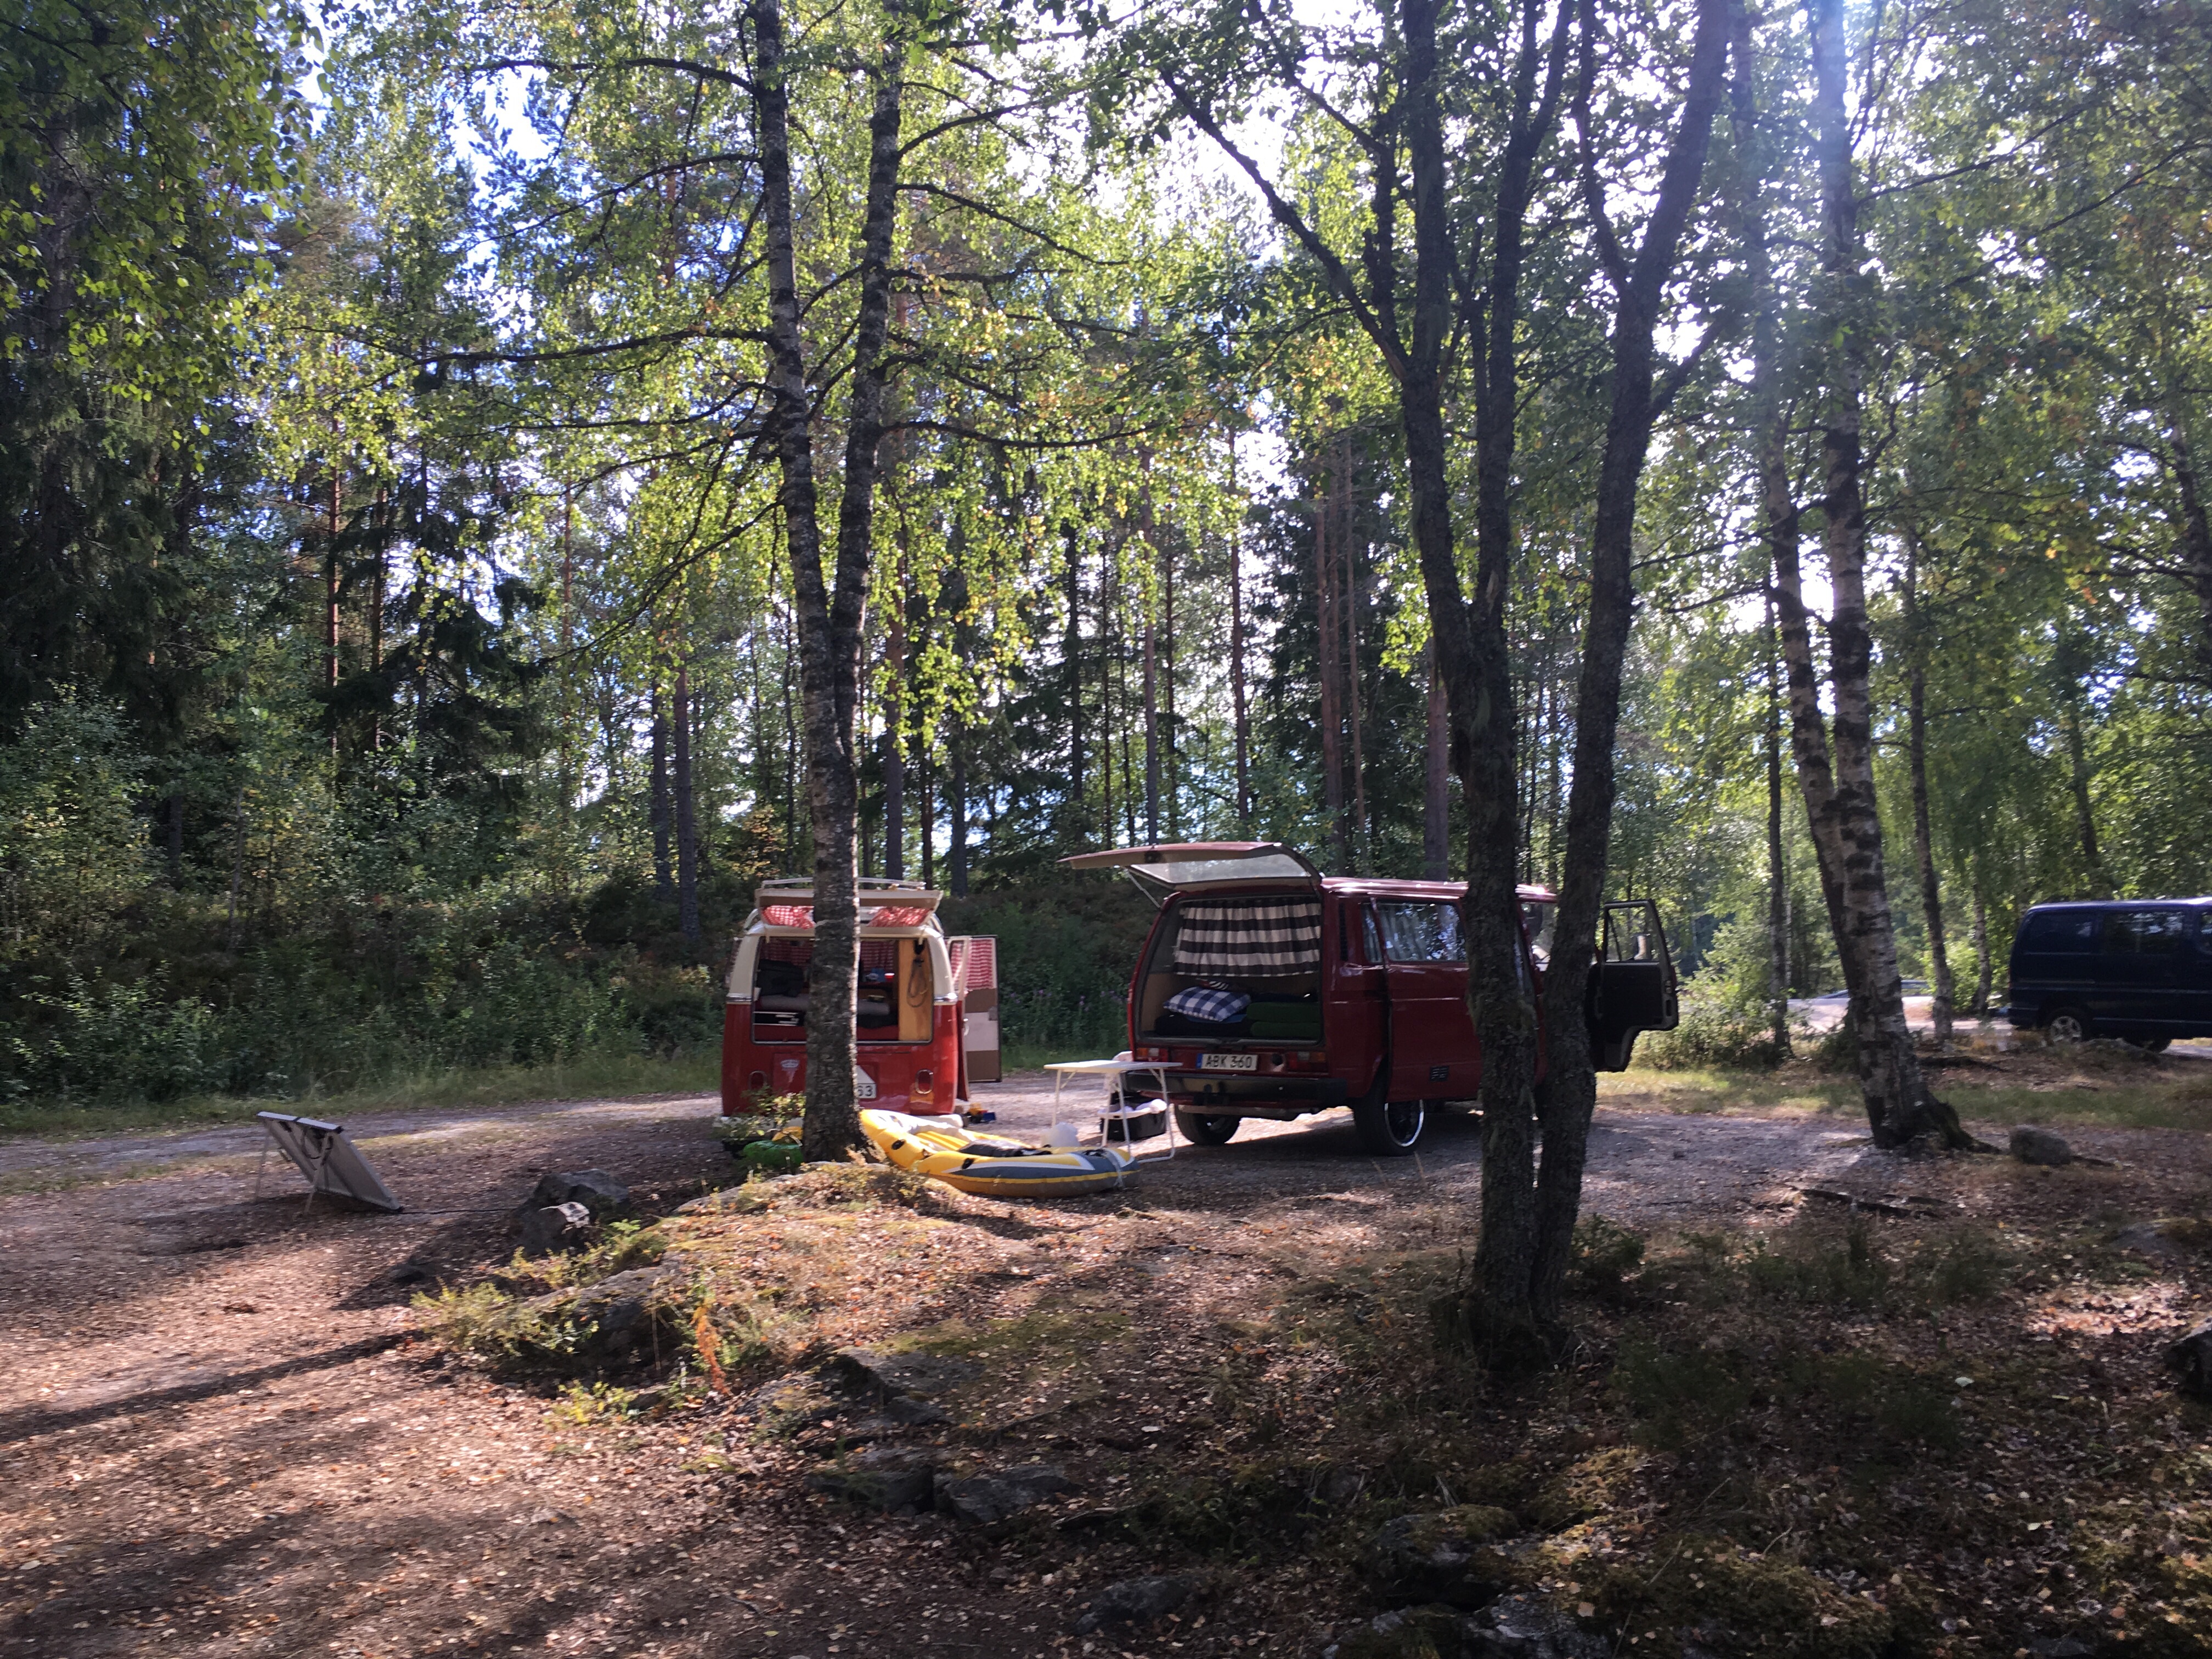
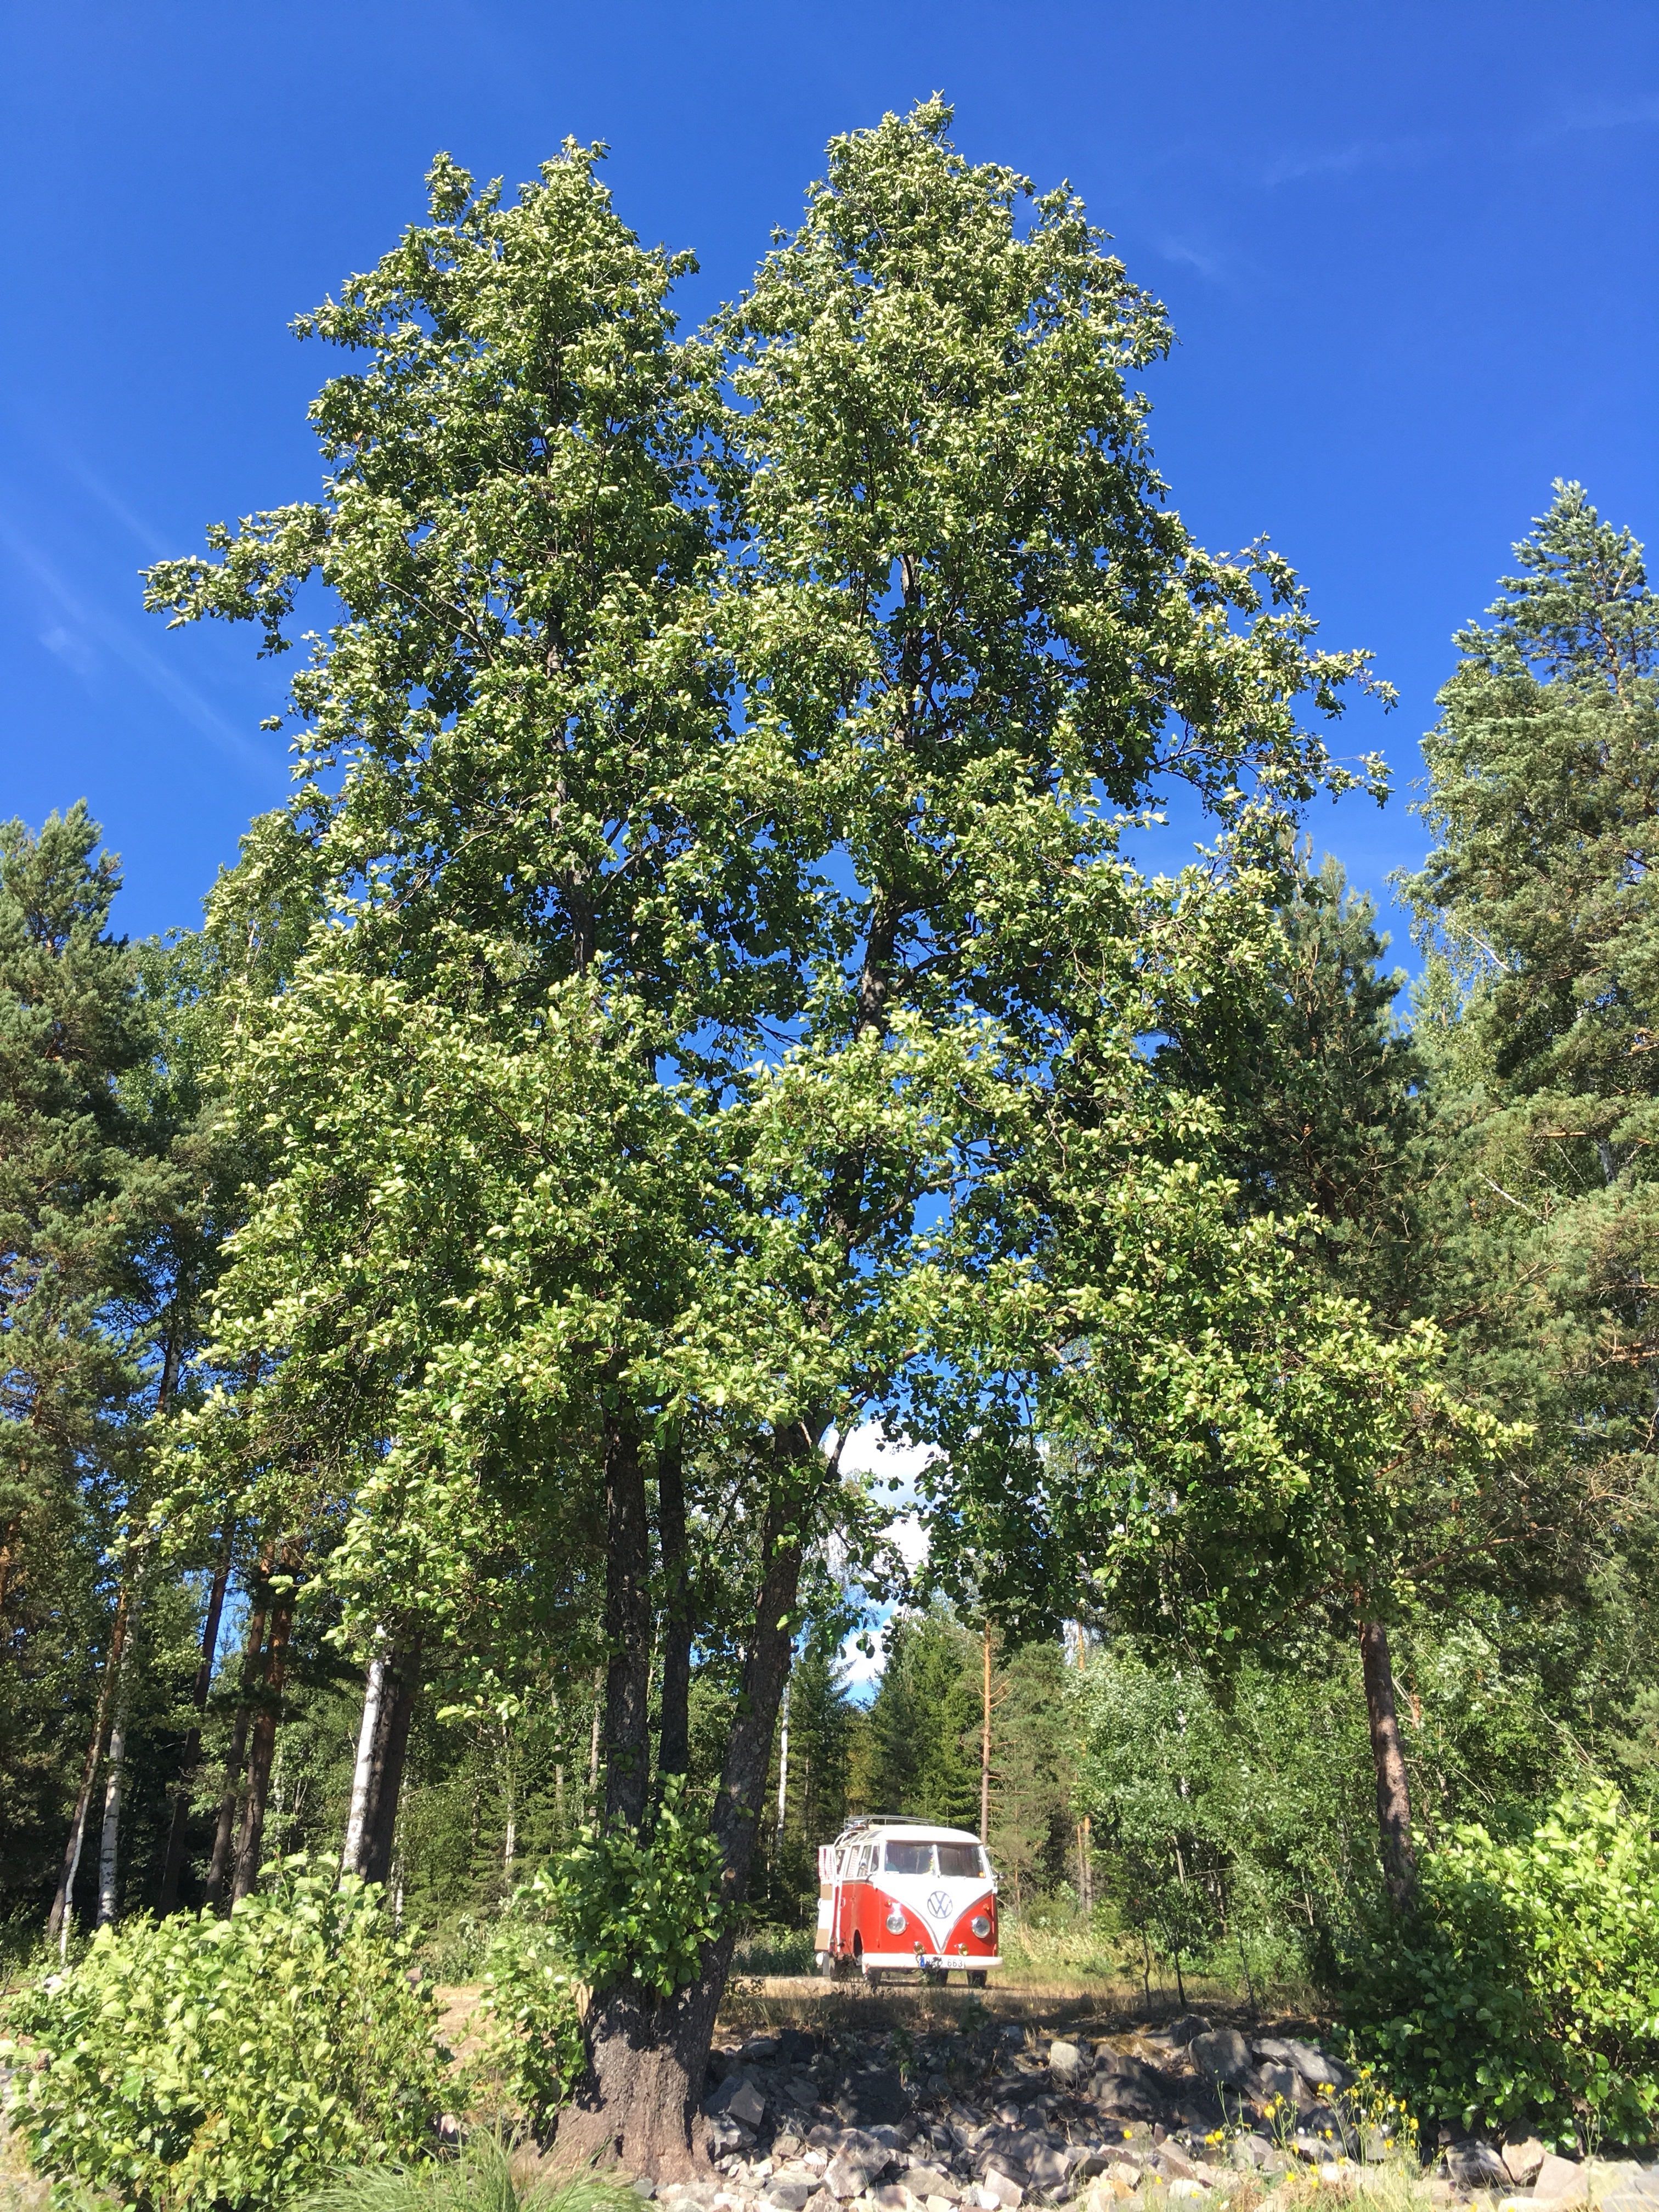
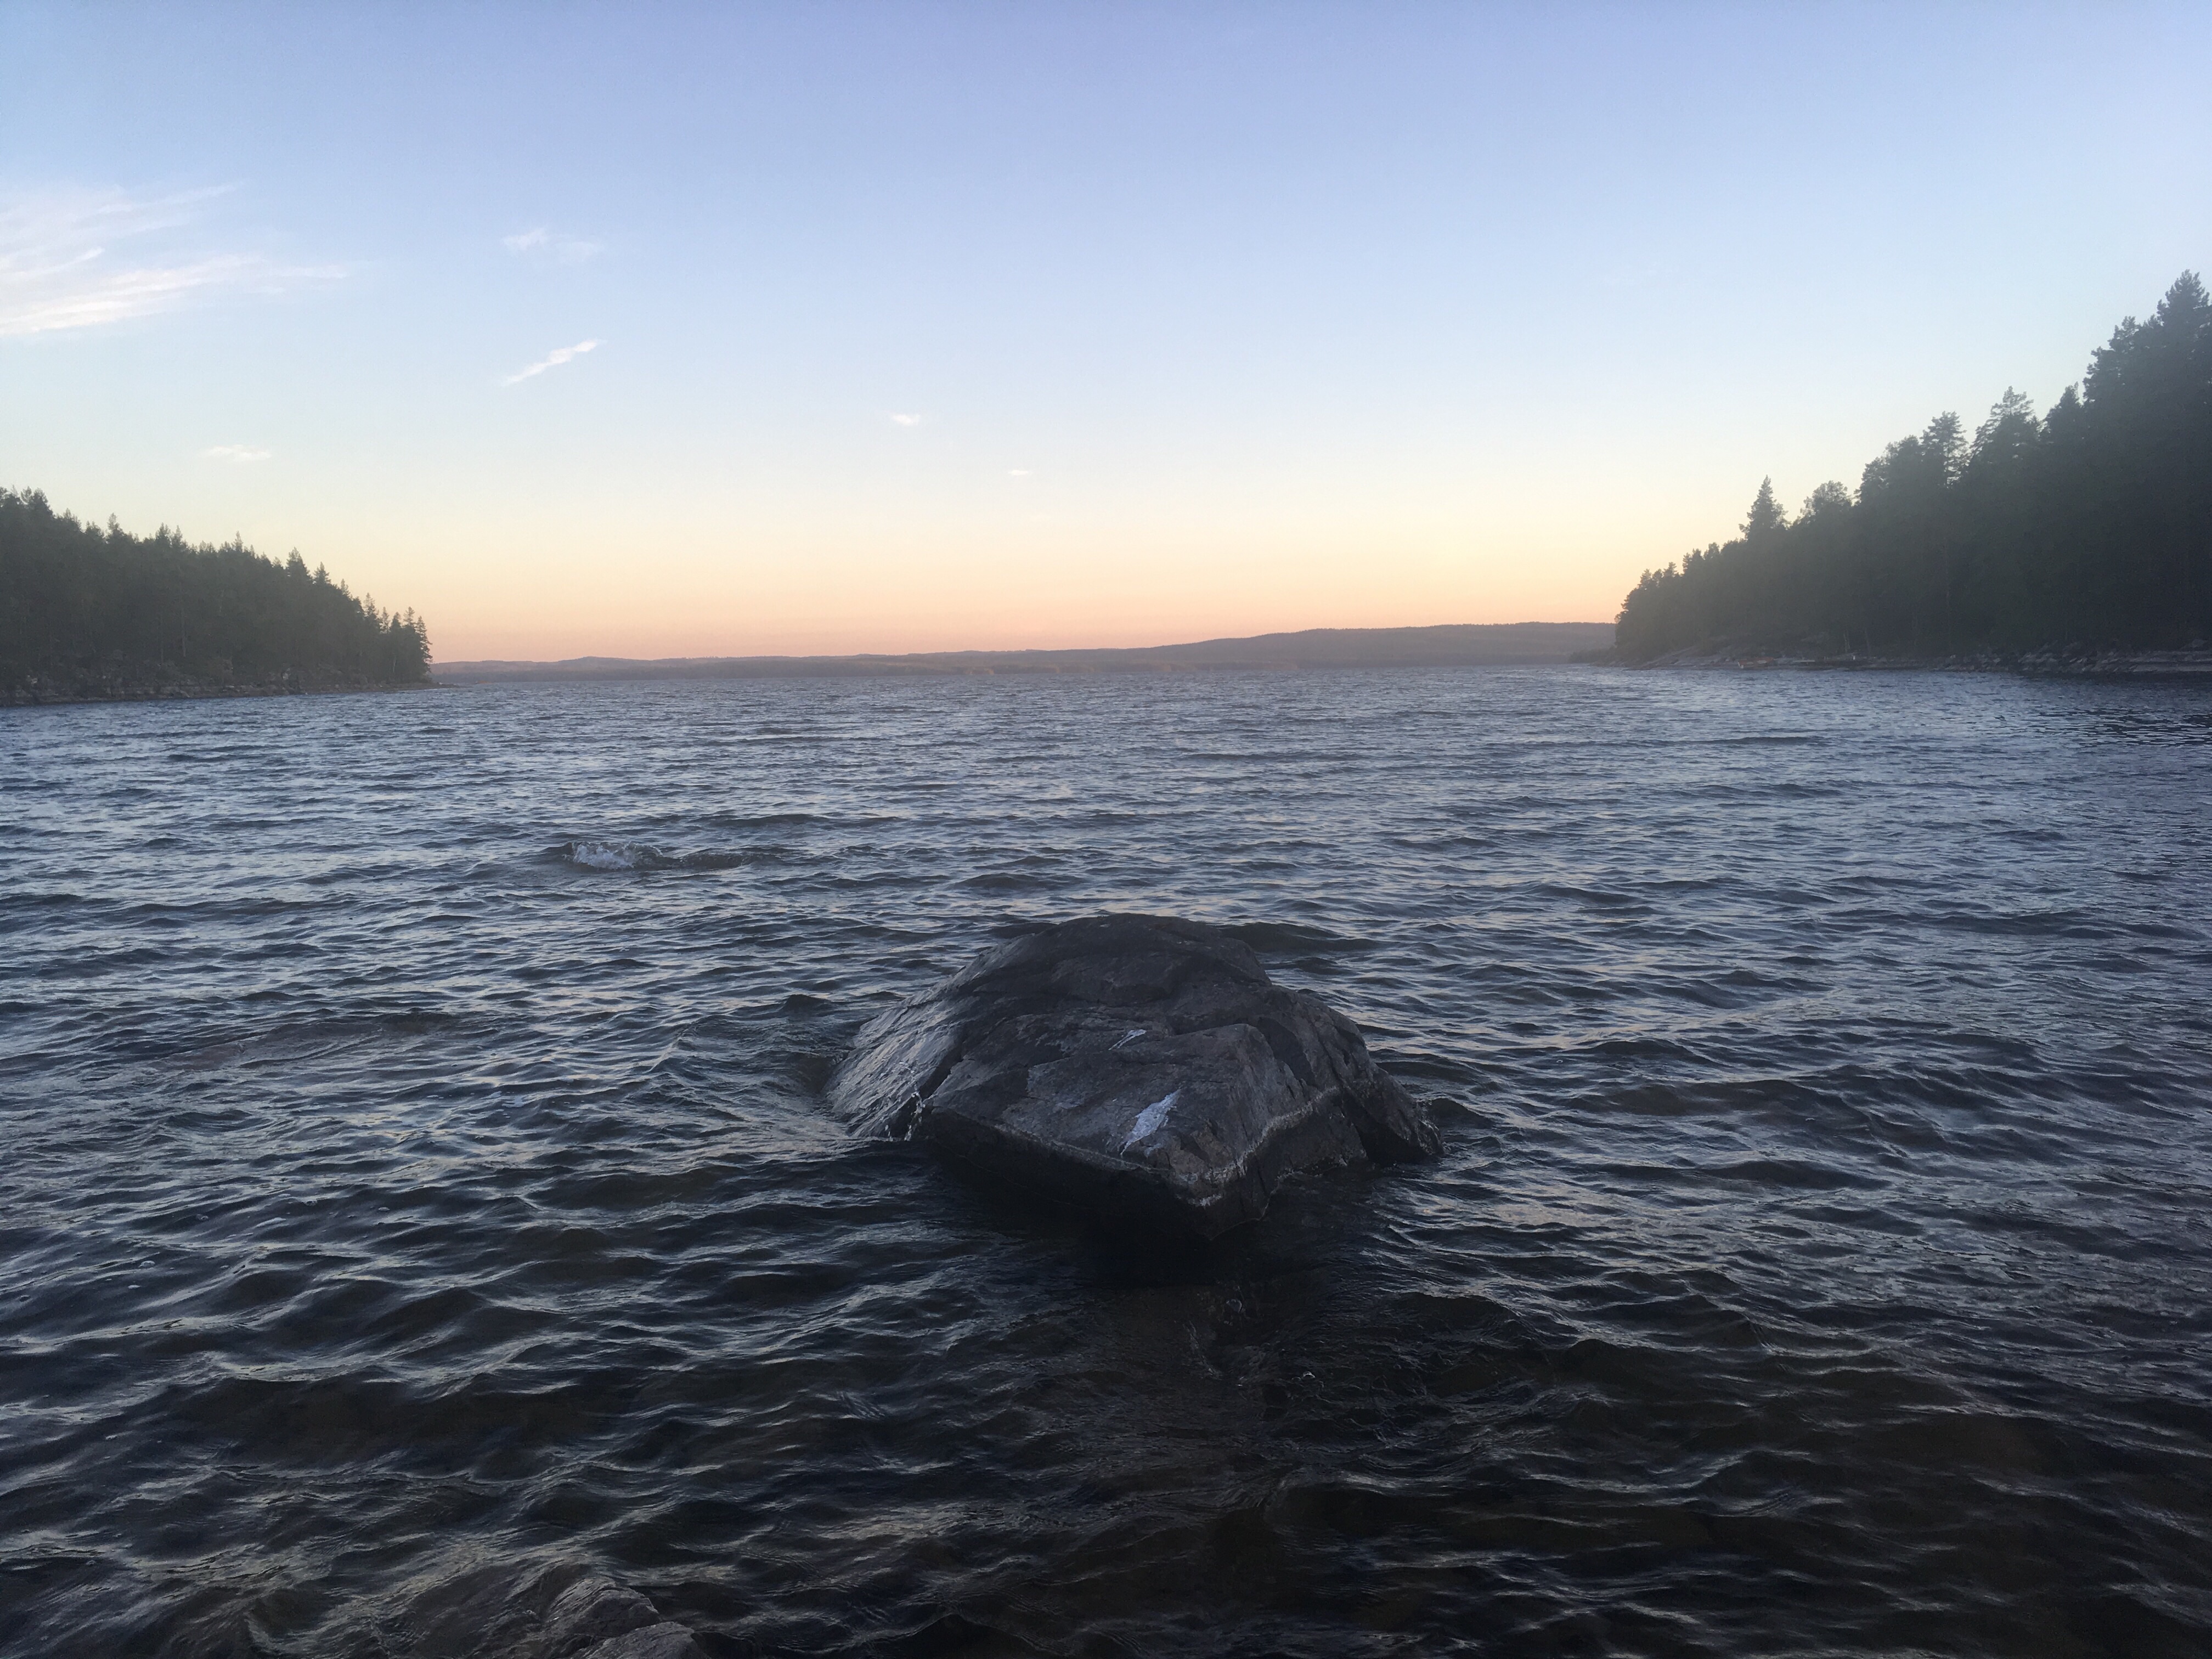
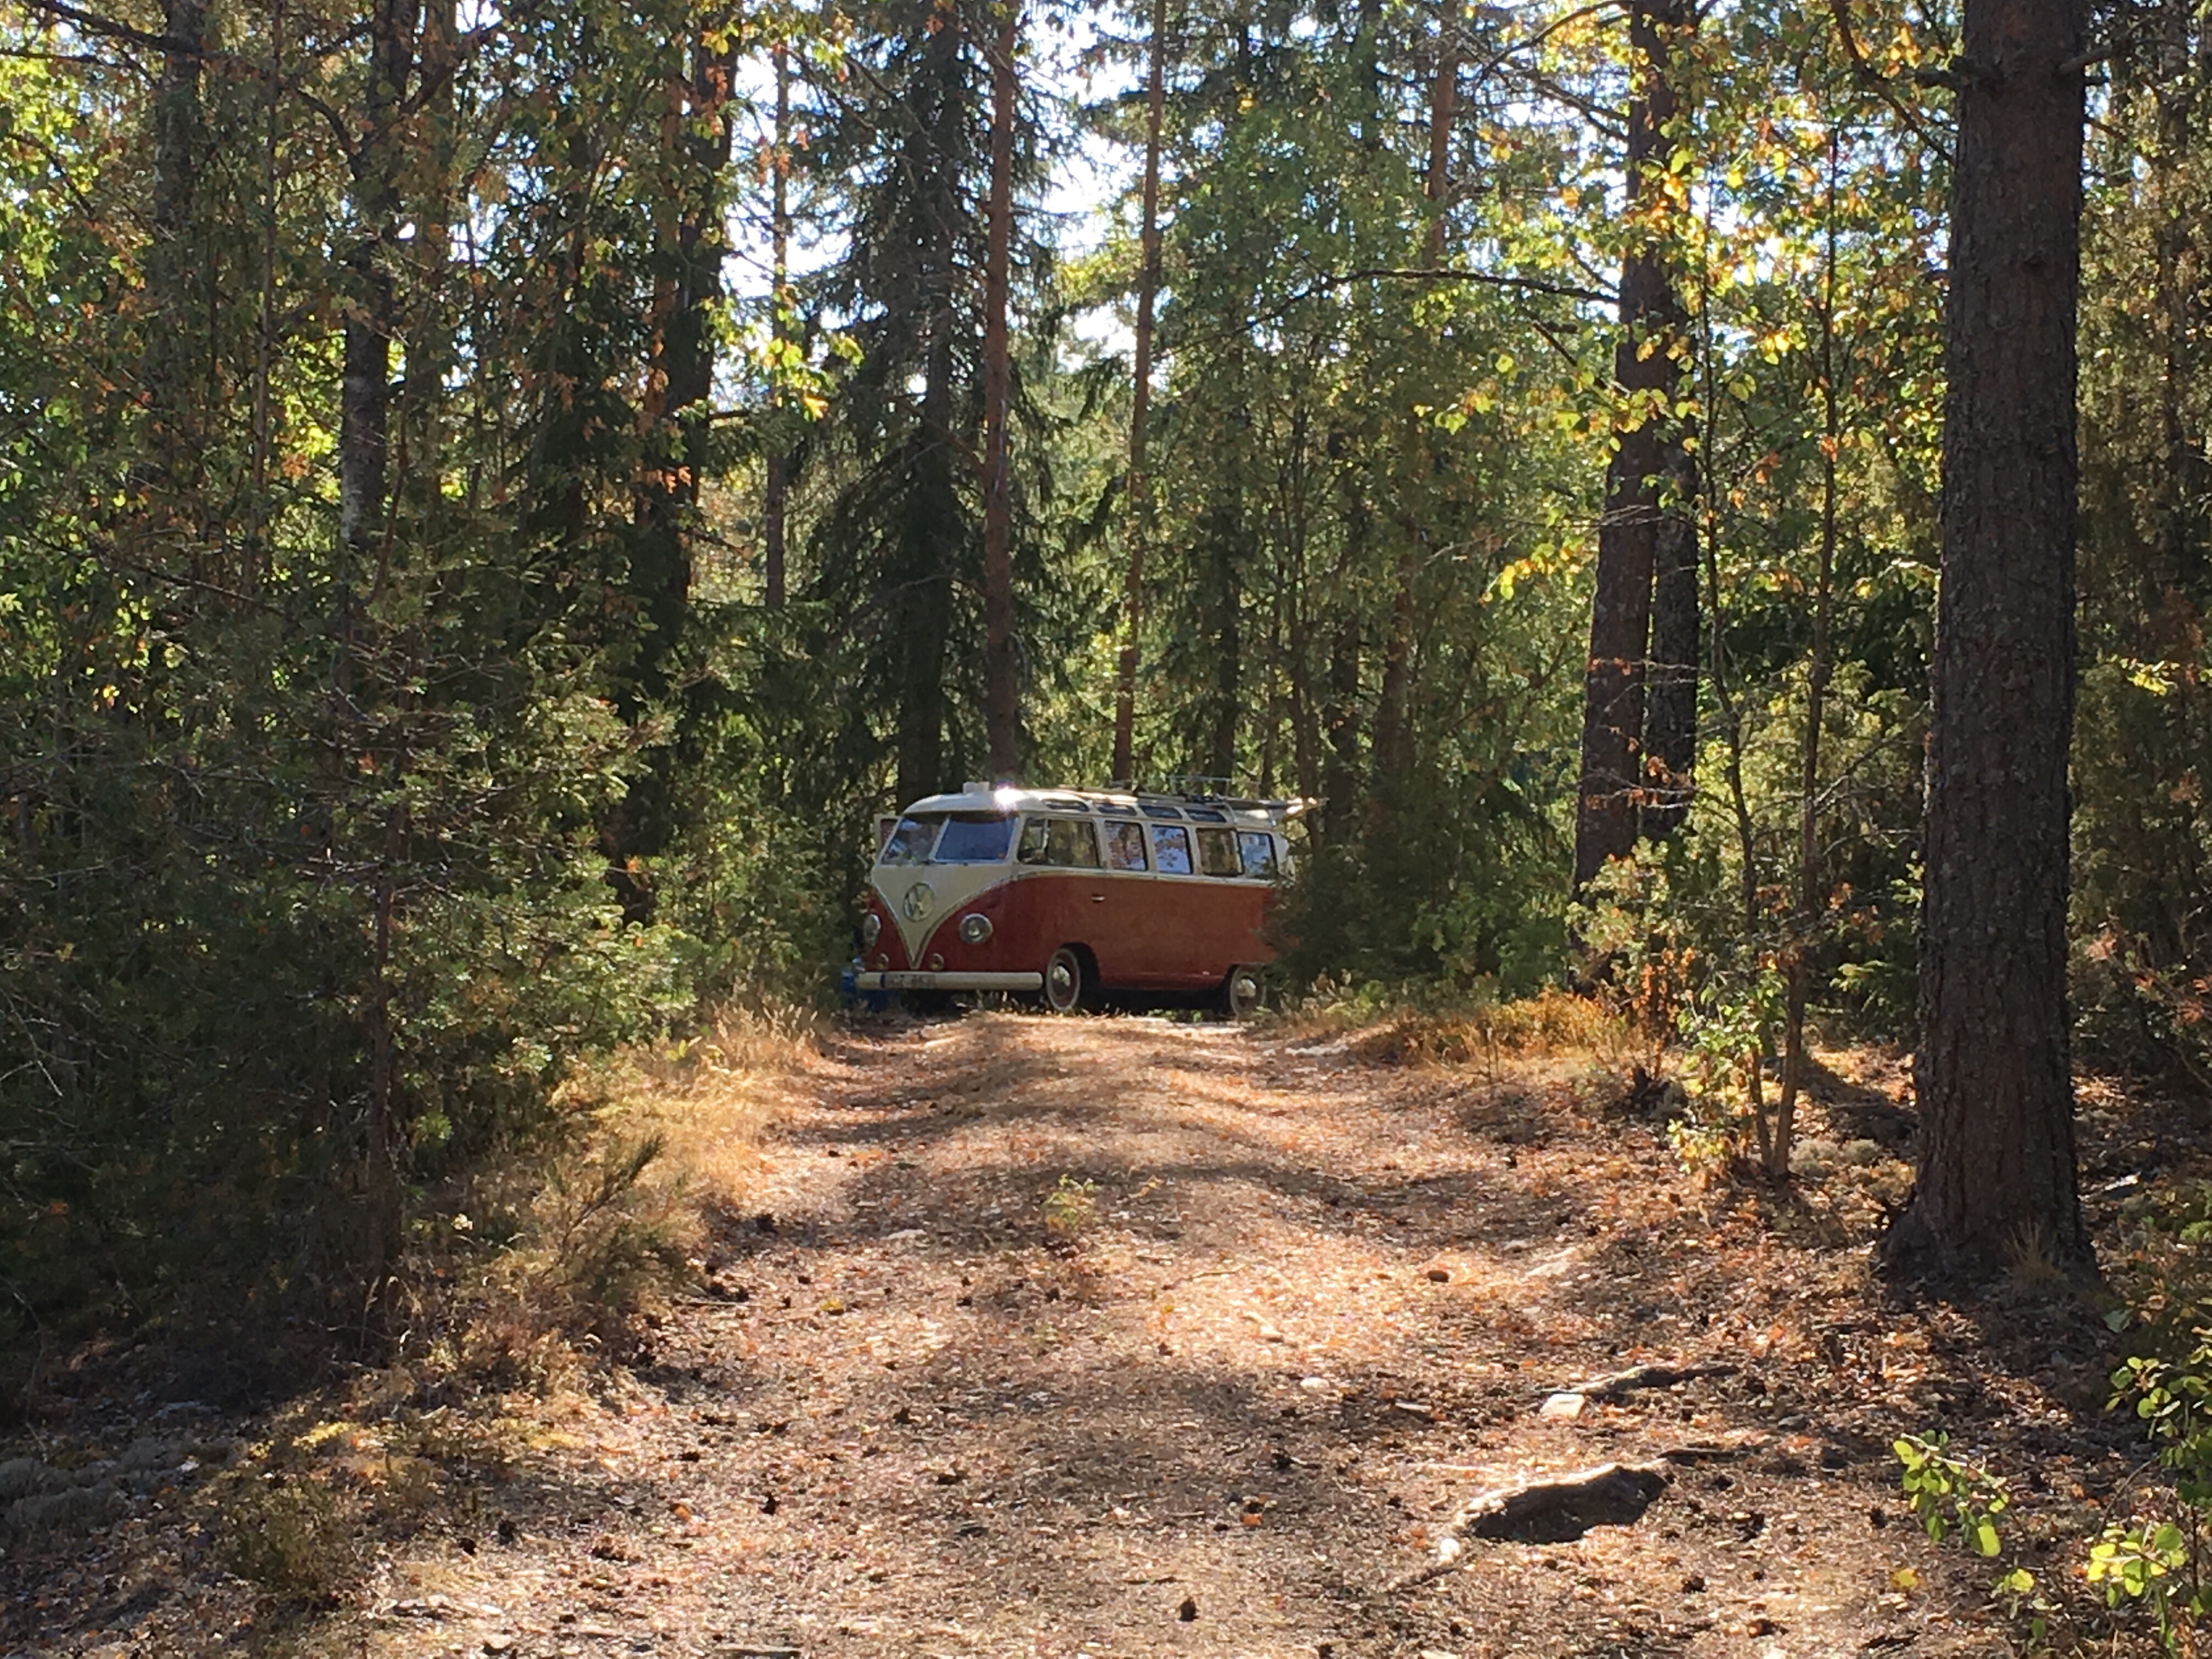
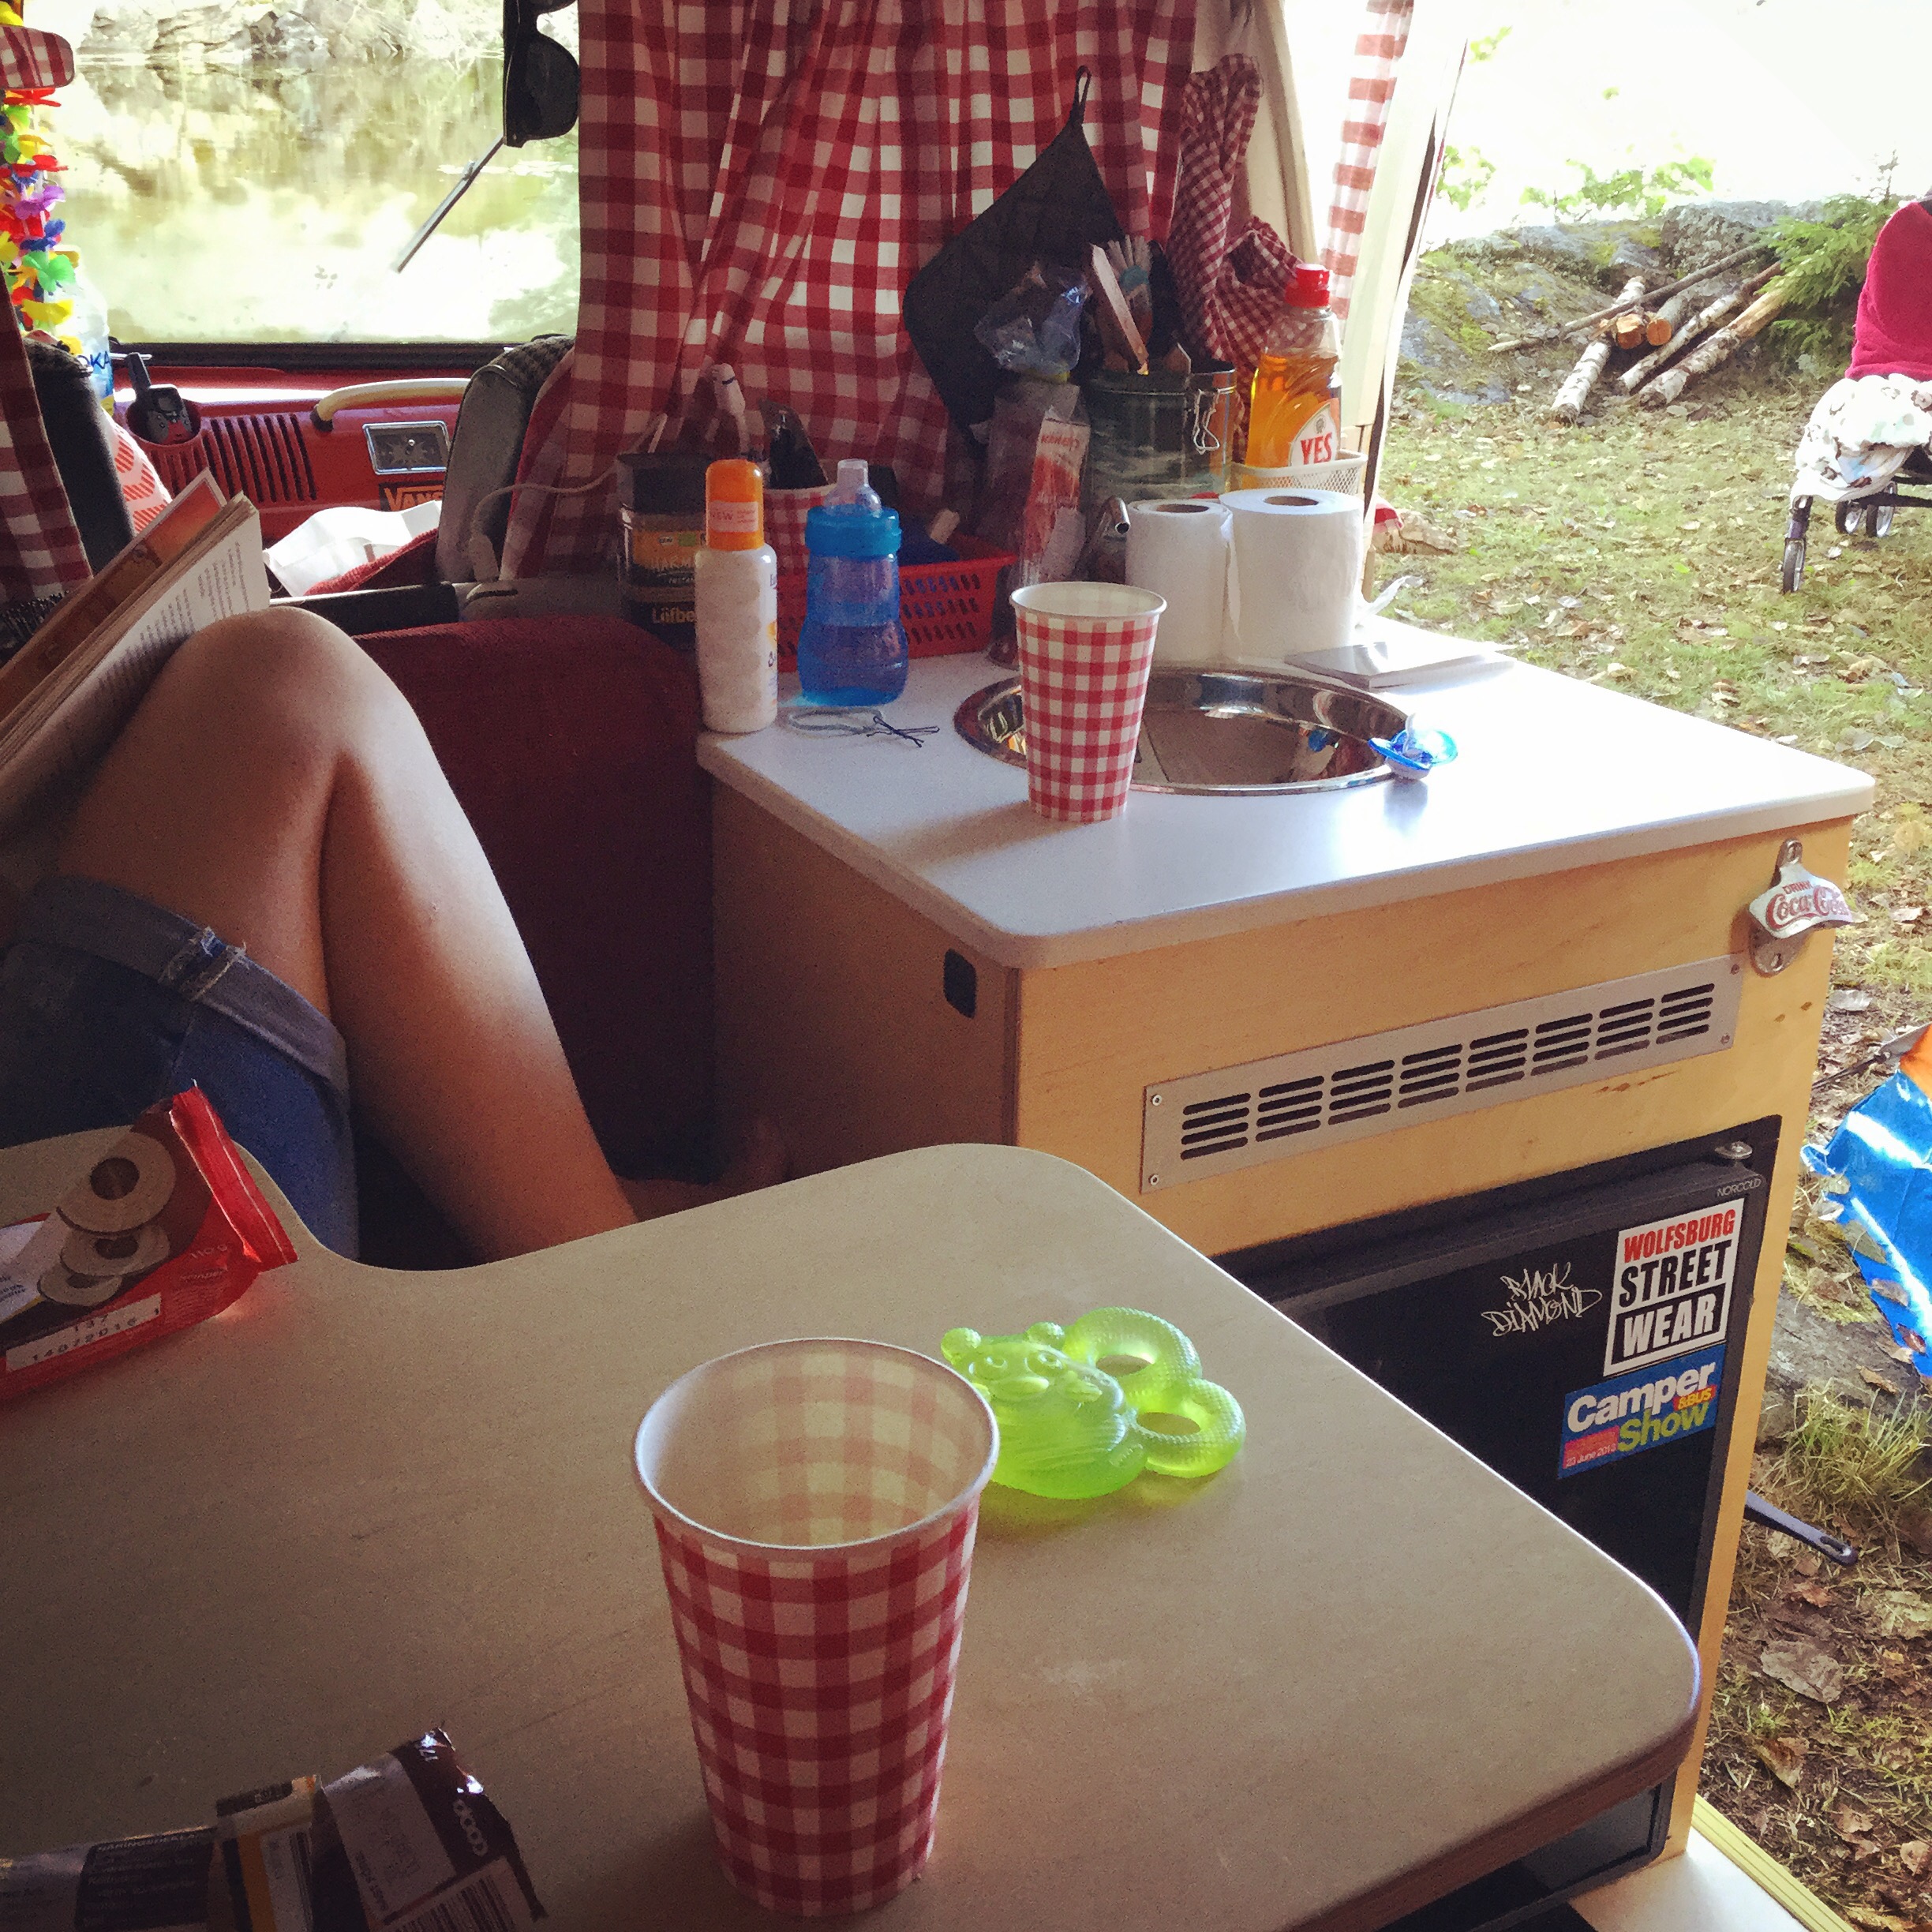
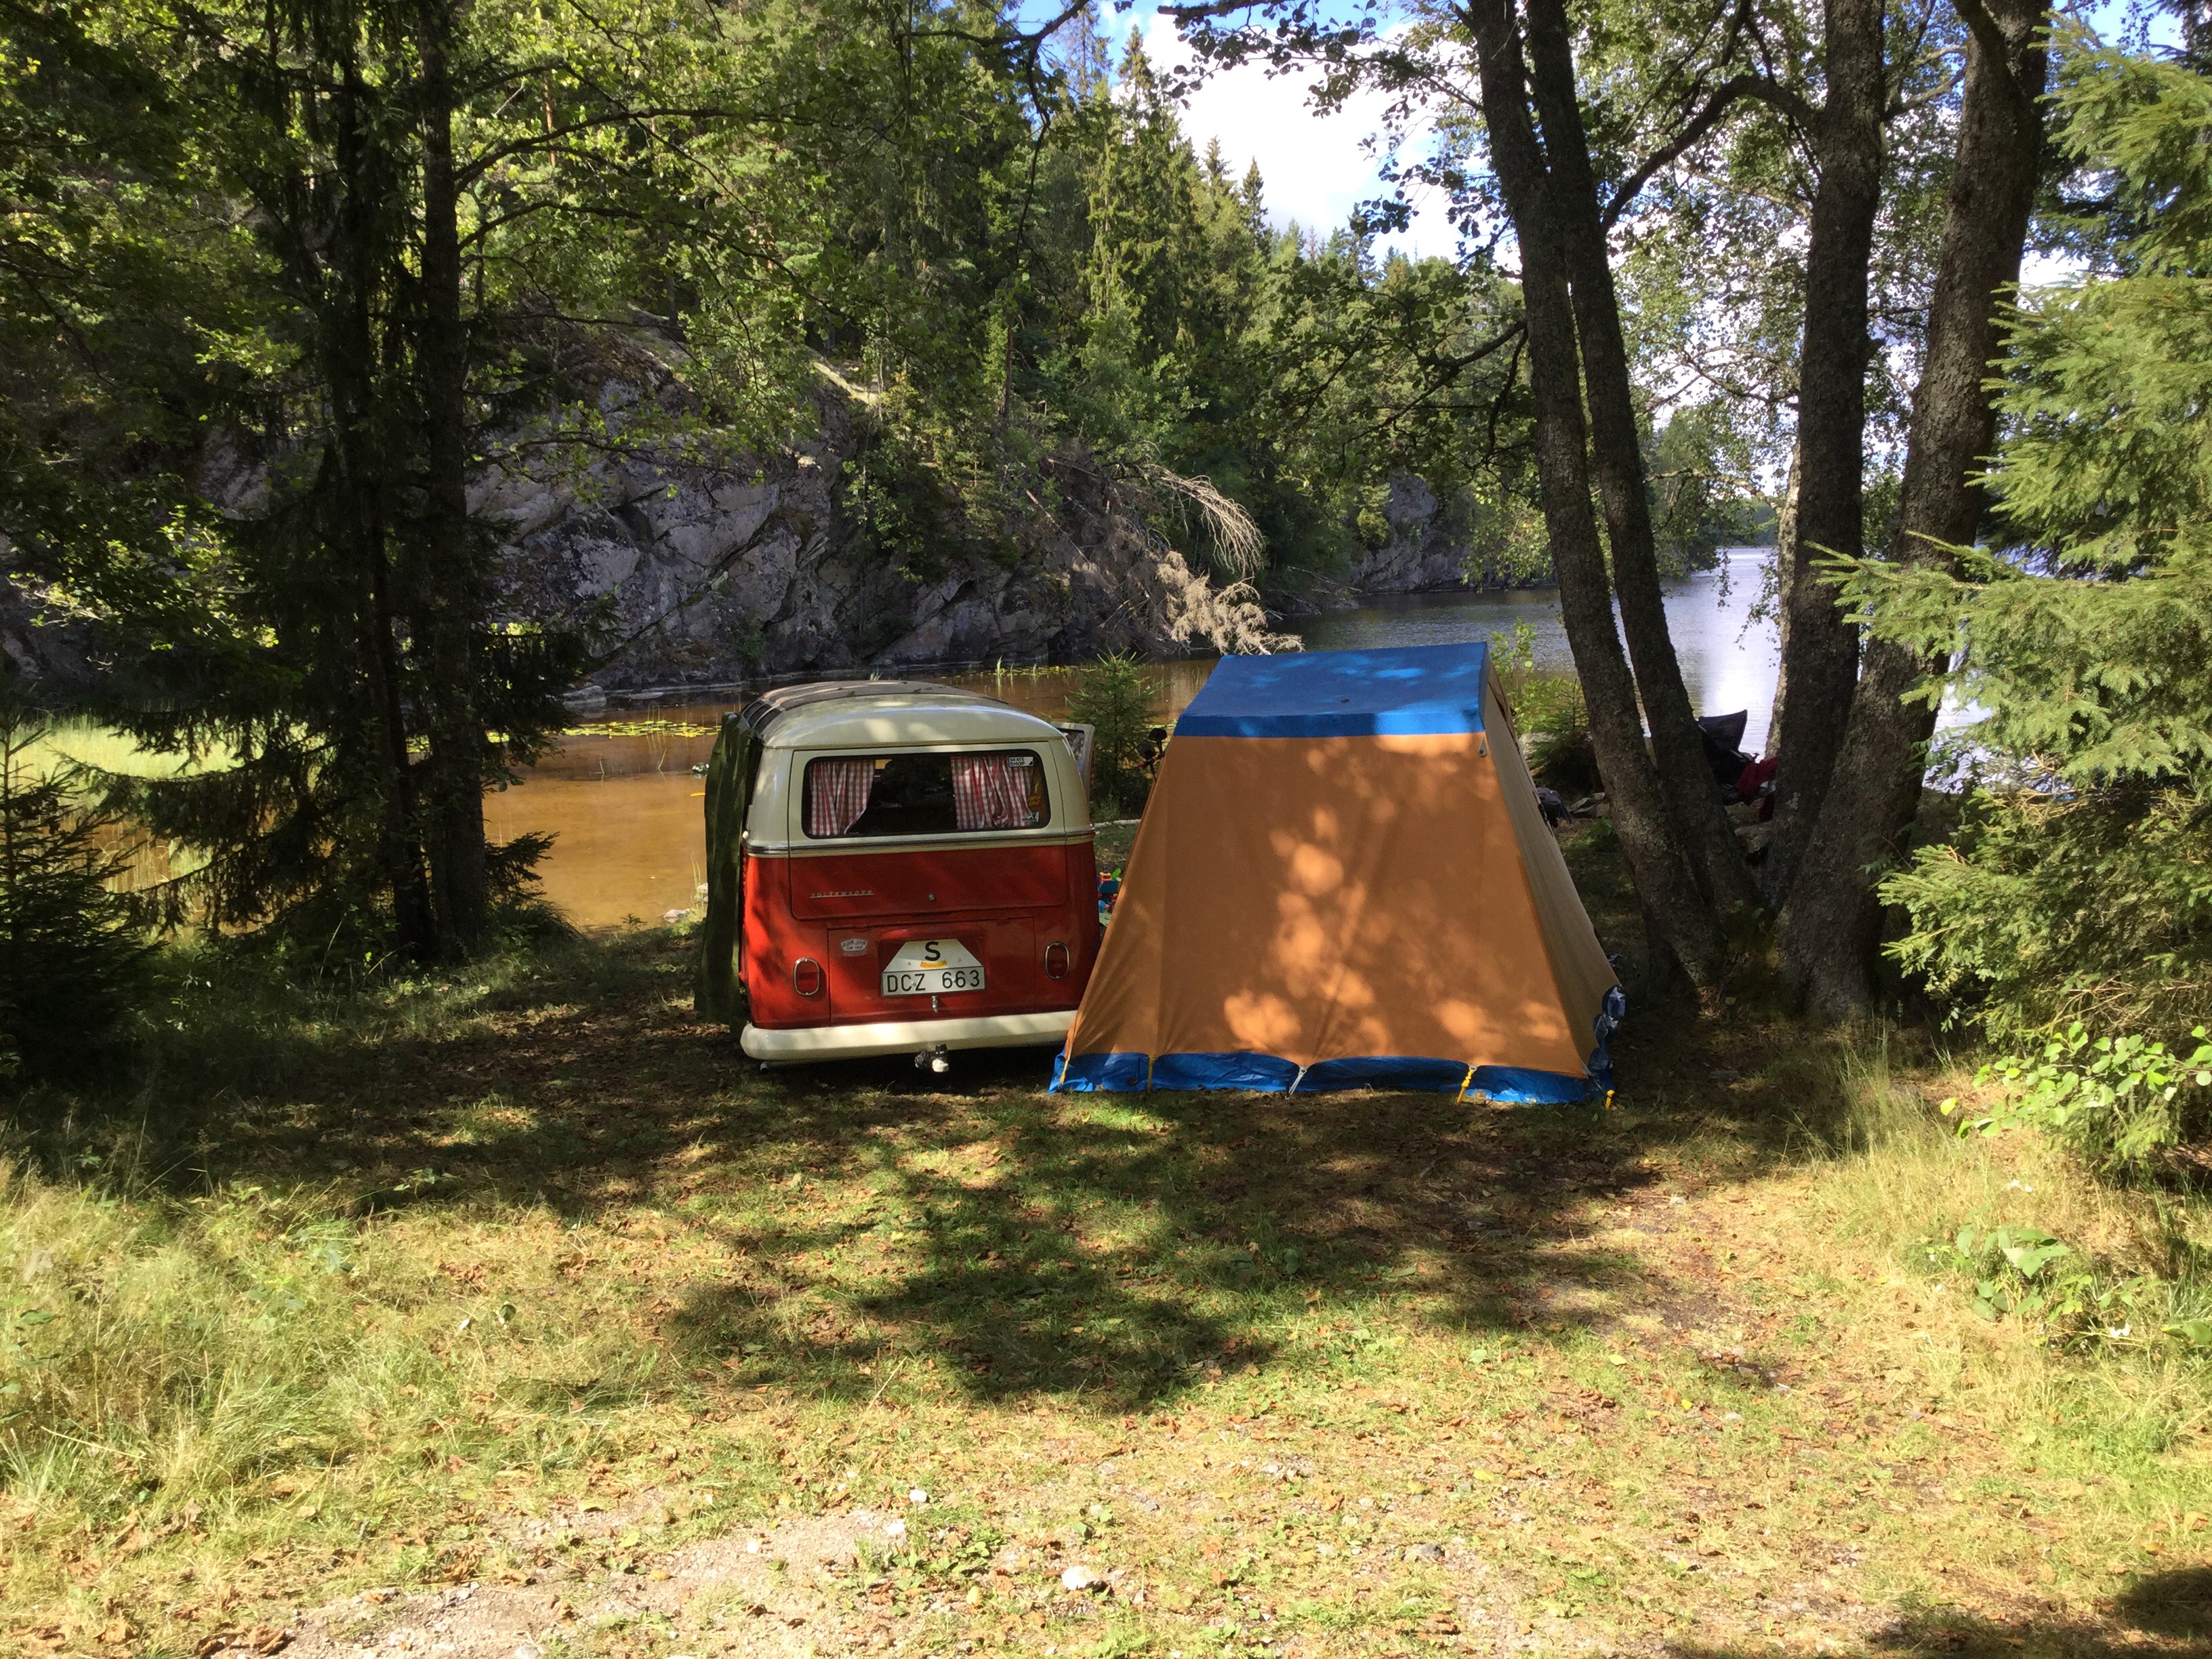
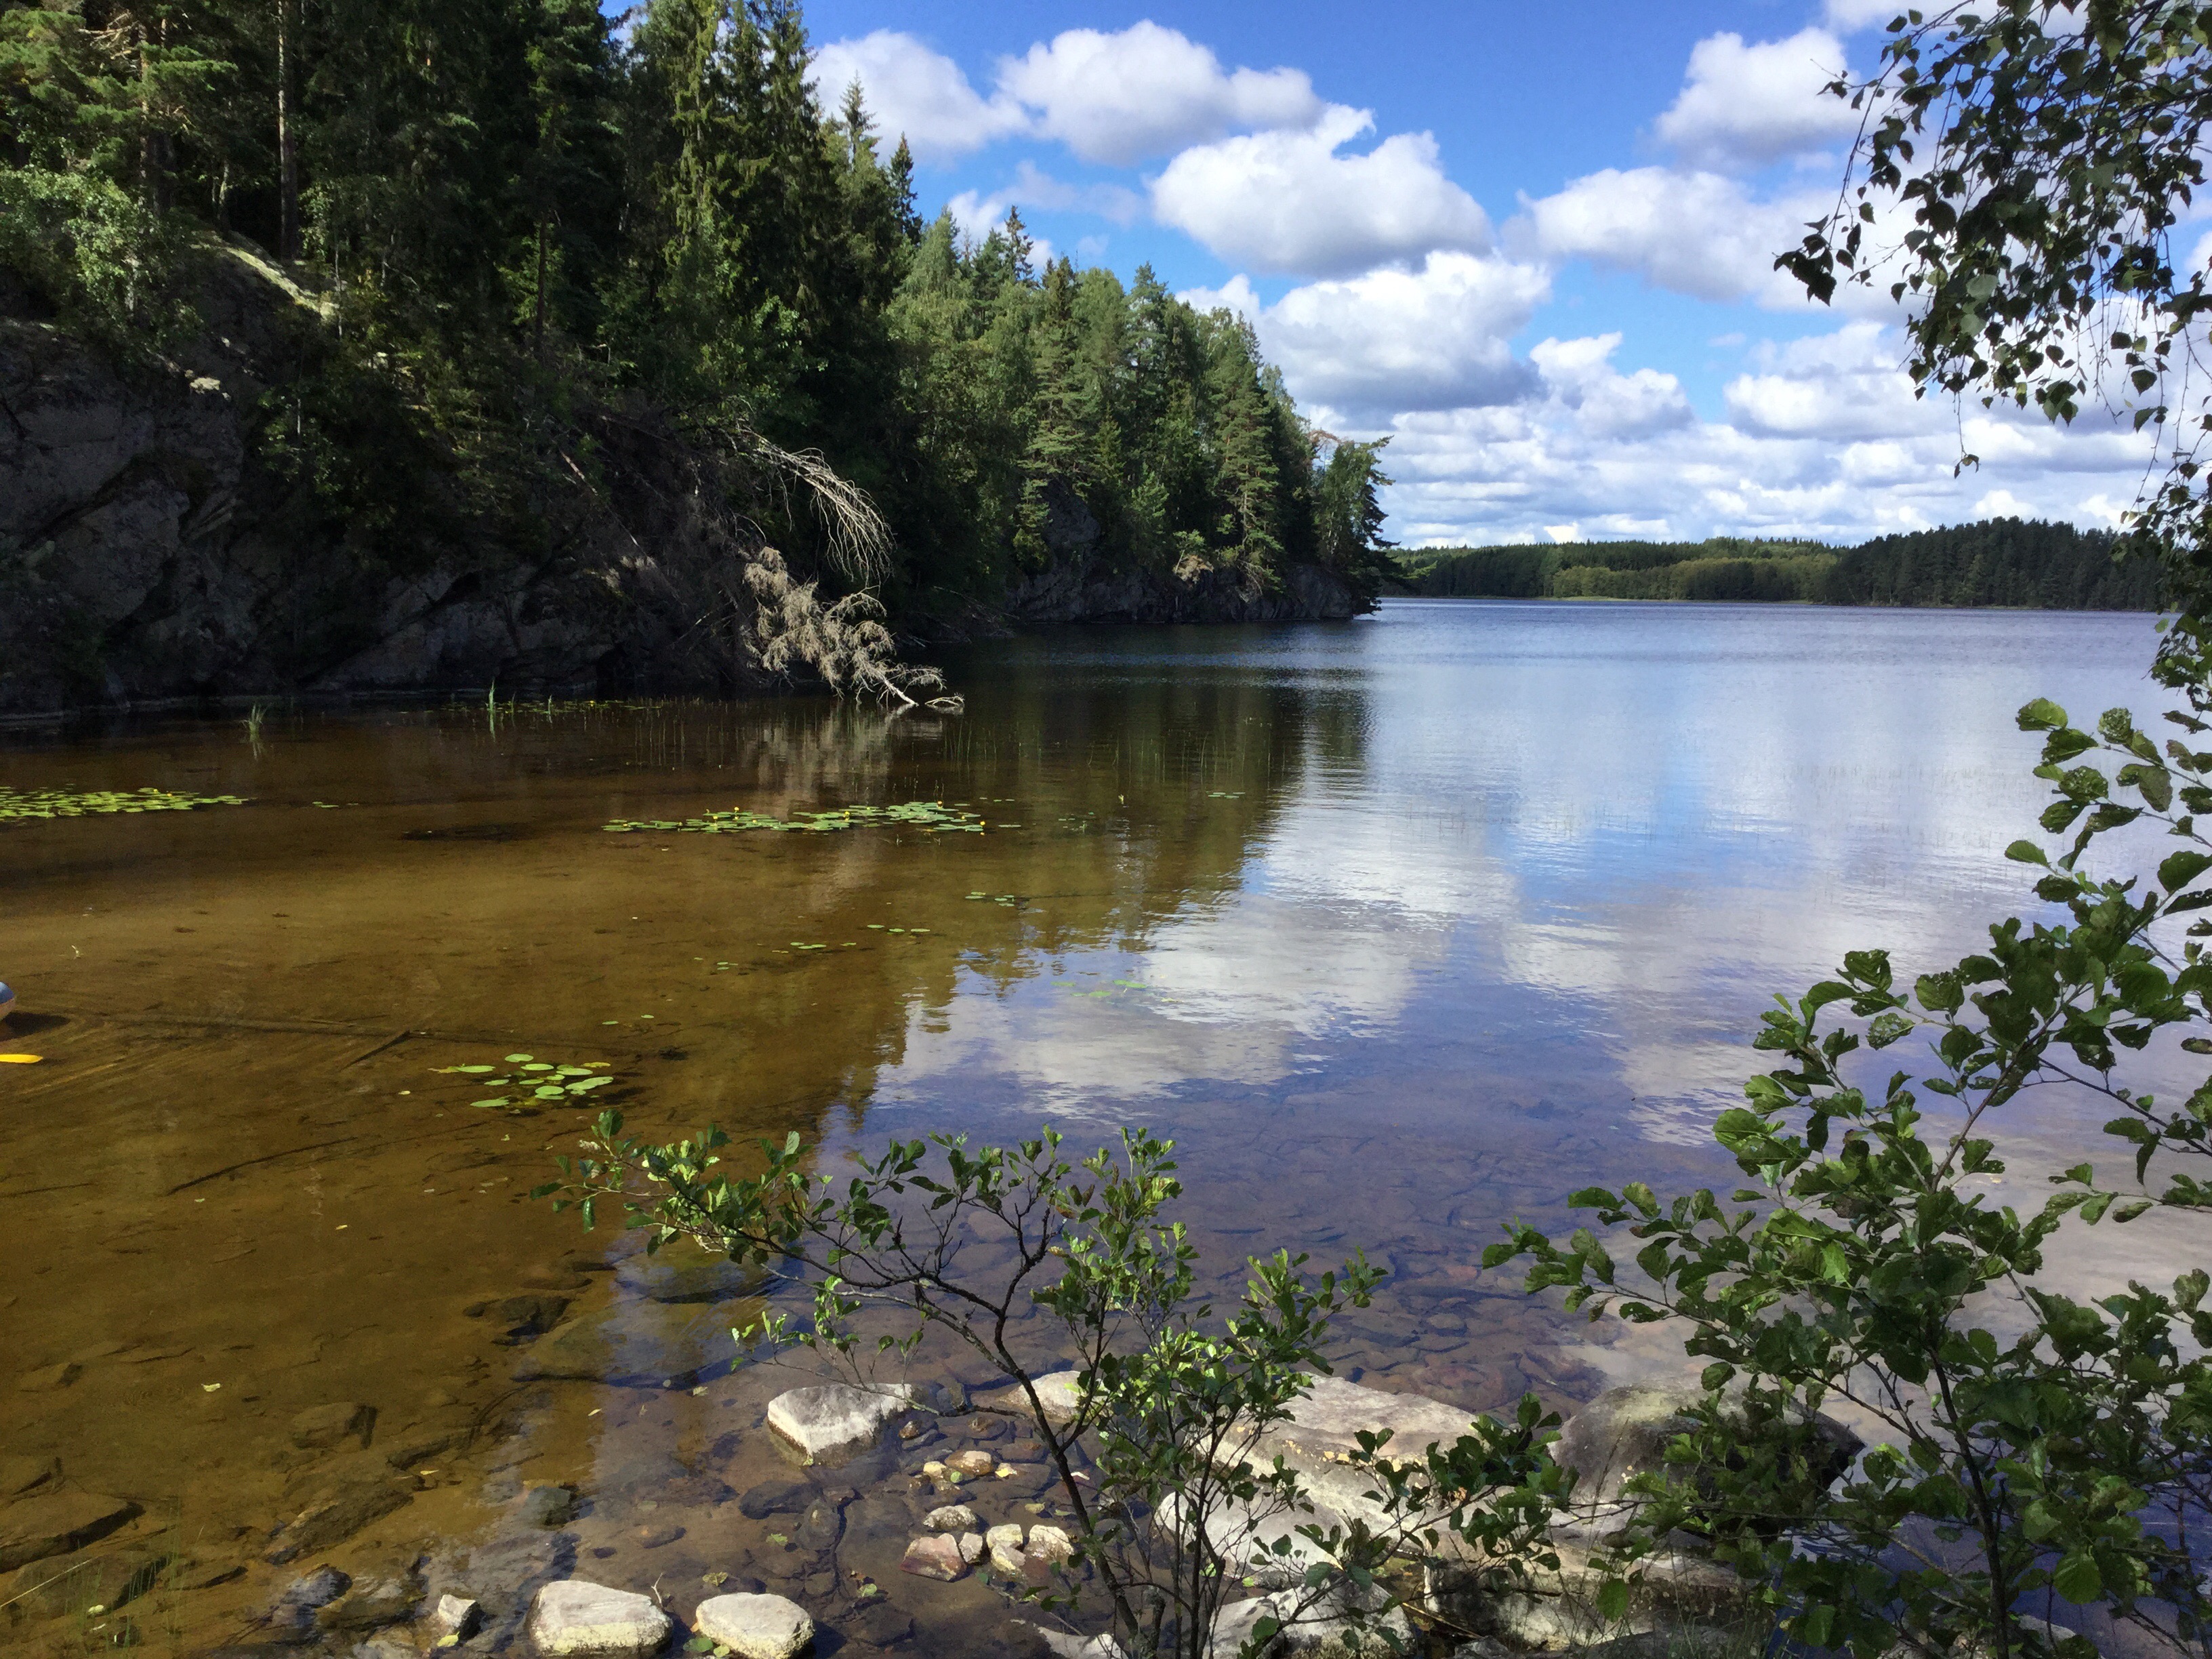
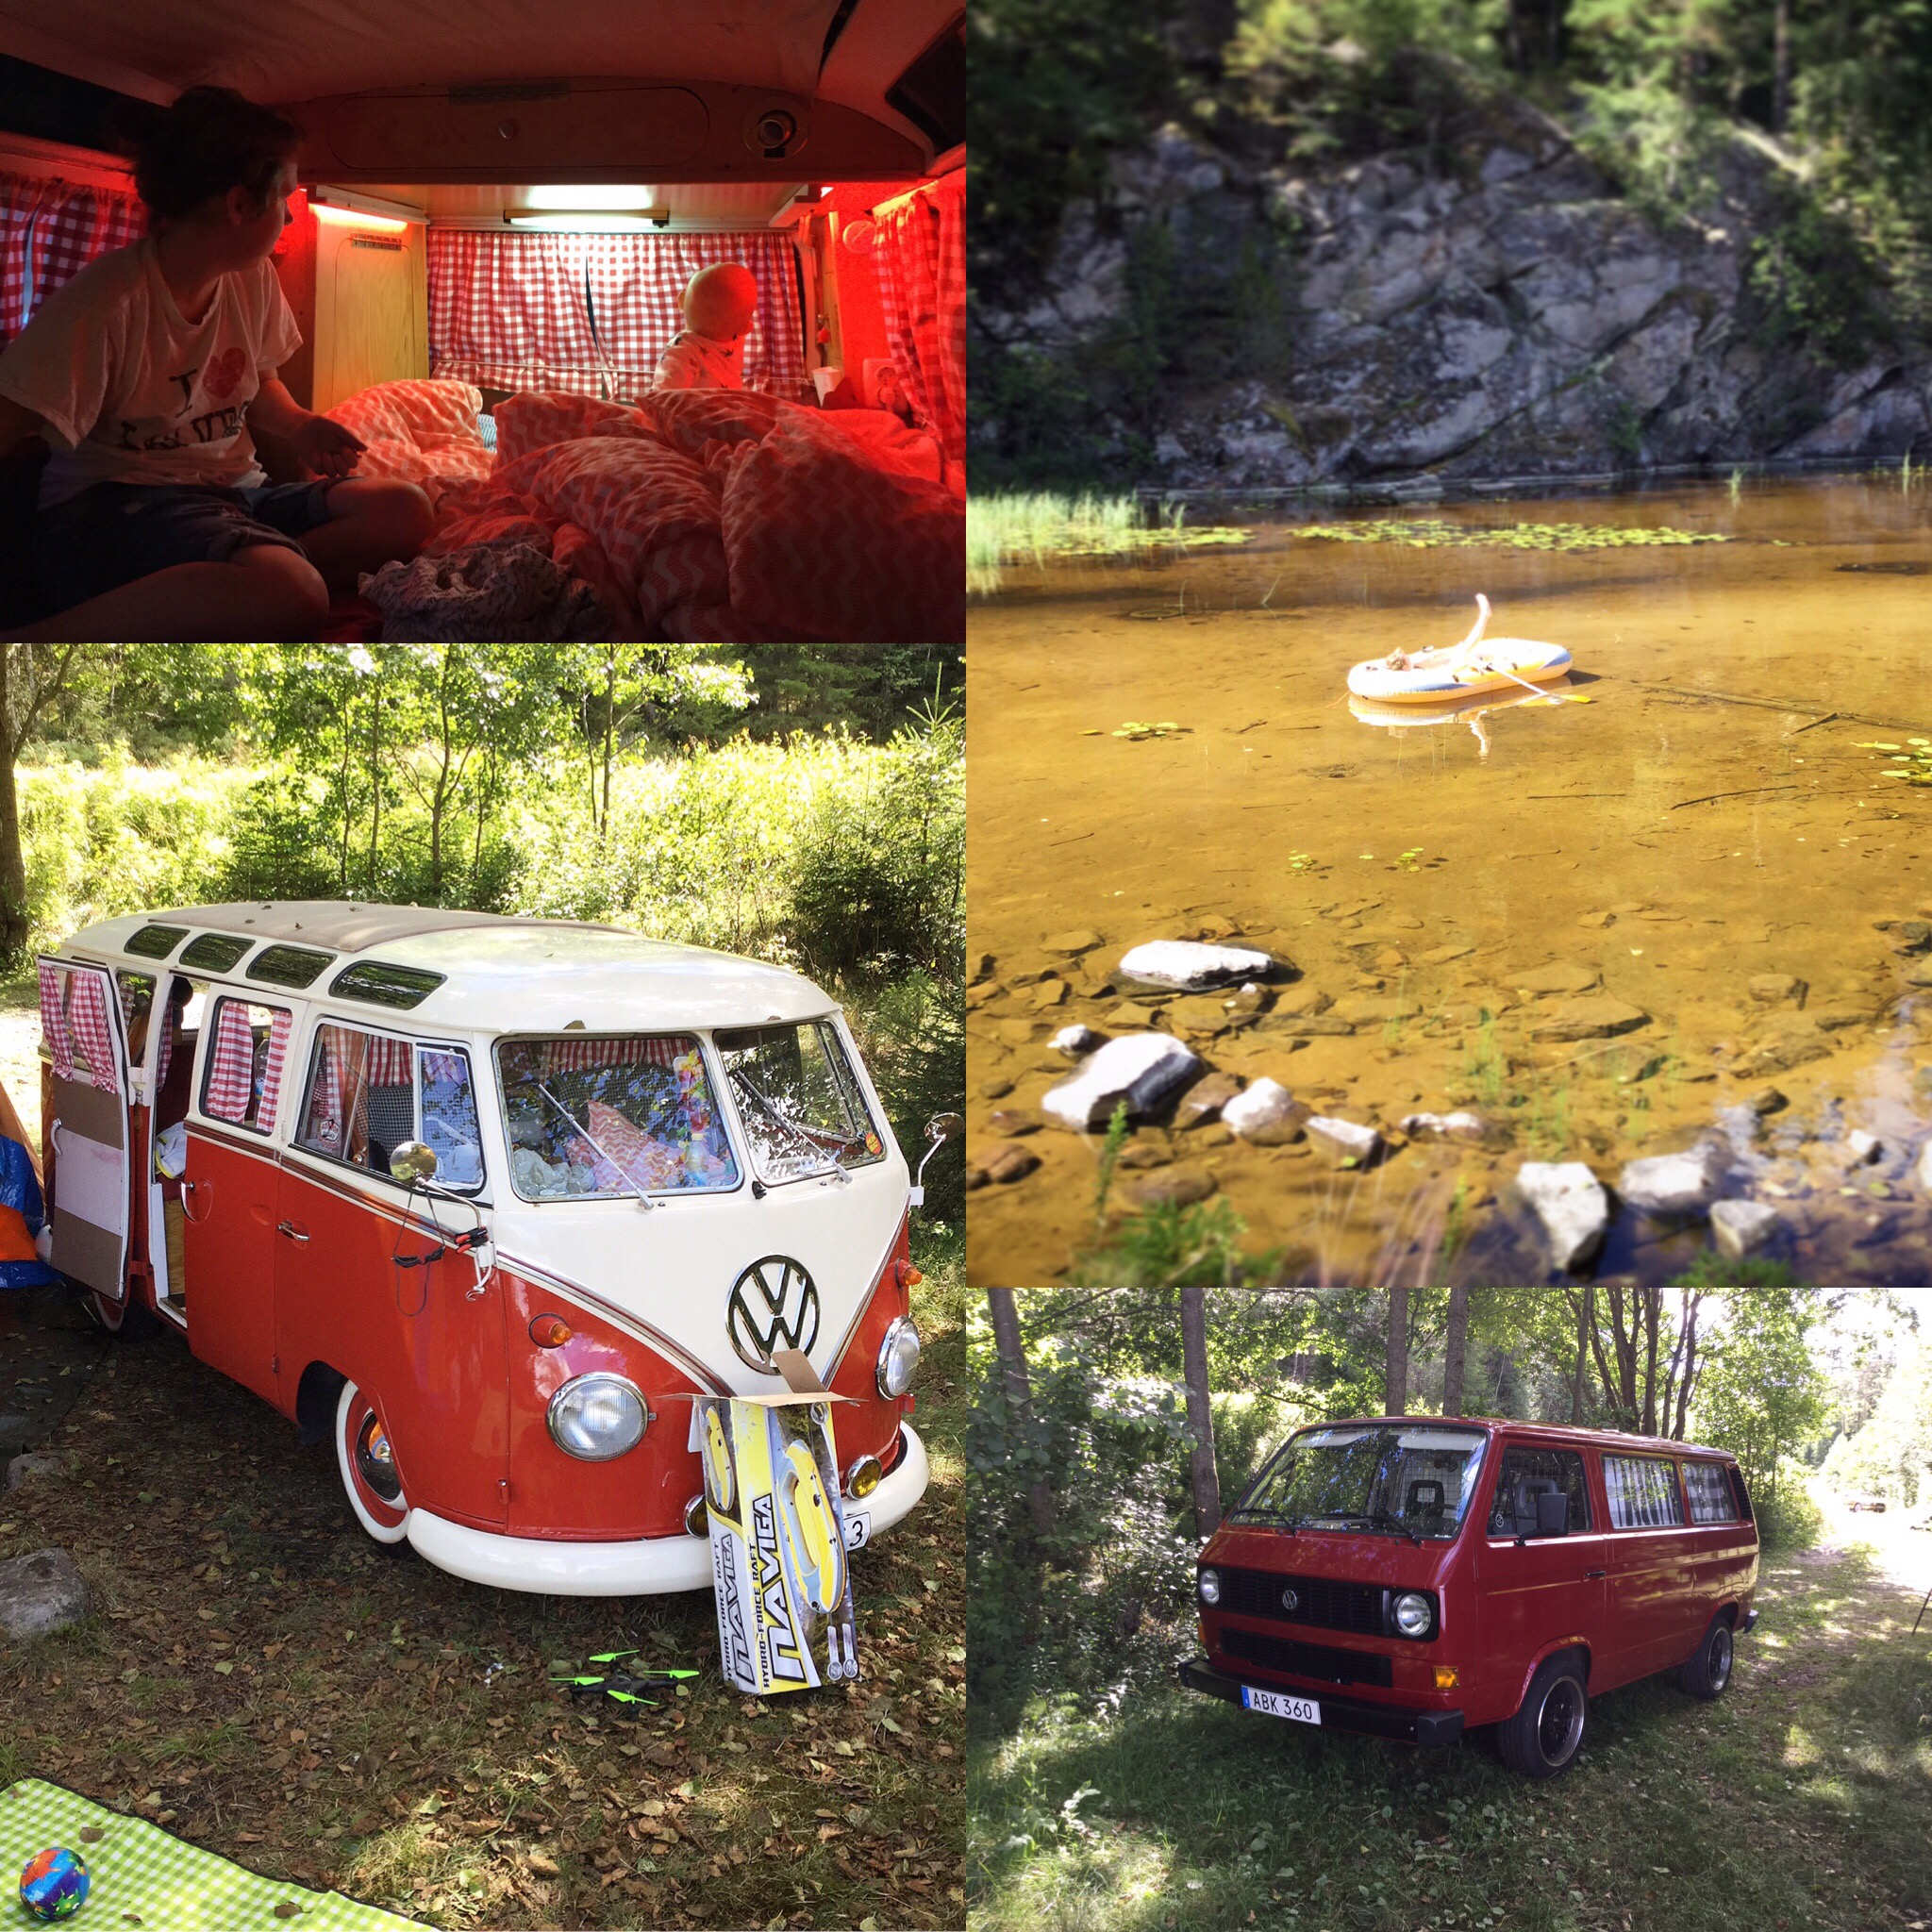
Took a weekend in the wilderness…
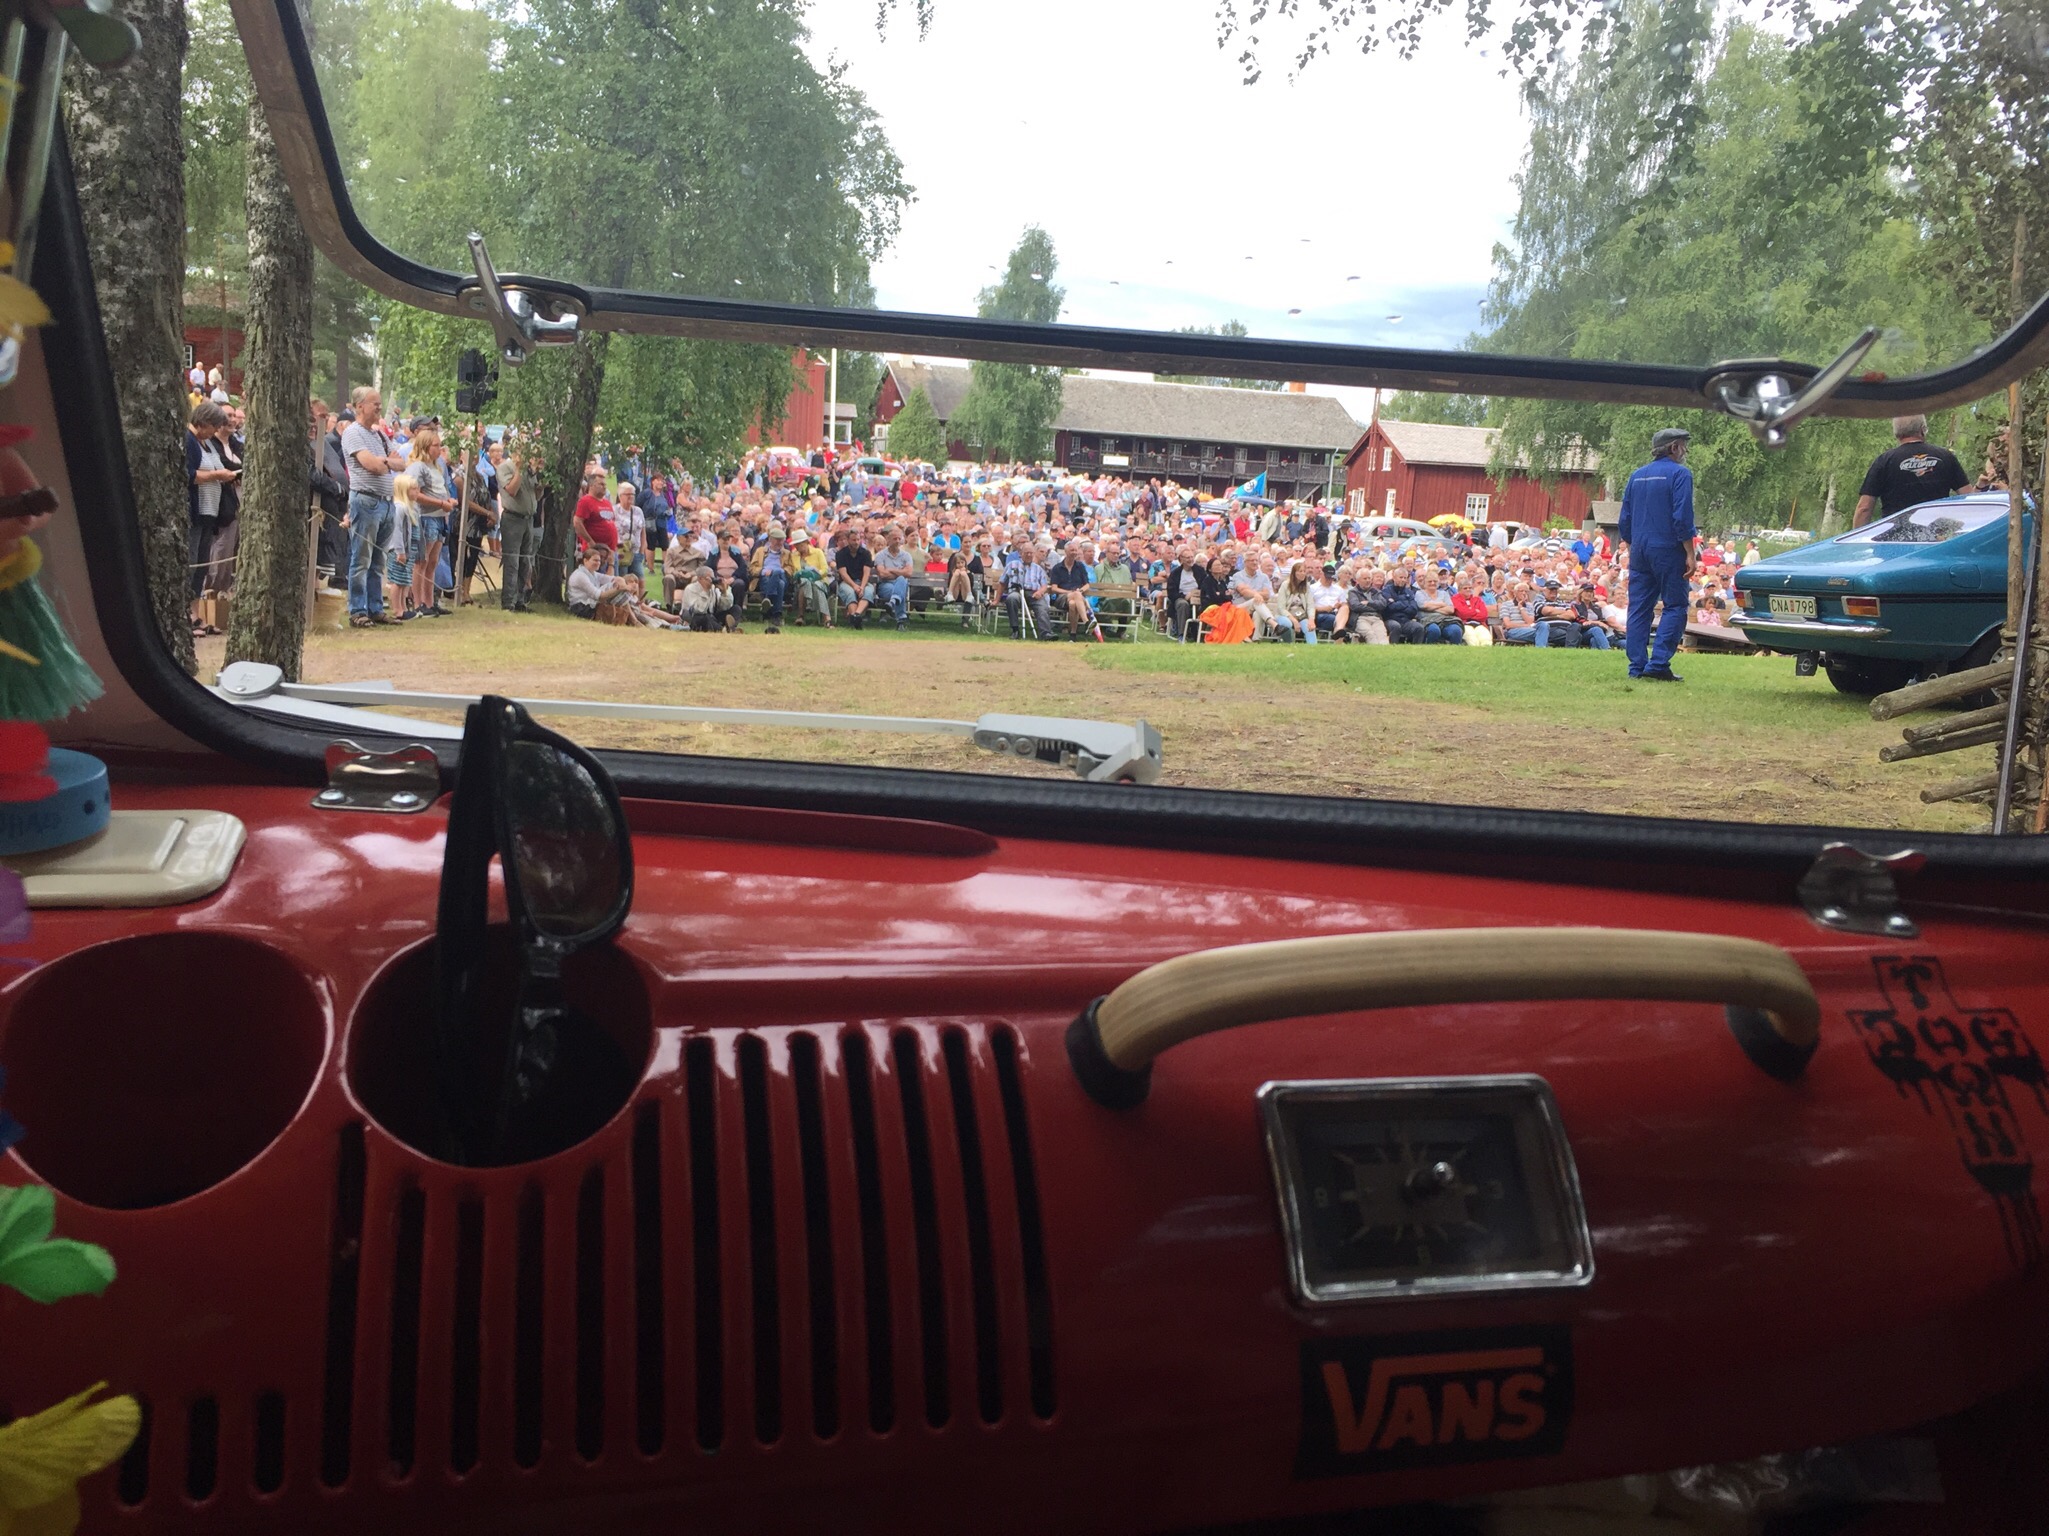
We went to a place called Gammelvala here in Sweden on their carshow. It was alot of visiters and over 500 classiccars attending. We made the local newspaper and won the Peoples choice award and even got some price money too.