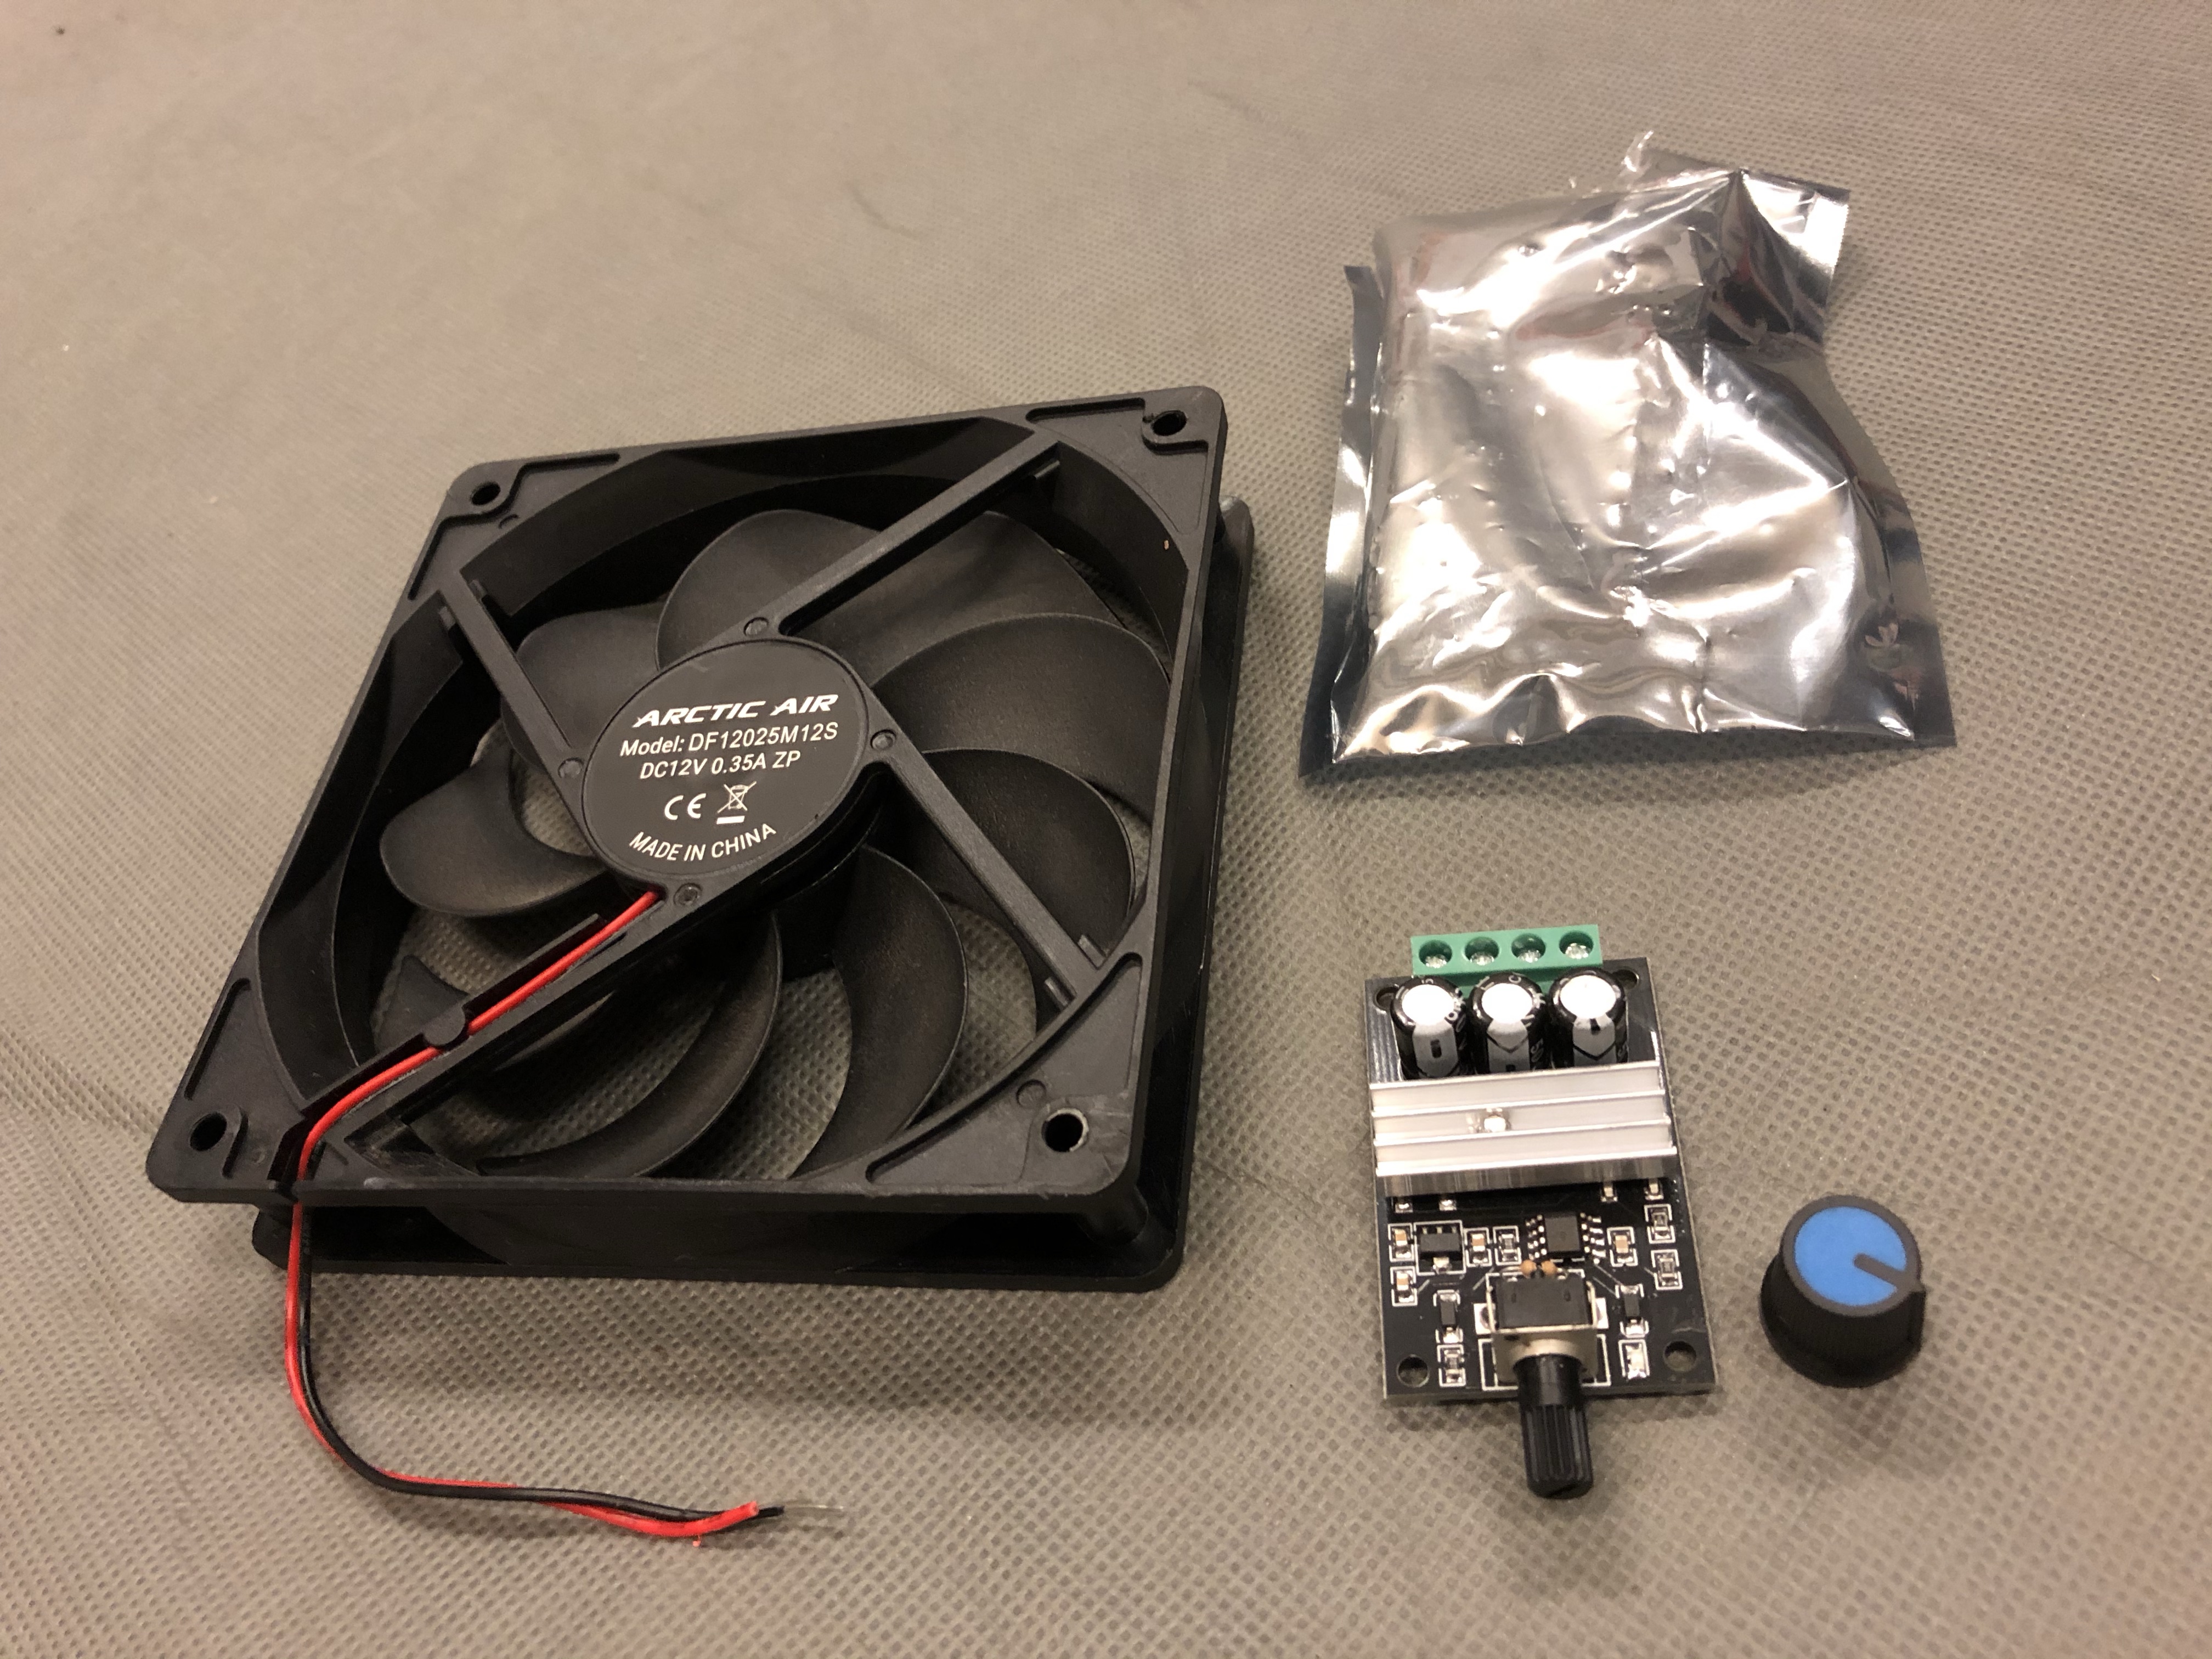
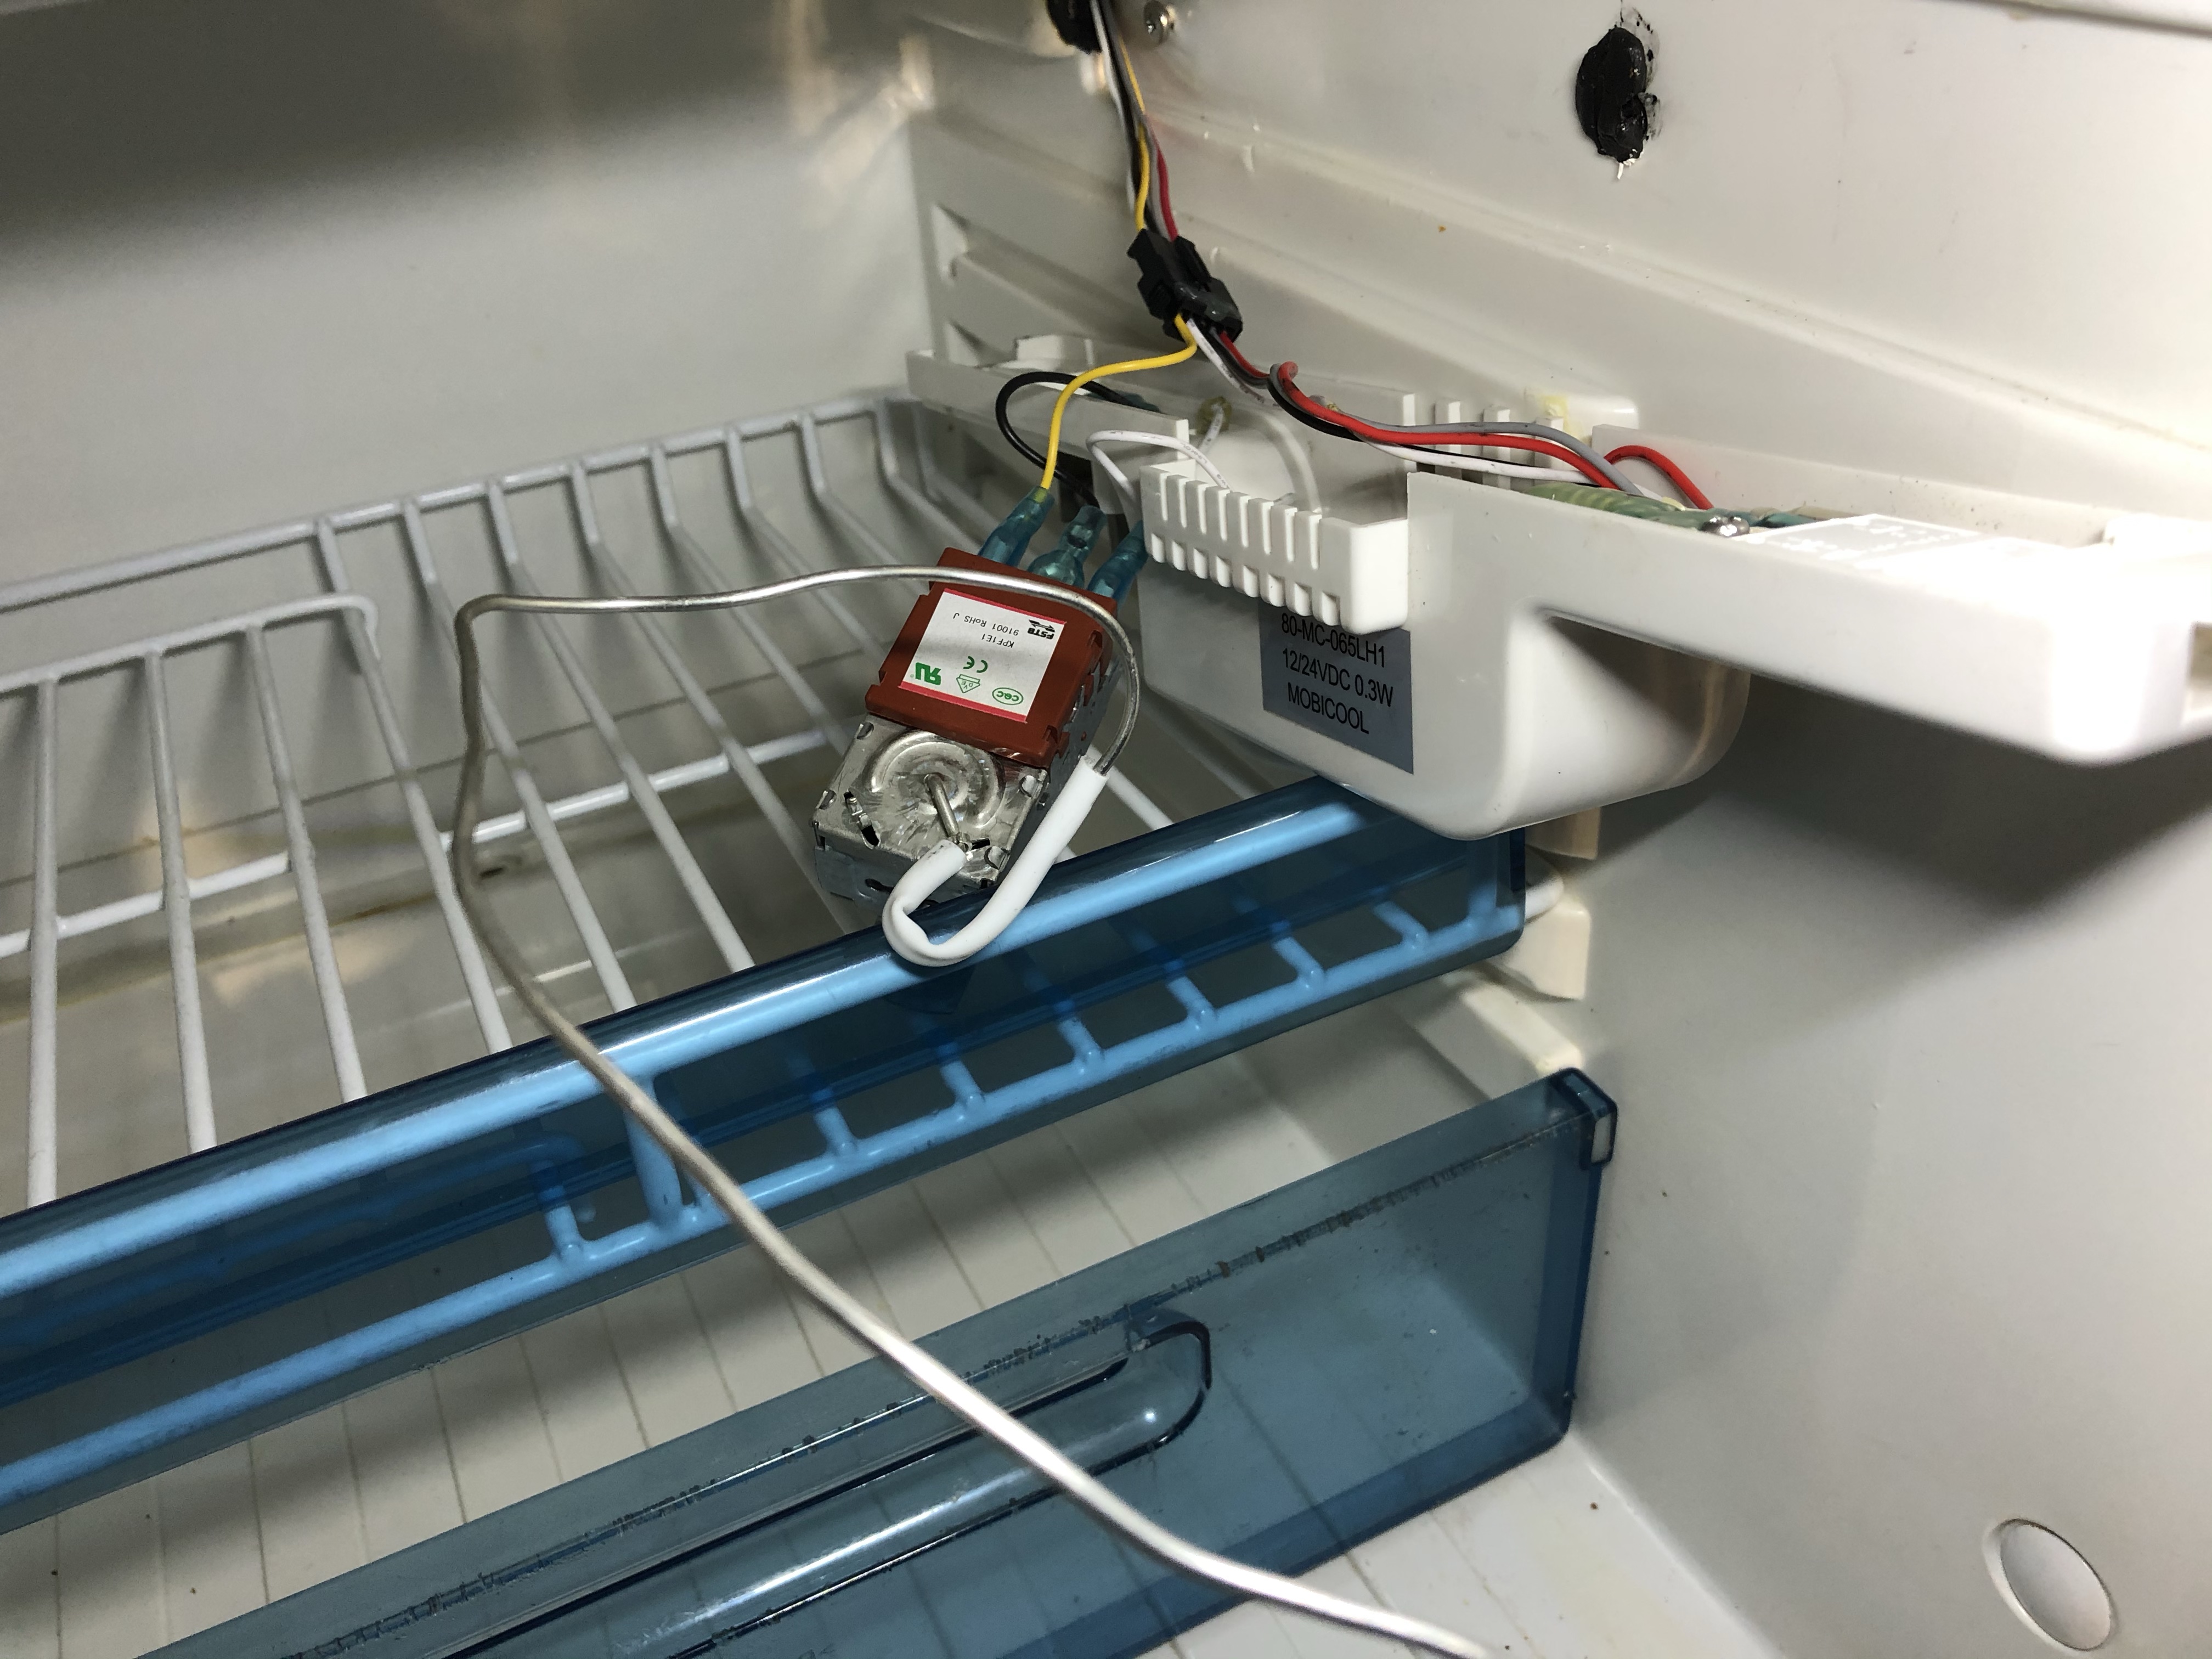
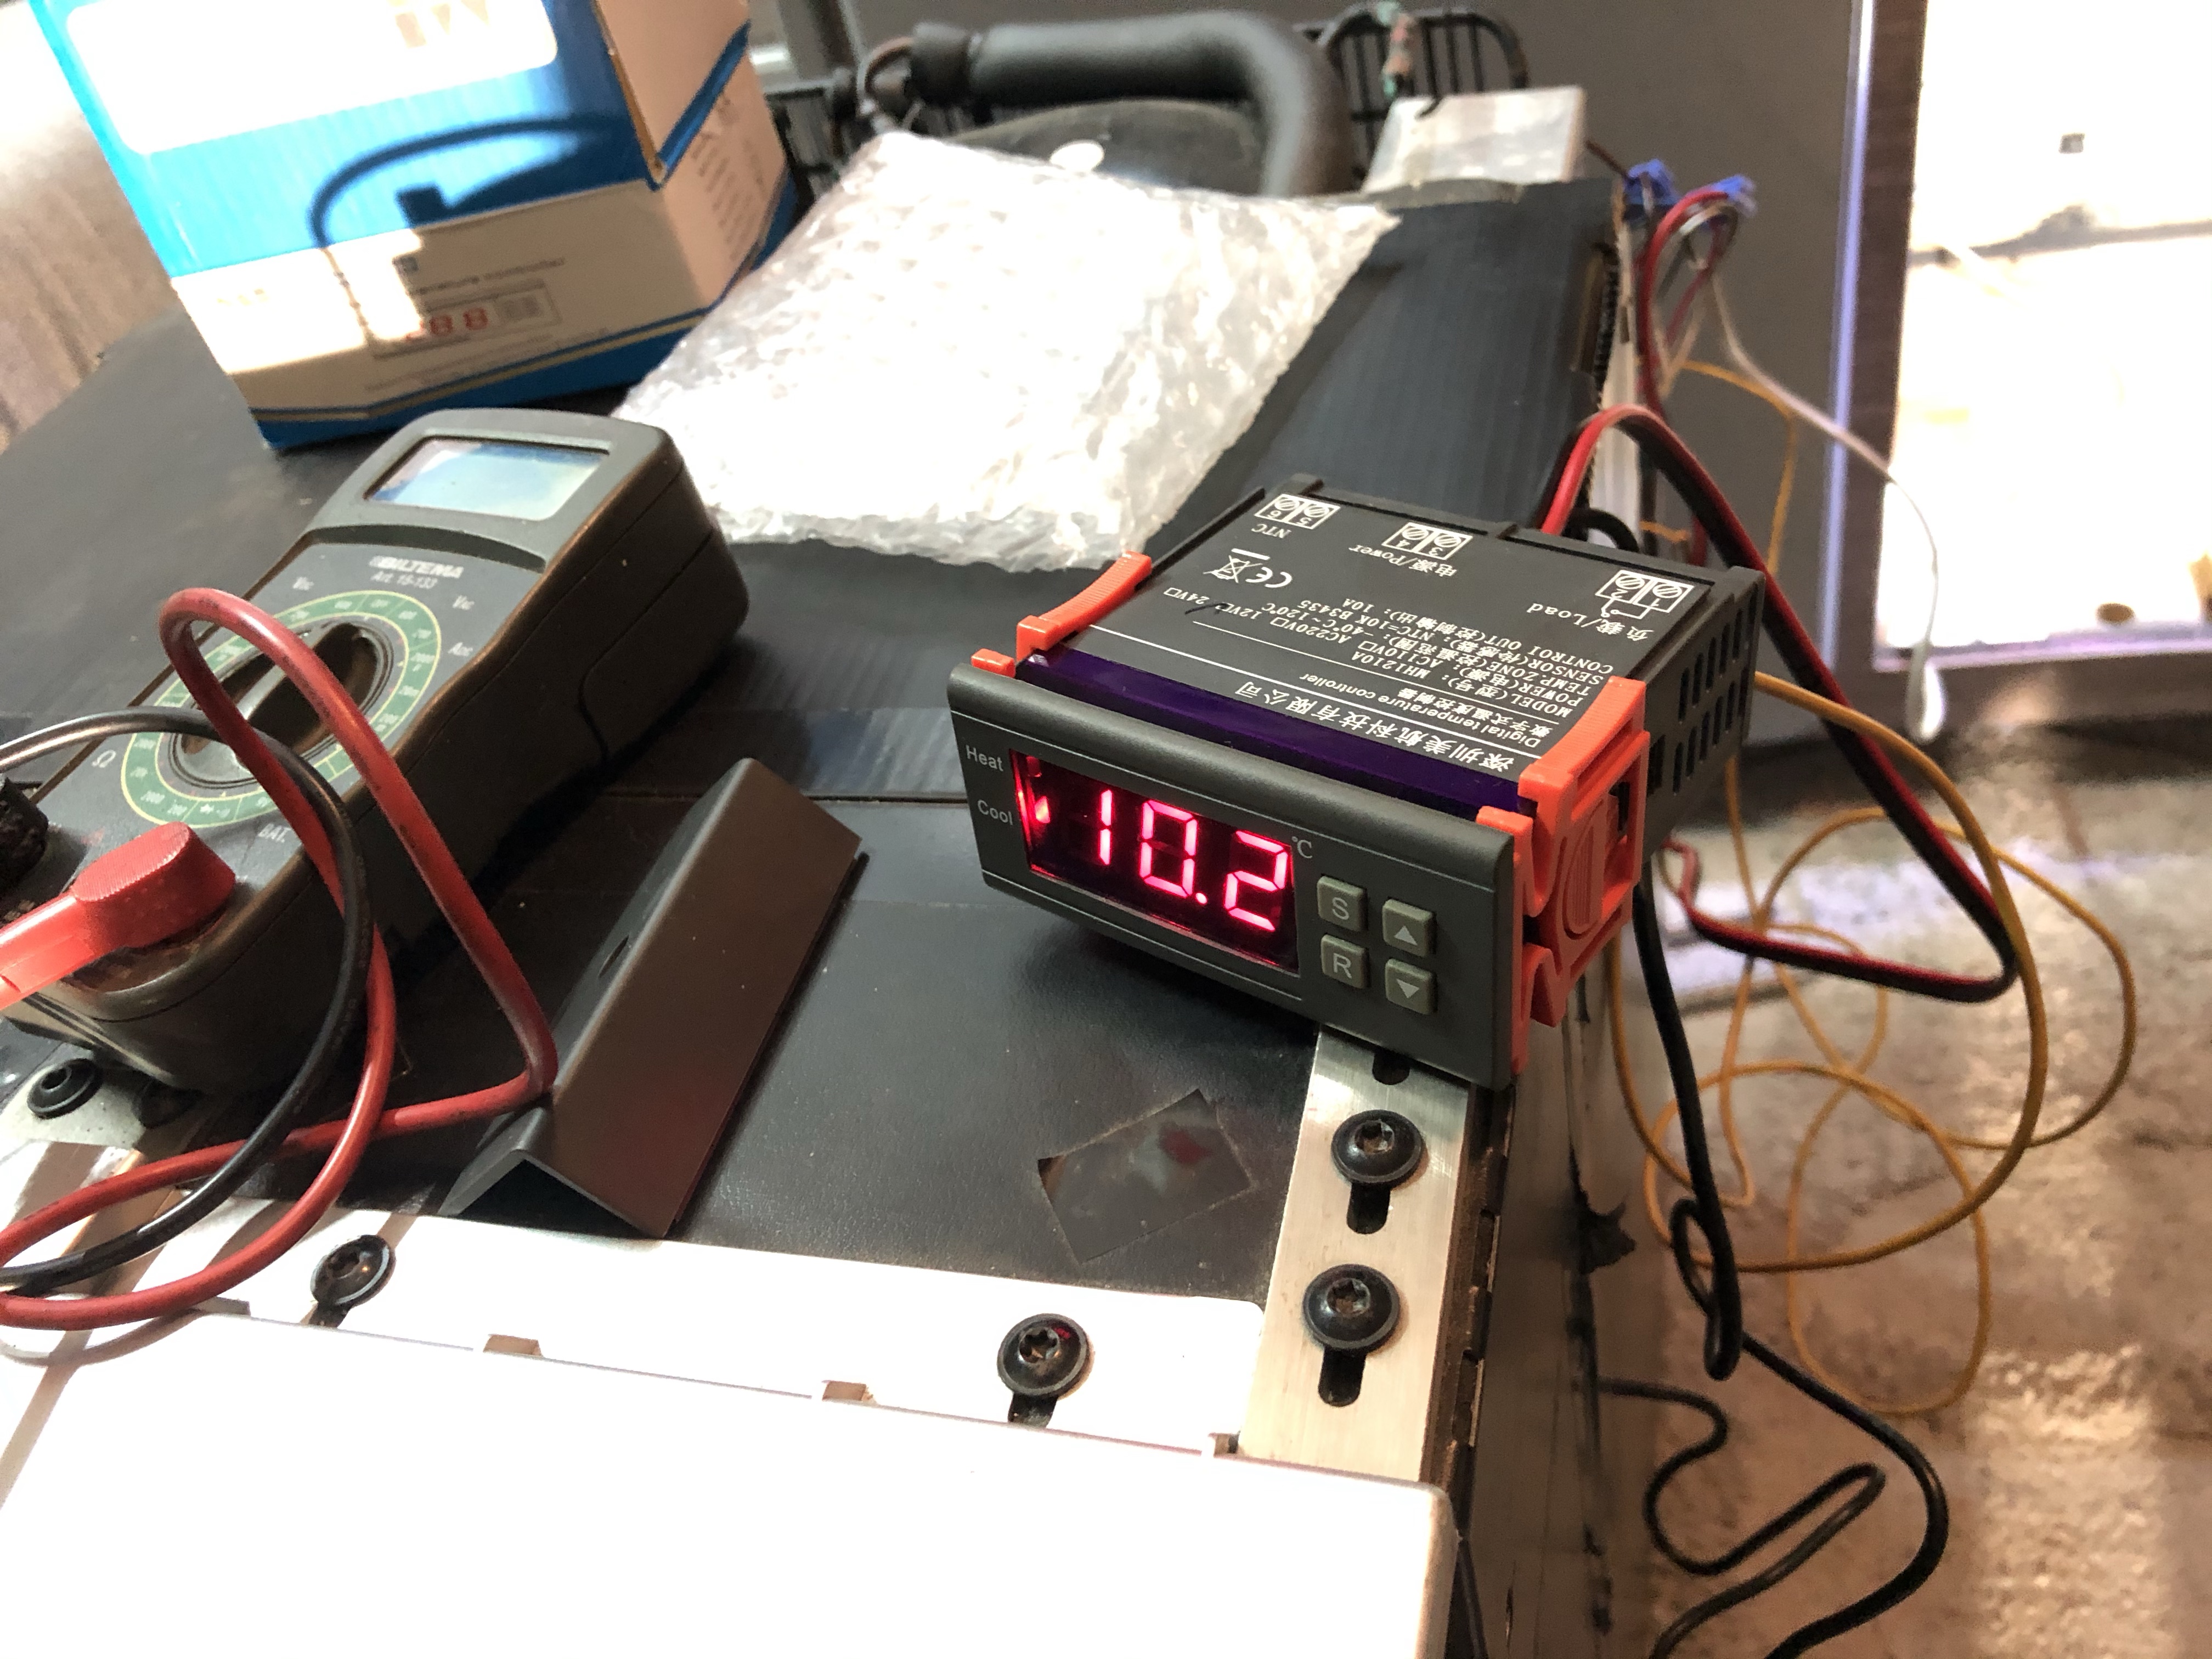
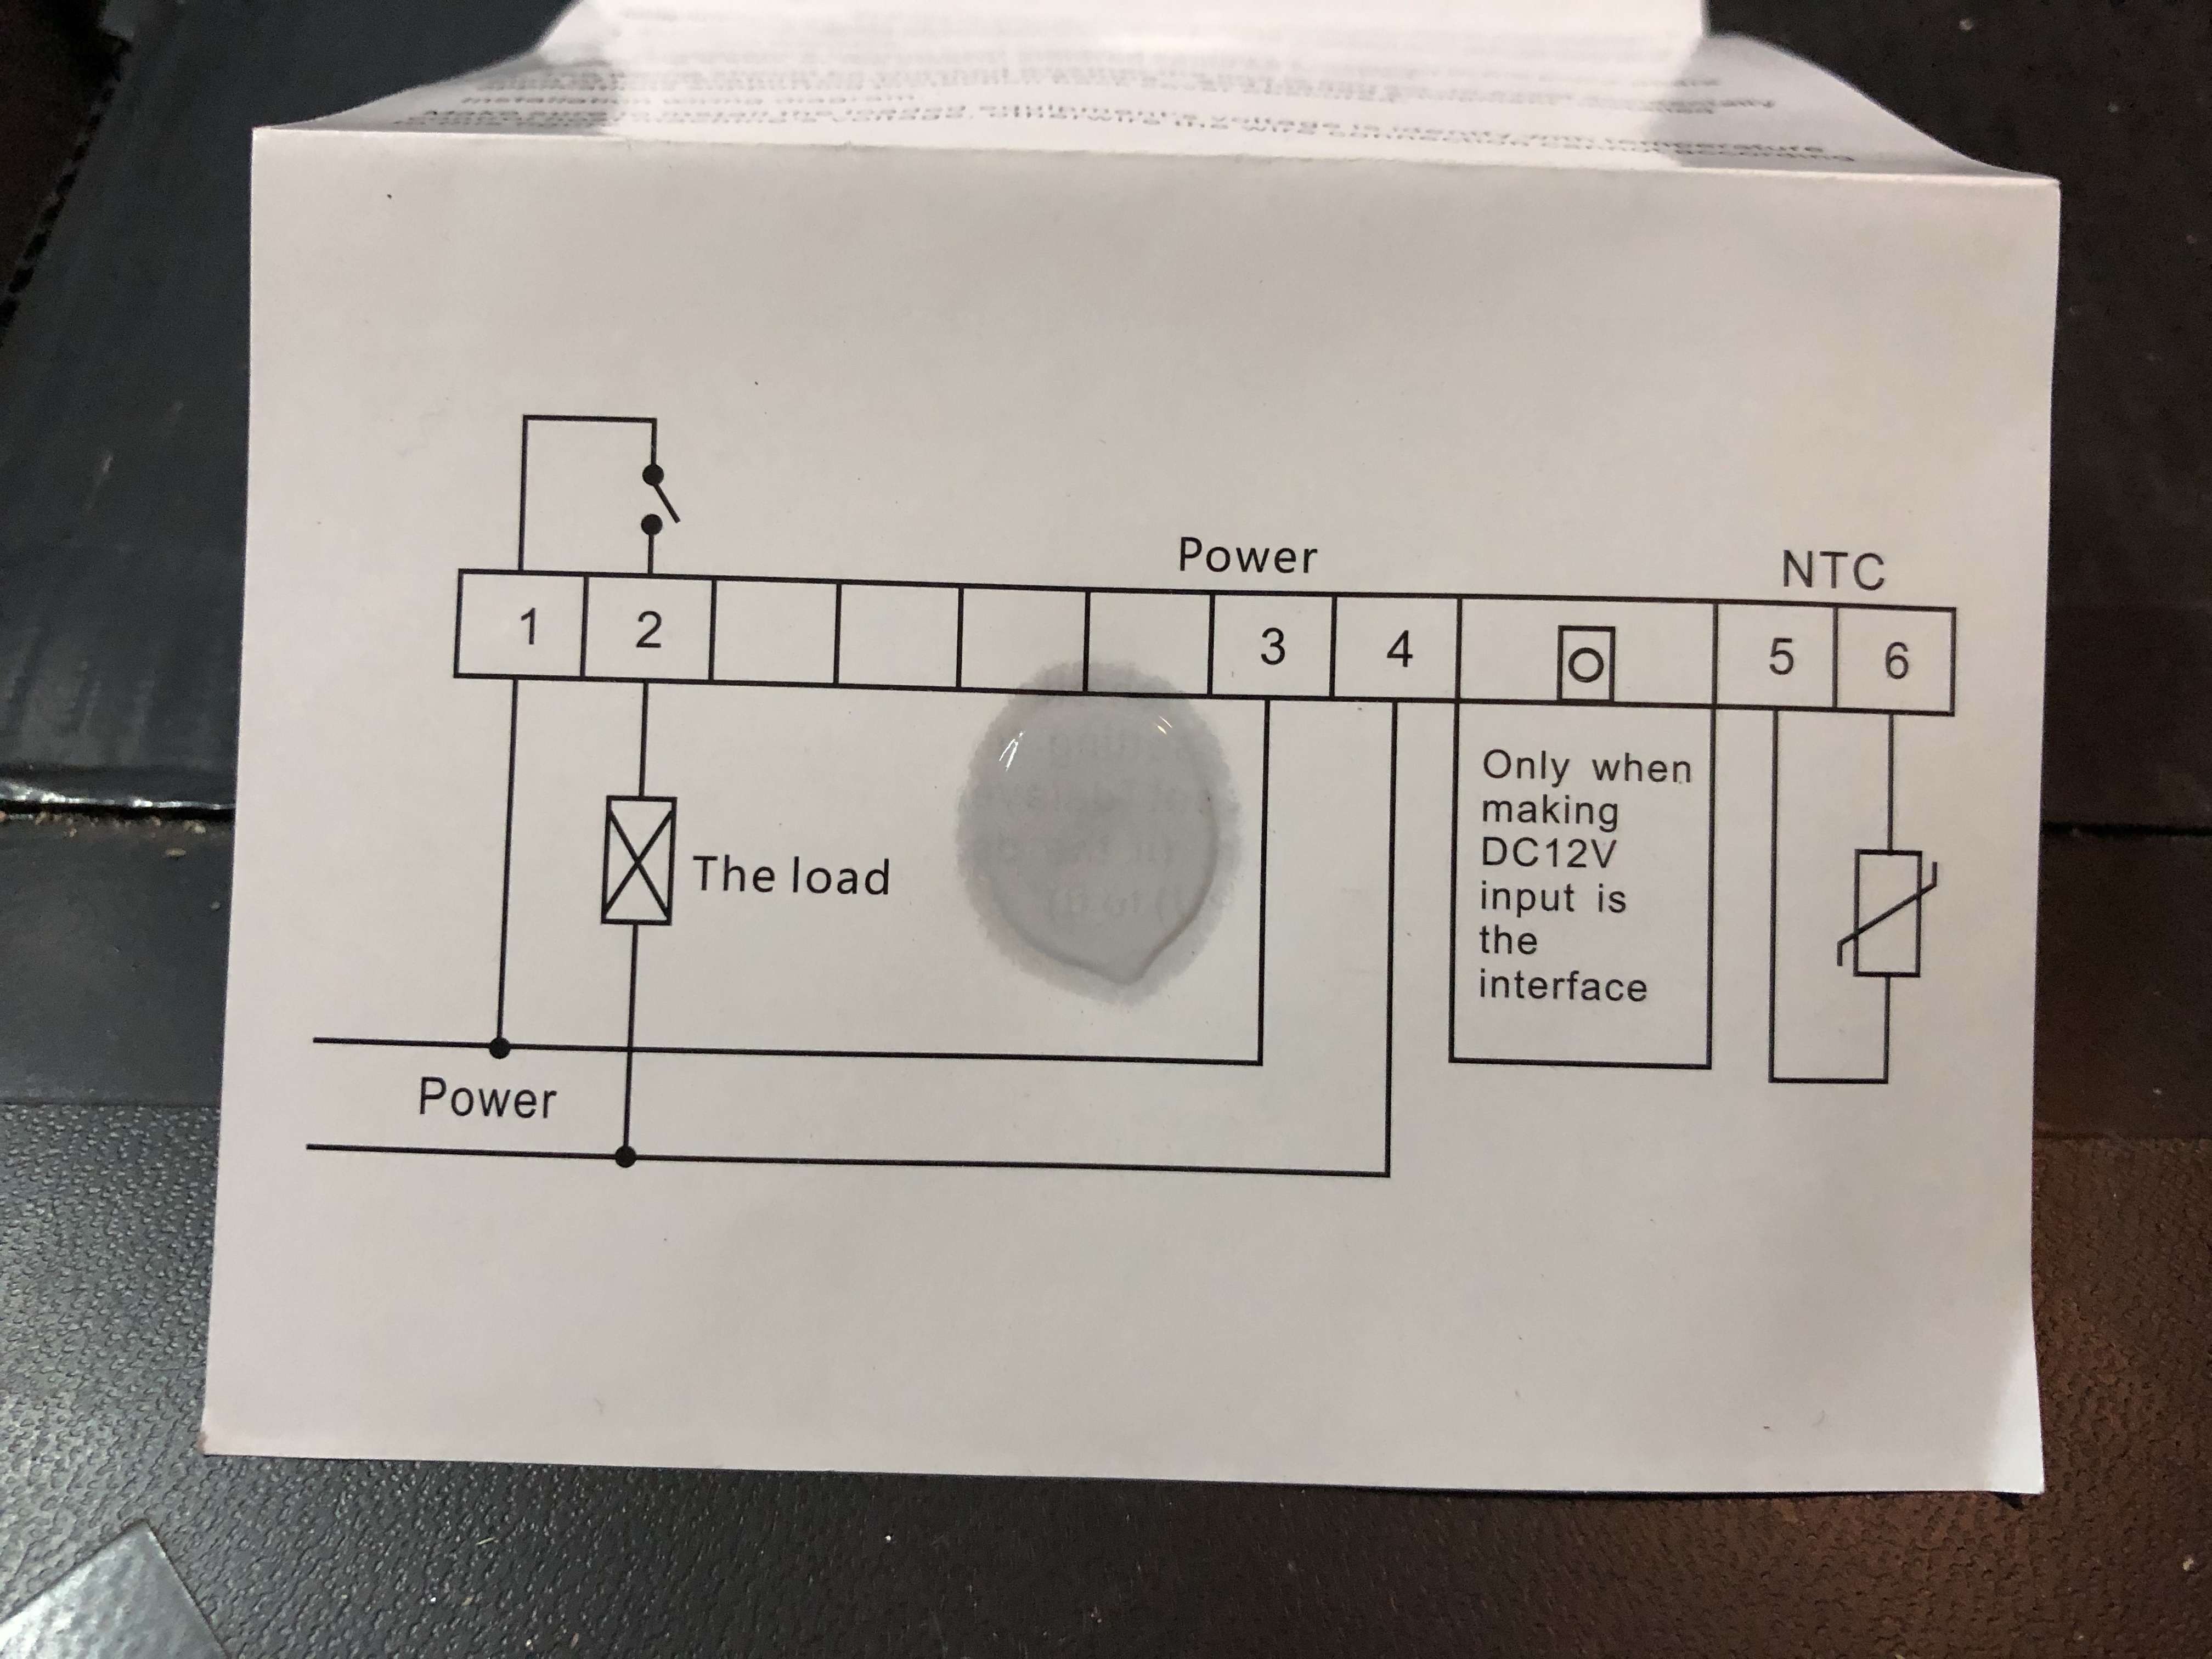
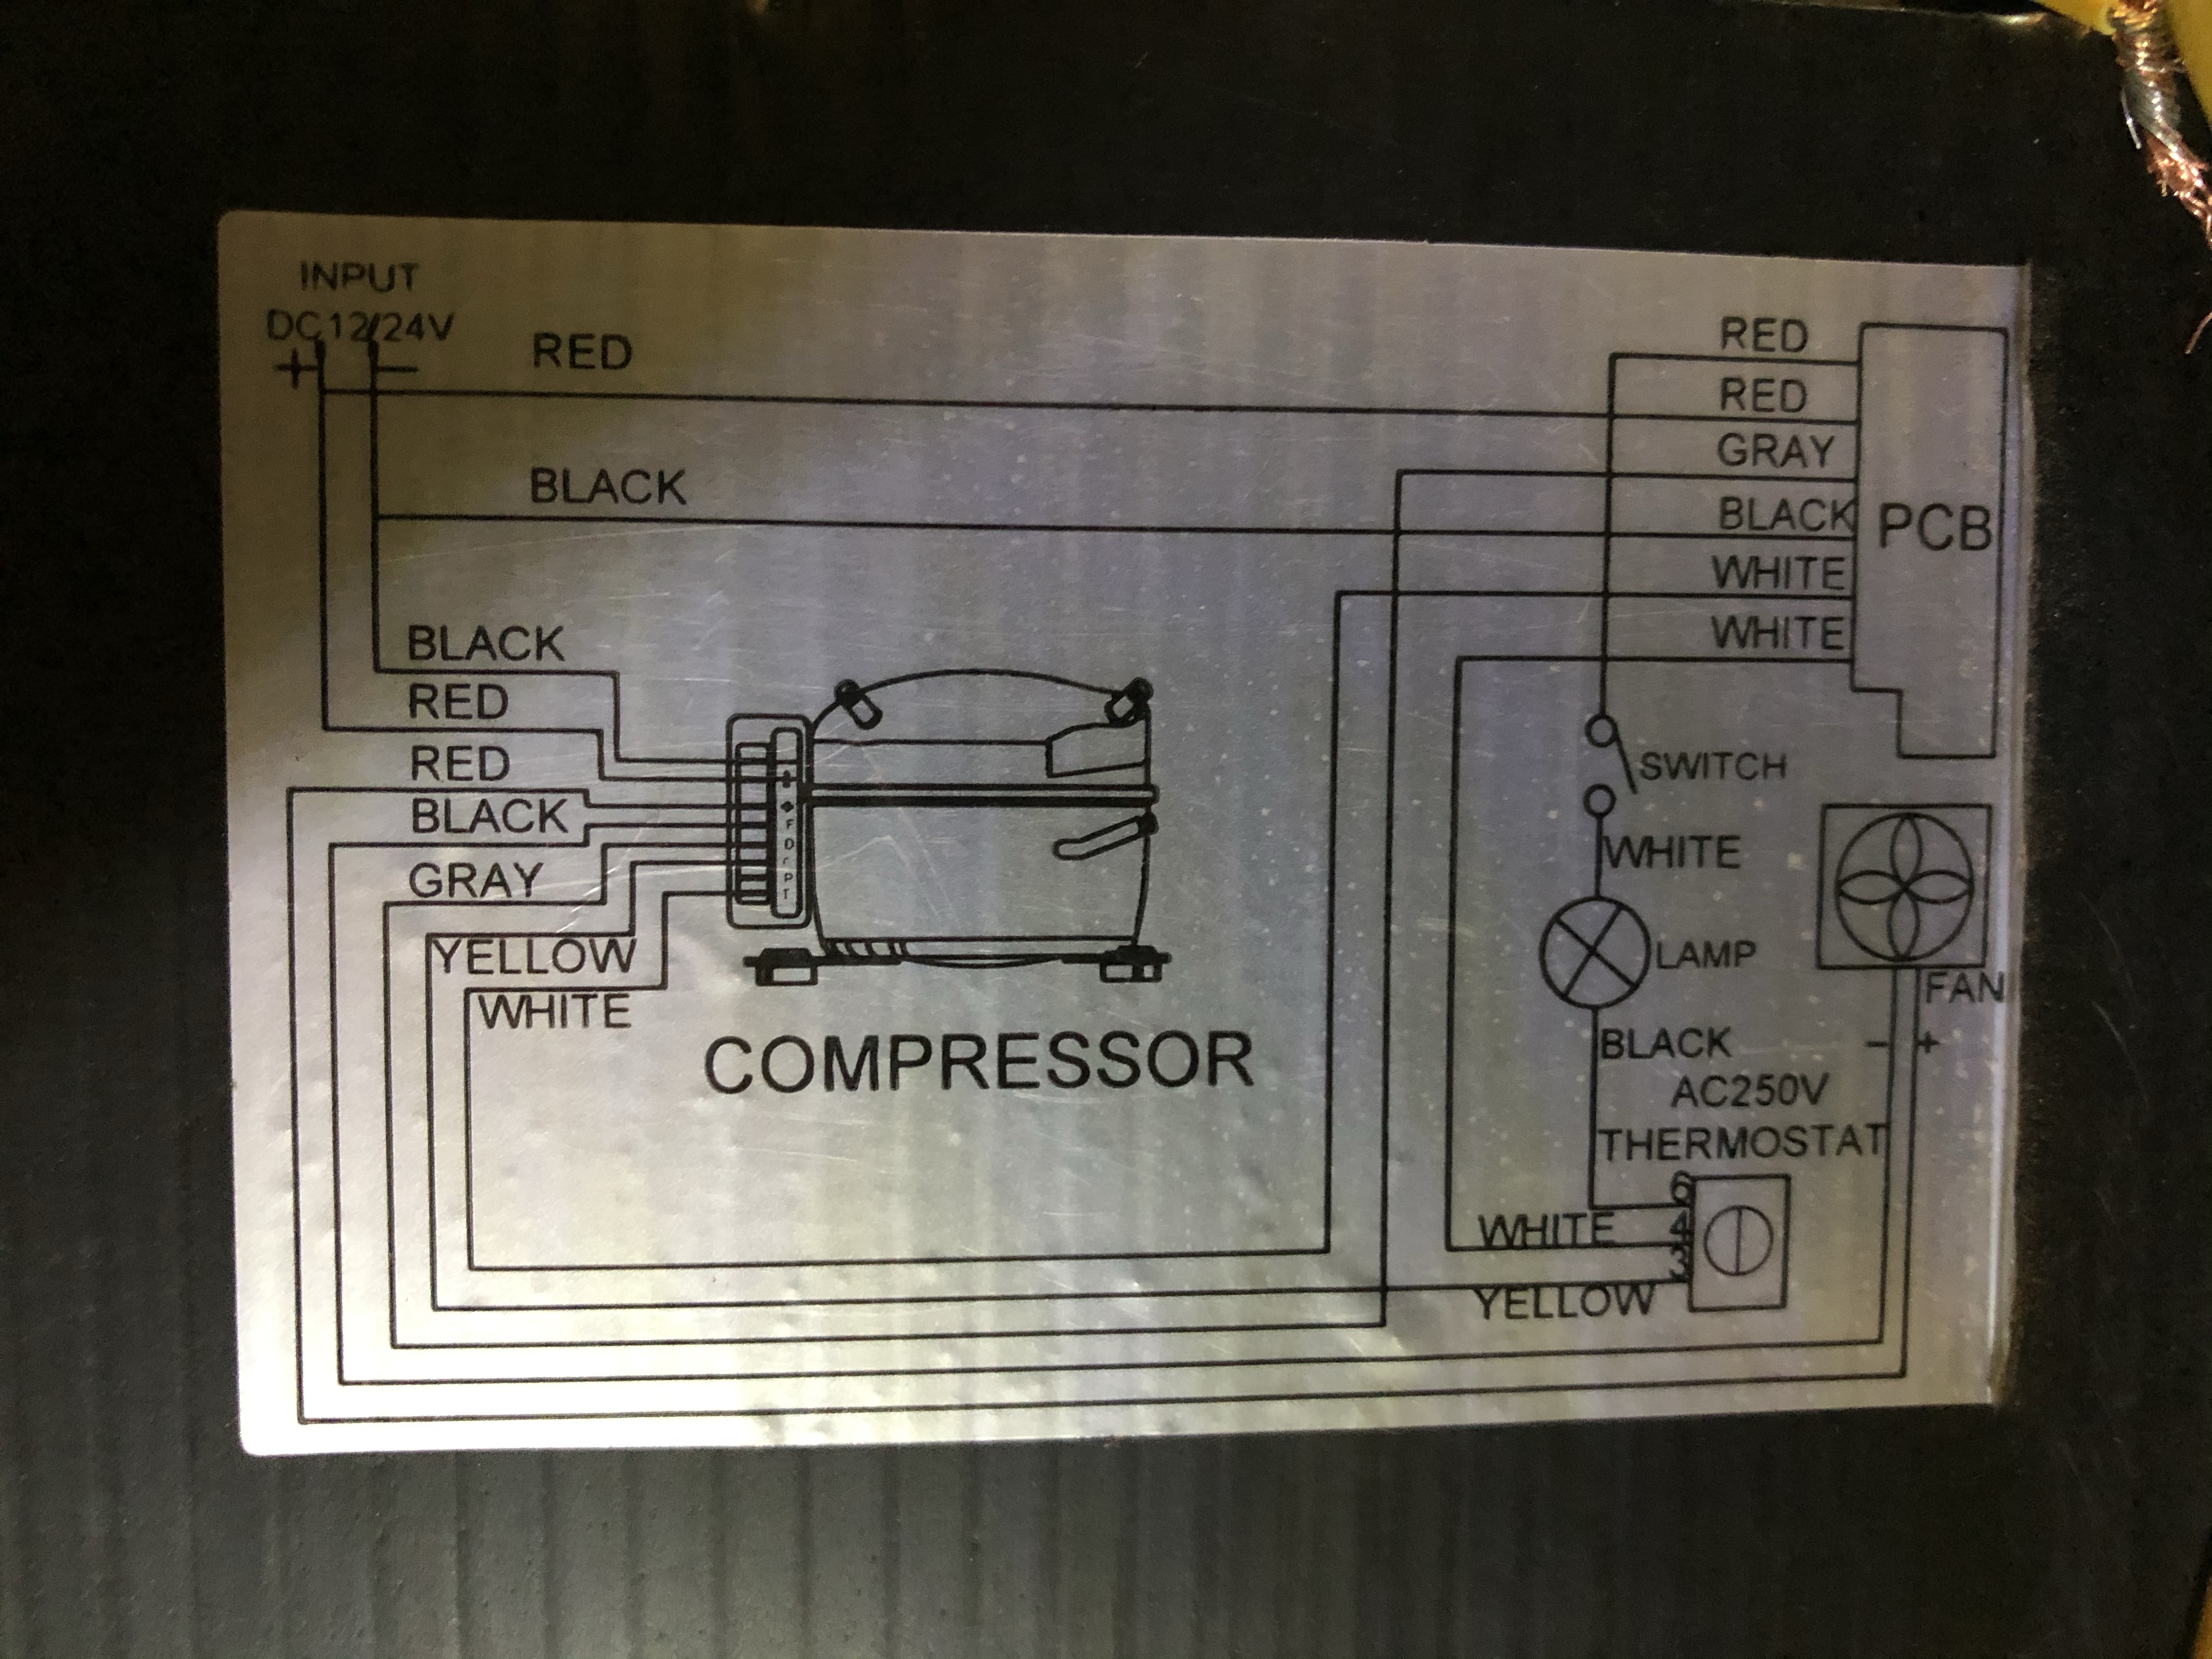
The fridge problem started last summer, and since it still cools and runs (could be used) the problem have not been fixed until now. The issue was that I just runs and runs until the battery’s was empty. So I changed to a new Waeco thermostat. But it was still behaving the same. Next thing to replace then would be the fridge controller unit and would cost around 300euros to buy as new spare part. A new fridge around 600+euros.
Instead I bought a 20euros universal digital temp controller and wired it in, replacing the old mechanical thermostat. It now works great, keeps the temperature more stable and uses less energy. I can even see the present temp inside the fridge on the display, and I can now change temp settnings without open the fridge door (and letting all cold out). If you have the same problems with your Waeco or Dometic 12v fridge I can really recommend to upgrade to a digital thermostat instead ? I also added a extra computer fan for better ventilation inside the cabinet on hot summer days, compressor will be happy 🙂

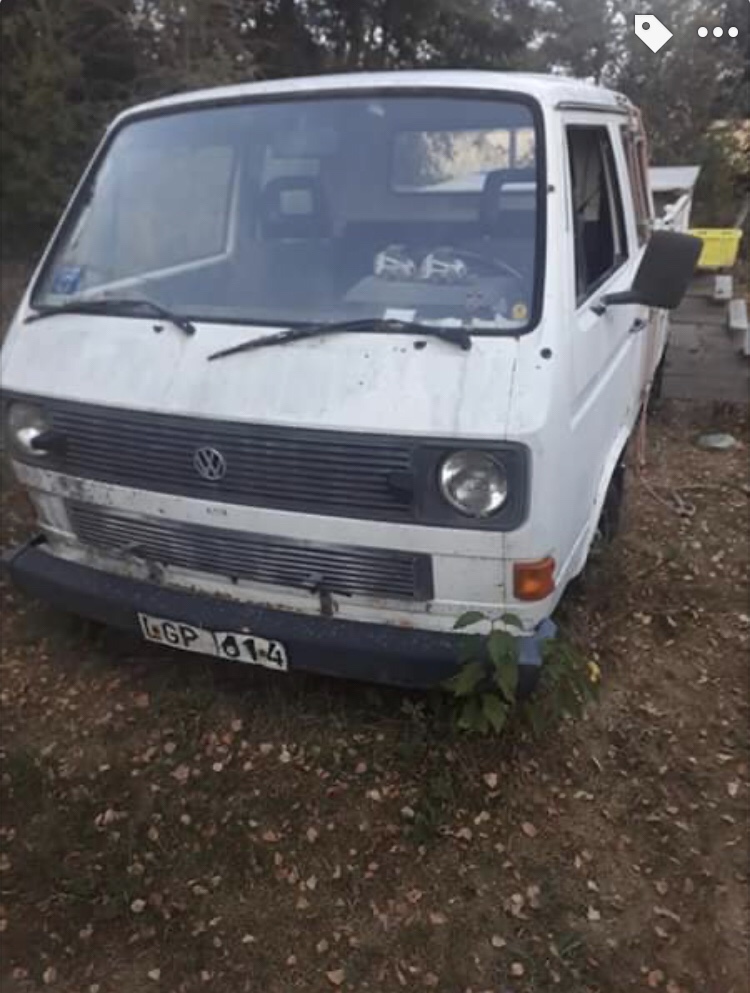
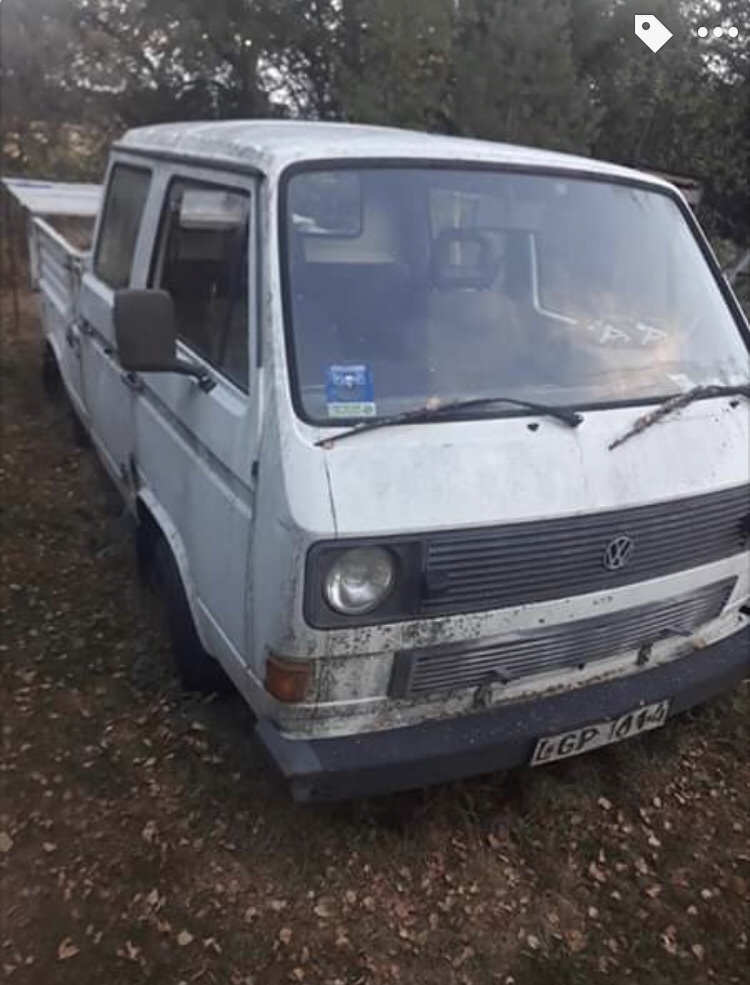
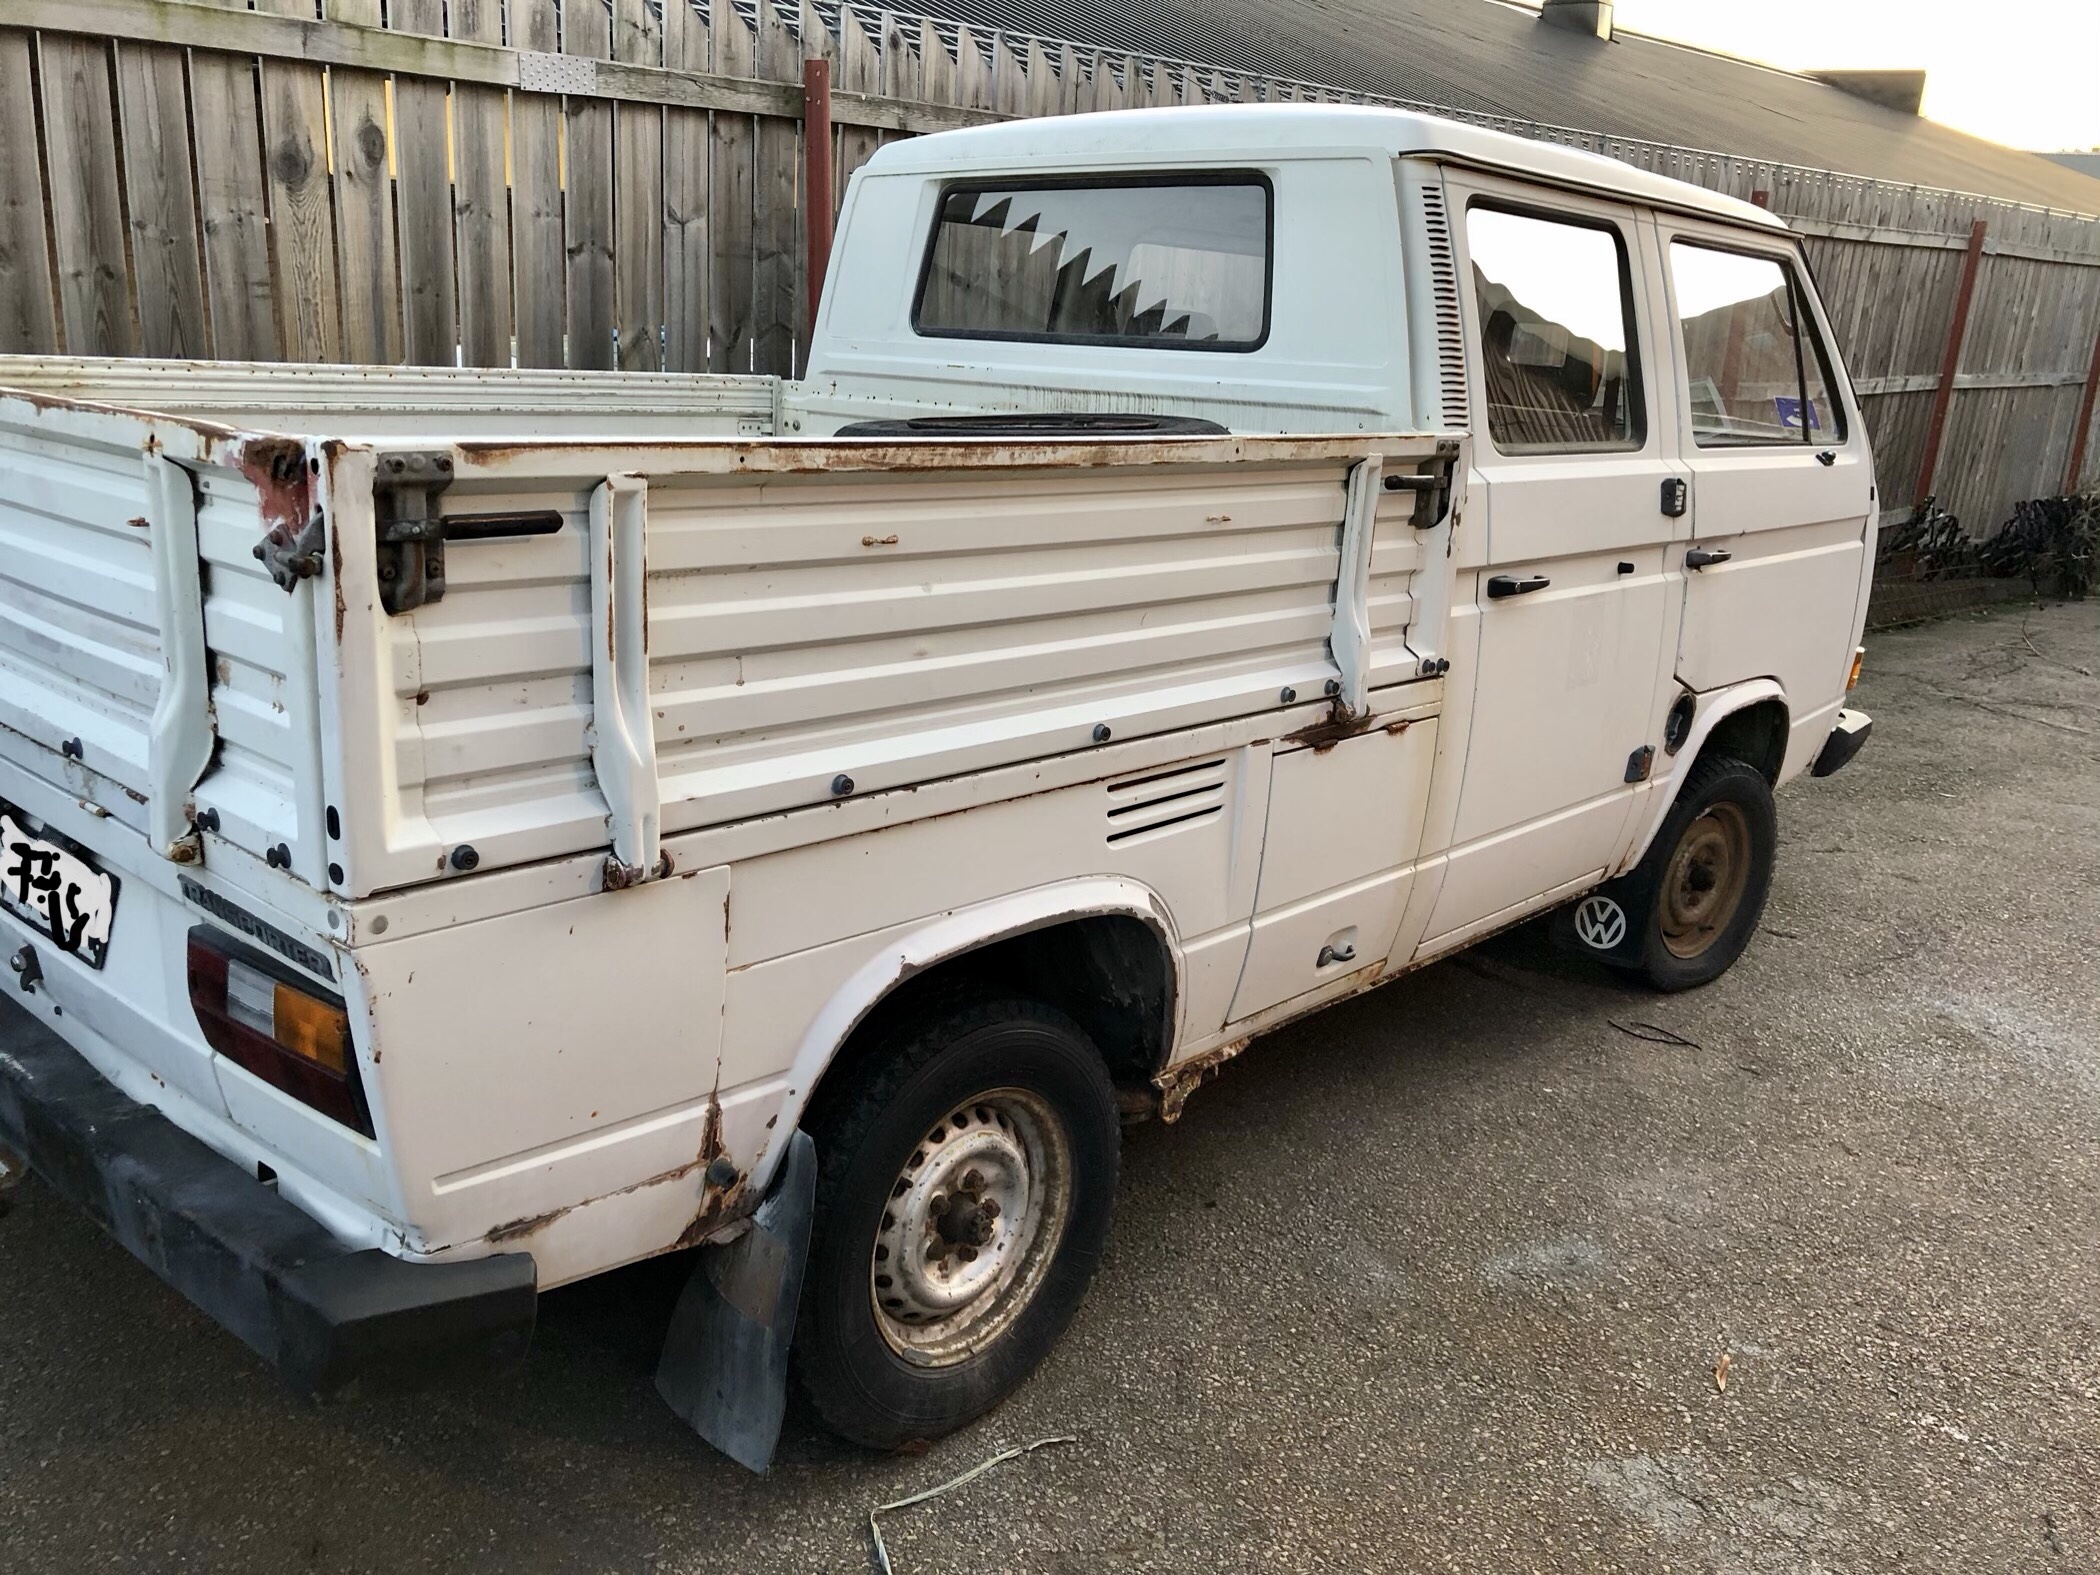
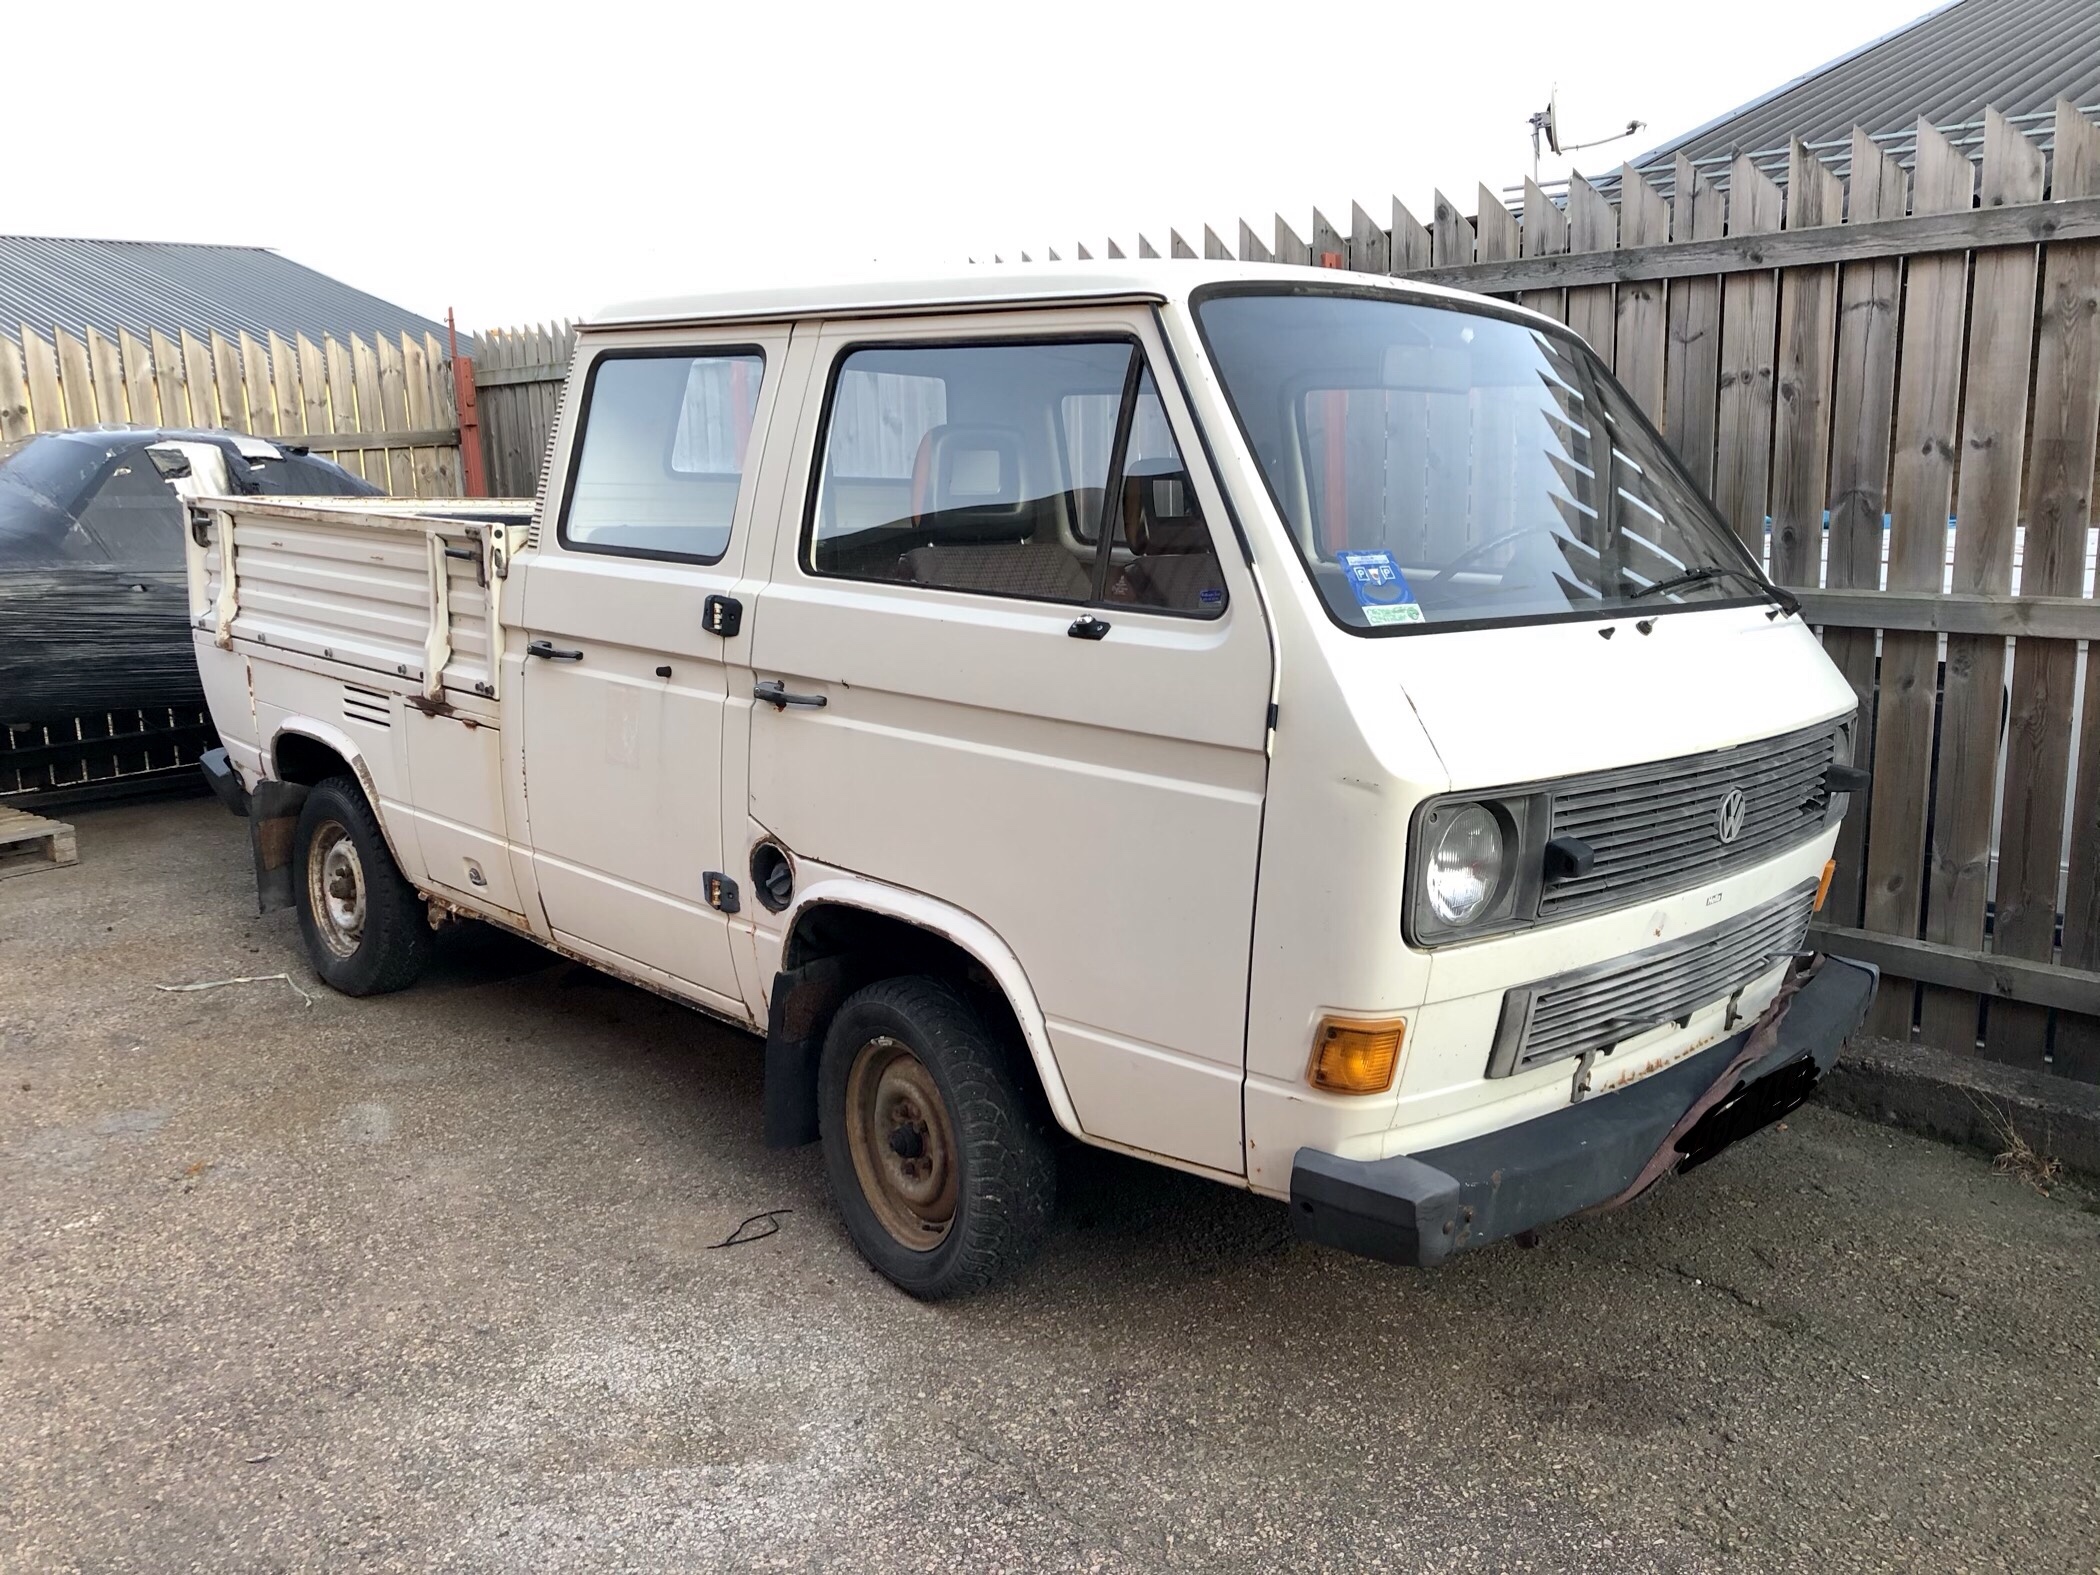
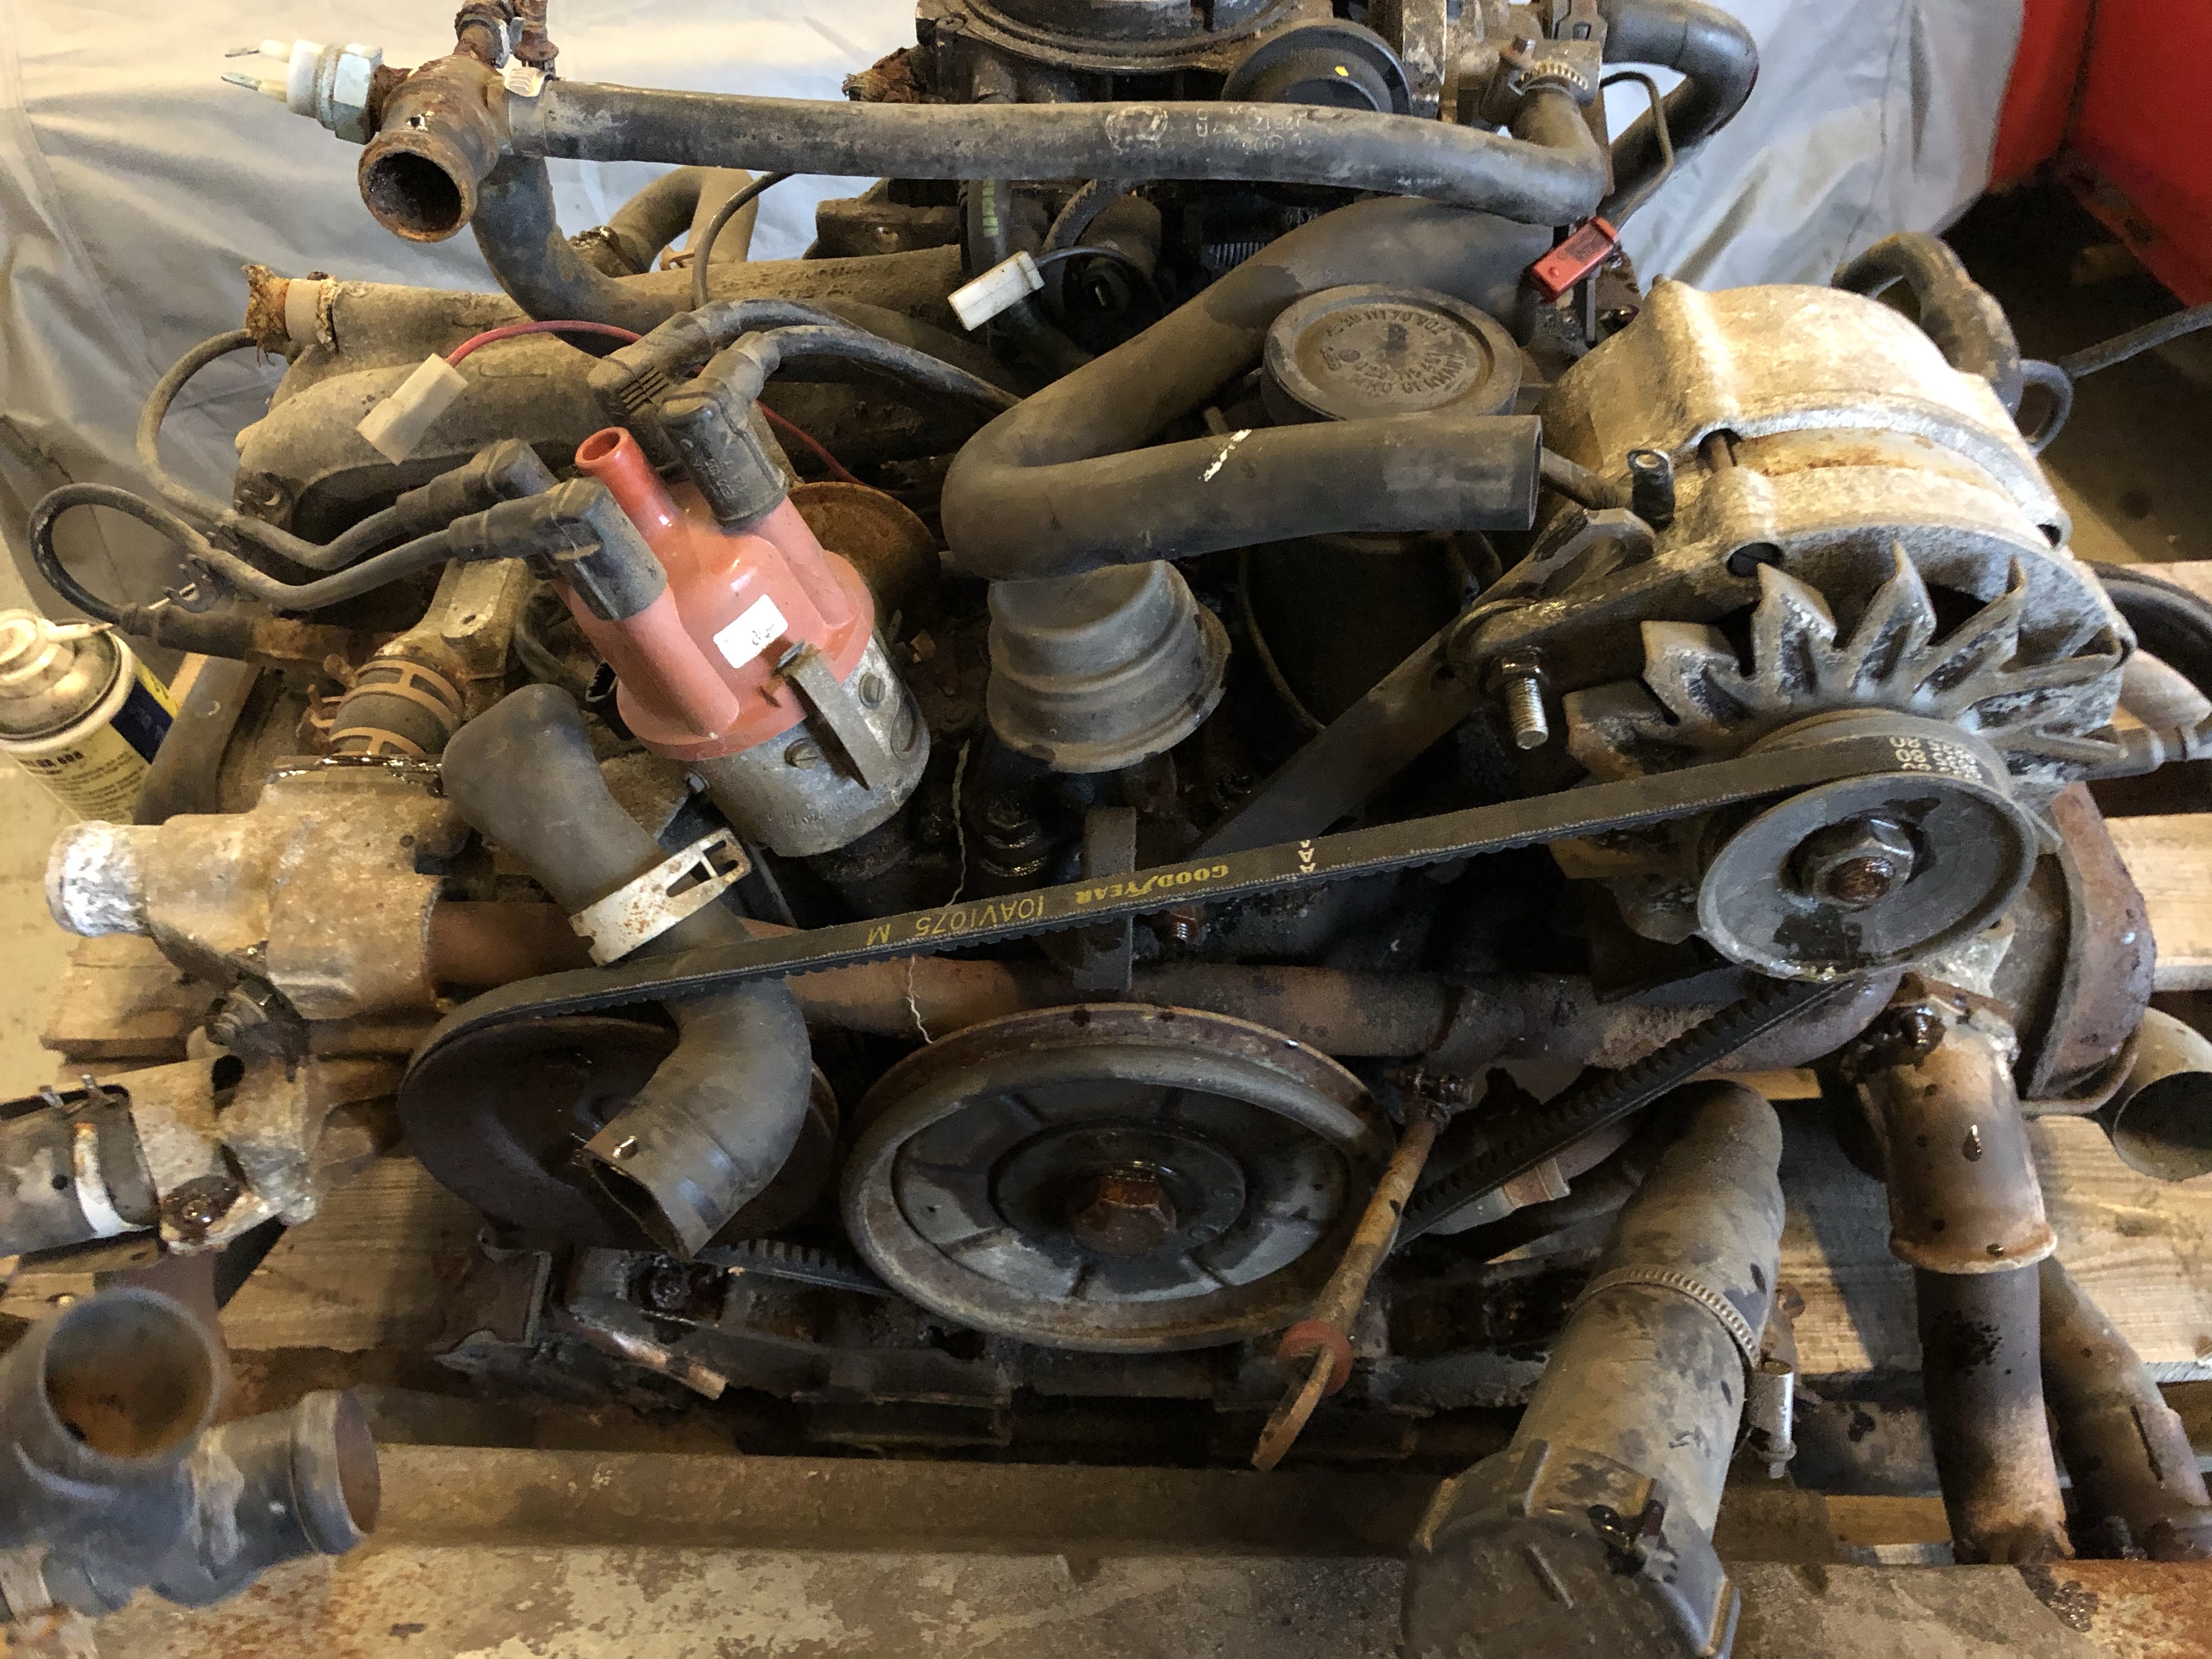
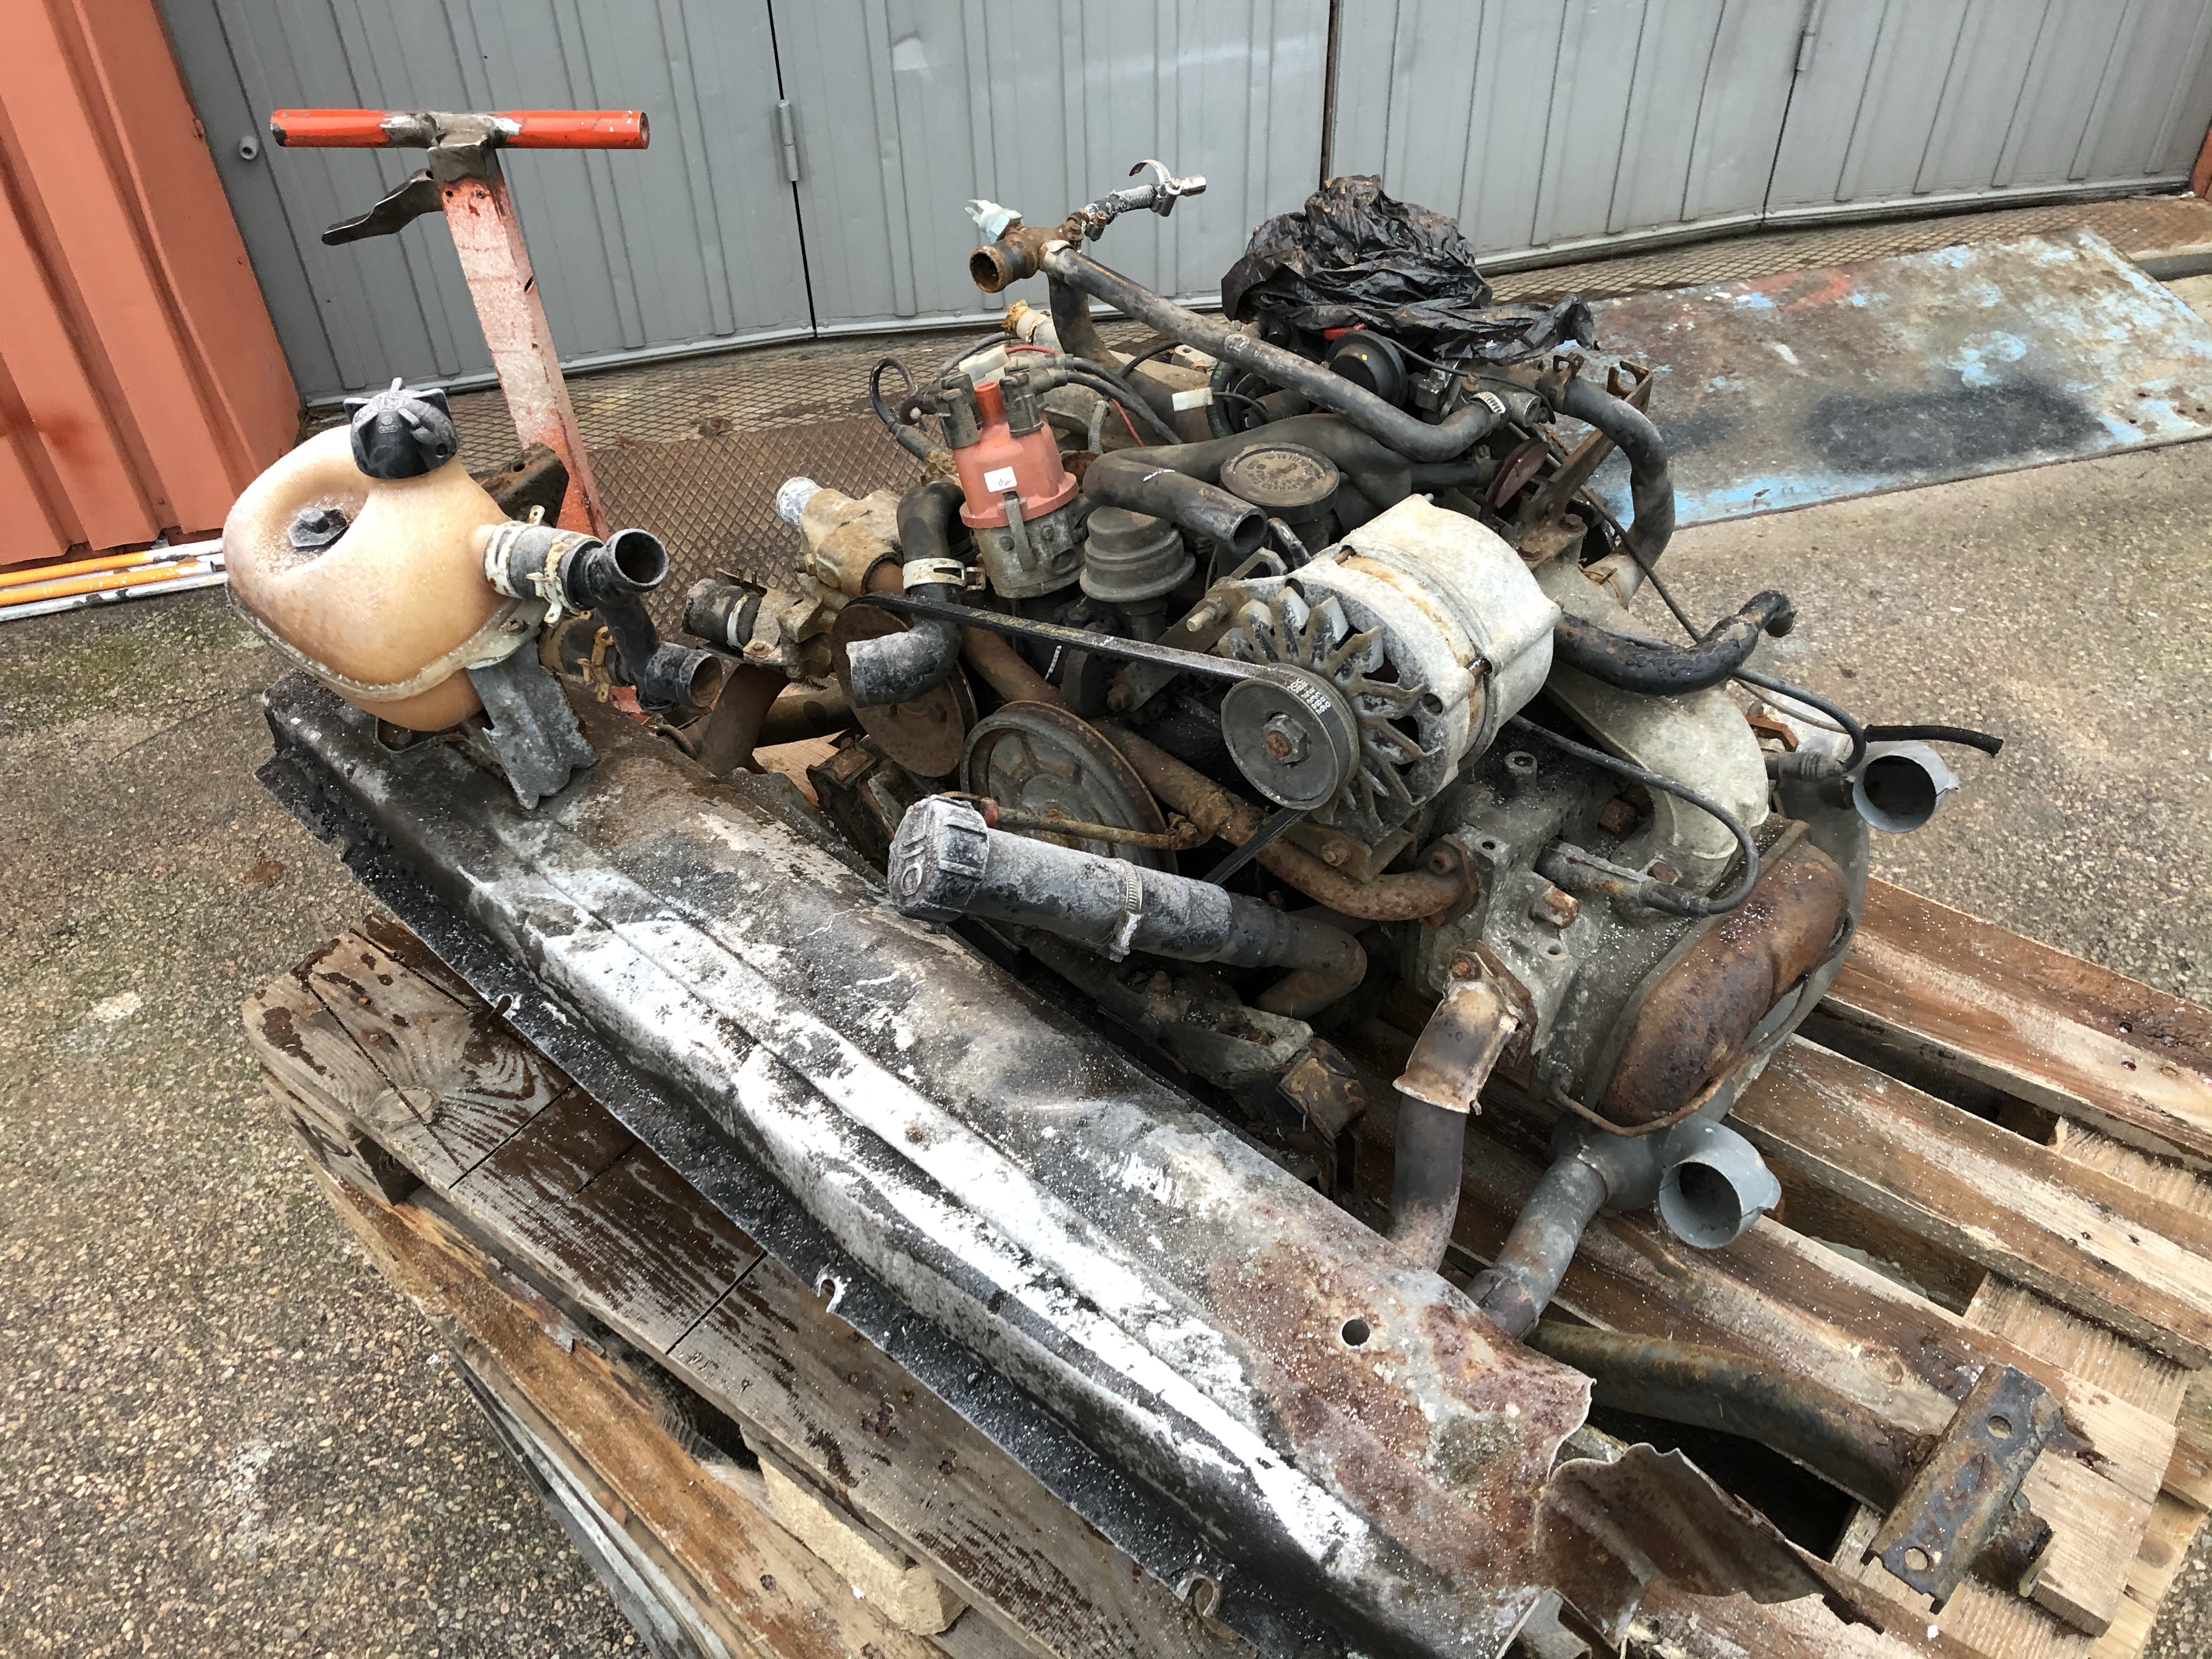
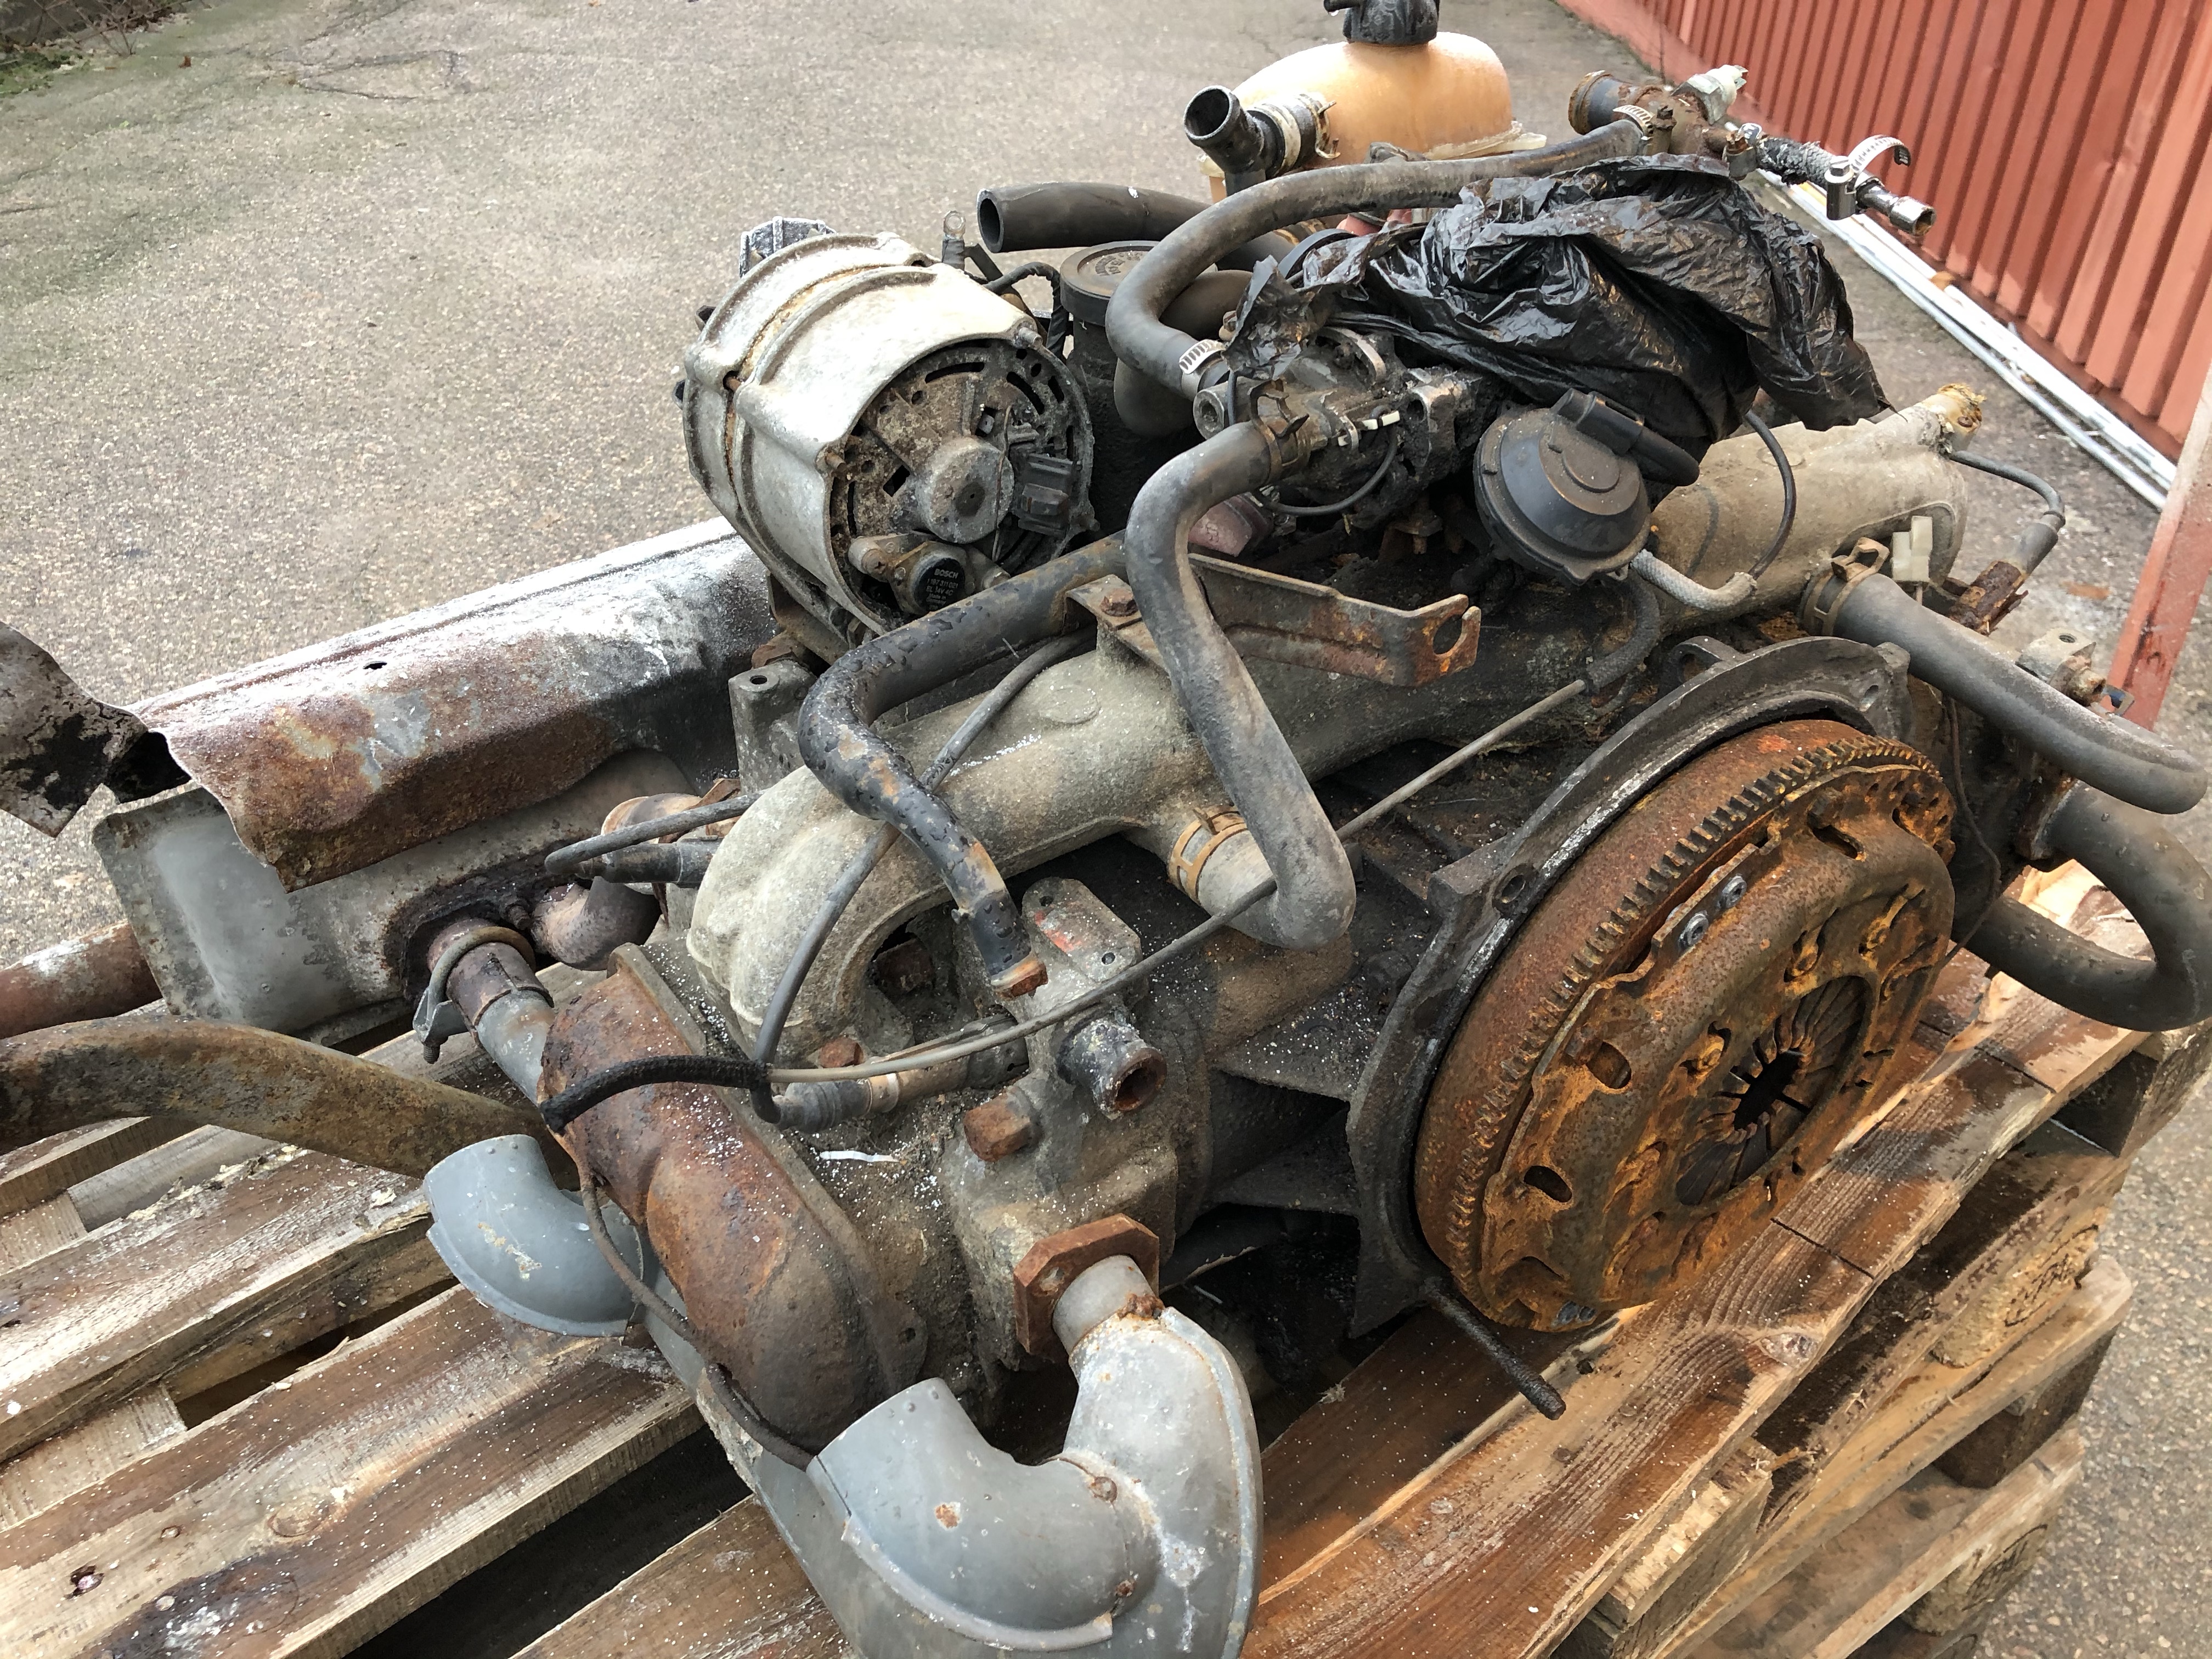
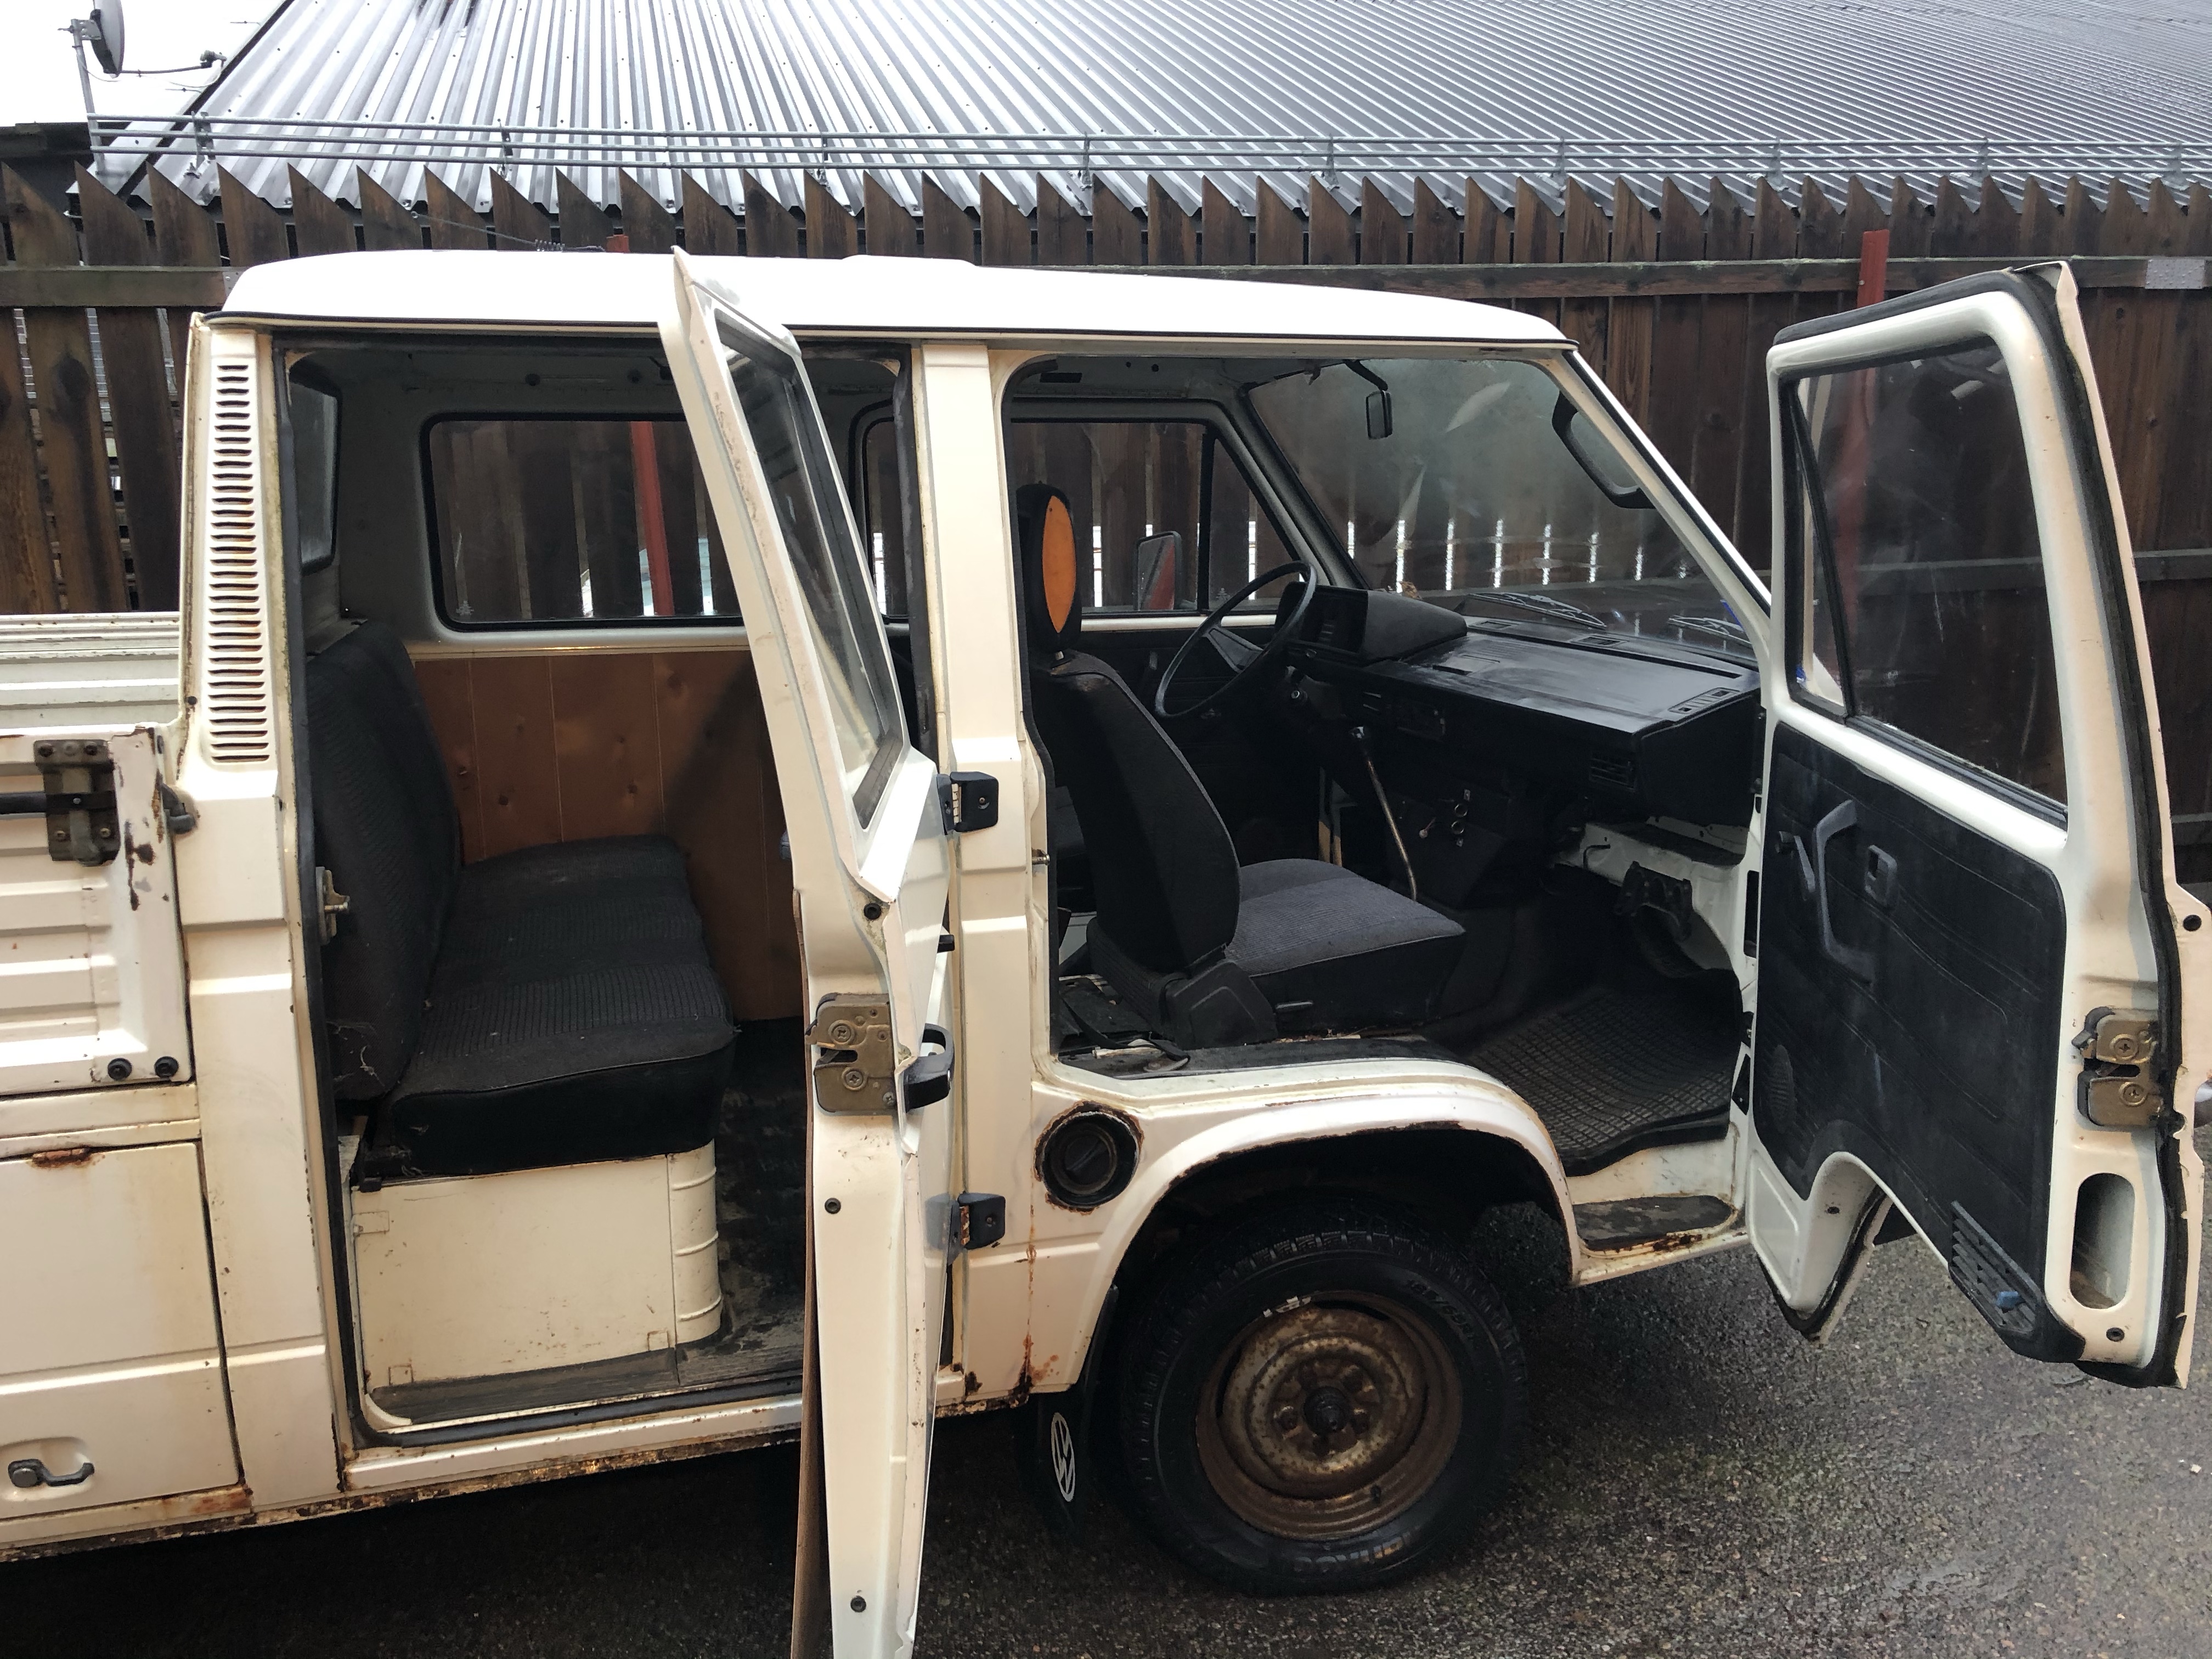
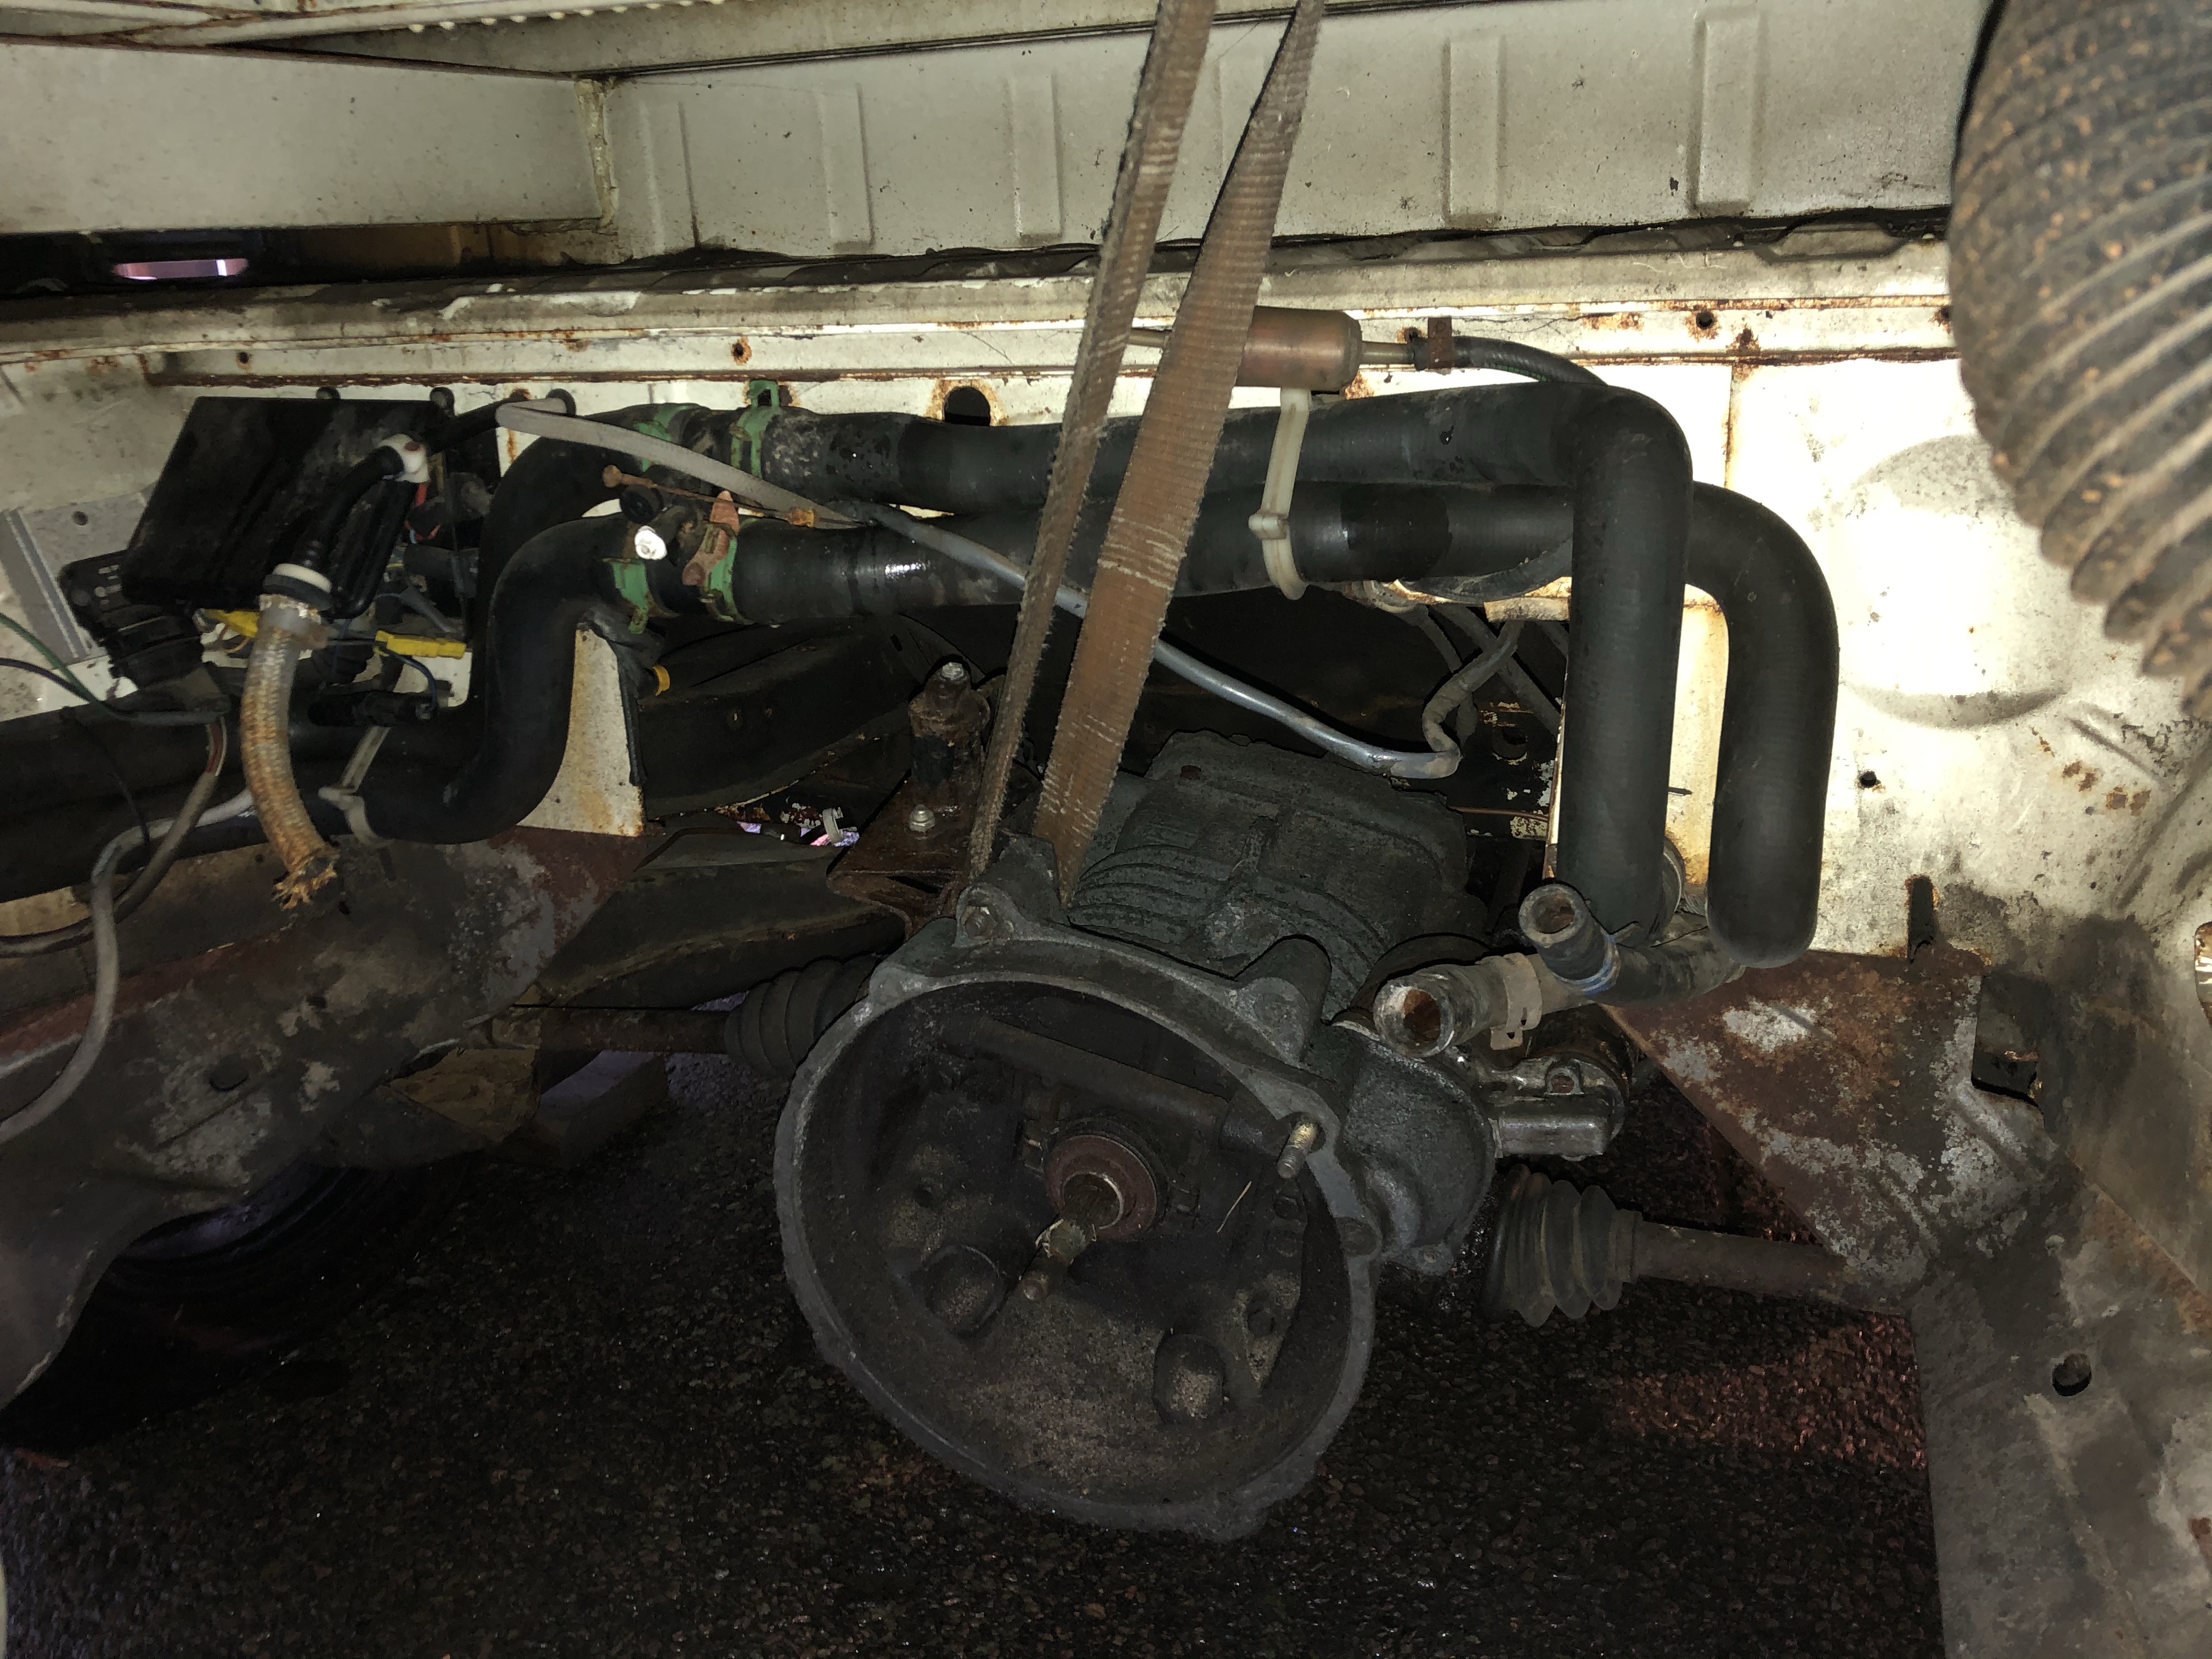
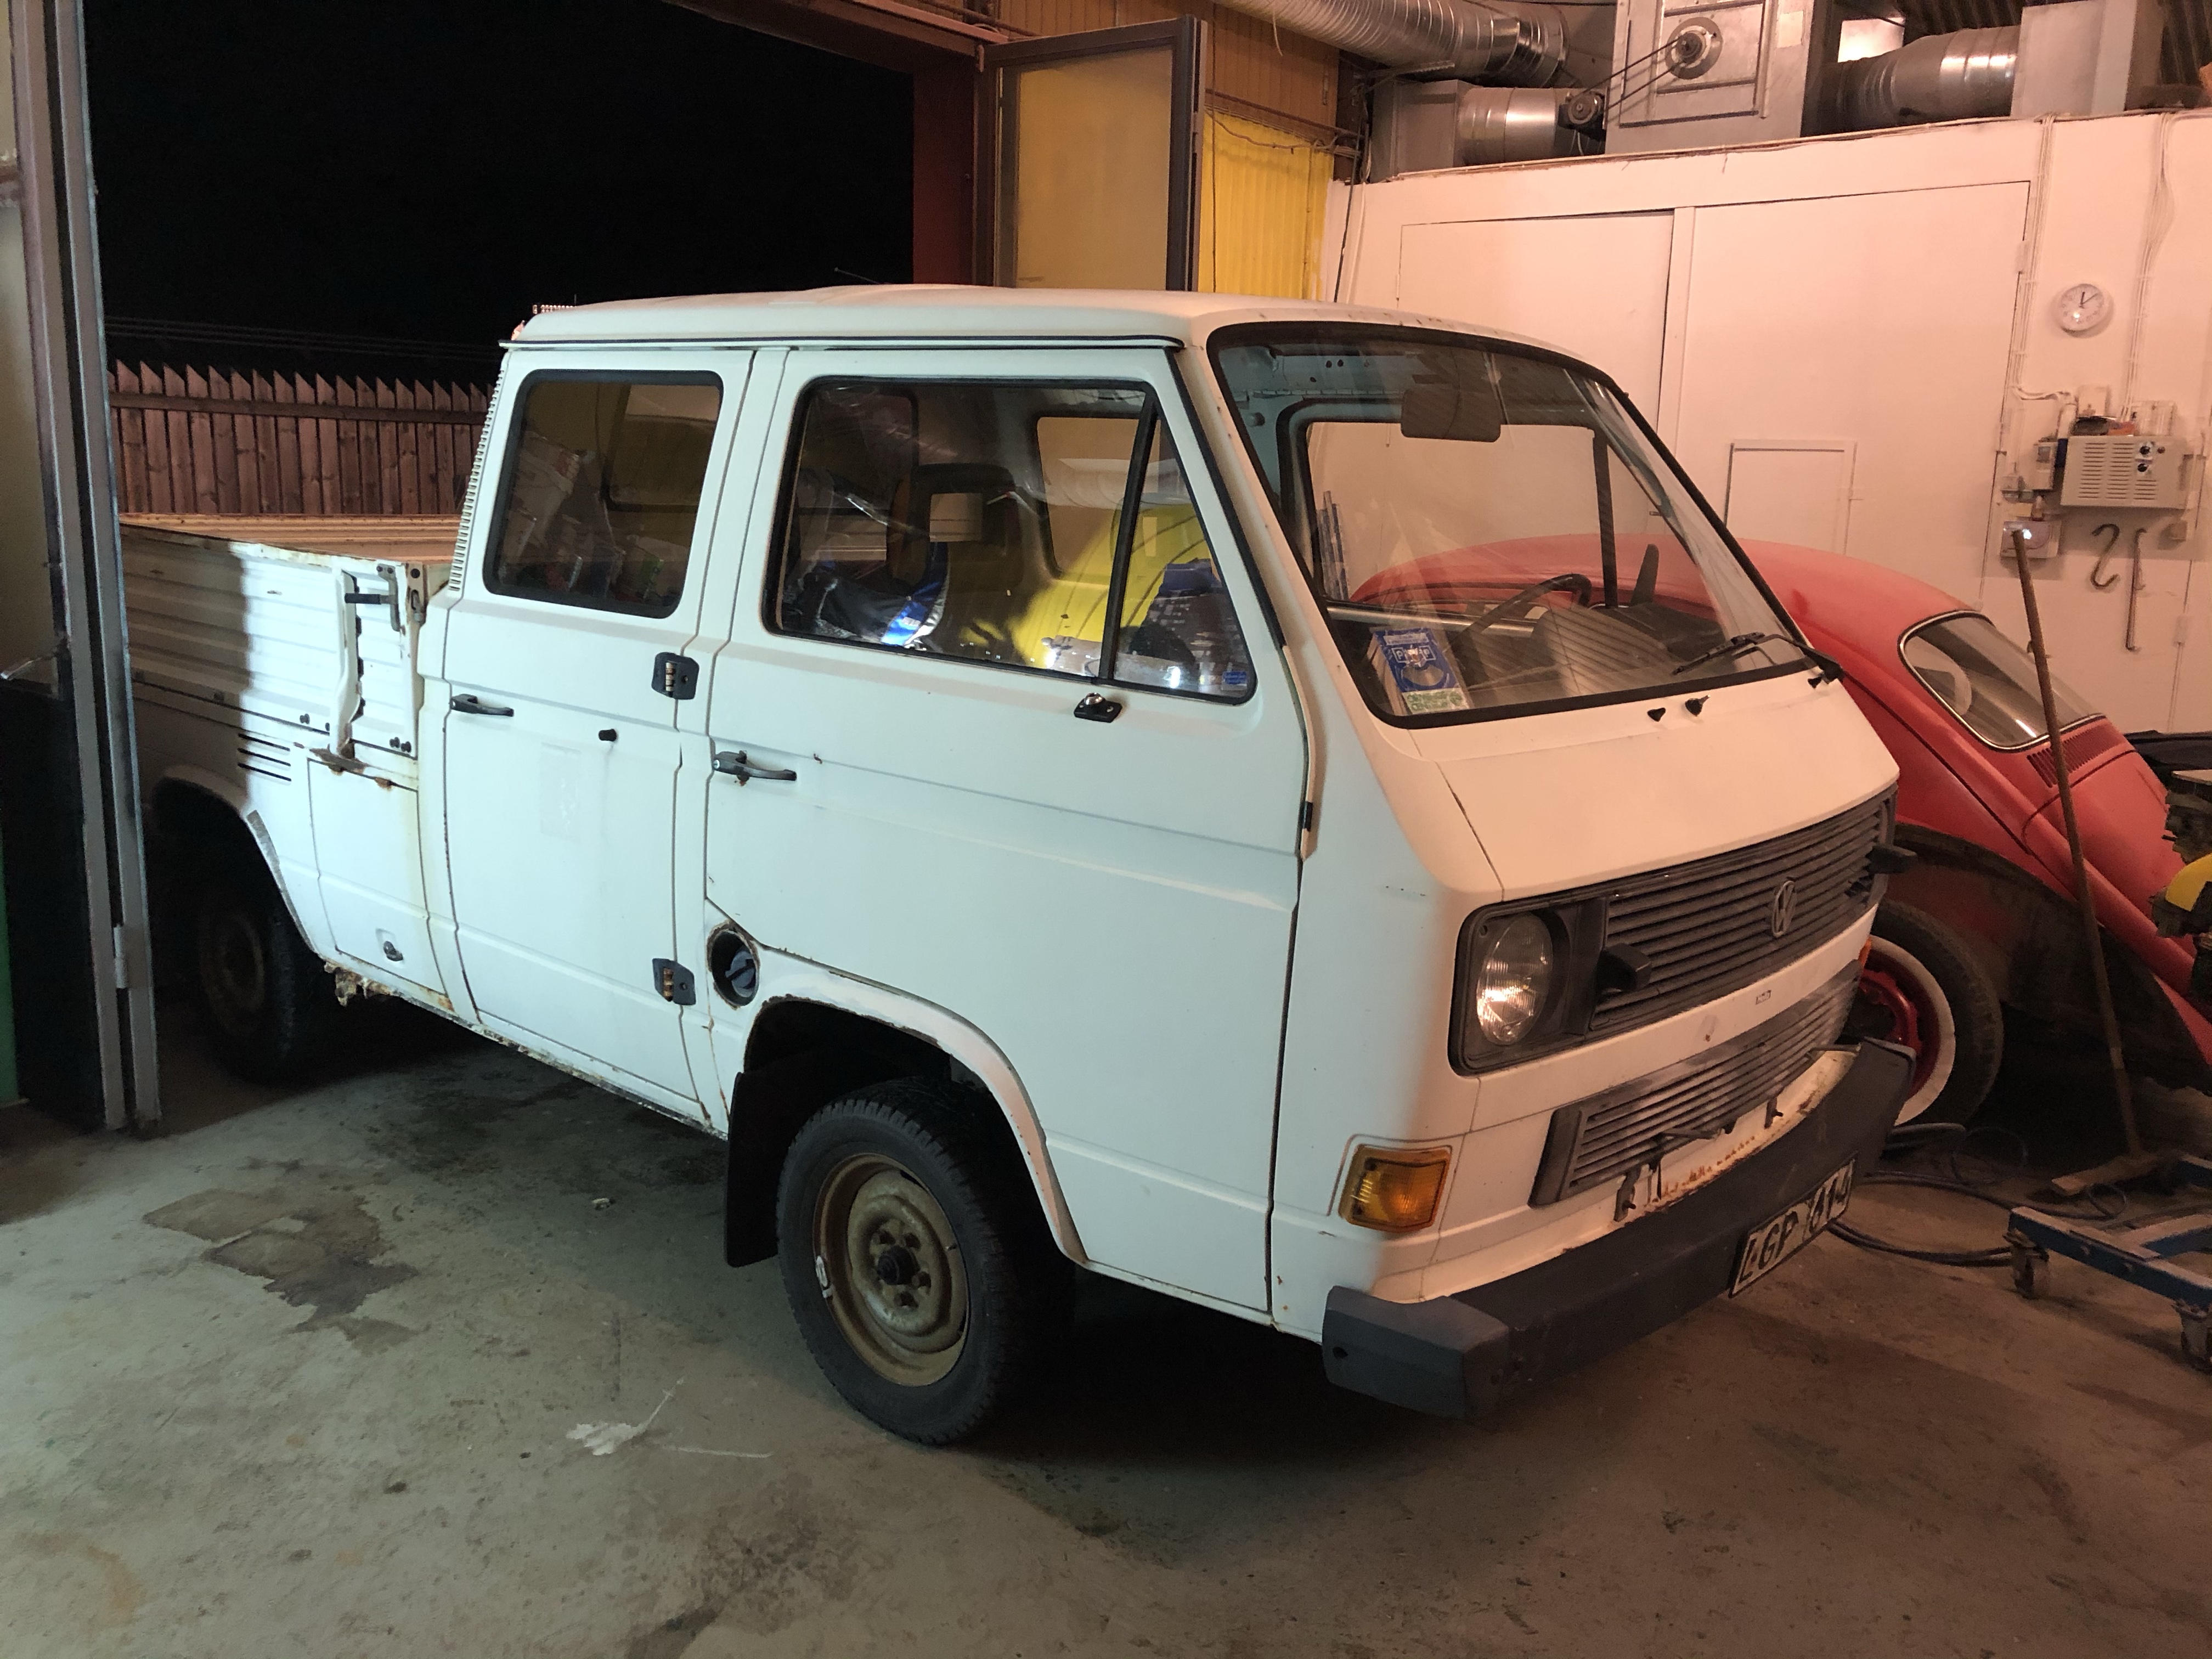
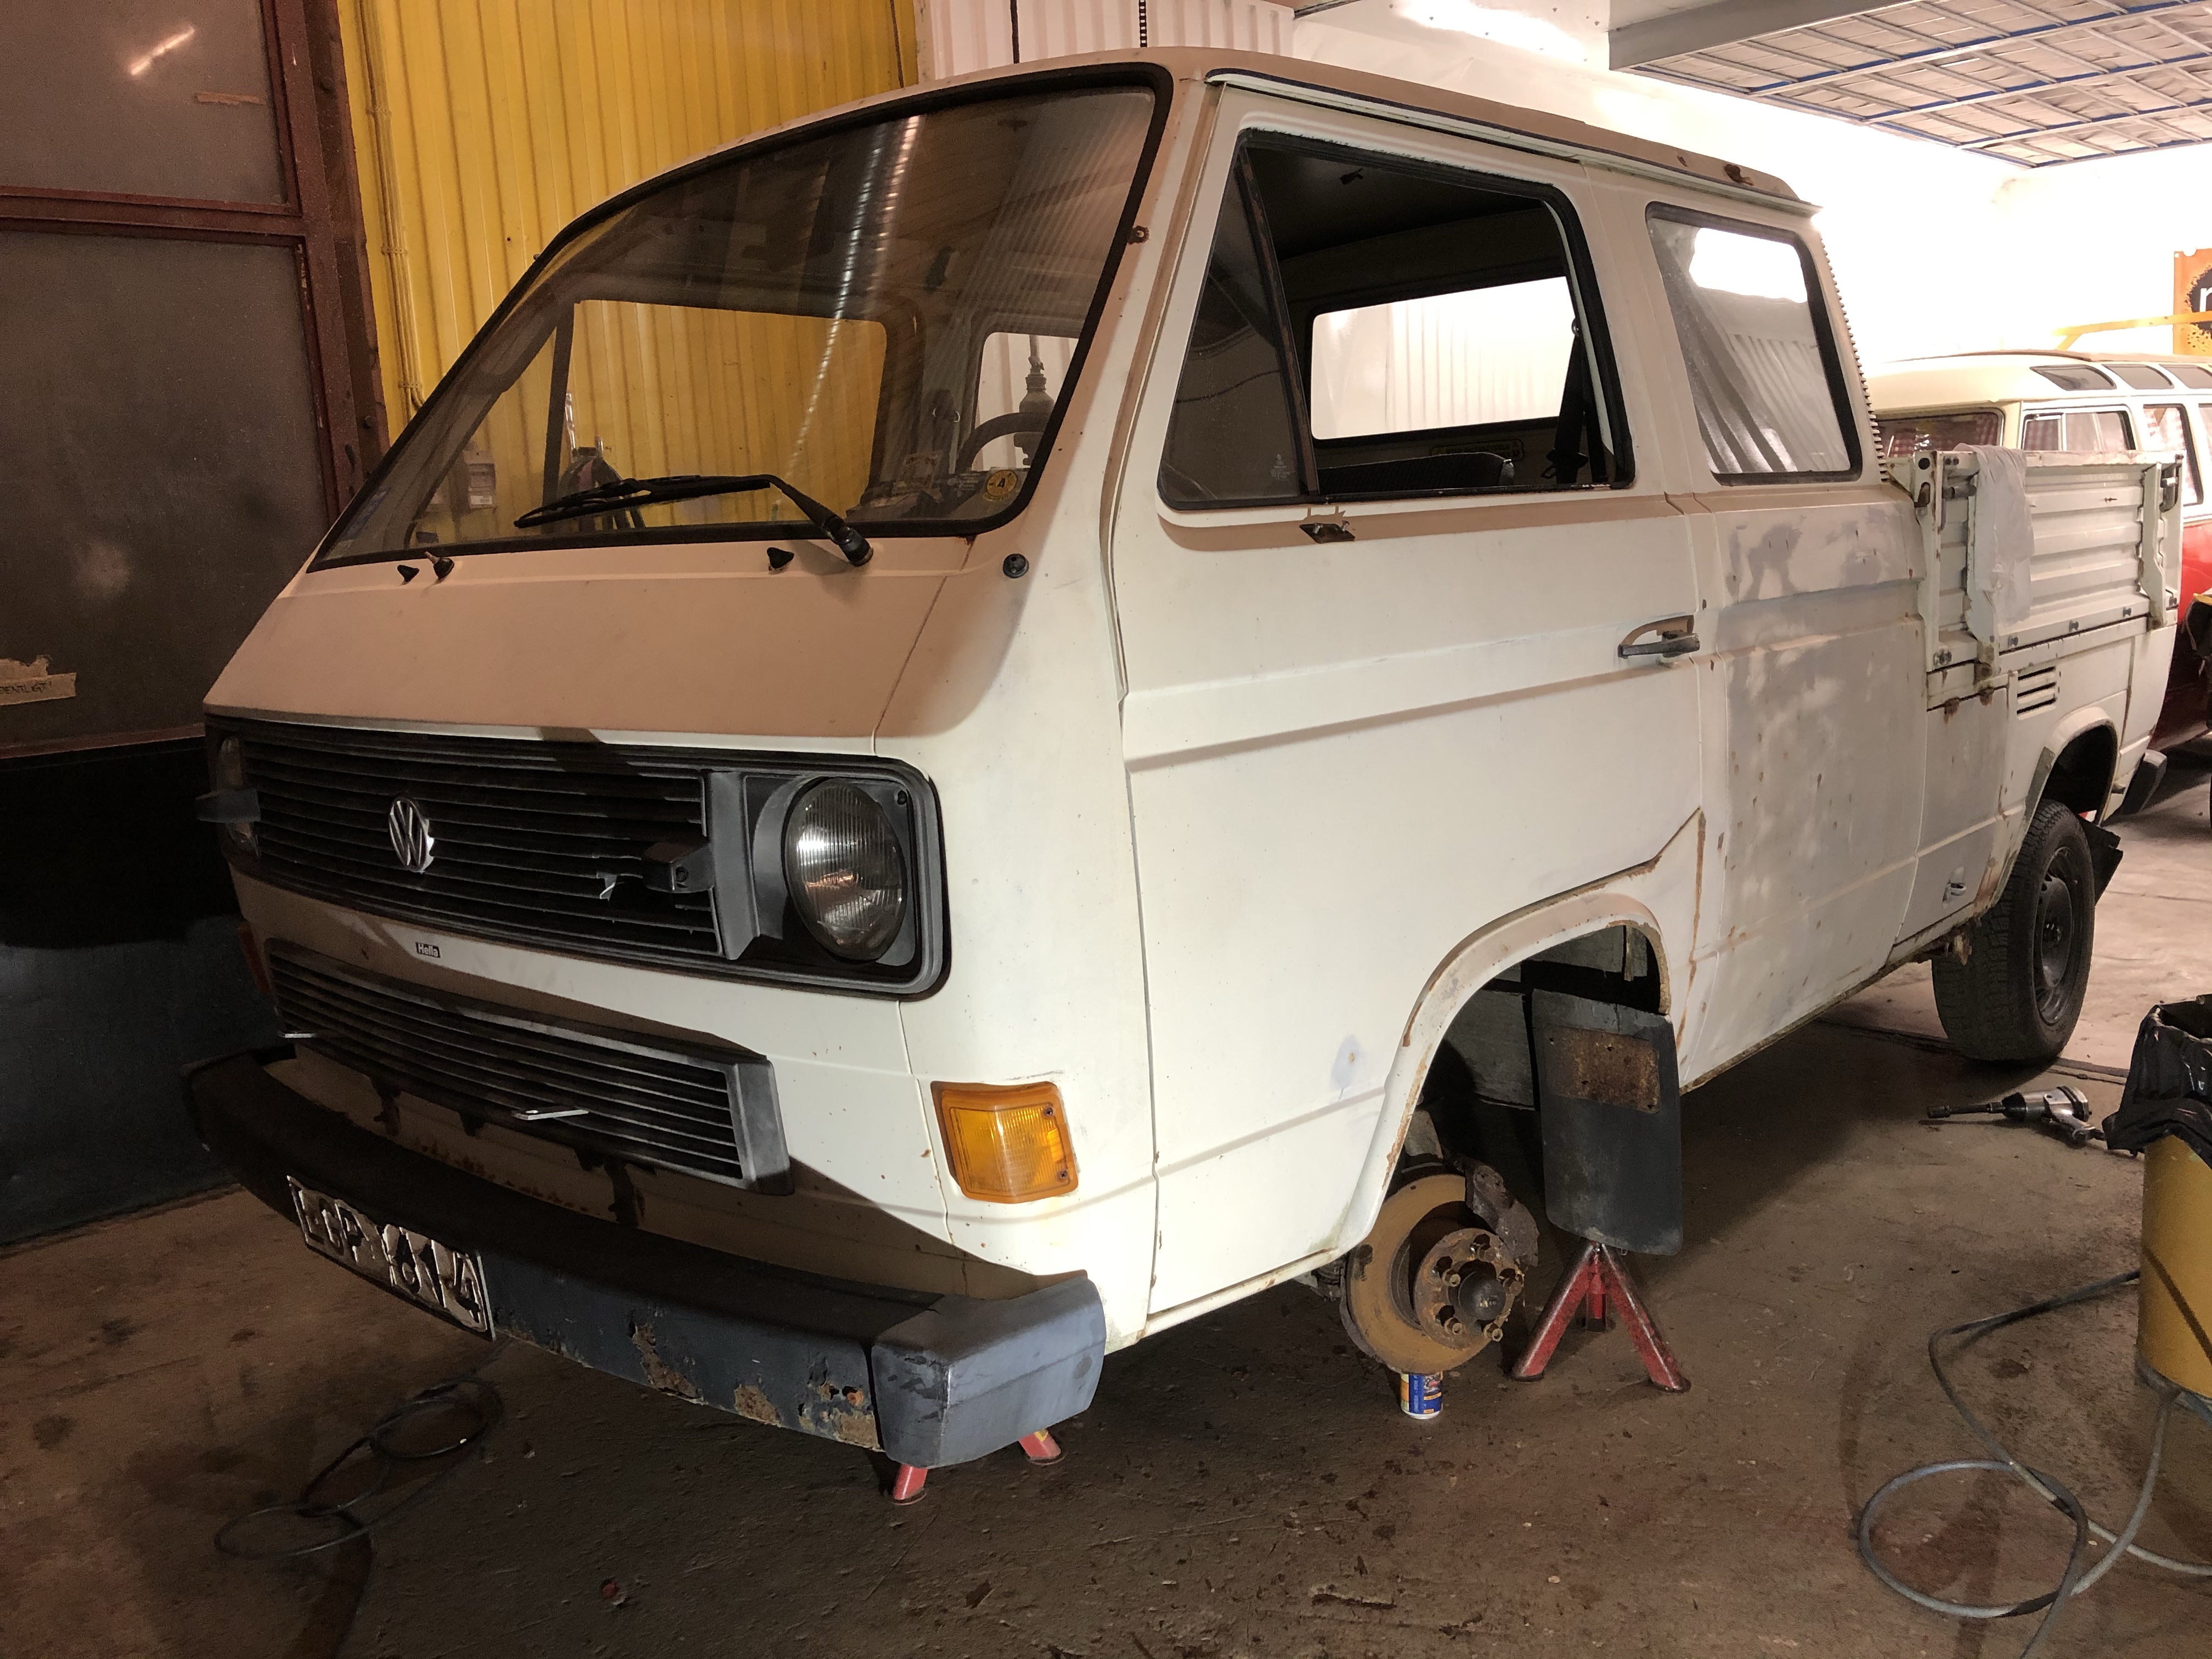
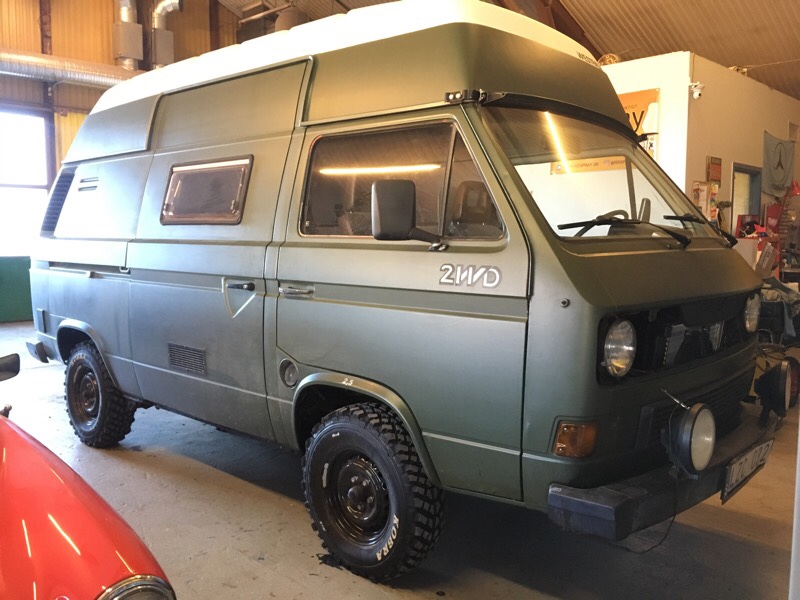
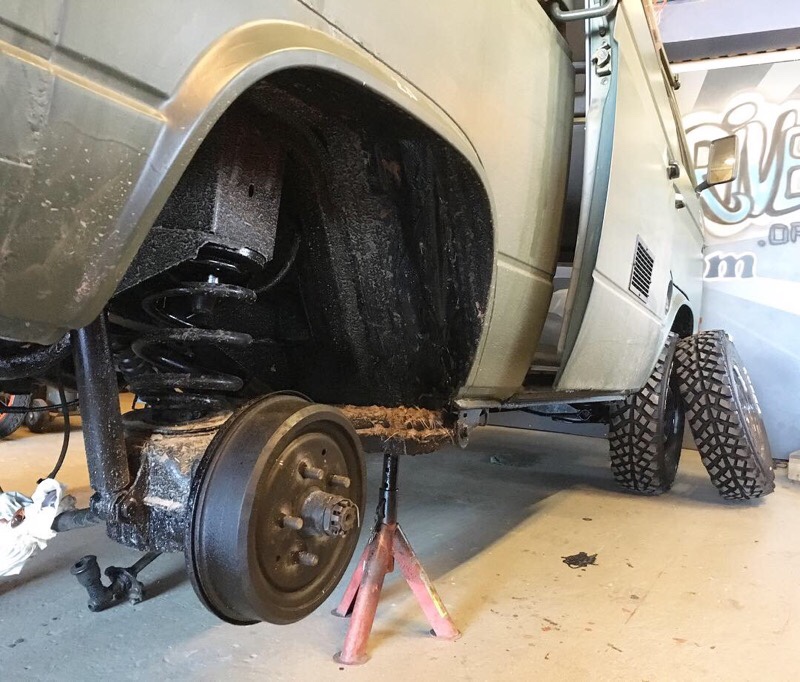
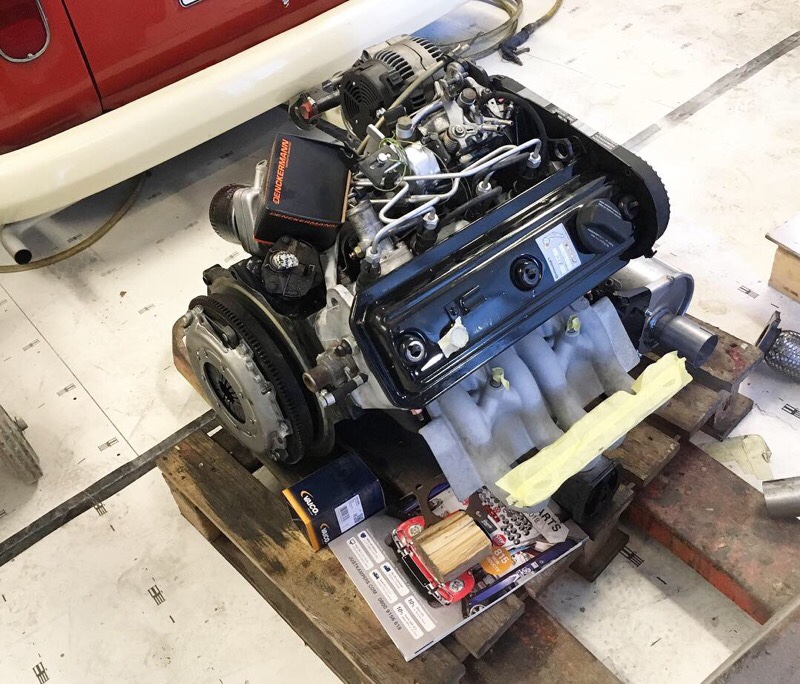
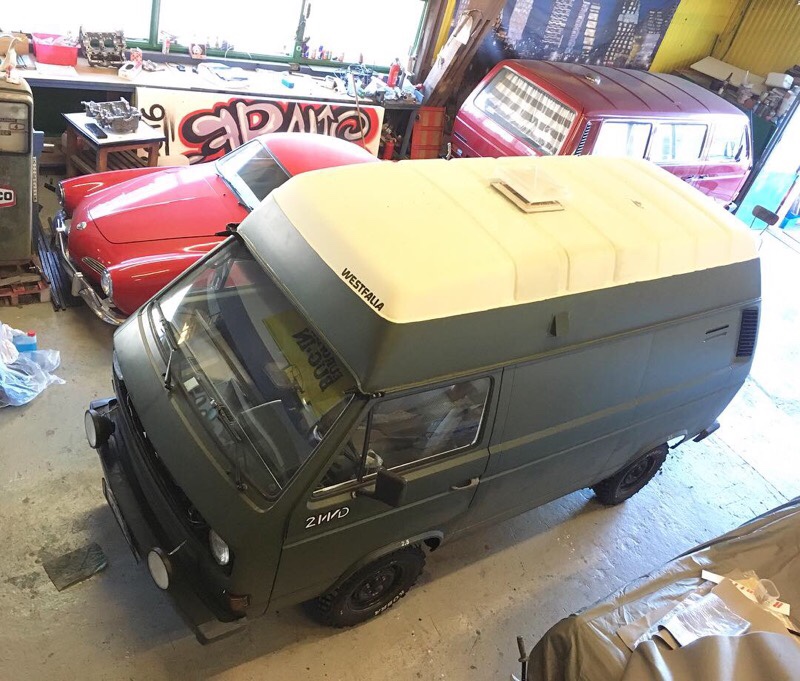
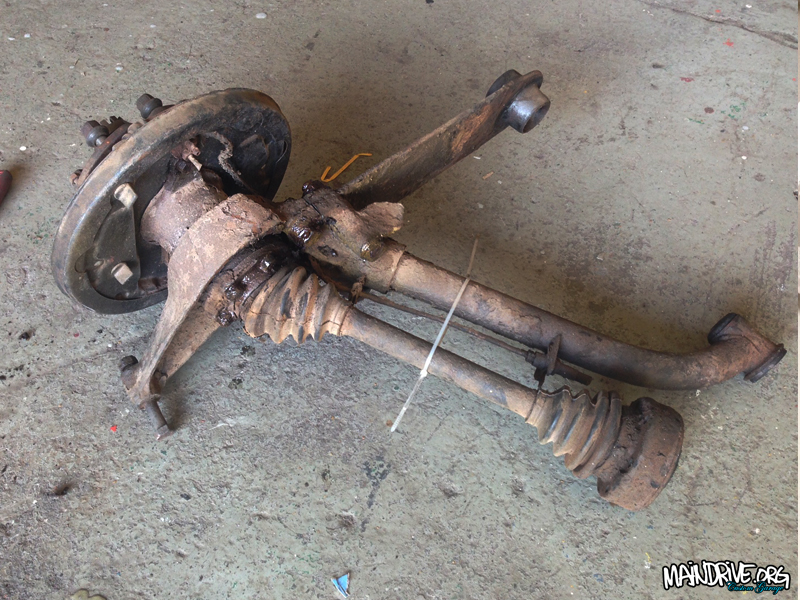
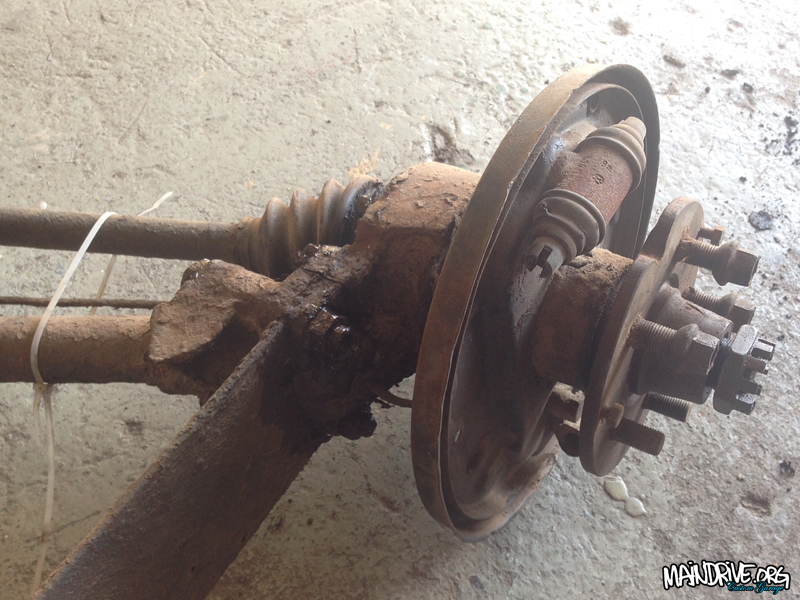
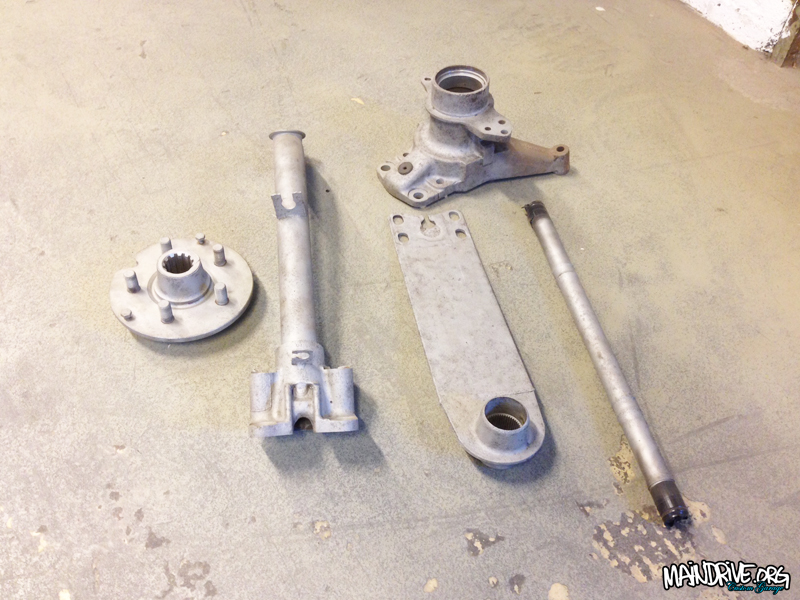
The plan with this T3 pickup is to make it a daily driver. You can ride 5 persons and still have a big flatbed that you can load with almost 1 ton of stuff on. Now a ton of work need to be done, everything in the chassi, brakes, steering, transmission and engine needs to be replaced with all new parts to make it as dependable as possible. Also some rust and bodywork needs to be done also. Engine was junk, a 1,9 DG petrol. It’s going to be replaced with a bigger 2.1 DJ/WBX with 112hp.
This pickup will be used on winter which means it will get a new undercoating and rockers and doors sprayed with wax-oil on inside. Engine will get a engine warmer and inside will have a diesel heater with remote control. Here comes some pics!
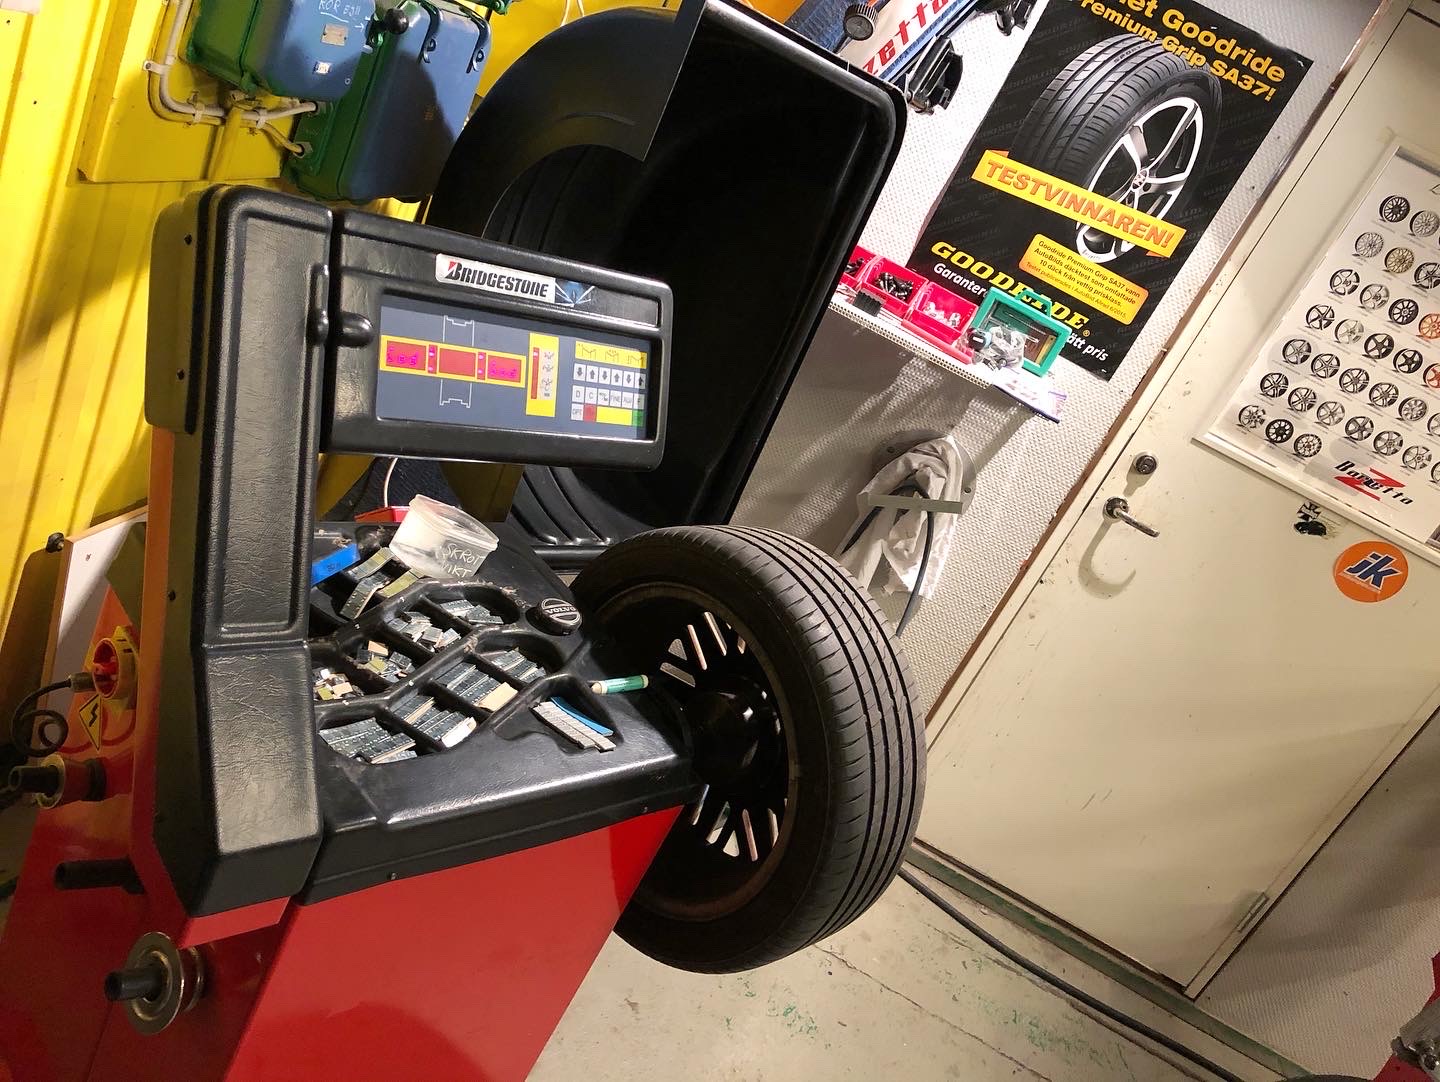
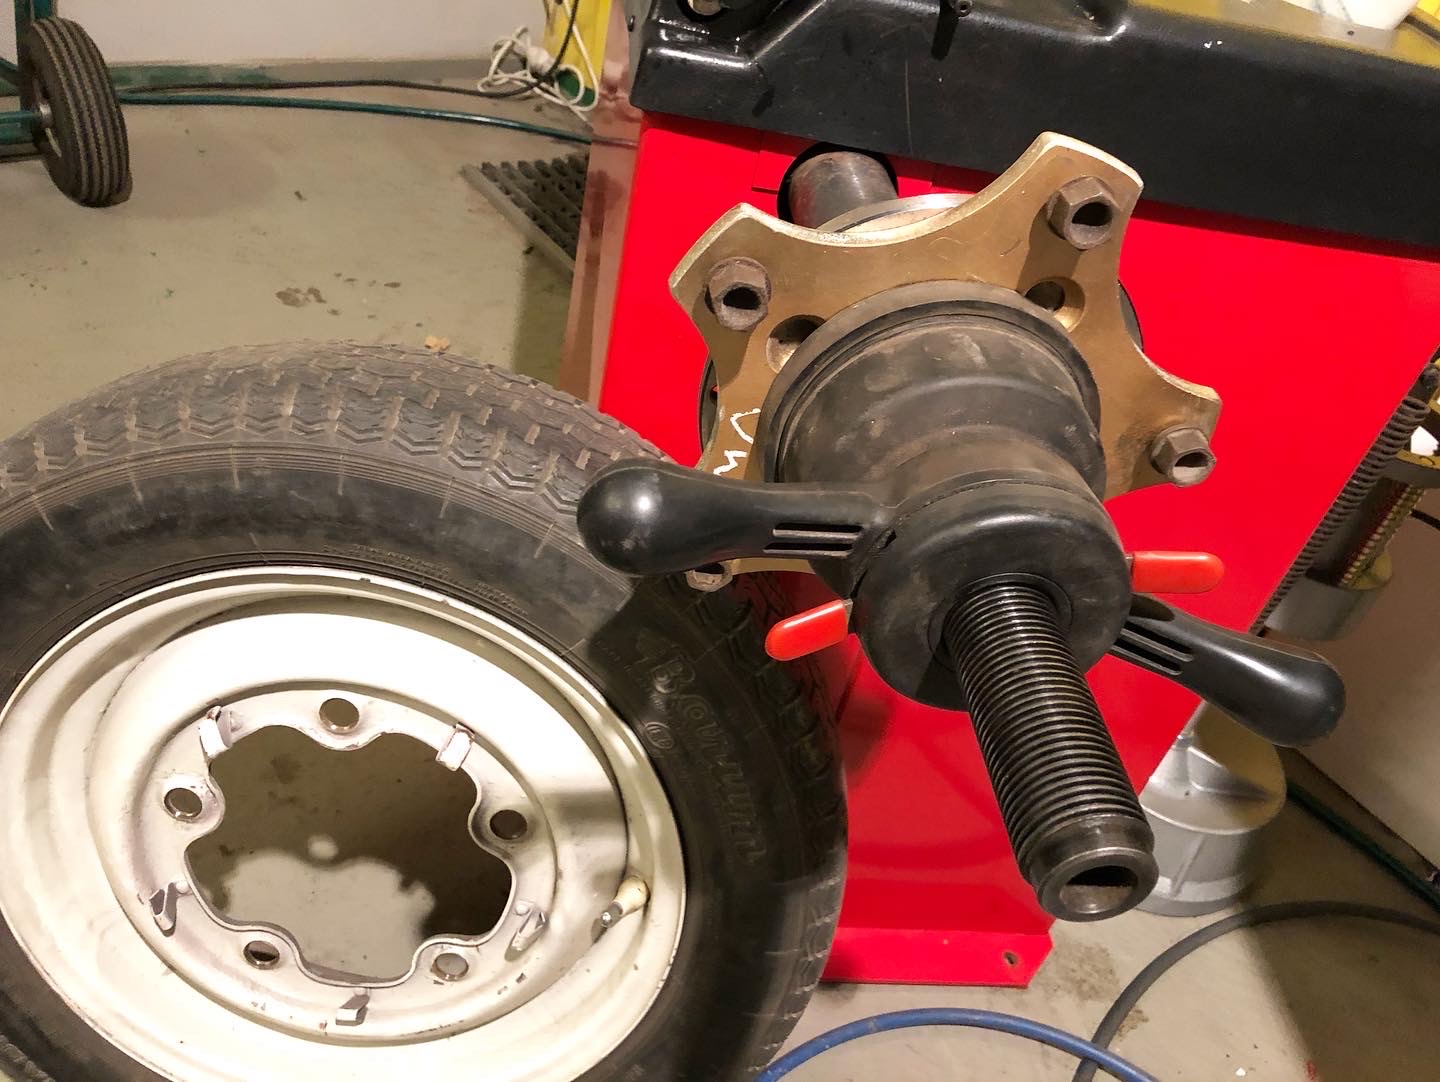
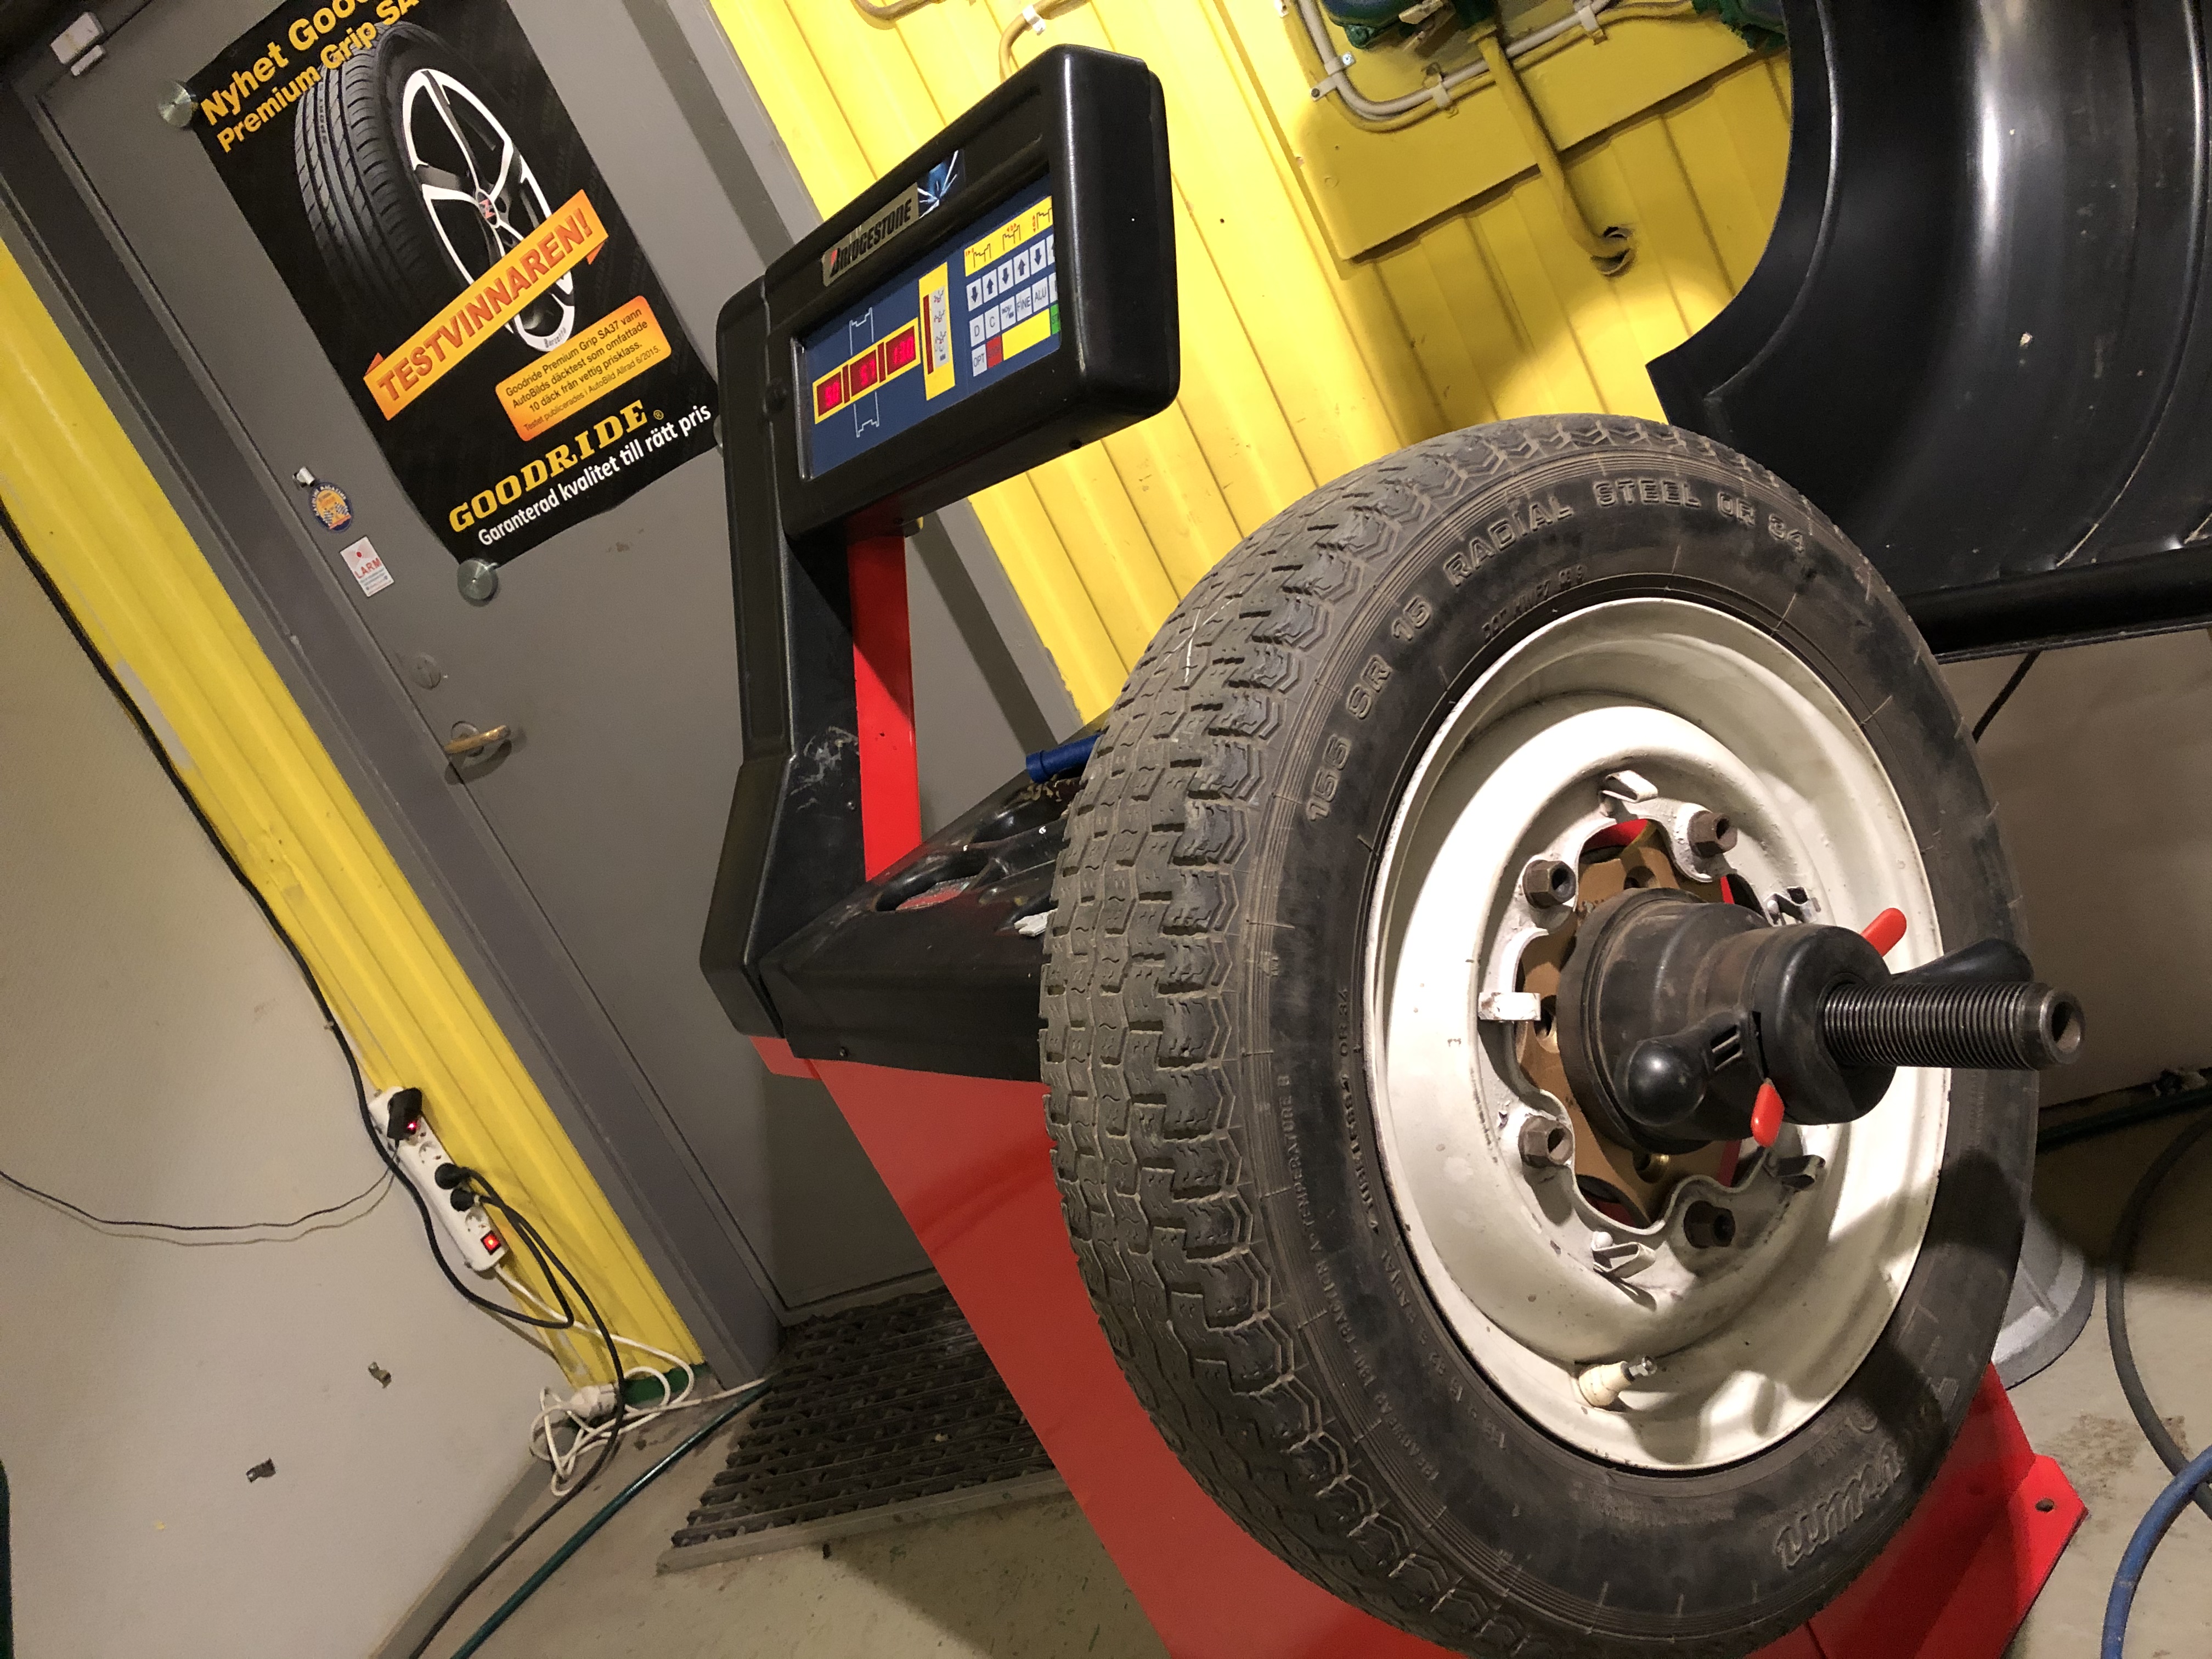
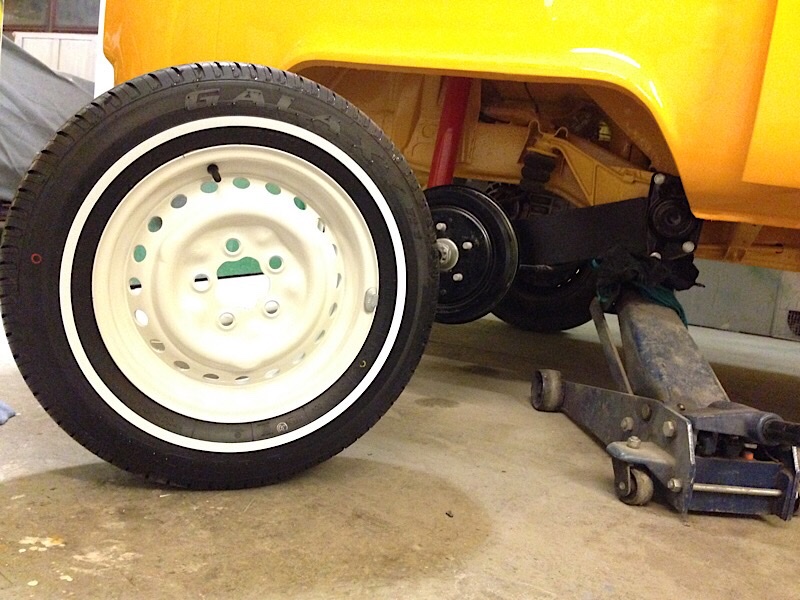
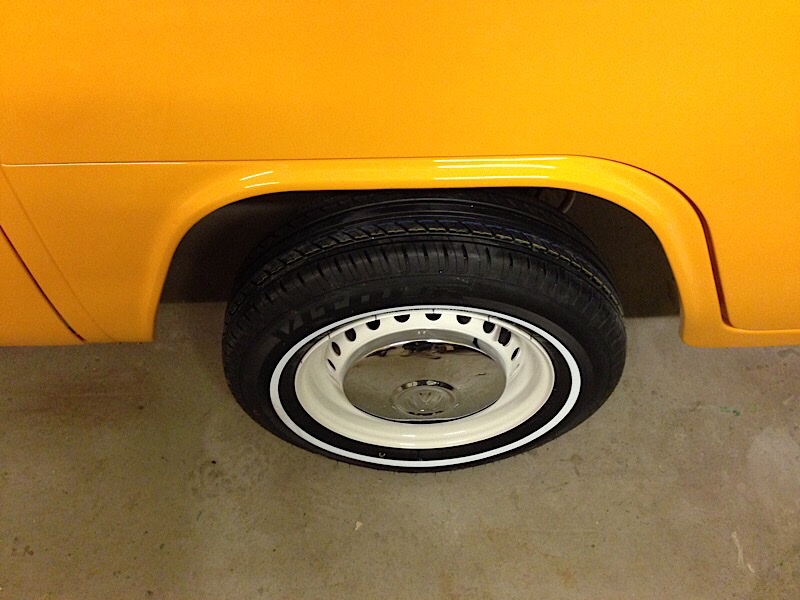
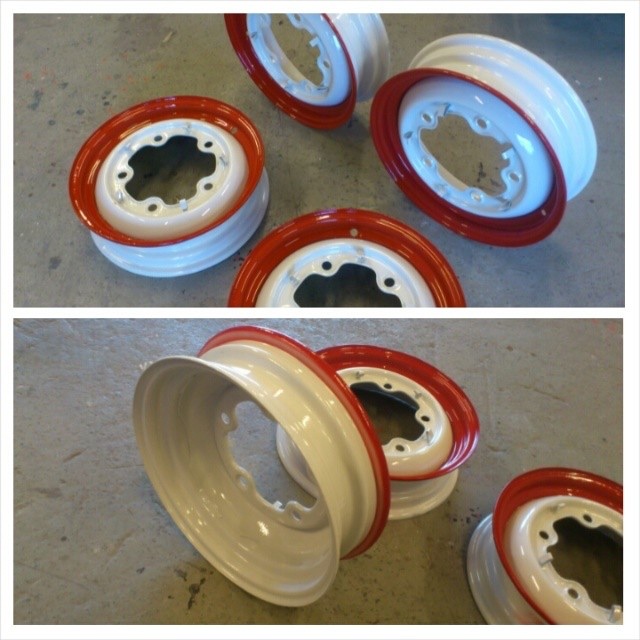
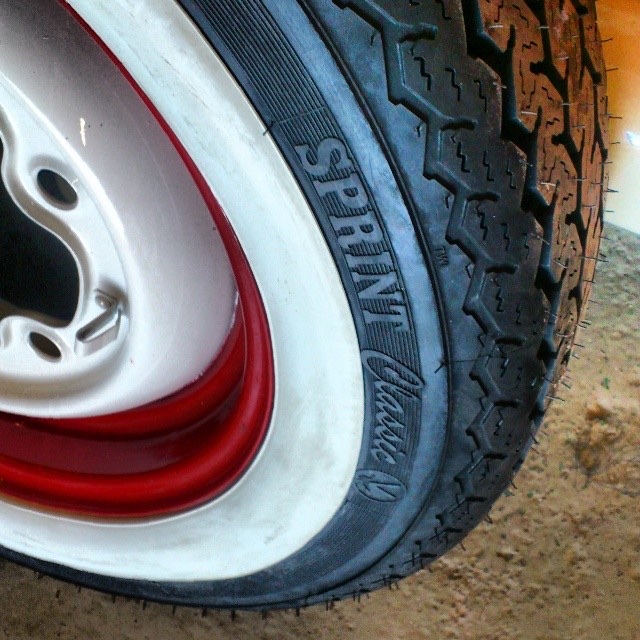
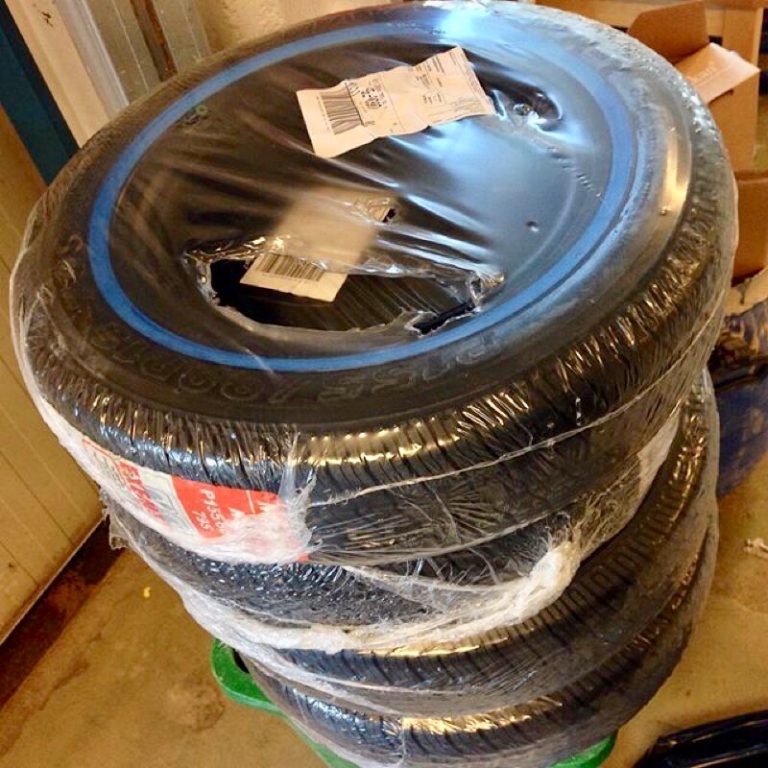
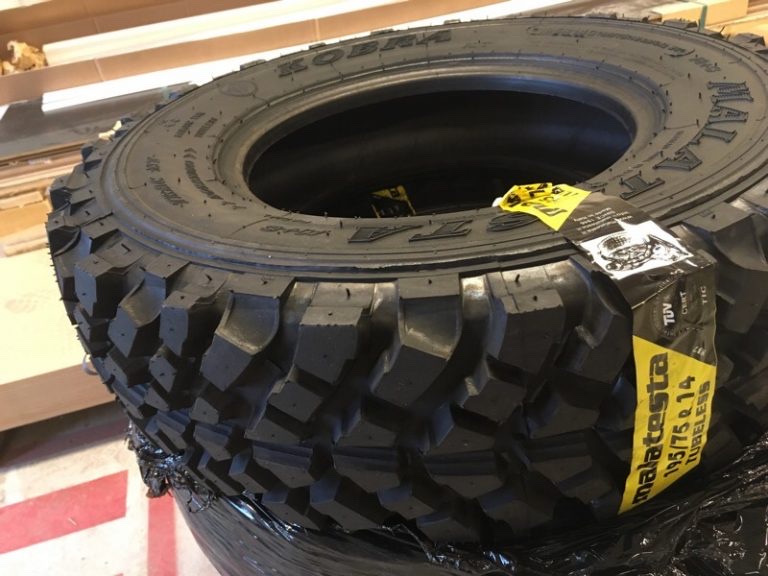
Now we have both a wheel machine and a tire balancer. Also adapter for balancing VW 205/5 (wide5 rims) pre 1967 that most tire shops don’t have anymore.
info@maindrive.org
#maindrivegarage #karlstad #däck #vw
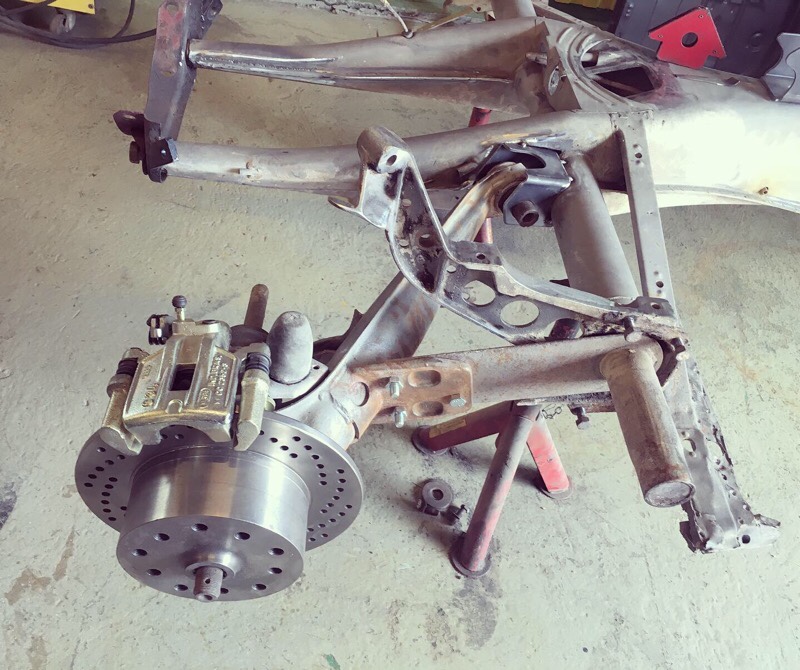
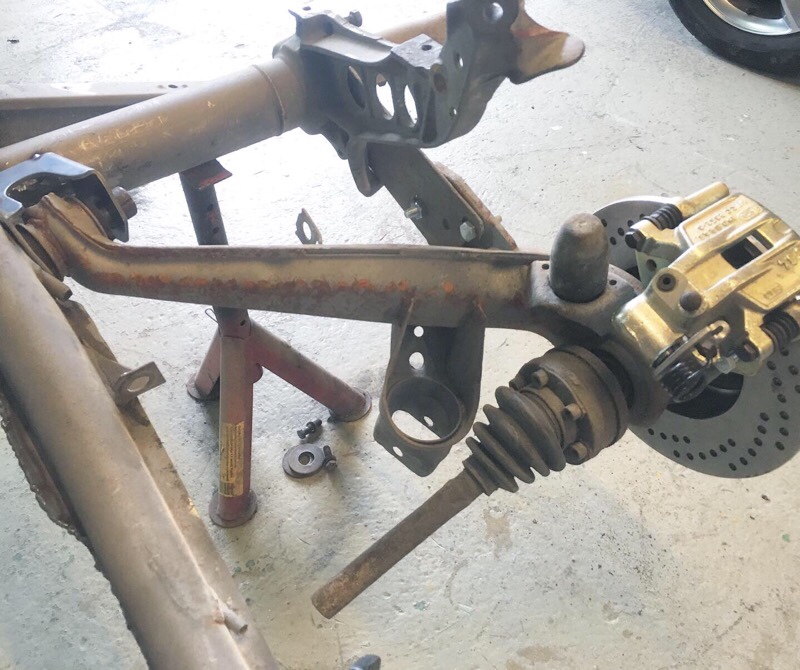
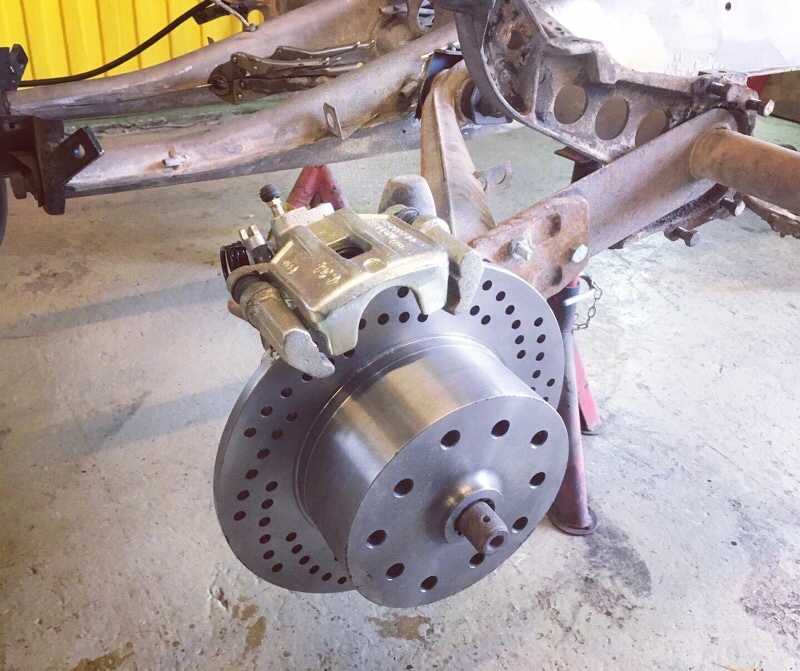
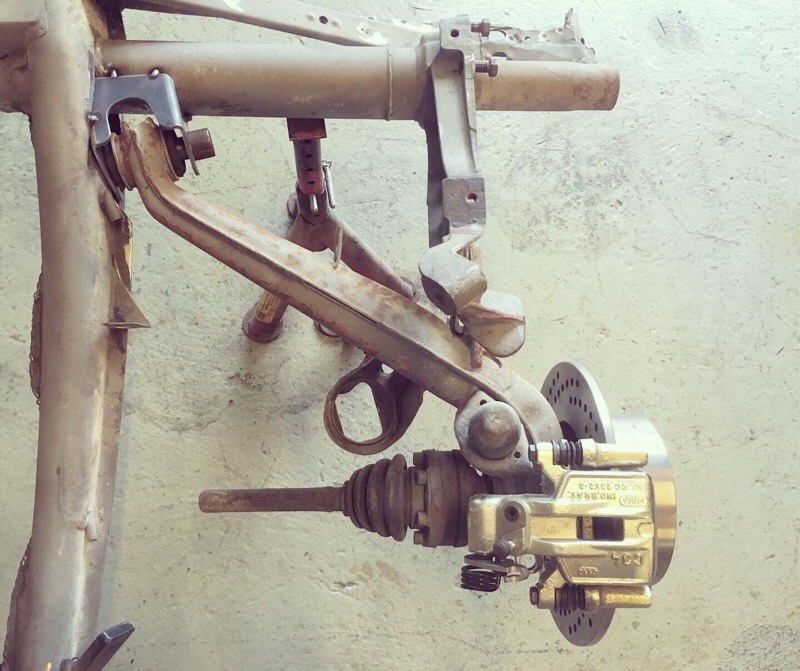
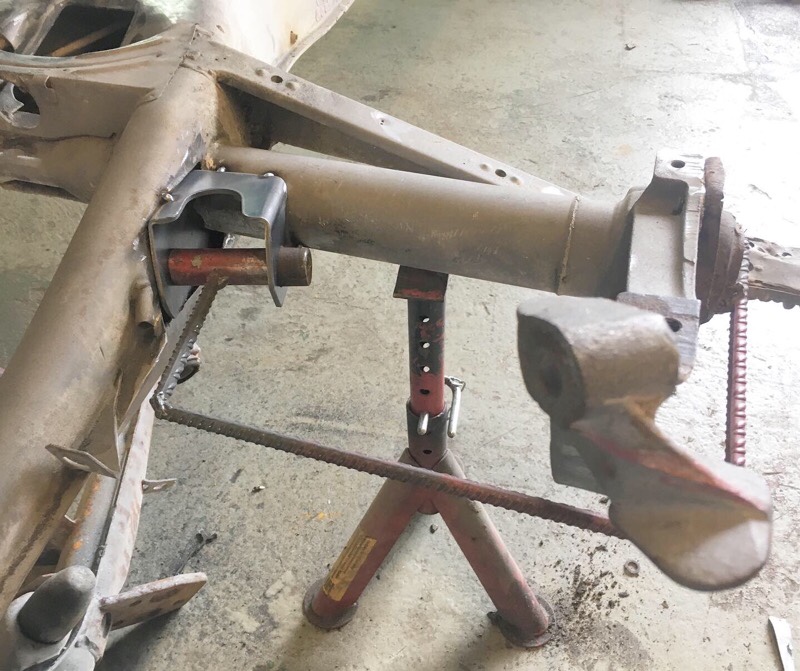
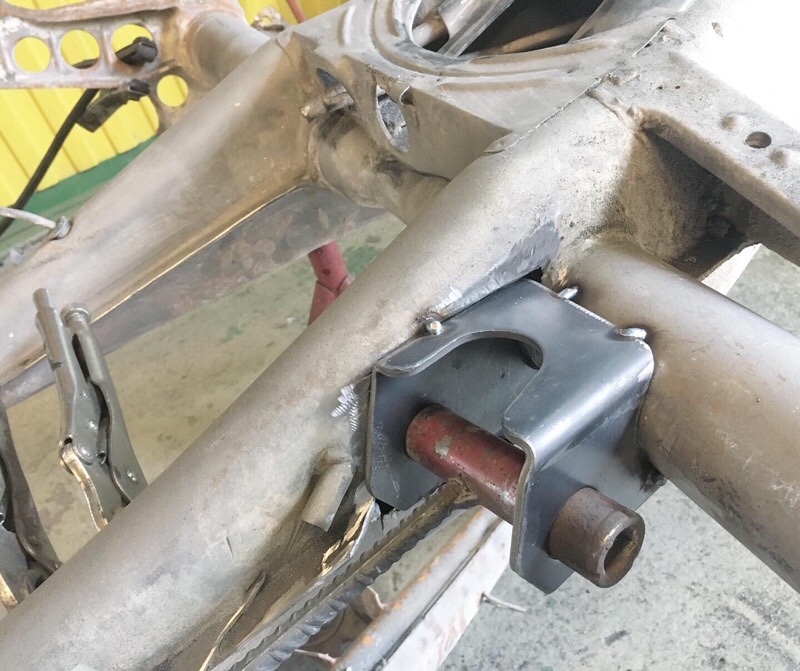
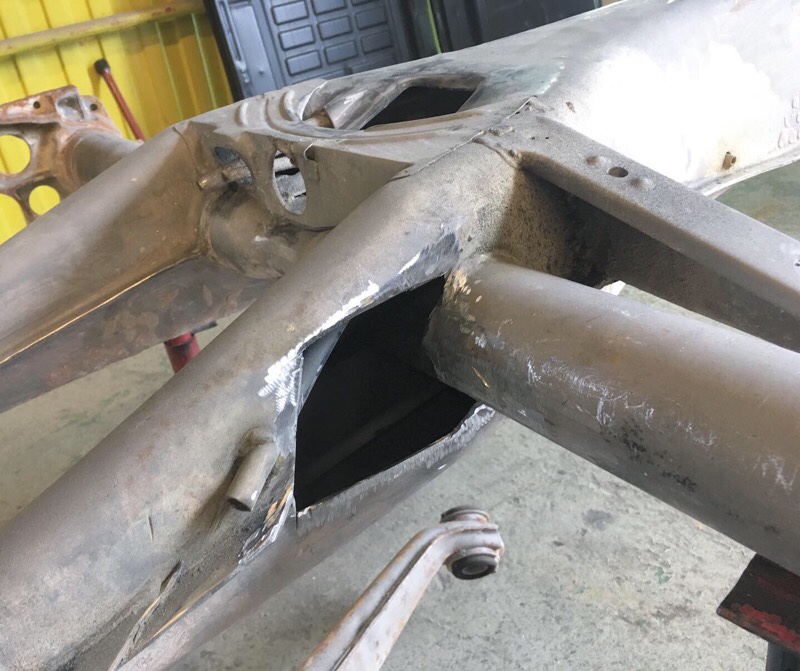
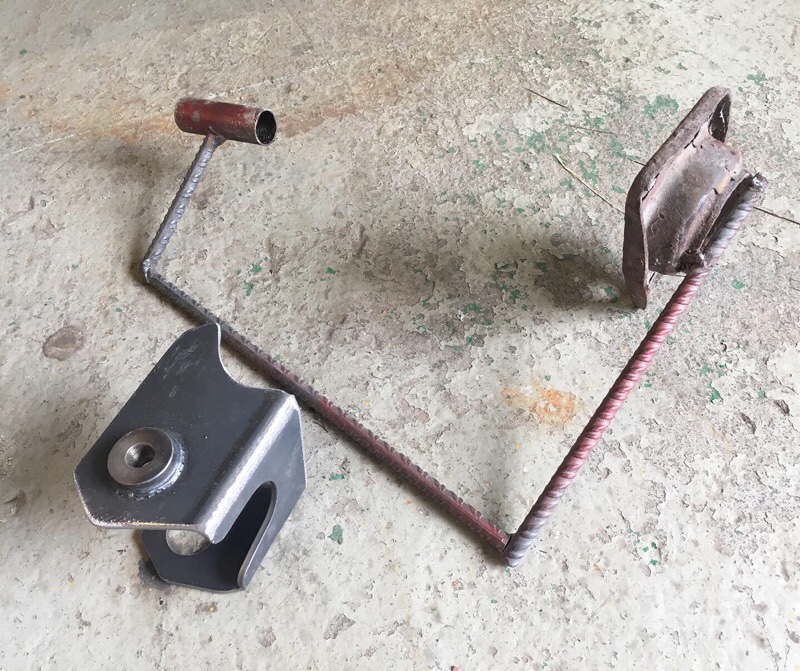
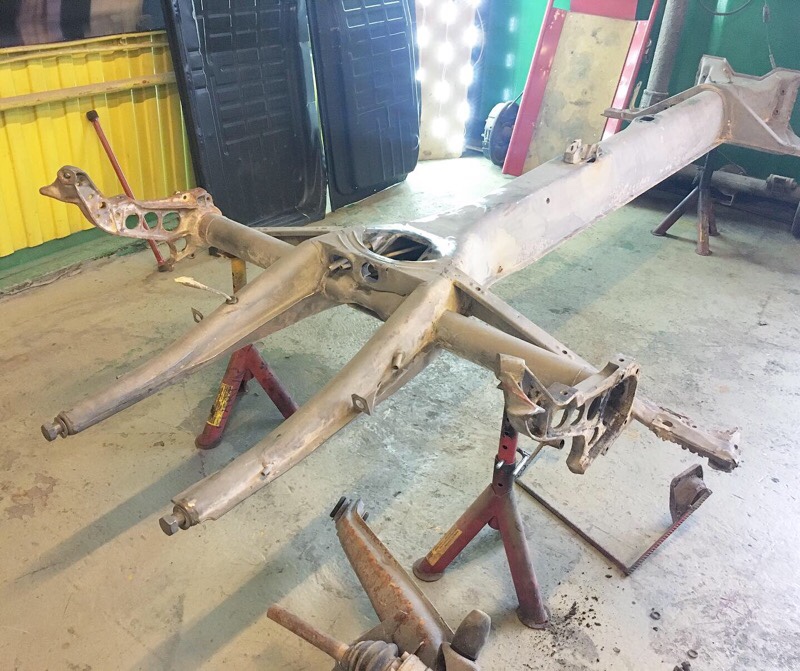
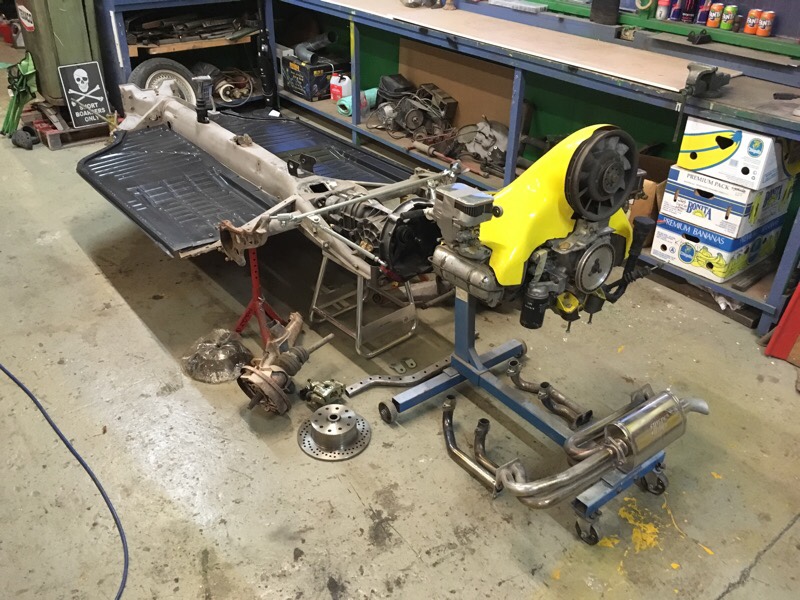
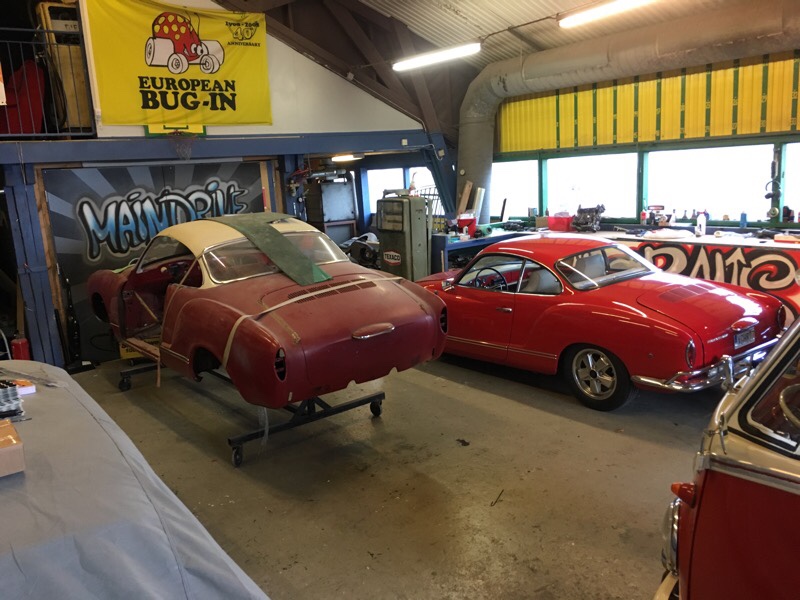
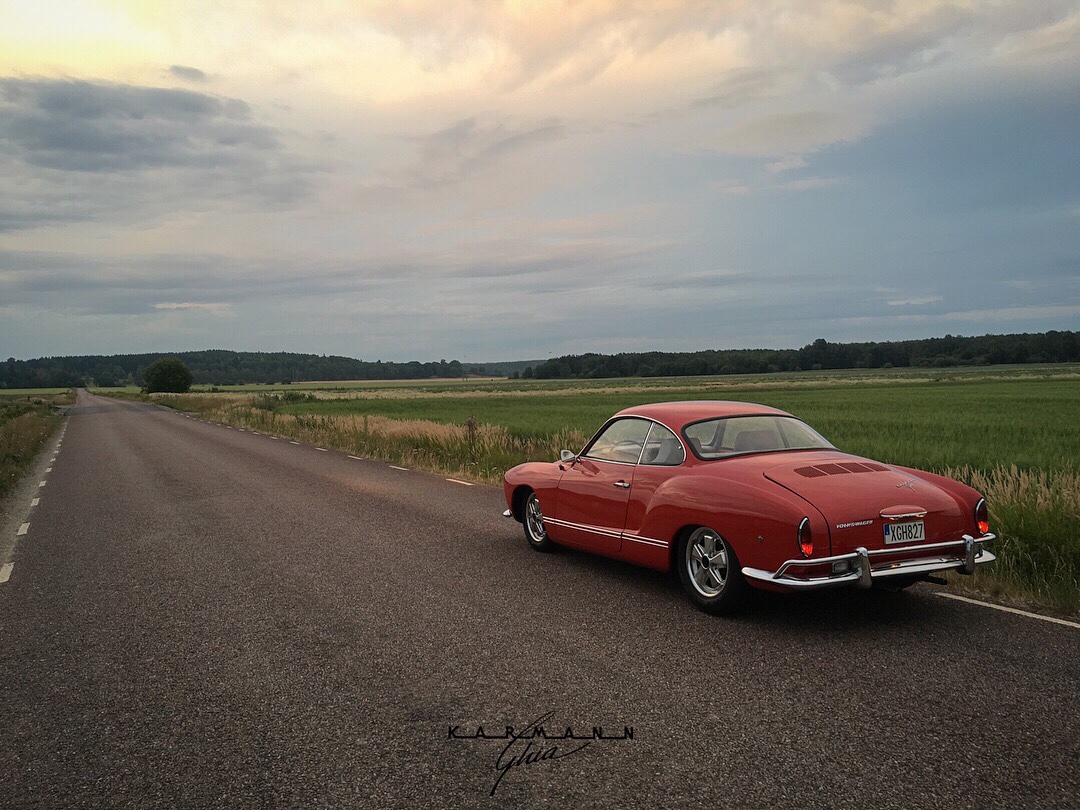
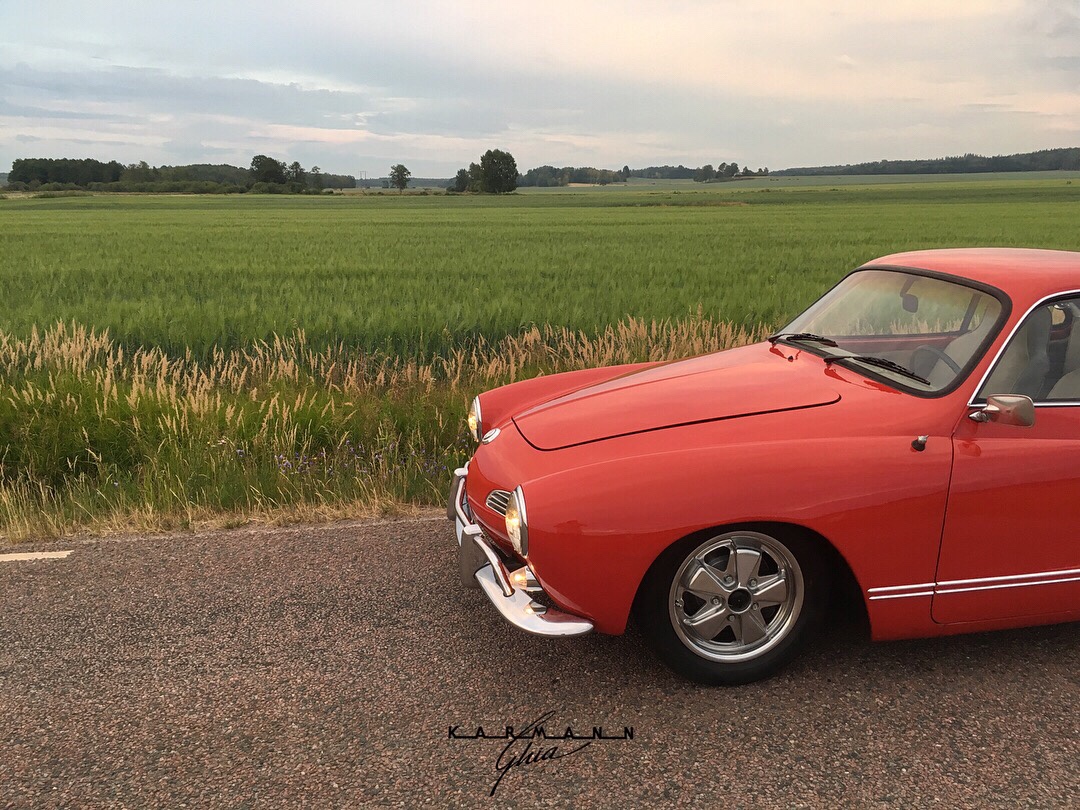
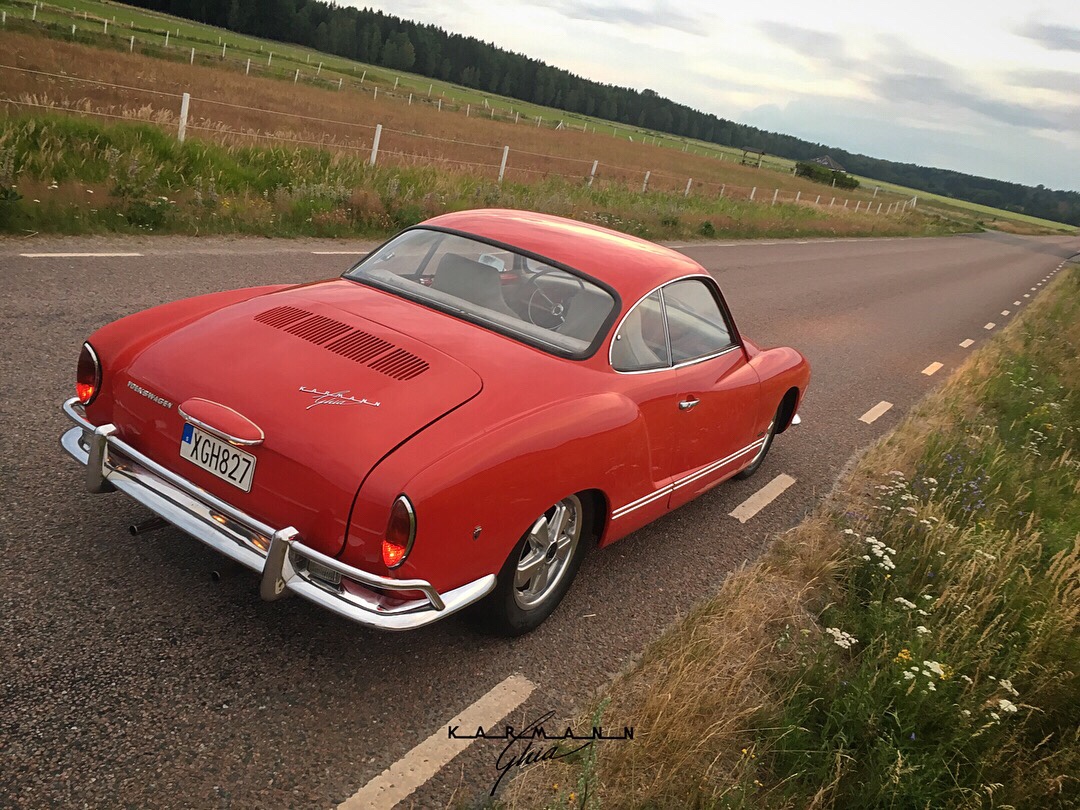
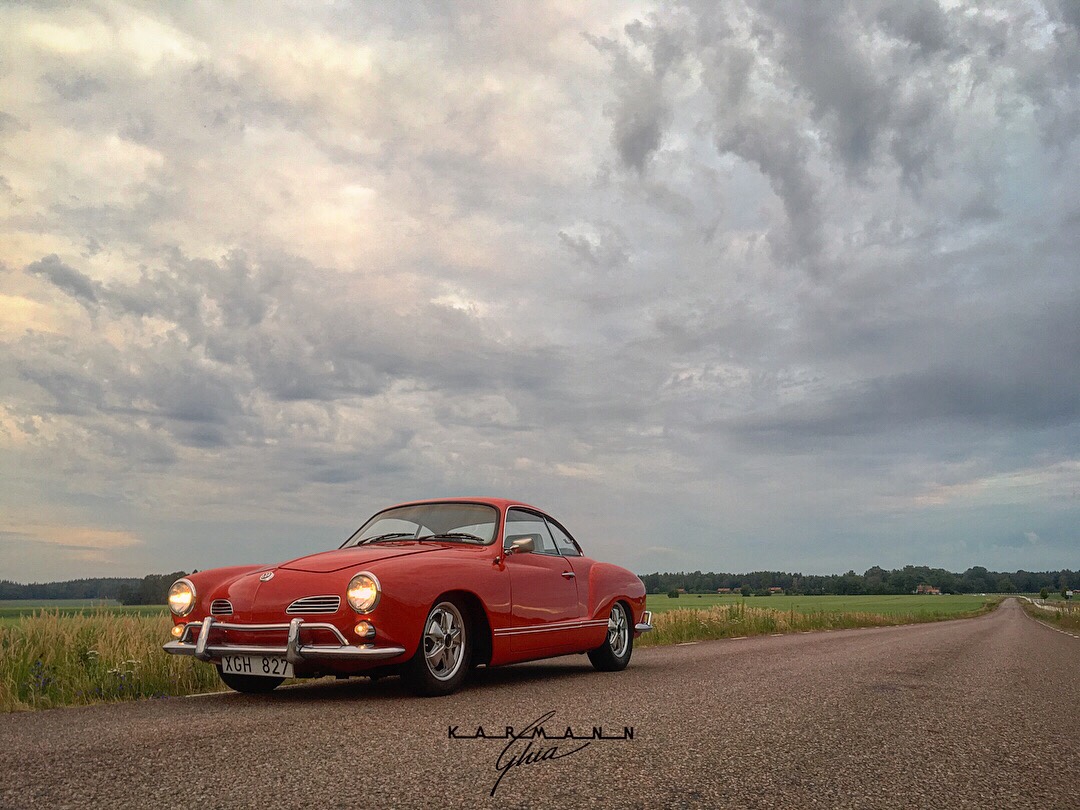
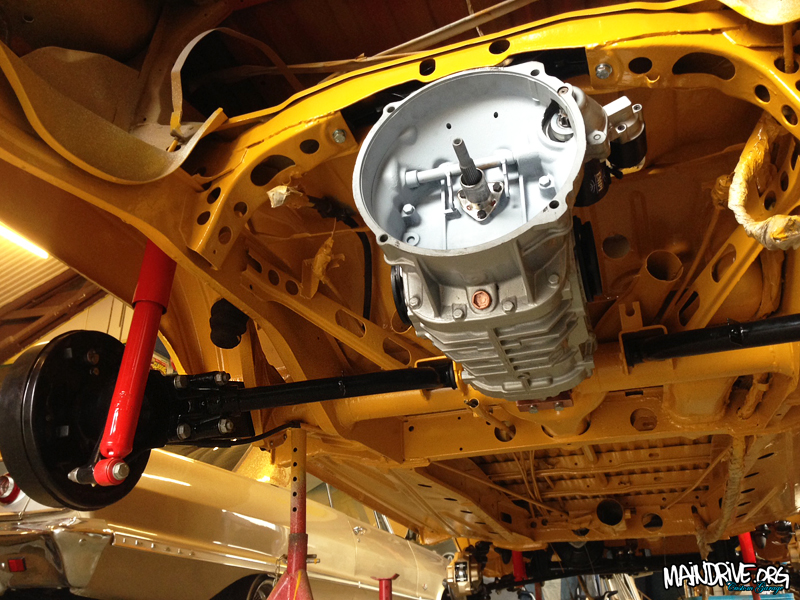
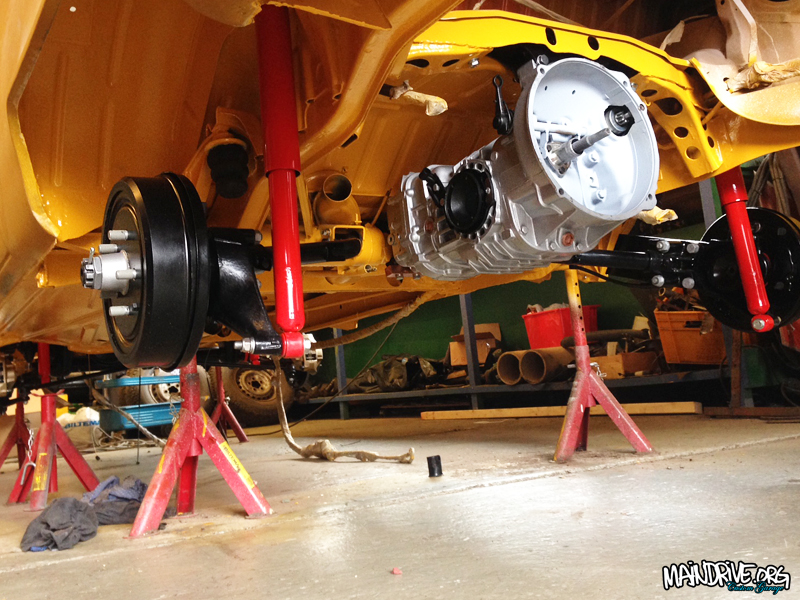
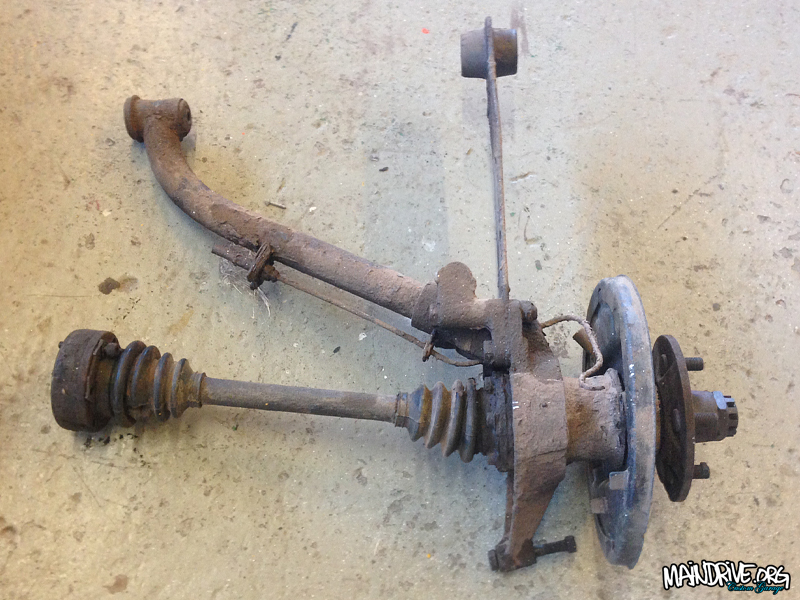
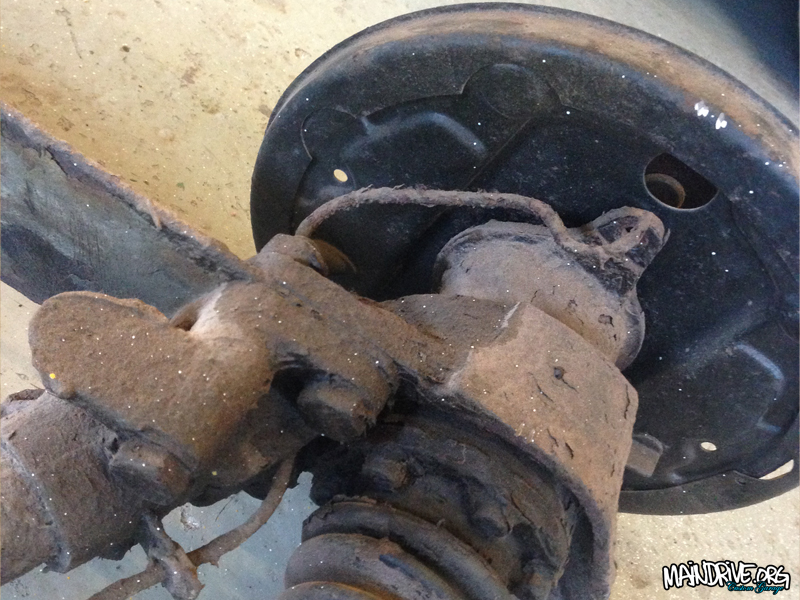
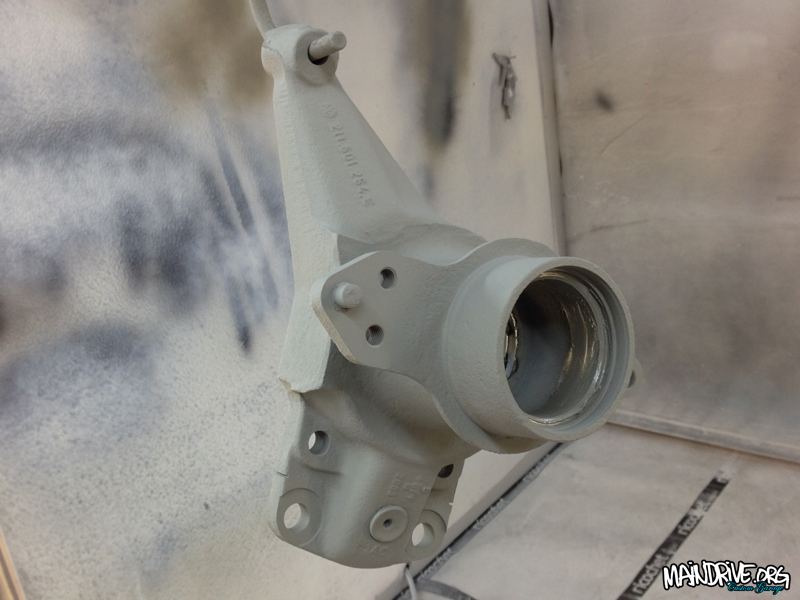
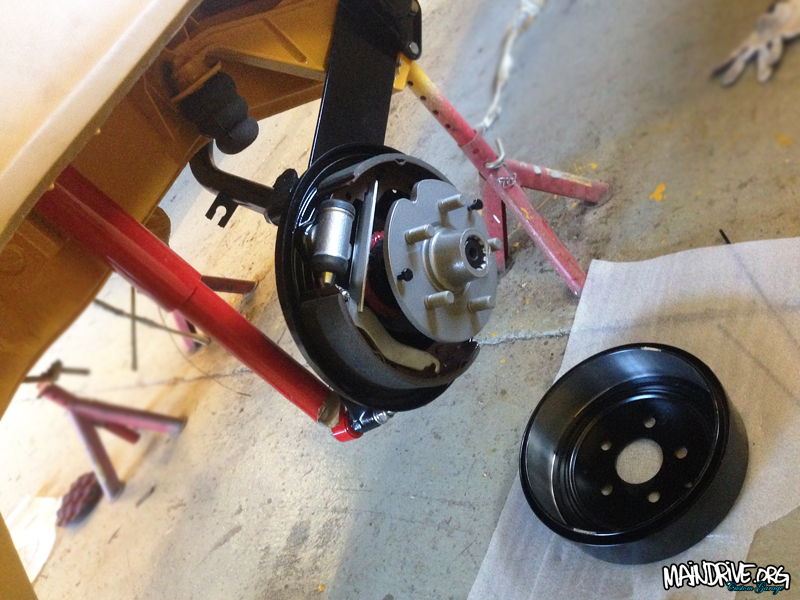
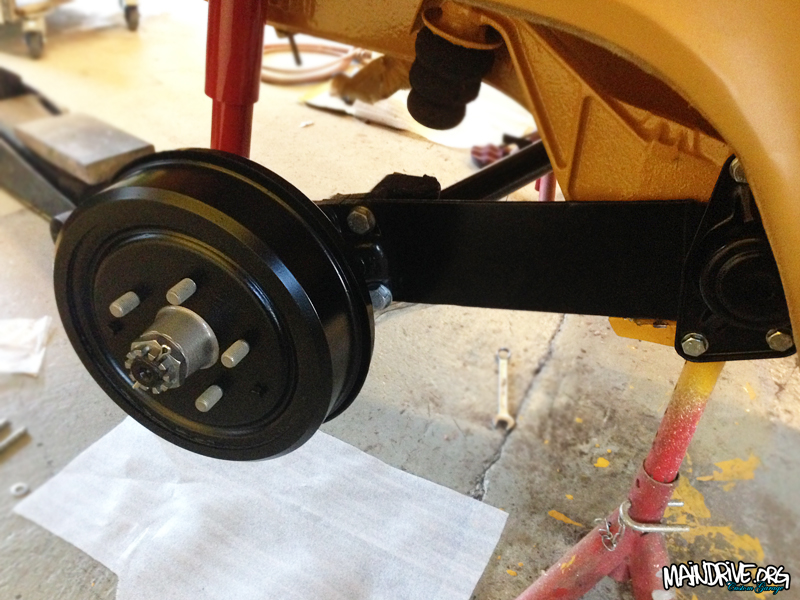
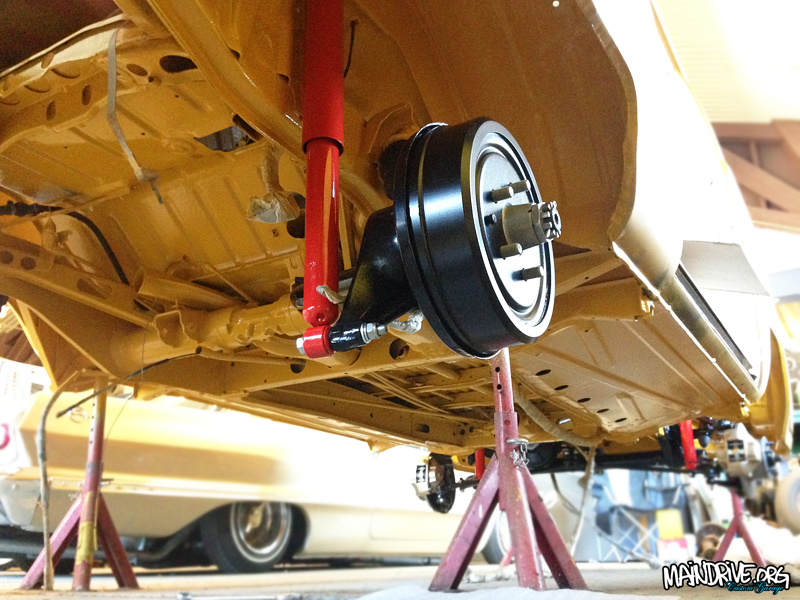
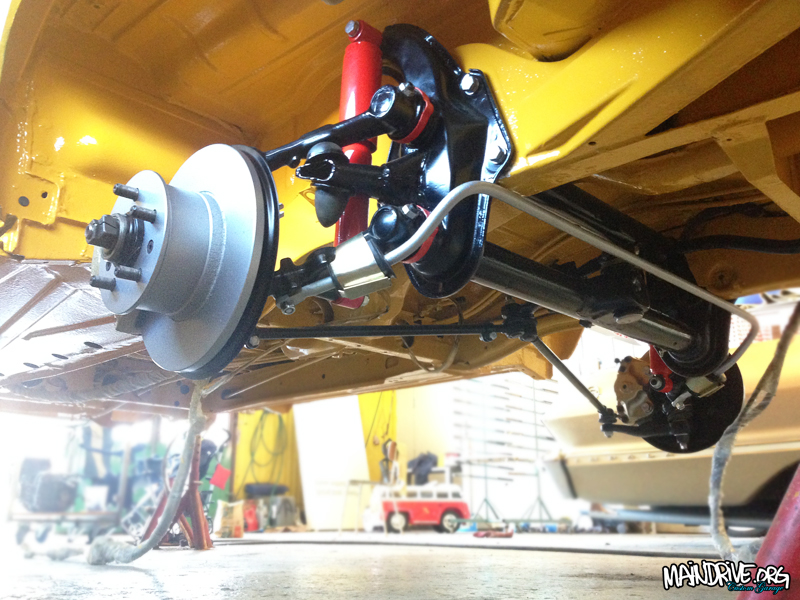
Have finally got something done on the old VW Karmann Ghia chassi. Its being converted from swing axle to a better independent rear suspension. It’s just mocked up and tack welded at the moment, test fitted the new rear discbrakes. The fork/frame have been clearanced for Porsche 5speed 901 transmission and also reinforced, welded all around. Probably I will reposition the IRS brackets further in, and mount the trailing arms on the inside of the springplates. Then I will get about 1″ more space against the outer wheel arch and can then fit wider tires. Driveshafts need then be shorter also of course, the left VW type 3 automatic driveshafts are shorter and would be perfect or buy new shortened EMPI’s. Next up is to fabricate front transmission mounts and 911 (or maybe VW) gear linkage.

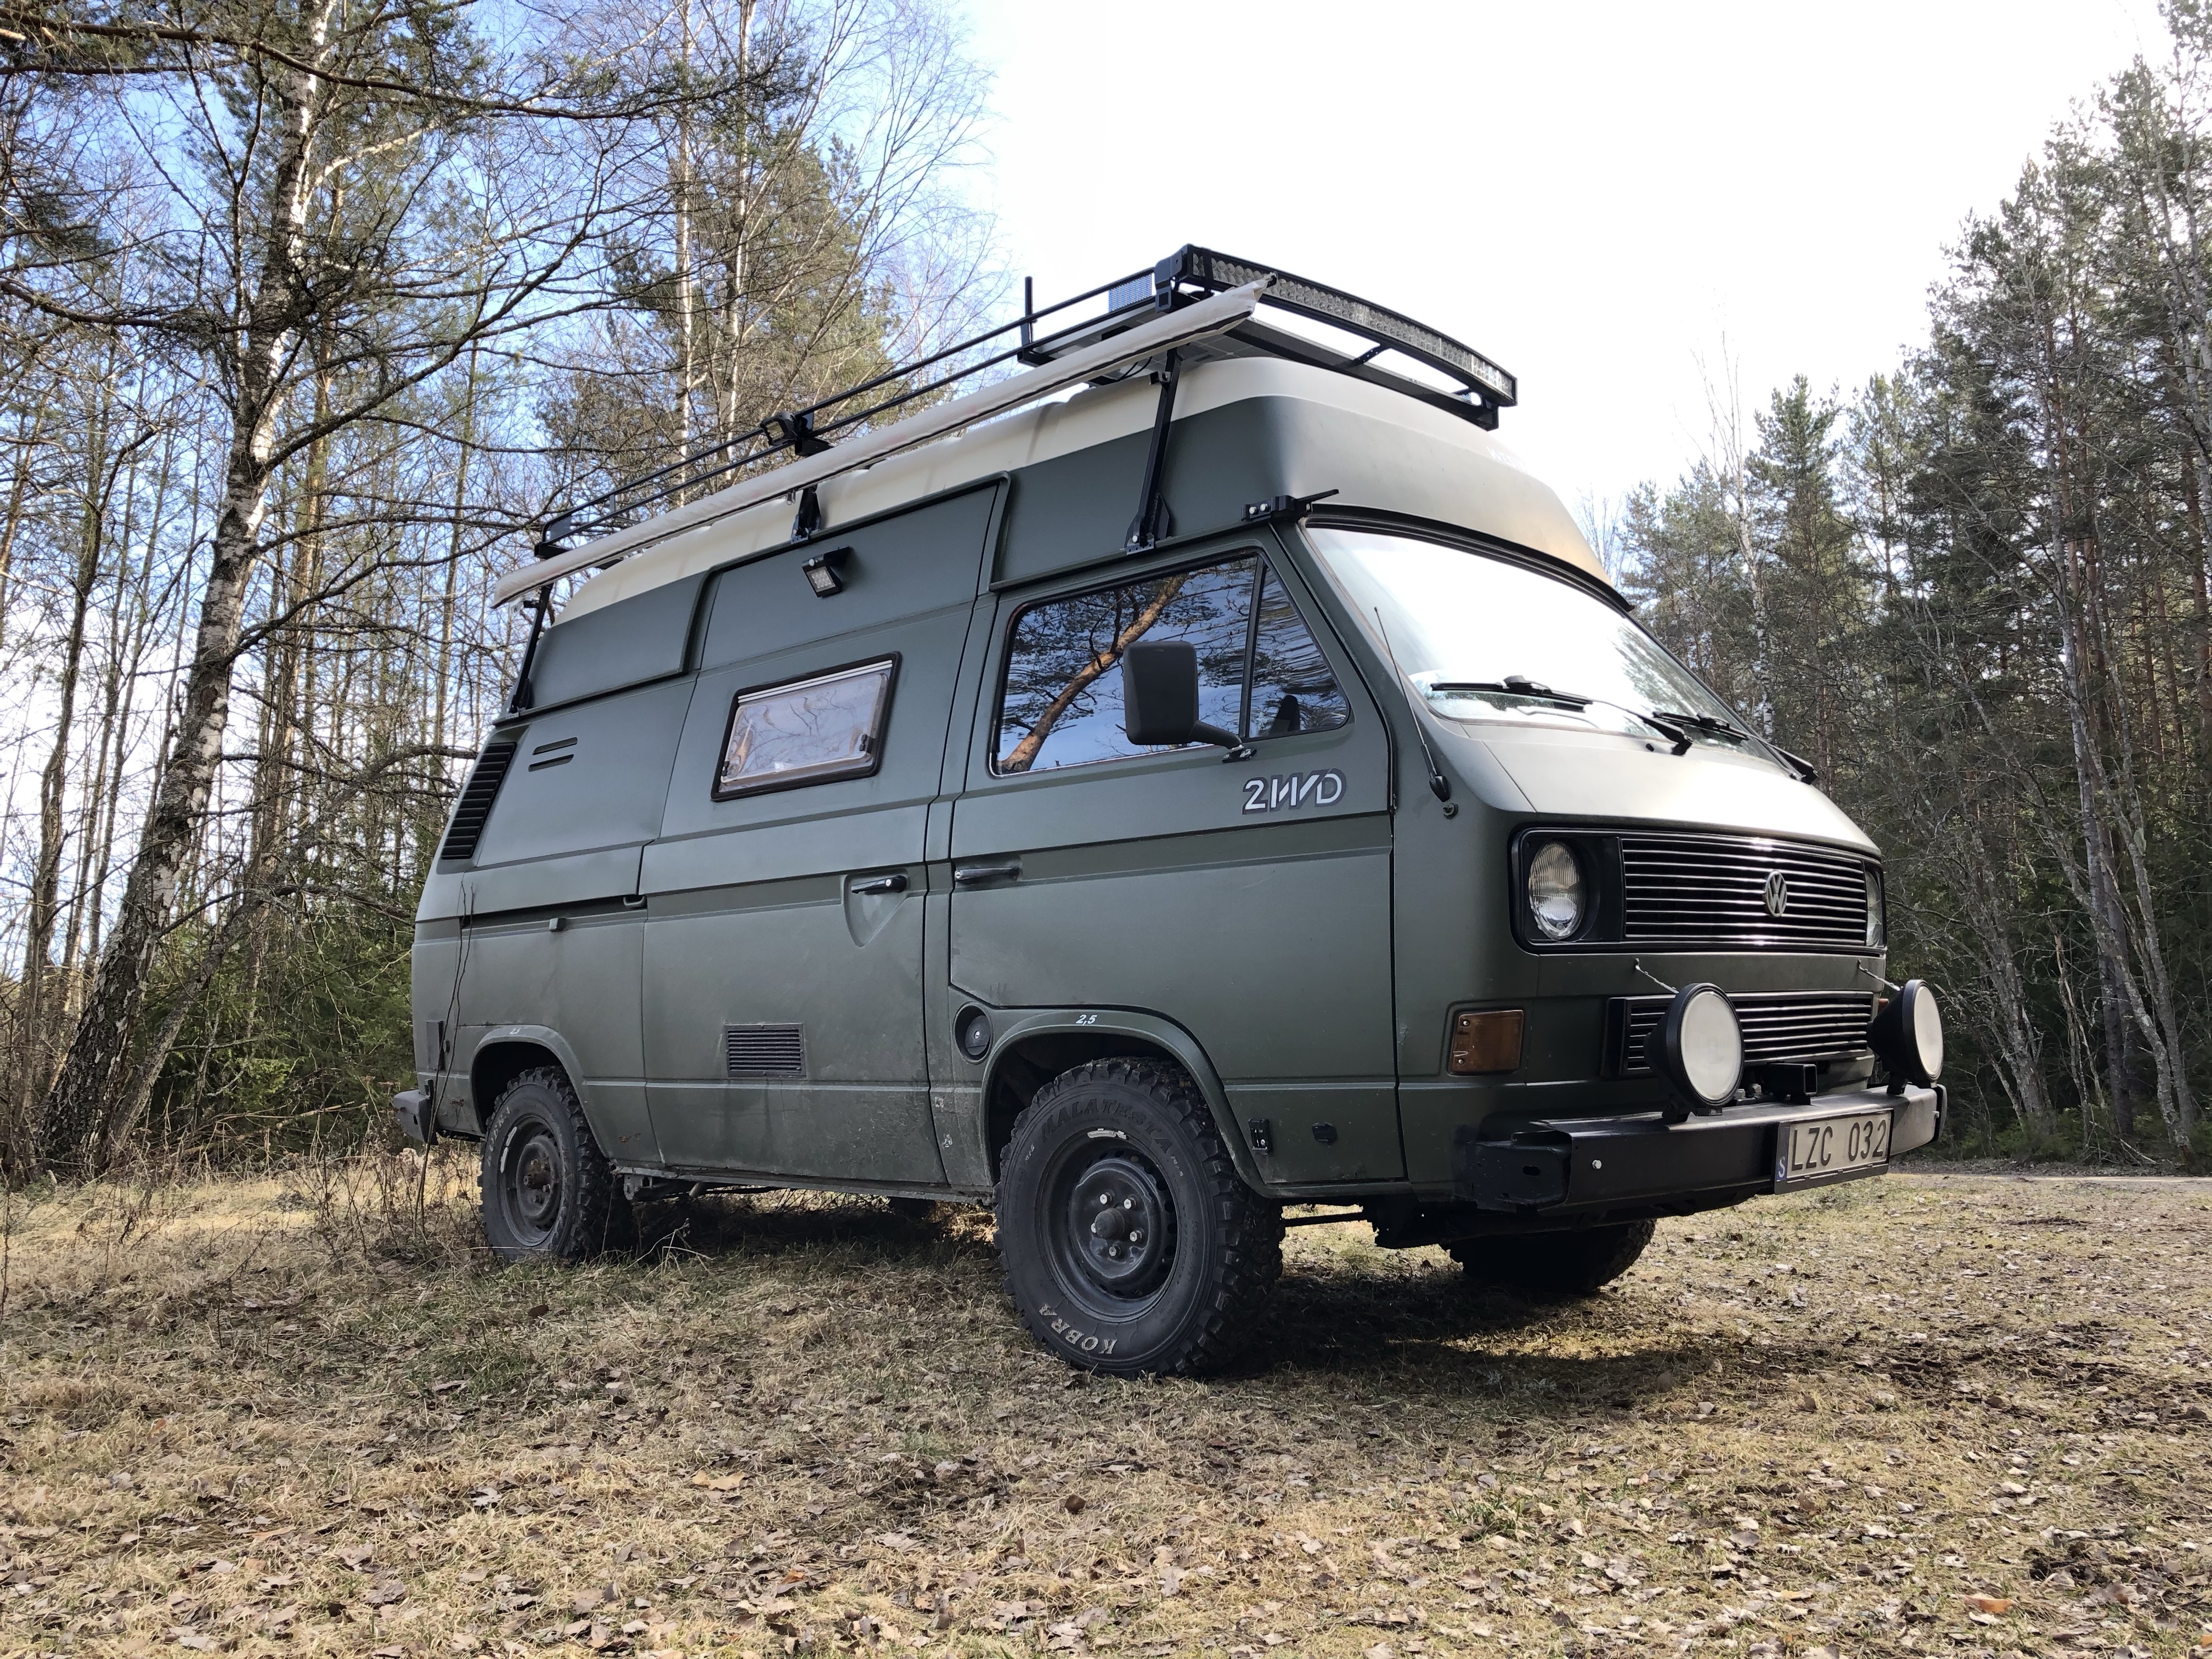
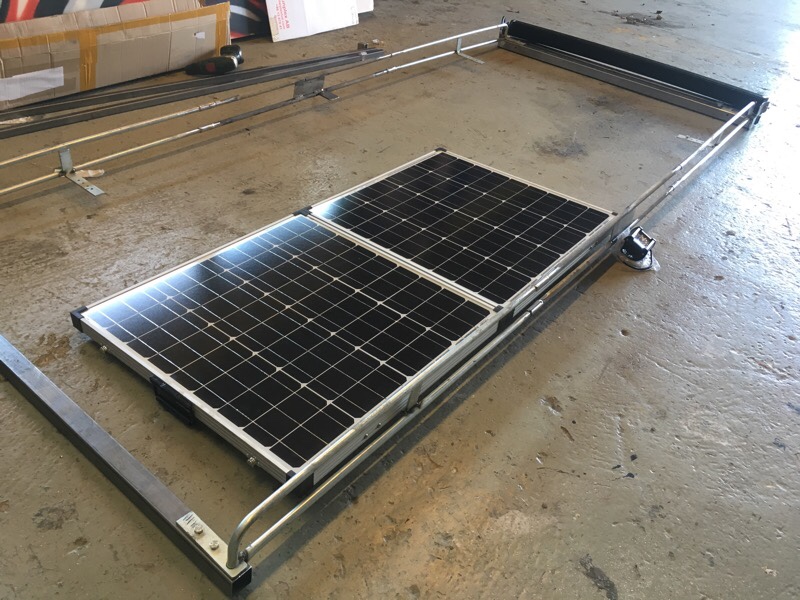
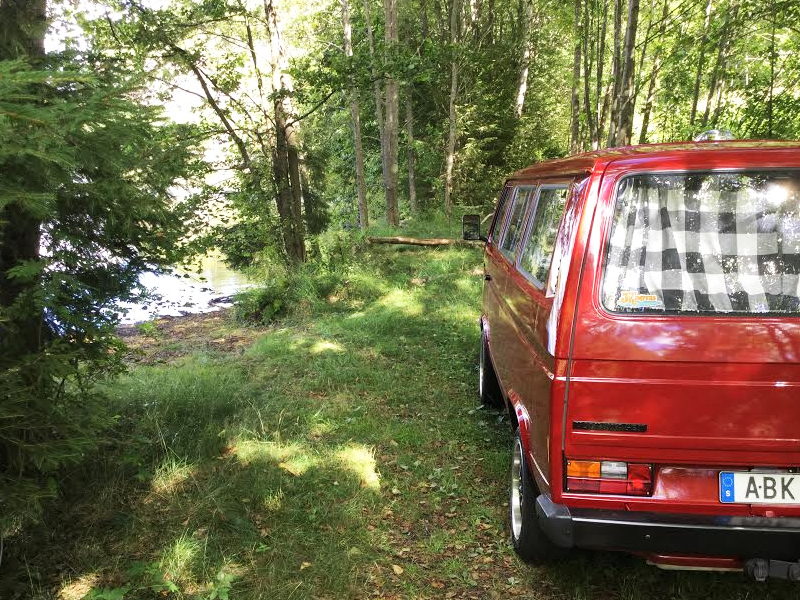
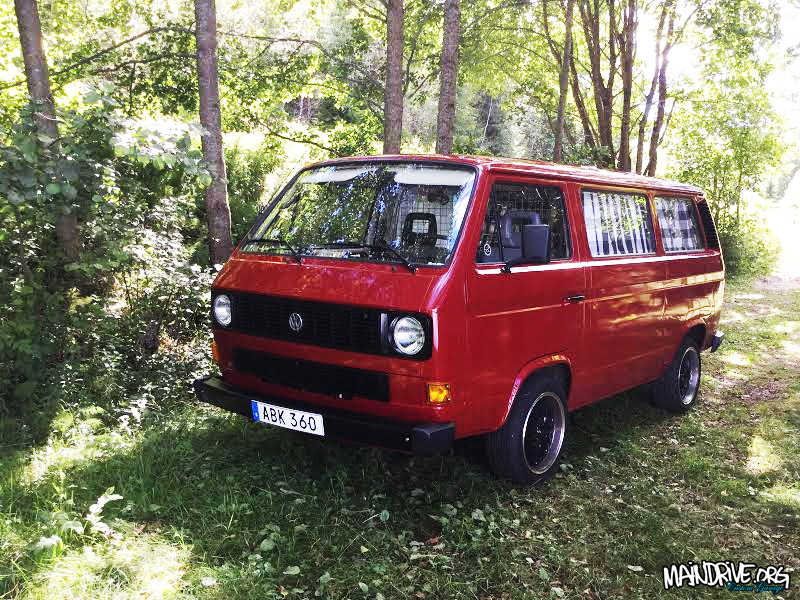
Added a solarpanel to the roofrack on the bus. But we also have a portable solarpanel to use when parked in the shadows or just need more power. Roof panel is Monocrystal 120w and the portable is also 120w mono, so a total of 240w solar power and 200amps of batterybank, they are also wired to the car alternator so charging when driving. We have a pretty sweet setup now!


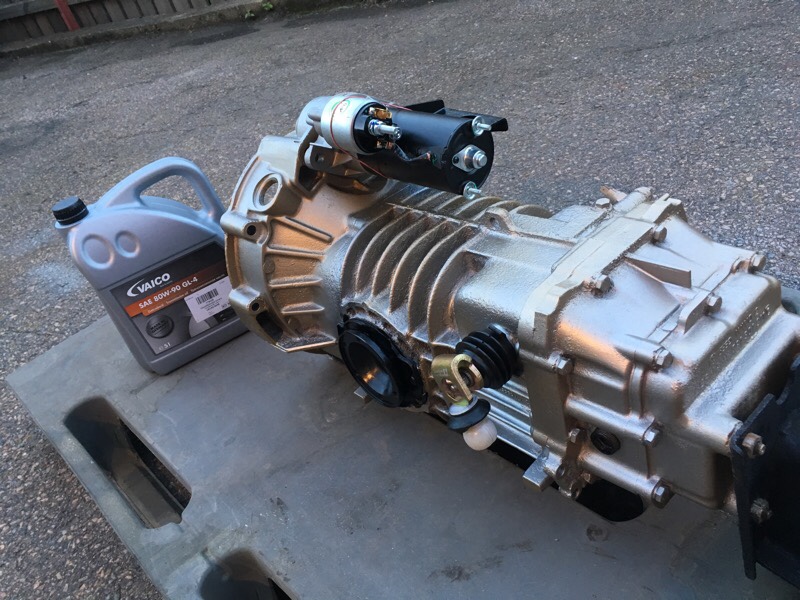
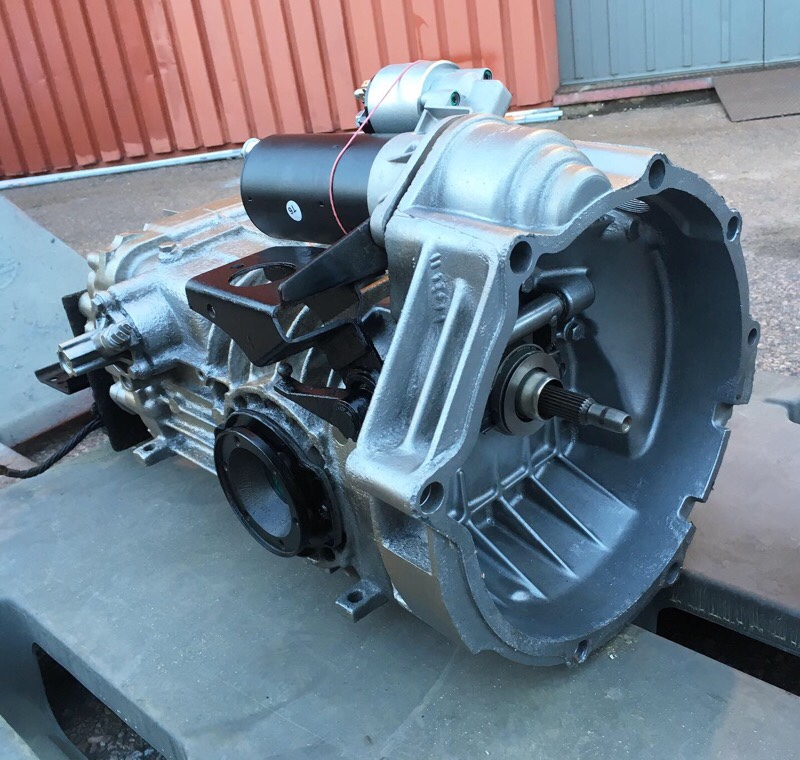
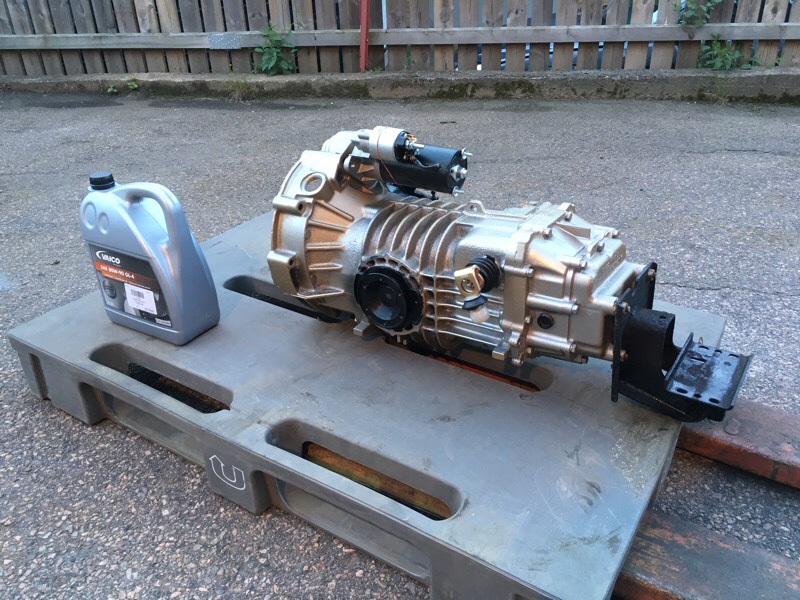
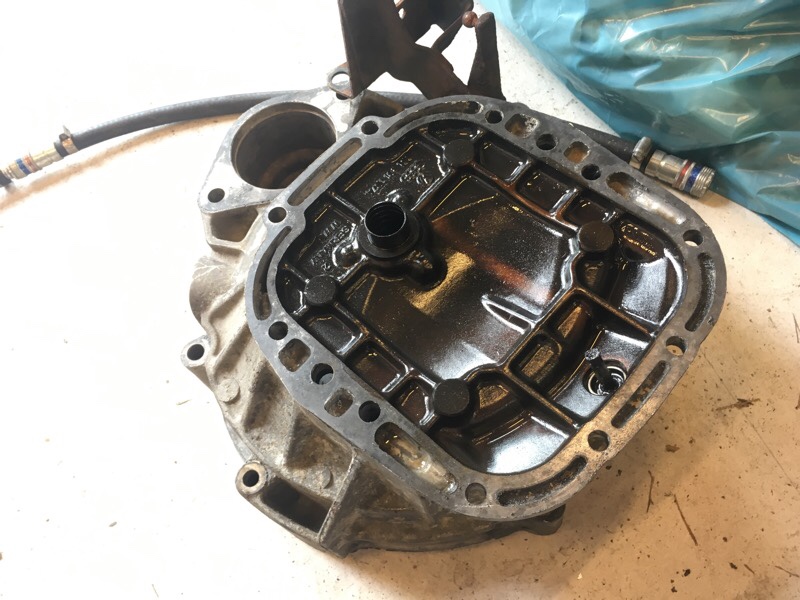
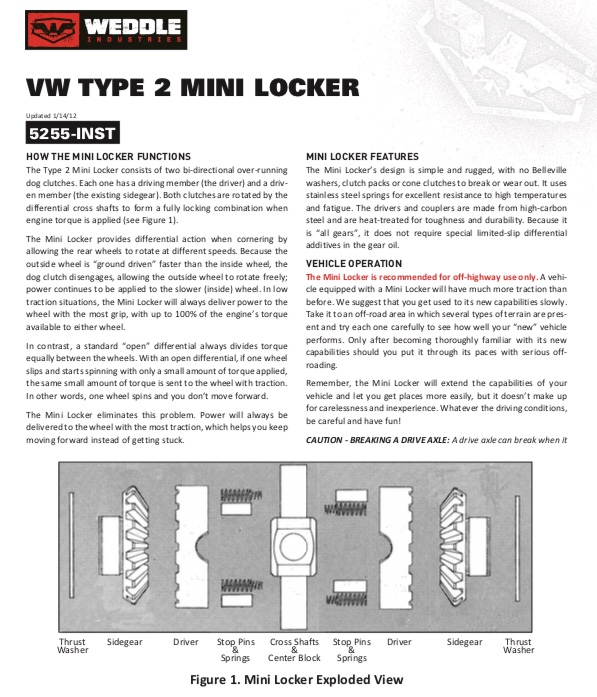
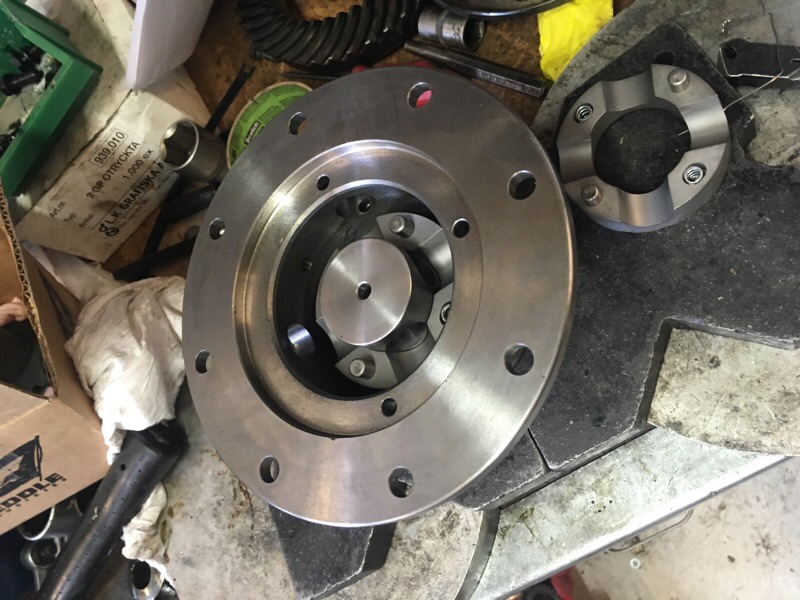
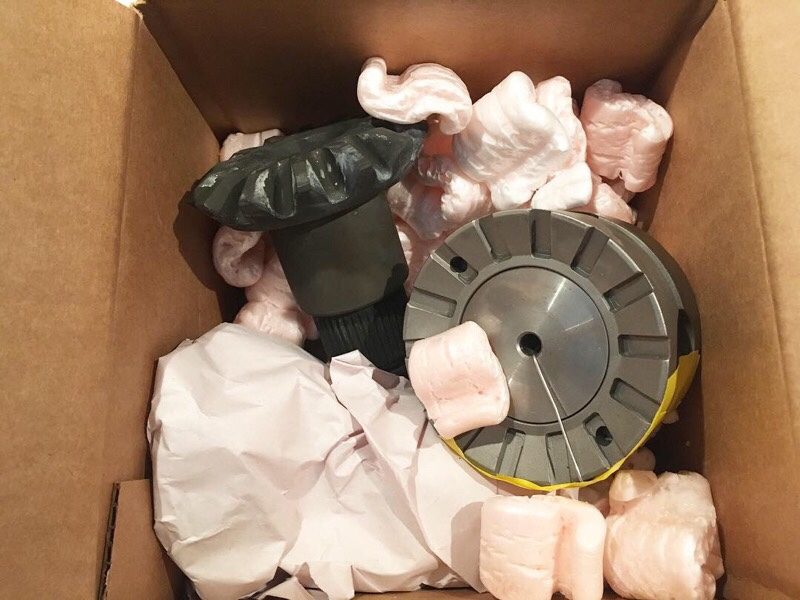
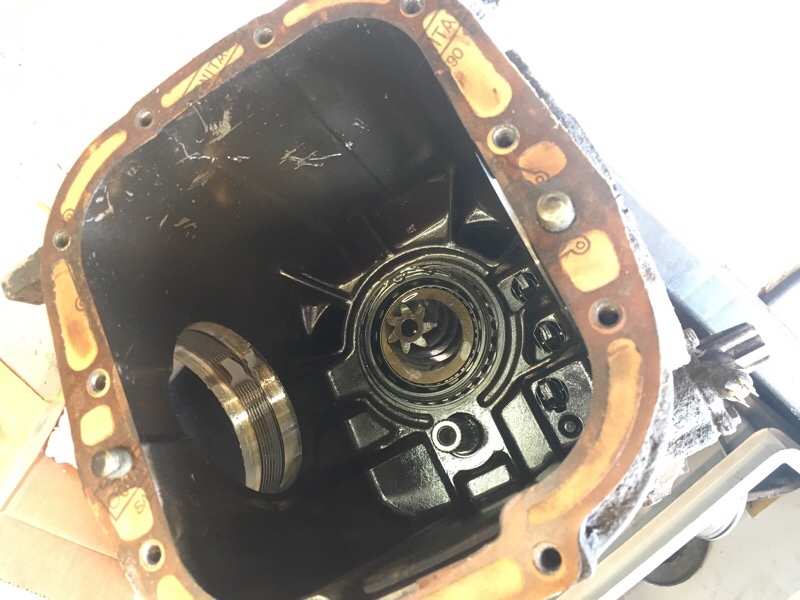
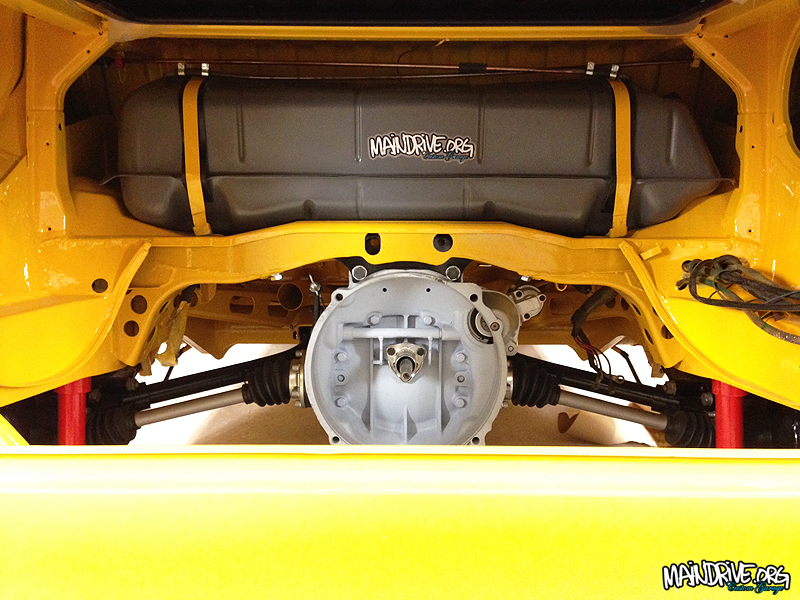
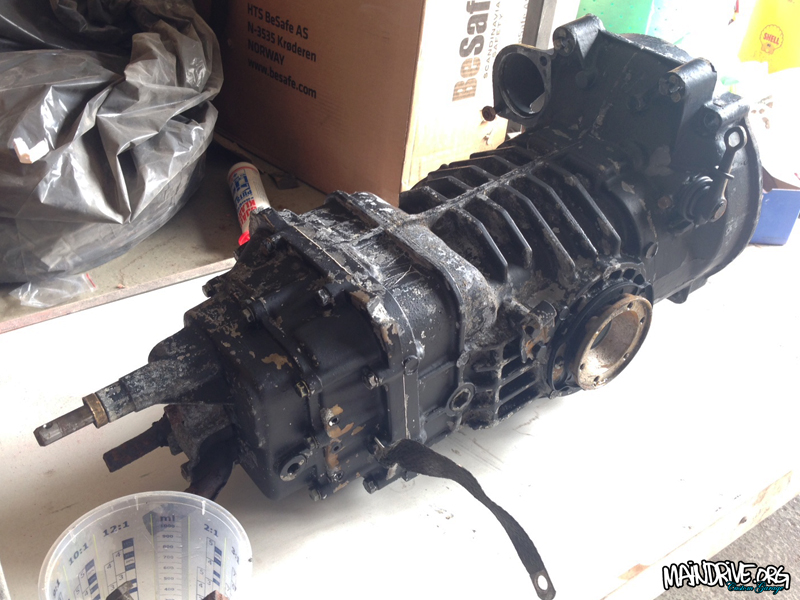
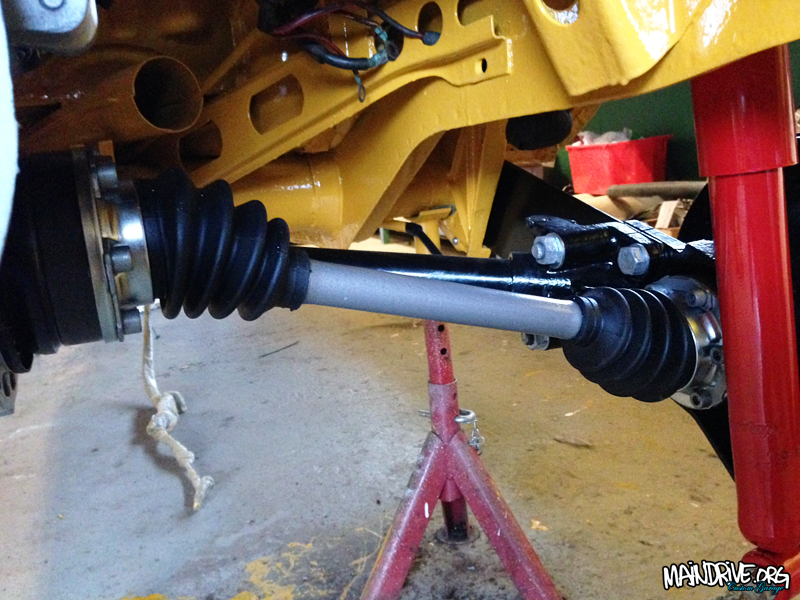
Together with Hans Landenius a offroad transmission was built. A mechanical difflocker from Weddle Industries. This locker engages when stamping on the throttle and locks up to 100%. Which for example a LSD (limited slip differential) never do. That’s why I choosed a locker over LSD, to always have maximum traction when it really needs. The downside with this locker is that it’s noisy, clicks when turning corners (axle tooth’s is “sliding” over the cogs in the differential), but I don’t care so much about noise.
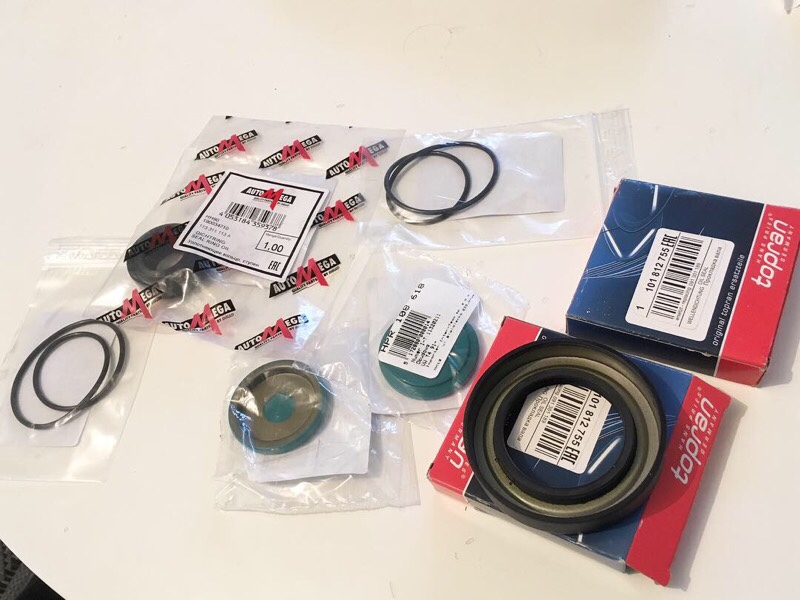
The old differential had only 2 spider gears, so it was replaced by a new stronger “Super diff” that’s made for 4 spider gears. The spider gears was the replaced with the spring loaded locker. Everything was bolted back together, measured with micrometer. Then all seals was replaced with new. New starter and throw out bearing was installed too.
#vwt3overland

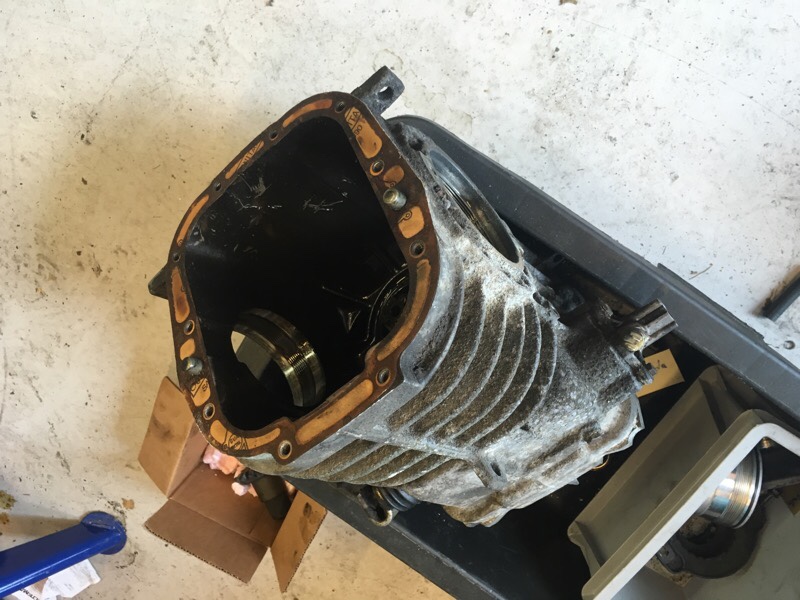
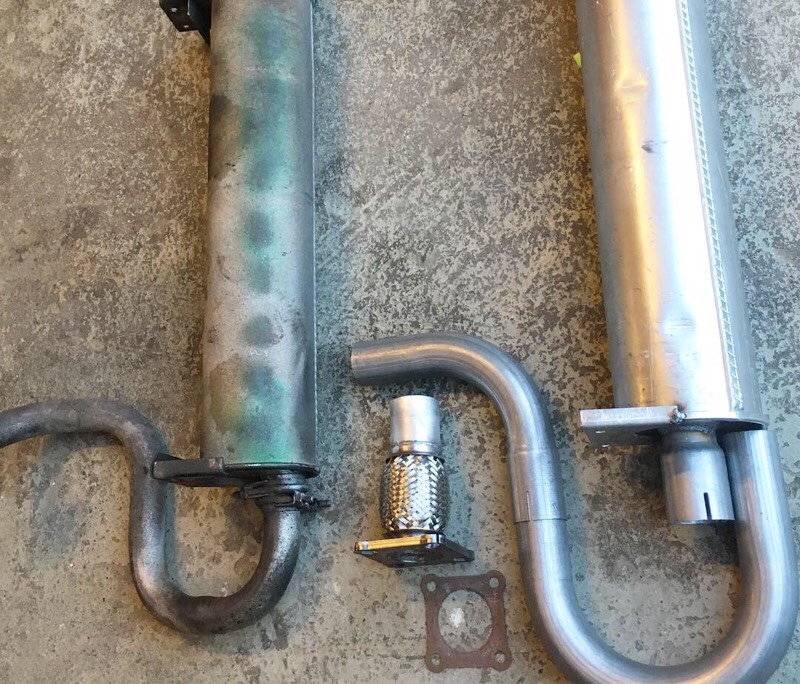
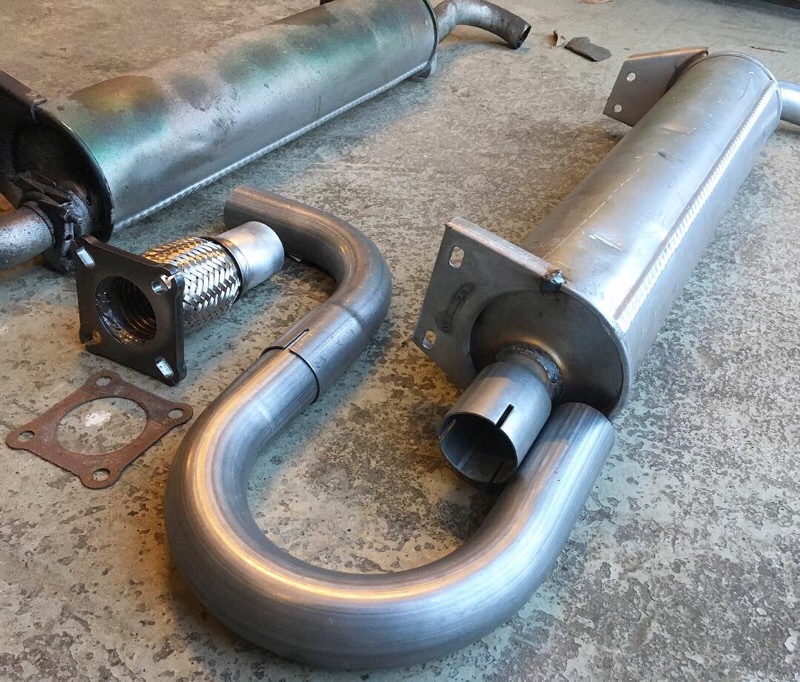
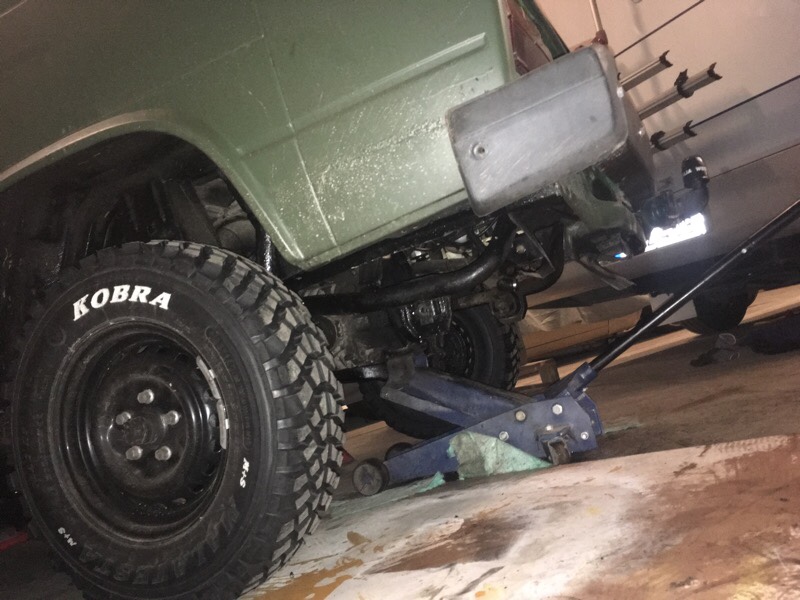
Stuff is getting done, slow but steady at the moment, with two small kids there is not much time left! I have lifted the rear on the 30mm with spacers and I will lift the front 30mm too, but later on. Engine is ready to go in and transmission is getting built with Superdiff and locker while I write this. A custom beefy exhaust is made too, with a turbo diesel muffler for better flow.
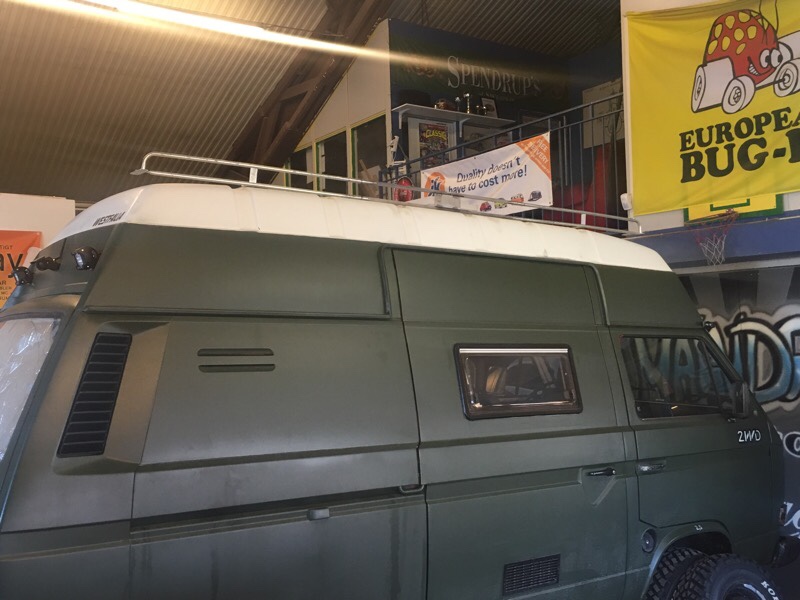
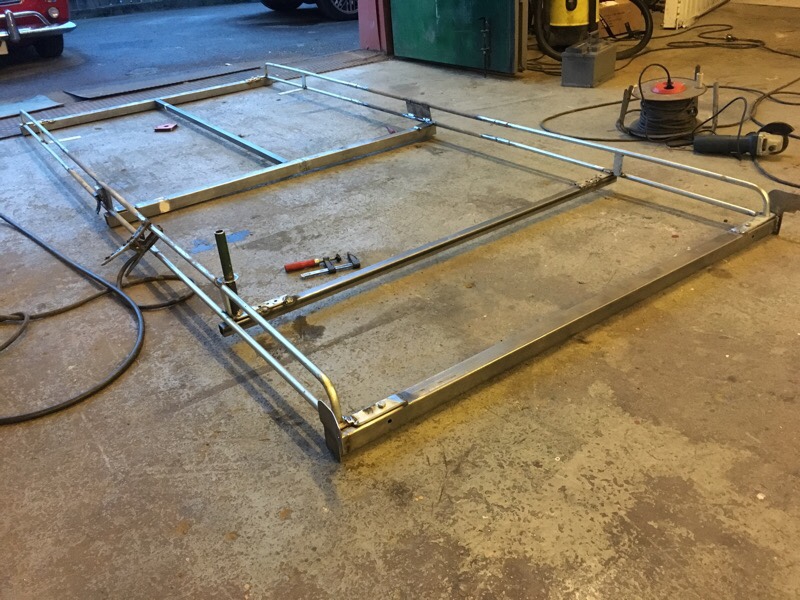
I have a Thule awning with safari room for the bus, but it’s not possible to install it with ordinary brackets in the droprail (highroof slidingdoor) and I don’t want to drill it in the roof directly. So I want a roof rack that the awning can be bolted too instead.
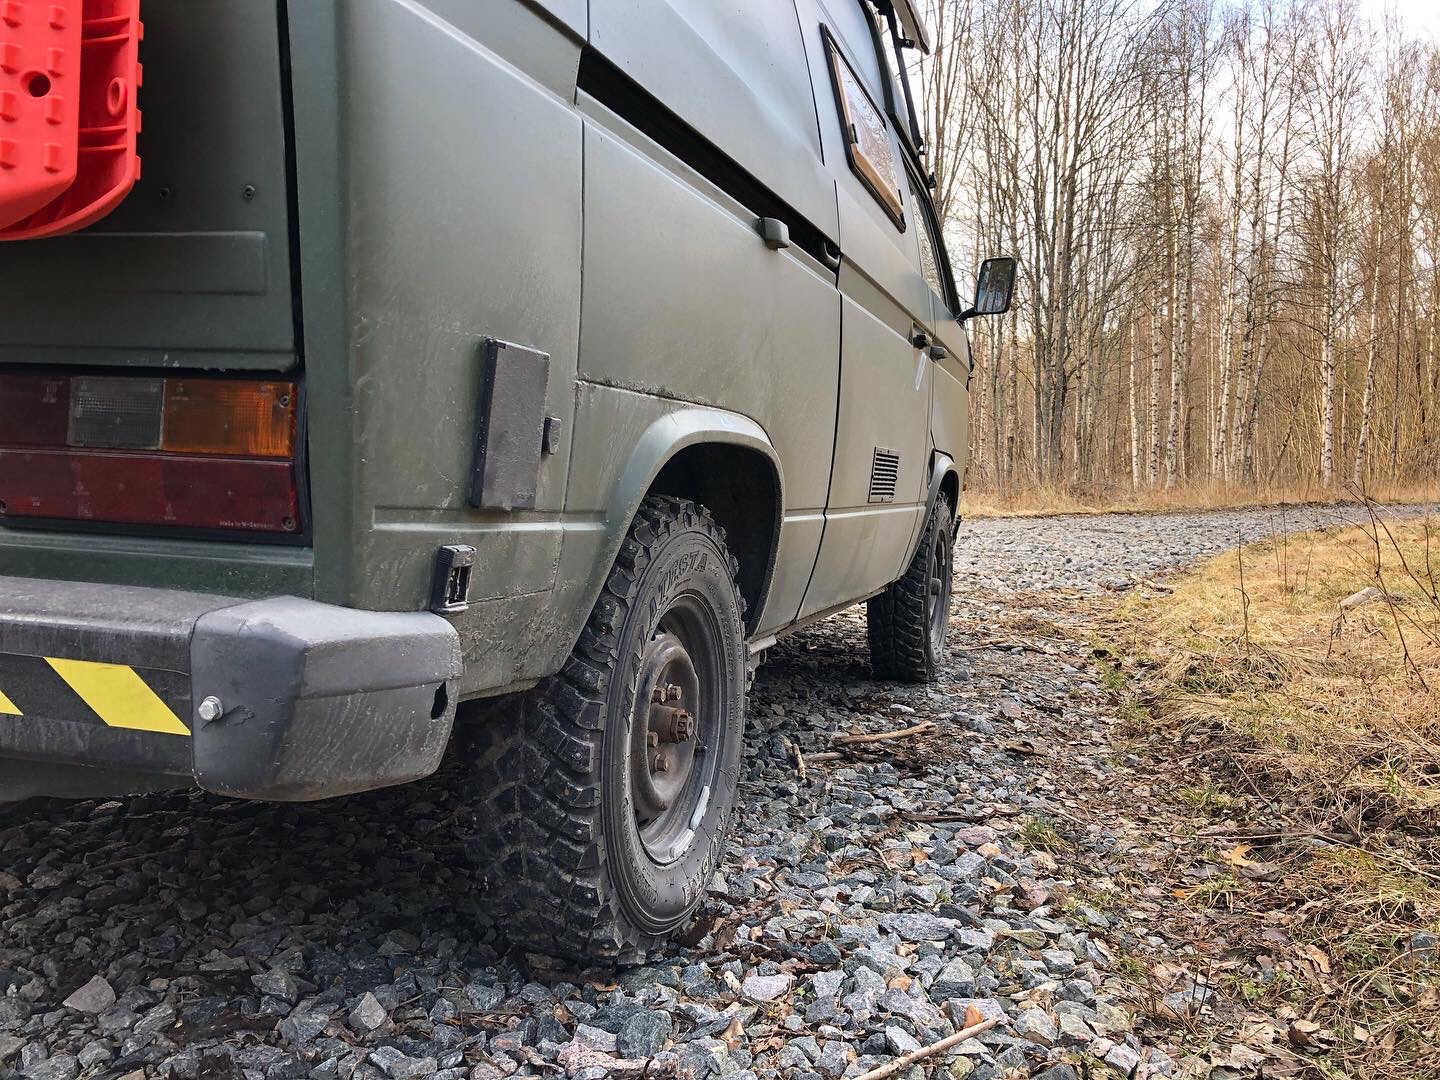
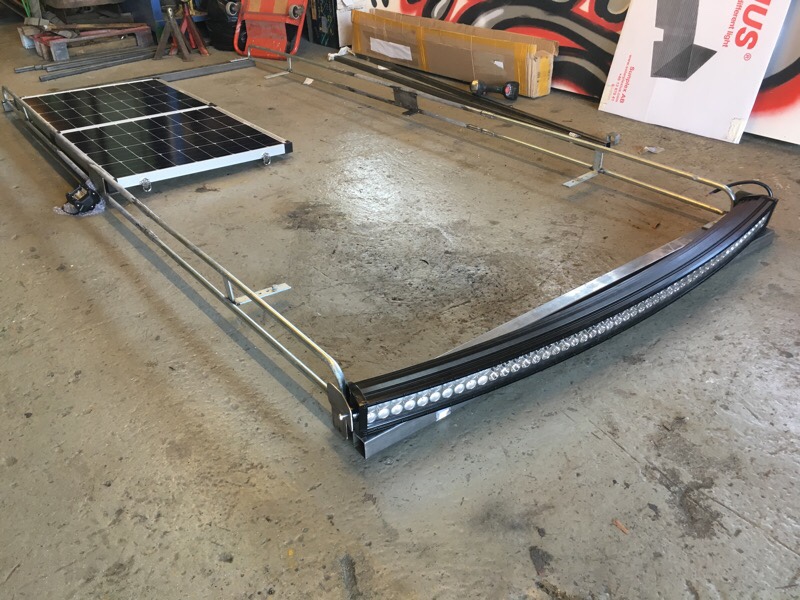
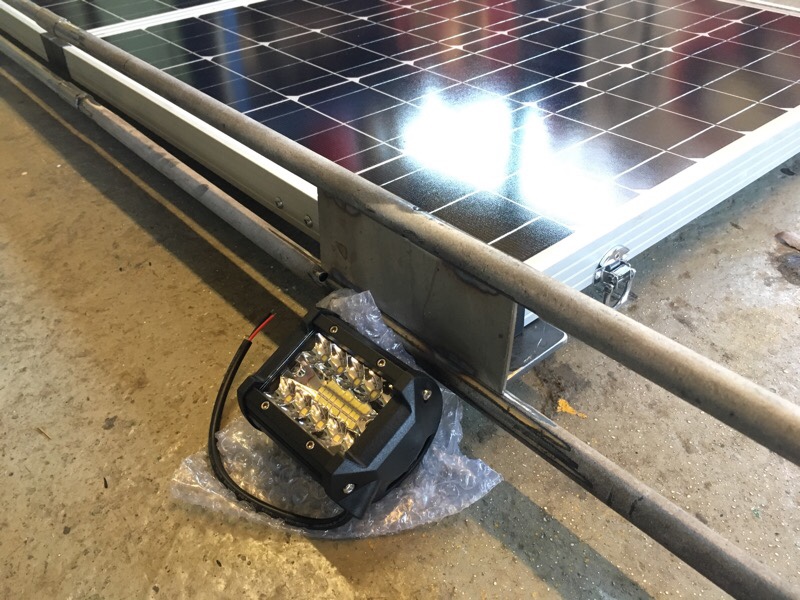
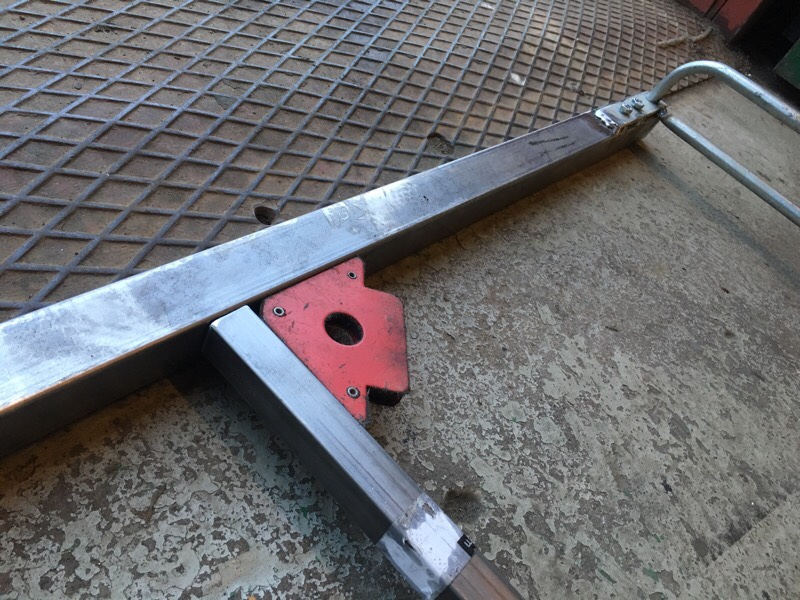
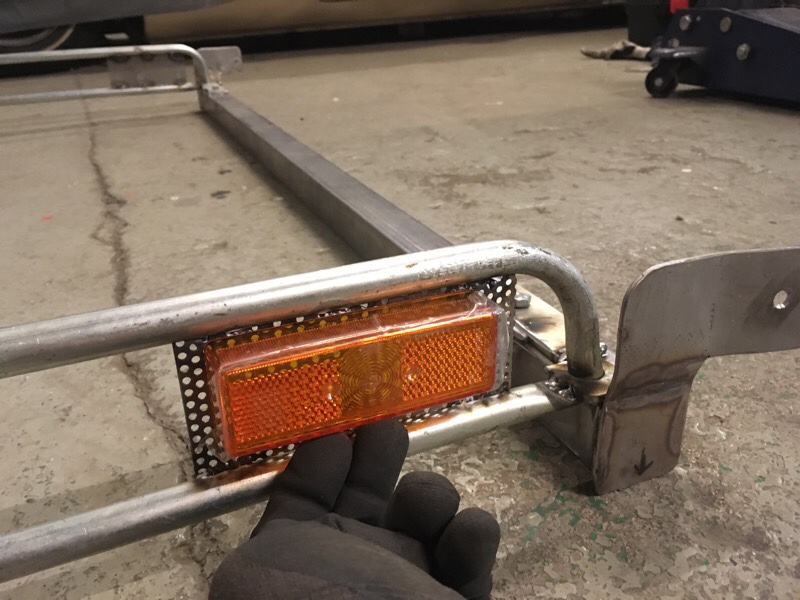
But it’s not possible to buy a “bolt-on” complete Expedition roof rack to a VW T3 Highroof bus so I need to make one myself. I had a old roofrack laying that I could use/modify. I have been extended it 100cm and widened 40cm (total 290cm long and 130cm wide). 1000w LED light bar 133cm long, two 100w LED flood spotlights on each side, portable solar panel 120w (can be removed from rack easy and plugs into a 10m extended cable so it can be moved with the sun for maximum power). CB radio antennas, digital TV antenn/scanner and ladder is being fixed too.
Just need to make legs and brackets then it will be painted in satin black. Then Ready for safari and zombie apocalypse ?
Instagram:
@maindrivegarage
#vwt3overland
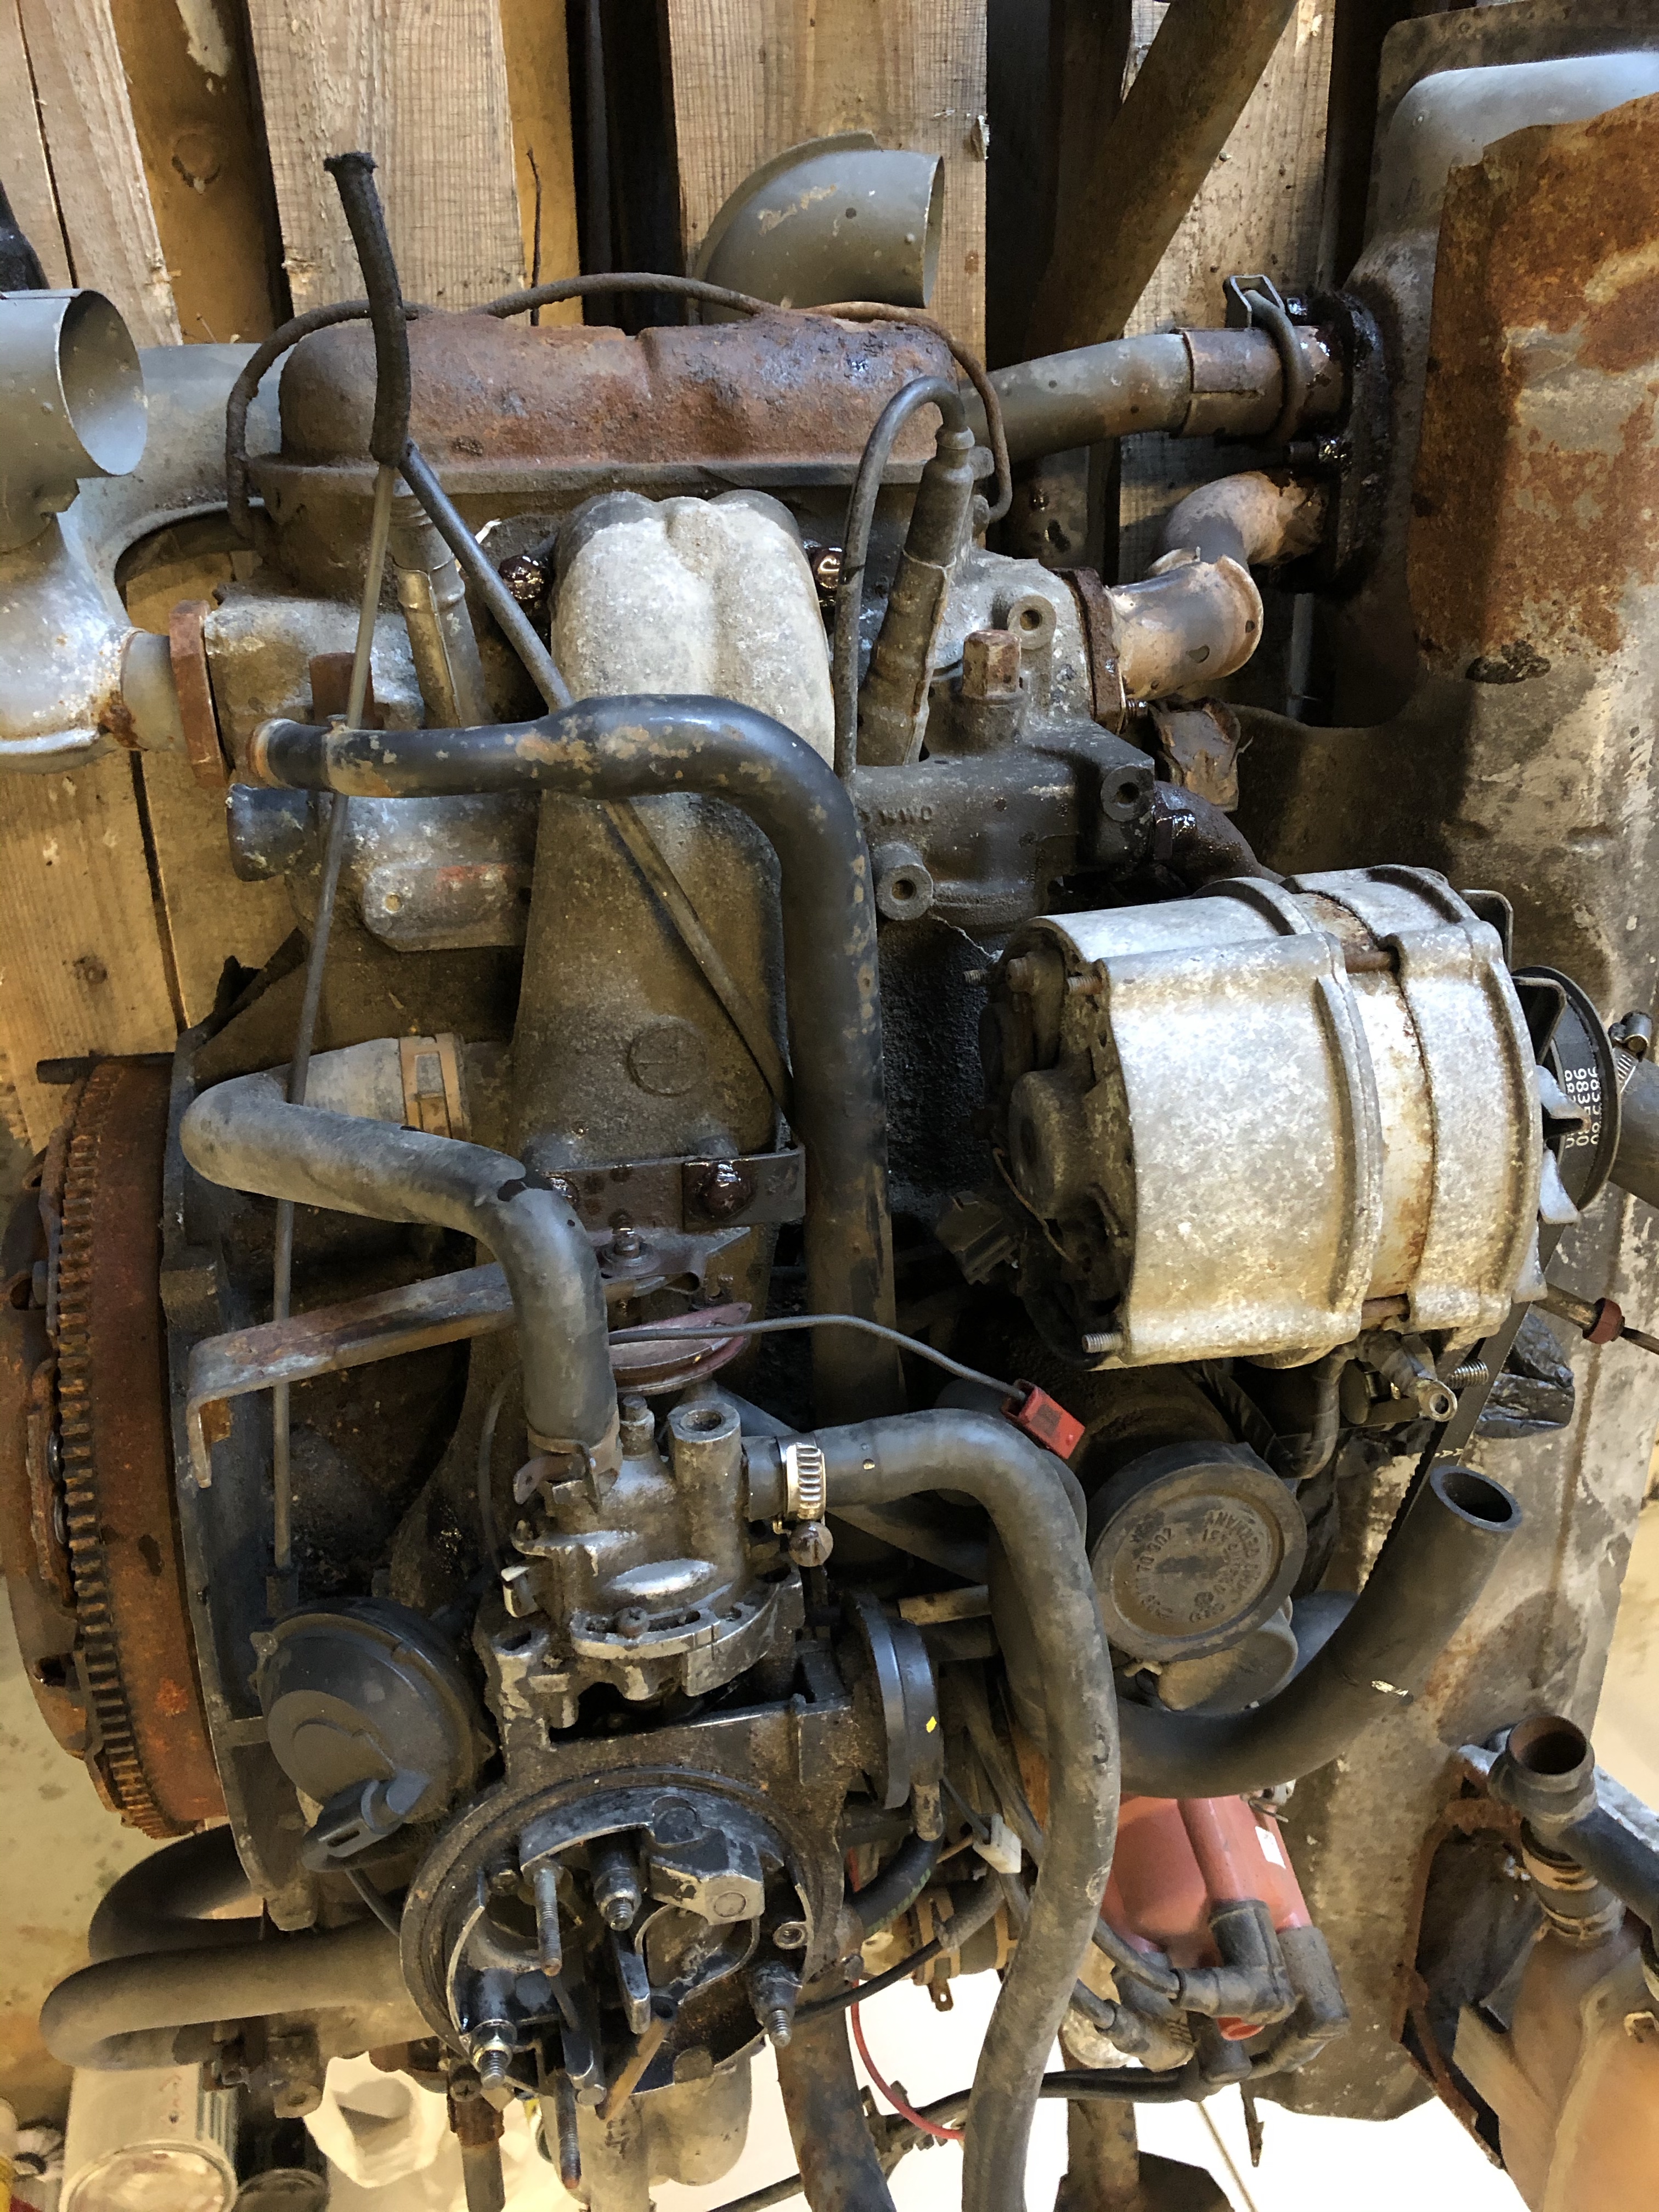
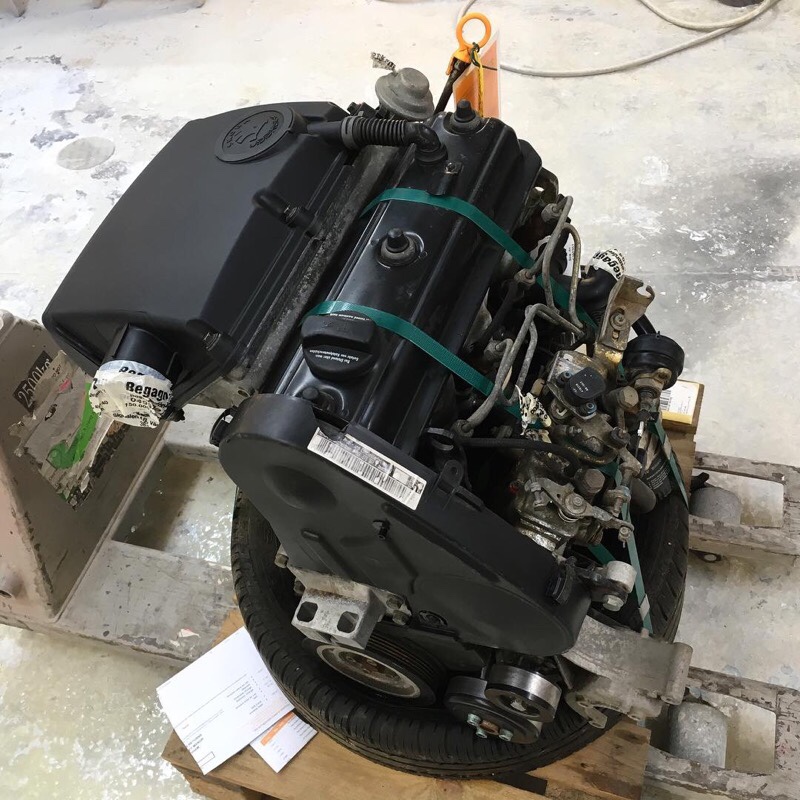
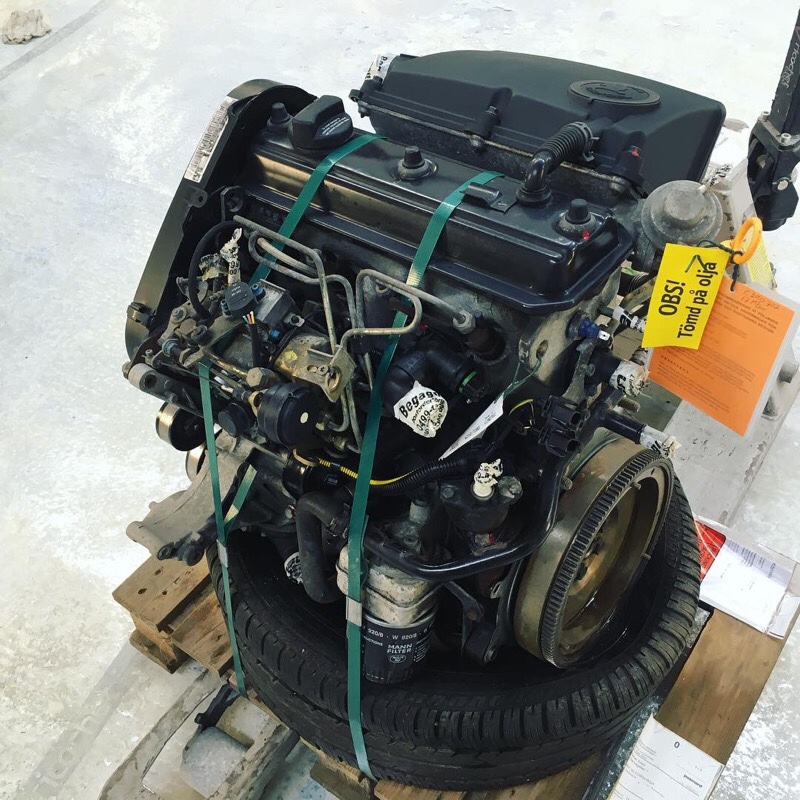
The old 1,6 CS diesel was a bit to slow in hills/highways (to the point it get dangerous in traffic). So it needed to go. I don’t going to race Lemans with the bus, I just want a more modern, stronger, cheap to drive (diesel) and most important RELIABLE engine that always work. First I was looking at a AAZ 1,6/9 Turbo engine but with a turbo it’s just another thing that can brake and these engines always runs much hotter. So I decided to go with a VAG 1,9 AEF engine, found in VW Polo, Golf, Audi and Skoda Felicia.
THE NEW ENGINE
I managed to find a really lowmilage 1,9 AEF diesel engine from a Skoda Felicia, year 2000. But it is not just to bolt this engine in the bus and drive, a lot of stuff need to be changed and parts from the 1,6 CS need to be re-used and modified. But its probably the easiest conversion you can choose, if your thinking of using a non standard engine in your VW T3 diesel bus.
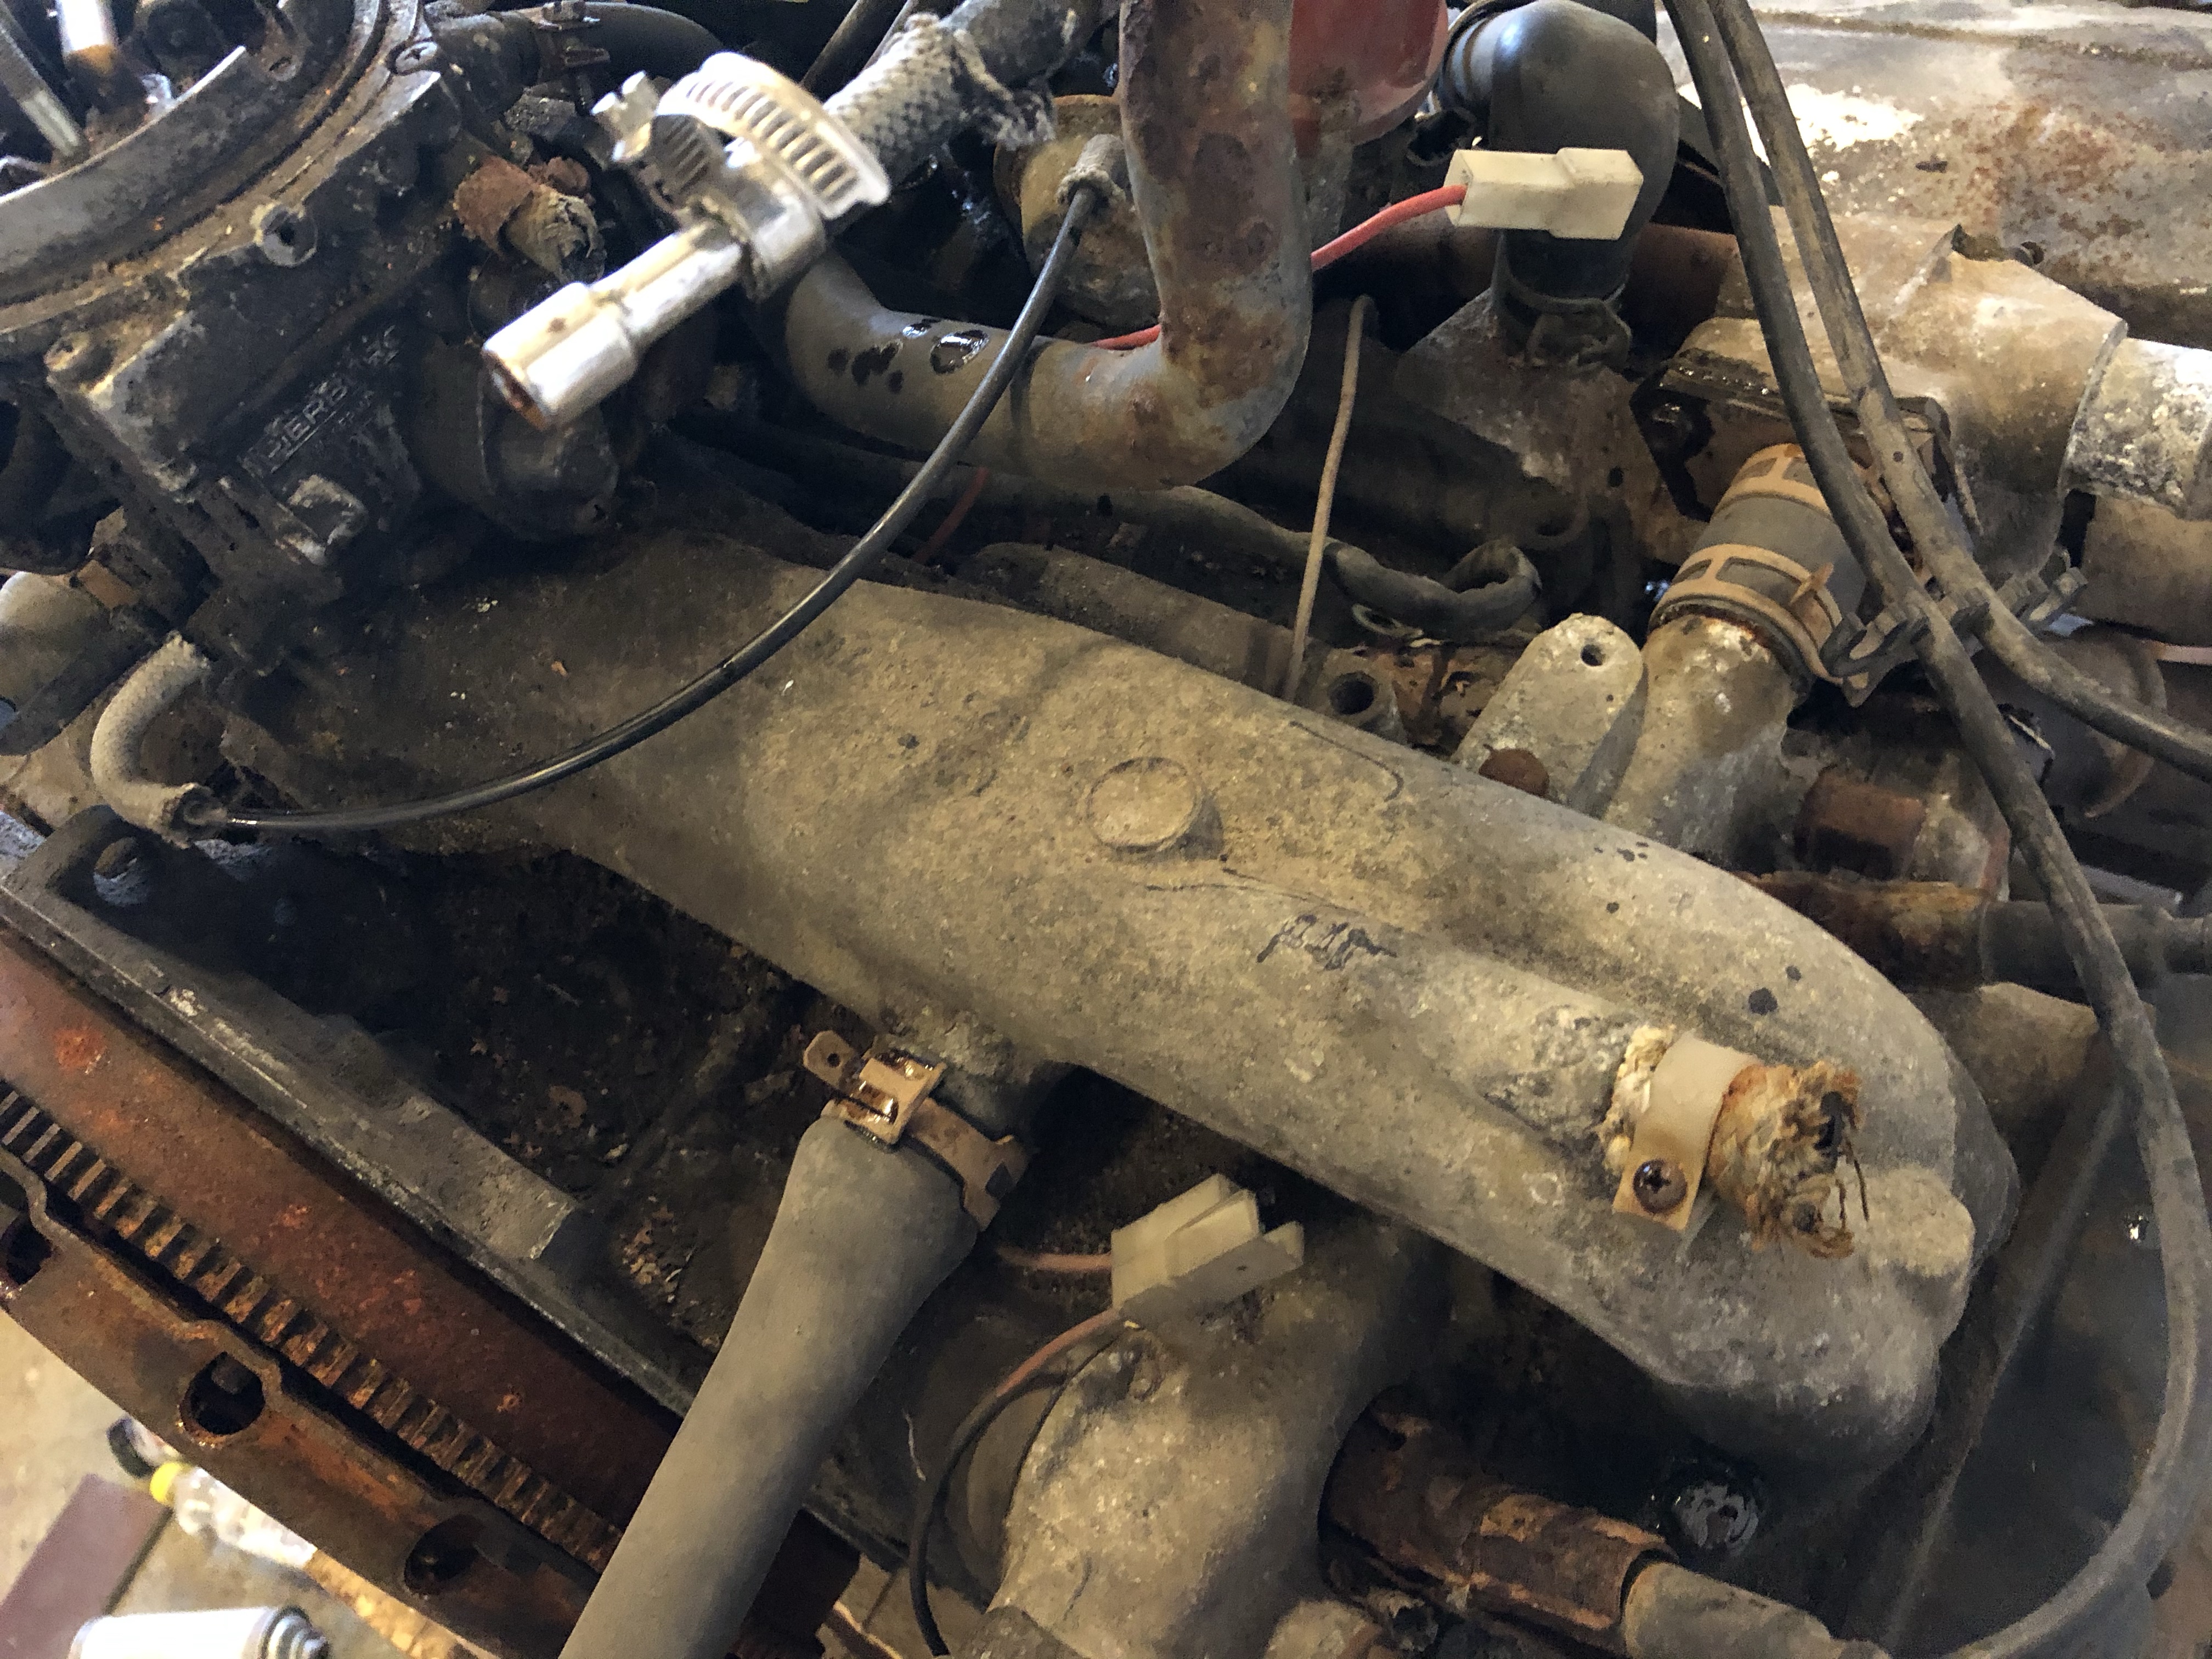
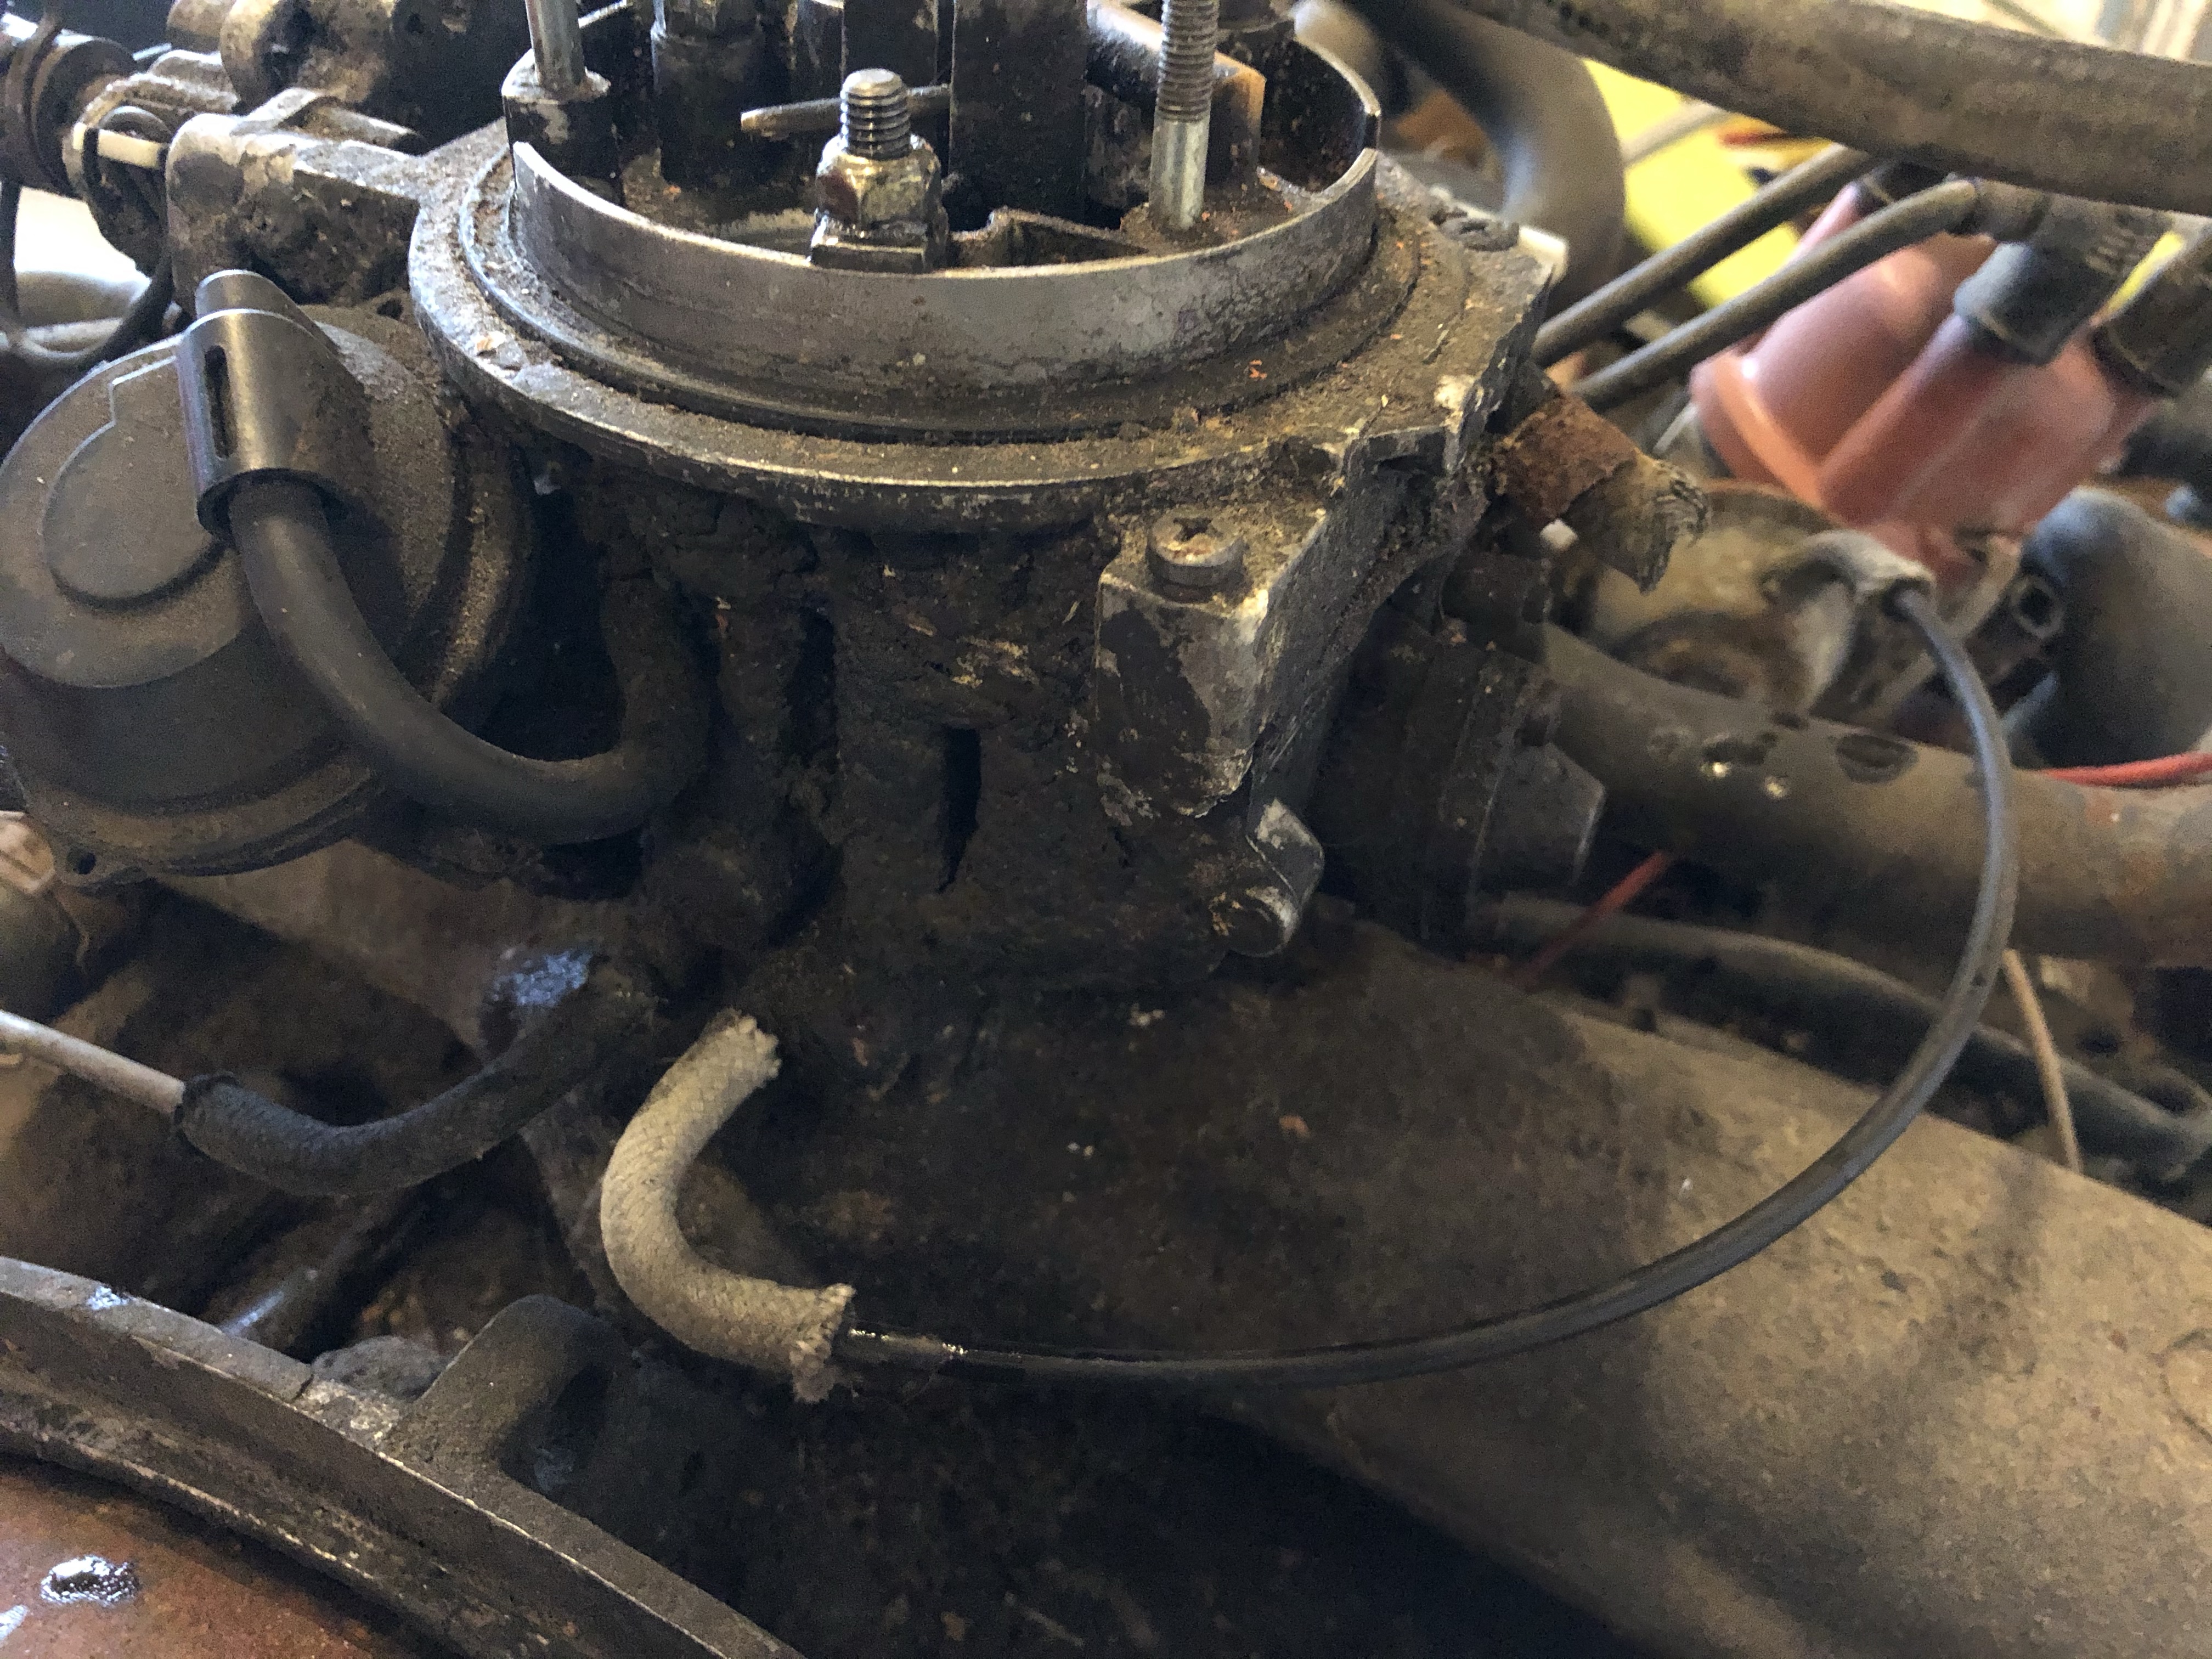
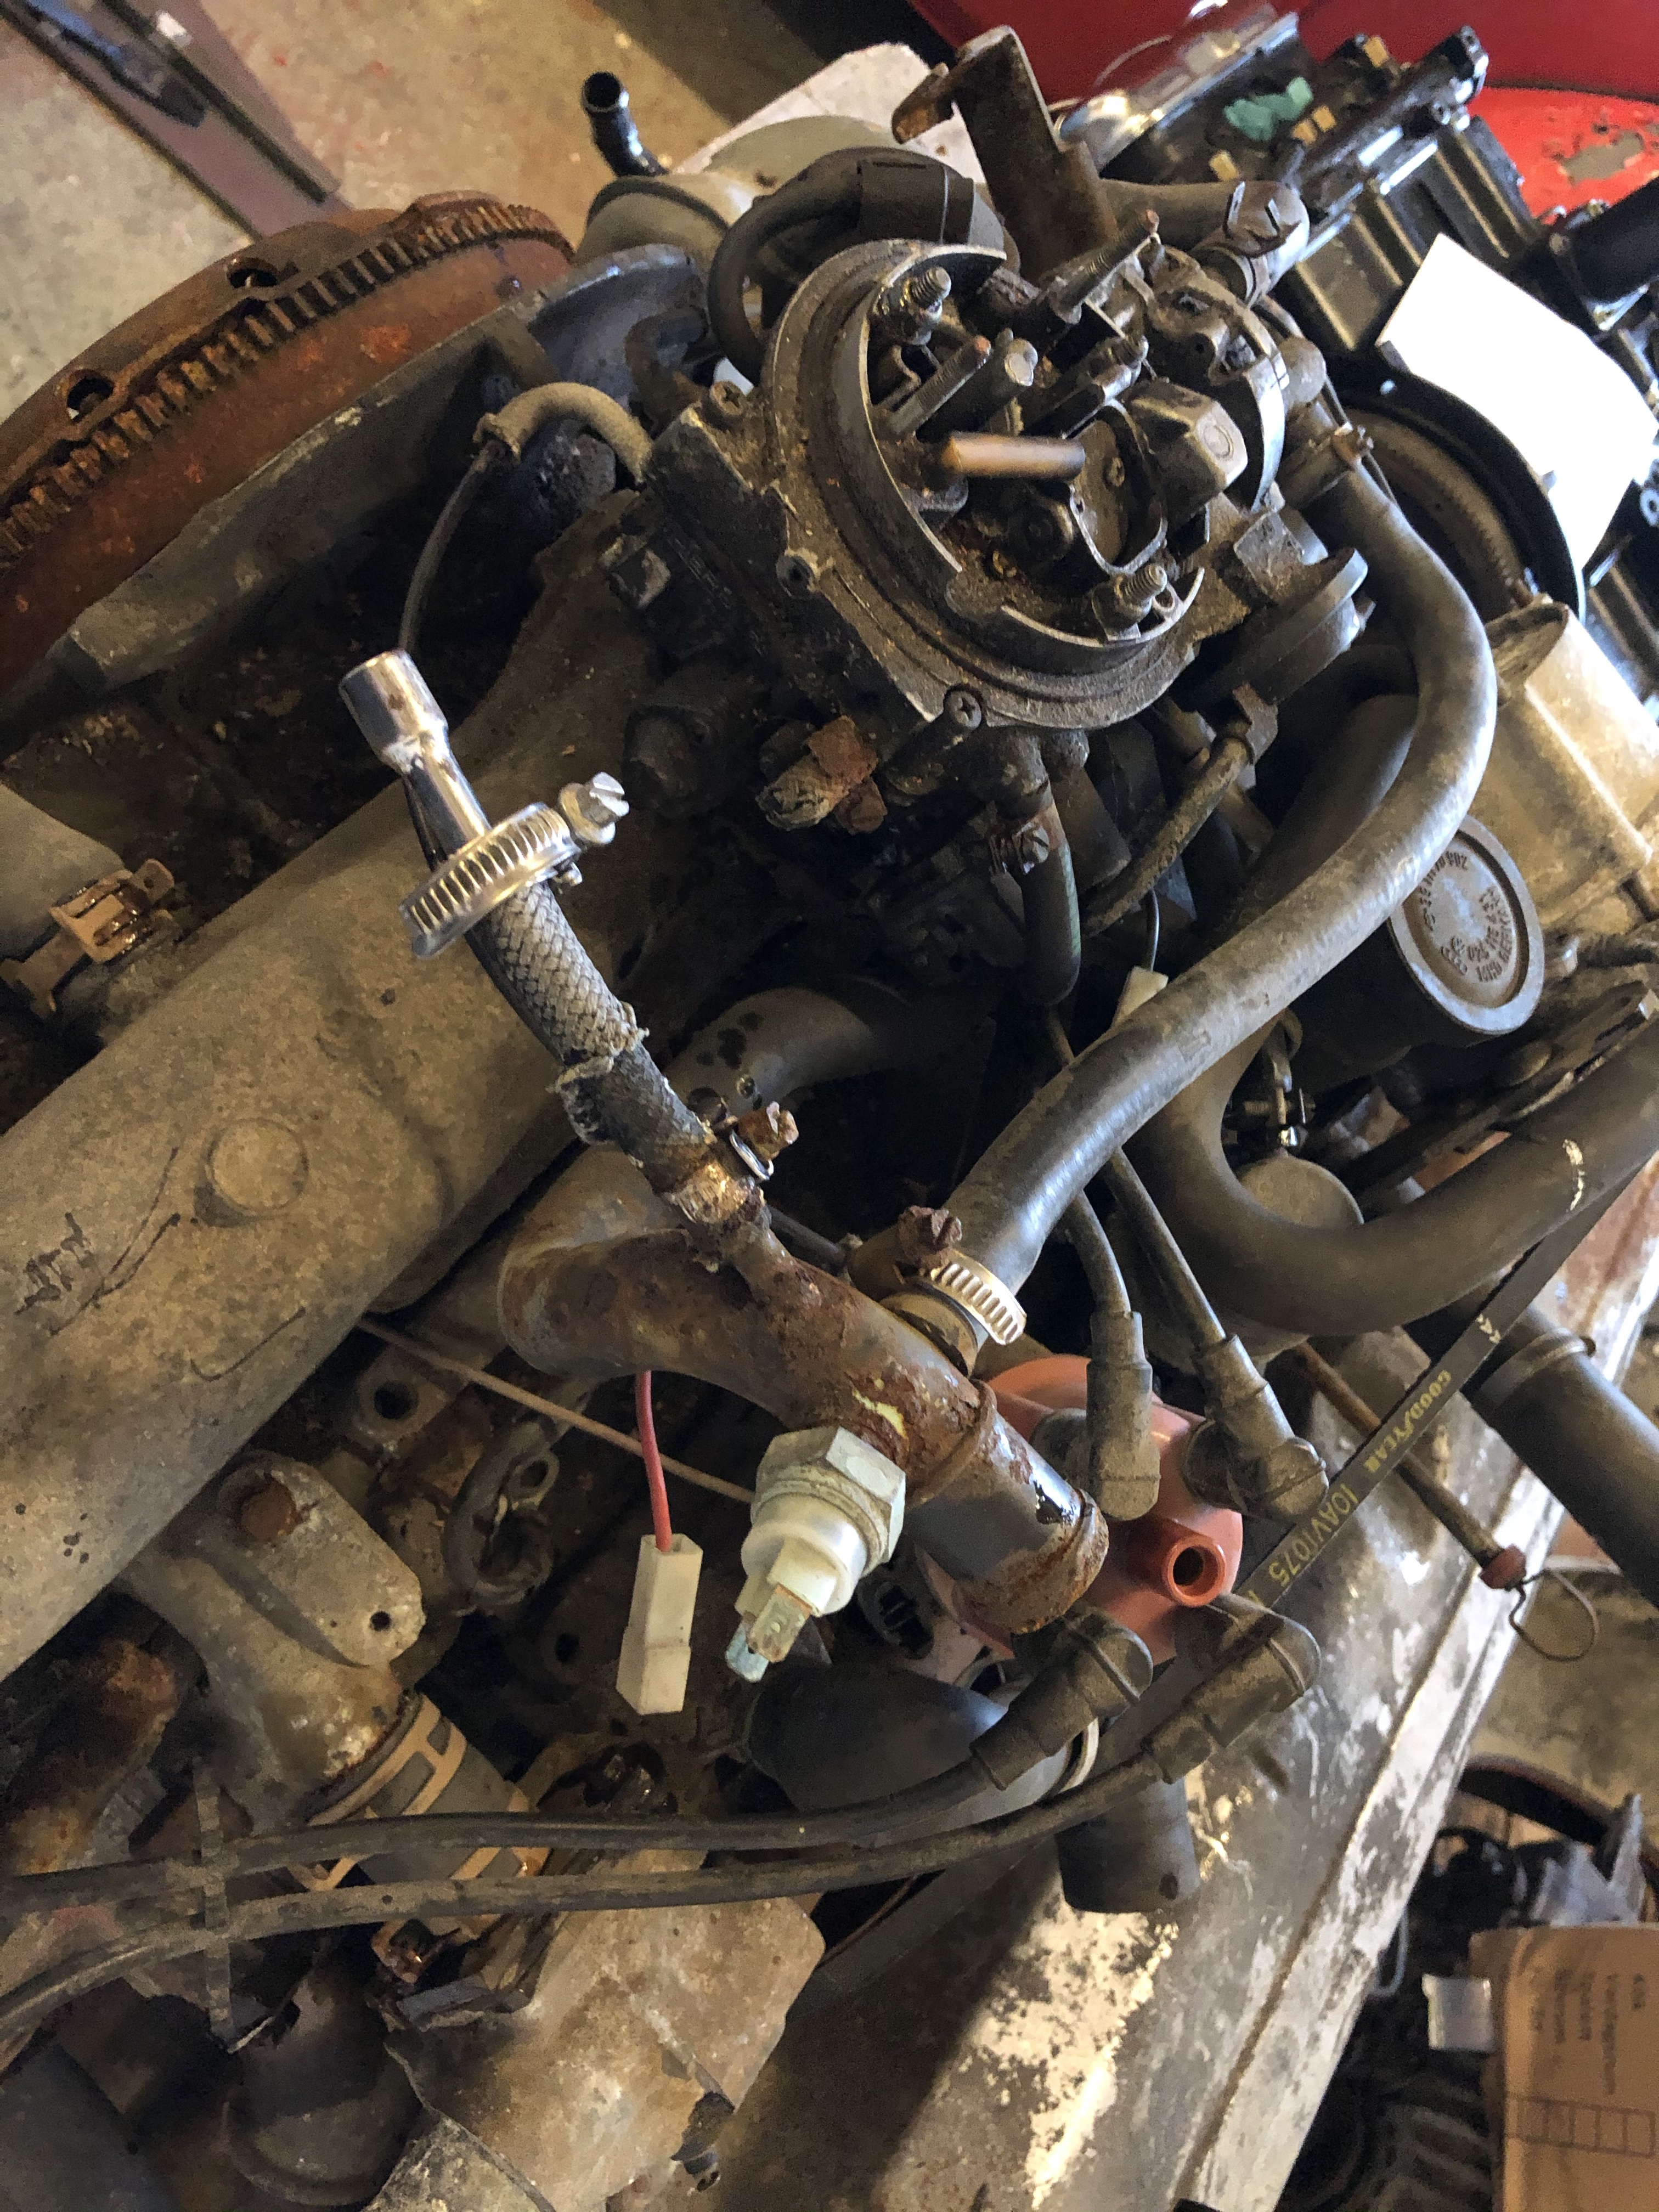
TRANSMISSION
While the engine is out I will also take out the transmission. And make a check up, change shifter couplings, linkage bushings and gaskets. Upgrade driveshafts to stronger, Porsche. Upgrade the differential with a difflock from Weddle Ind. In a standard “open” differential, torque is divided equally between the wheels. If one wheel slips and spins, only a fraction of the torque is utilized. The difflock eliminates this problem. Power will always be delivered to the wheel with the most traction to keep you moving instead of getting stuck, up to 100%. Then it we can do some serious off-roading 🙂
More to come soon! #vwt3overland
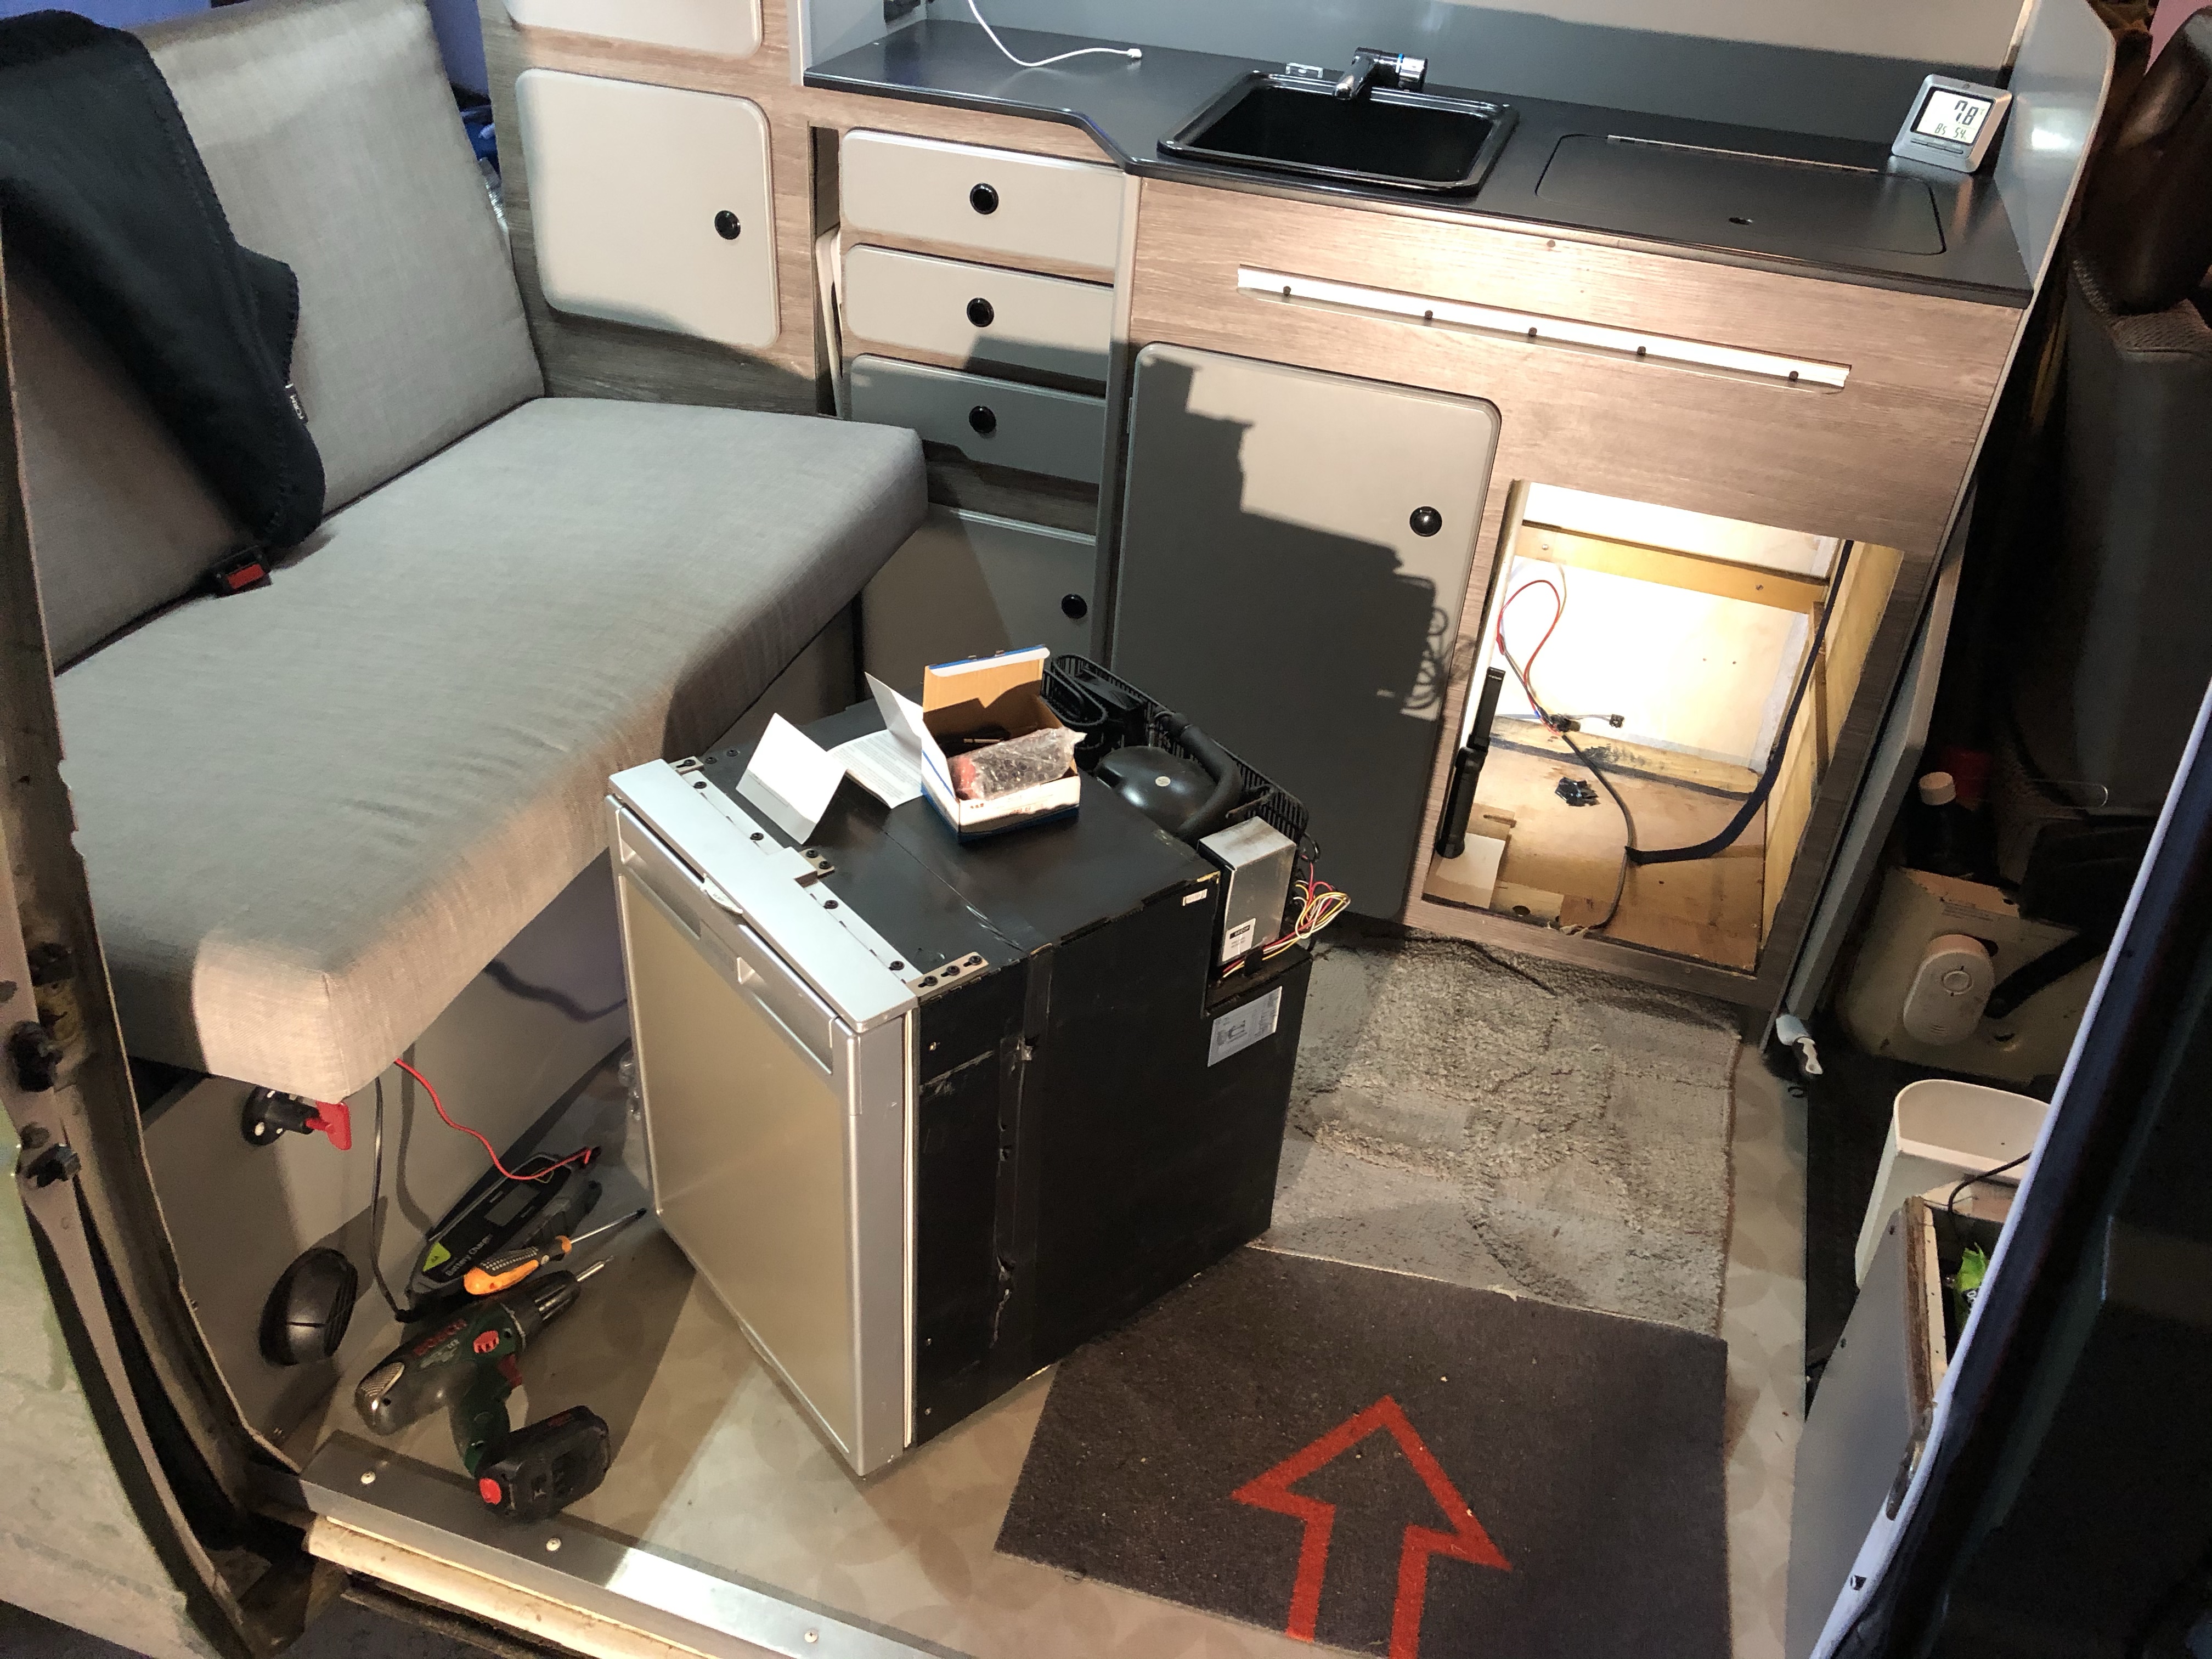
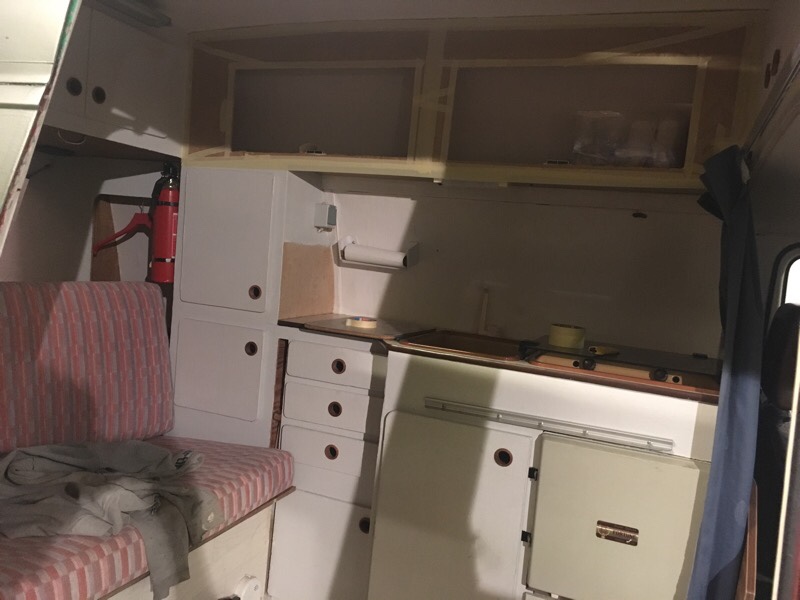
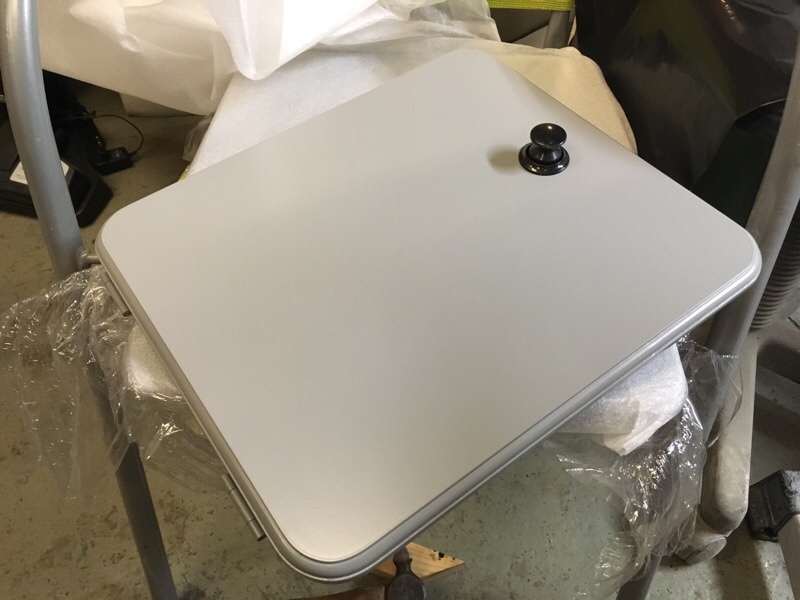
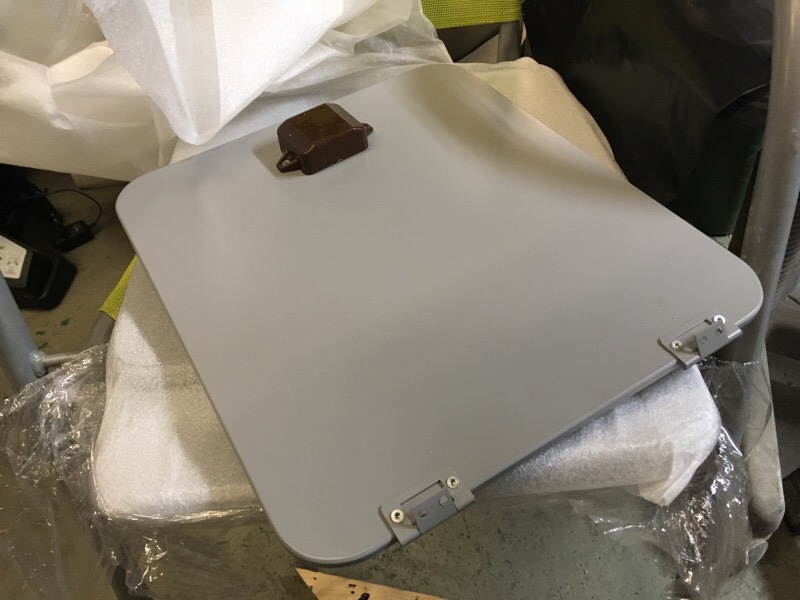
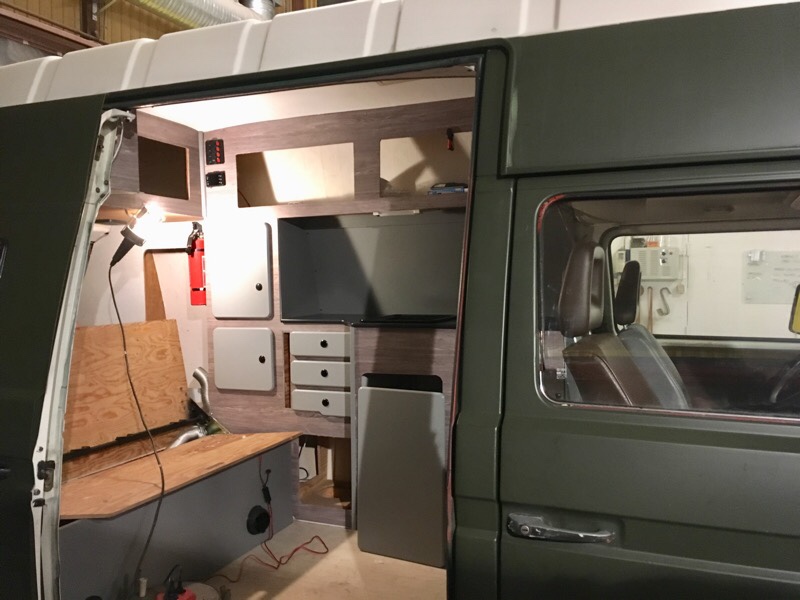
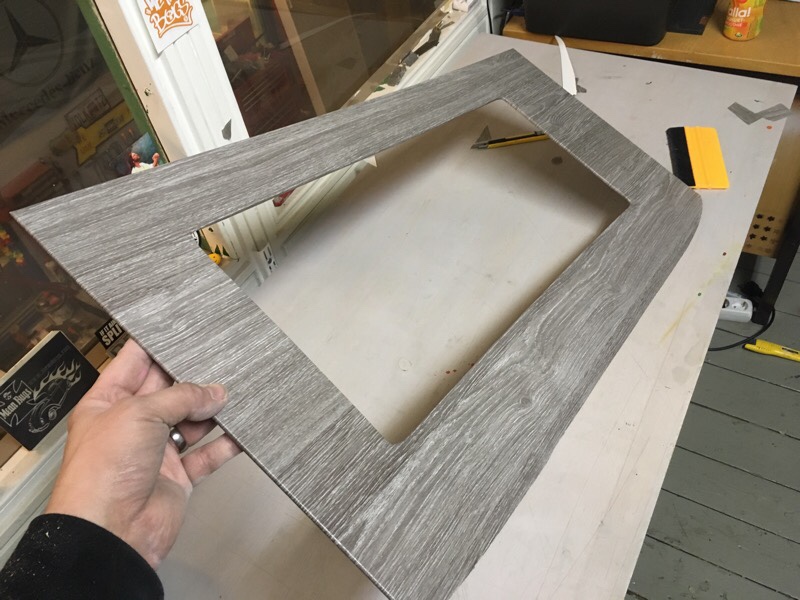
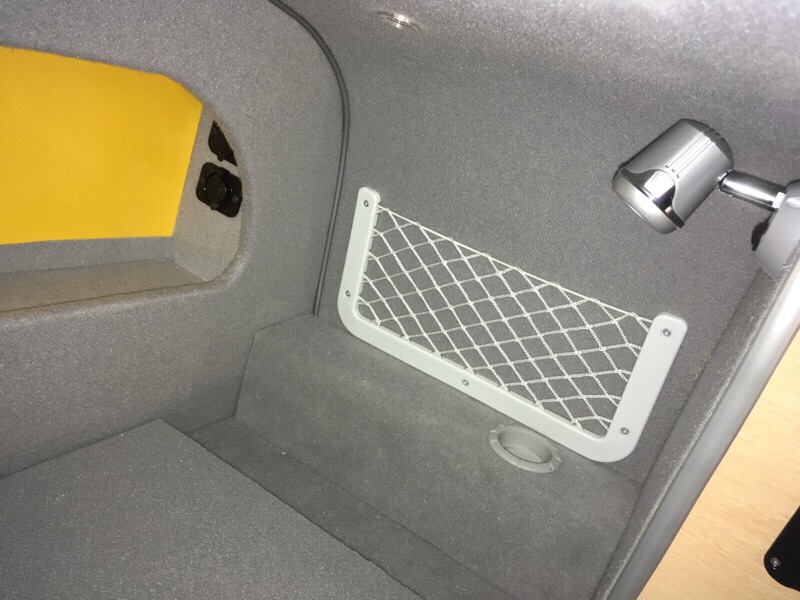
Have been working on the camping interior lately. The old interior was crappy and looked like shit, it had some structure wall weave/papper that hade been rolled with paint 10 times, the touch and feel was like a 40 grit sandpaper so it needed to go. But it was a good design/plan layout on the cabinets and storage. So I decided to keep the base of it and make a new outside finish on it in light grey oak vinyl.
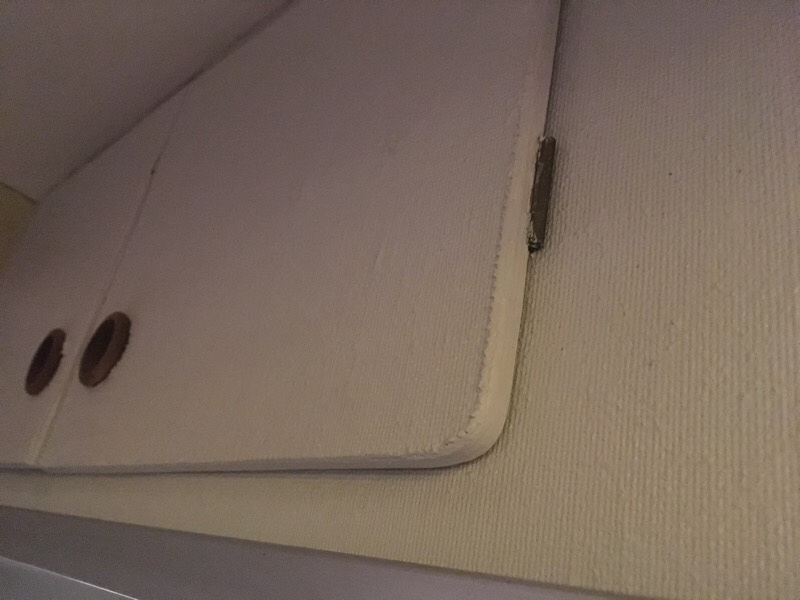
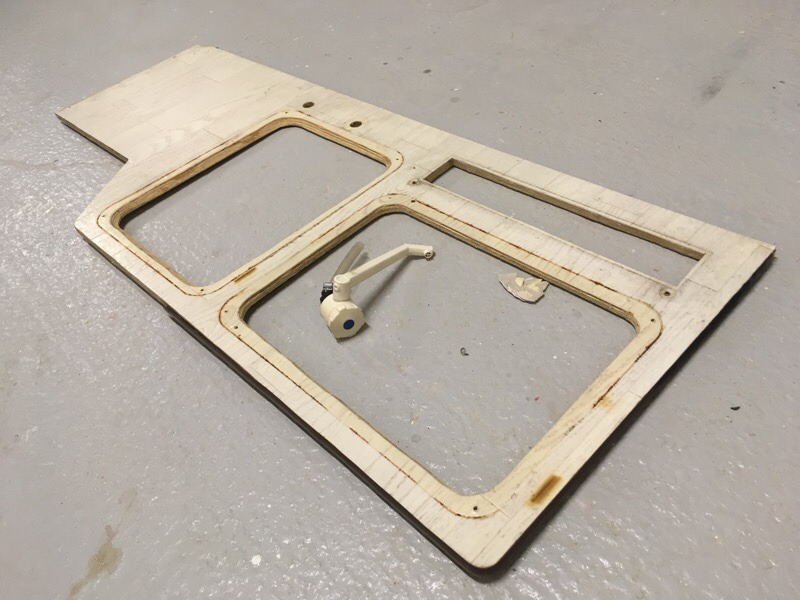
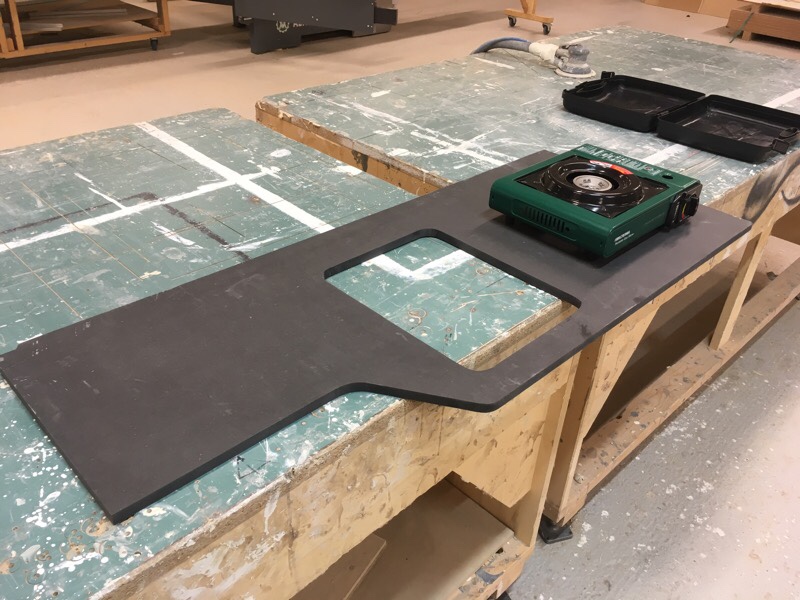
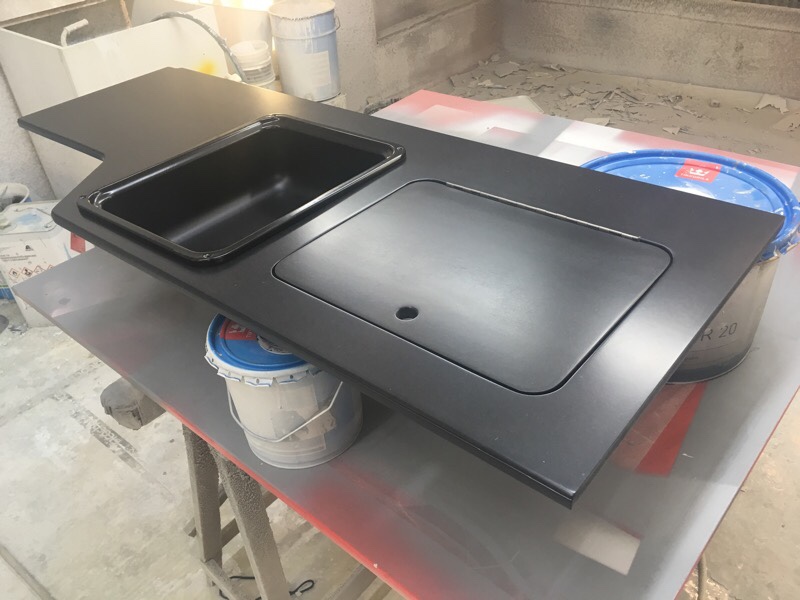
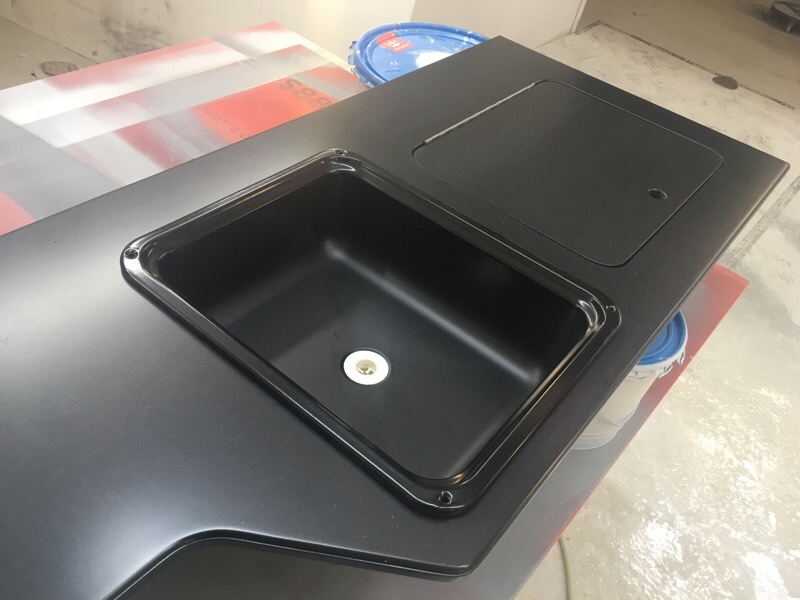
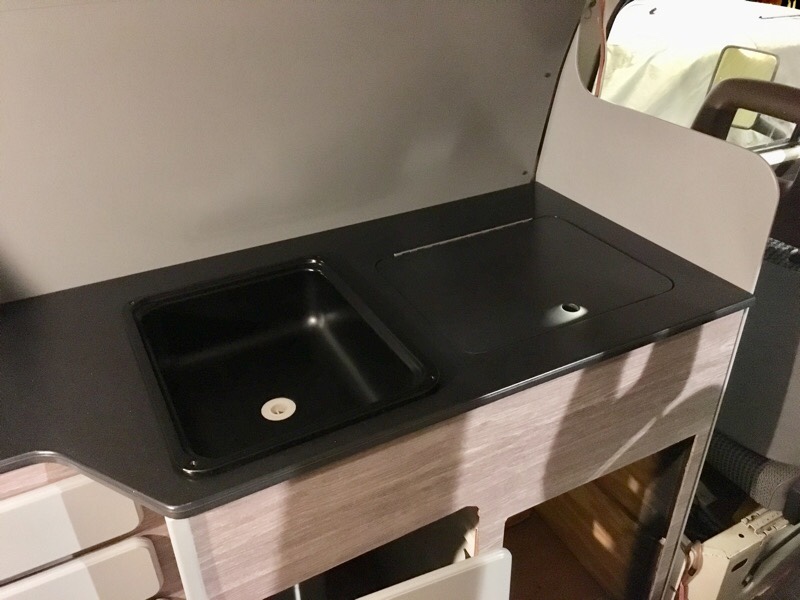
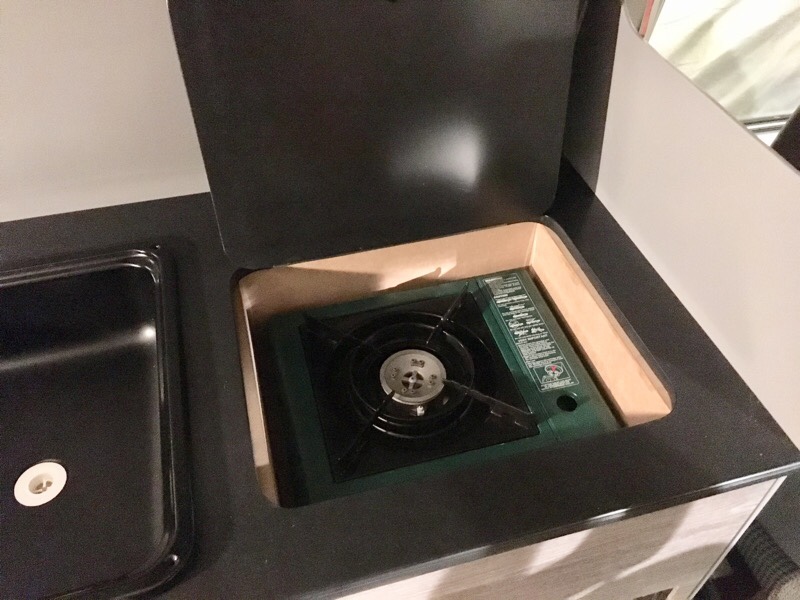
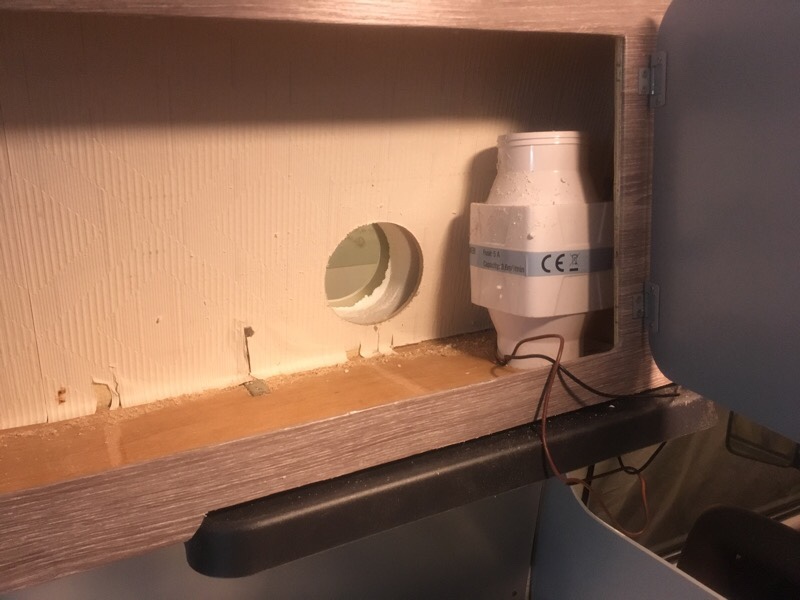
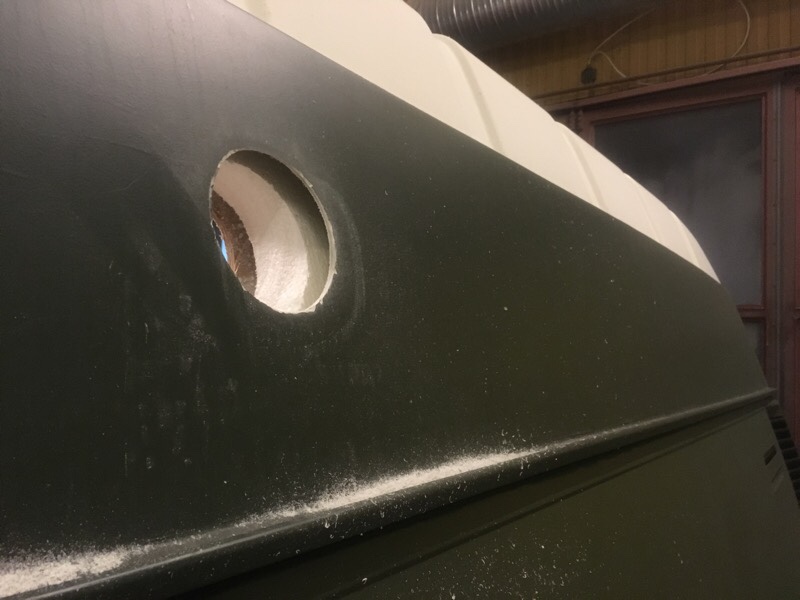
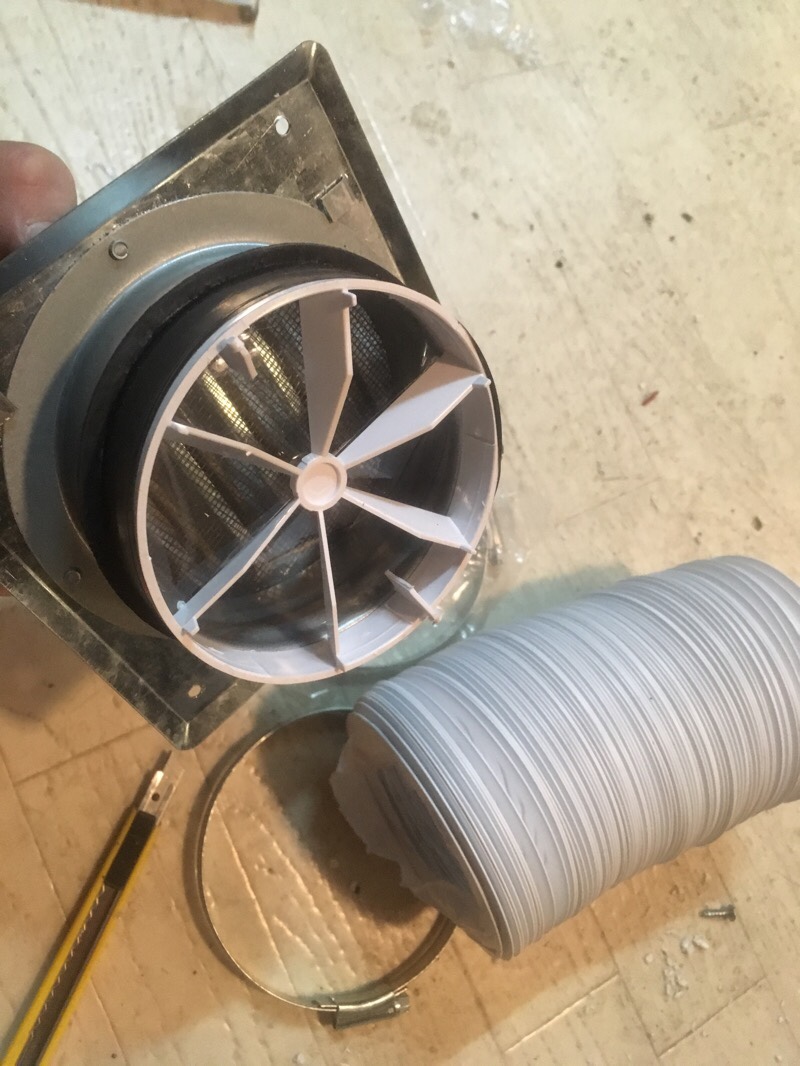
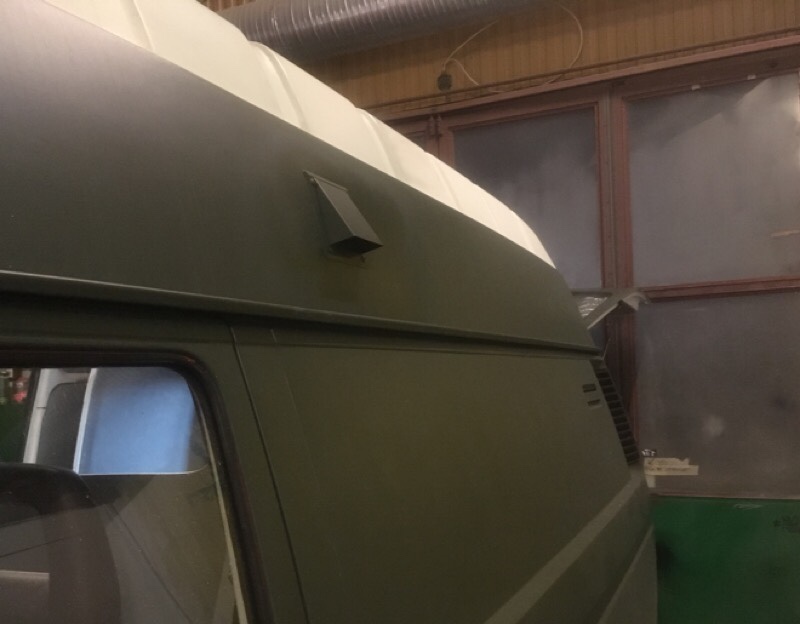
All cabinet doors was made new in 12mm Medium Density Fibreboard and painted in medium gloss grey with paintgun. Countertop was made new in black colored MDF with semi-gloss clear coat, now with space for a portable kitchen / stove. Above the stove space I made a 12v kitchenfan with outlet, the fan is moving 3,8 squaremeters of air per minute so now you can make bacon with closed doors without smoke/smelling anything 😉
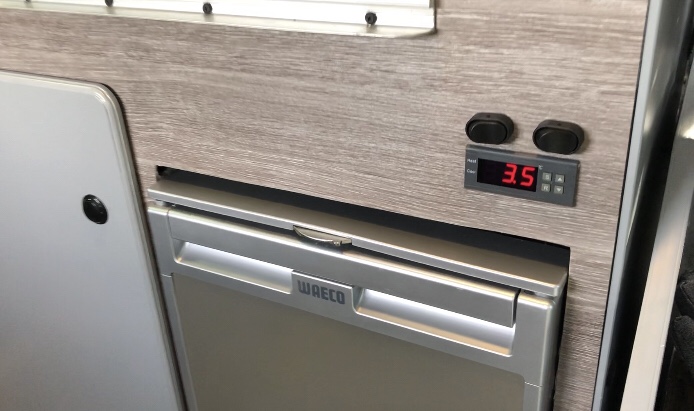
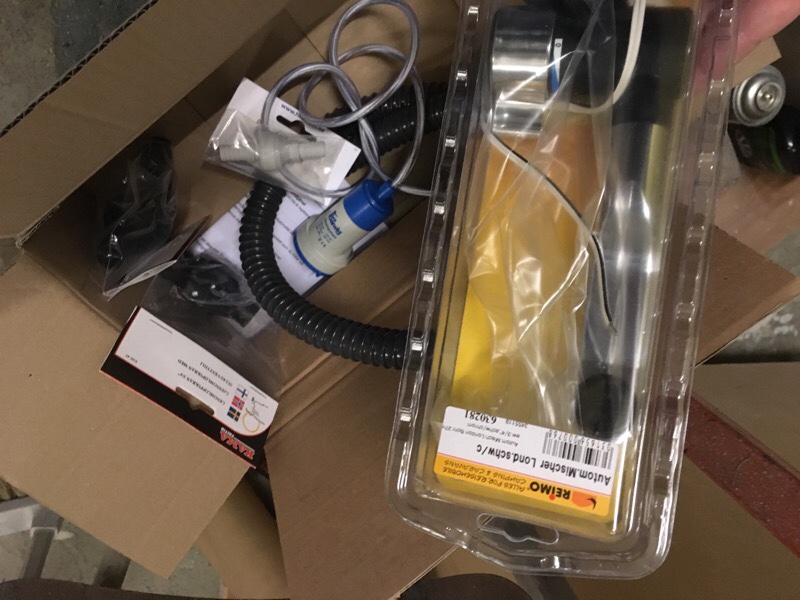
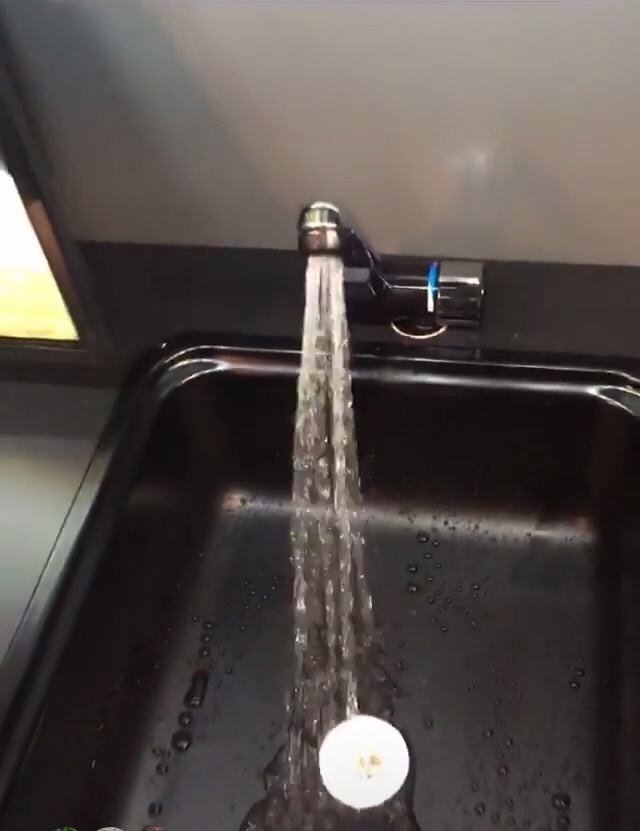
All the old gas equipment was removed, and the old fridge was replaced with a modern 12v Waeco 48L fridge with freezer. A new black sink and a new Reimo water tap was mounted. And all new waterlines, pump and 20L freshwatertank. Before the water ran straight out on the ground, now it goes into a 10L tank first, with a valve so the water can be emptyed. This is good of you are using water when you are on a parkinglot, ferry or on a big camping with neighbors.
Part 2 is coming on Tuesday…
#vwt3overland


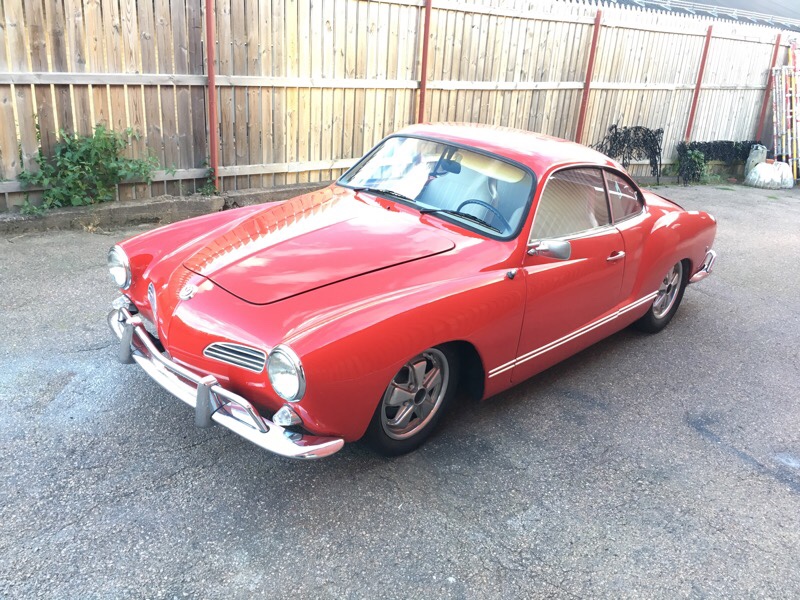
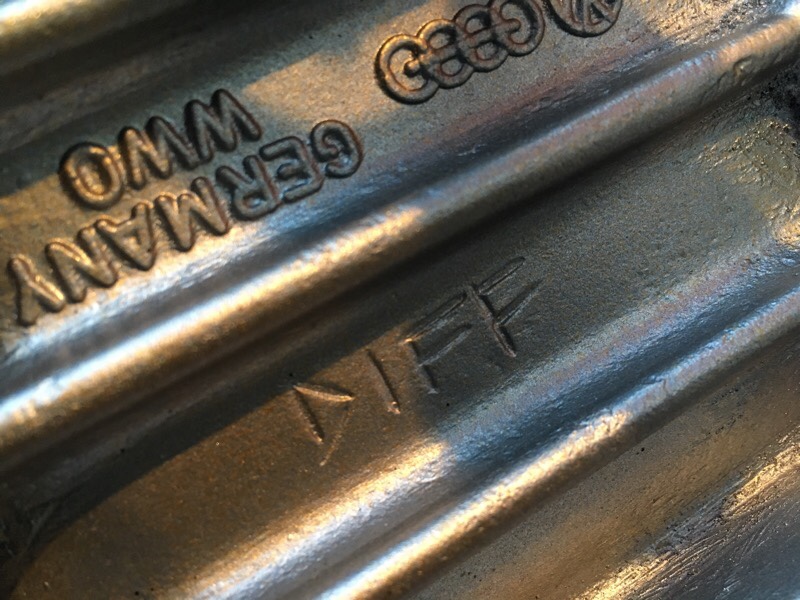
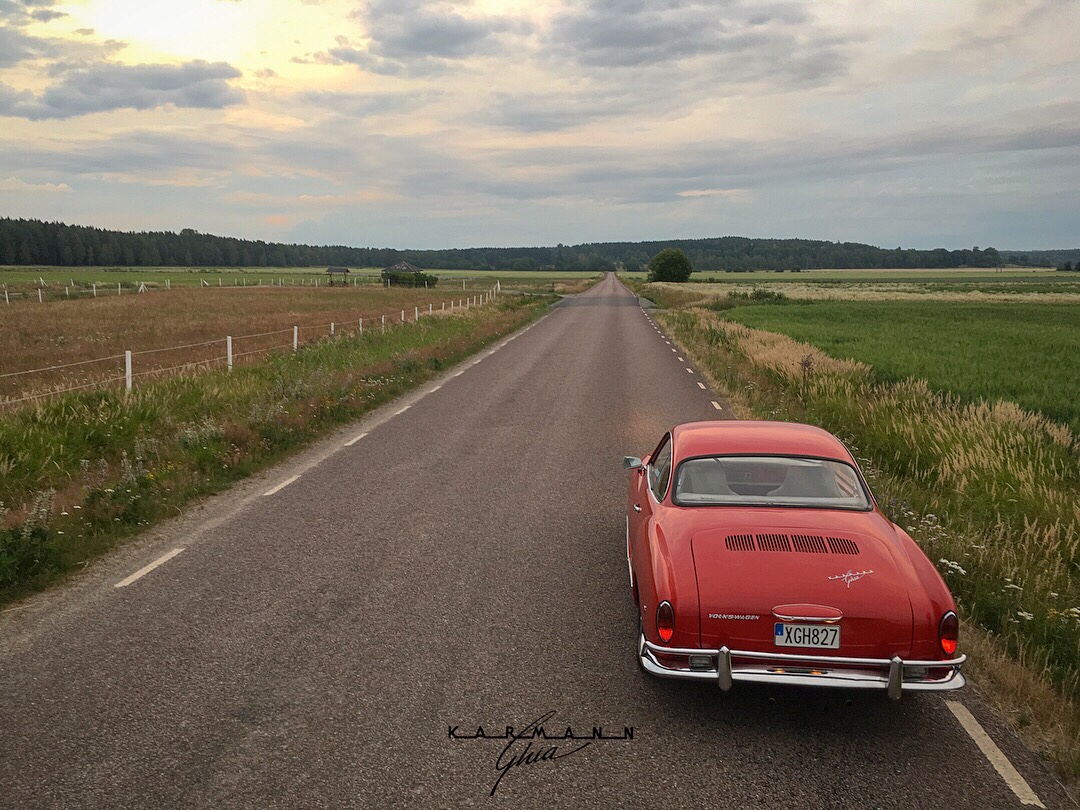
Designed in Italy by Ghia carosserie, built by Karmann in Germany for Volkswagen.

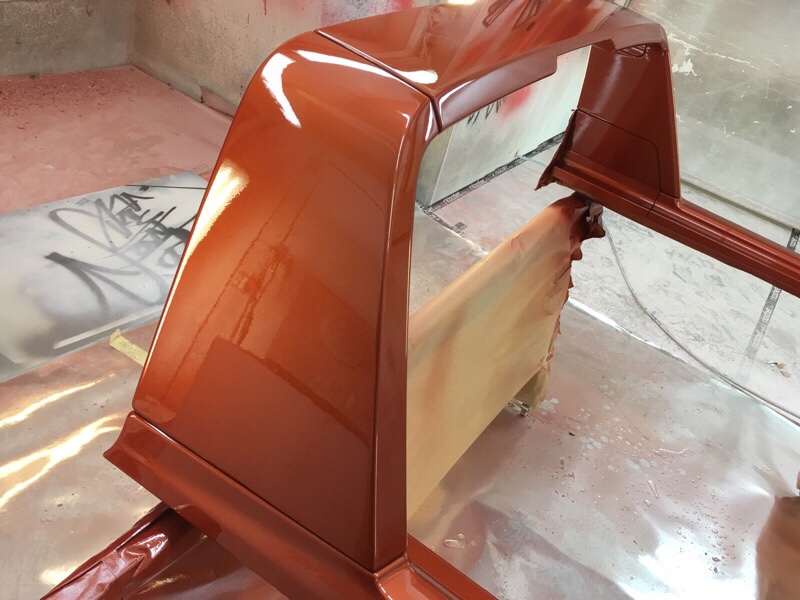
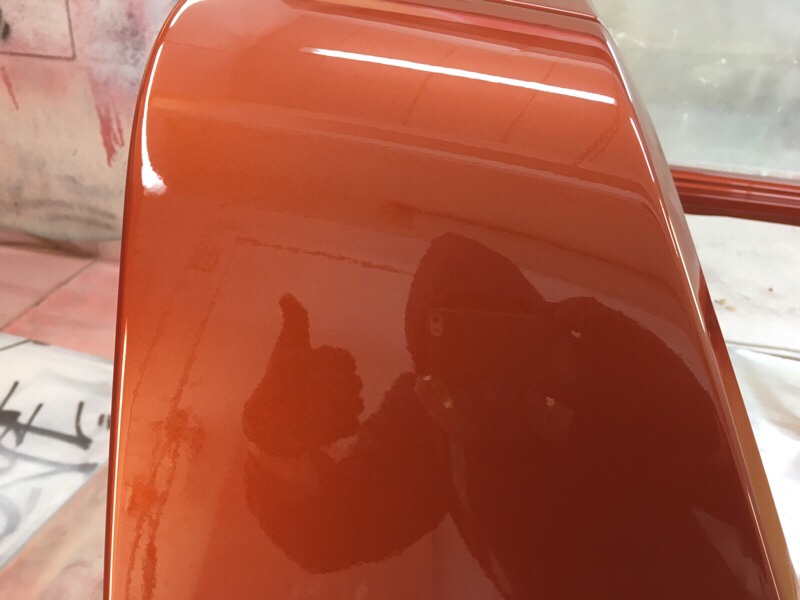
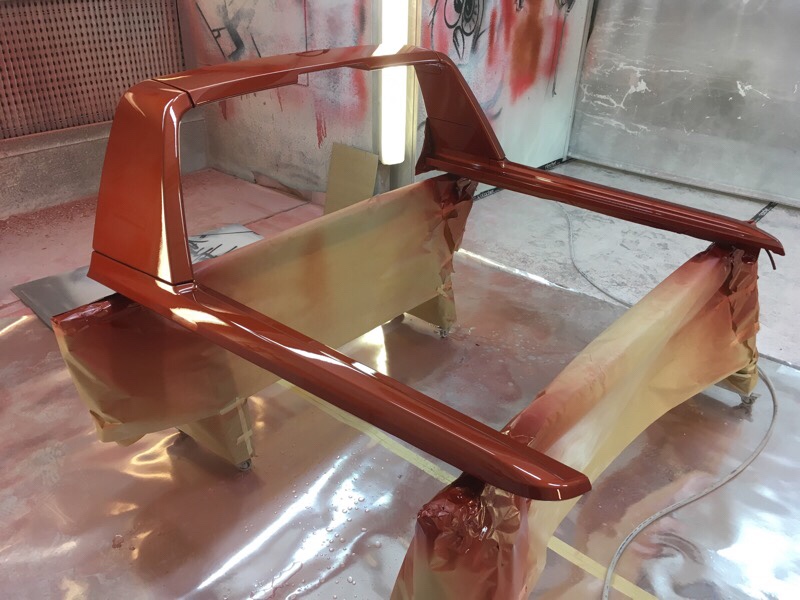
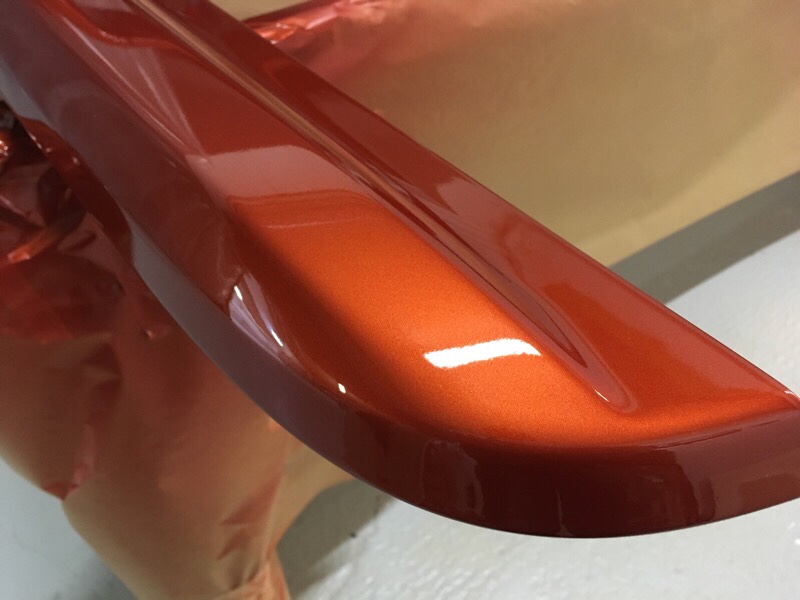
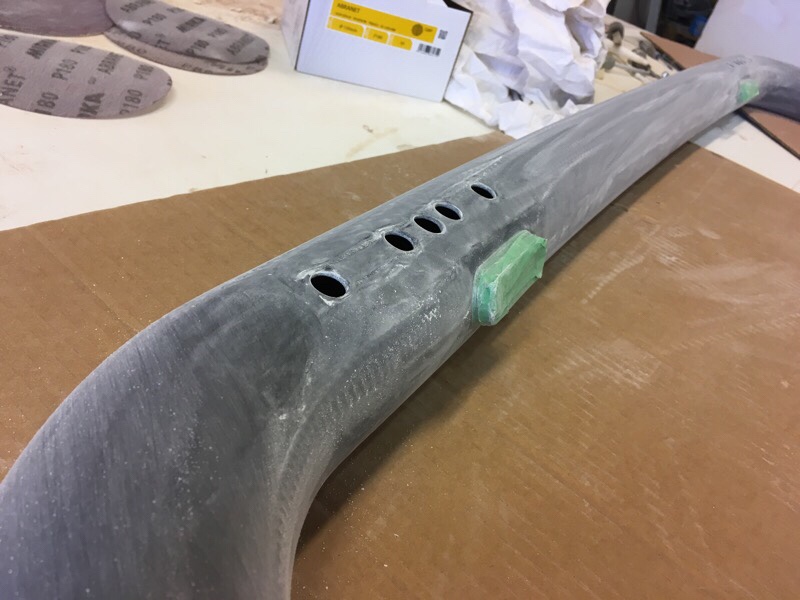
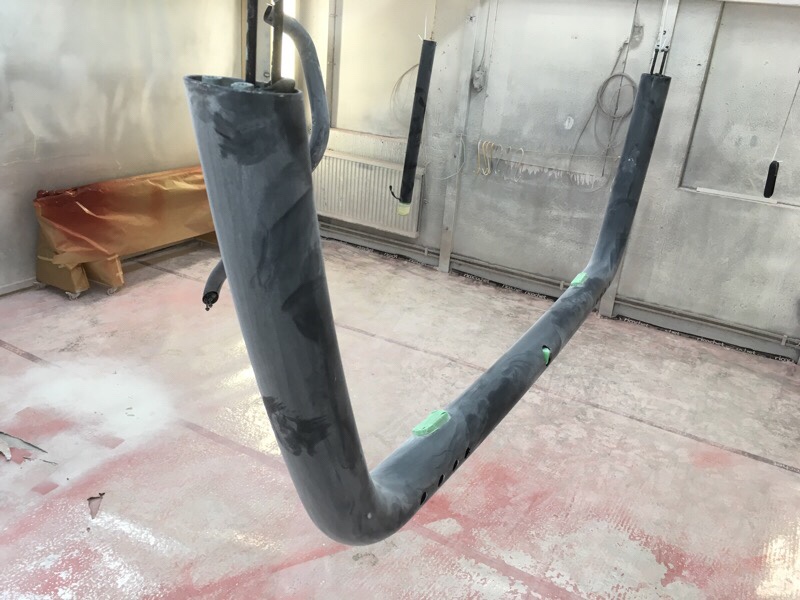
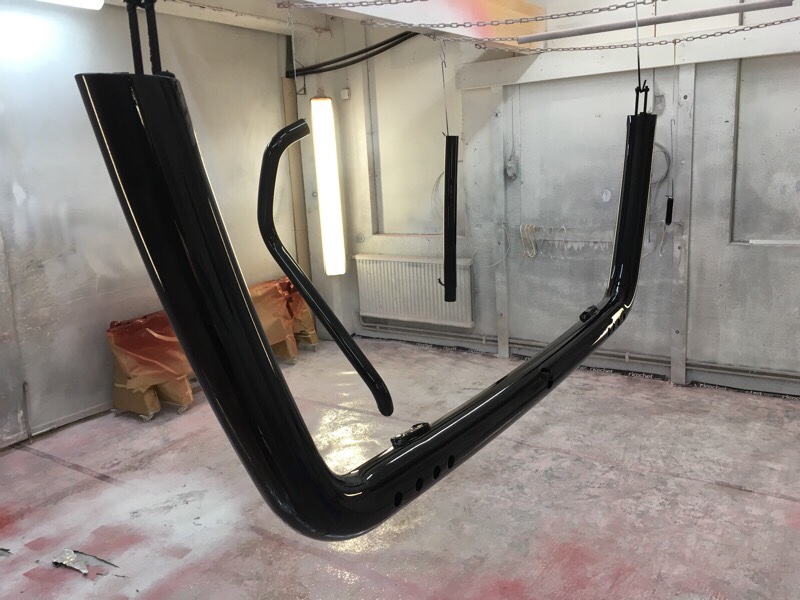
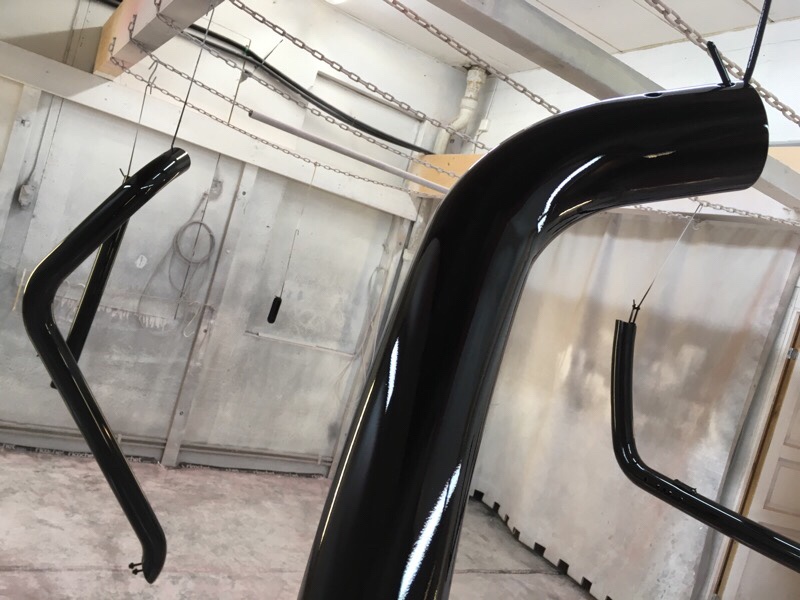
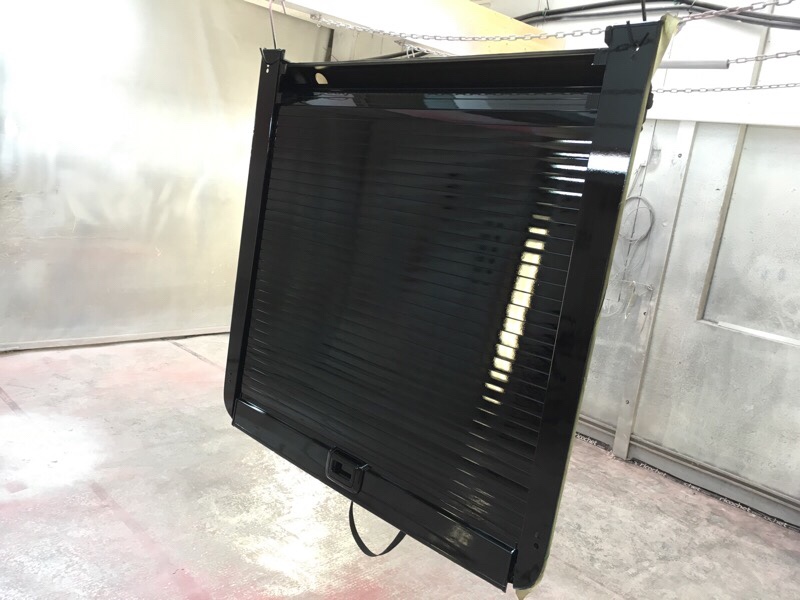
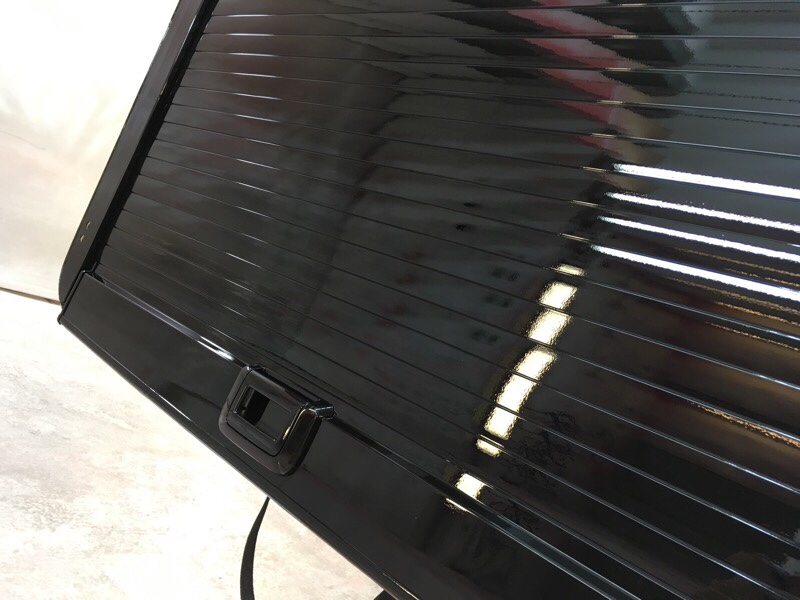
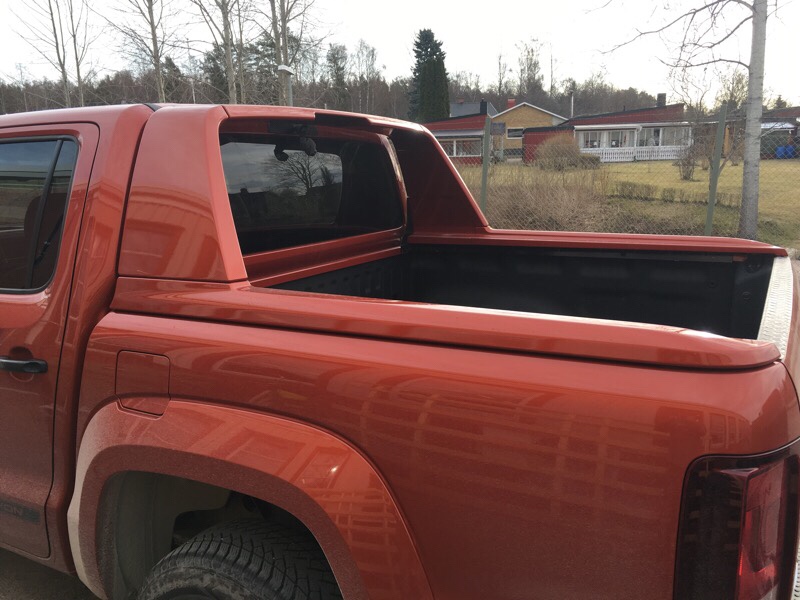
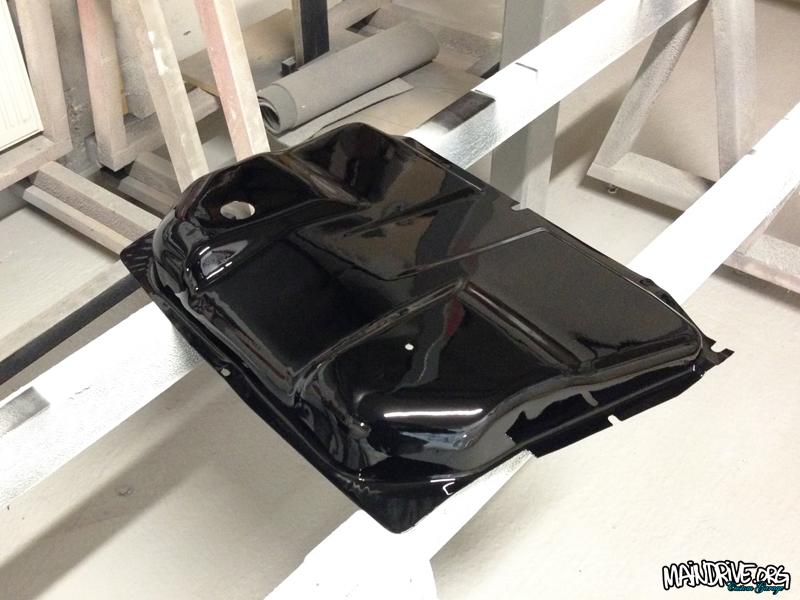
Painting this part in Canyon Red for a VW Amarok pick up truck. Nice color!


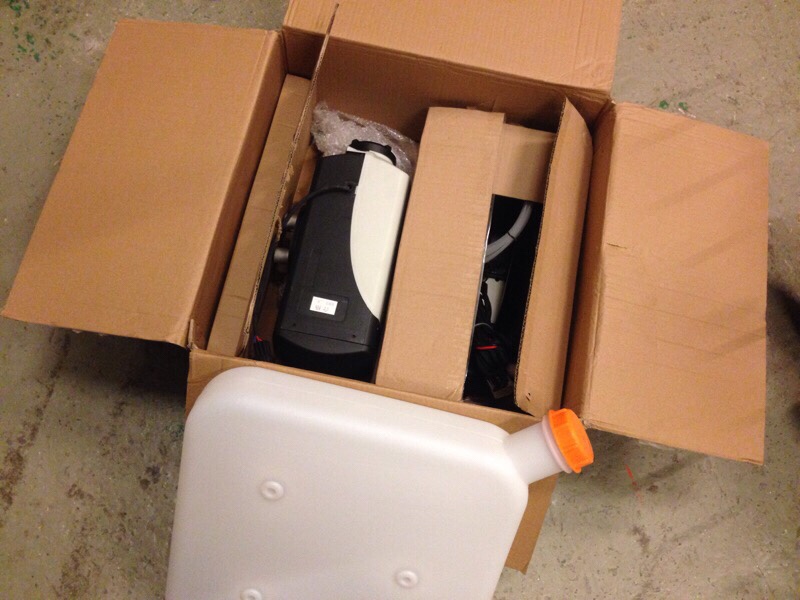
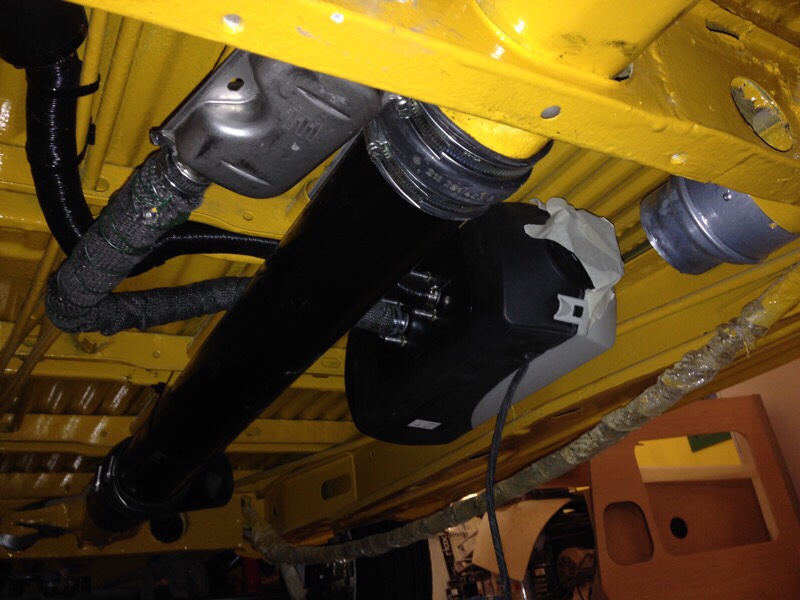
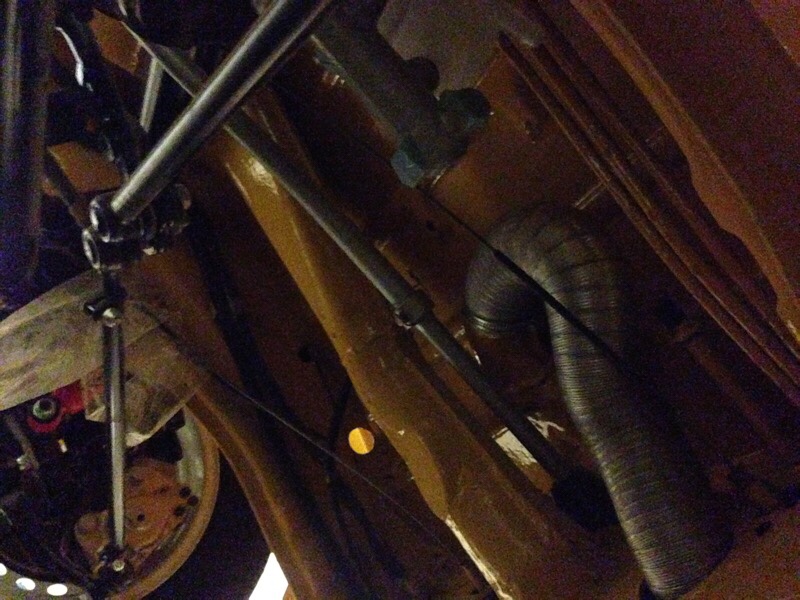
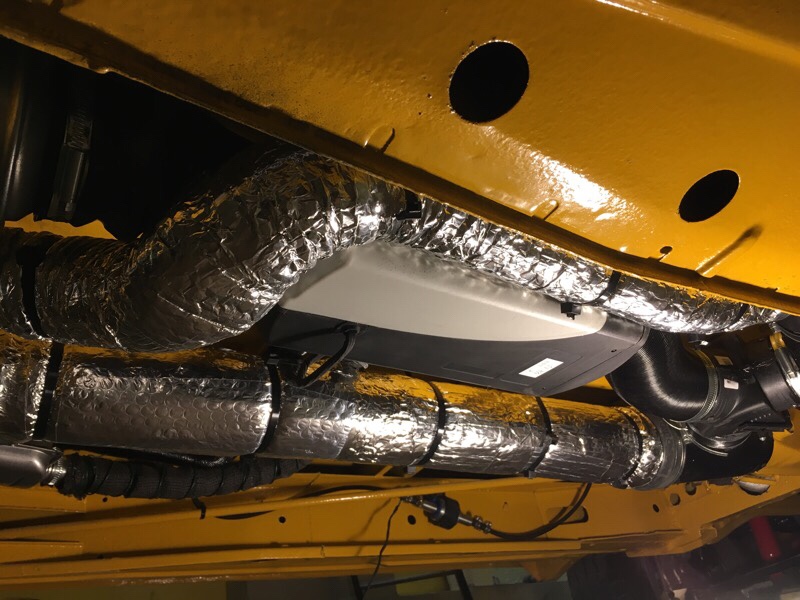
The new heater is now installed and incorporated with the old heater system design on the Highroof bus. Easiest and fastest way to install this would be to just place it under one of the sofas inside the bus and pull the heater hose out. But I decided to complicate it a little more but in the end with a much better result I believe. My bus had the Eberspacher heater M-code from factory so my idea is to remove the old heater and replace it with a new modern diesel heater.
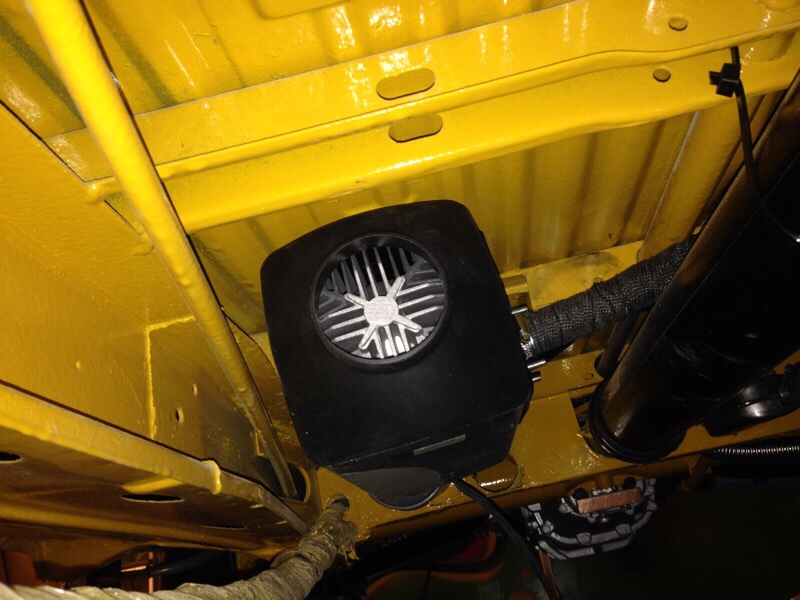
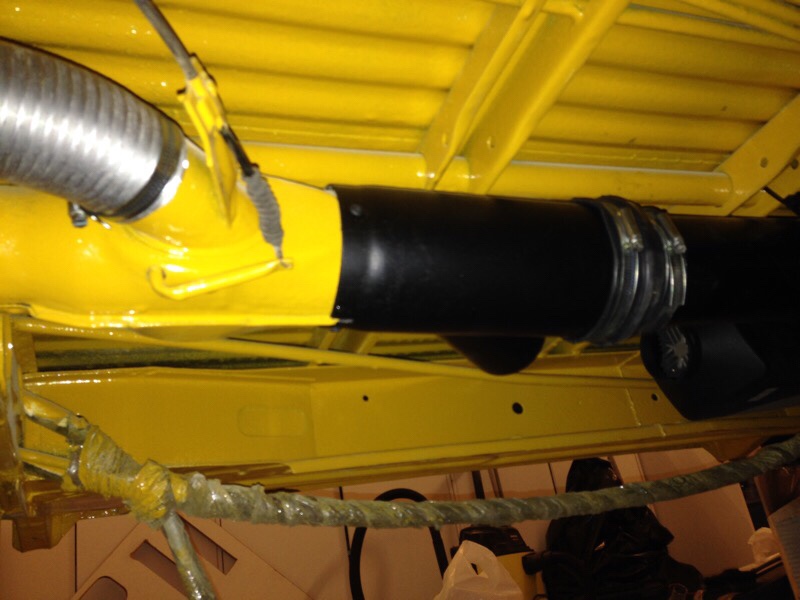
Doing it this way, I will get a modern reliable diesel non explosive/safer heater than the old which ran on petrol. I will automatically get digital display with timer, remote start, thermostat control and much more. I will not loose space or hear the noise from it (like if it was installed inside the bus) because the heater will now be outside under the middle floor (inside the protective splashpan) where the old factory heater was mounted. I will now get heat not only in the rear of the bus but also in front cab and windshield ect. I will also add some extra airflaps in the heaterchannel so I can adjust the heat to only front or back to the rear floor, bed and top bunk. I will then insulate all pipes with aluminum air bubble foil to protect the heat from the cold surrounding. More work doing it like this but I think it will be all worth it in the end.
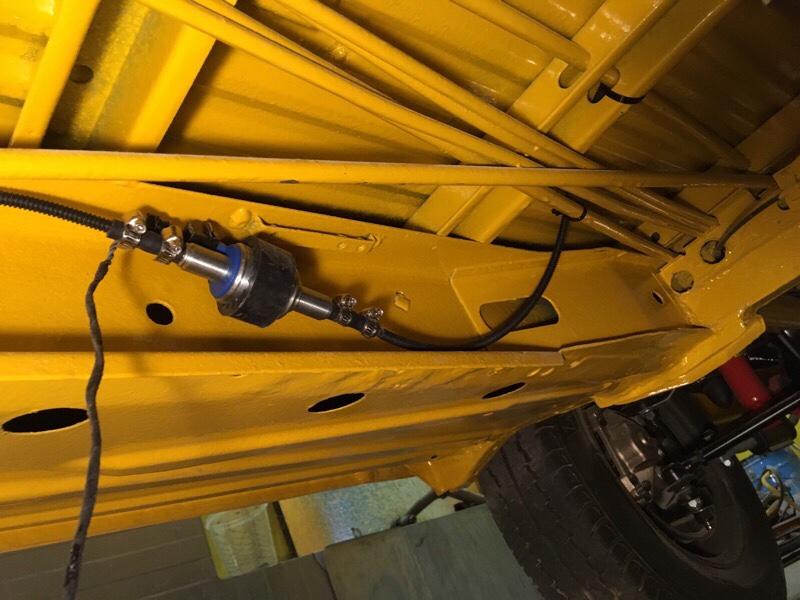
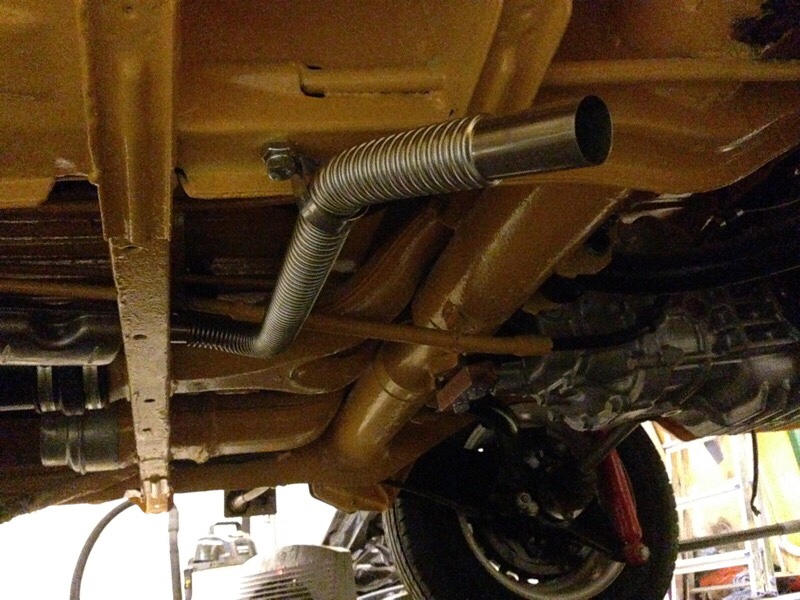
I started by removing the old crusty Eberspacher BA6 heater that was mounted in the center under the floor, mounted a new 90mm center pipe under floor instead (like on a ordinary Baywindow without the BA6 heater option). The new parking heater was the installed on the side of the new center pipe. It was a really tight fit, the height of the heater is 140mm and the space under floor was 145mm. I had to cut a 3-40mm notch out in one of the floor supports to make it even possible. The heater exhaust was wrapped in “header wrap” for less heat radiation and was routed out back to a muffler and then out in front of the left rear wheel. You don’t want to route the exhaust fumes out on the sliding door side of course! The fuel pump was mounted in a rubber holder in 40 degree angle on the frame of the bus, filter was put on outside for easier change in future. The air intake for the combustion chamber was routed back (don’t place it against wind/driving direction) and a filter bolted in the end. The air inlet to the heater fan is hooked up to the stock inlet pipe (from a hole under the rear rock n roll sofa). This means it will circulate warmer and warmer air, and don’t have to warm it up from ice cold outside air all the time. It will make it produce more heat too. The heater outlet is connected to a air flap (where I can choose where I want the hot air, front cabin or rear. I also made a extra heat pipe for the rear bed and top bunk, so you can feel the heat directly in the bed when you turn it on in the morning. 🙂 You can see the heat outlet in top bunk on the last picture. Stock is only rear floor otherwise. The small 10 liters diesel tank will be mounted under or behind the front passenger seat, this way you can easily see when it’s time to refill. It consumes only between 0,19-0,5 liters per hour. So on one tank it can run on full blast for about 20-24 hours before it time to fill it up again. Insulated all pipes from back/rear of the engine to all the way to the front cabin. Still have some electric wiring left to do before it all done. Can’t wait to test this beauty out!!
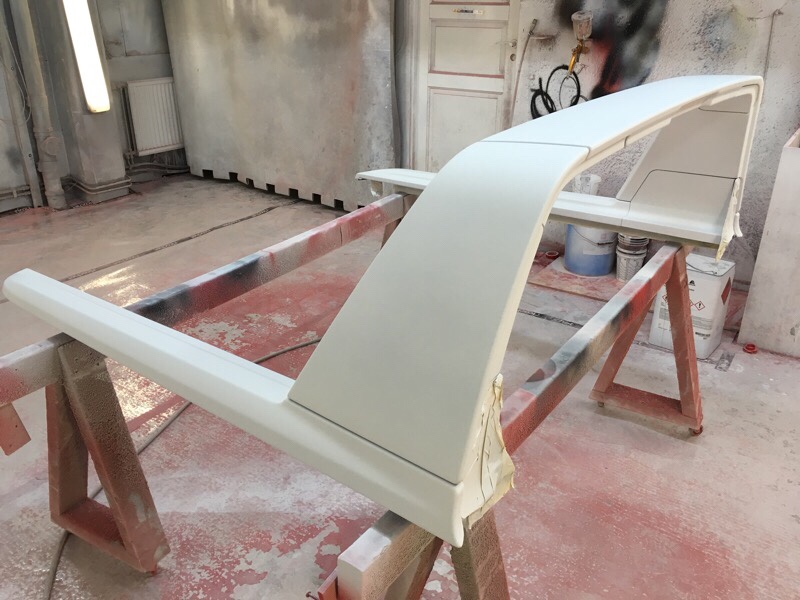
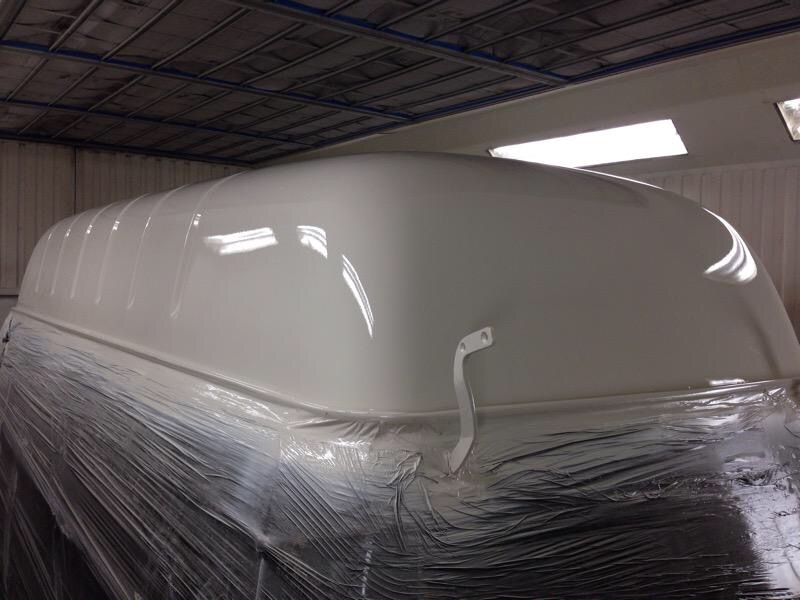
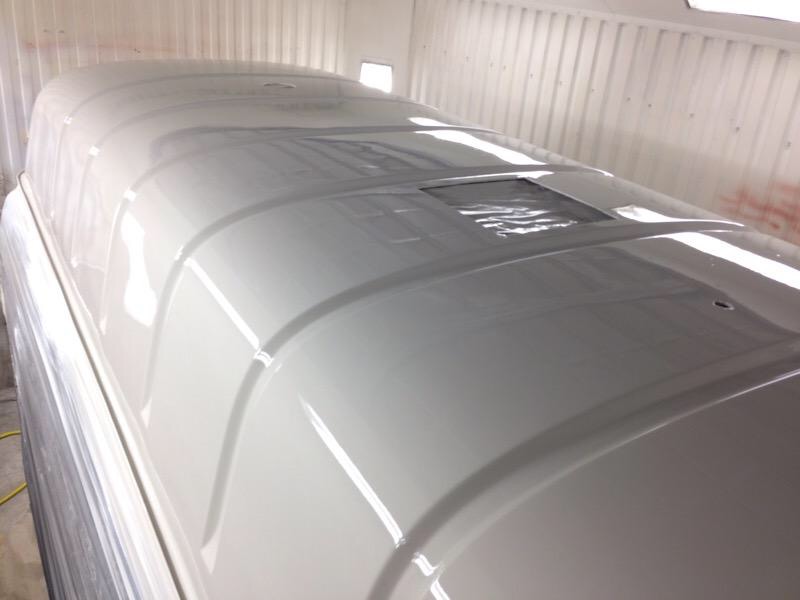
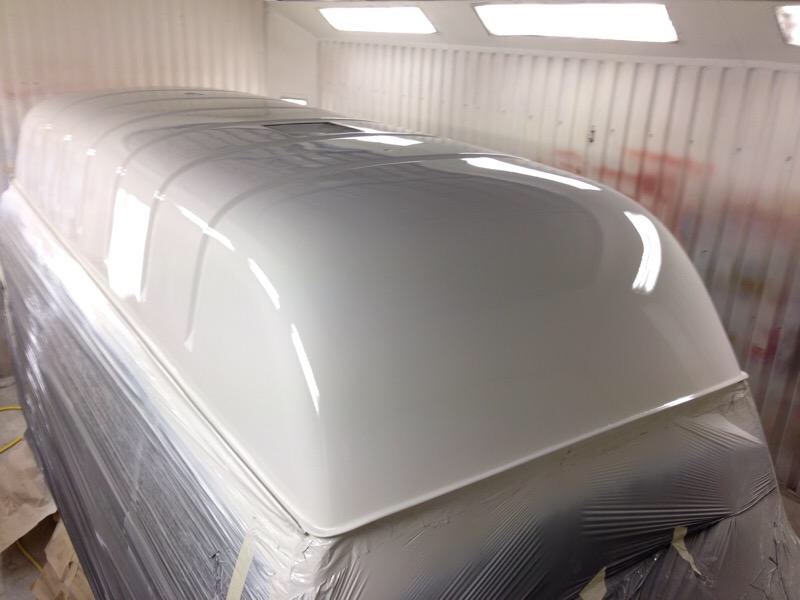
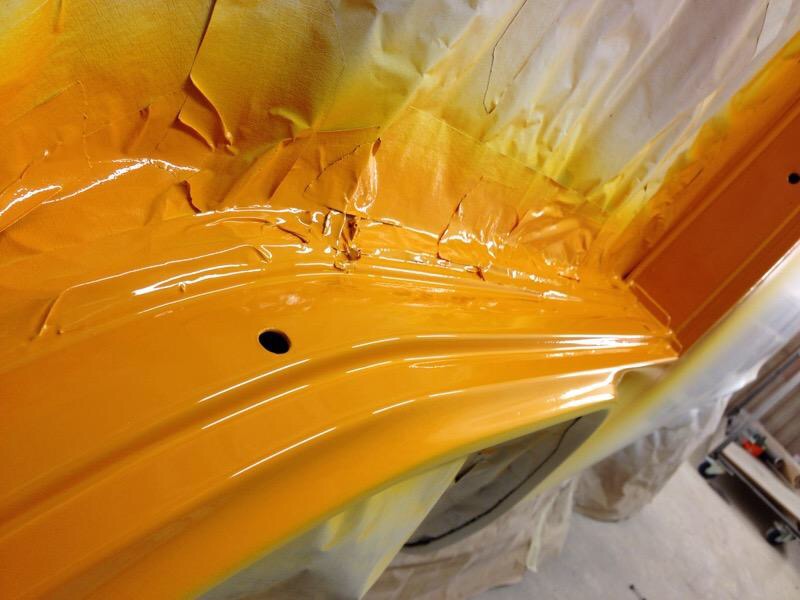
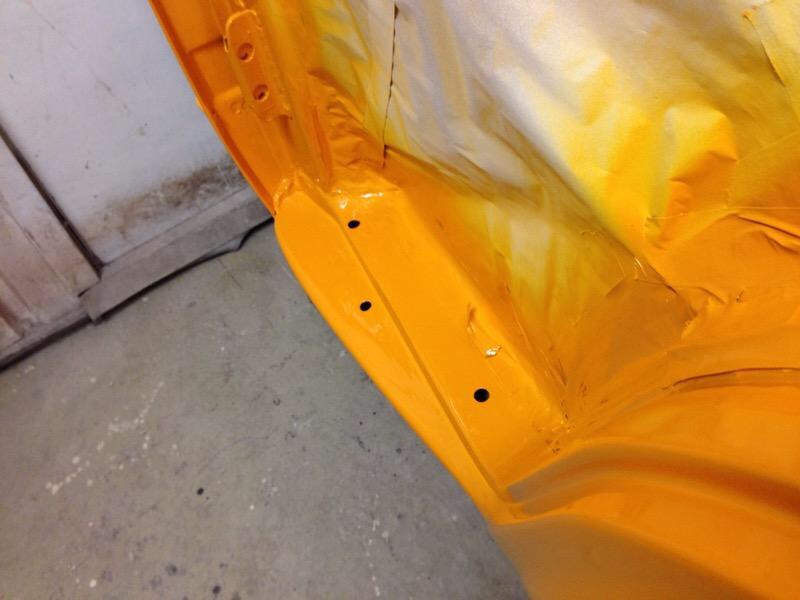
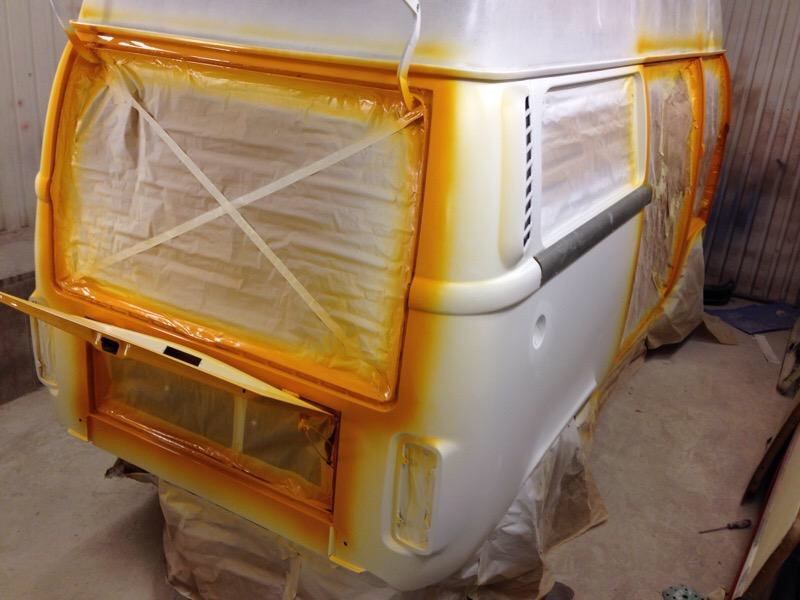
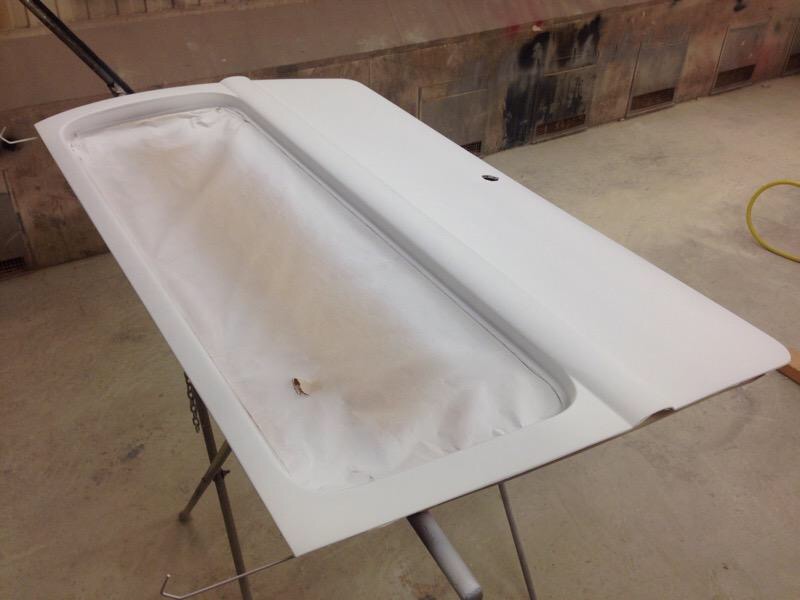
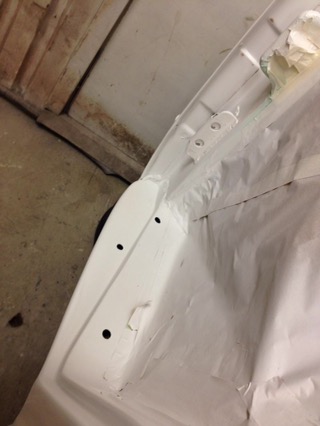
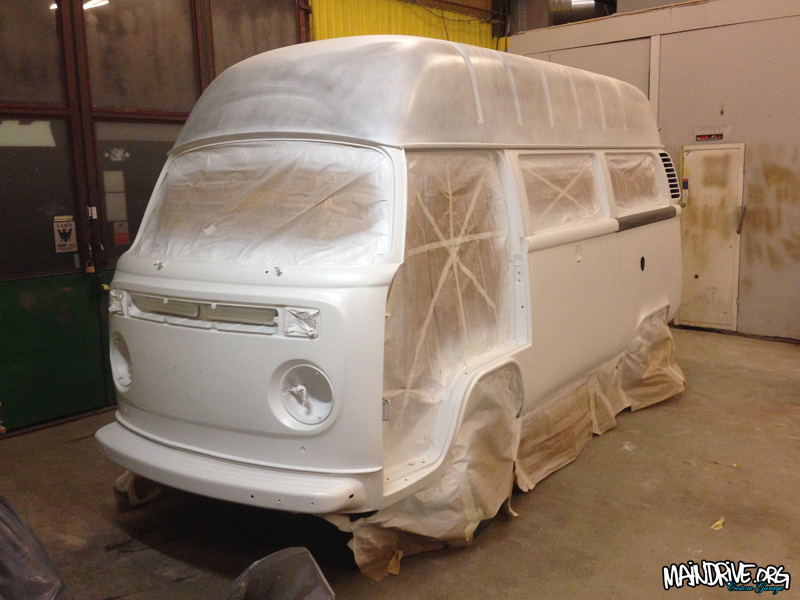
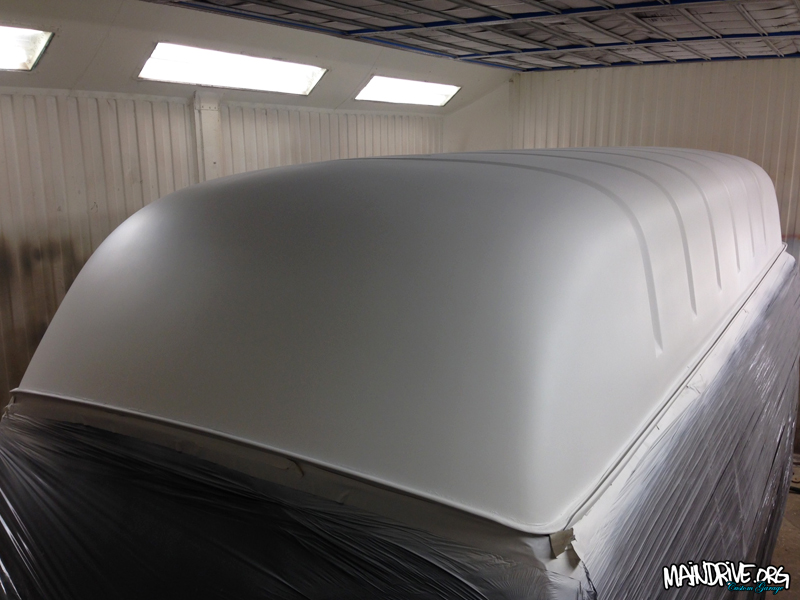
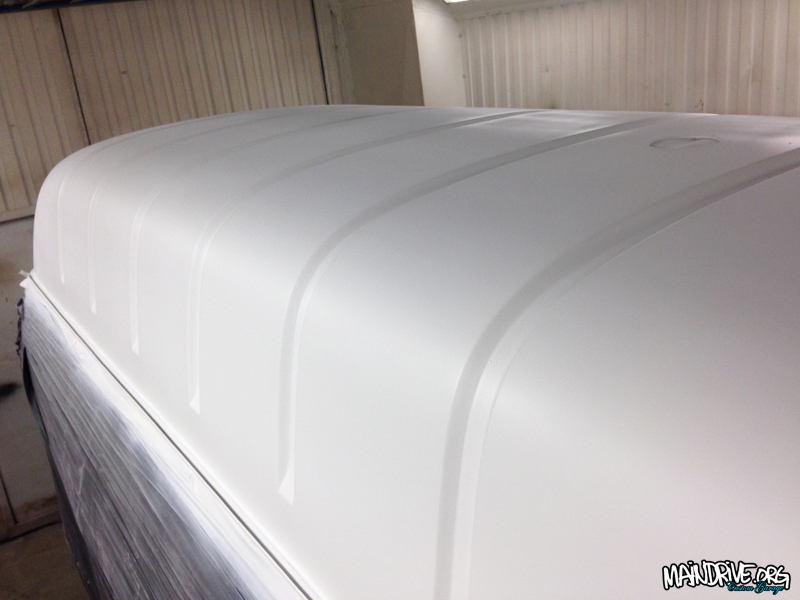
Lots of work have been done lately on the VW Baywindow Highroof! Whole roof have been finished in California White color. All doors and lids have been painted on the insides and then fitted back on the body. All panels are now sanded in 800grit and ready for toppaint in VW L20a Marino Yellow!
#highroofbayproject
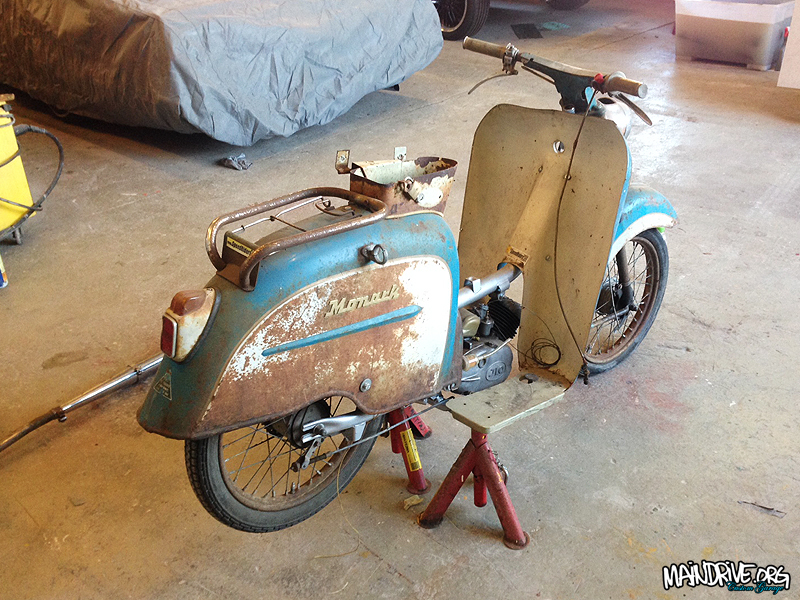
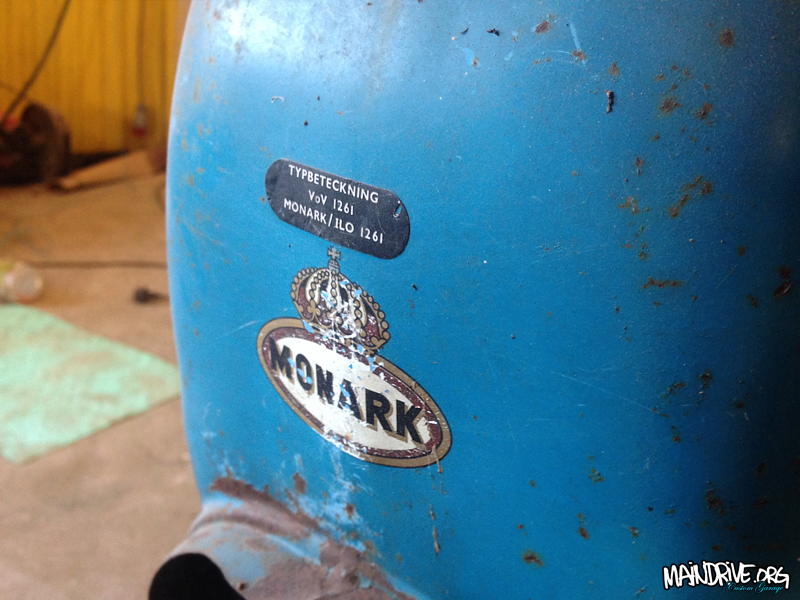
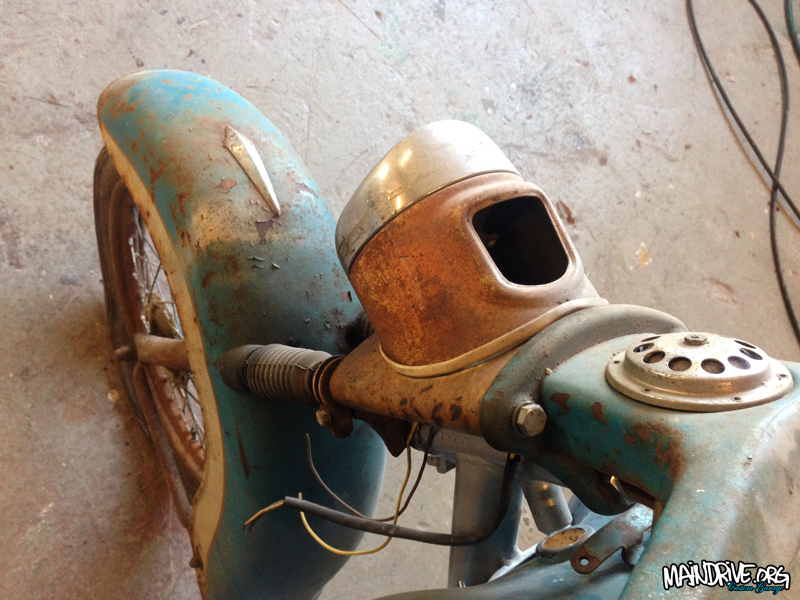
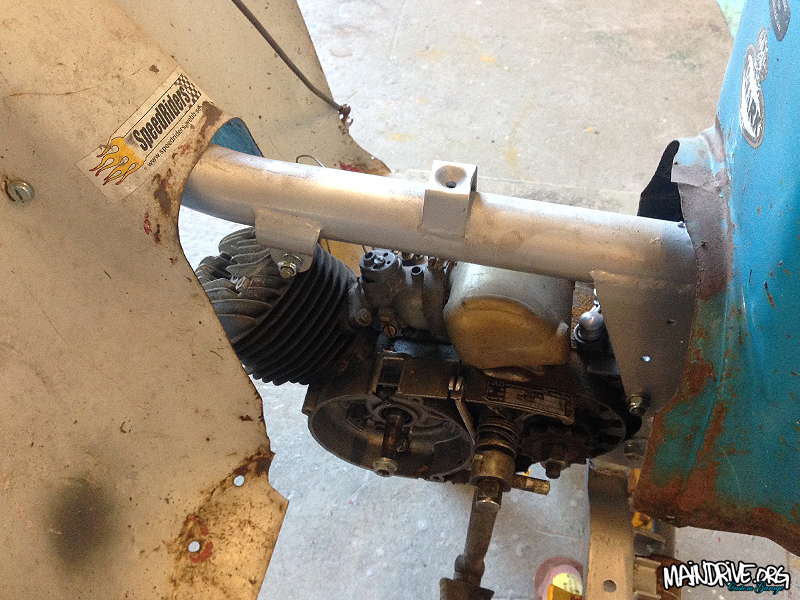
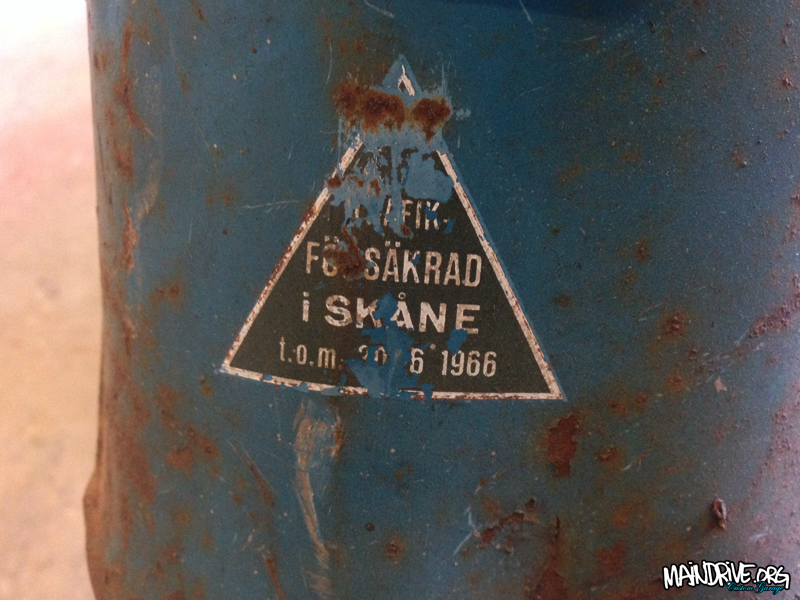
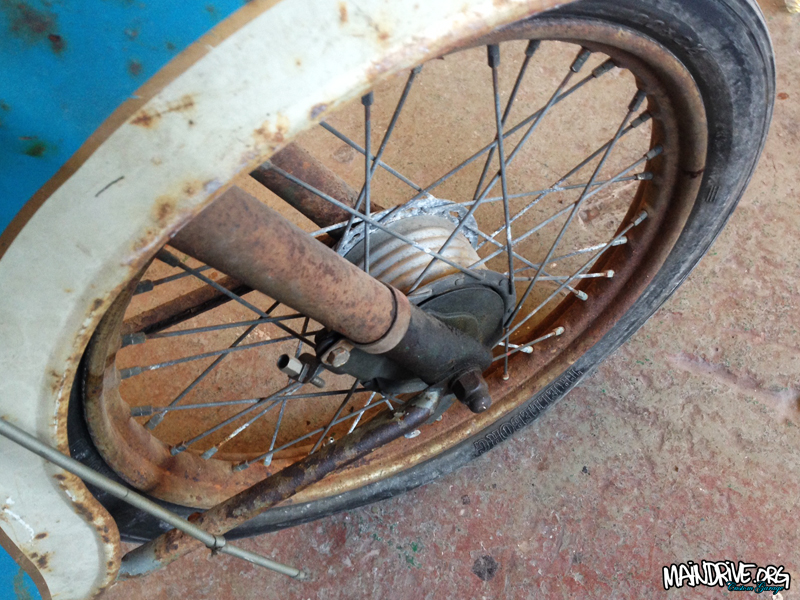
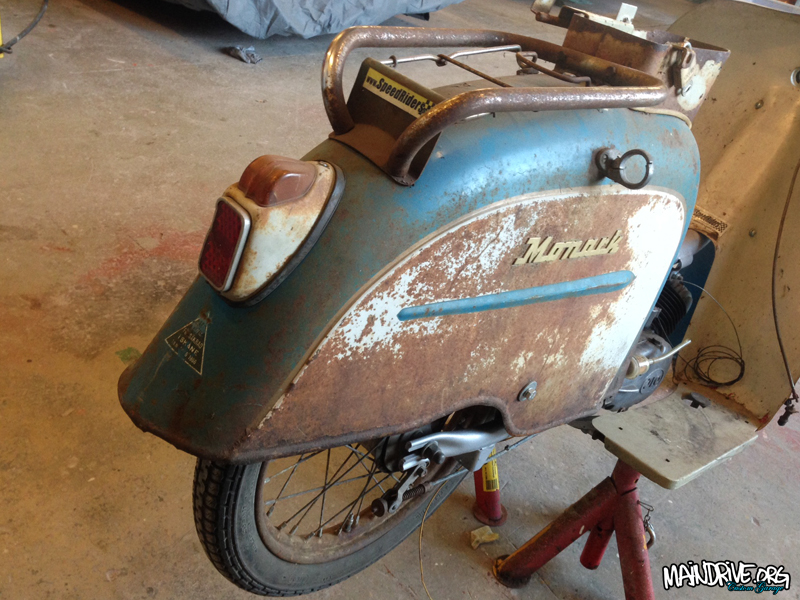
It is time to get this beast out on the road again! A 1961 Monark Monarscoot with a 2 speed Ilo Piano engine. It was found and digged up in the forest/woods 15 years ago and have since then been resting in my garage. Still sporting cool old SpeedRiders stickers from back in the day (1998-ish). Needs lots of love, as picture shows, basicly everything is shot and need to be replaced with new parts.
Plan is to make it a ratlooker with a updated drivetrain with more performance. 🙂 Stay tuned for more updates, this is going to be a quick build, needs to be done before the spring, so its ready for all the mopedrallys this summer. Will be a fun ride!

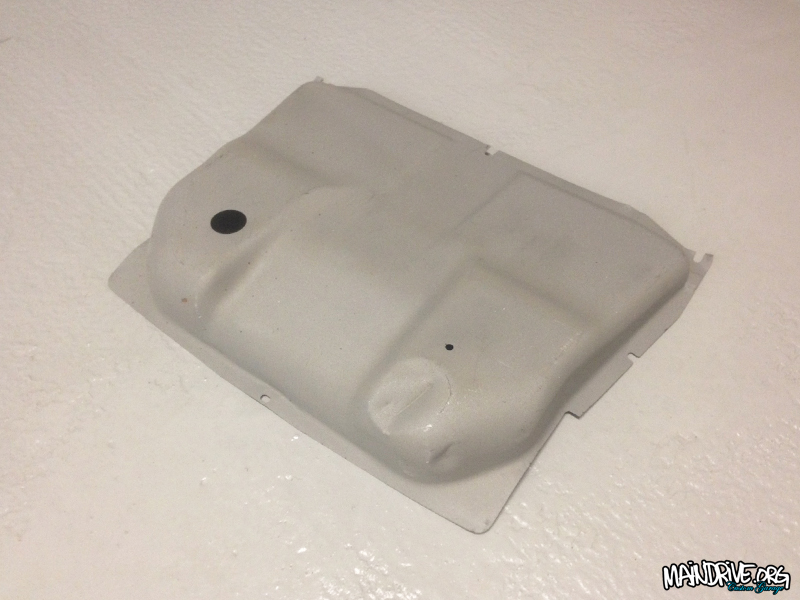
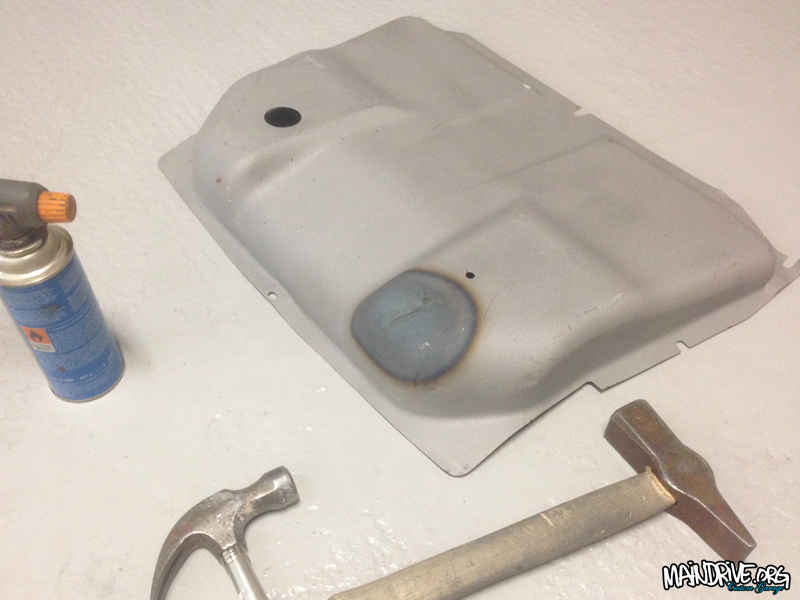
Have not got very much done lately. As my first son (1 year old) takes most of the time now. So that more important at the moment. But Im trying to push forward on the bus too, couple of hours after work and on weekends etc. Soon have all doors and lids in primer and then it all just needs a easy sanding and then its time for a paintjob! Have also sandblasted the fueltank cover and bellypan and got them painted and ready too. Hope to start rebuild of the 1800cc Type 4 engine in begining of February also!
More to come, but thats it for now, here is some pics…
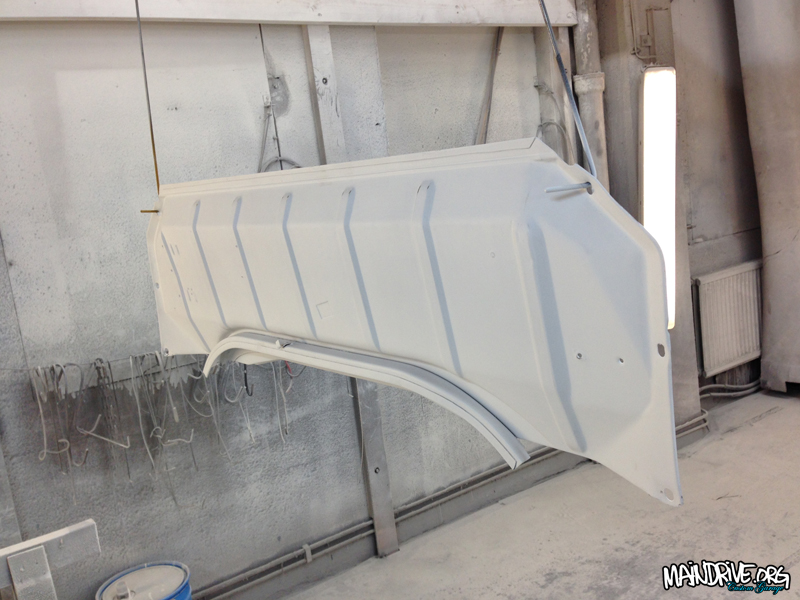
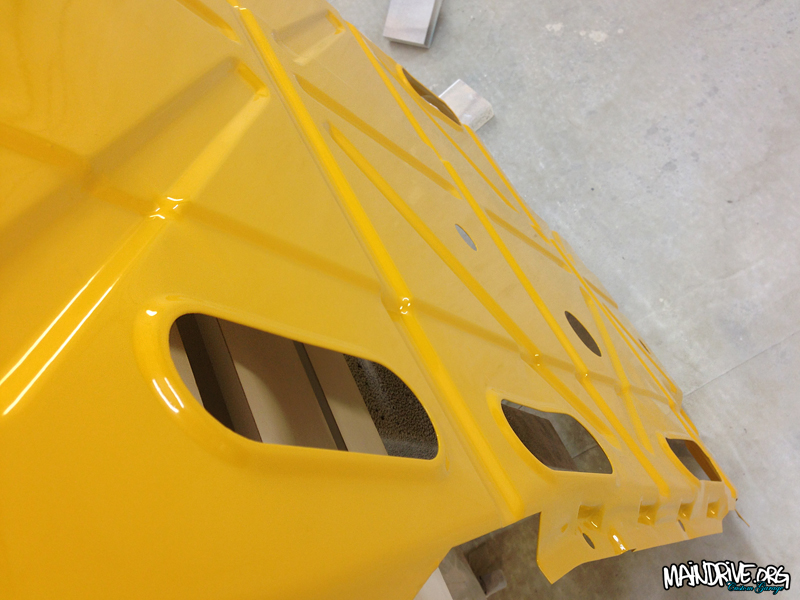
Blasted and epoxyprimer, ready for topcoat in VW factory greyish
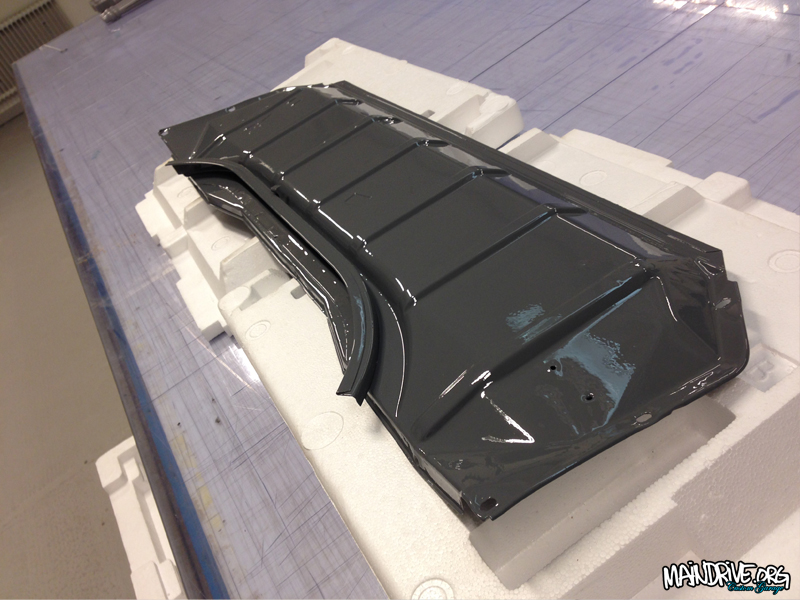
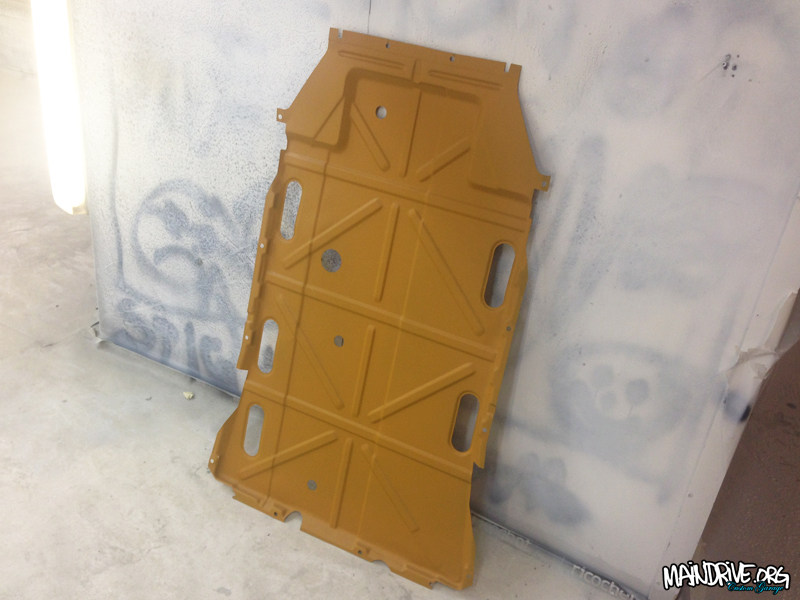
Baremetal then yellow epoxy/zinc primer
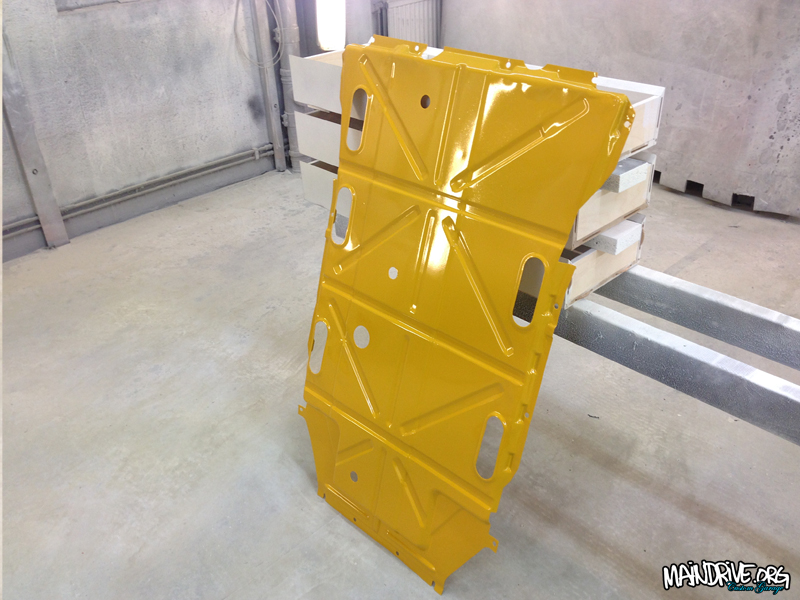
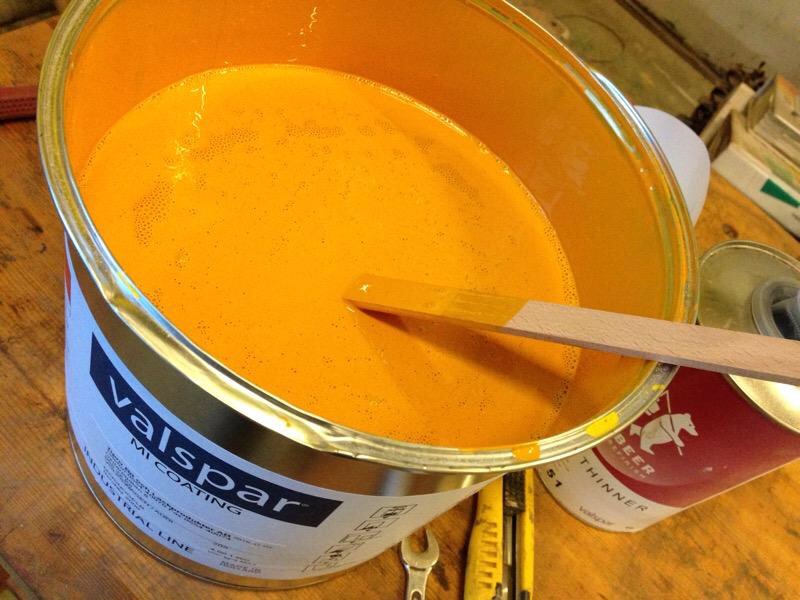
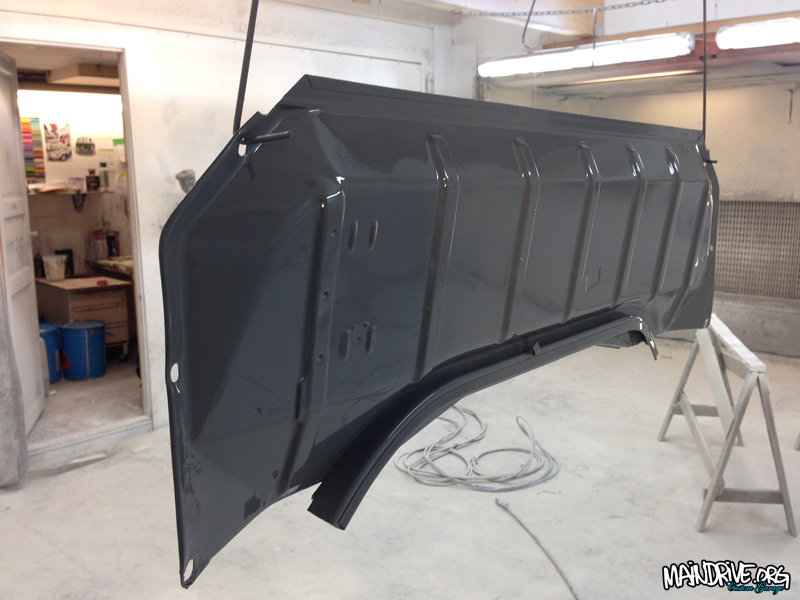
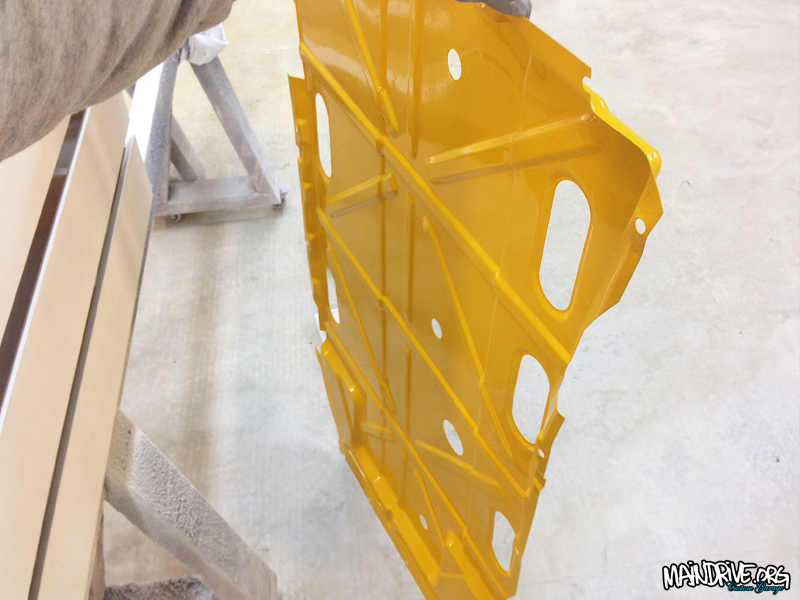
Topcoat in VW L20a Marino Yellow with 2K polypaint with elastic characteristics. So the stones wont chip the paint. The gloss on the elastic is a little less, but this panel is under the car and you normaly never see it anyway.
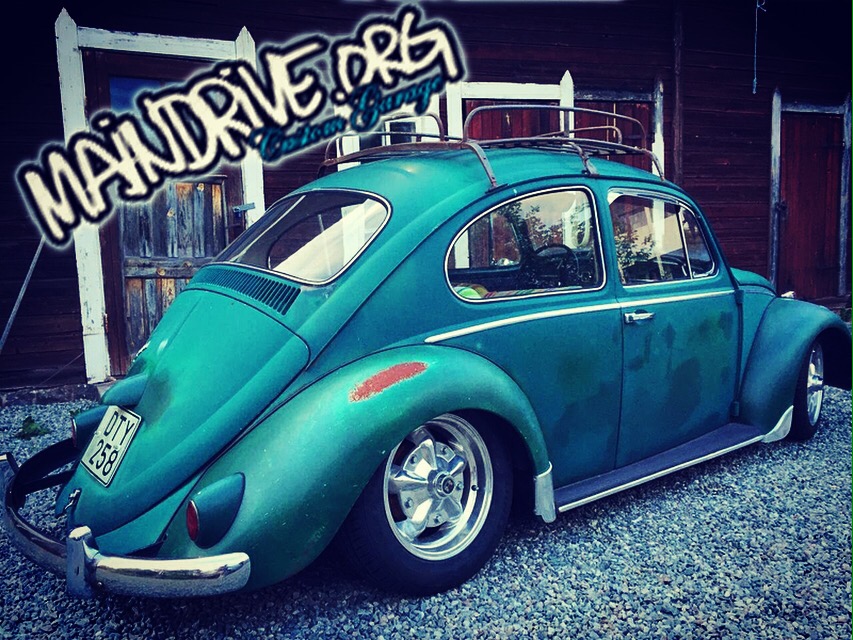
Built this VW Beetle from a empty shell, back in 2010. Custom frontbeam, 3 splines in the rear, new industrial engine and dropped on polished Torque wheels.
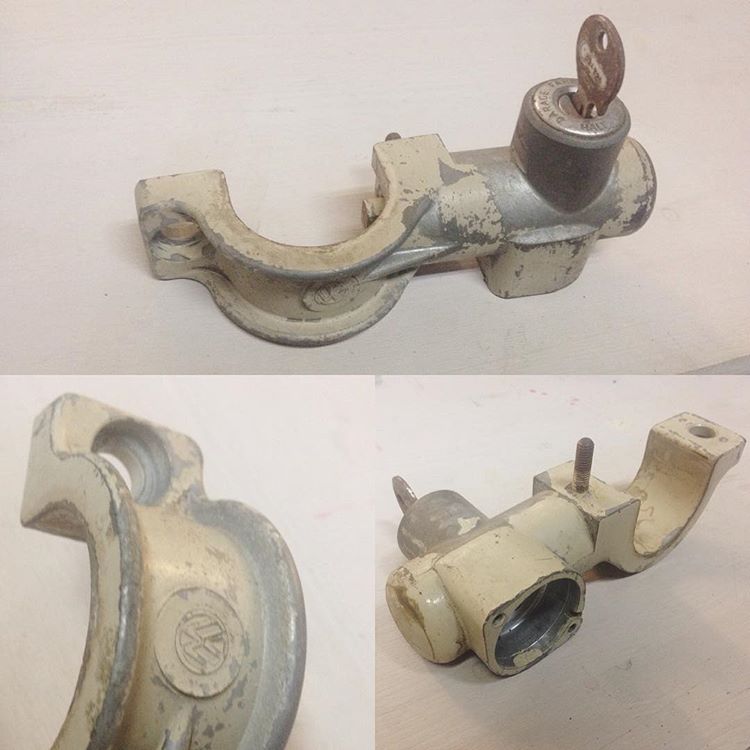
VW steering wheel lock (option) for early Beetle. Check out 4sale section for more info…
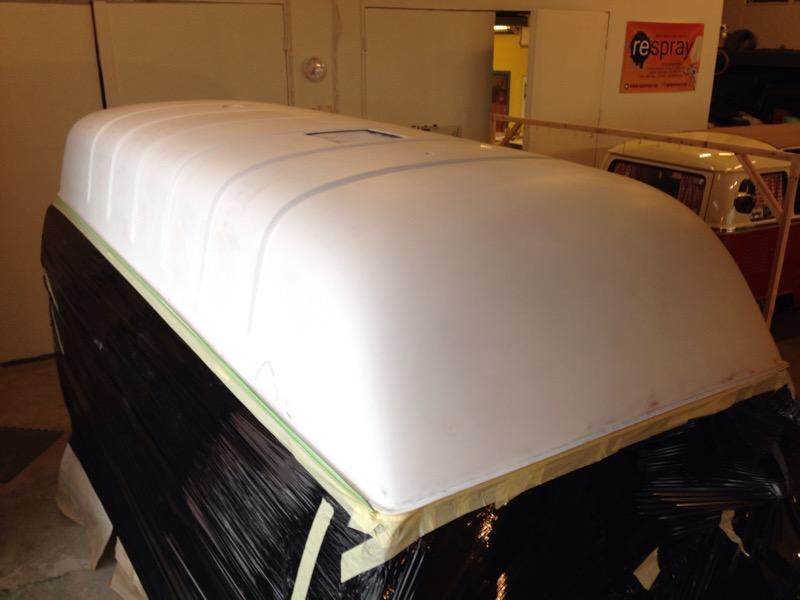
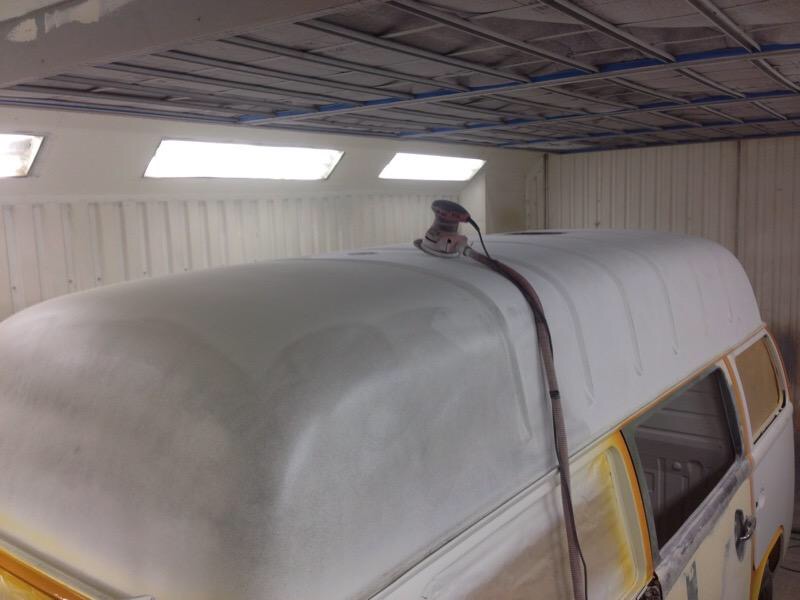
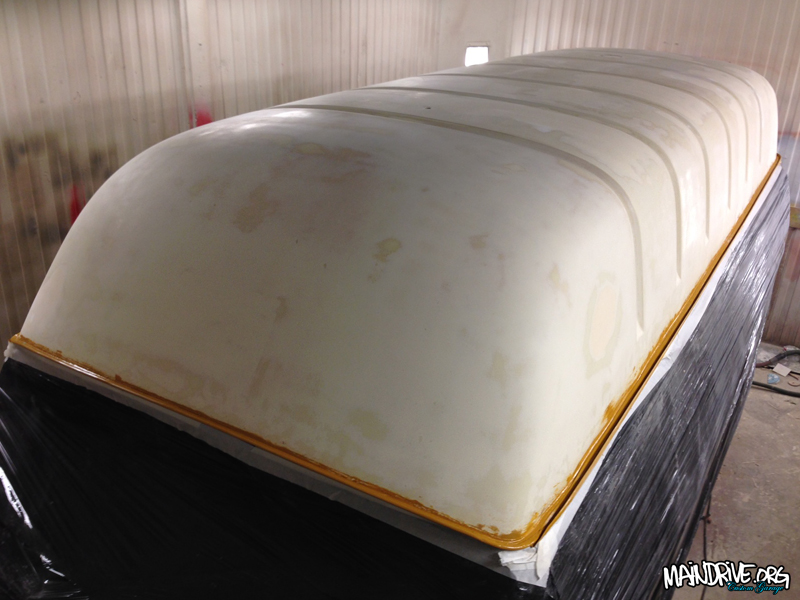
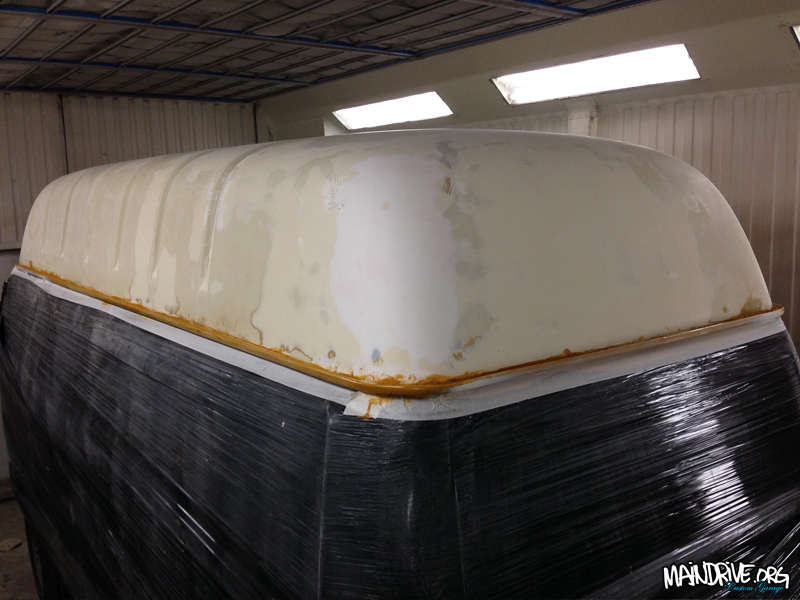
After a weekend of work on the bus roof its now in primer! Finally. It needed a ton of work, was alot of gelcoat cracks that needed to be sorted. And the left rear corner of the roof had been hit earlier in the bus life and needed to be fixed up nicer. Will test fit a new Fiamma rooflight/ventilation and then I can continue with the bodywork on rest of the bus. Looking forward to paint! But still a long way and lots of hours left…

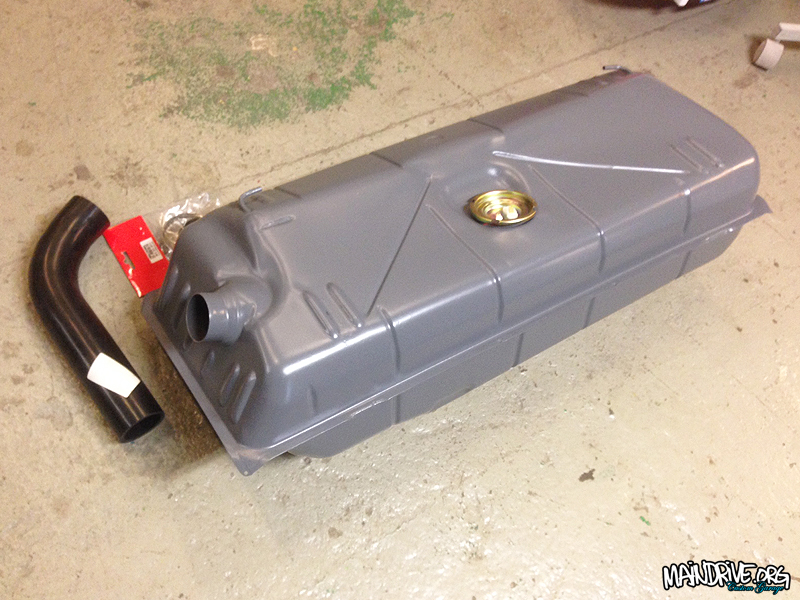
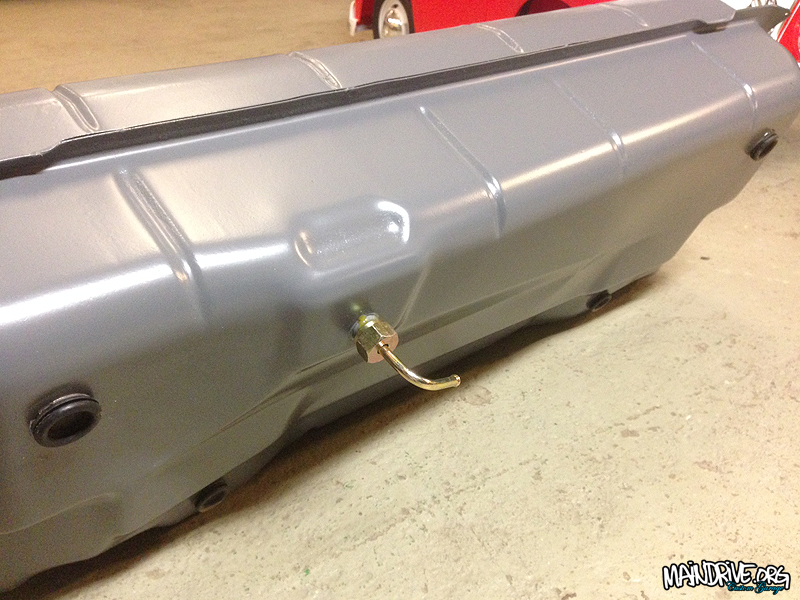
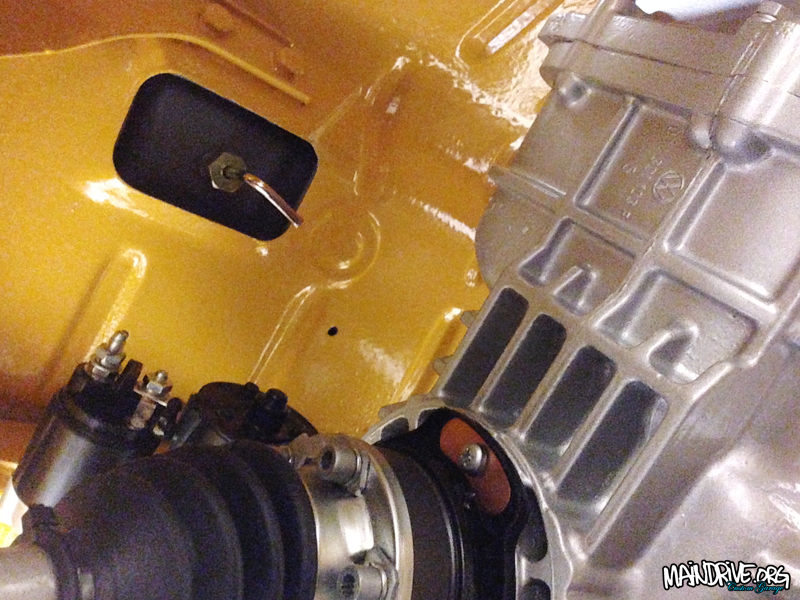
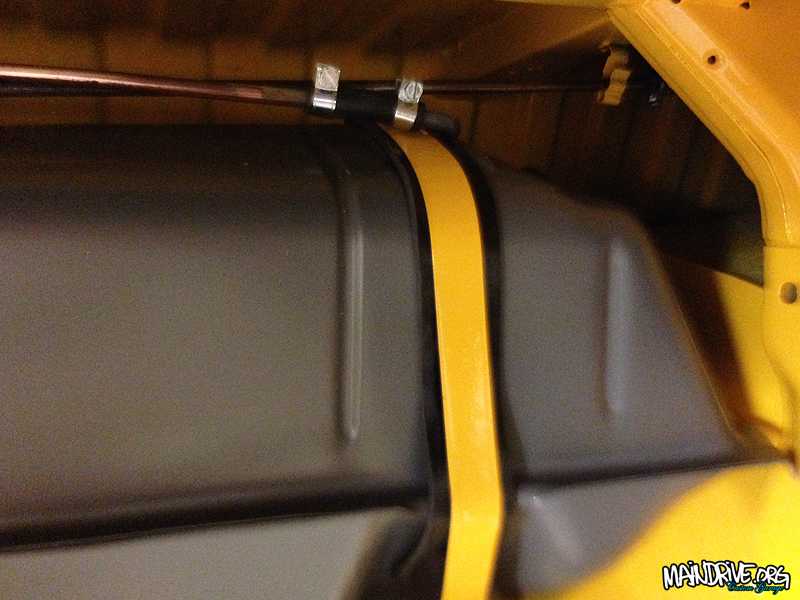
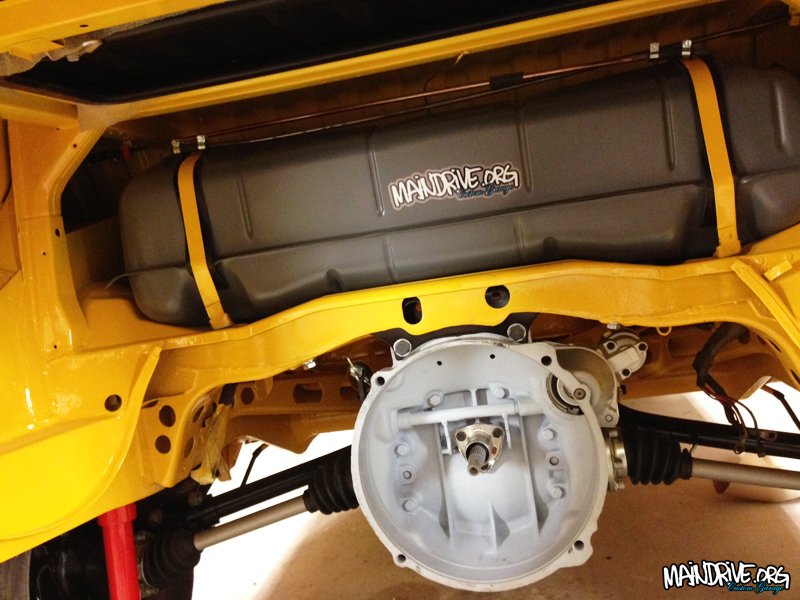
Here is some news on the build. Got the fuel tank installed today. With new fuelfiller neck, feeder hose, sender unit, tap and filter. Also replaced all rubber hose connections for the tank ventilation. Next time I will start bodywork on the huge roof…lots of fun…
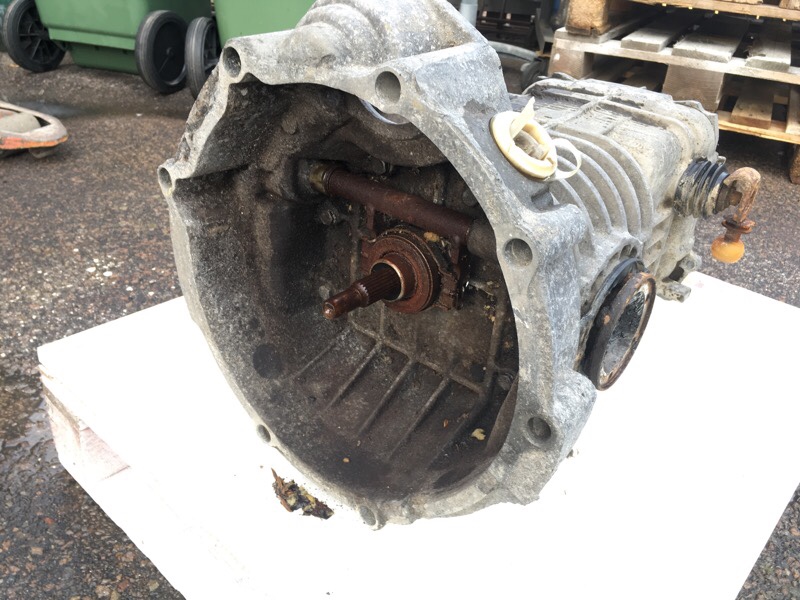
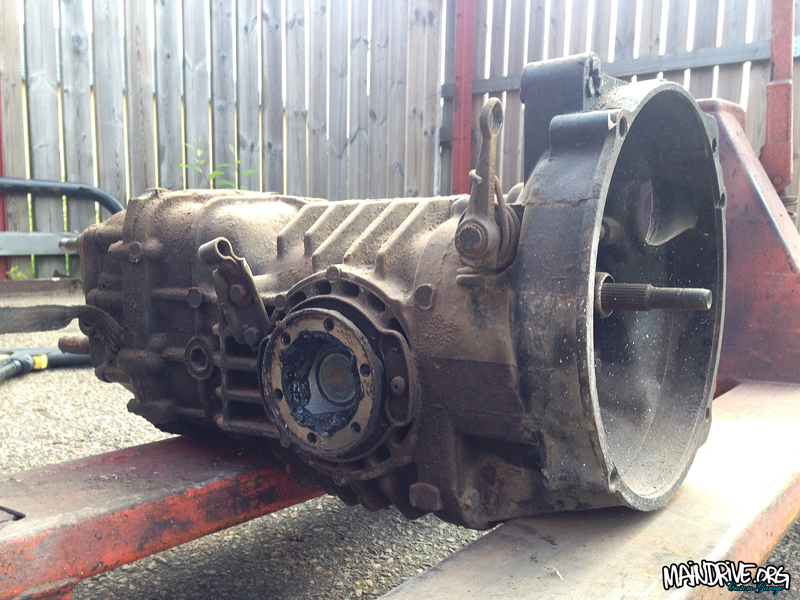
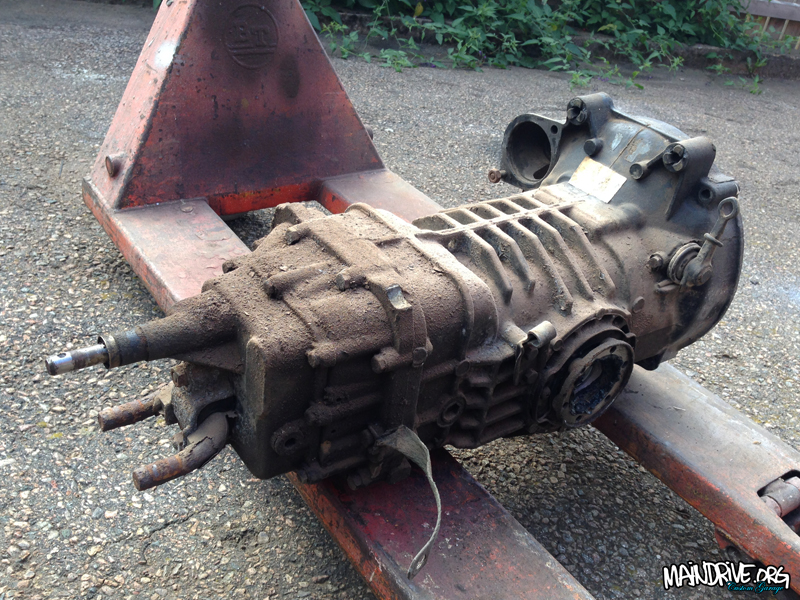
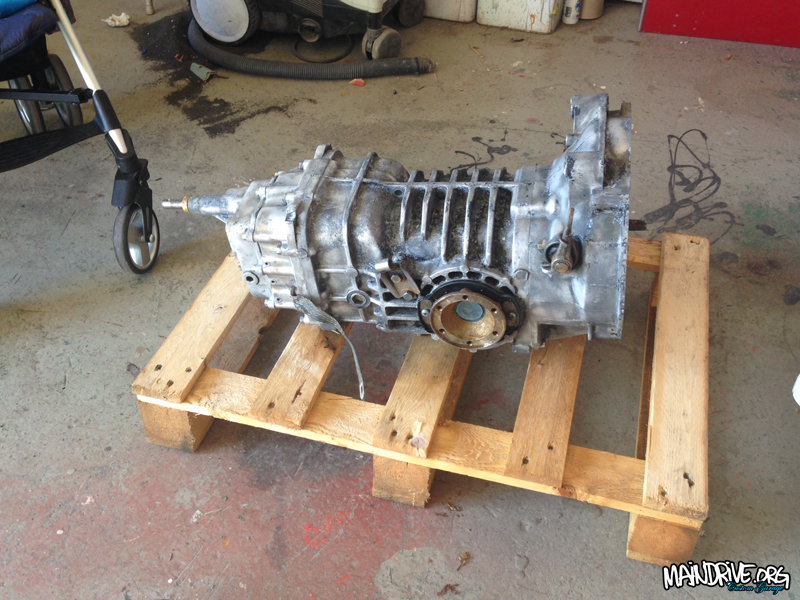
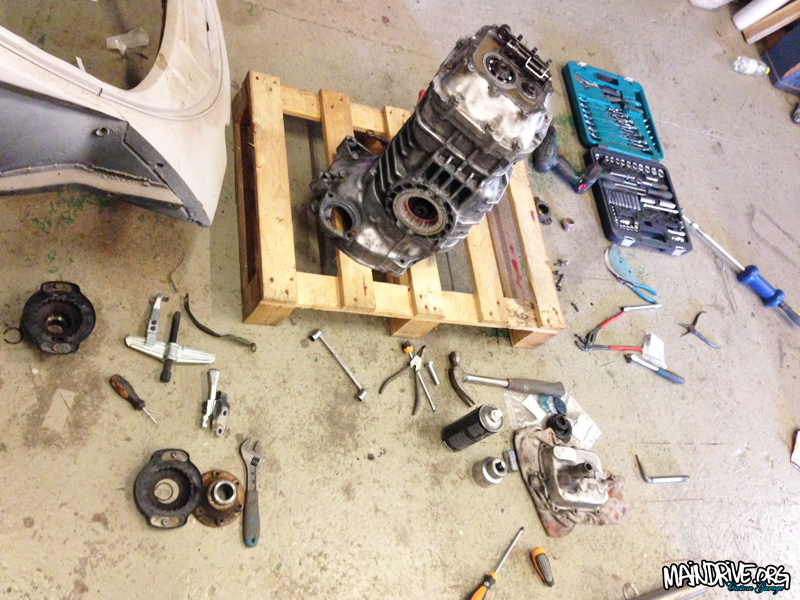
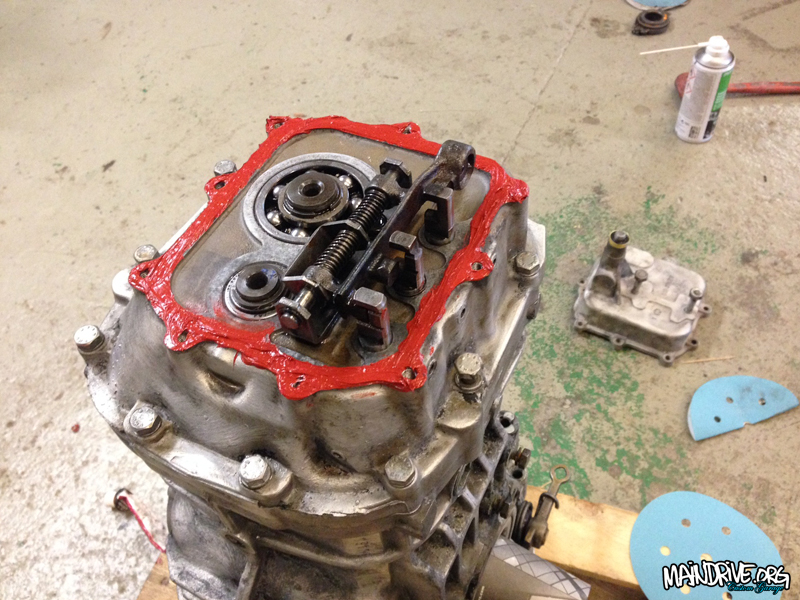
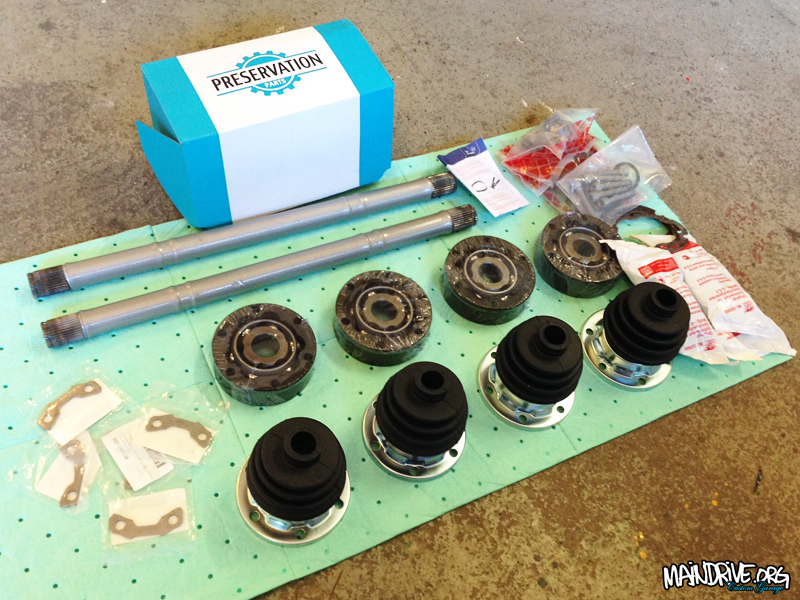
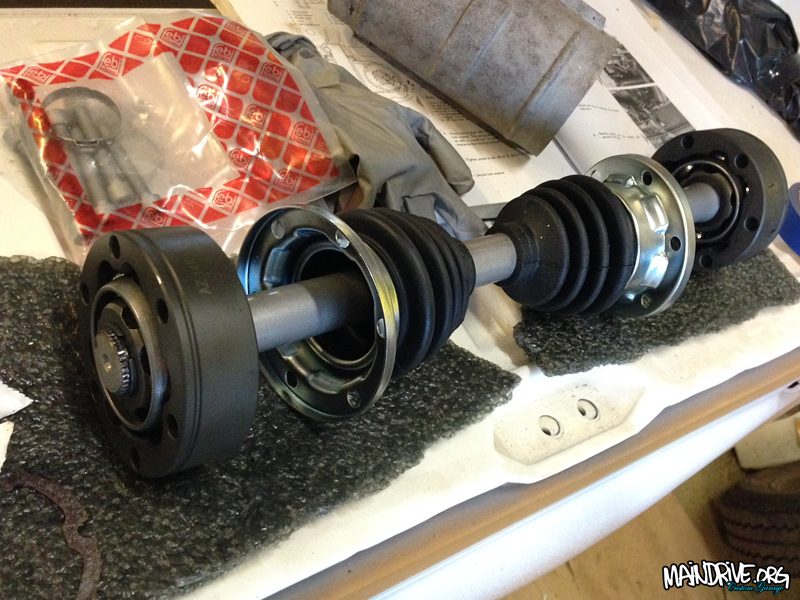
Have been working on the transmission and driveshafts lately. Had a pile of new parts from Just Kampers waiting for it. The tranny was in very good shape and have been restored by VW (exchange parts) in the 1980s. But it still needed alot of work to look good again. Highpressure washed the case 3 times, to remove dirt and old oil. Drained the oil and it still looked nice (good sign)! Then 3 coats of paintremover was added so the black paint could be peeled off the case. Degreased it one more time, wirebrushed and sanded it making it ready for paint. A coat of primer for aluminium/etch was layed down and then 3 coats of 2K silvermetallic paint on top.
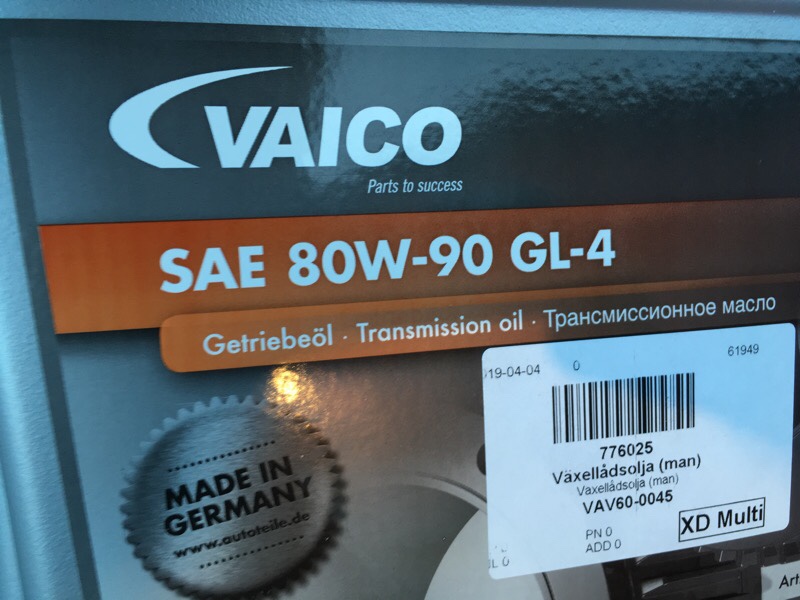
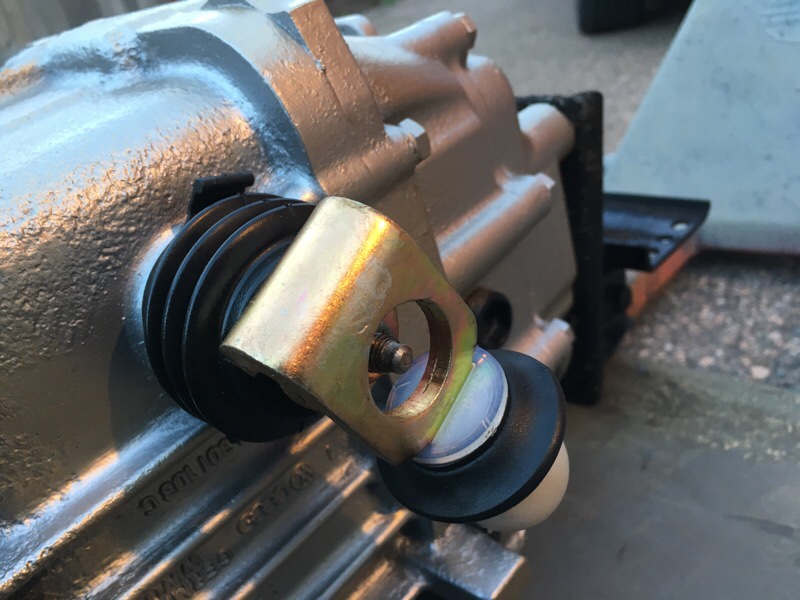
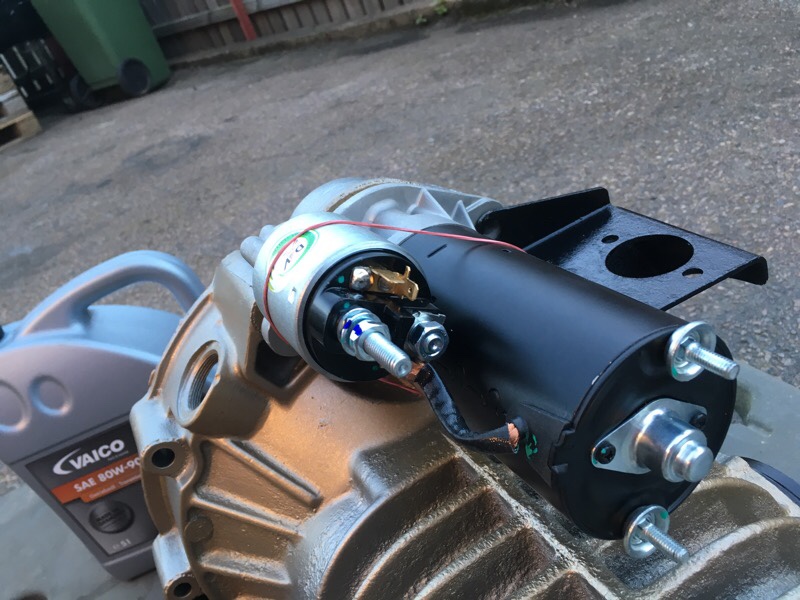
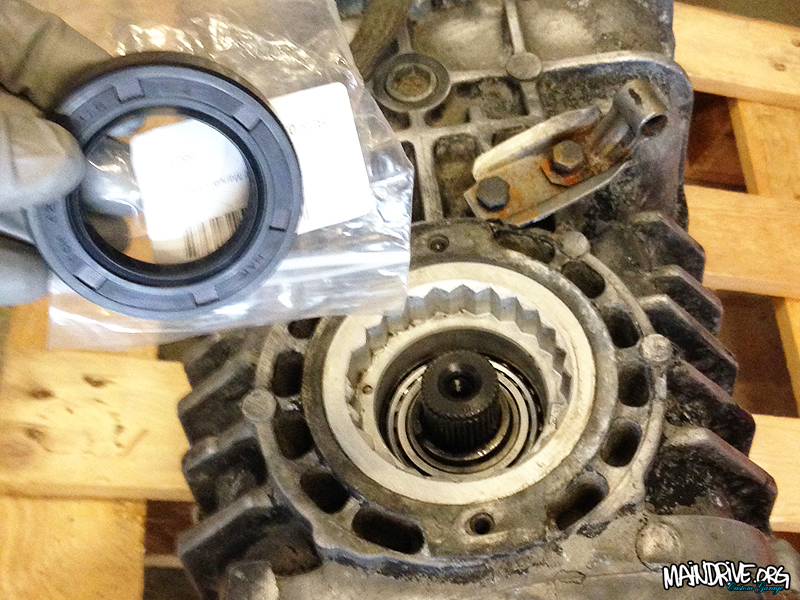
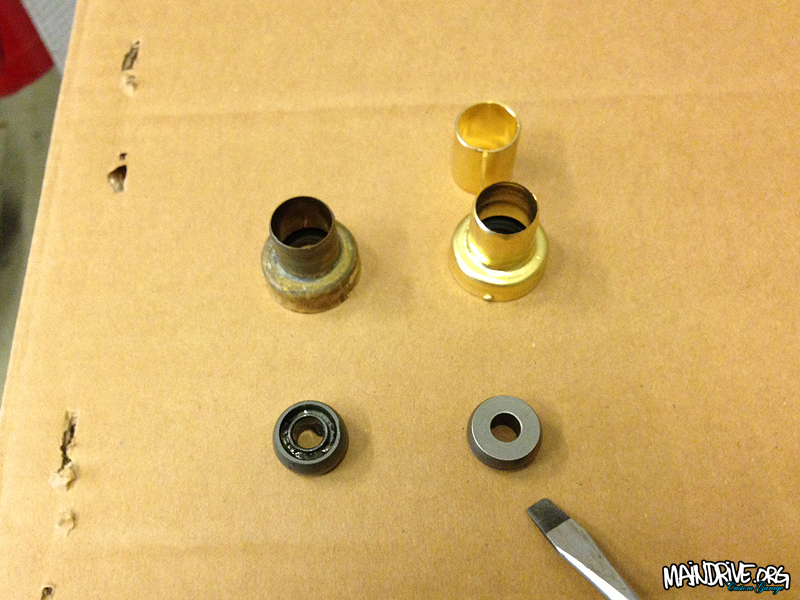
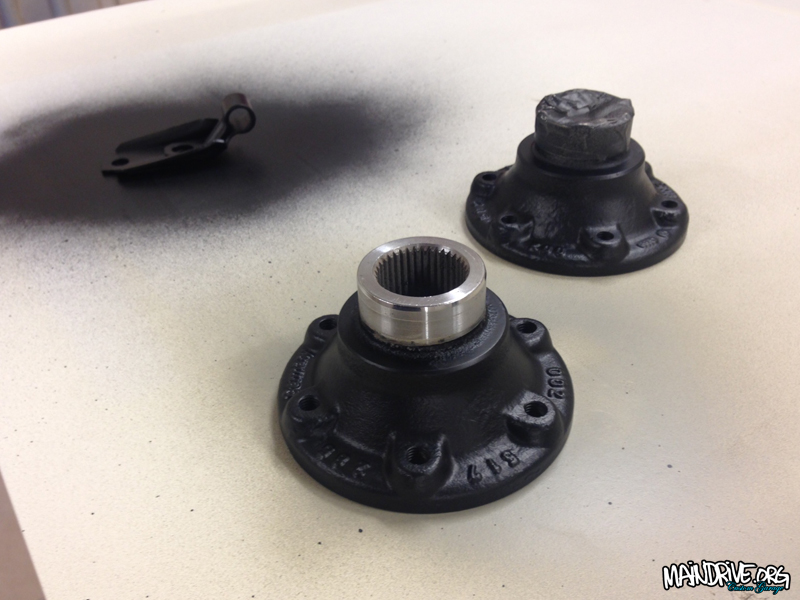
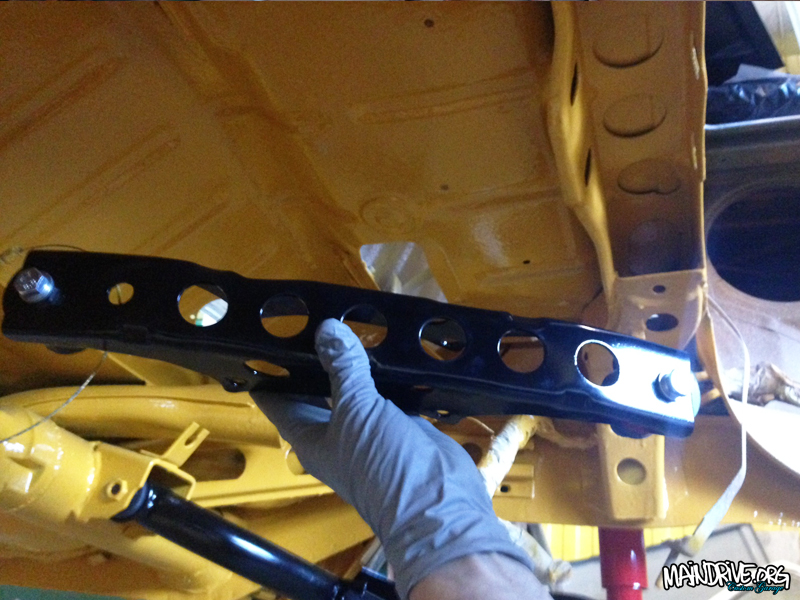
A new mainshaft oil seal was added, and both driveflange/shaft seals too. The nosecone got a new reamed bronze bushing and oilseal for the shiftleveler. Also the small plastic balljoint in the end of the shiftlever (the one that pushes gears) was replaced to a new made of steel, and will last a life time instead of a brittle plastic part that was before. The shiftrod feels very accurate and precise now, no more sloppy gearshifter! This is also a popular upgrade on VW race transmissions. Driveshafts and hubs was sandblasted and painted. New groundcable to chassi. New clutchwire. New gaskets, rubberboots and CV joints installed. New startermotor + bushing mounted too. New trans mounts upper and lower. And then the transmission was filled up with new fresh mineral API-5 grade transmission oil that VW recommended on these 002 cases. This oil is extra good to the special metalparts like syncro rings etc. Not aggressive like other grades can be to these old transmissions. Here is the pics…


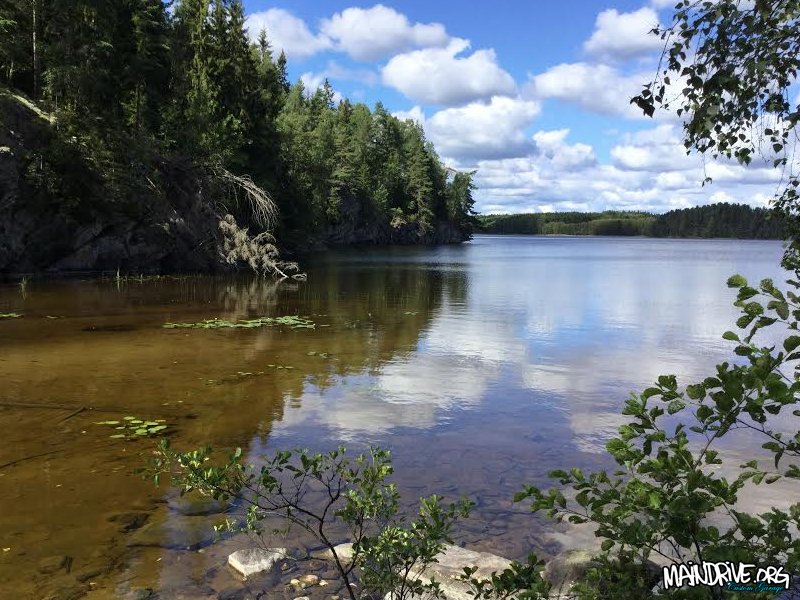
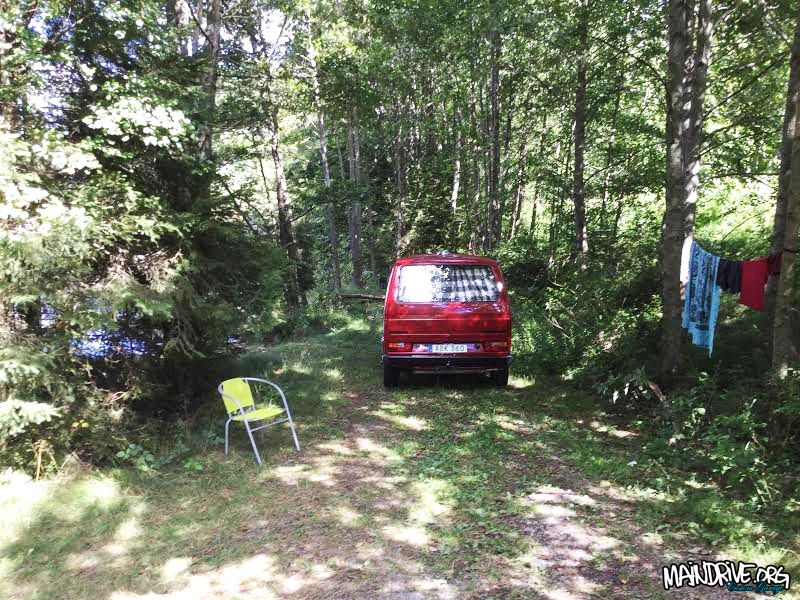
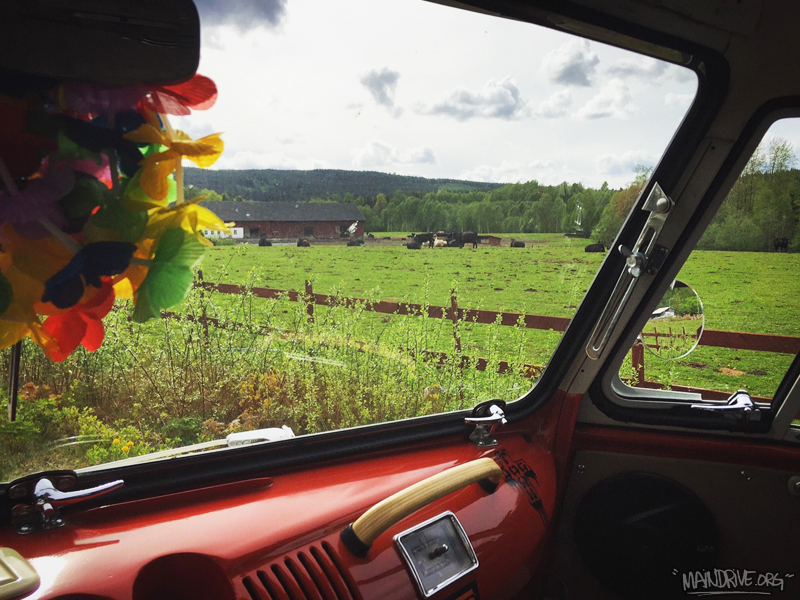
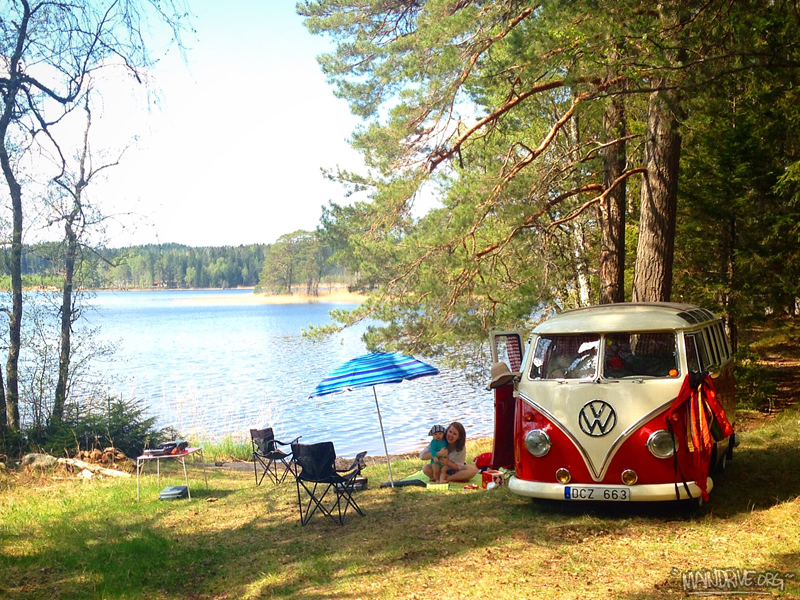
Some pics from this summer.
Started to get the other side done, blasted, painted and new bearings and seals. Waiting on some new parts from JustKampers and hopefully I can put the bus back on its own wheels this weekend for first time in 6 months. Also fixed the rusted and dented up front floor cover, blasted and painted ready to be installed when all wires and brakes are fixed.
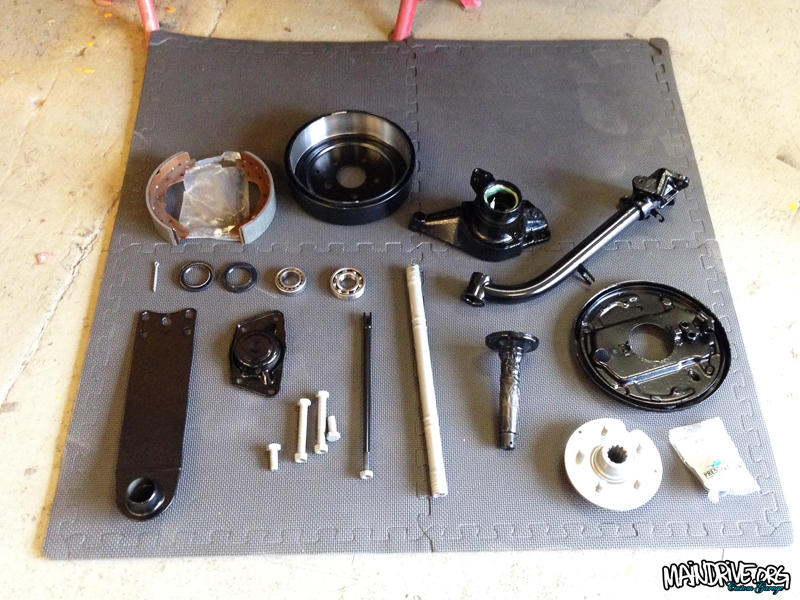
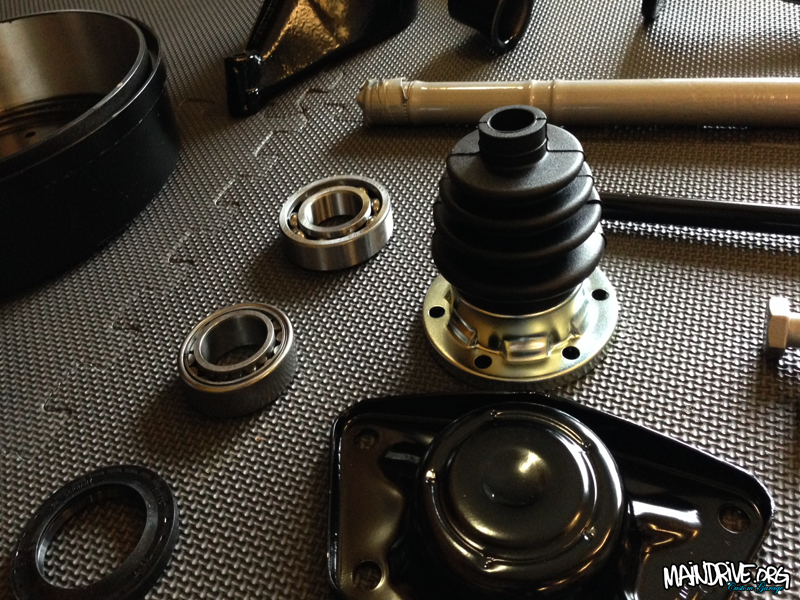
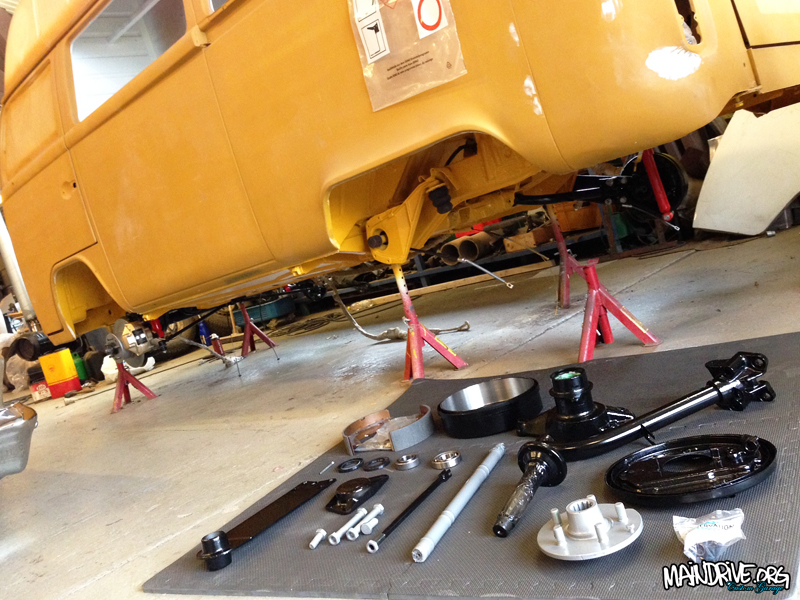
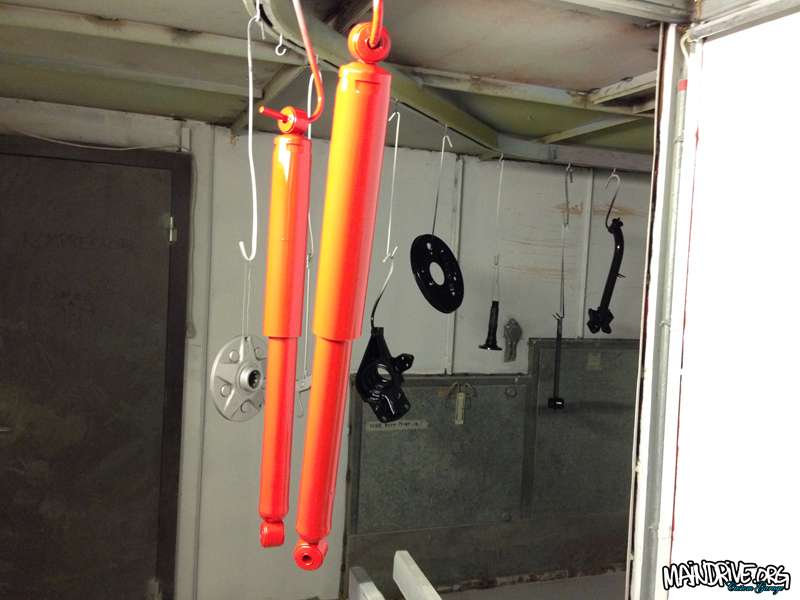
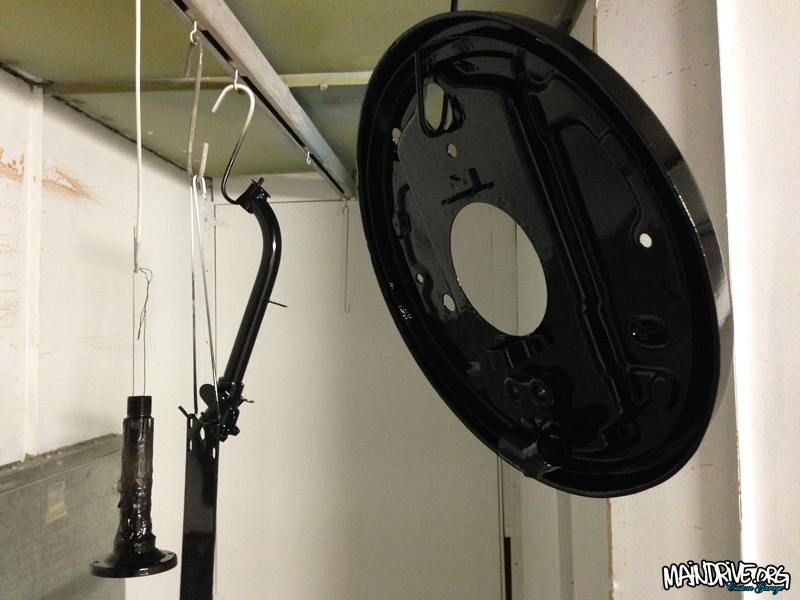
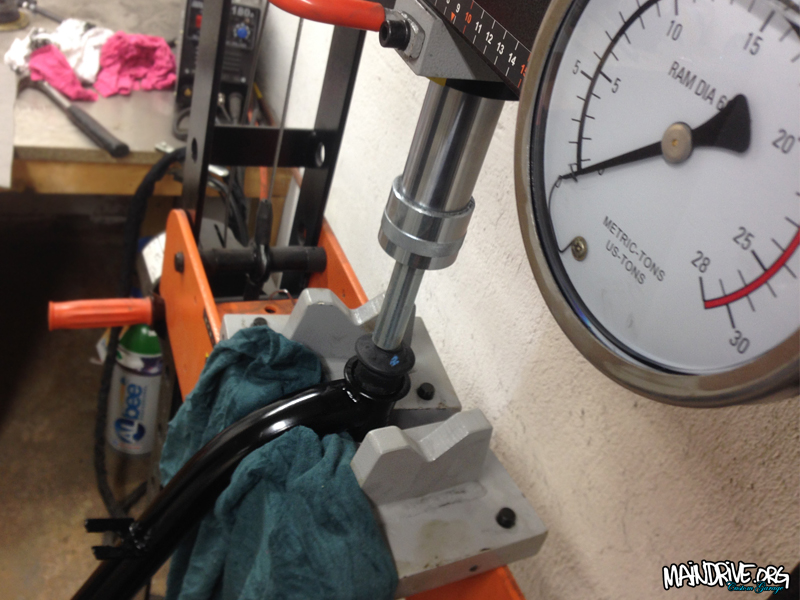
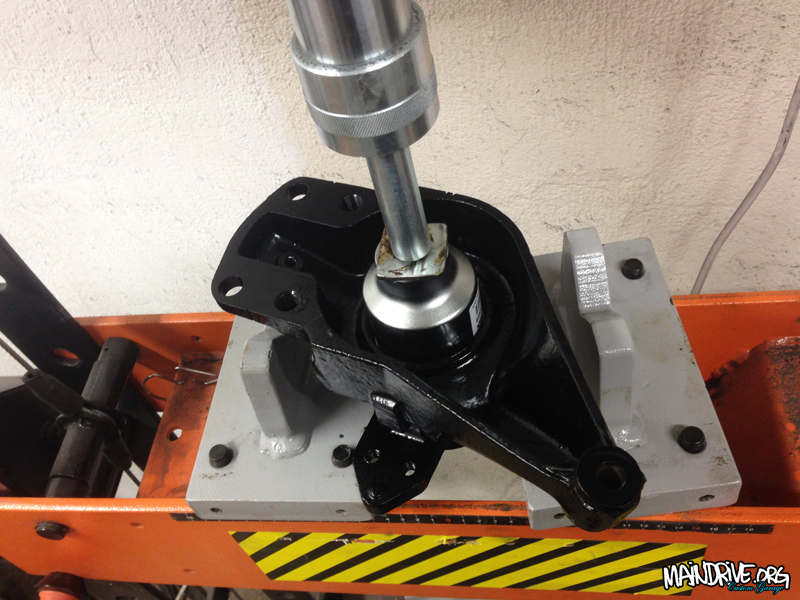
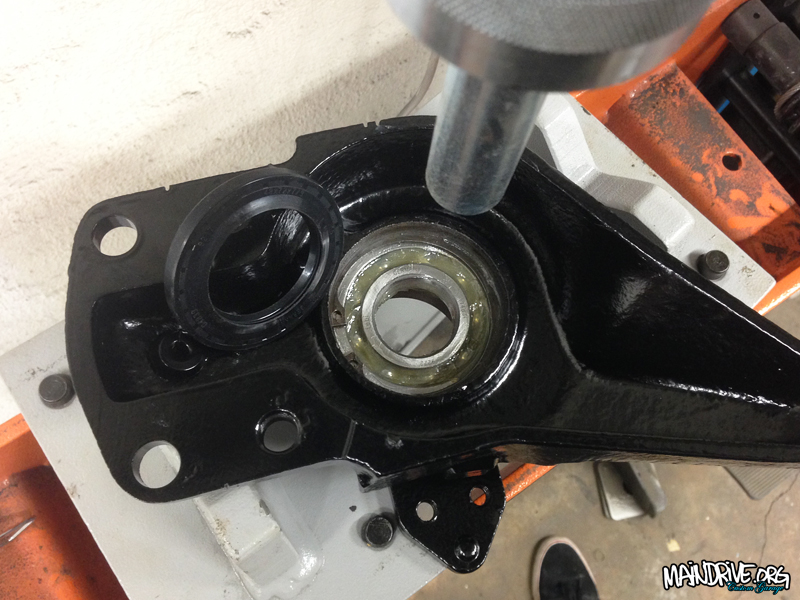
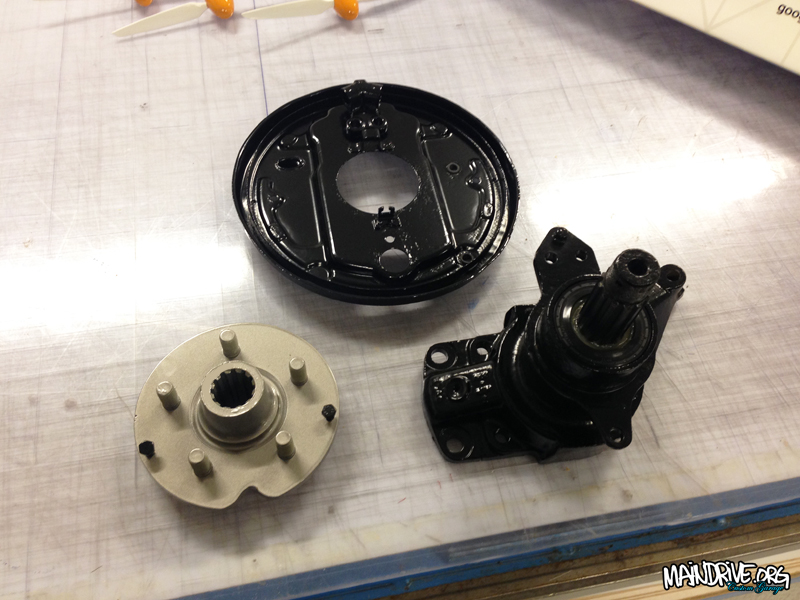
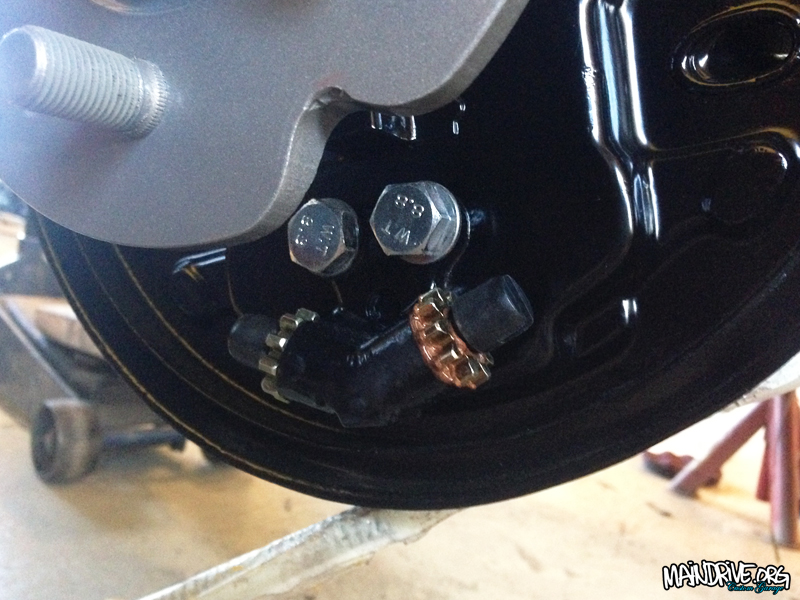
Have now started with the rear end of the bus, hope to soon have it rolling on wheels again, after 6 months in the air. Dismantled the rear IRS trailingarms, removed all old bearings and seals, cleaned it up and sandblasted everything. Then all parts was coated in zinc primer and the Deep black satin finish paint. All new wheelsbearings and seals pressed in, new bushings everywhere and also nuts/bolts. All new brakeparts and brakedrums too. One step closer…


Frans driving his minibus 🙂 More pics at Instagram: @campersontour
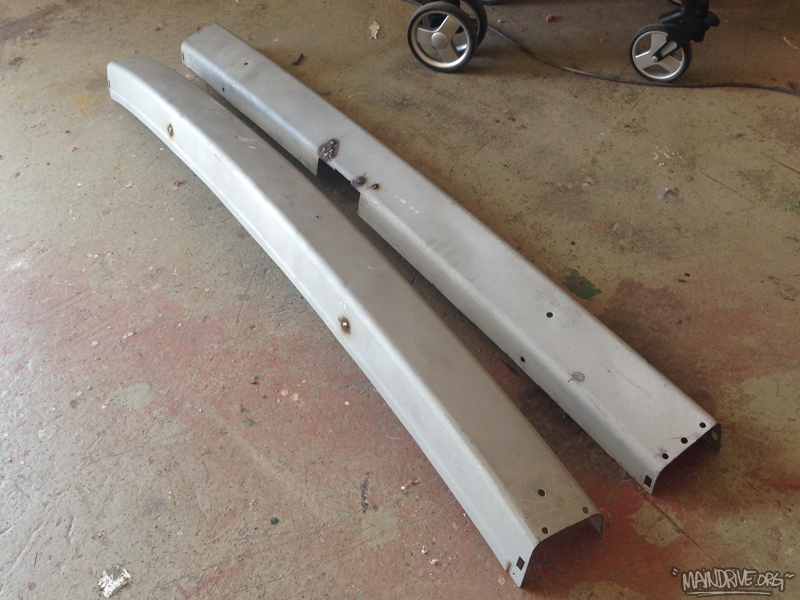
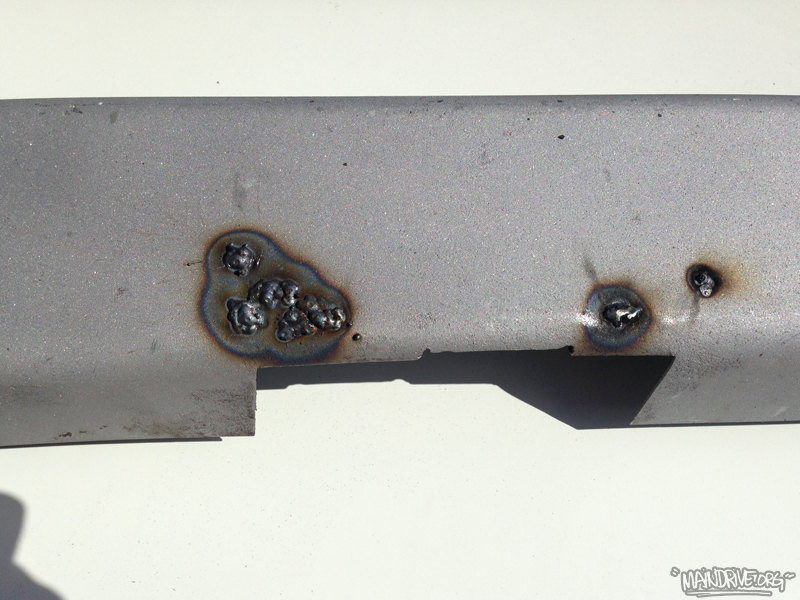
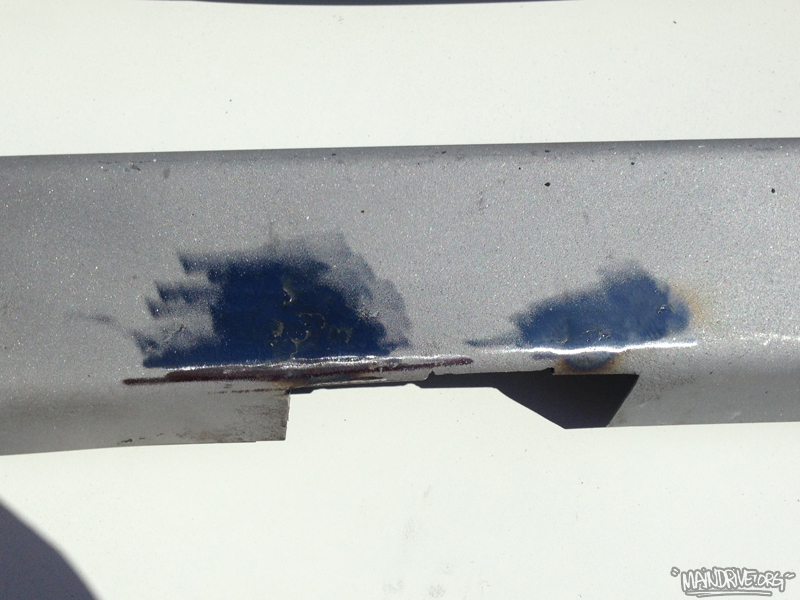
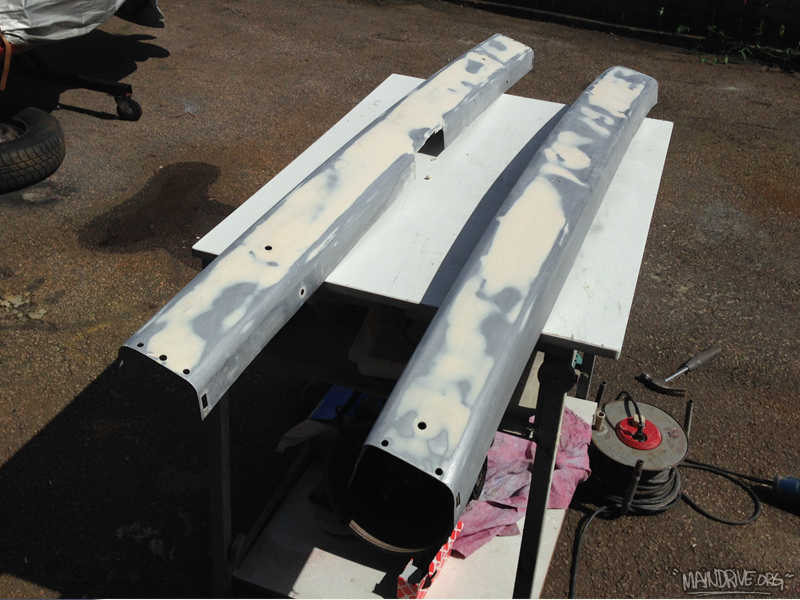
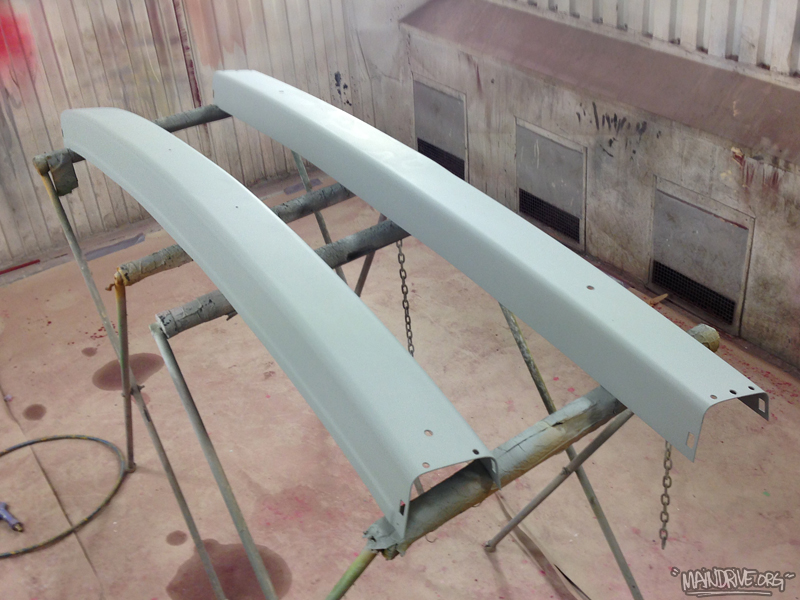
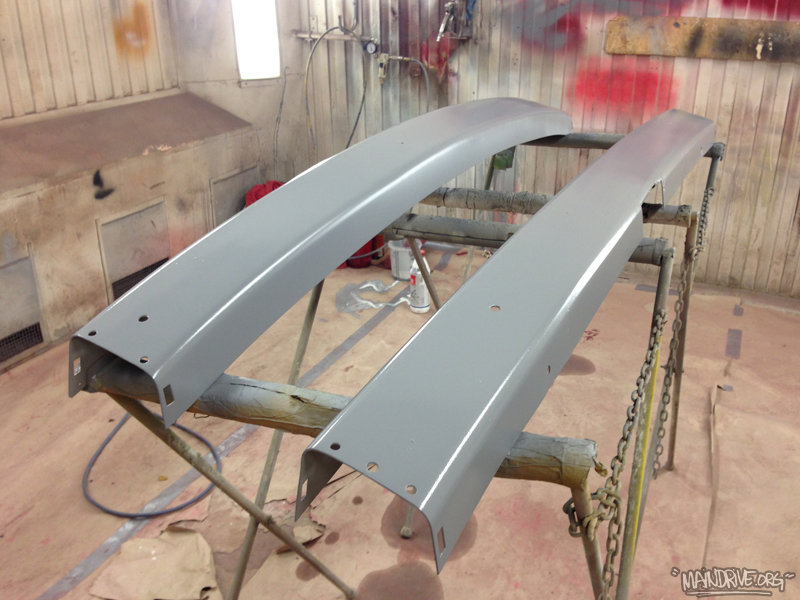
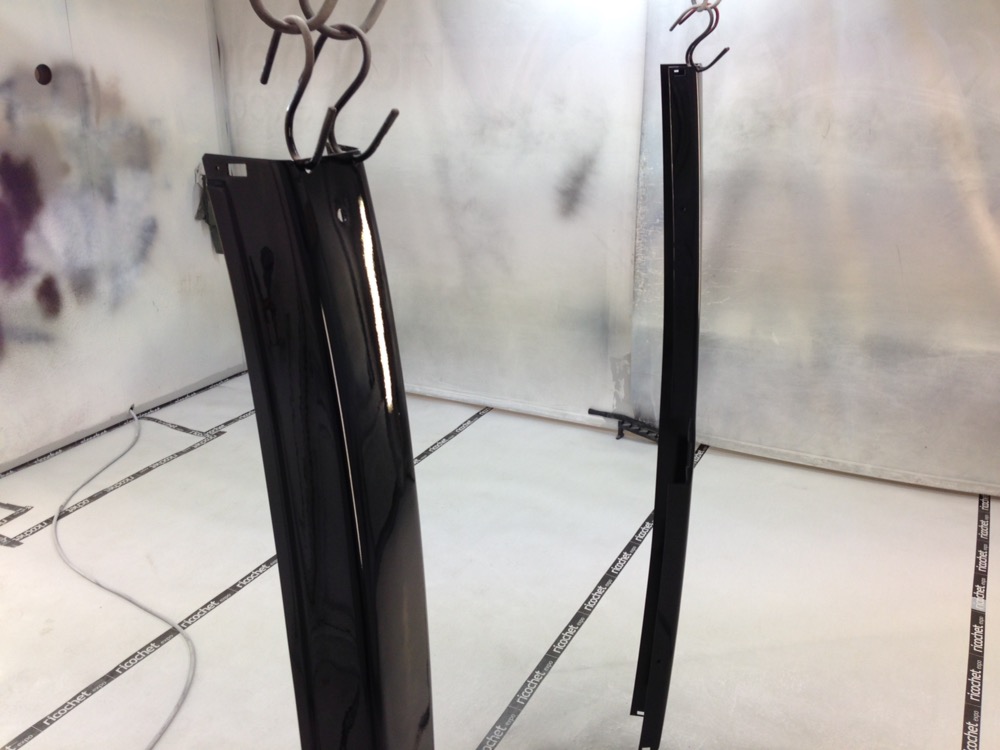
Today the bus was dropped of at the glasshop for new front windscreen and installing all windows with new rubber seals. The last final parts (bumpers) are getting painted tomorow or on Thursday. They were handpainted with brush, twisted, rusty and lots of small dents. After sandblasting they got welded, straightned and all dents hammered out. Then a light coat of bodyfiller to make them straight again, then Zinc rustprimer and after this surfacer/ground primer to get them smooth again after the sandblasted surface. Next up is some more sanding and then Deepblack paint. New covers and bolts are waiting from Just Kampers! The bus should be ready for the road in the end of the week! More pics to come…
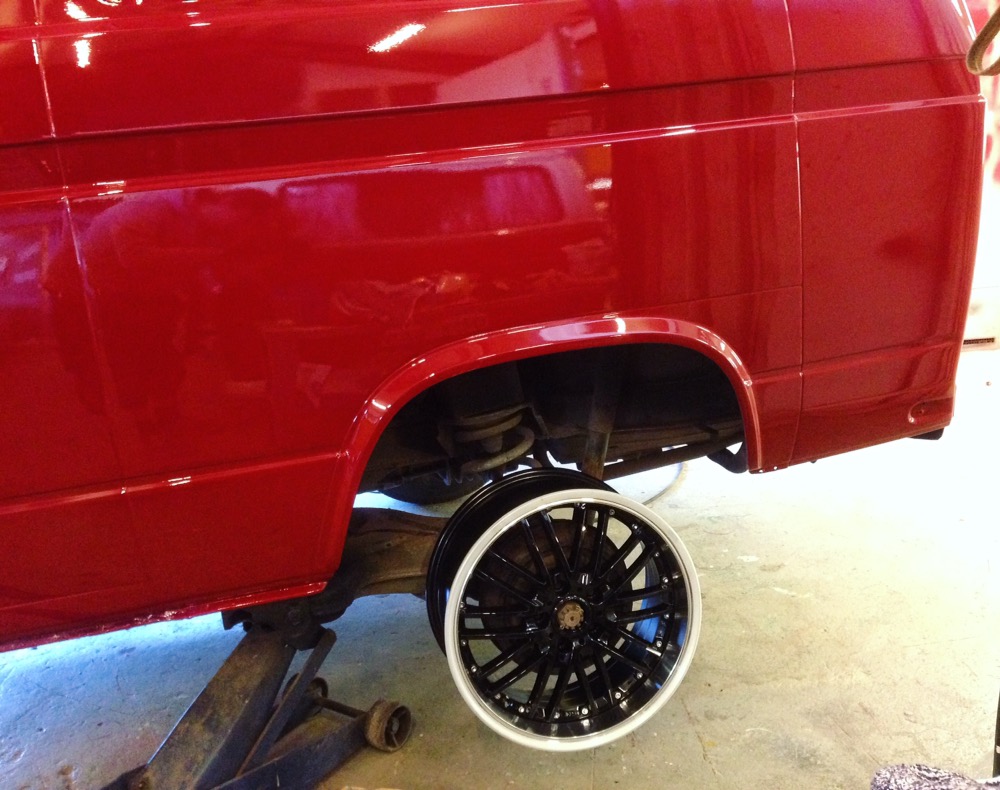
Trying the fitment on the new wheels on Bennys T3 bus. Its going to be a badass car!