I found and saved this bus here in Sweden 15 years ago. It now lives with its new owner in Mallorca. Here is my boys on vacation in La Palma and got to see the bus and take a cruise. Thanks to Noel Dyne!
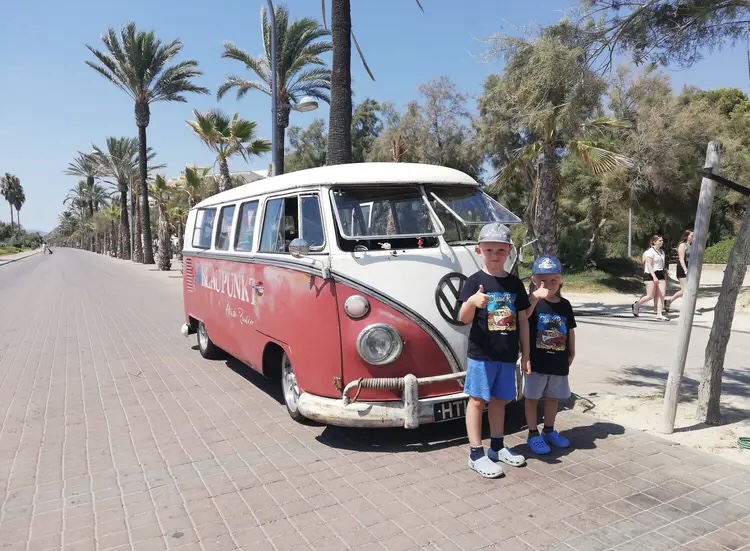
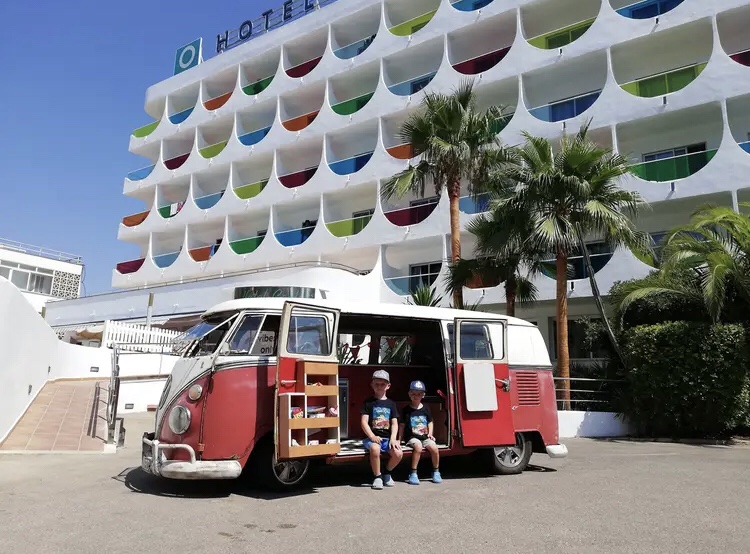
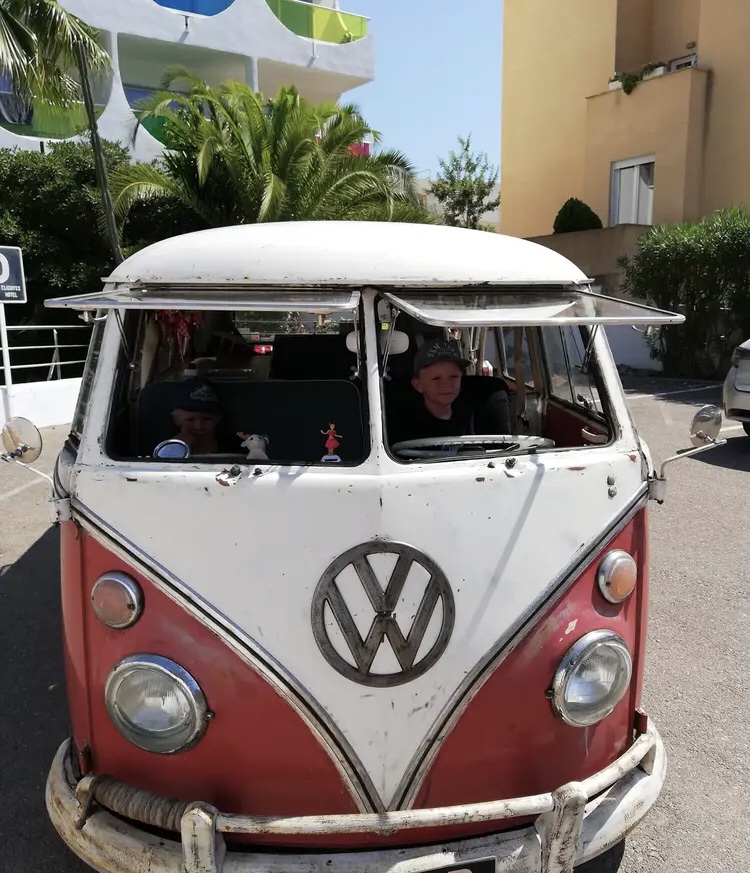
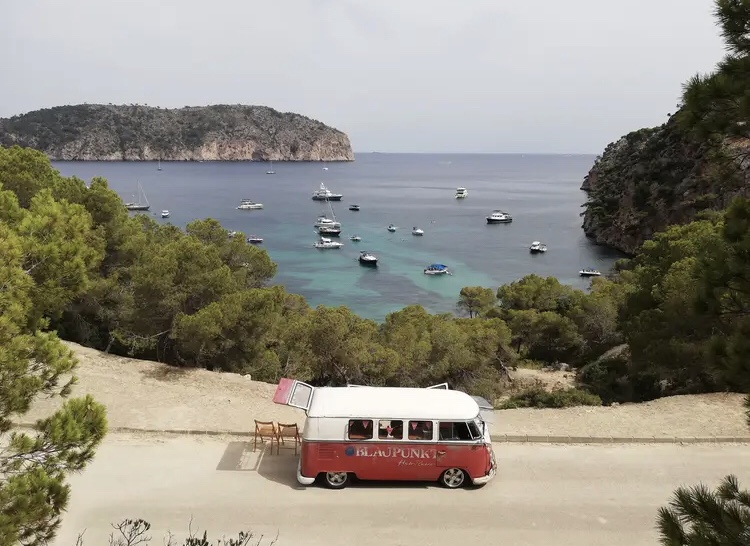
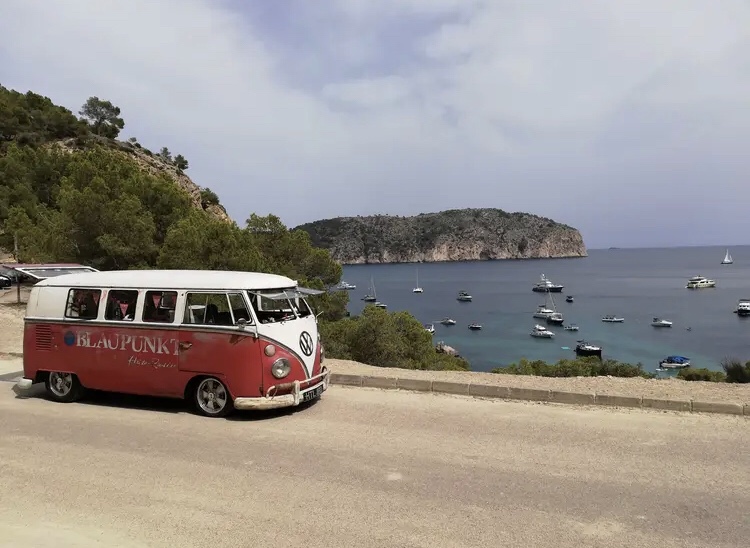
I found and saved this bus here in Sweden 15 years ago. It now lives with its new owner in Mallorca. Here is my boys on vacation in La Palma and got to see the bus and take a cruise. Thanks to Noel Dyne!
En sväng förbi Piece Performance och Hans nya dragracing bil. 1,6 L låter vass!
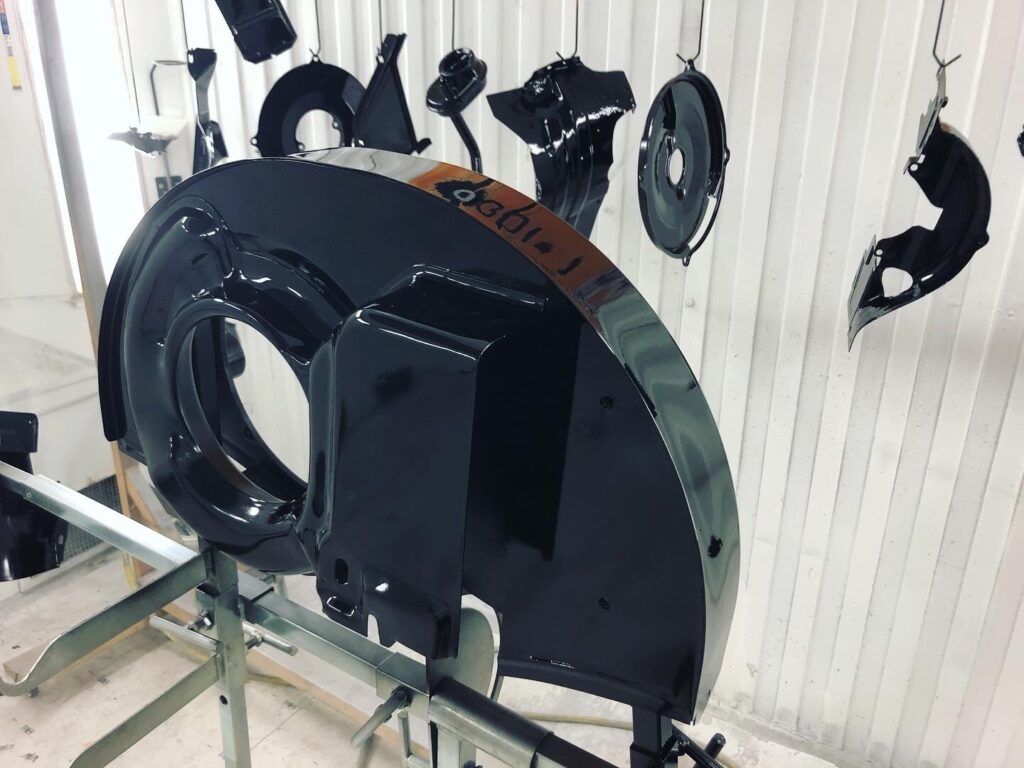
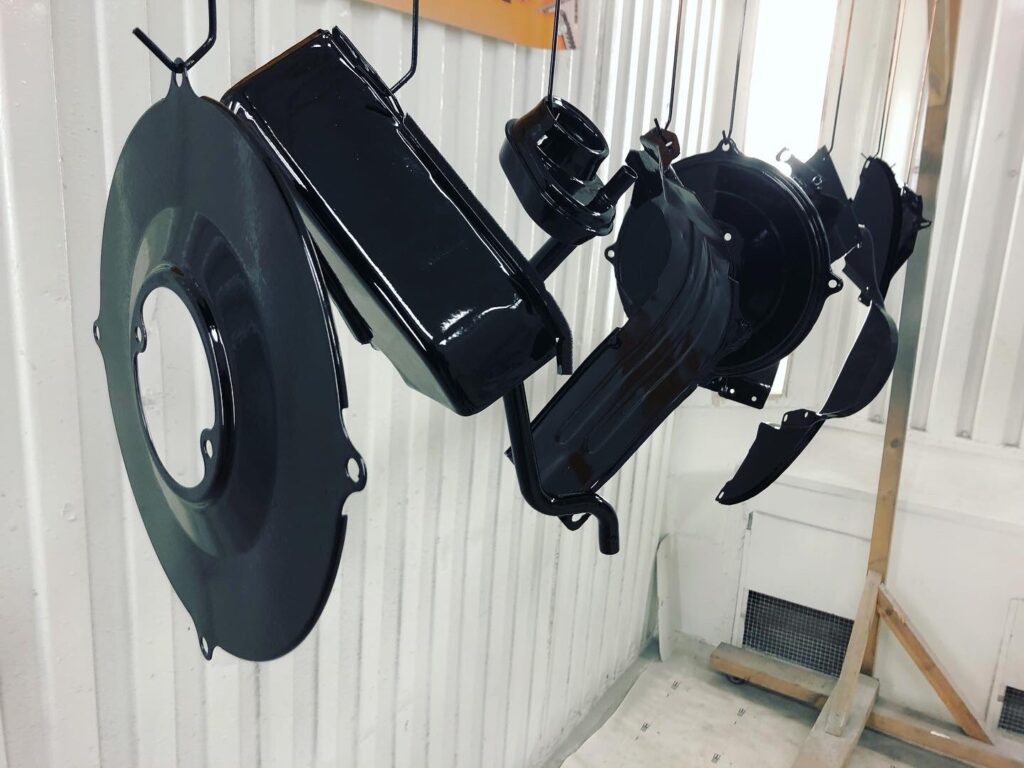
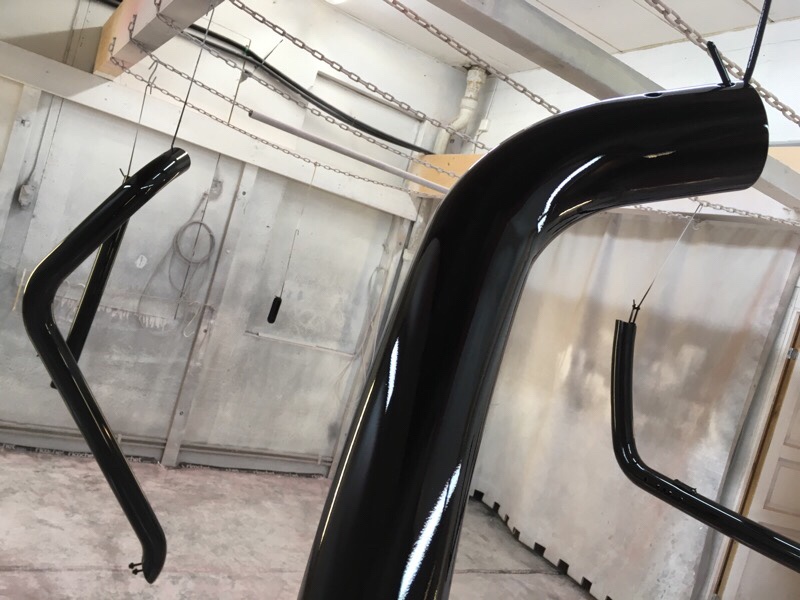
Fanhouse and other engine sheetmetal painted for Piece Performance, Hans Landenius.
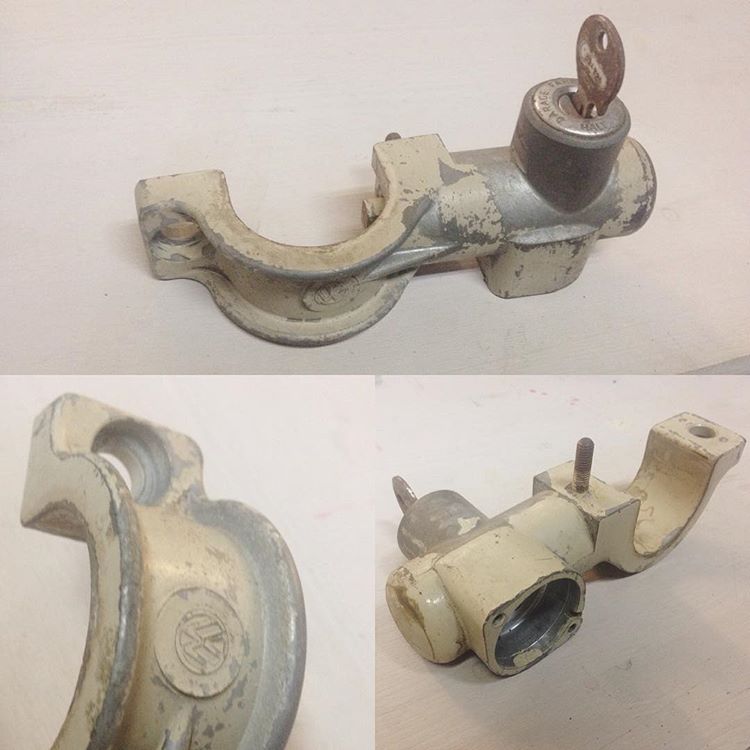
The sliding door handle on my 1983 VW T3 bus have been very hard to move/open the last 2 years and now it finally gave up and wouldn’t open the door anymore. But inside still worked fine. I thought first the wire inside the door had jumped off, but it was a lot worse!!
But was cheap and easy to repair, took me about 1 hour and the door is like new now! Time well spent!
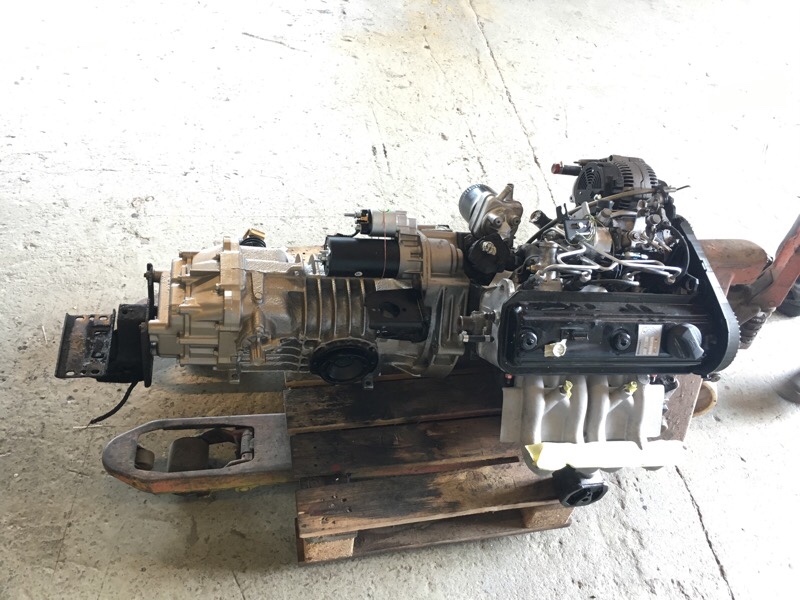
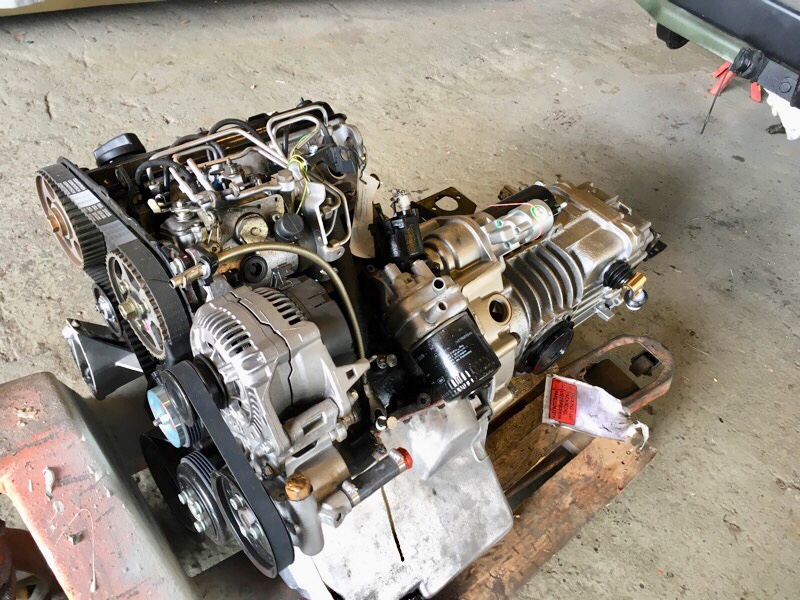
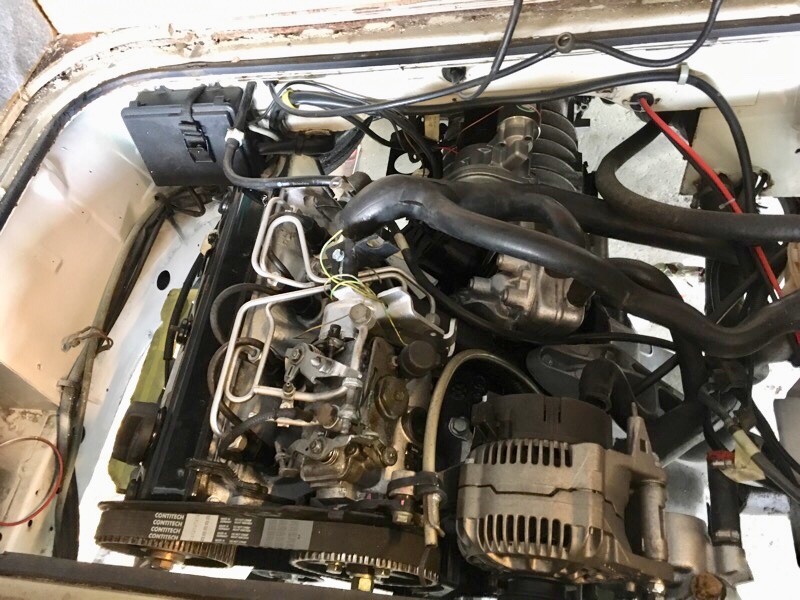
I have changed my old 1.6 Diesel to a 1.9 from 1999 in my 1983 VW T3 bus. The engine code is AEF and it can be found in VW Polo, Skoda, Seat and Audi. When I started this conversion I was suprised how little information it really was about doing this swap. So I made a video collecting this information and what parts needed and problems that I had to solve. So hopefully this will help others that is thinking about doing this conversion. Good luck!
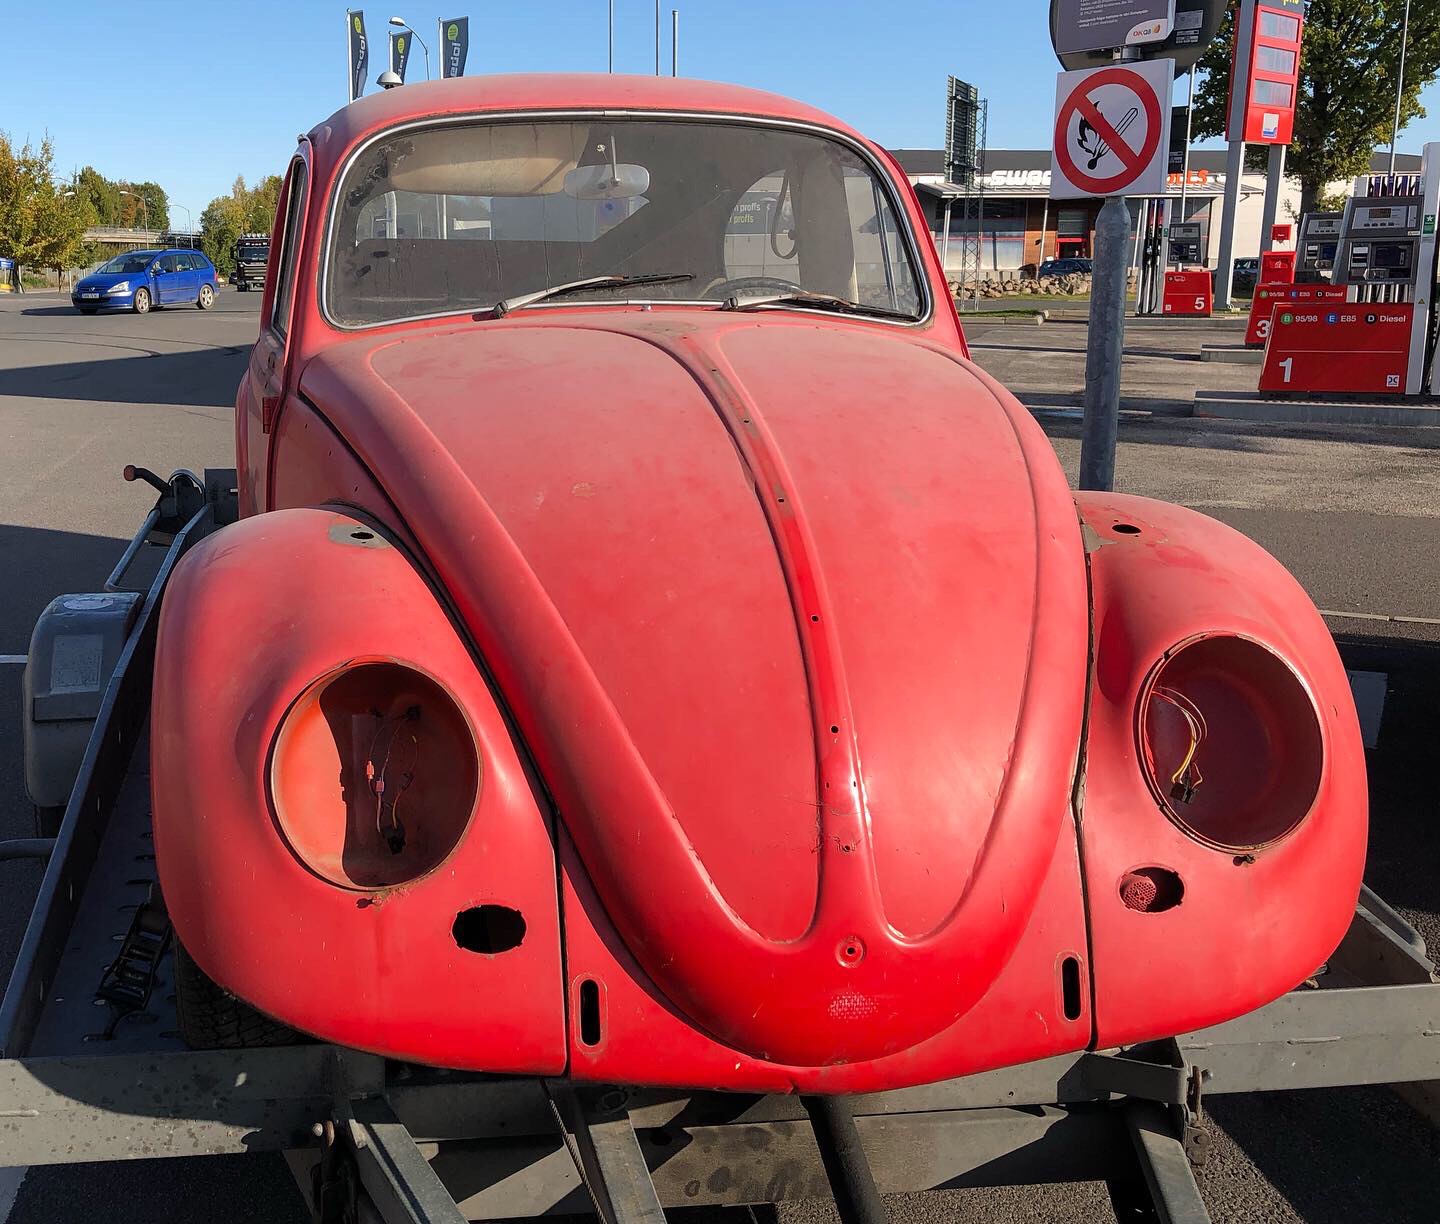
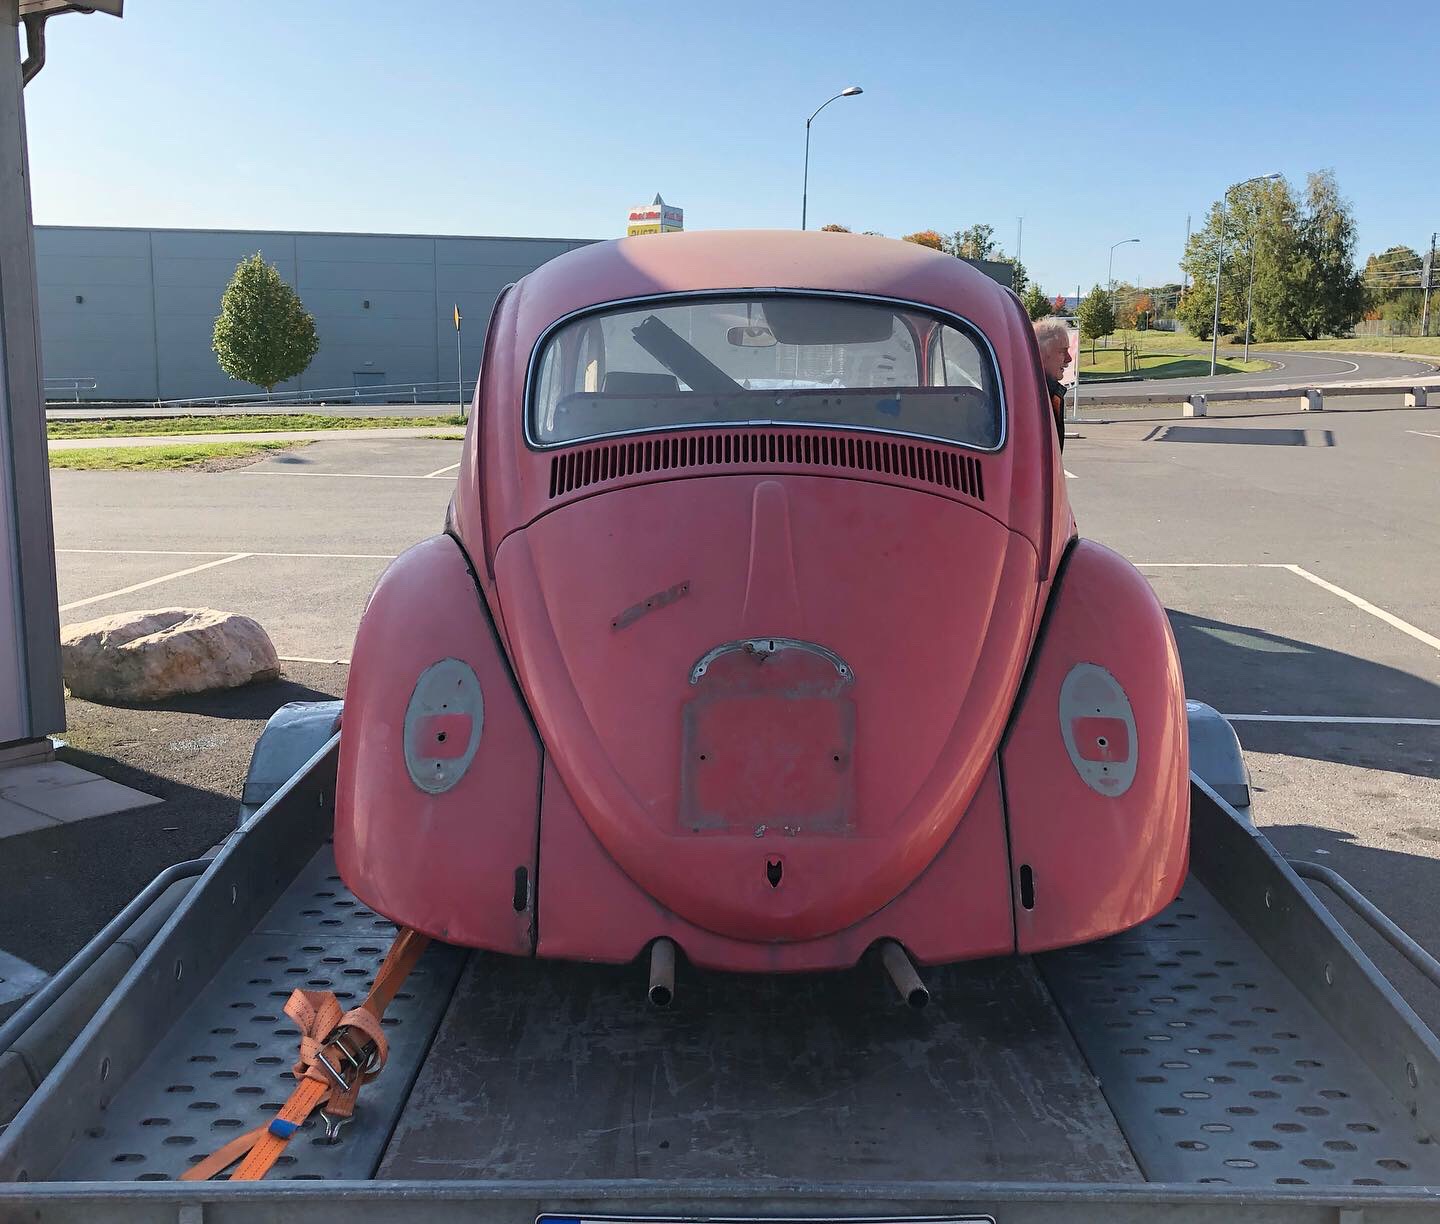
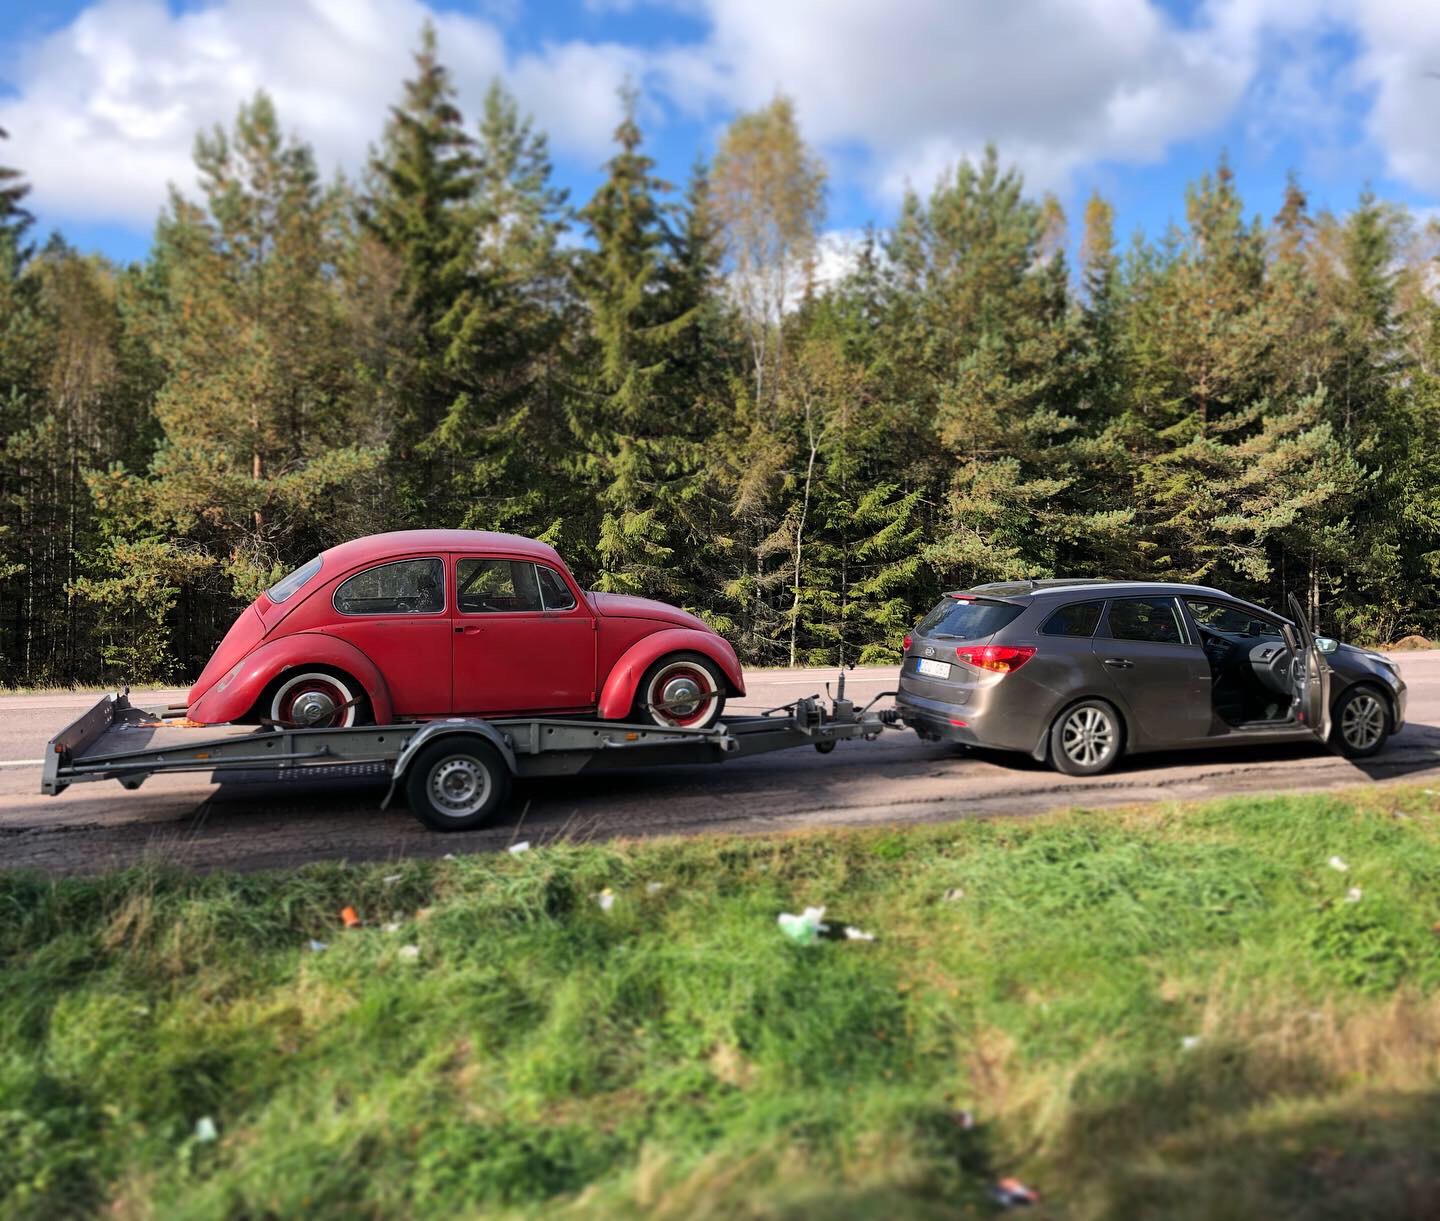
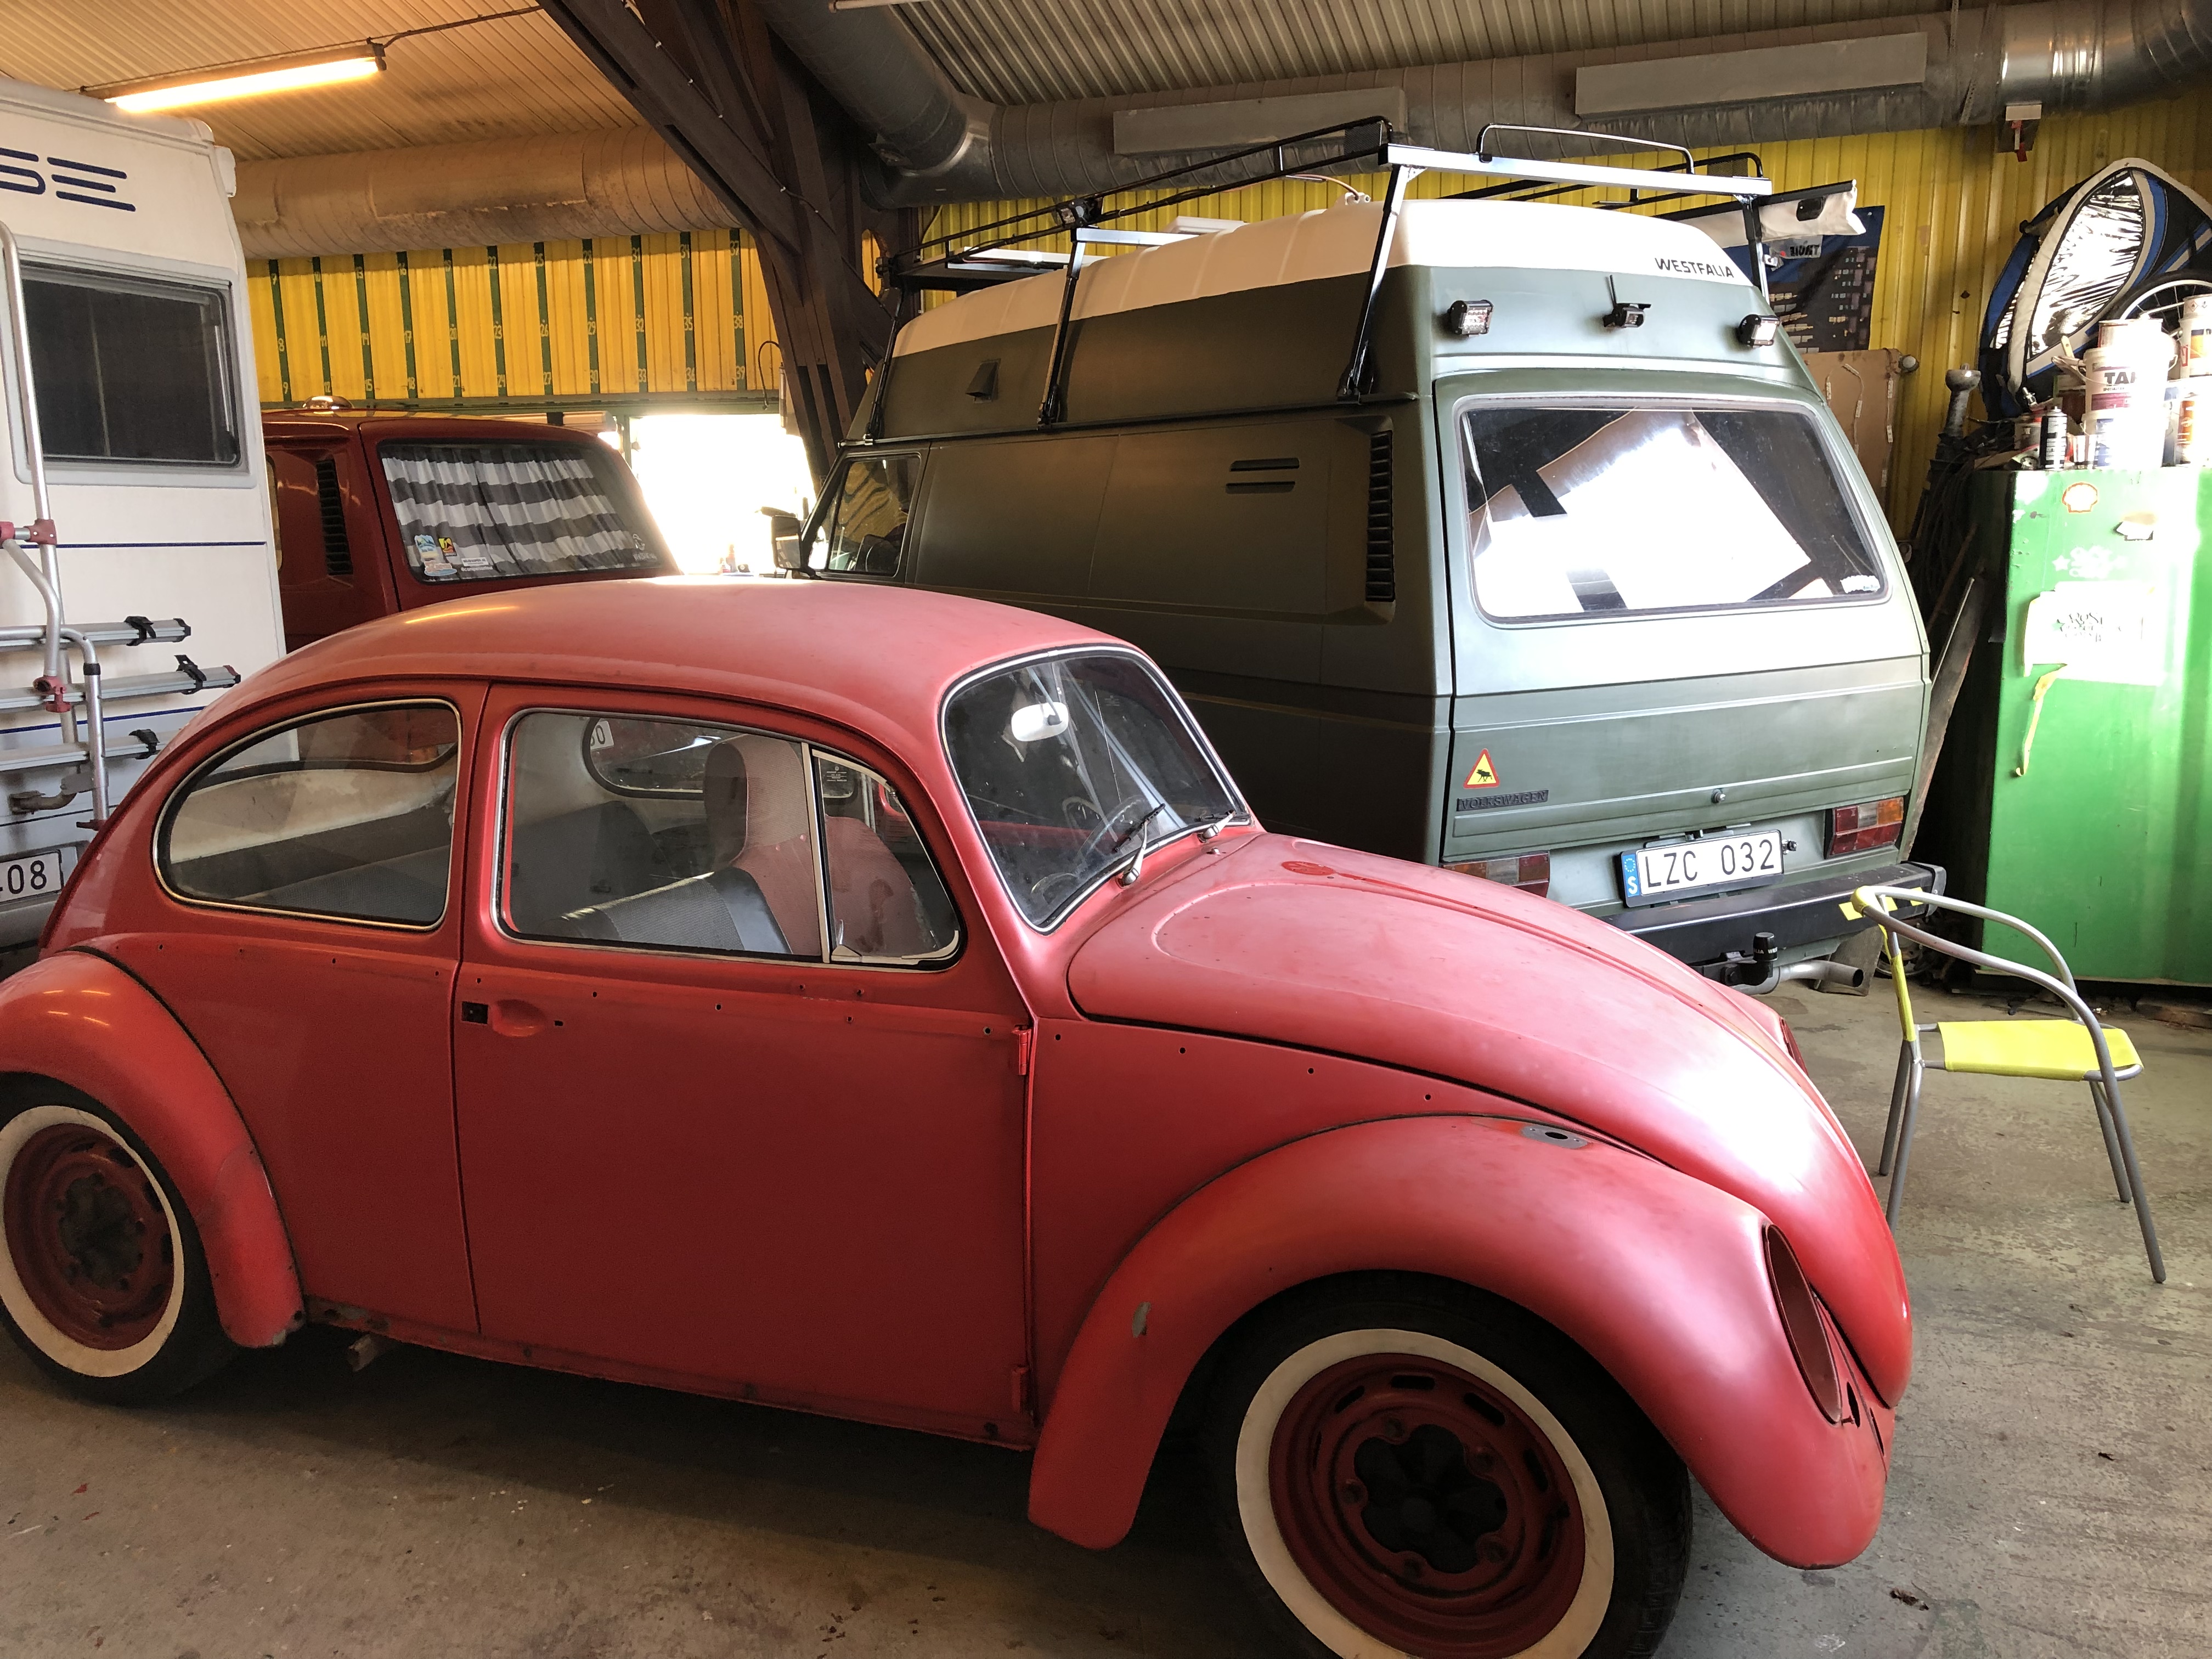
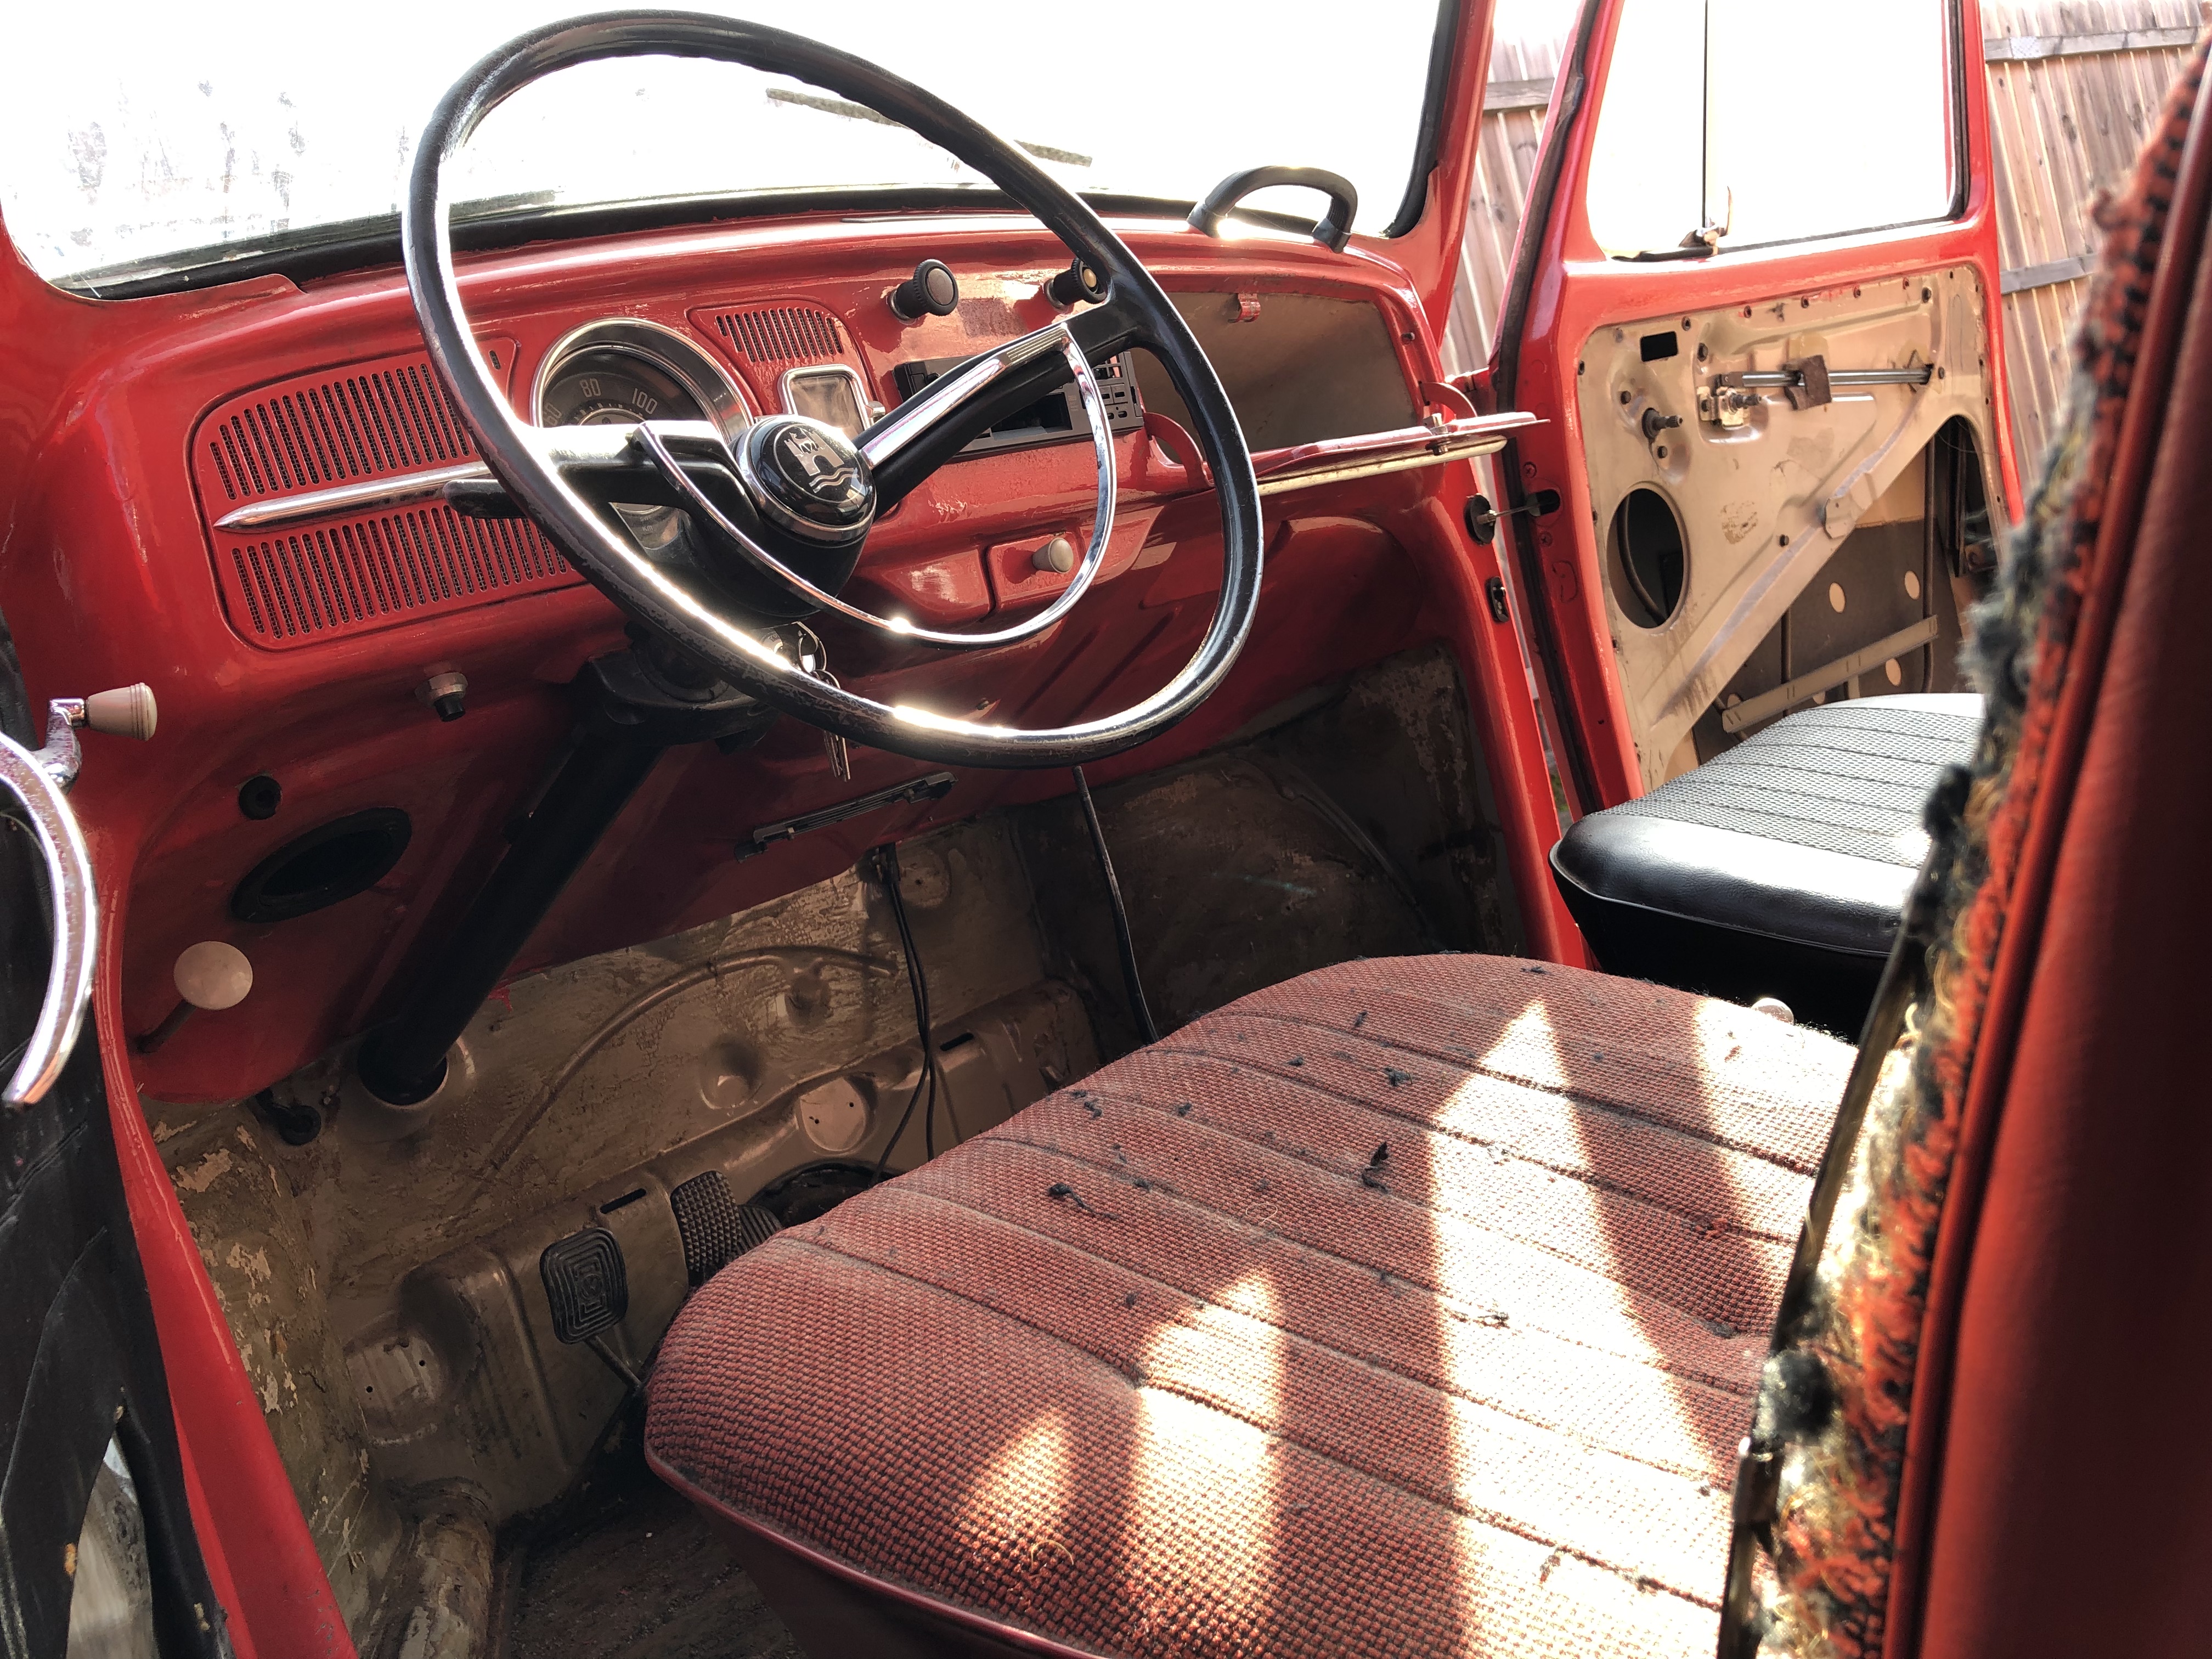
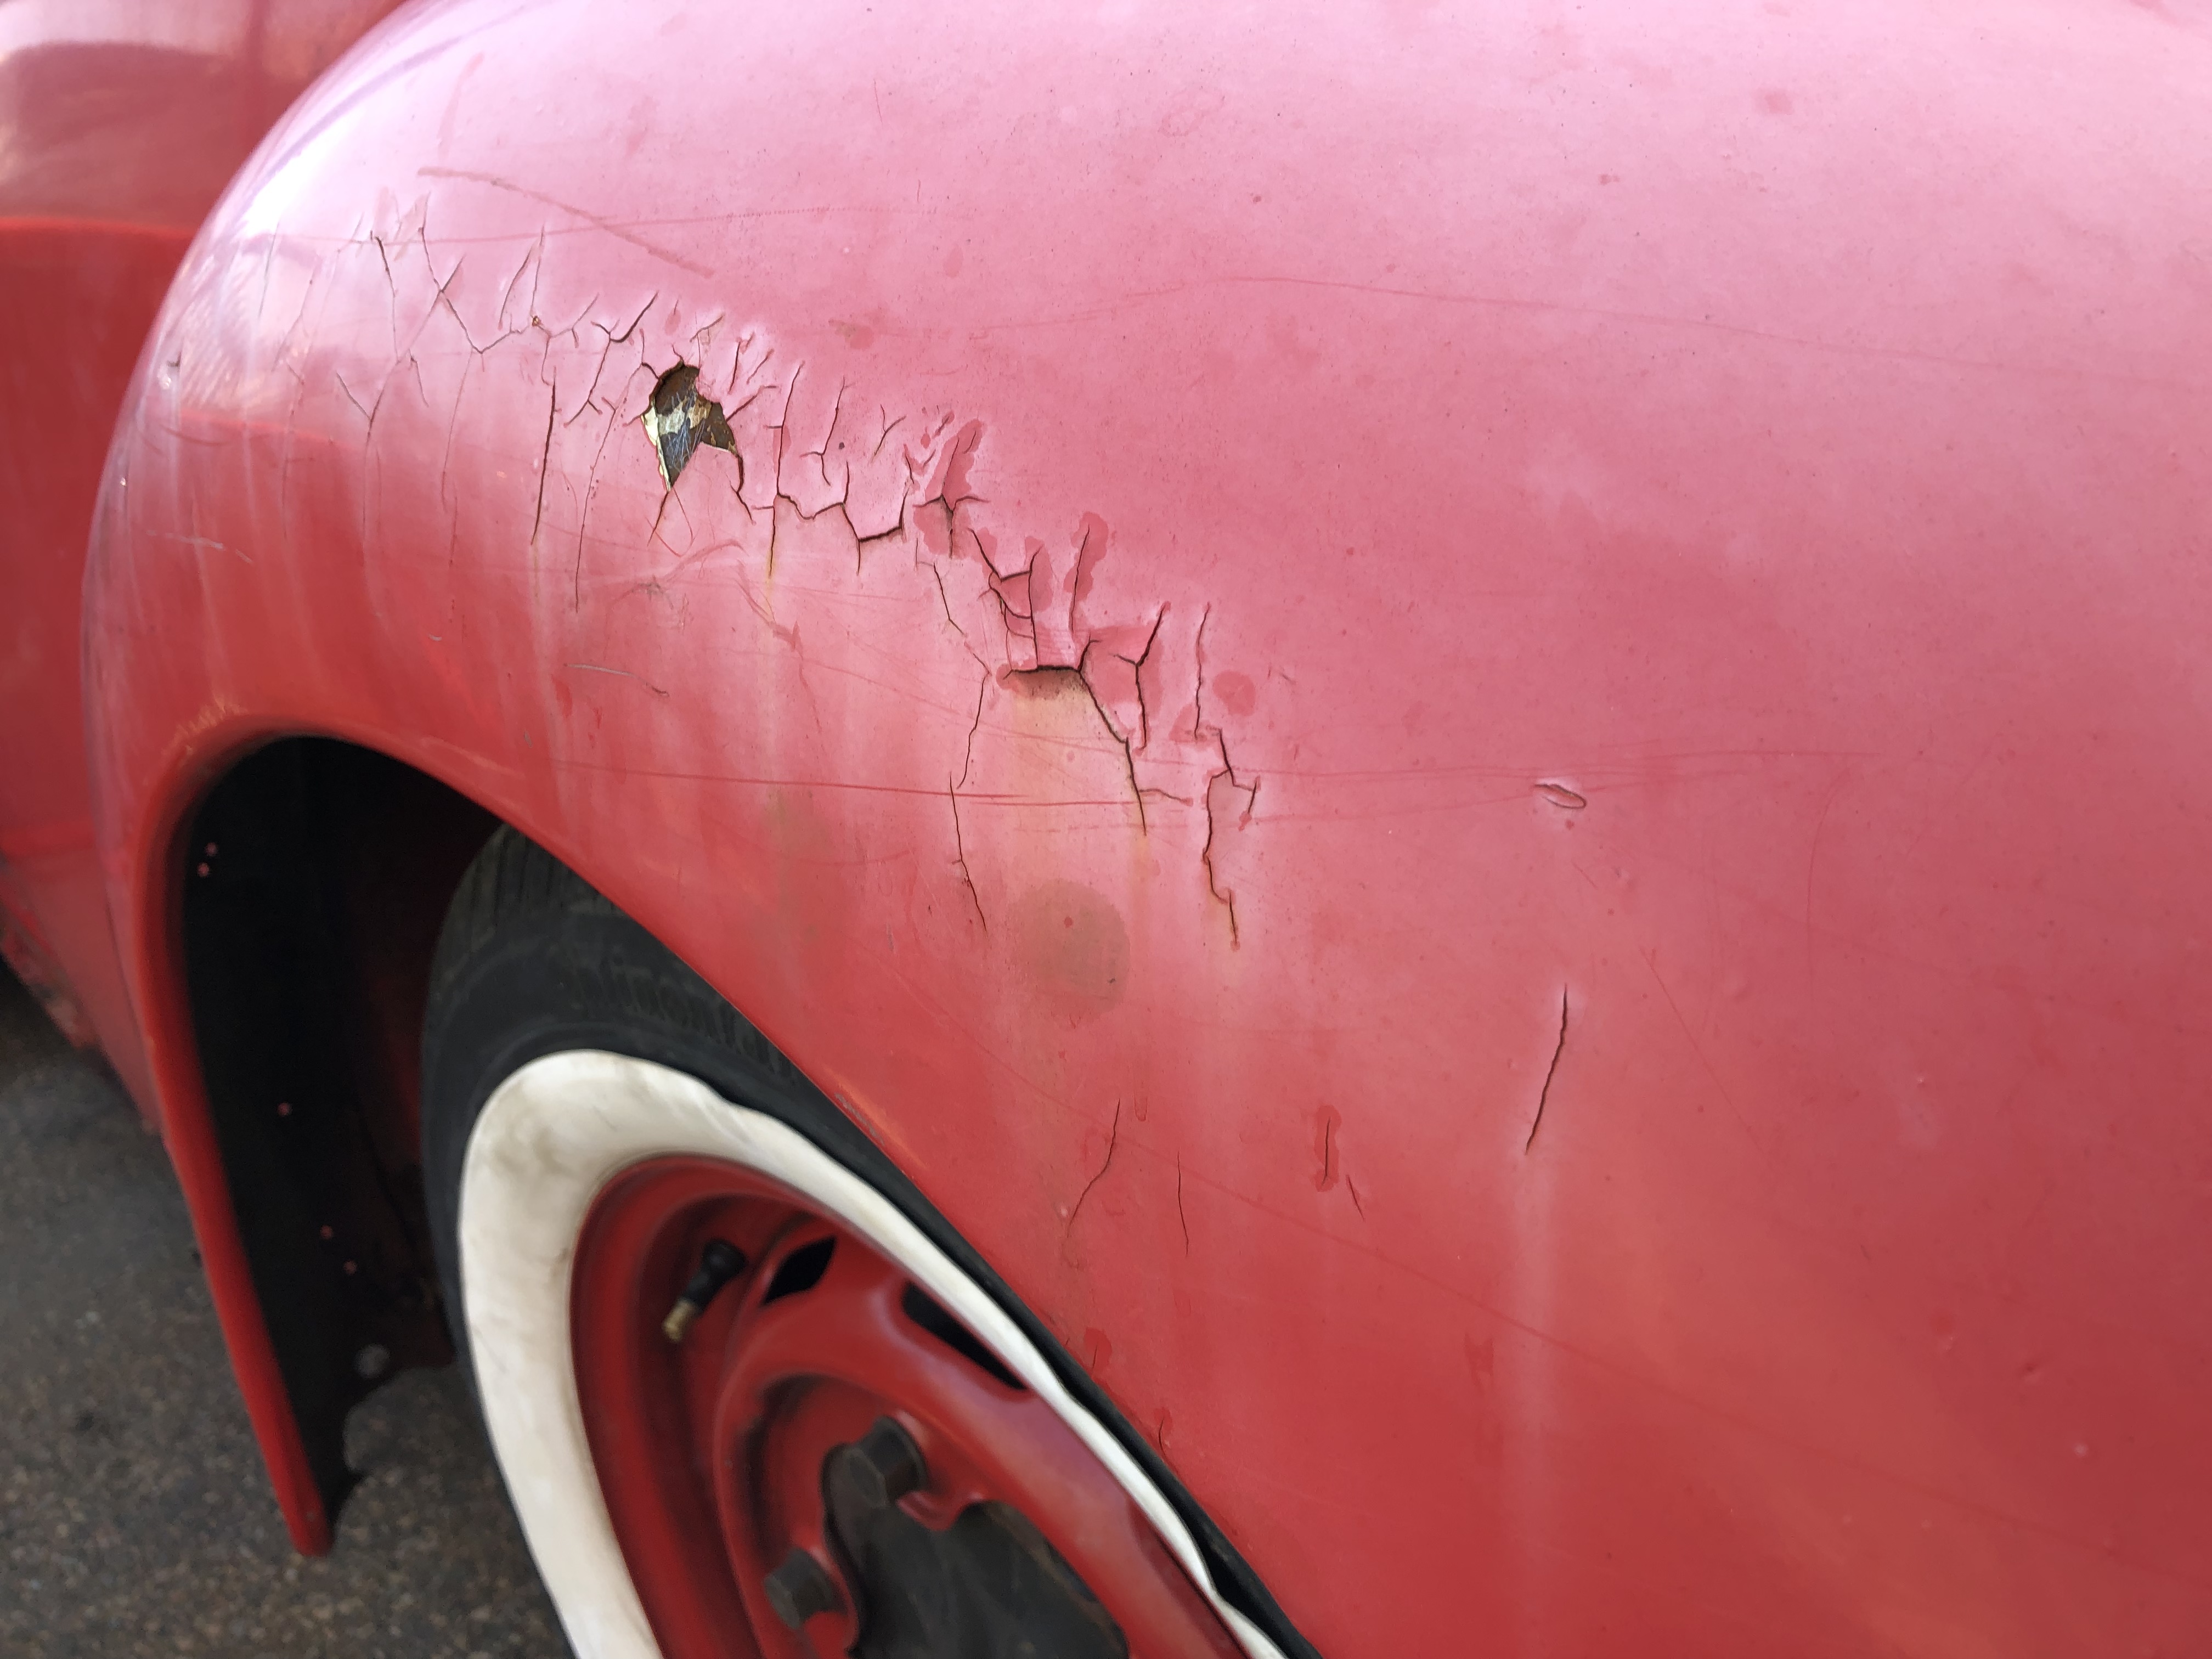
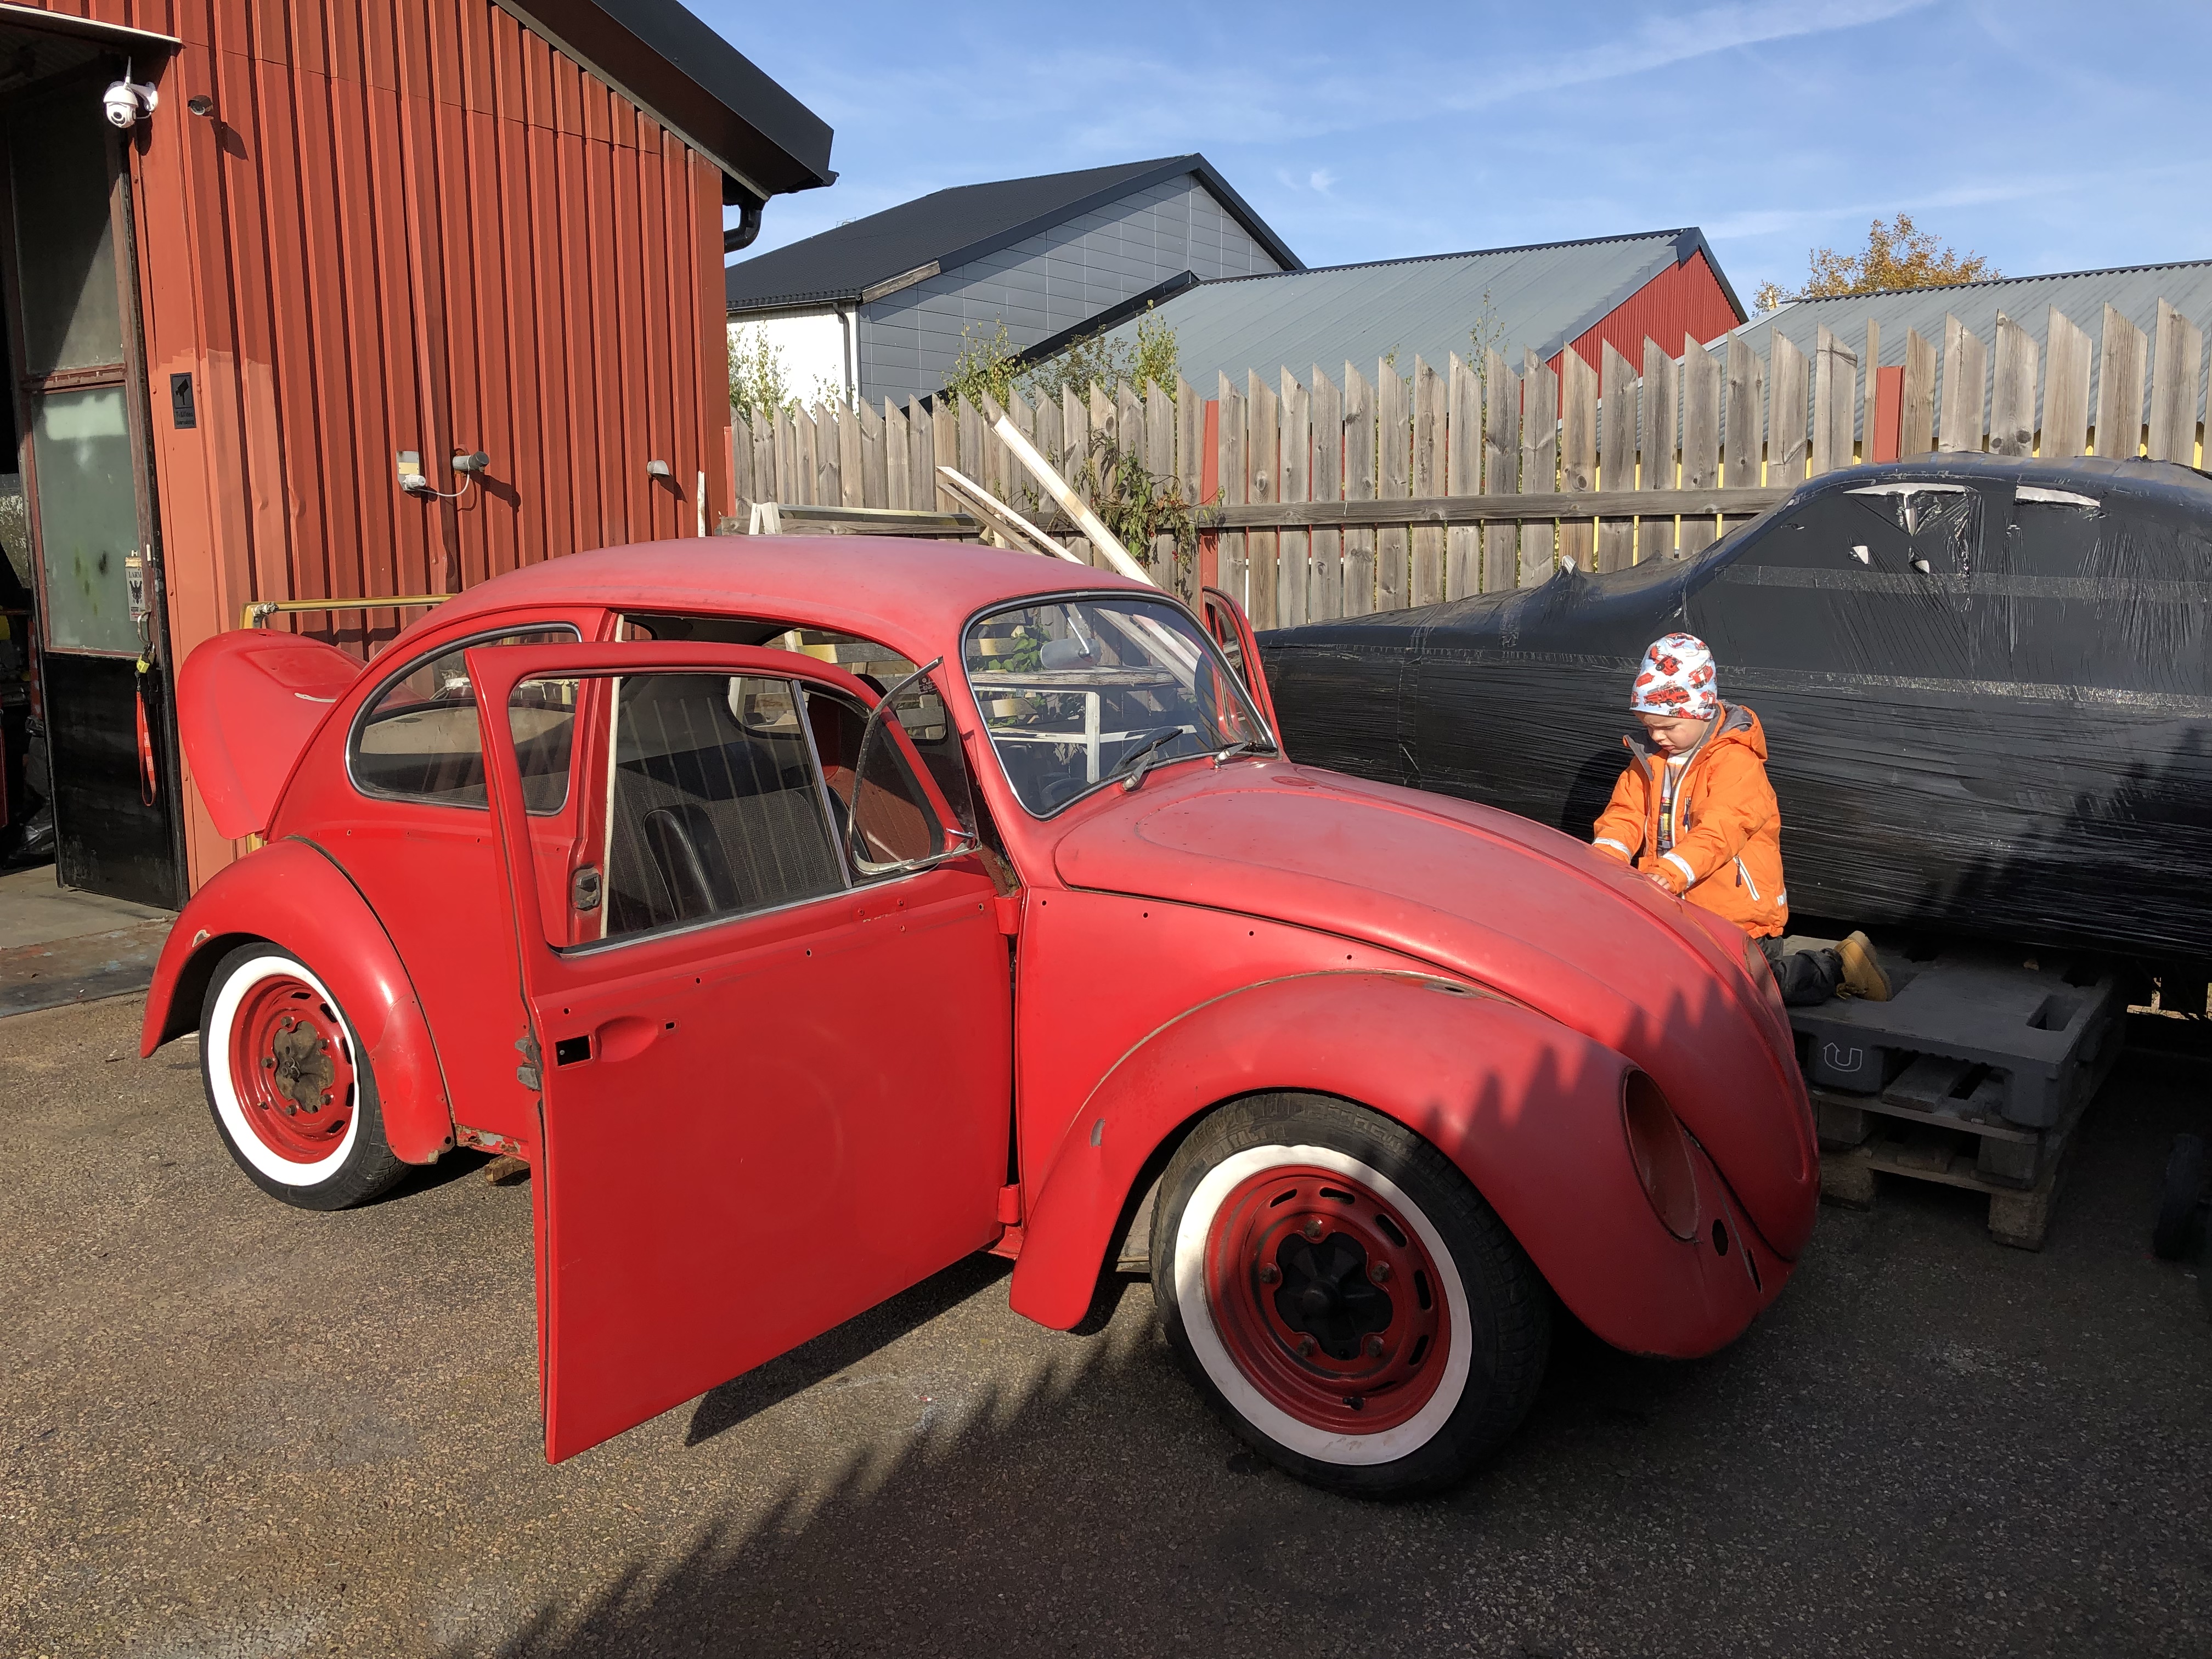
A Ruby red 1965 VW type 1 Beetle. Solid project, not much rust at all. Will get new paint and interior, engine overhauled, new chrome trim, new rubber seals and new brake system and more. Pics coming soon and maybe a simple video serie on the YouTube channel. Stay tuned!
That means we are going toward colder and darker times, winter.

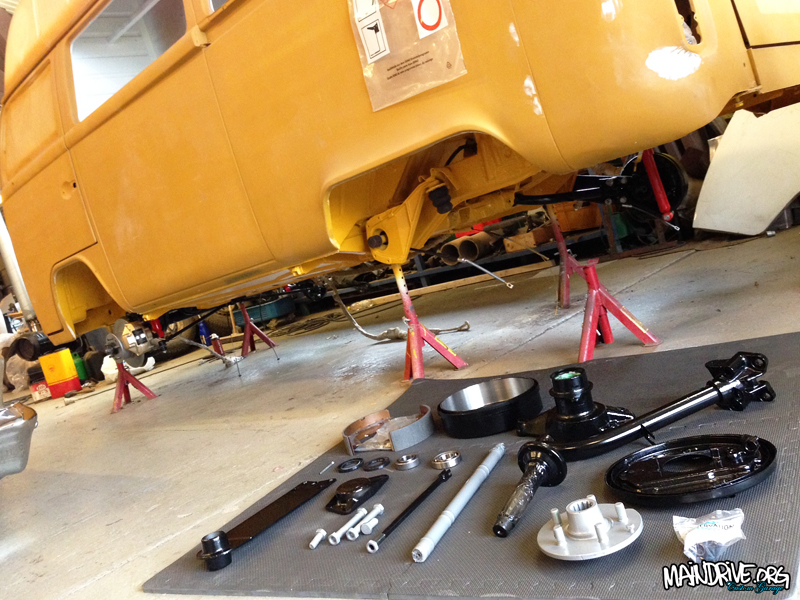
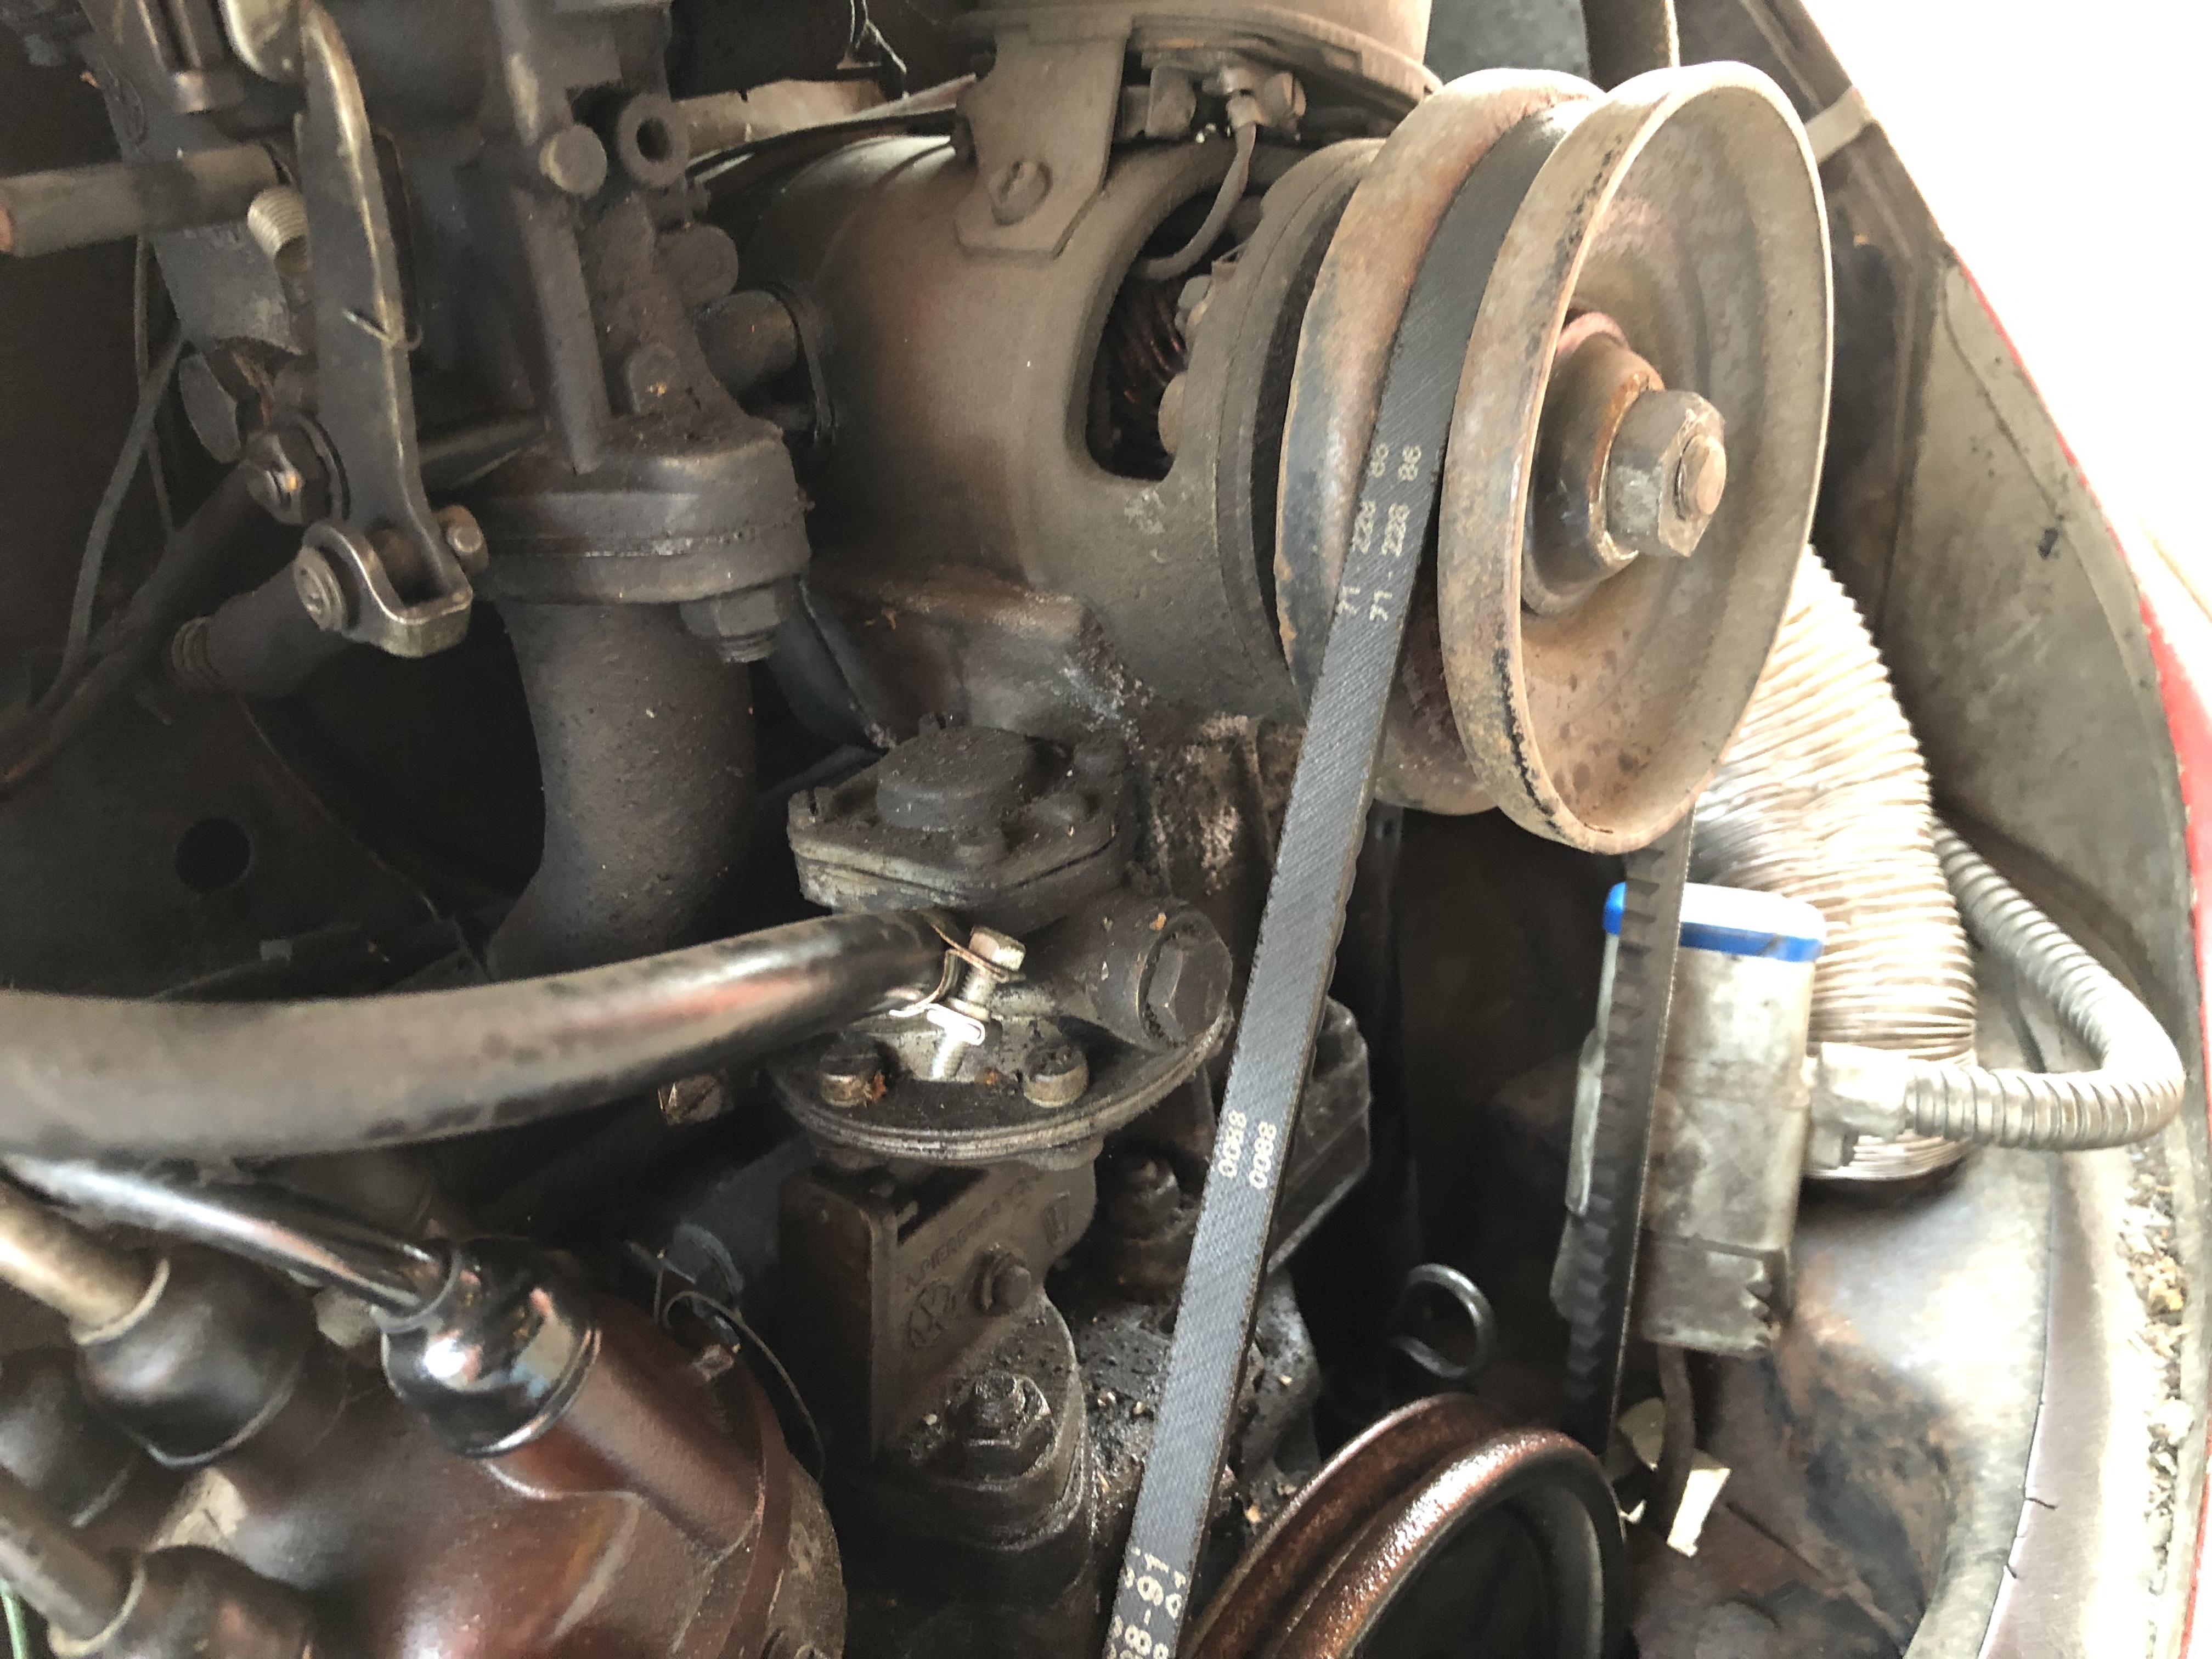
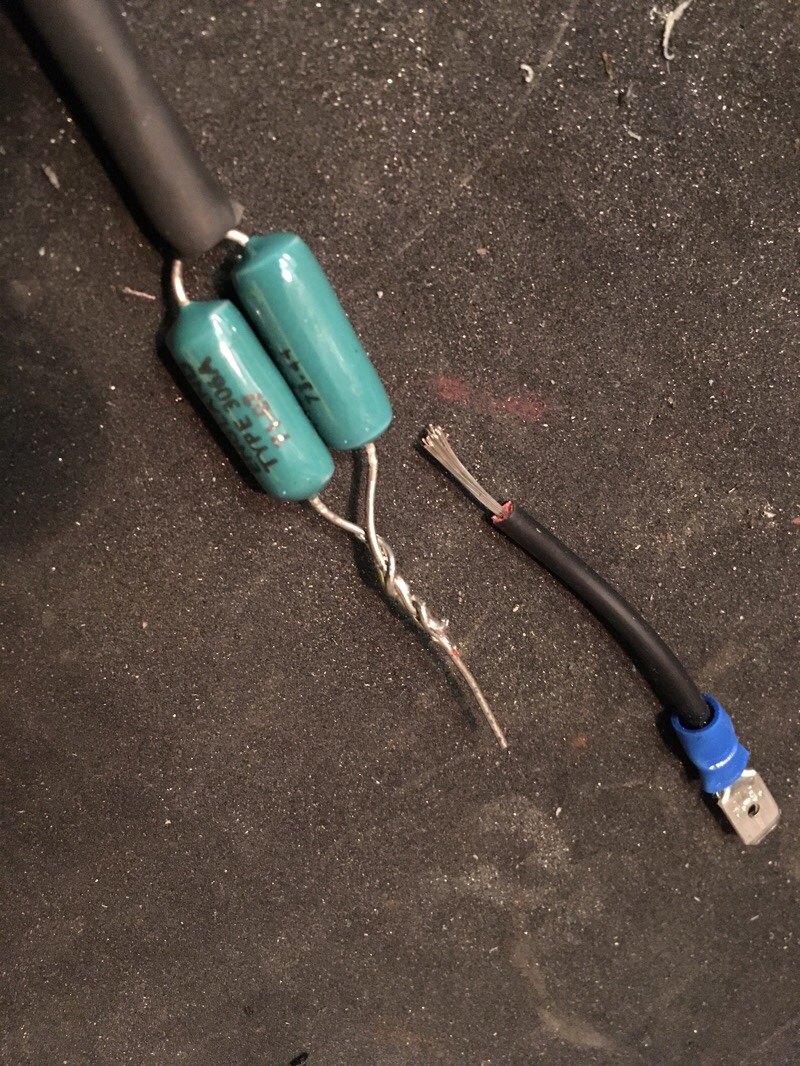
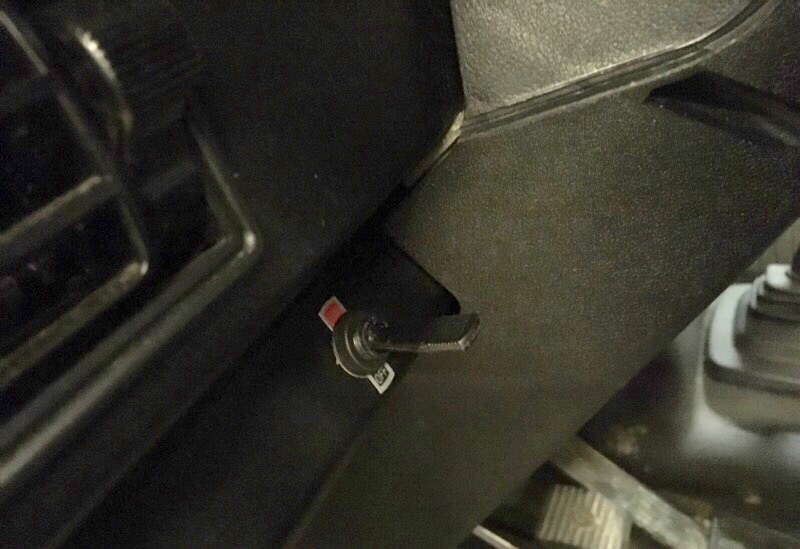
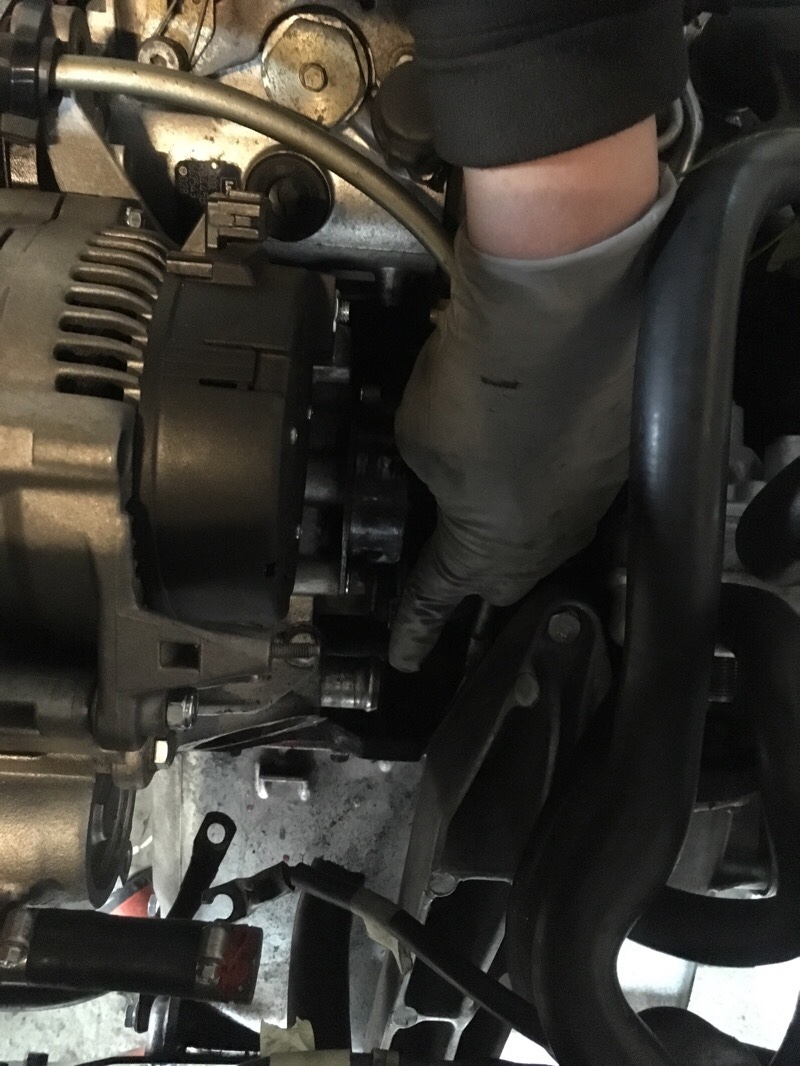
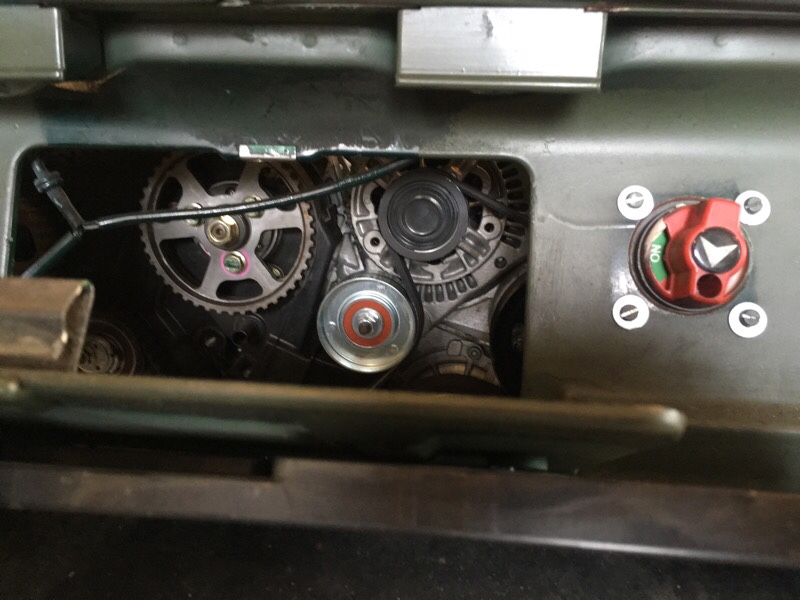
Now with the engine and transmission installed, left to do is connecting electrical wirings and coolant hoses. The AEF engine used a different glow plug relay, but the original VW bus T3 glowplug relay can be used with some modification. I soldered two resistors of total 580ohm to the temp sensor wiring (at the waterflange at top of the engine, black/blue) this will trick the relay and let it glow a little all the time which is needed for the AEF to run clean/nice. The grey/green wire from the pump works like a electric choke at cold starts and can be connected to a timer relay for about 20sec. I bought a cheap timer relay from EBay that would probably work but it was so brittle and crappy. So I didn’t trust it, I just ran a wire to a switch on the dash, will work like a manual choke, almost like original but electrical rather than mechanical, bullet proof too.
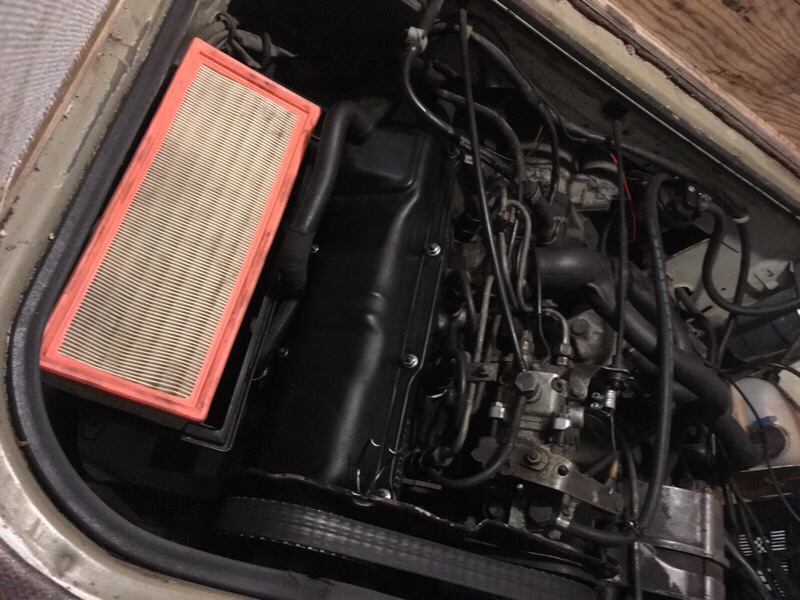
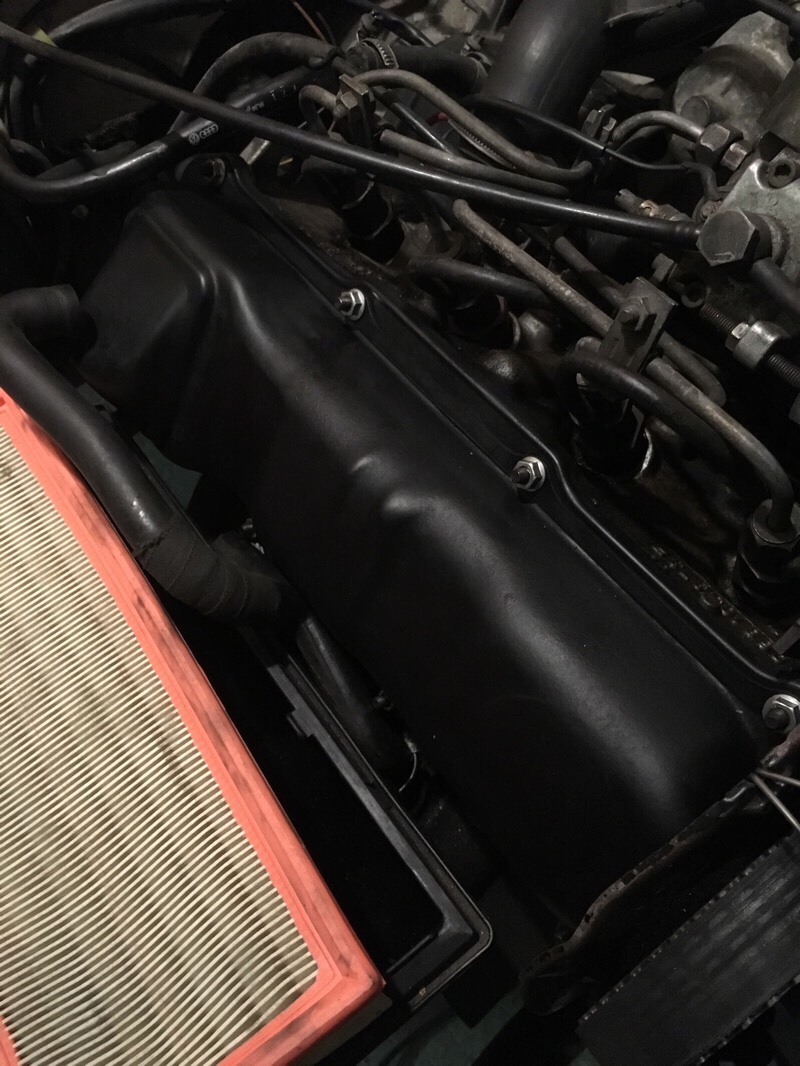
Since the old CS intake and air filter box is installed on the little taller new engine, the wires in the engine compartment beside the airfilter needed to be moved upwards (around 60mm) to make space for the filterbox.
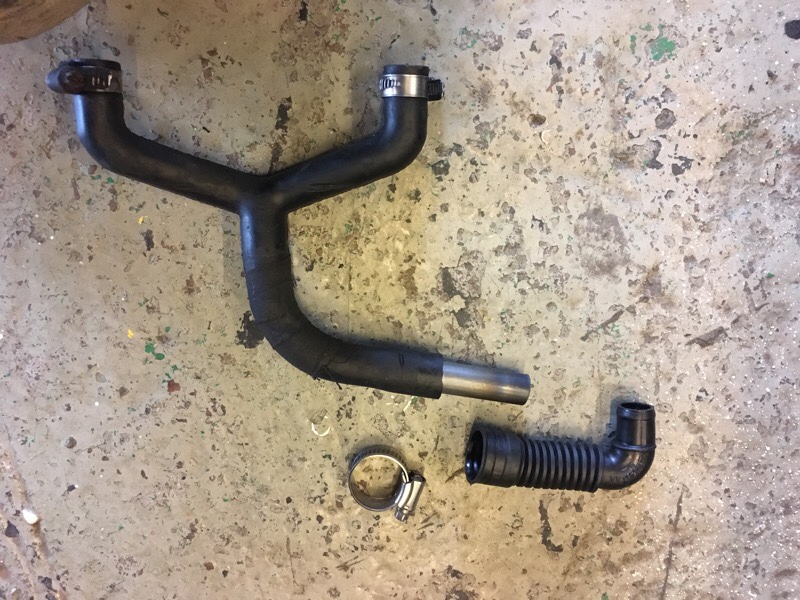
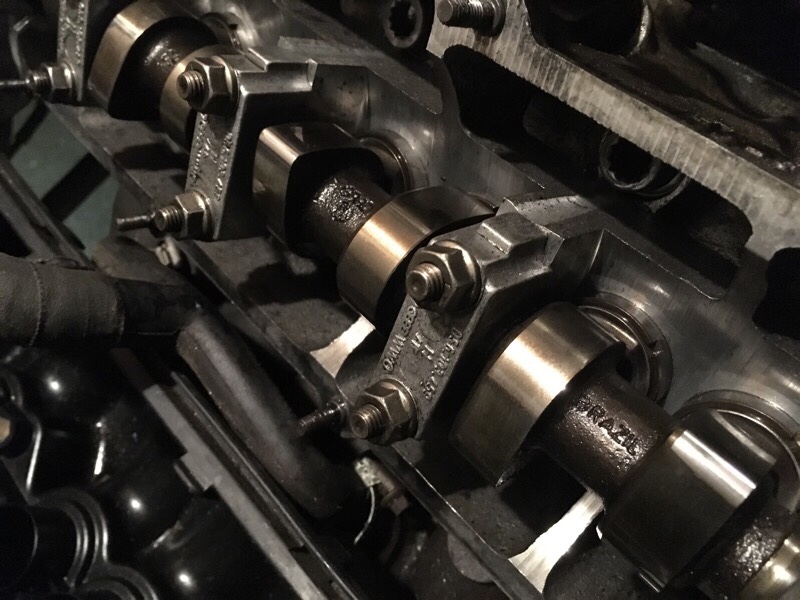
I found the diameter on the AEF water pump flange bigger than the old CS which made it impossible to re use the 90degree coolant hose. So I ordered a new 25mm 90degree coolant hose that will be jointed togheter with the old hose.
The crankcase breather need to be cut off in the end, and joined (with metal pipe insert) with the AEF hose. The connection at the cam cover is different on the AEF.
If any one need finished 587ohm resistor for the glowplug relay, let me know and I can ship some out. All you need to do then is cut the wire, crimp on spade connectors on both ends and plug in the resistor. That’s it! info@maindrive.org

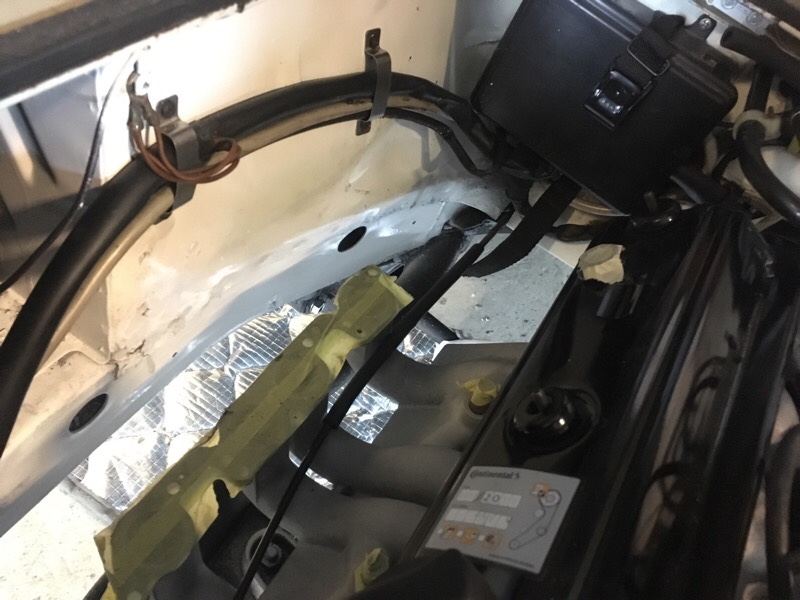
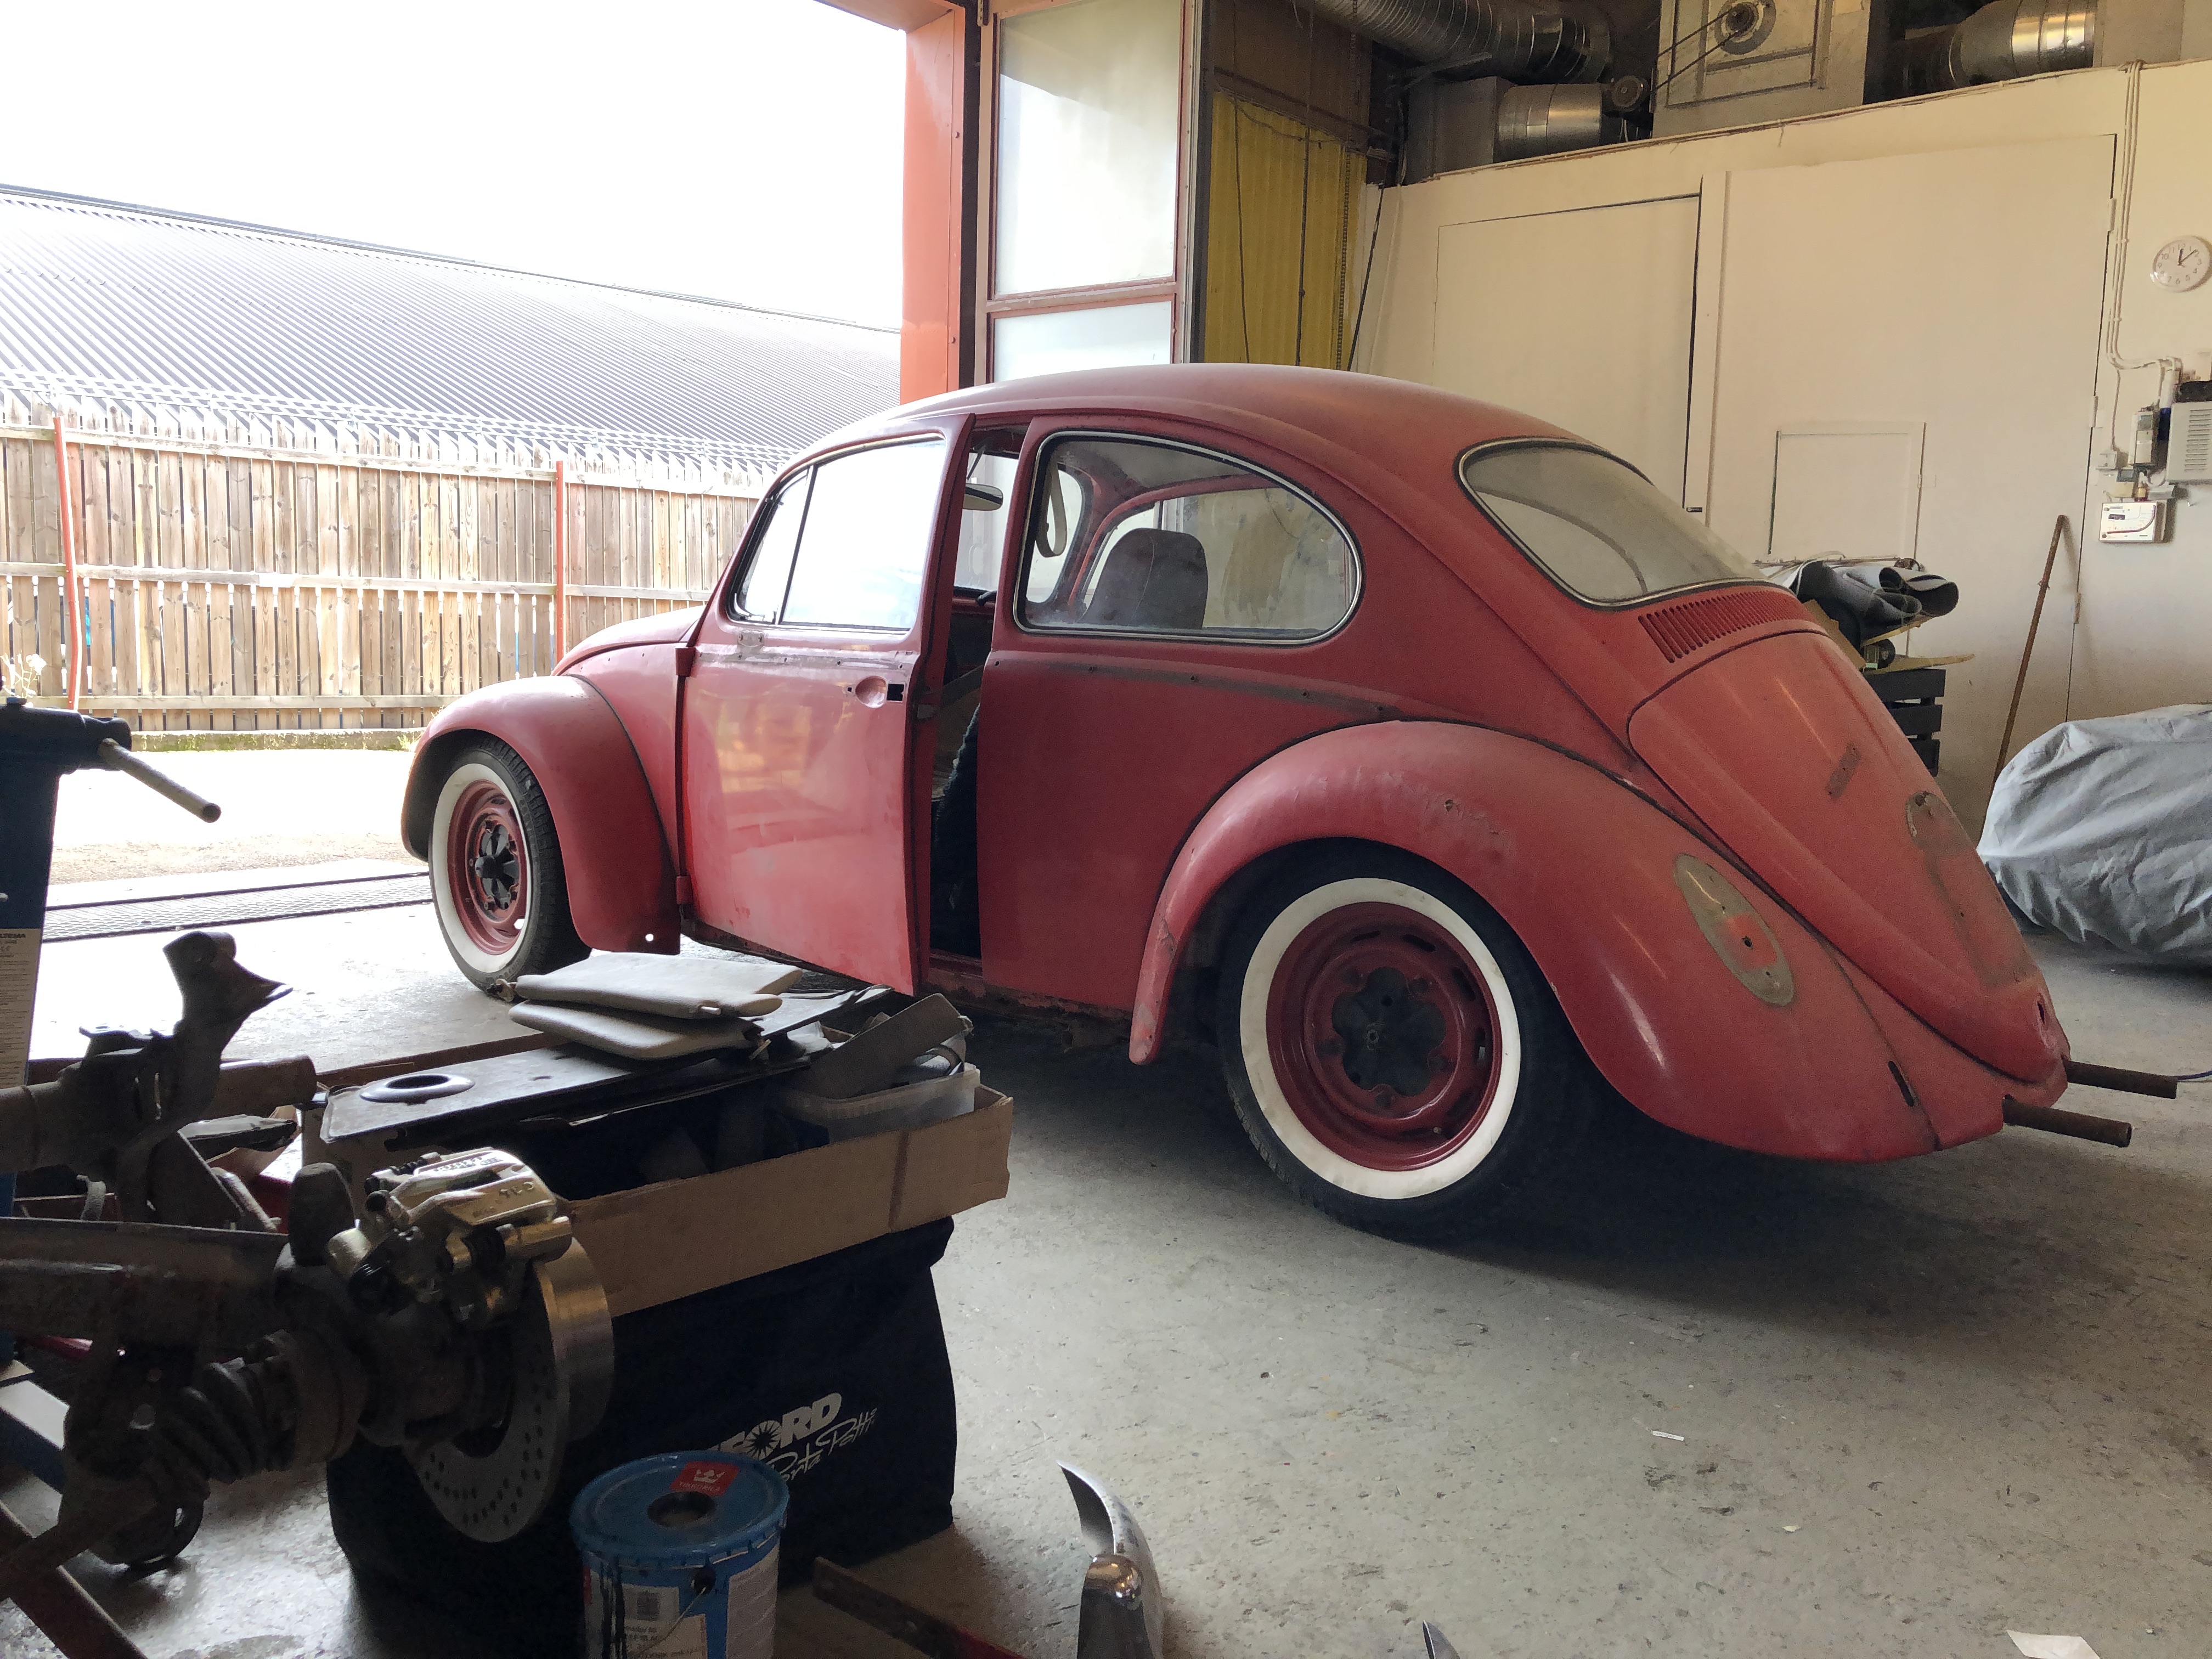
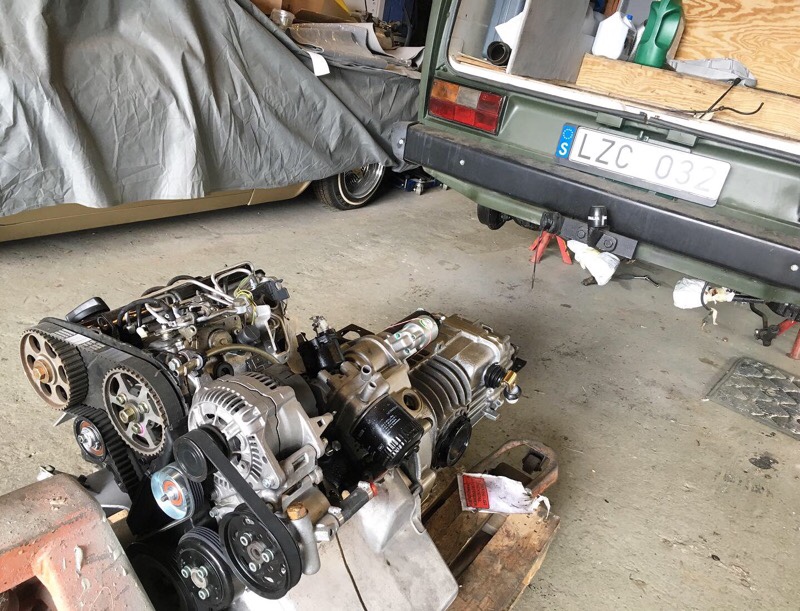
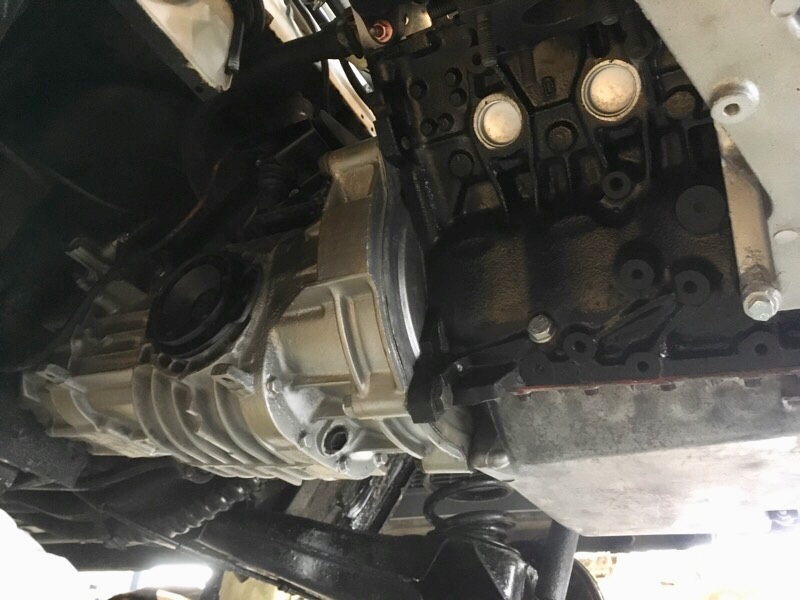
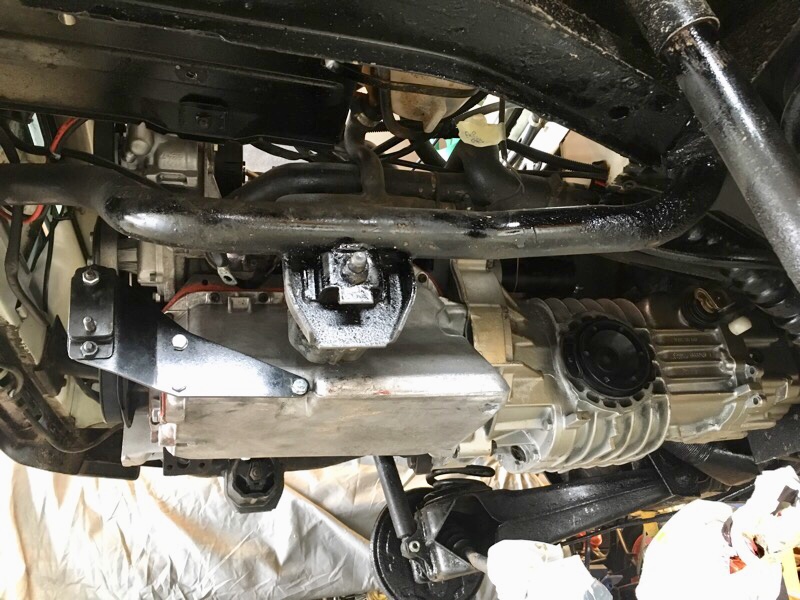
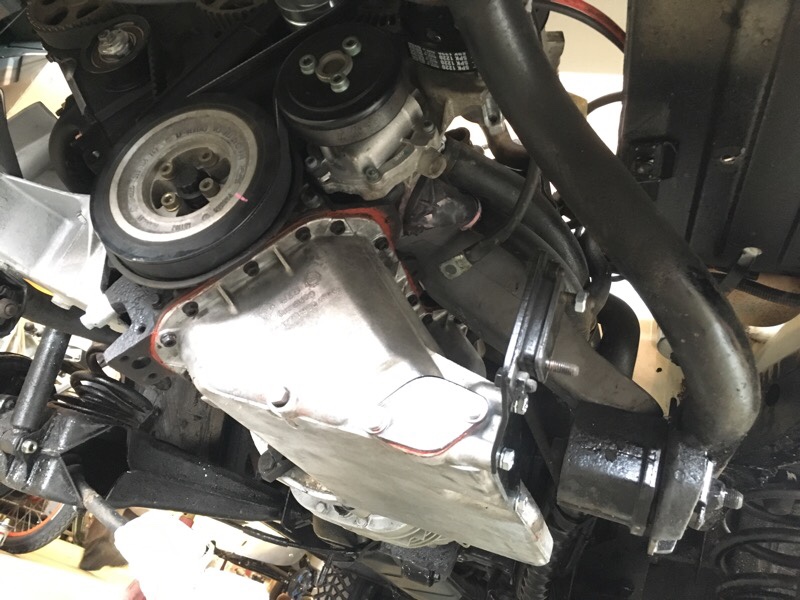
Now the engine and transmission is bolted back in the bus, fits perfect! Left to do is all small stuff (But time consuming!) wiring, 587ohm resistor to the glowplug relay wiring, and a timer relay, install all hoses, fill up the coolingsystem with water, gearlinkage, cables, oil and filter, fill up all fuel lines with diesel, prime the pump, build a new exhaust and much more. Here comes some new pics…
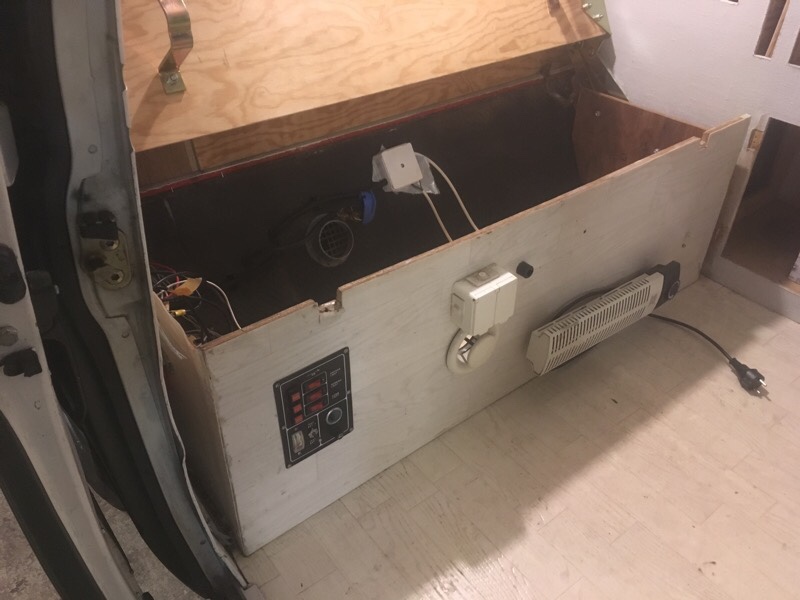
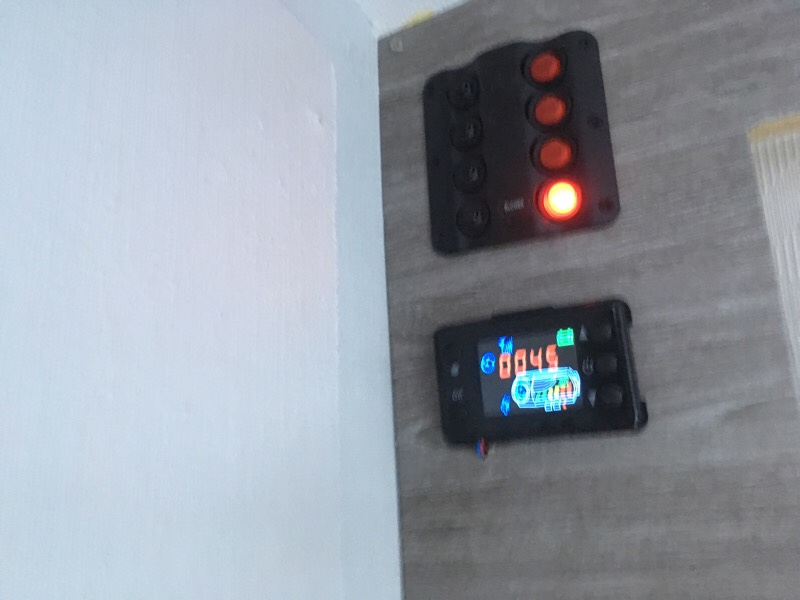
The wiring was a mess (for all equipment) so a new control panel with automatic fuses was installed togheter with new wiring. The 230v wiring (camping power) was also updated with automatic ground fuse and two new sockets with combined USB outlets.
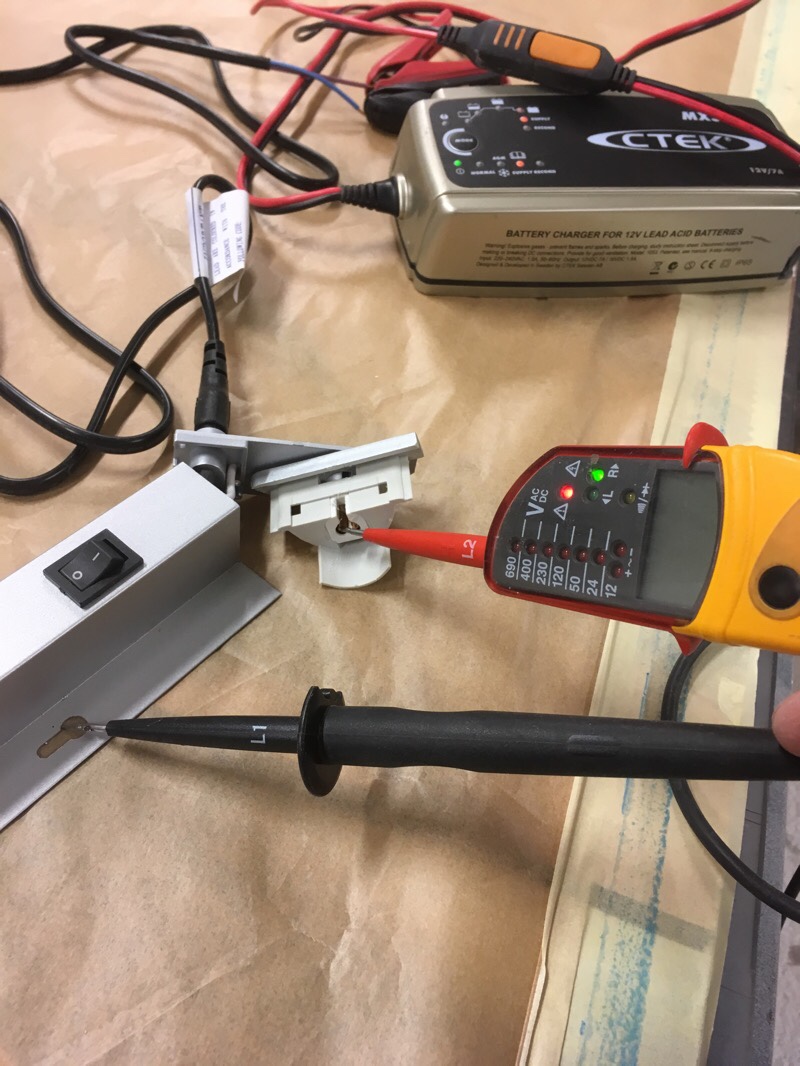
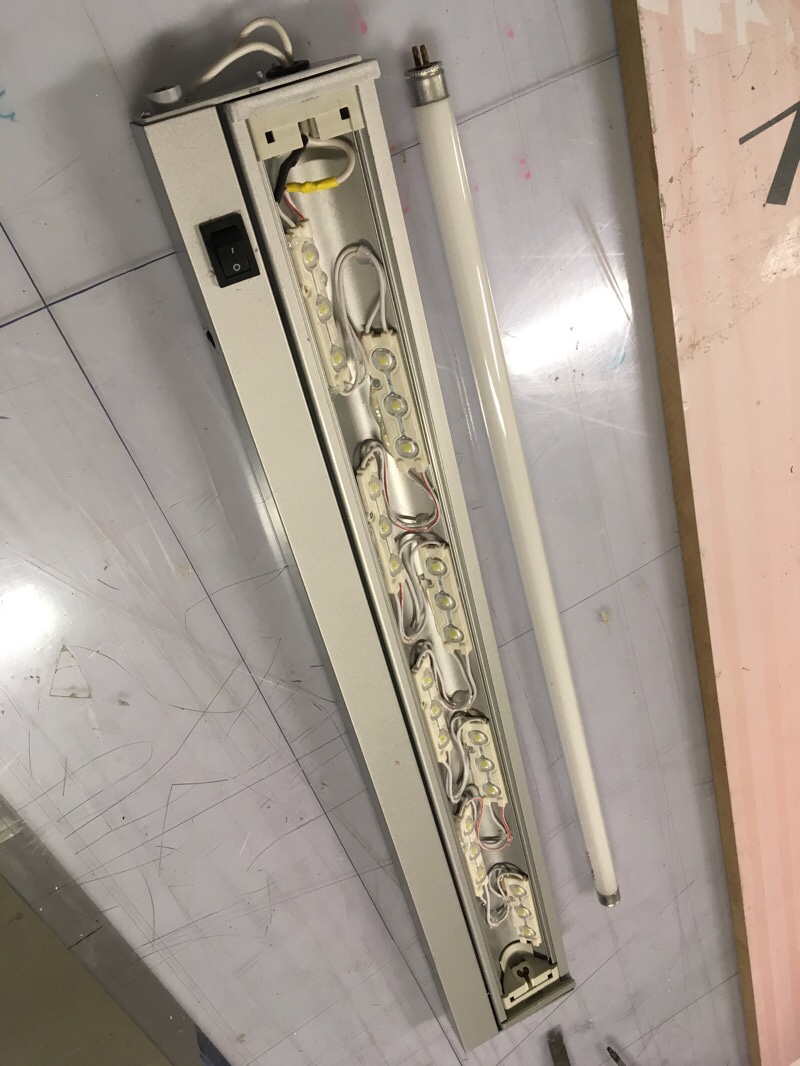
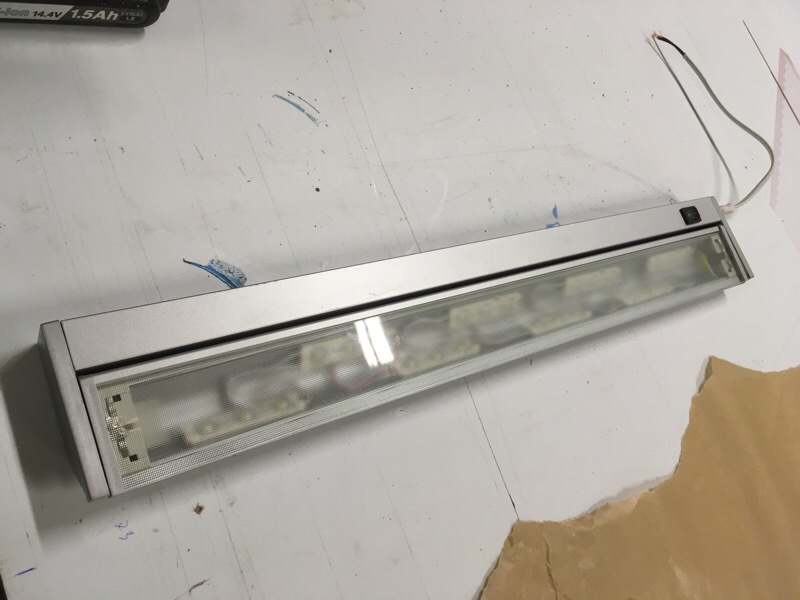
The old interior lightbar was only 230v, but it was a great design so you can flip/turn the light angle. So I took it apart and converted it to 12v with LEDs. An extra LED light with two touch dim/settings was mounted up in the front of the sealing/roof also.
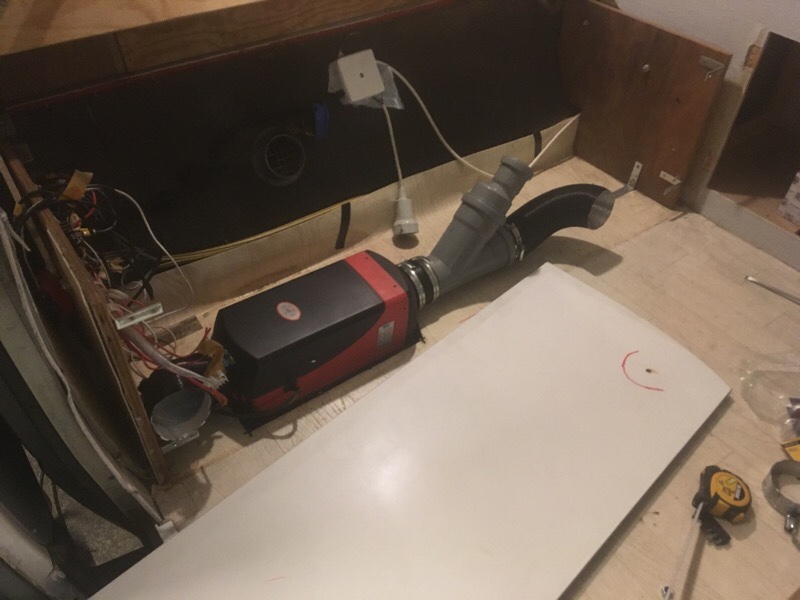
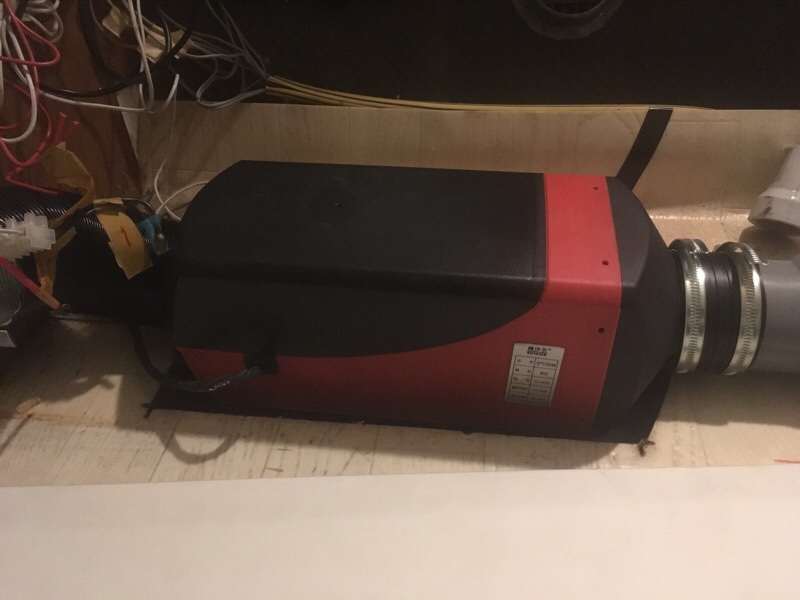
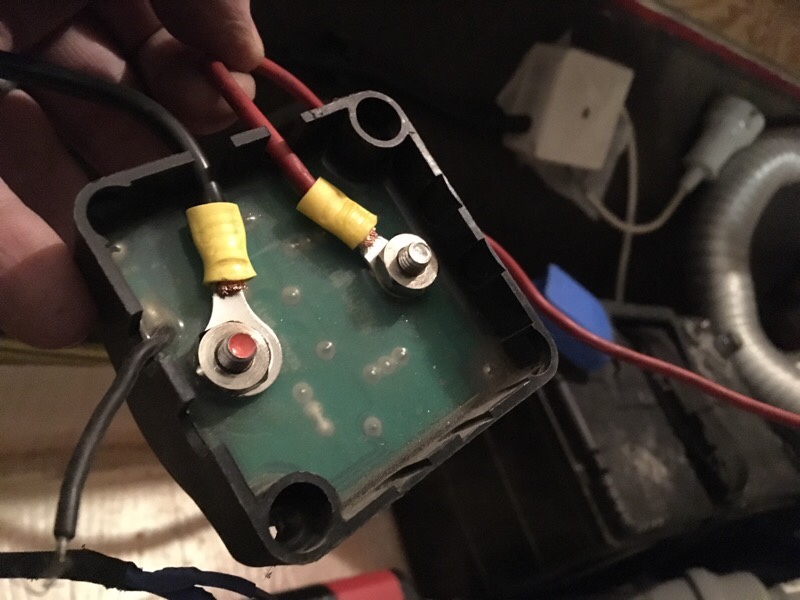
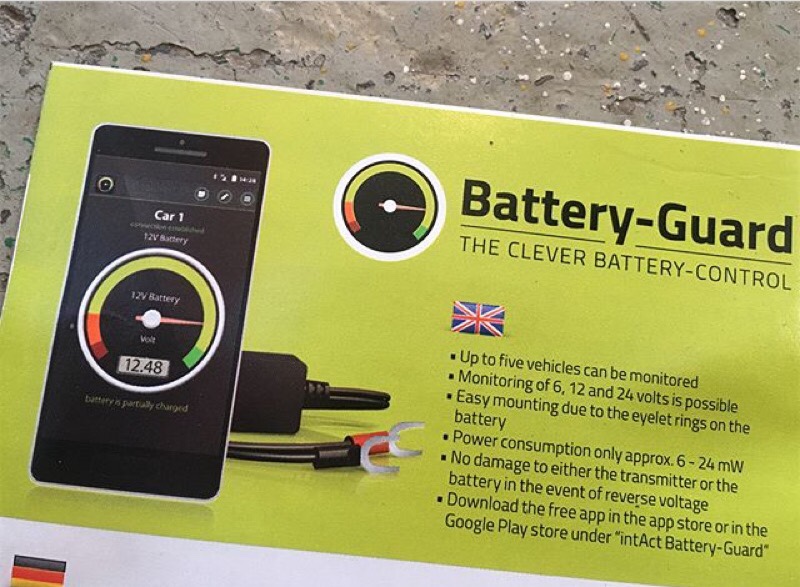
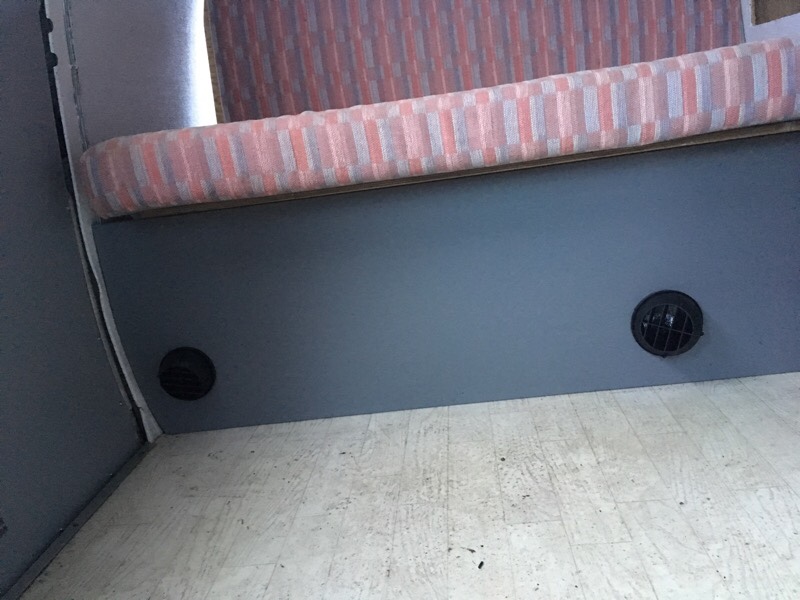
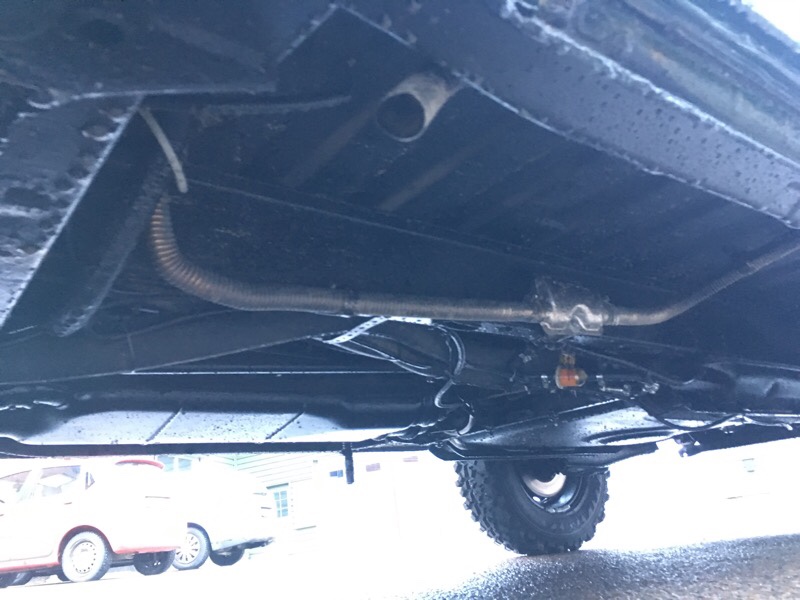
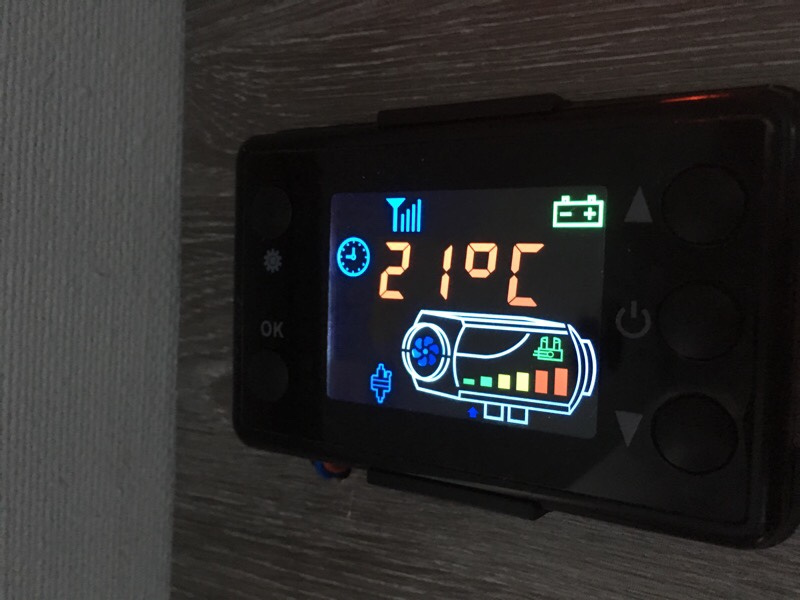
Under the rock n roll sofa I made space for 200amp of batteries (dual 100amp). These I connected to the car/start battery thru a relay, so the car alternator will charge all battery’s. These batteries are connected thru Bluetooth to my cellphone so I can see how much power is left and how much is charging. The solar panel (portable 120w) have a quick connection to these battery’s. Also the 5kw diesel heater is installed under the sofa. It takes air from outside and diesel from the main tank, and the exhaust is routed thru a silencer and out. It runs on diesel and 12v so it can be used anywhere for a very longtime, no need for 230v power. It has a digital display, and a thermostat so it will keep the inside toasty warm on winter. It can be started thru GSM net with my phone. I routed the heater outlets to the main floor and one to the back/bed. It works great and produce a lot of warm dry heat!
The walls, doors and roof was already insulated with 50mm cellplastic, thats very good! But I had some extra aluminium/bubblefoile rolls that I put inside some of the doors and walls for some extra insulation and vapor barier.
#vwt3overland
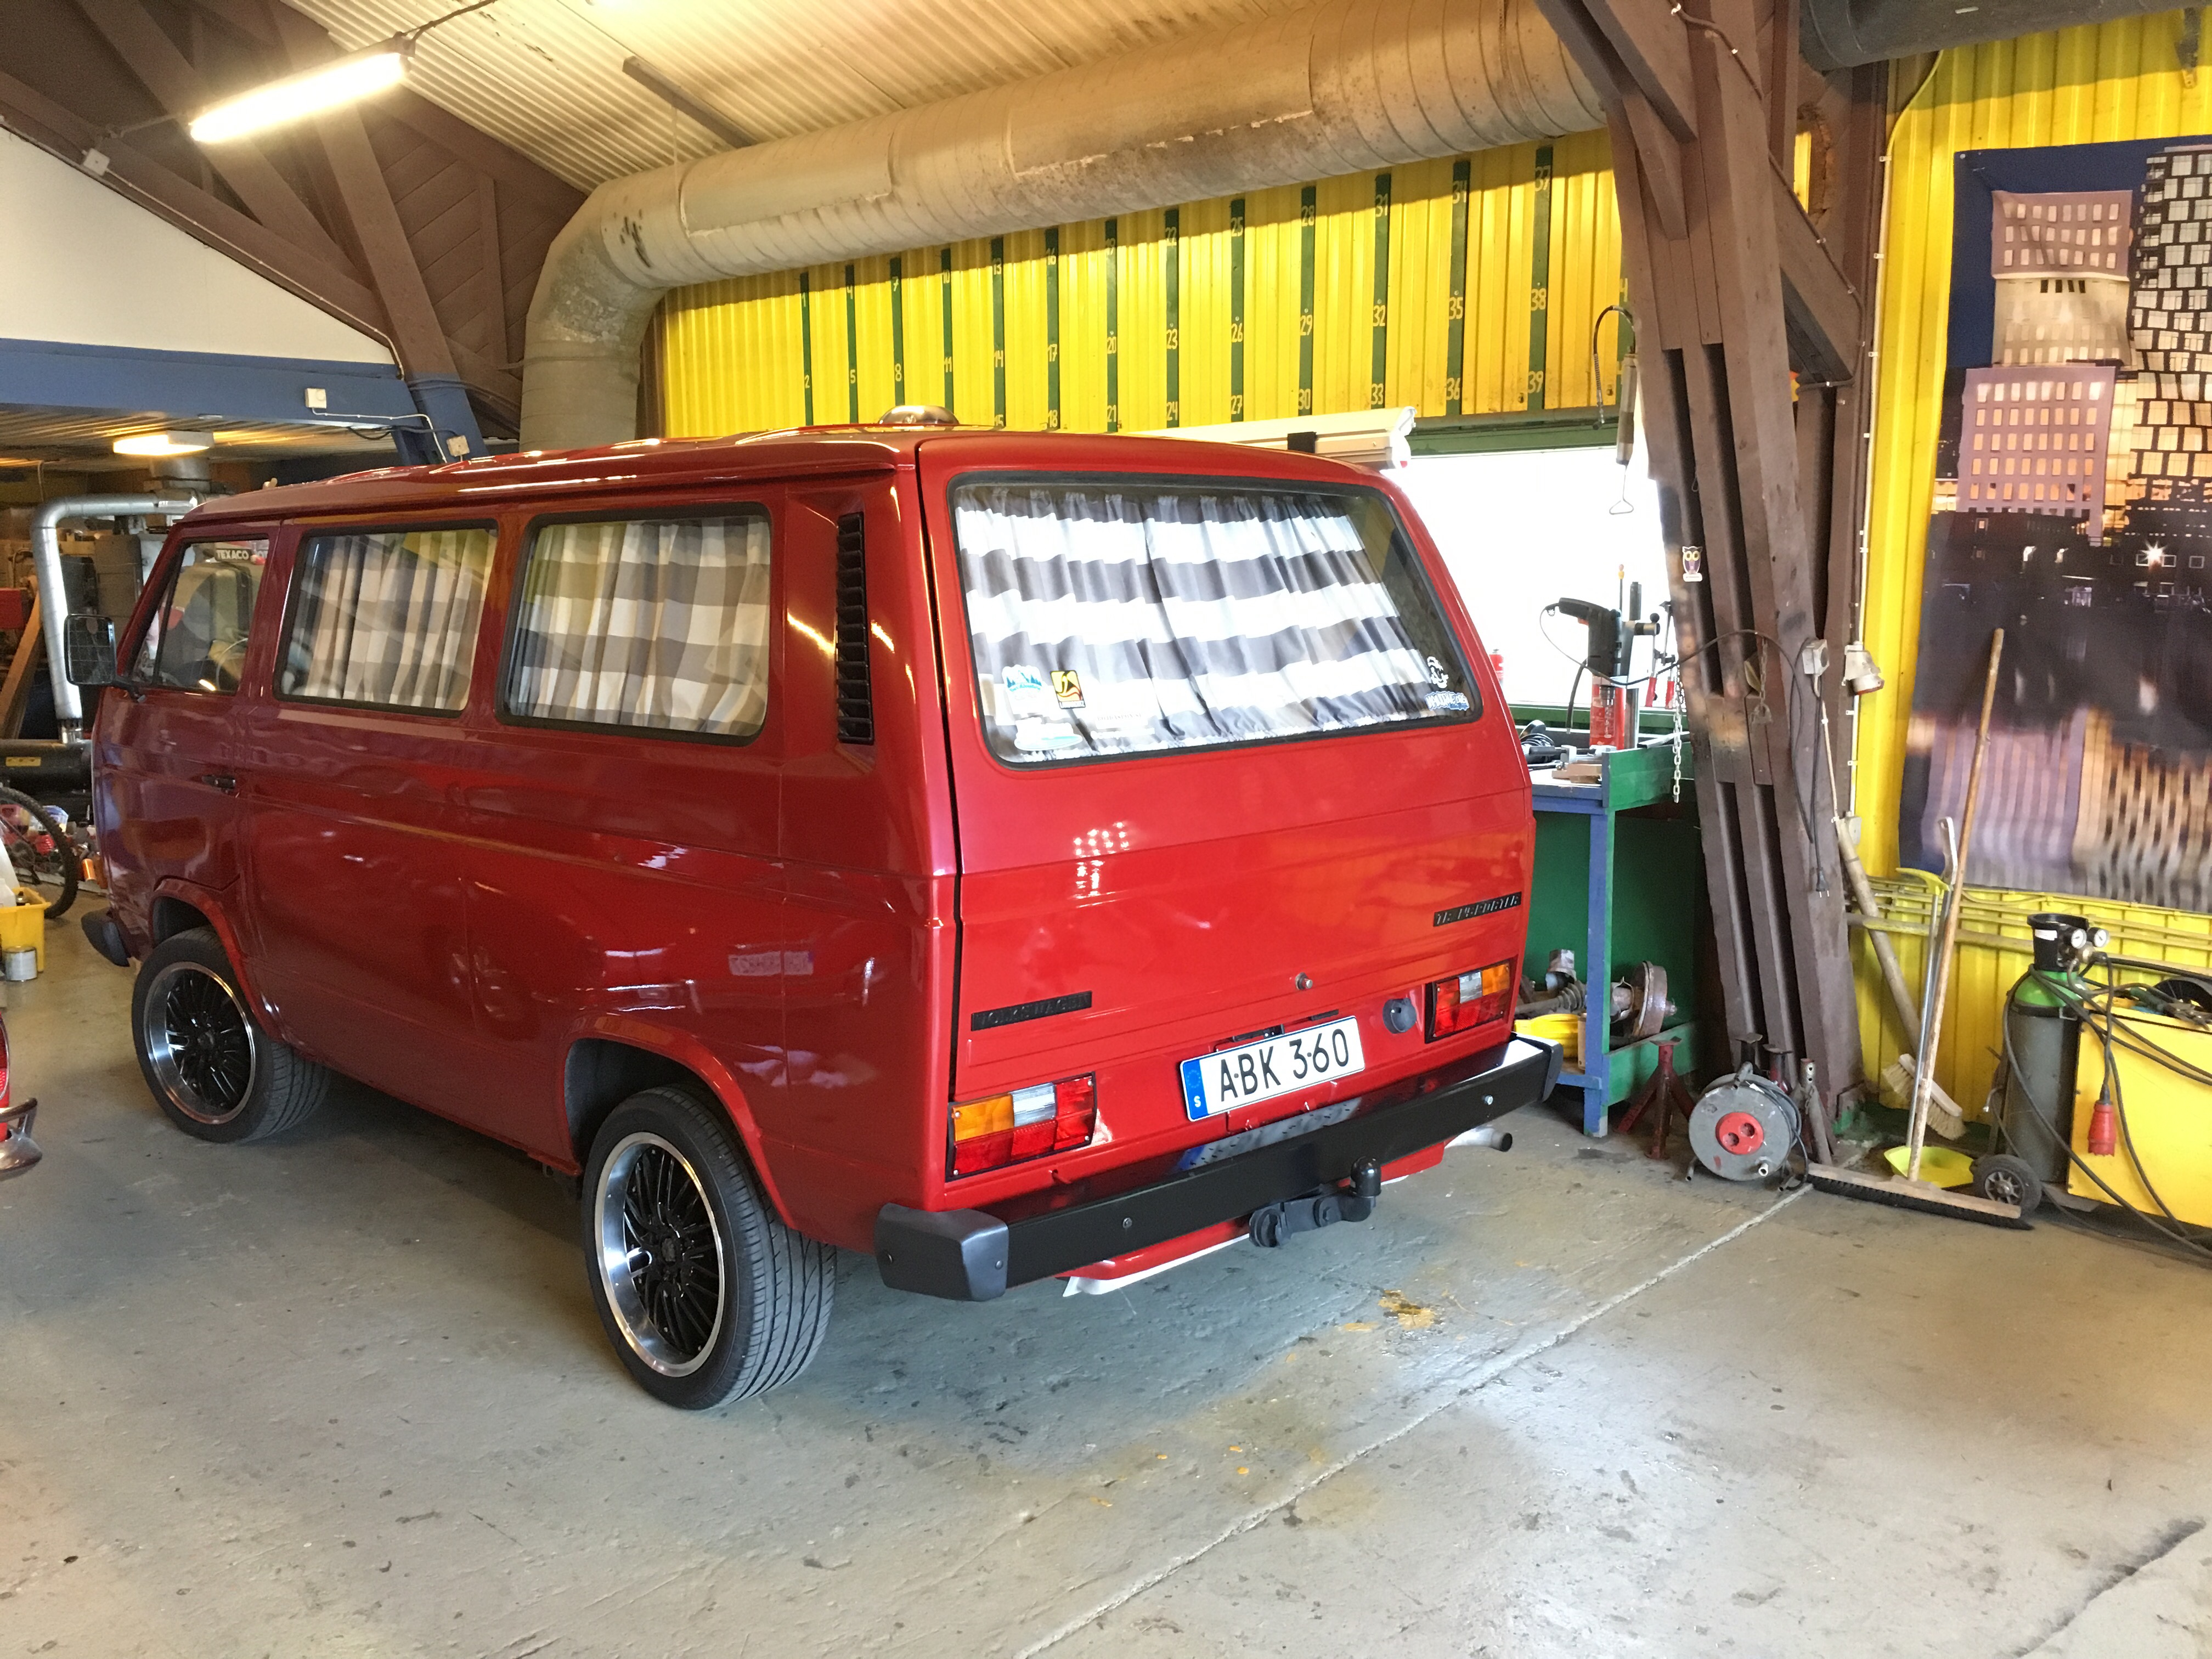
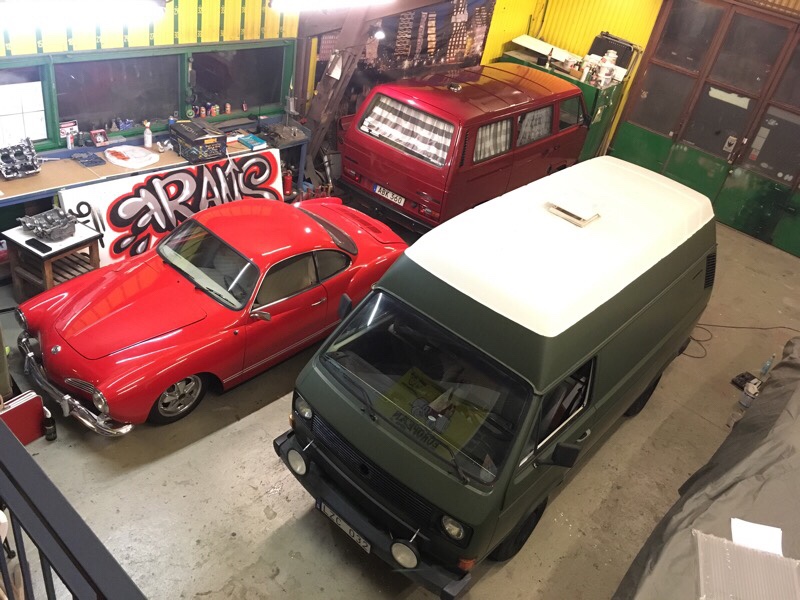
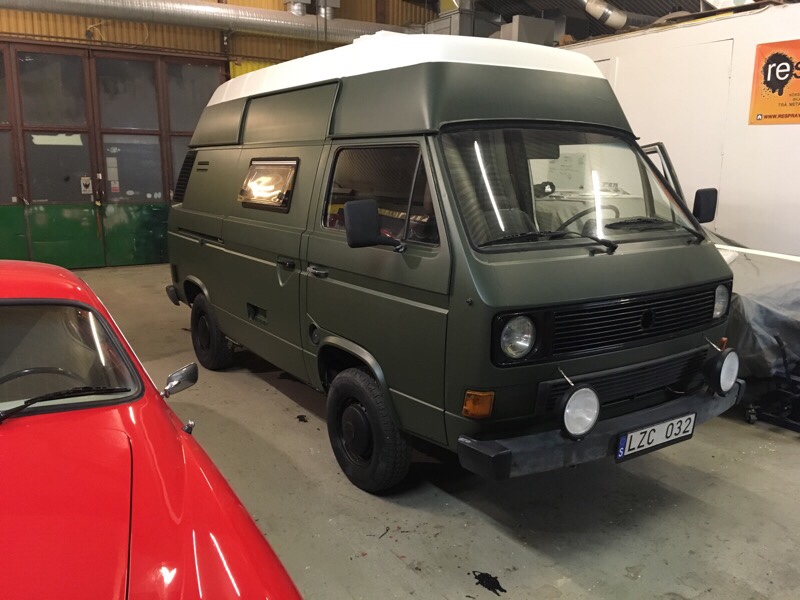
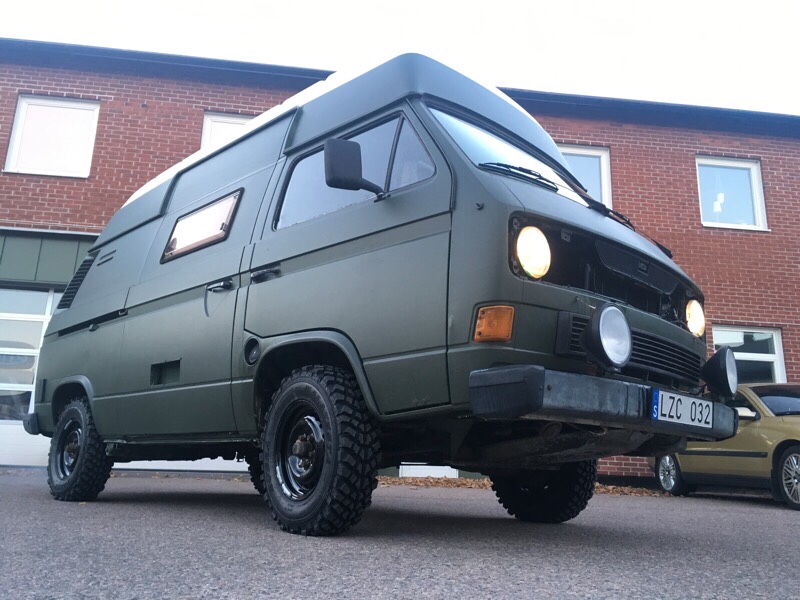
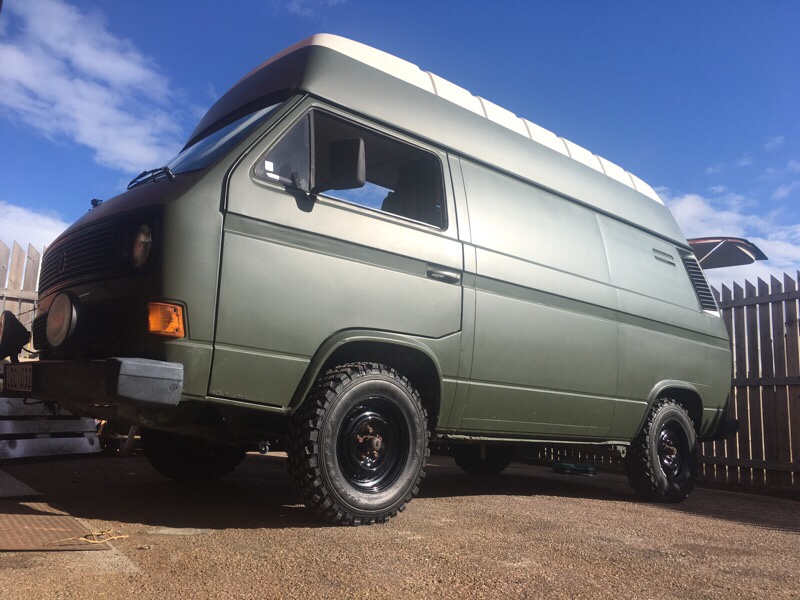
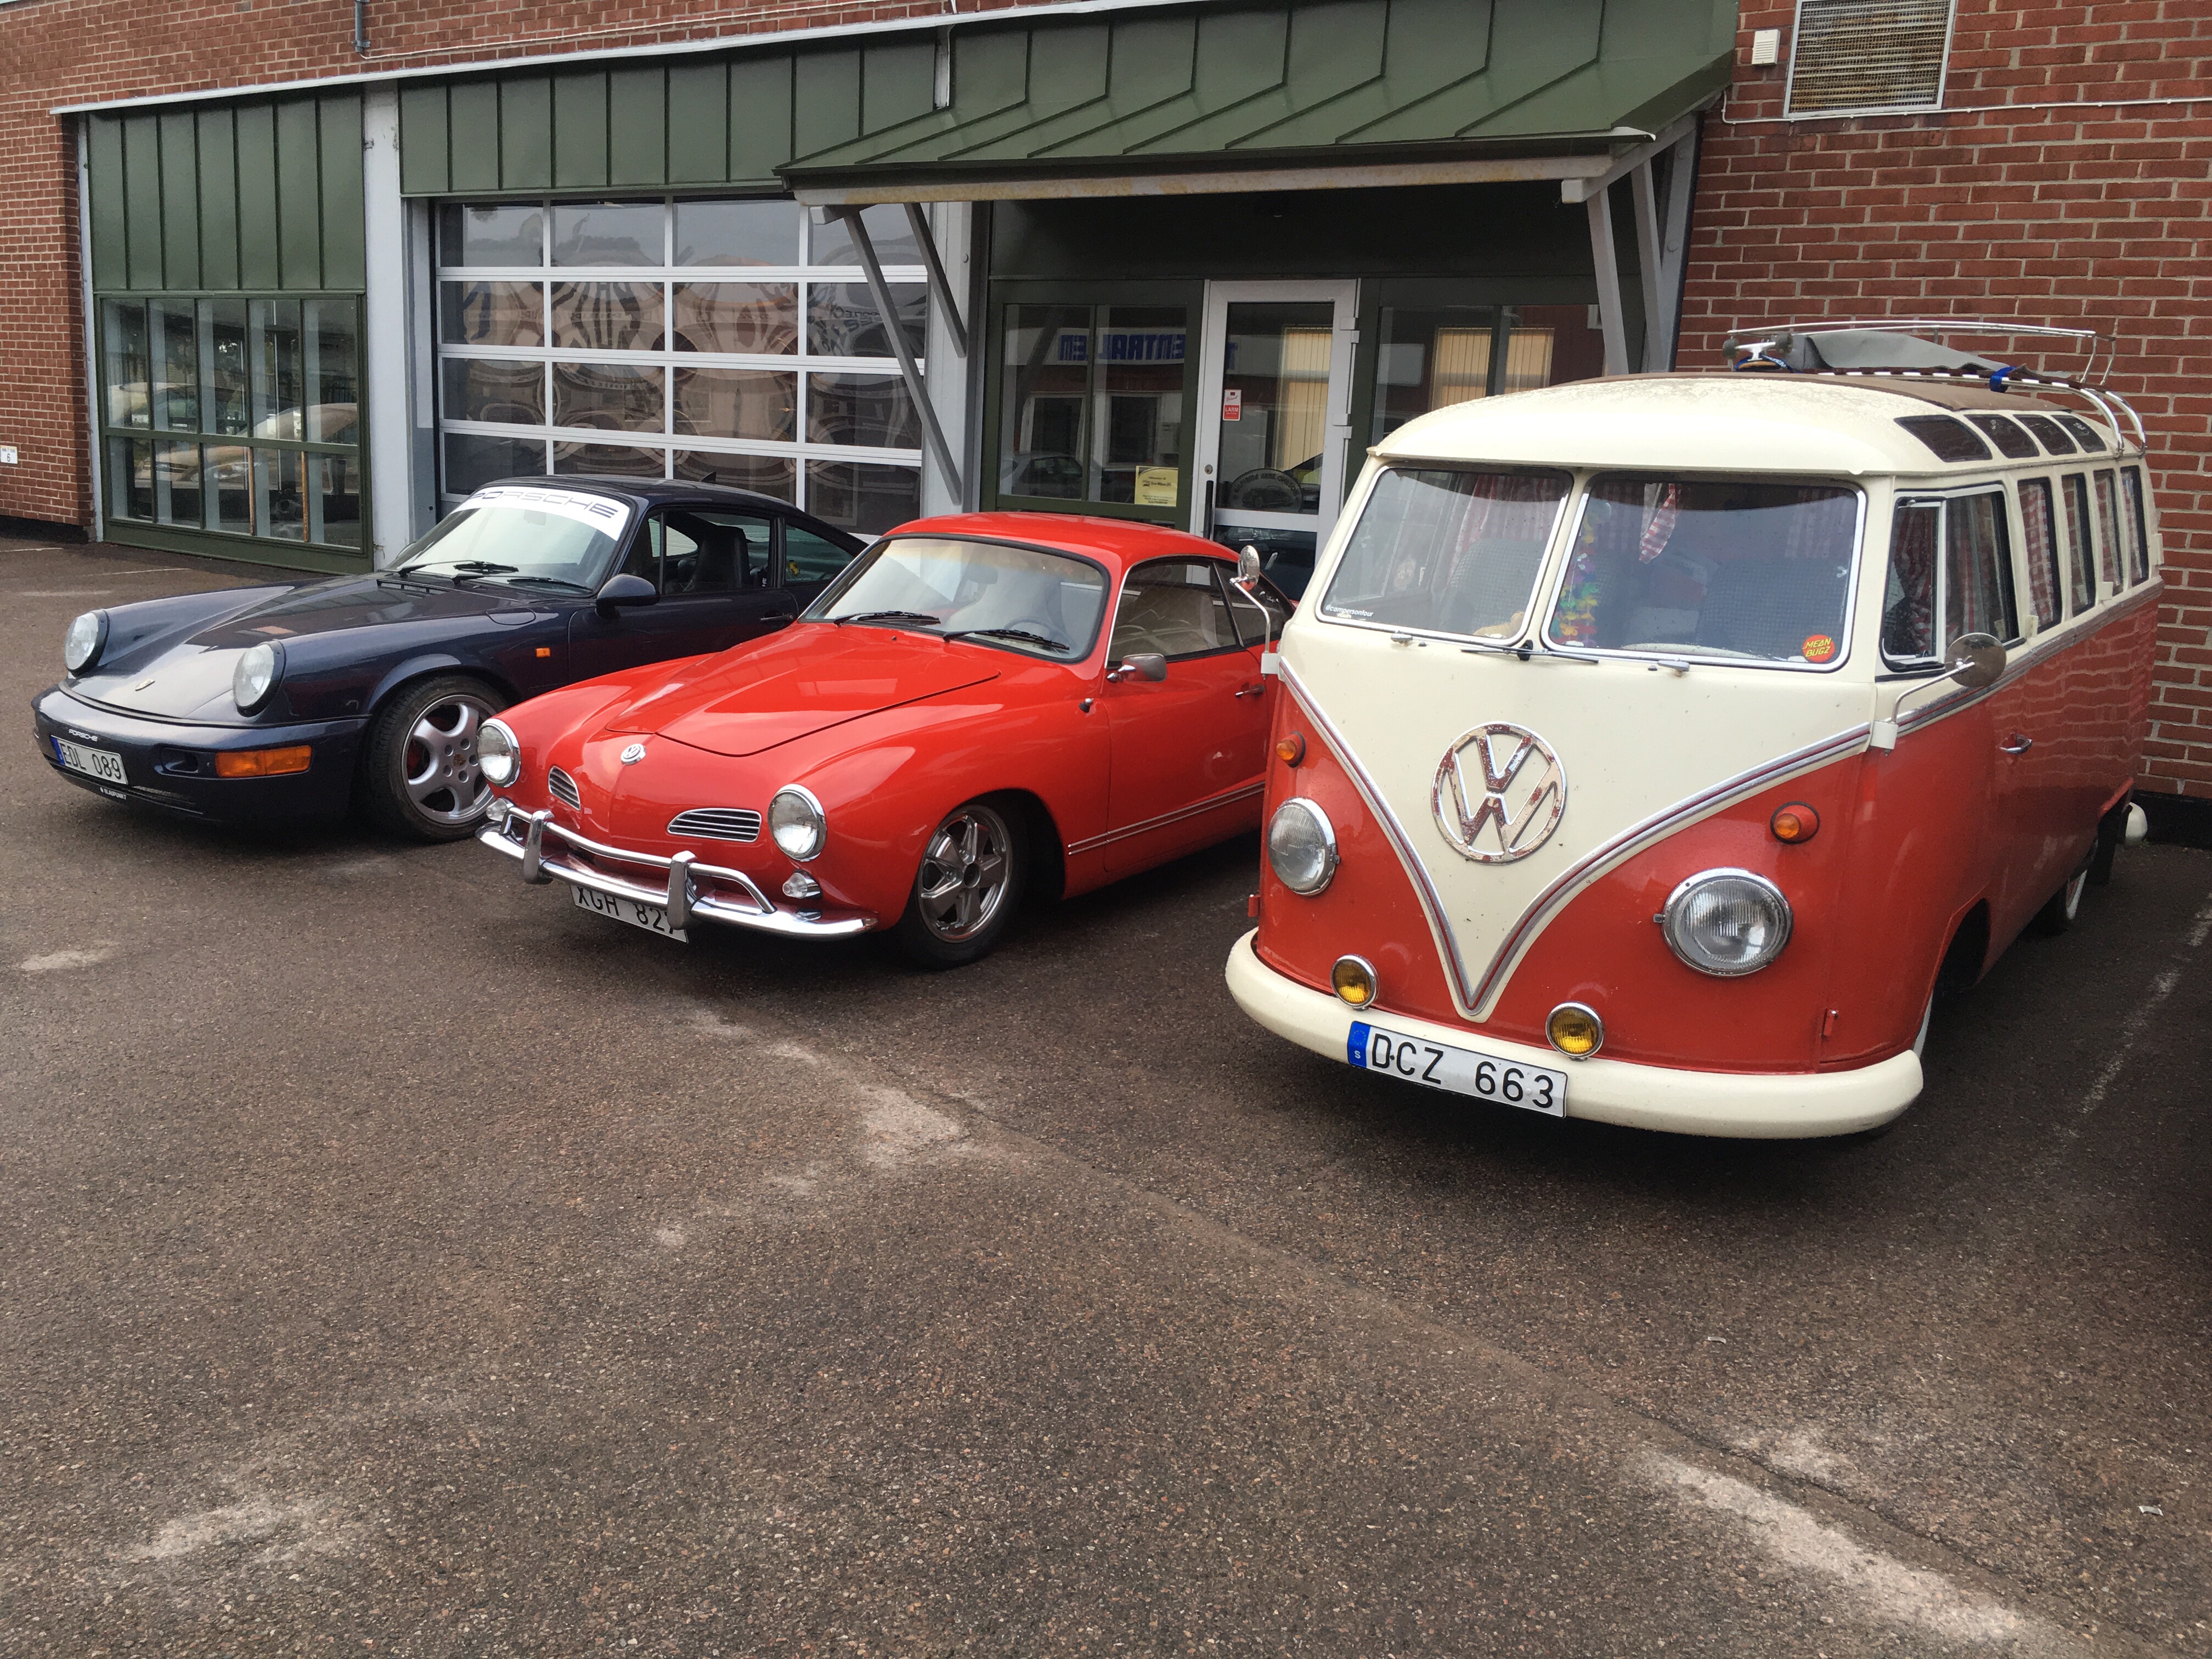
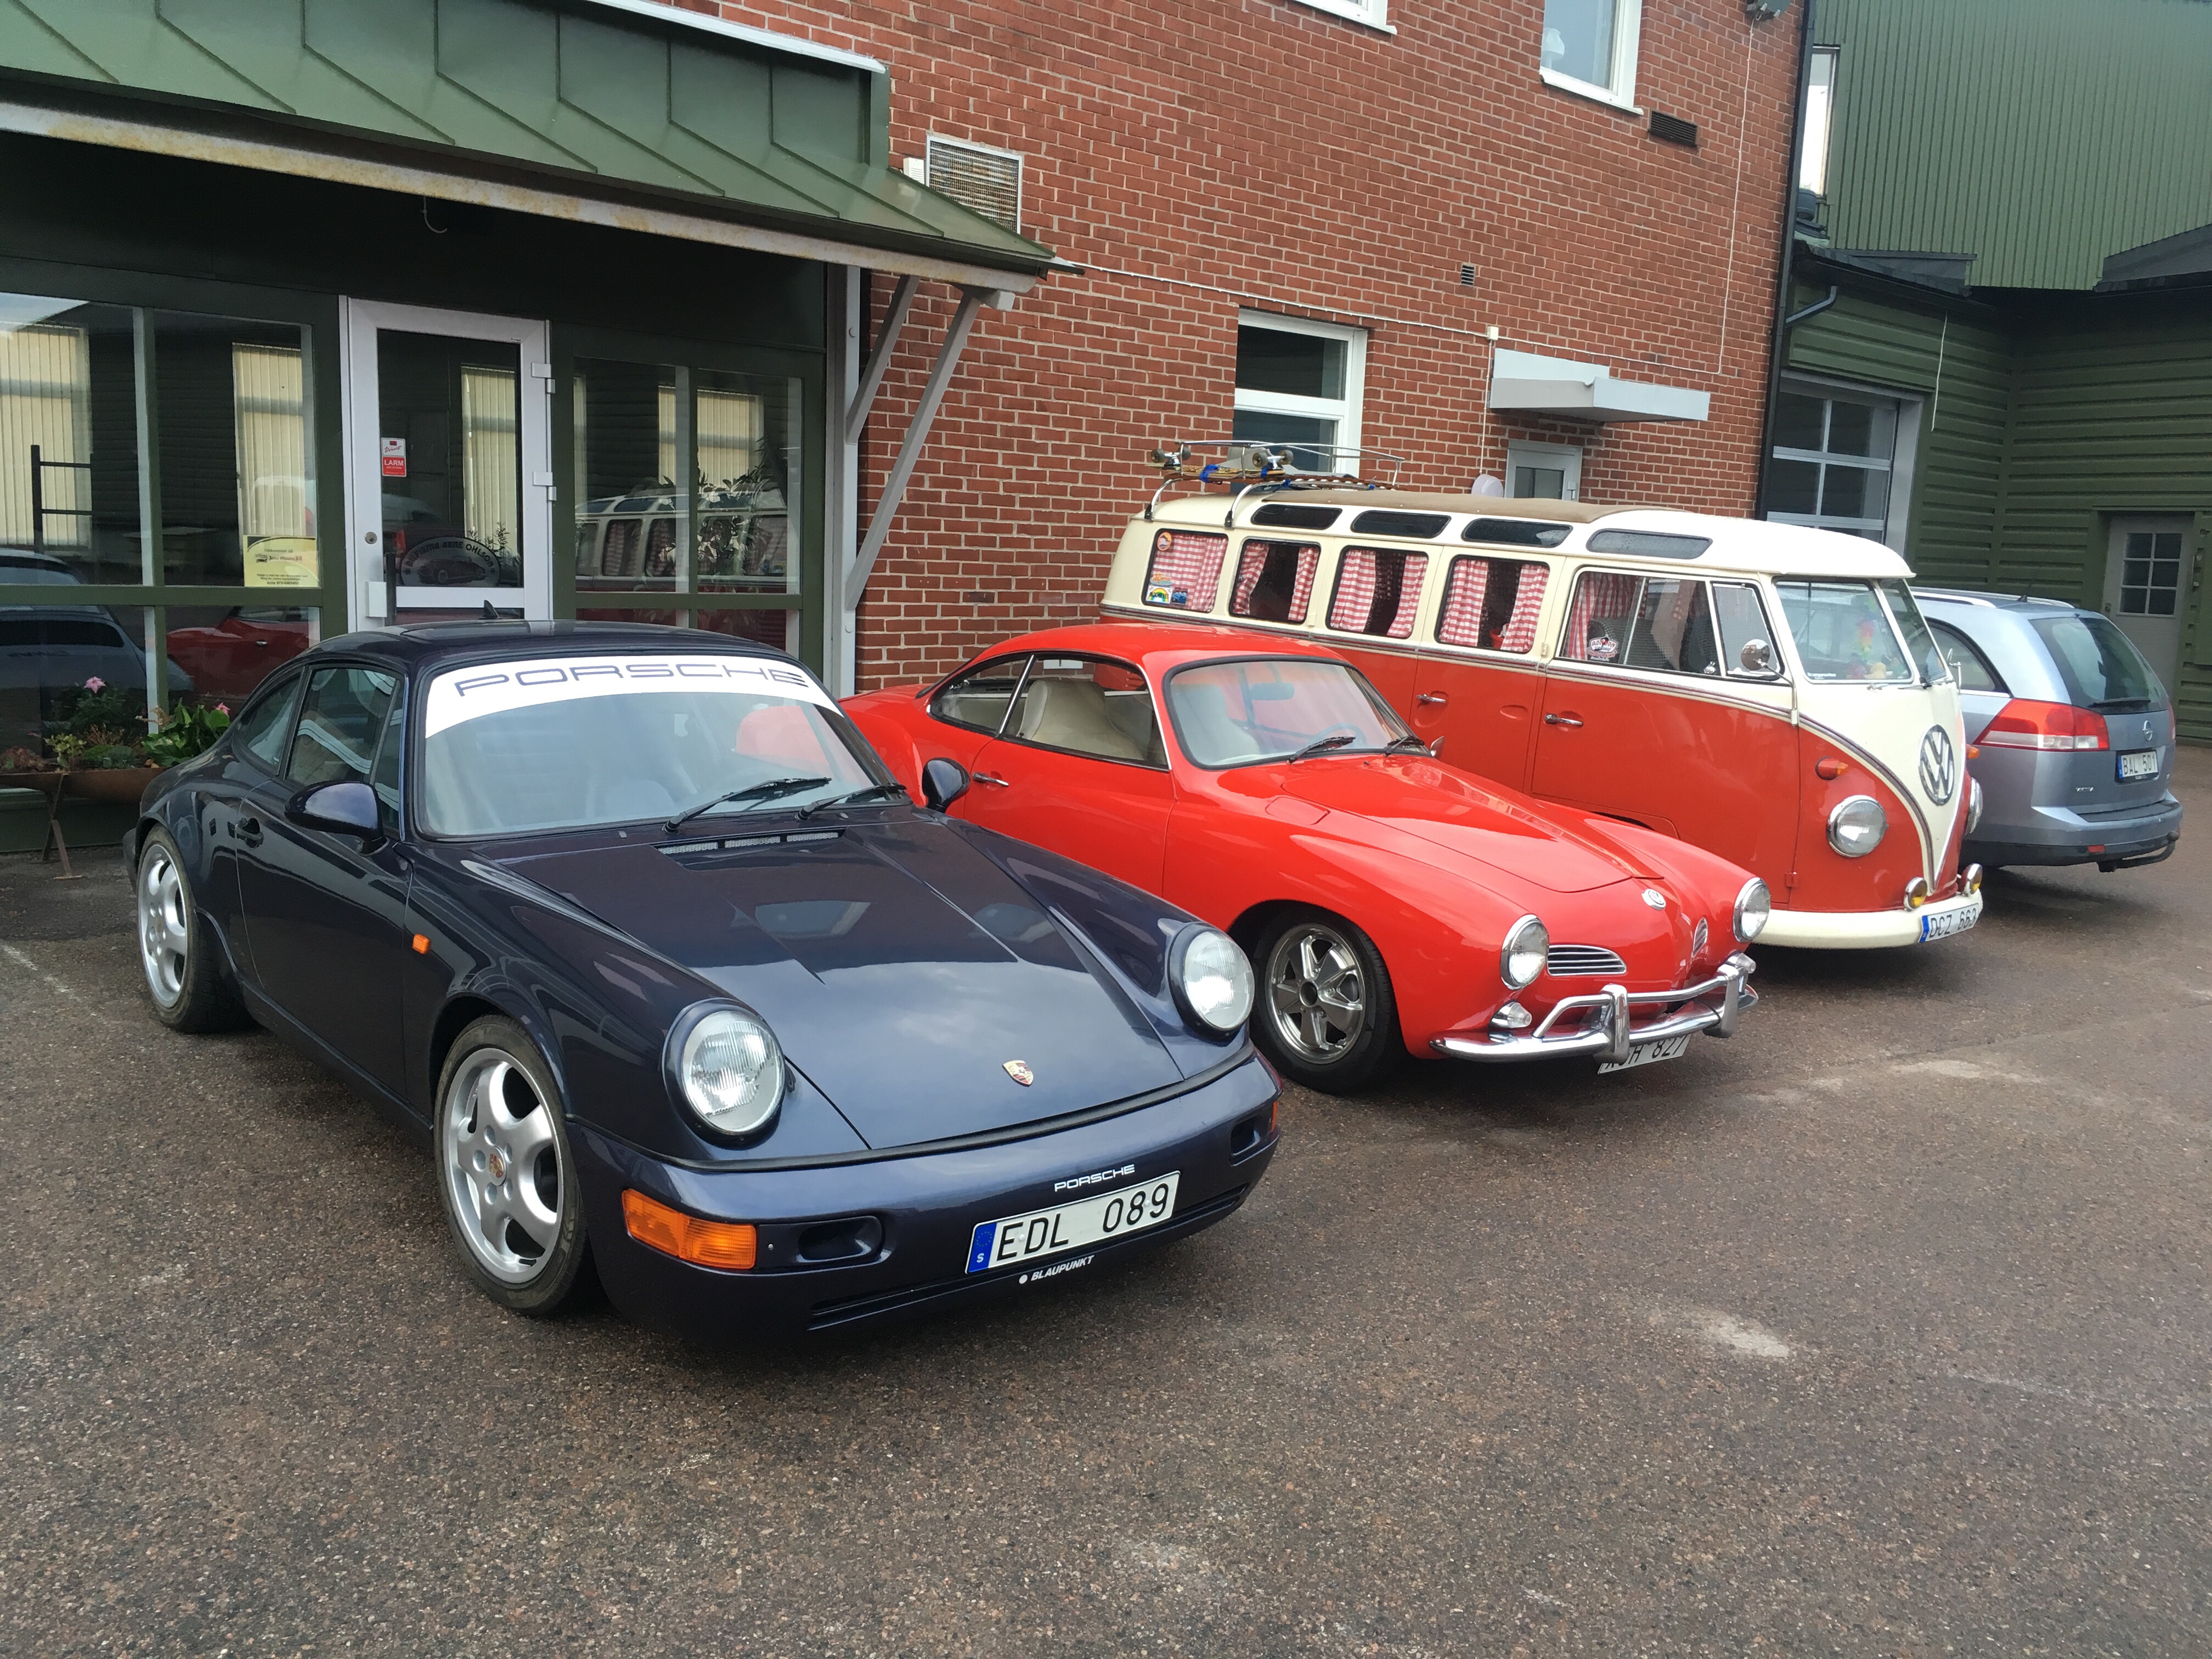
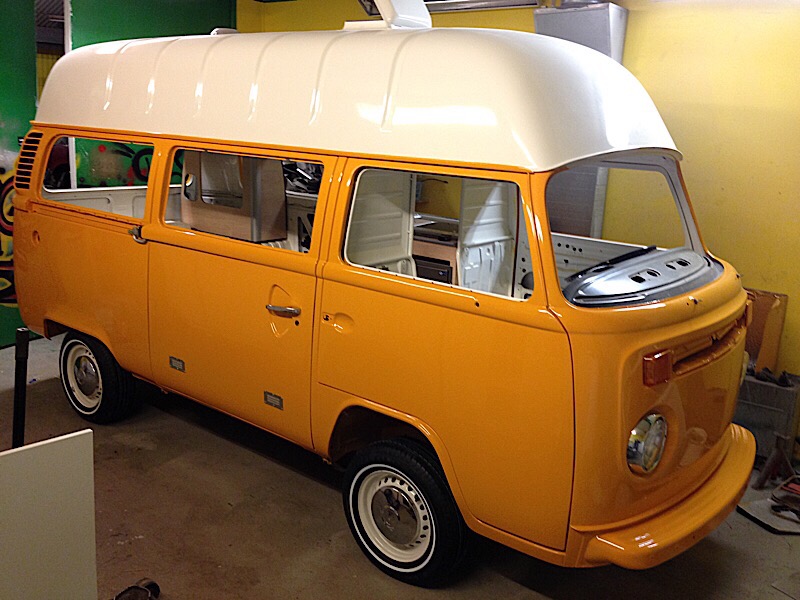
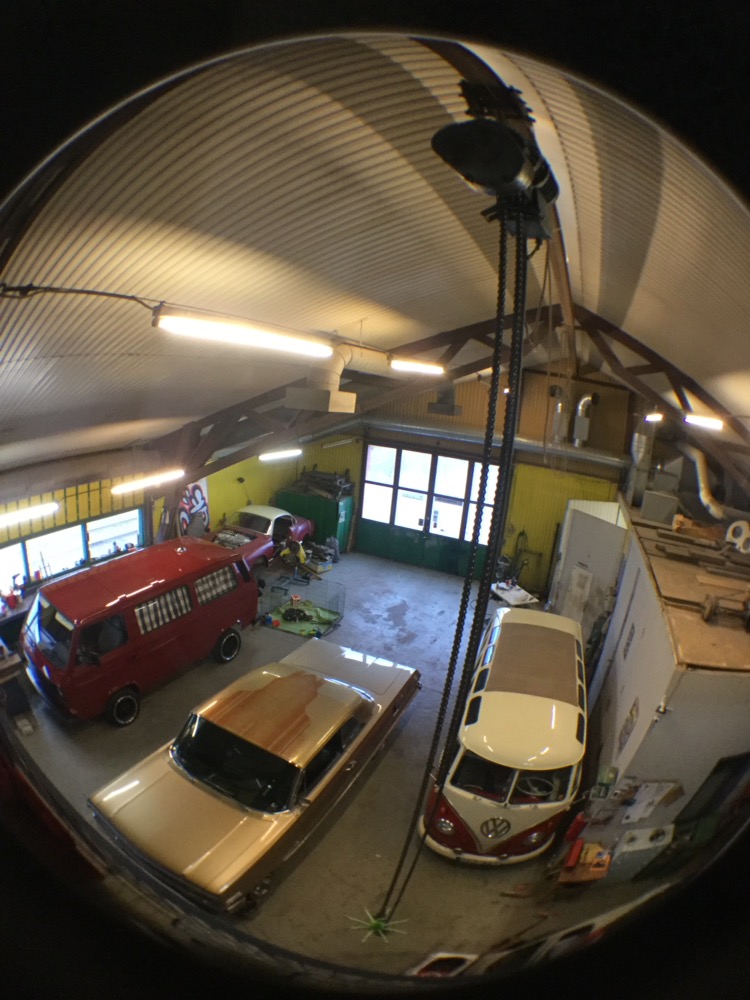
Another generation to the collection, at the moment I now have T1, T2 and T3 buses. This one is going to be the offroad bus and for autumn/winter camping/expeditions 🙂
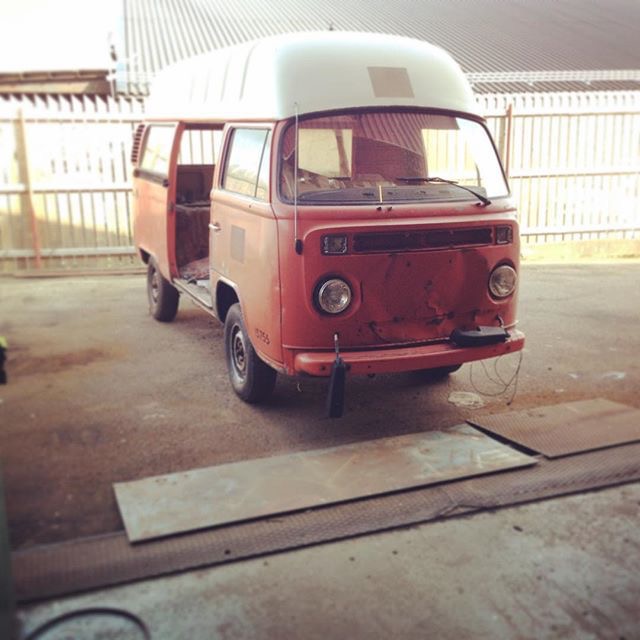
It’s a 1983 Transporter with 1,6 Diesel and 4-speed transmission. It has a ugly camping interior already fitted that will get a refresh/restoration. A Webasto/Planar diesel heater with thermostat will be installed to the interior in future, so you can stay warm on the winter. New 12v fridge will be installed and the gas stove will be replaced with a new small portable gas bottle one.
The goal is to have it pass the MoT / Safety Inspection before the winter comes. The engine starts but is not running very well. It has a new cam, timingbelt, waterpump at the moment. Going to align the timing belt better because it squeaks at lower RPM right now. Also the diesel pump is needing adjustment with special VW TOOL 2066.
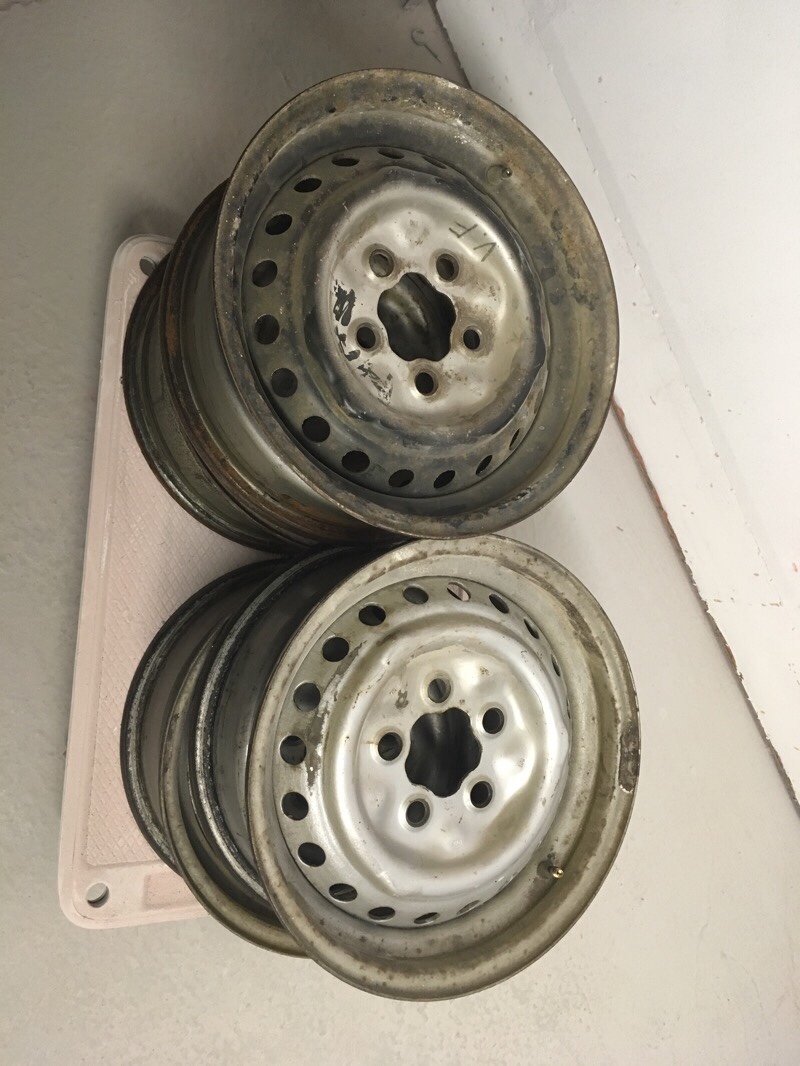
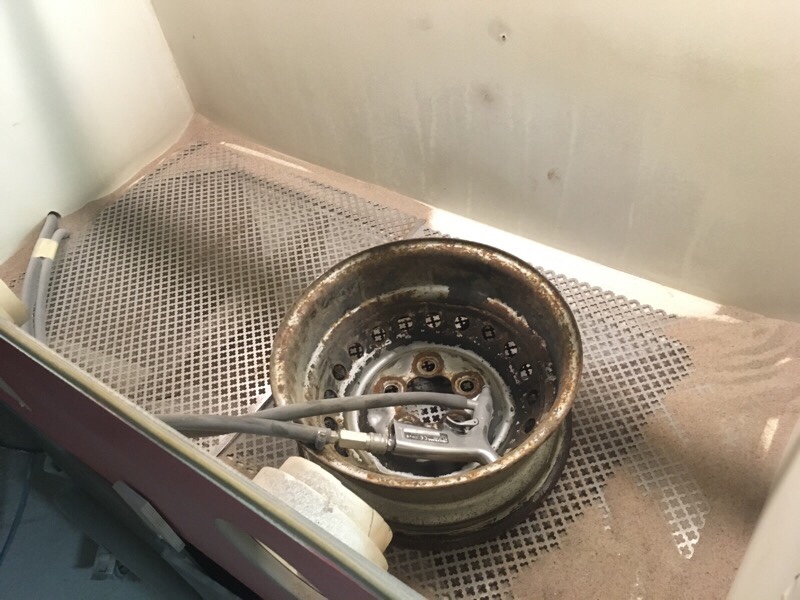
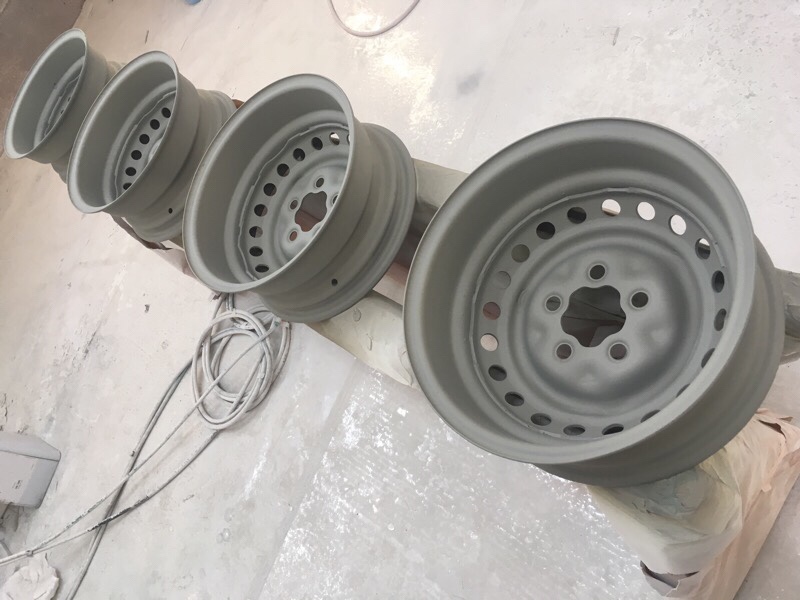
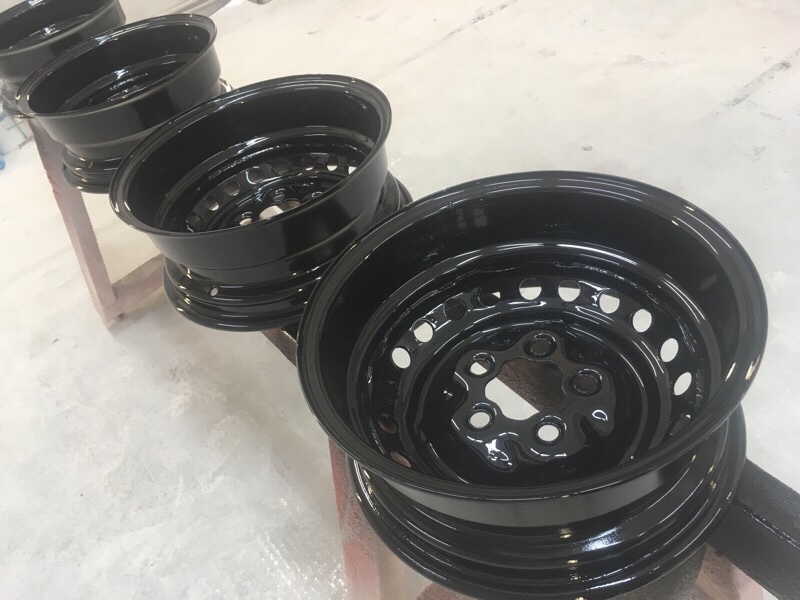
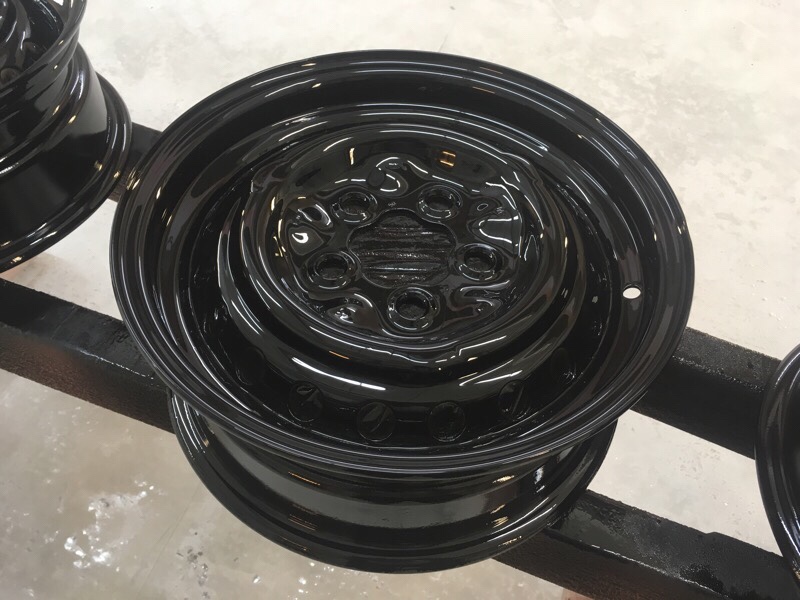
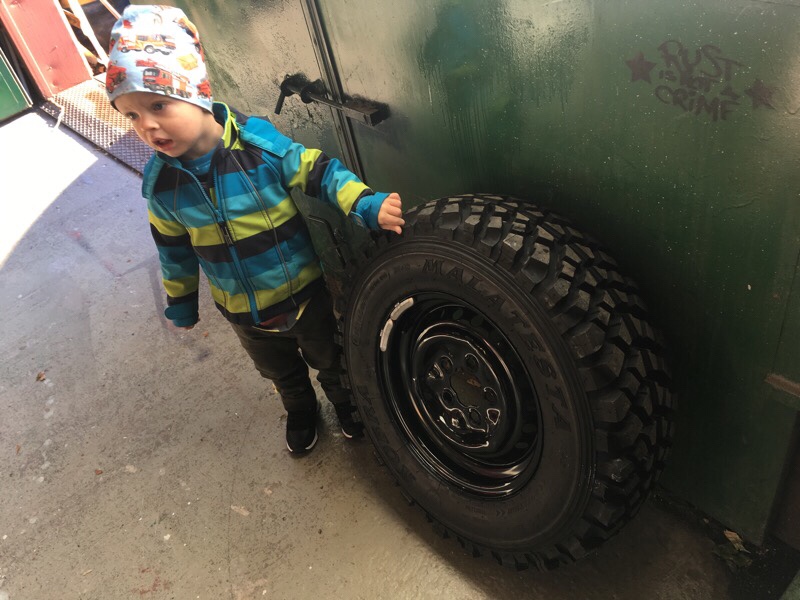
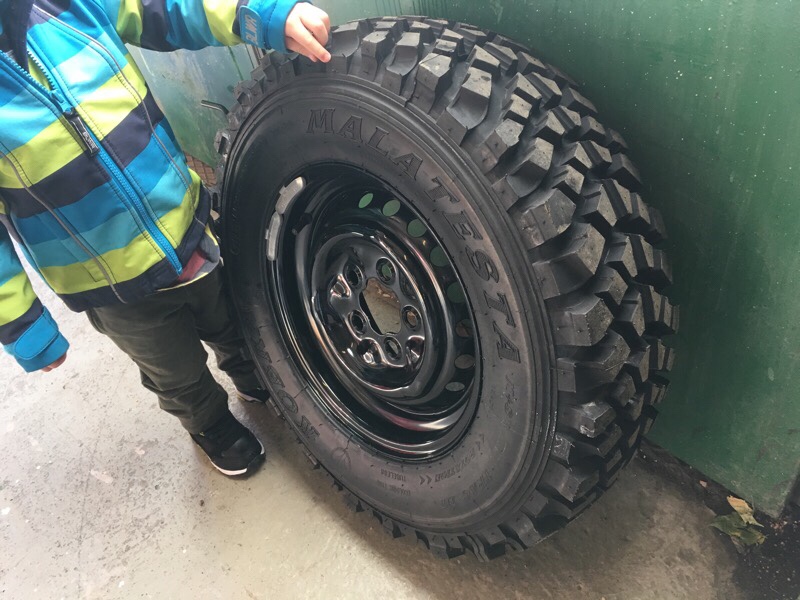
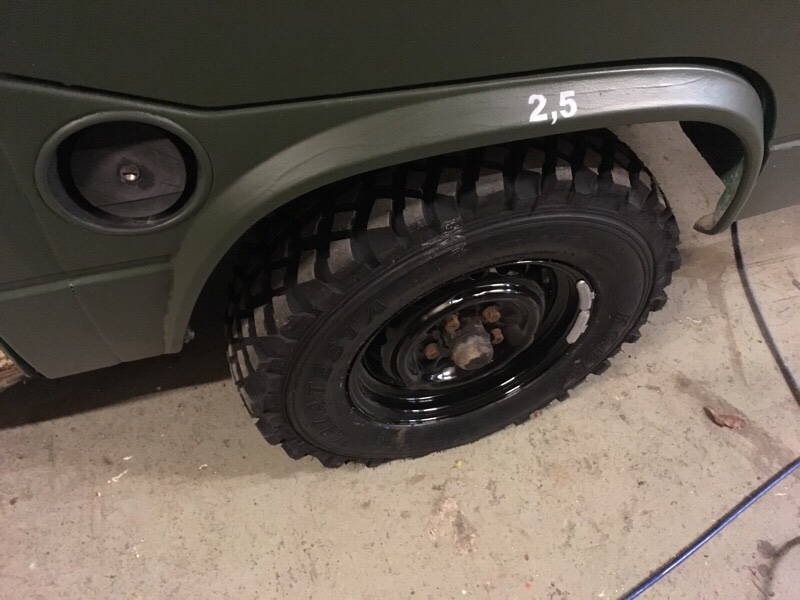
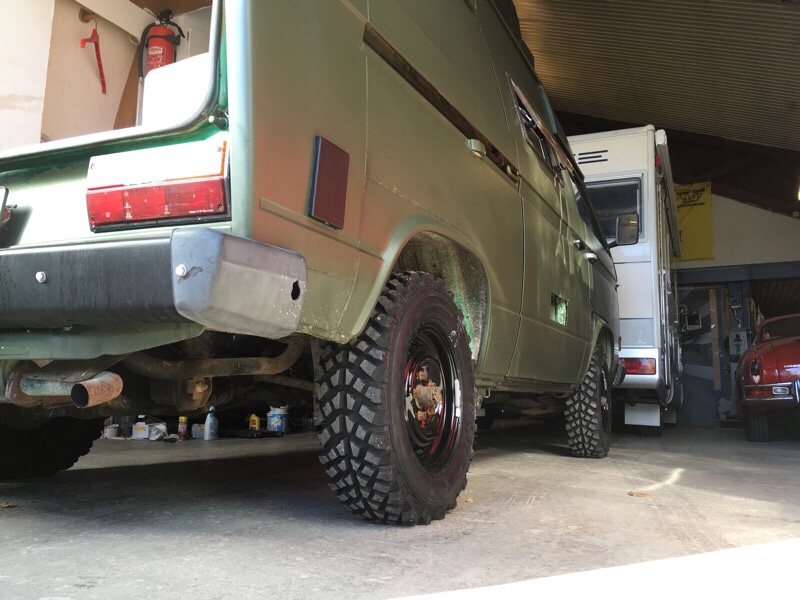
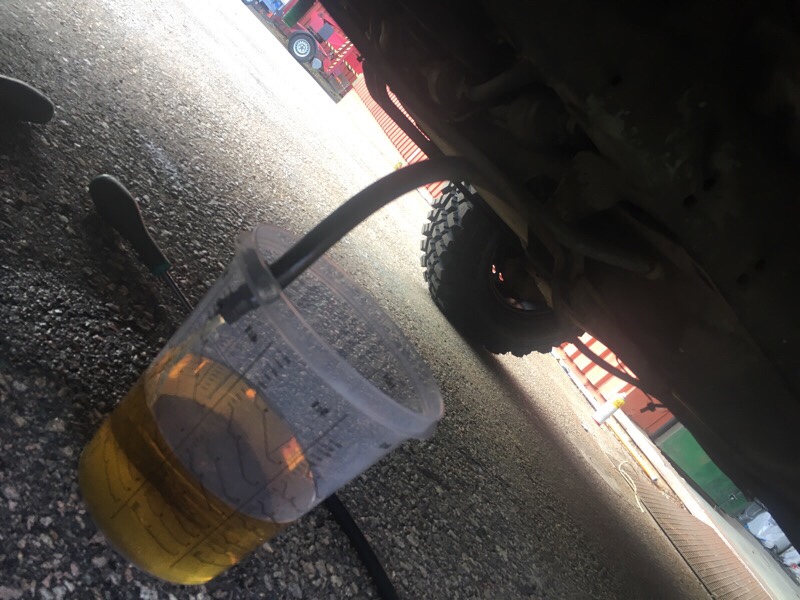
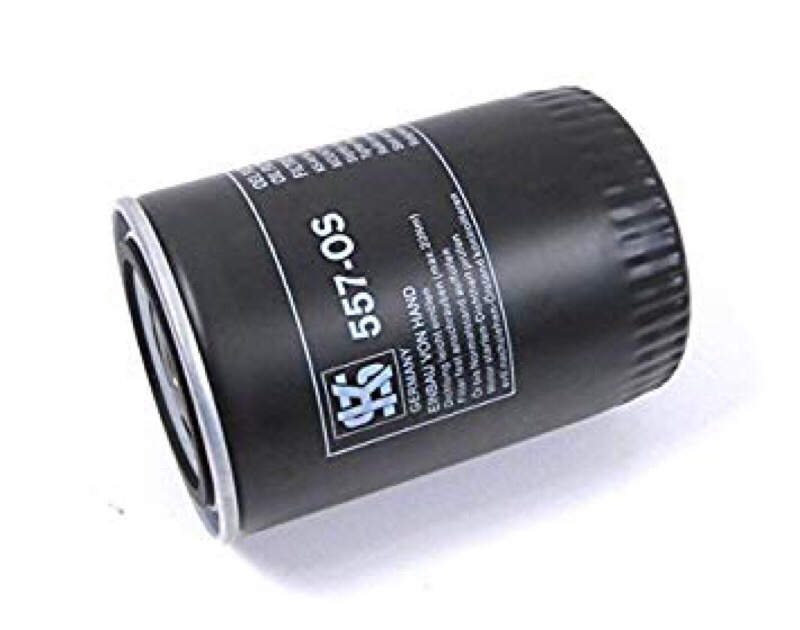
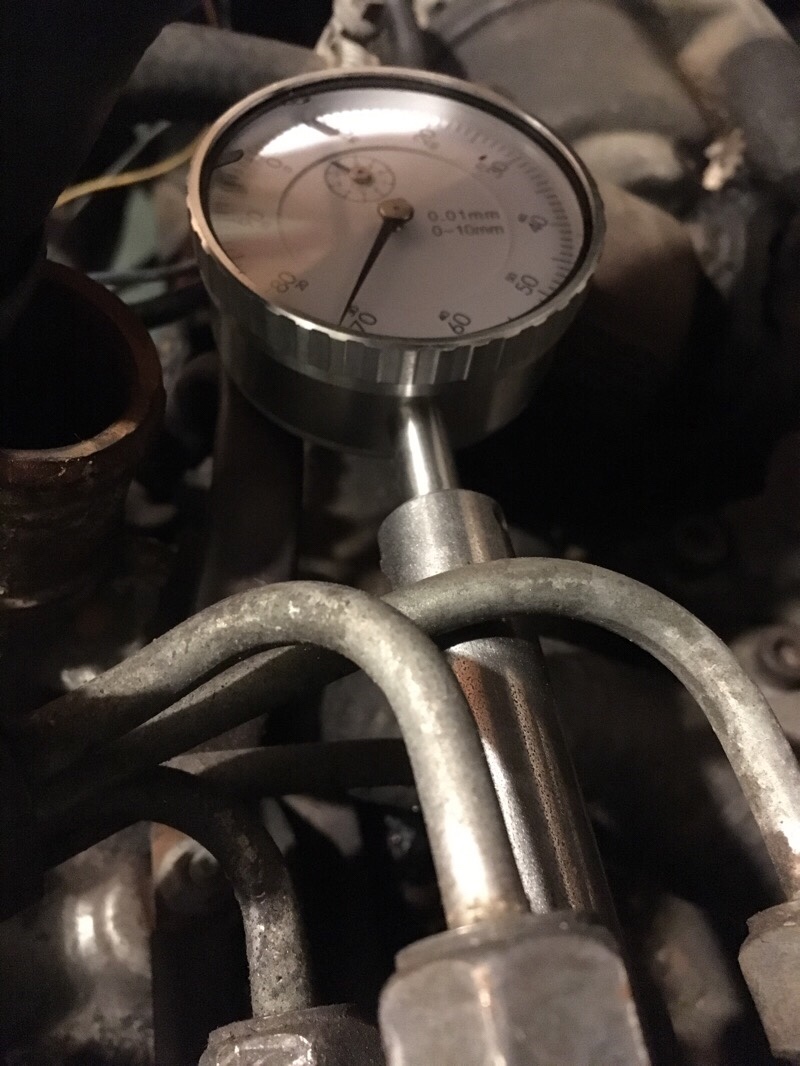
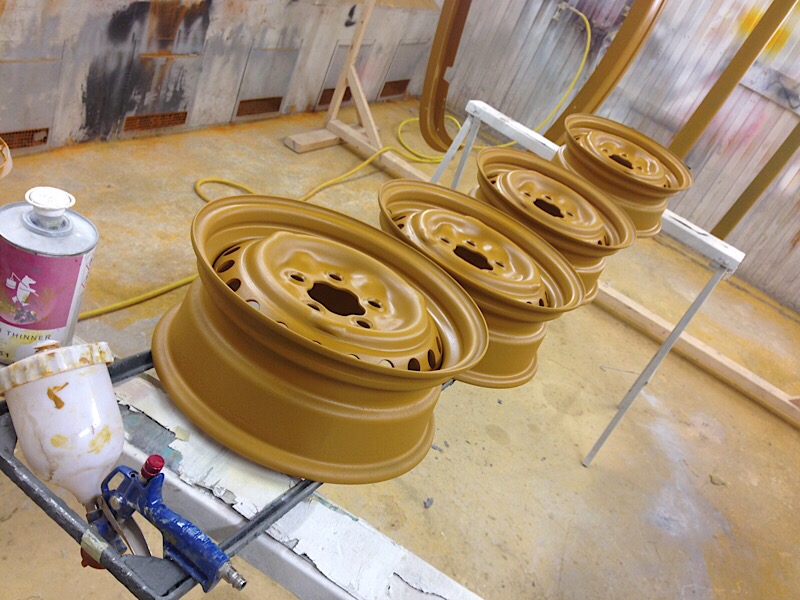
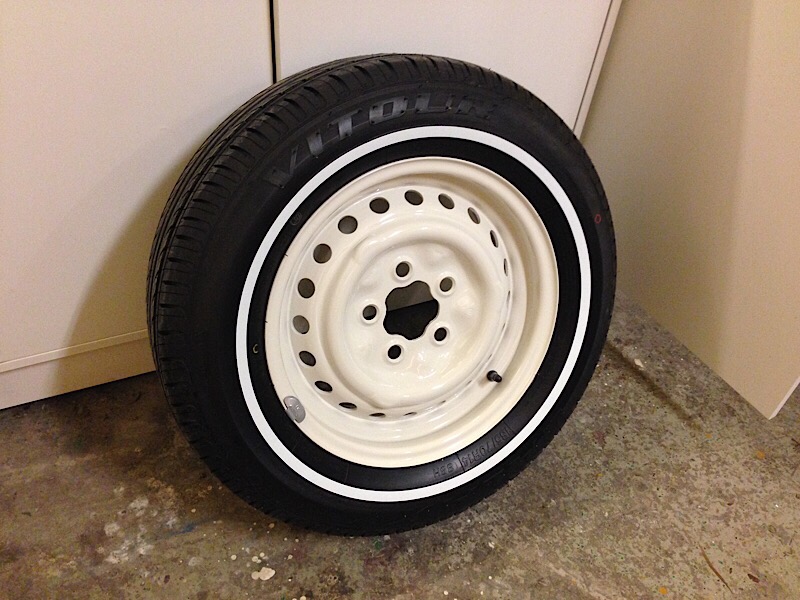
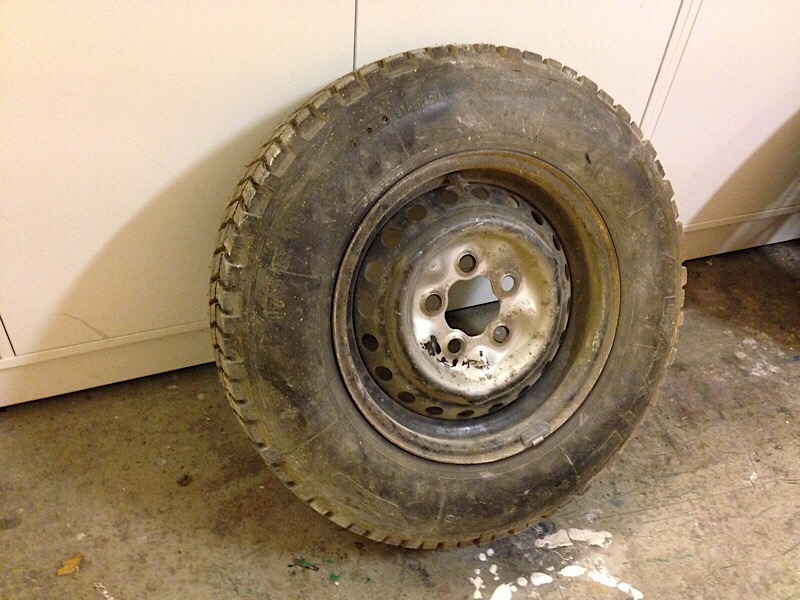
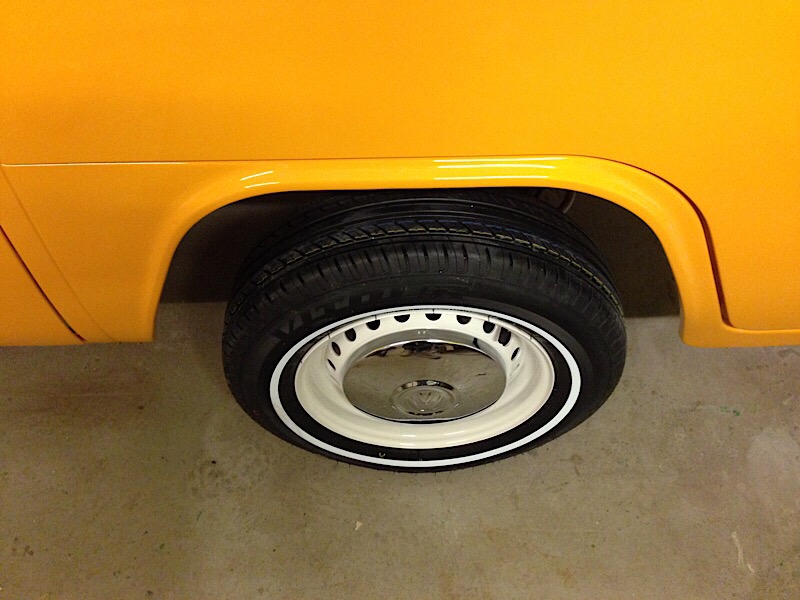
Some meaty offroad tires (Malatesta Kobra) have been fitted on stock VW 14″ steel wheels, that was sandblasted and painted. Looks badass now! The diesel tank have been drained on old diesel and a new fuel filter fitted. Also added some anti-bacteria and injectioncleaner to new diesel. New oil (15w-40 mineral) and filter in the engine too. New air cleaner filter added. Injection pump adjusted with micrometer (vw2066) up to 00,95, before was only 00,81. Engine now runs much smoother but need to align the timingbelt before any real test drive can be done. More too come soon… 


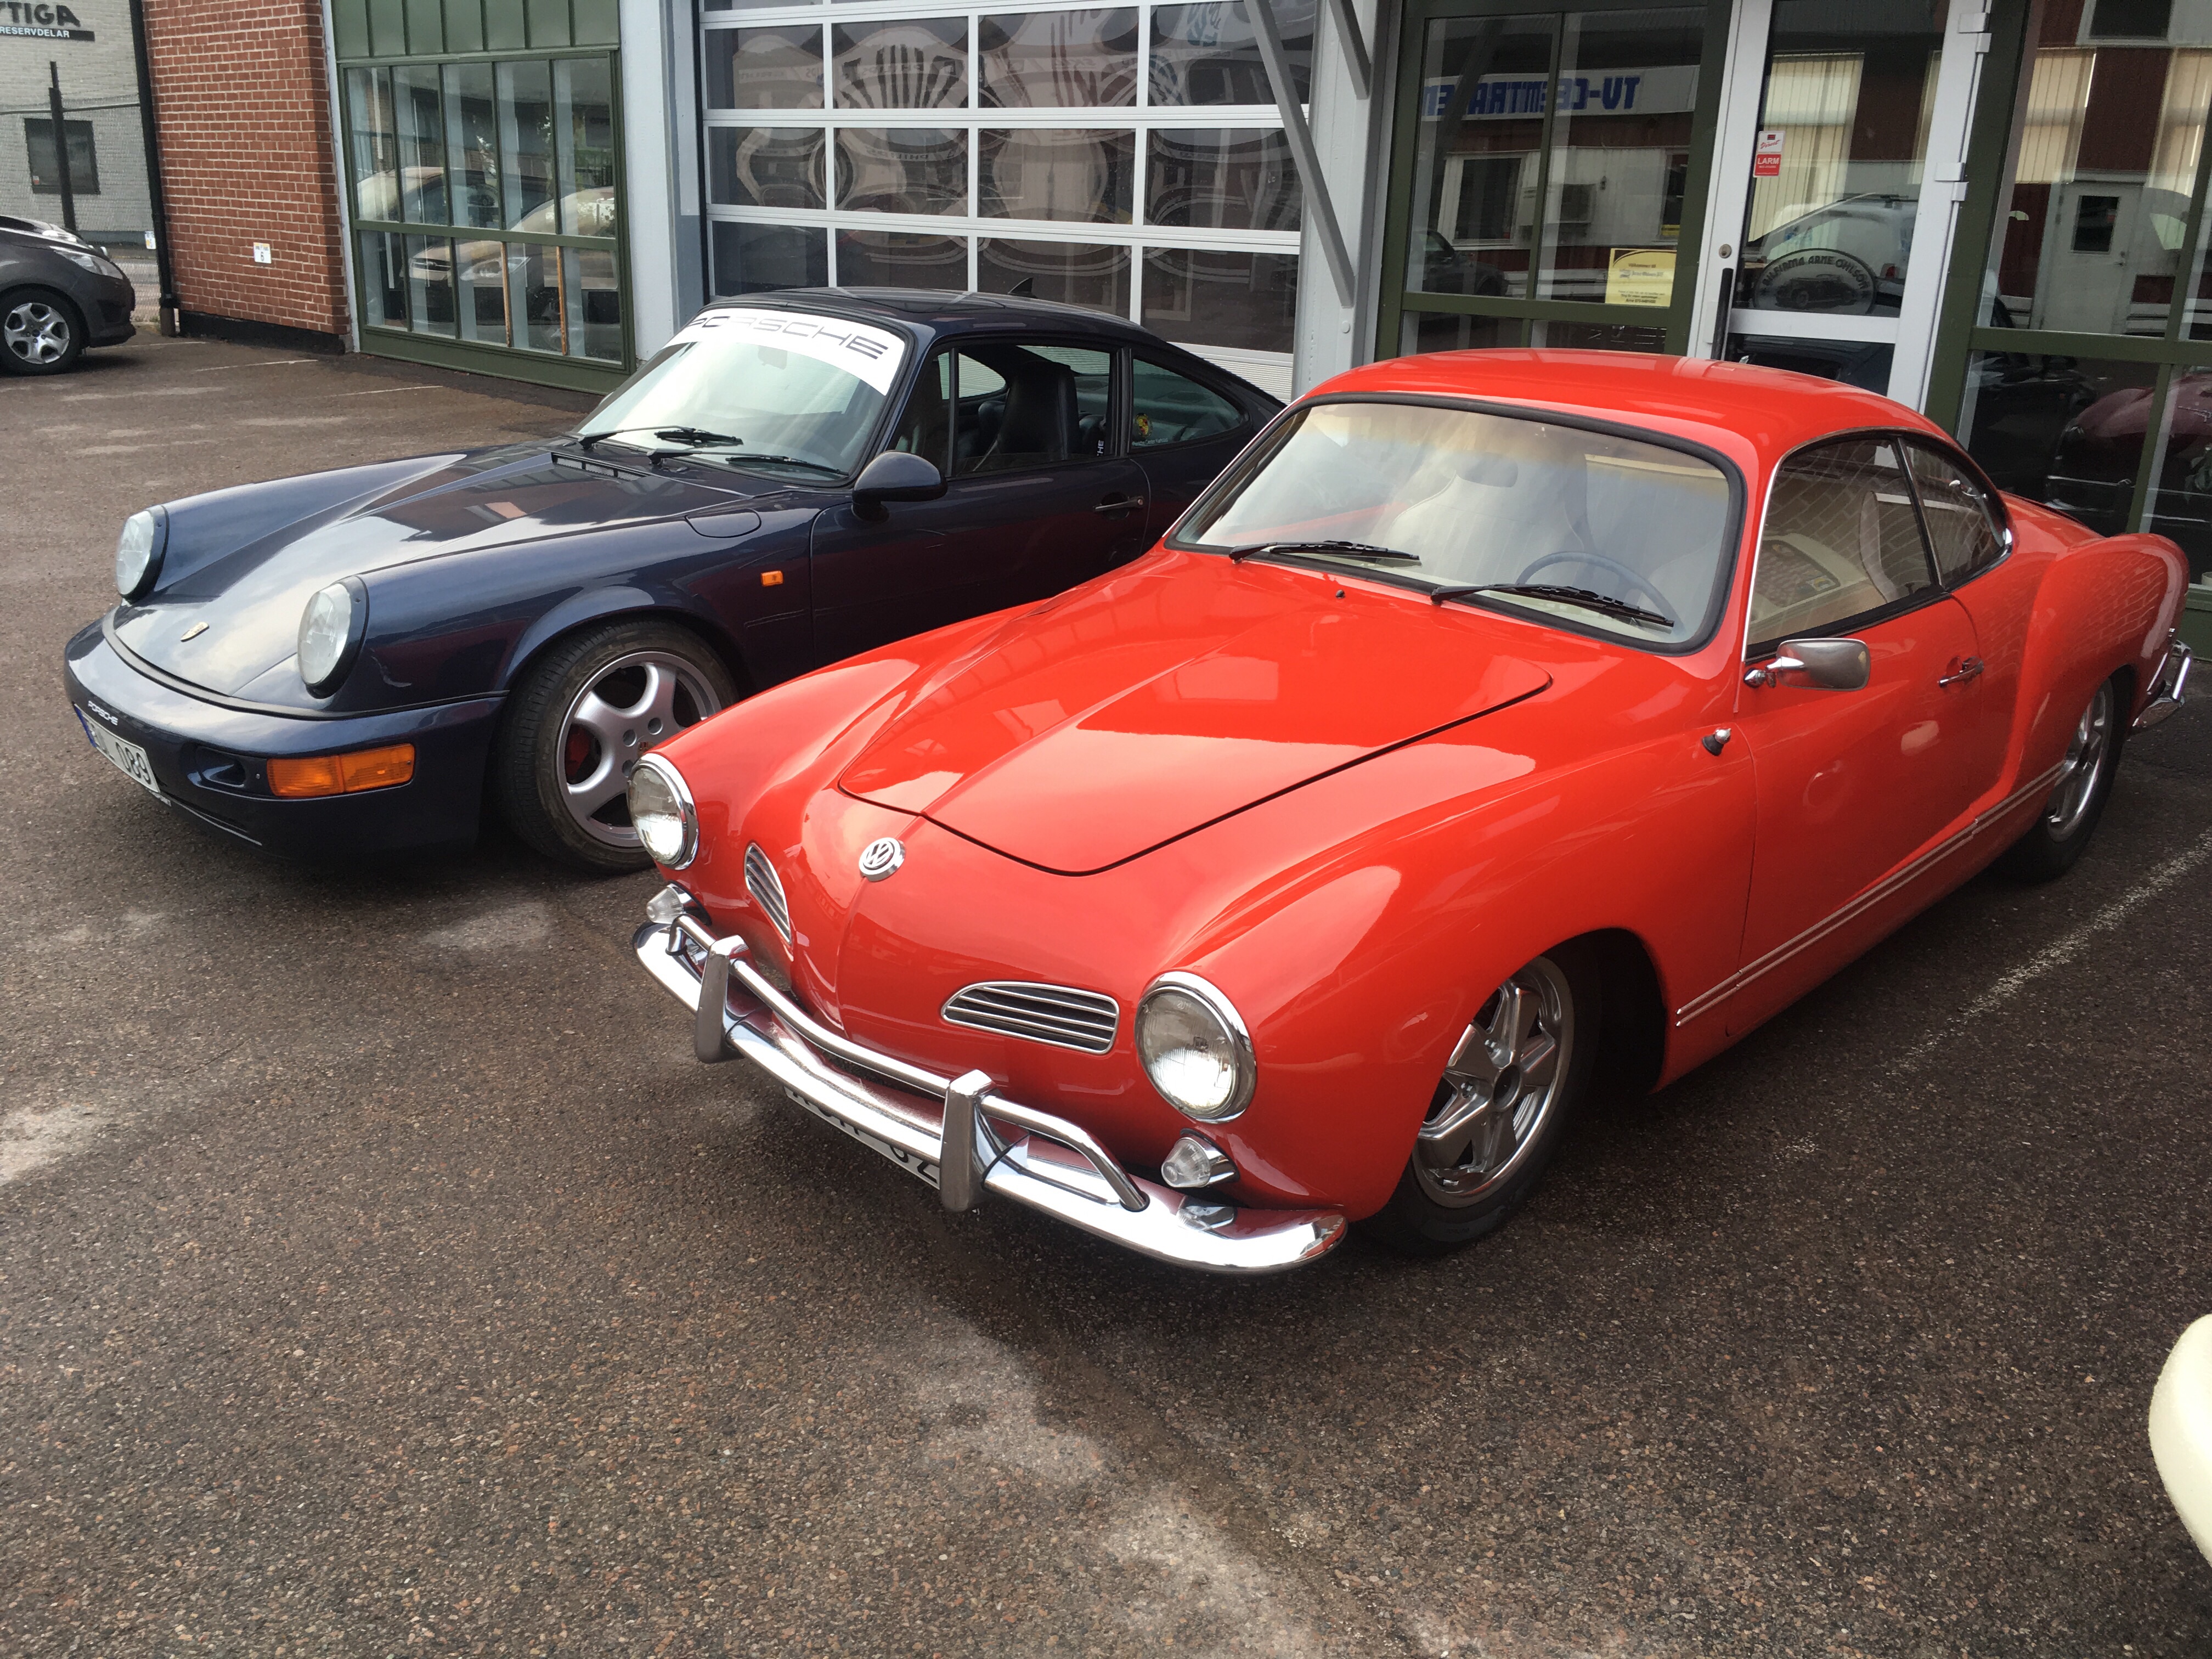
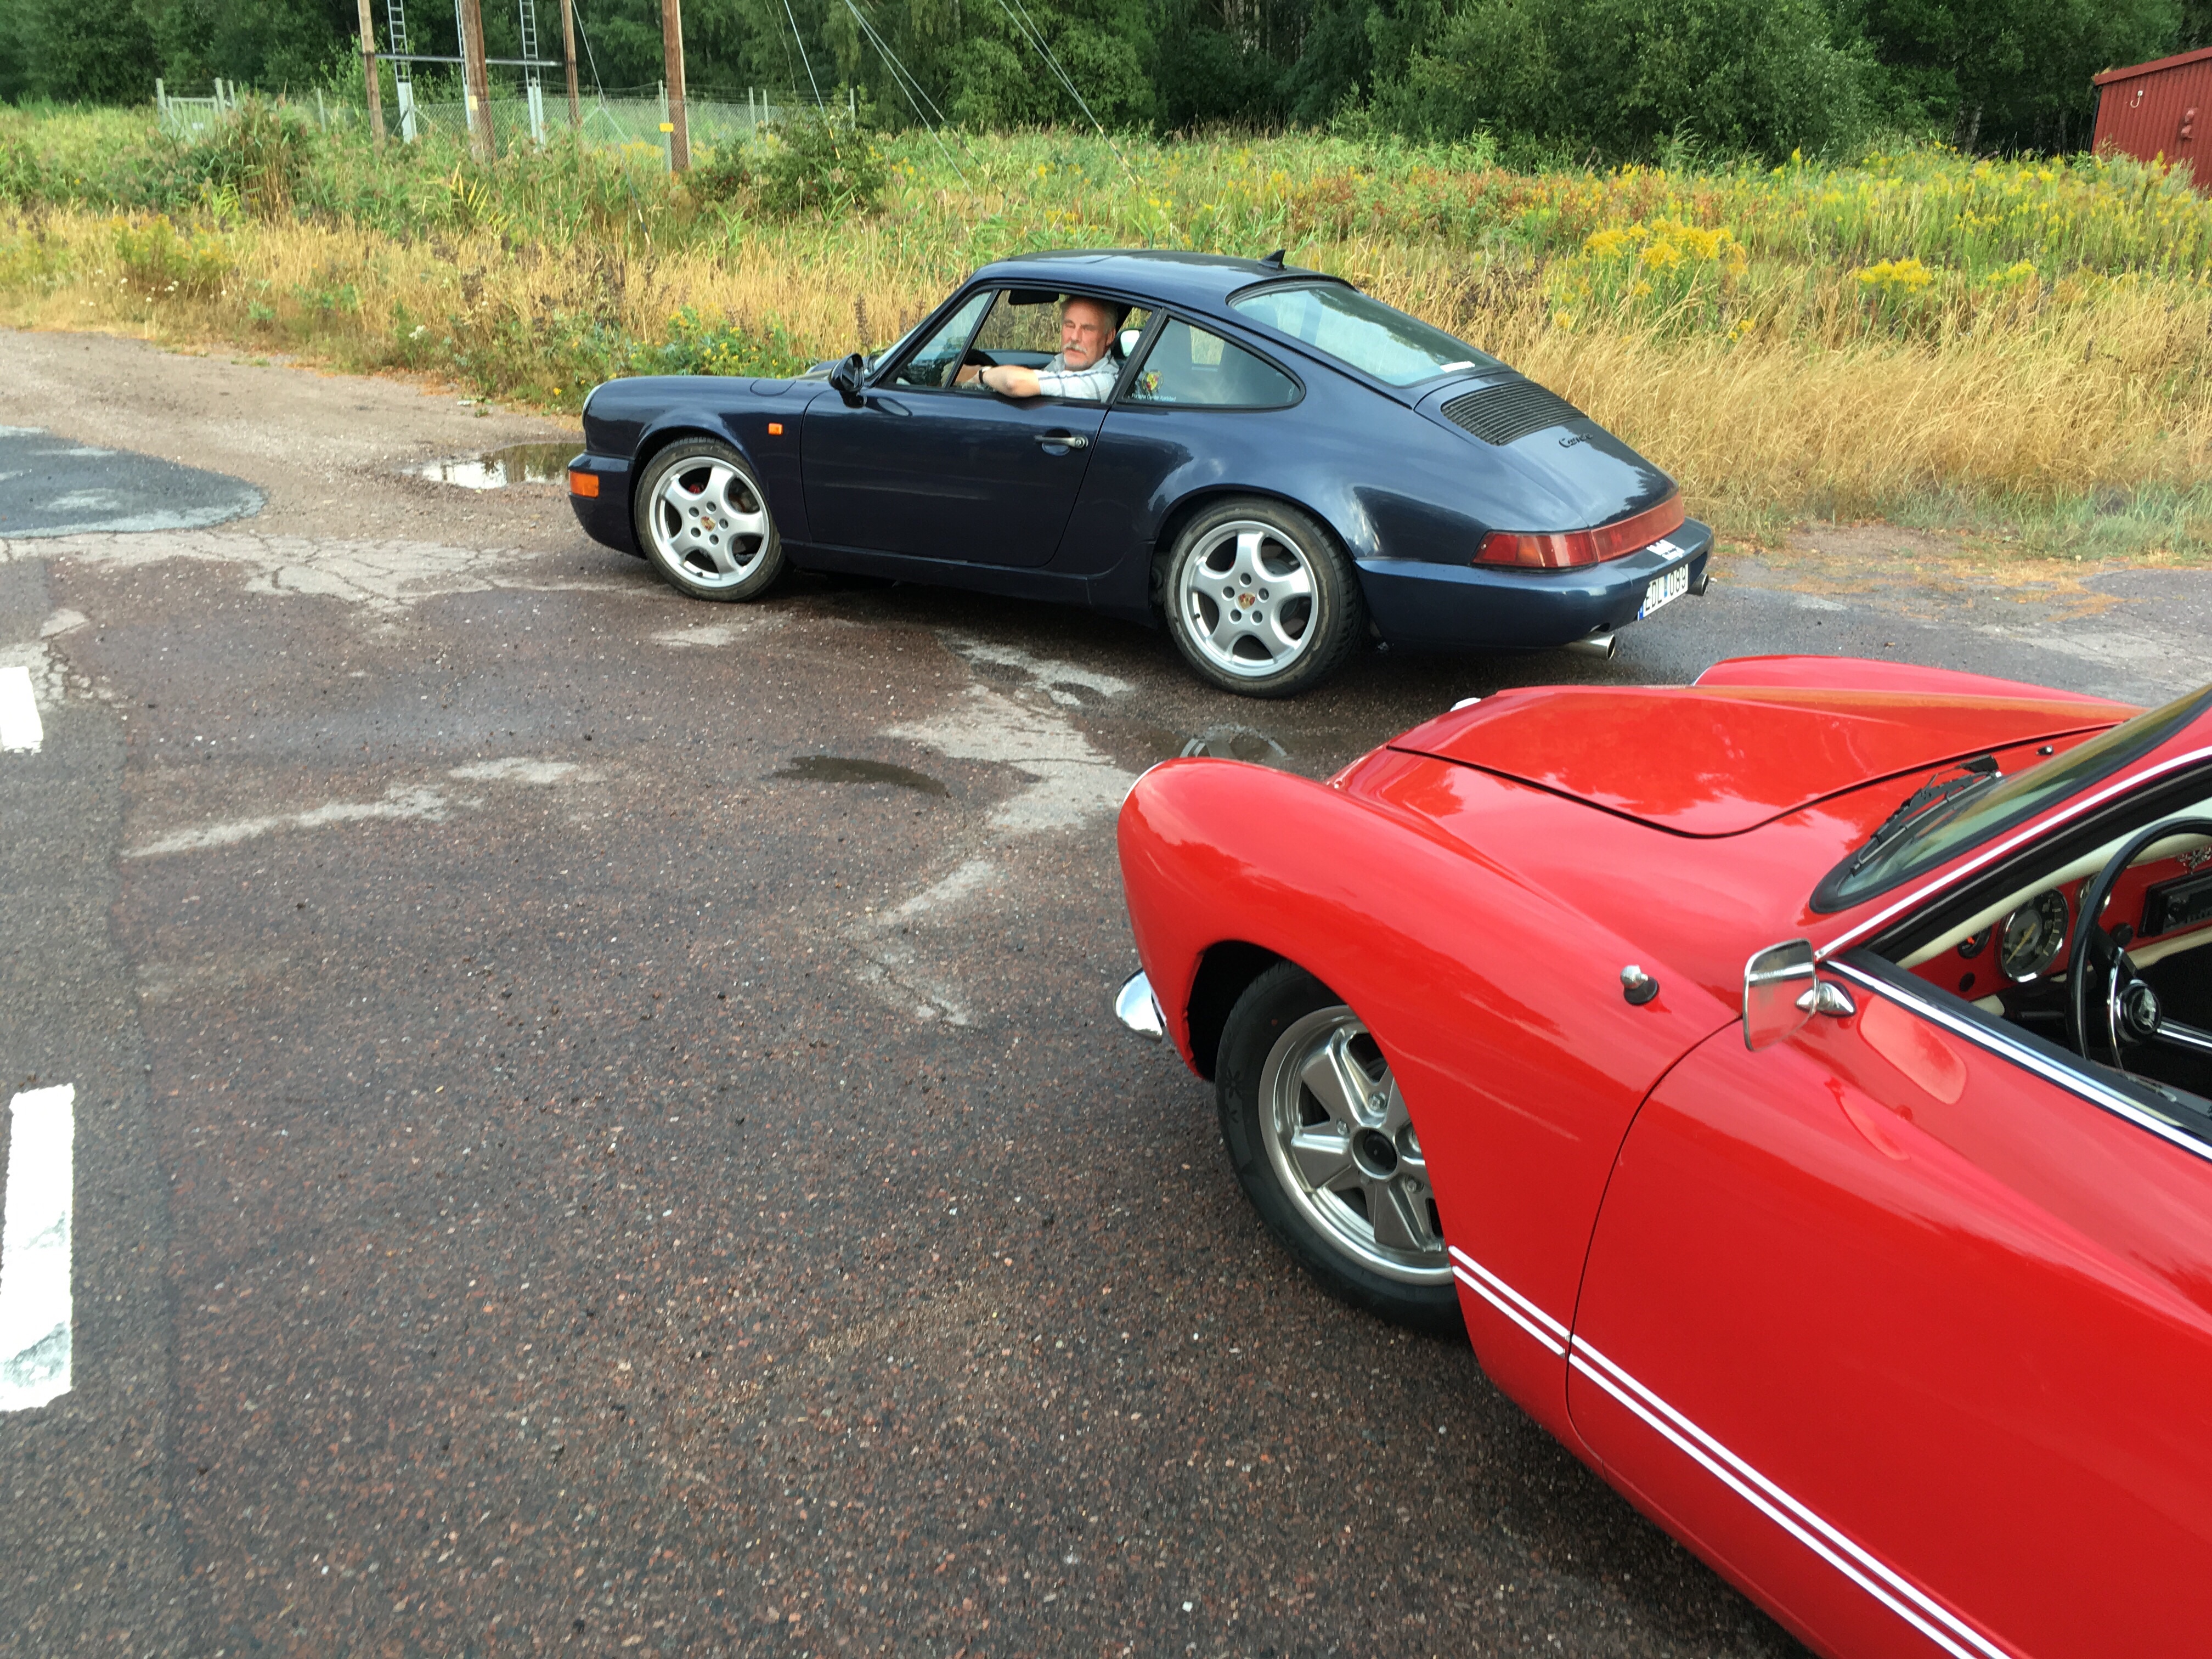
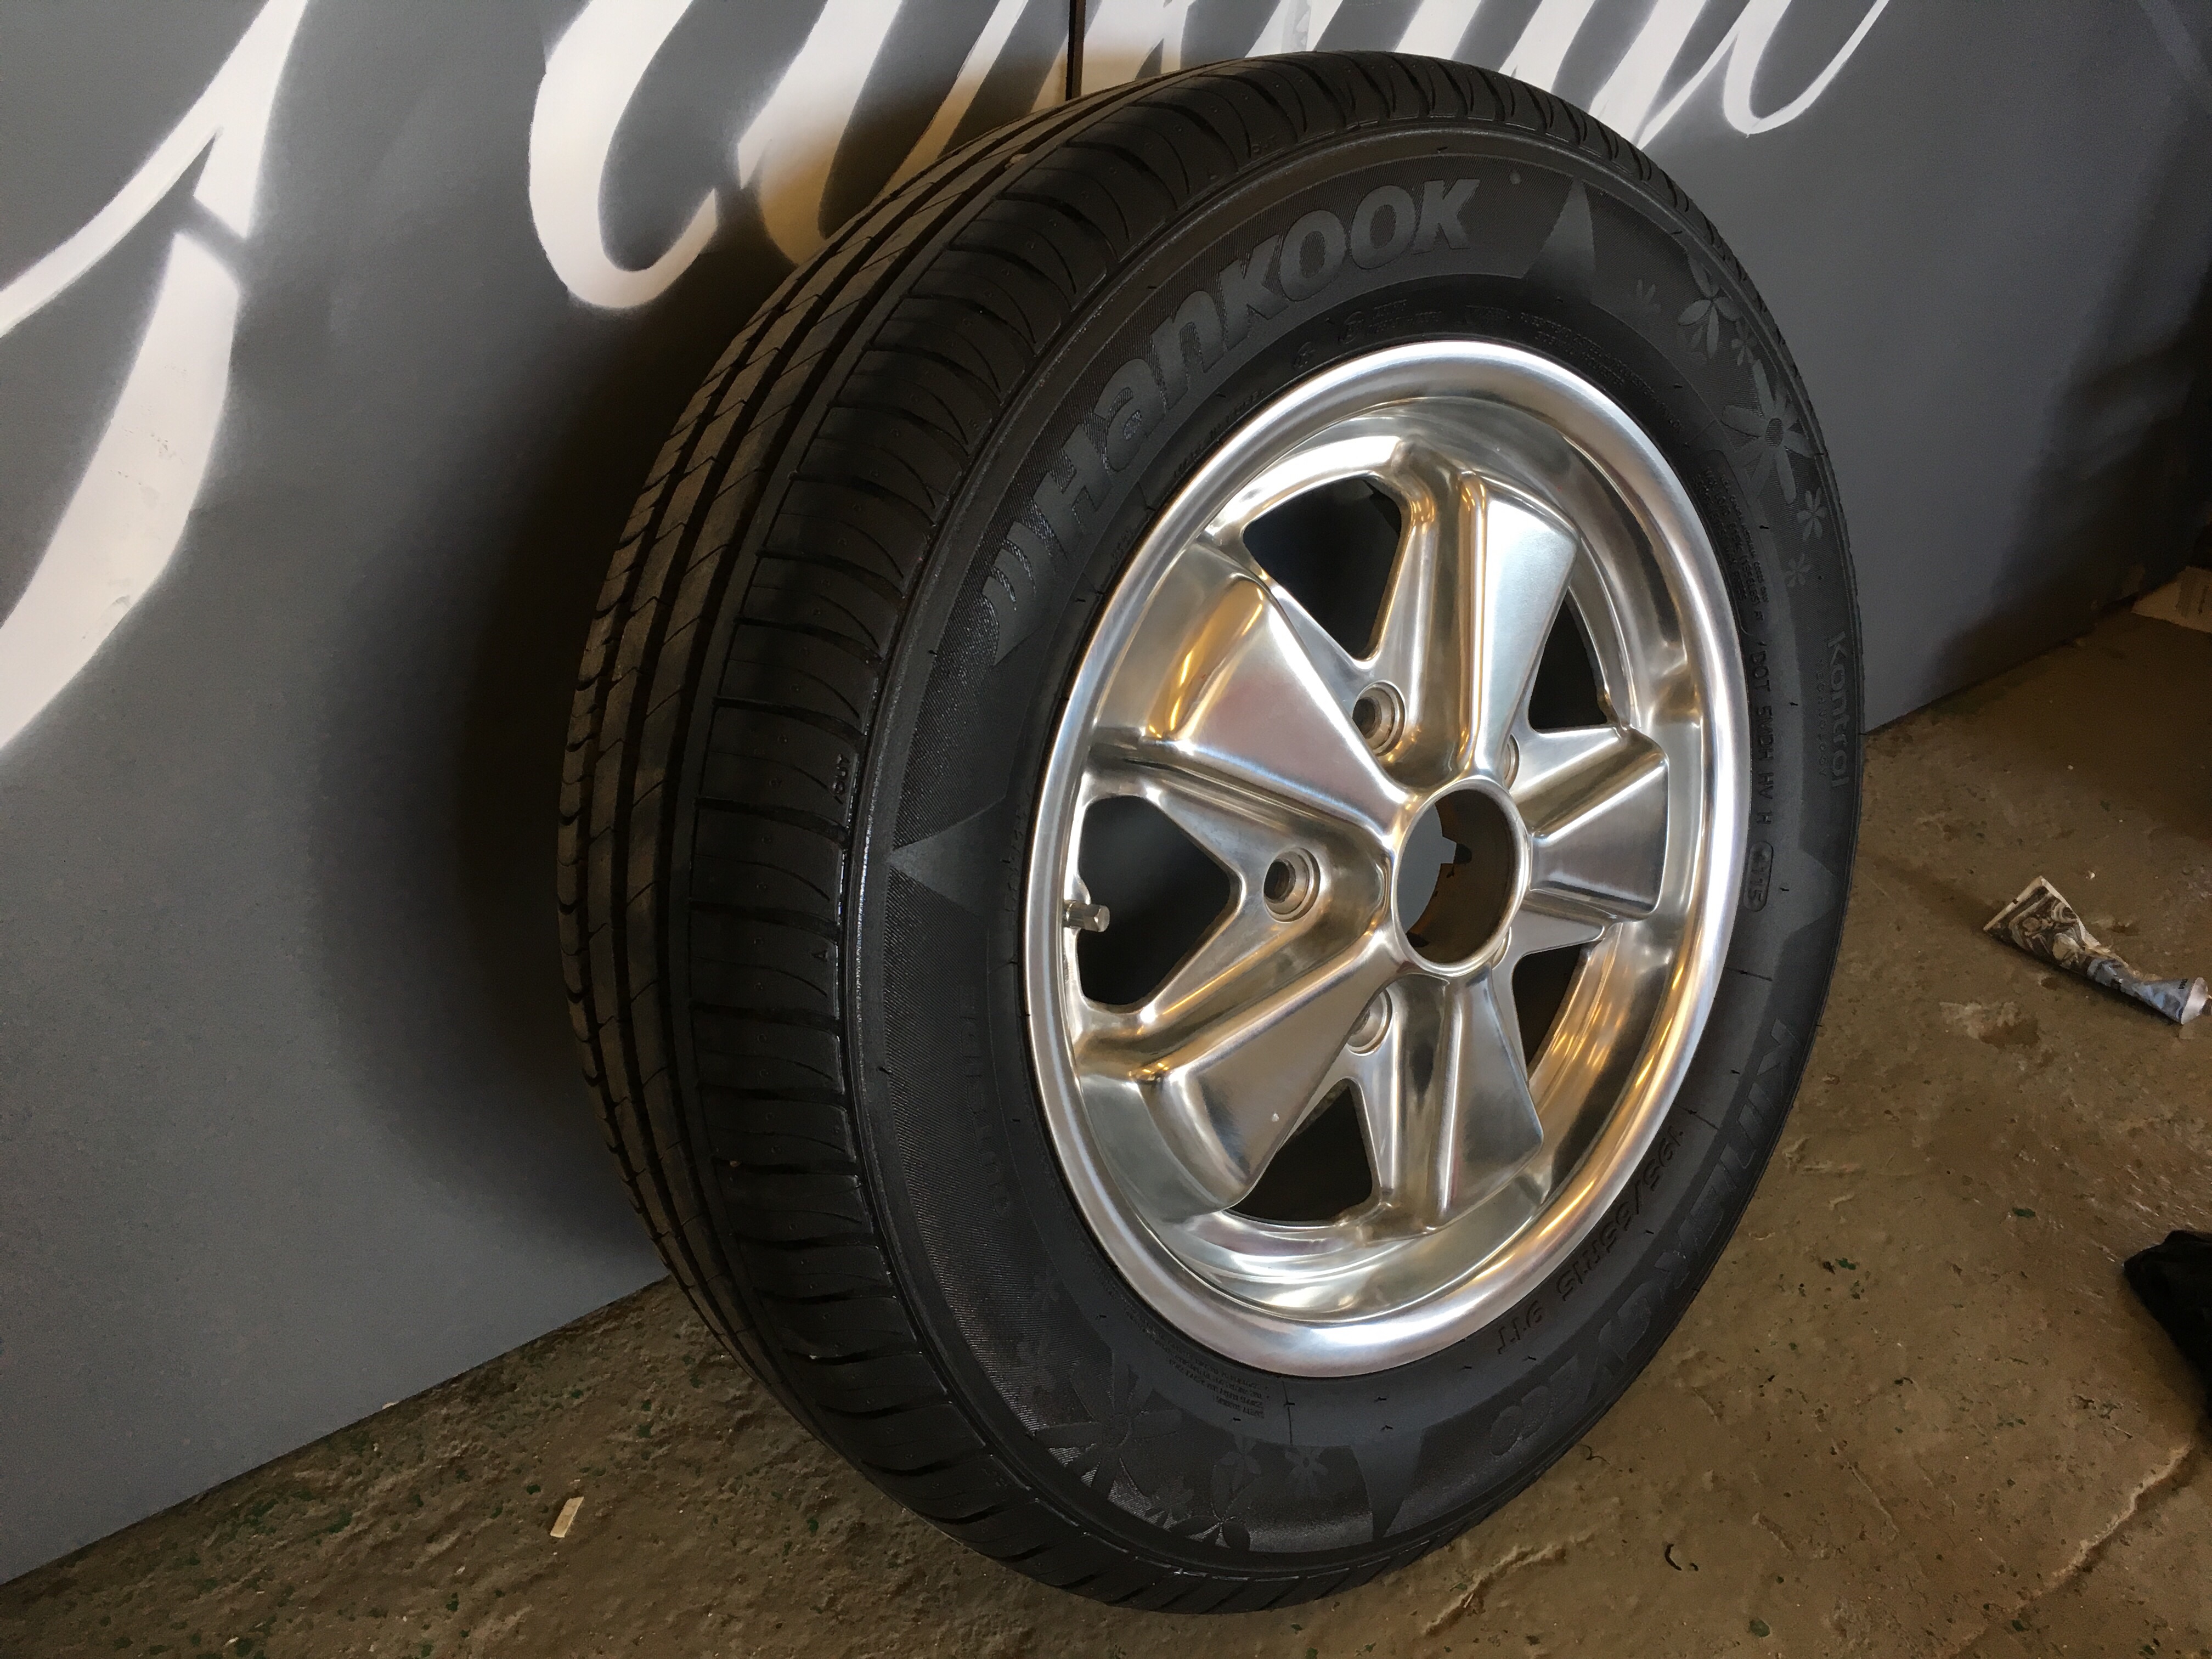
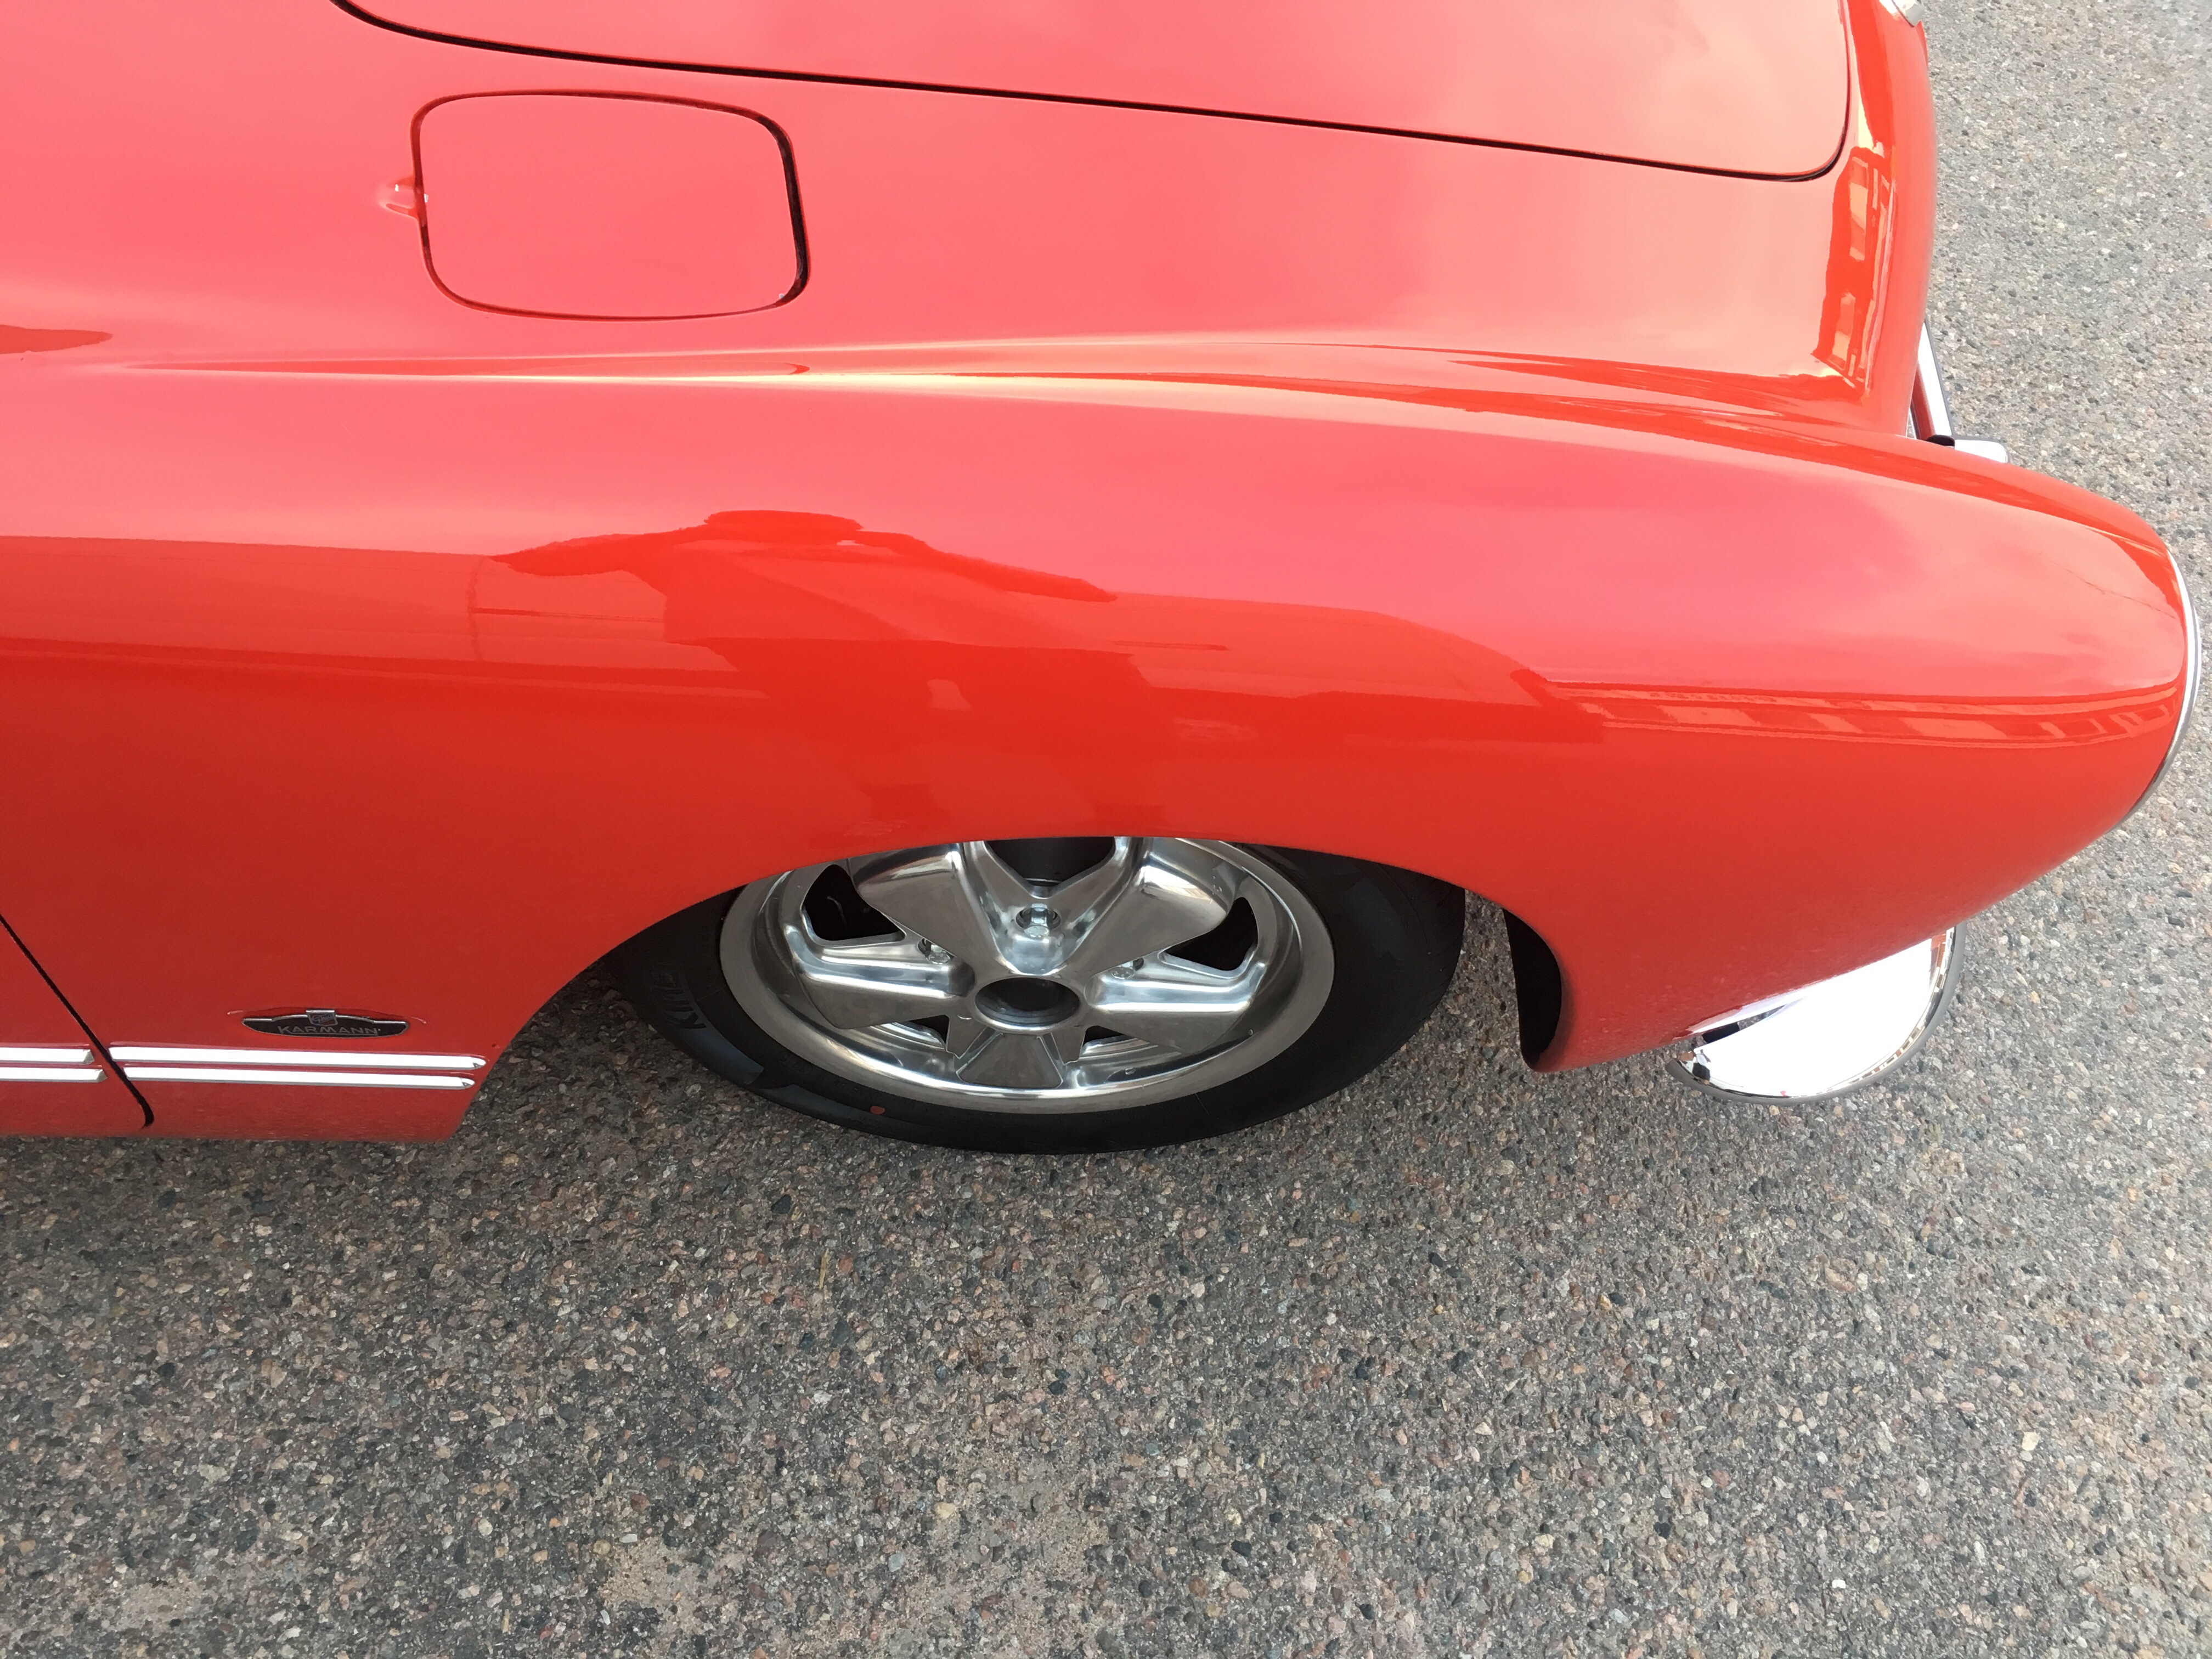
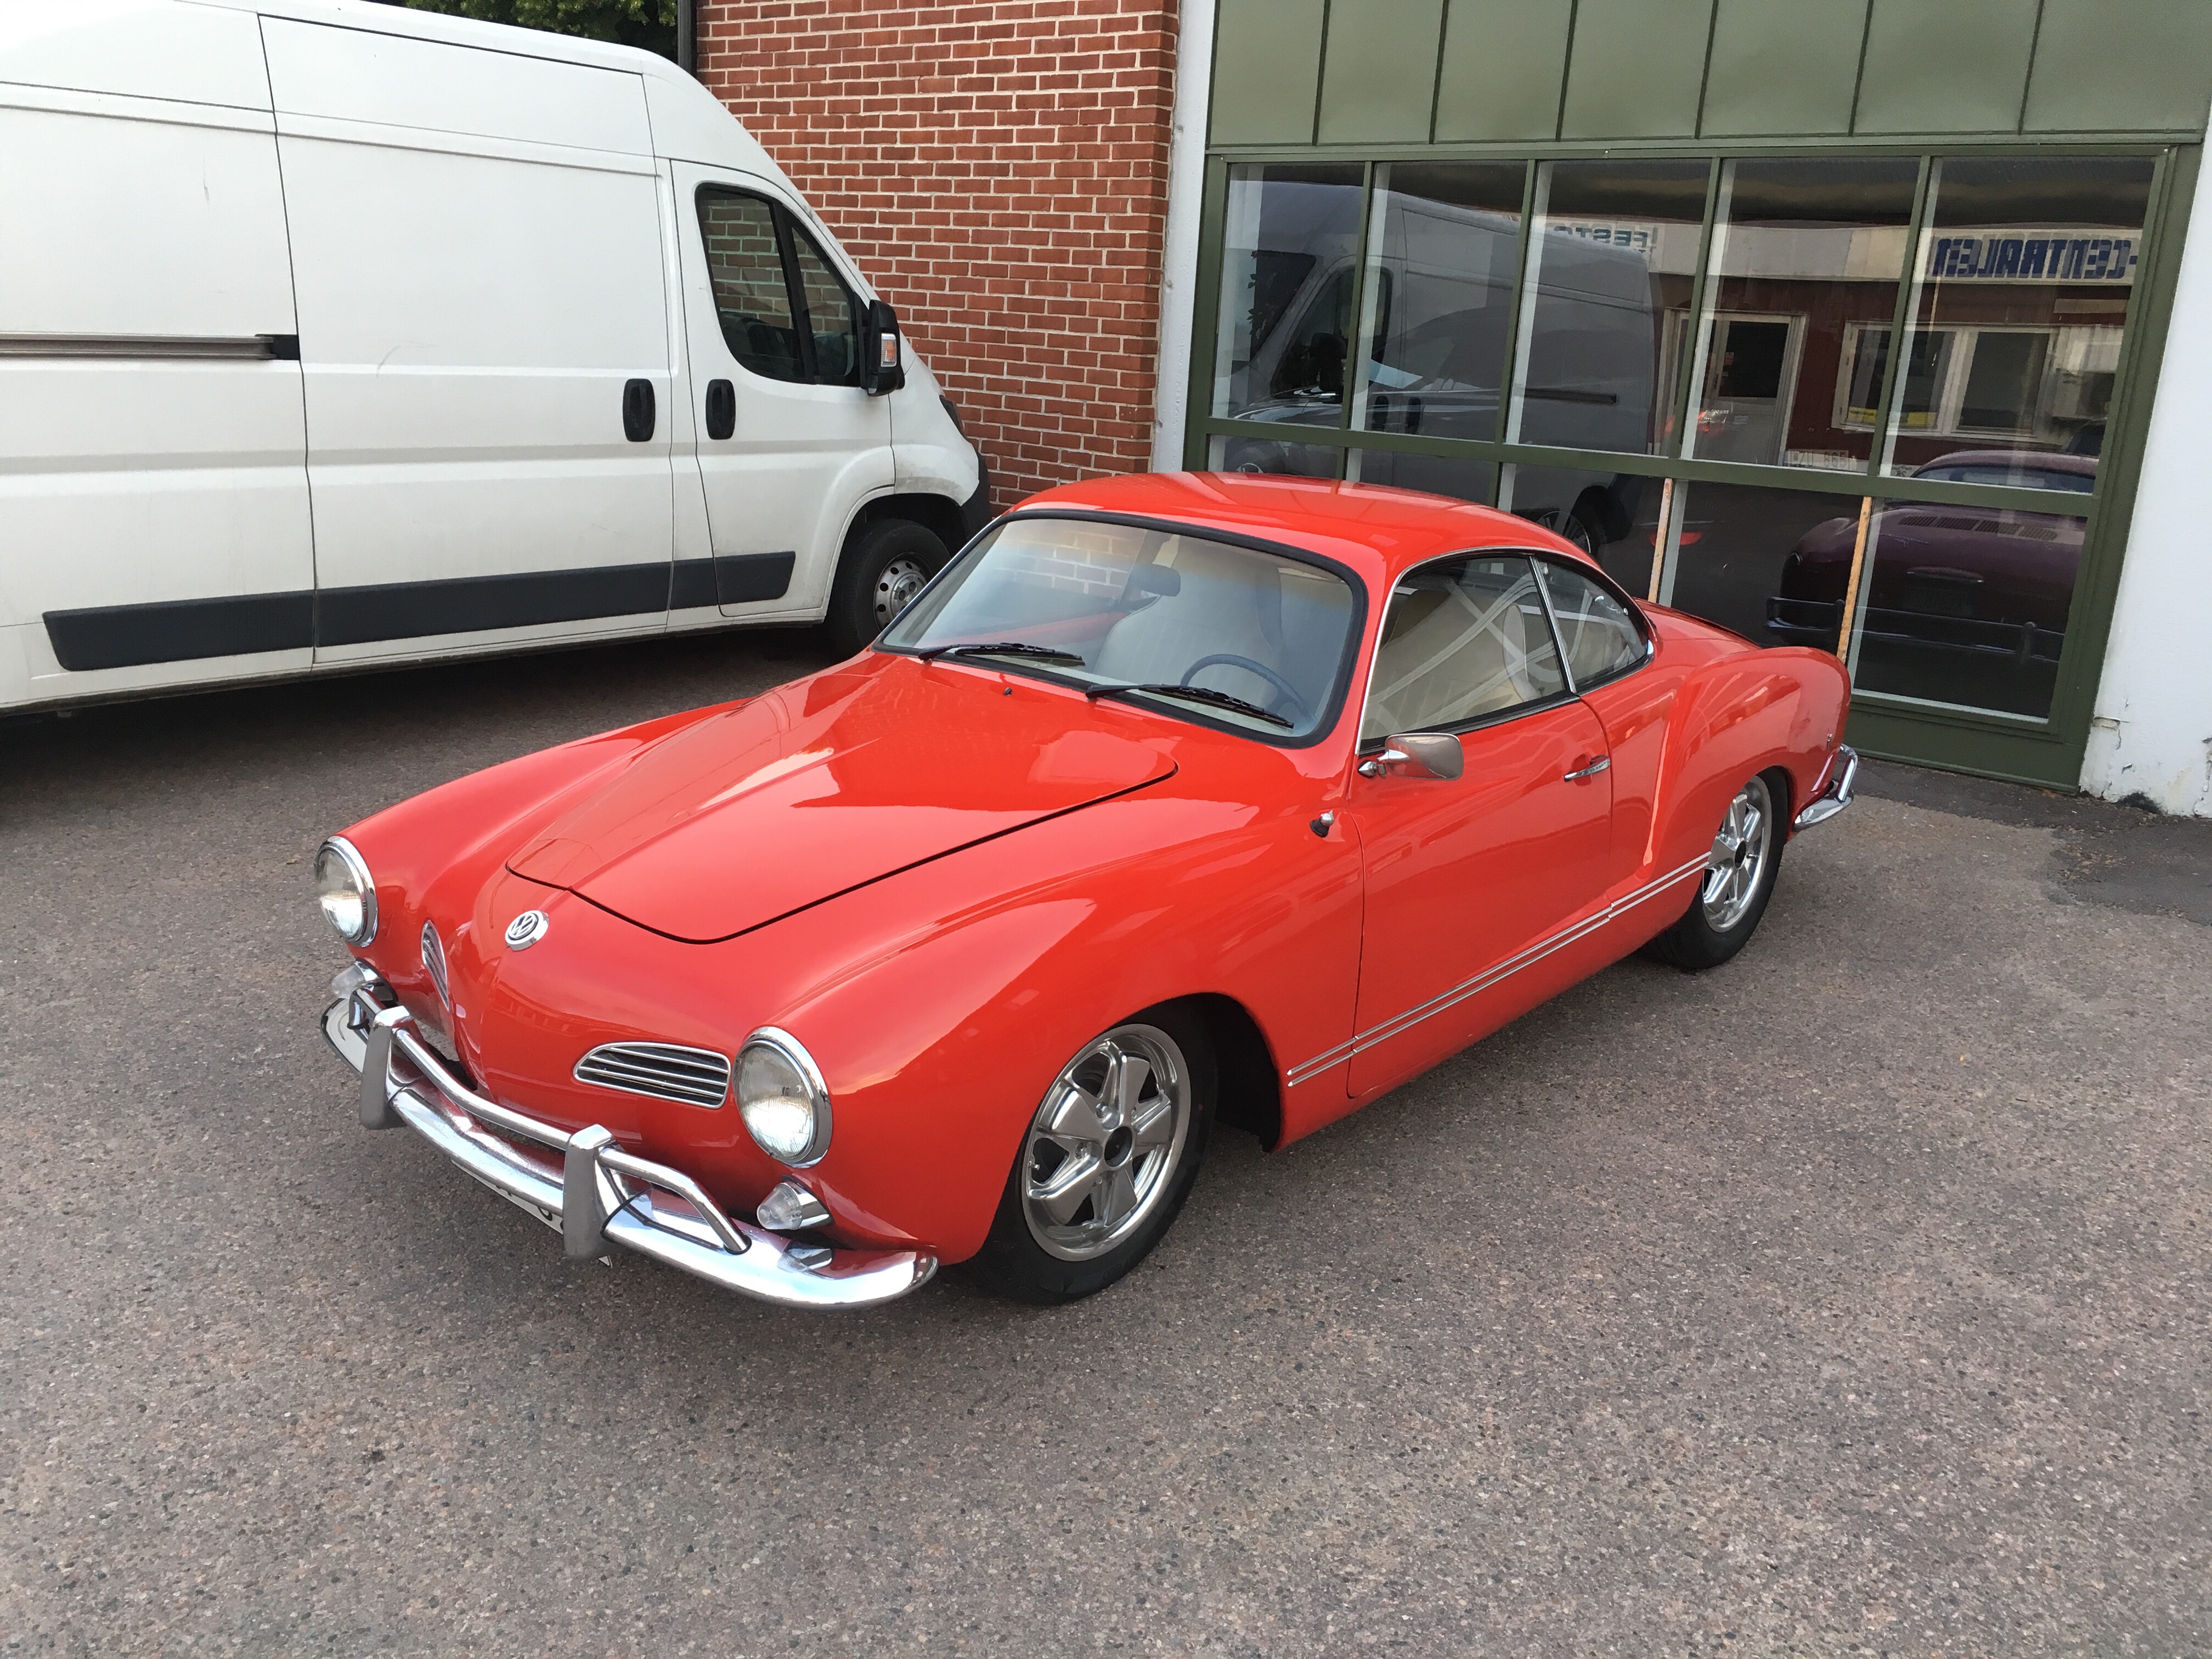
The best from two worlds, Porsche 911 and VW Karmann Ghia.

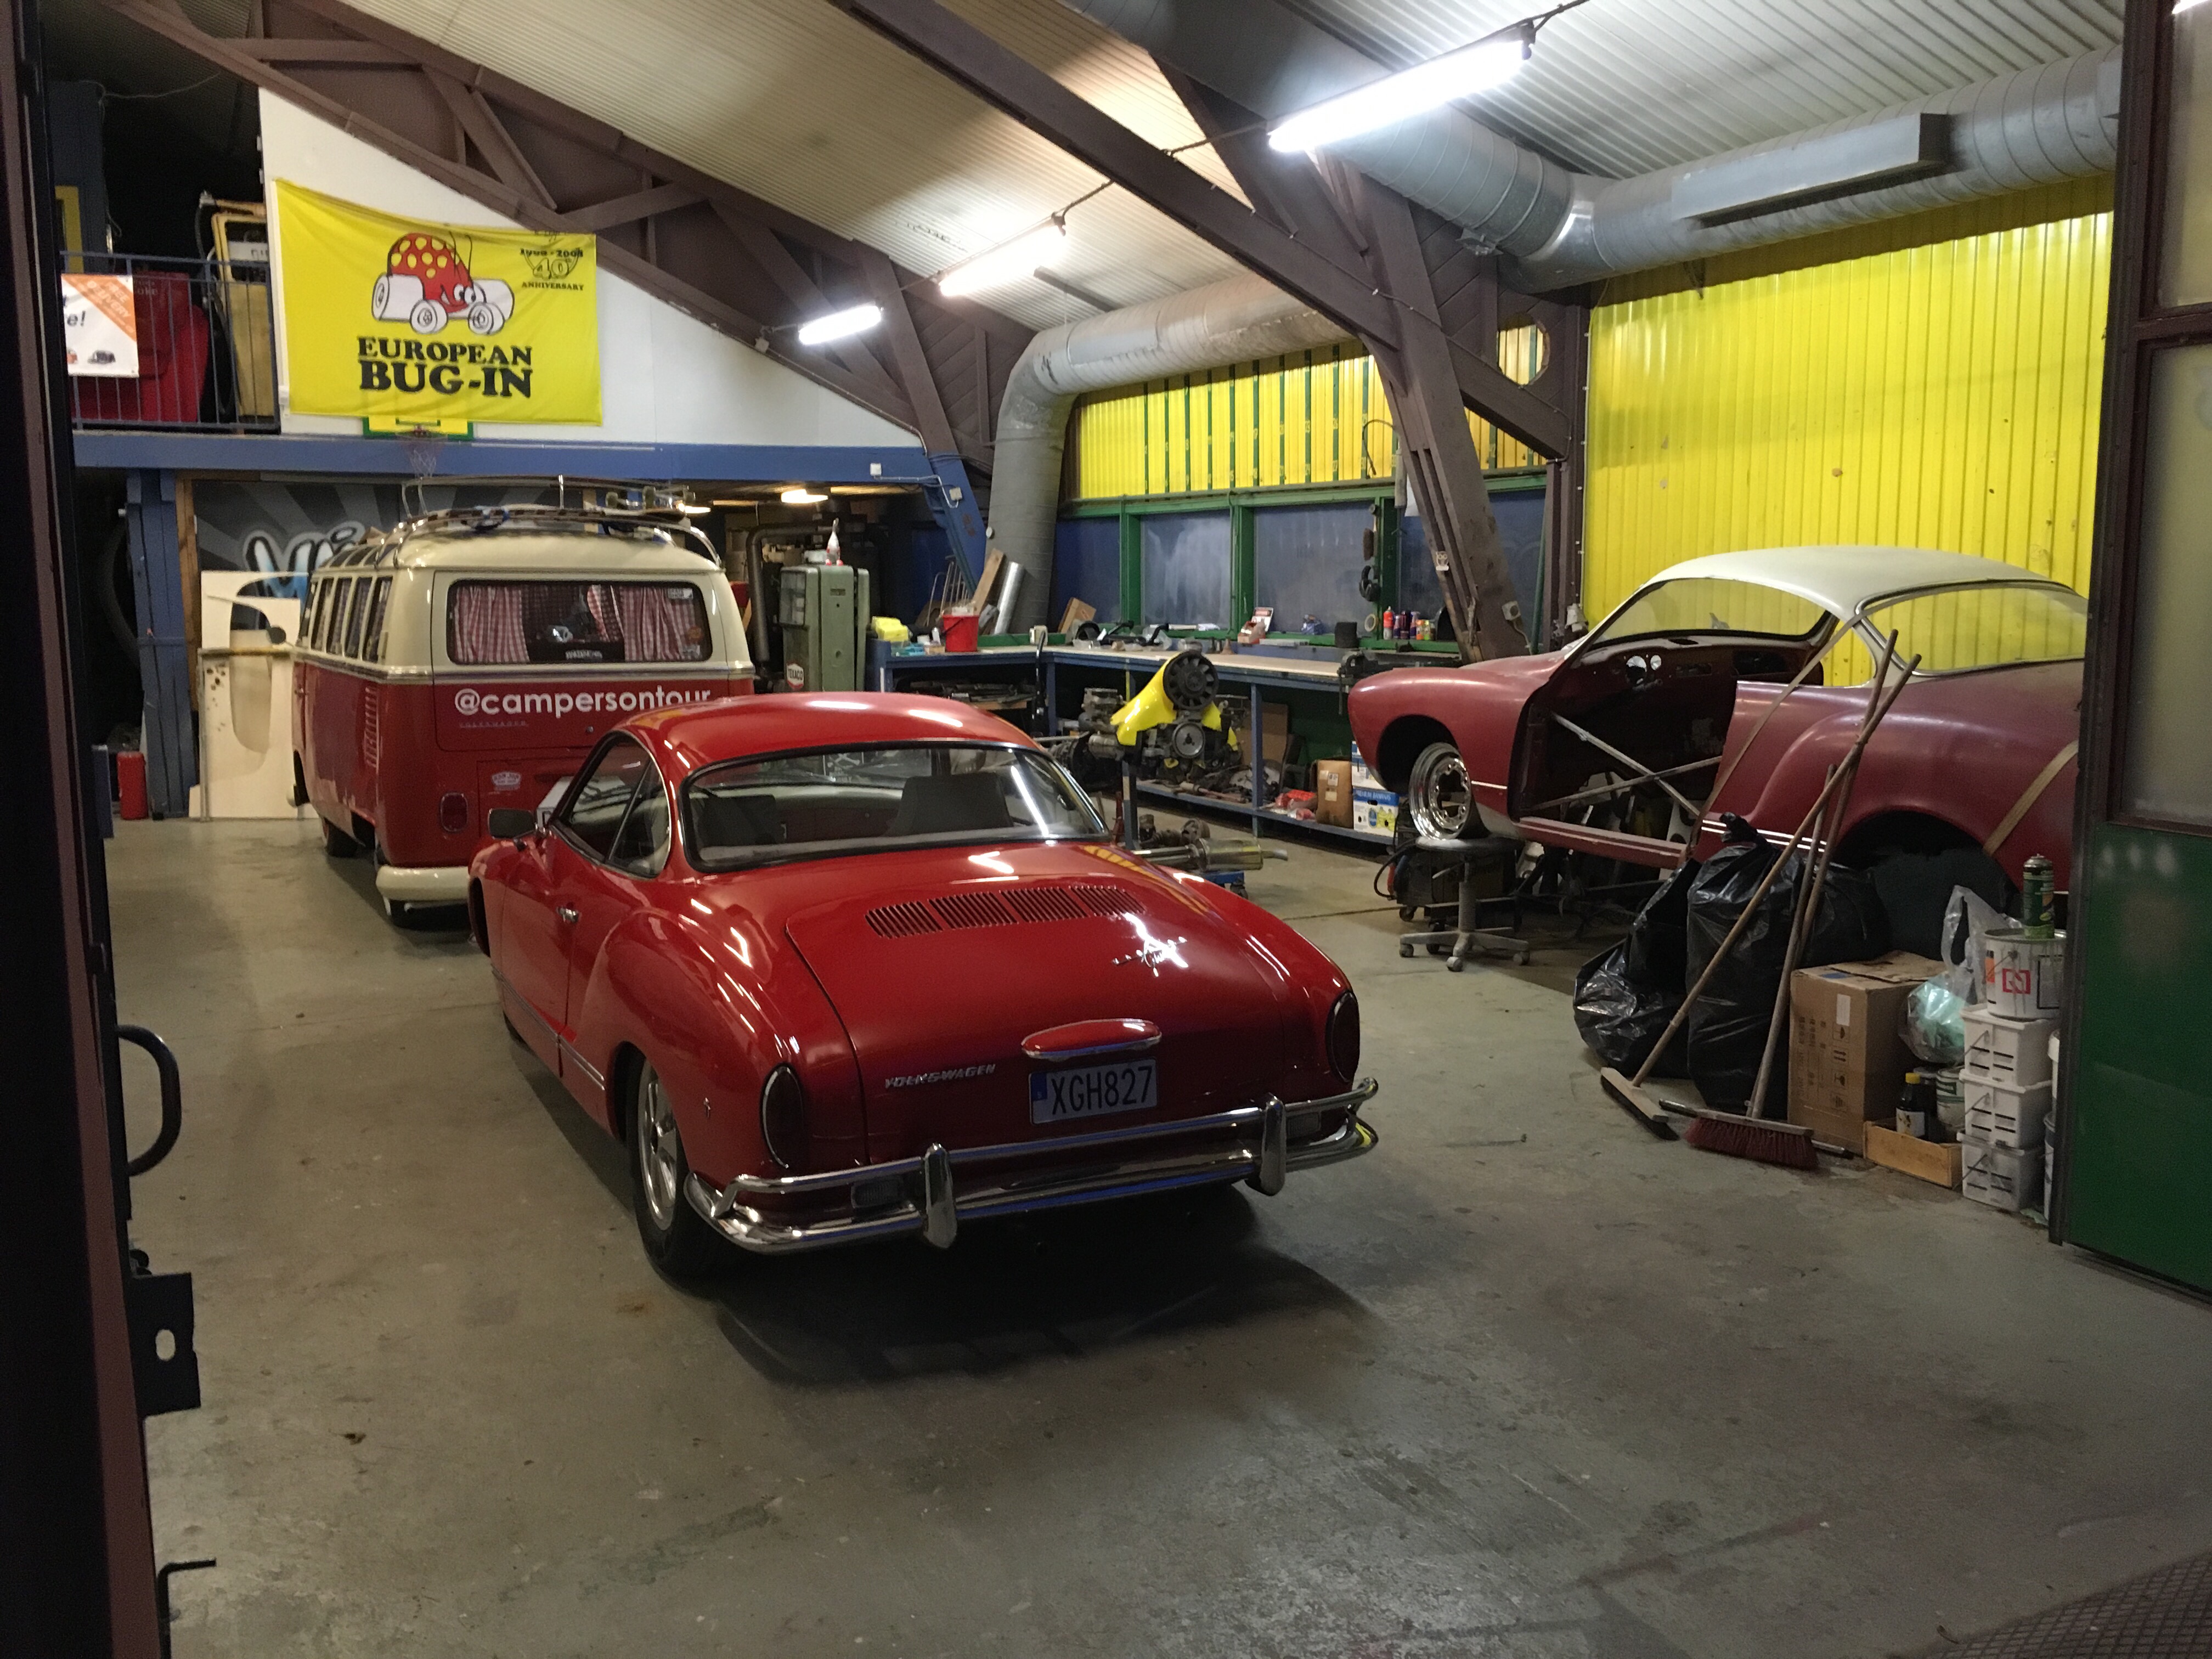
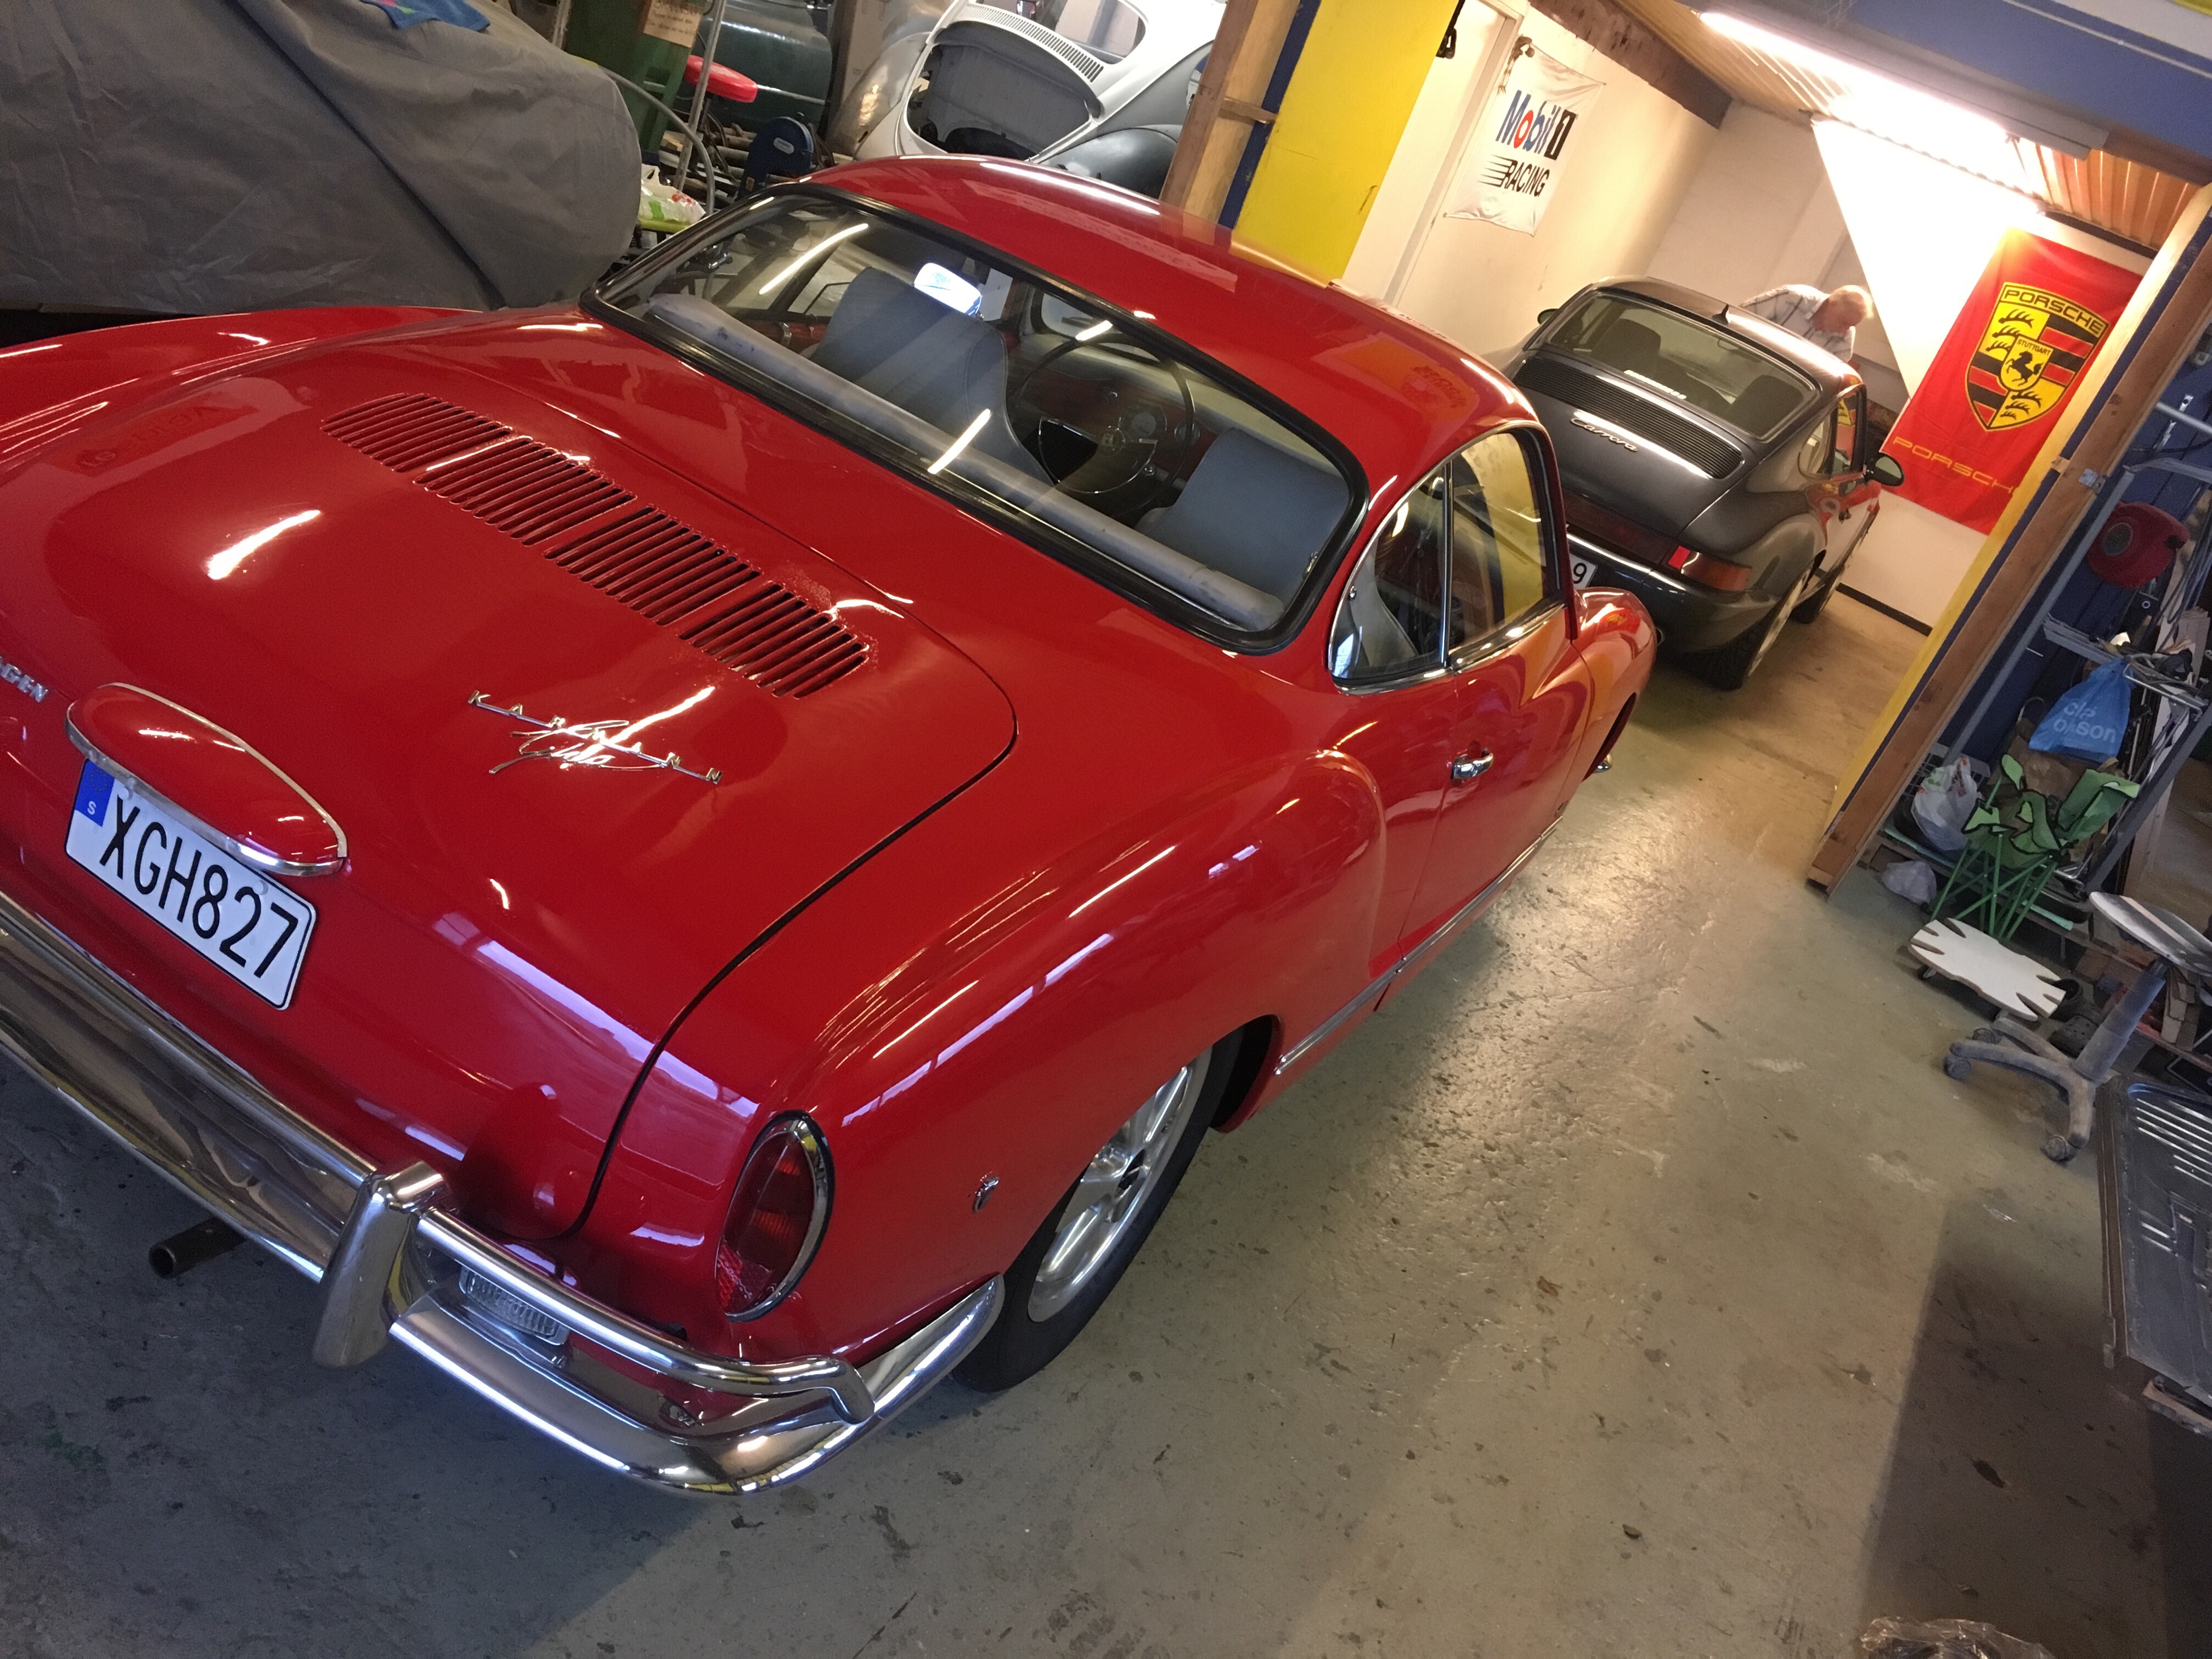
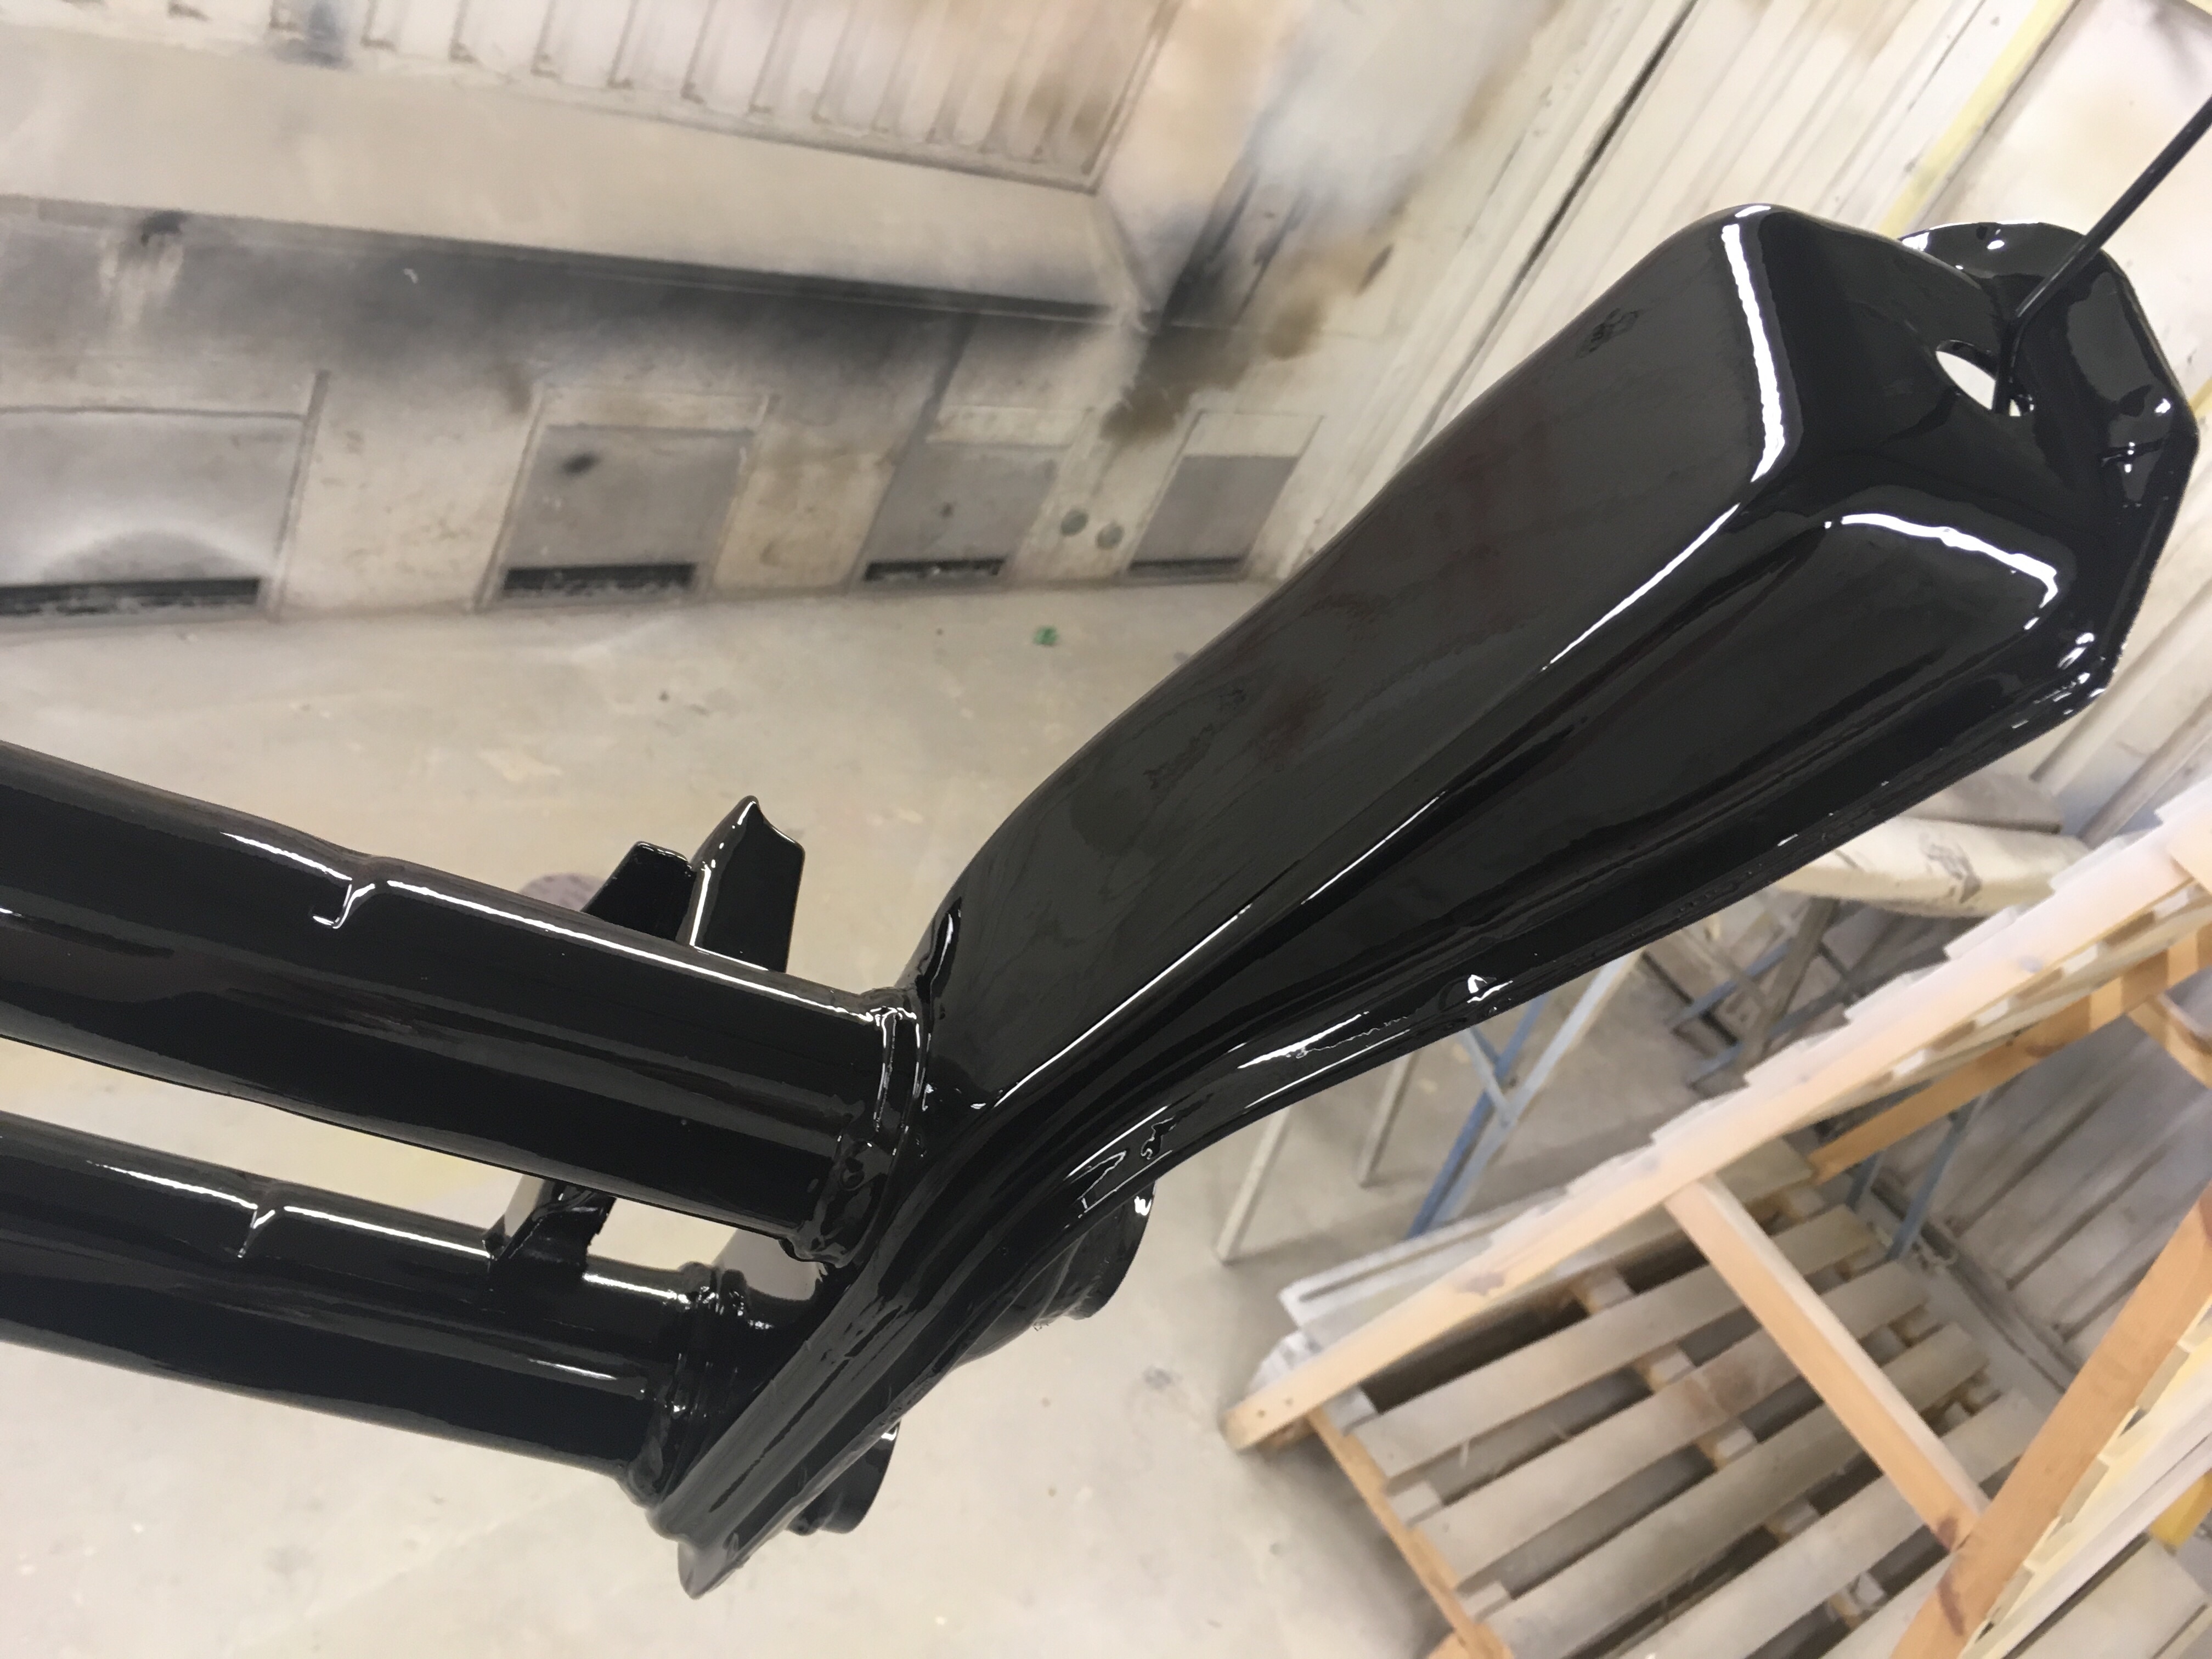
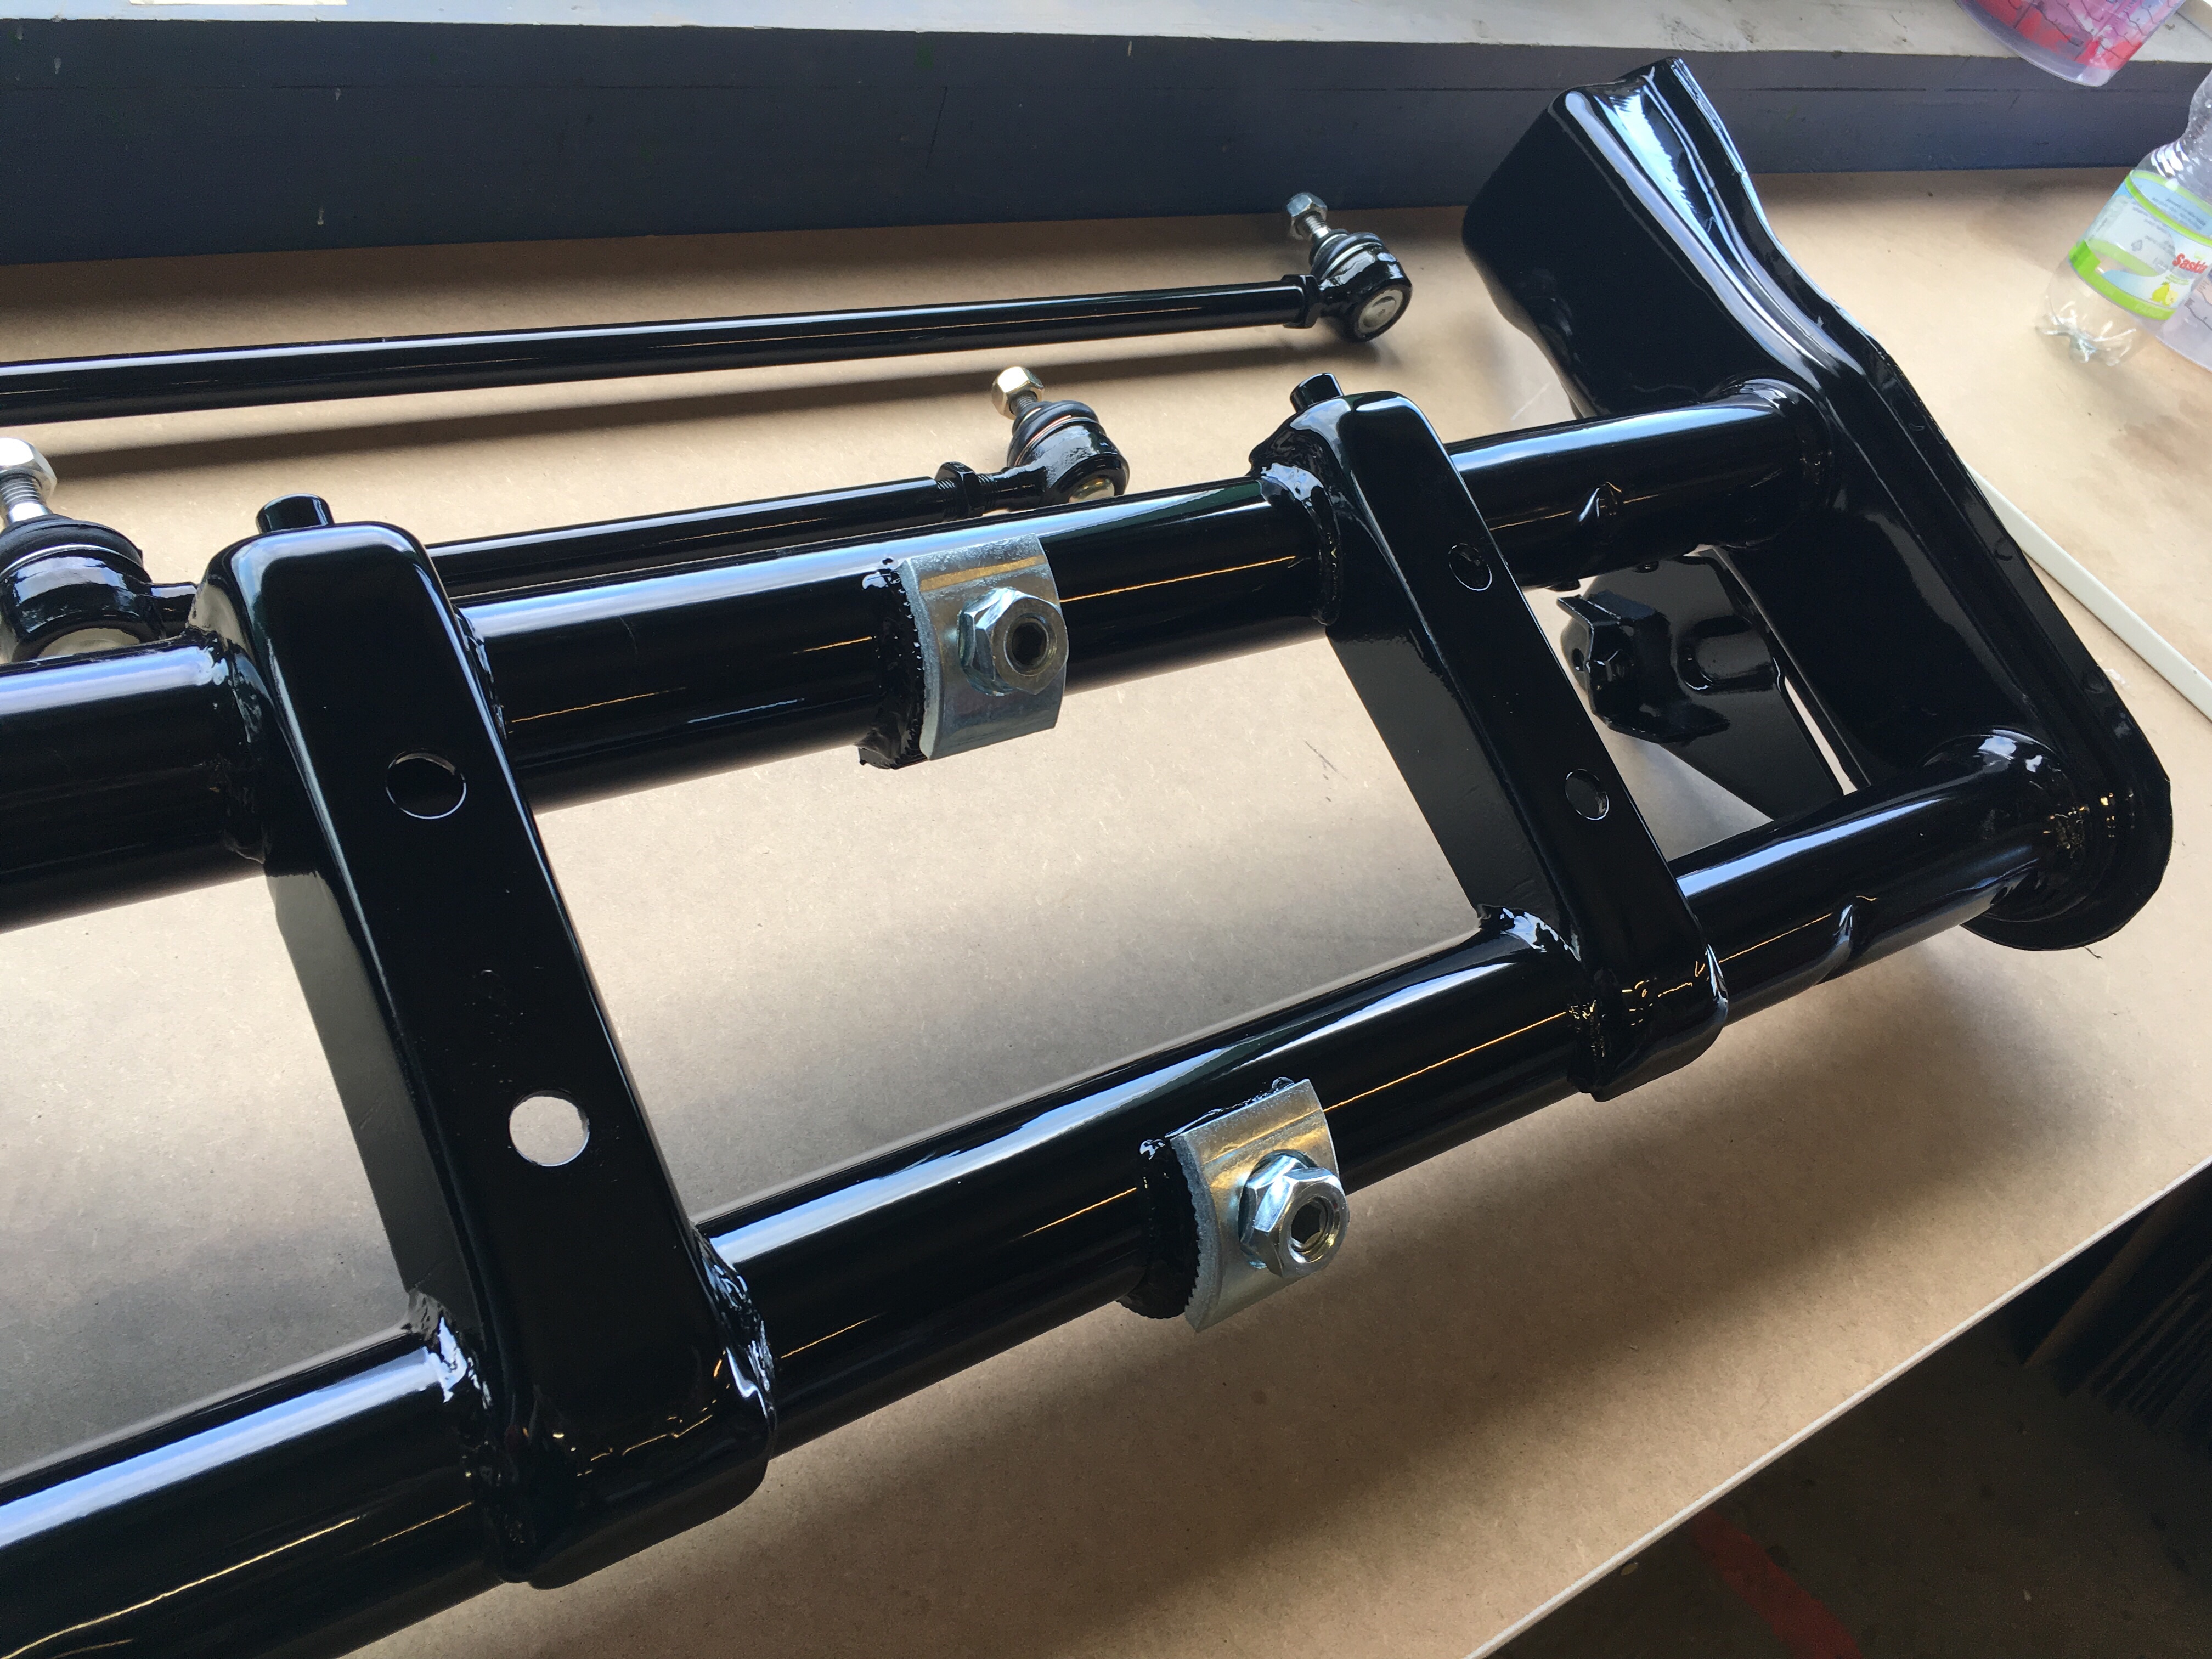
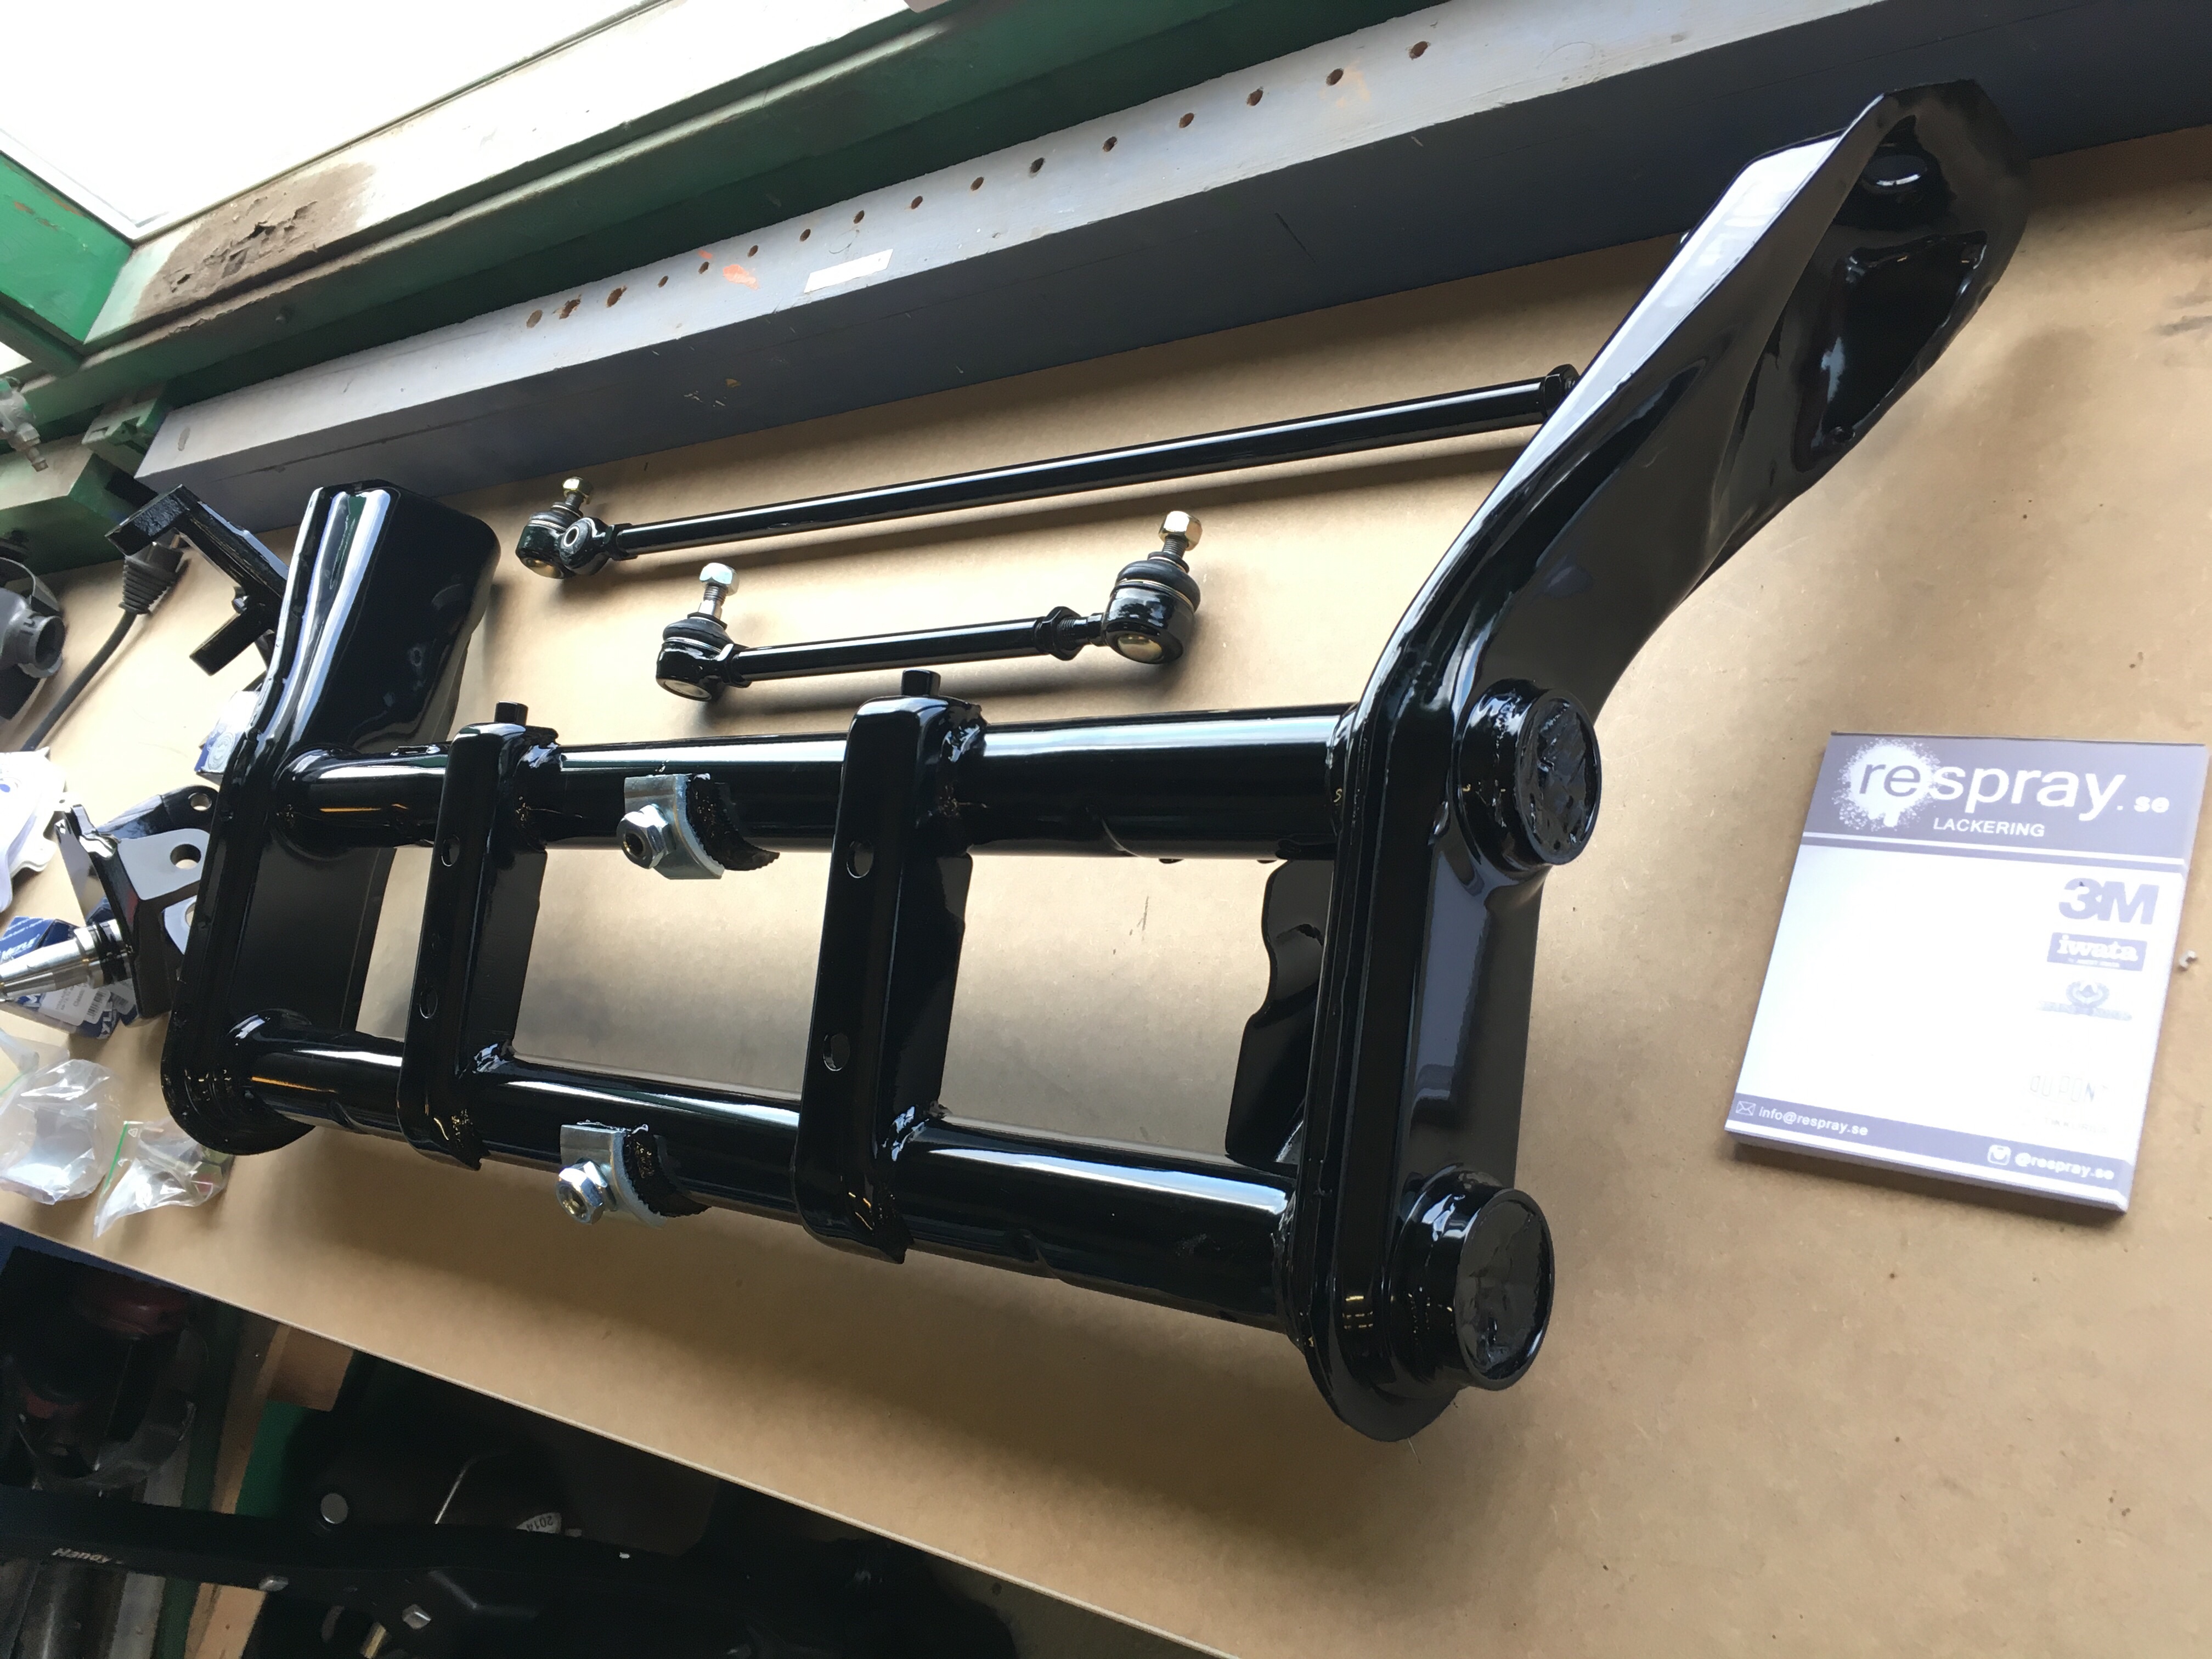
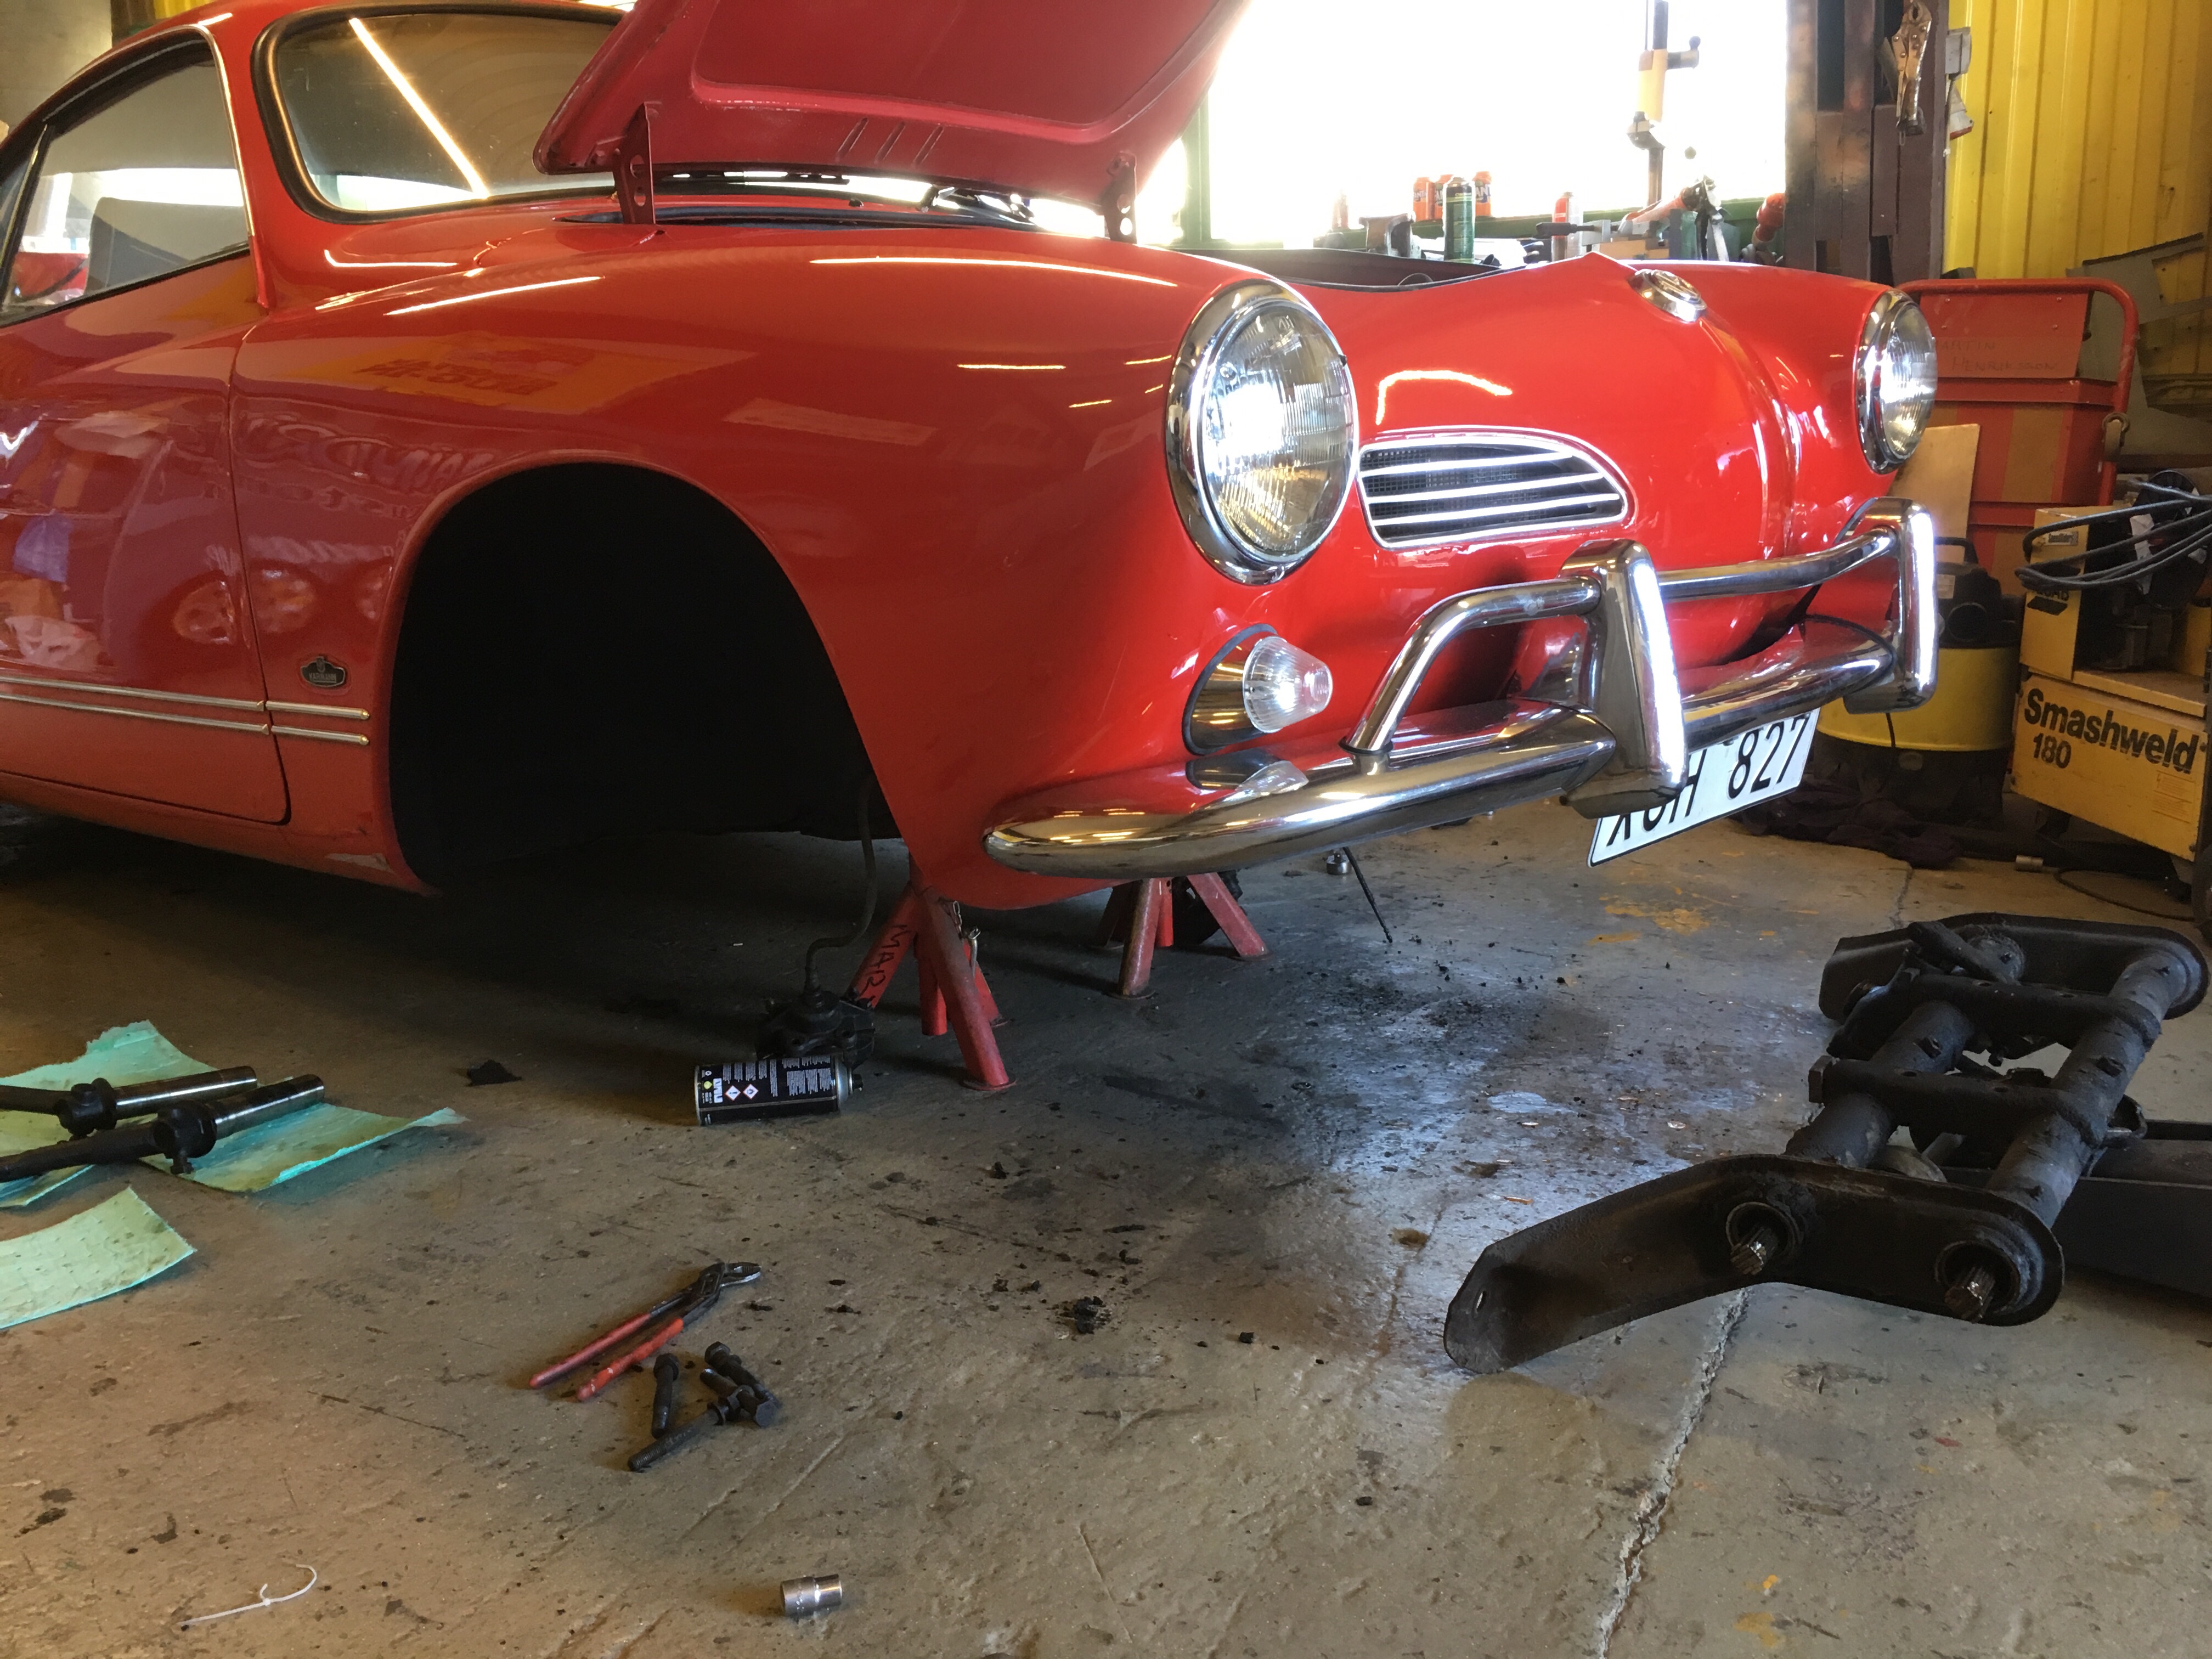
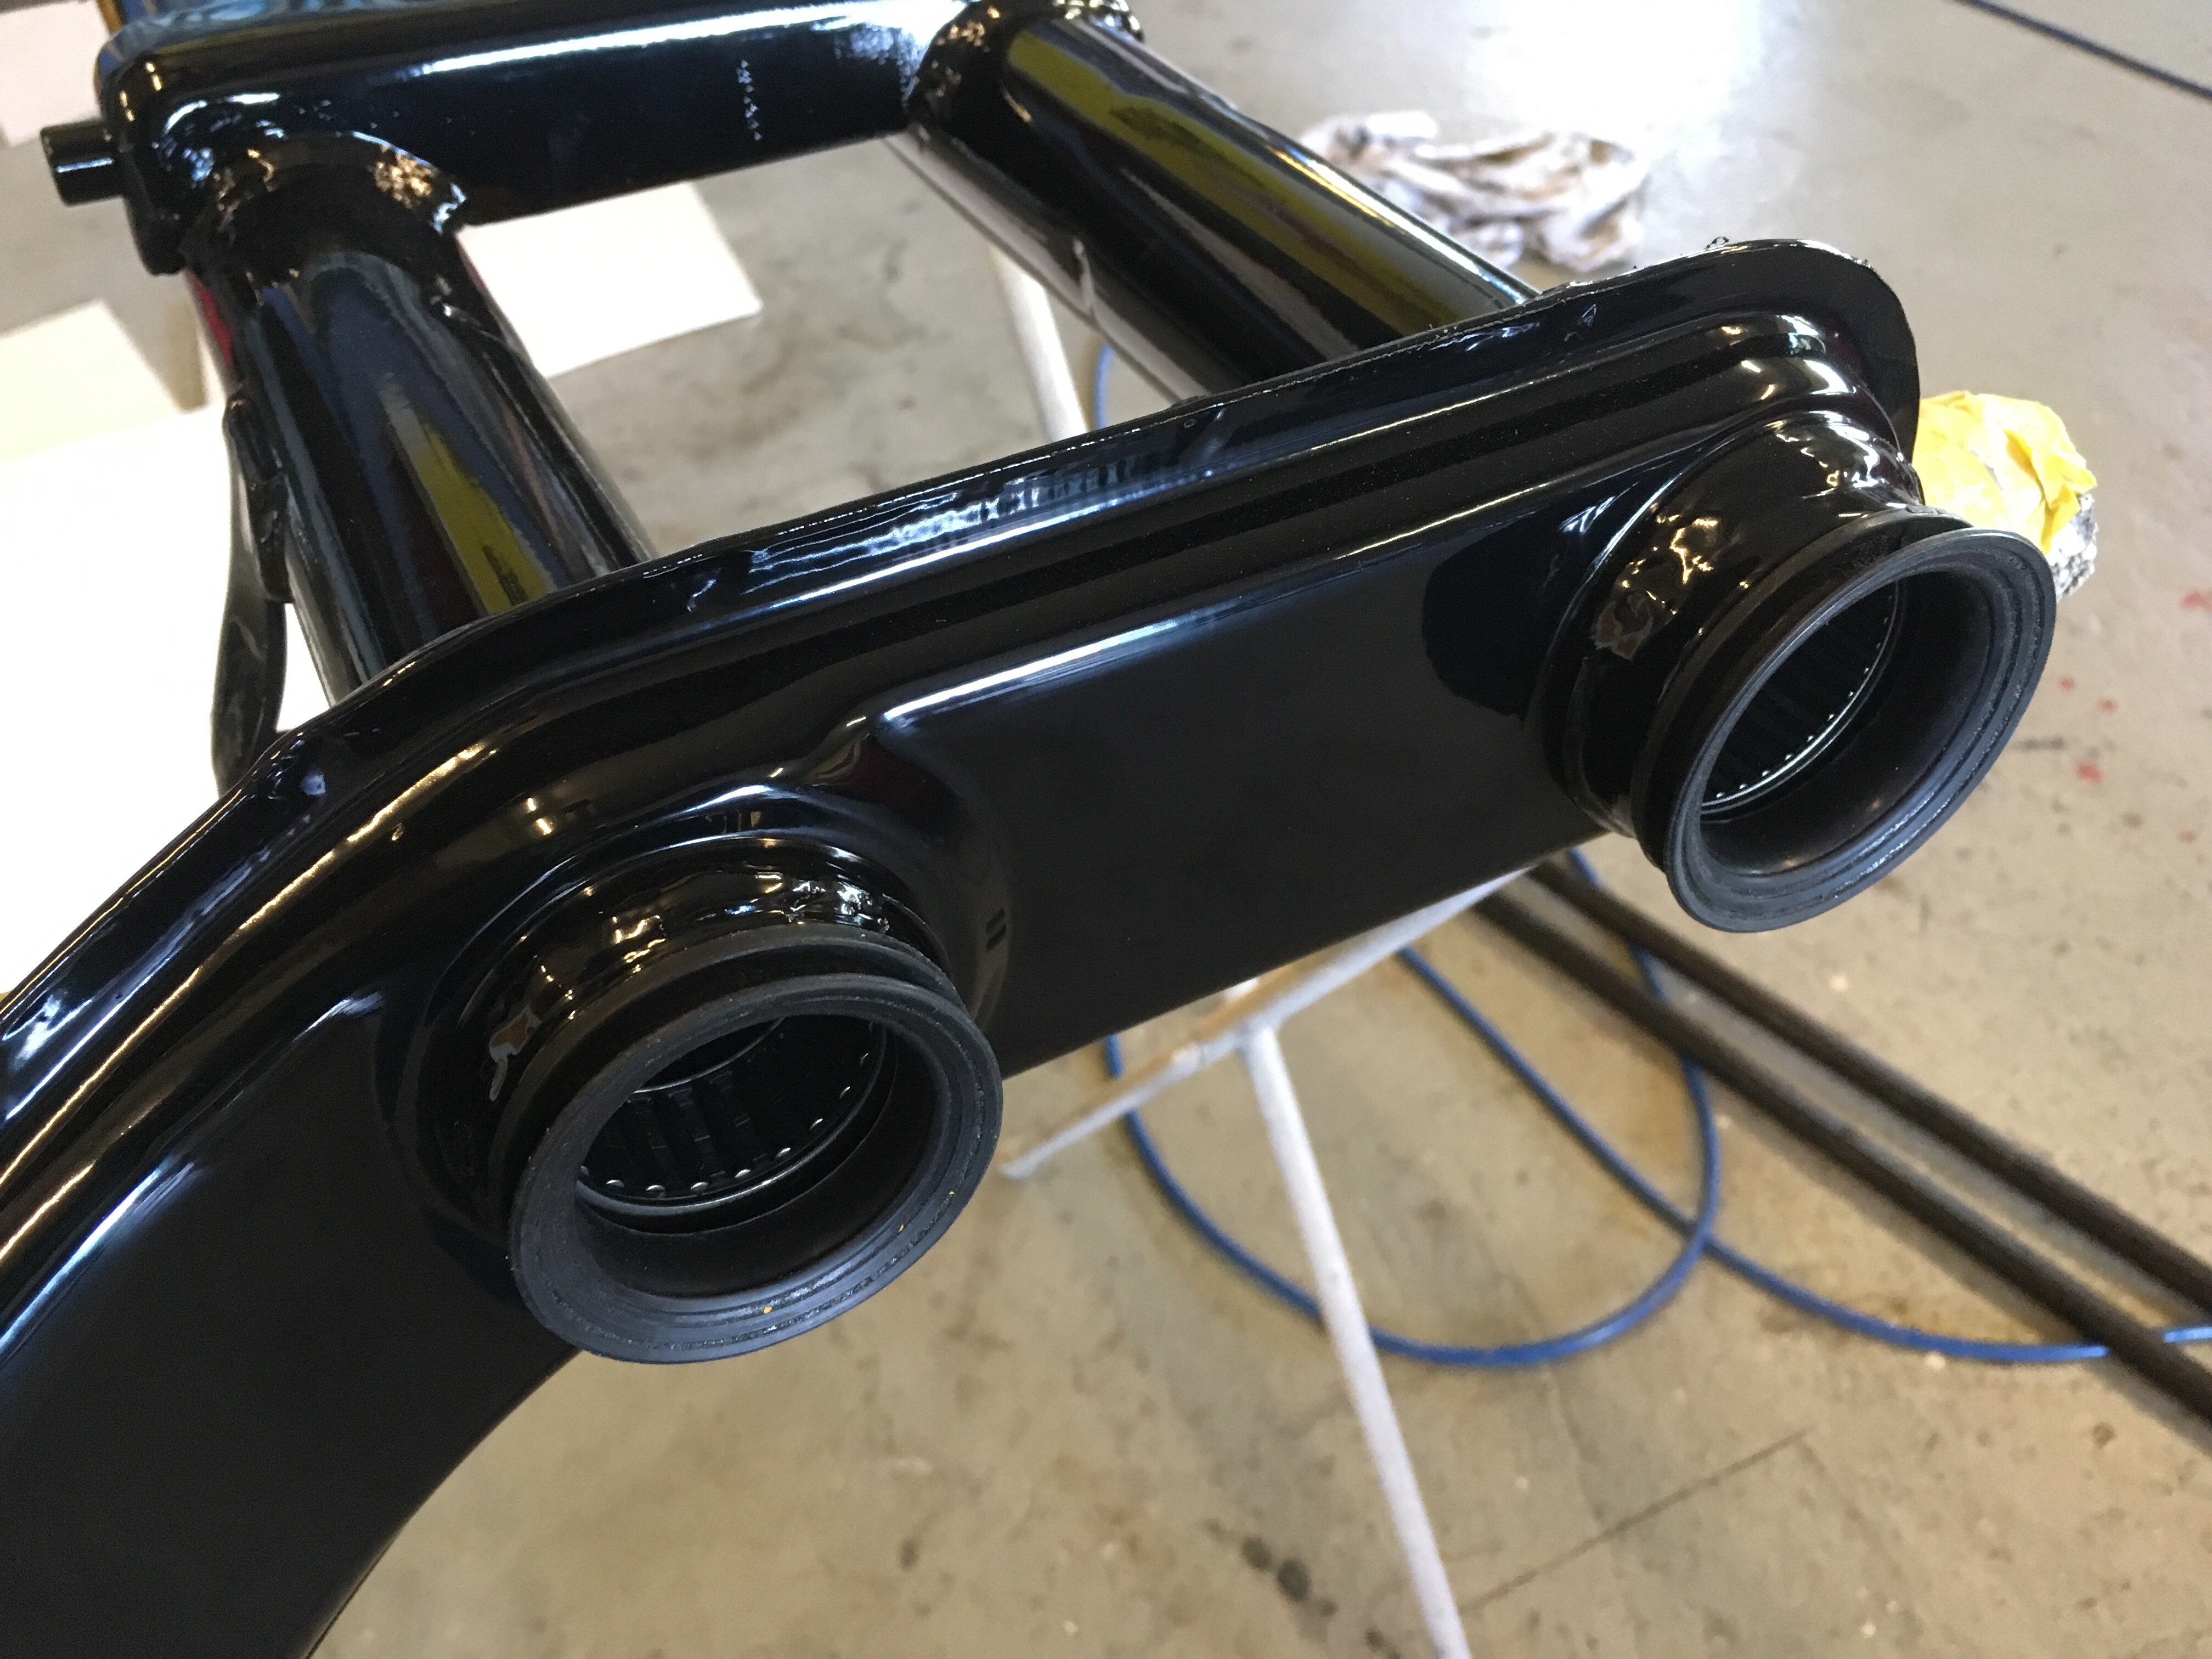
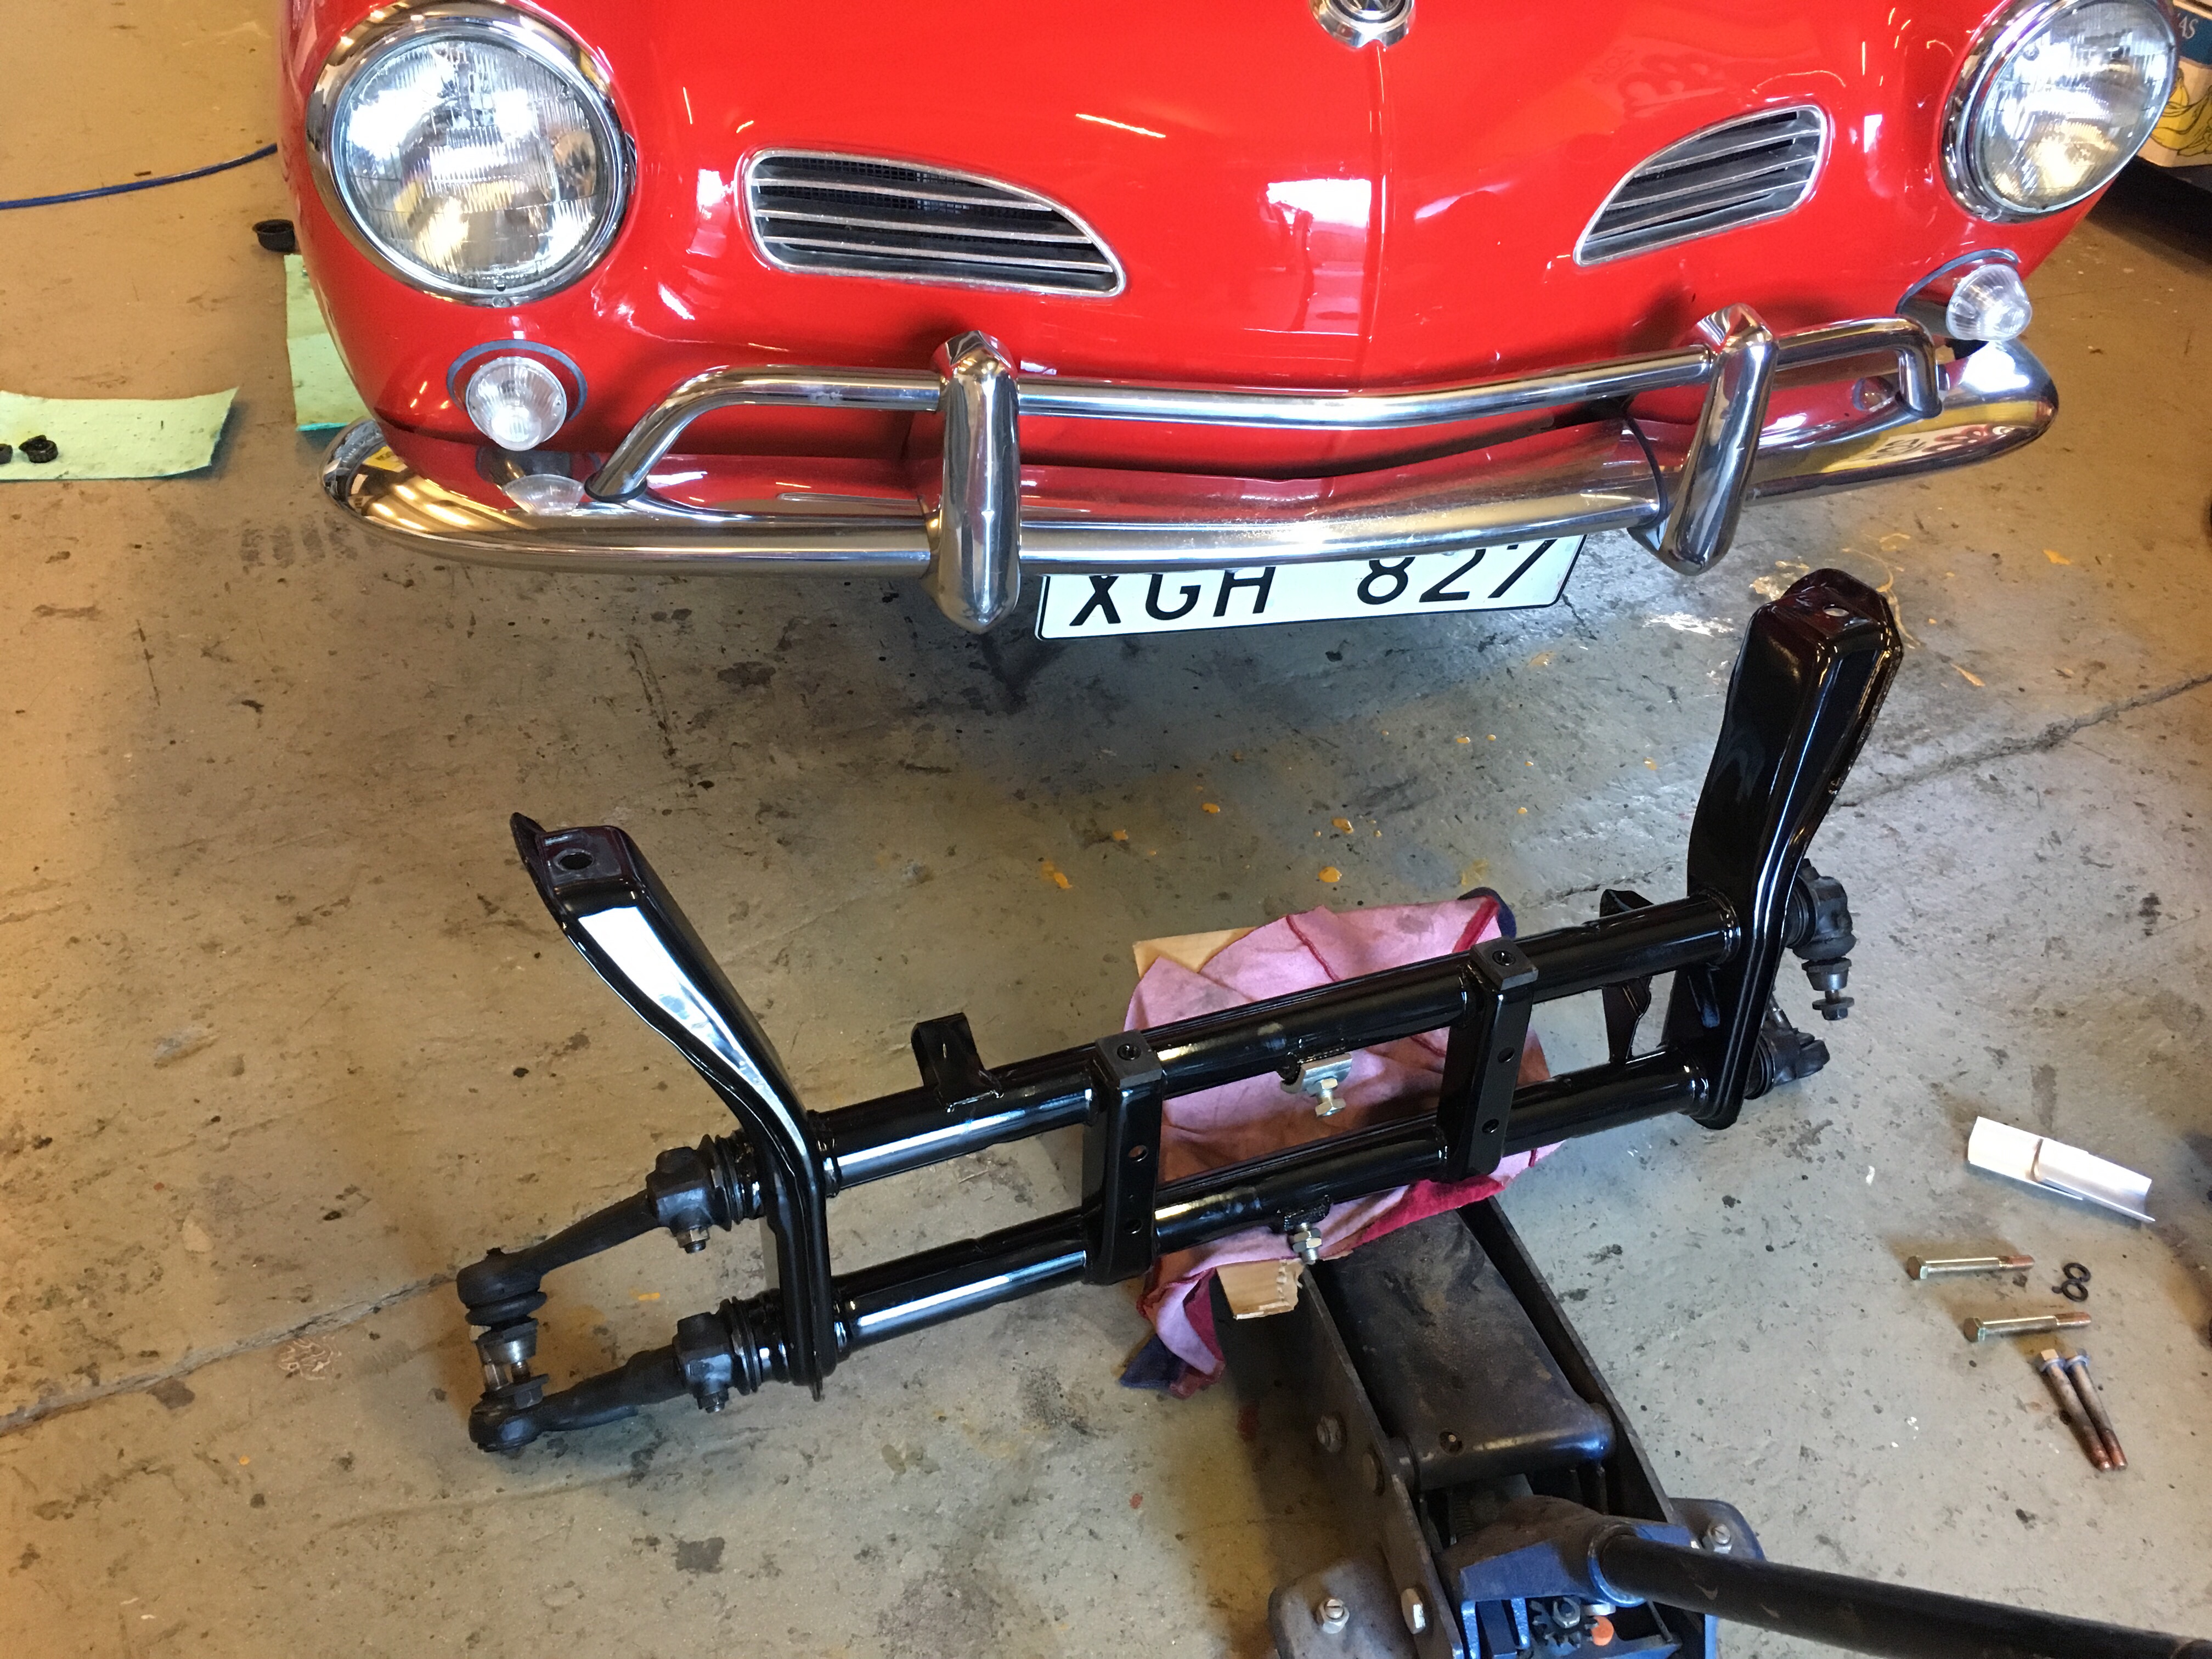
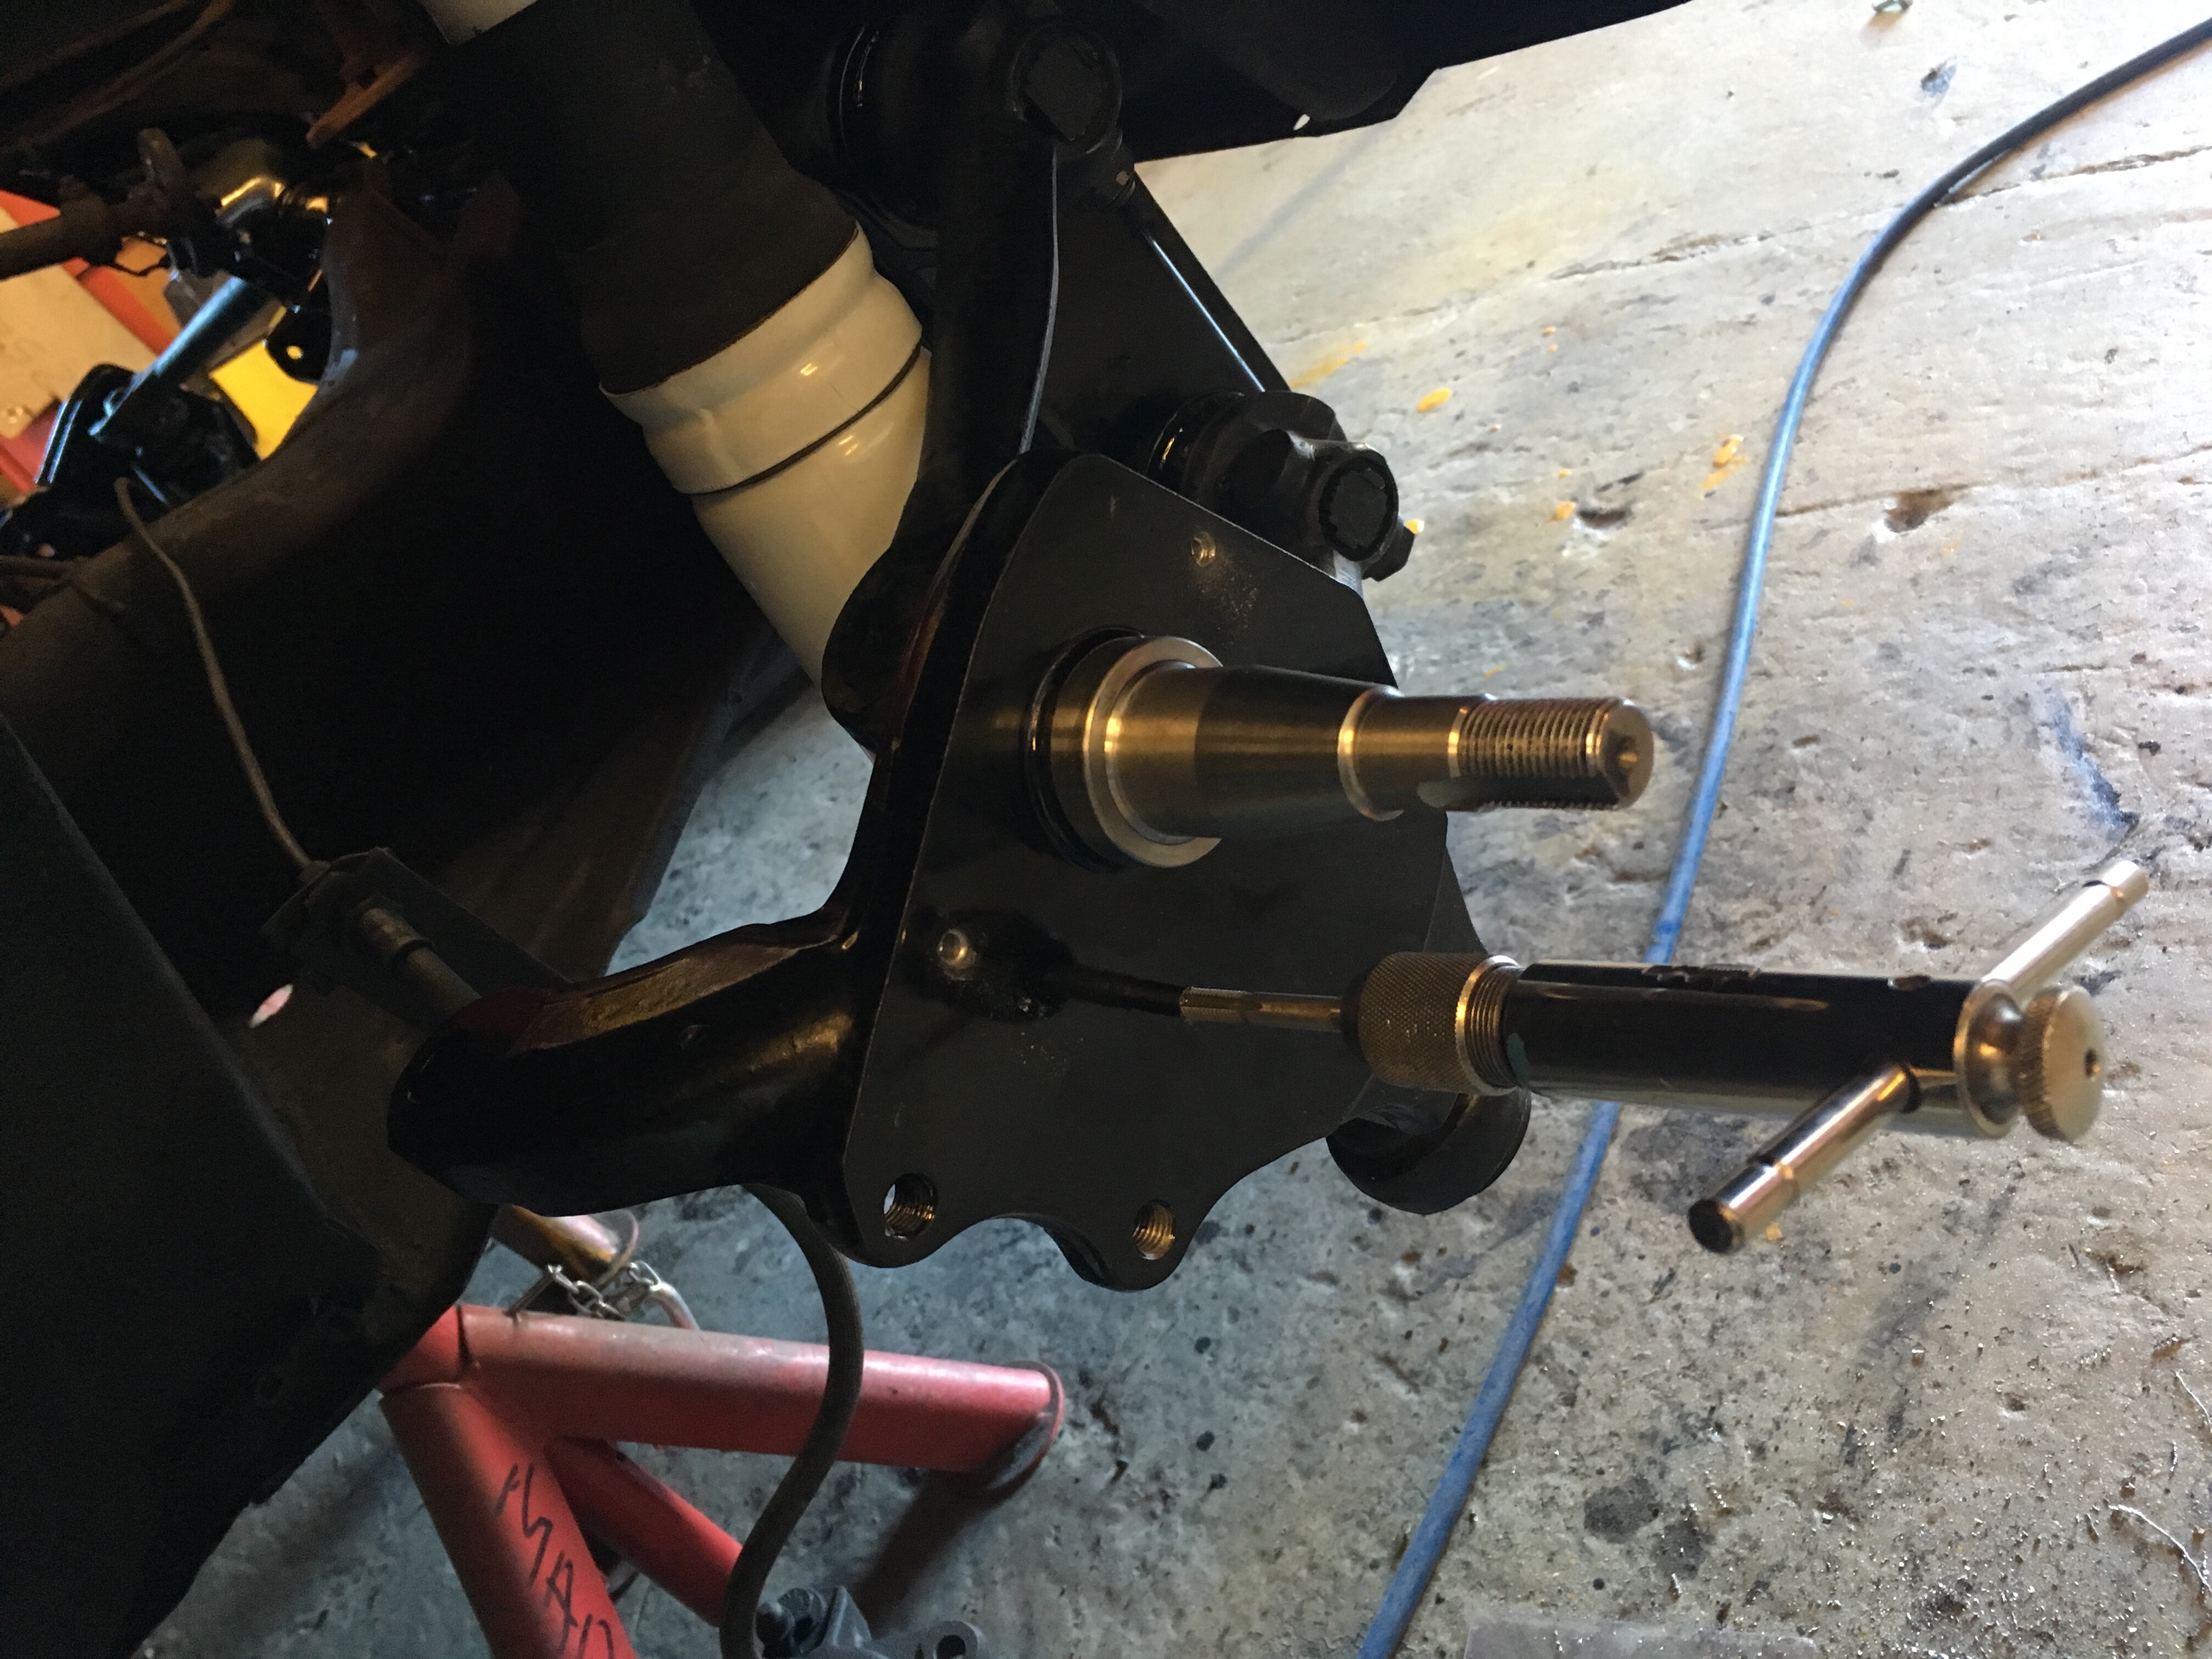
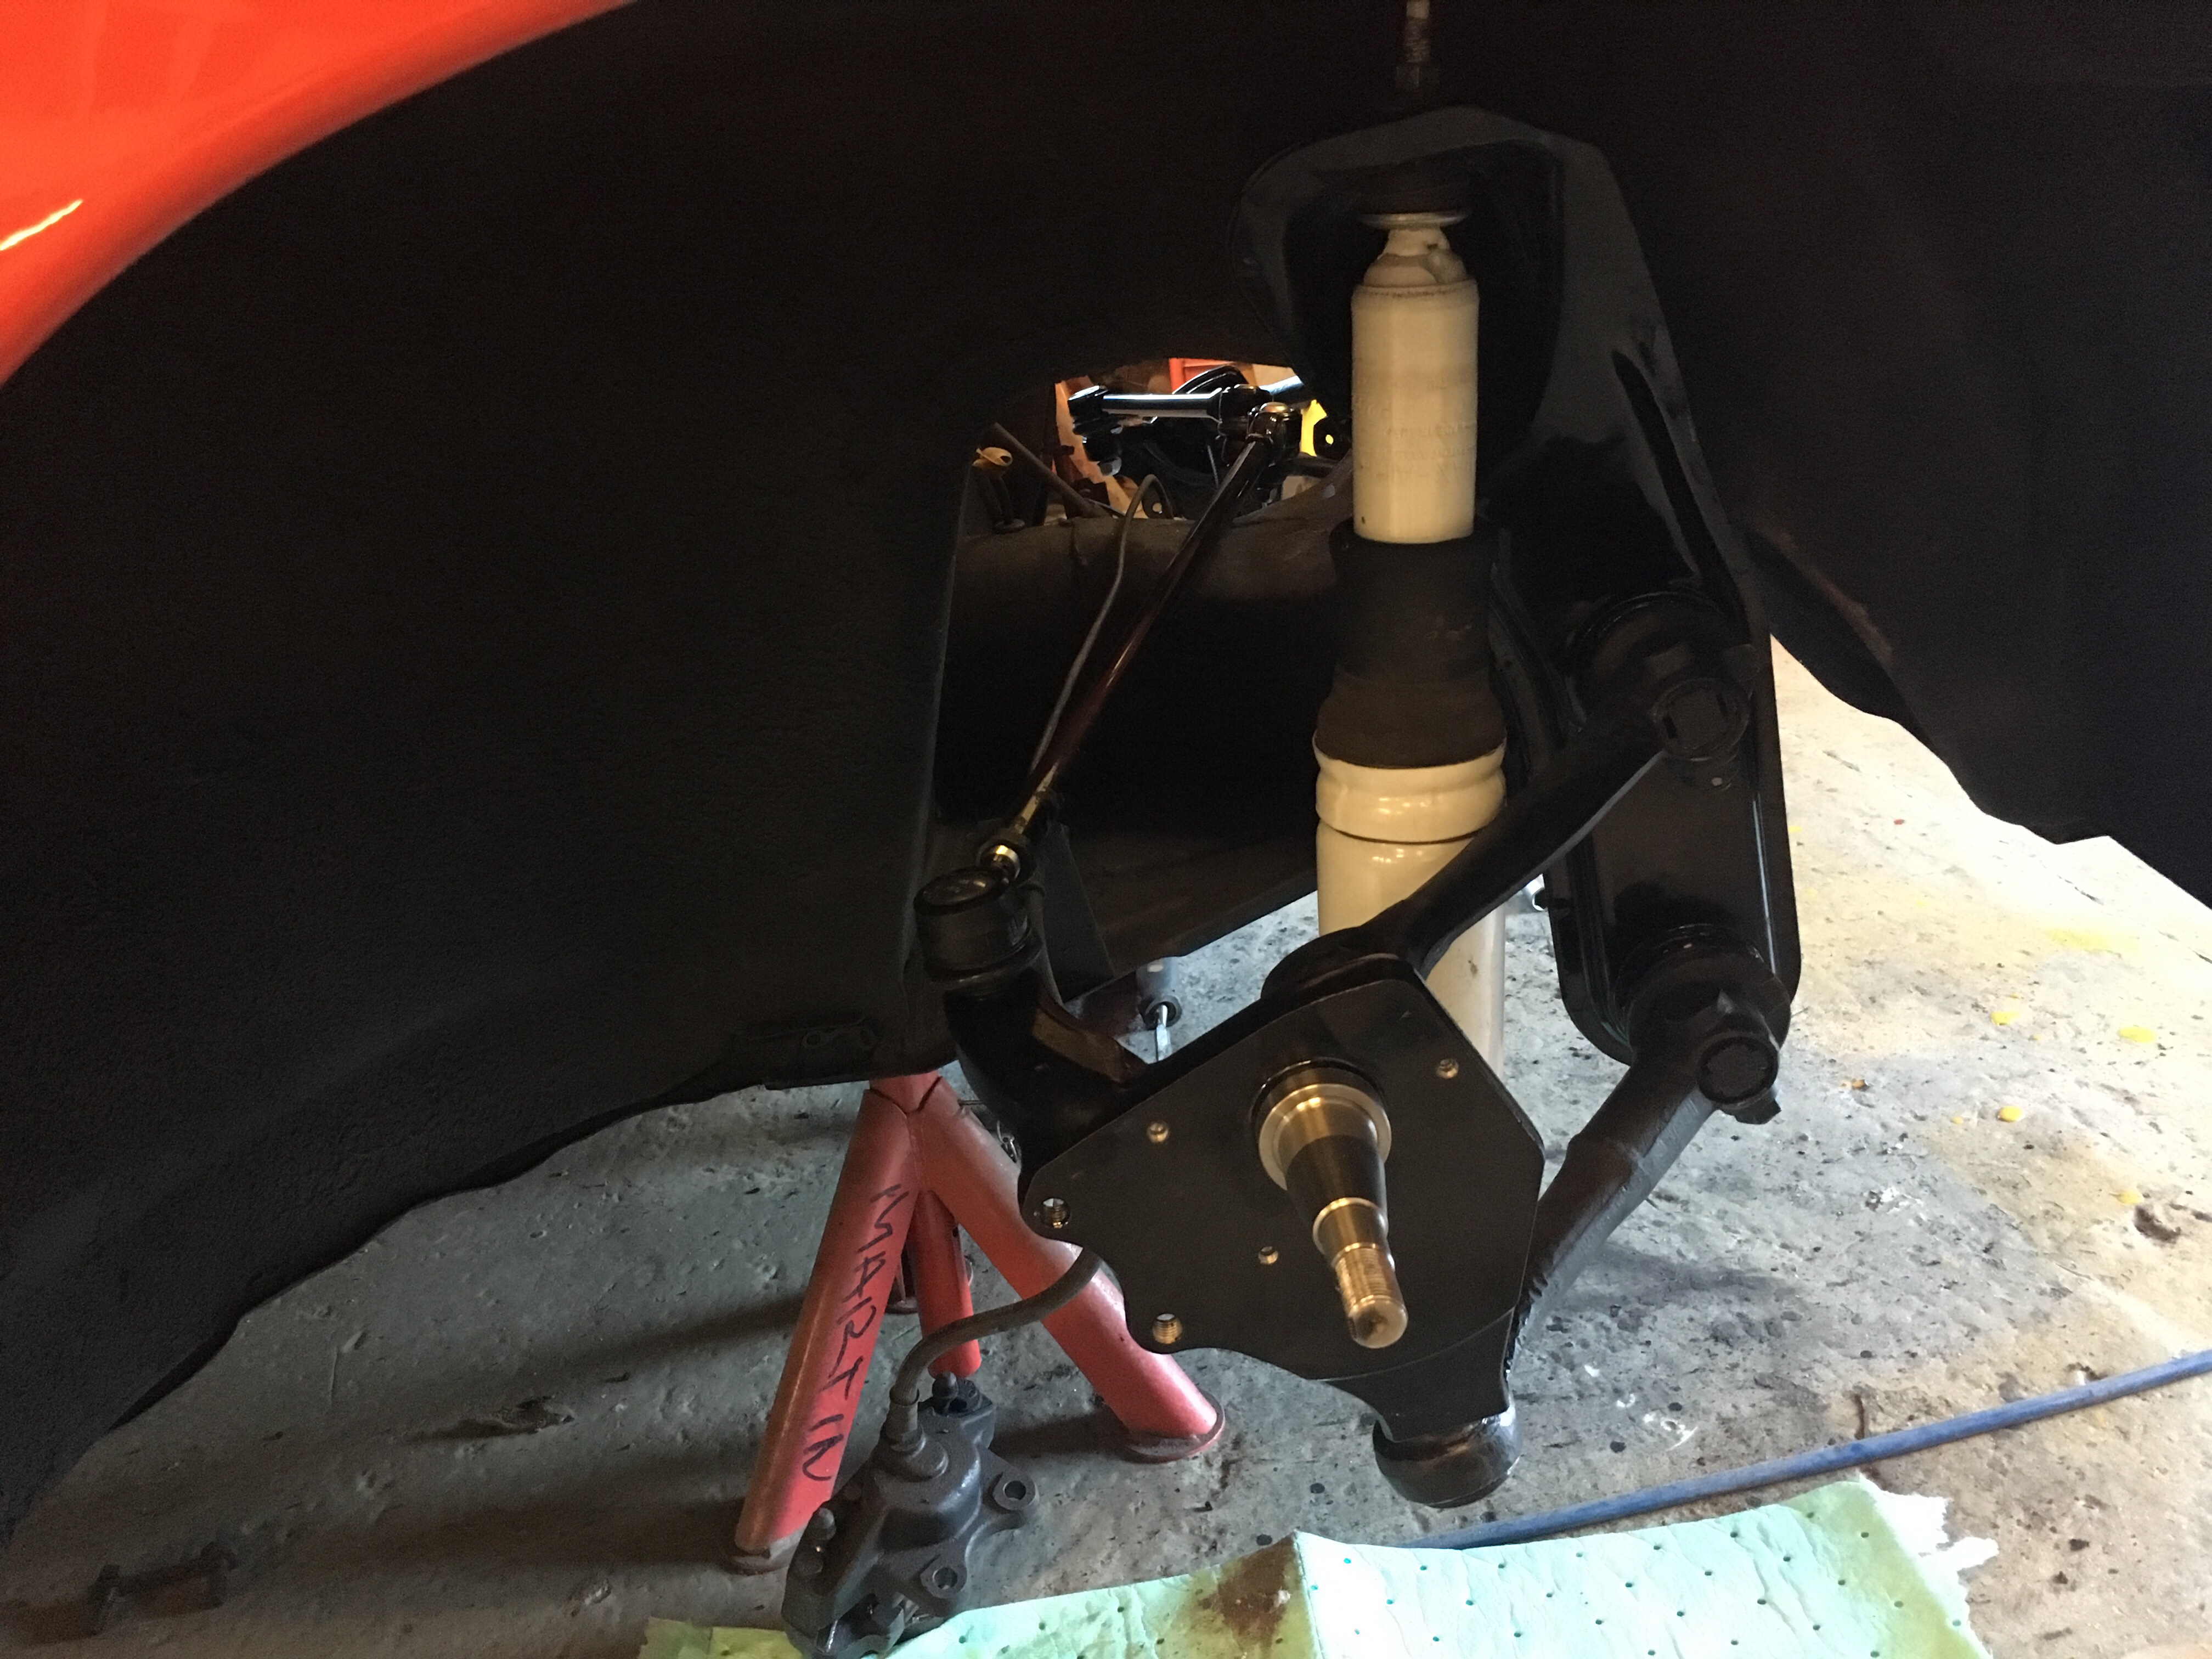
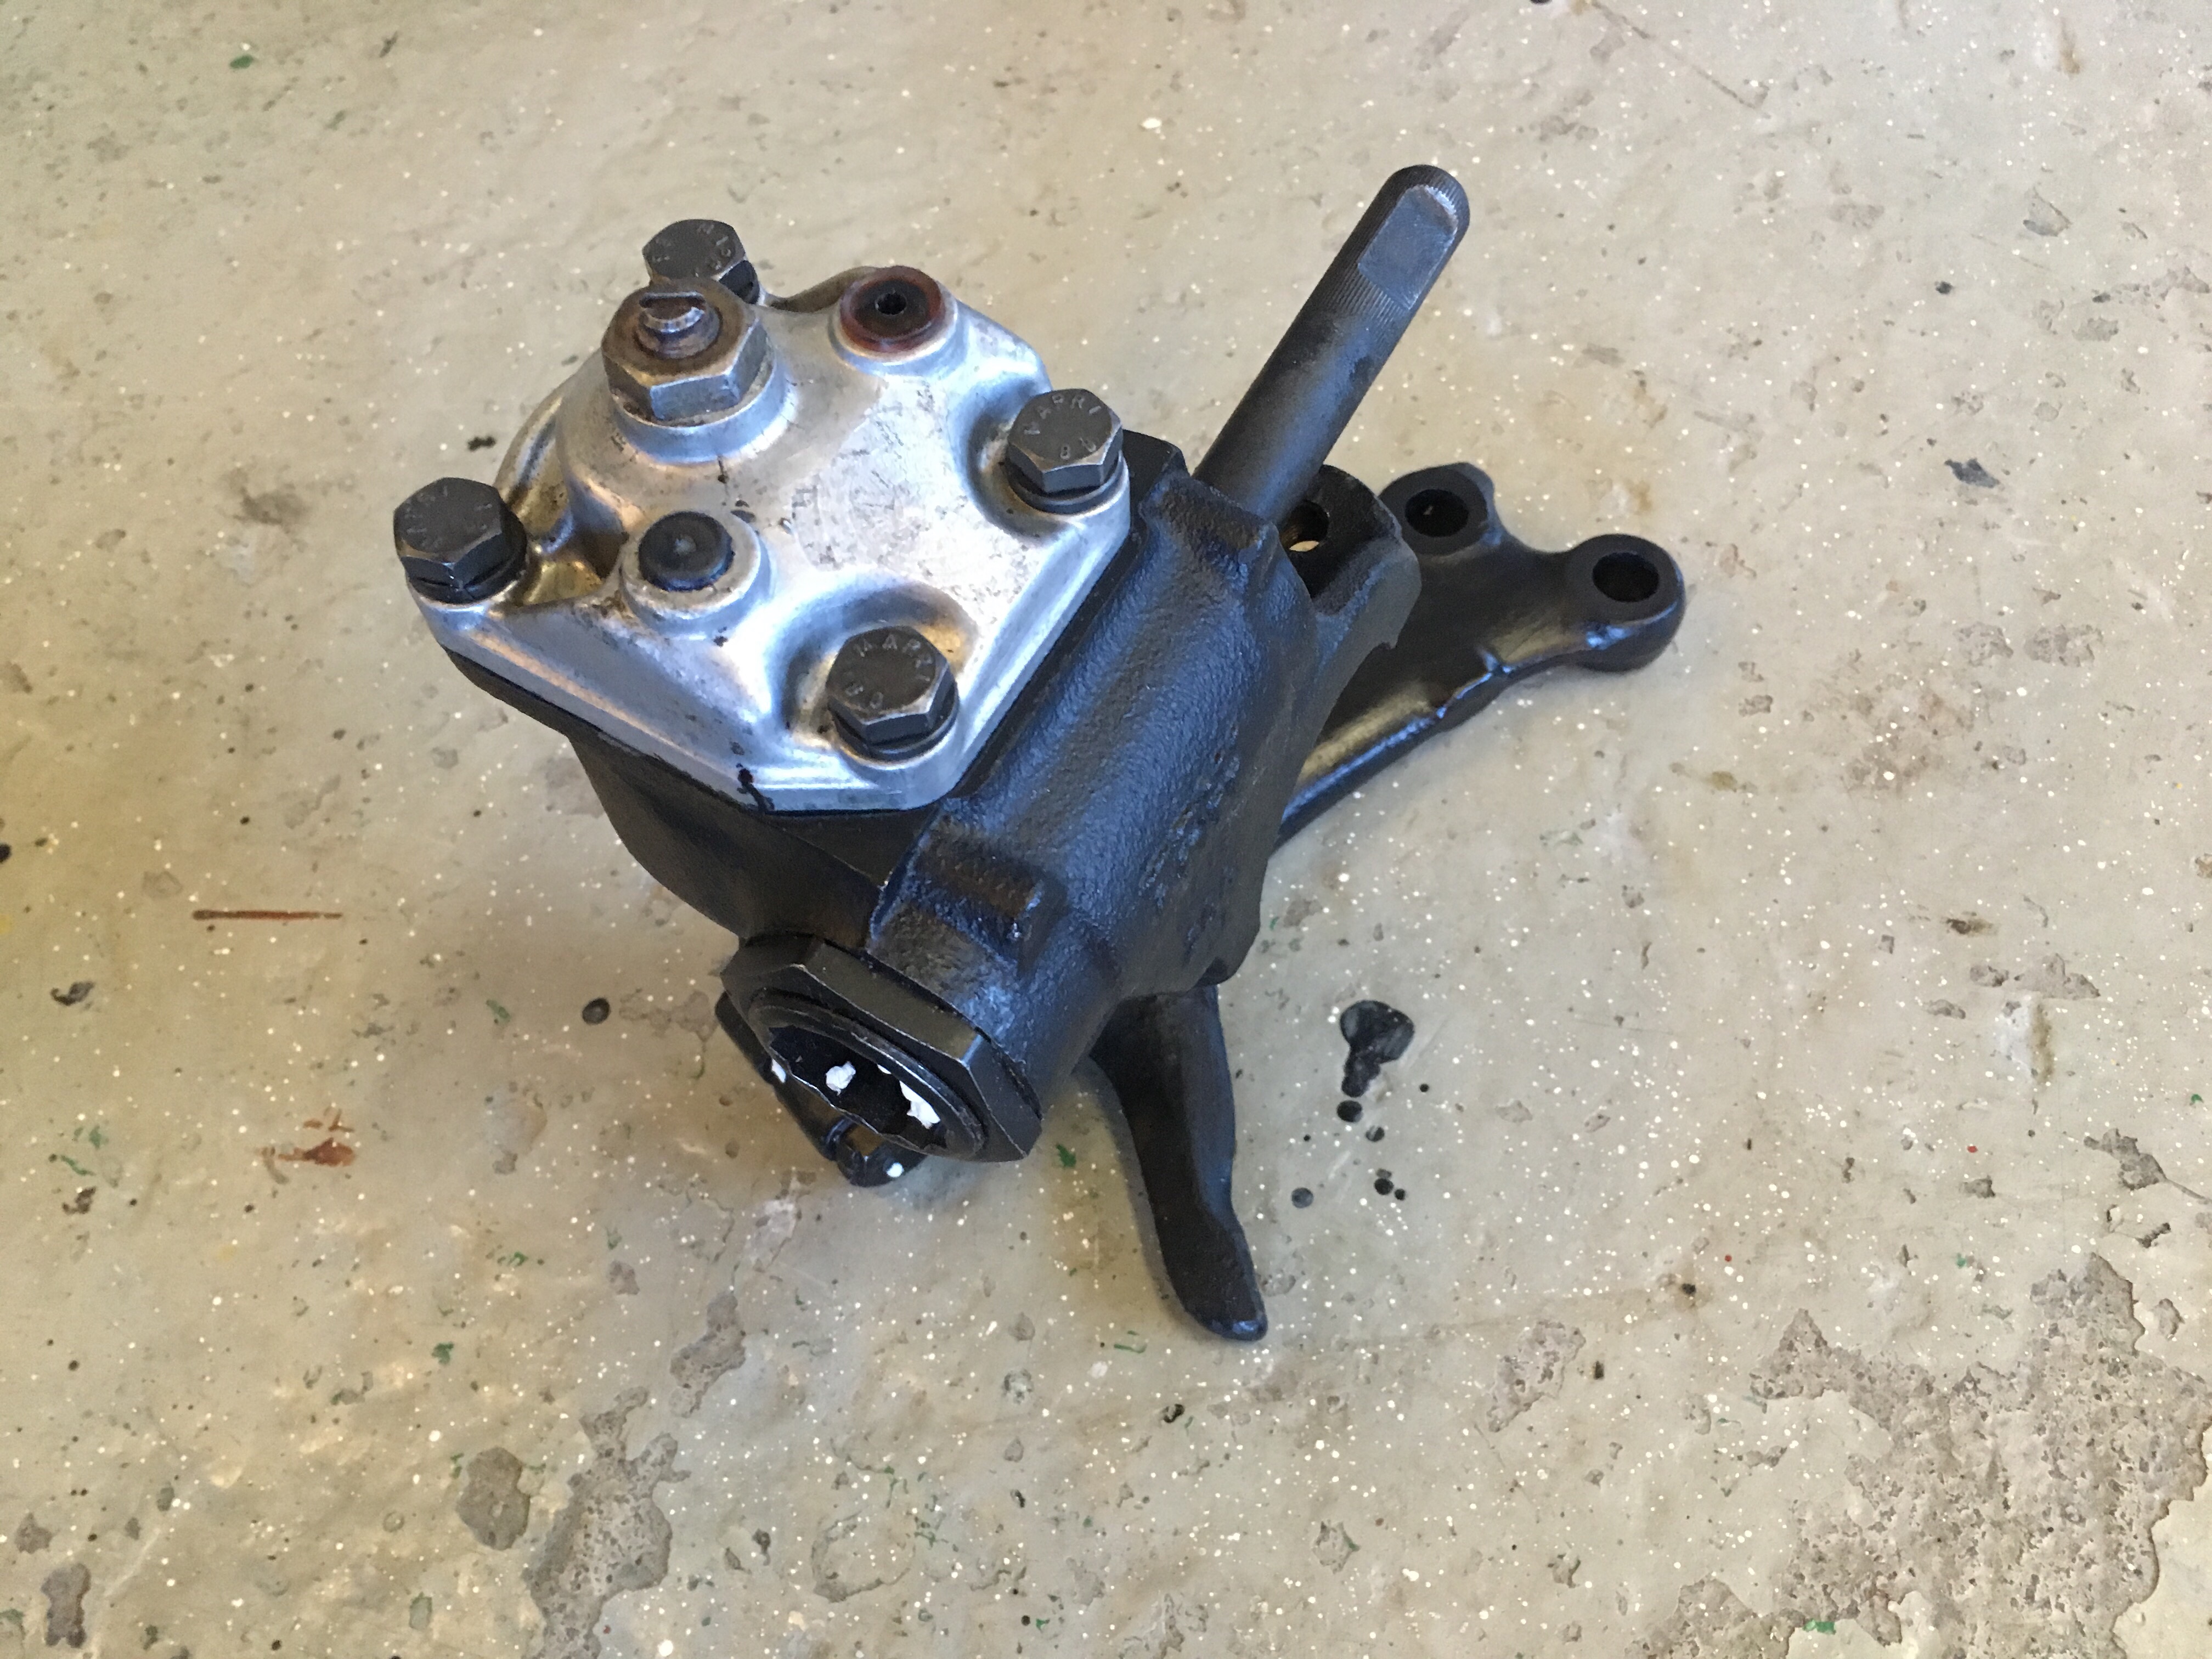
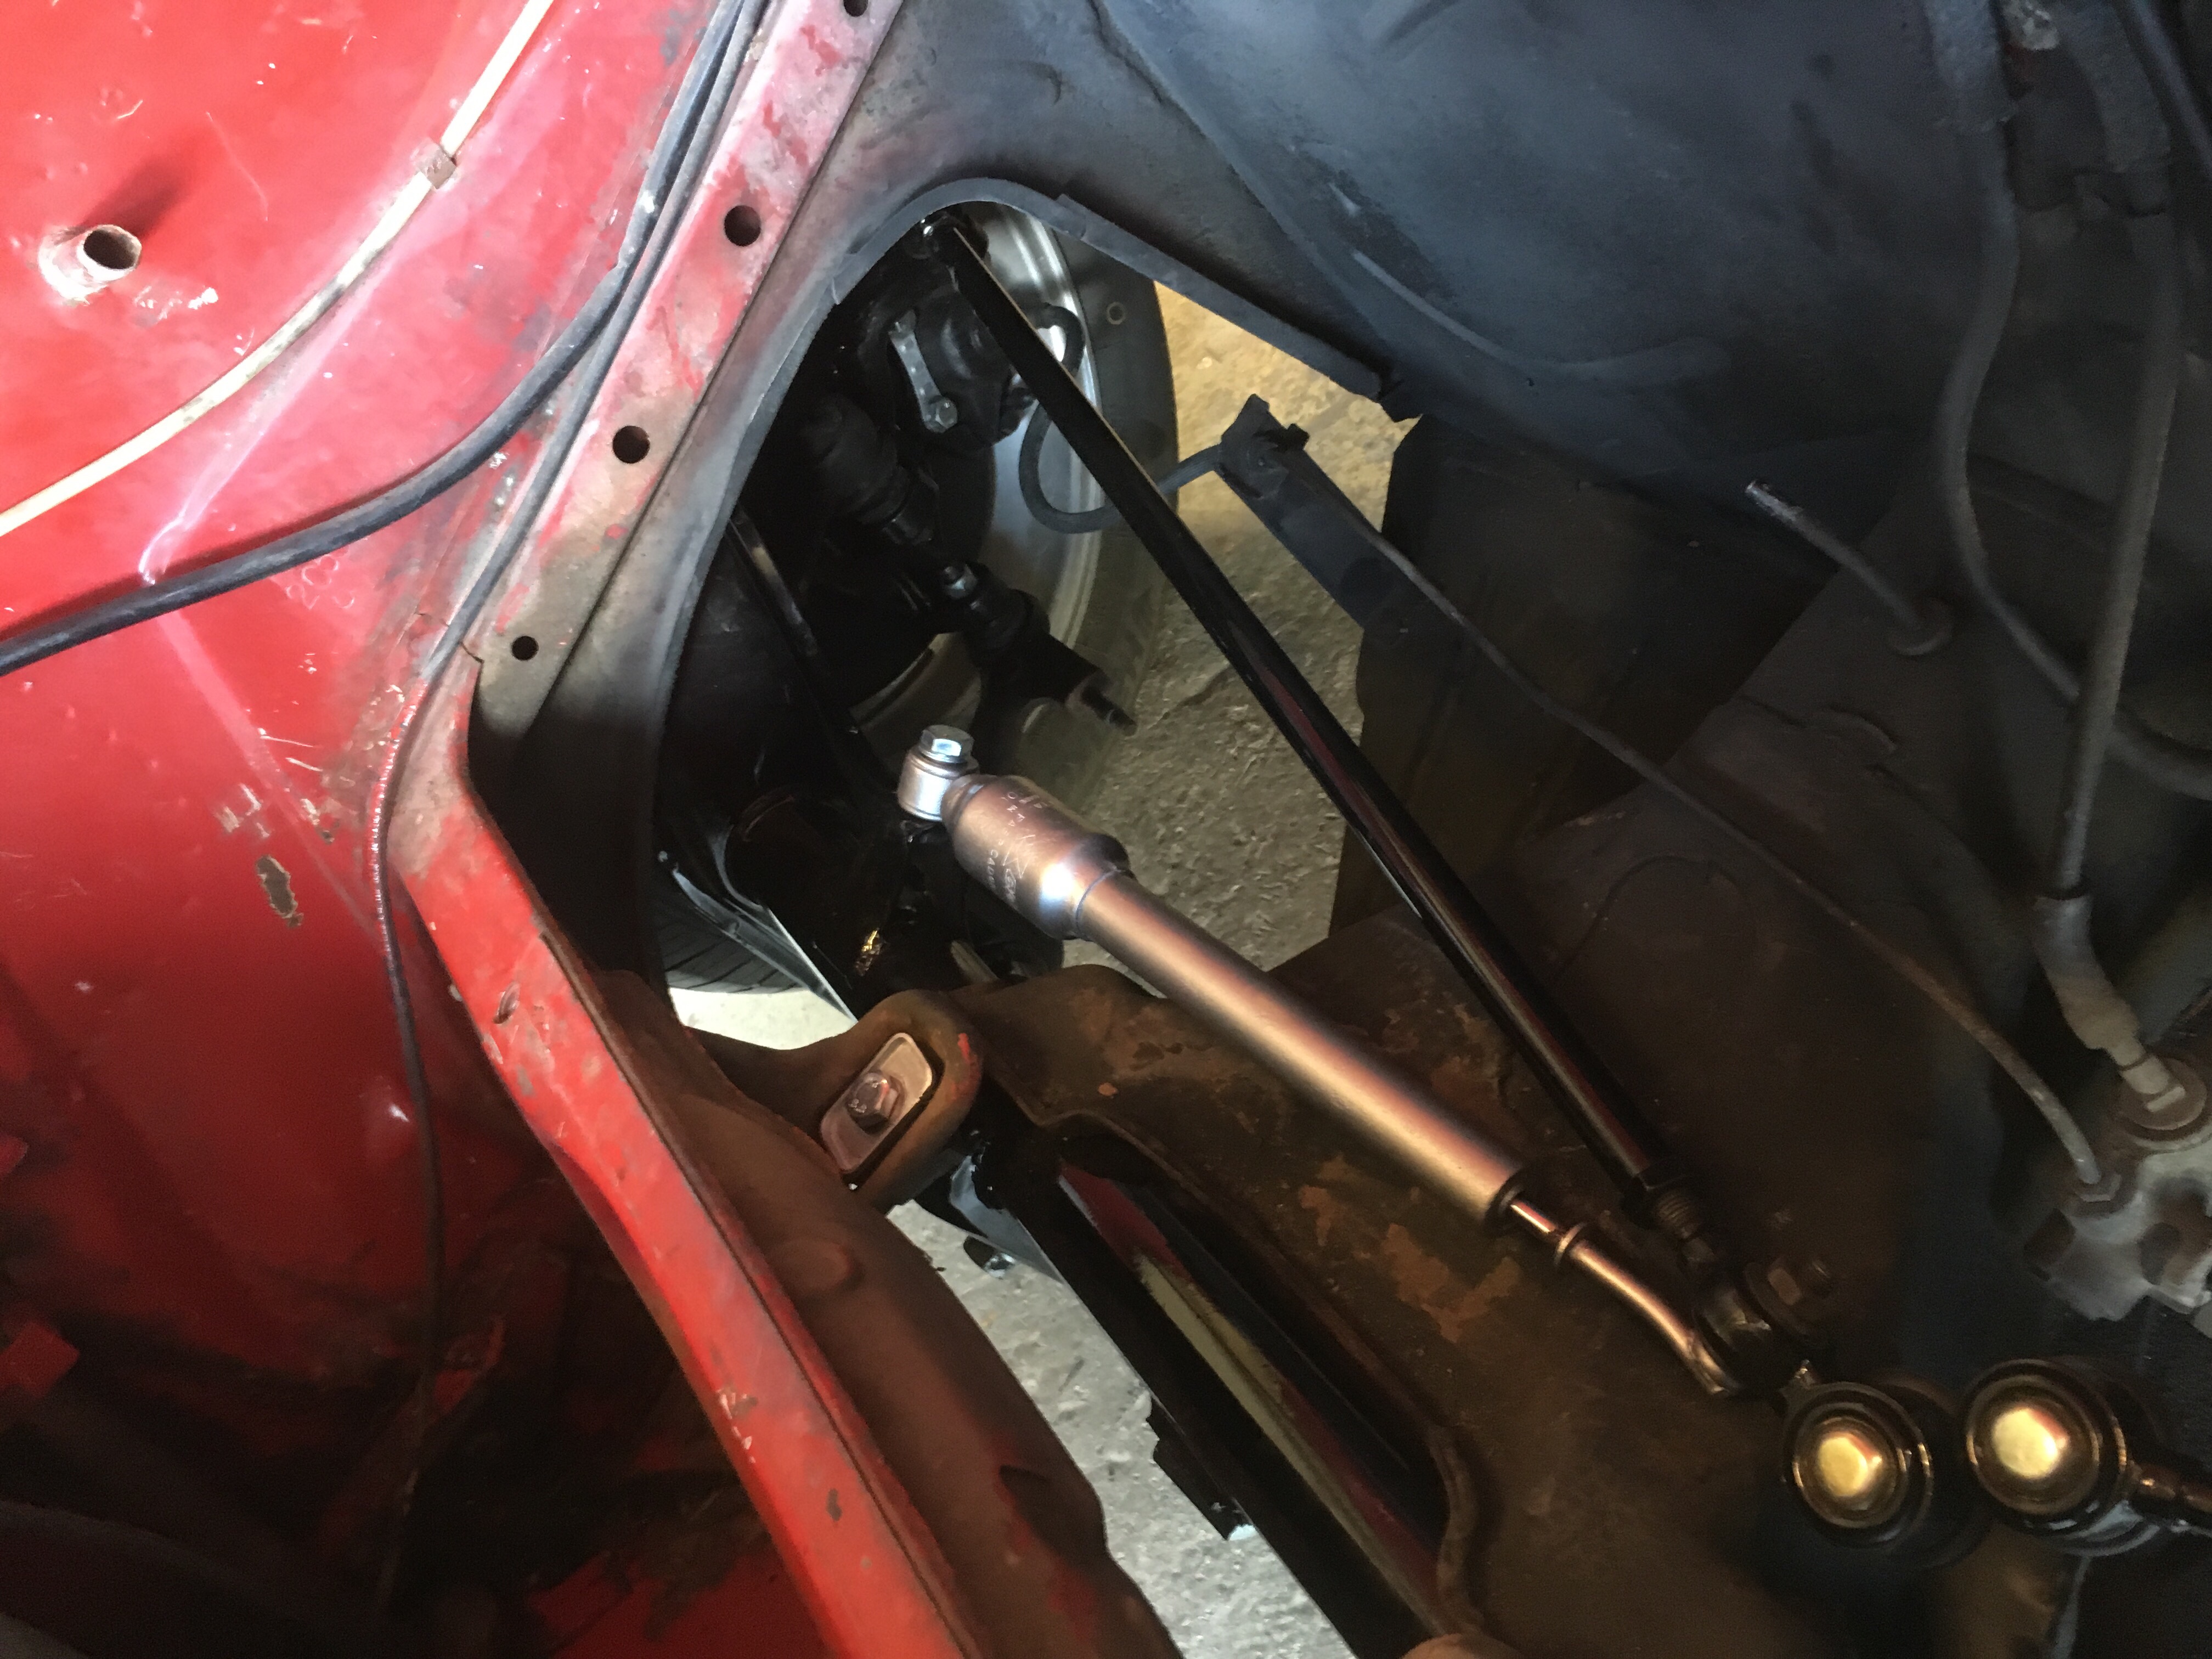
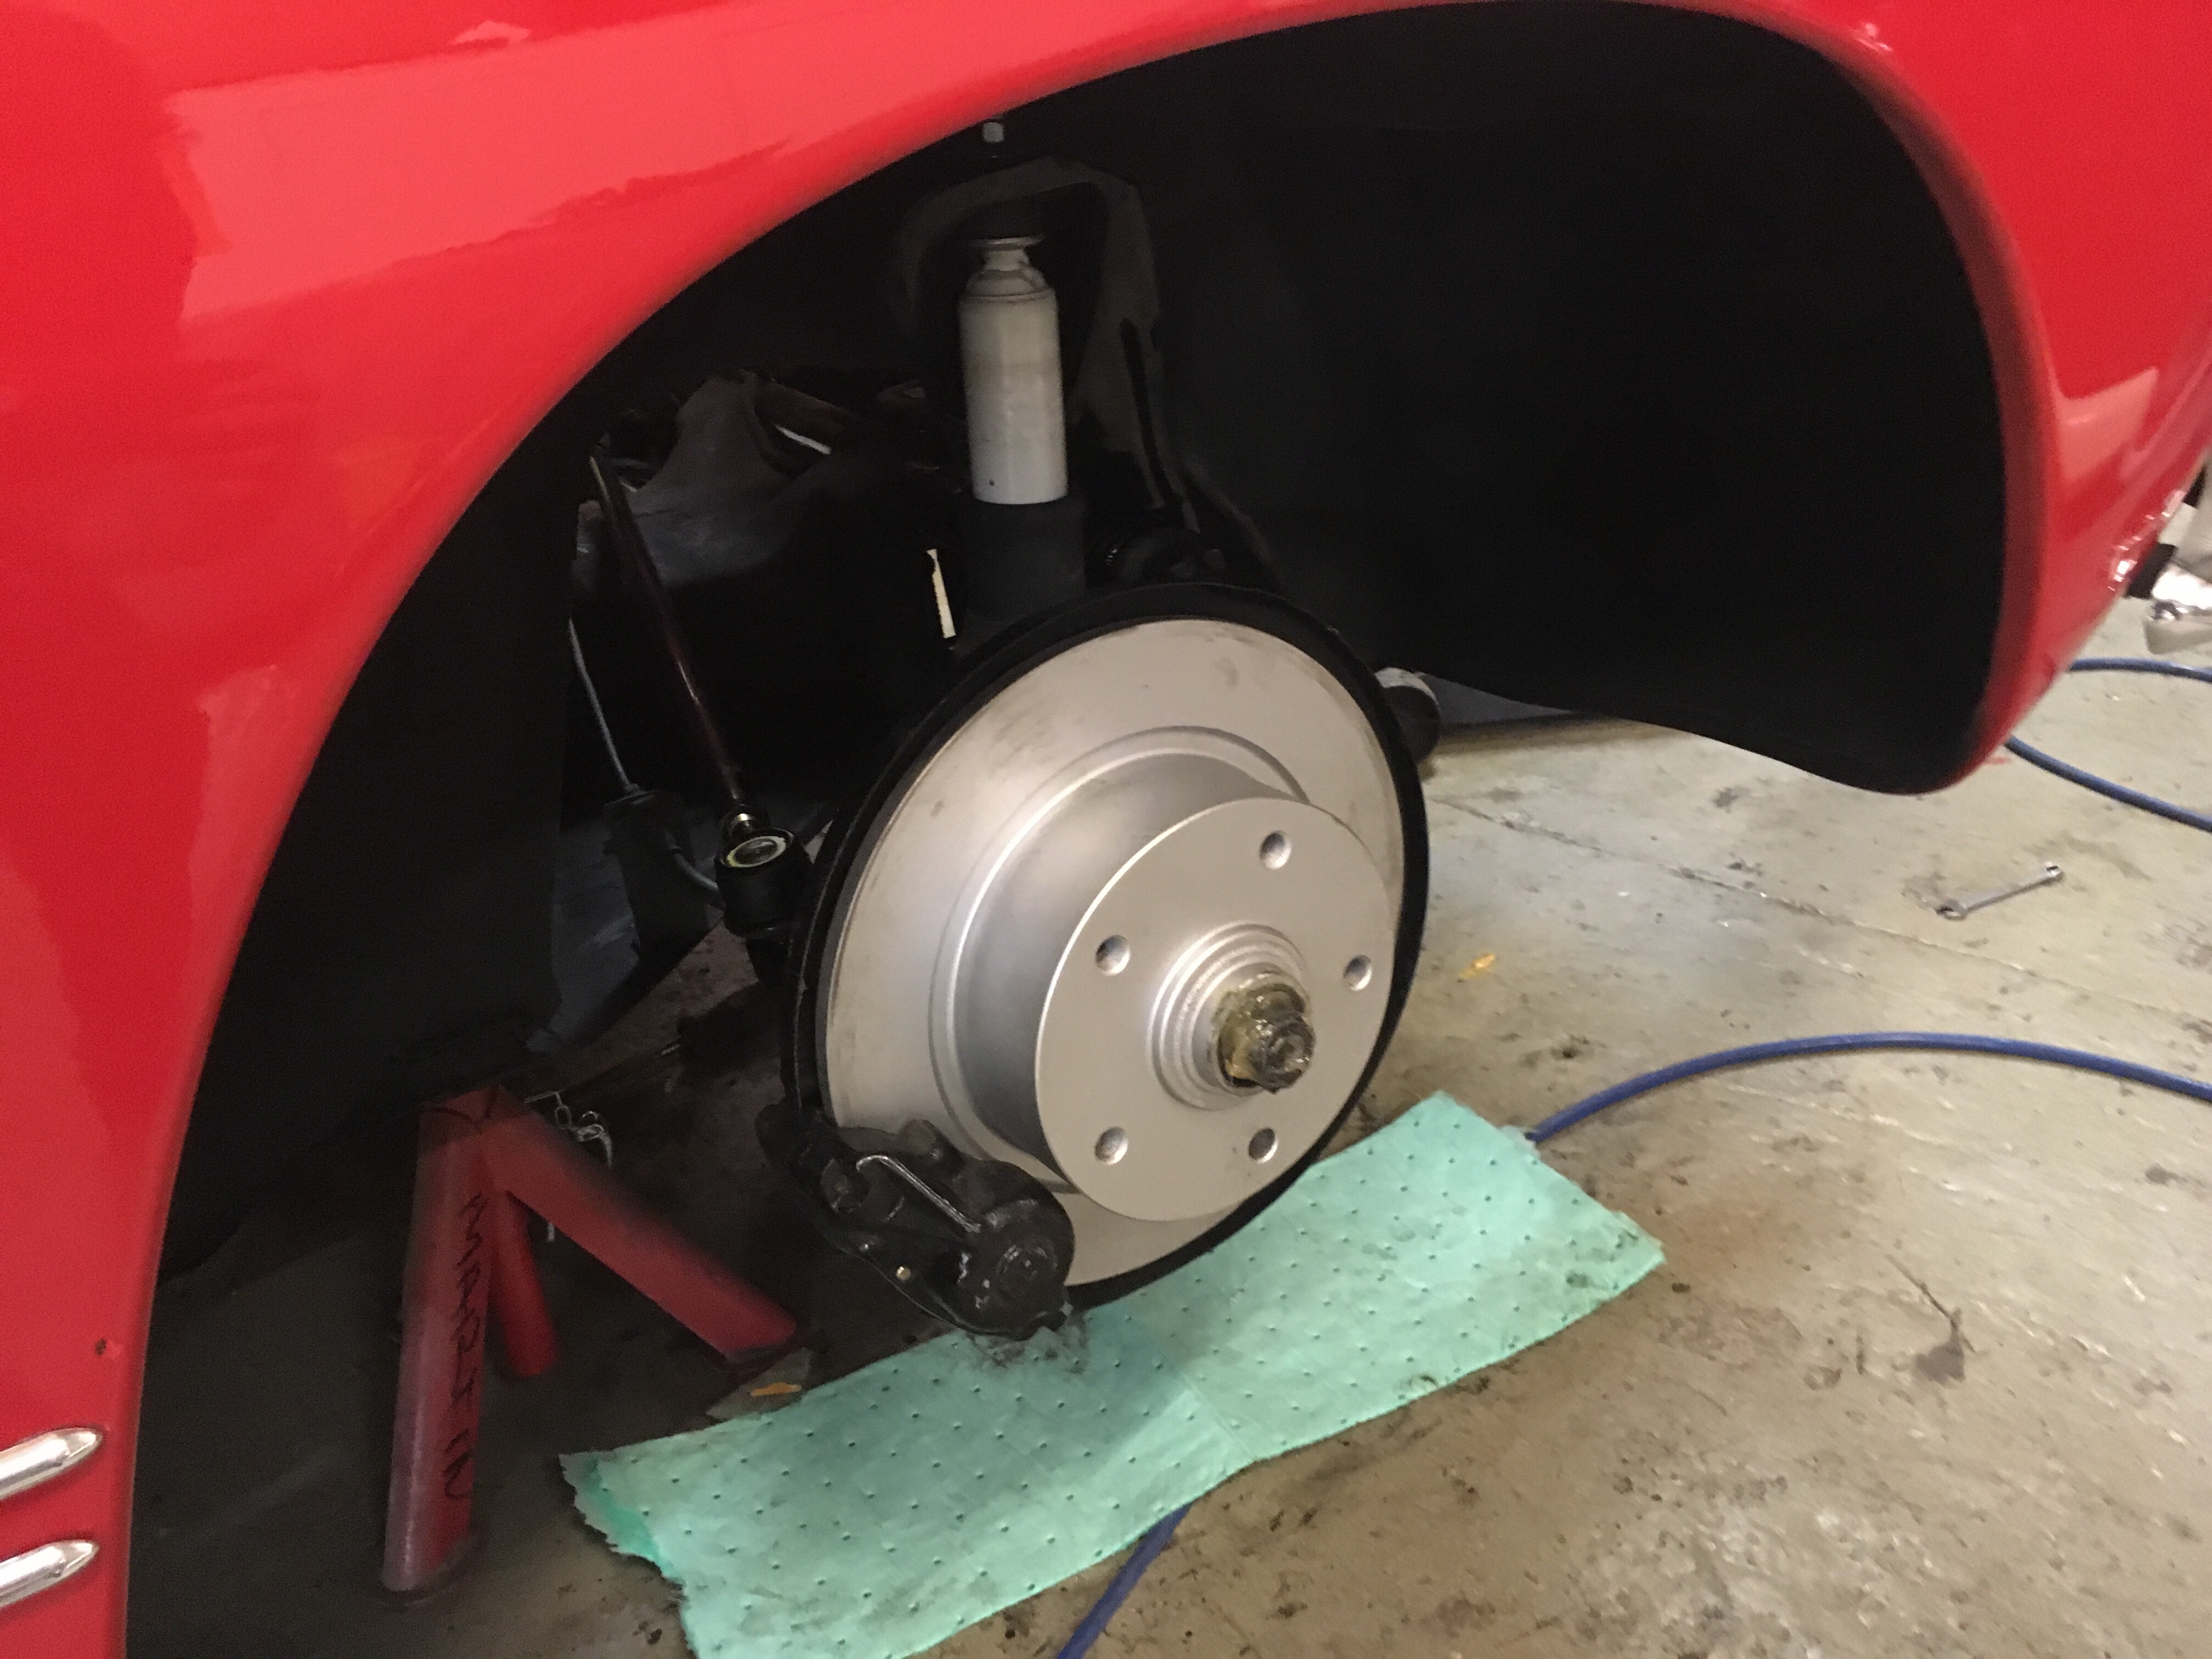
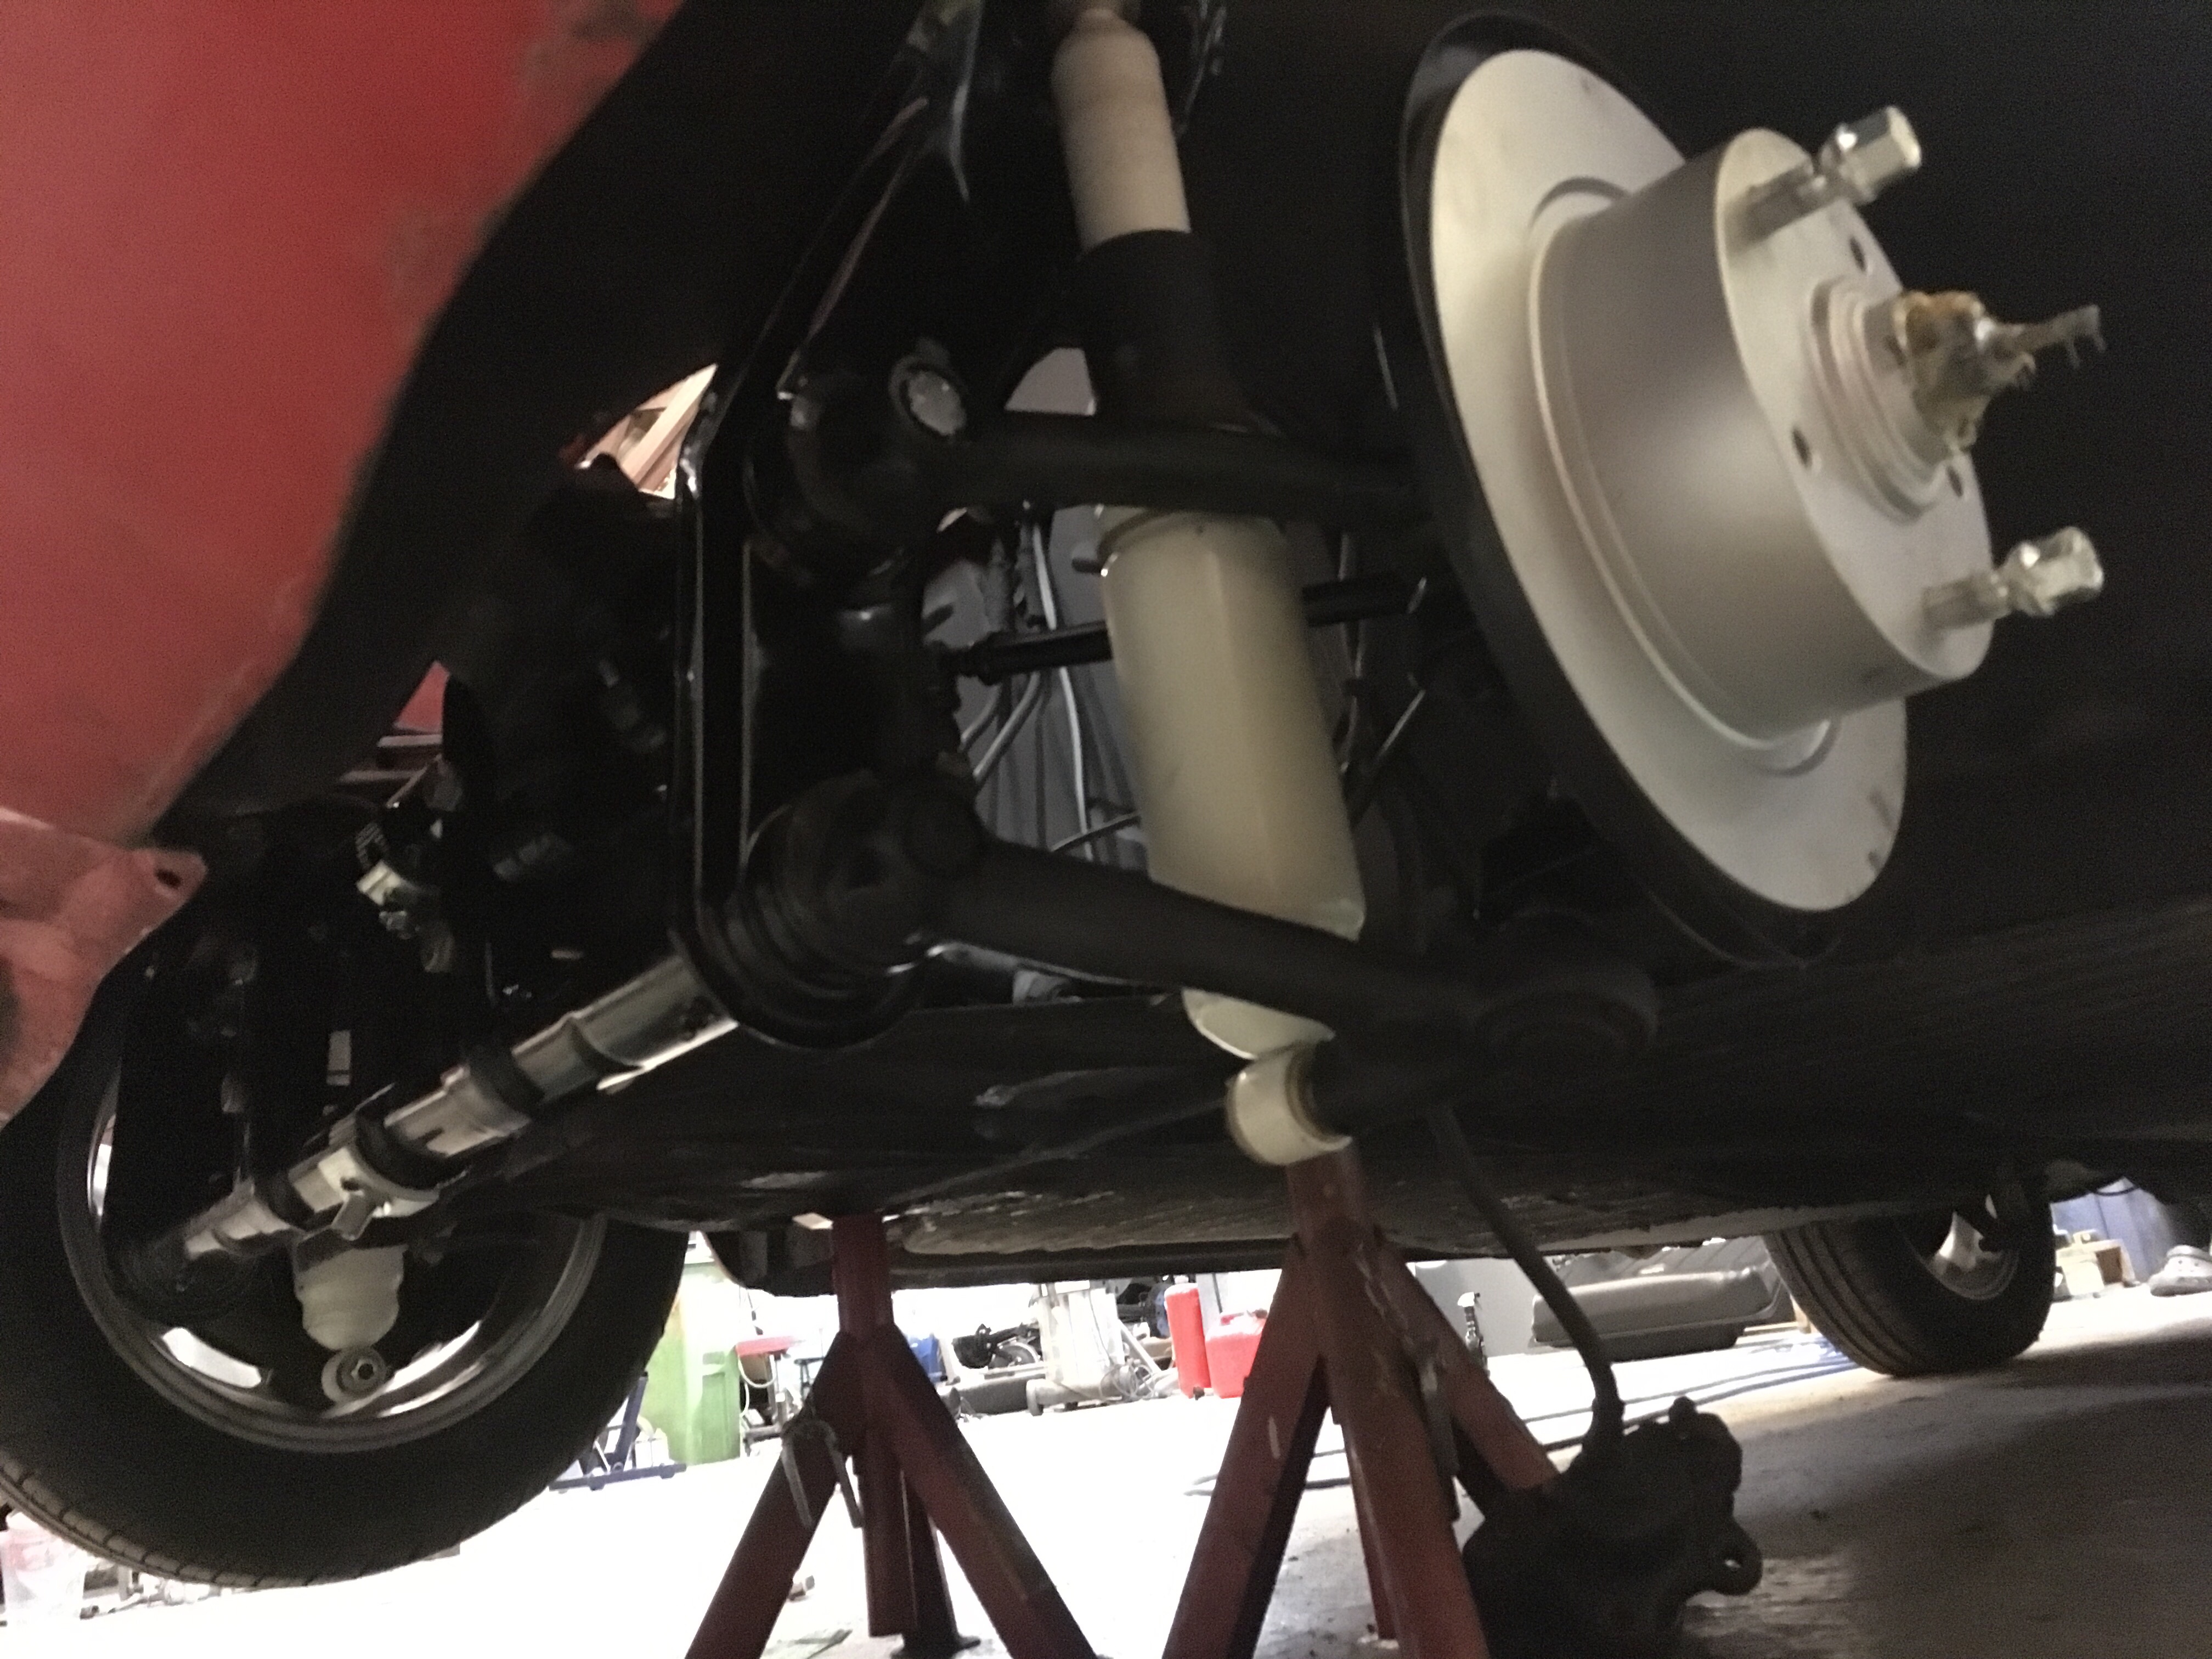
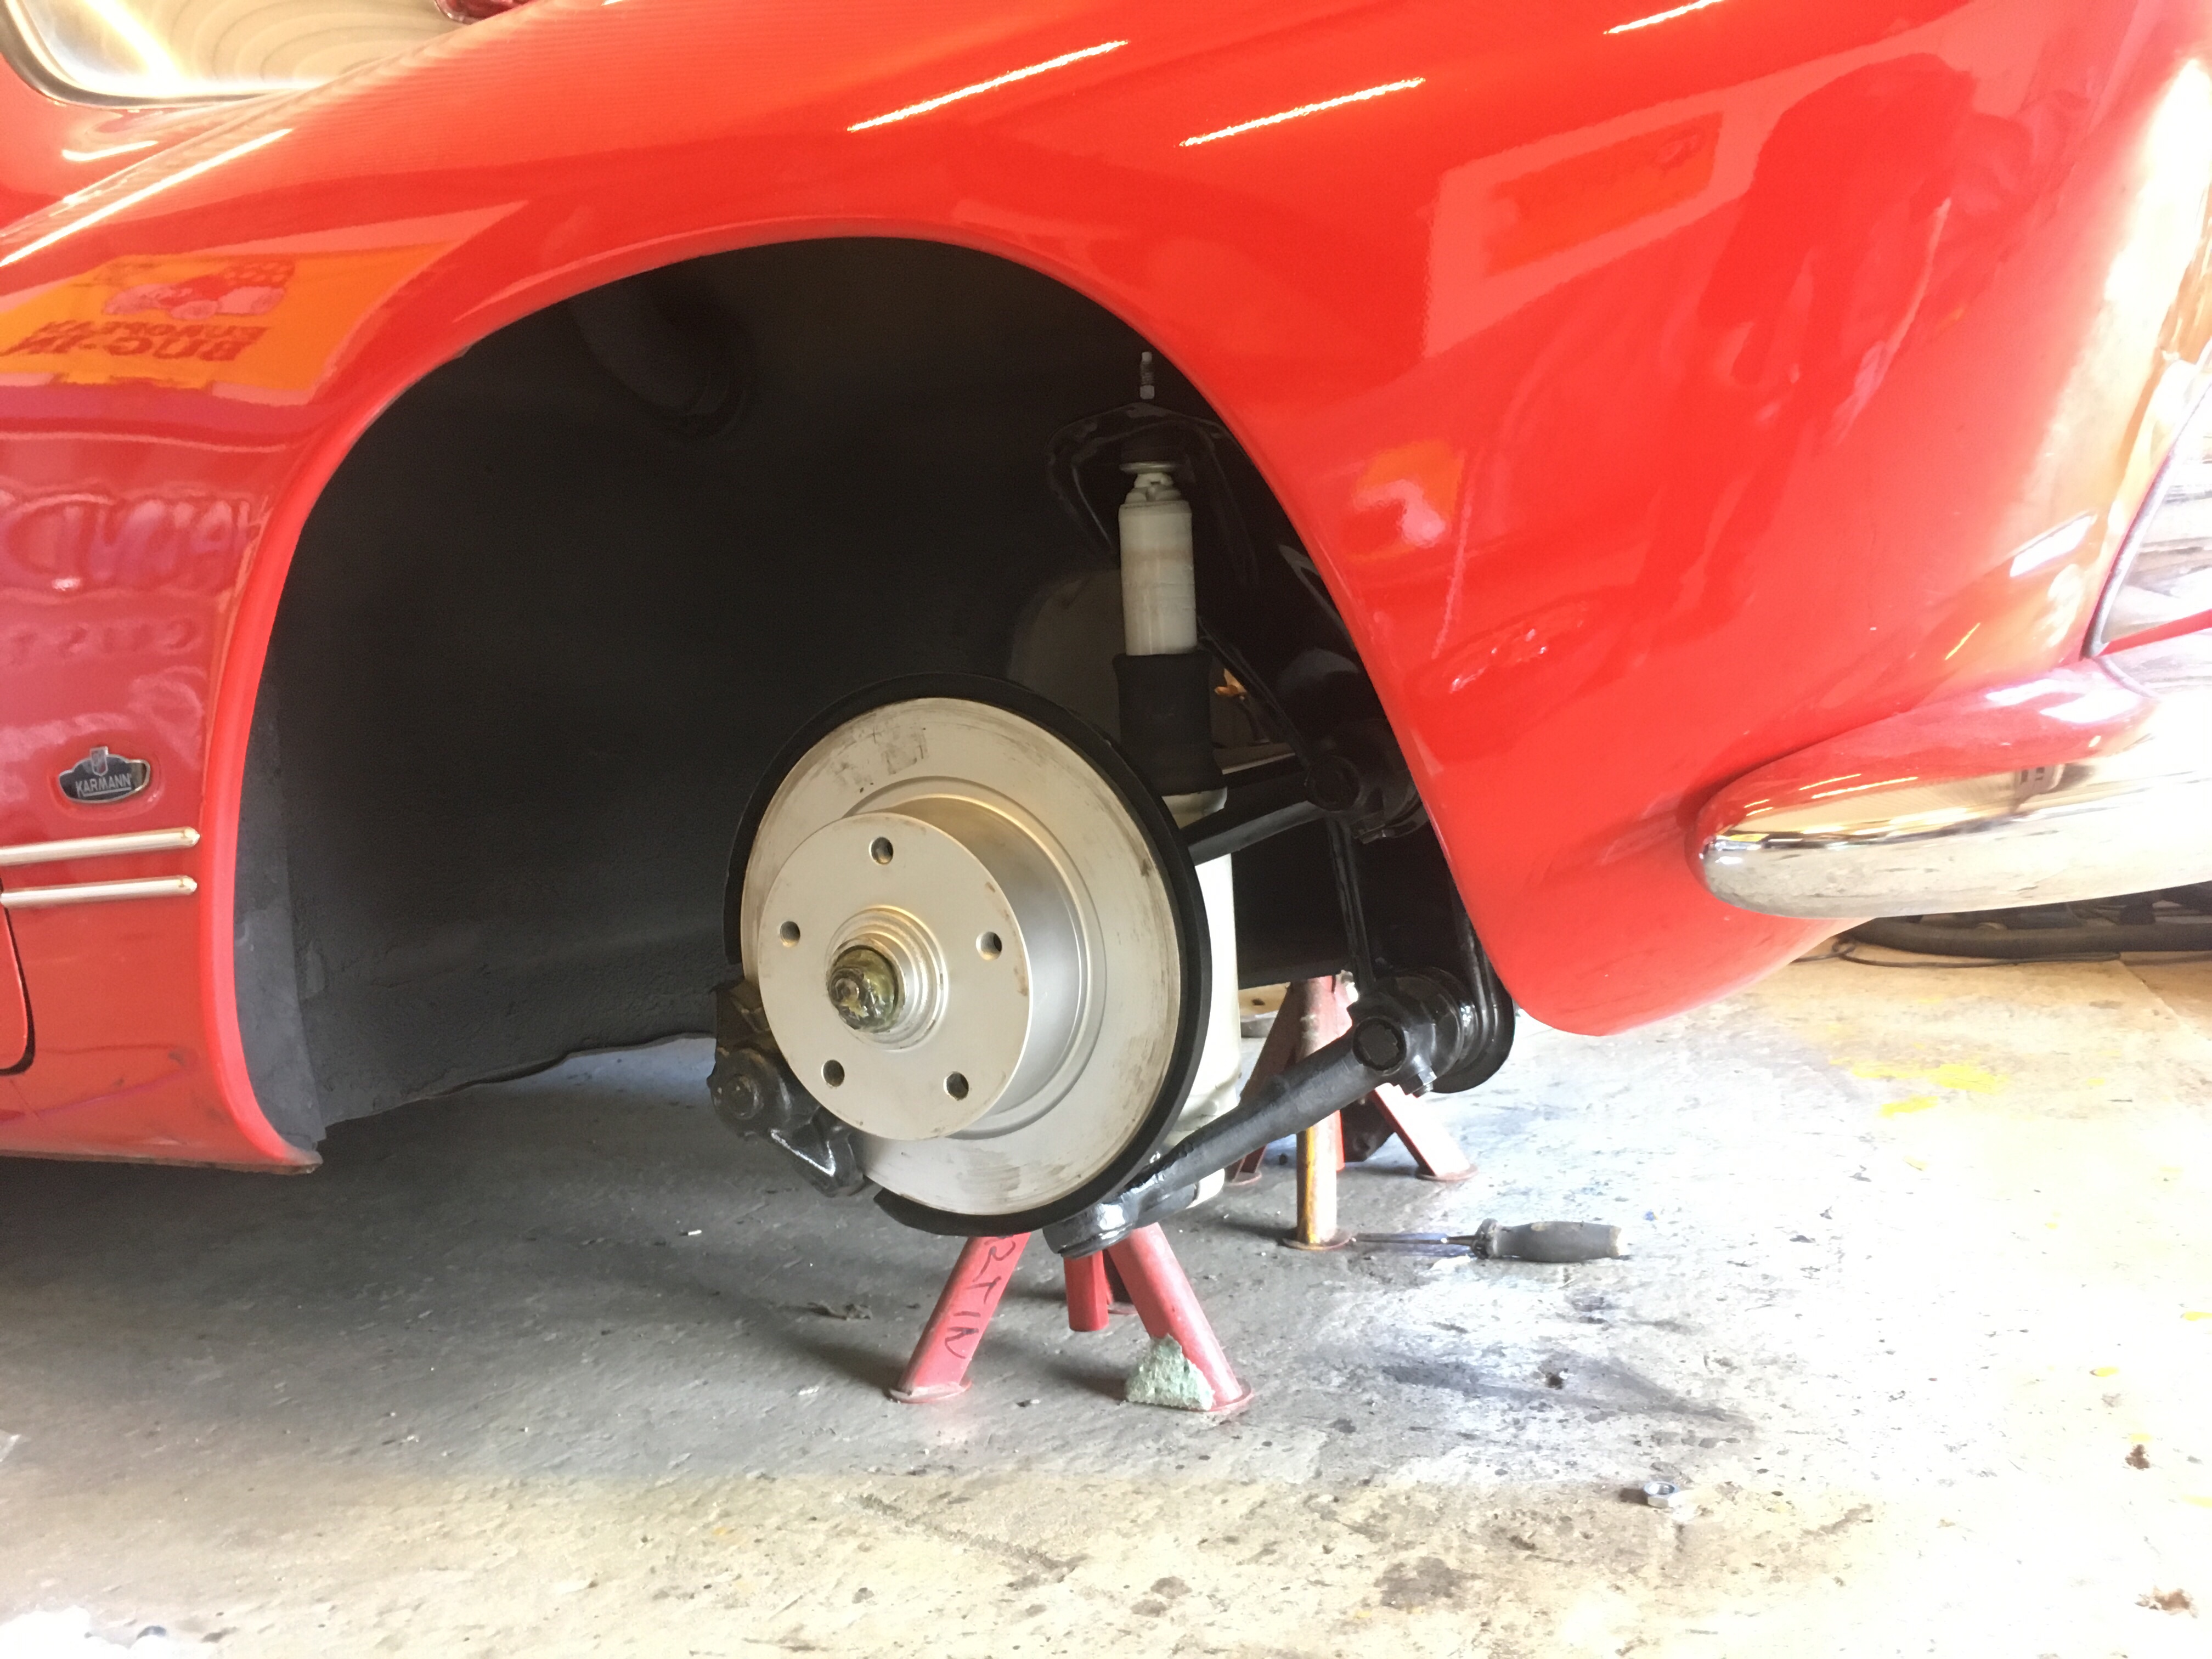
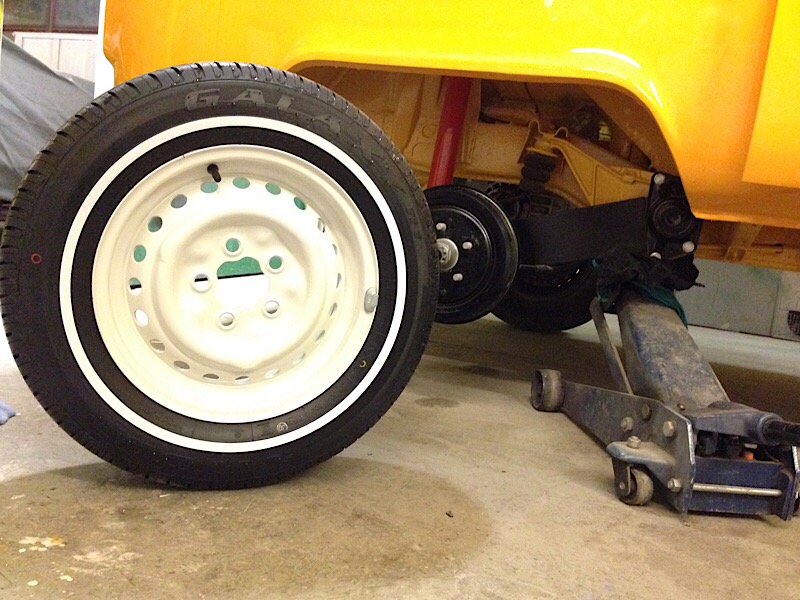
My 1967 Ghia gets a complete overhaul of the frontend. It was all stock height but the front is a little to high for my taste, it needs to be lowered around 50-100mm to get the beauty lines of the car to really flow. Rear is stock height. A brand new adjustable 2″ narrowed front beam with needle bearings. New narrowed tierods, new droppen spindels, new wheelbearings, new shocks, and all the brakestuff was already new. Wheels will be polished Porsche Fuchs. Since I had to remove the fuel tank I installed new fuel lines and cleaned up the front luggage compartment a little. Here comes some pics…


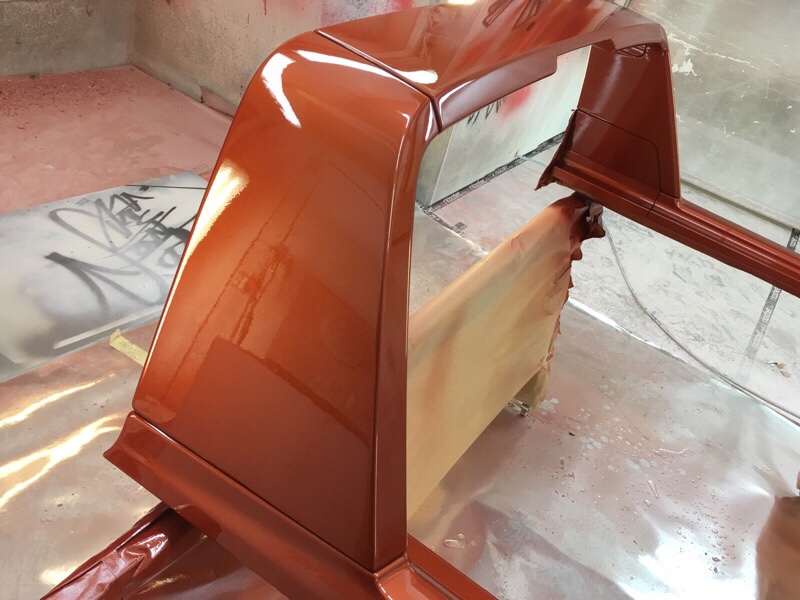
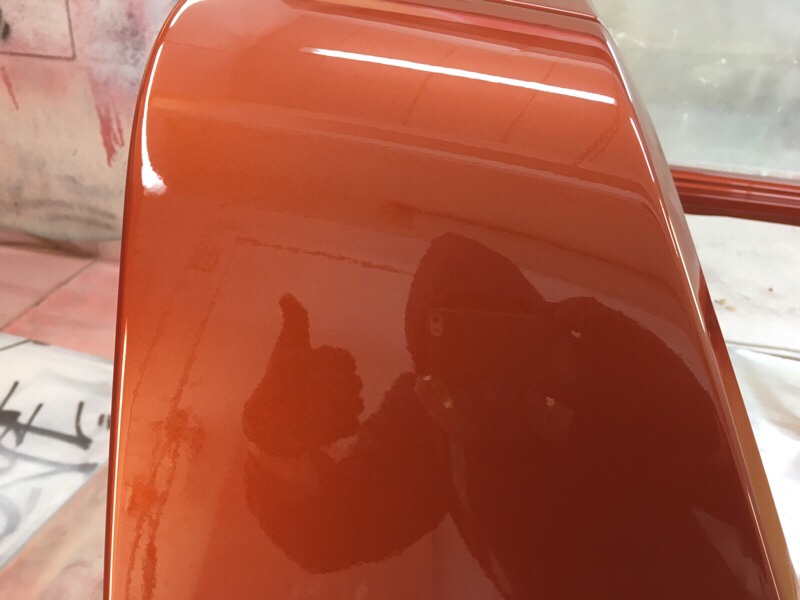
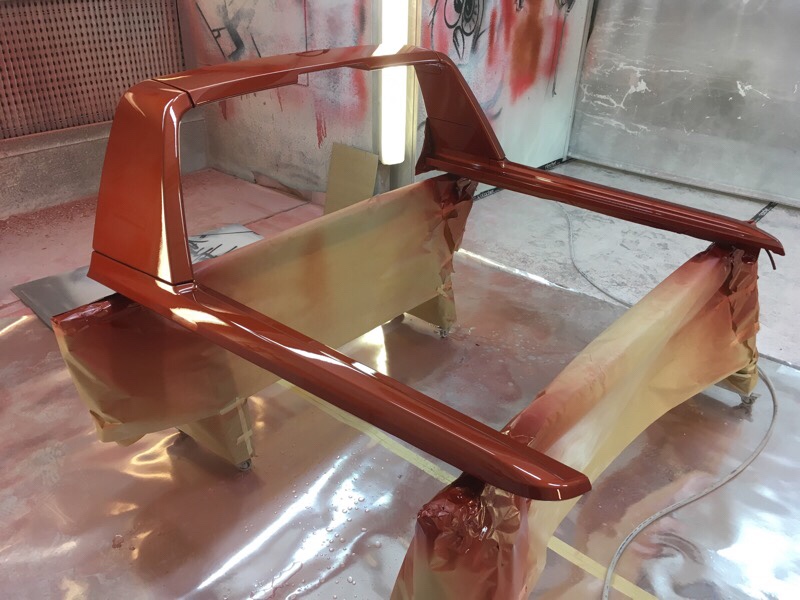
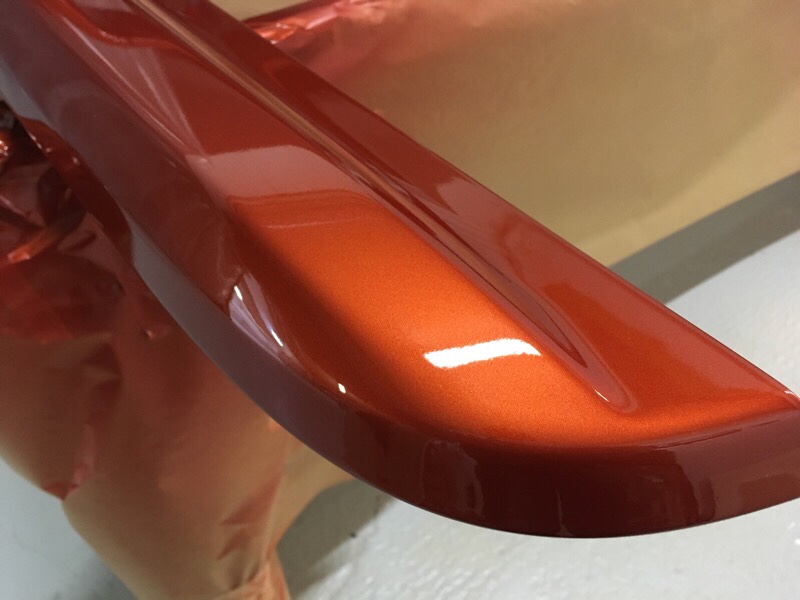
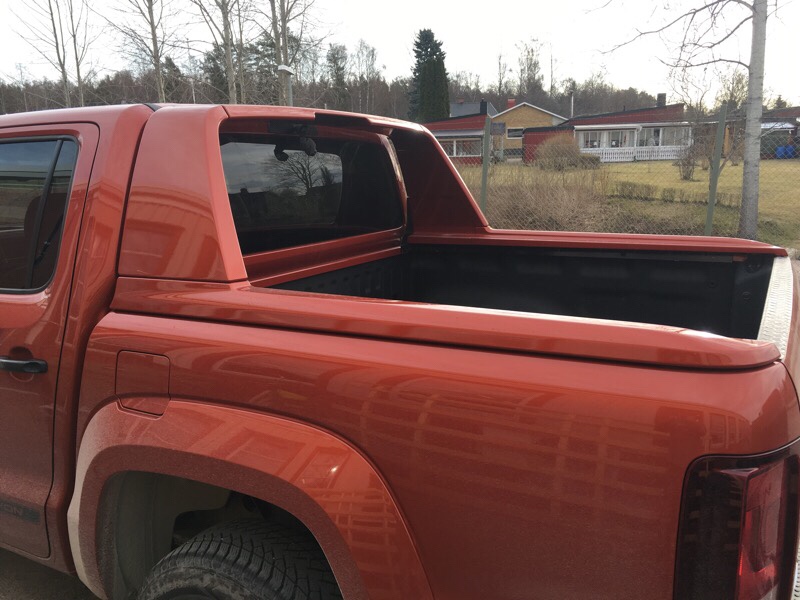
Painting this part in Canyon Red for a VW Amarok pick up truck. Nice color!


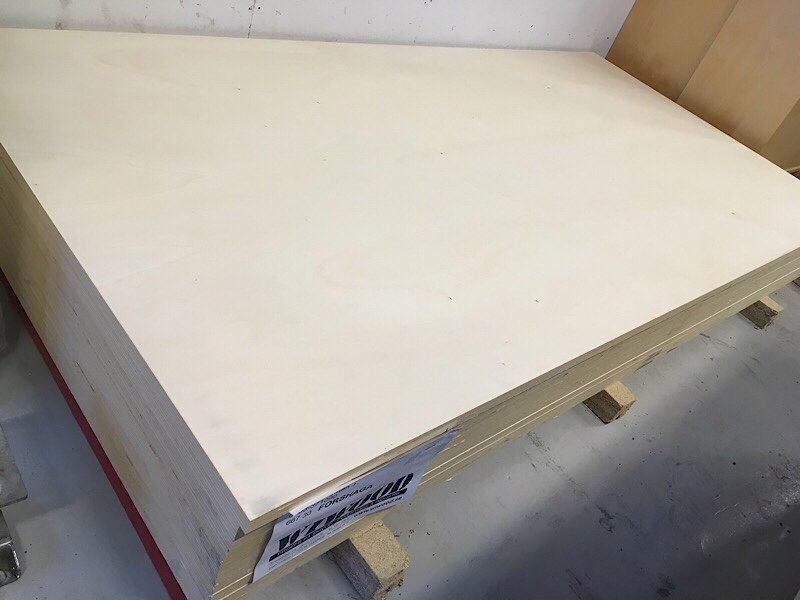
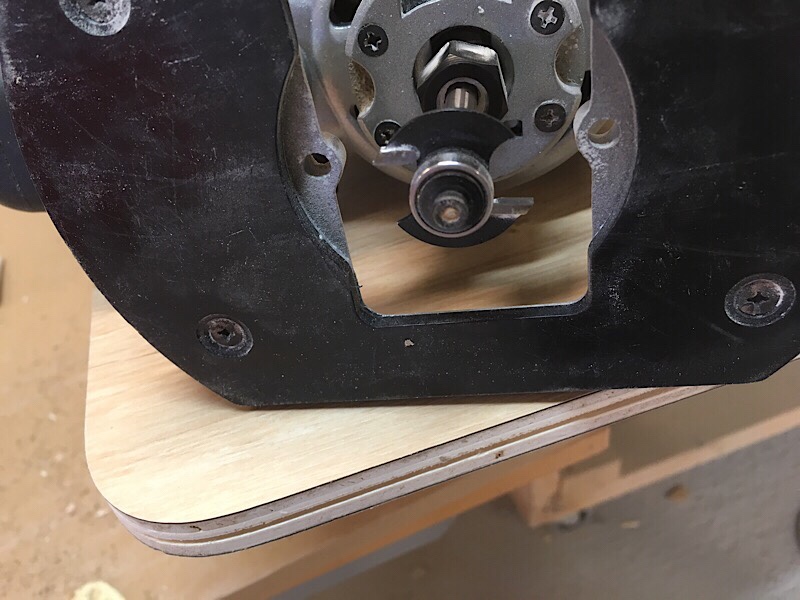
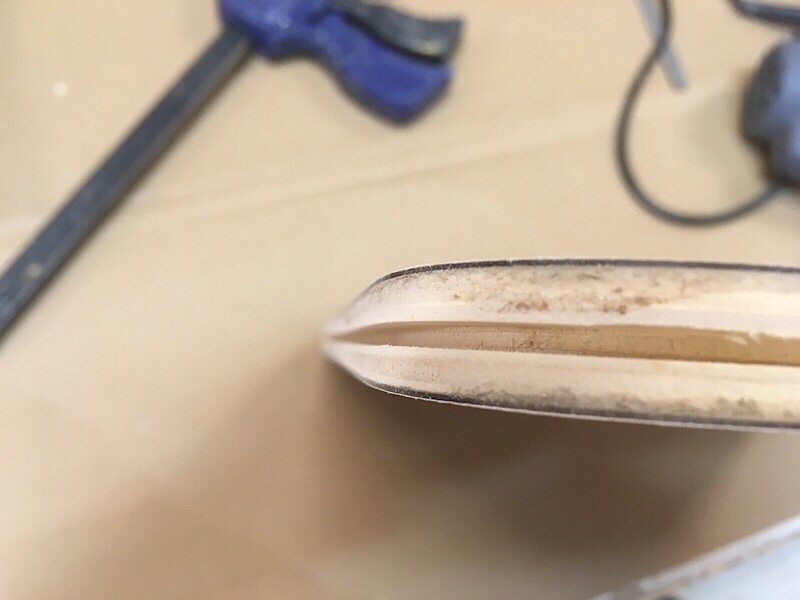
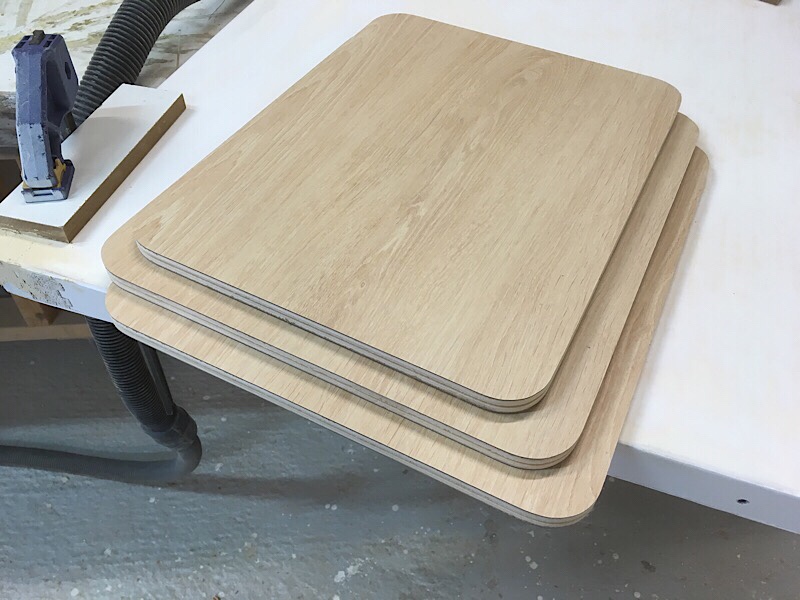
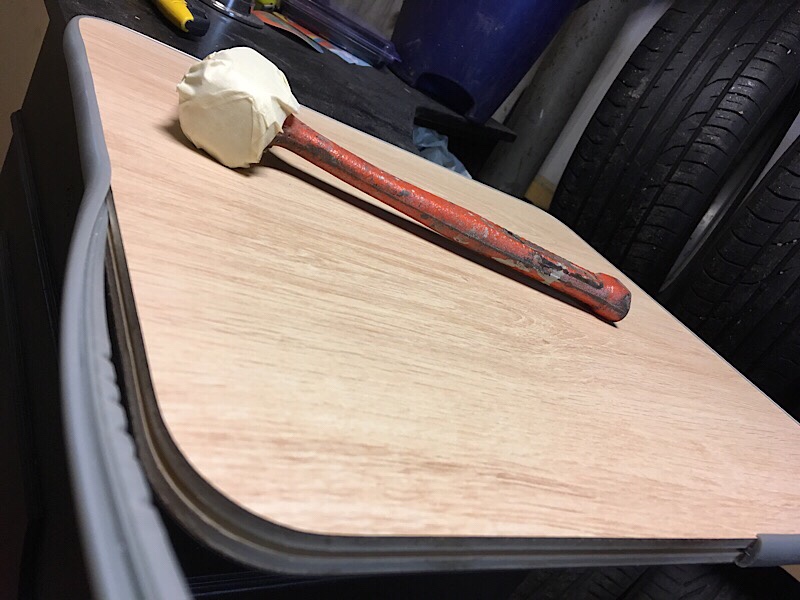
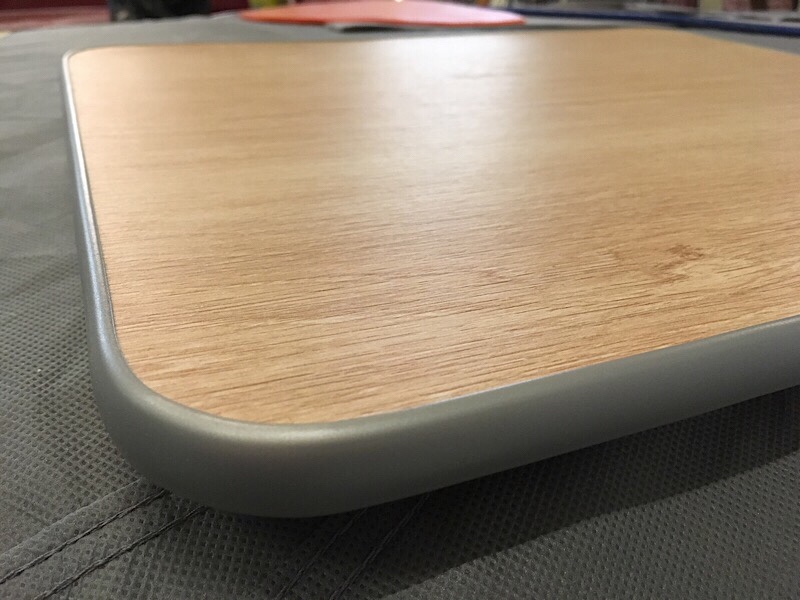
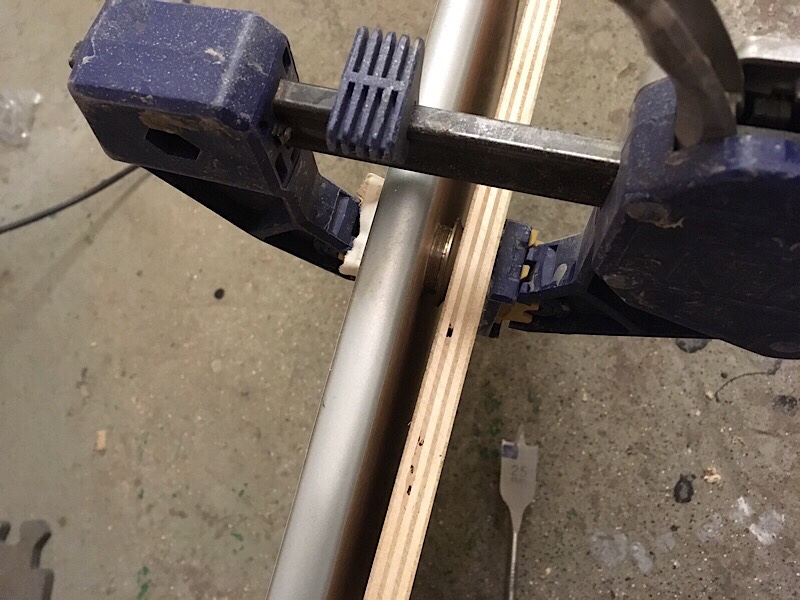
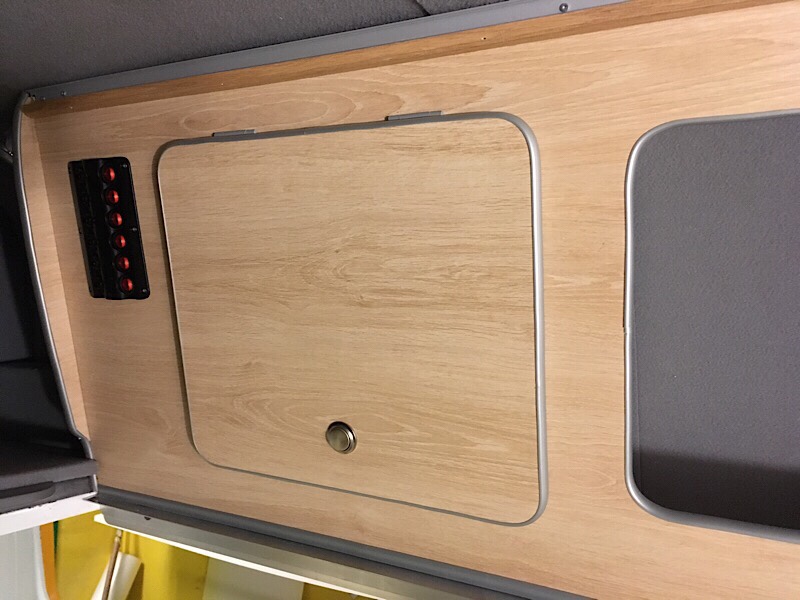
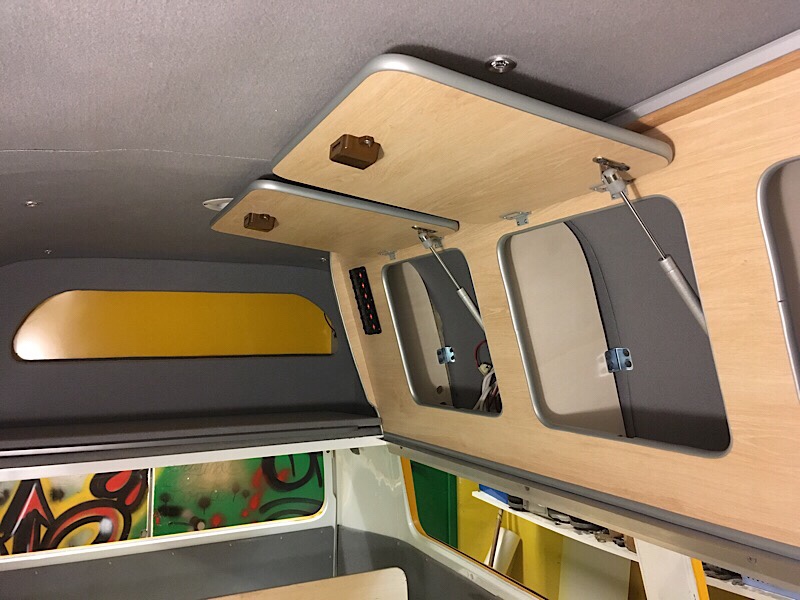
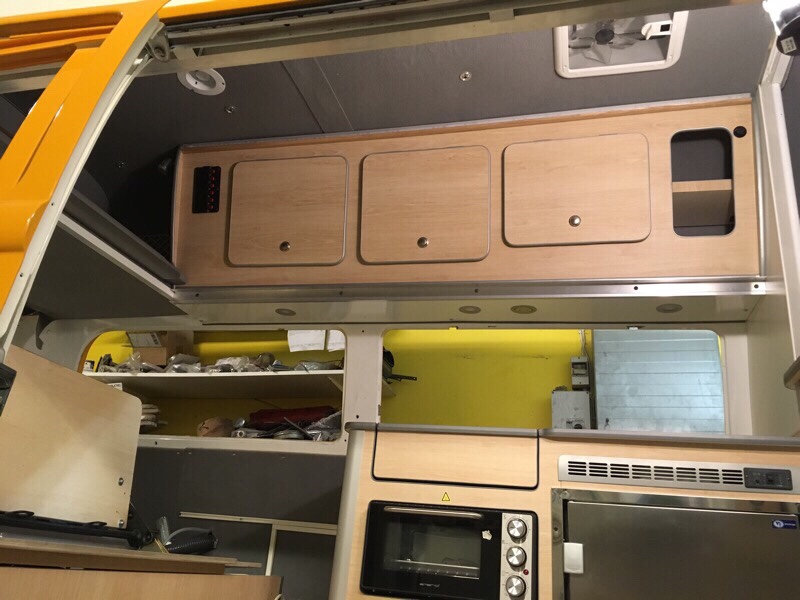
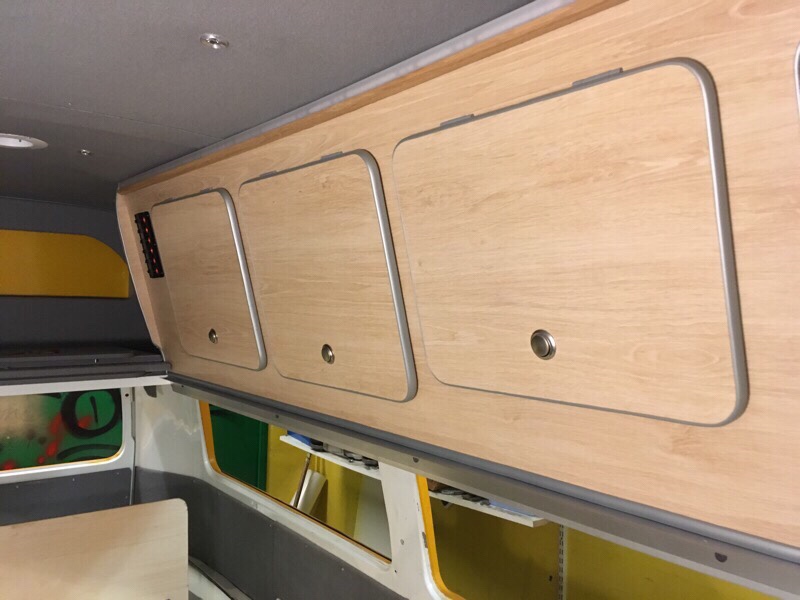
In this post I will show how I make a cabinet door from a big sheet of plywood. After lots of measures it’s time to cut these numbers out to actually real things, this time cabinet doors for a overhead locker/storage to the Highroof Bay.
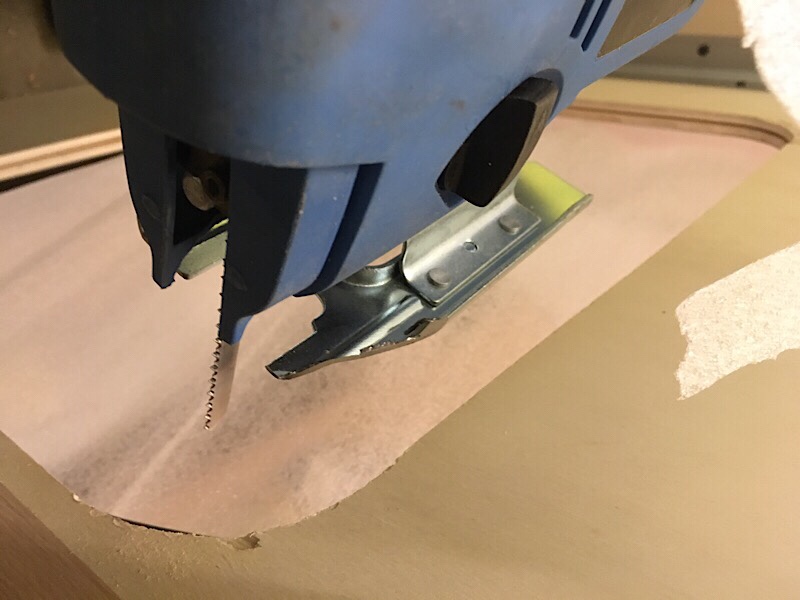
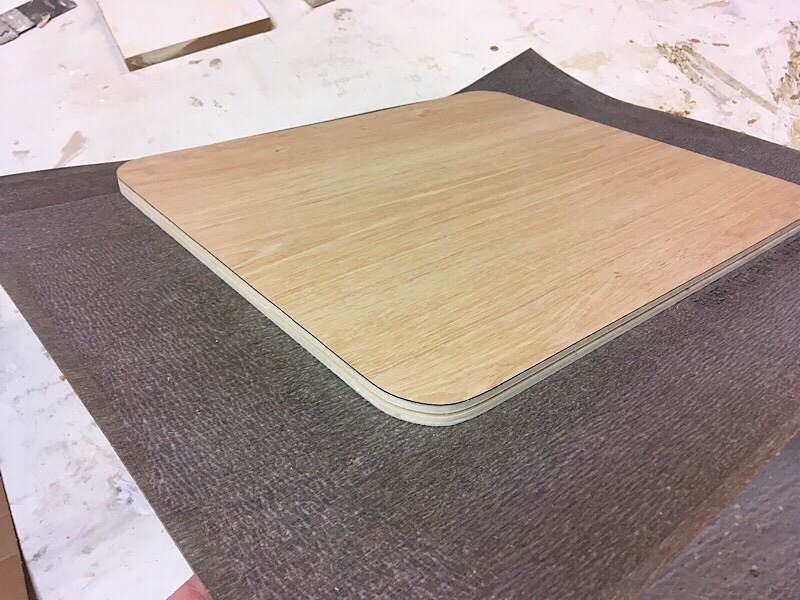
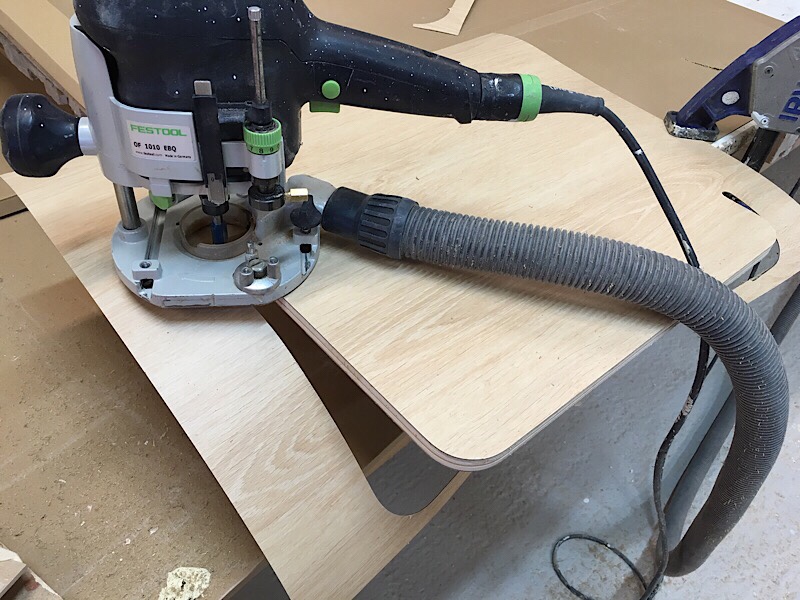
Draw up the dimensions on a 12mm lightweight plywood (never use ink pen!). Then cut it out with a steady hand and a jigsaw. Cut out laminate in slightly bigger size than the plywood, add 3M laminate glue on both sides, let it dry separate for 60mins. Then press the laminate together with the plywood and put it under pressure for at least 1hour or 2. Repeat it again to do the other side if needed. After this it’s time to use the electric wood router and cut out the coutures. Then cut a profile in the end of the door using a special router bit. When this is done you can start knocking on the edging, you can buy these from special wood company’s or camper conversion firms. Then measure out were you want the doorknob, drill it out, press in a bezel and install the lock. Mount hinges. Now you have one complete door, just everything else left to do 😉 Good luck!
Some of you have been asking for build plans for the Highroof Bay bus interior, but the only plans I have is in my head, sorry guys! 🙂
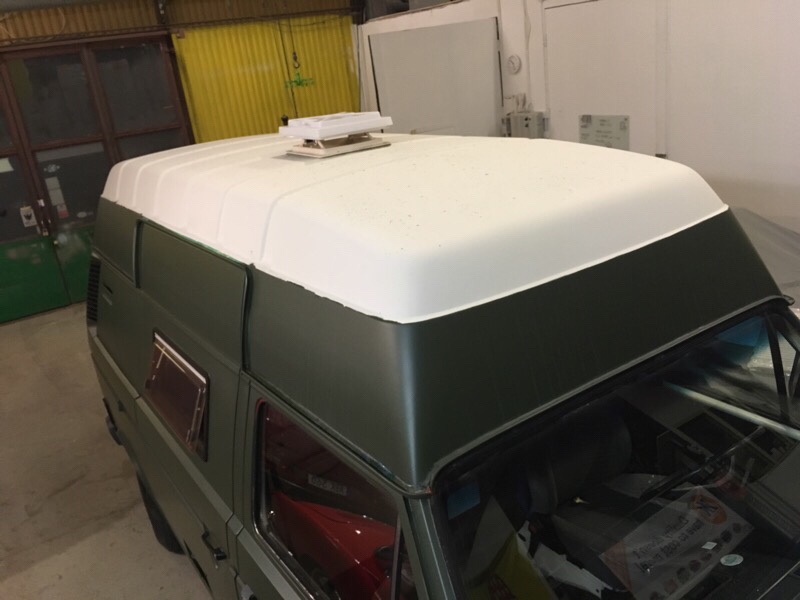
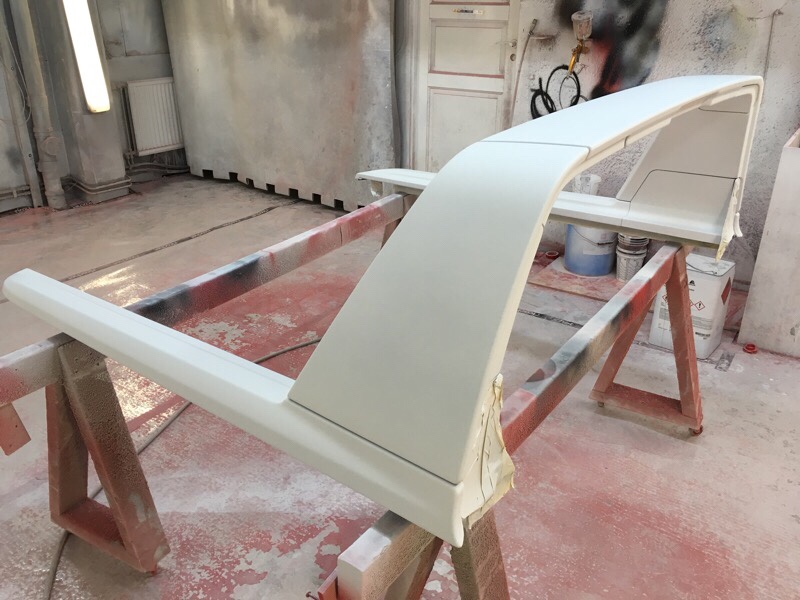
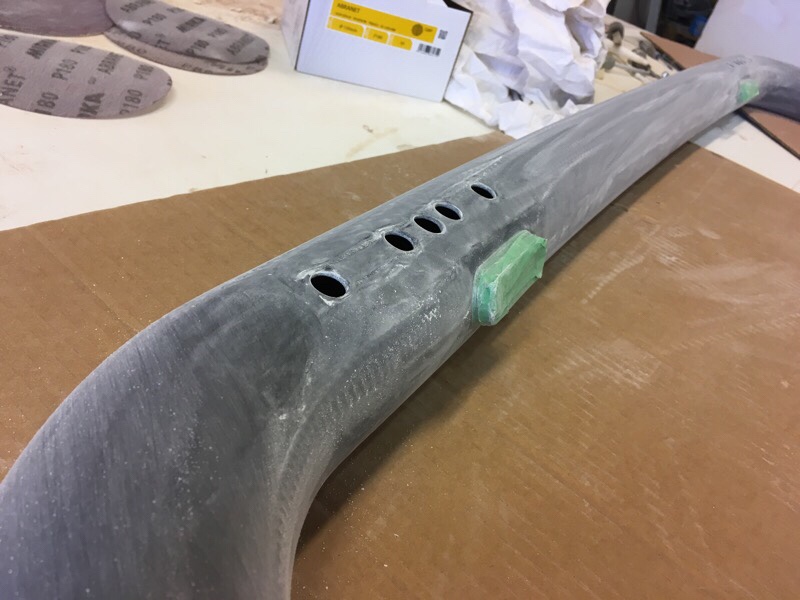
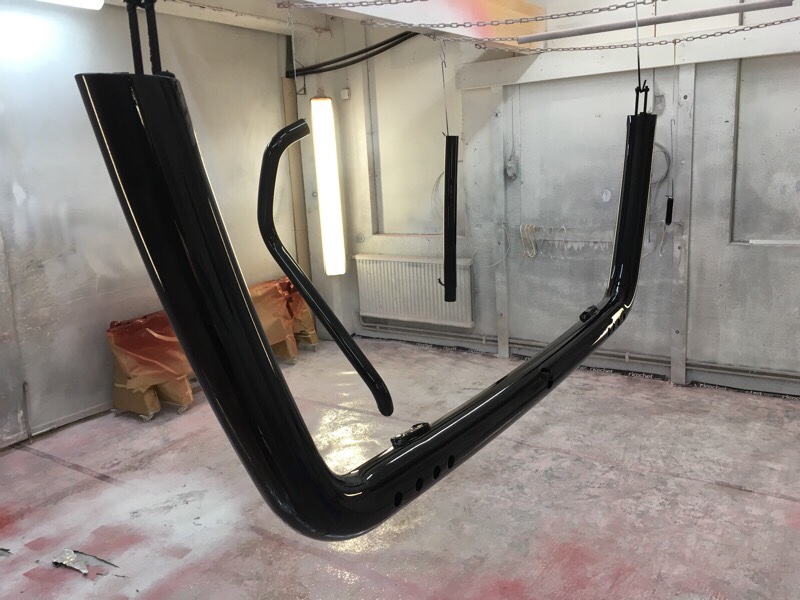
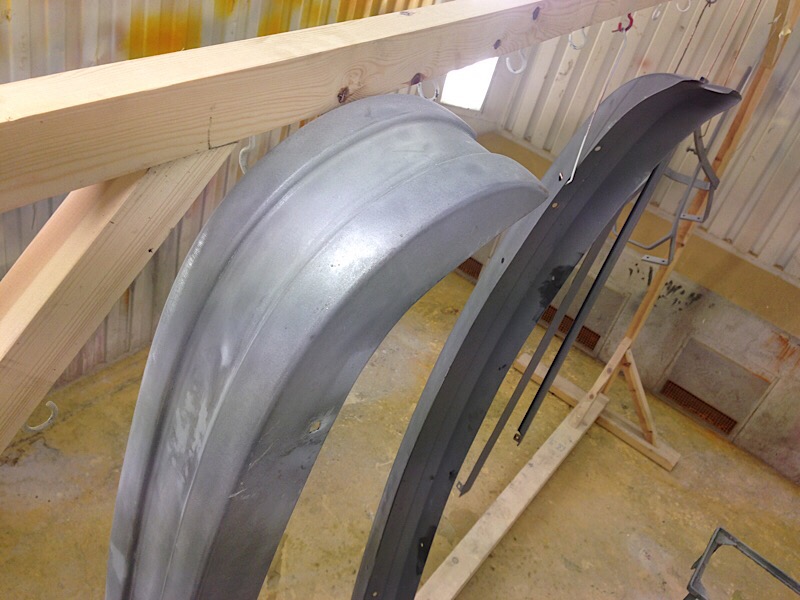
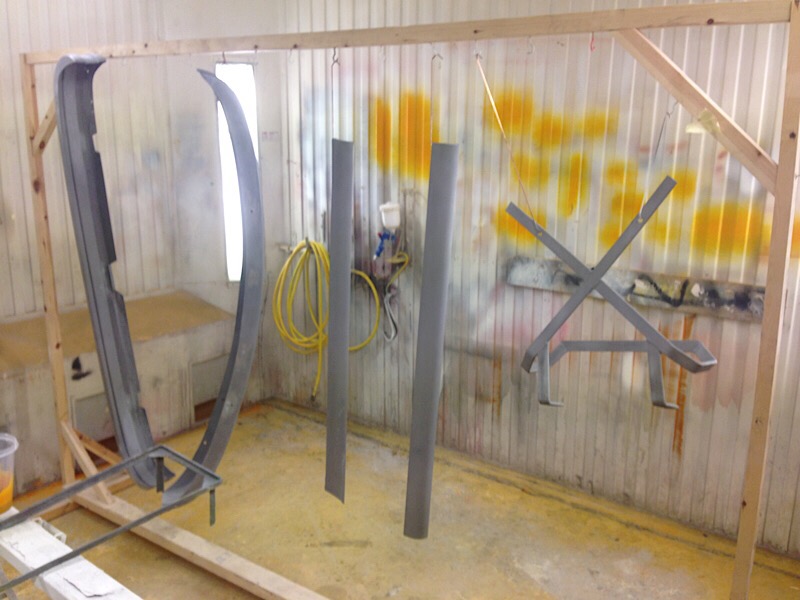
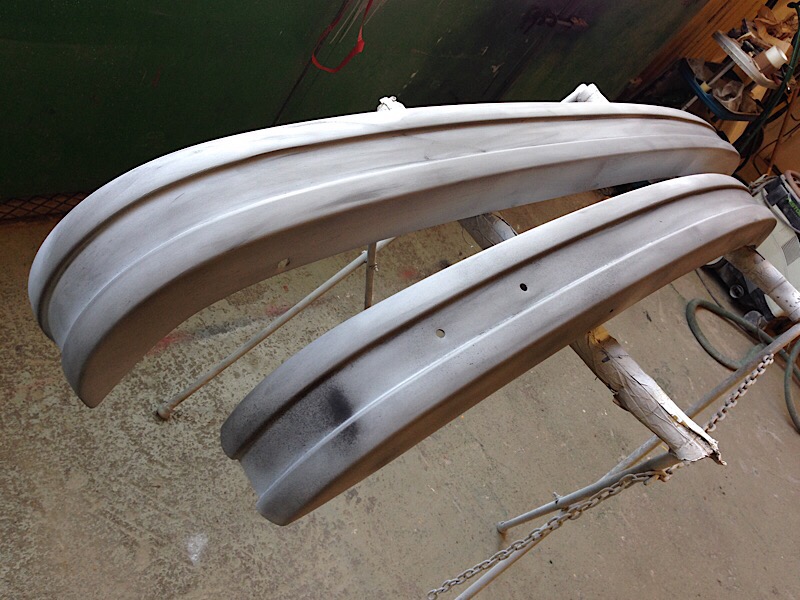
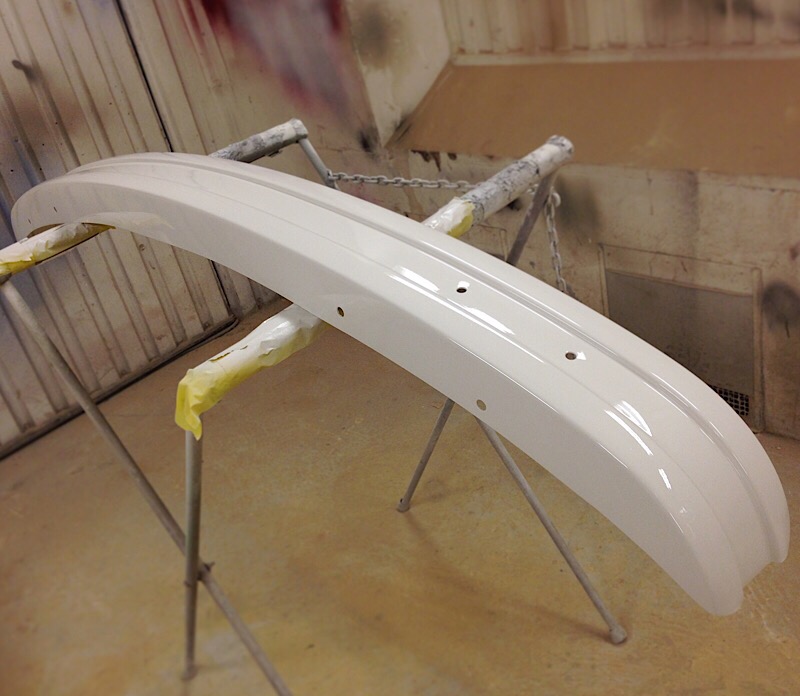
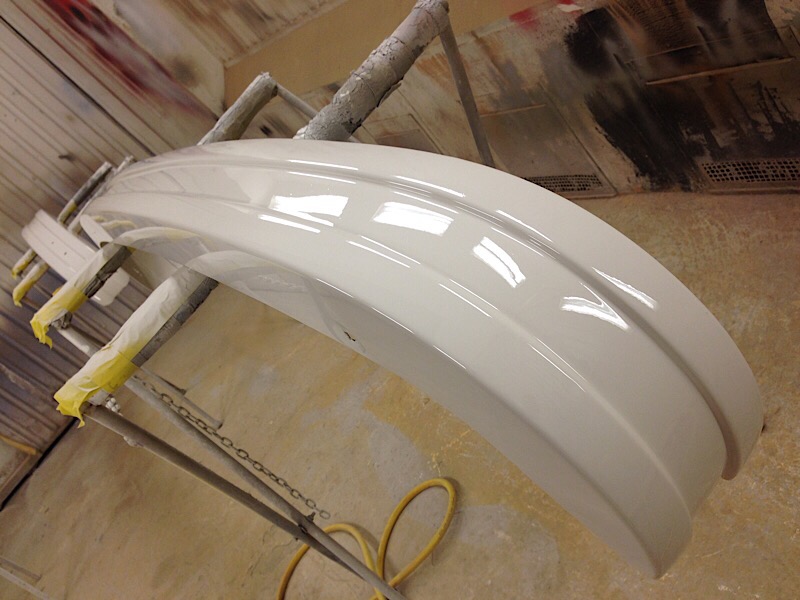
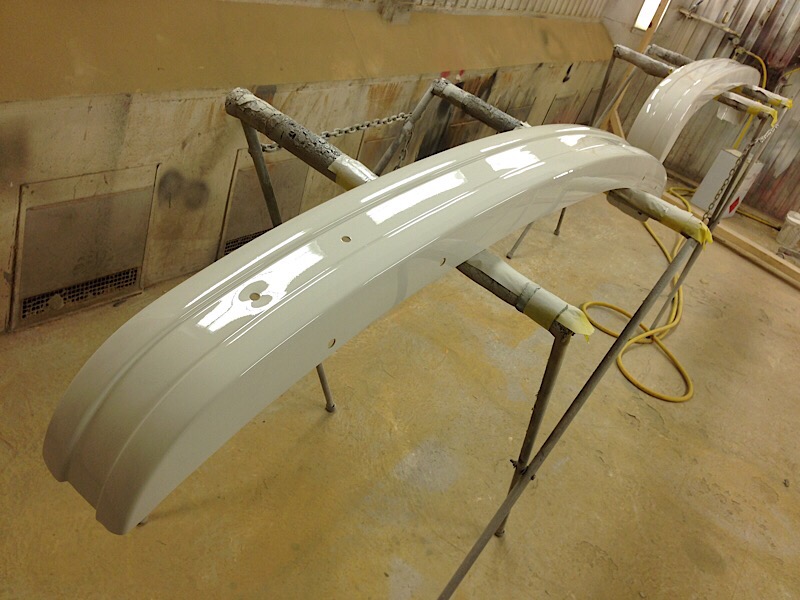
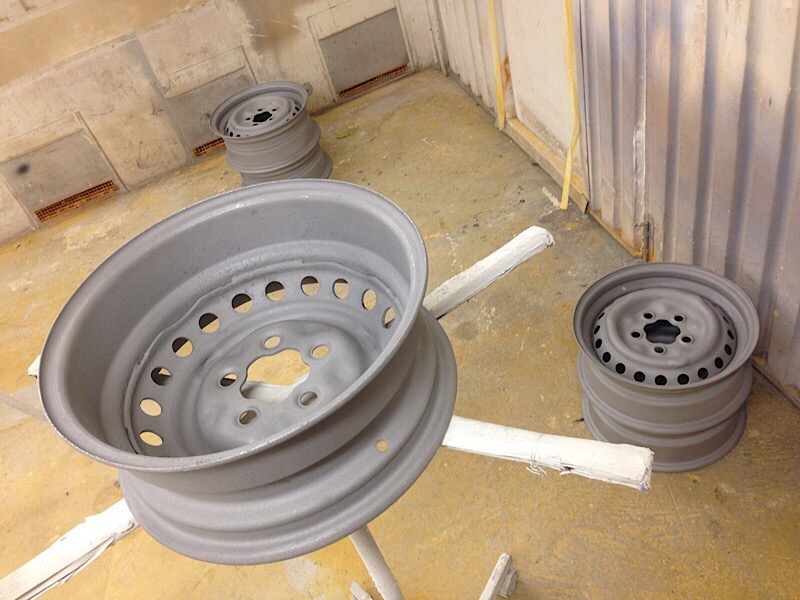
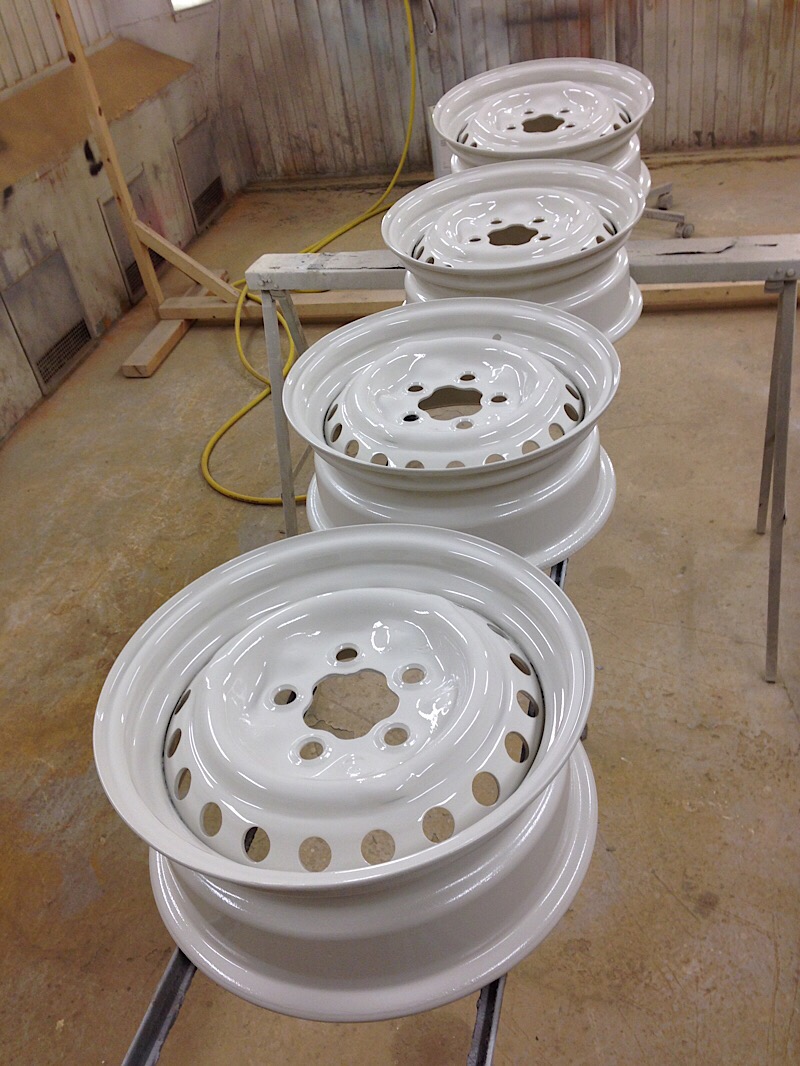
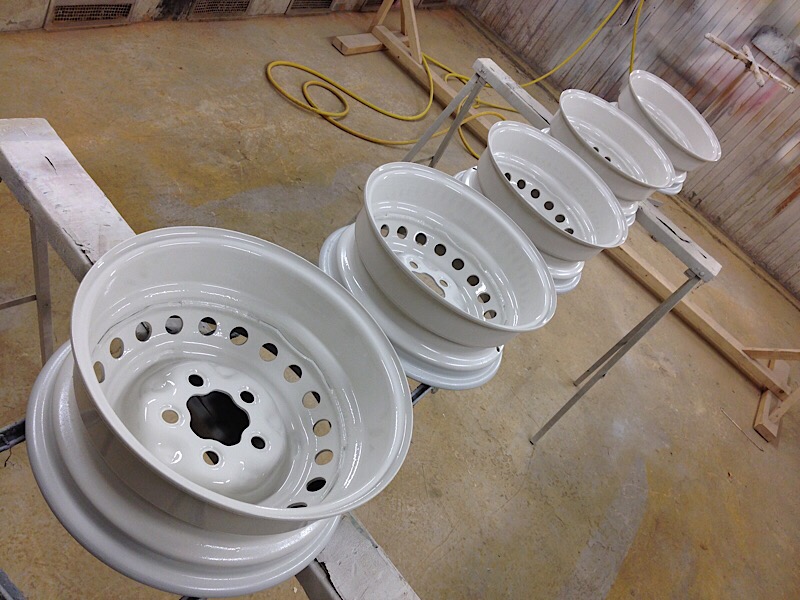
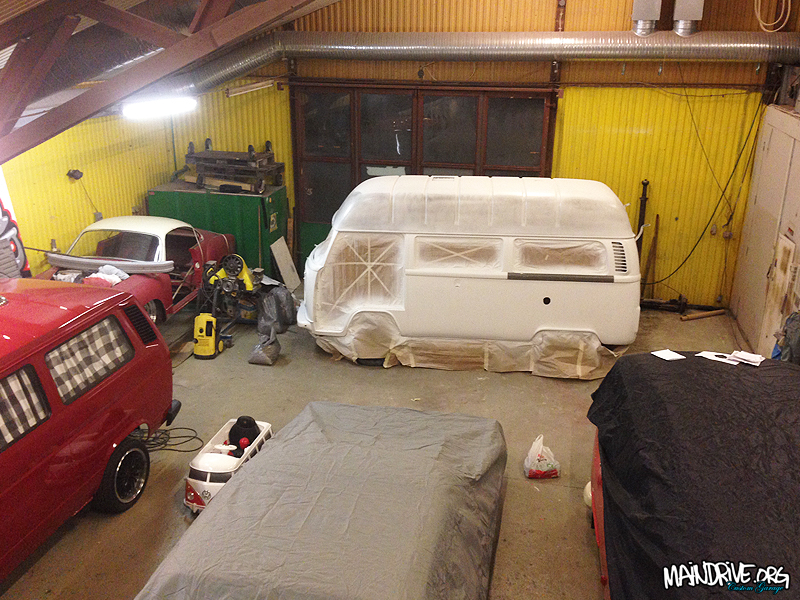
Piece by piece it’s coming together! I Have been fixing with the bumpers and wheels lately. It have all been sandblasted, welded, epoxyed, sanded, primered and painted in same white as the roof. Really starts to come together now, some light in the tunnel. But still lots left to do, here is some new pics…
#highroofbayproject

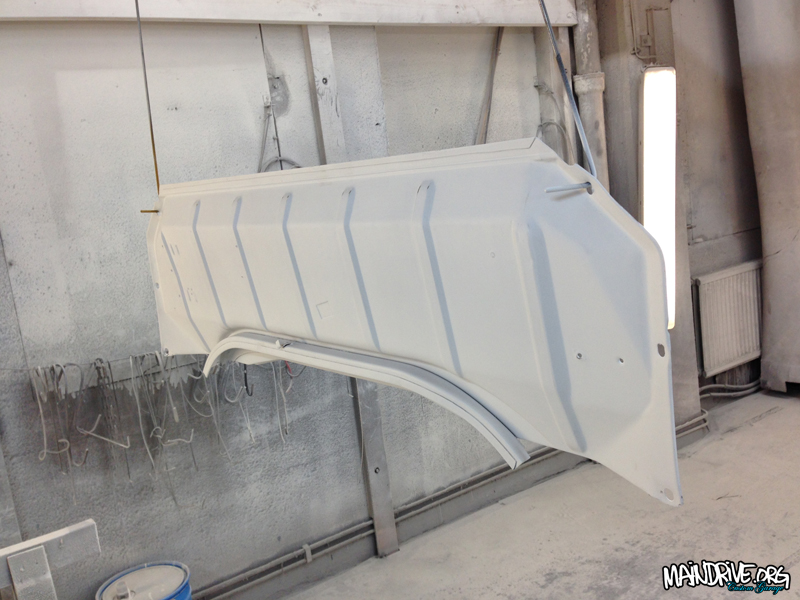
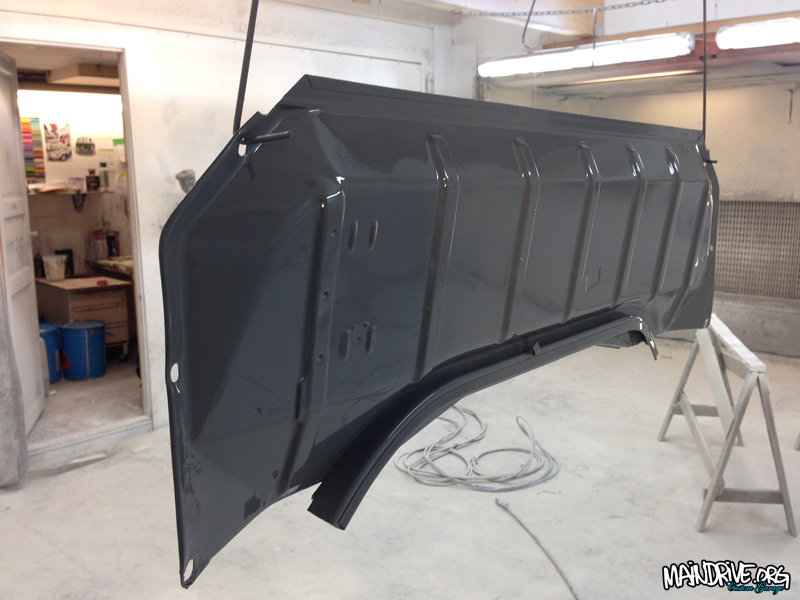
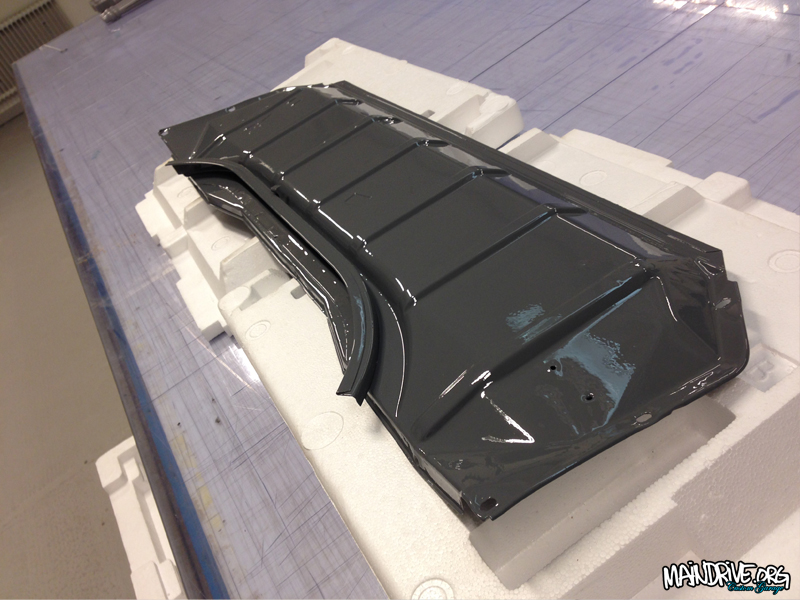
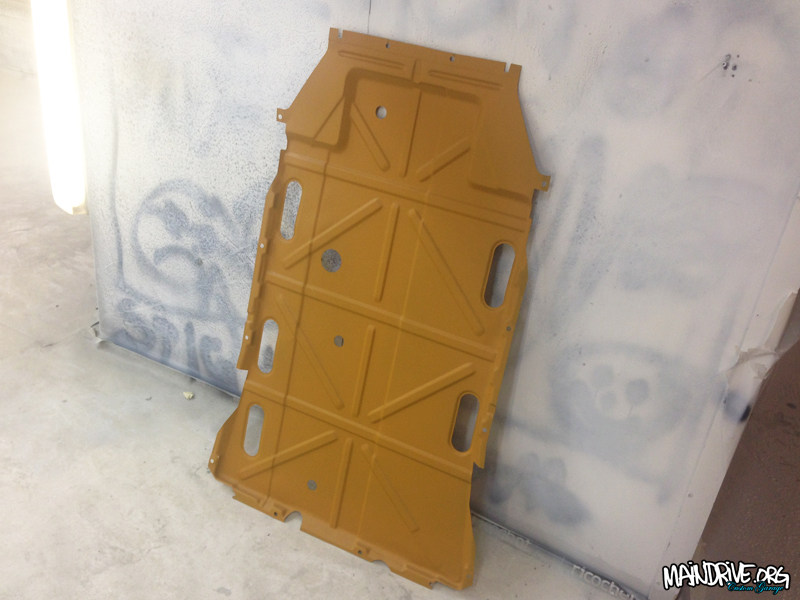
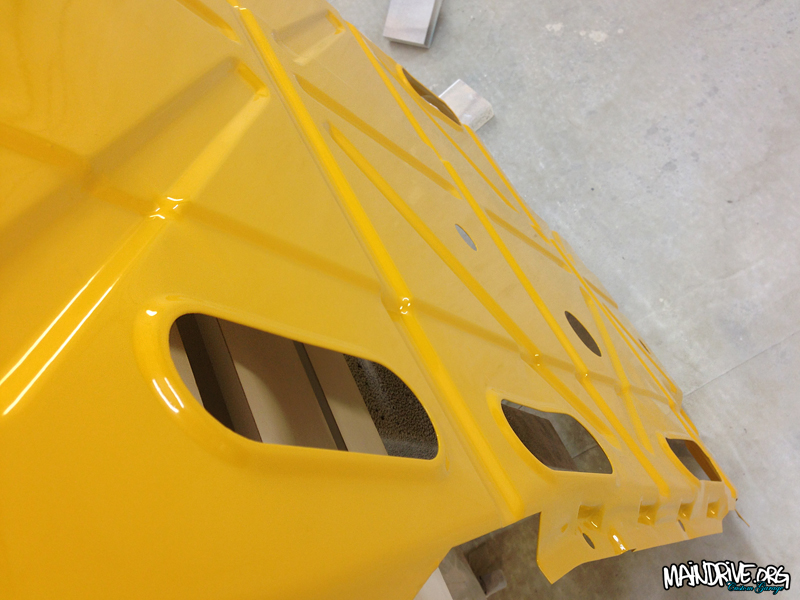
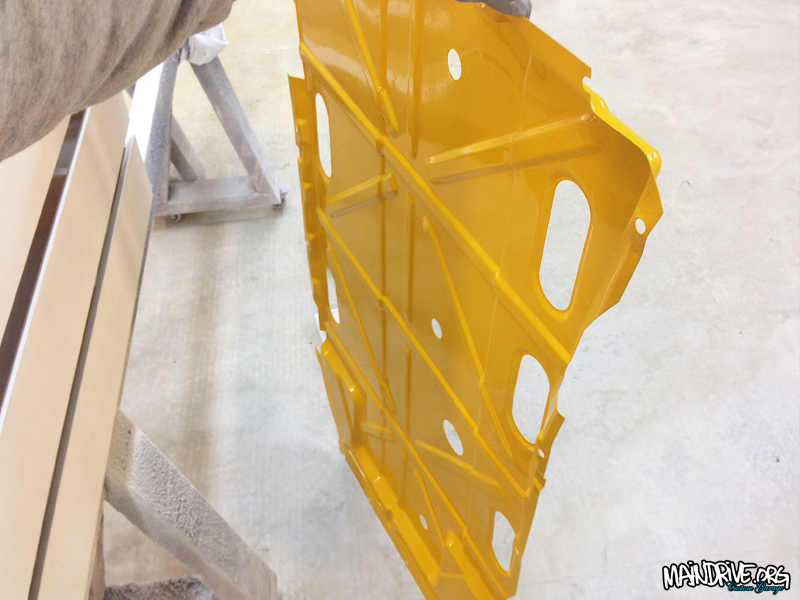
Have not got very much done lately. As my first son (1 year old) takes most of the time now. So that more important at the moment. But Im trying to push forward on the bus too, couple of hours after work and on weekends etc. Soon have all doors and lids in primer and then it all just needs a easy sanding and then its time for a paintjob! Have also sandblasted the fueltank cover and bellypan and got them painted and ready too. Hope to start rebuild of the 1800cc Type 4 engine in begining of February also!
More to come, but thats it for now, here is some pics…
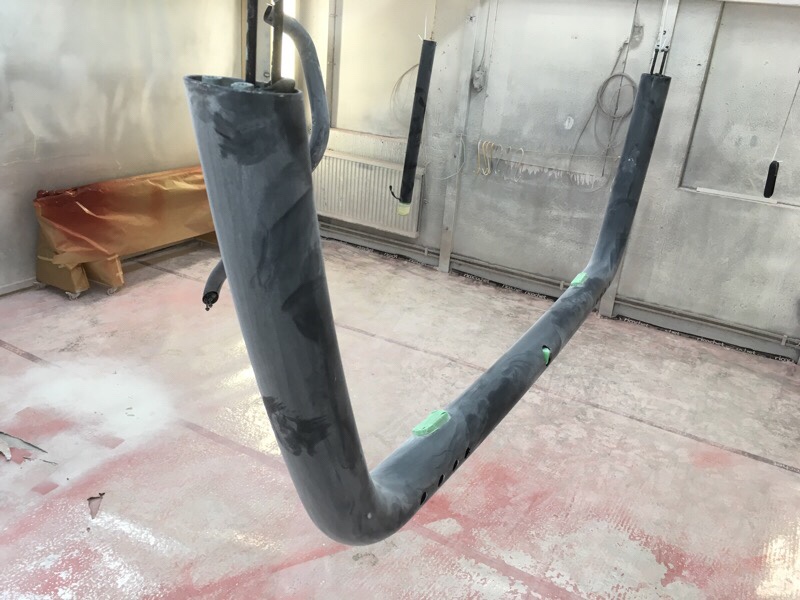
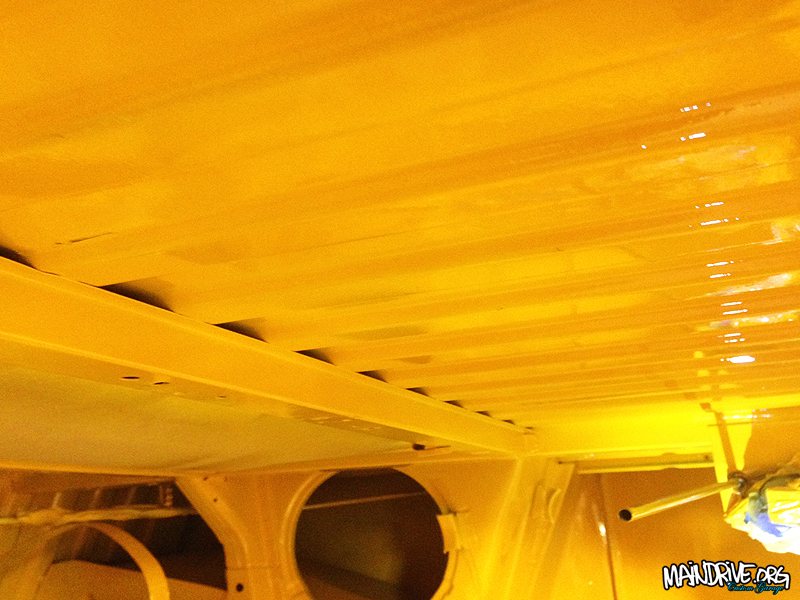
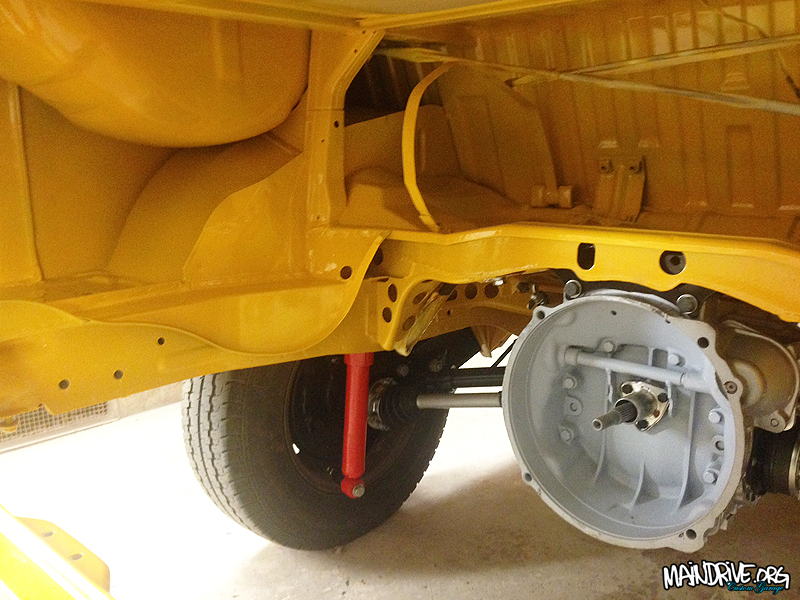
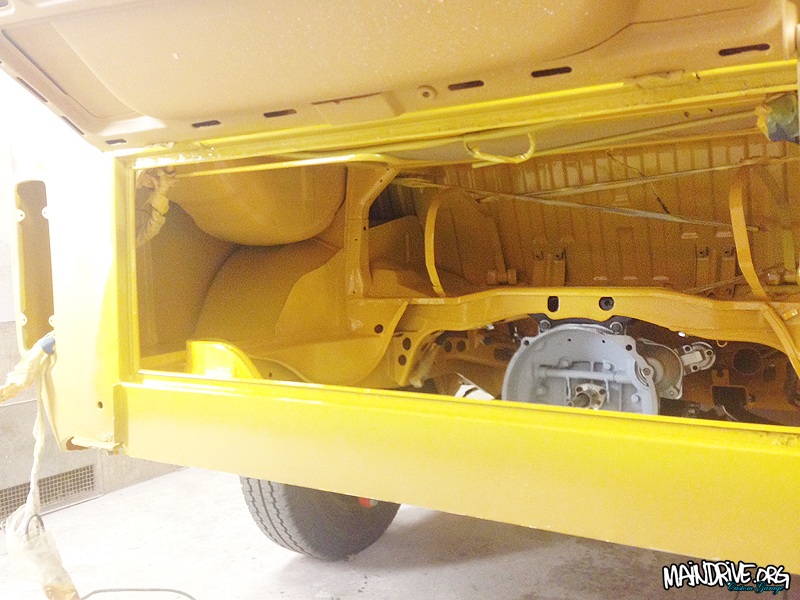
Blasted and epoxyprimer, ready for topcoat in VW factory greyish
Baremetal then yellow epoxy/zinc primer
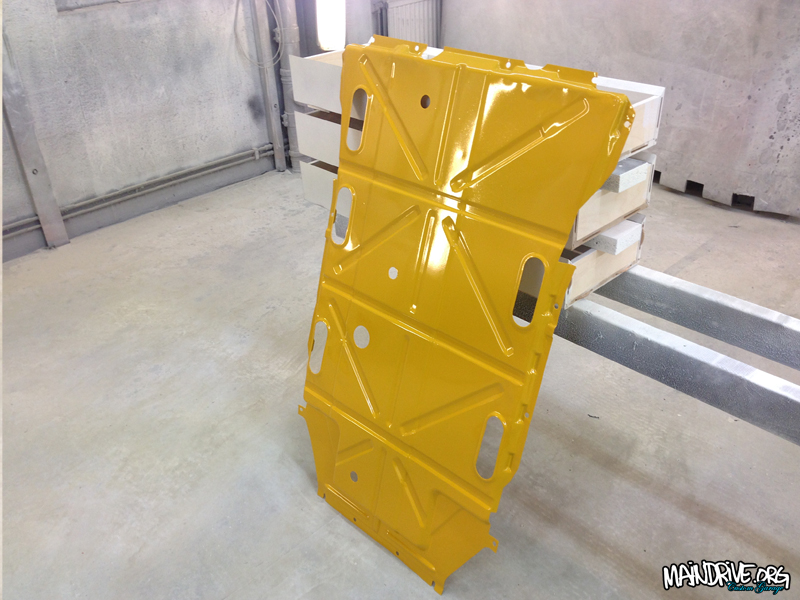
Topcoat in VW L20a Marino Yellow with 2K polypaint with elastic characteristics. So the stones wont chip the paint. The gloss on the elastic is a little less, but this panel is under the car and you normaly never see it anyway.
Have nice weekend!
VW steering wheel lock (option) for early Beetle. Check out 4sale section for more info…
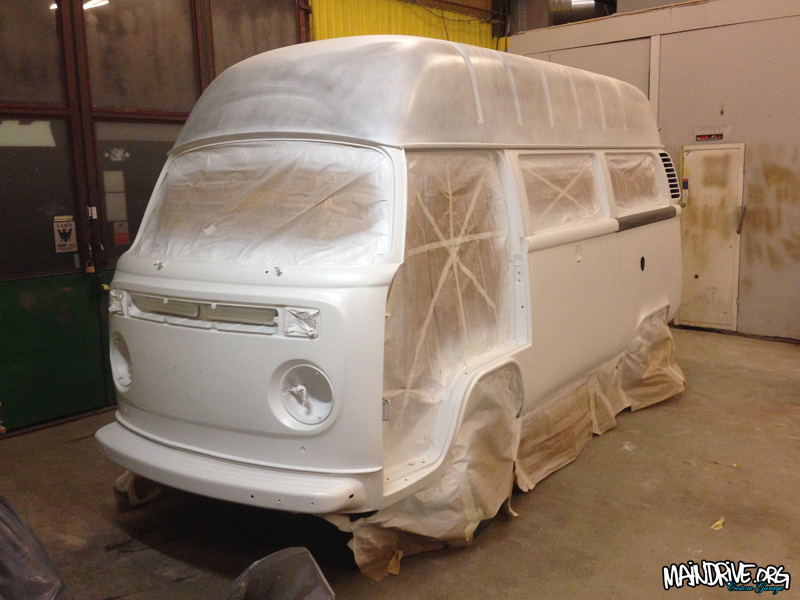
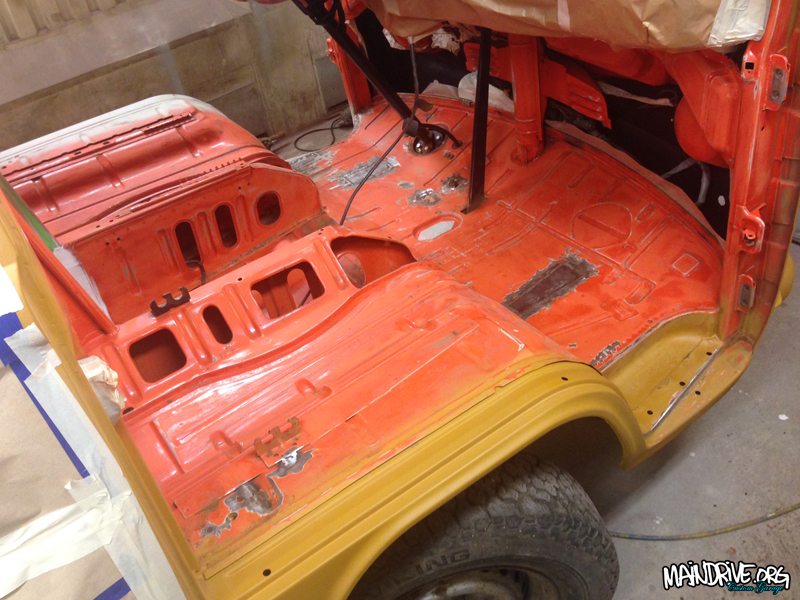
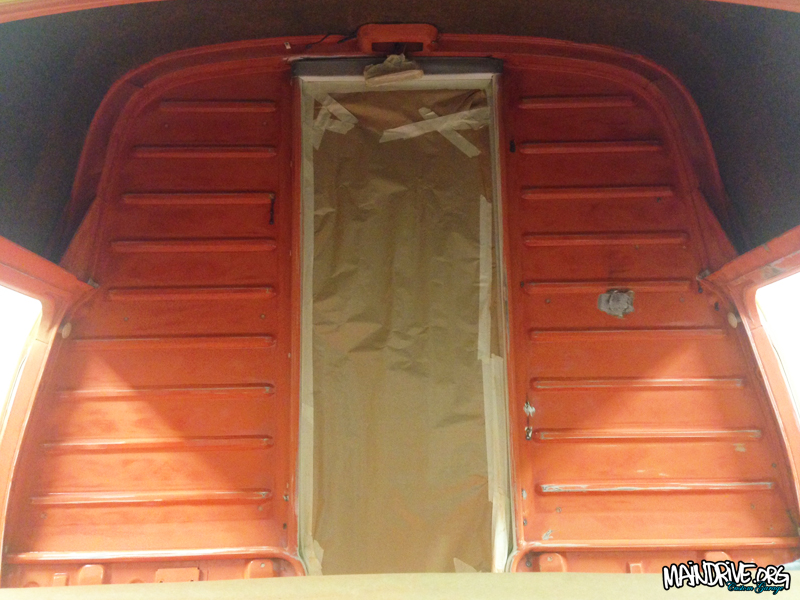
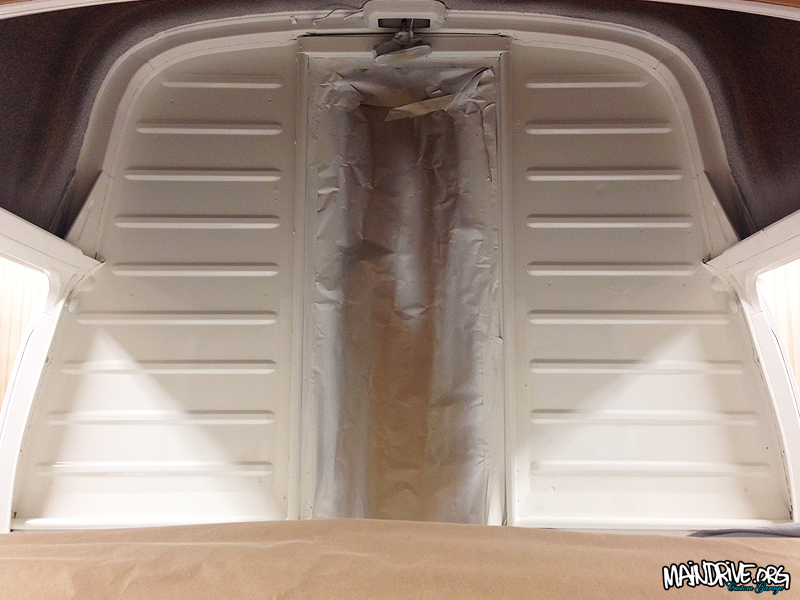
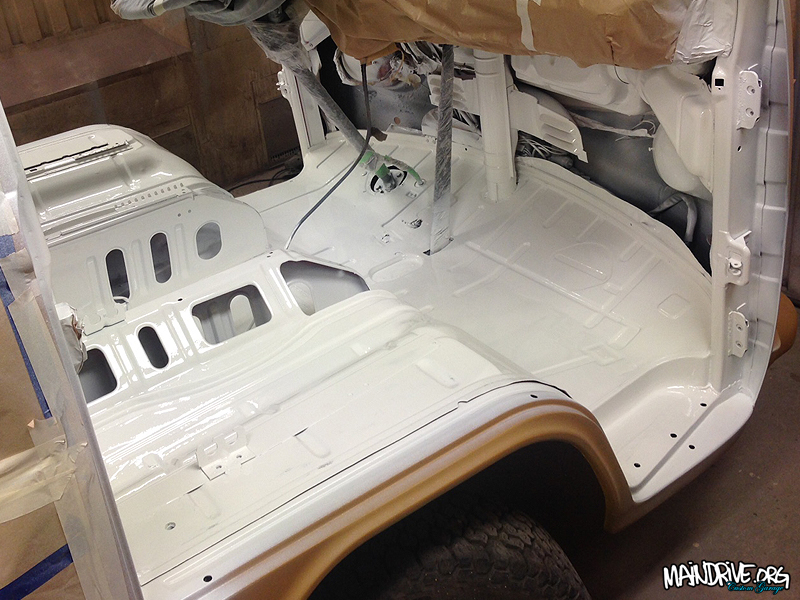
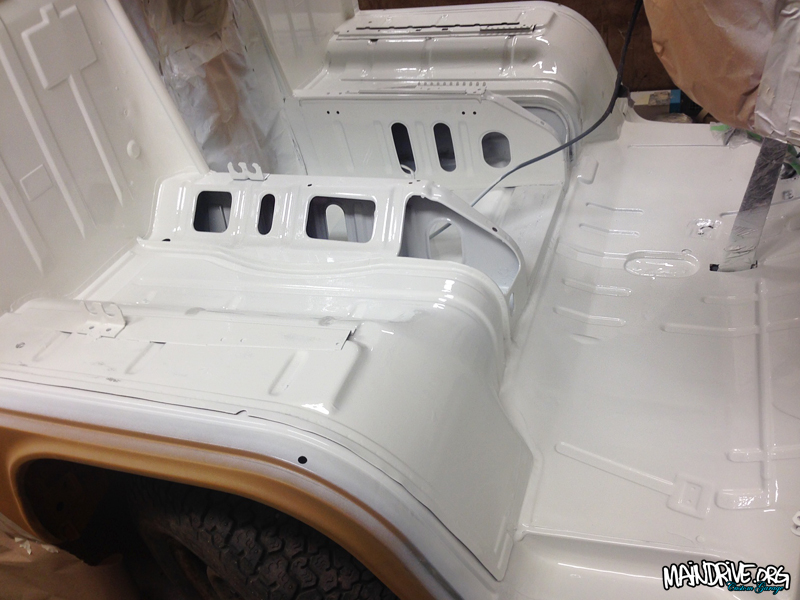
The engine bay is now ready for the fueltank and later on the 1800cc+ type 4 engine (need to be rebuilt first) to be installed. Today the whole front cab of the bus got sanded down (mostly by hand), front doors removed, masked, seamsealed, prepared for primer and then topcoat in Off White color in 2 layers. Most of this wont be showing when all sounddeadning materials and carpets are in place later but good to have a clean surface for glue and its also nice to know its clean and protected under the carpets.
Next up is; top section of dashboard needs to be removed to paint it in semi-gloss Deepblack (easier to do when windscreen is already out). After this I can start with the outside body of the bus and make it ready for paint. Here is some new pics…
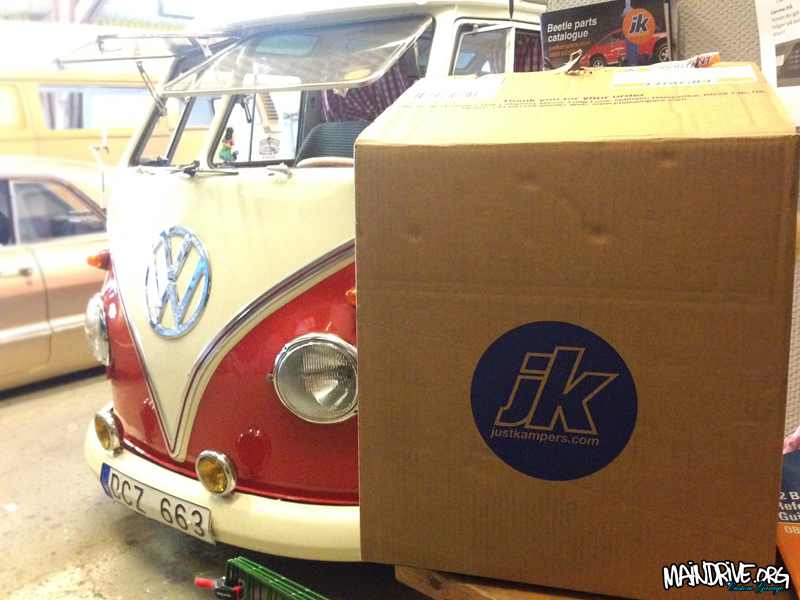
Got some new VW parts today from JustKampers, super fast delivery as always!
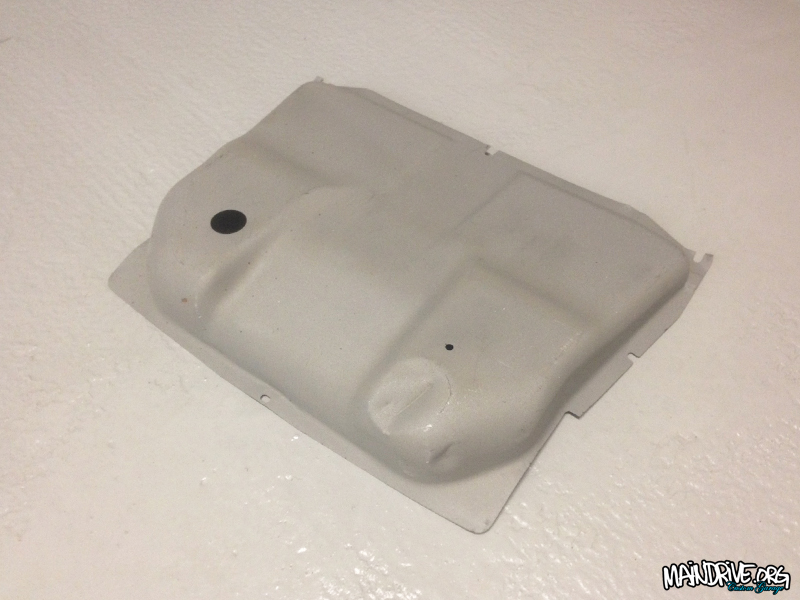
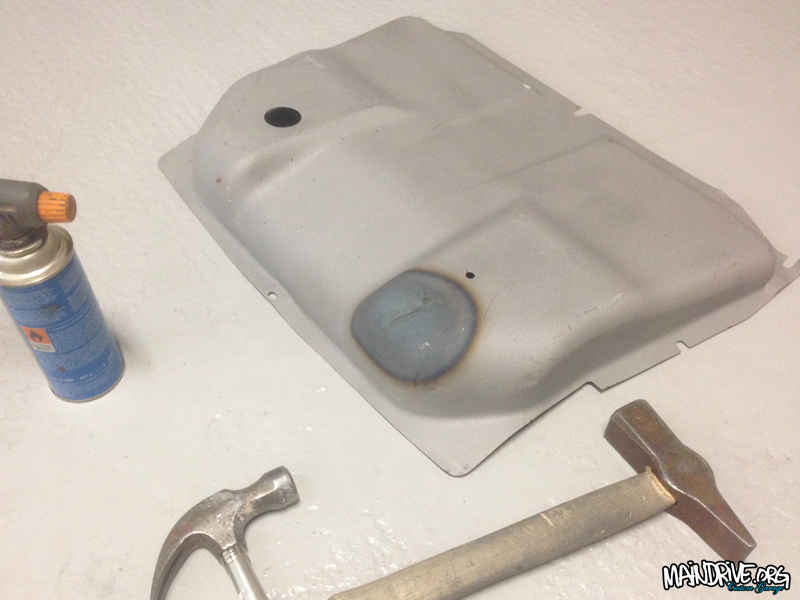
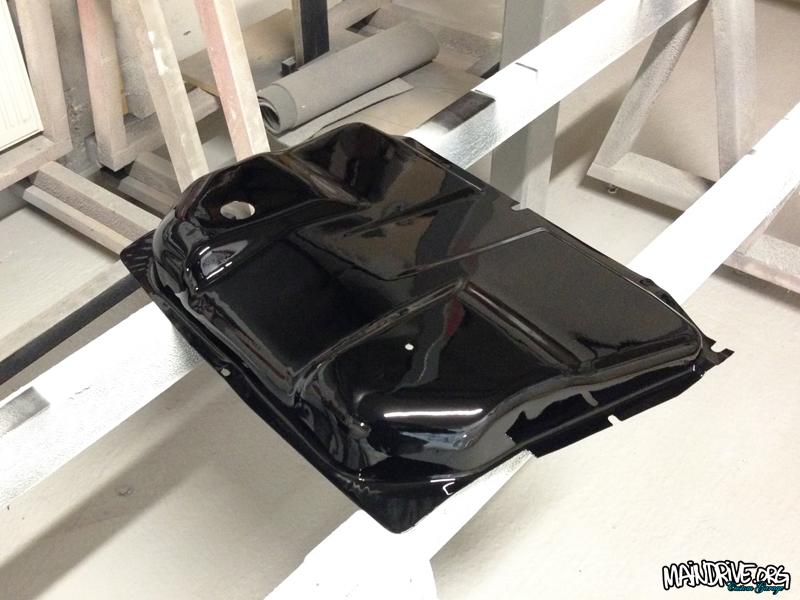
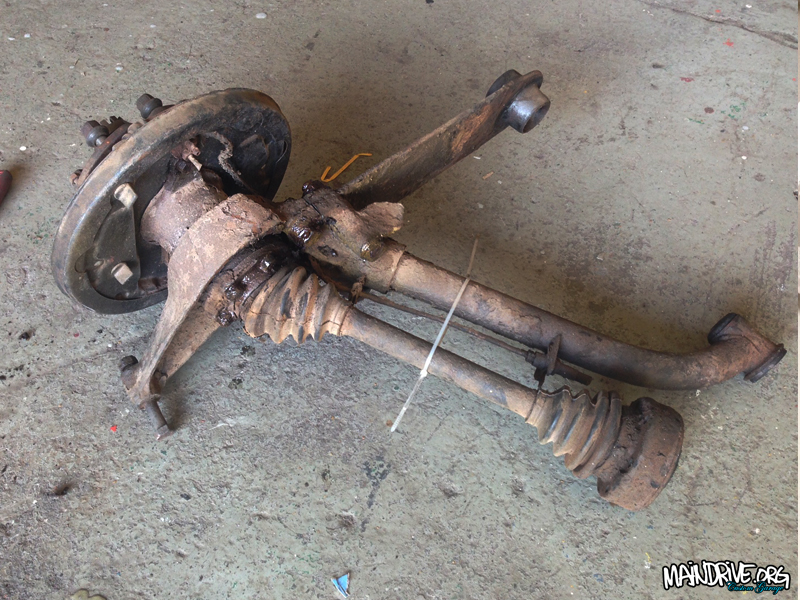
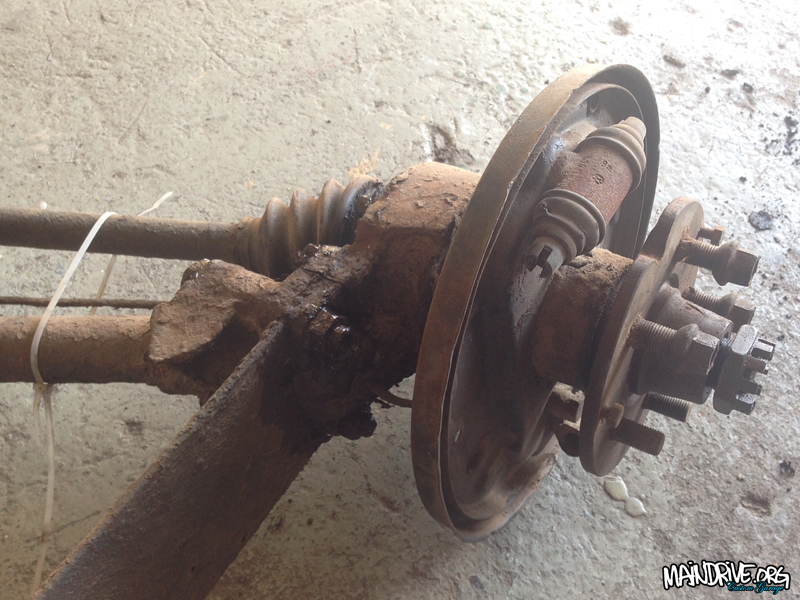
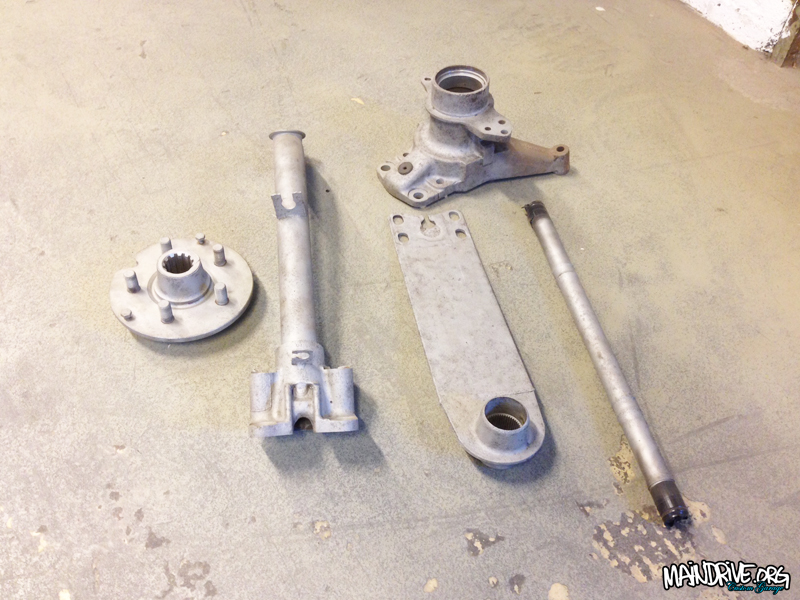
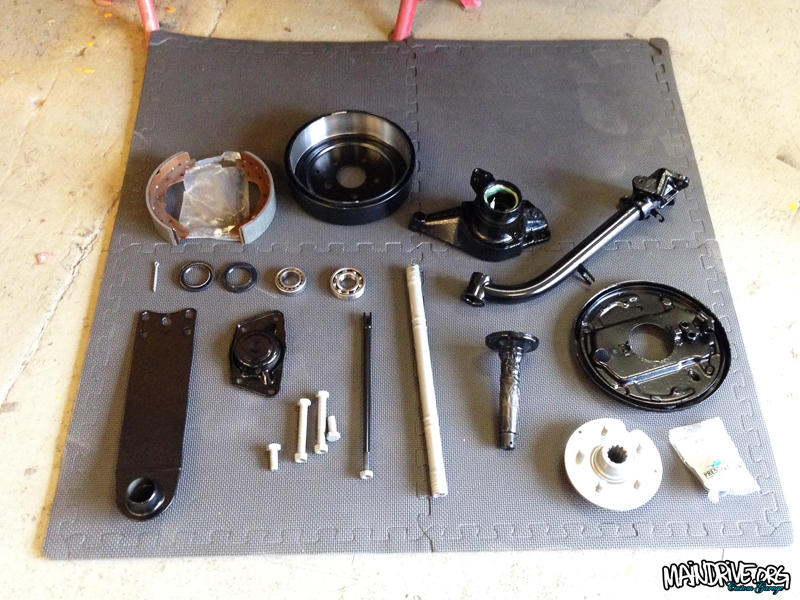
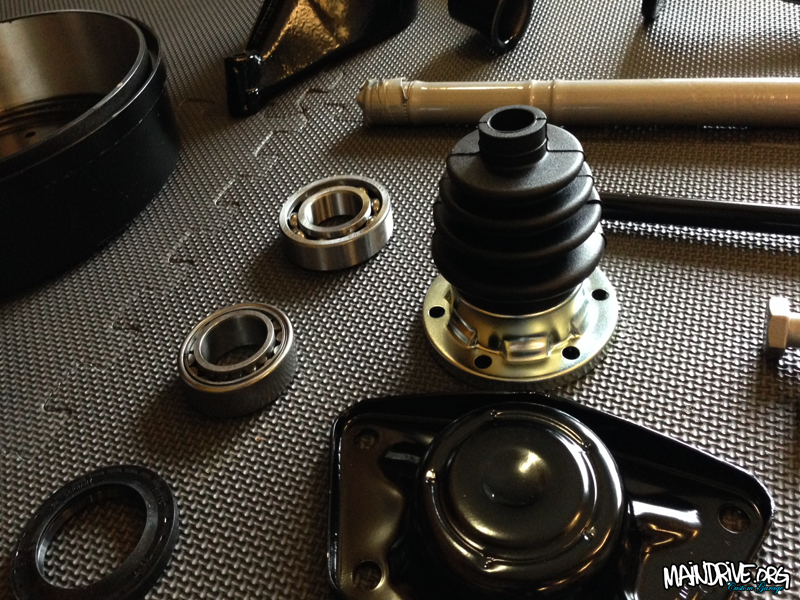
Started to get the other side done, blasted, painted and new bearings and seals. Waiting on some new parts from JustKampers and hopefully I can put the bus back on its own wheels this weekend for first time in 6 months. Also fixed the rusted and dented up front floor cover, blasted and painted ready to be installed when all wires and brakes are fixed.