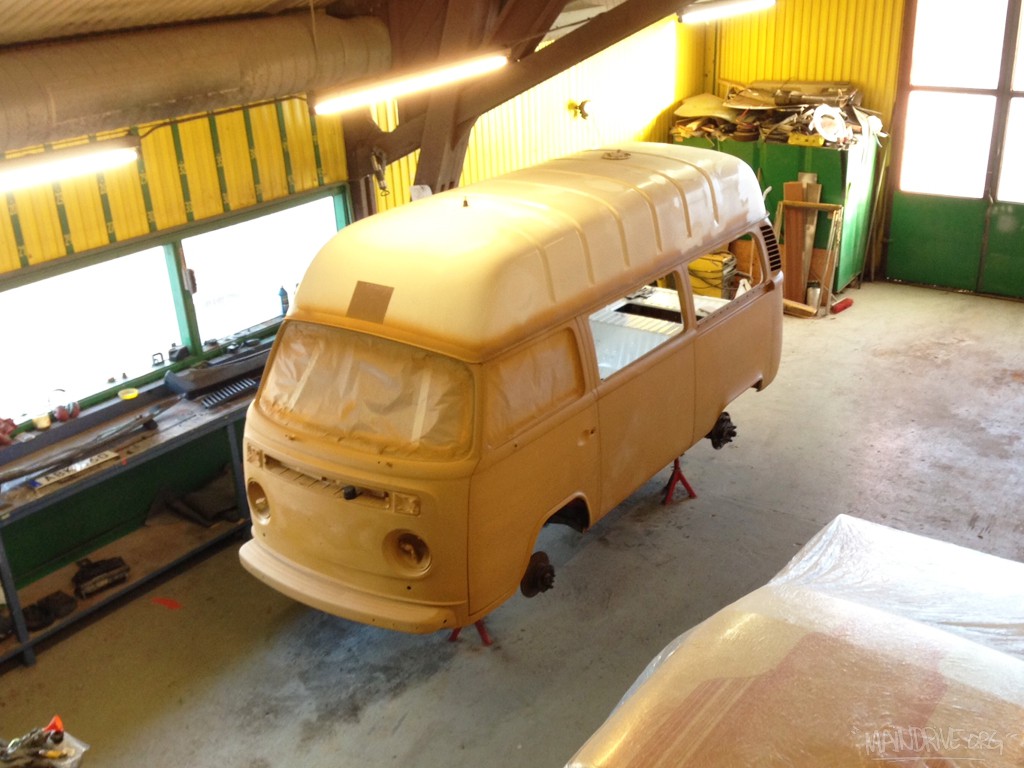
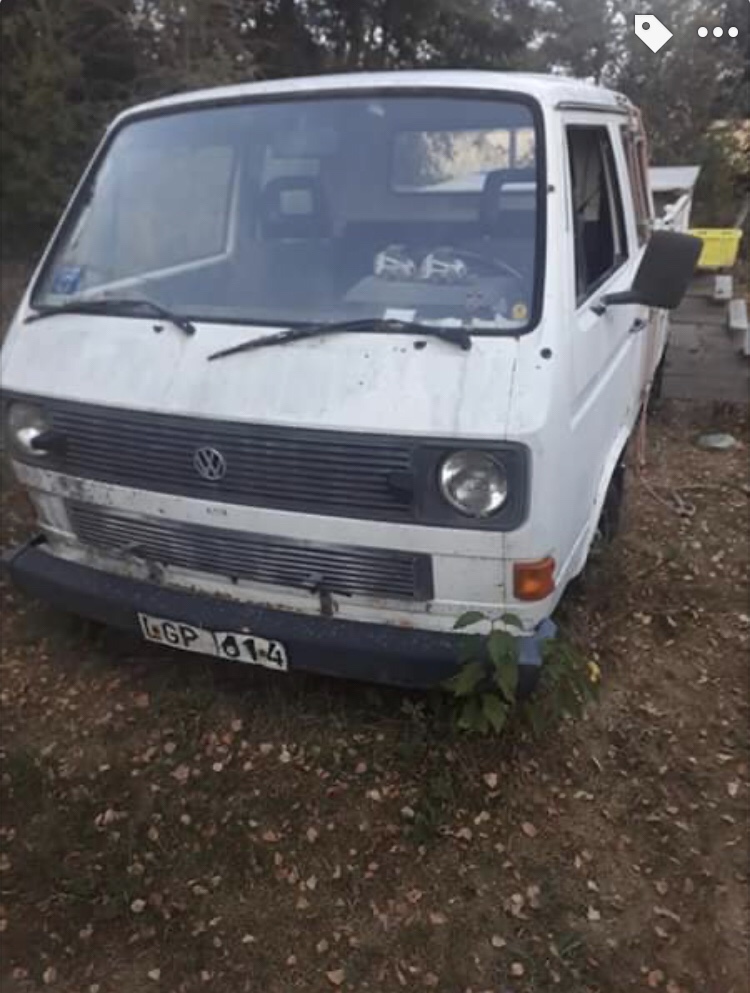
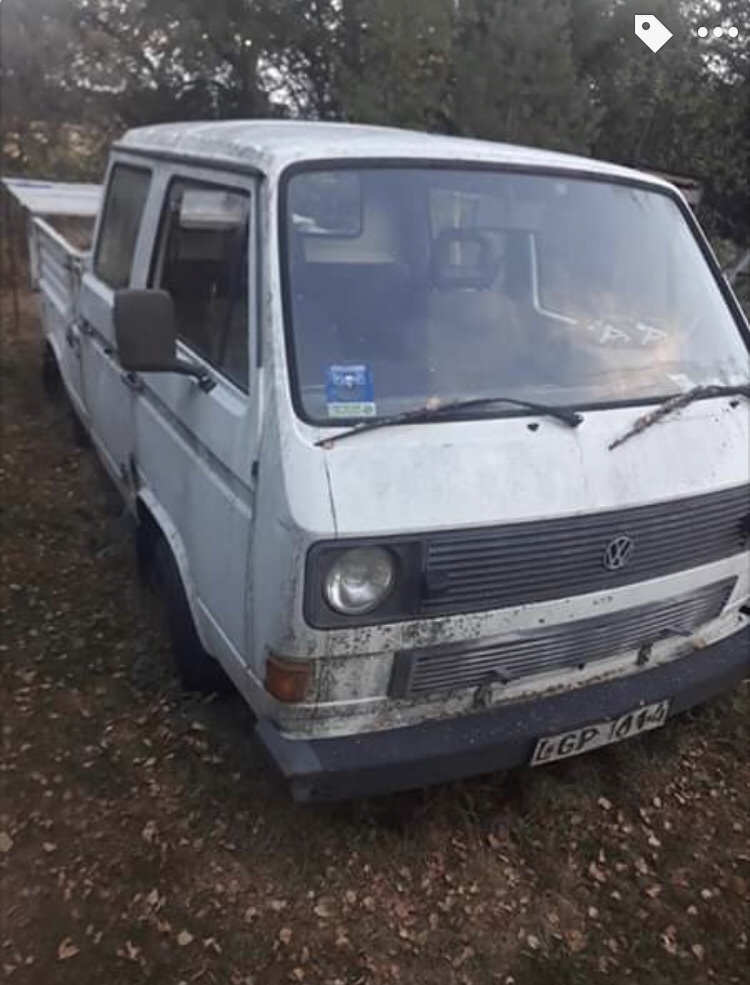
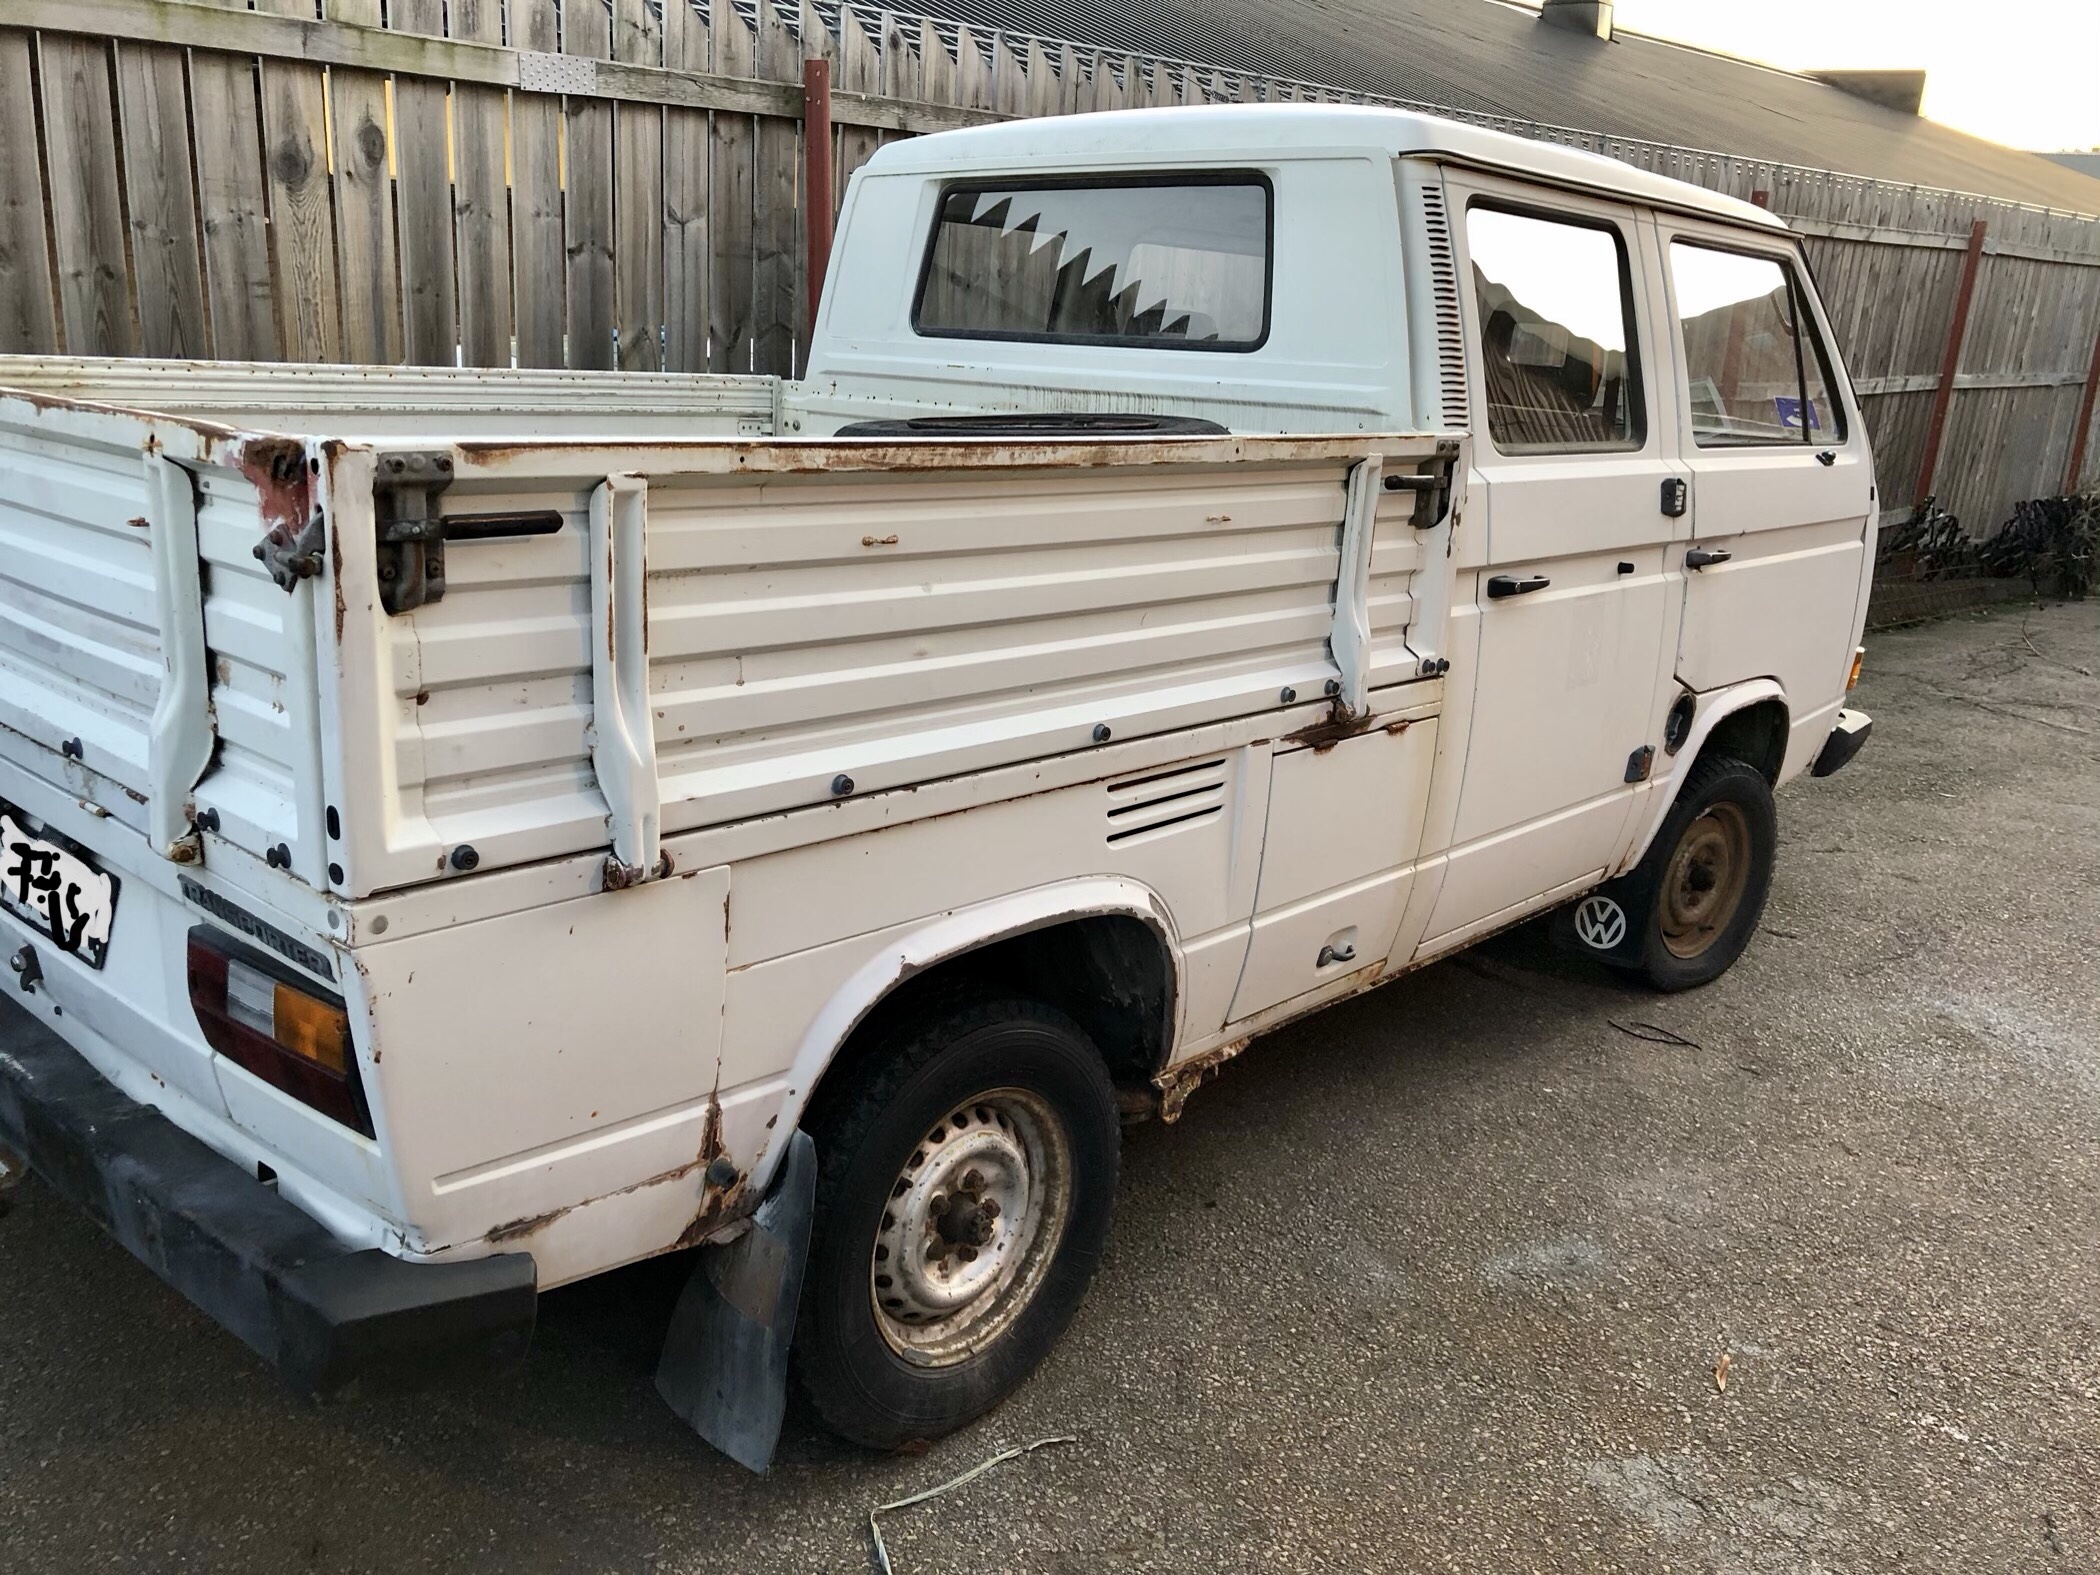
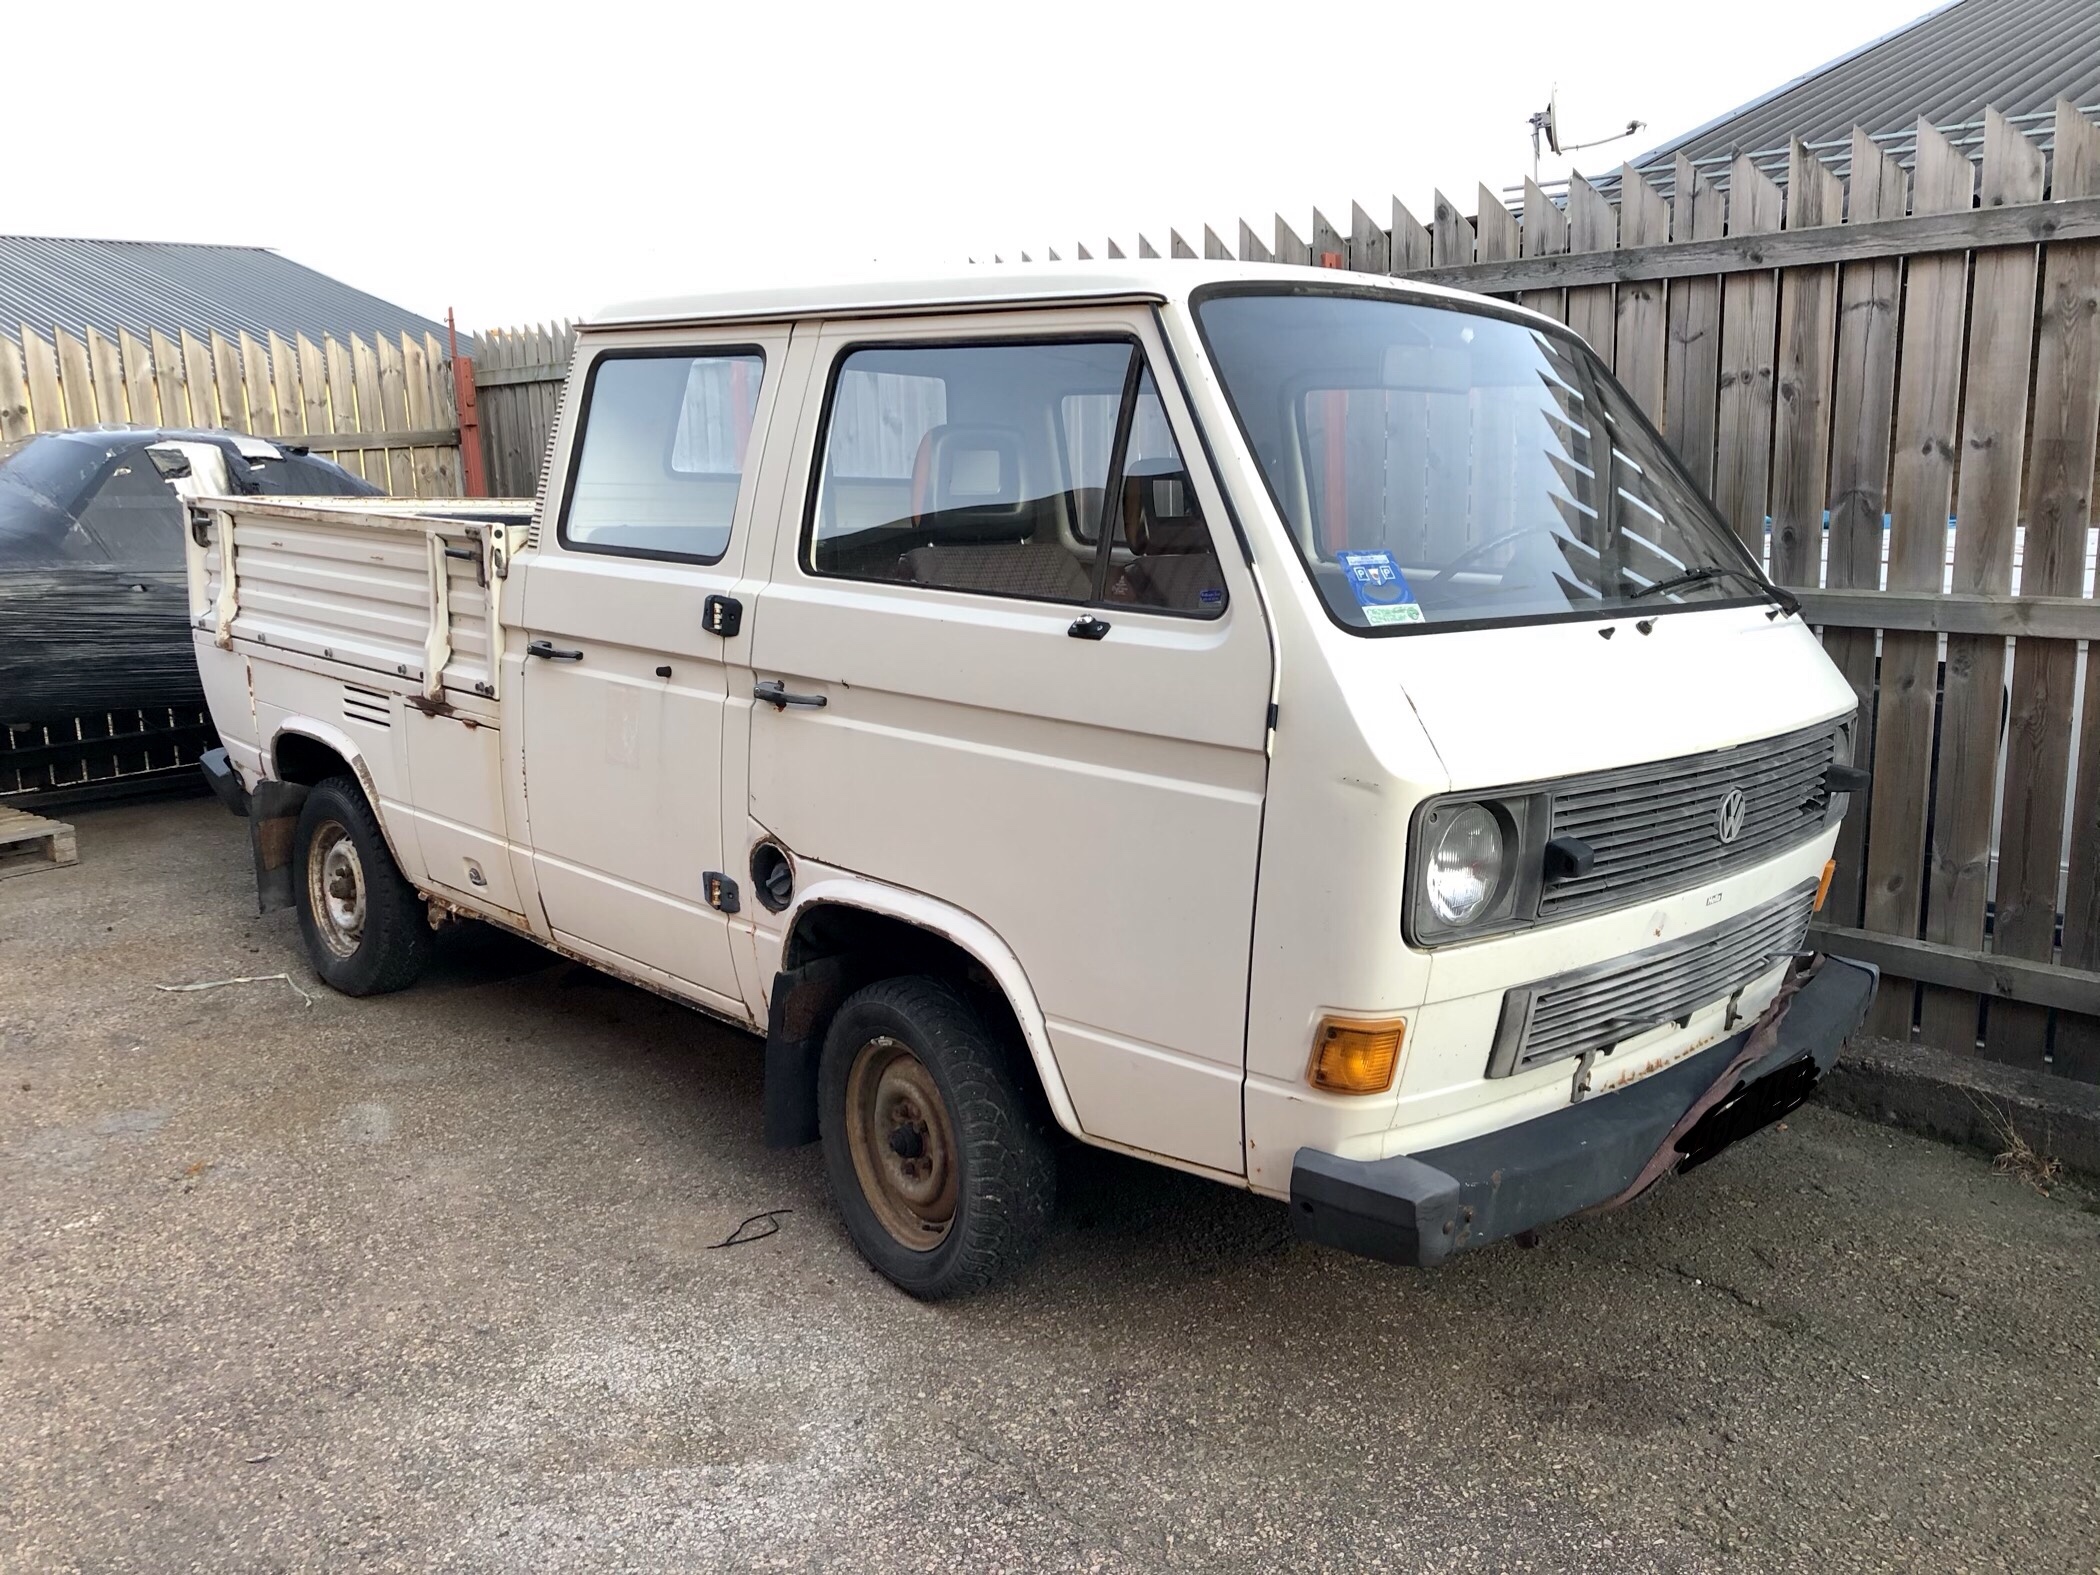
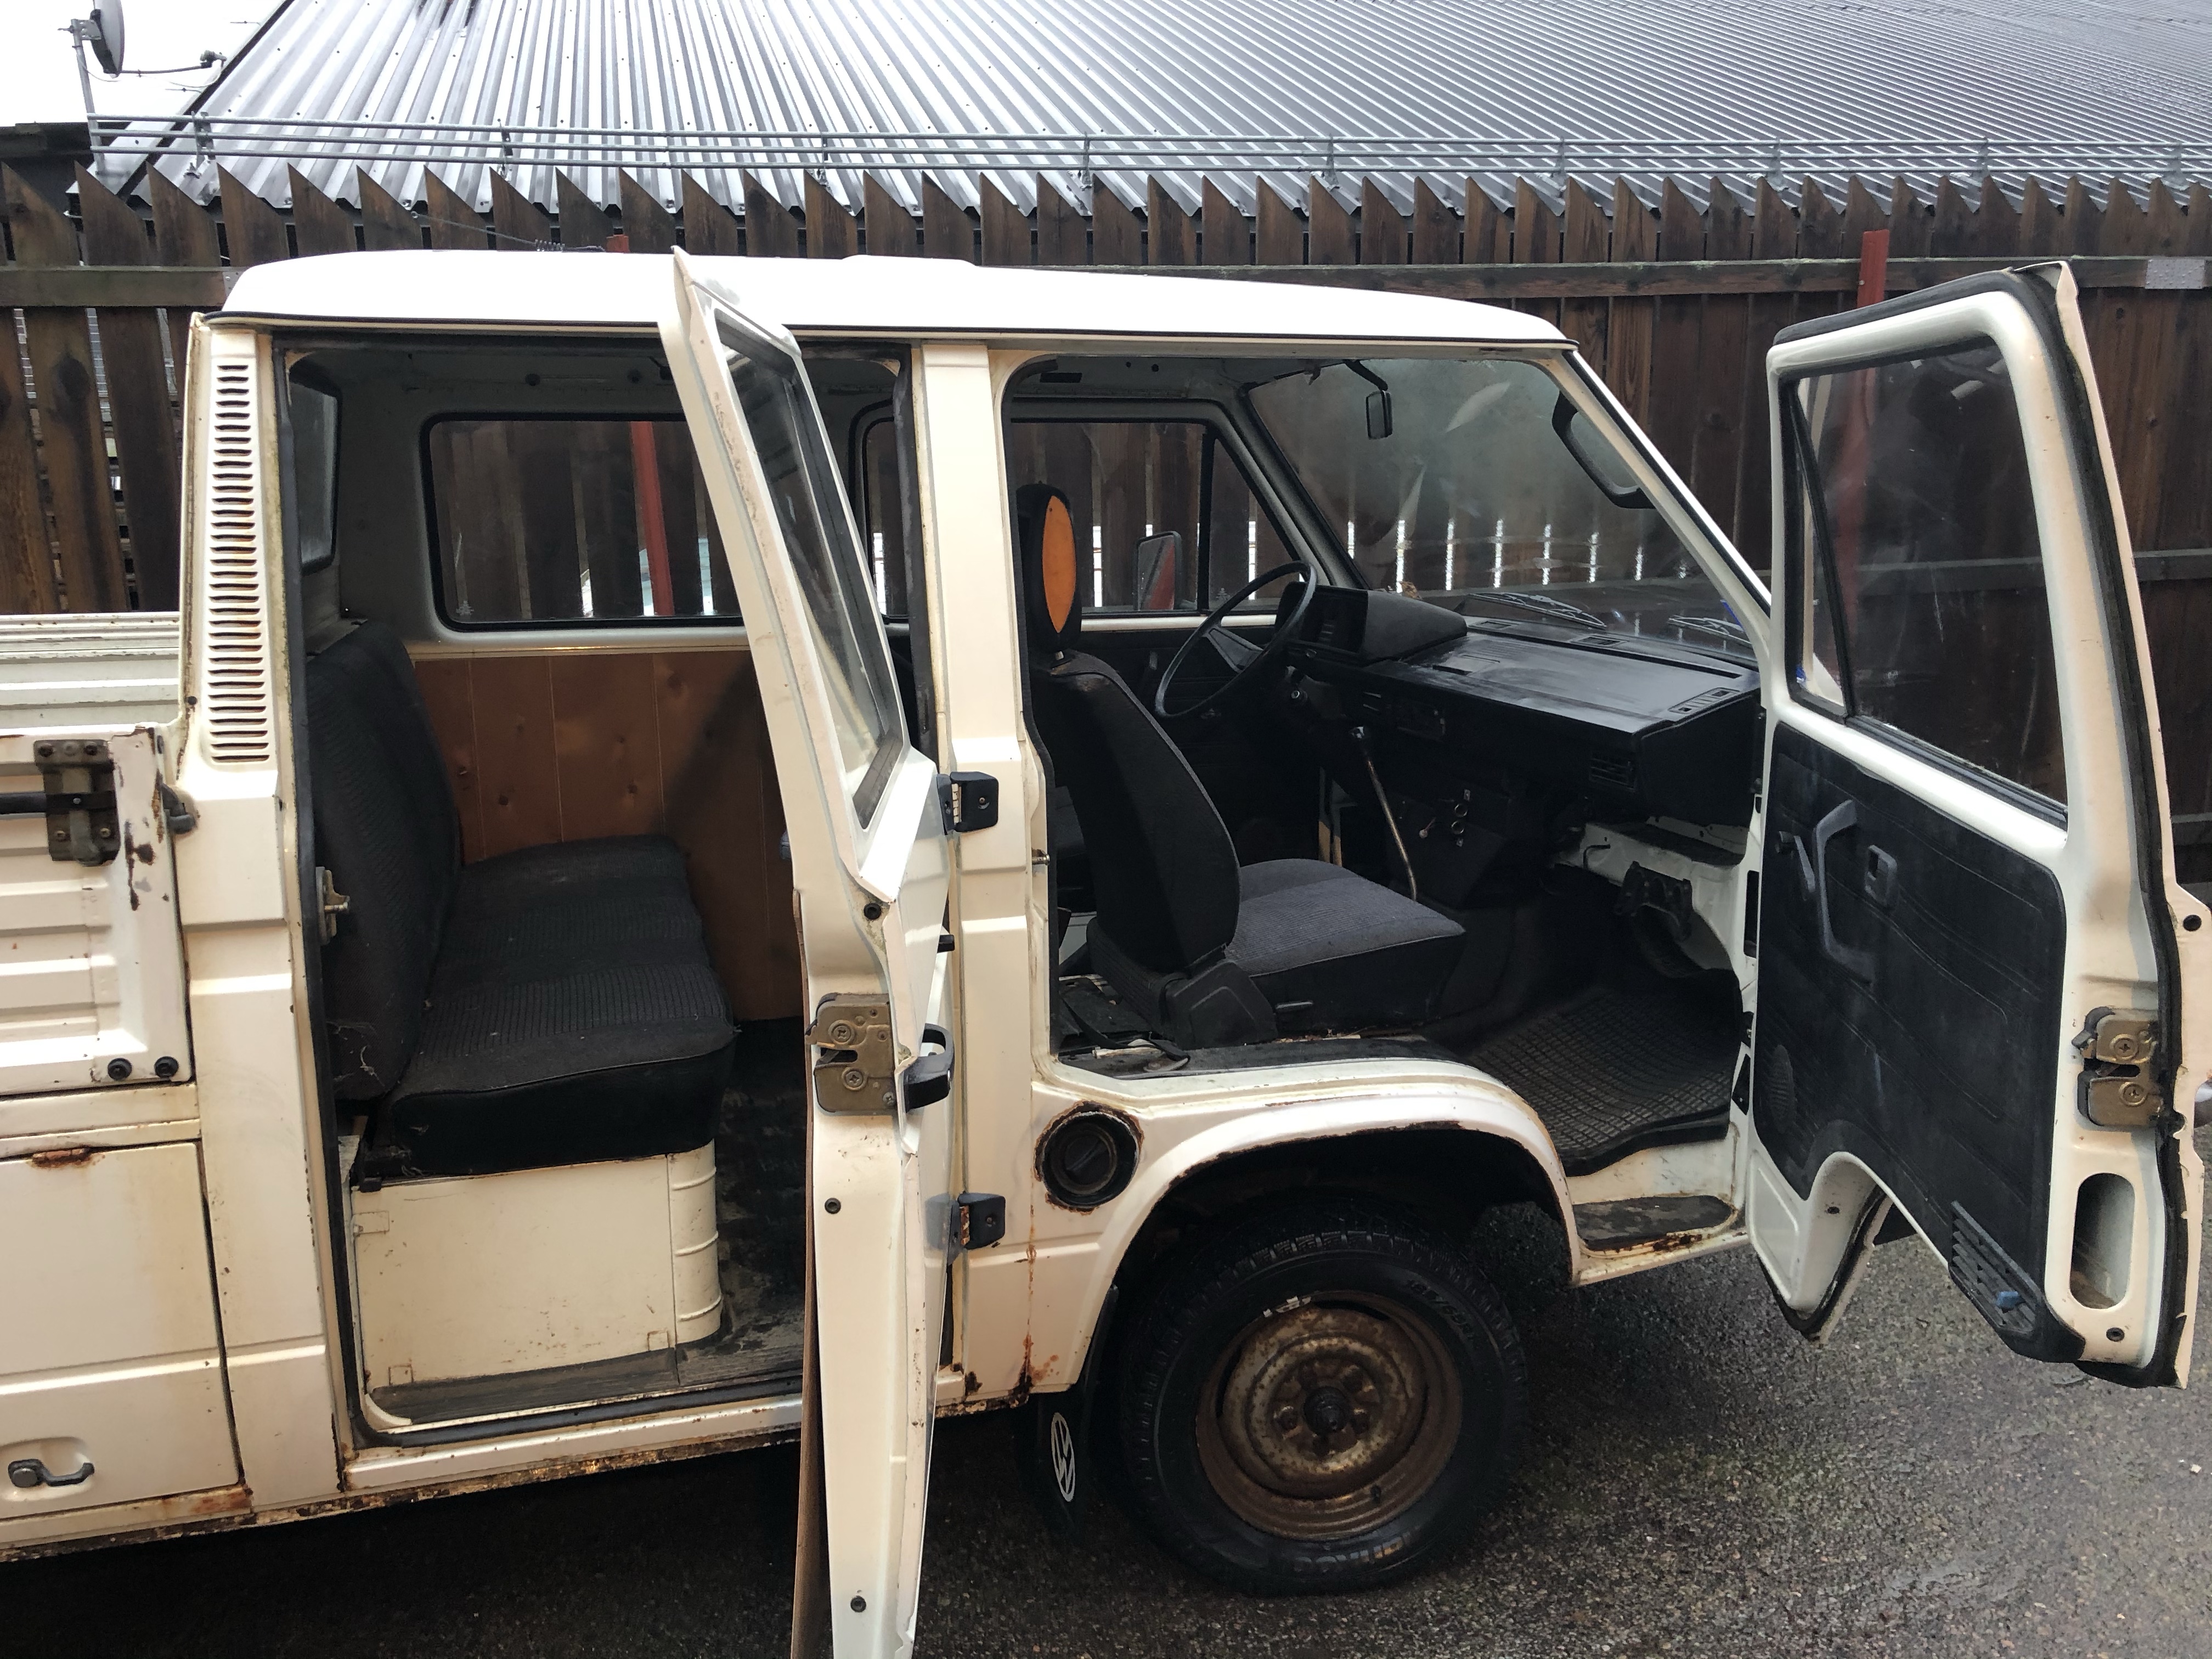
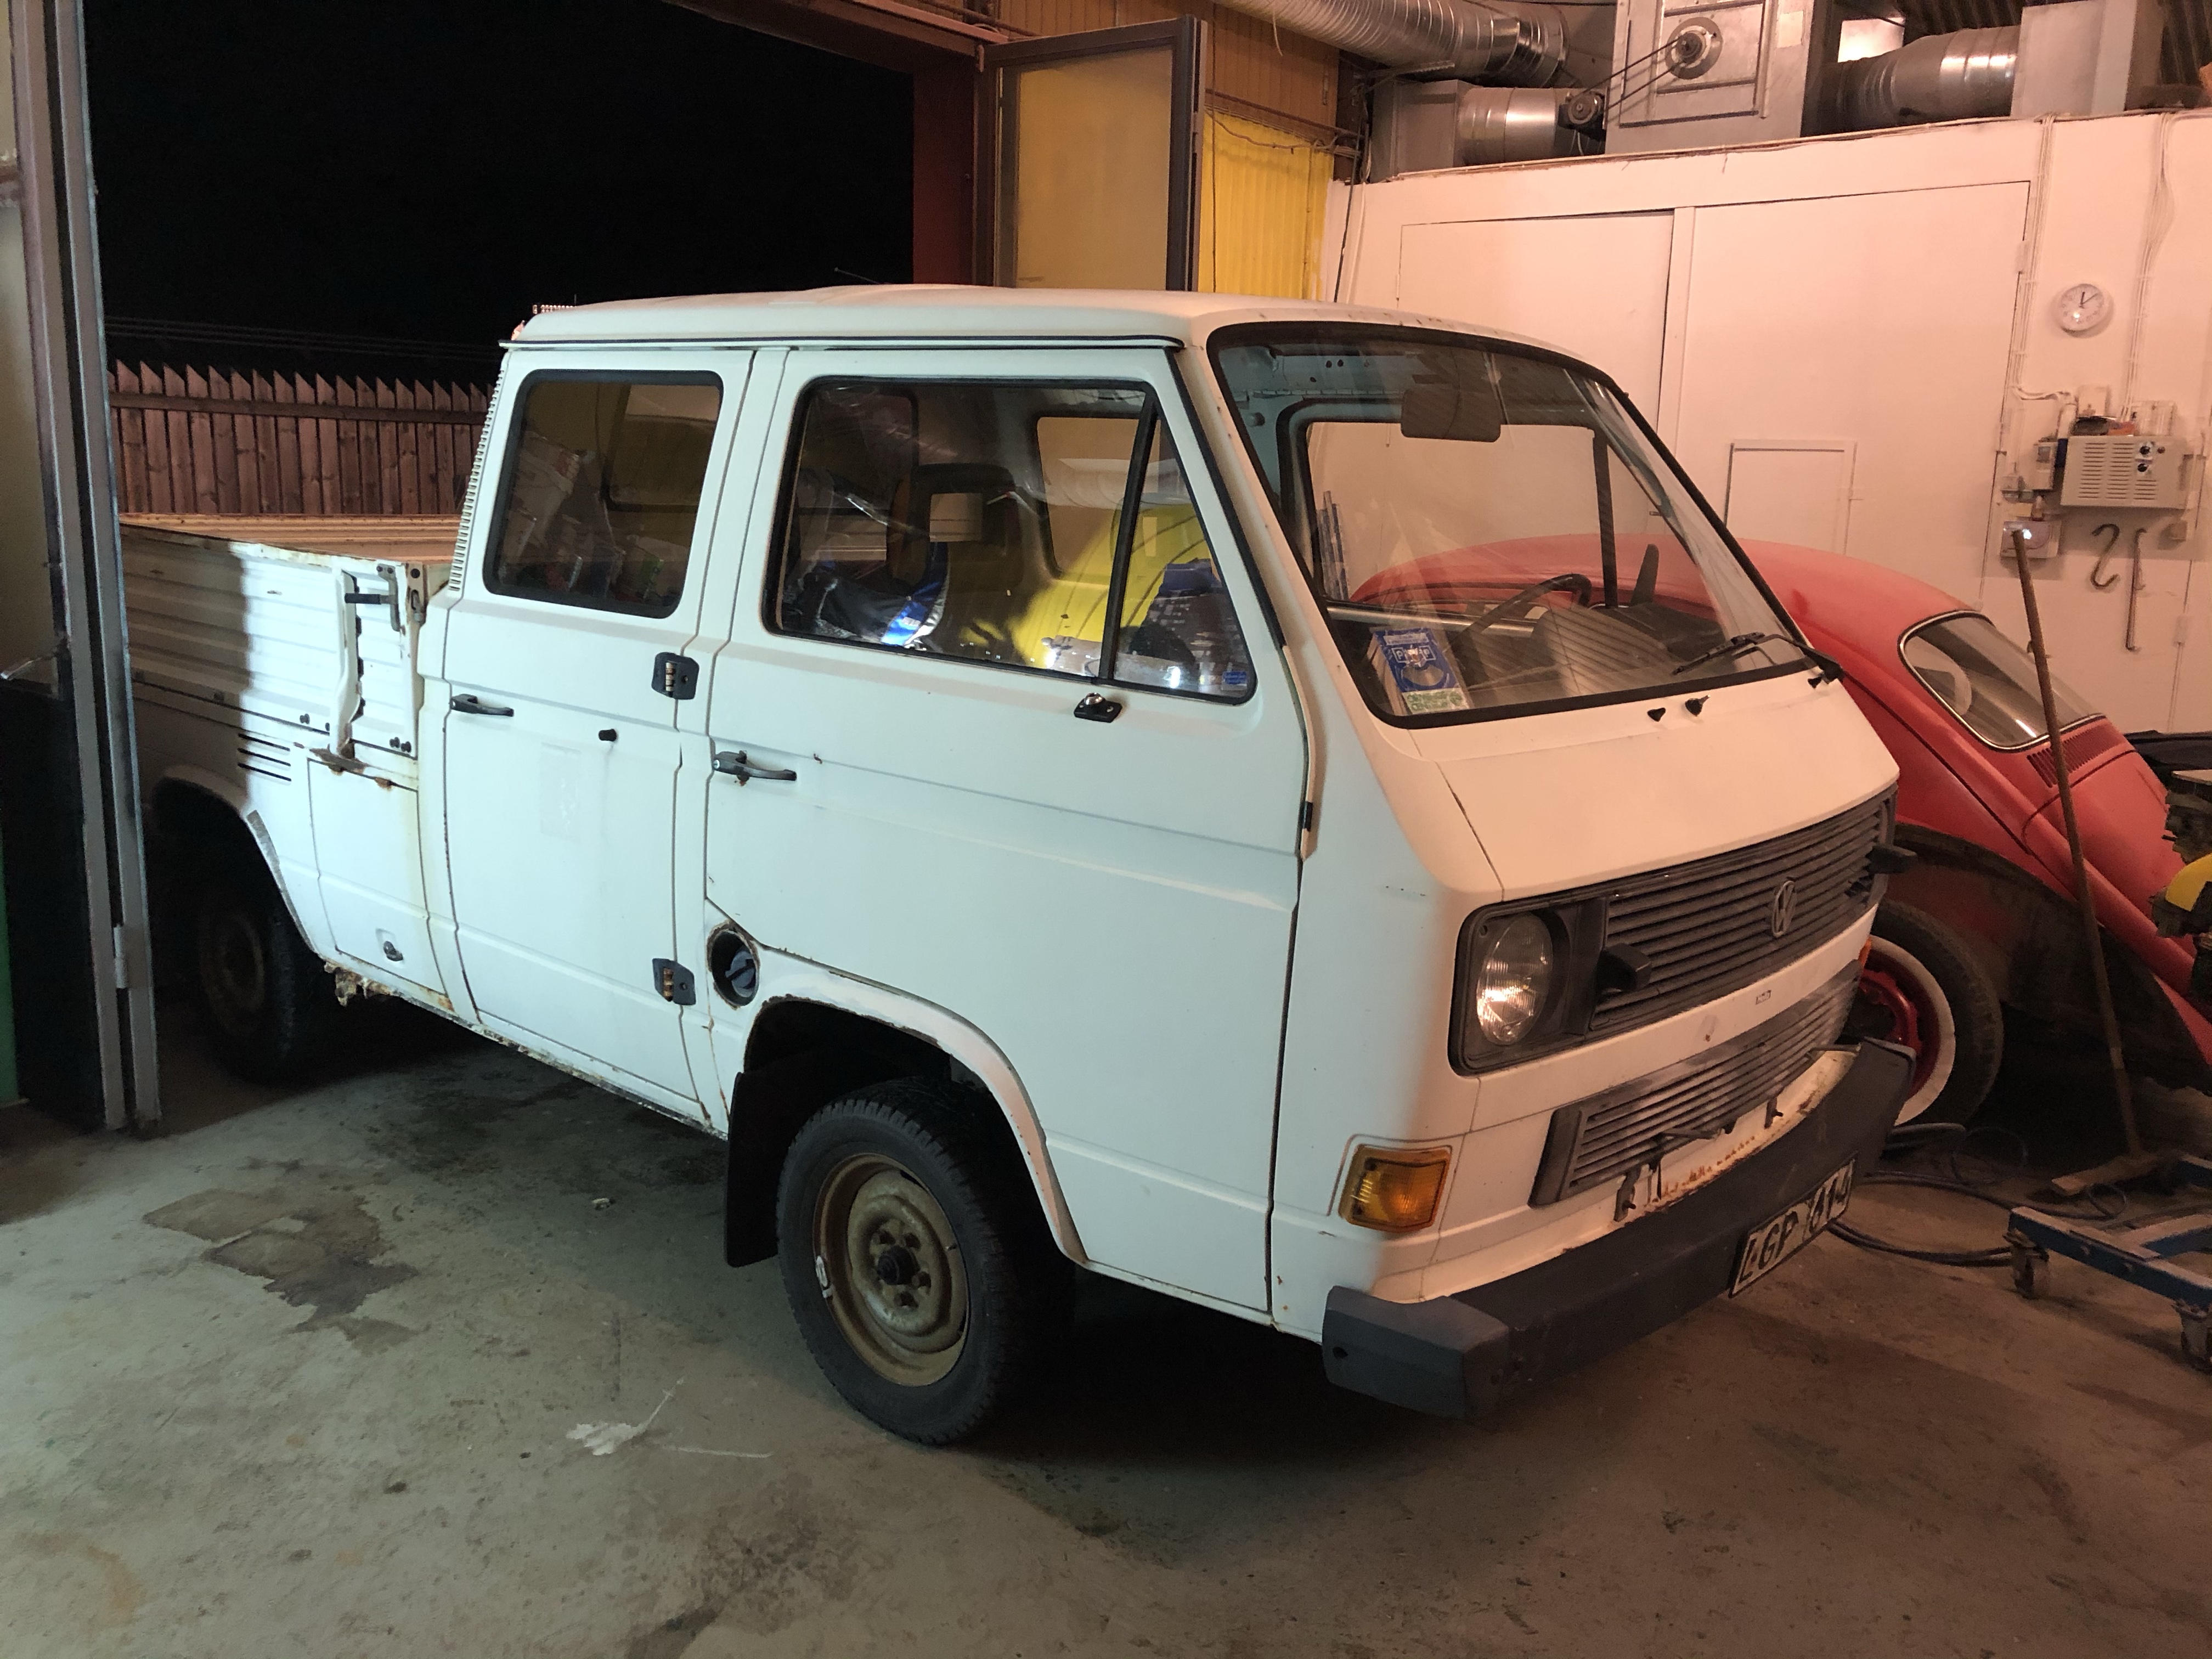
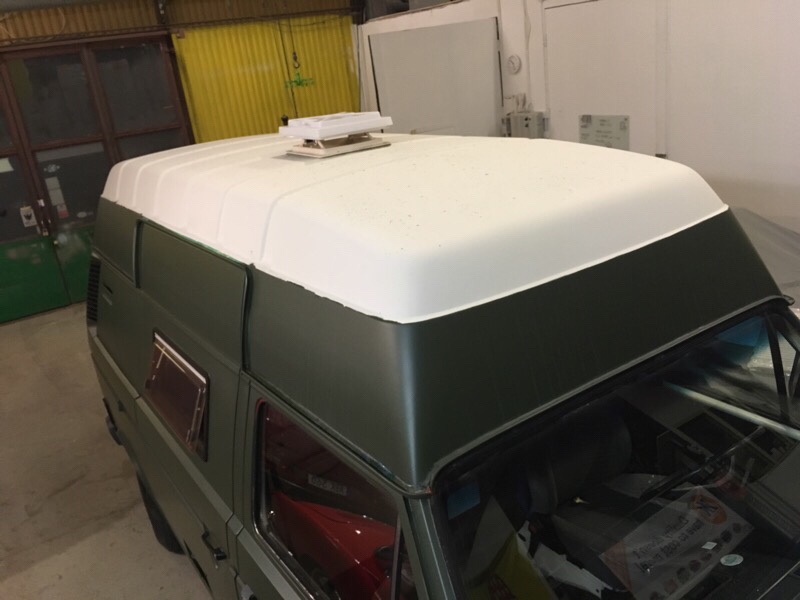
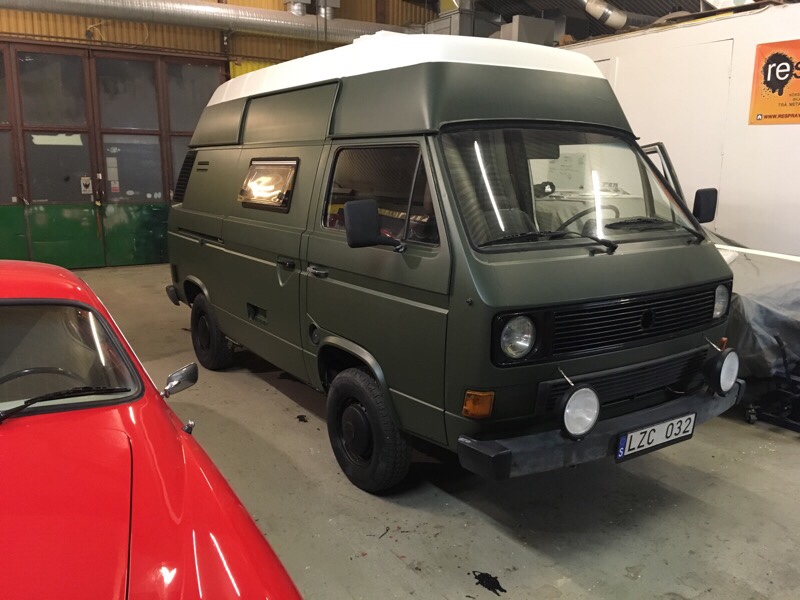
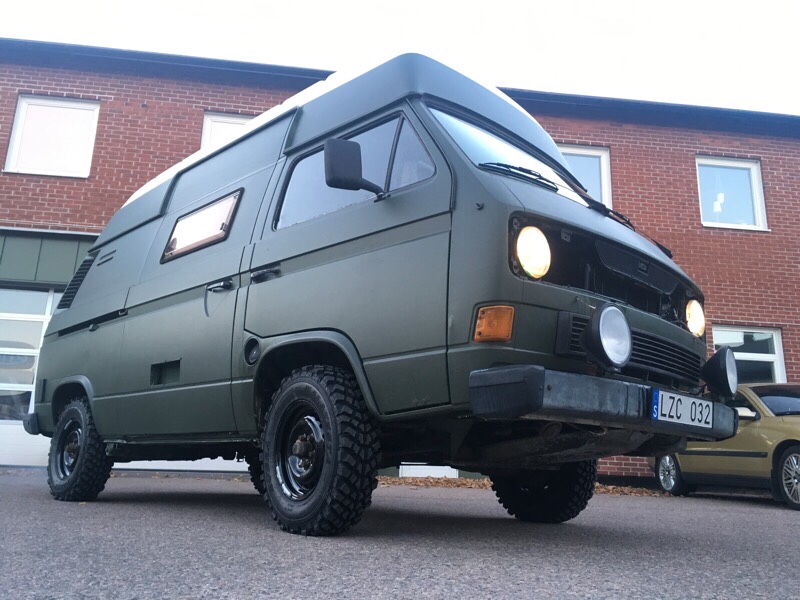
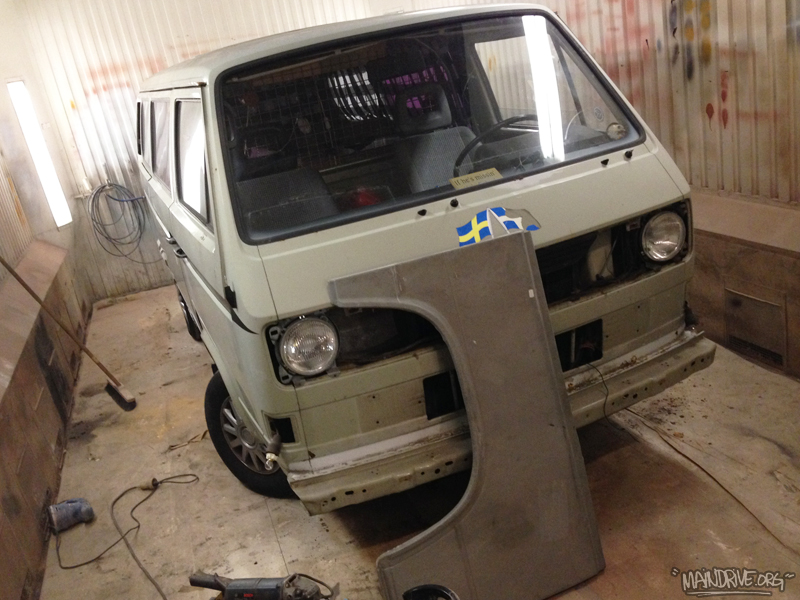
The plan with this T3 pickup is to make it a daily driver. You can ride 5 persons and still have a big flatbed that you can load with almost 1 ton of stuff on. Now a ton of work need to be done, everything in the chassi, brakes, steering, transmission and engine needs to be replaced with all new parts to make it as dependable as possible. Also some rust and bodywork needs to be done also. Engine was junk, a 1,9 DG petrol. It’s going to be replaced with a bigger 2.1 DJ/WBX with 112hp.
This pickup will be used on winter which means it will get a new undercoating and rockers and doors sprayed with wax-oil on inside. Engine will get a engine warmer and inside will have a diesel heater with remote control. Here comes some pics!
How to put chains on a VW T3 Vanagon
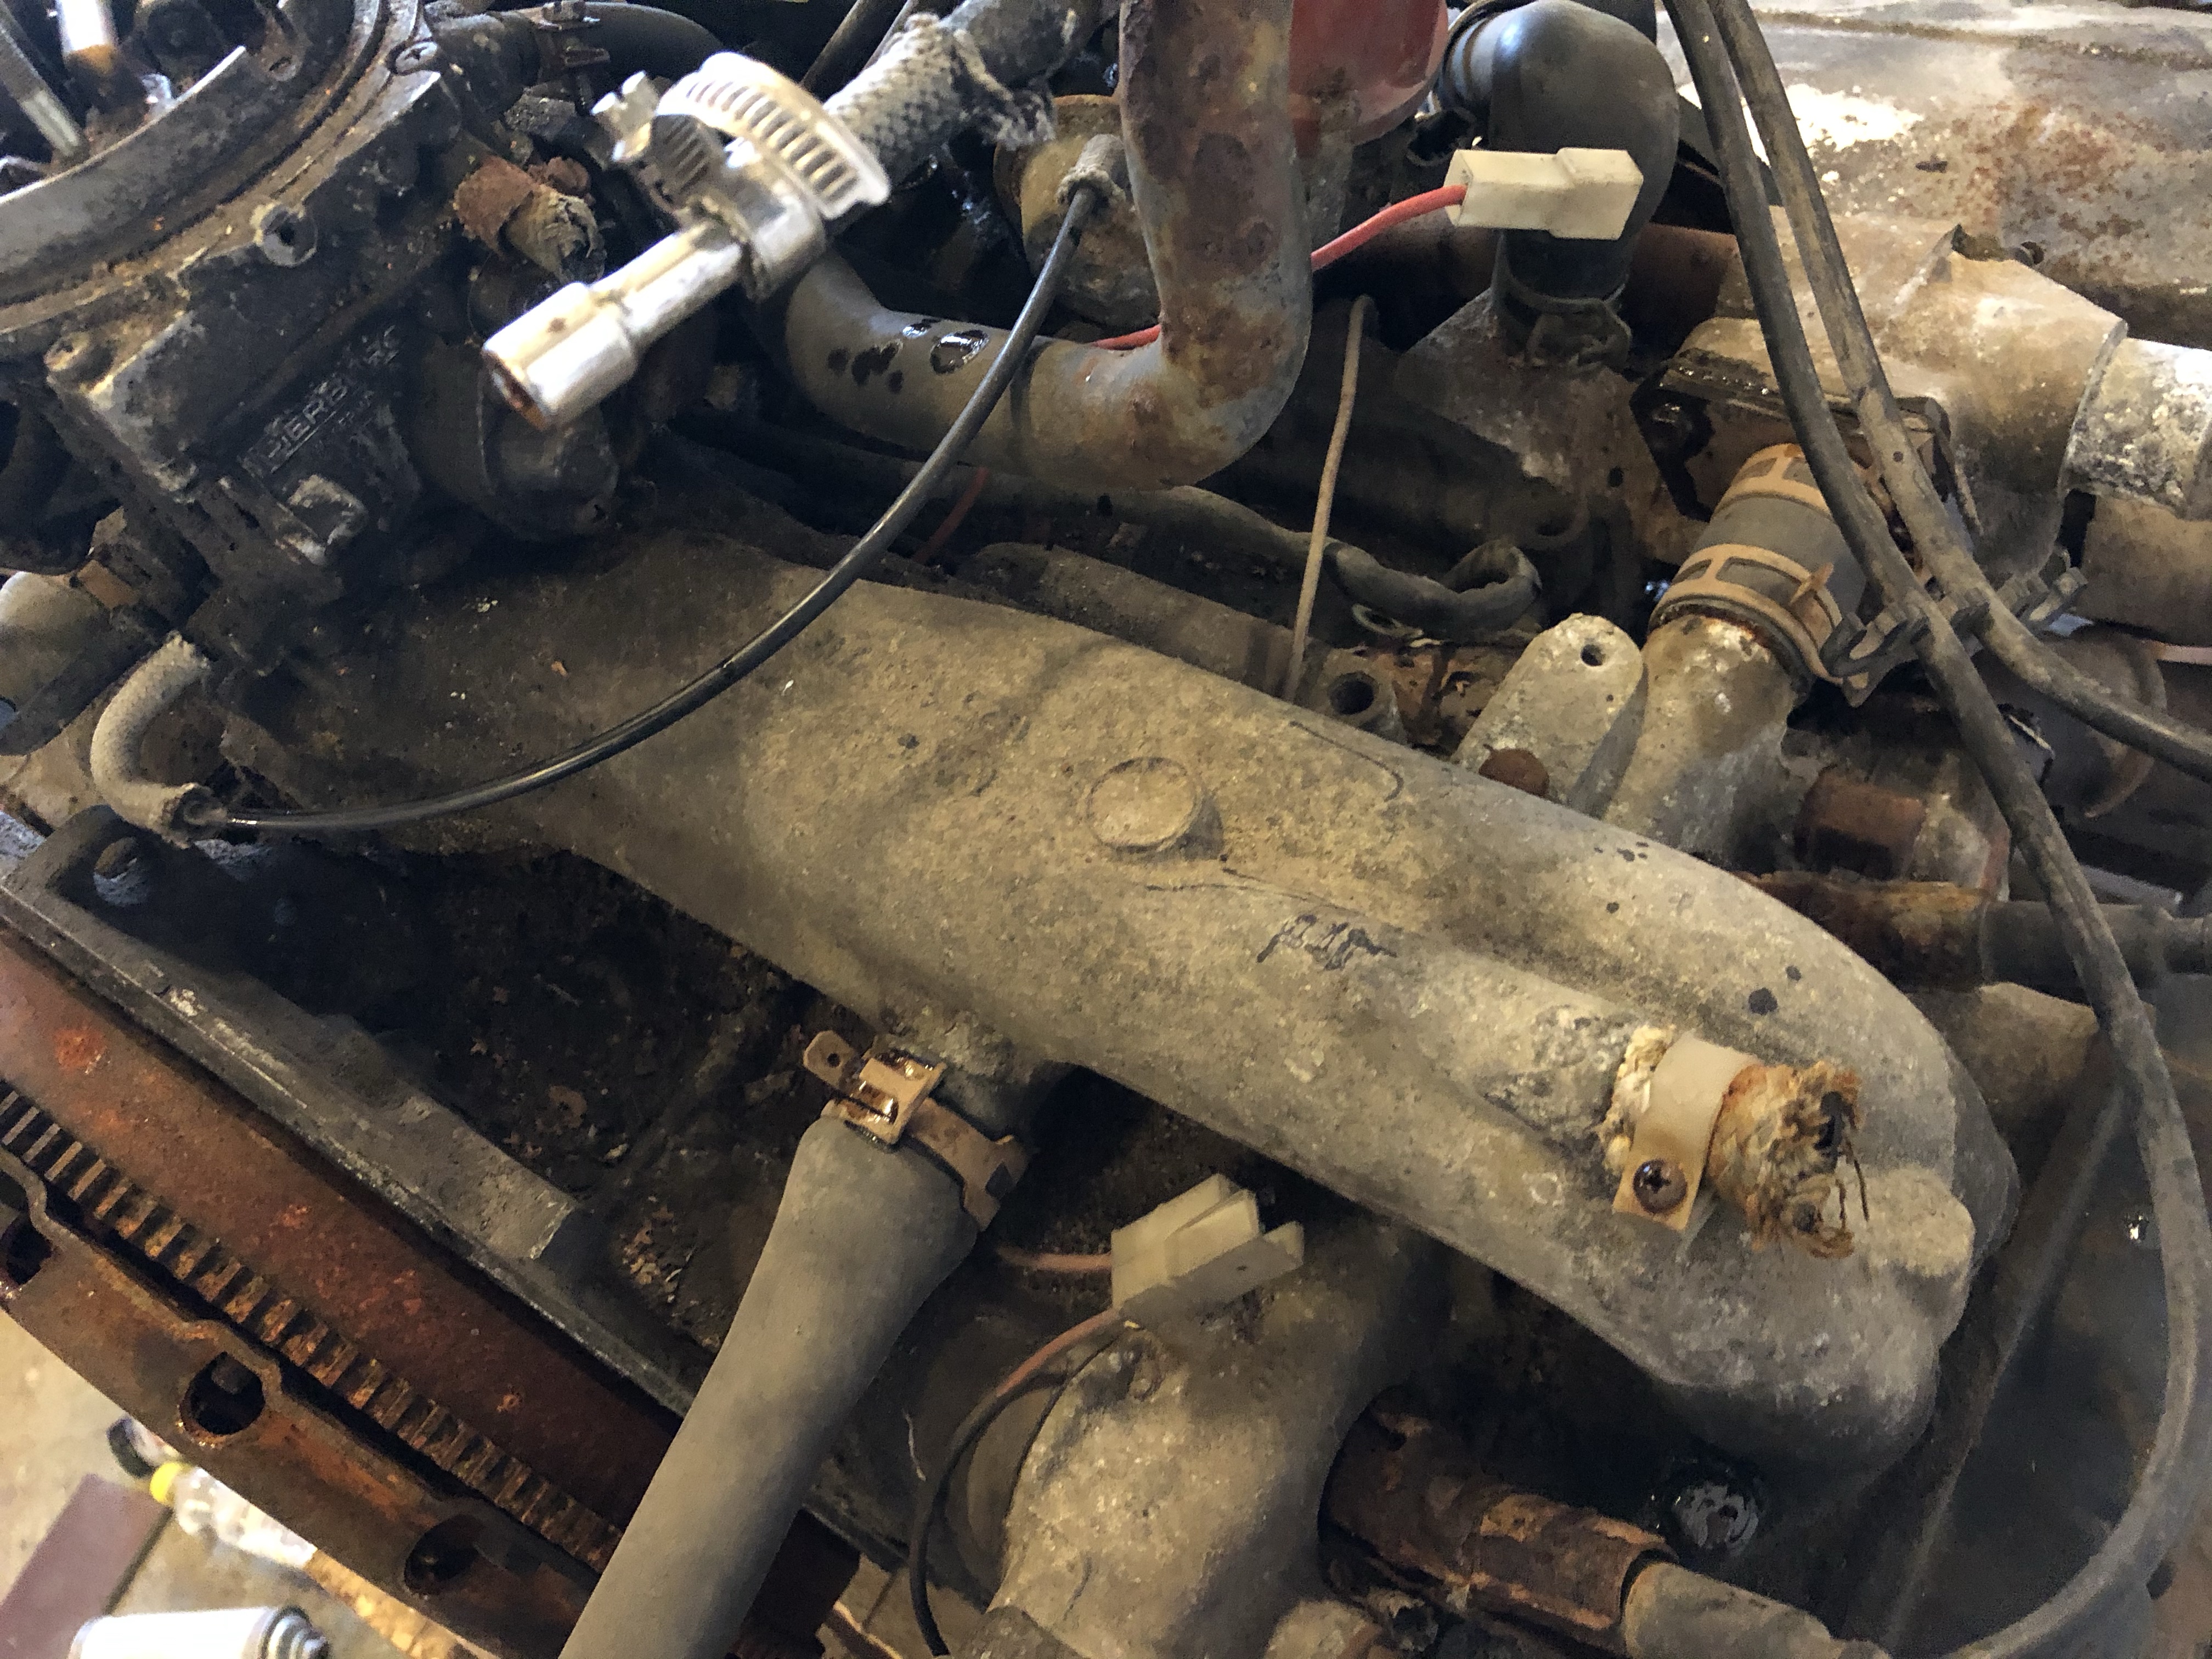
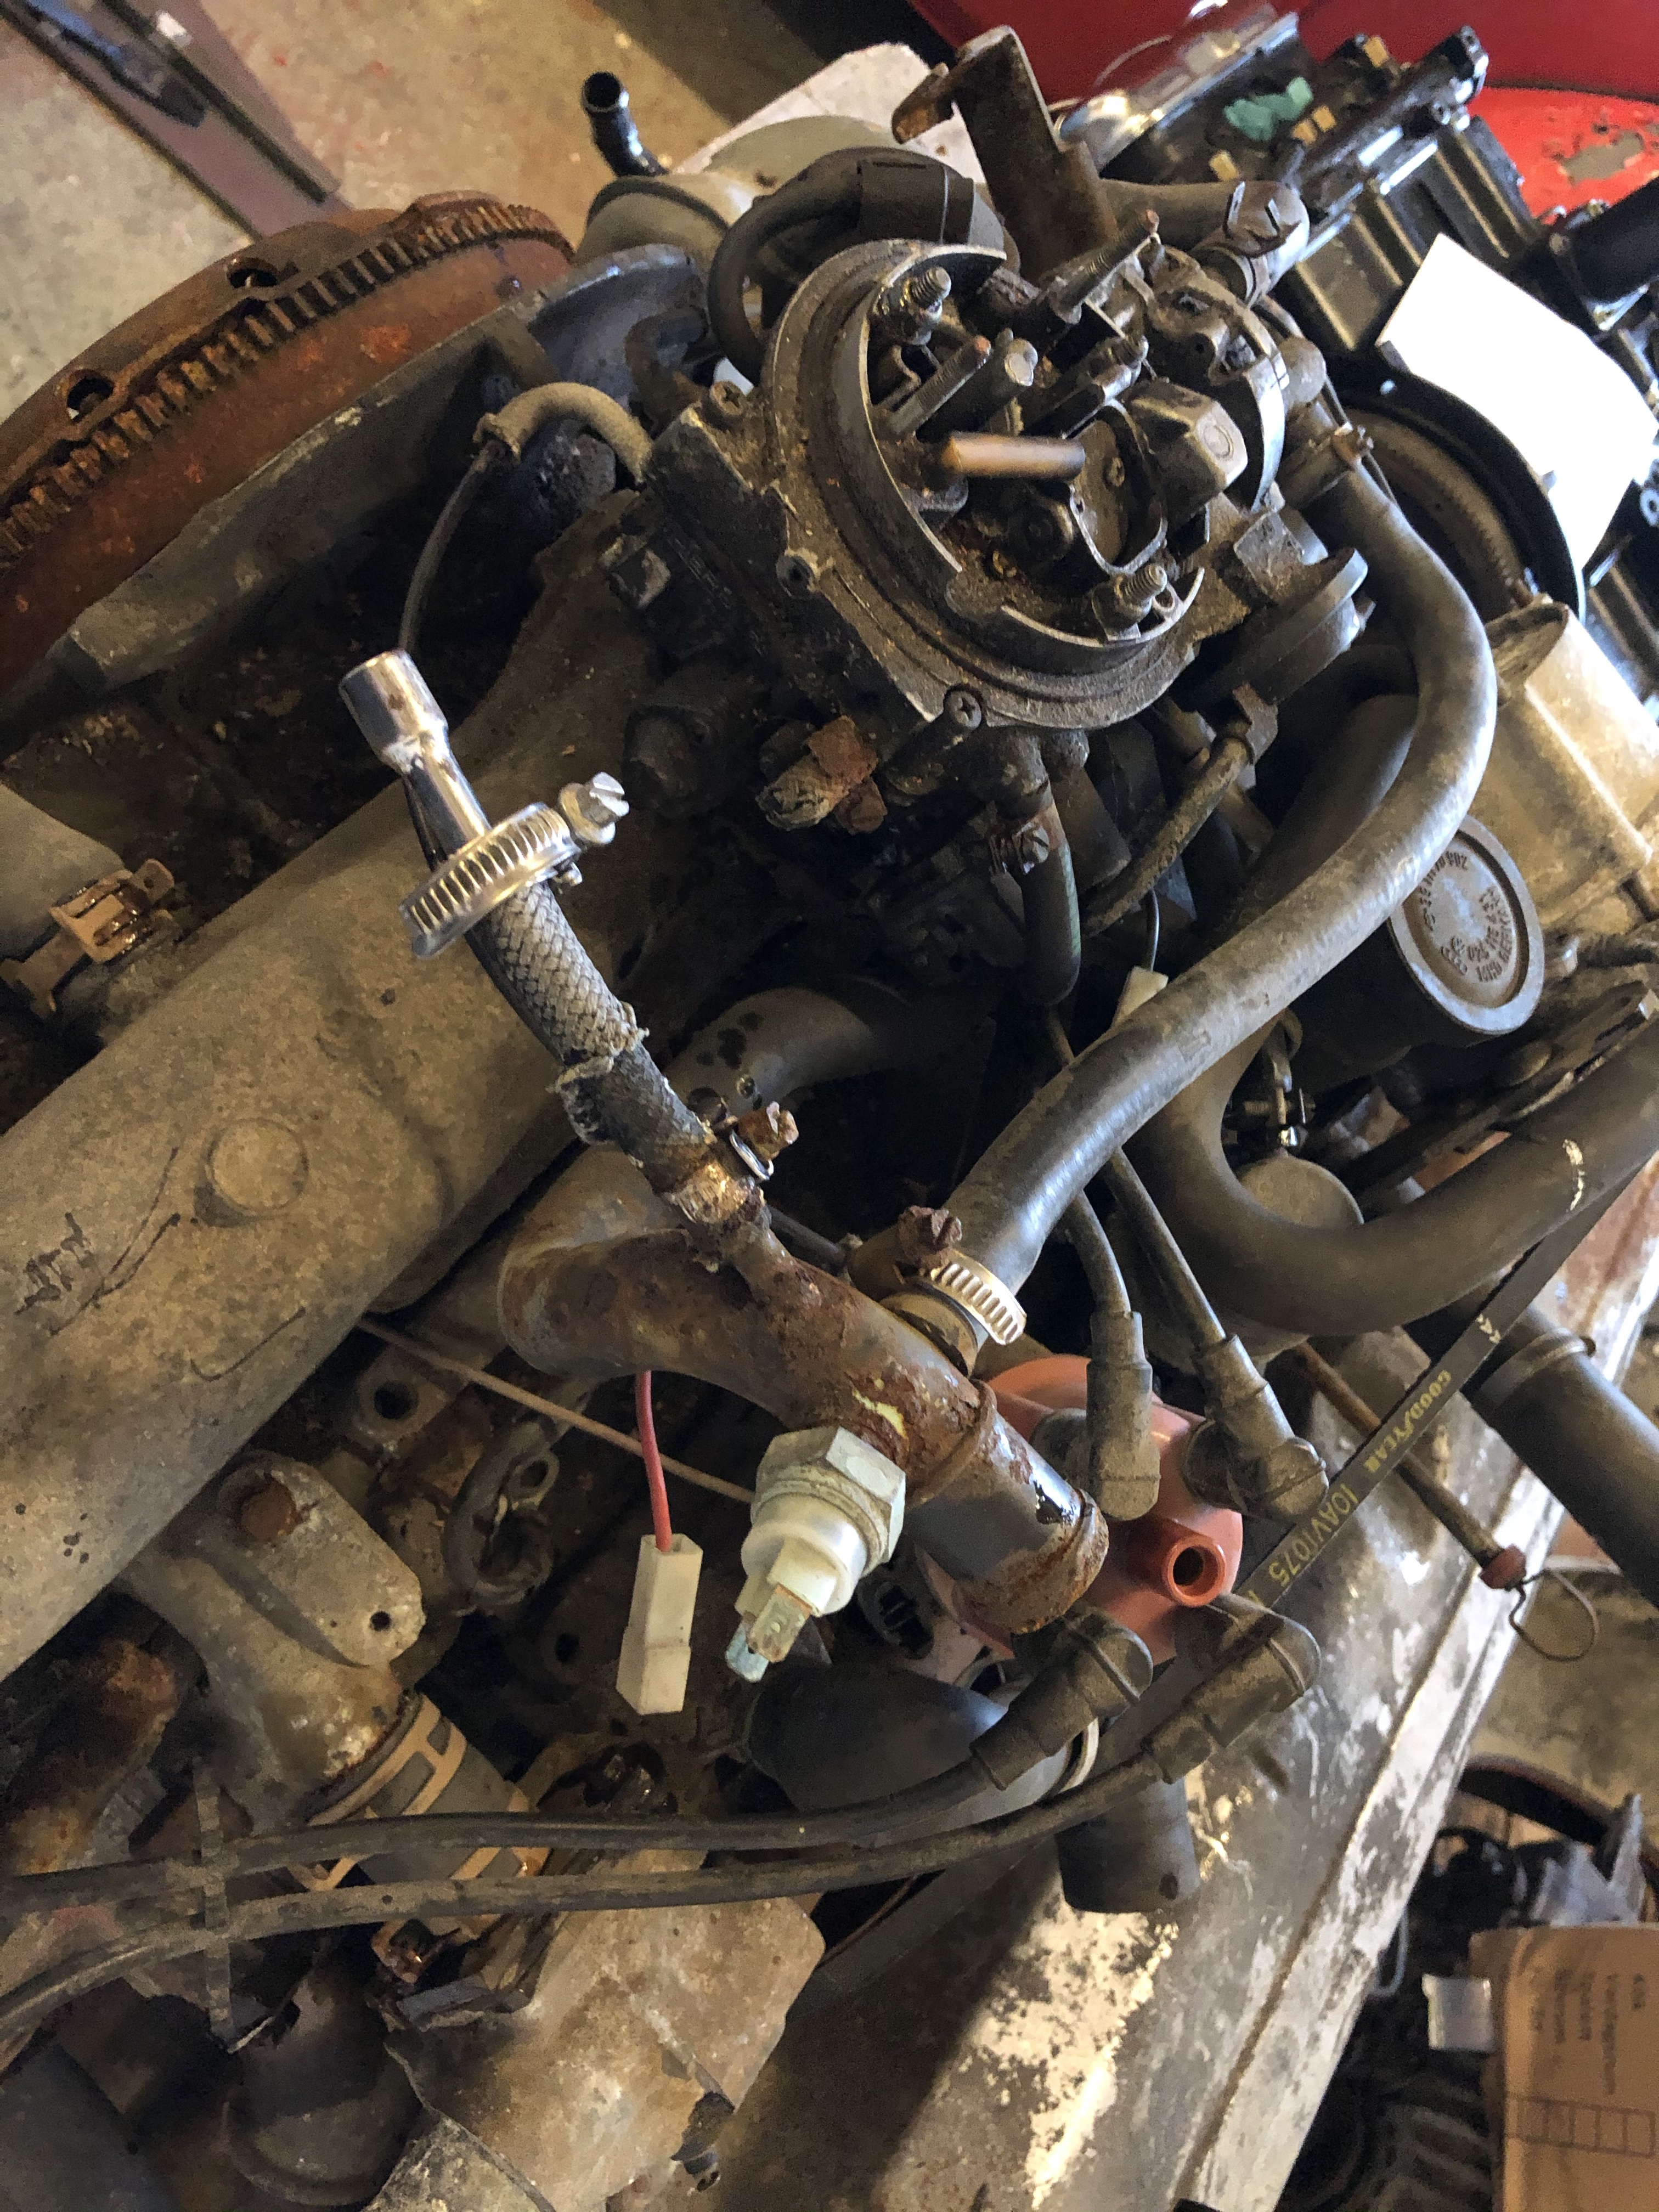
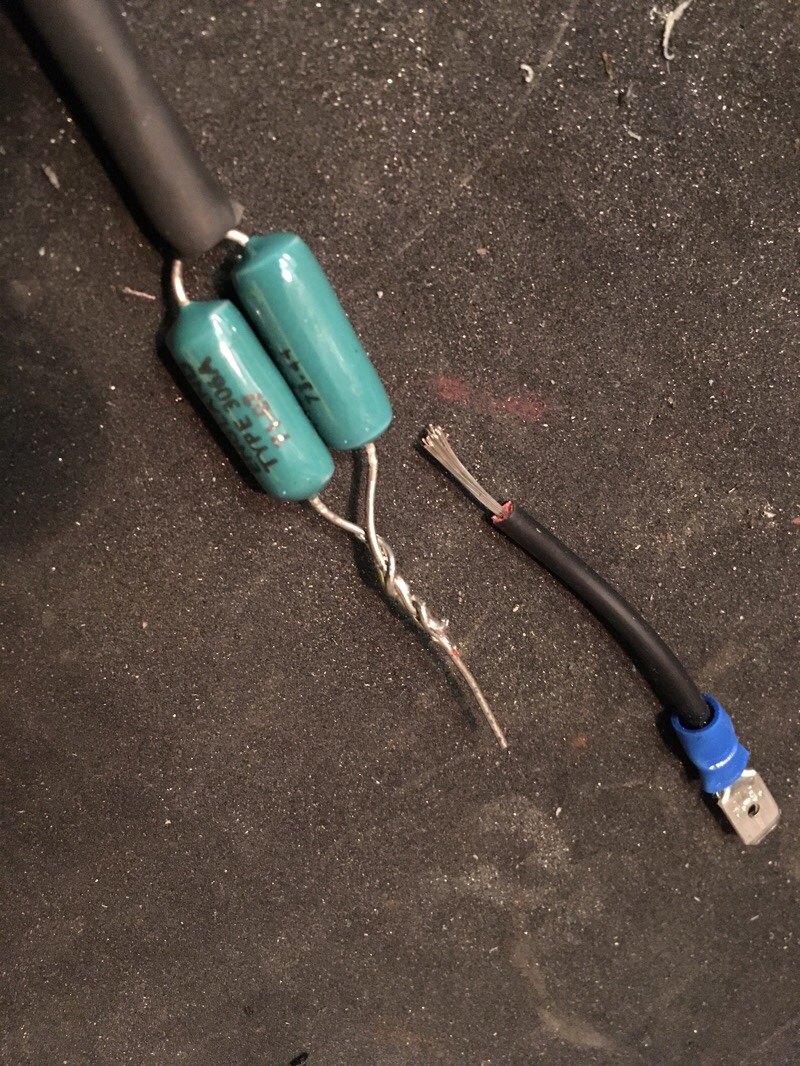
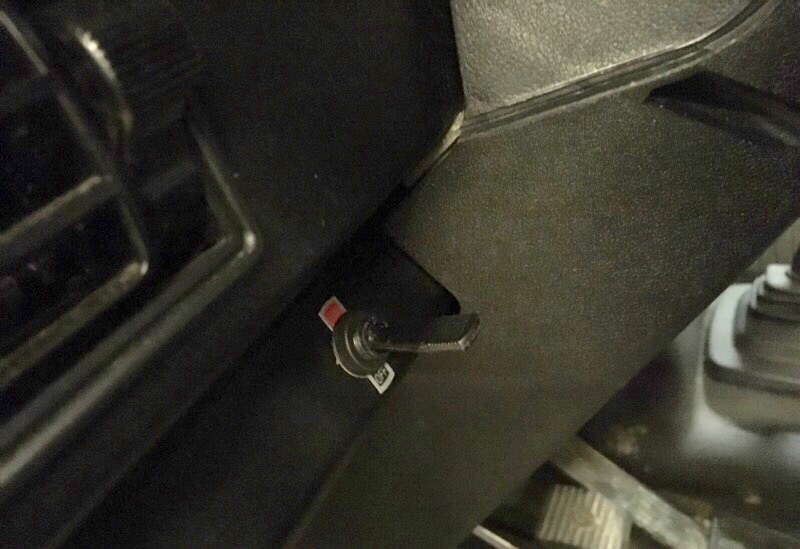
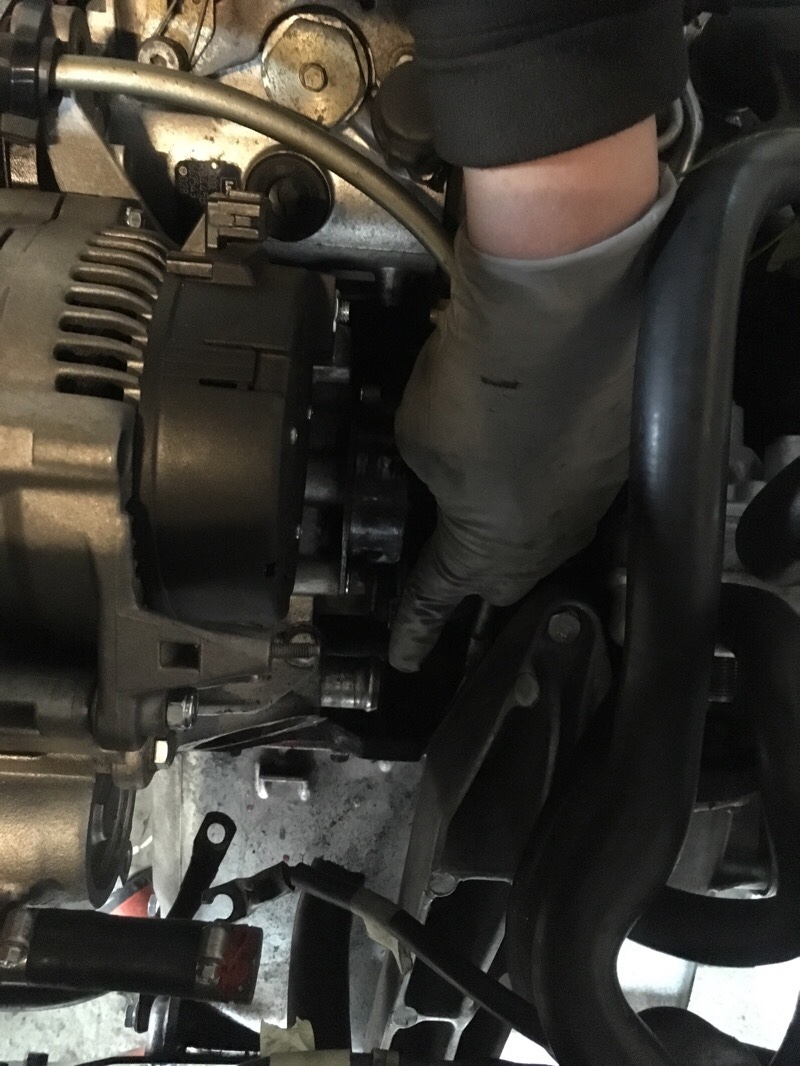
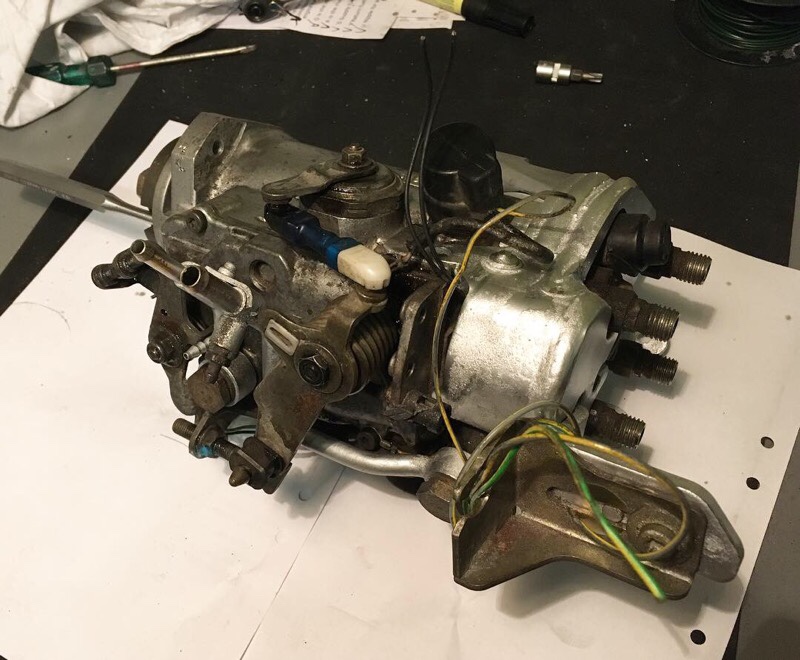
Now with the engine and transmission installed, left to do is connecting electrical wirings and coolant hoses. The AEF engine used a different glow plug relay, but the original VW bus T3 glowplug relay can be used with some modification. I soldered two resistors of total 580ohm to the temp sensor wiring (at the waterflange at top of the engine, black/blue) this will trick the relay and let it glow a little all the time which is needed for the AEF to run clean/nice. The grey/green wire from the pump works like a electric choke at cold starts and can be connected to a timer relay for about 20sec. I bought a cheap timer relay from EBay that would probably work but it was so brittle and crappy. So I didn’t trust it, I just ran a wire to a switch on the dash, will work like a manual choke, almost like original but electrical rather than mechanical, bullet proof too.
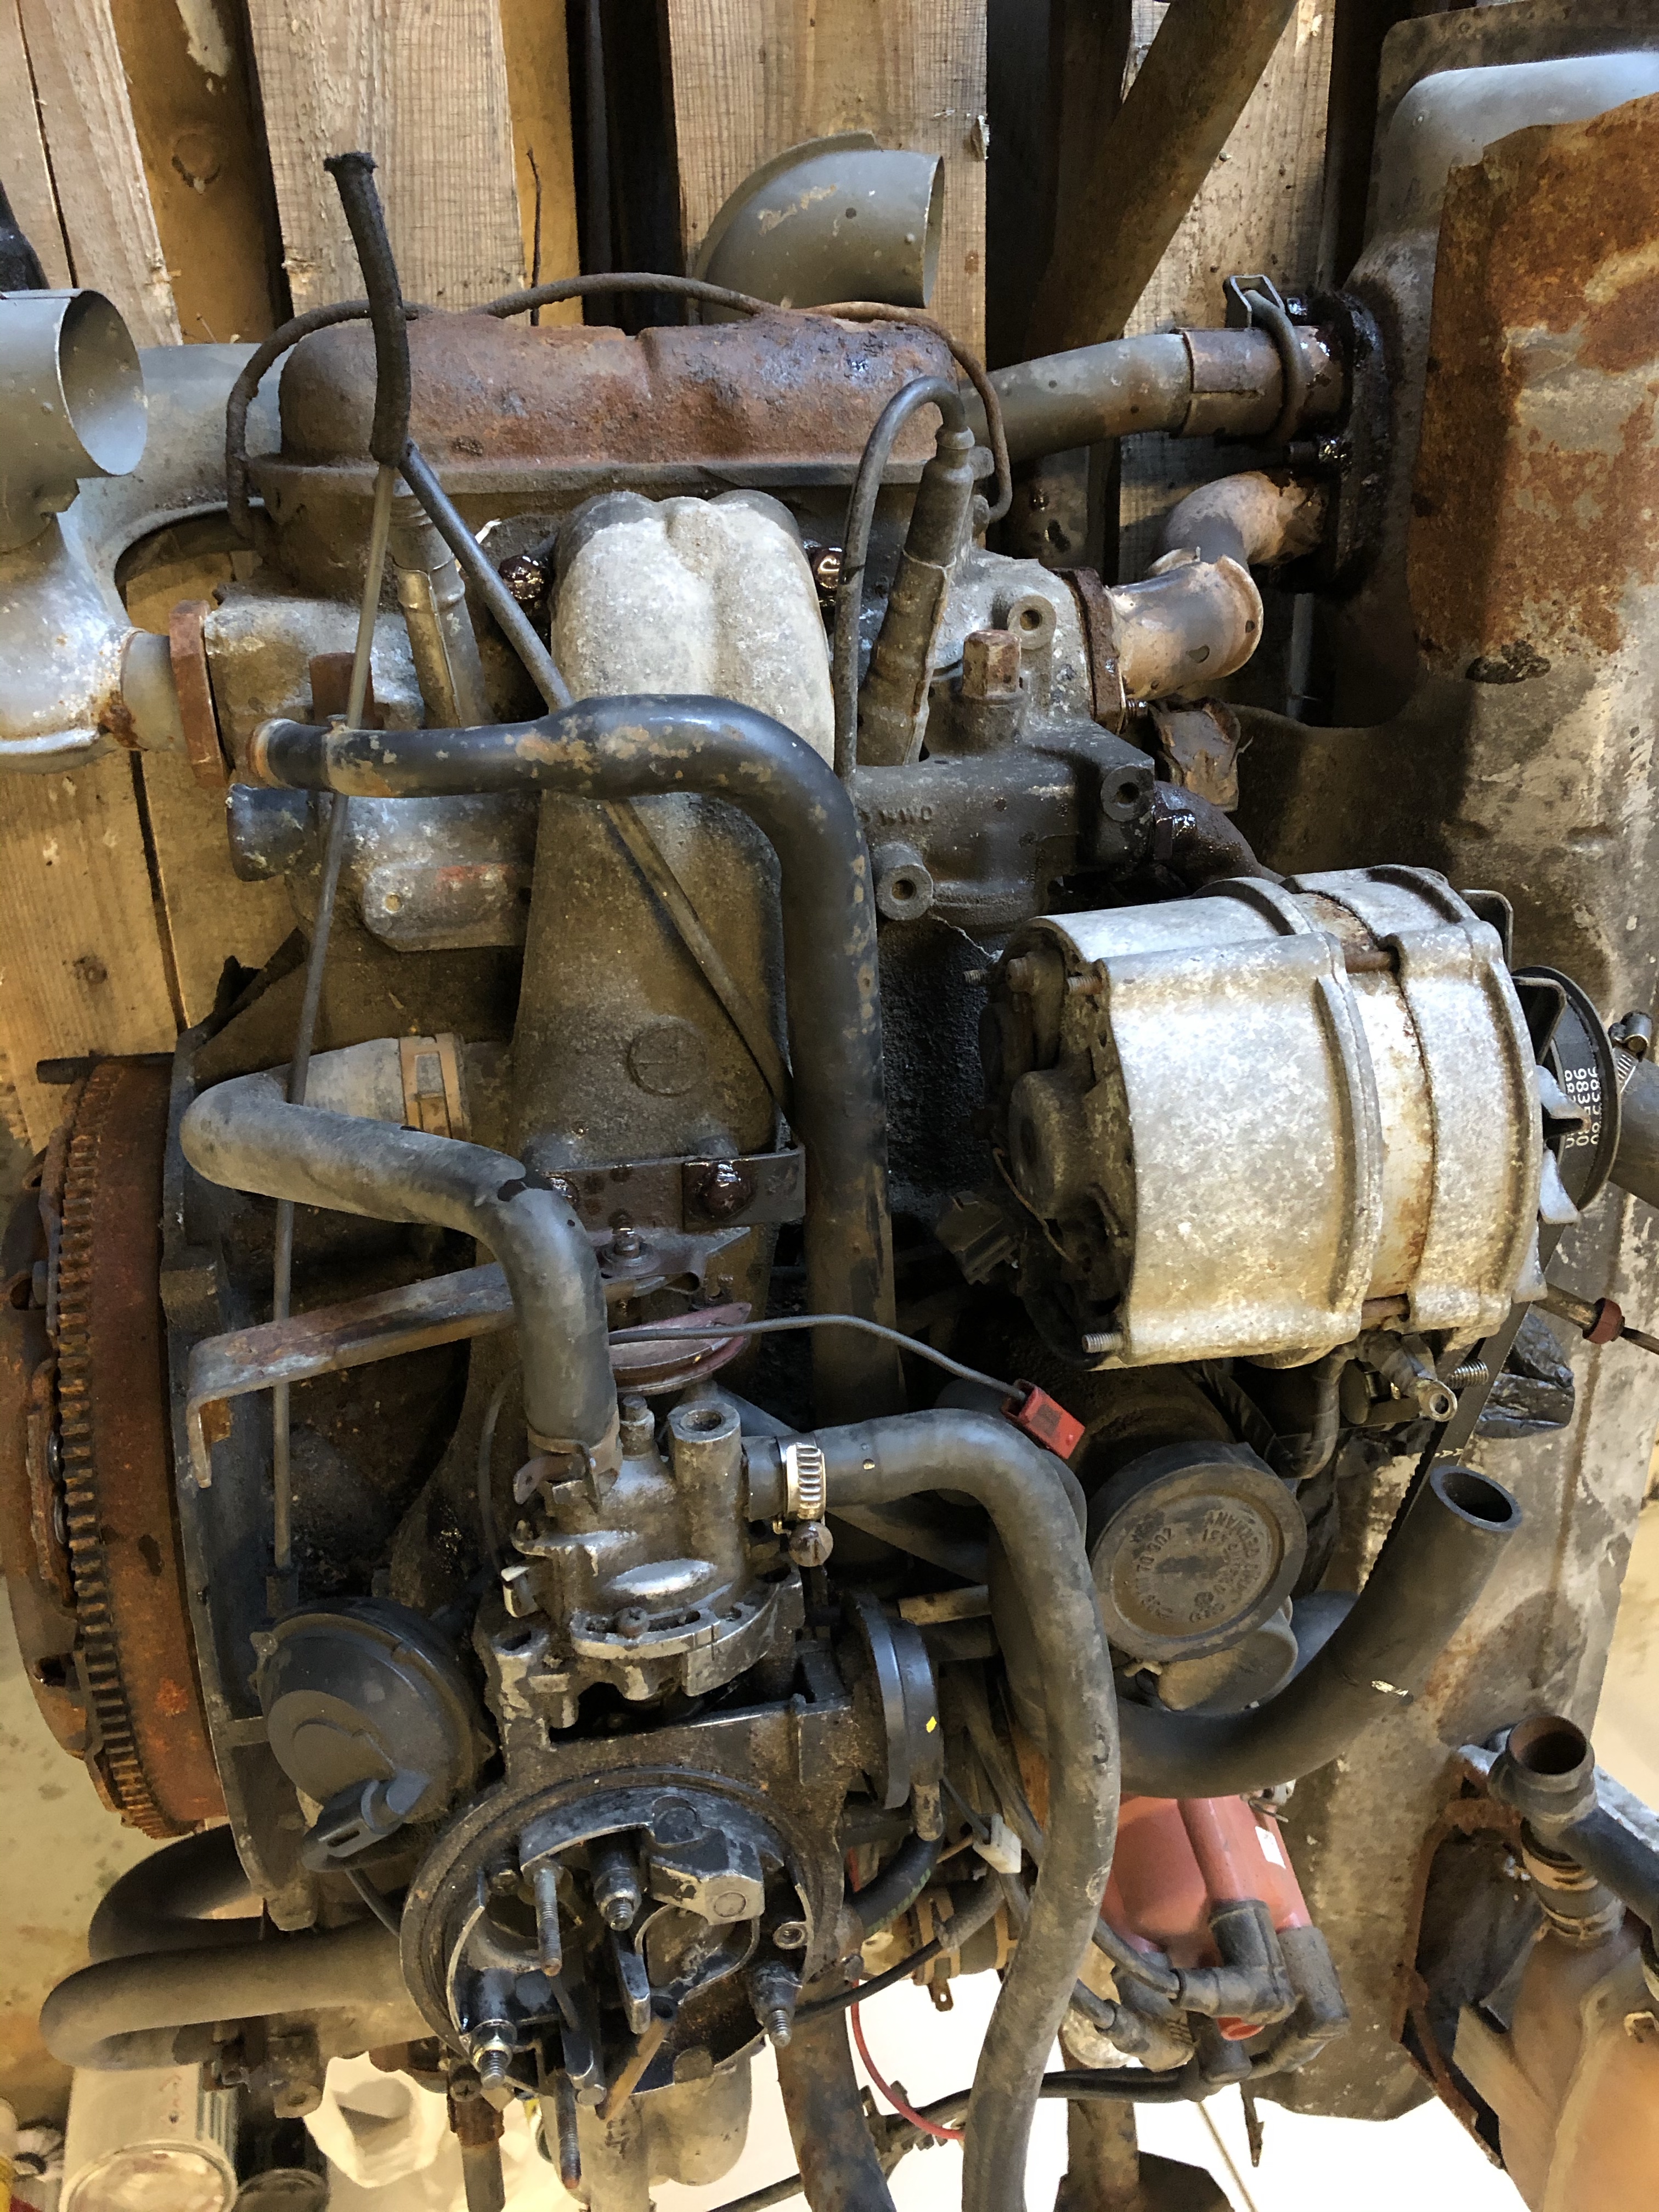
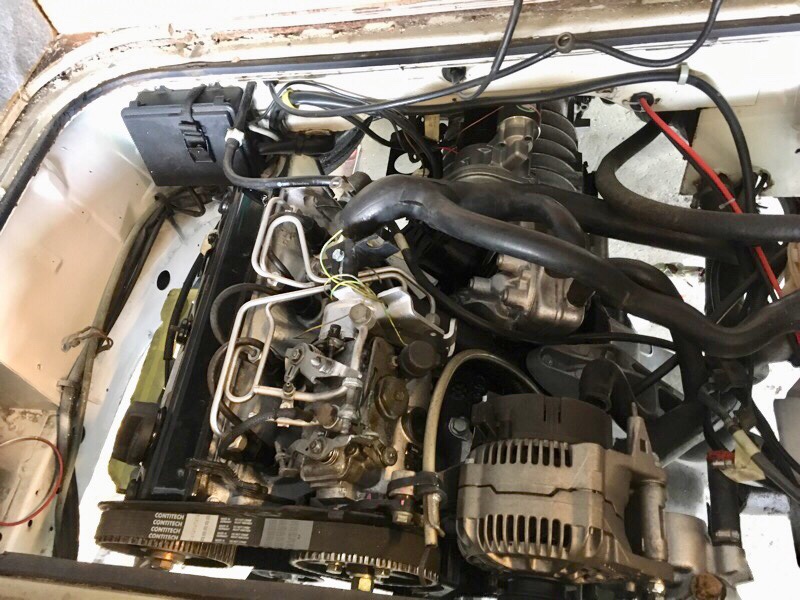
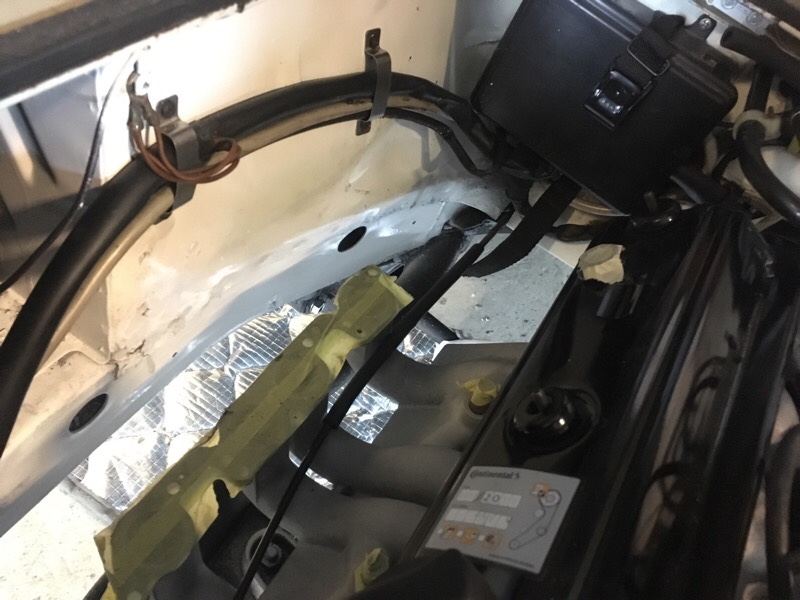
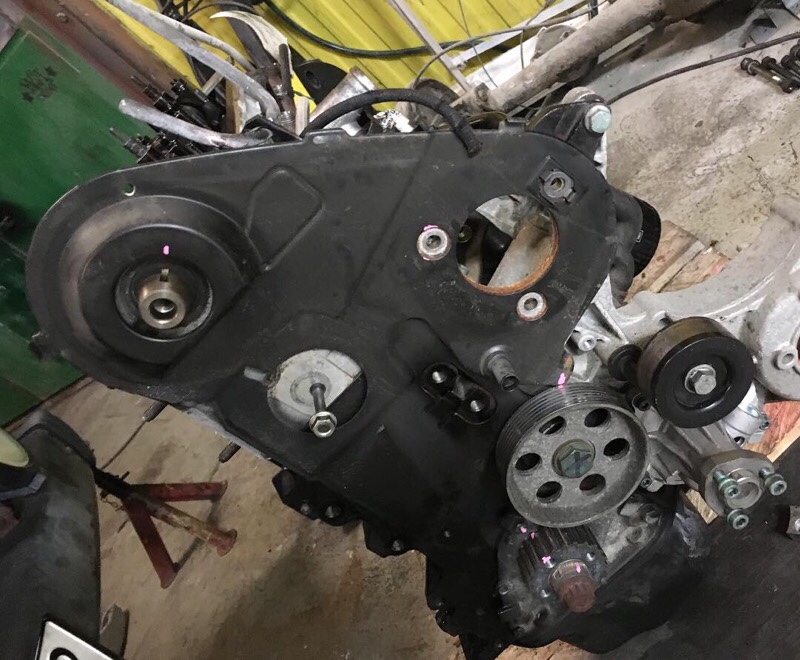
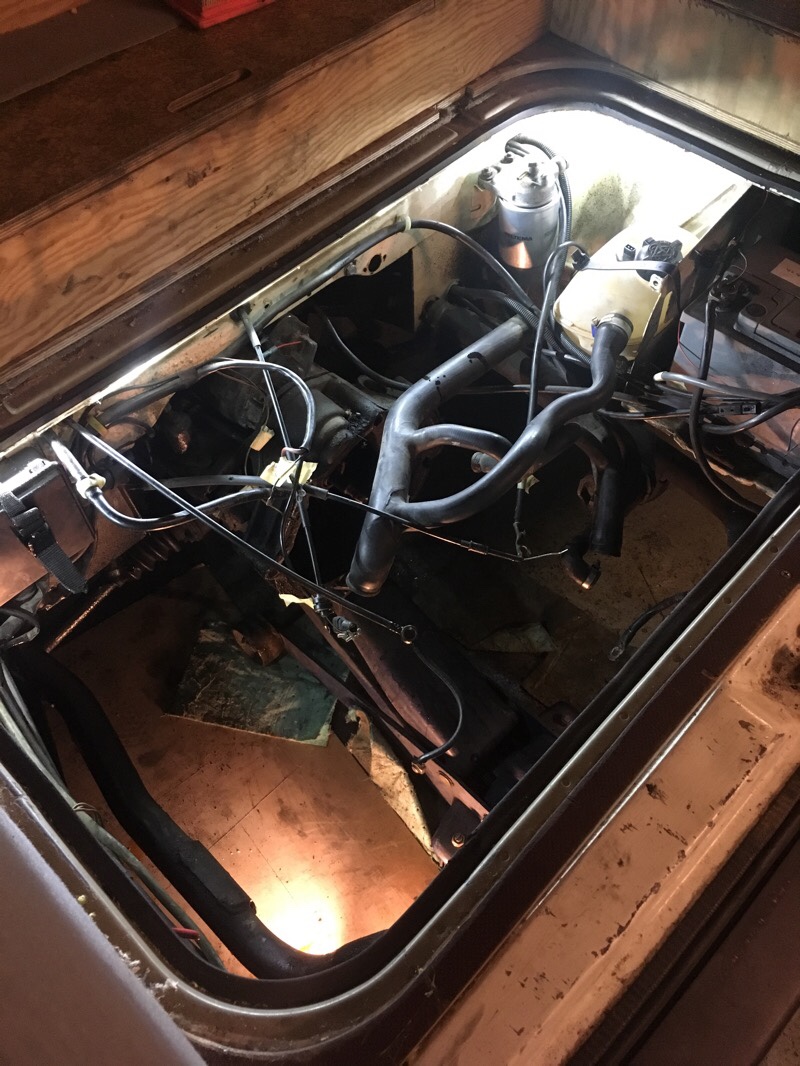
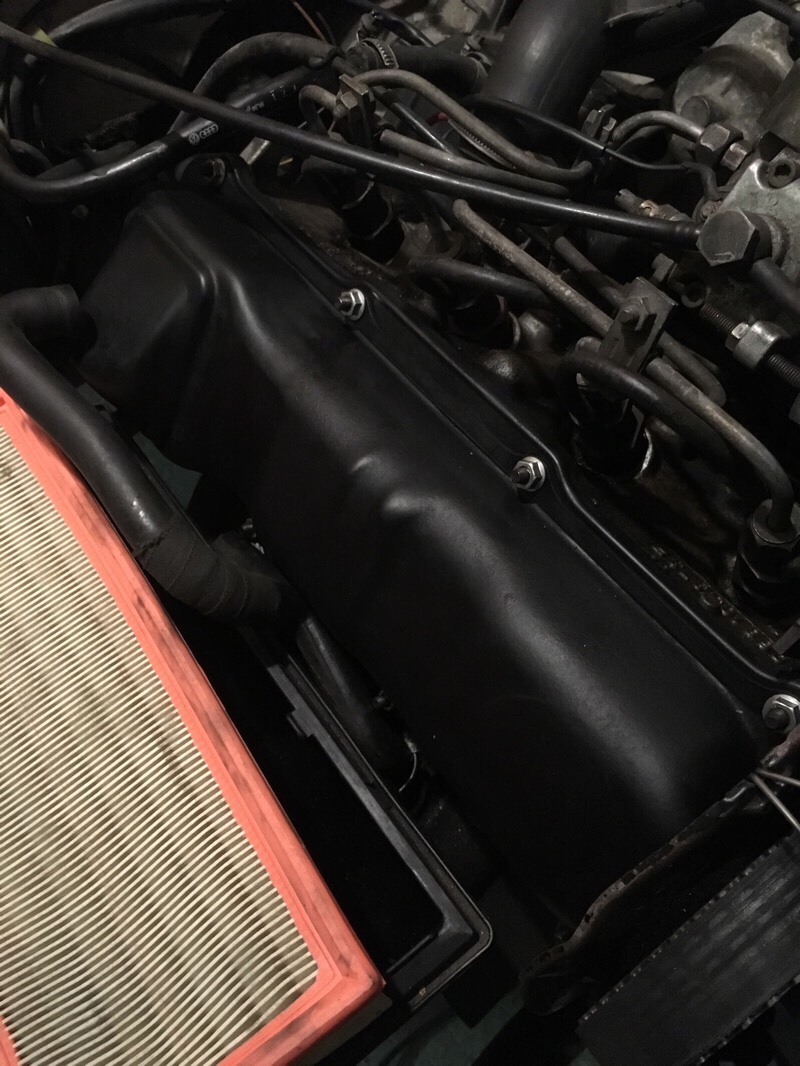
Since the old CS intake and air filter box is installed on the little taller new engine, the wires in the engine compartment beside the airfilter needed to be moved upwards (around 60mm) to make space for the filterbox.
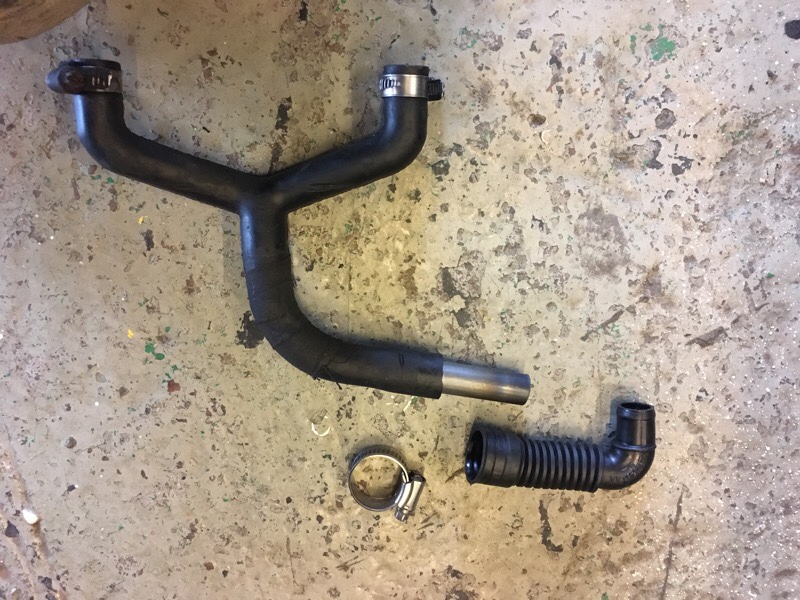
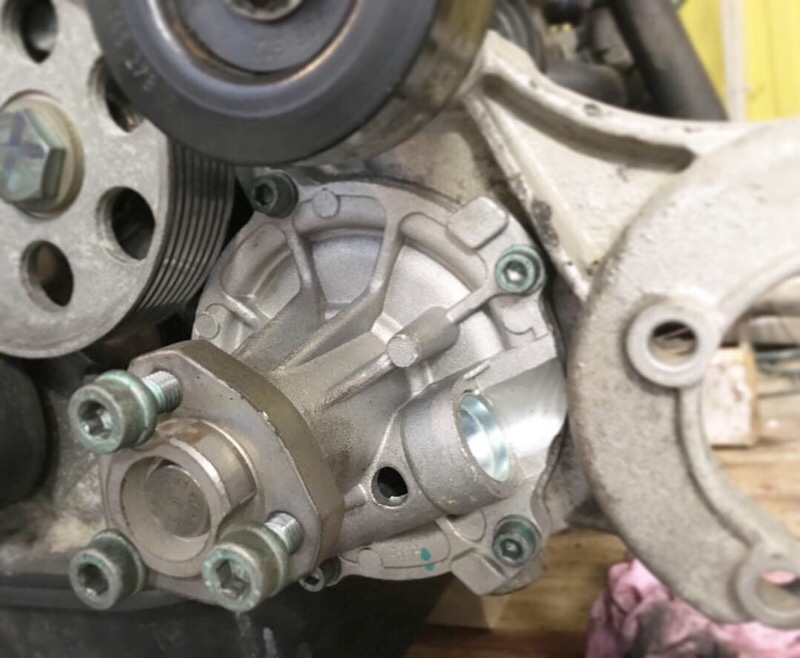
I found the diameter on the AEF water pump flange bigger than the old CS which made it impossible to re use the 90degree coolant hose. So I ordered a new 25mm 90degree coolant hose that will be jointed togheter with the old hose.
The crankcase breather need to be cut off in the end, and joined (with metal pipe insert) with the AEF hose. The connection at the cam cover is different on the AEF.
If any one need finished 587ohm resistor for the glowplug relay, let me know and I can ship some out. All you need to do then is cut the wire, crimp on spade connectors on both ends and plug in the resistor. That’s it! info@maindrive.org
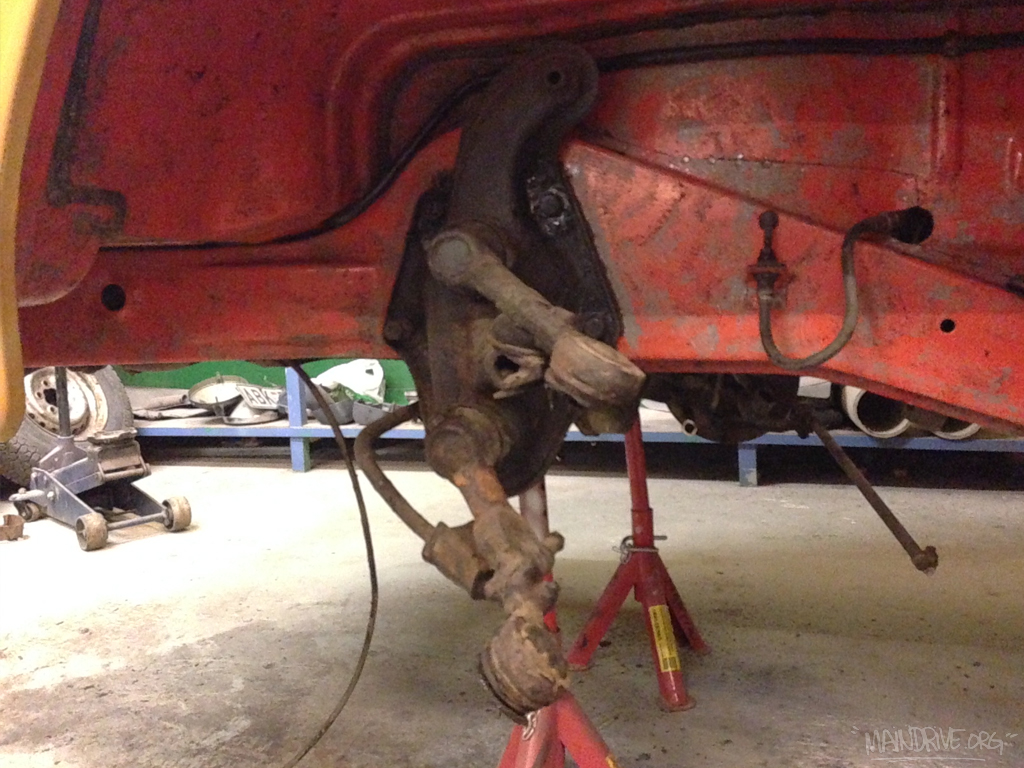
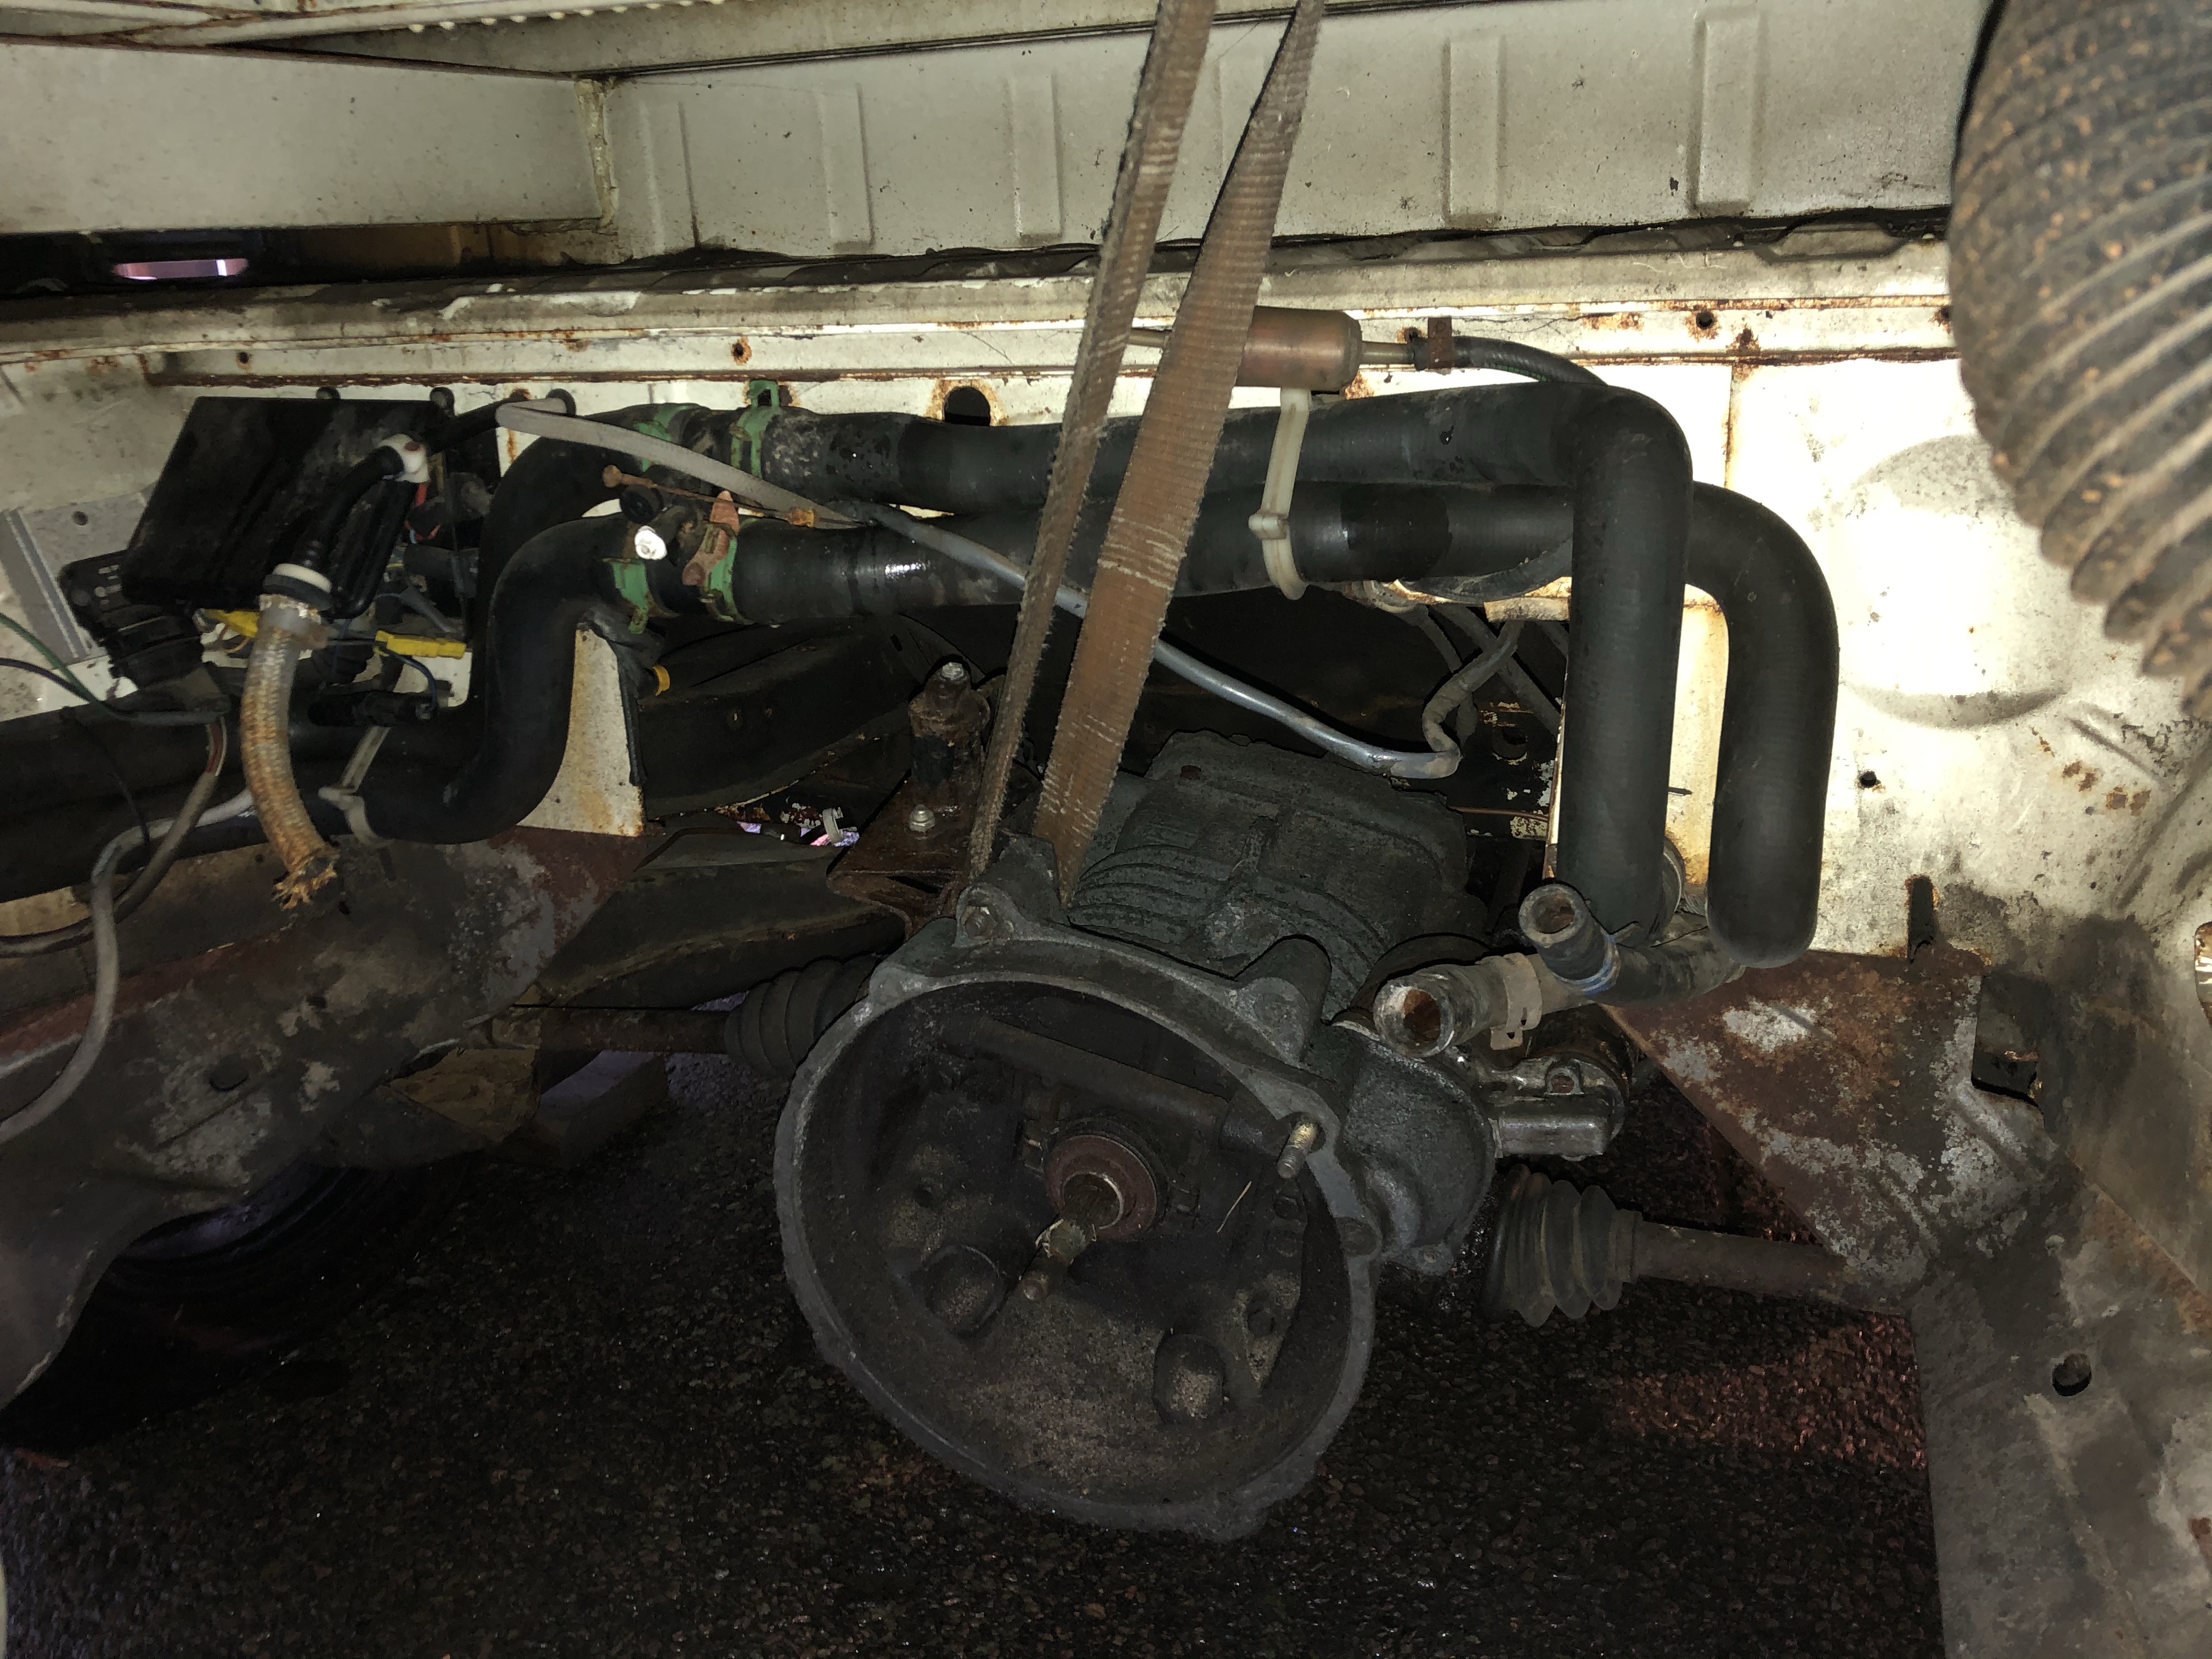
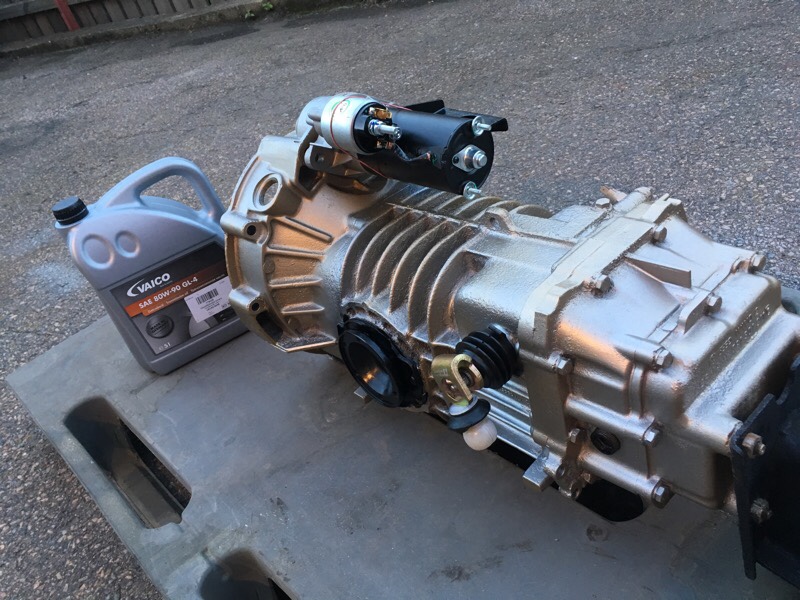
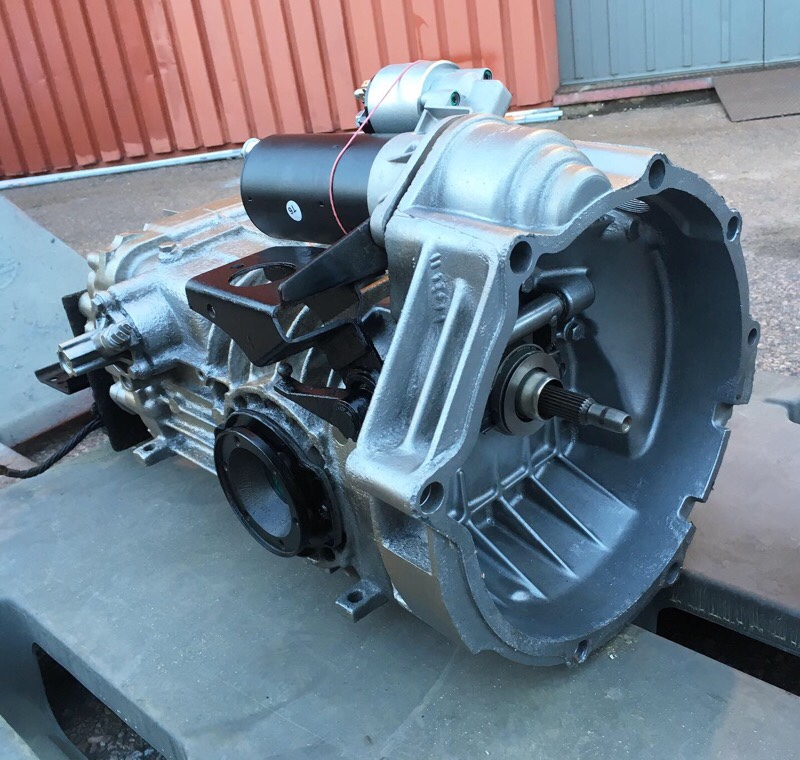
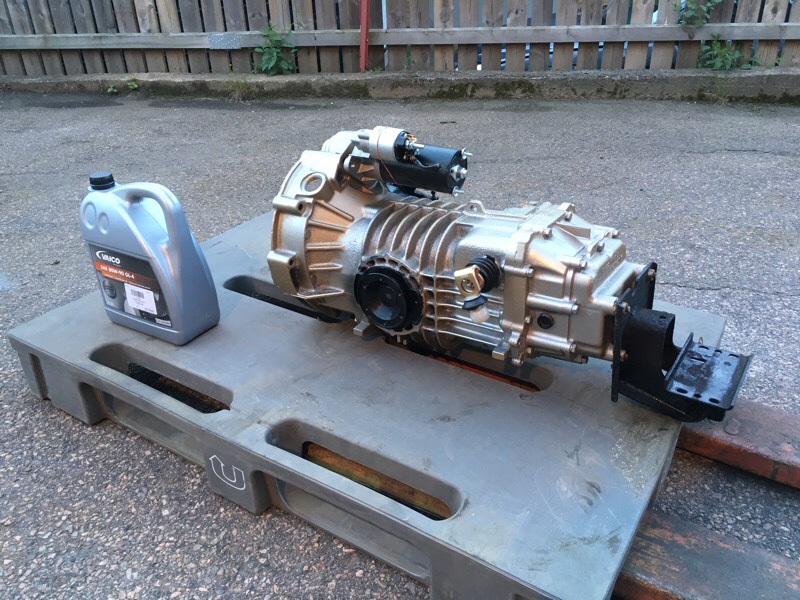
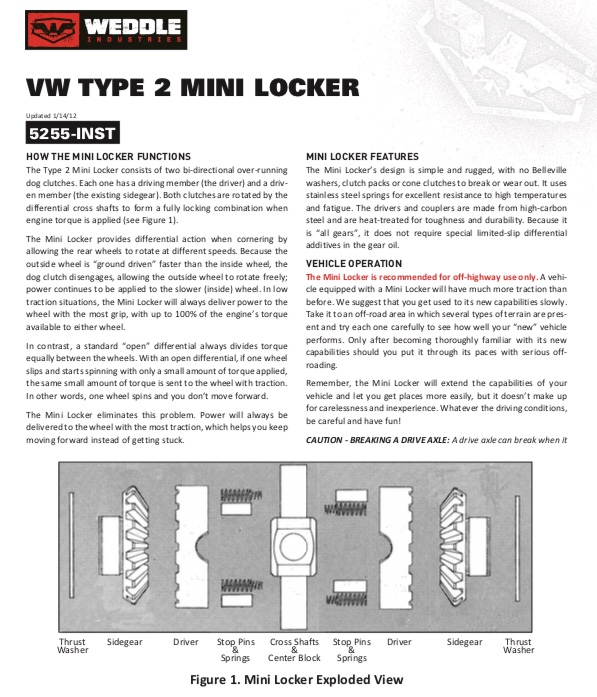
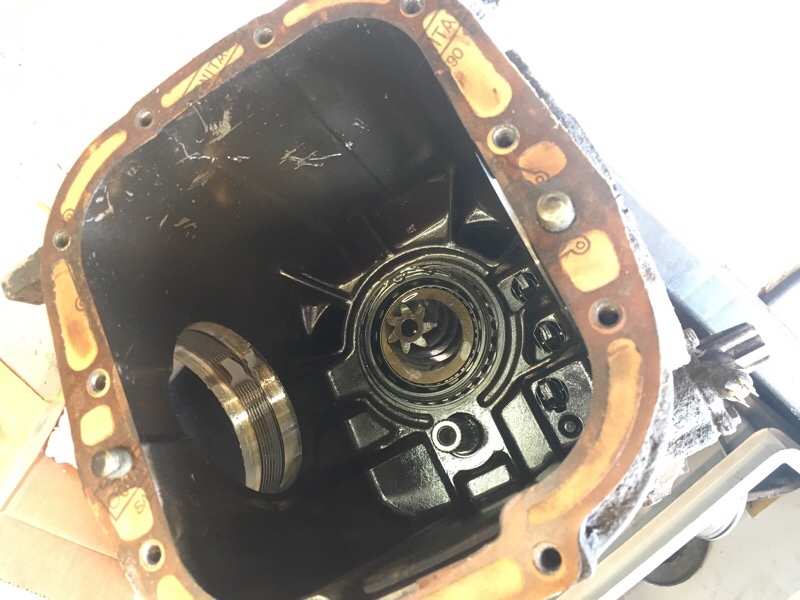
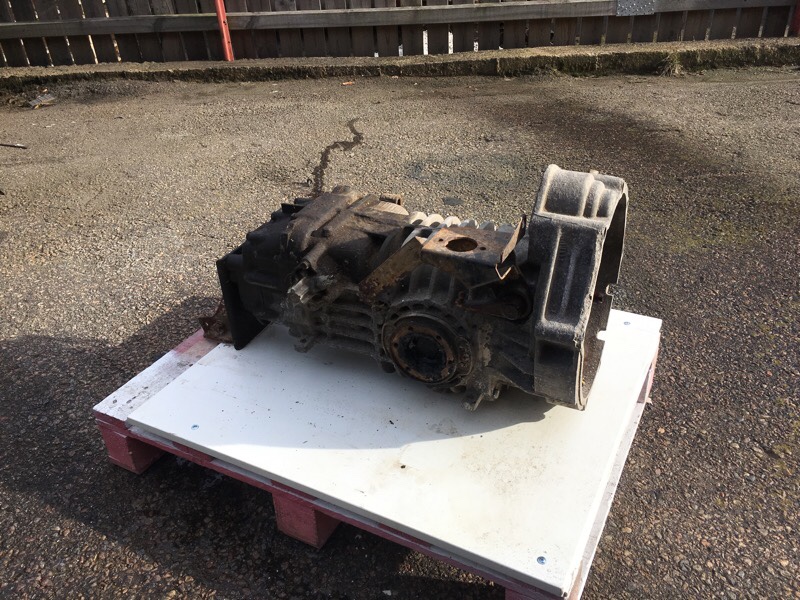
Together with Hans Landenius a offroad transmission was built. A mechanical difflocker from Weddle Industries. This locker engages when stamping on the throttle and locks up to 100%. Which for example a LSD (limited slip differential) never do. That’s why I choosed a locker over LSD, to always have maximum traction when it really needs. The downside with this locker is that it’s noisy, clicks when turning corners (axle tooth’s is “sliding” over the cogs in the differential), but I don’t care so much about noise.
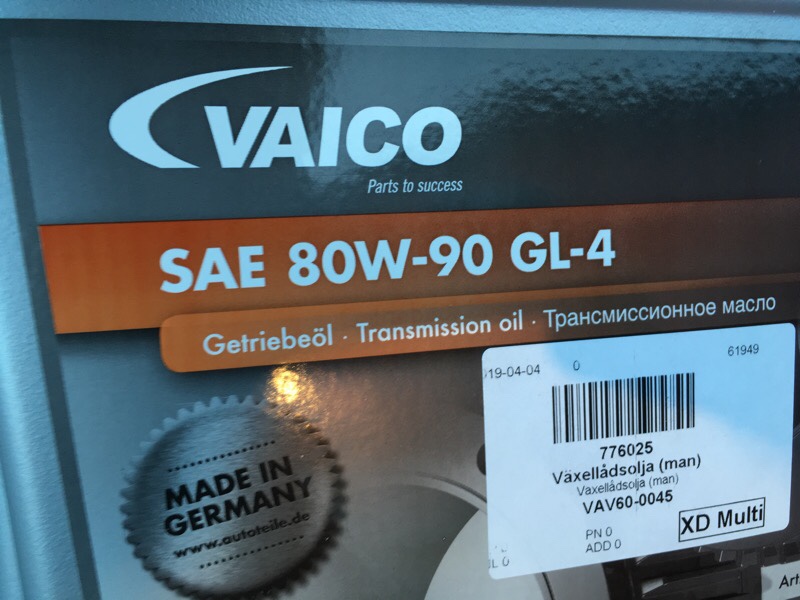
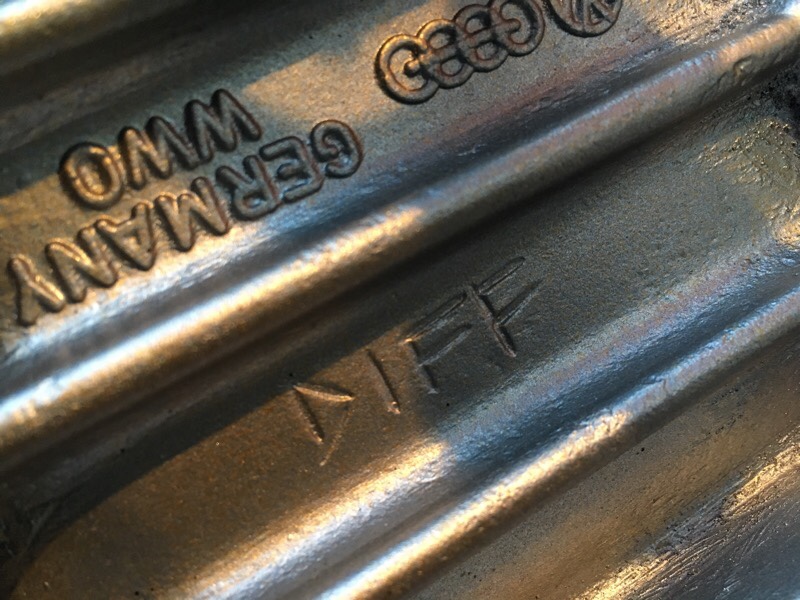
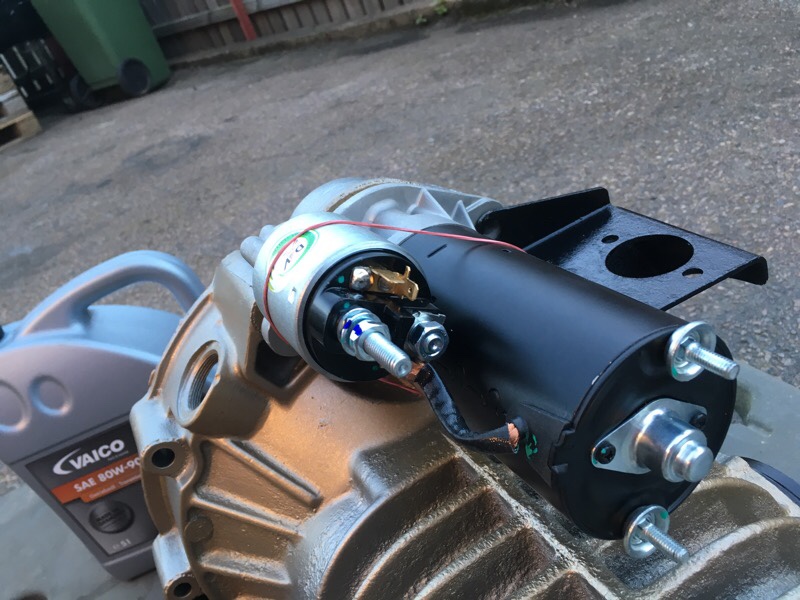
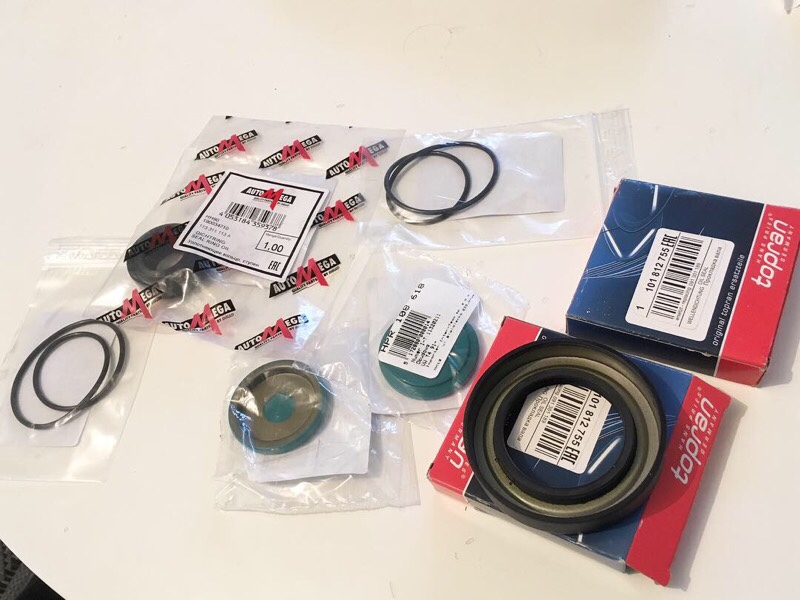
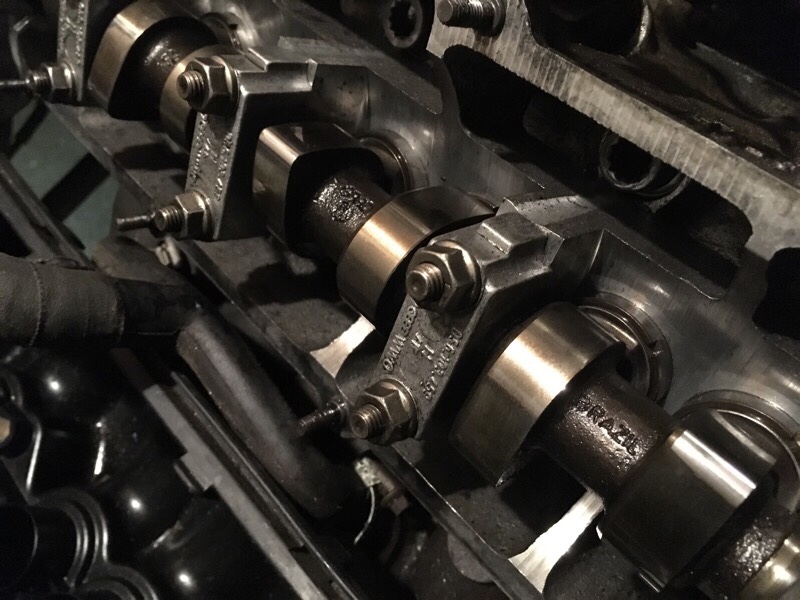
The old differential had only 2 spider gears, so it was replaced by a new stronger “Super diff” that’s made for 4 spider gears. The spider gears was the replaced with the spring loaded locker. Everything was bolted back together, measured with micrometer. Then all seals was replaced with new. New starter and throw out bearing was installed too.
#vwt3overland

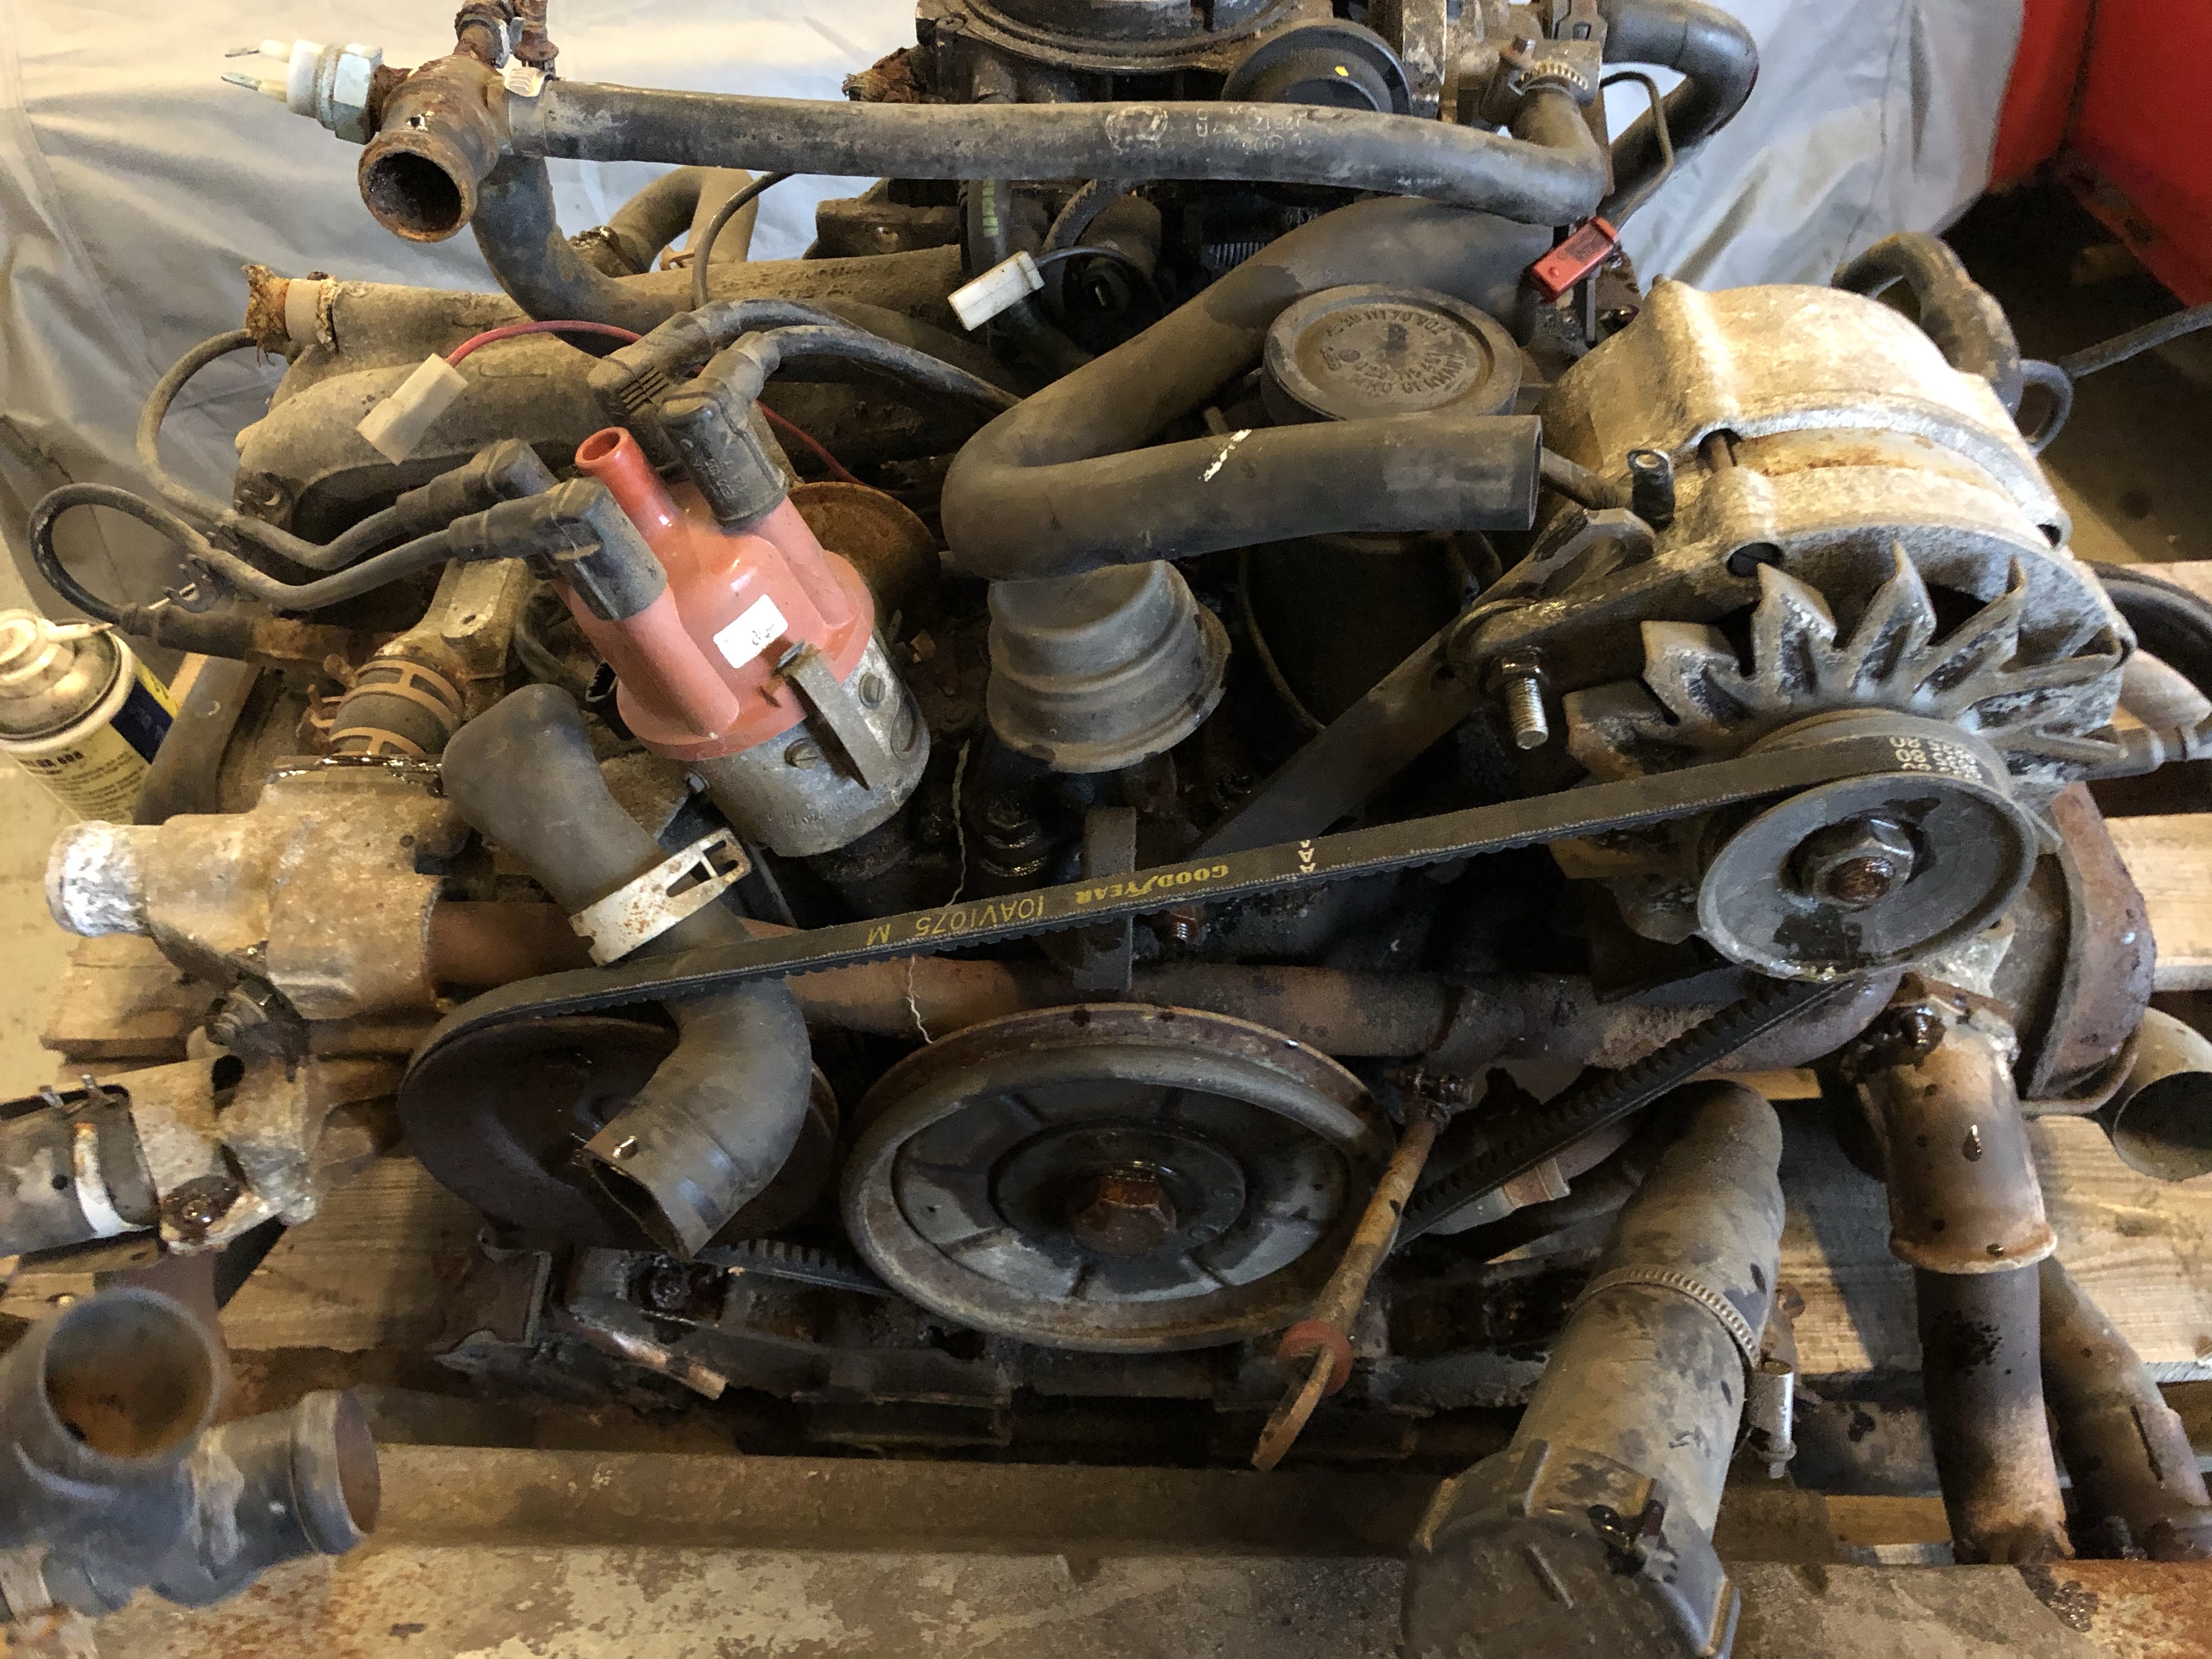
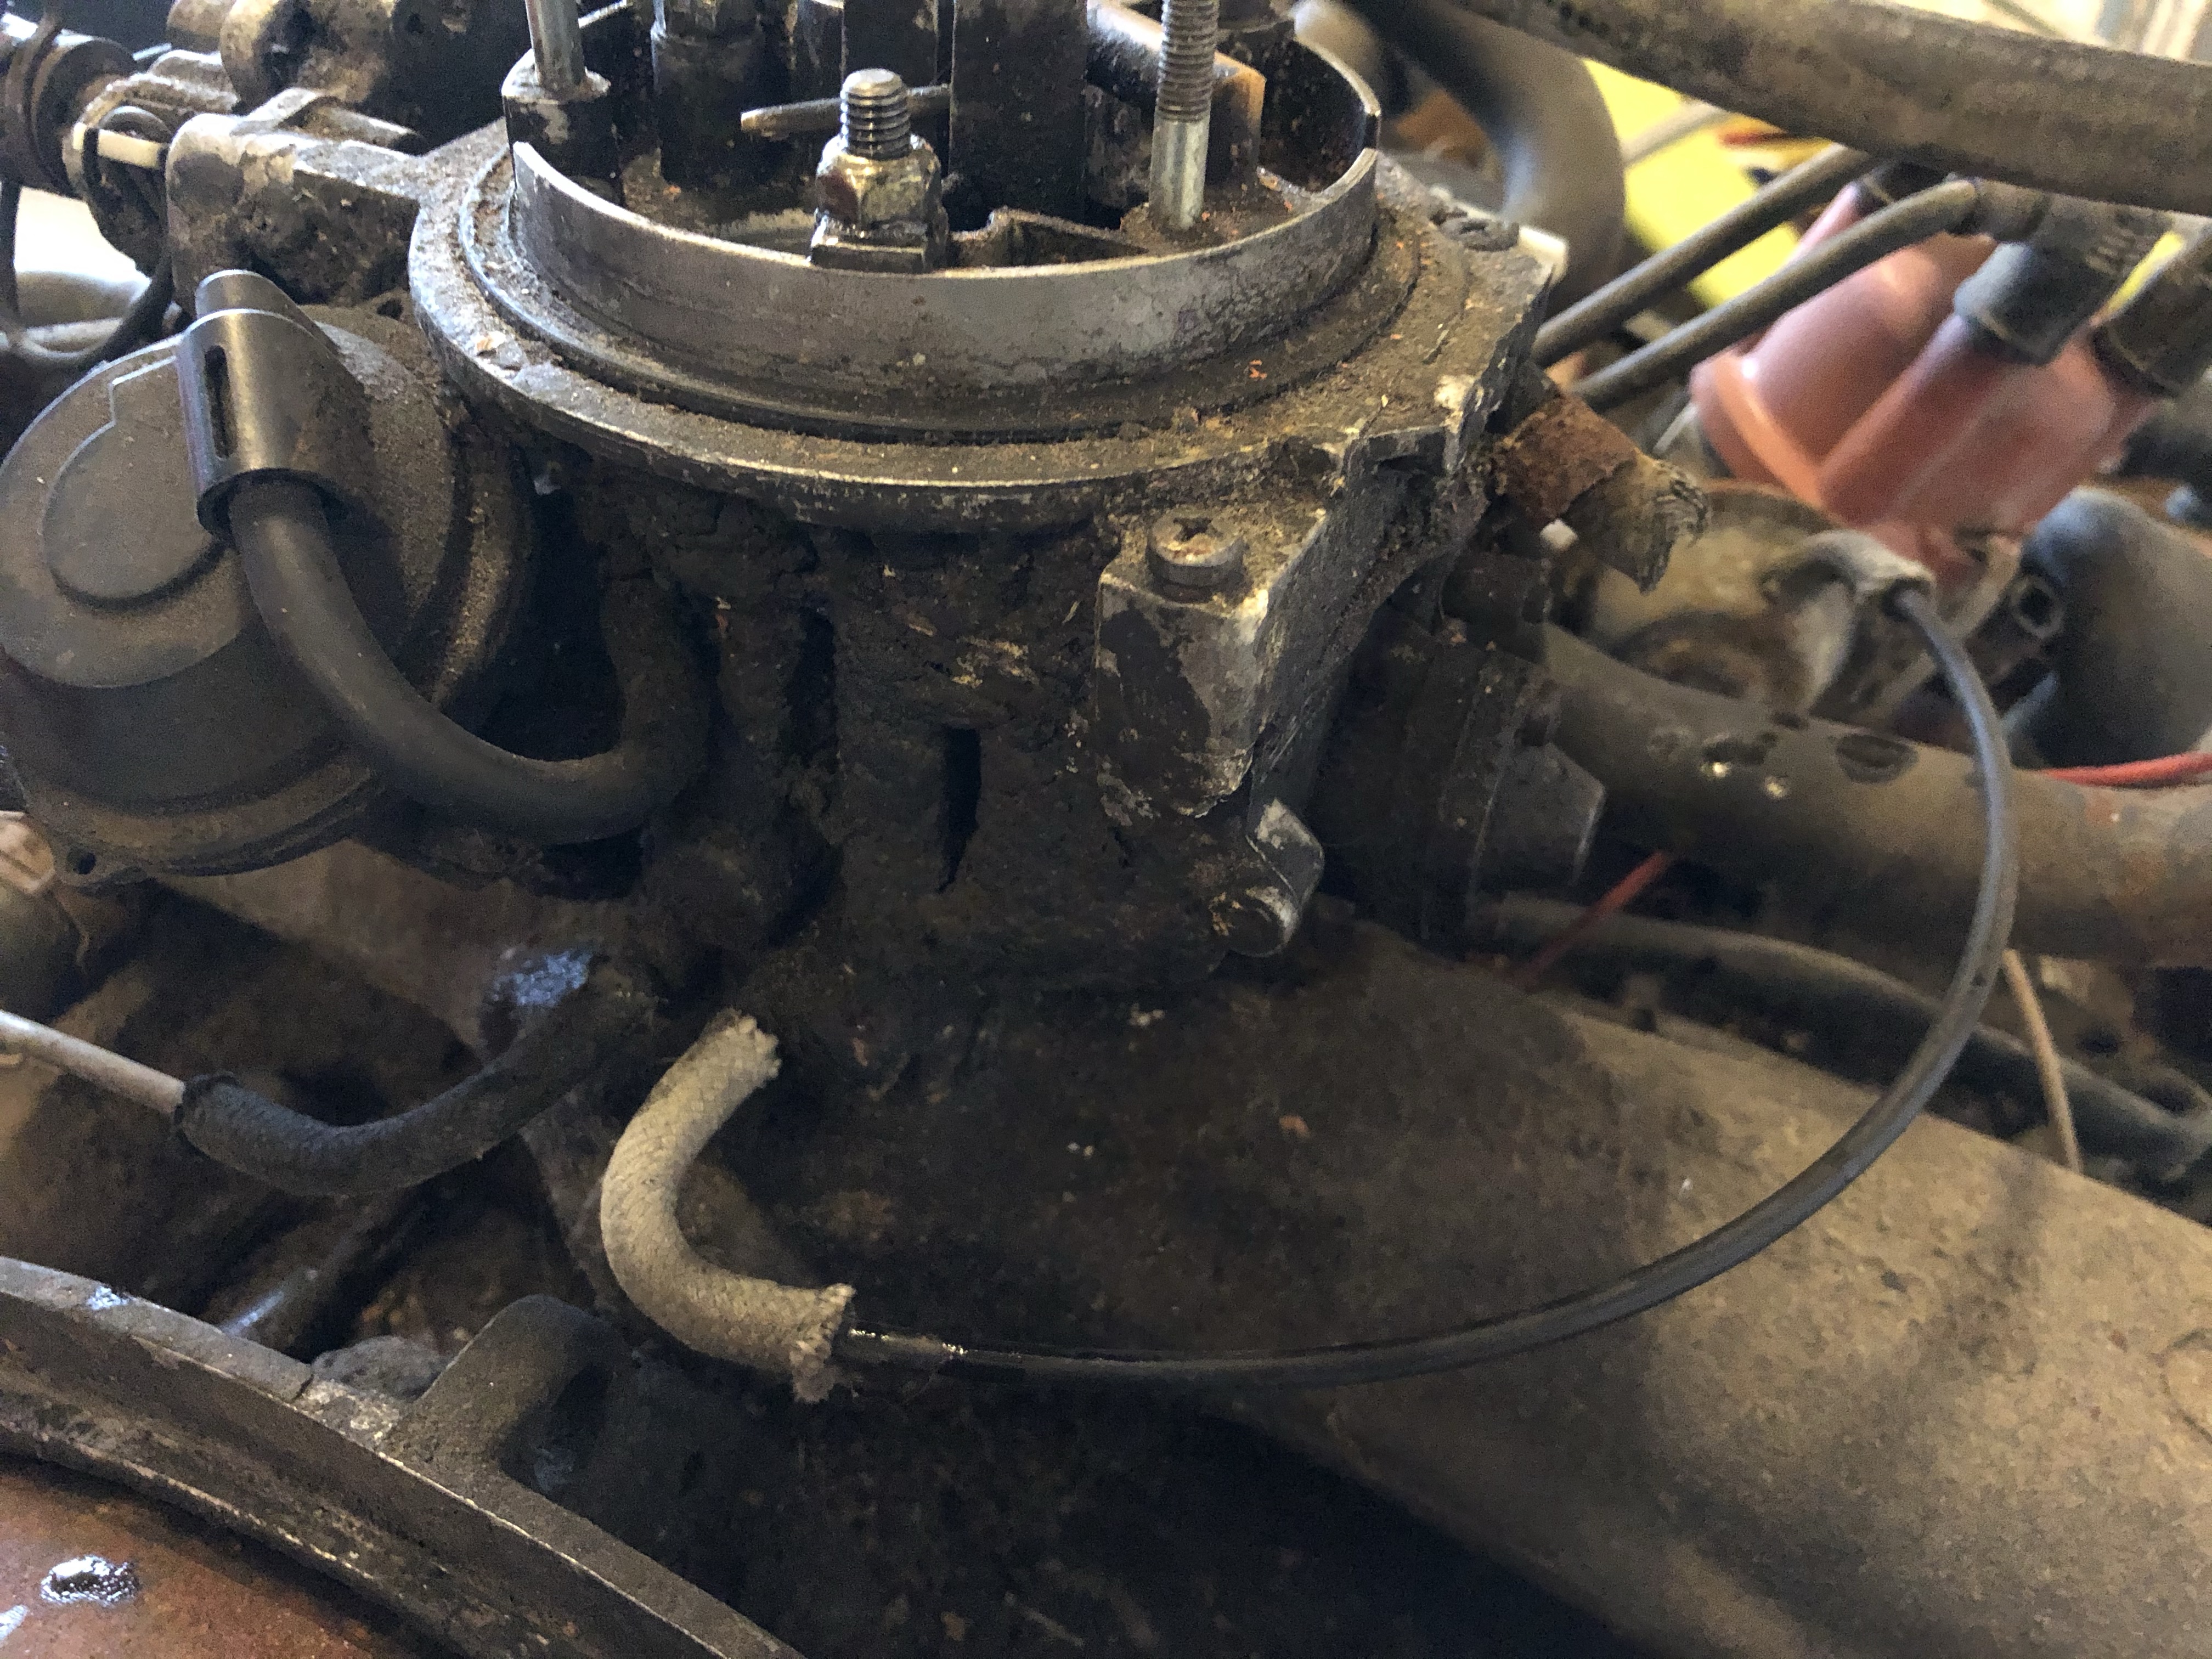
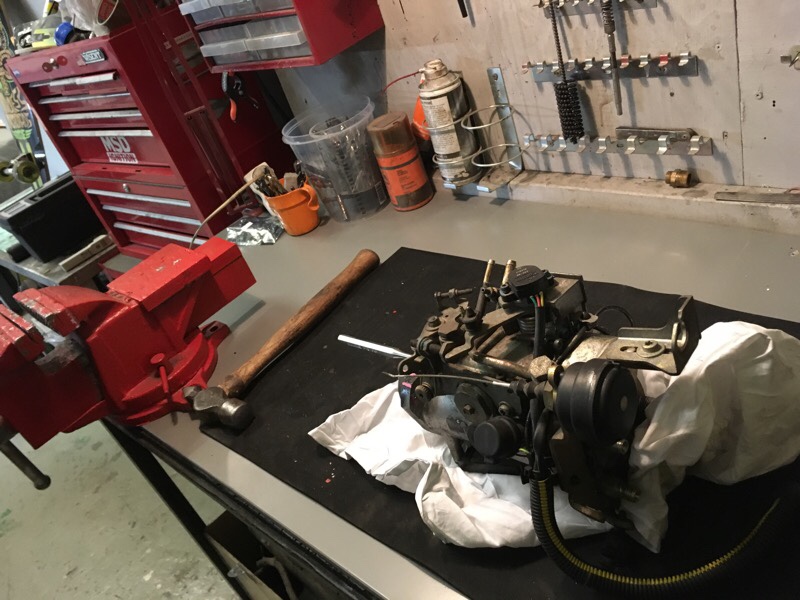
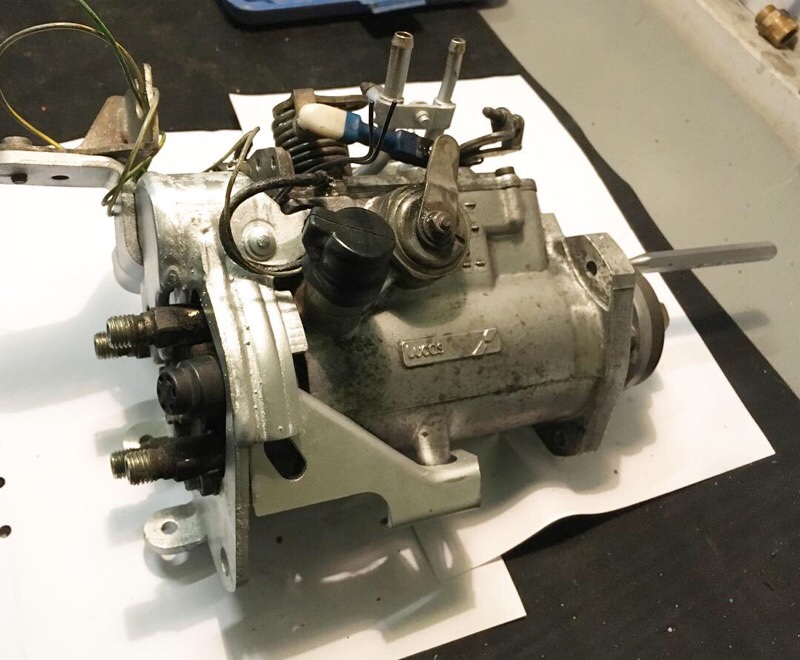
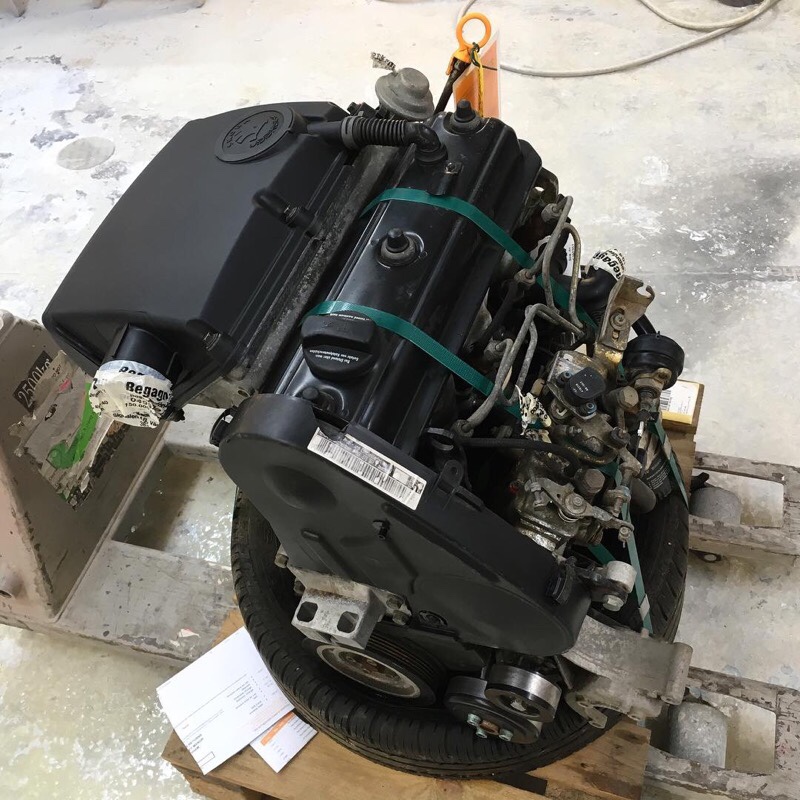
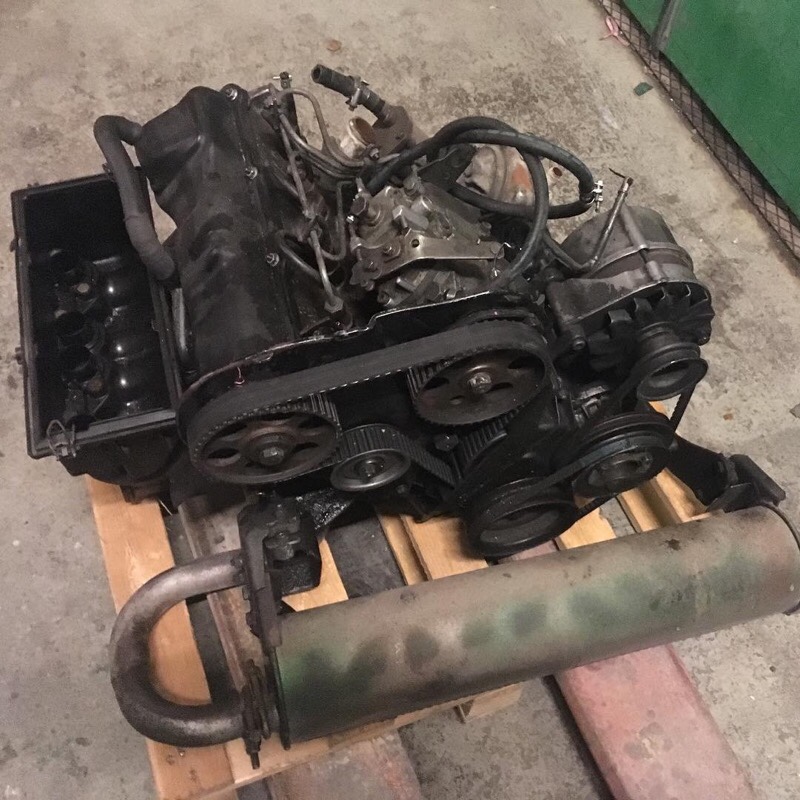
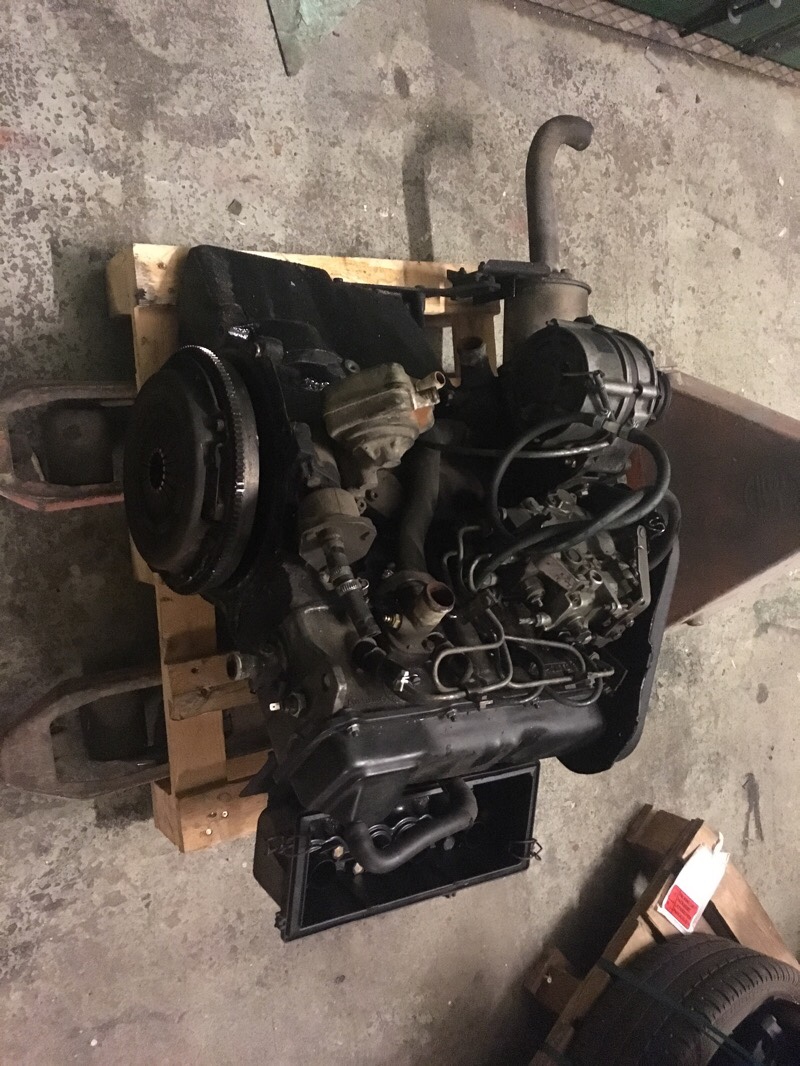
Have got much done on the VAG 1,9 AEF diesel engine the last days. Dieselpump cleaned up and wiring is fixed. Only 3 sensors are used now. There is alot of wiring and electric sensors that is not needed in a van. (removing immobilizer for example). I moved the dipstick hole to the other side of engine, as it is tilted 45degrees in the bus also are on the wrong side. So drilling a new hole in the engine block was needed. And the old was tapped and sealed up with a 12mm bolt. The tube from the AEF was used and modified/bracket.
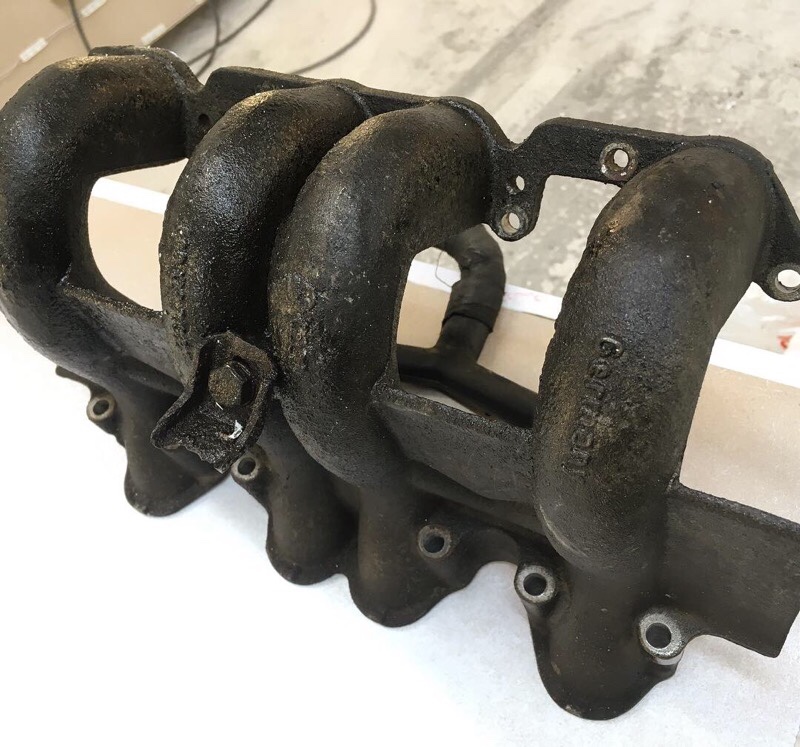
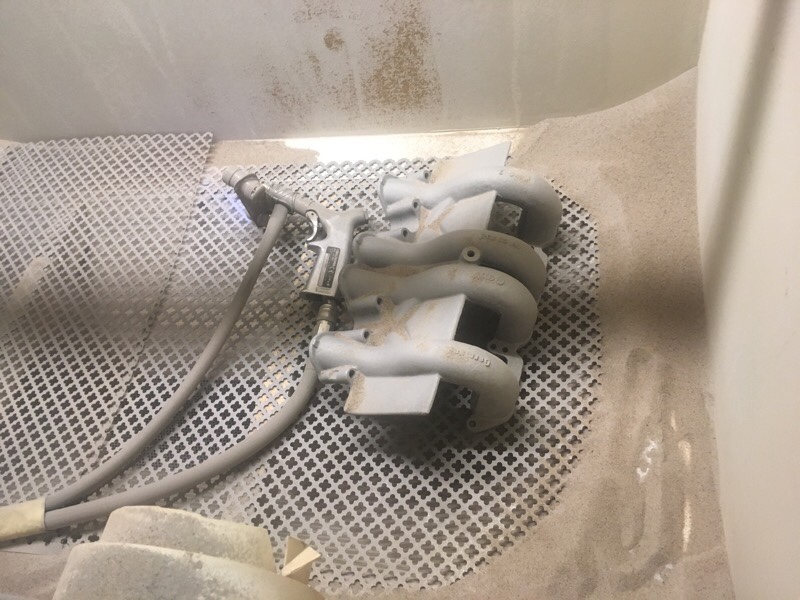
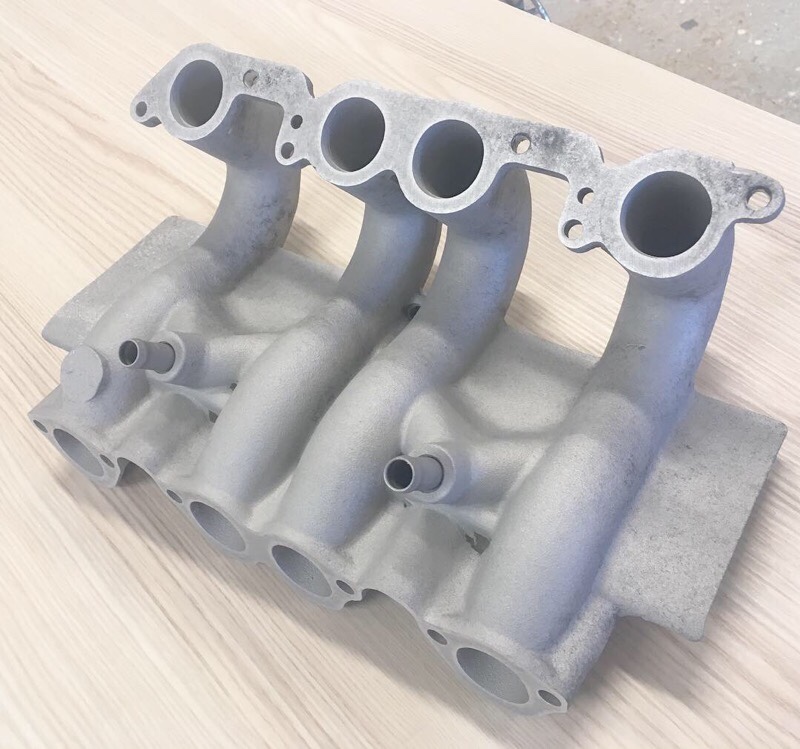
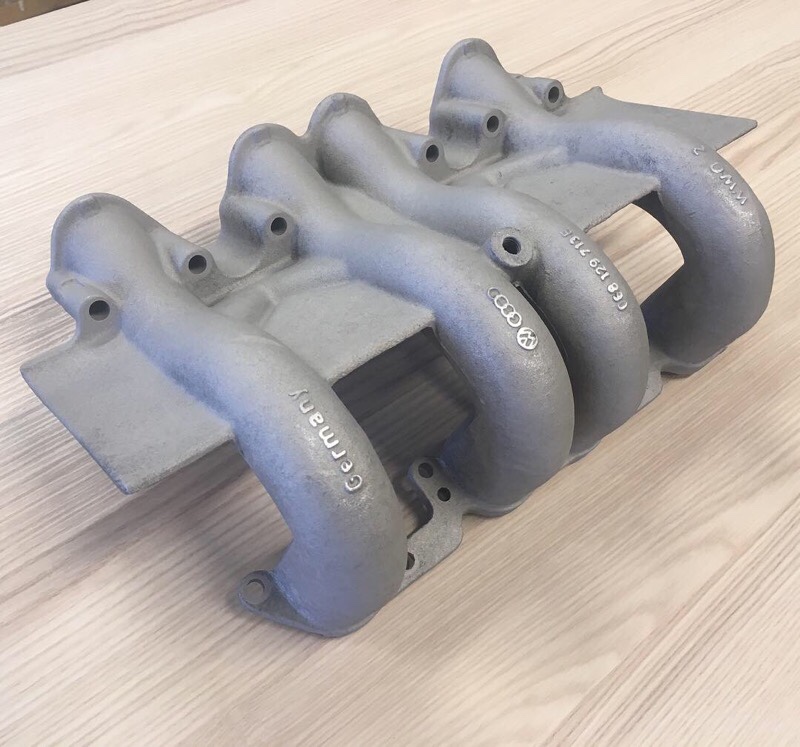
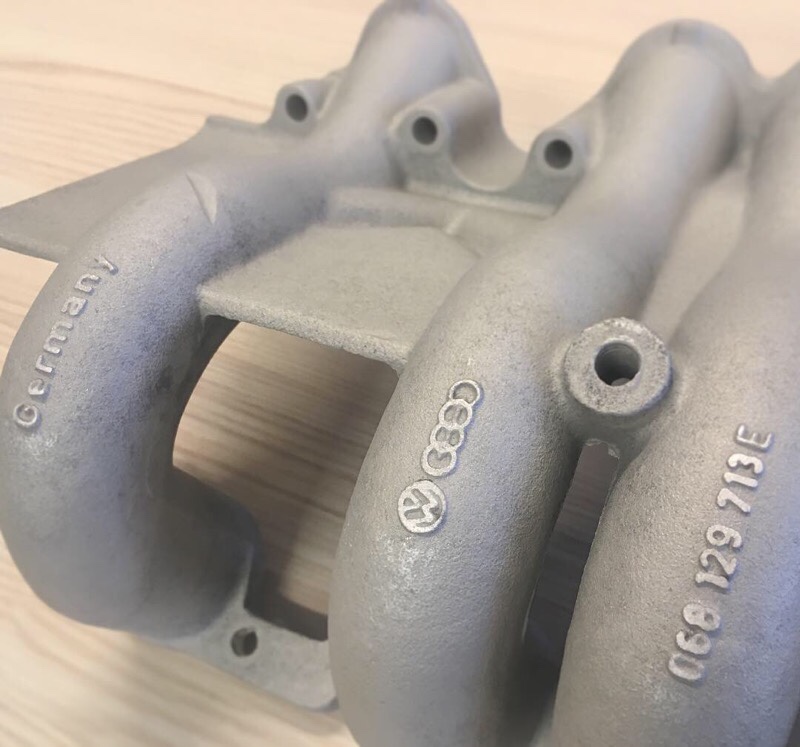
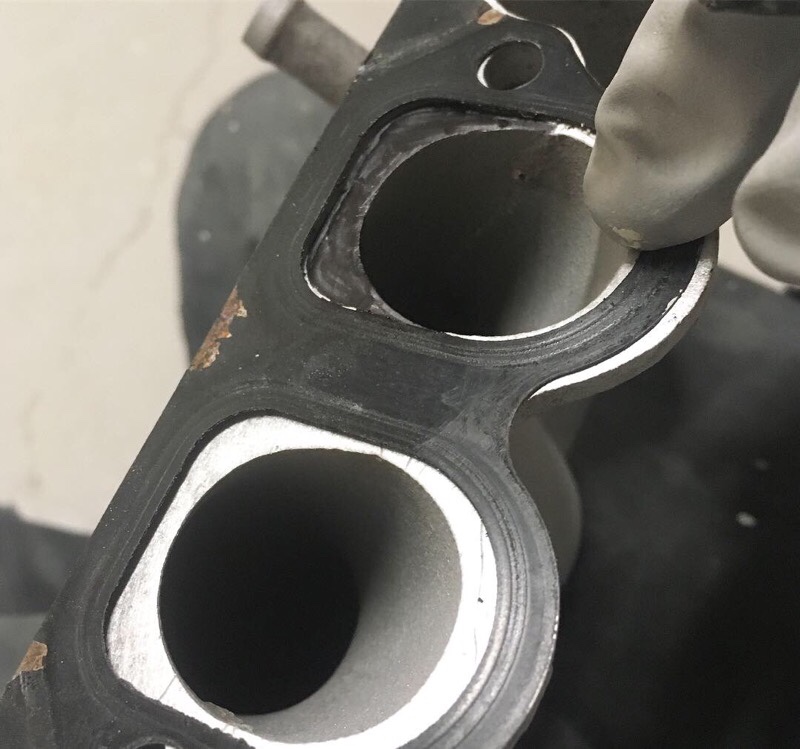
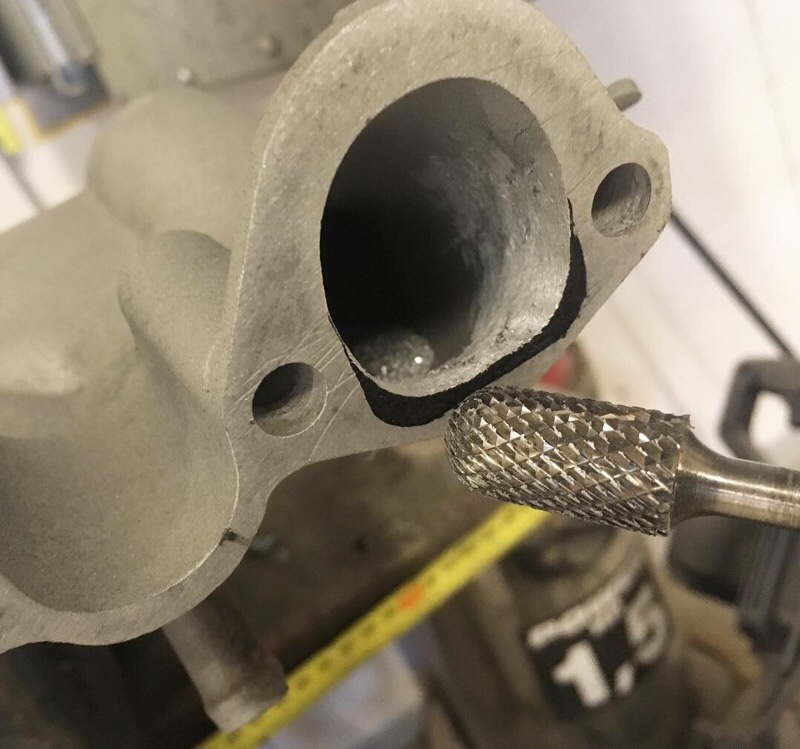
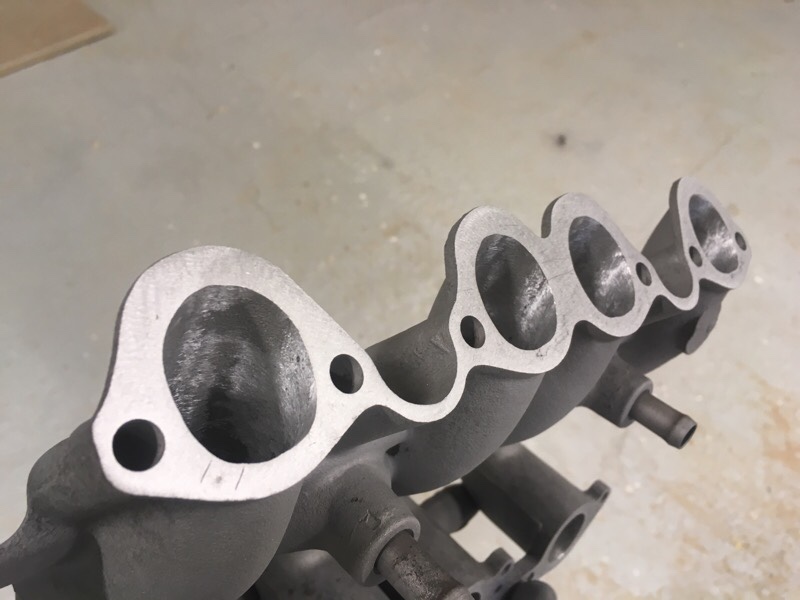
The intake manifold don’t fit in the tight bus engine compartment so the old one from the 1,6 CS are going to be used, it has a better angel/shape that fits inside the bus compartment. But it’s a little smaller in diam so I made a port matching (as close as possible) for better flow. The exhaust manifold, I probably going to use the AEF, its bigger in diam than 1,6 so will improve the performance. The downside is I must make a custom exhaust and blank off the EGR valve. Hopefully worth it in the end!
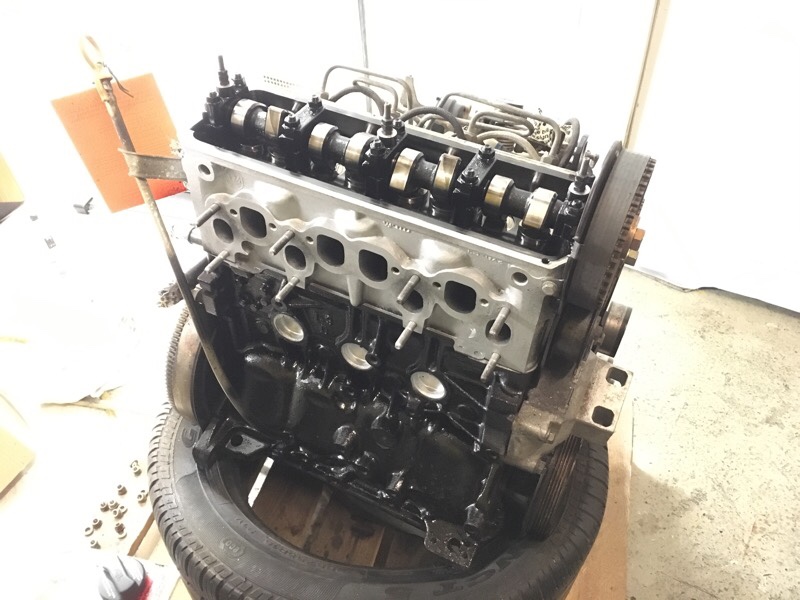
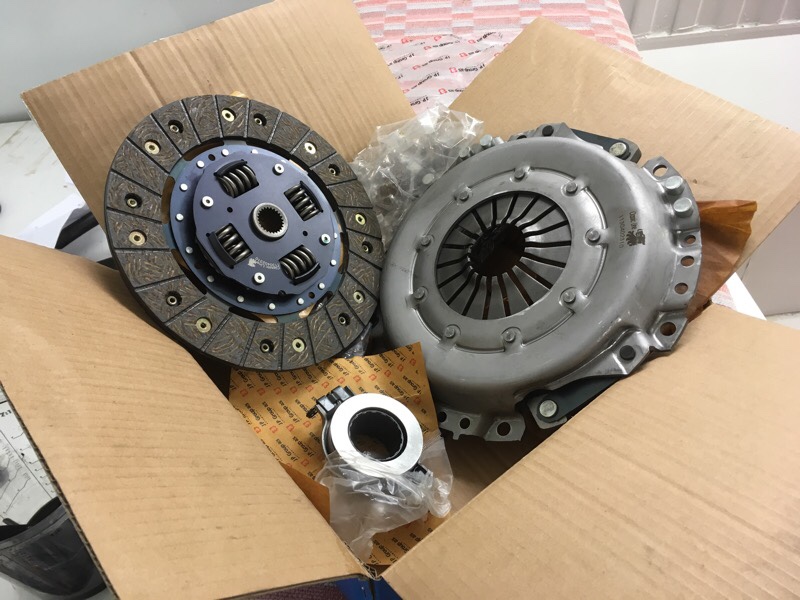
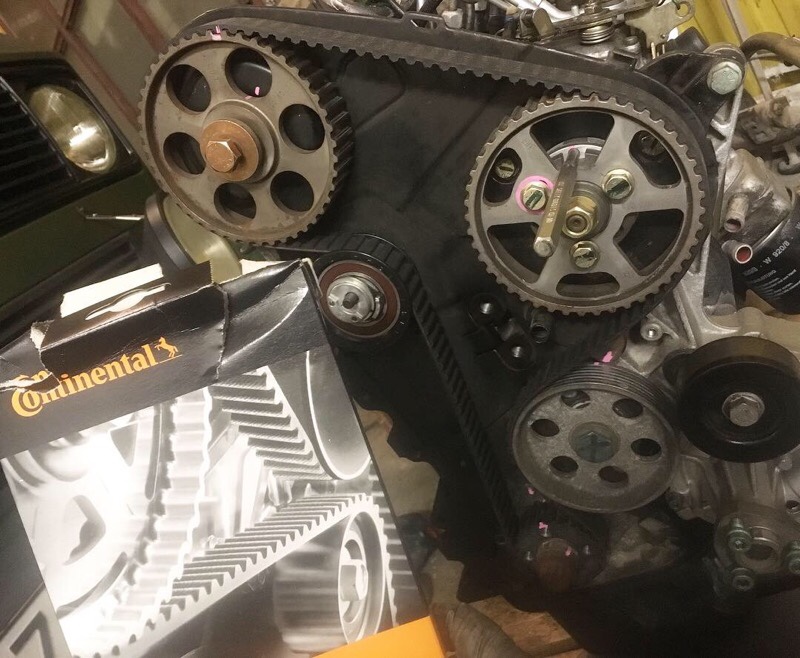
New water pump and thermostat is installed. New timing belt and tensioner etc. Changed flywheel to the 1,6 CS, new needlebearing (don’t forget!) new throw out bearing, new clutch kit. I used new bolts from FEBI to the flywheel, standard size. I took the backing plate from the 1,6 as it will fit the bus transmission better. Also needed to remove two upper studs from engine bolt holes, bolts straight thru will be used instead.
All sensor need to be taken from the old engine (good since I bought all these new awhile ago) like oil pressure, water temp, glow plug sensor etc. Waterflange in alu with sensor was taken from the 1,6 also. All waterlines and hoses to oil cooler etc was removed. Next up is changing oilpan to bus cast alu 1,6 CS. The oilfiller tube has to be removed and plugged, the servopump will be in the way. Will use the cap in the camcover instead. New alternator and servopump, waterpump pulley, idlerwheel and new fan belt is going to be installed next time. Also some new resistors and relays need to be added to the glow plug sensor and relay for coldstart etc.
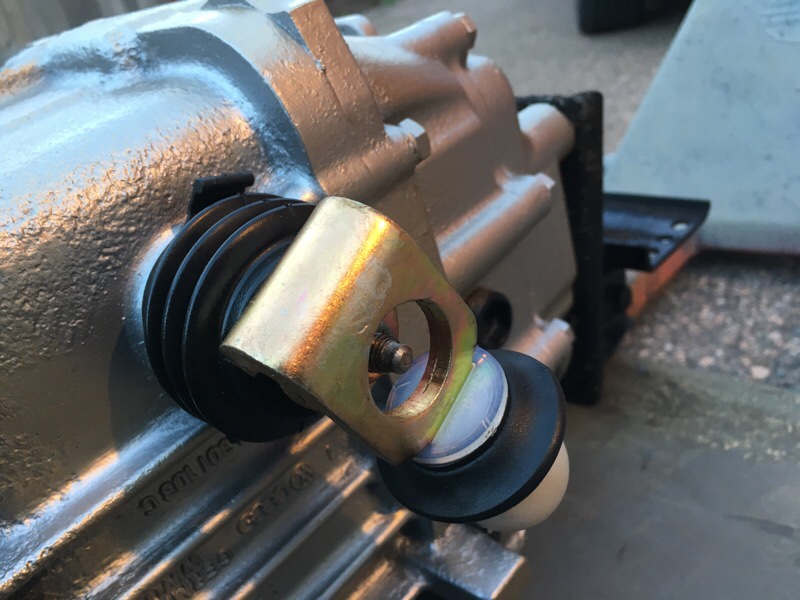
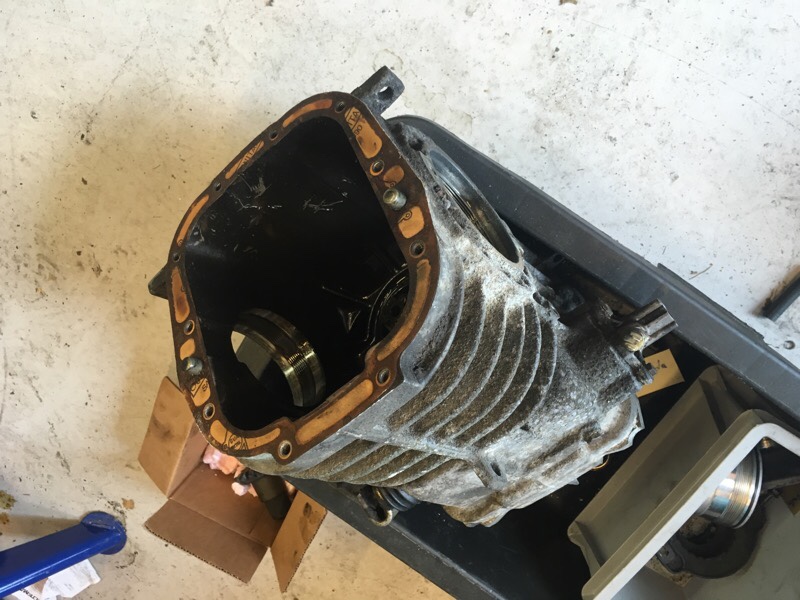
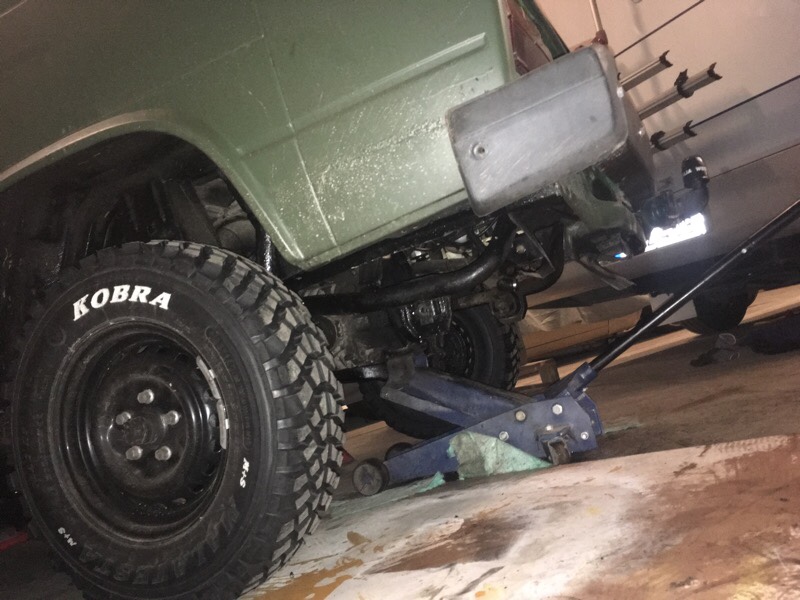
Transmission have also been removed from the bus now, getting it ready for overhaul and difflock, new seals and shifter bushings. More about that soon…
Another really good page for AEF conversion is Colins write-up on Brick-Yard forum, here is the link: http://www.brick-yard.co.uk/forum/1-6cs-to-aef-engine-swap_topic52595.html
#vwt3overland


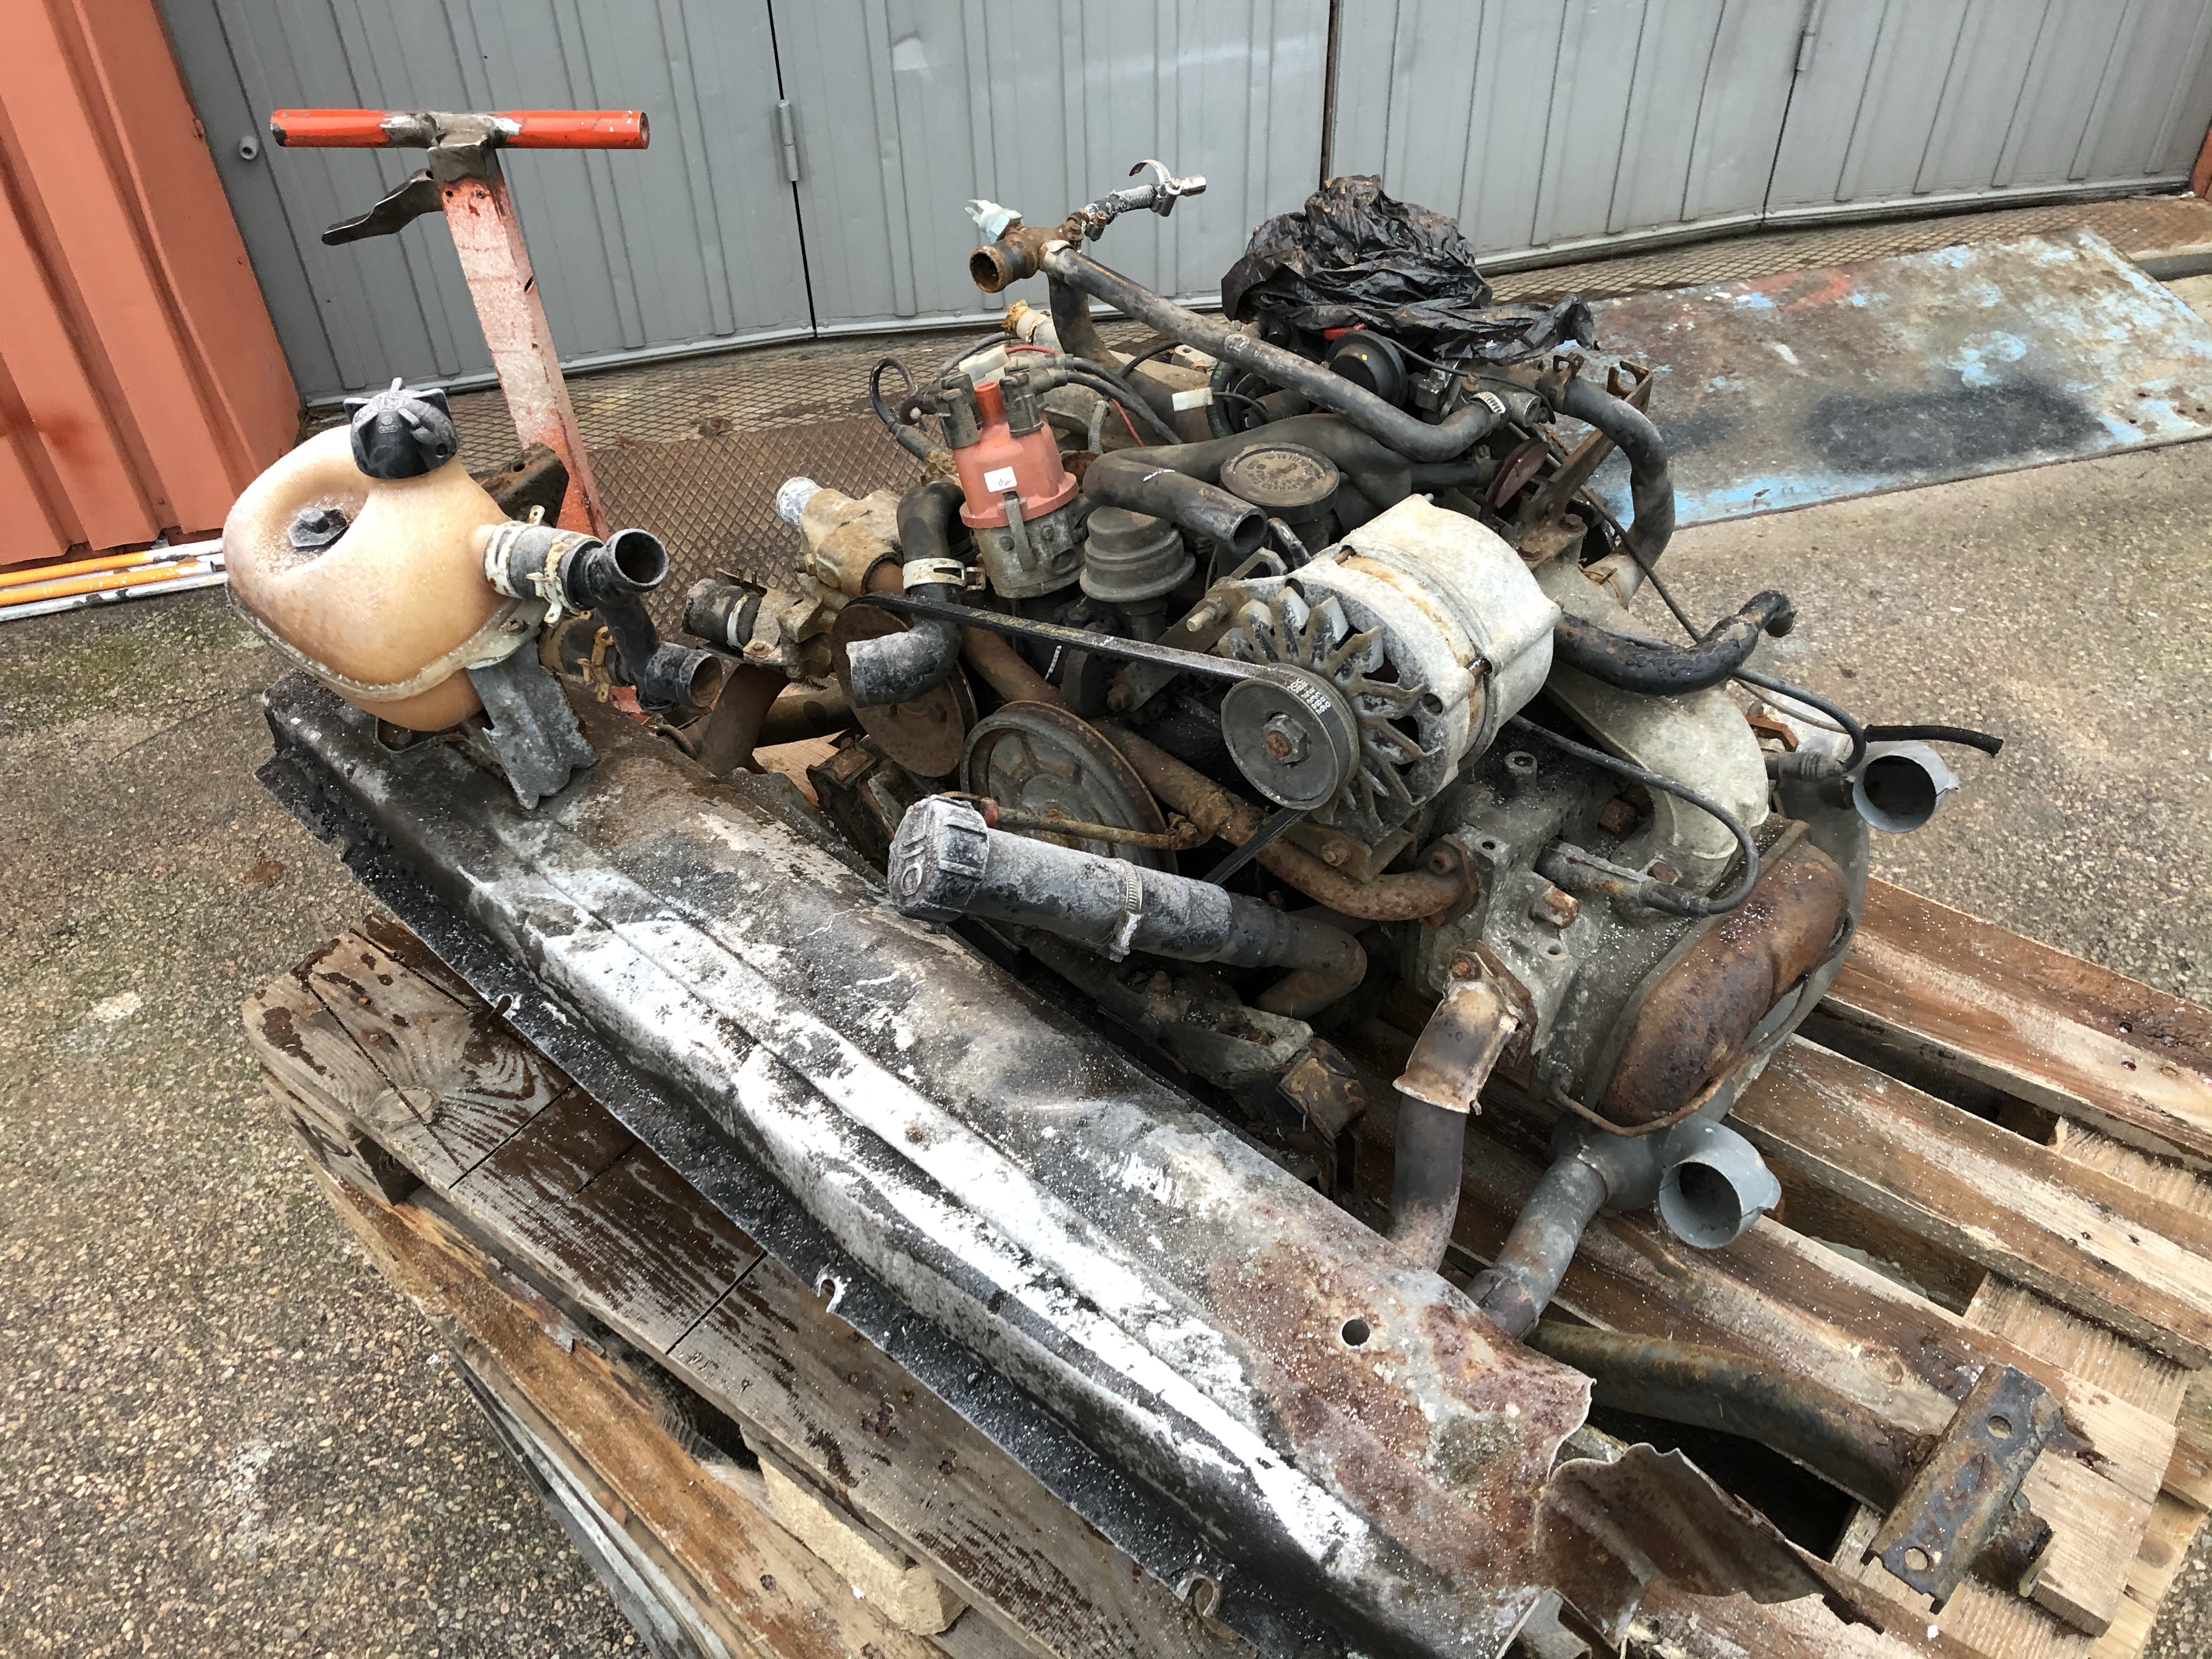
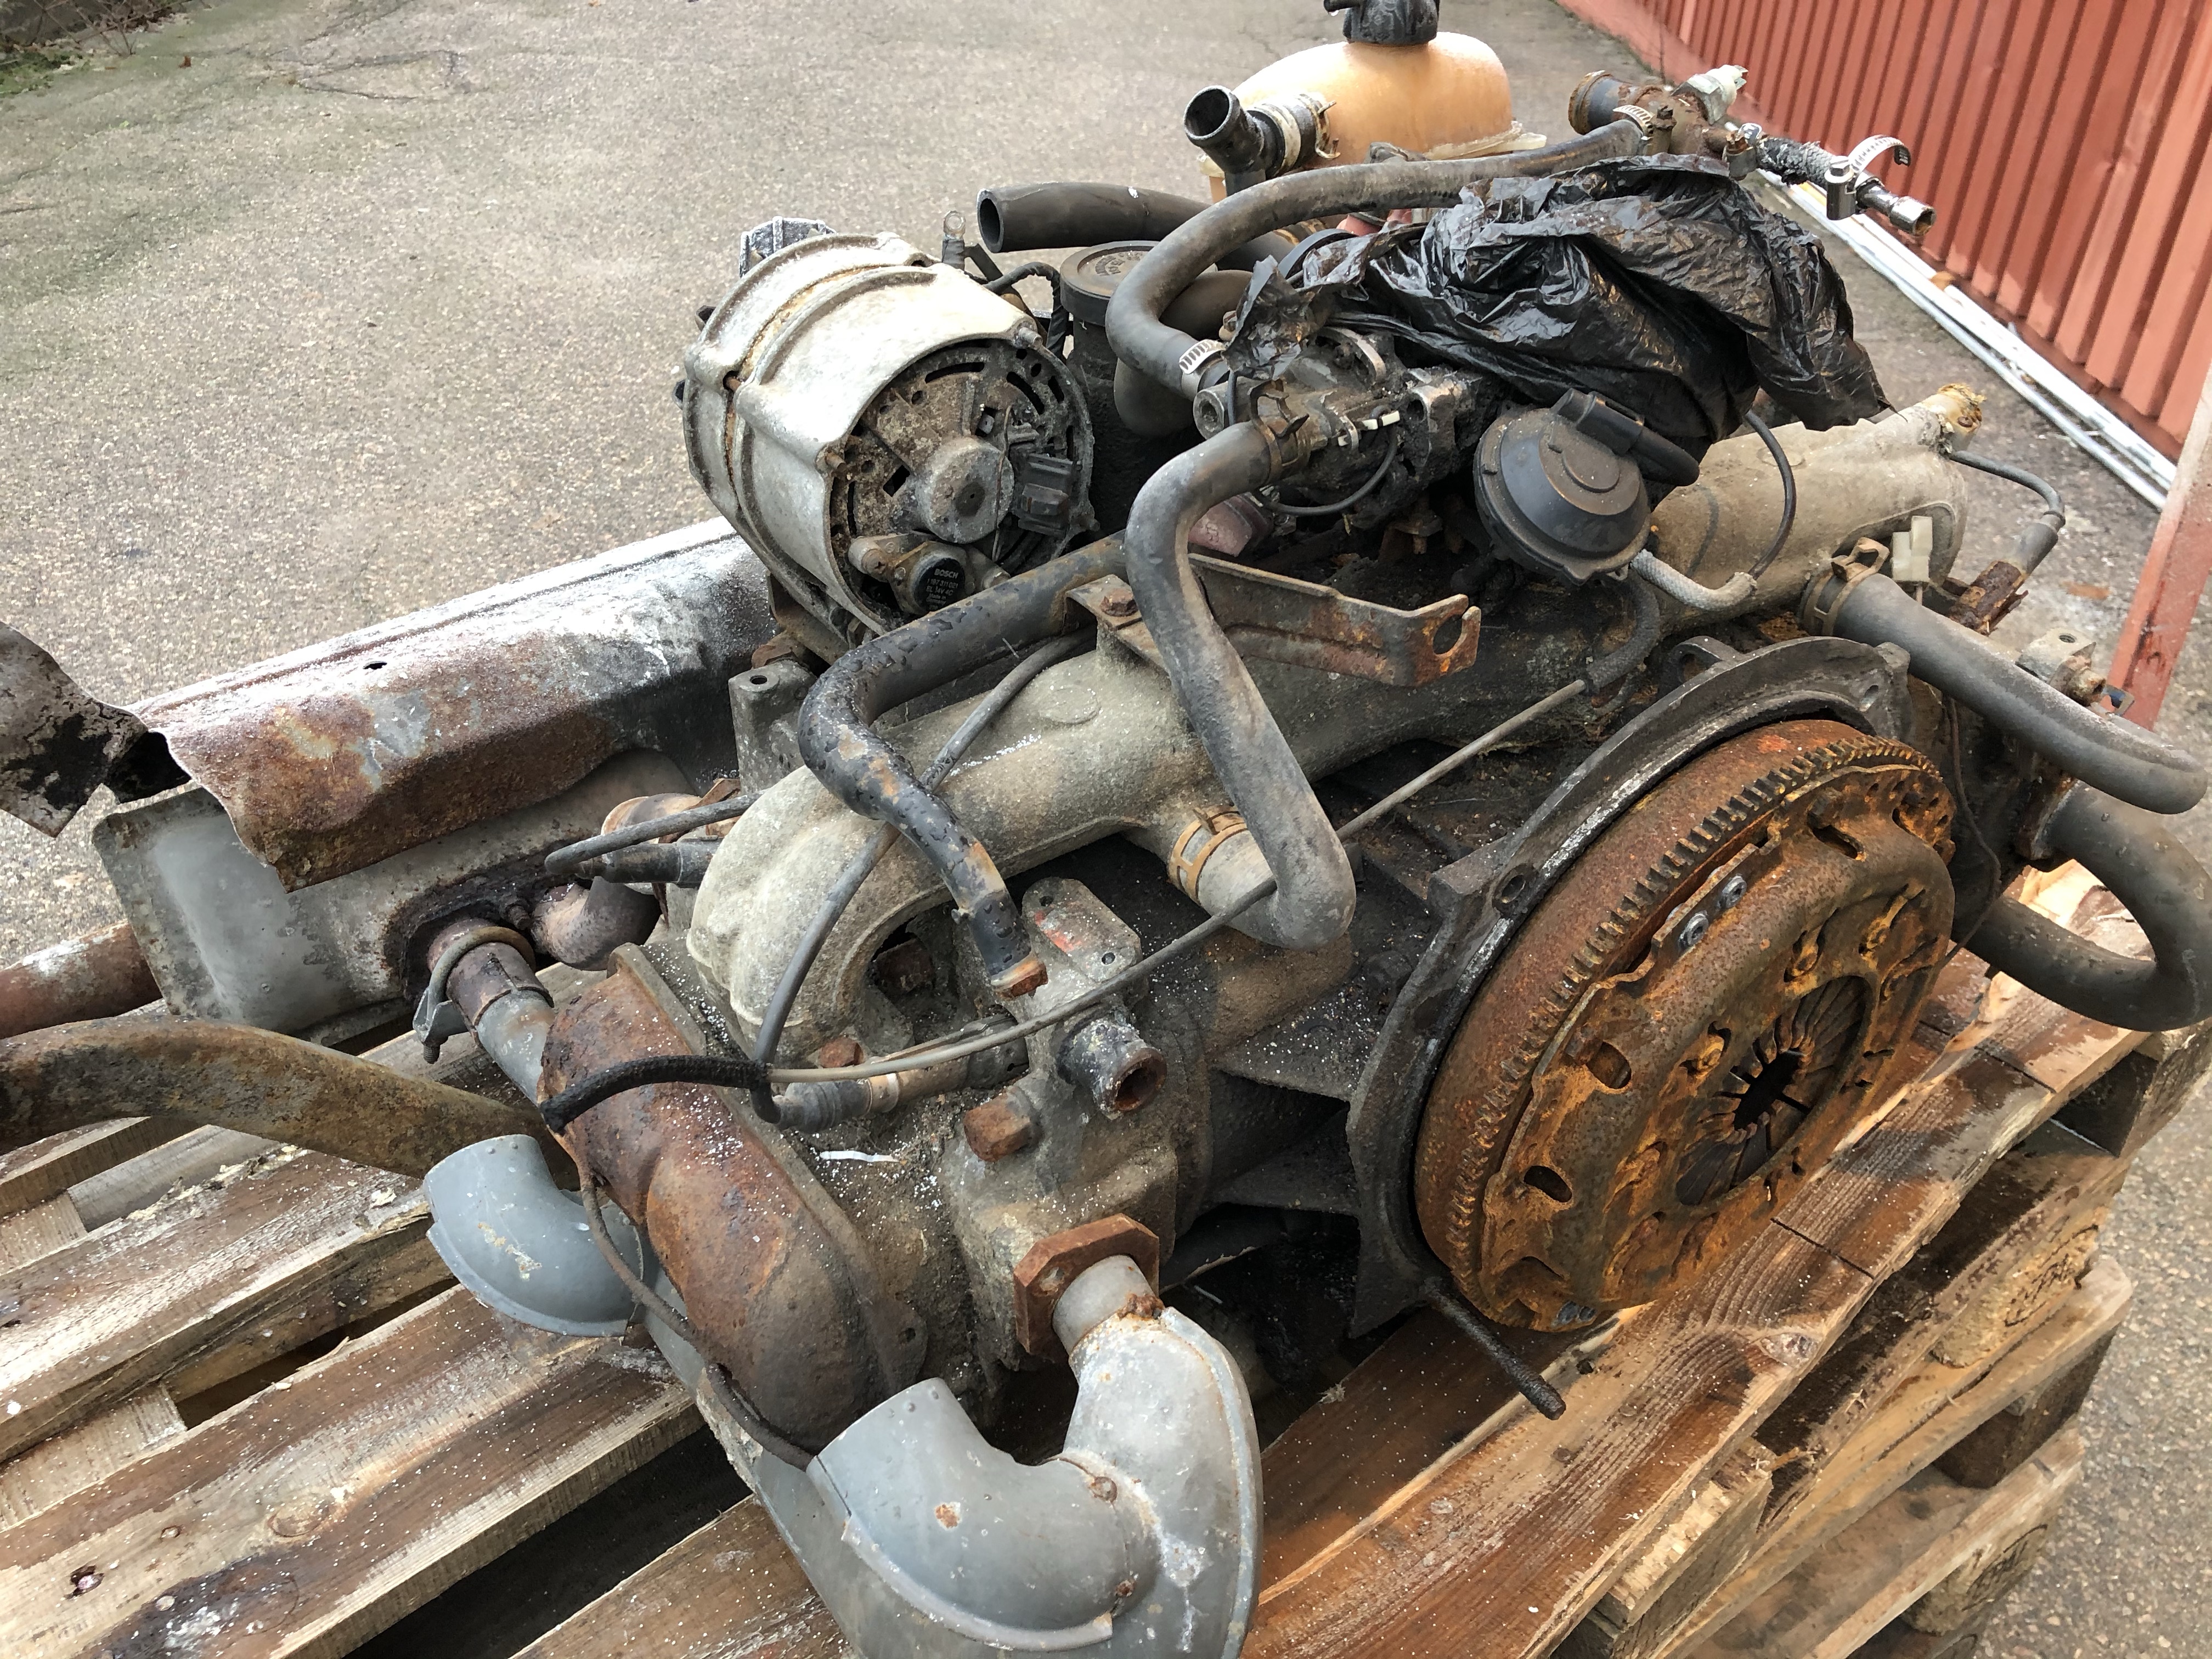
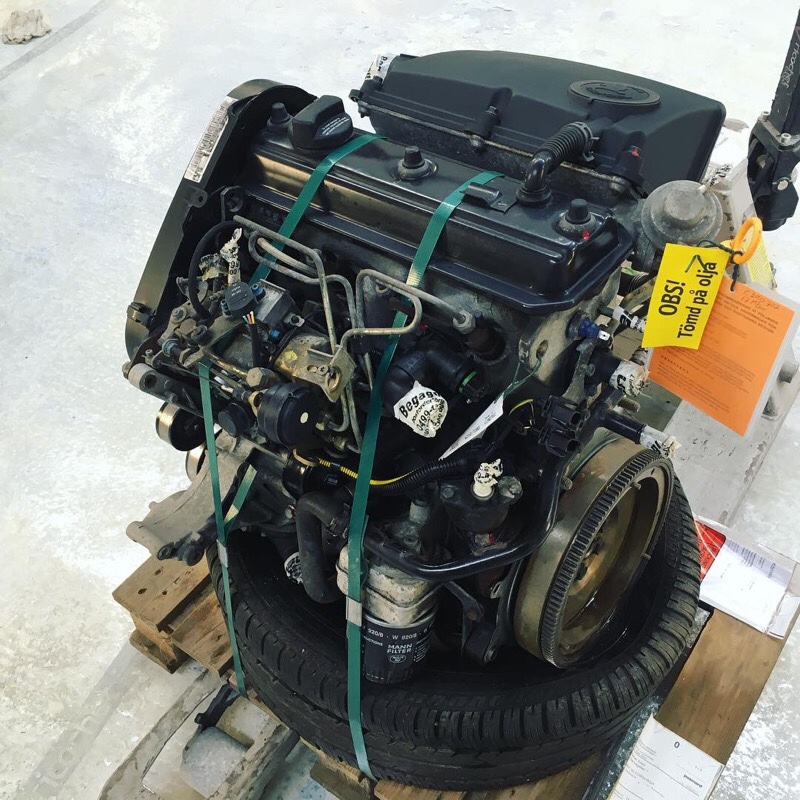
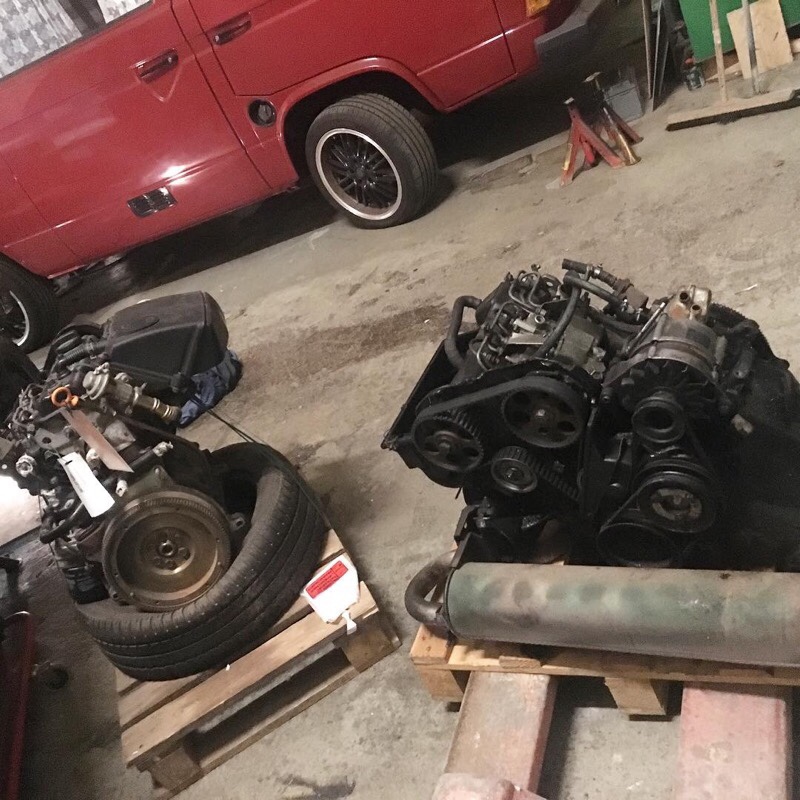
The old 1,6 CS diesel was a bit to slow in hills/highways (to the point it get dangerous in traffic). So it needed to go. I don’t going to race Lemans with the bus, I just want a more modern, stronger, cheap to drive (diesel) and most important RELIABLE engine that always work. First I was looking at a AAZ 1,6/9 Turbo engine but with a turbo it’s just another thing that can brake and these engines always runs much hotter. So I decided to go with a VAG 1,9 AEF engine, found in VW Polo, Golf, Audi and Skoda Felicia.
THE NEW ENGINE
I managed to find a really lowmilage 1,9 AEF diesel engine from a Skoda Felicia, year 2000. But it is not just to bolt this engine in the bus and drive, a lot of stuff need to be changed and parts from the 1,6 CS need to be re-used and modified. But its probably the easiest conversion you can choose, if your thinking of using a non standard engine in your VW T3 diesel bus.
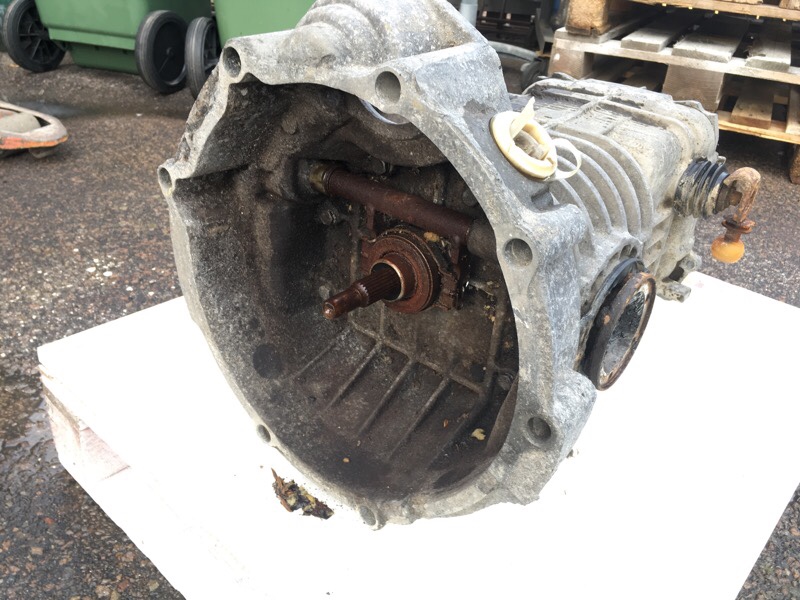
TRANSMISSION
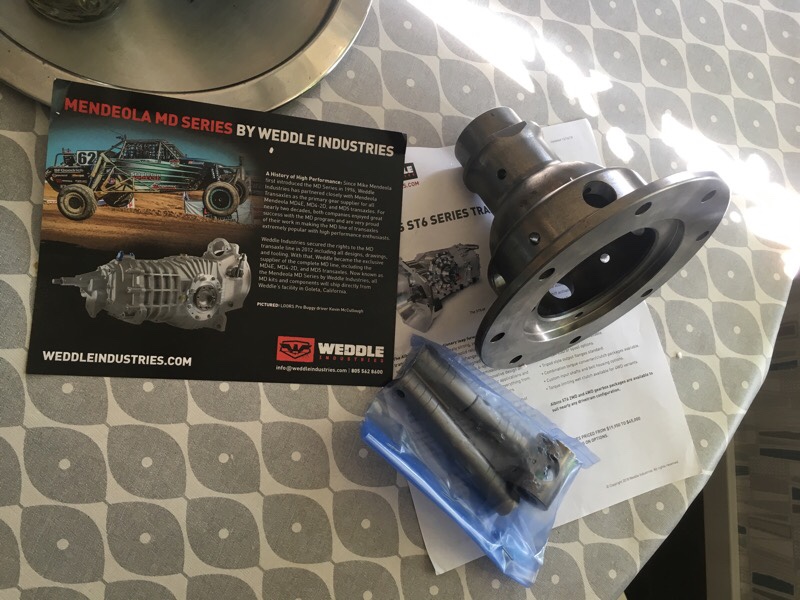
While the engine is out I will also take out the transmission. And make a check up, change shifter couplings, linkage bushings and gaskets. Upgrade driveshafts to stronger, Porsche. Upgrade the differential with a difflock from Weddle Ind. In a standard “open” differential, torque is divided equally between the wheels. If one wheel slips and spins, only a fraction of the torque is utilized. The difflock eliminates this problem. Power will always be delivered to the wheel with the most traction to keep you moving instead of getting stuck, up to 100%. Then it we can do some serious off-roading 🙂
More to come soon! #vwt3overland
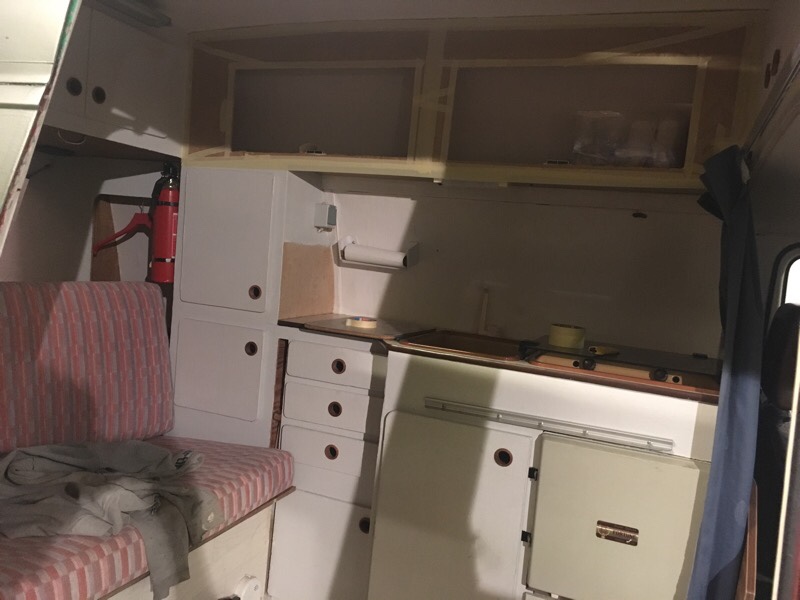
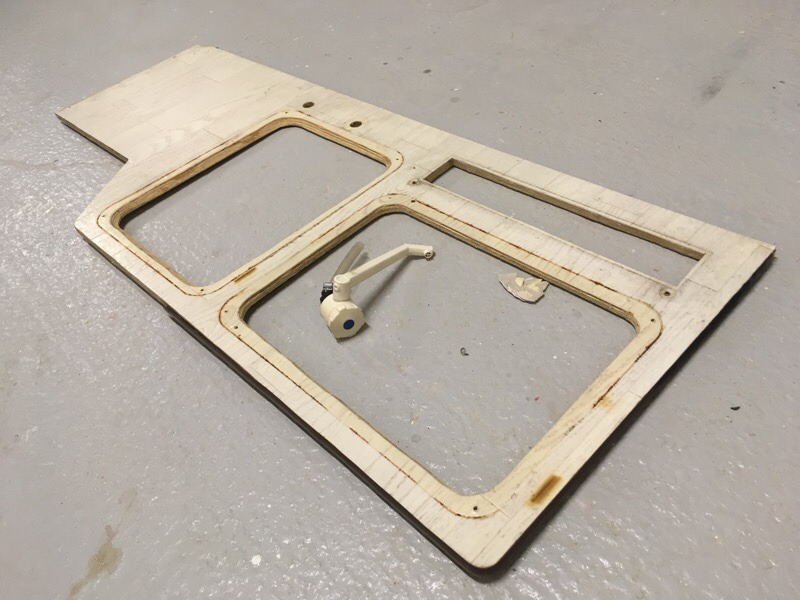
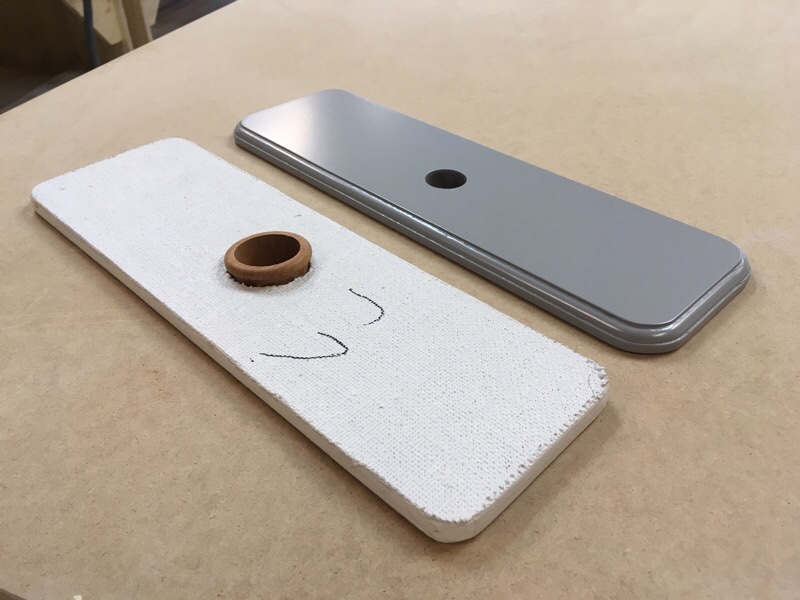
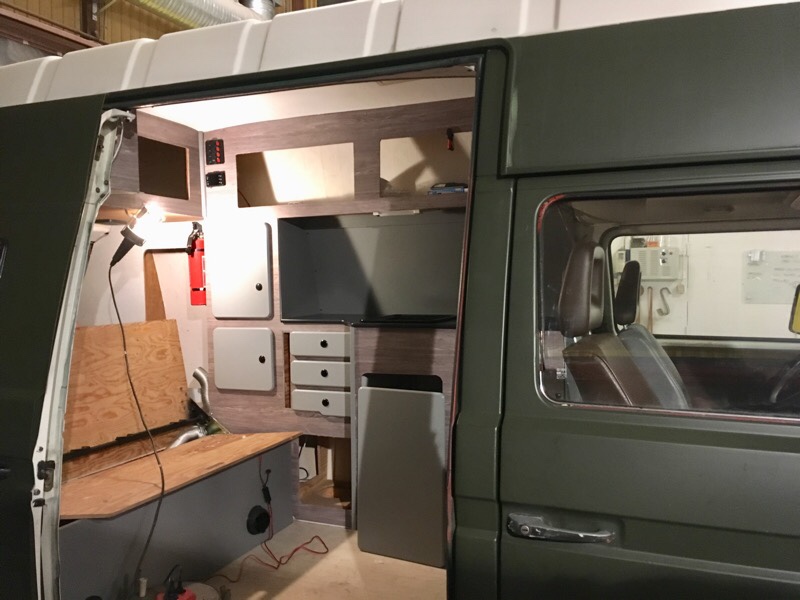
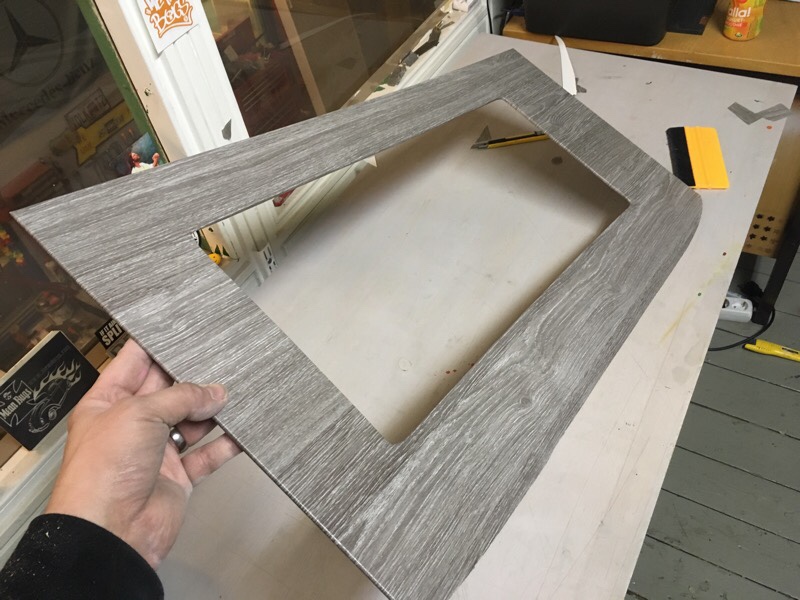
Have been working on the camping interior lately. The old interior was crappy and looked like shit, it had some structure wall weave/papper that hade been rolled with paint 10 times, the touch and feel was like a 40 grit sandpaper so it needed to go. But it was a good design/plan layout on the cabinets and storage. So I decided to keep the base of it and make a new outside finish on it in light grey oak vinyl.
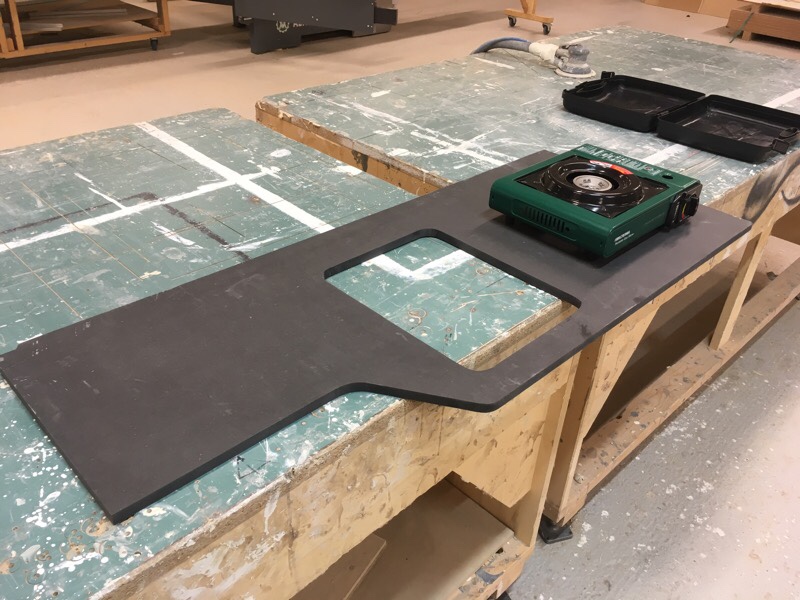
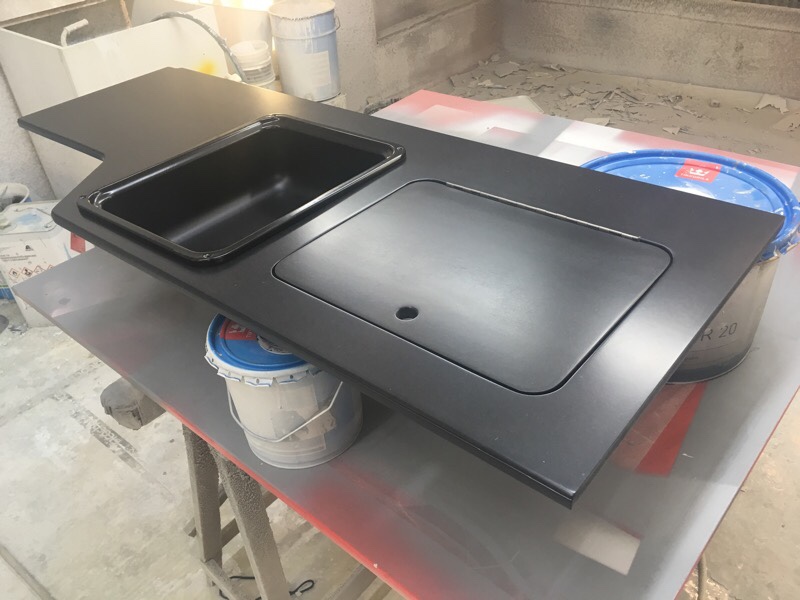
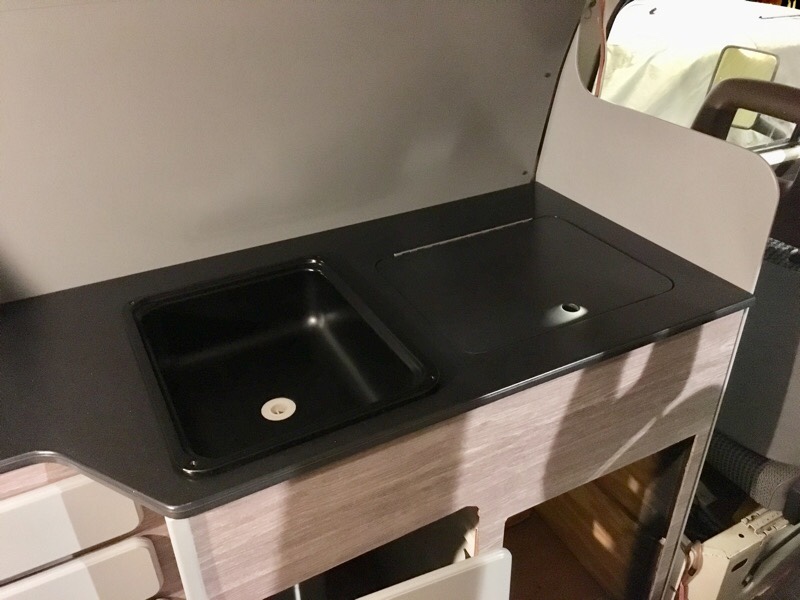
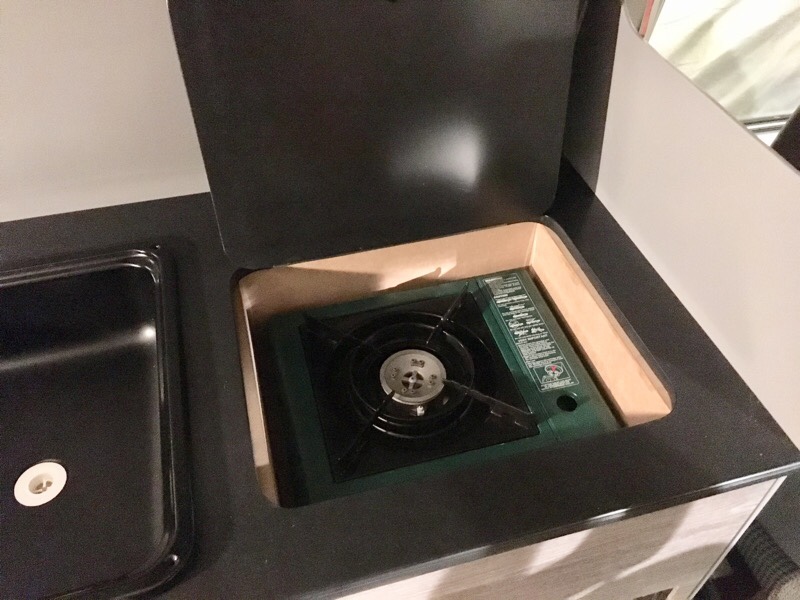
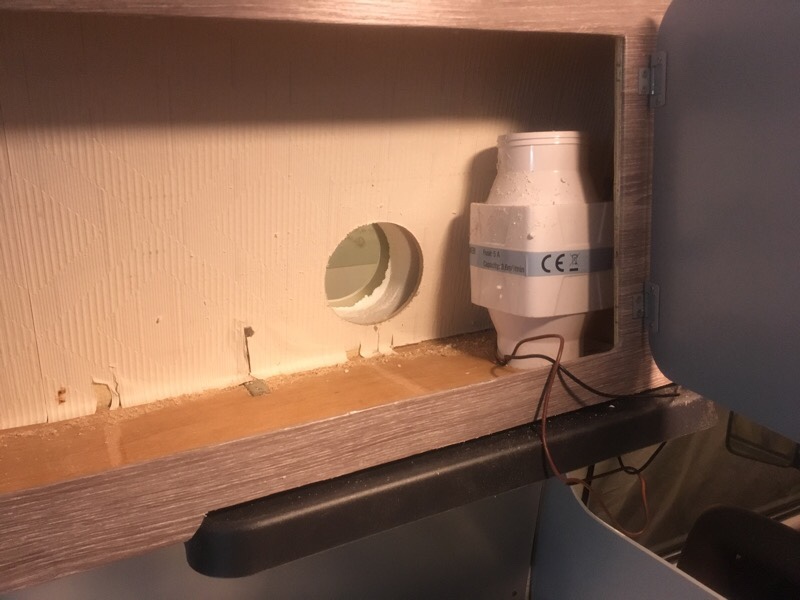
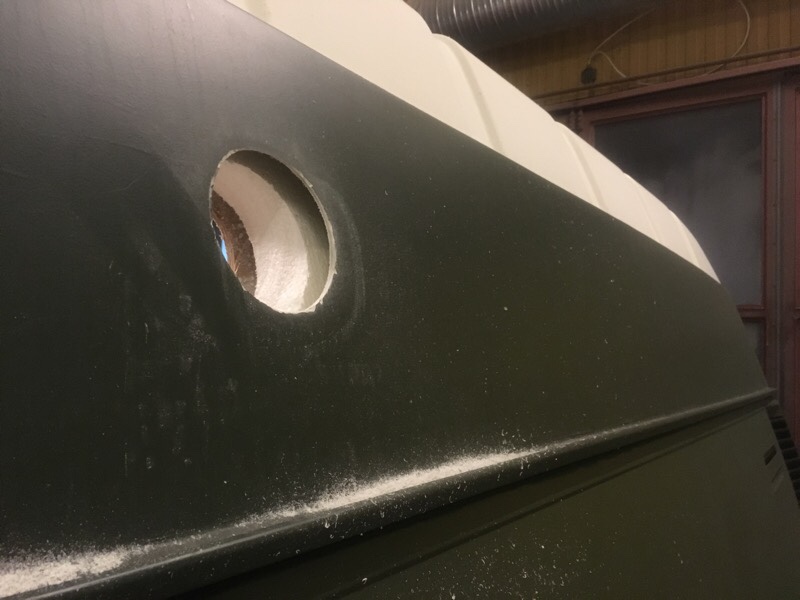
All cabinet doors was made new in 12mm Medium Density Fibreboard and painted in medium gloss grey with paintgun. Countertop was made new in black colored MDF with semi-gloss clear coat, now with space for a portable kitchen / stove. Above the stove space I made a 12v kitchenfan with outlet, the fan is moving 3,8 squaremeters of air per minute so now you can make bacon with closed doors without smoke/smelling anything 😉
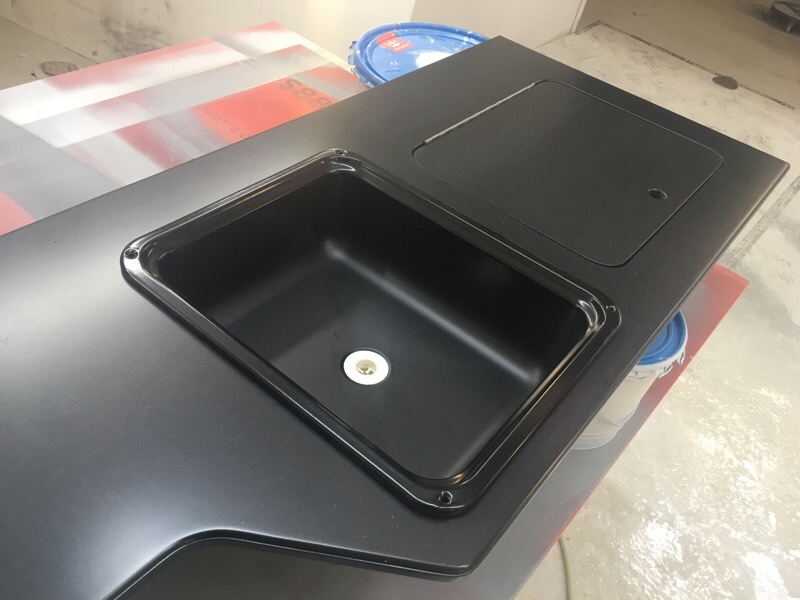
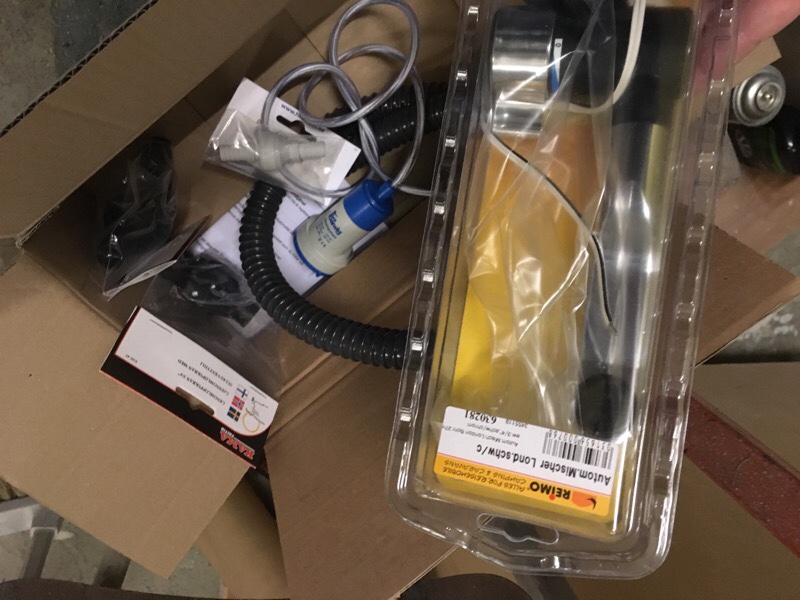
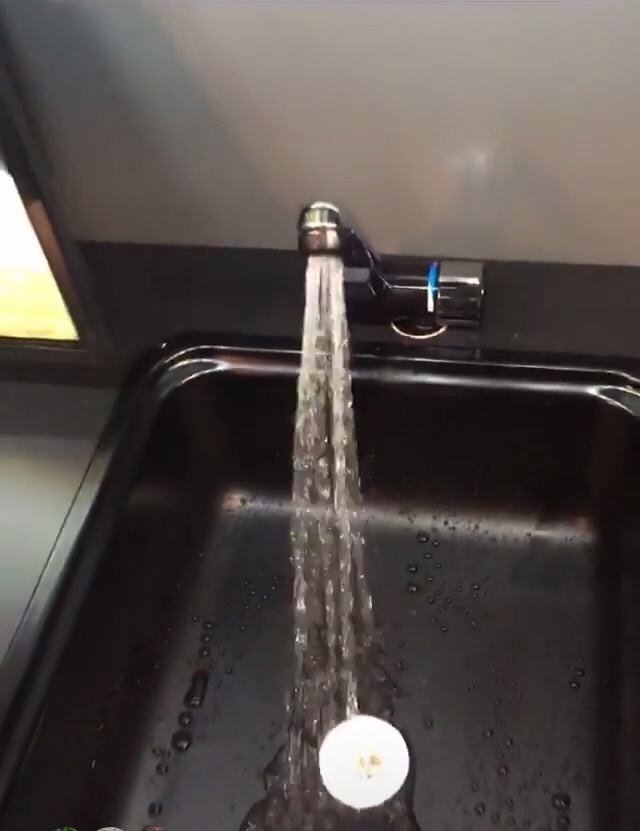
All the old gas equipment was removed, and the old fridge was replaced with a modern 12v Waeco 48L fridge with freezer. A new black sink and a new Reimo water tap was mounted. And all new waterlines, pump and 20L freshwatertank. Before the water ran straight out on the ground, now it goes into a 10L tank first, with a valve so the water can be emptyed. This is good of you are using water when you are on a parkinglot, ferry or on a big camping with neighbors.
Part 2 is coming on Tuesday…
#vwt3overland


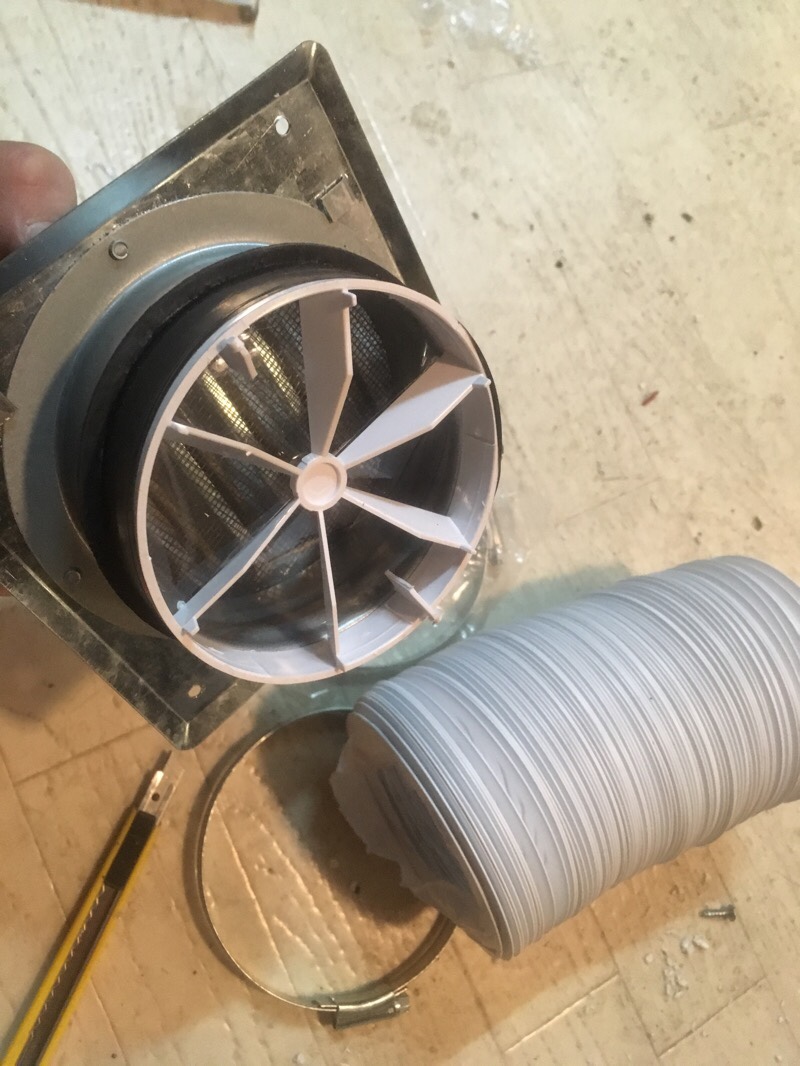
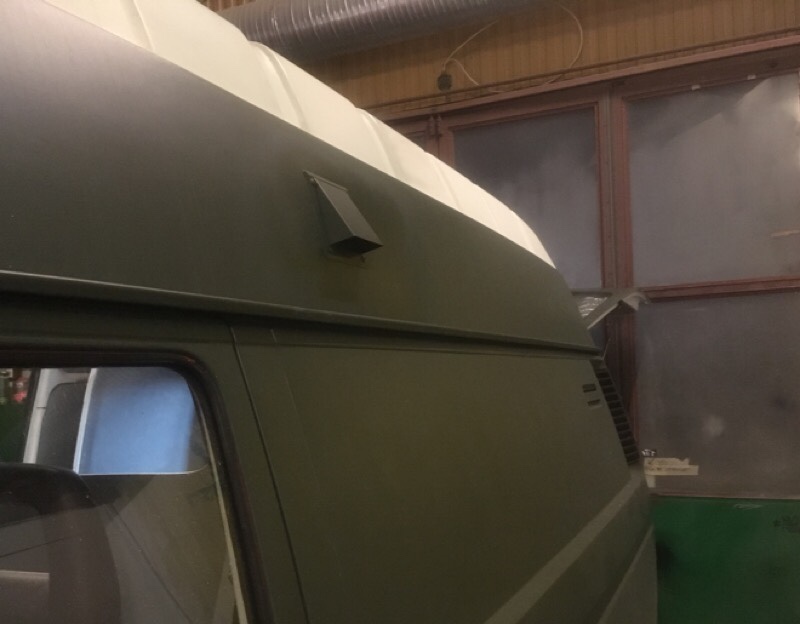
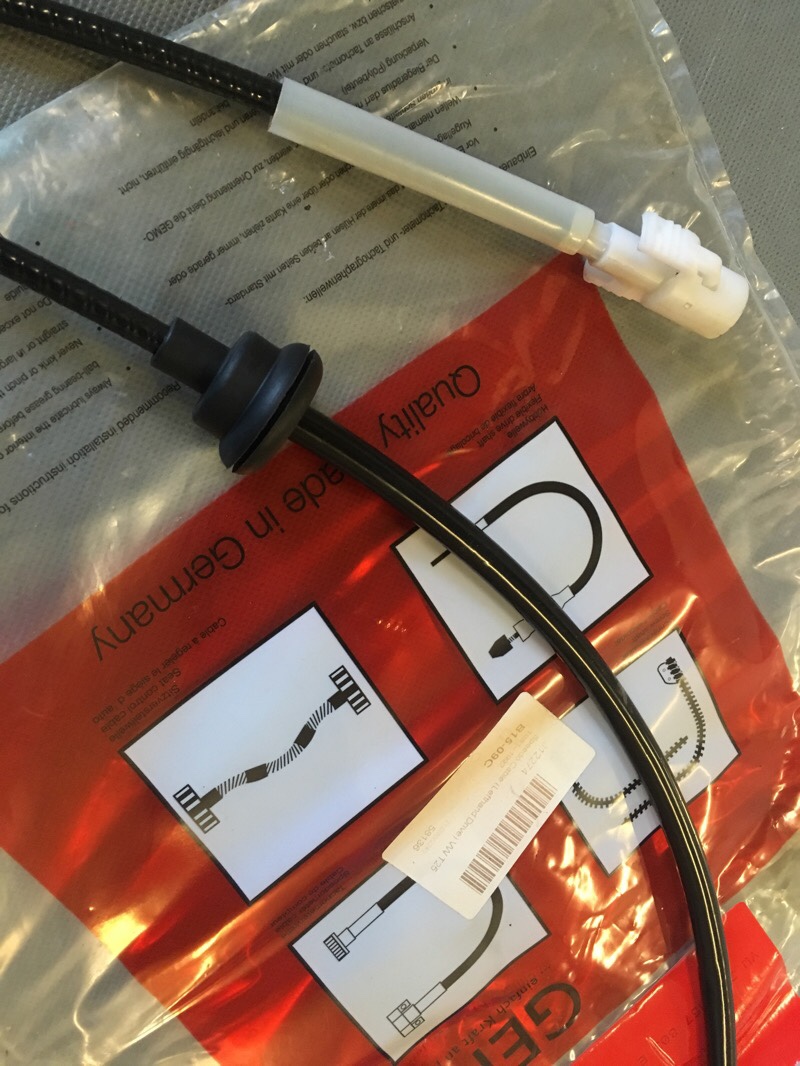
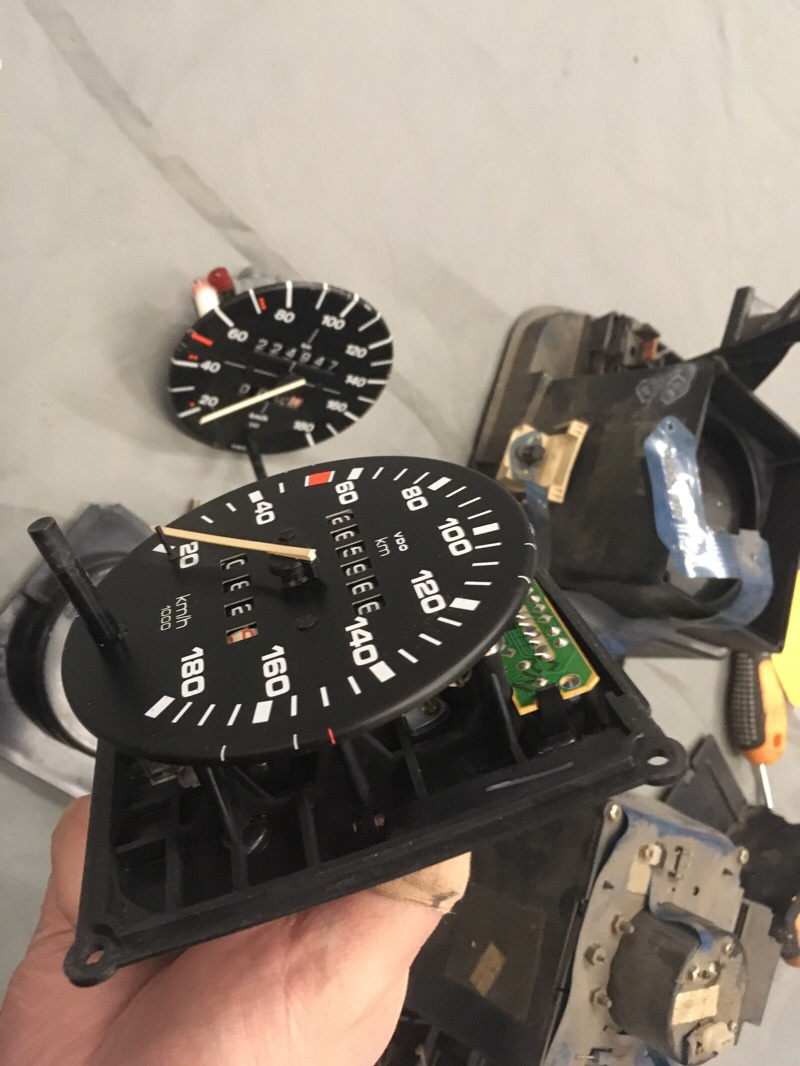
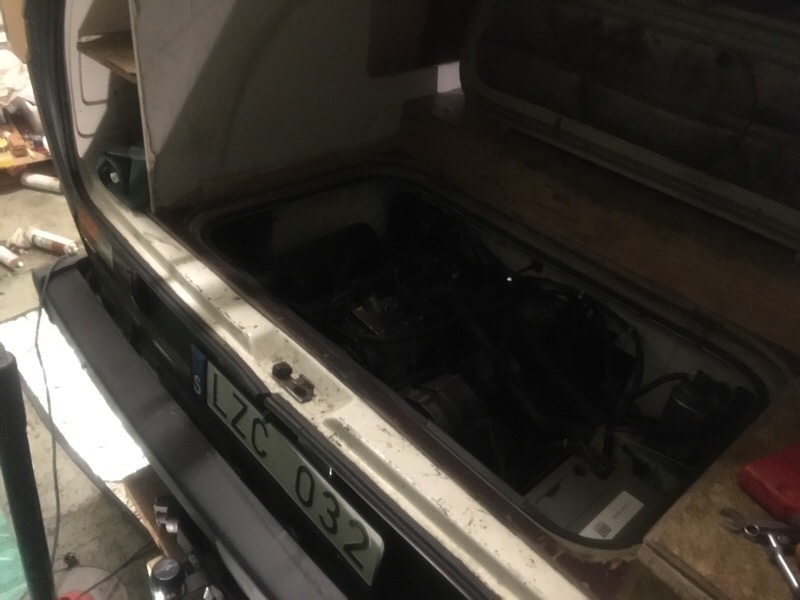
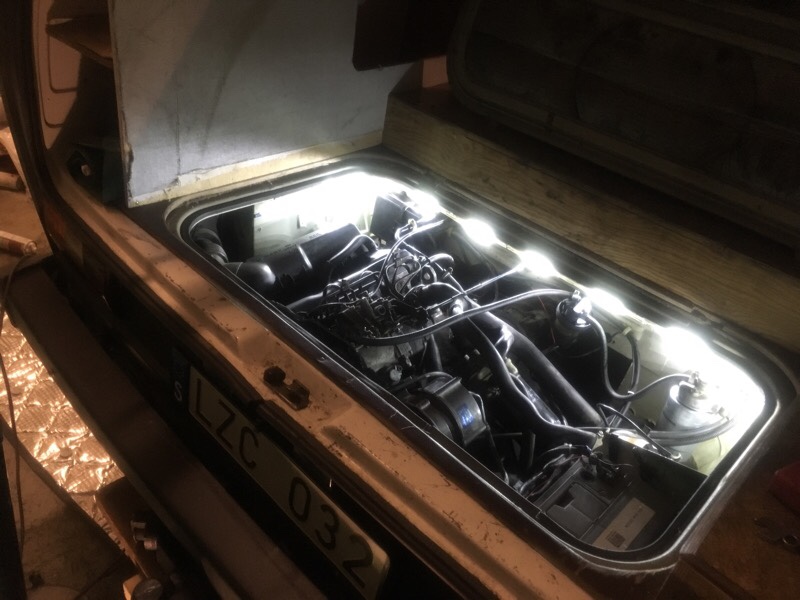
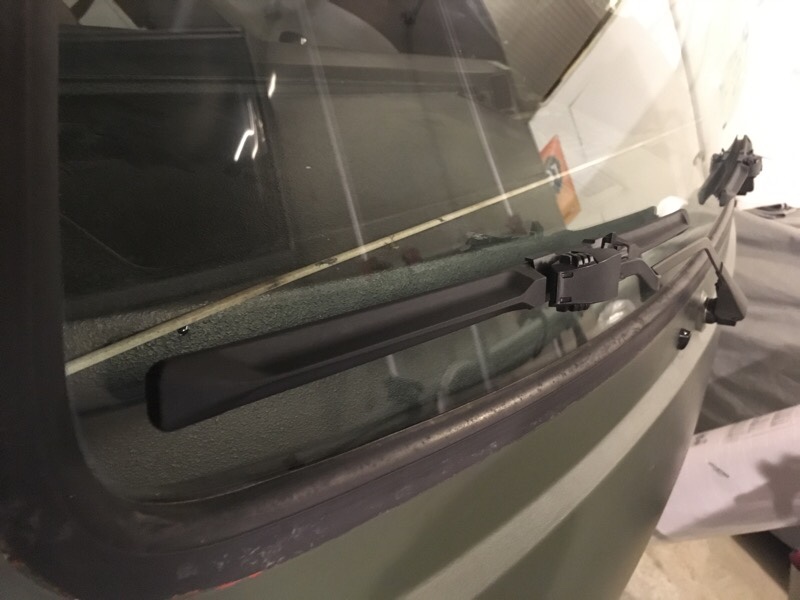
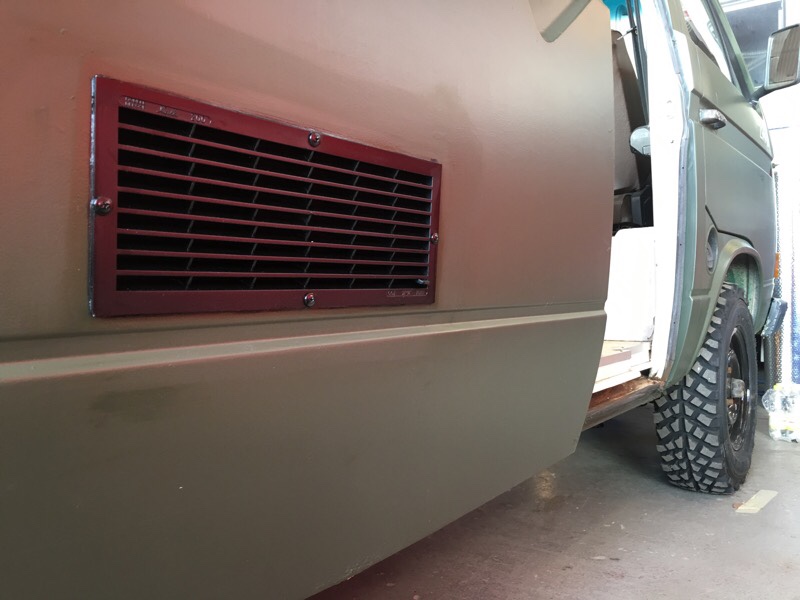
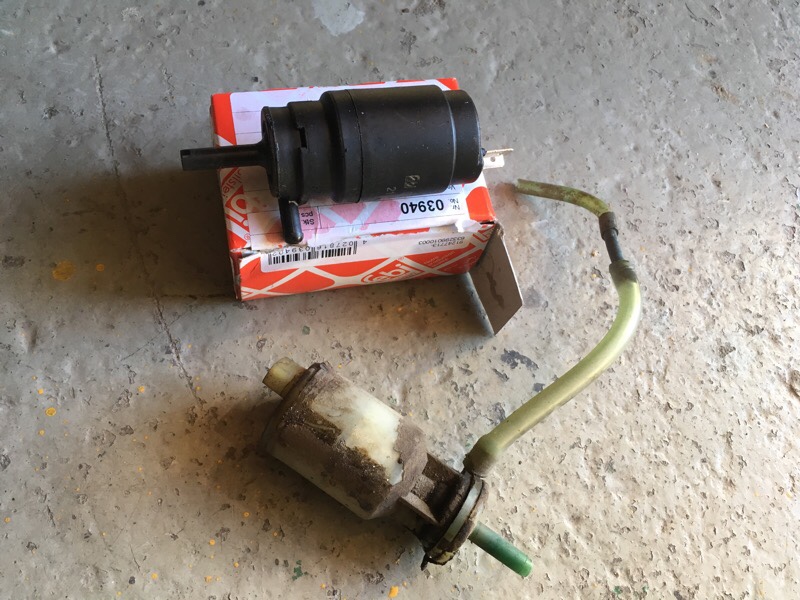
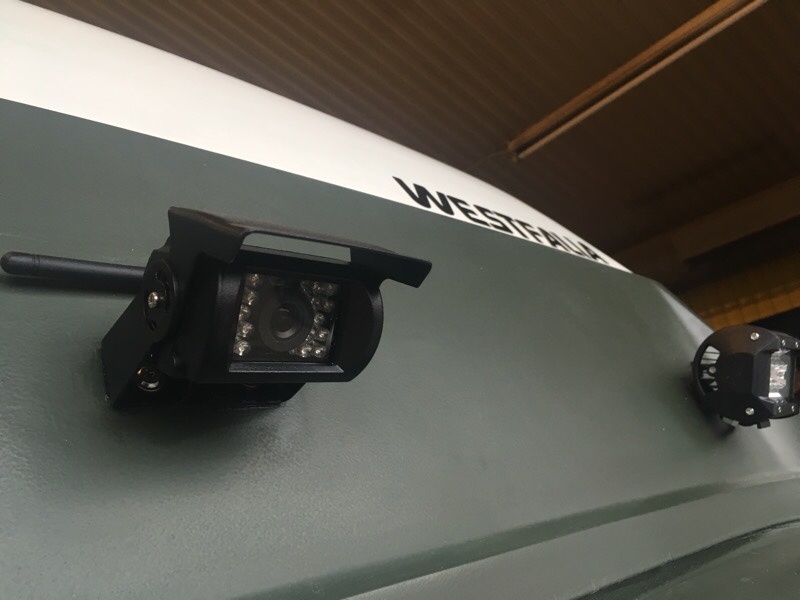
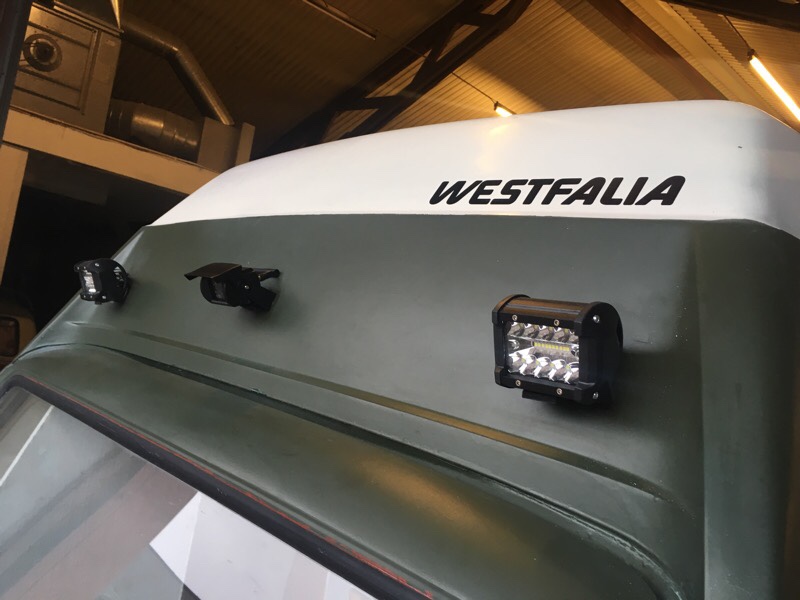
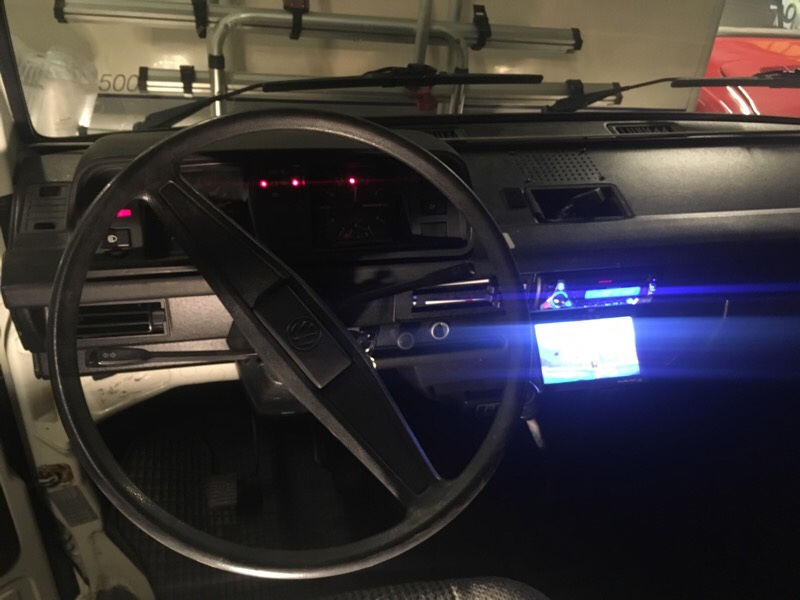
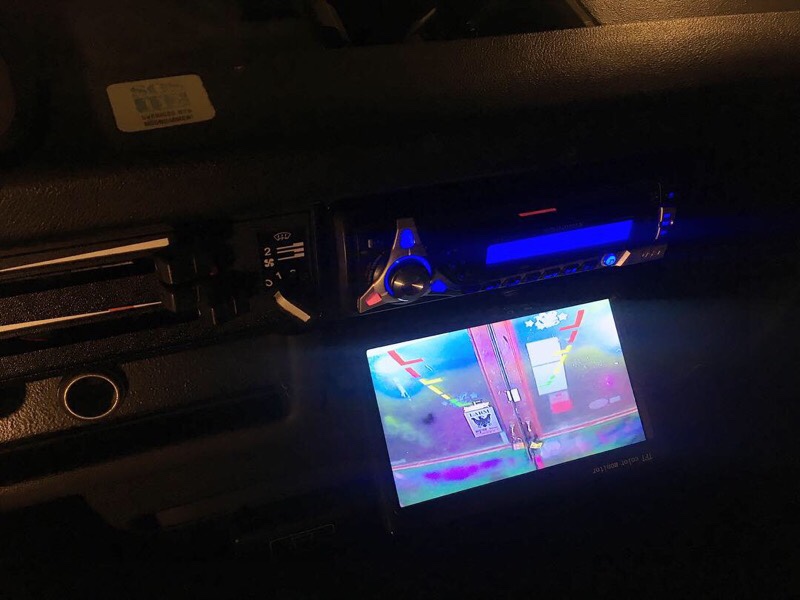
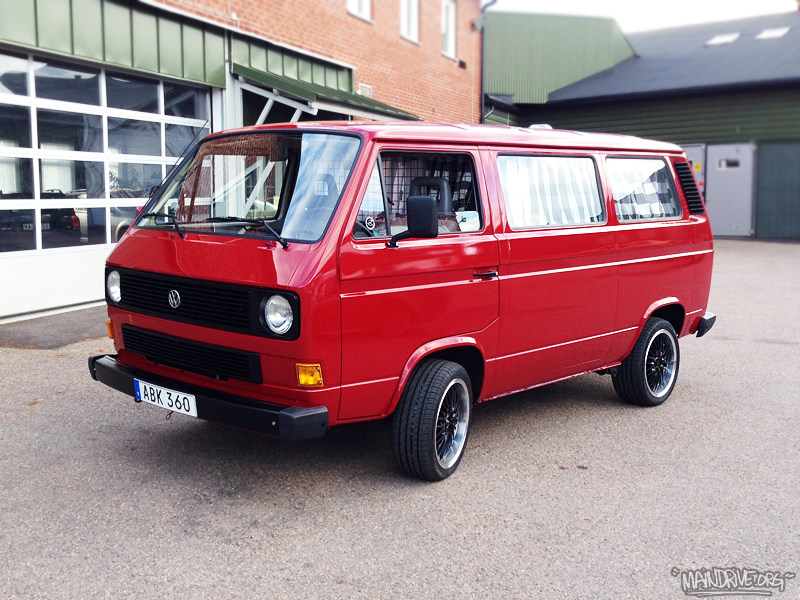
New speedometer and cable have been fitted, the needle on the old one was stuck! Added LED light diods to the rear engine bay, you cant have to much light when wrenching in that tight dark engine compartment, specially after the road. New modern wipers installed, and a new ventilation cover for the slidingdoor, painted in black. The old washerpump was junk so a new was added. Rear view / back up camera is now all done and is a great thing to have on a bus! More updates coming! It’s now ready for safetyinspection / MoT. Hope it goes well…
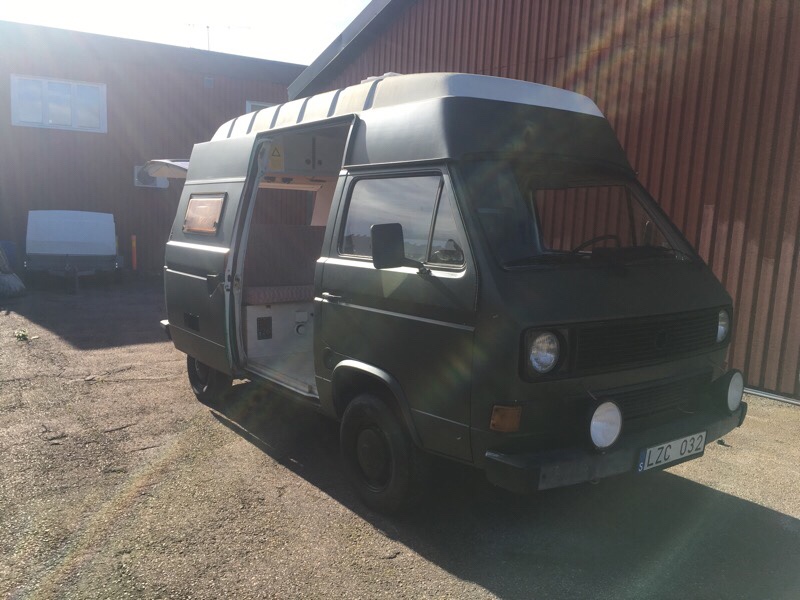
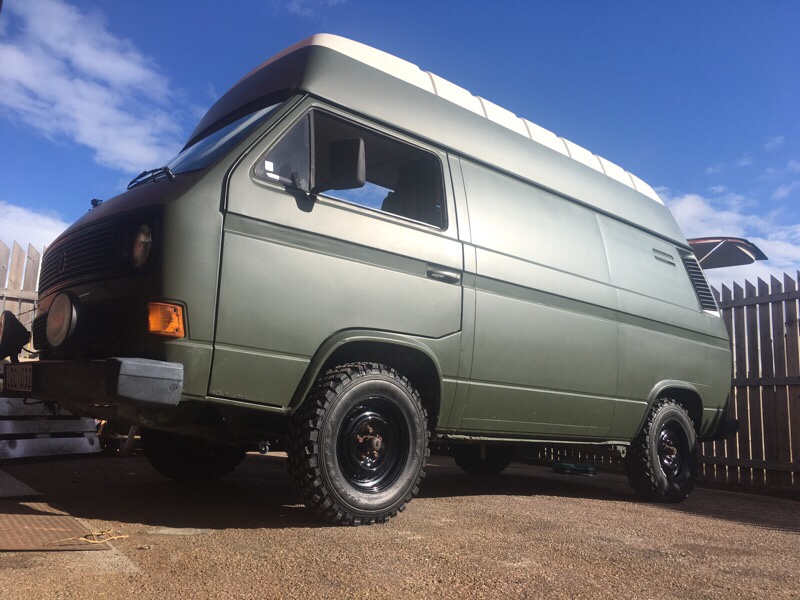
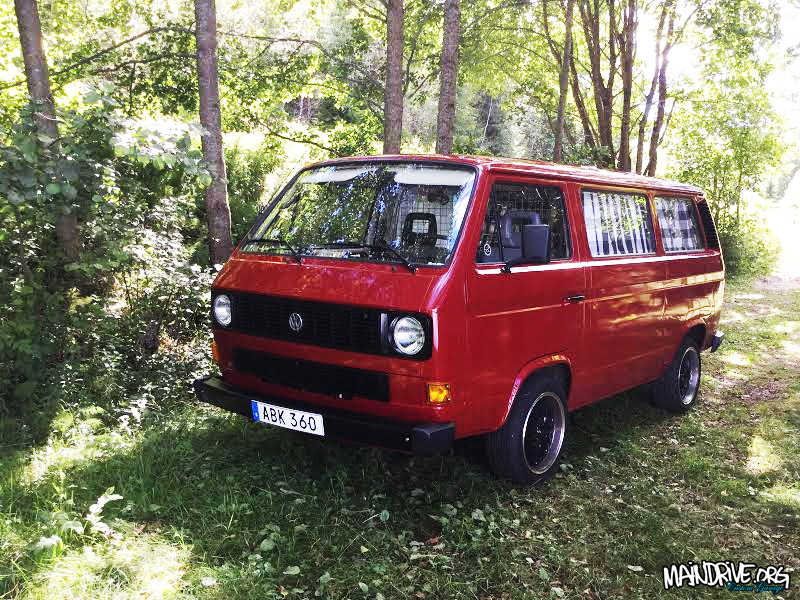
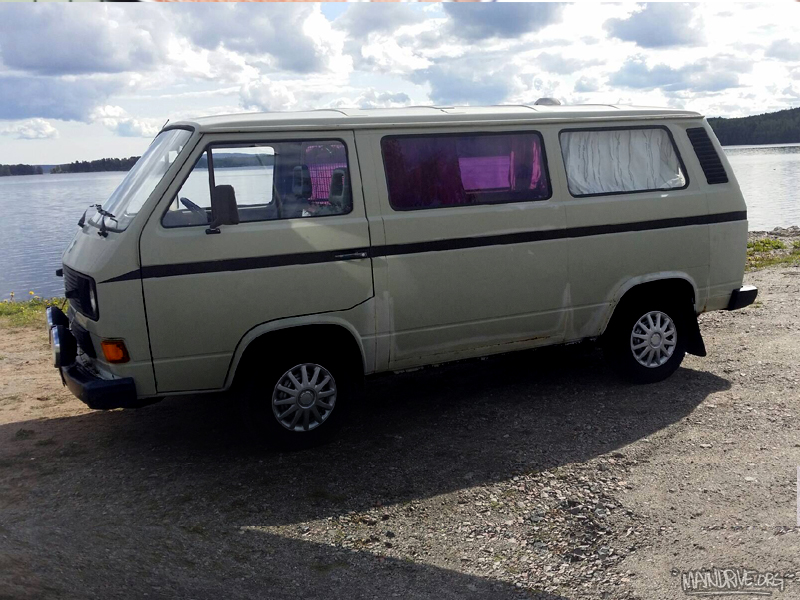
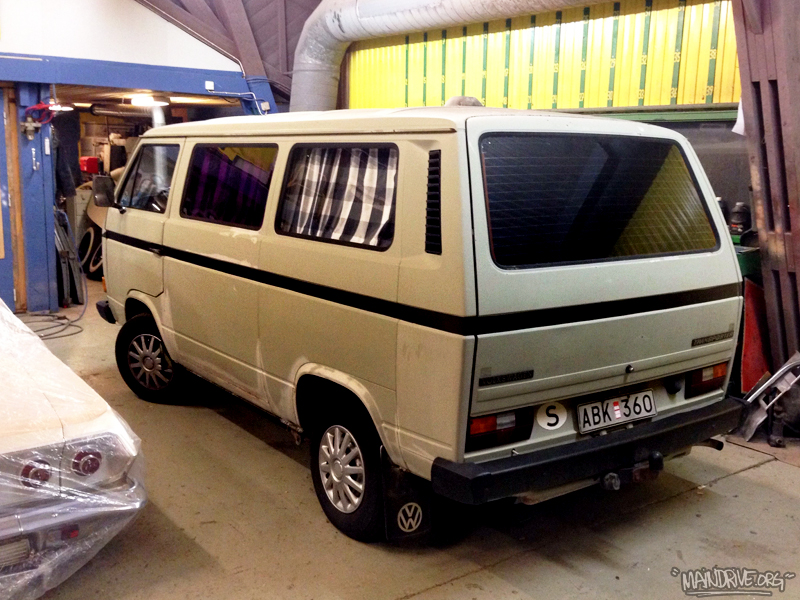
Another generation to the collection, at the moment I now have T1, T2 and T3 buses. This one is going to be the offroad bus and for autumn/winter camping/expeditions 🙂
It’s a 1983 Transporter with 1,6 Diesel and 4-speed transmission. It has a ugly camping interior already fitted that will get a refresh/restoration. A Webasto/Planar diesel heater with thermostat will be installed to the interior in future, so you can stay warm on the winter. New 12v fridge will be installed and the gas stove will be replaced with a new small portable gas bottle one.
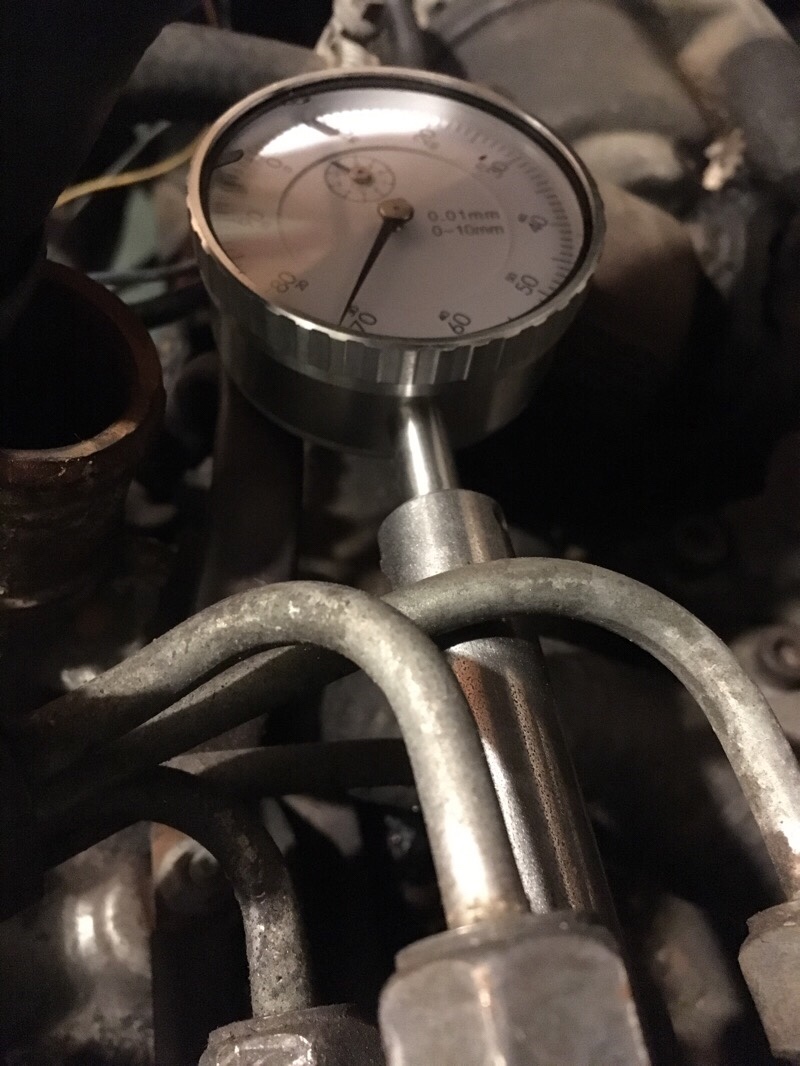
The goal is to have it pass the MoT / Safety Inspection before the winter comes. The engine starts but is not running very well. It has a new cam, timingbelt, waterpump at the moment. Going to align the timing belt better because it squeaks at lower RPM right now. Also the diesel pump is needing adjustment with special VW TOOL 2066.
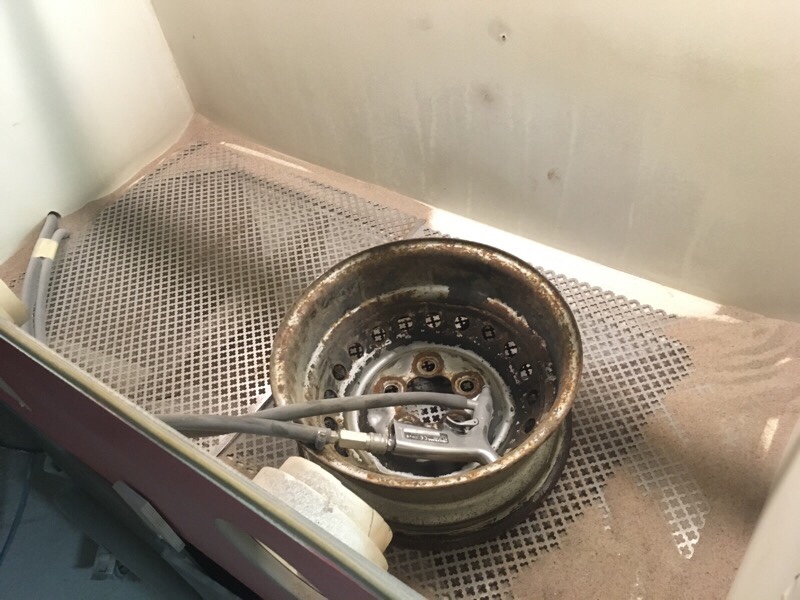
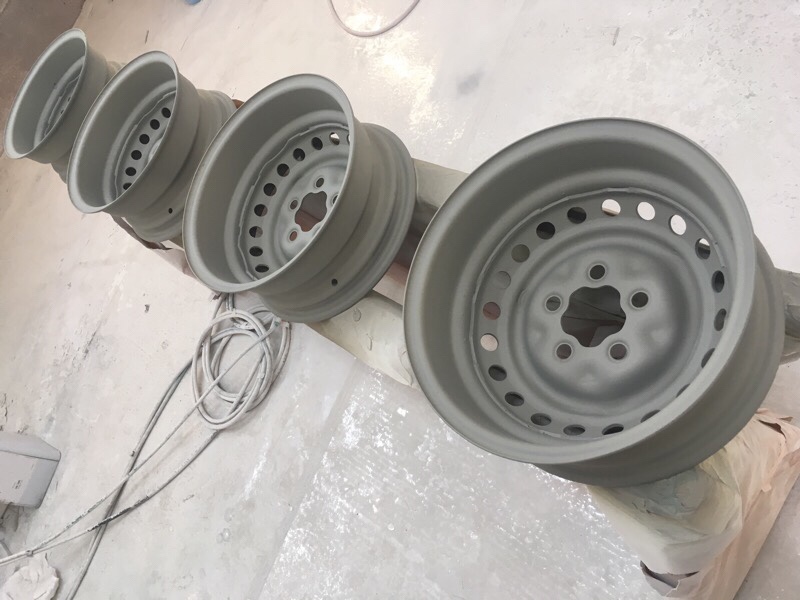
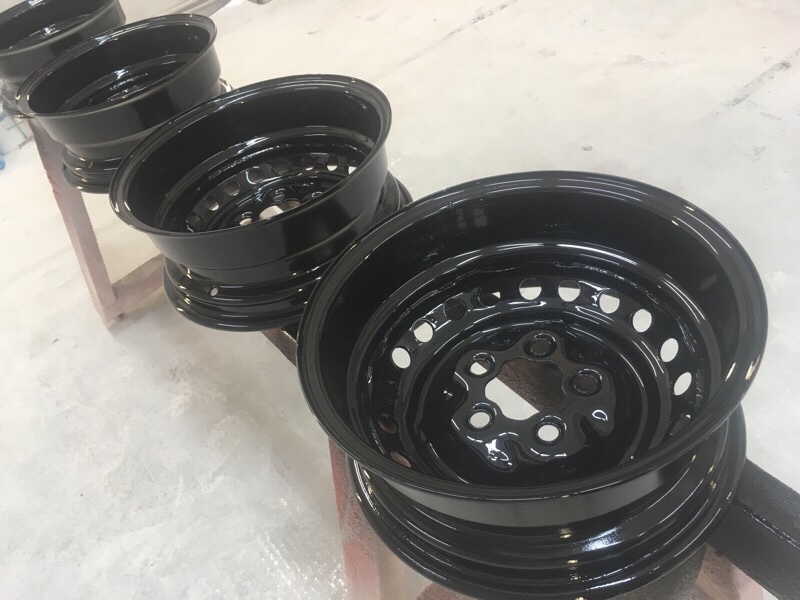
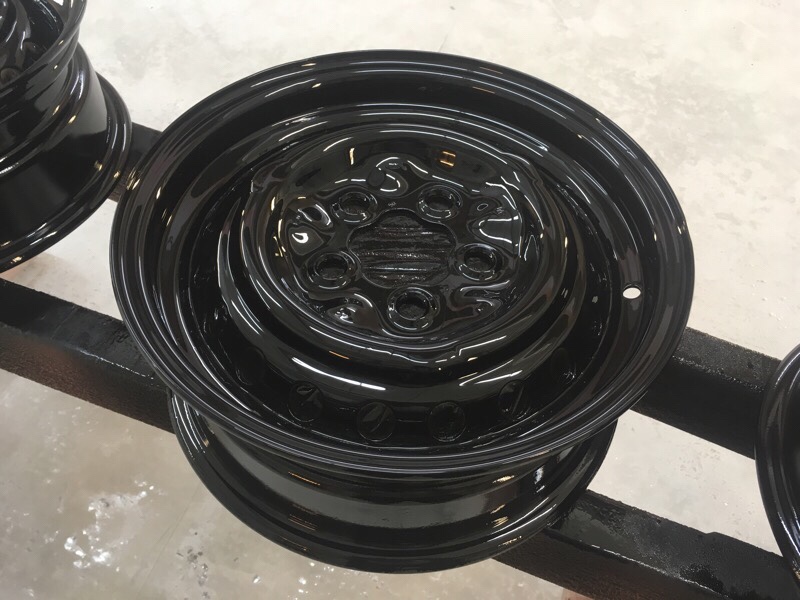
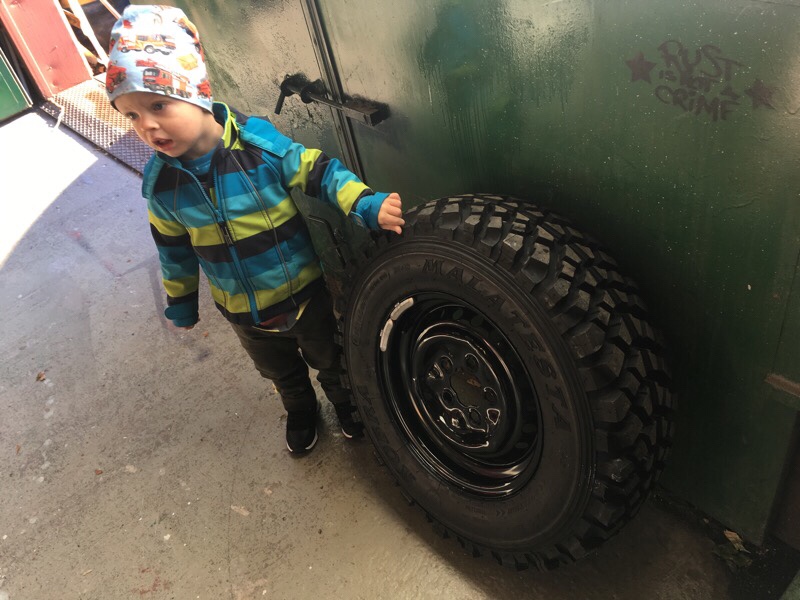
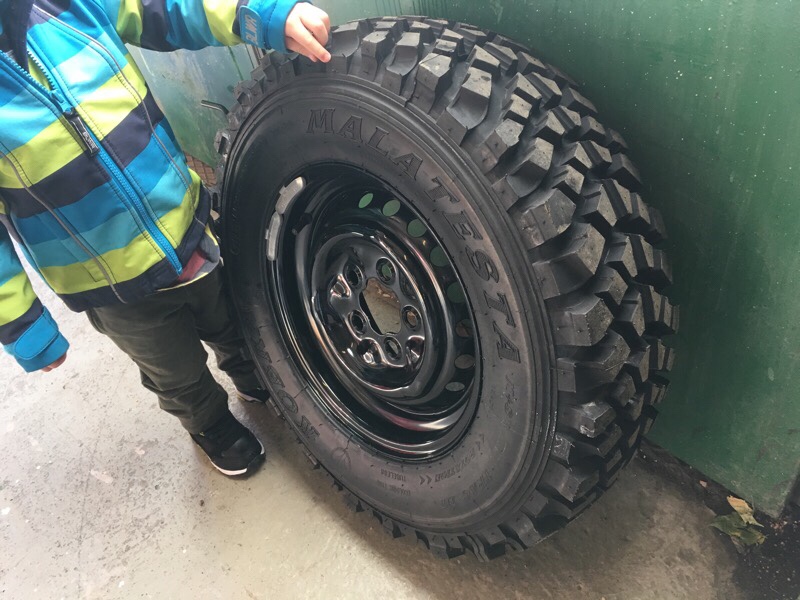
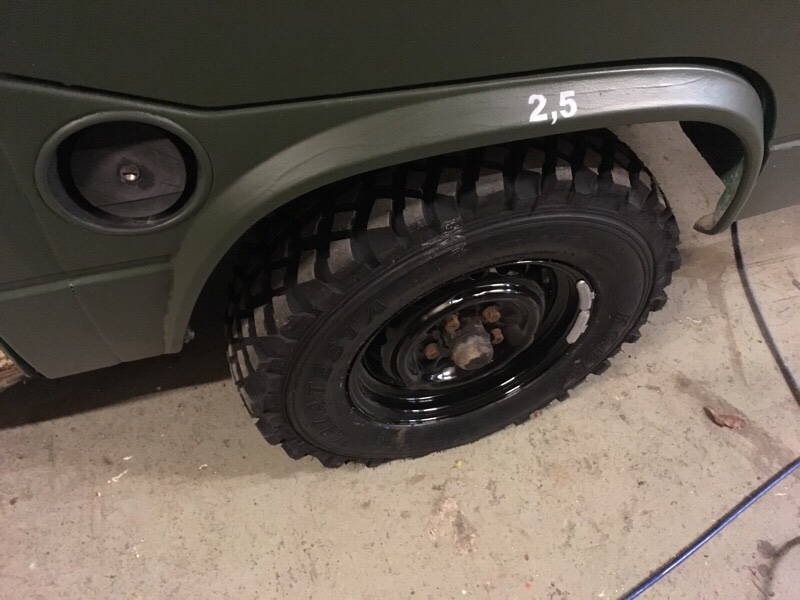
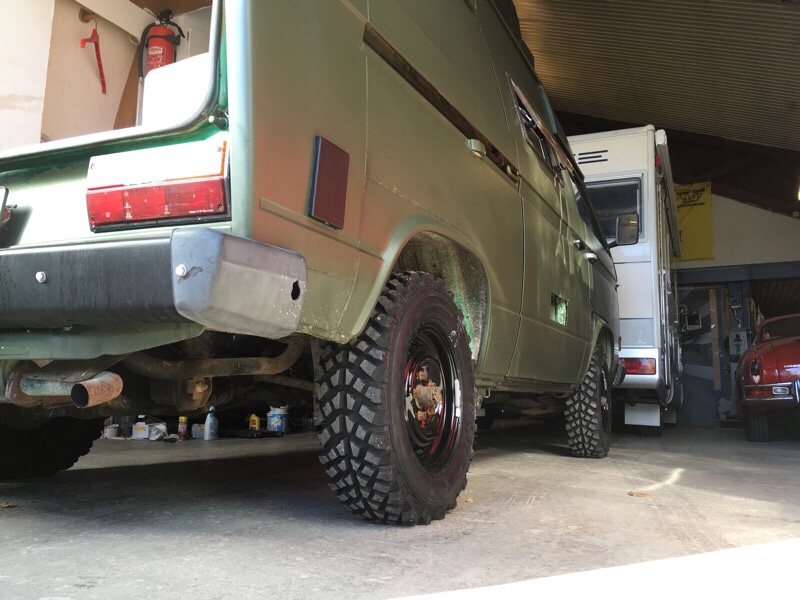
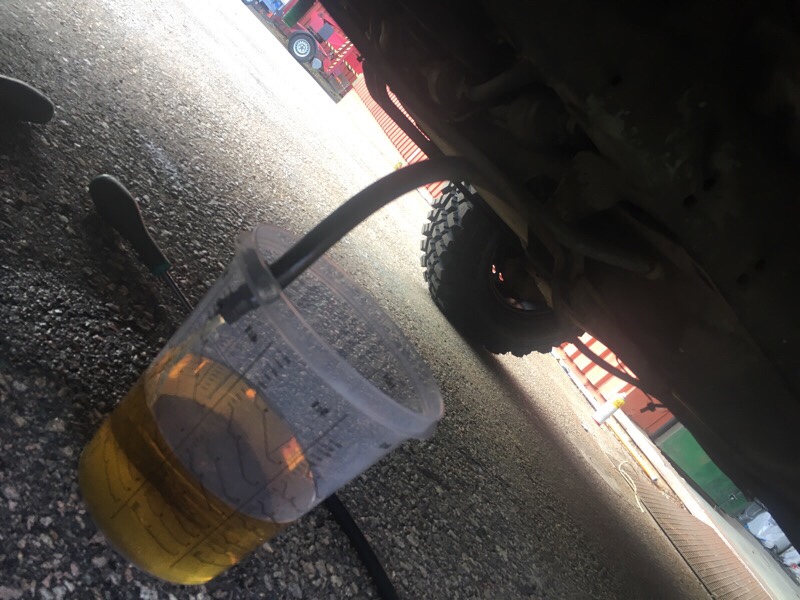
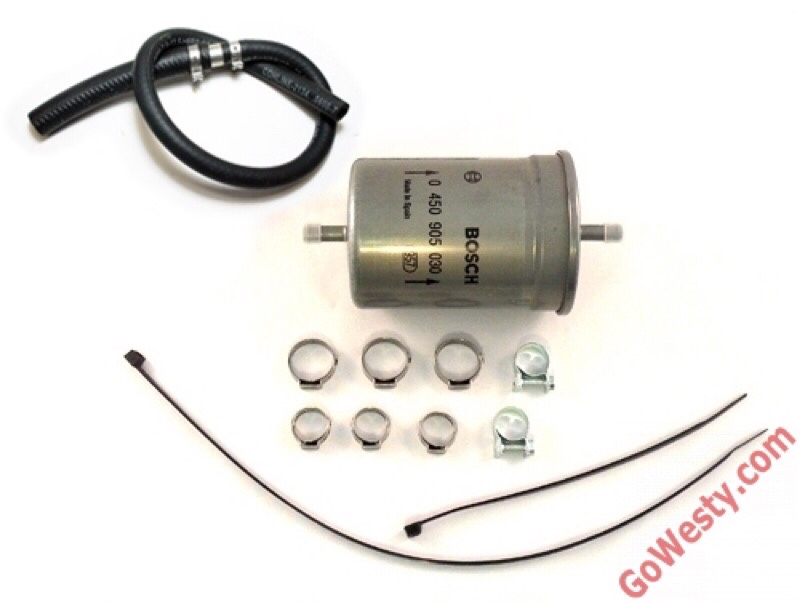
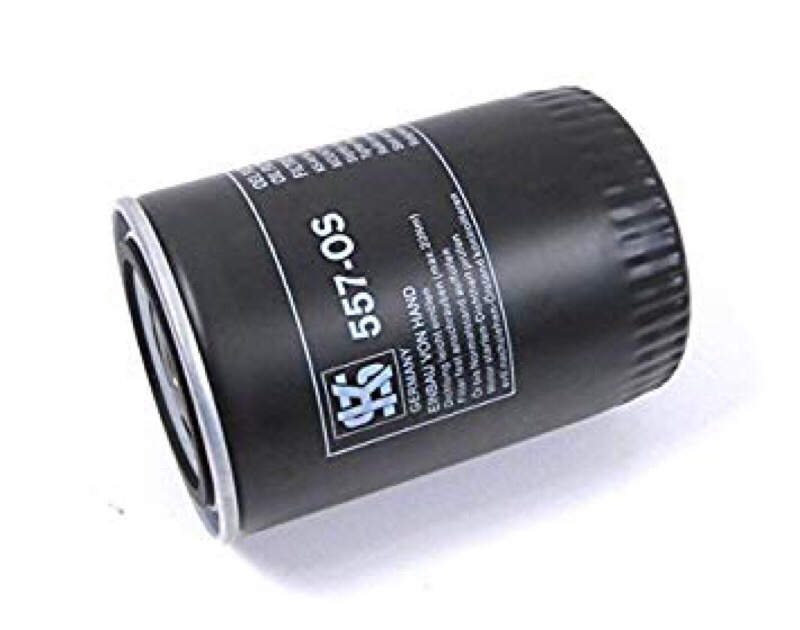
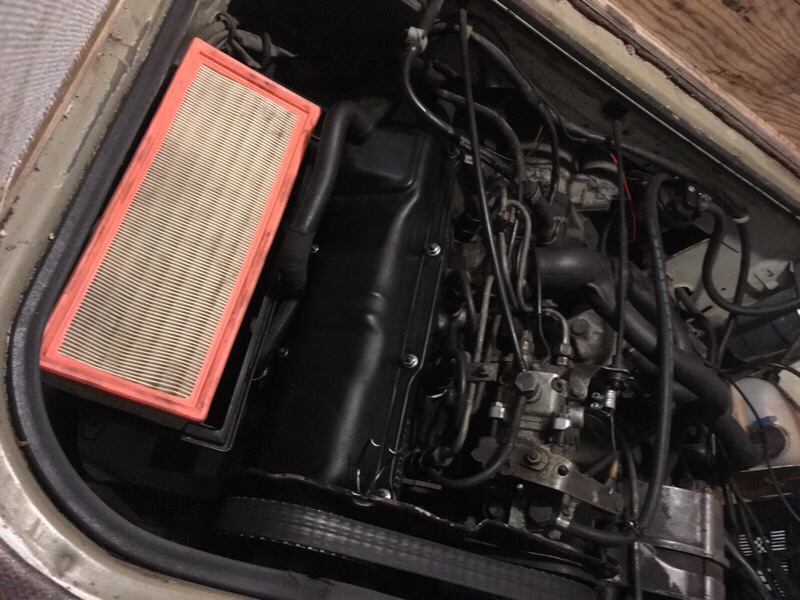
Some meaty offroad tires (Malatesta Kobra) have been fitted on stock VW 14″ steel wheels, that was sandblasted and painted. Looks badass now! The diesel tank have been drained on old diesel and a new fuel filter fitted. Also added some anti-bacteria and injectioncleaner to new diesel. New oil (15w-40 mineral) and filter in the engine too. New air cleaner filter added. Injection pump adjusted with micrometer (vw2066) up to 00,95, before was only 00,81. Engine now runs much smoother but need to align the timingbelt before any real test drive can be done. More too come soon… 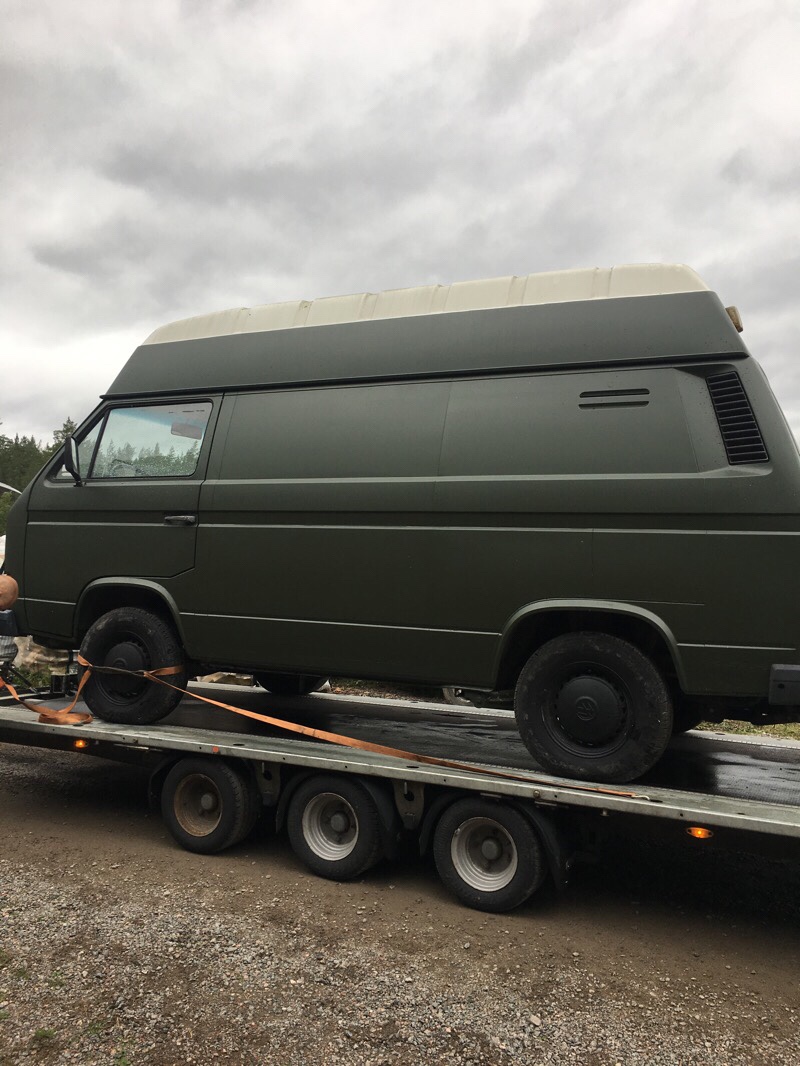


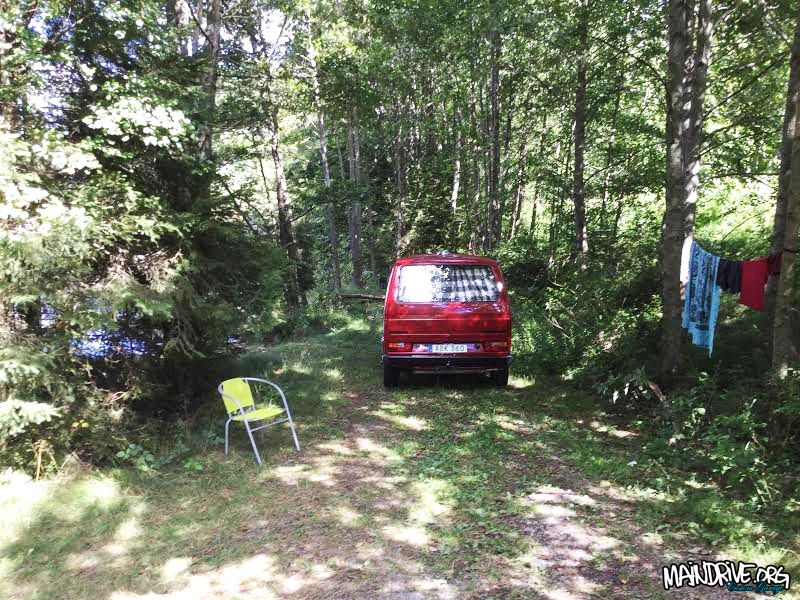
Some pics from this summer.
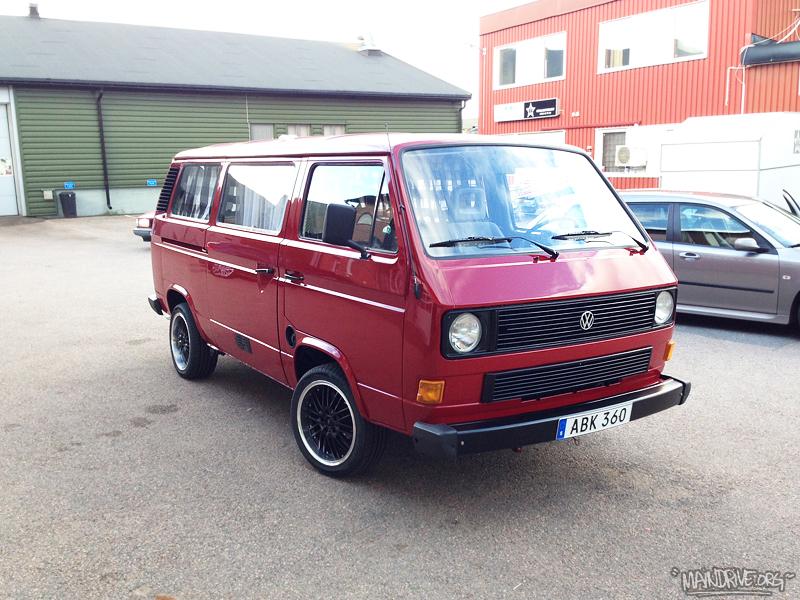
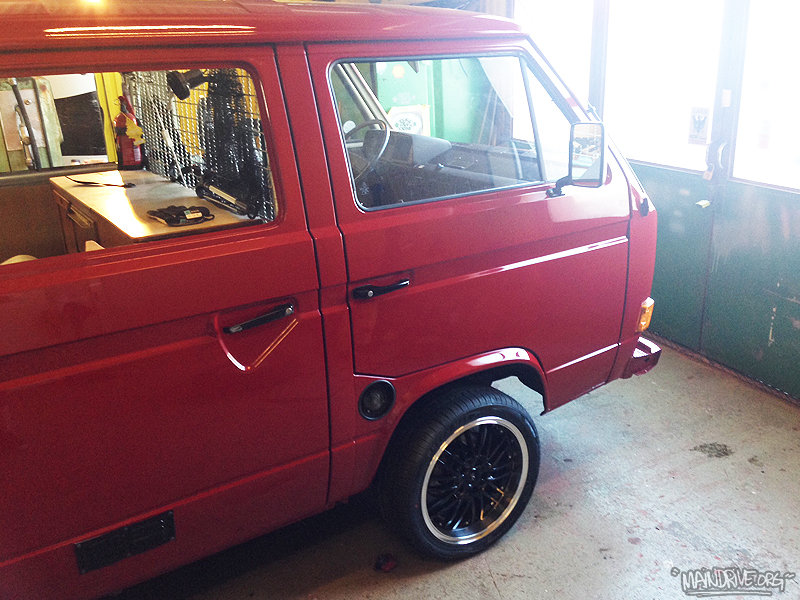
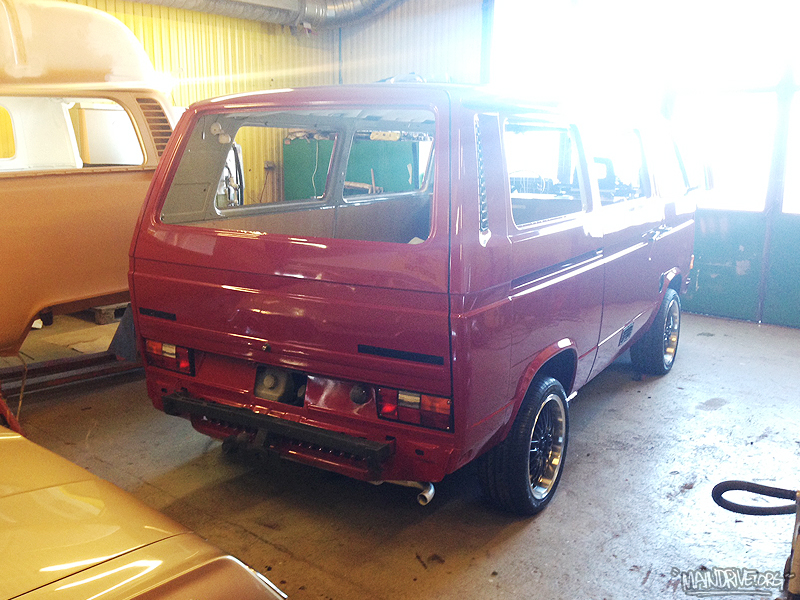
Bennys VW T3 bus finally finished. Here is some BEFORE and AFTER pics. 🙂
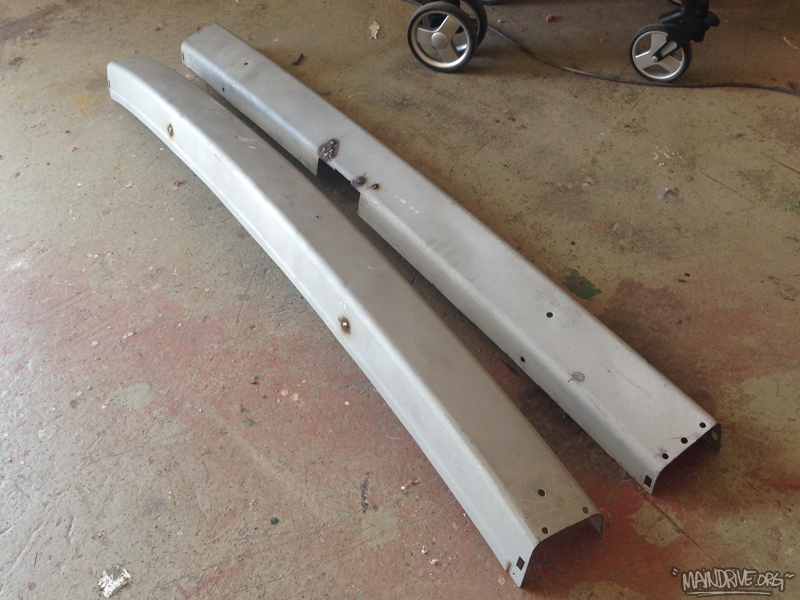
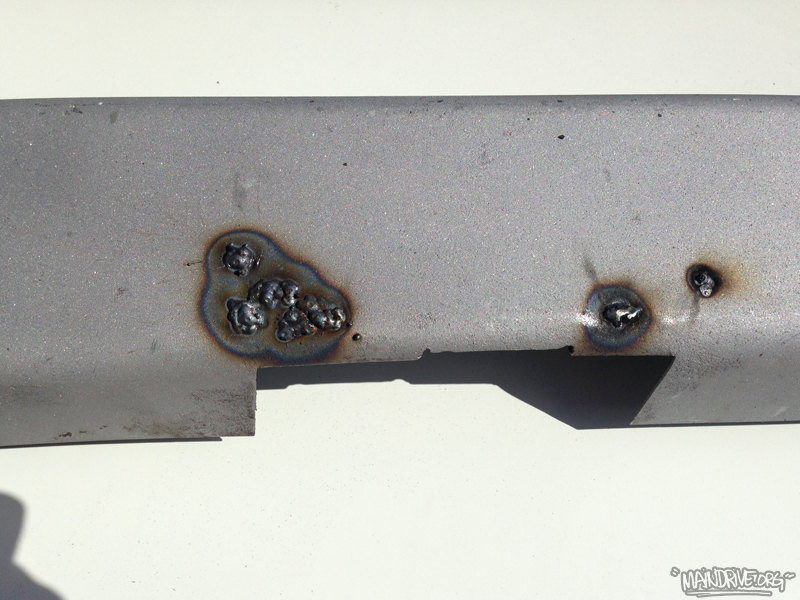
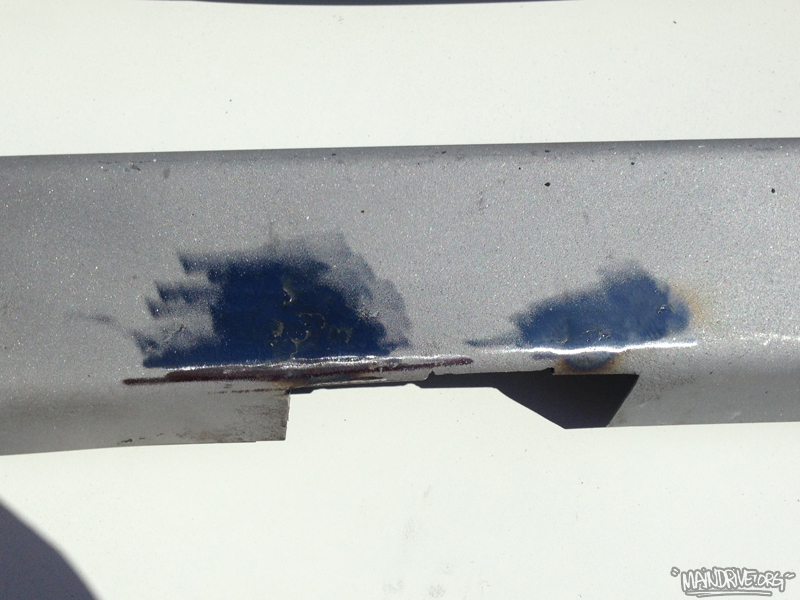
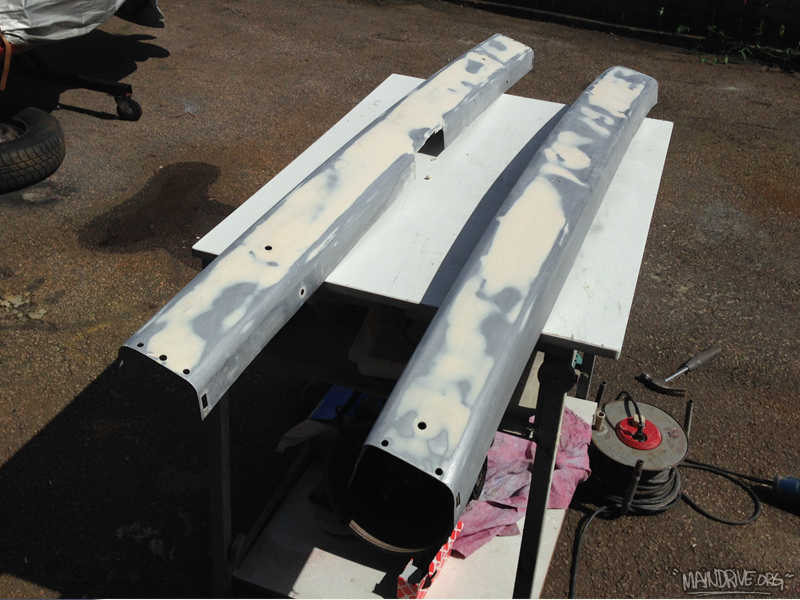
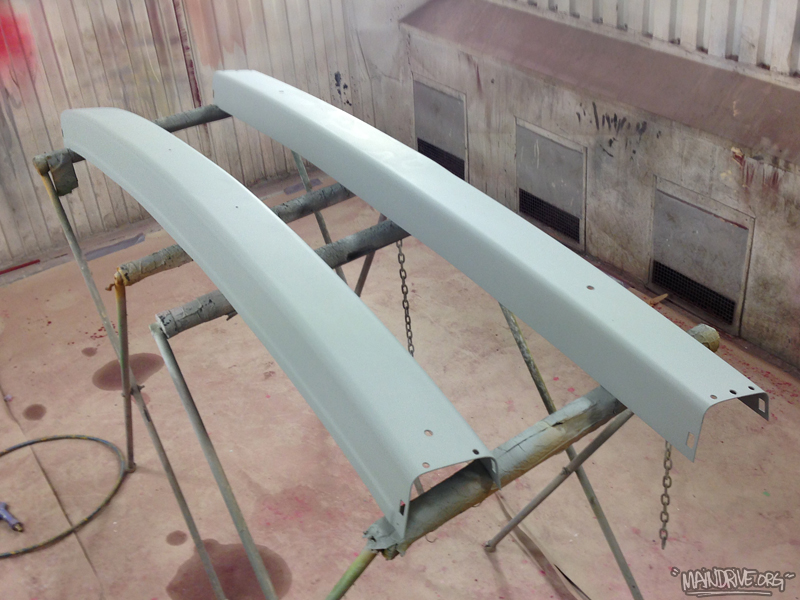
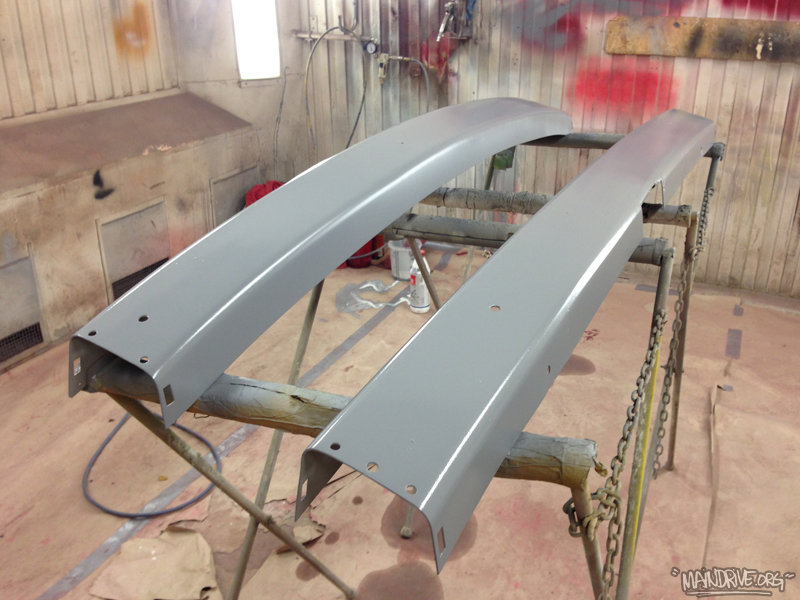
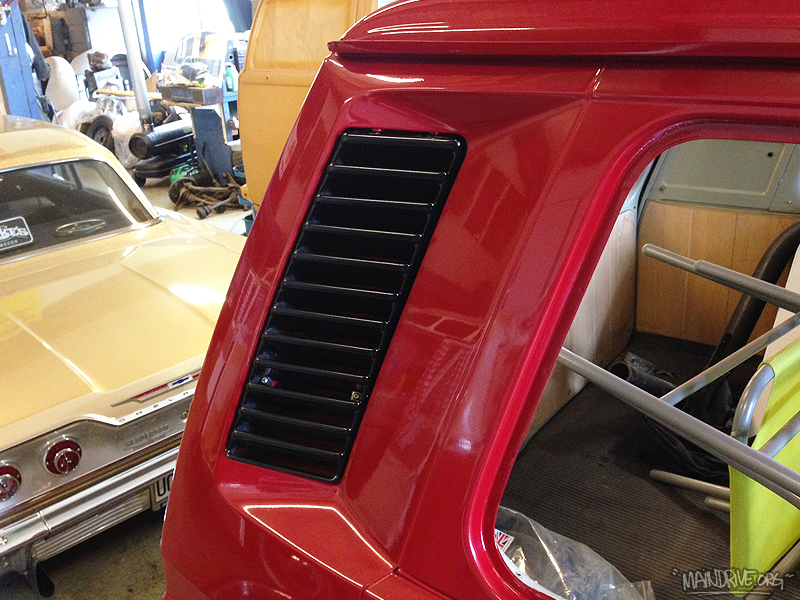
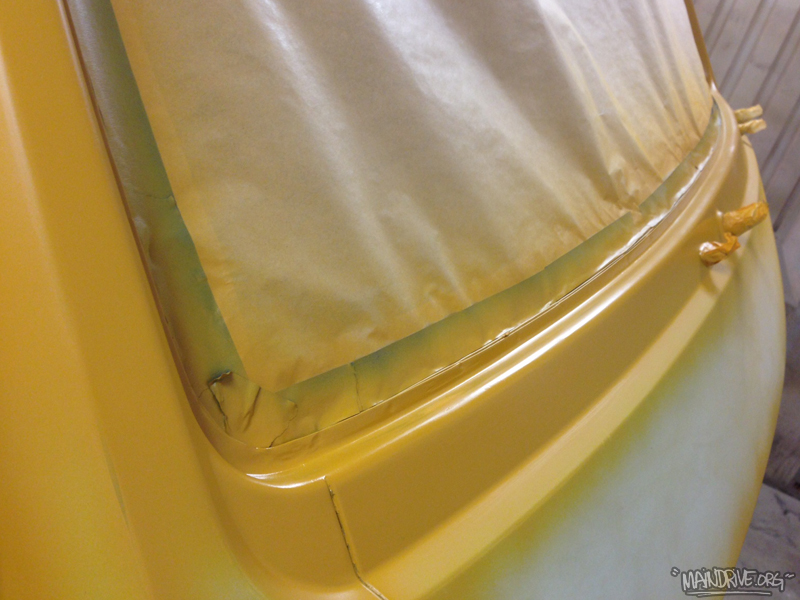
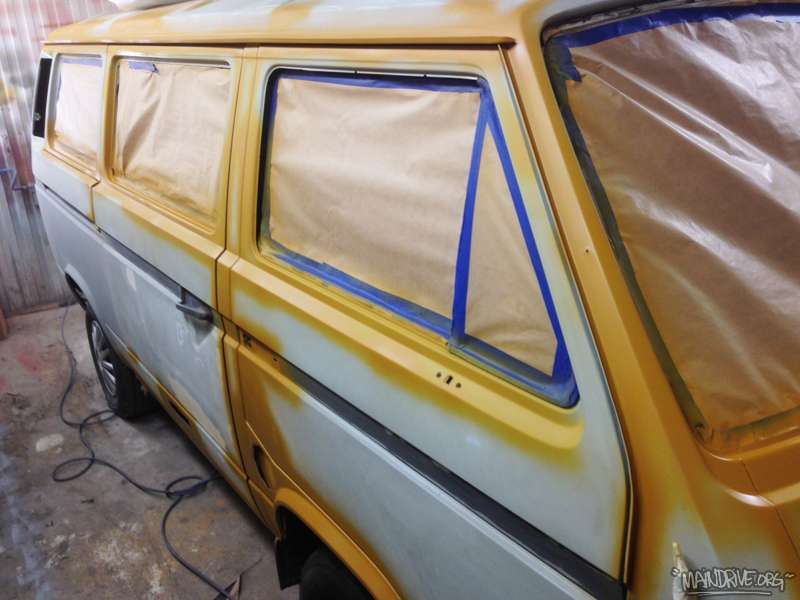
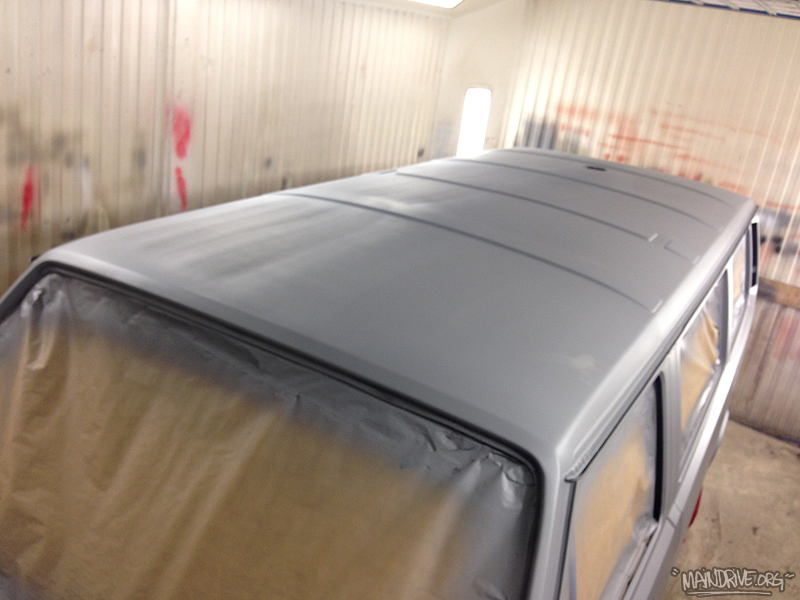
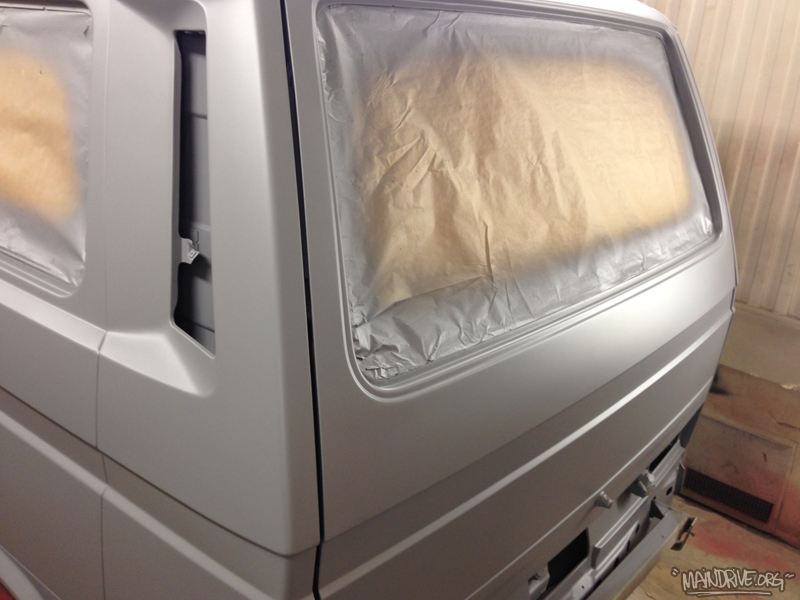
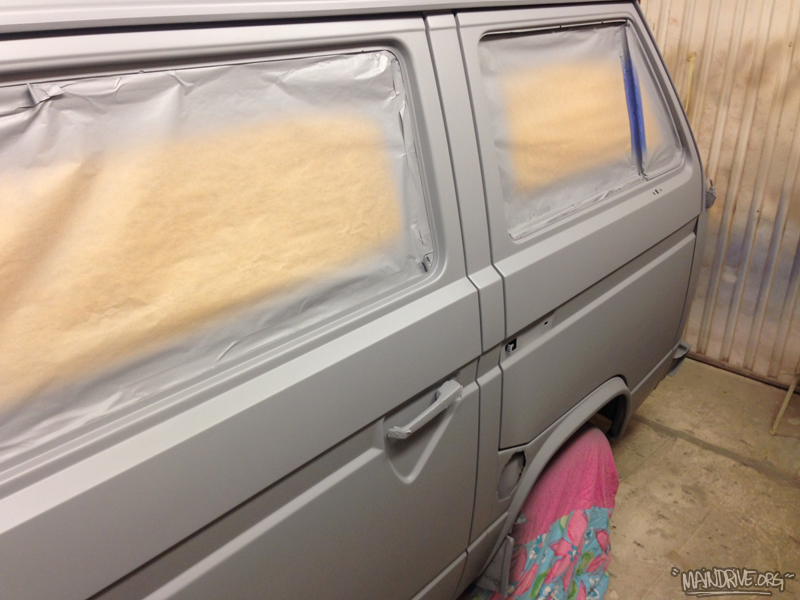
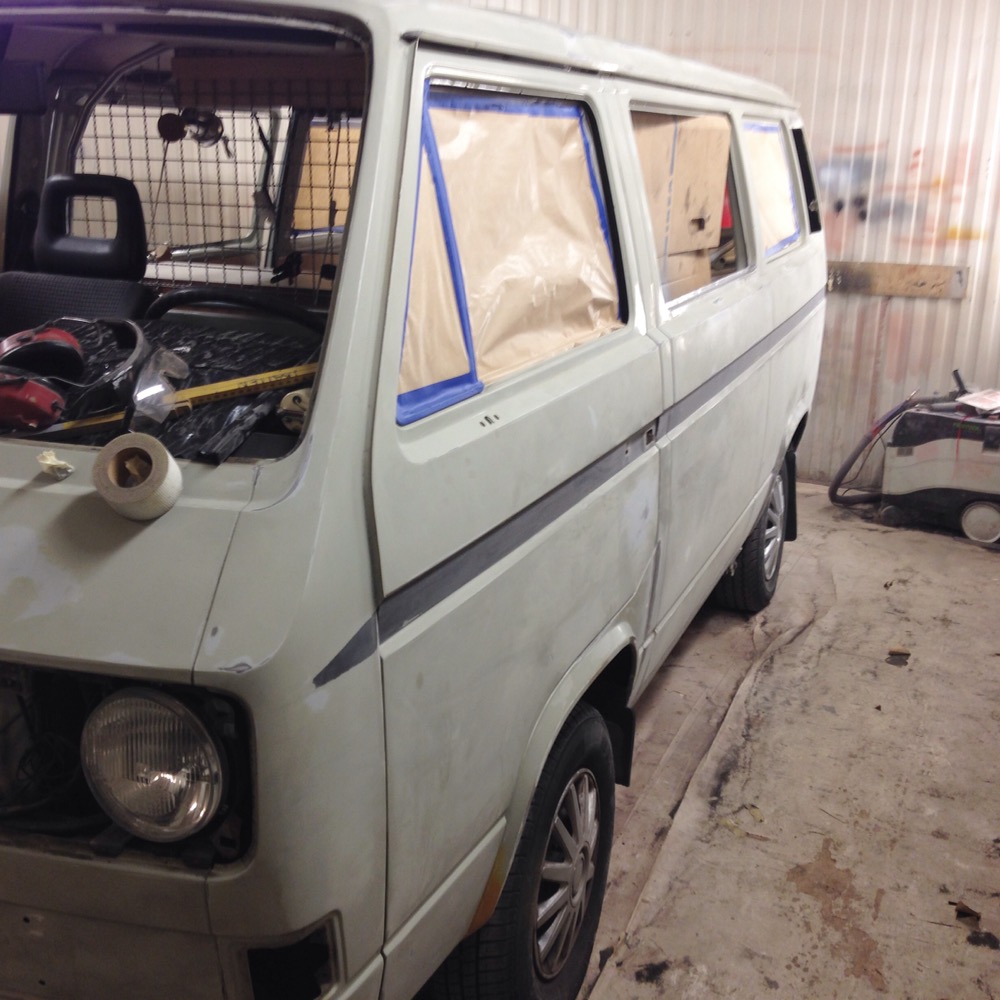
Today the bus was dropped of at the glasshop for new front windscreen and installing all windows with new rubber seals. The last final parts (bumpers) are getting painted tomorow or on Thursday. They were handpainted with brush, twisted, rusty and lots of small dents. After sandblasting they got welded, straightned and all dents hammered out. Then a light coat of bodyfiller to make them straight again, then Zinc rustprimer and after this surfacer/ground primer to get them smooth again after the sandblasted surface. Next up is some more sanding and then Deepblack paint. New covers and bolts are waiting from Just Kampers! The bus should be ready for the road in the end of the week! More pics to come…
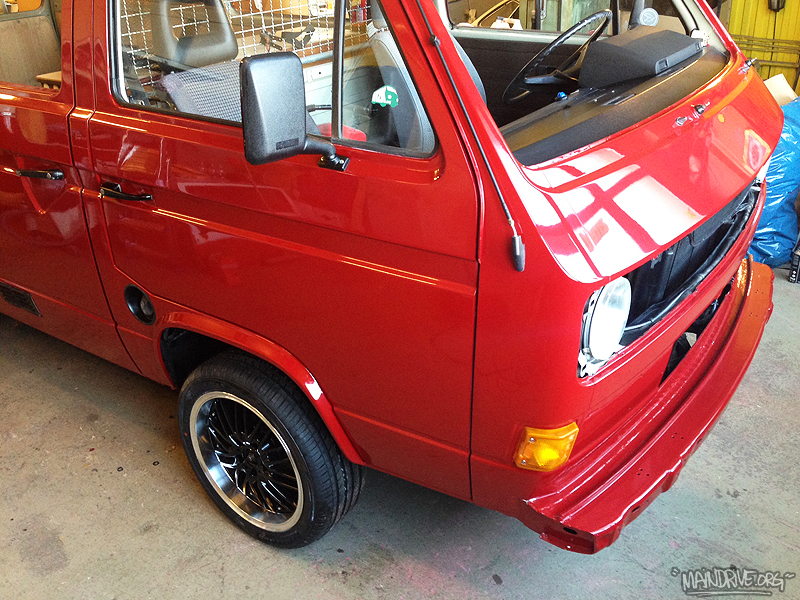
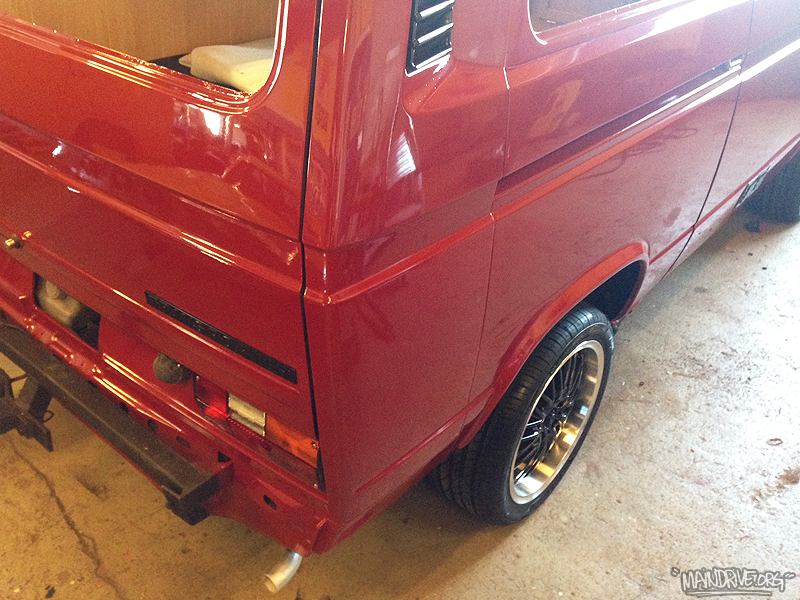
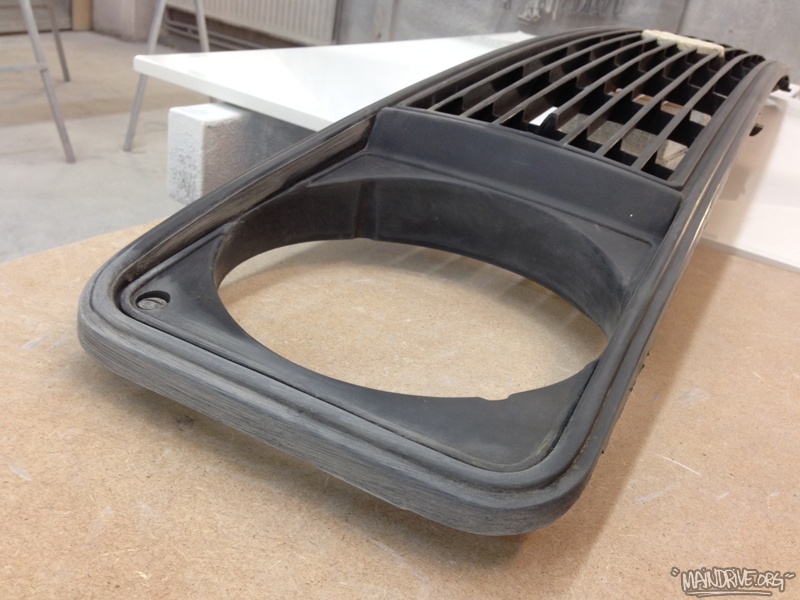
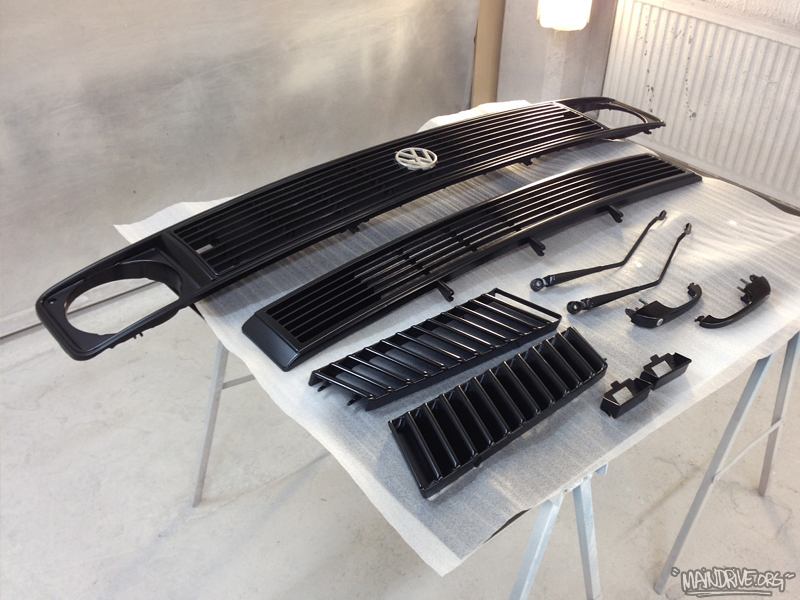
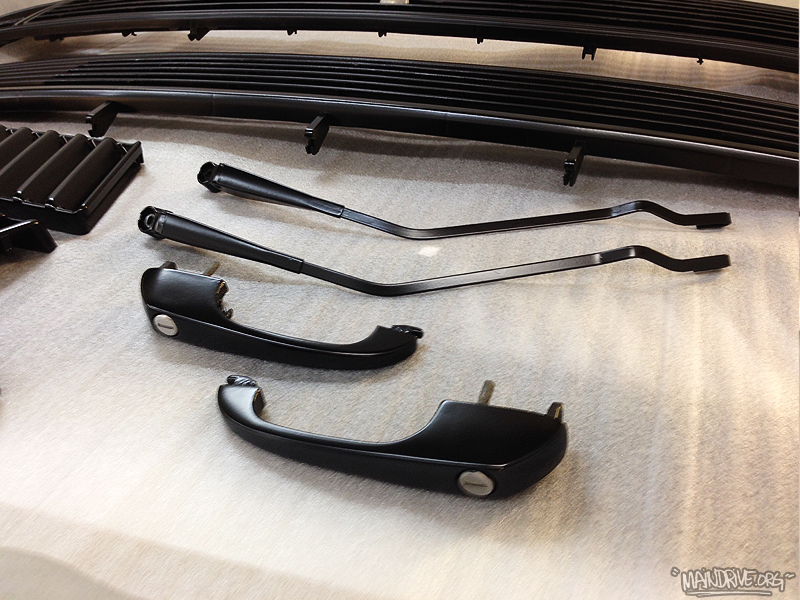
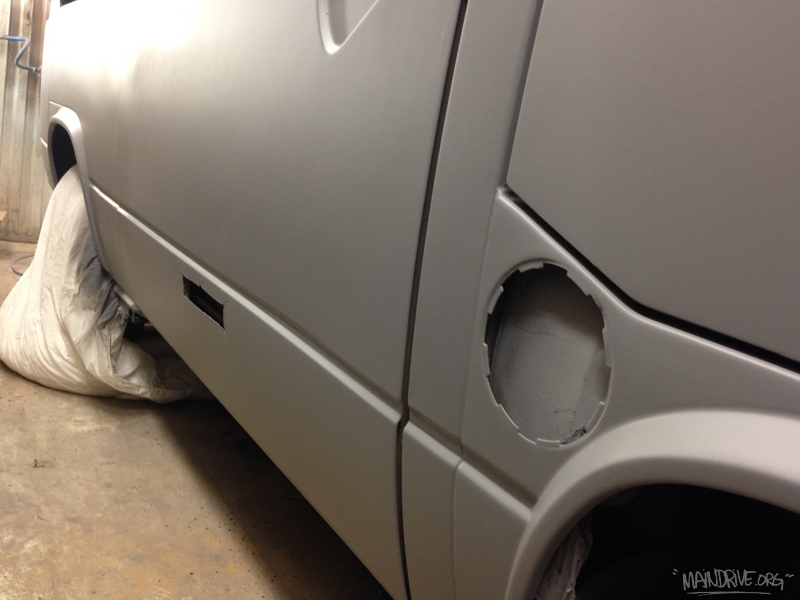
Wheels have been fitted, needed 5mm spacers all around and longer wheelstuds (56mm) in the rear and new bolts. Wheels are 17″ inch with 225/45 tires, offset 35. Need to make a custom centercap for the speedometer tho. Lots of new parts have been installed from Just Kampers, like new taillights, fuelfiller neck, footsteps, roof ventilation, mirrors, windowfelt trim in front doors etc. Waiting on tailgate seal and new clips for the freshly painted front grills. Bumpers have been blasted and are now getting welded, straightned up and removing big dents before paint in Deep Black. Next big step is taking it to the glass shop and get all windows installed with new rubber seals! Then its ready for the road…
Trying the fitment on the new wheels on Bennys T3 bus. Its going to be a badass car! 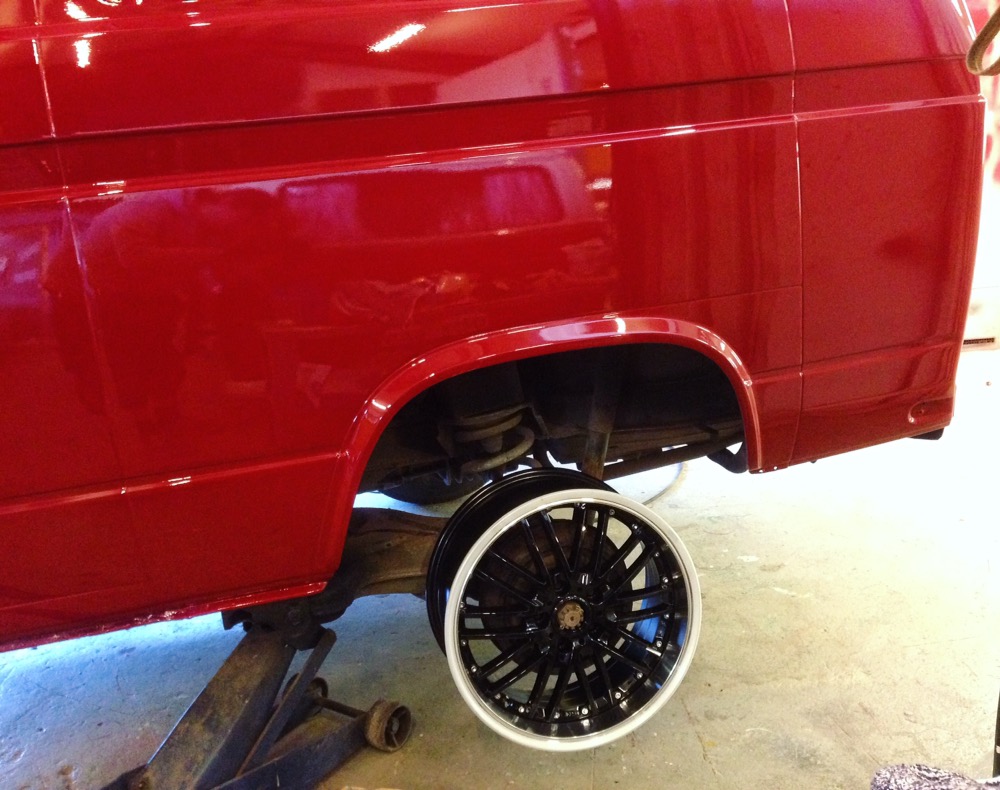

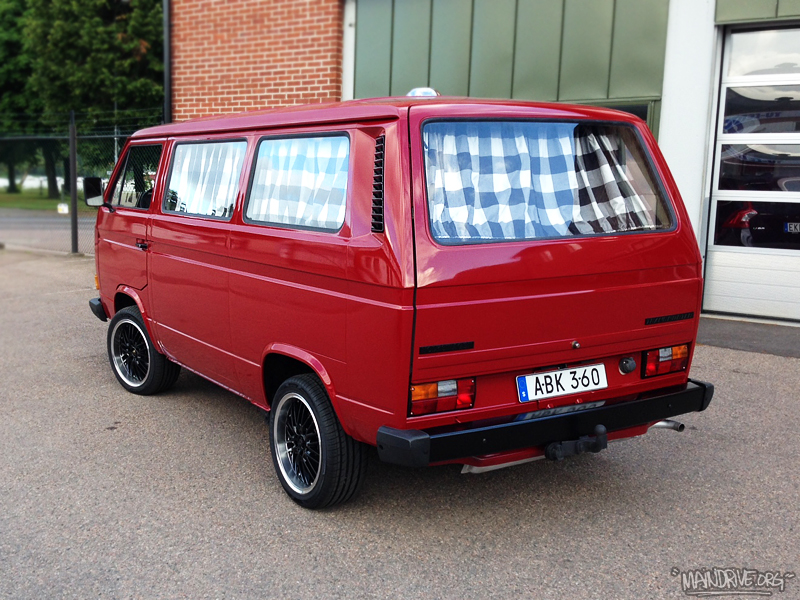
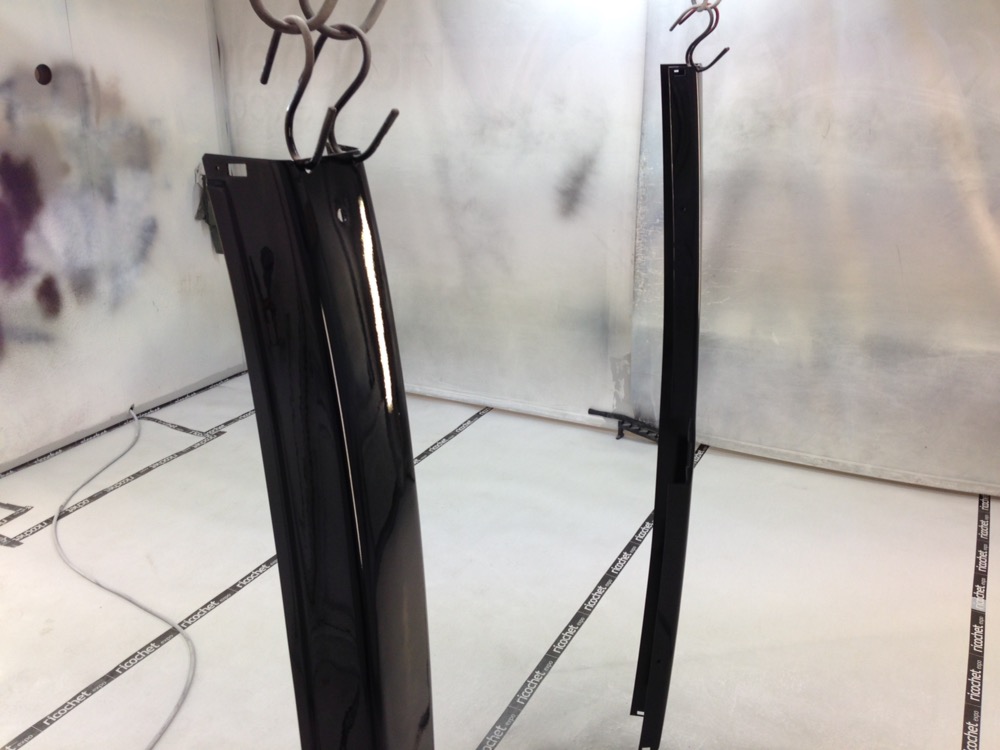
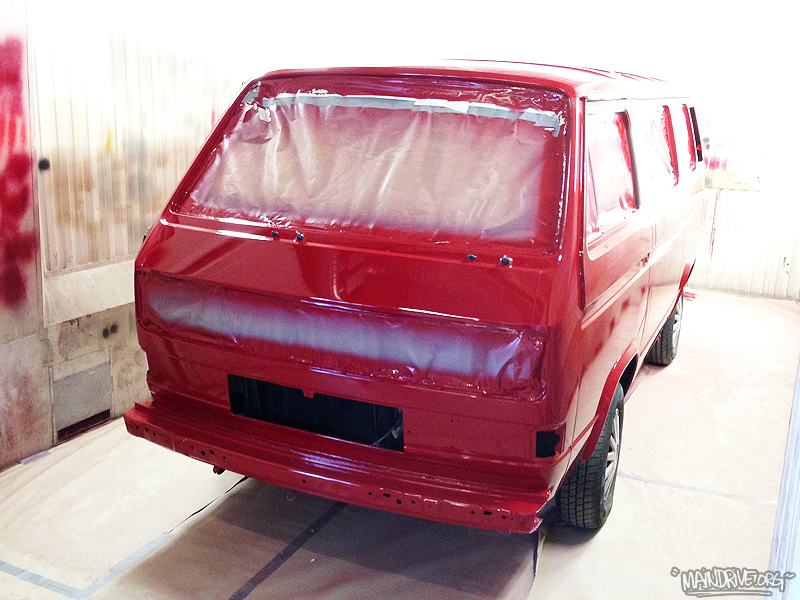
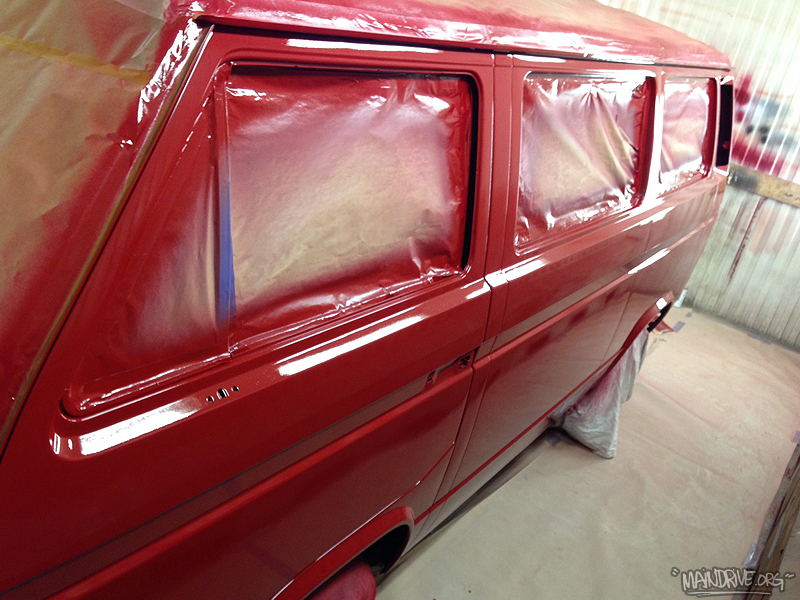
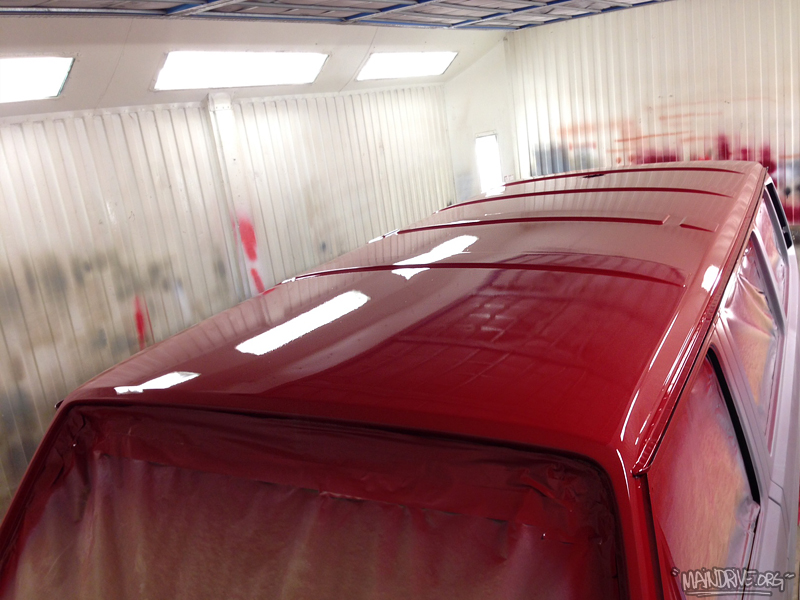
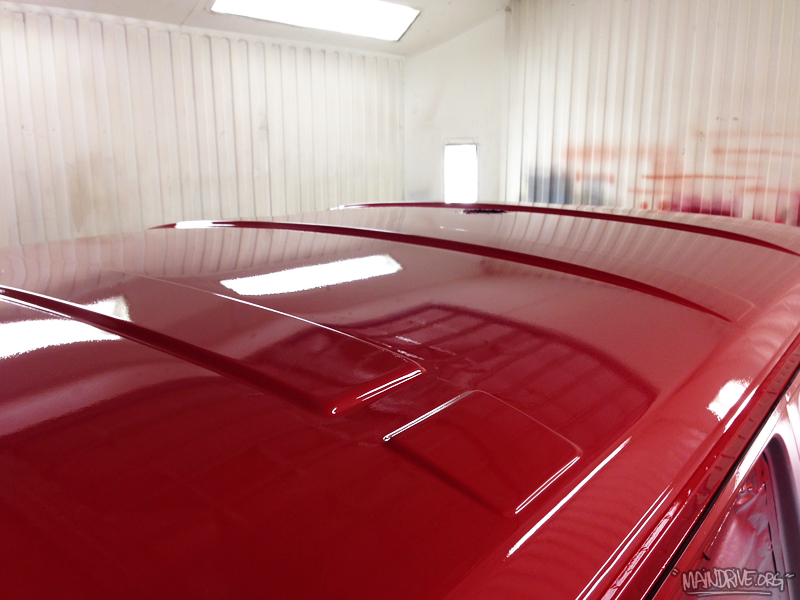
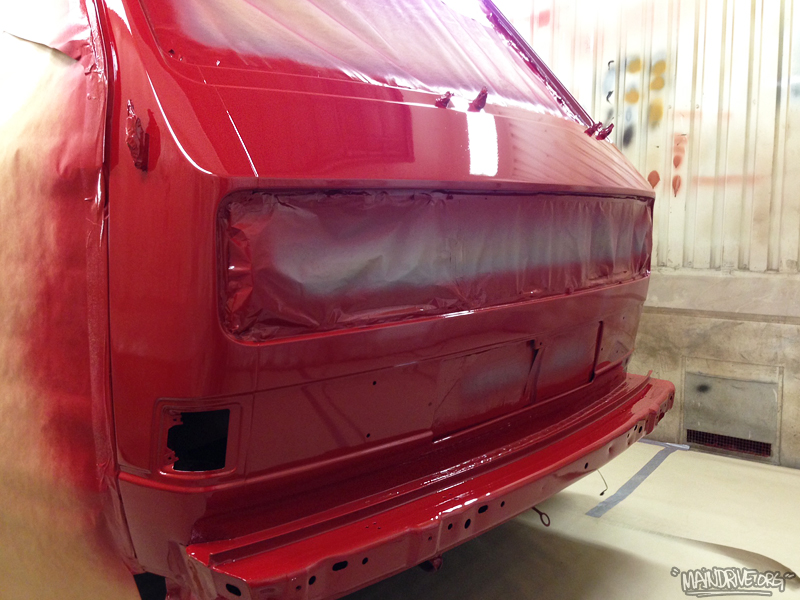
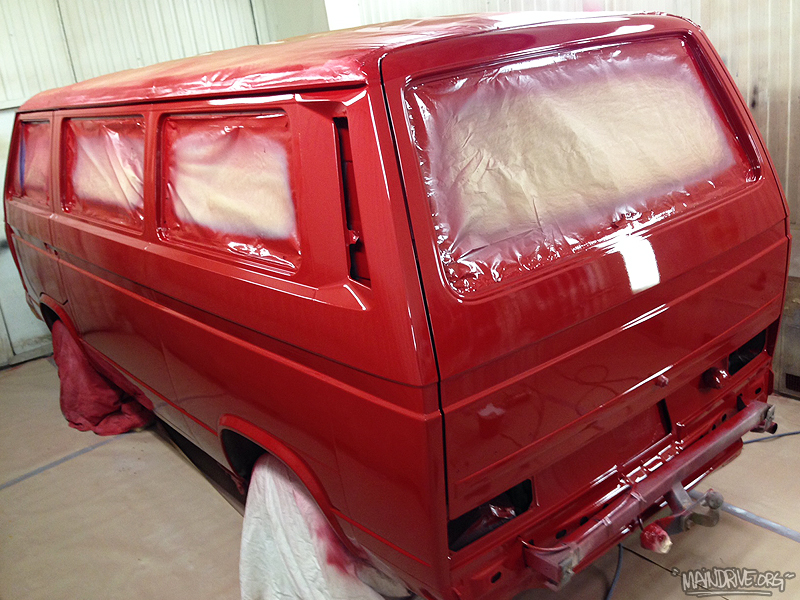
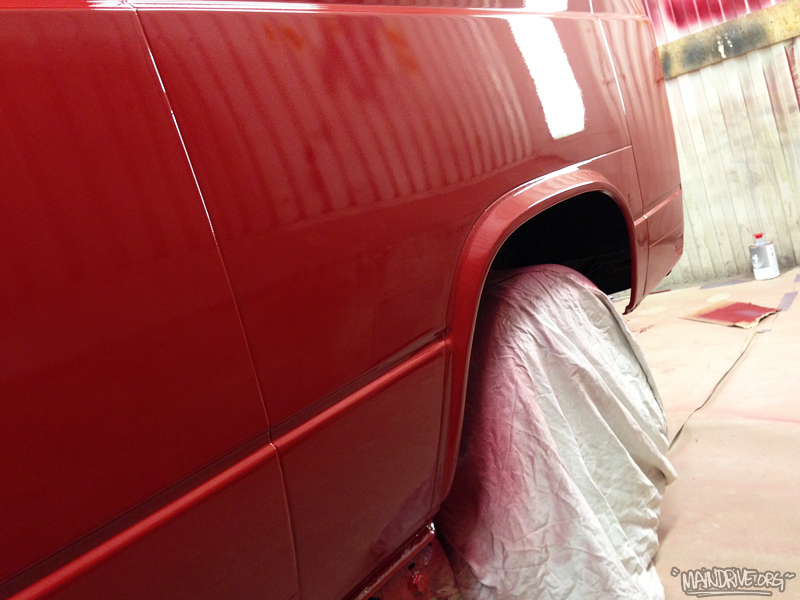
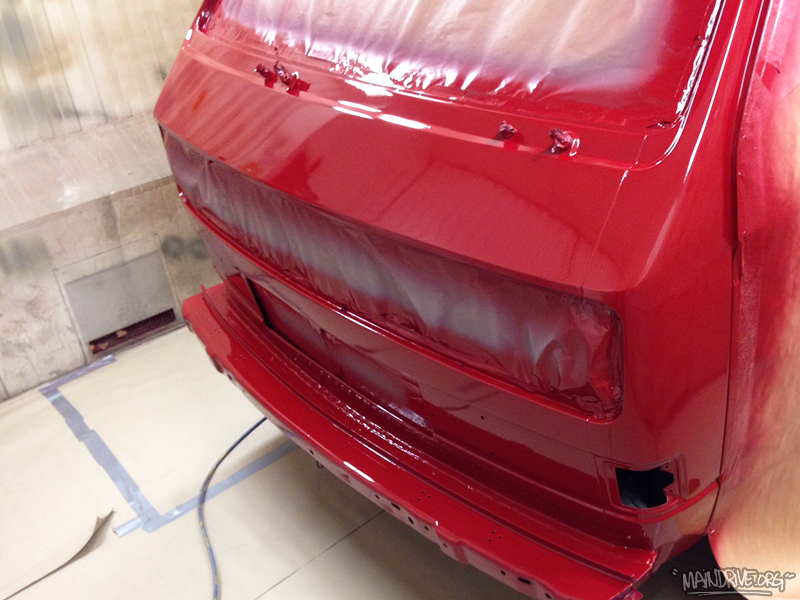
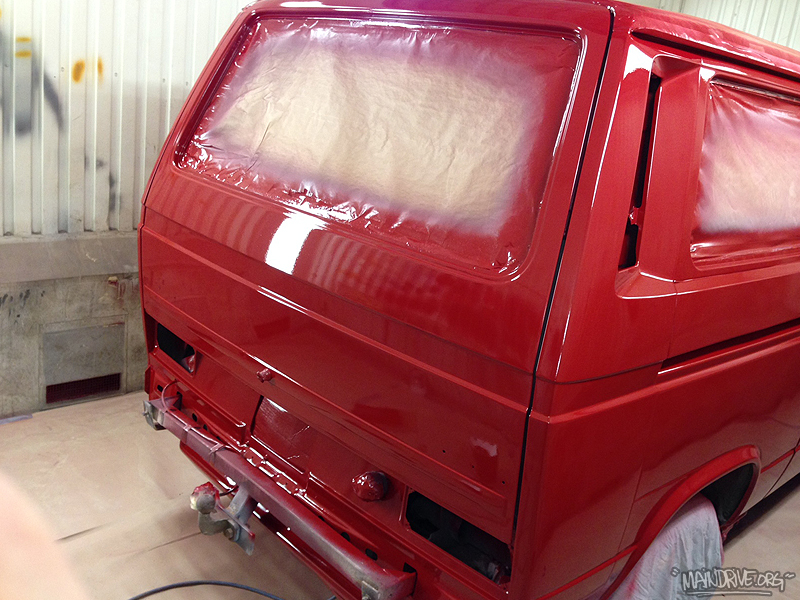
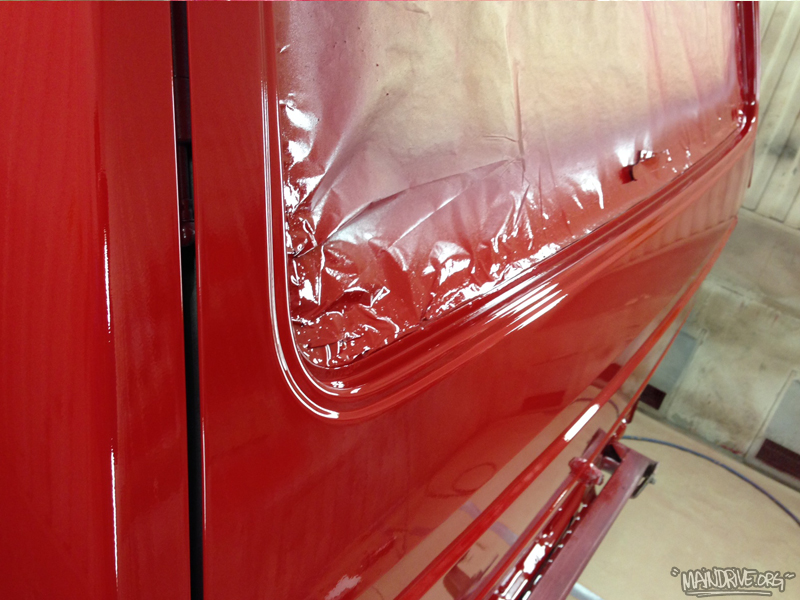
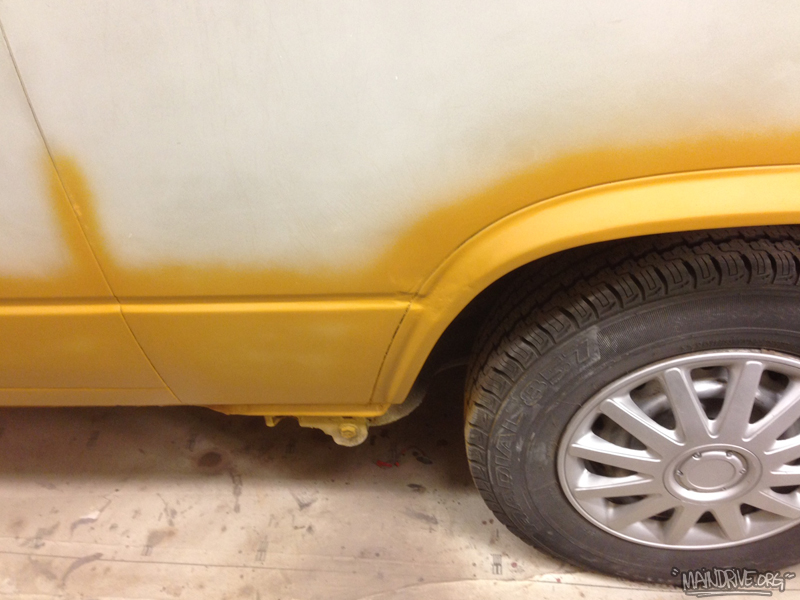
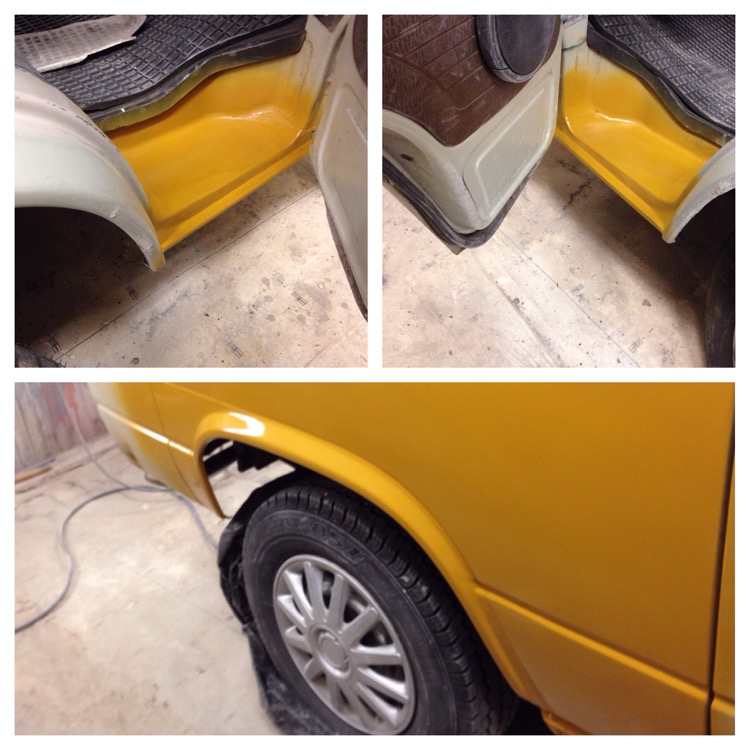
After alot of bodywork and sanding it was time for topcoat paint in VW Marsala Red H3D. Looks nice in red! Also got new Deepblack paint on the sun grey faded trim and parts like the front grills, handles, air intakes, wipers etc. I think all the black parts will match the black wheels perfect when its all together. The wheels from Germany will arrive this week and the other new VW parts from Just Kampers will be here tomorrow!

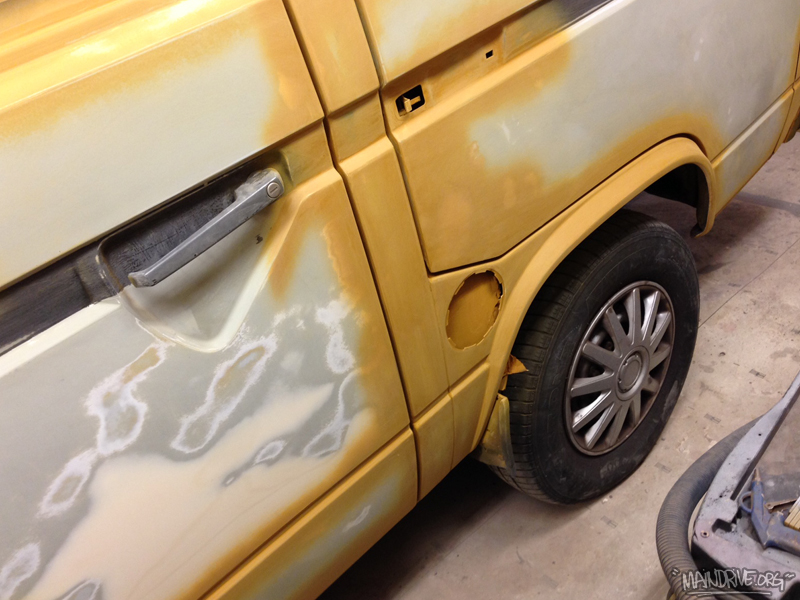
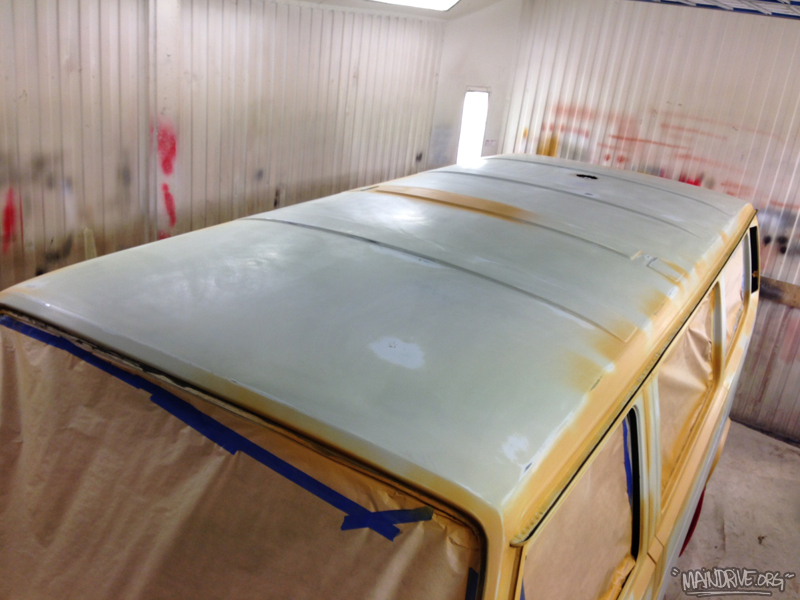
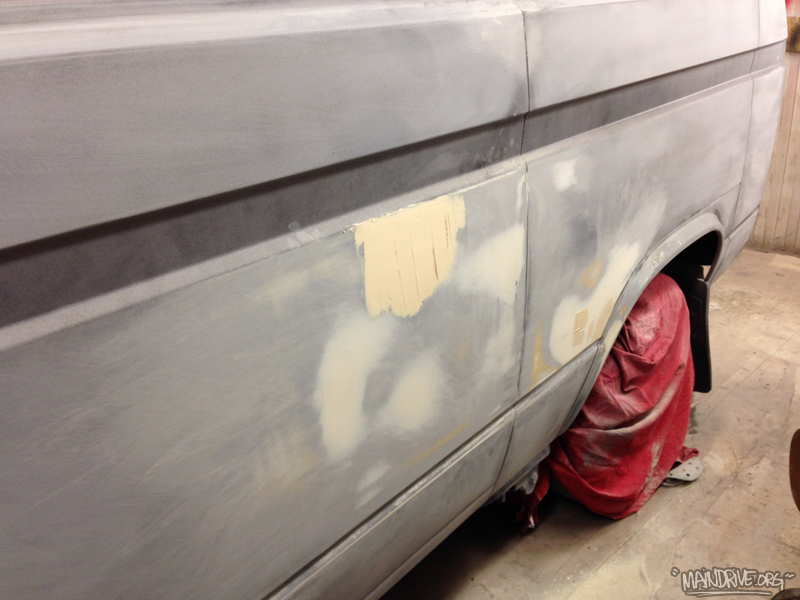
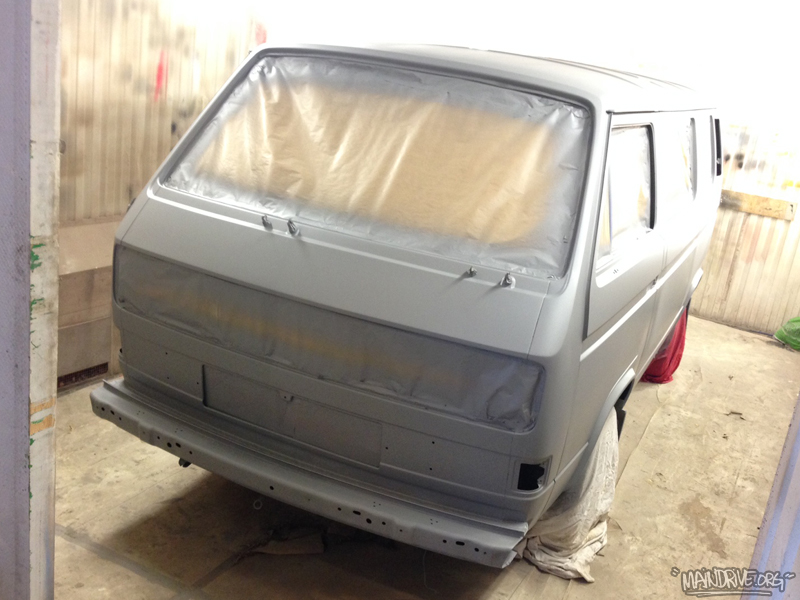
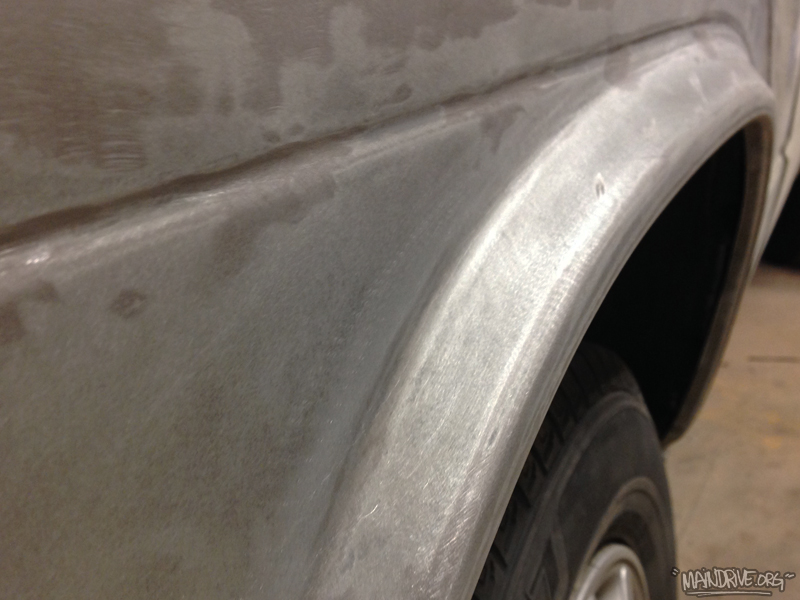
Time to sand the primer and fix small dents and scratches, and its alot of them both. When this is done a new coat of grey primer/filler is needed to get a good even base that needs a light sanding with 800 grit by hand before paint! Alot of work for sure!
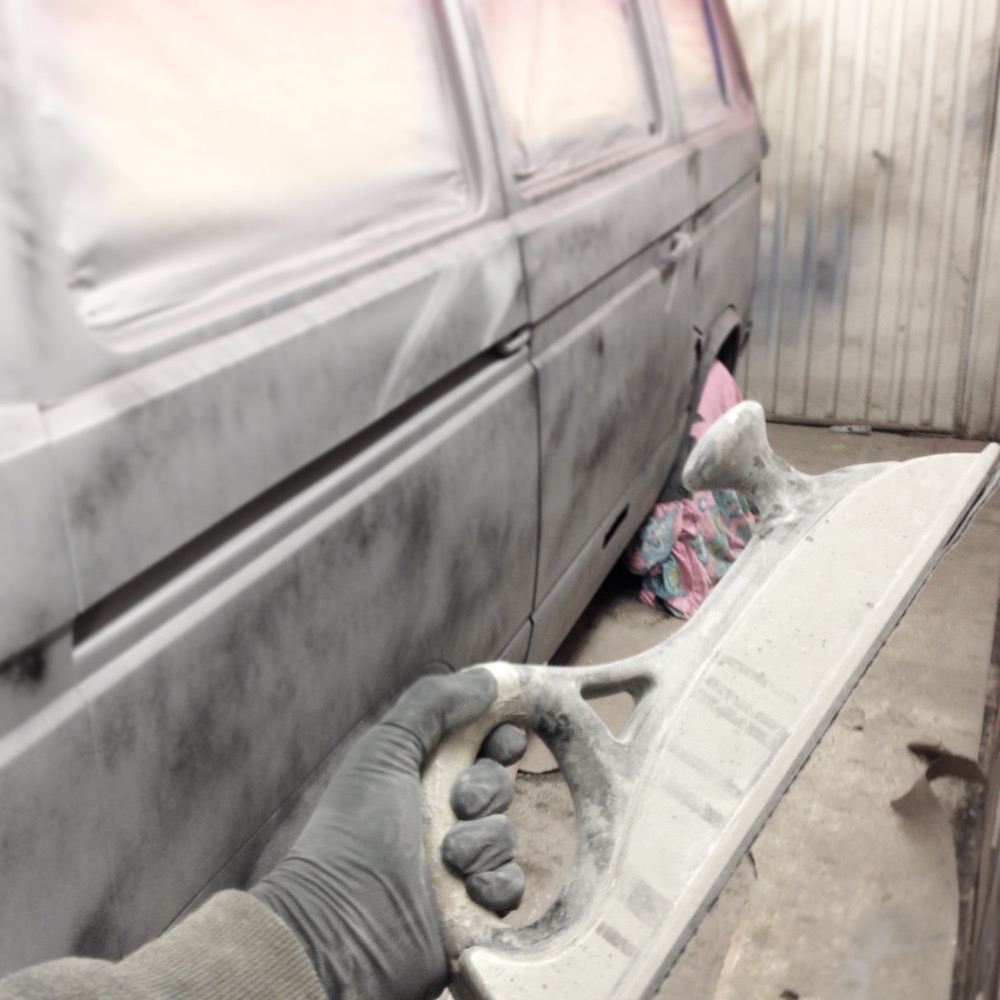
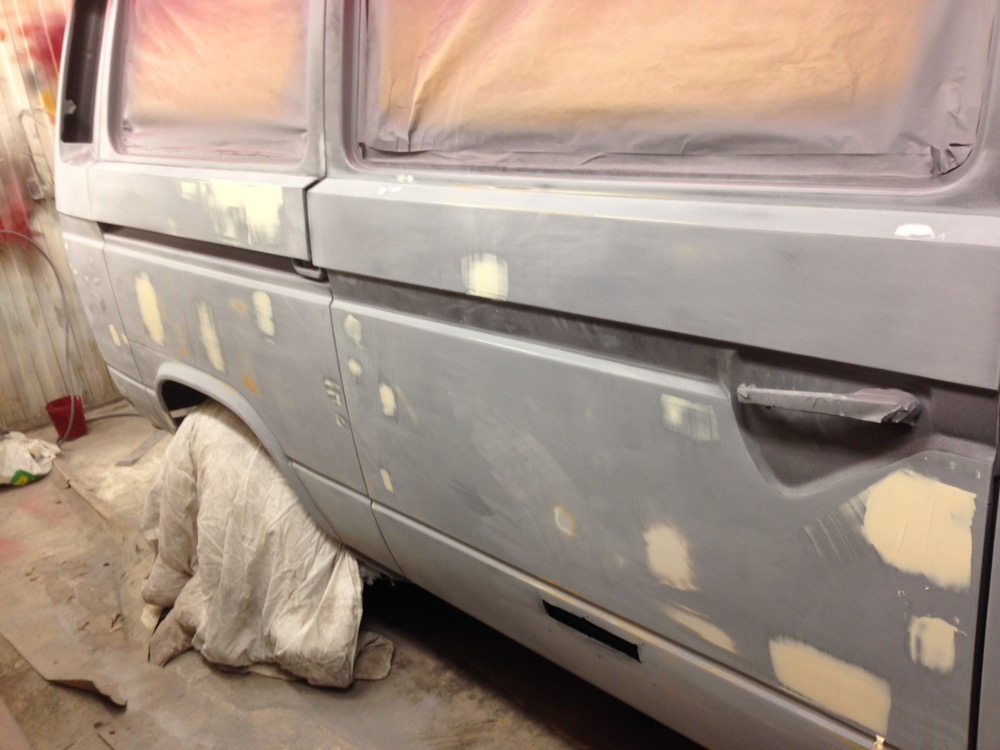
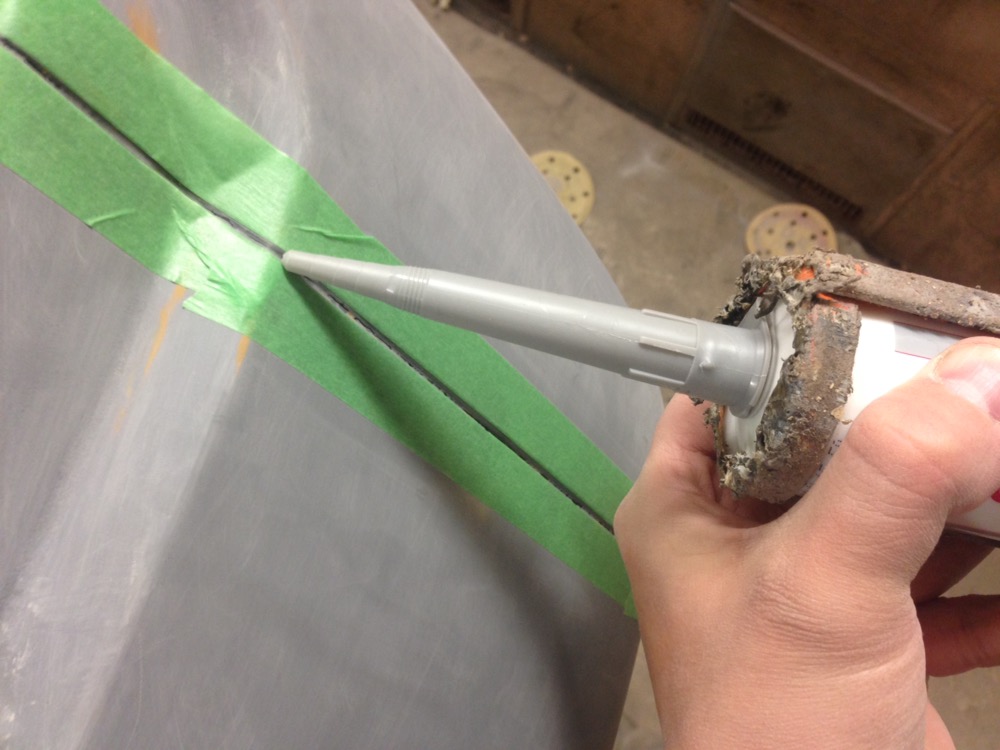
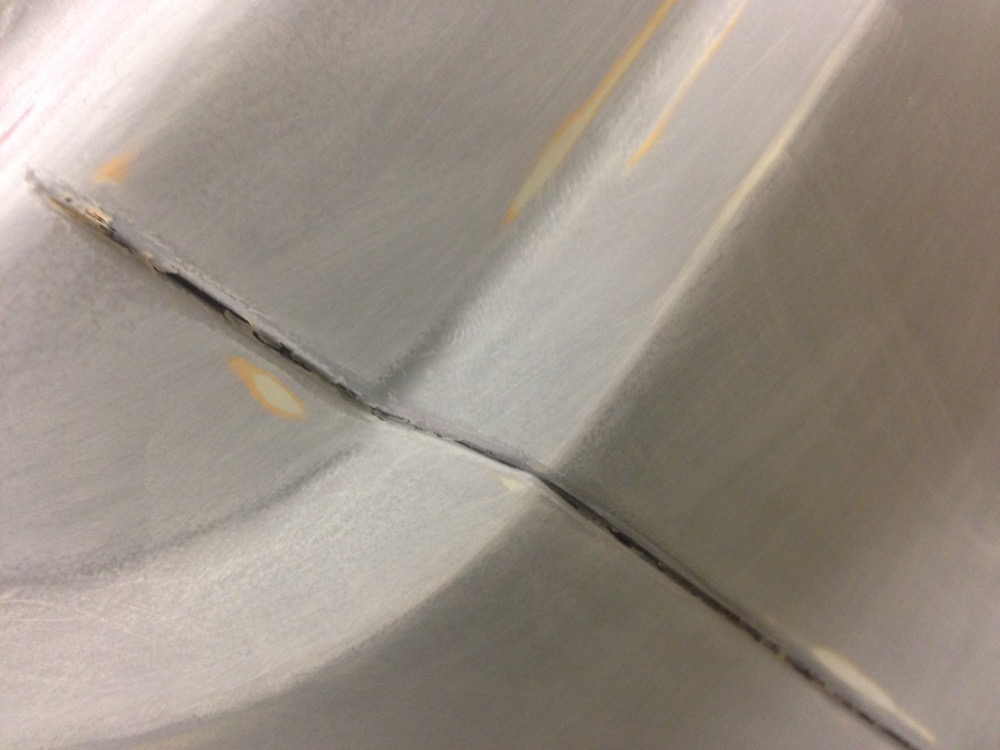
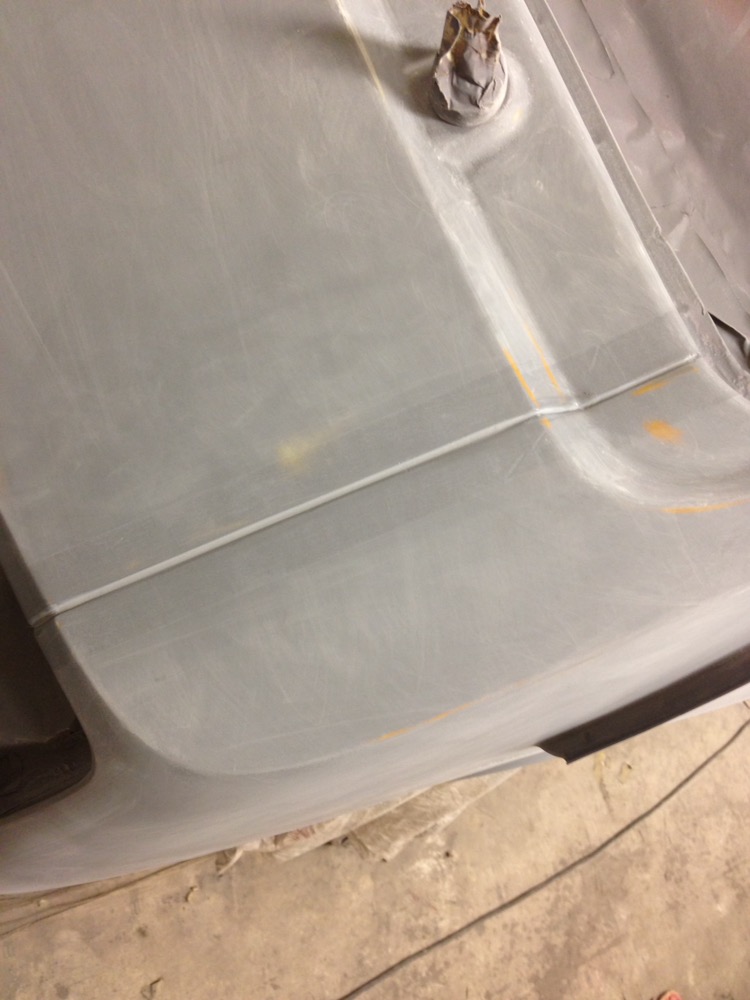
All the places that have been sanded and sandblasted down to the bare metal have been painted with yellow 2k epoxy rust primer for protection. After this, all the small dents, scratches and imperfections in surface/metal after sandblasting etc have been filled up and sanded smooth and all the seams have been sealed up with new seamsealer. Then it was covered in yellow epoxyprimer again. When it was all dryed it just needed a light sanding before 3 coats of grey surfaceprimer was added. Now it has to dry a couple of days before it can be sanded down again, but this time more carefully and must be perfect! When this is done its ready for topcoat paint in VW Marsala Red H3H3.
Bumpers and some smaller parts is at the sandblasters at this moment and more new parts from Just Kampers in UK is on its way right now. Time to choose some cool wheels also, stay tuned for more pics and updates!
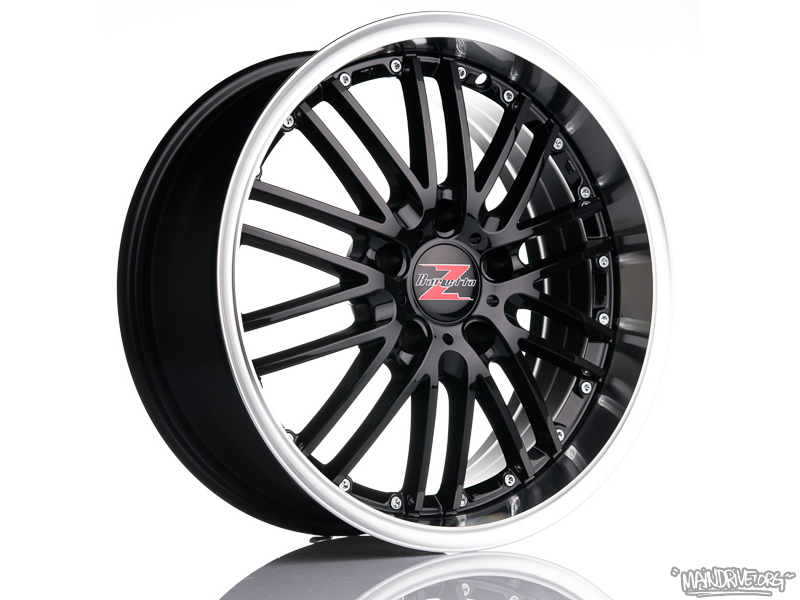
Maybe these 17″ wheels? 🙂
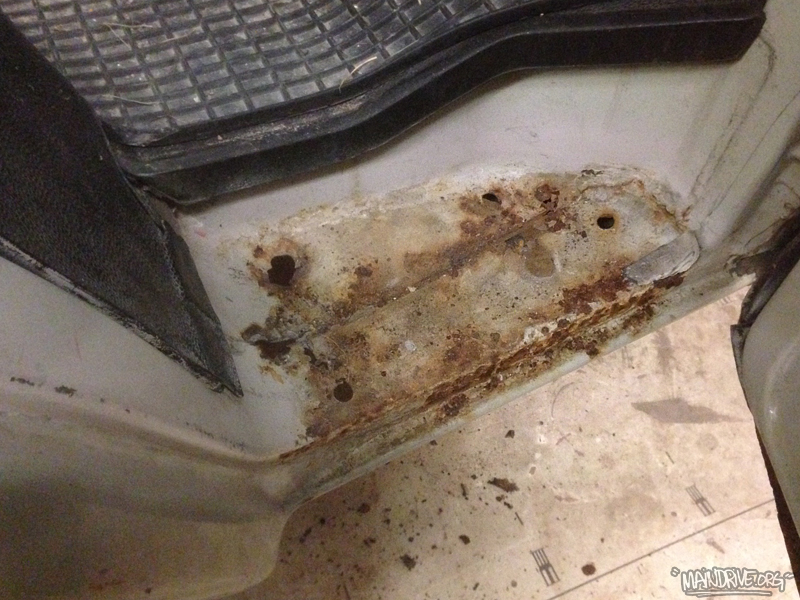
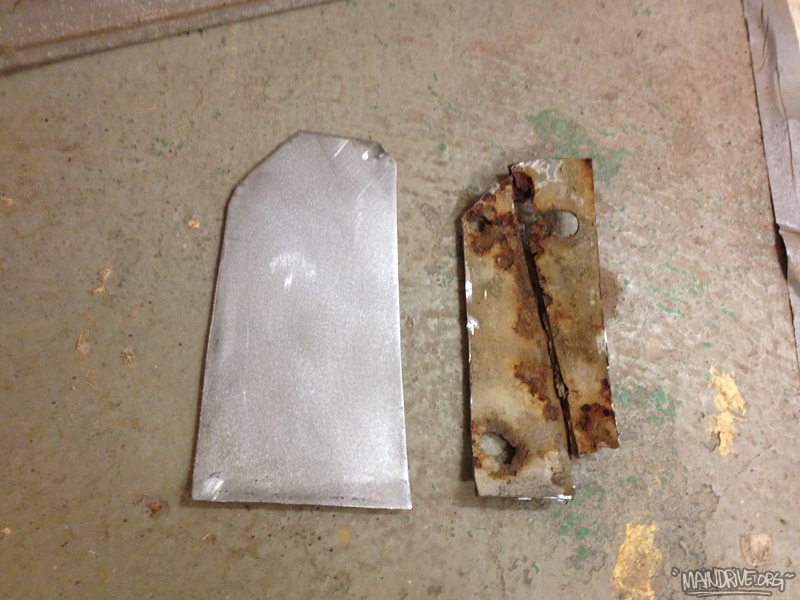
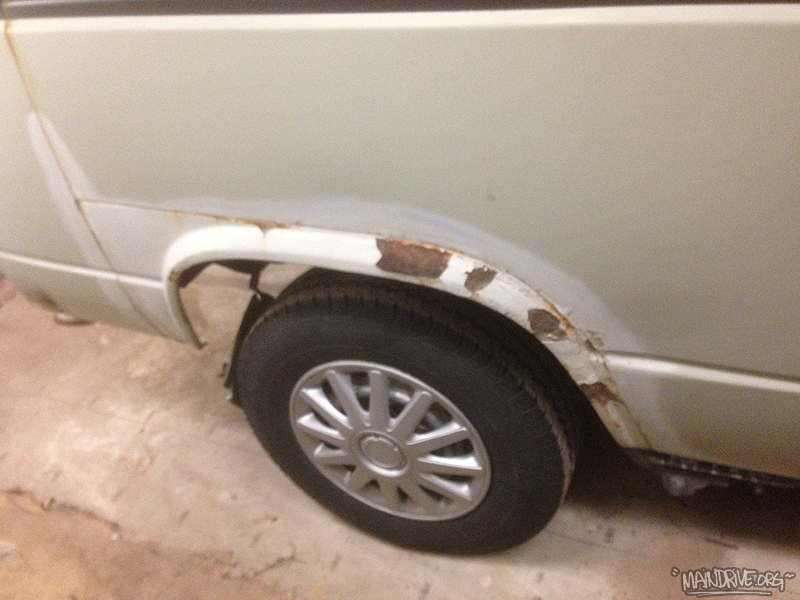
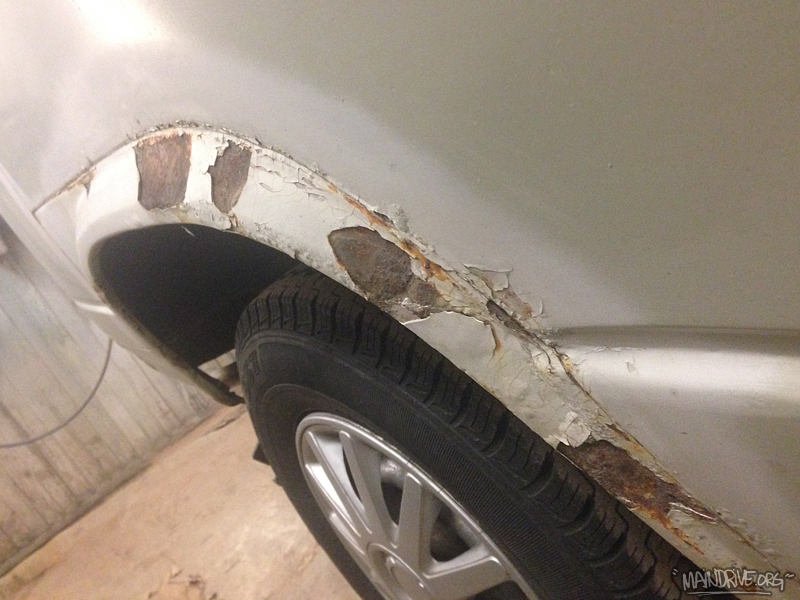
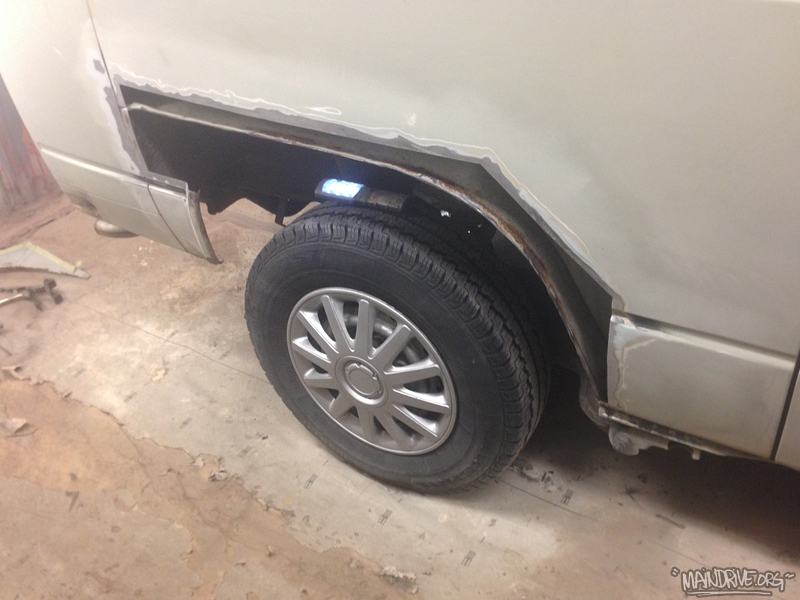
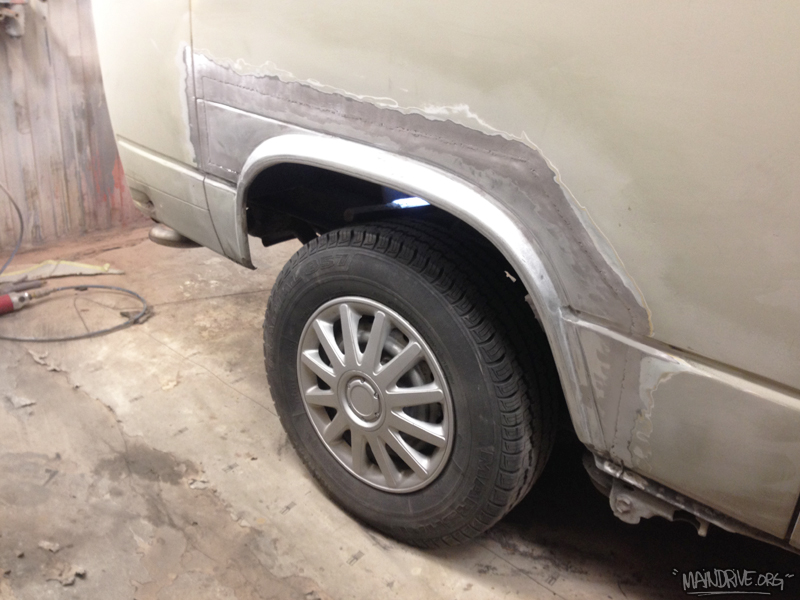
Some updates! All windows are out, all rust is repaired and the body have been sanded. Now the body work can start and I hope to have it in primer next week. Then its ready for more sanding and smaller bodywork before topcoat goes on. Maybe VW Marsala red paint?
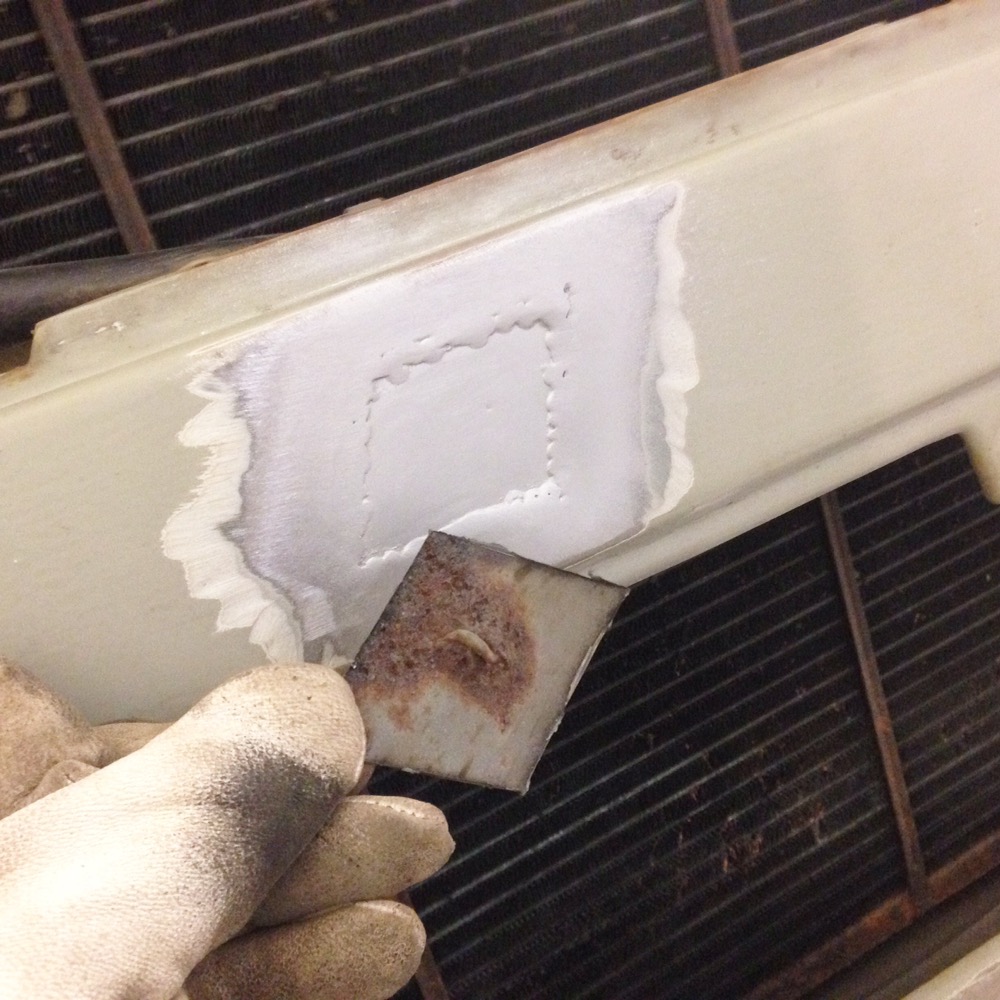
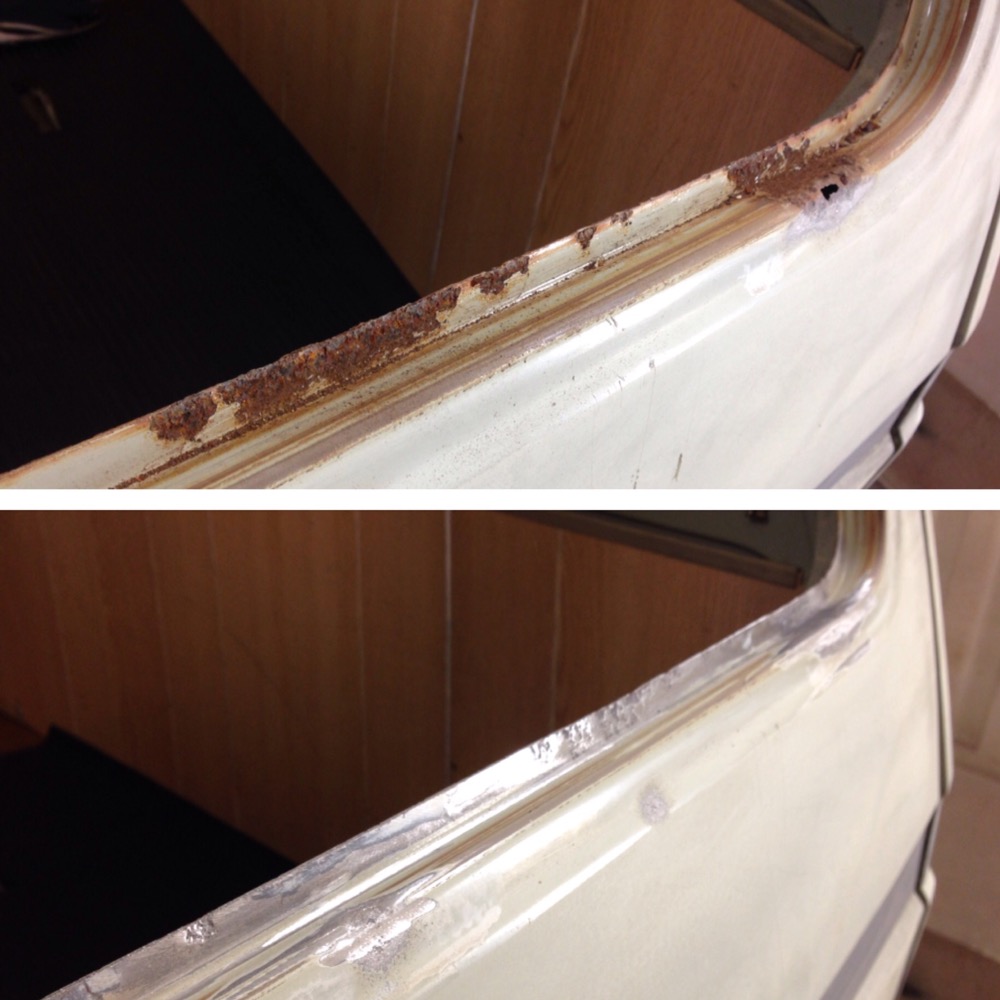
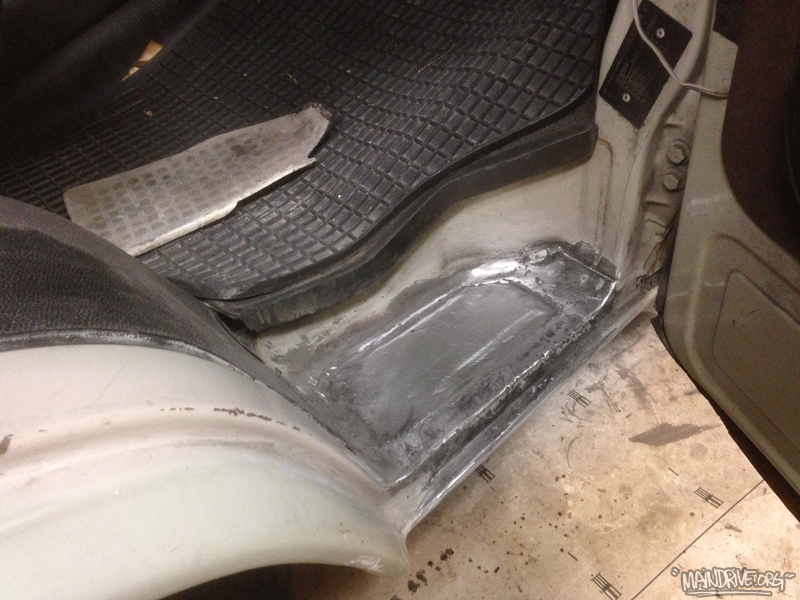
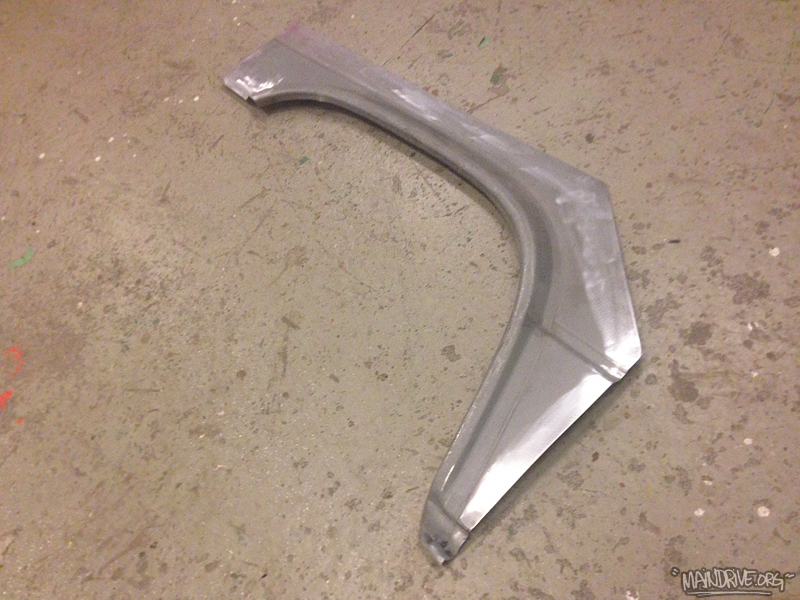
Replacing all rust with new metal on Benny’s bus, the VW transporter from 1983. Hope to finish the rest tonight and then it’s ready for sanding/bodywork/paint. New rubberseals for the all 6 windows, new bushings for frontend and new mirrors from Just Kampers.
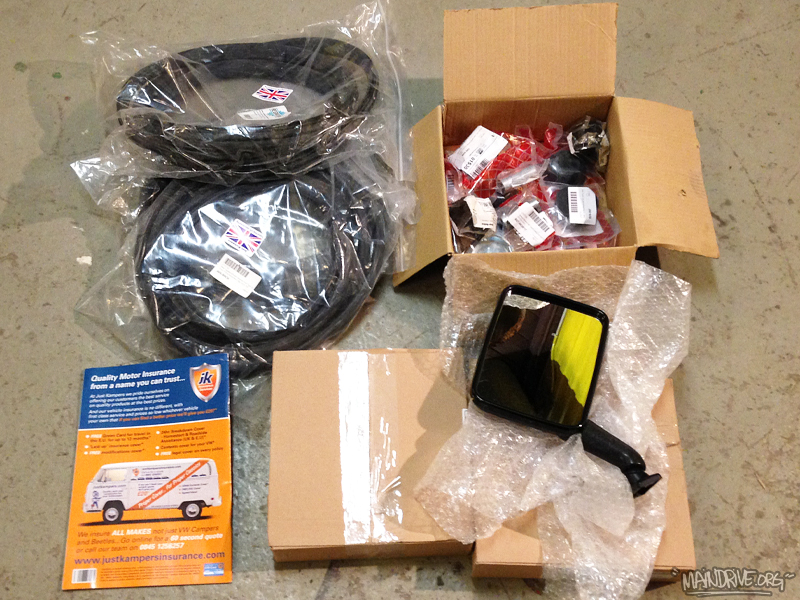
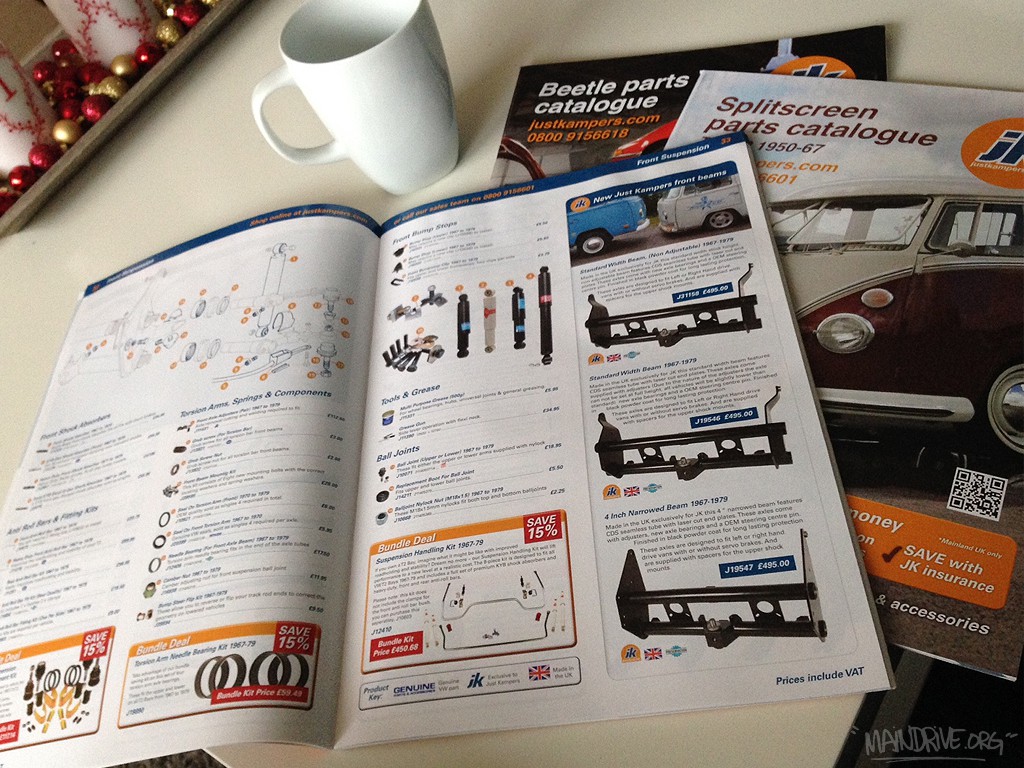
Yeah the winter season is definitely here. It’s -10 celsius (14 Farenheit) outside here in Sweden. But days like that are perfect for ordering new VW parts with a cup of coffee in the other hand. Im making a loong list of new parts for the Baywindow Highroof project and also new window rubbers etc for the VW T3 transporter. After 10 years of building VW’s I finally found a serviceminded VW part store that have great quality on their stuff too!
Im now buying all my new parts from JUSTKAMPERS instead. They are based in the UK but ships worldwide, cheap shipping prices and have the best service you will ever find from a VW shop. I can really recommend these guys, take a look at their website here!
I also got some stuff done on the Highroof, removed all brakes, masterbrakecylinder, booster, steeringrods etc front beam soon ready to get dropped down and put on the table for some restoration (new needle bearings, balljoints, bumpstops, kingpin bushings etc). Hope to get started on the metalwork on Benny’s T3 soon also…