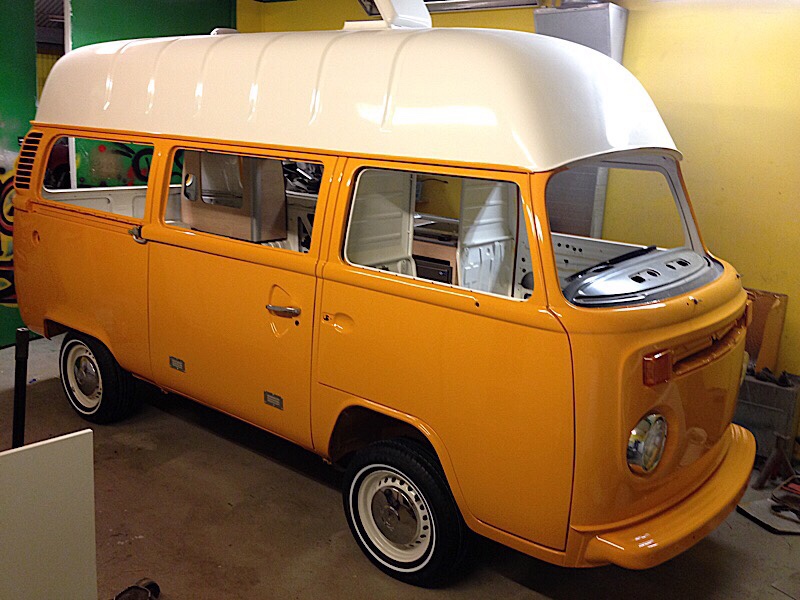
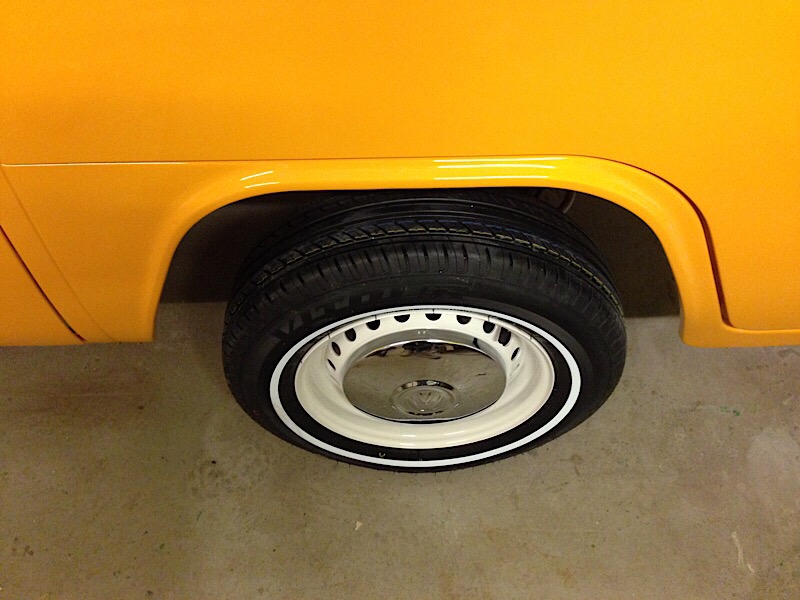
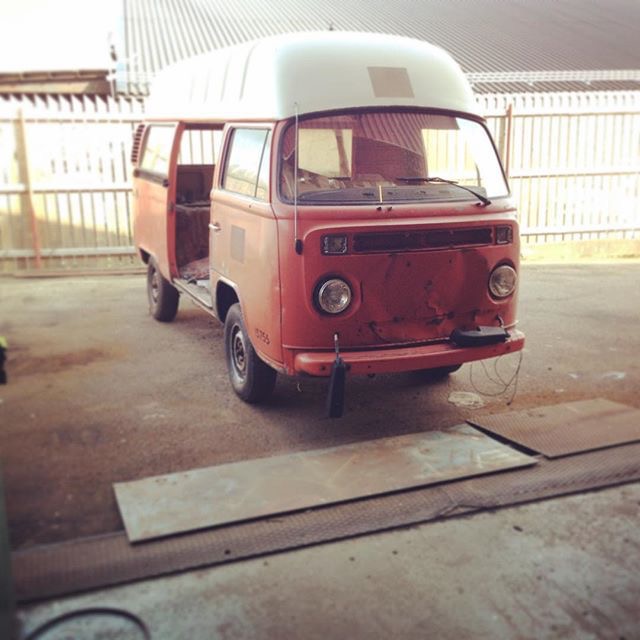
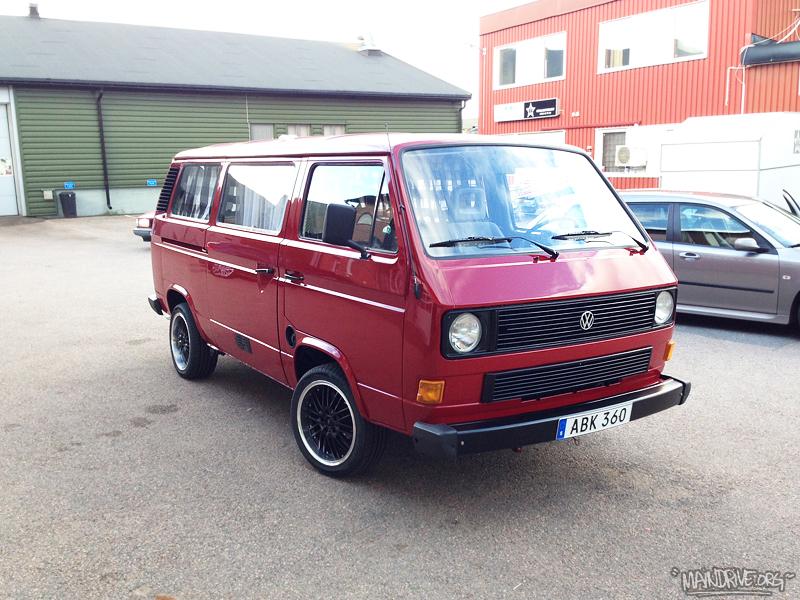
Some pictures on my 1975 VW T3 Baywindow bus with factory spec highroof. Color is “VW Marino Yellow L20a”. Last picture shows how it all started…


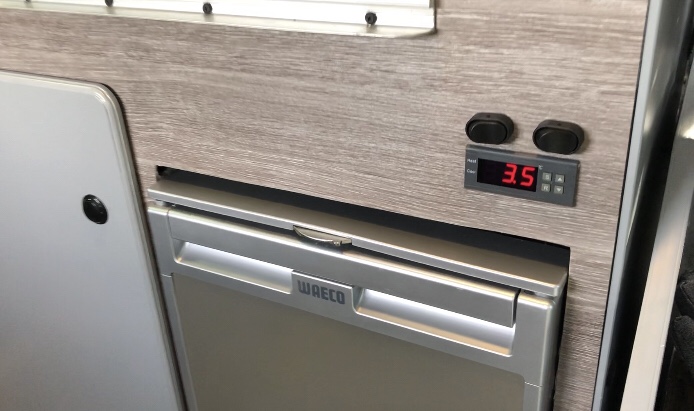
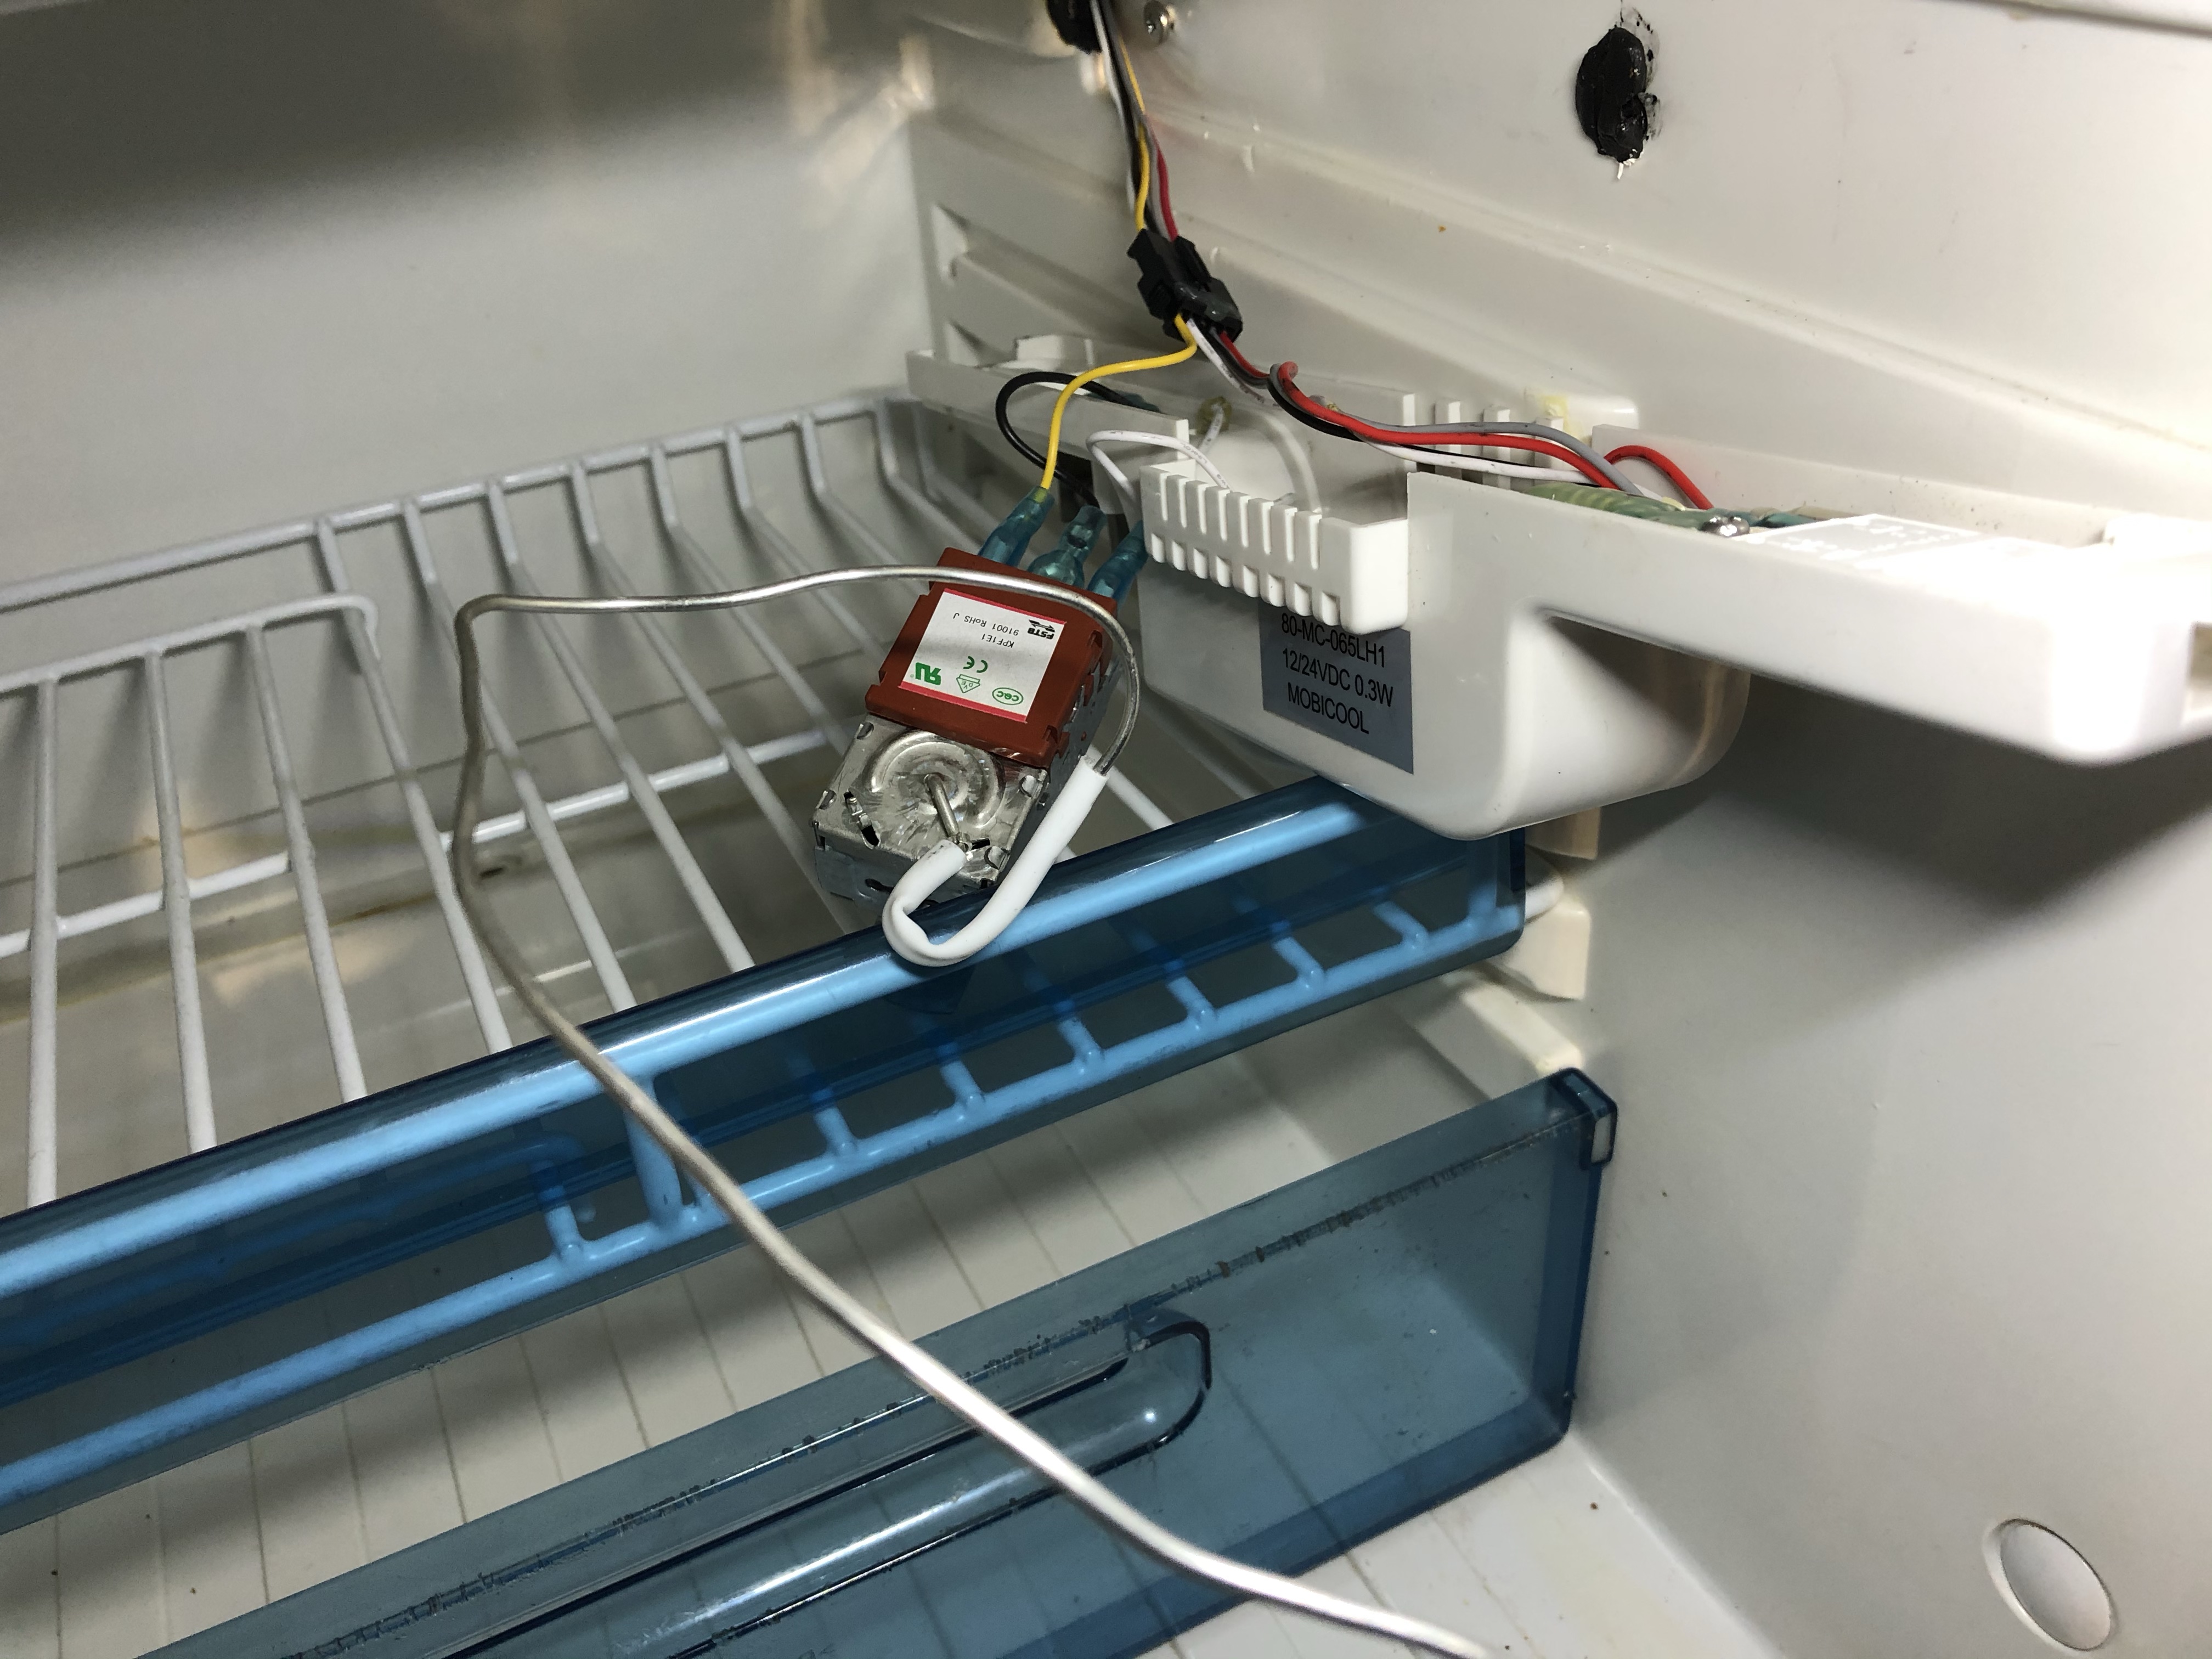
The fridge problem started last summer, and since it still cools and runs (could be used) the problem have not been fixed until now. The issue was that I just runs and runs until the battery’s was empty. So I changed to a new Waeco thermostat. But it was still behaving the same. Next thing to replace then would be the fridge controller unit and would cost around 300euros to buy as new spare part. A new fridge around 600+euros.
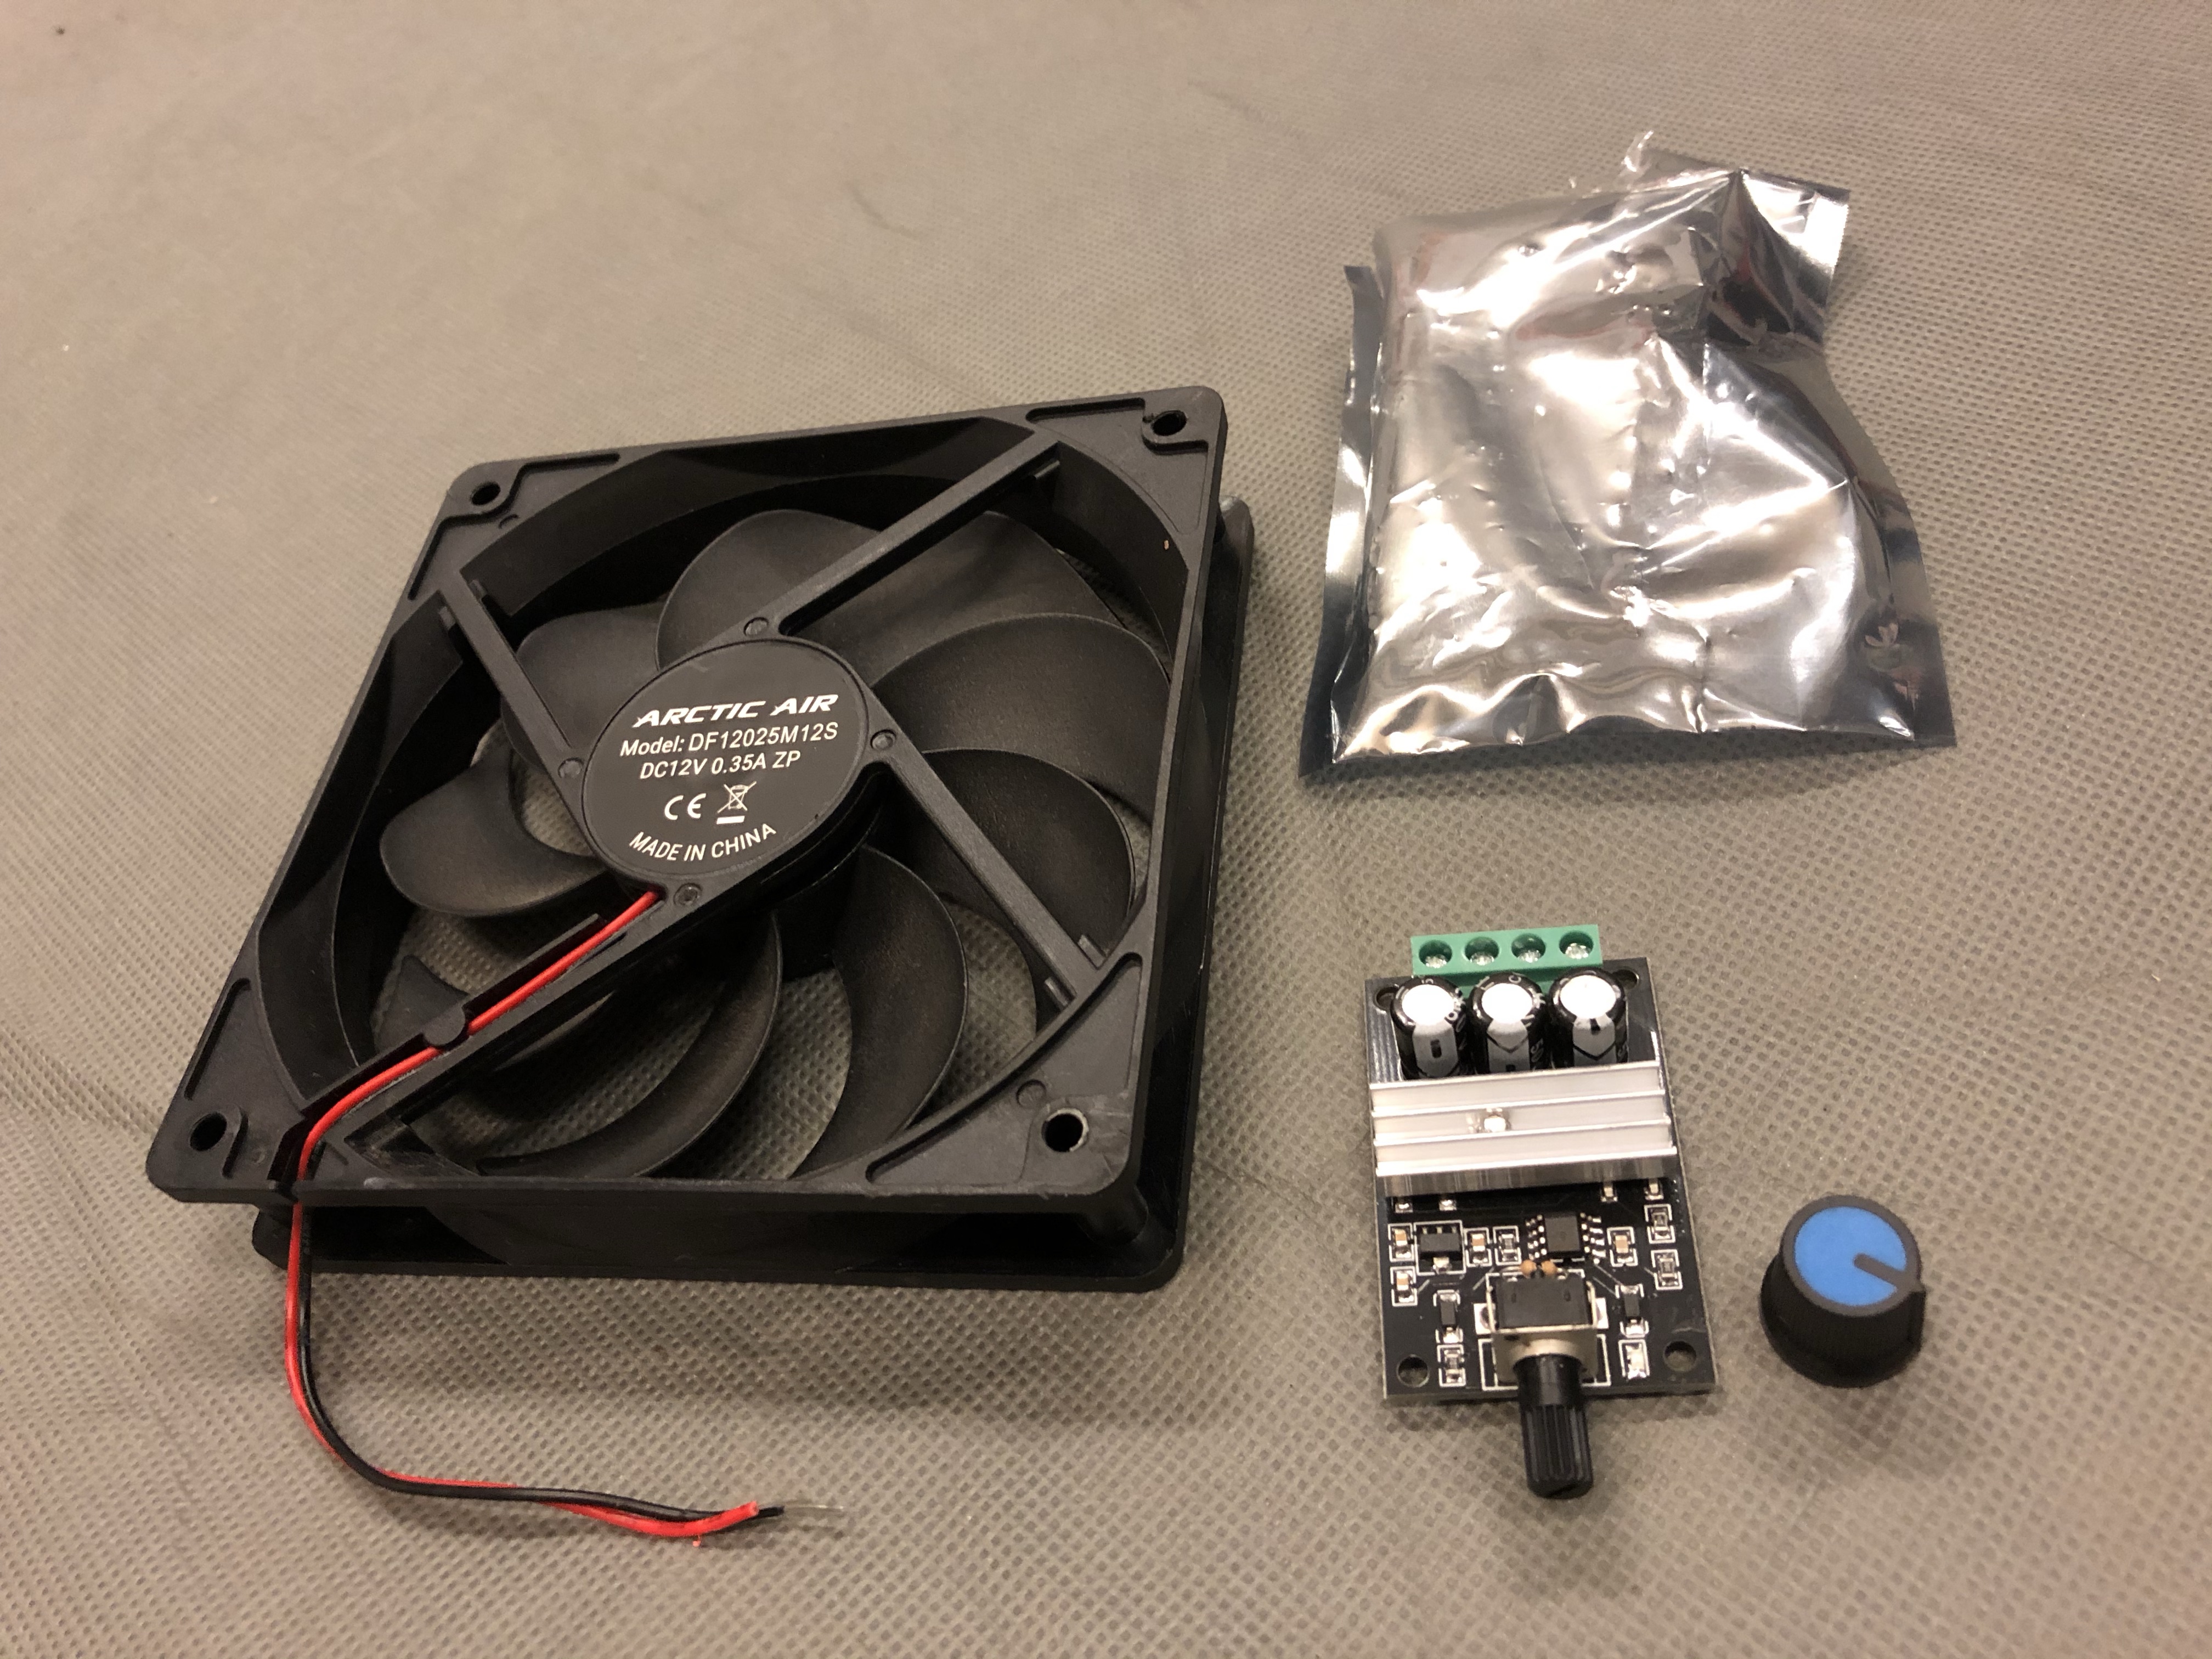
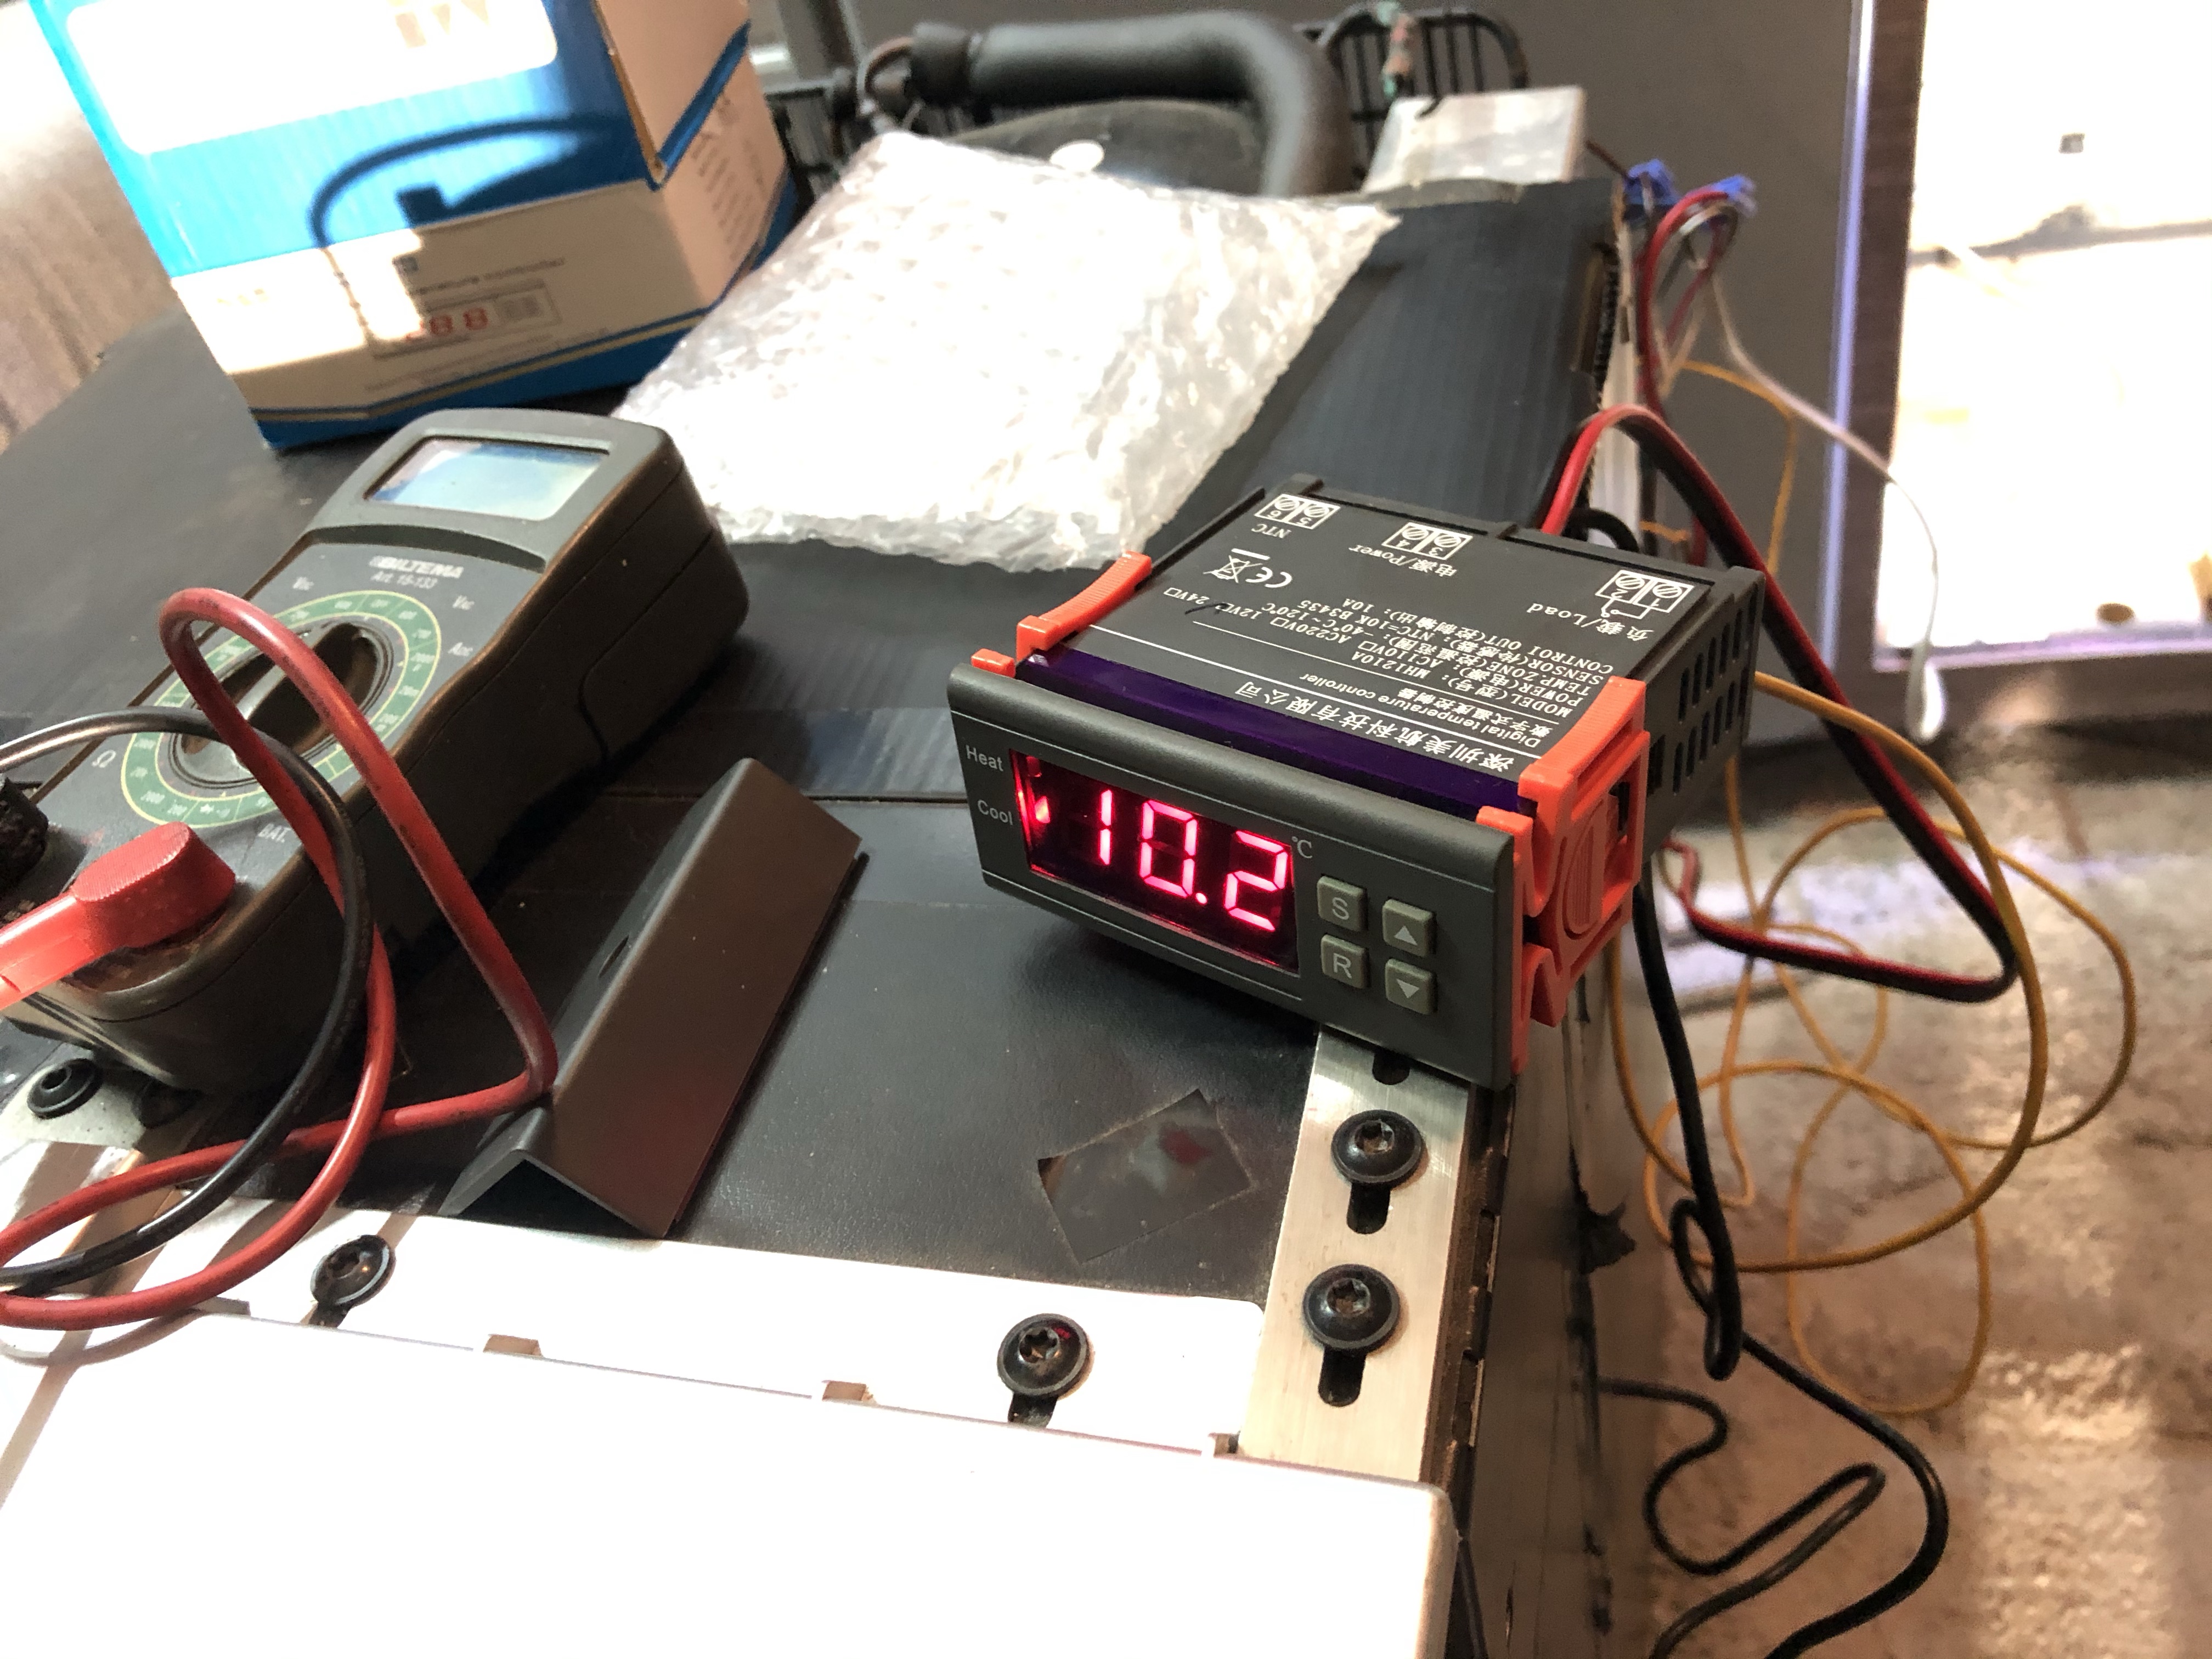
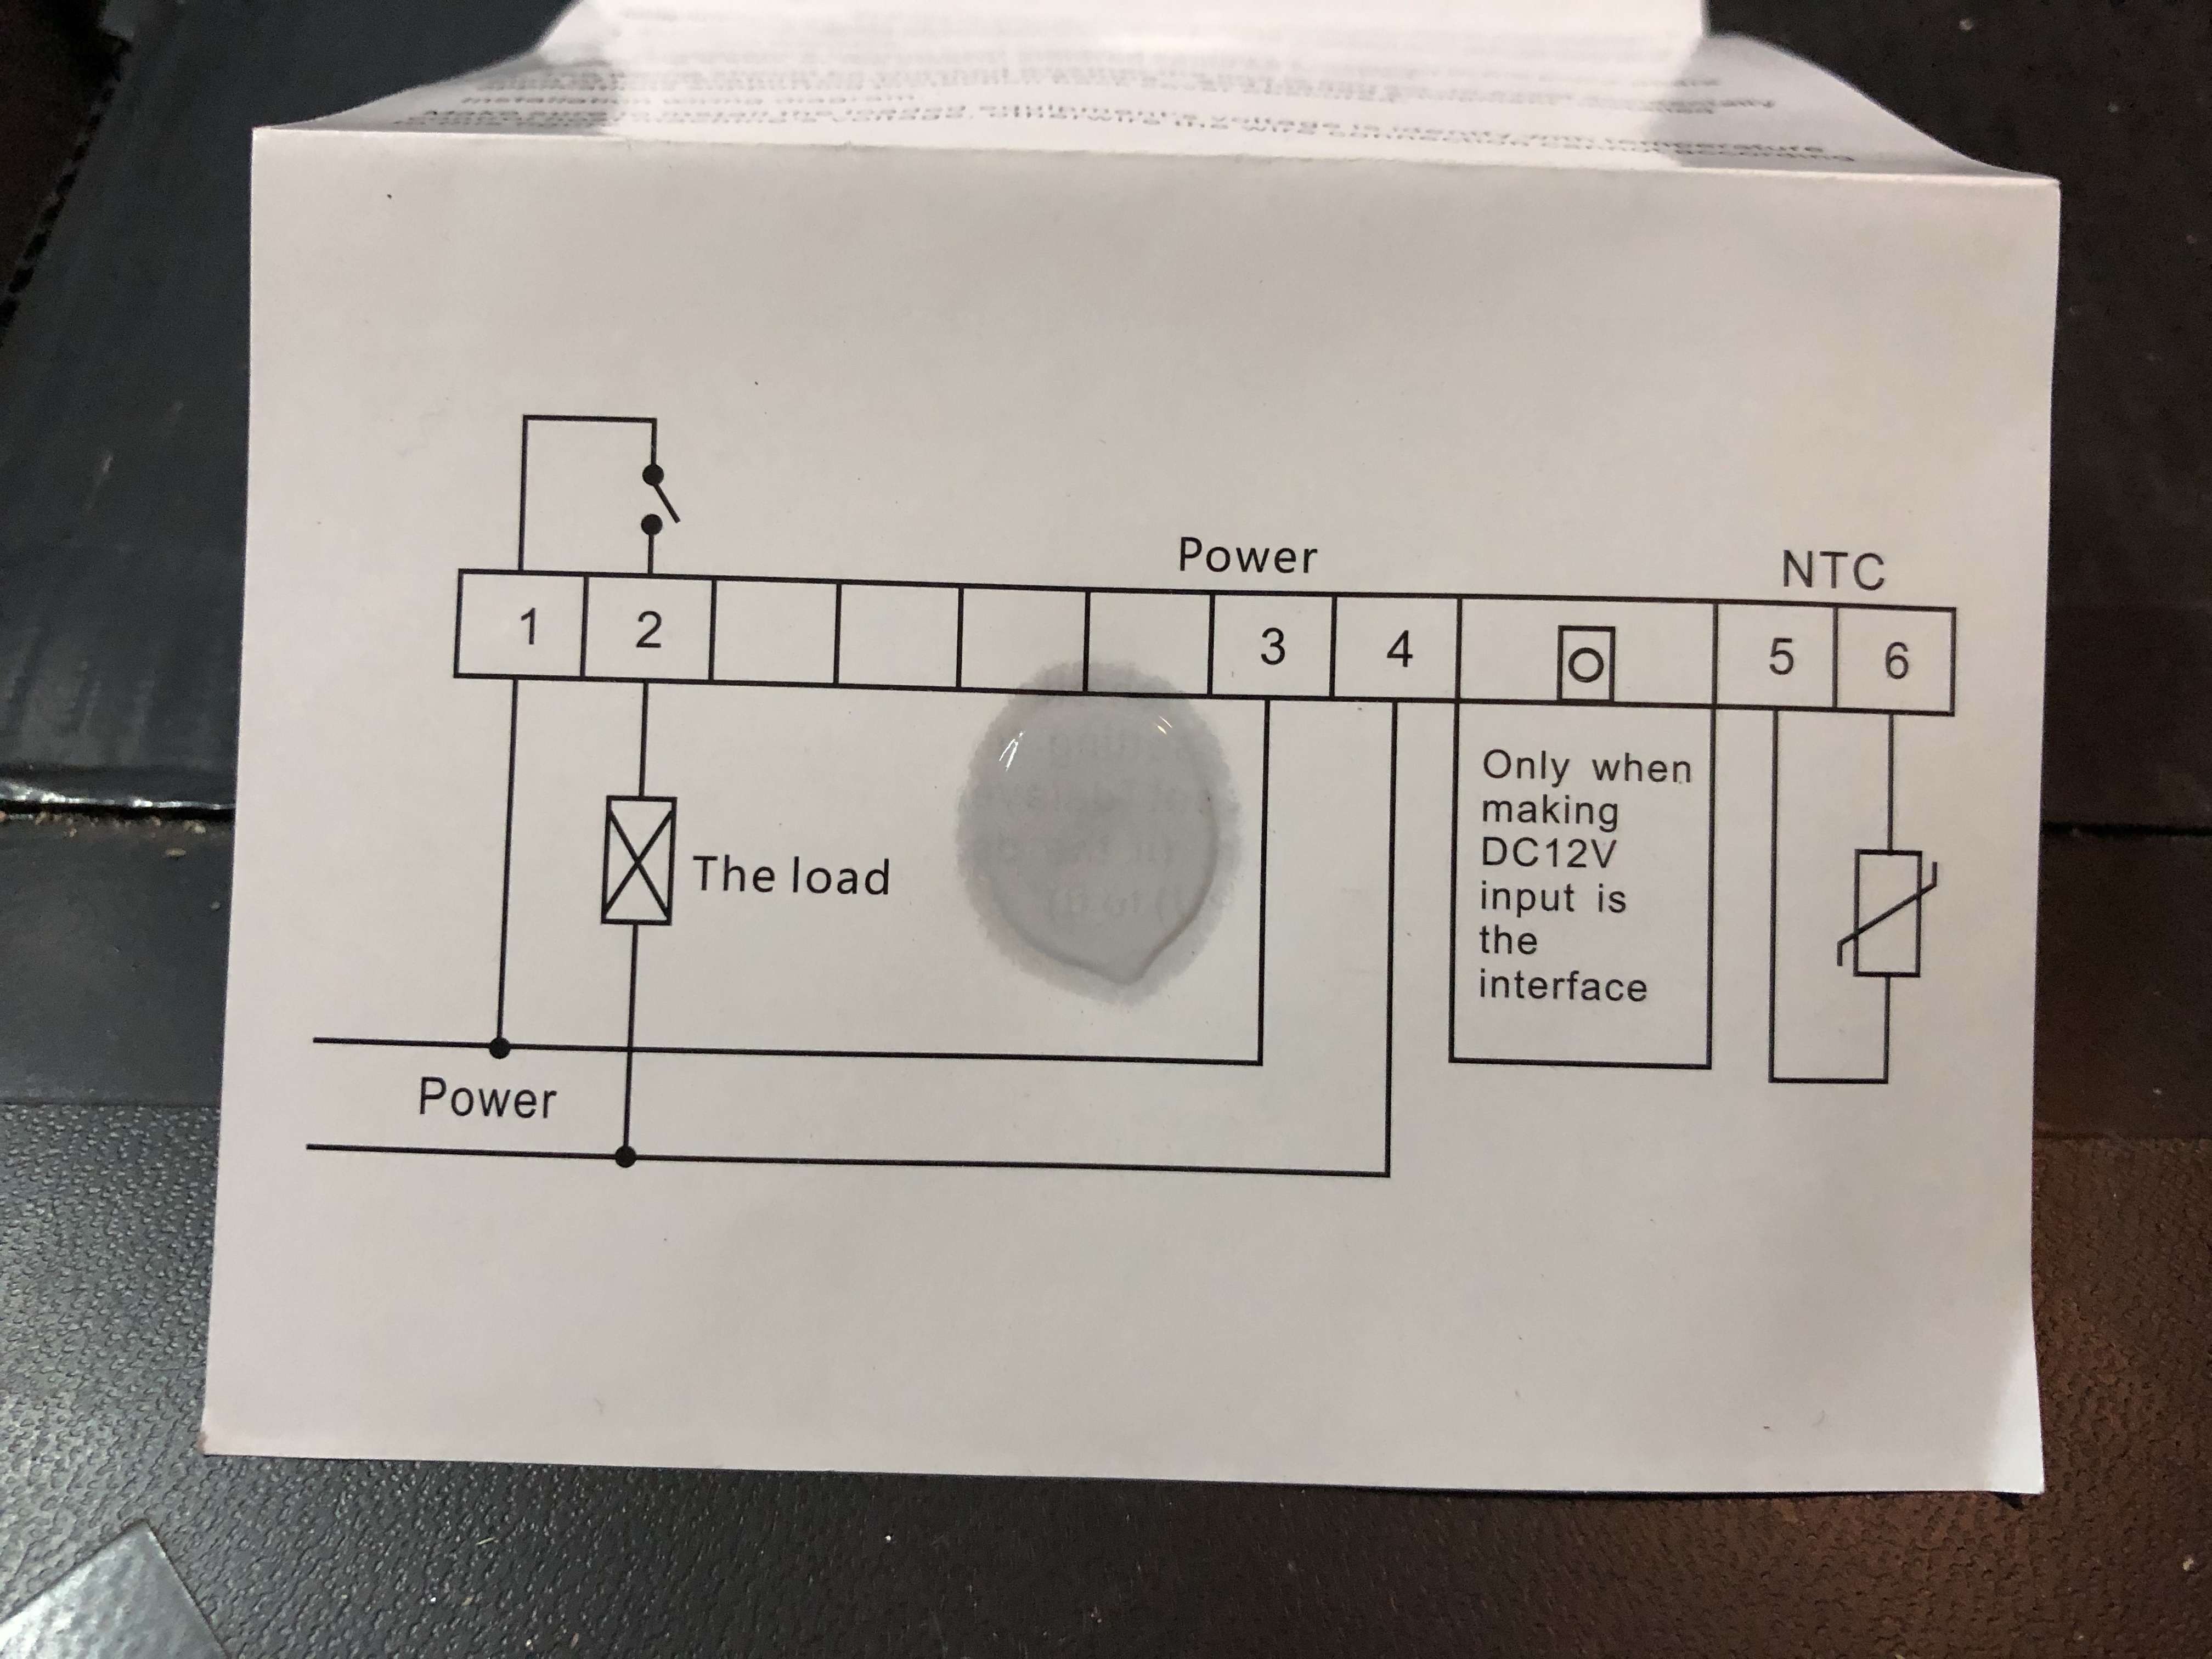
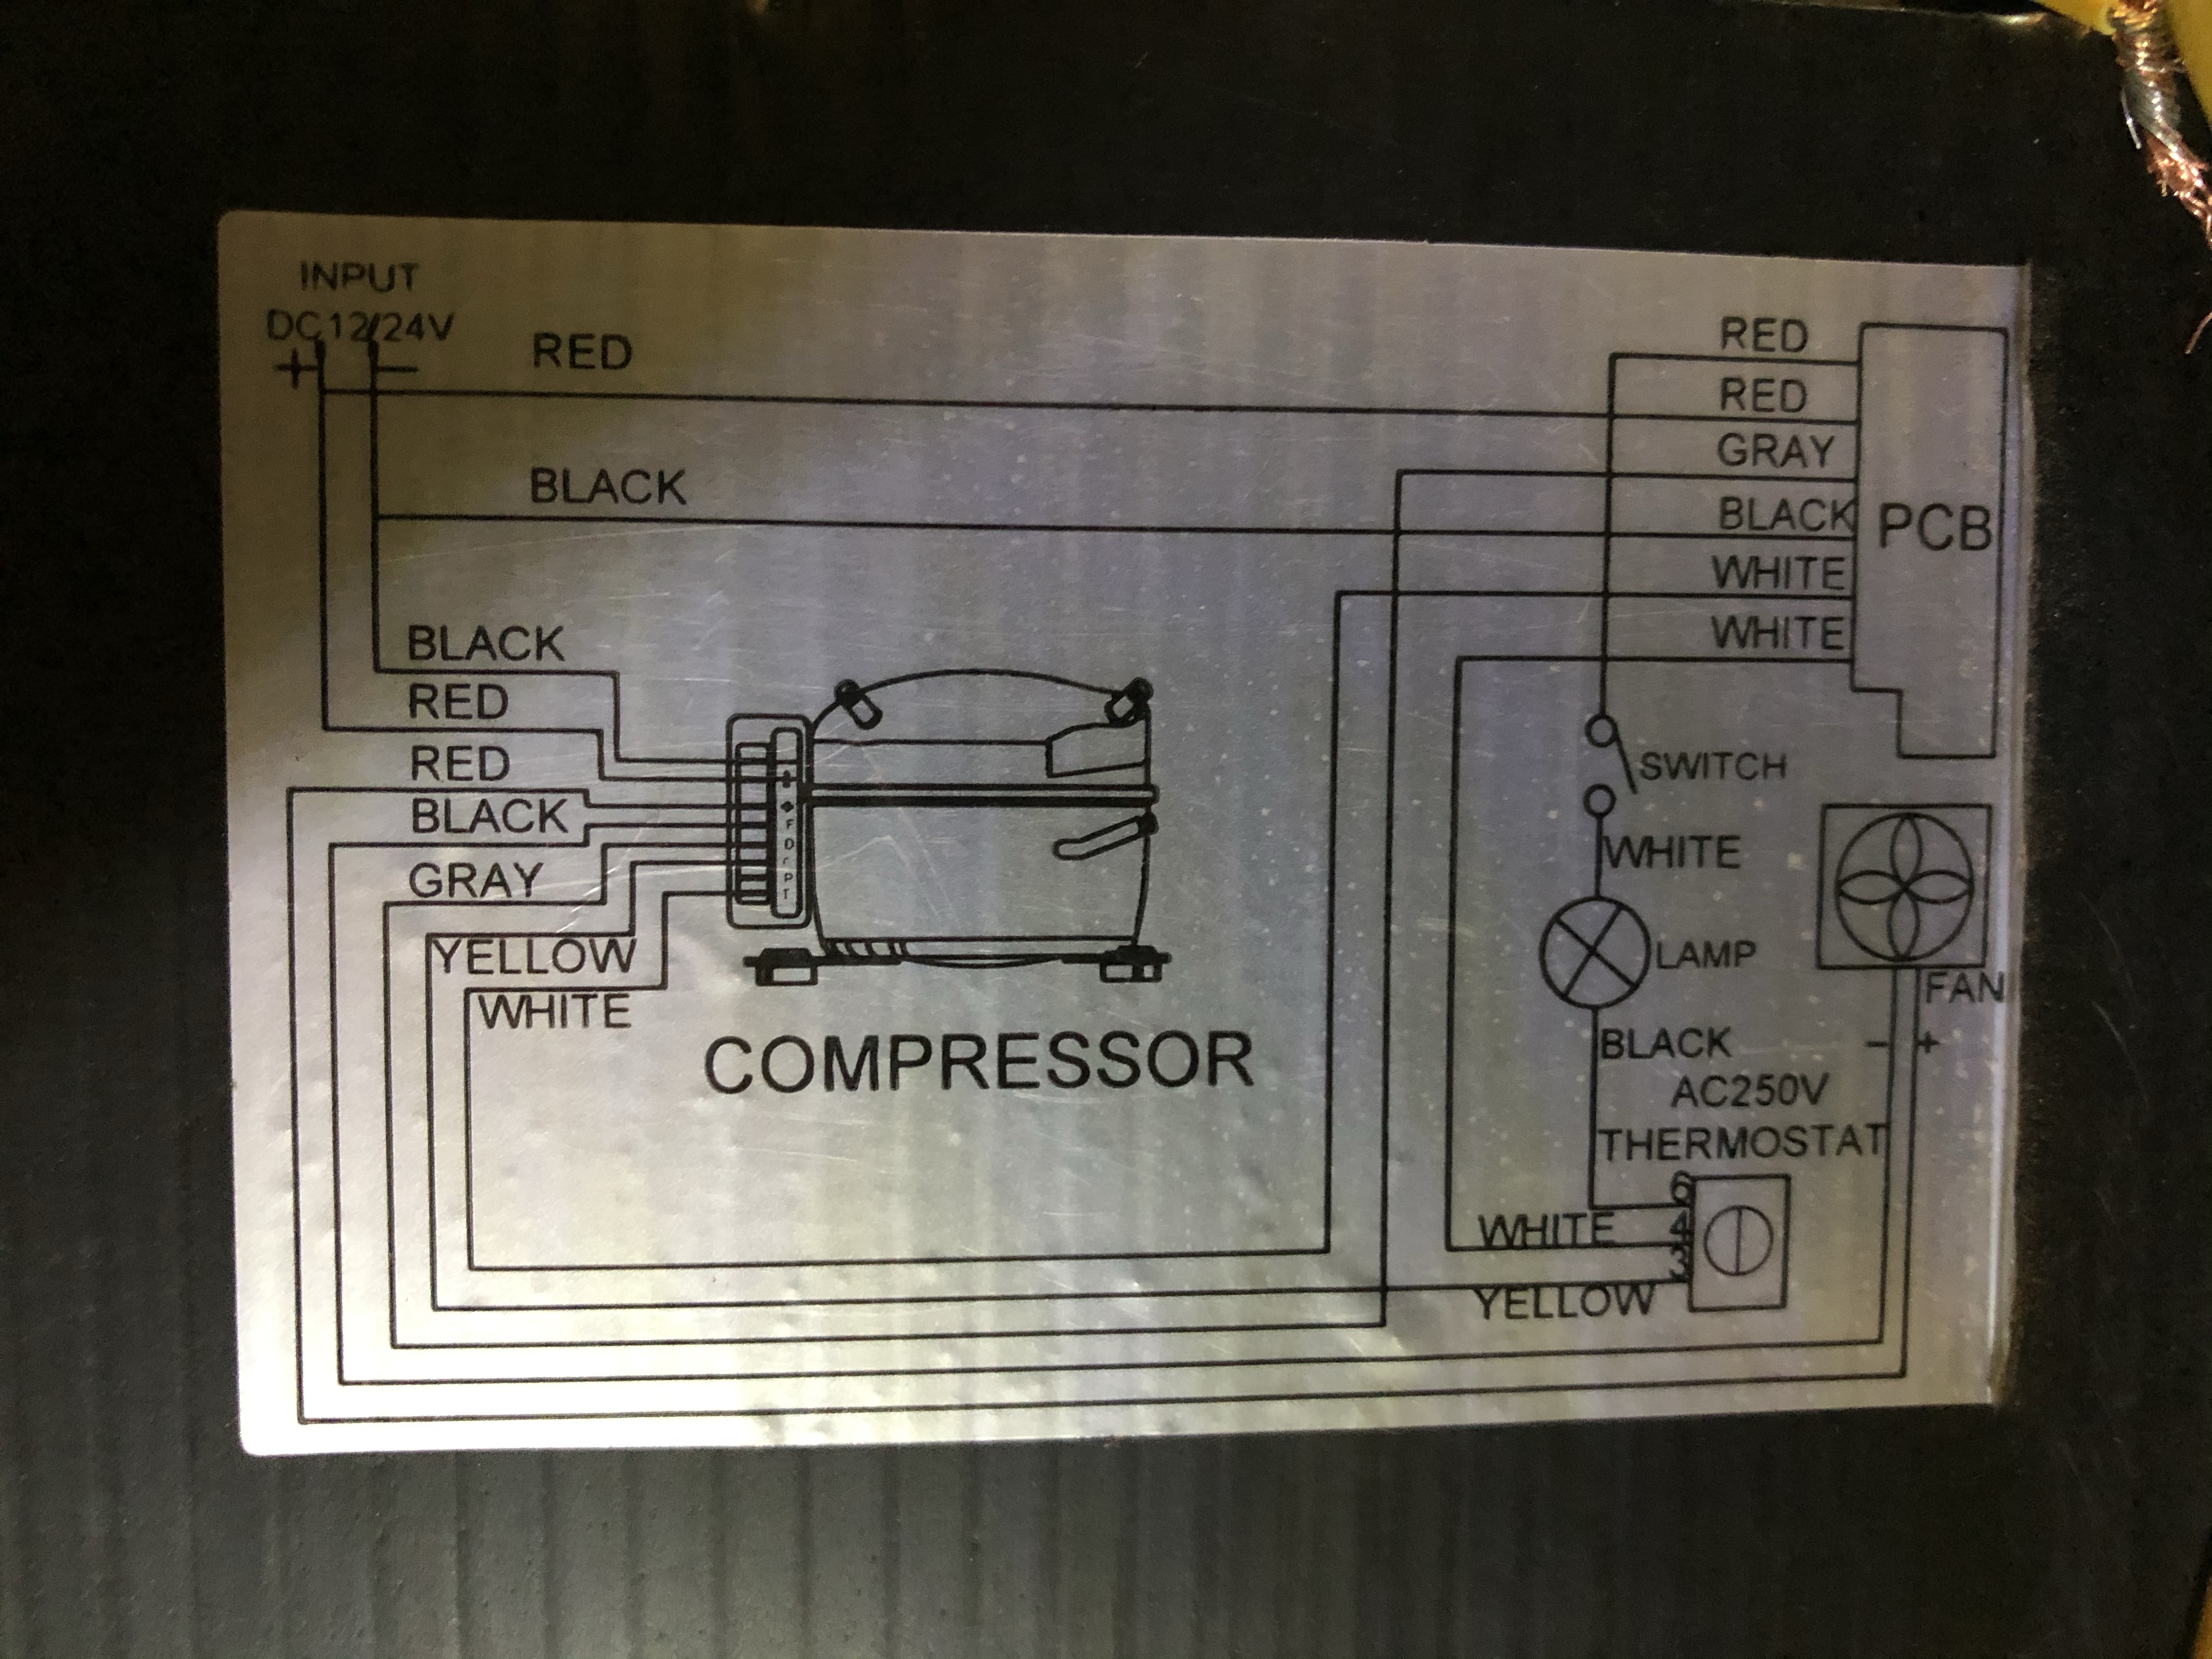
Instead I bought a 20euros universal digital temp controller and wired it in, replacing the old mechanical thermostat. It now works great, keeps the temperature more stable and uses less energy. I can even see the present temp inside the fridge on the display, and I can now change temp settnings without open the fridge door (and letting all cold out). If you have the same problems with your Waeco or Dometic 12v fridge I can really recommend to upgrade to a digital thermostat instead ? I also added a extra computer fan for better ventilation inside the cabinet on hot summer days, compressor will be happy 🙂

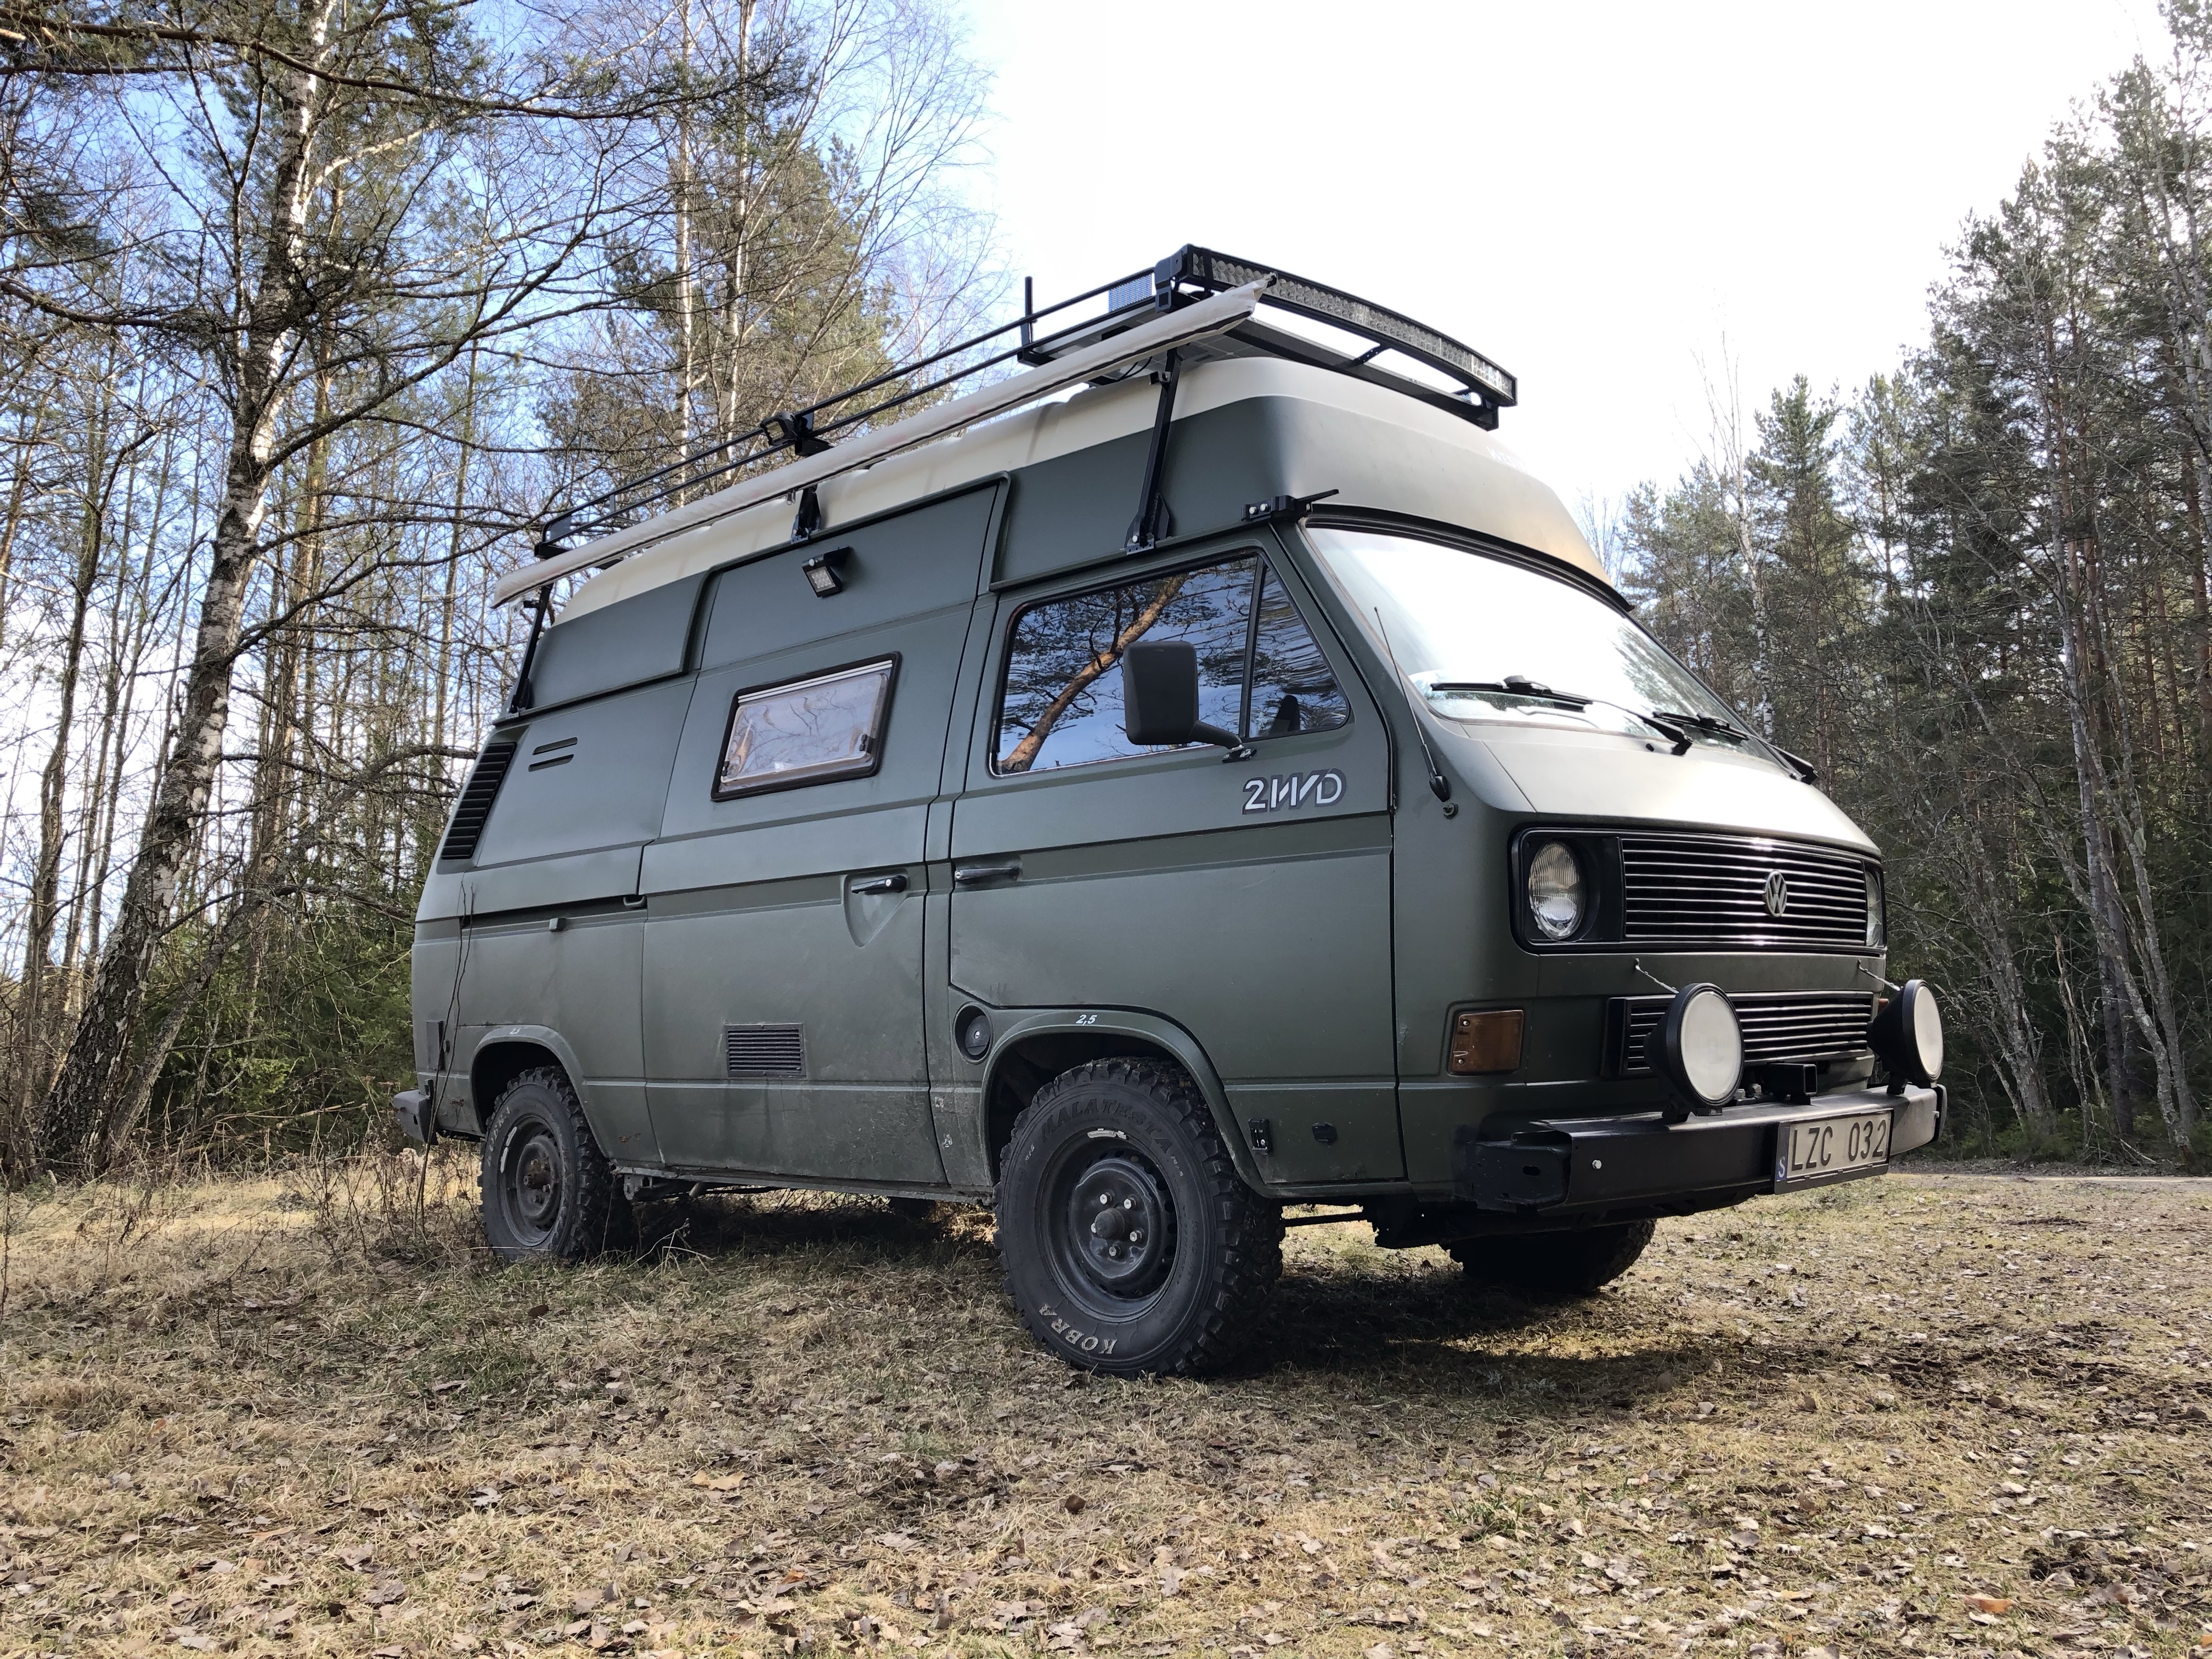
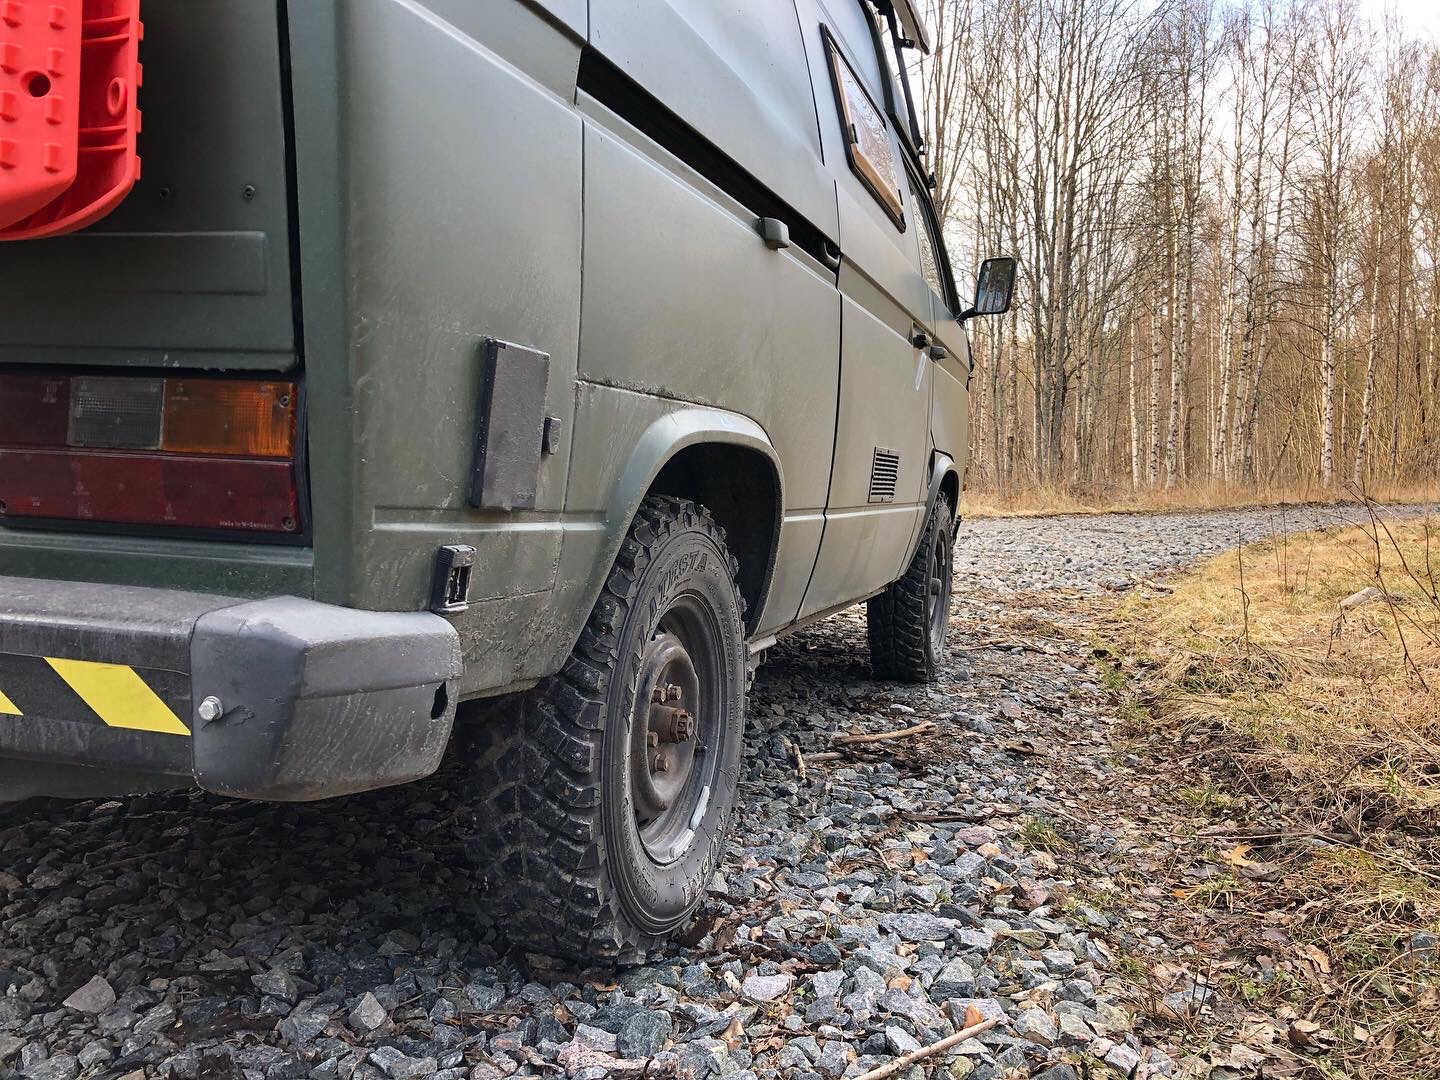
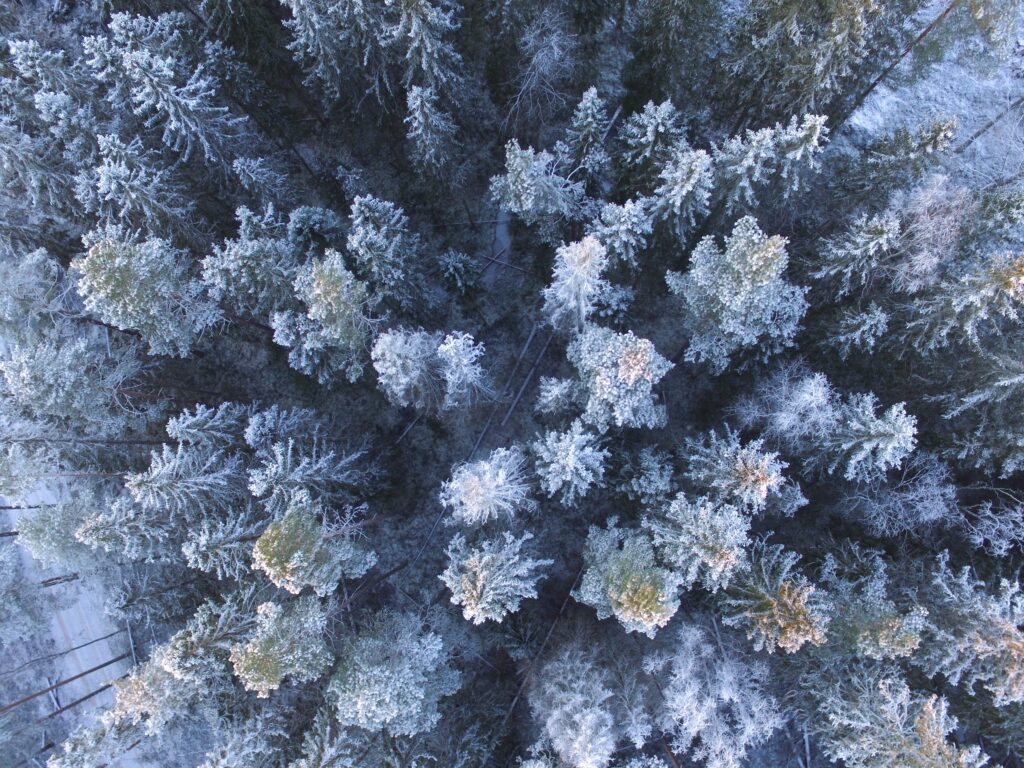
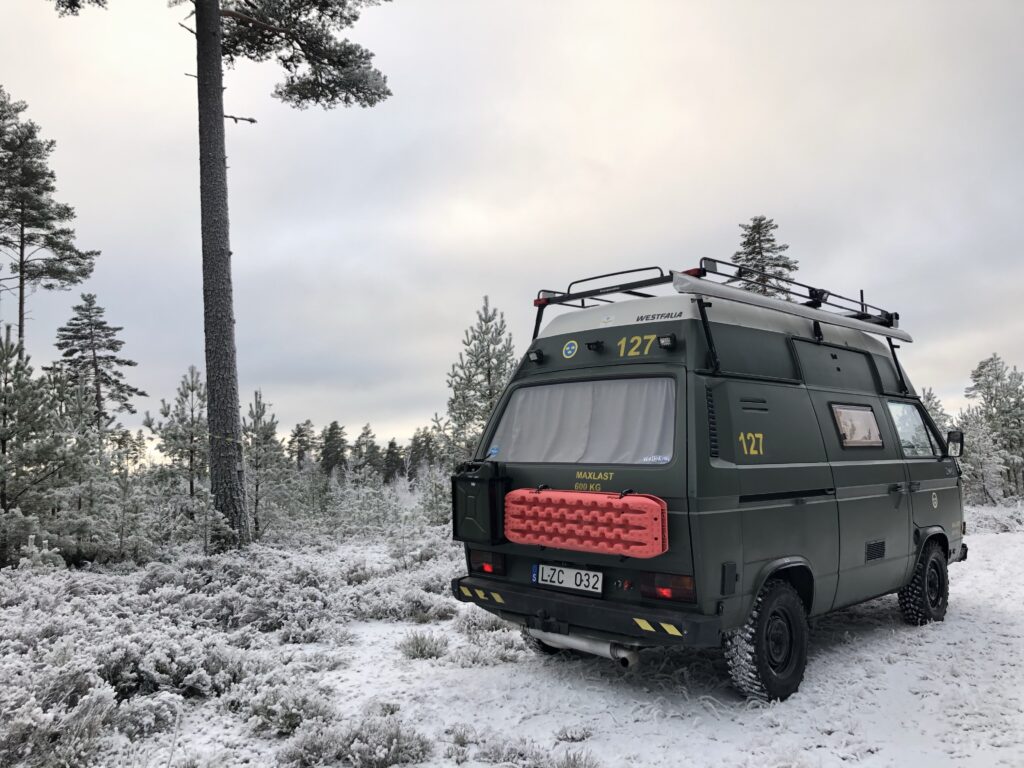
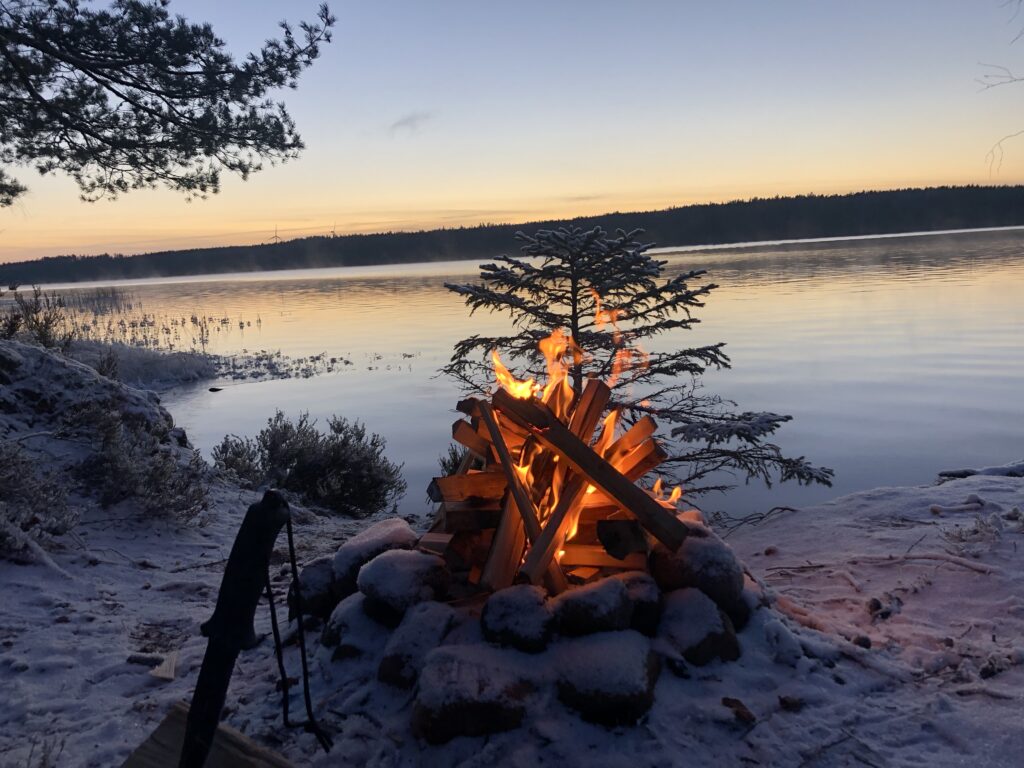
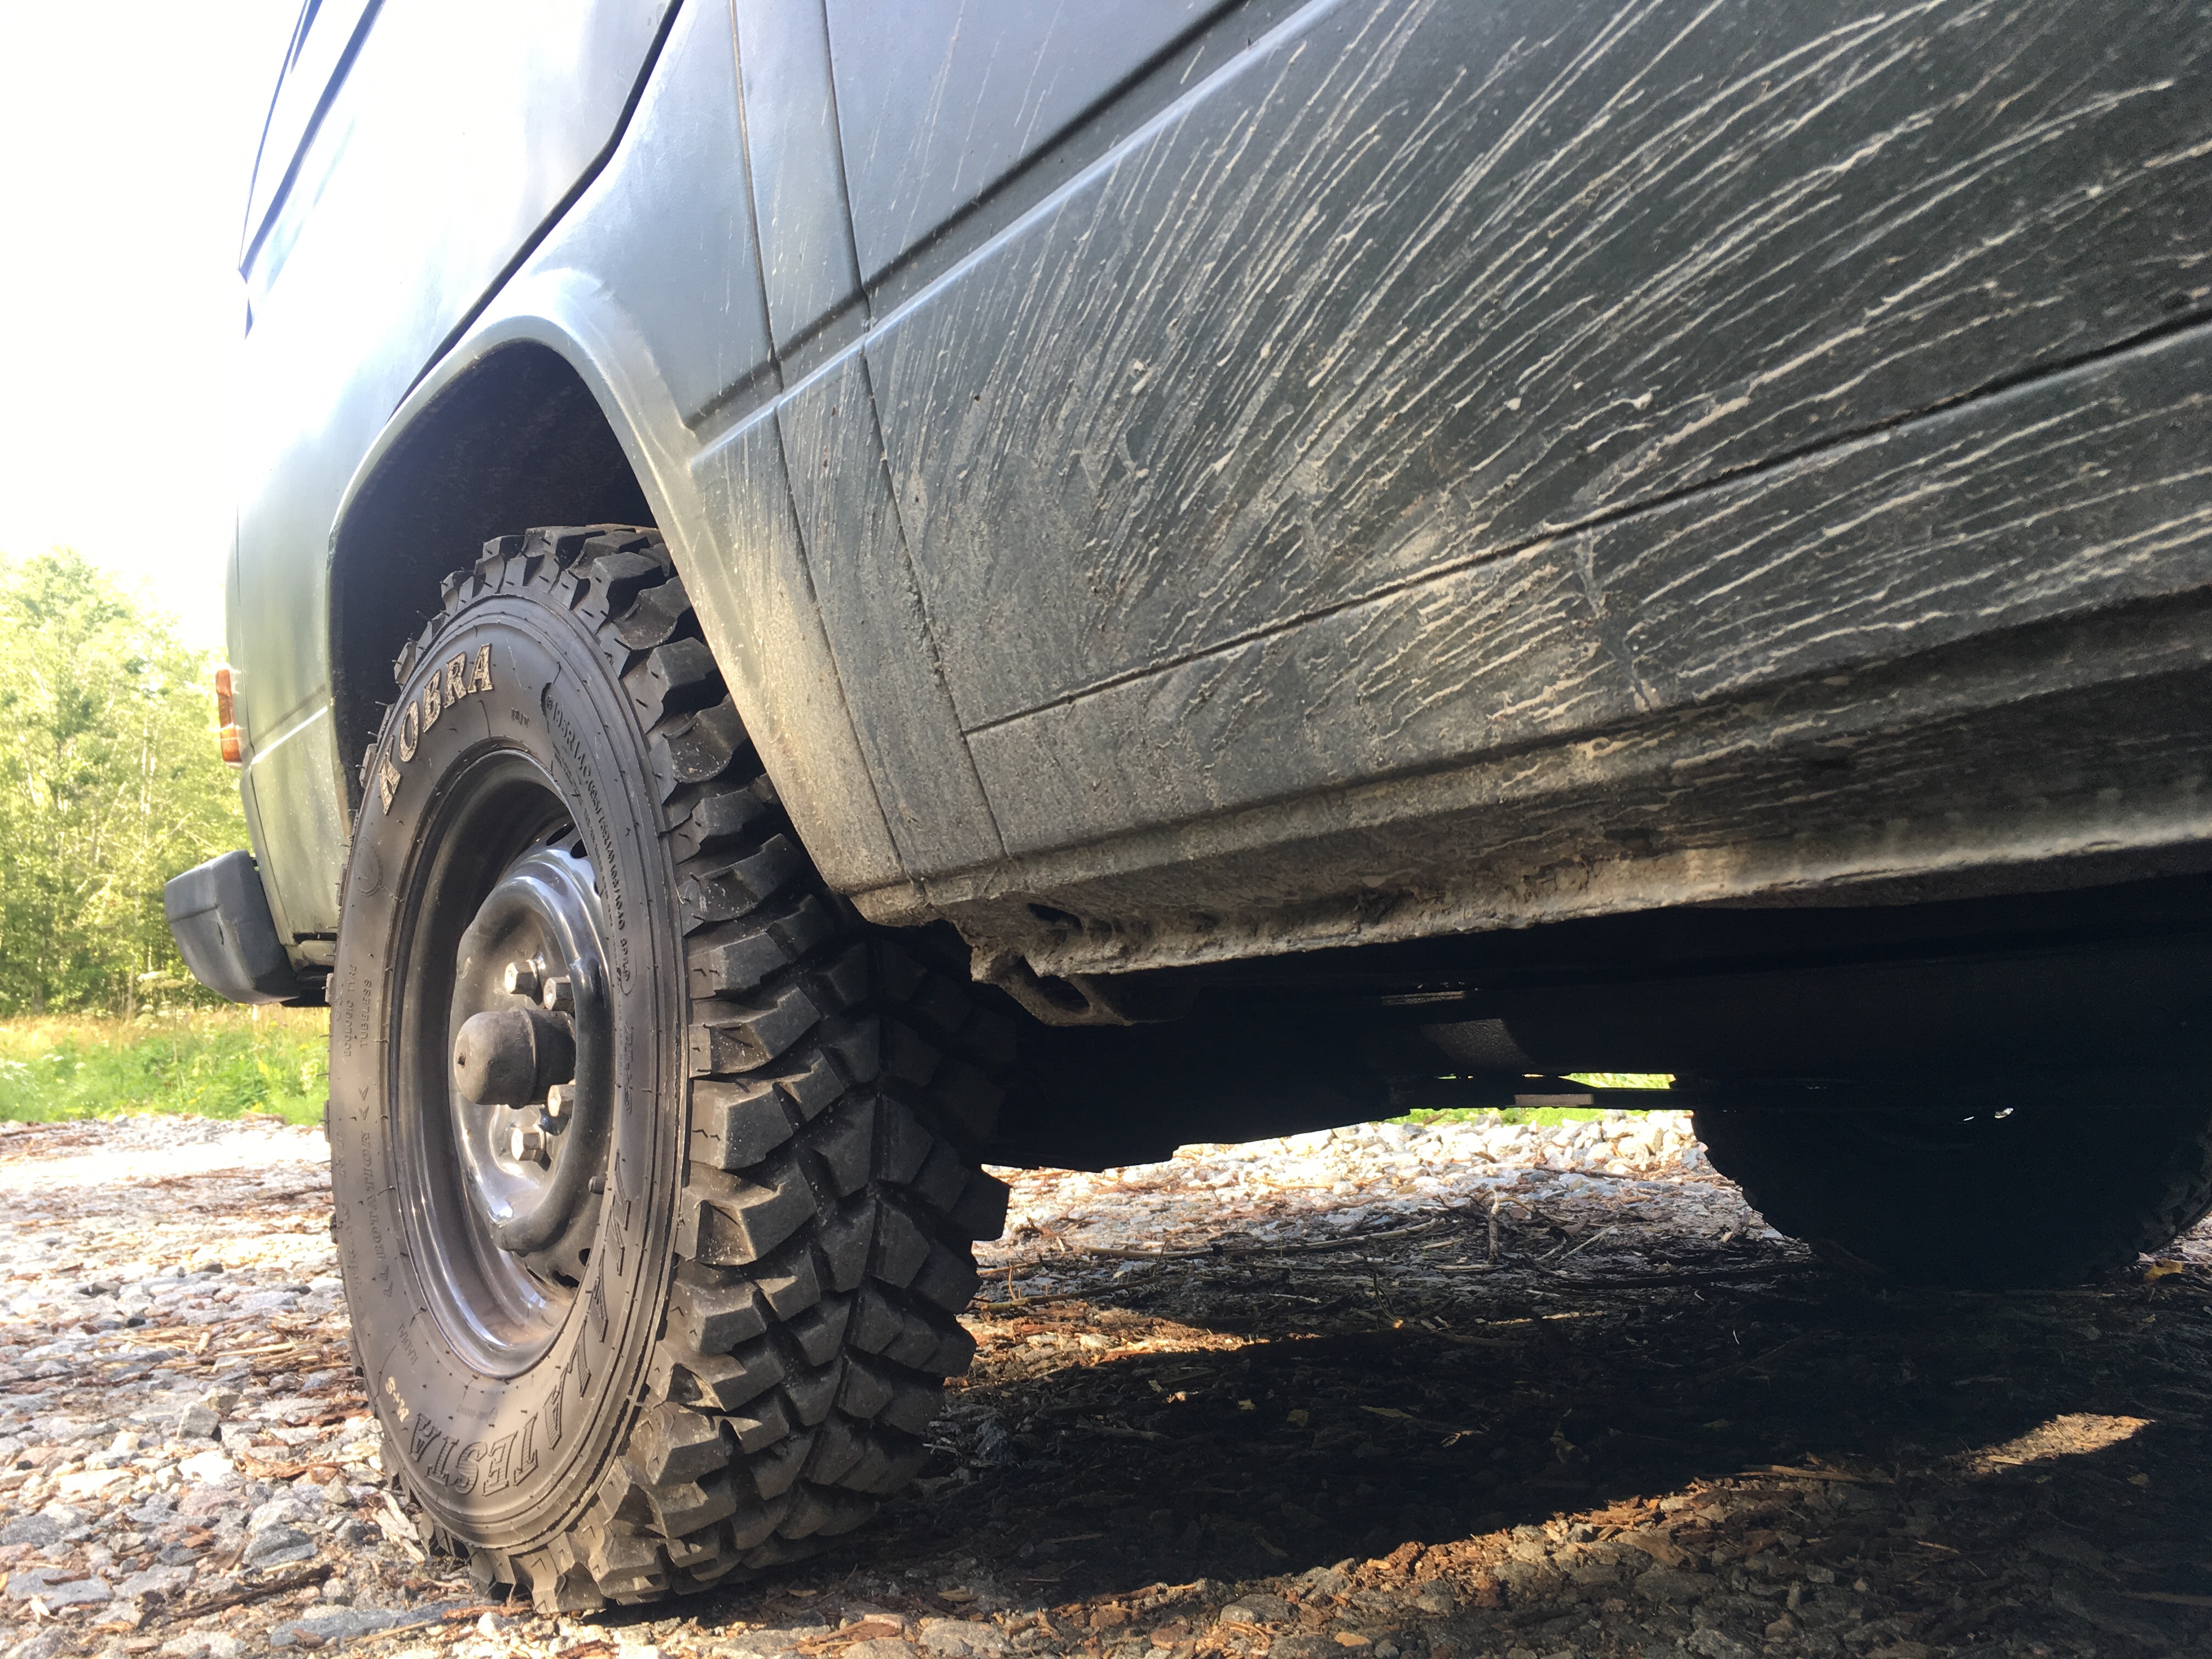
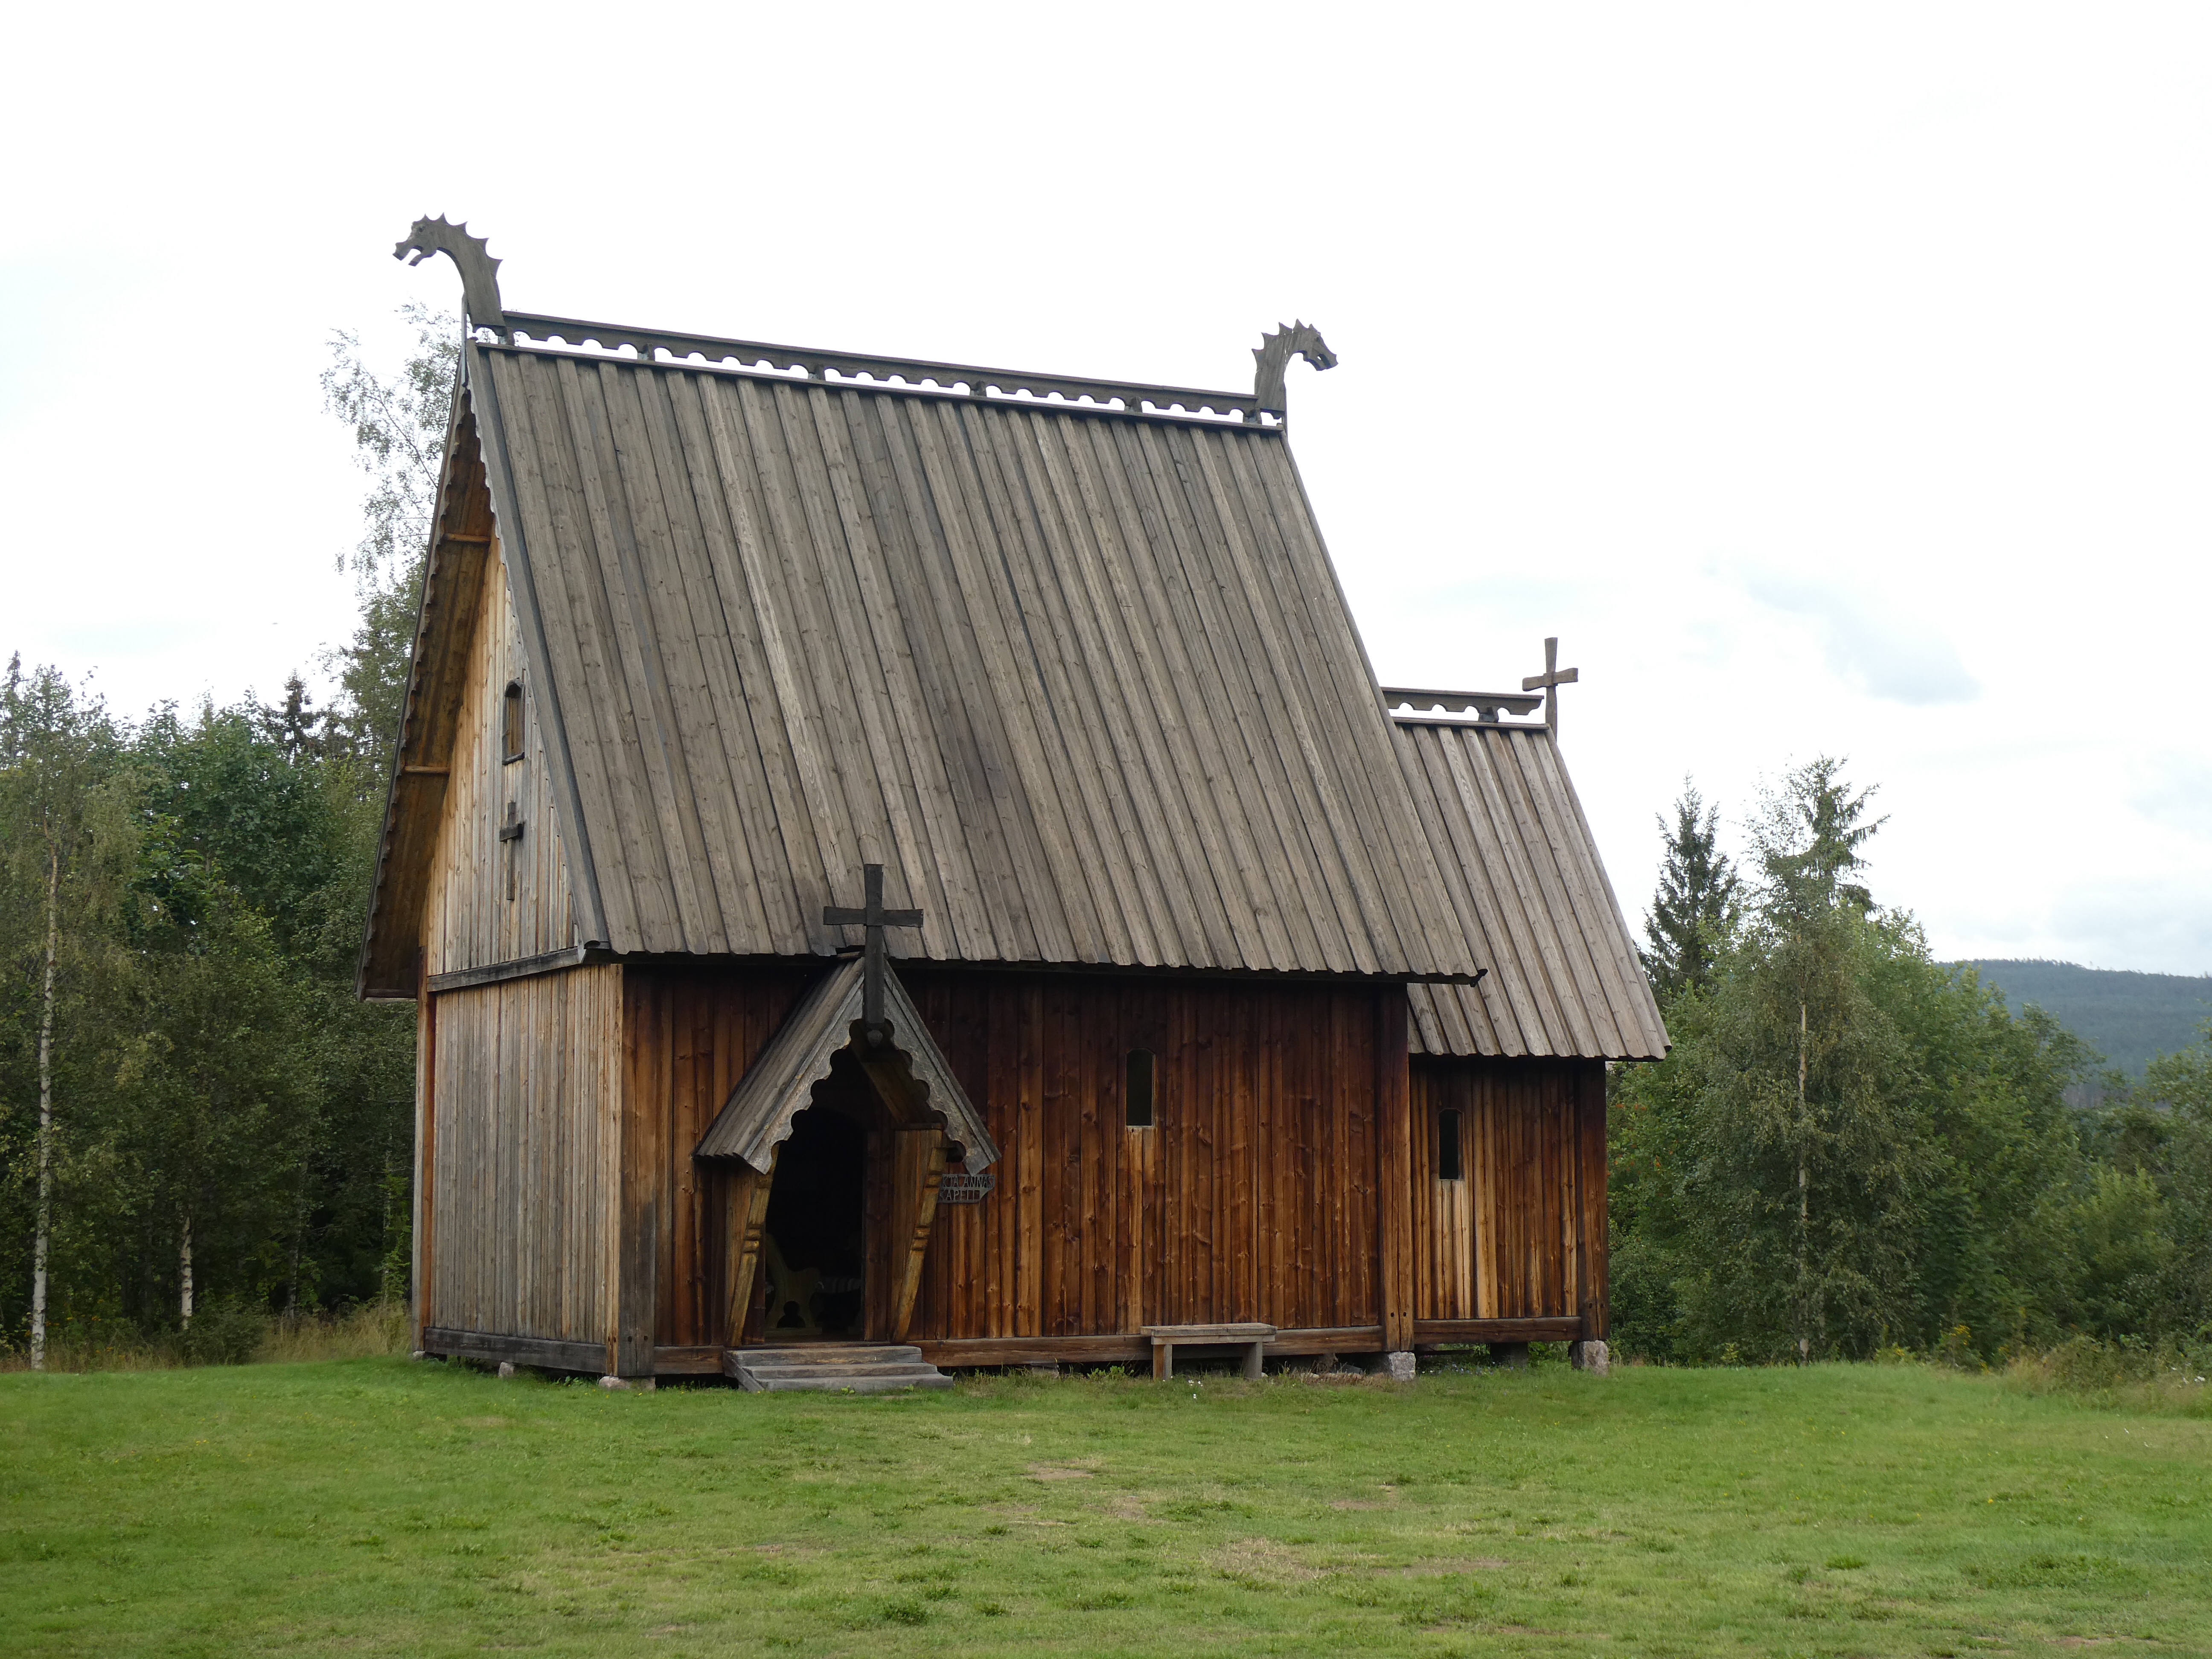
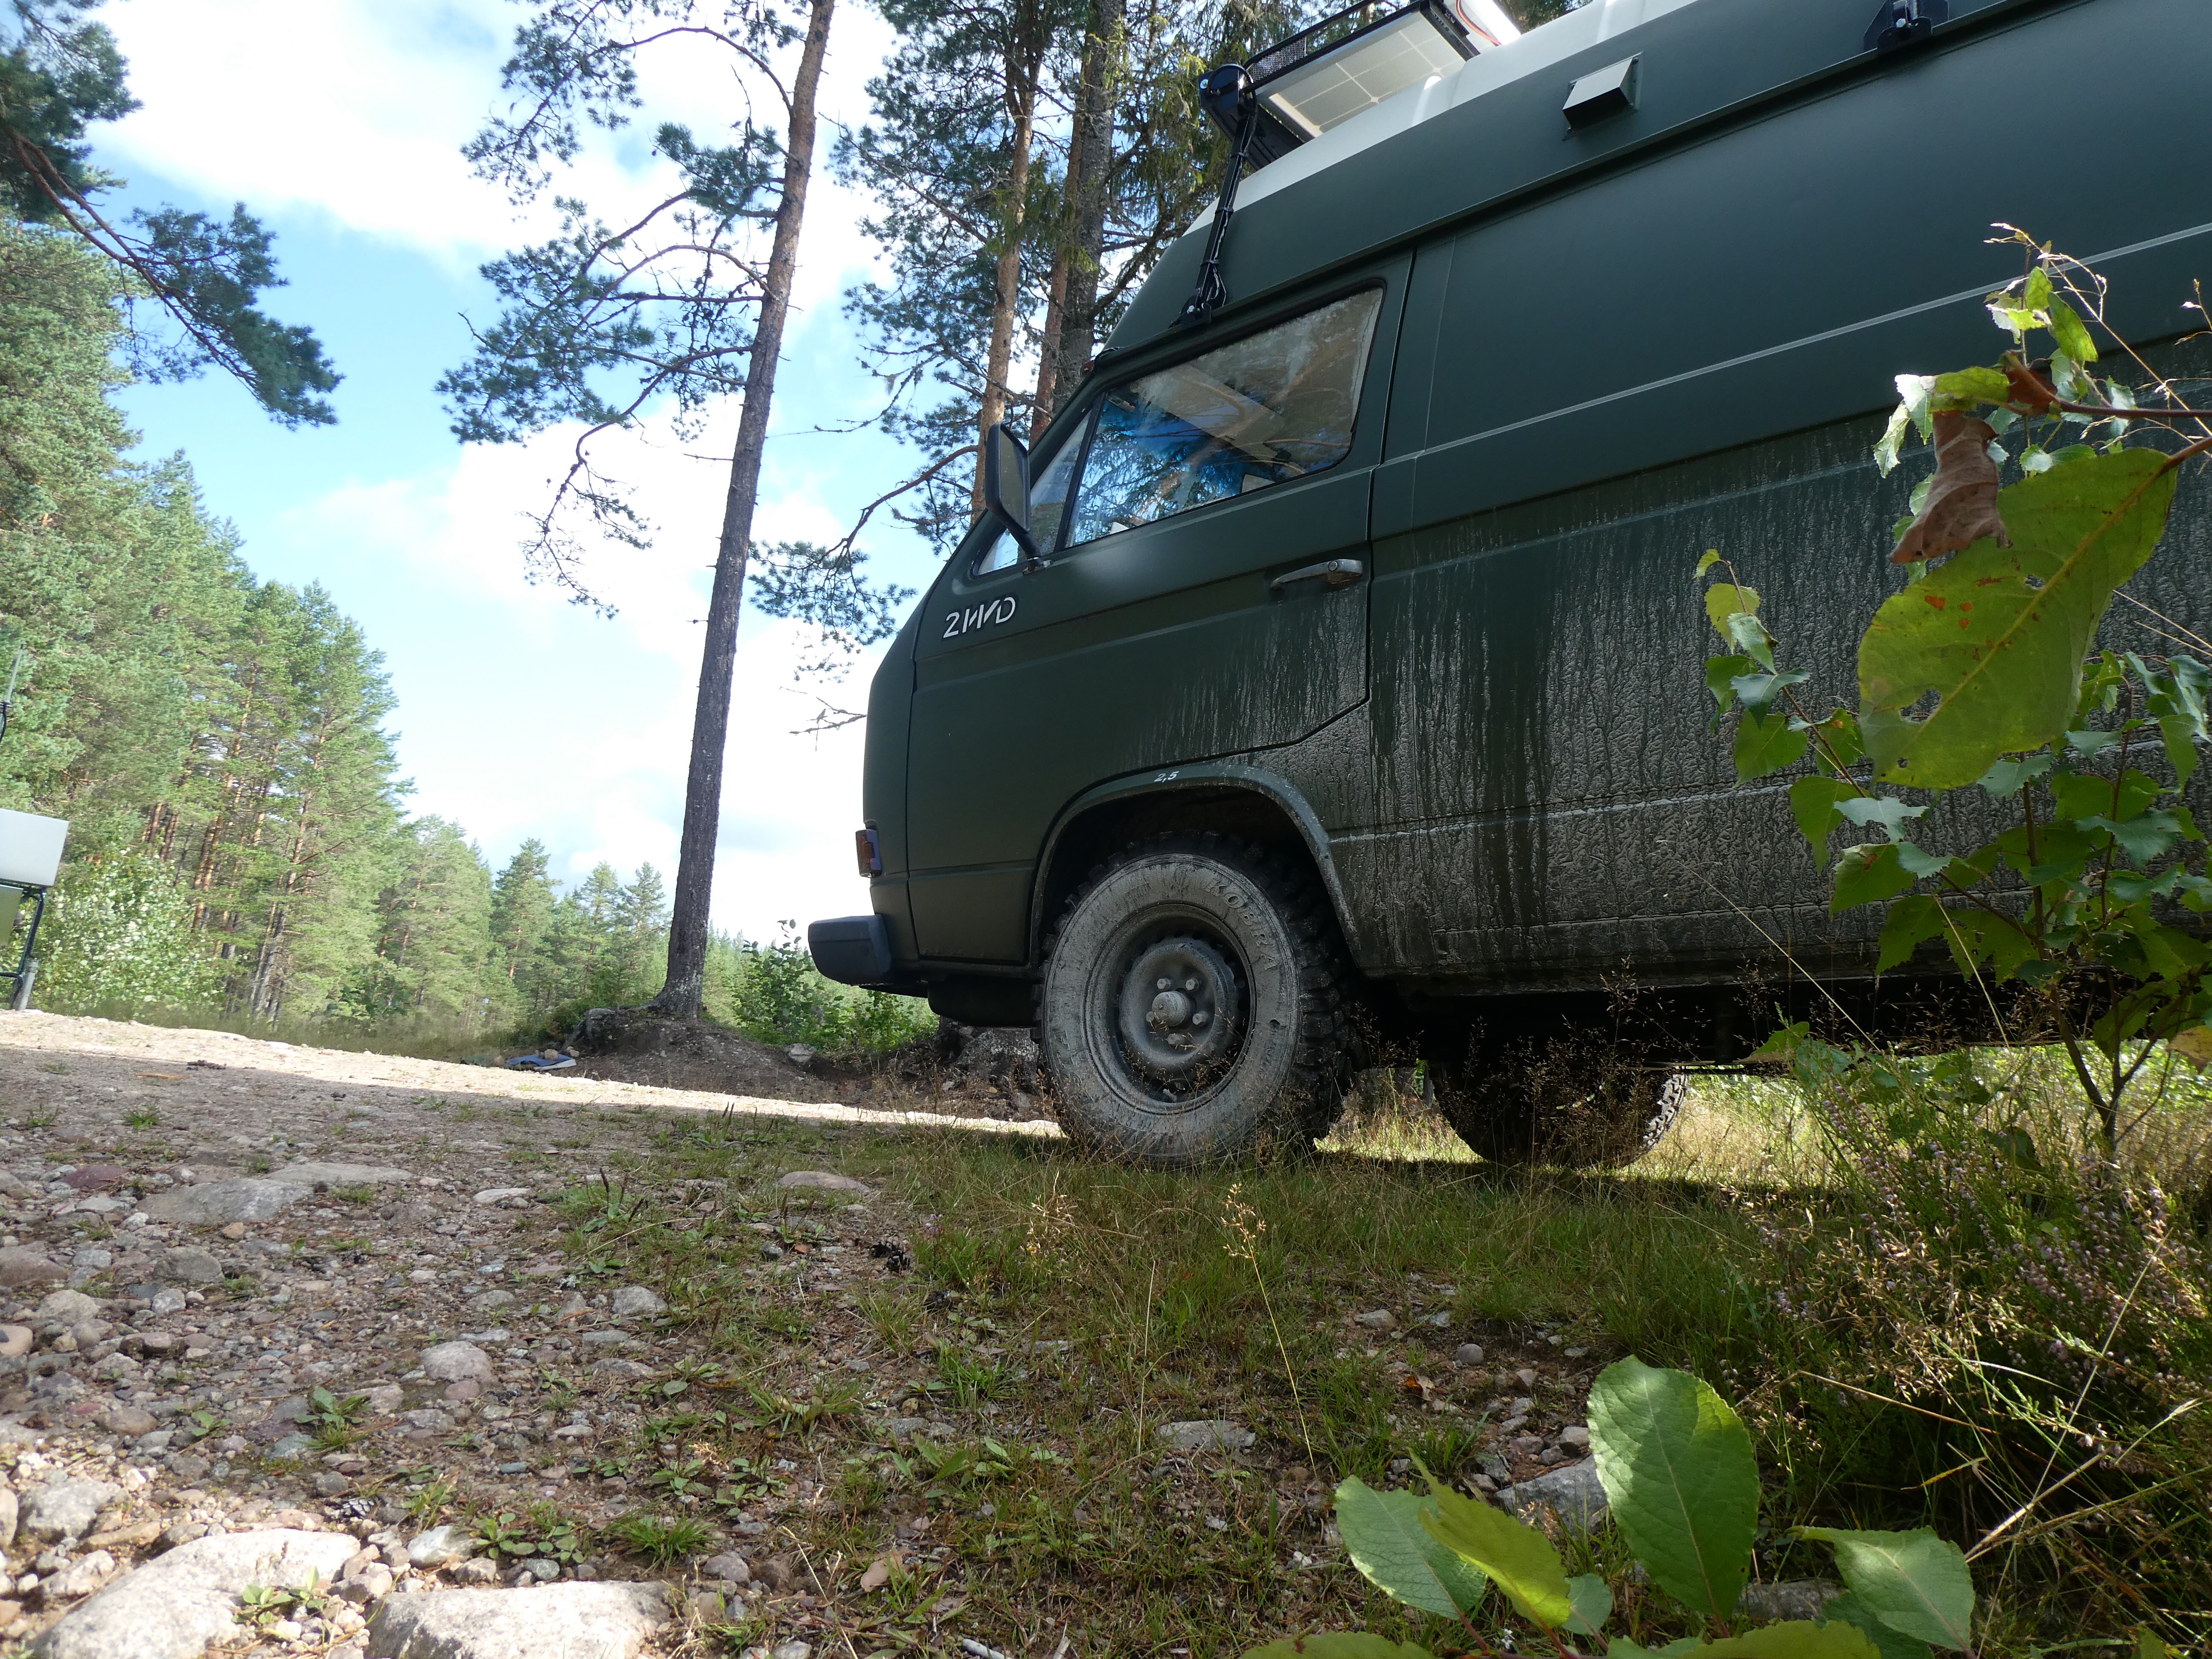
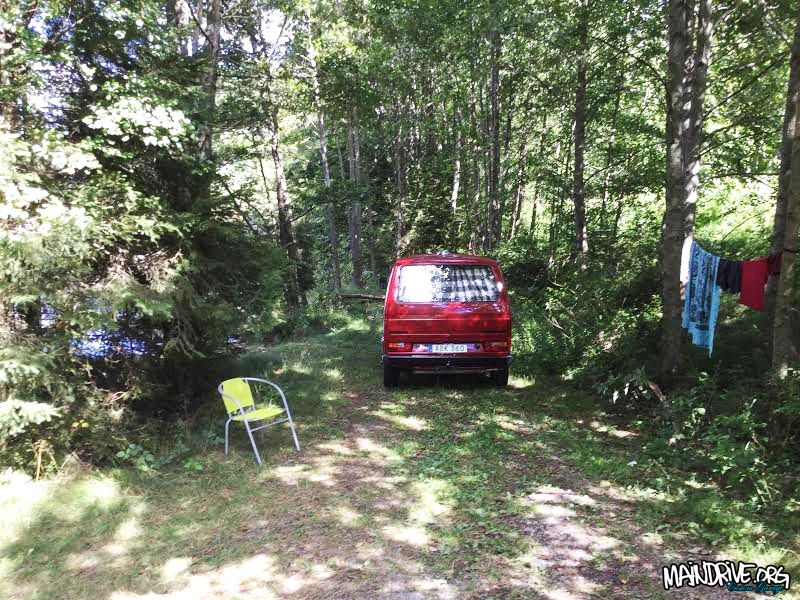
Just some random pics from last month on the T3 Highroof or as my son calls it “The Monster bus” 🙂
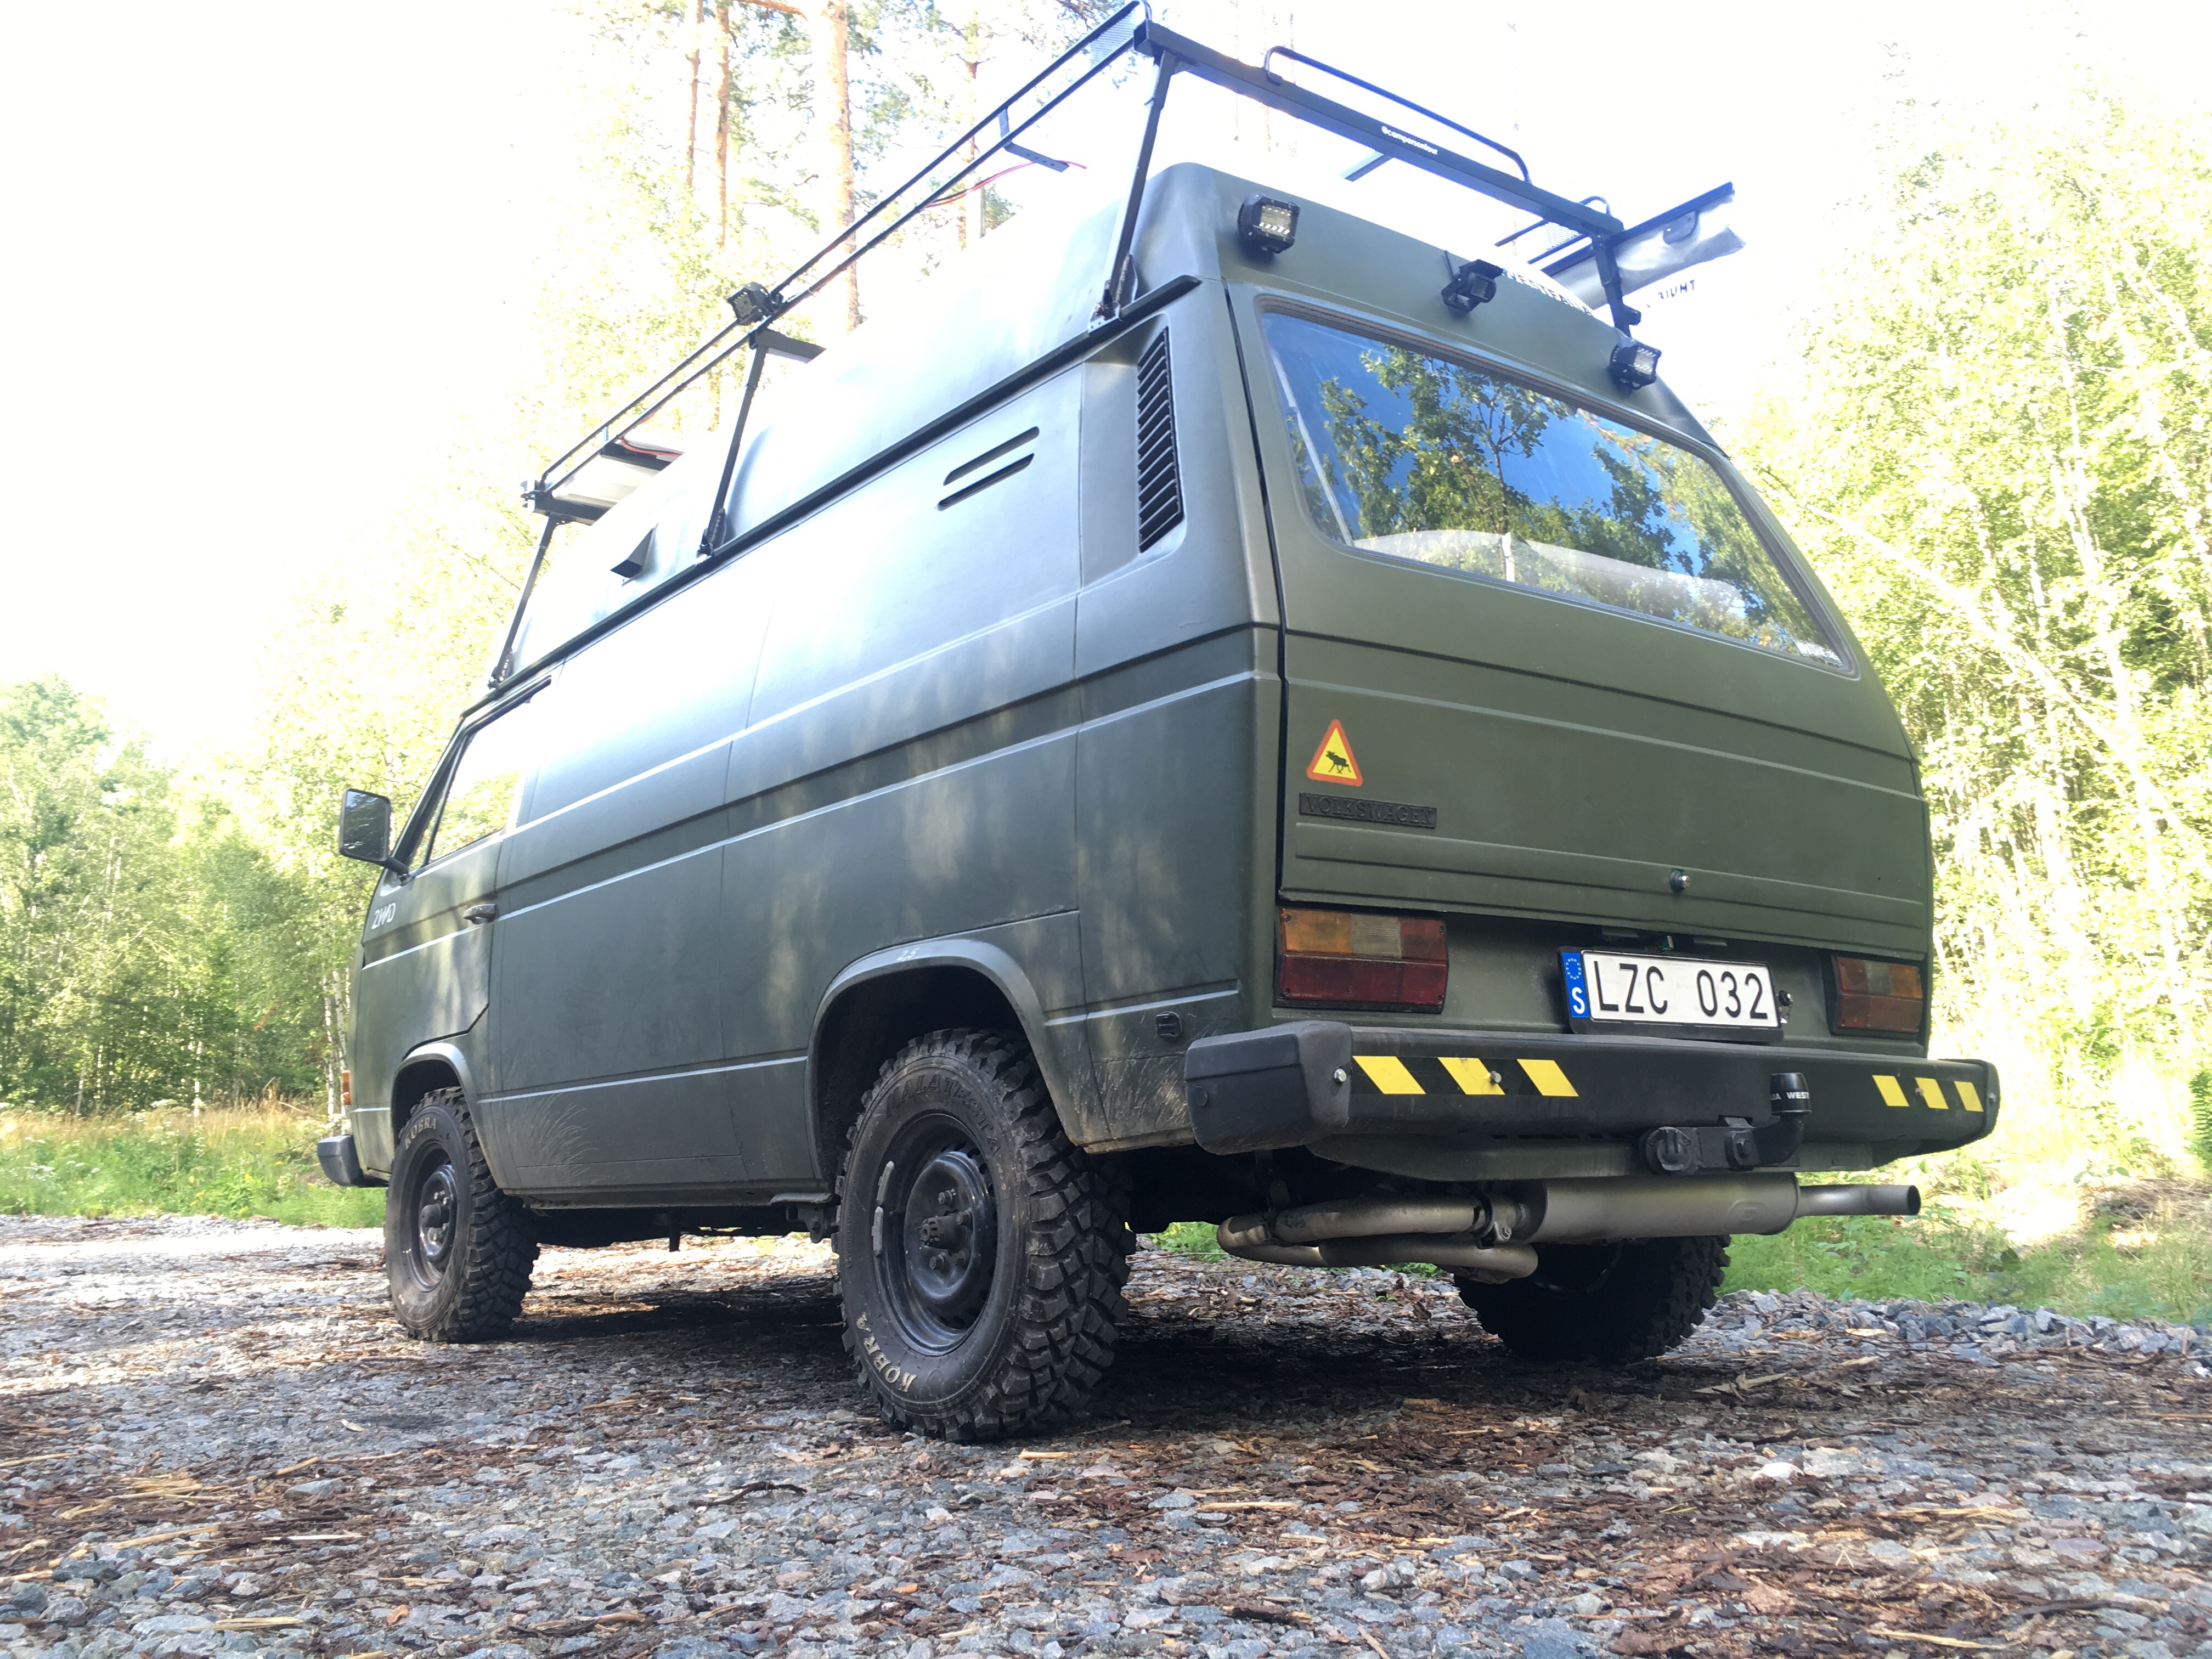
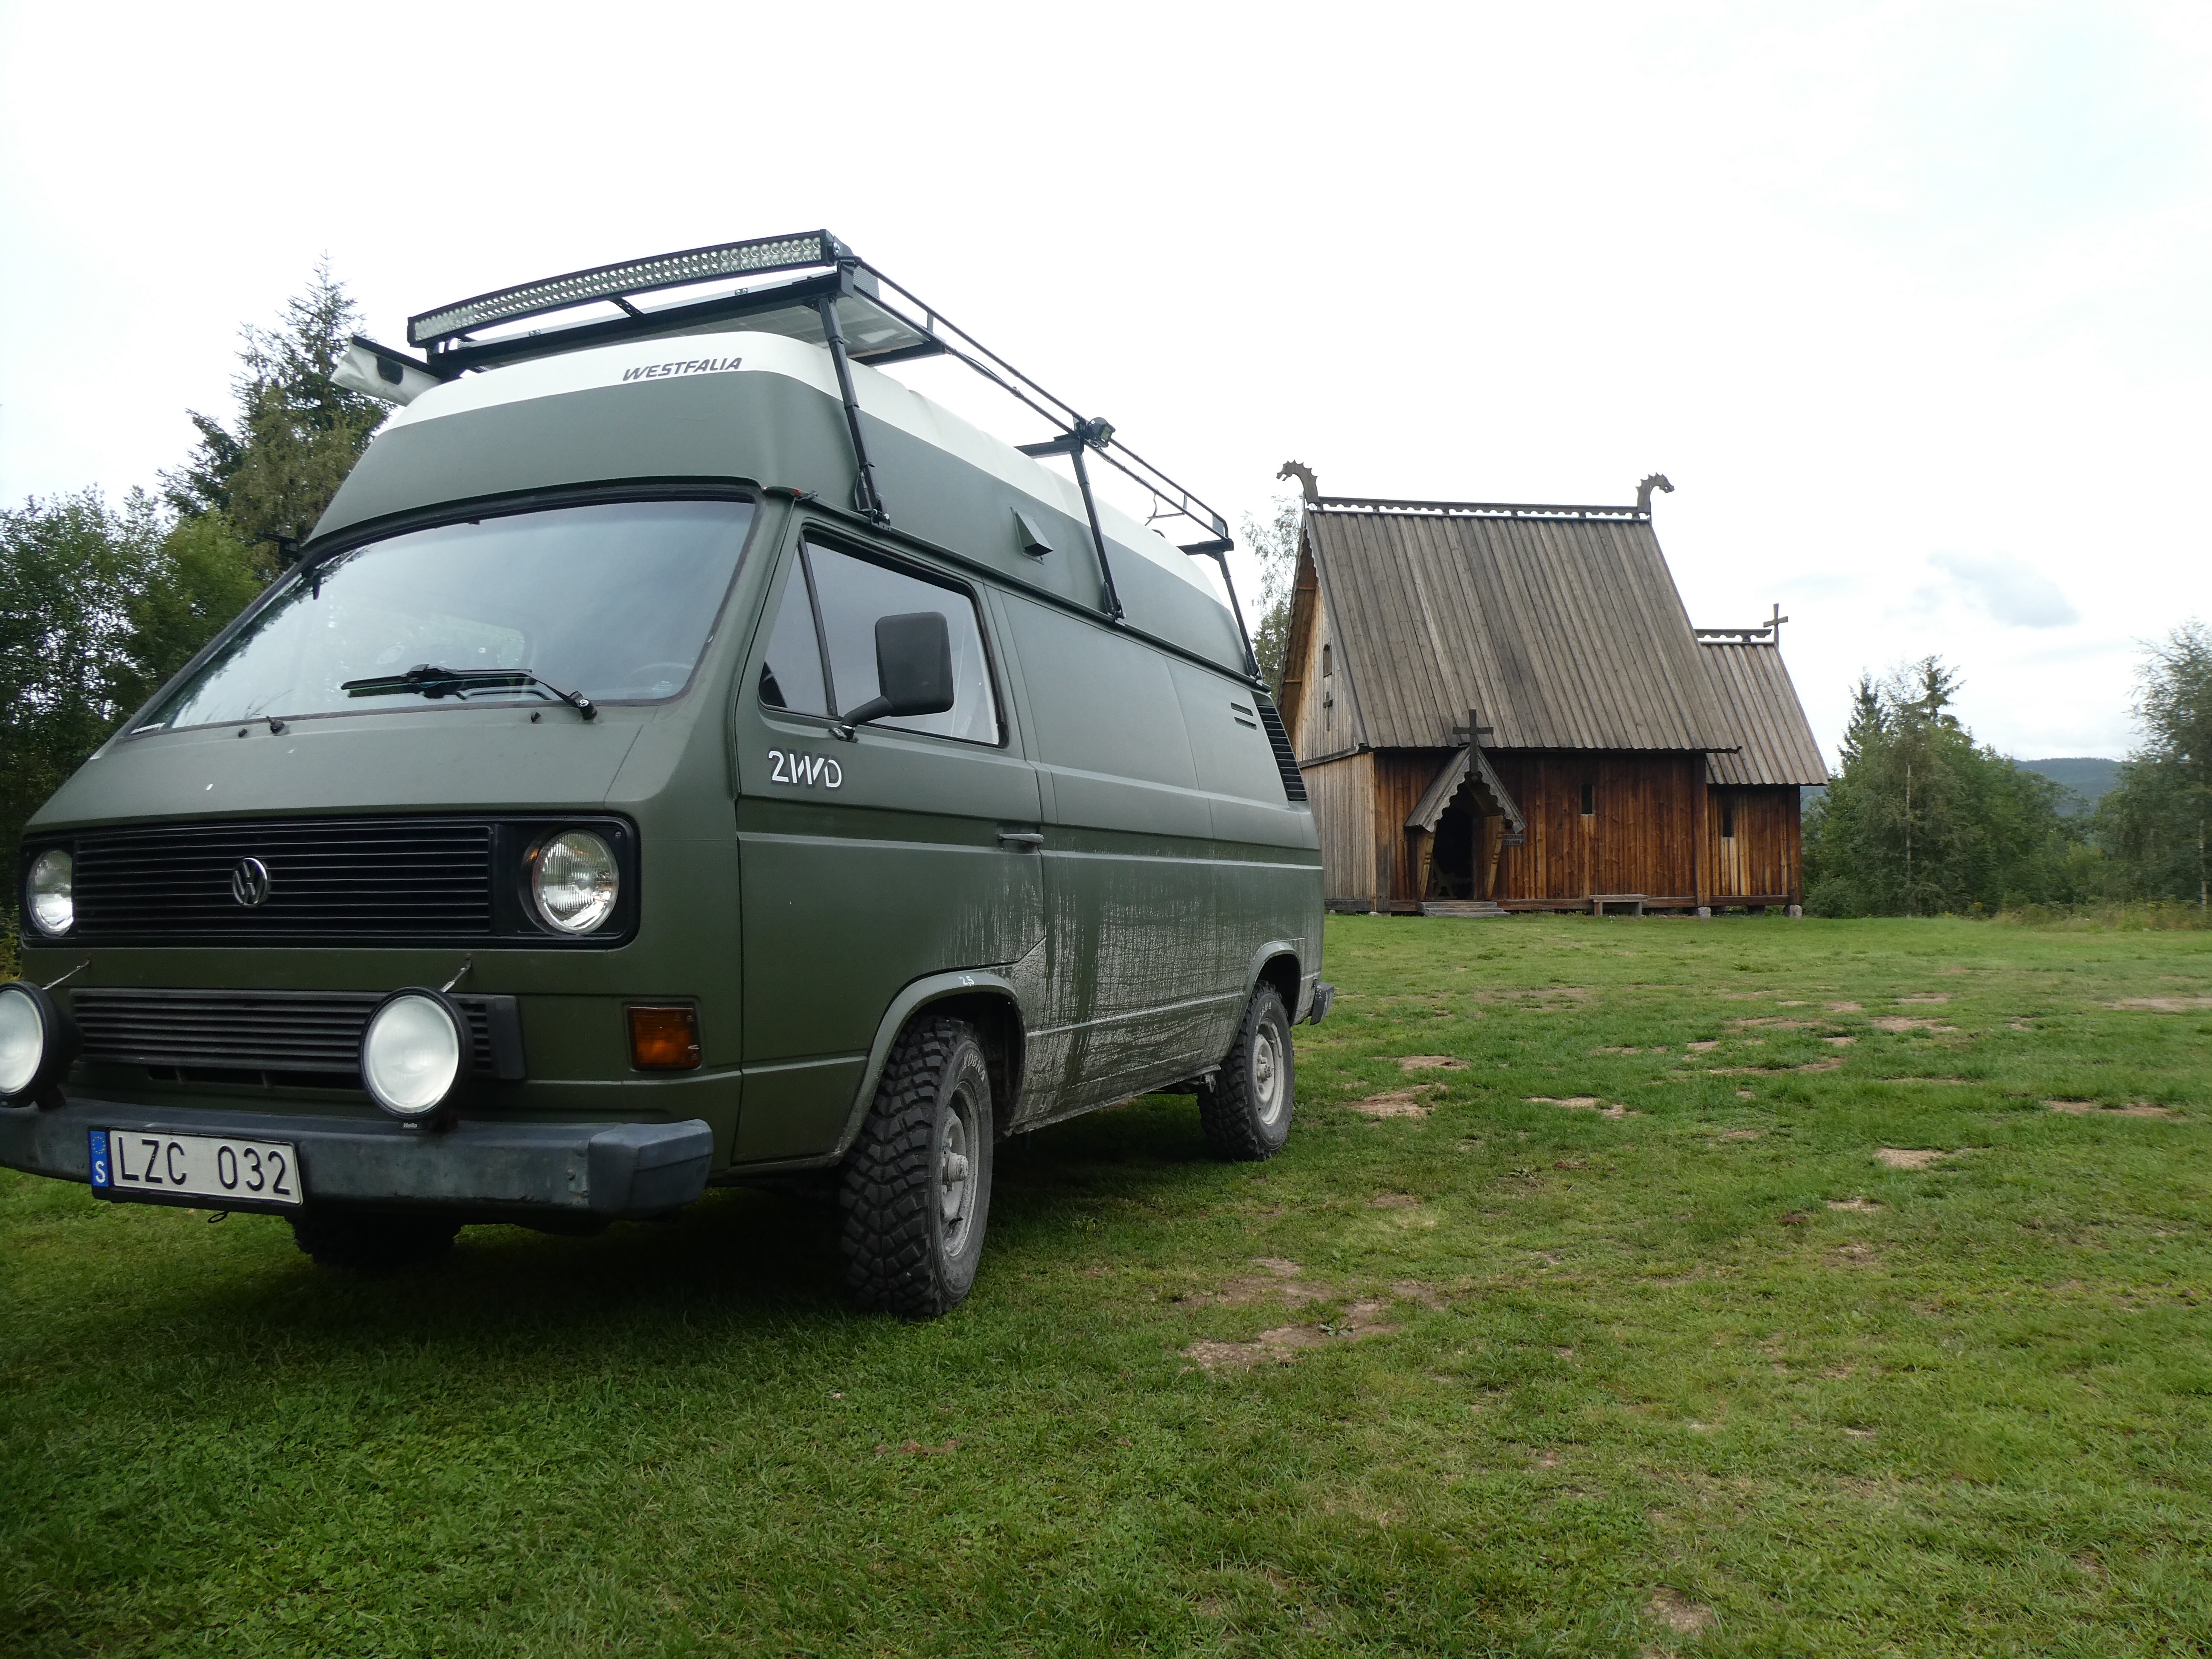
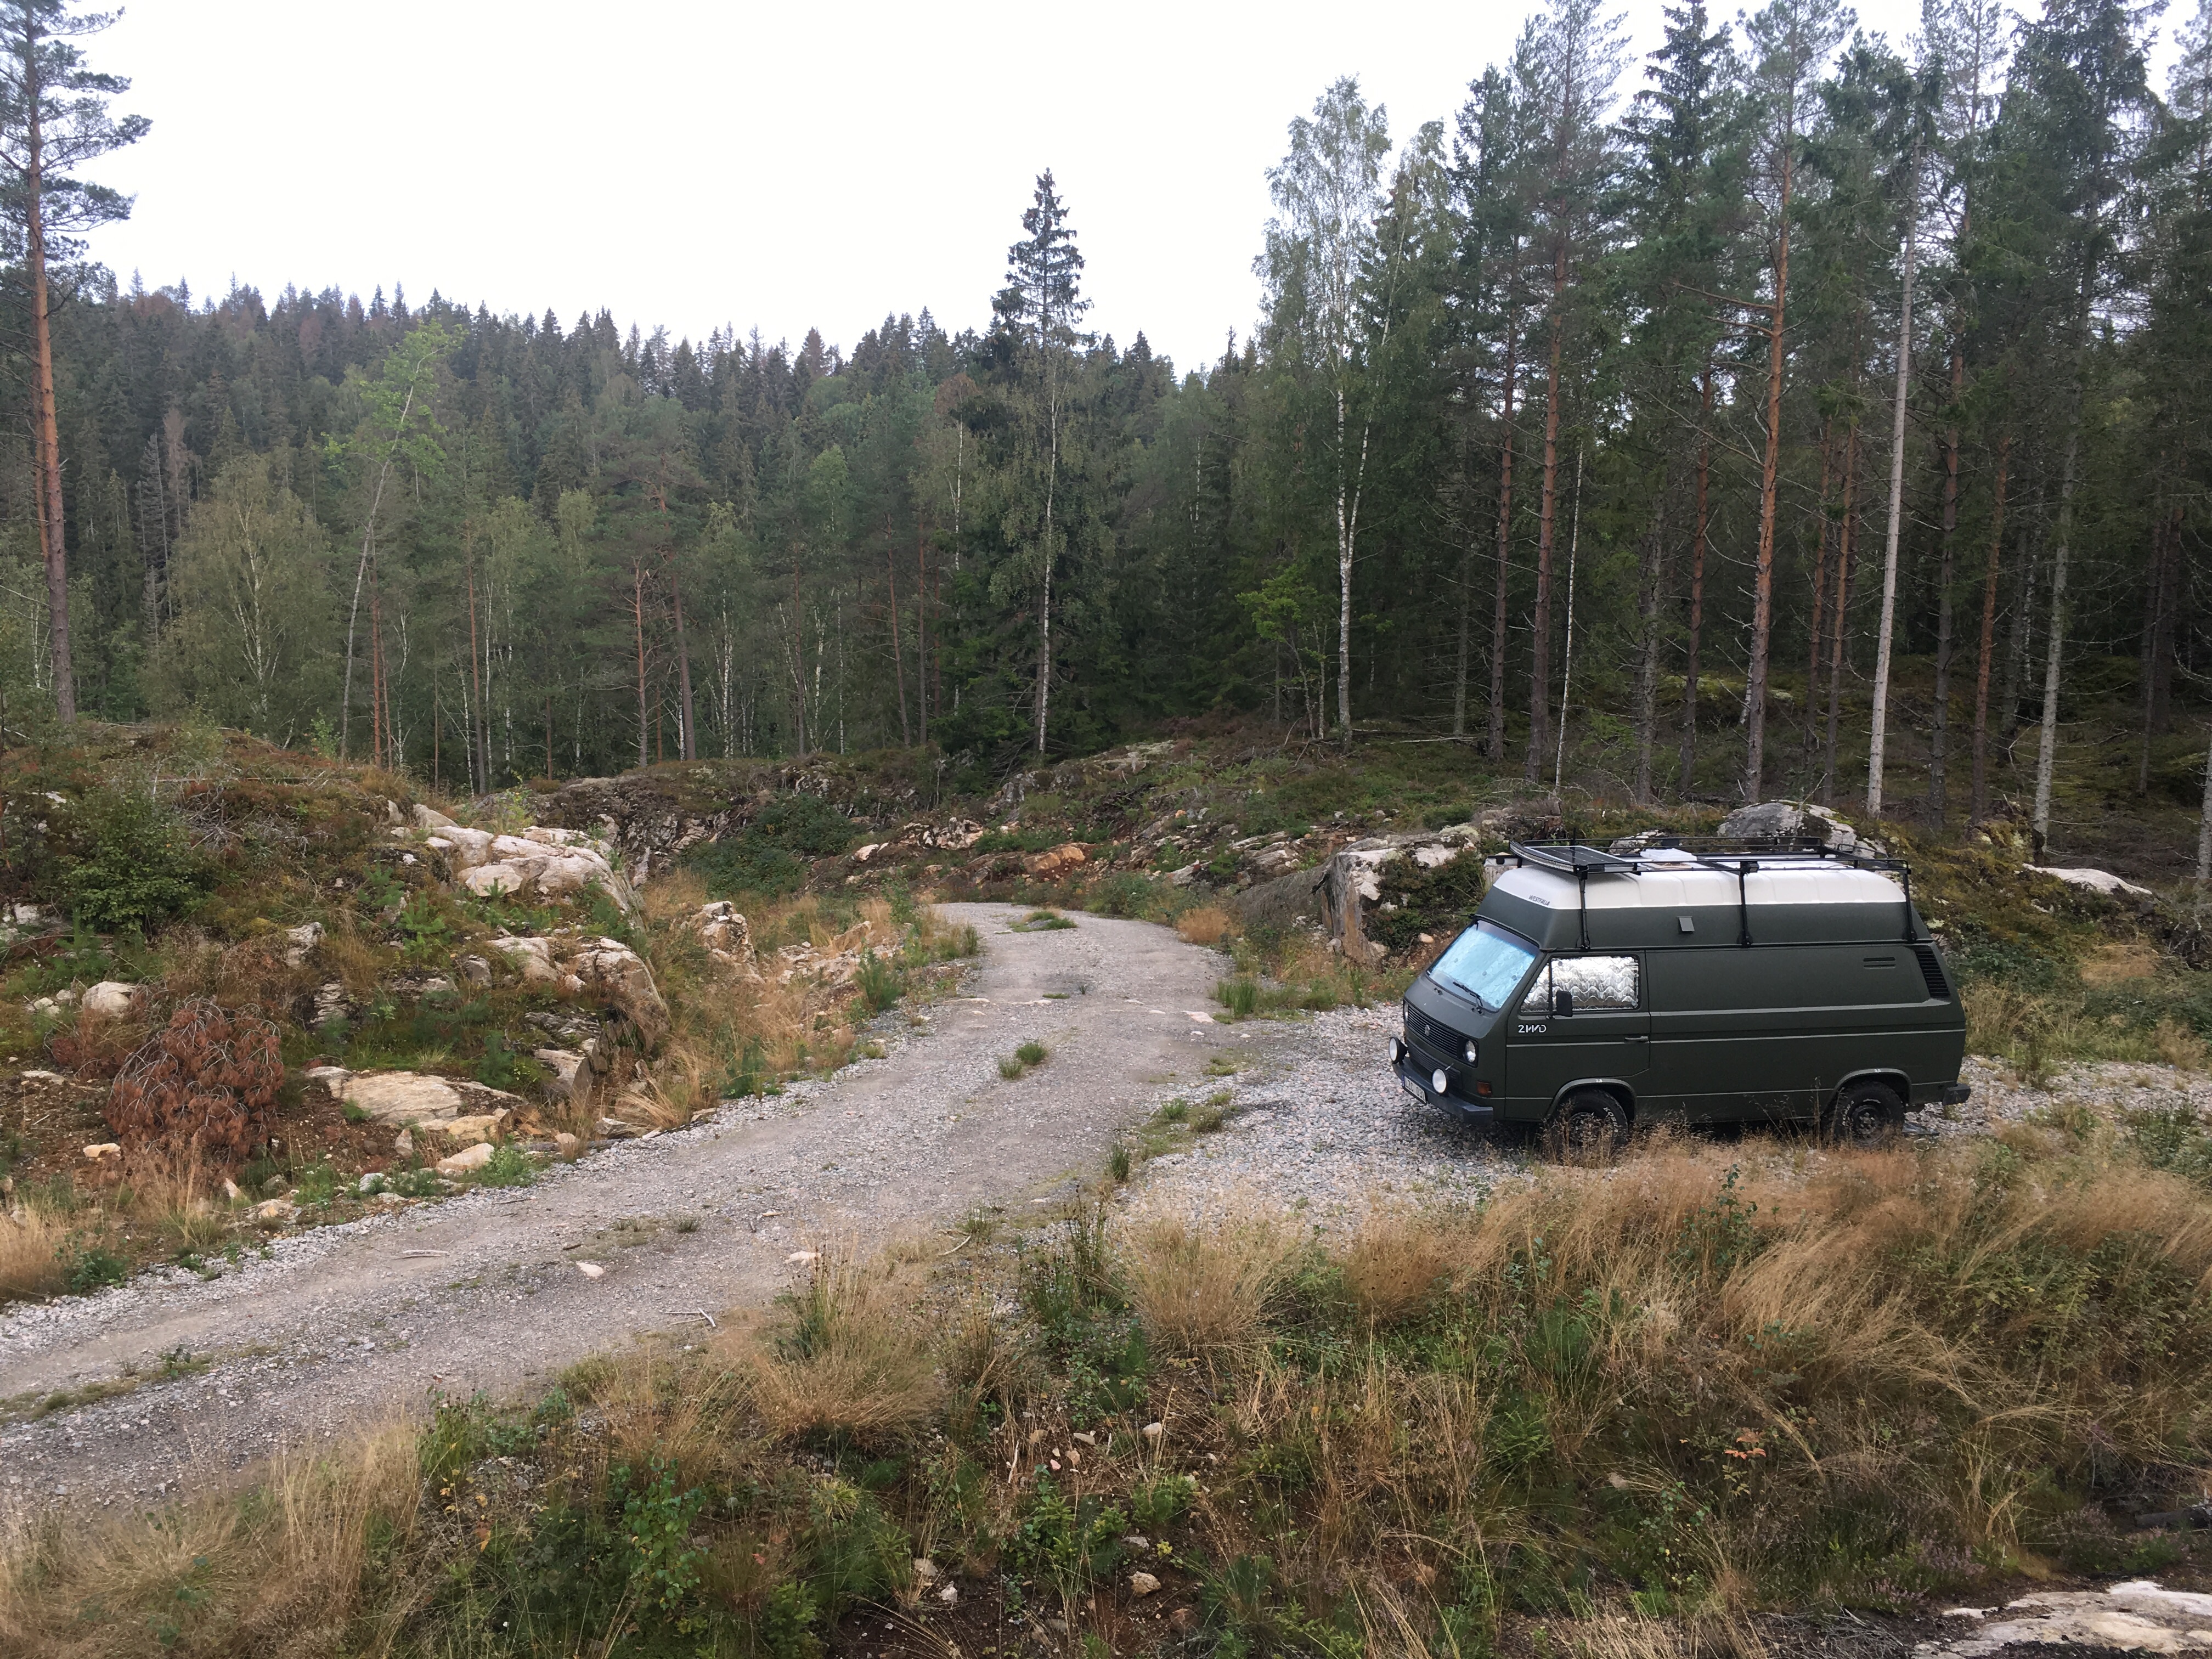
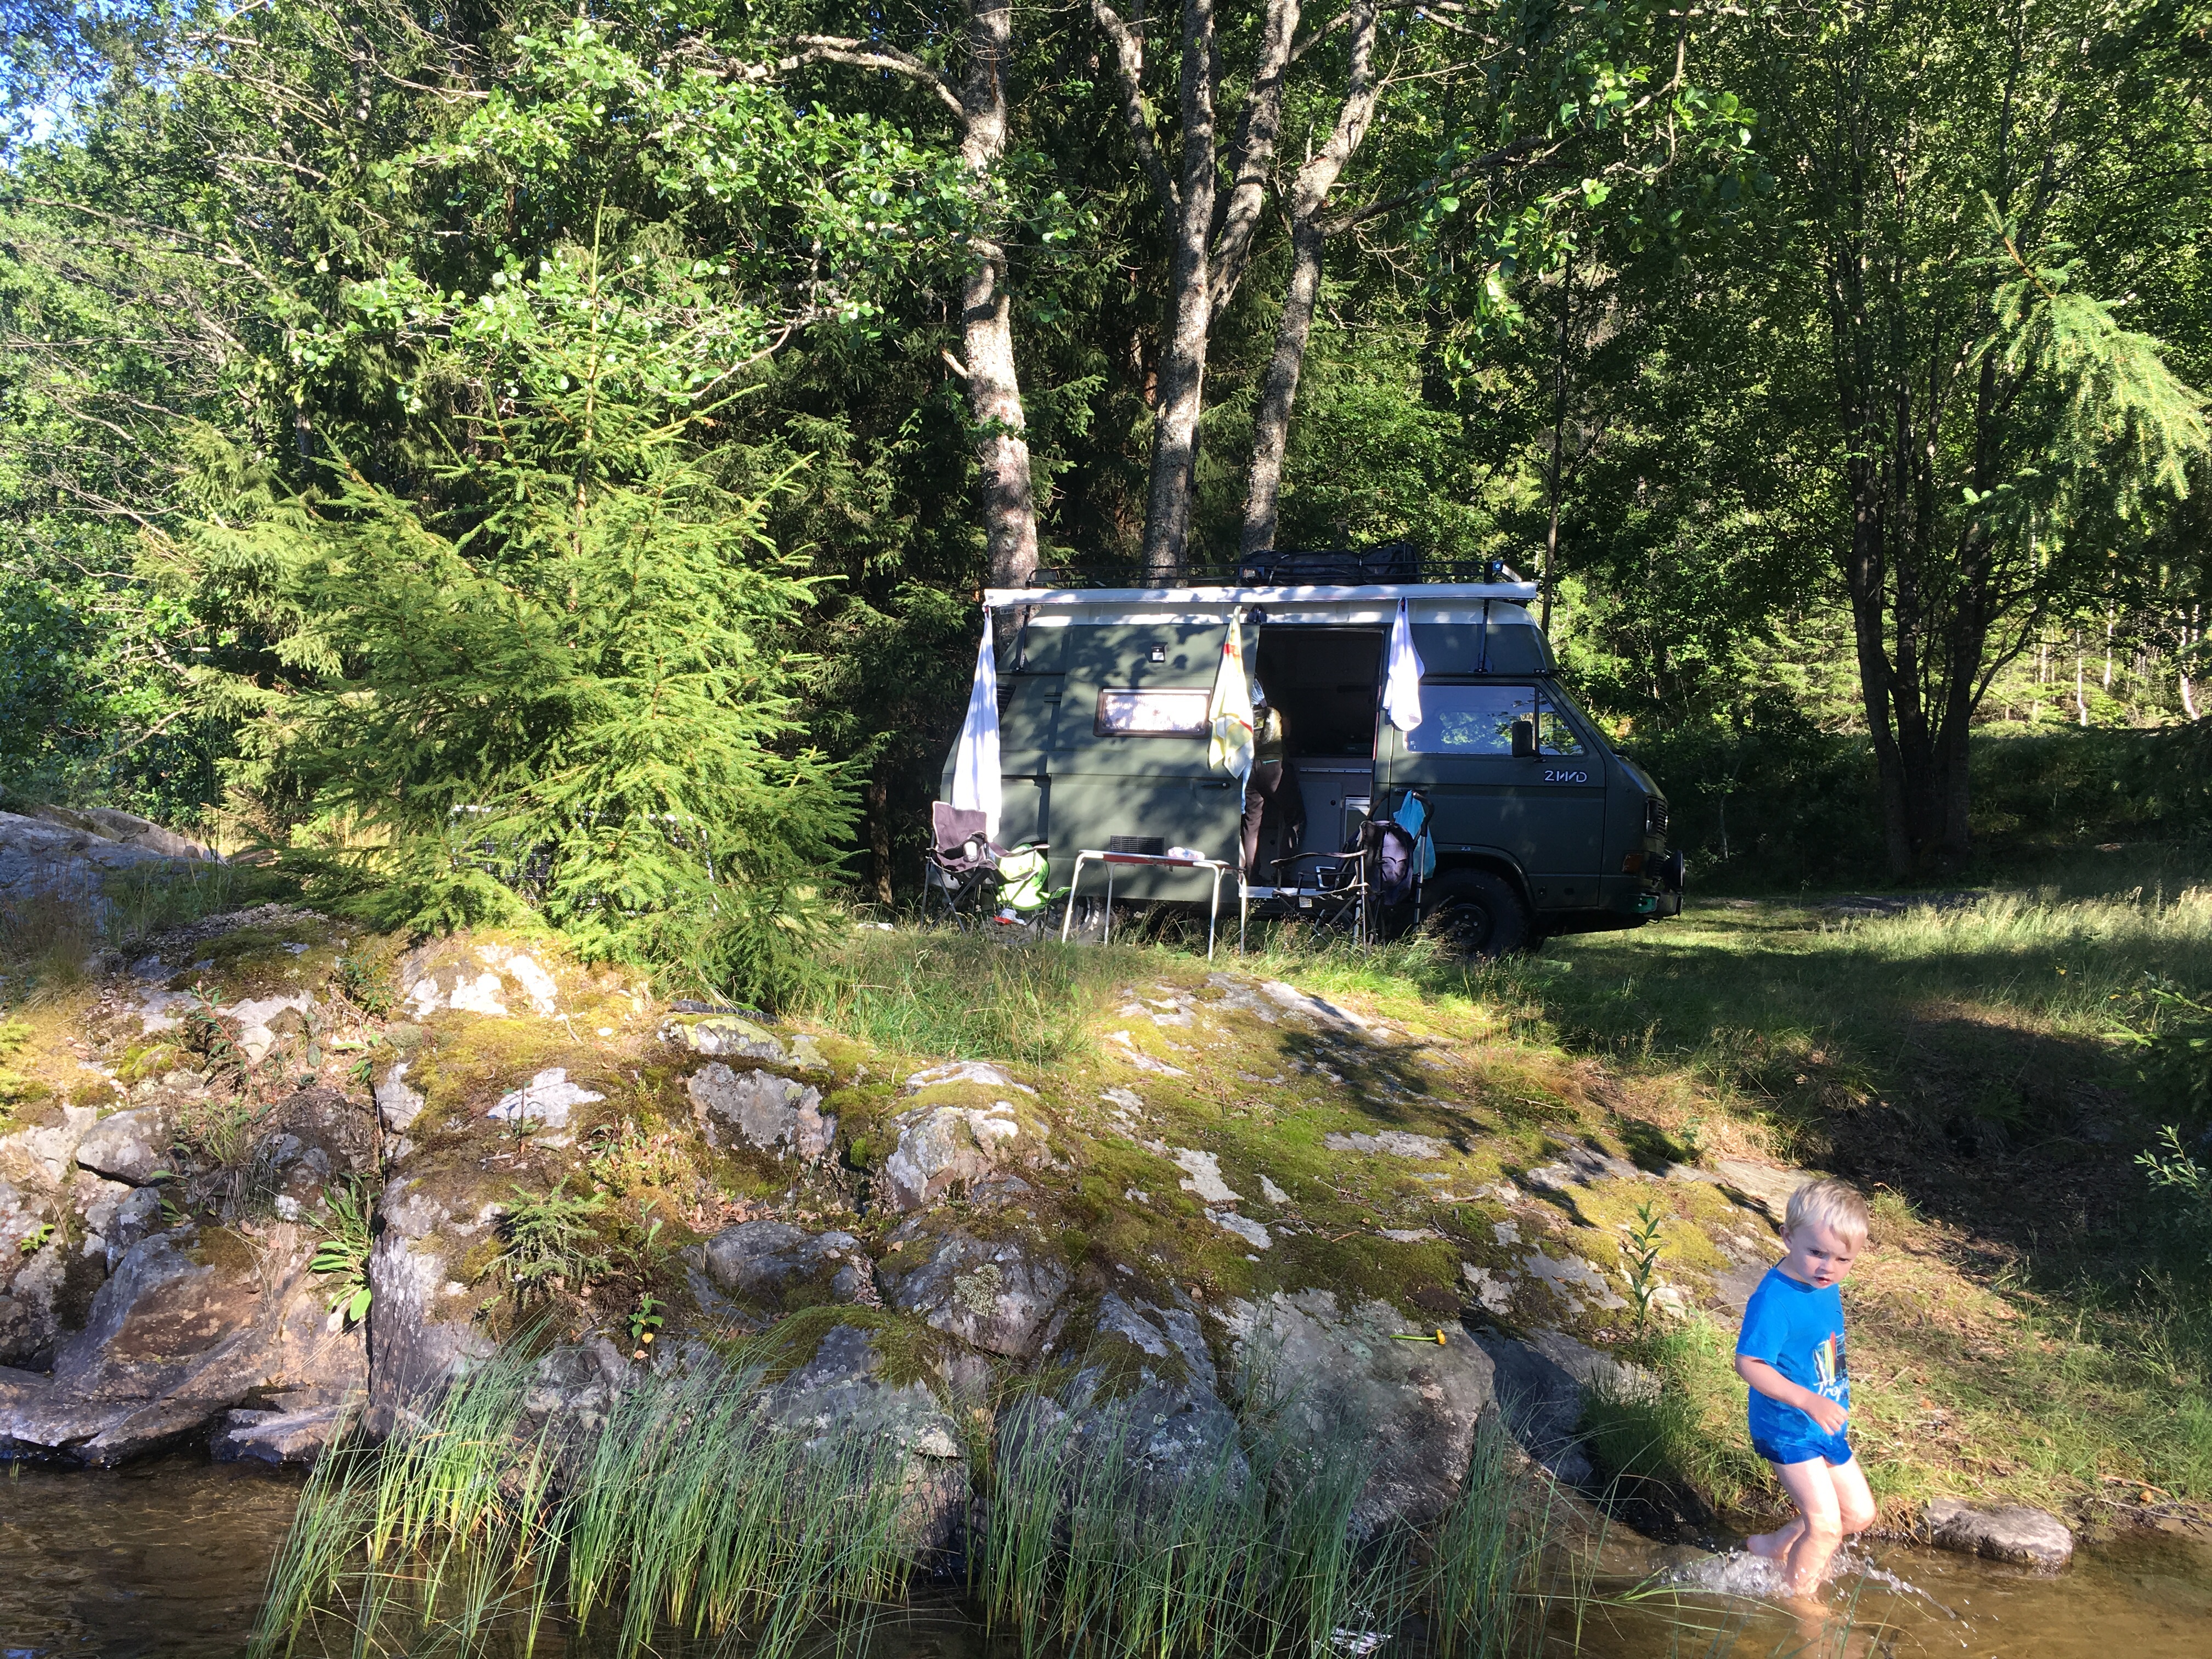
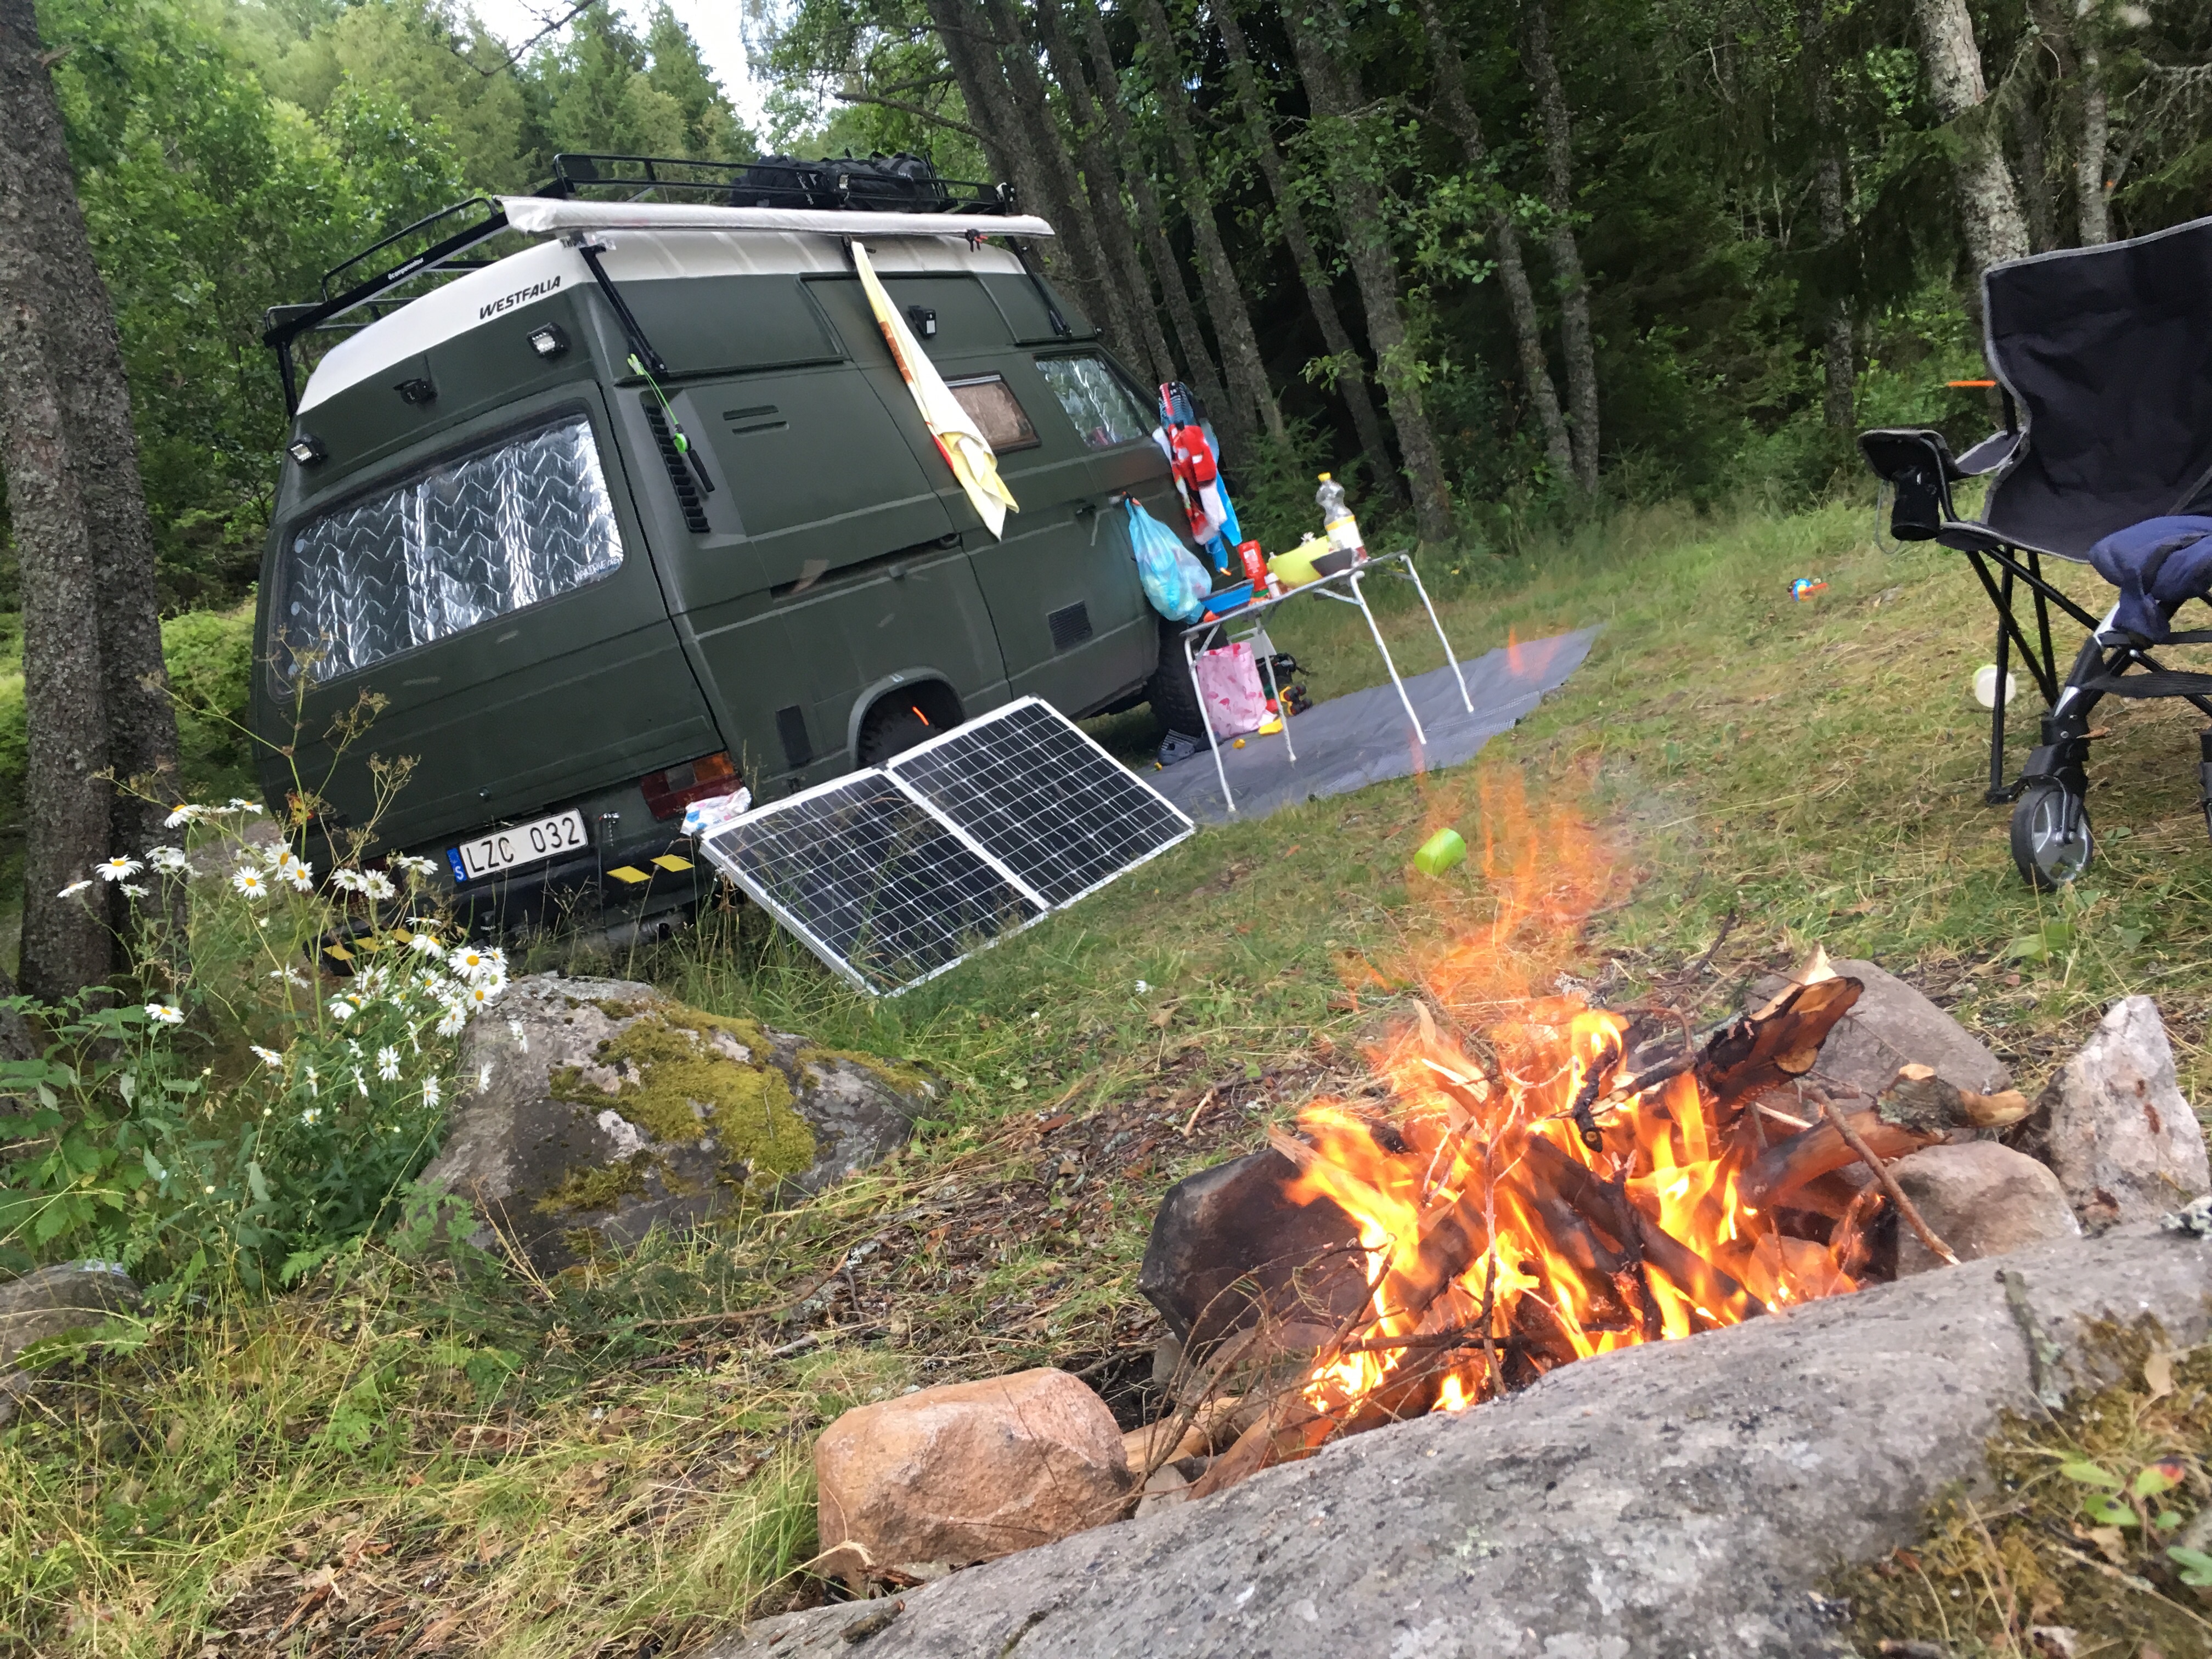
Added a solarpanel to the roofrack on the bus. But we also have a portable solarpanel to use when parked in the shadows or just need more power. Roof panel is Monocrystal 120w and the portable is also 120w mono, so a total of 240w solar power and 200amps of batterybank, they are also wired to the car alternator so charging when driving. We have a pretty sweet setup now!


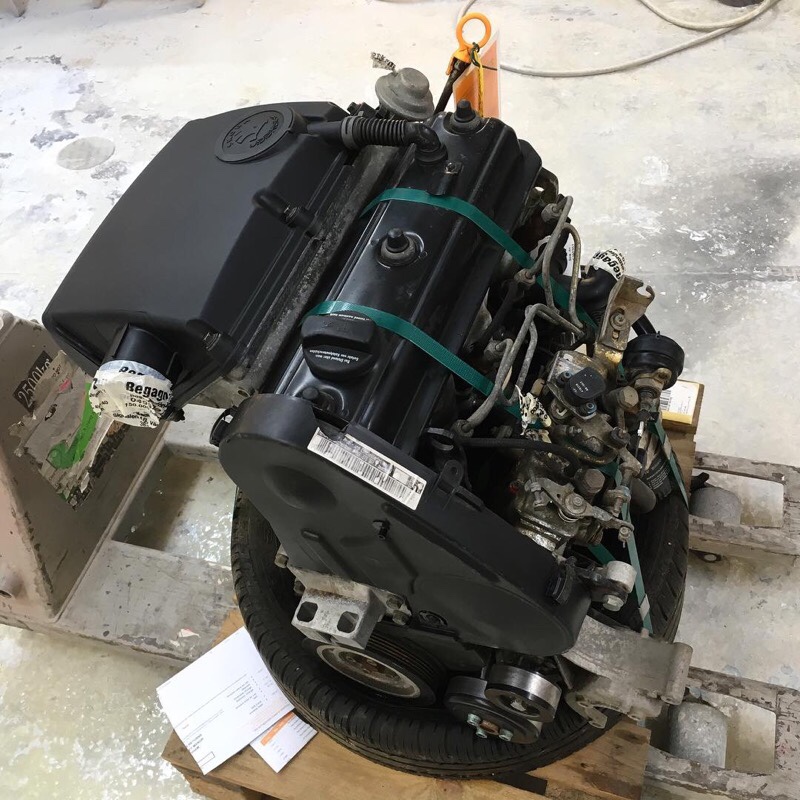
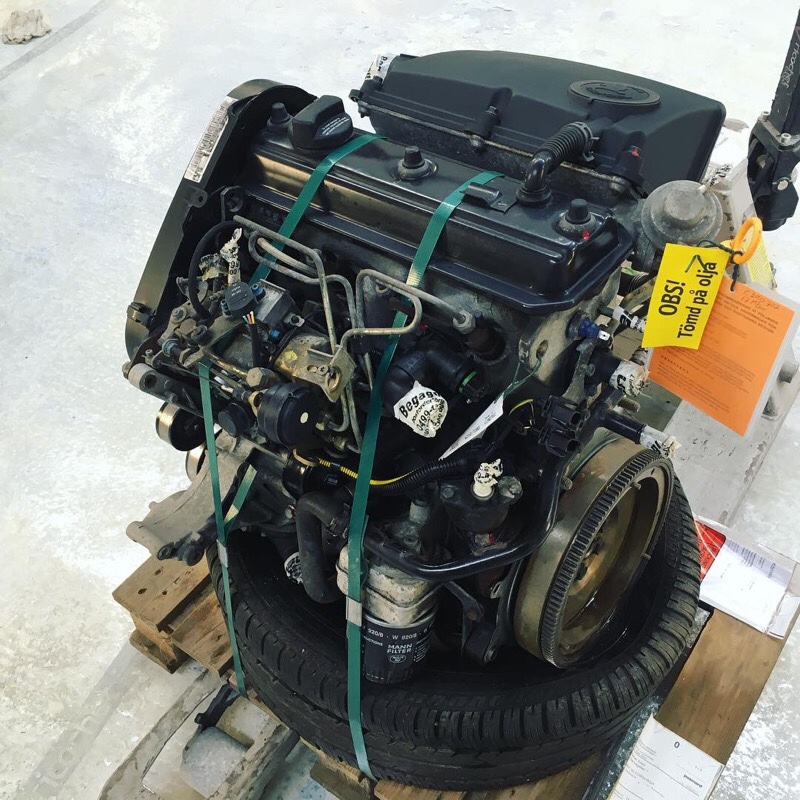
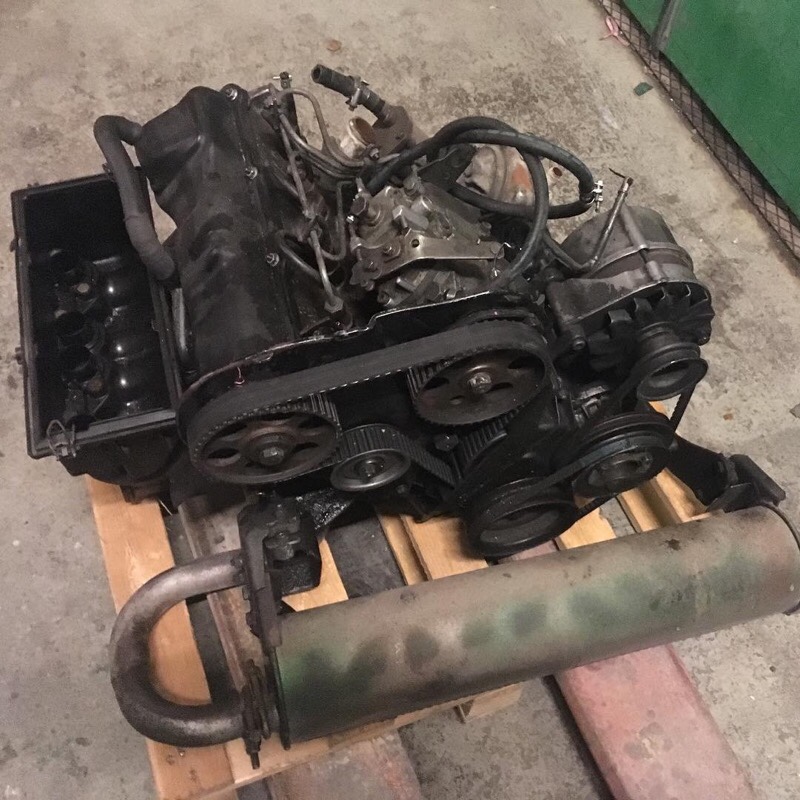
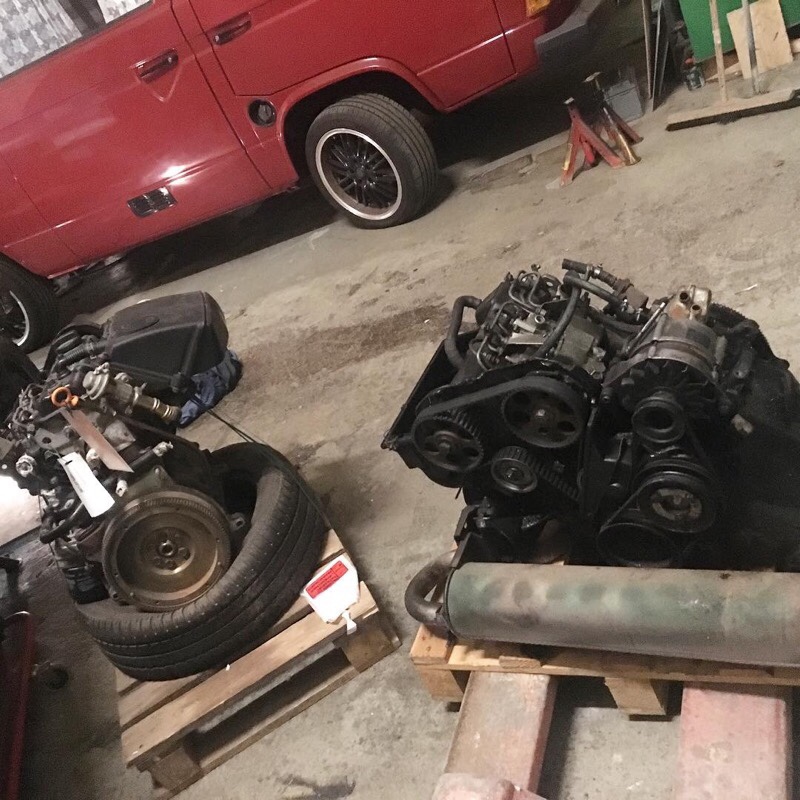
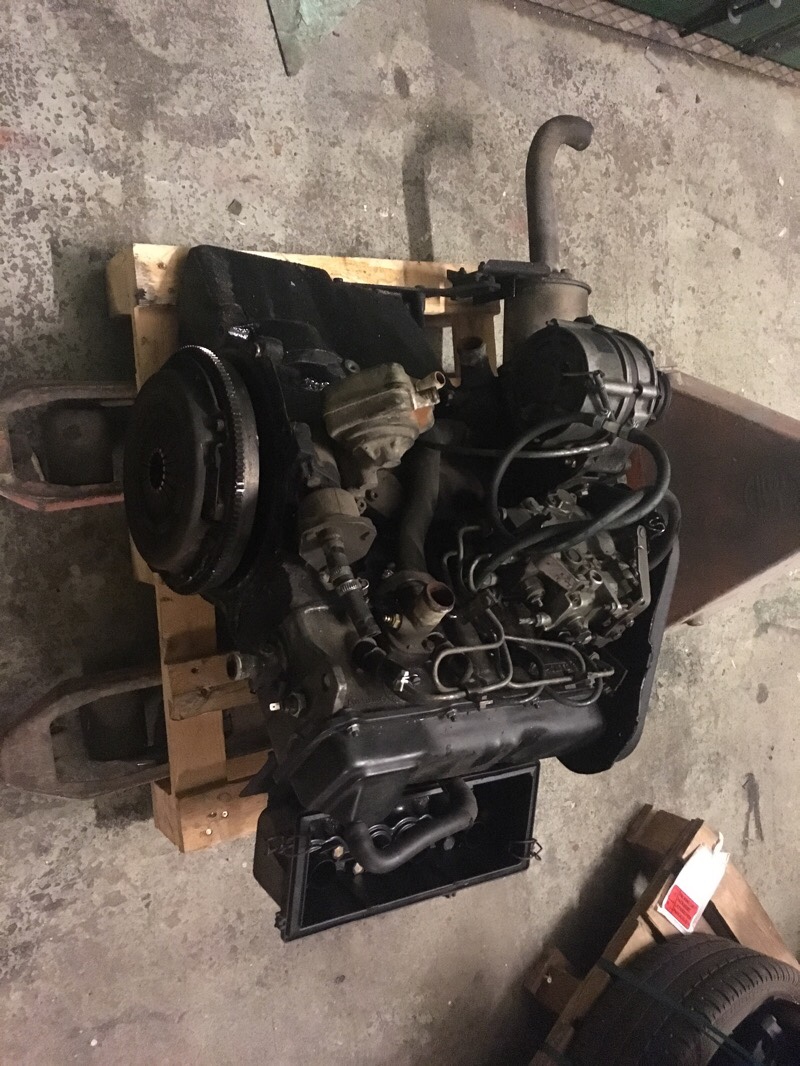
The old 1,6 CS diesel was a bit to slow in hills/highways (to the point it get dangerous in traffic). So it needed to go. I don’t going to race Lemans with the bus, I just want a more modern, stronger, cheap to drive (diesel) and most important RELIABLE engine that always work. First I was looking at a AAZ 1,6/9 Turbo engine but with a turbo it’s just another thing that can brake and these engines always runs much hotter. So I decided to go with a VAG 1,9 AEF engine, found in VW Polo, Golf, Audi and Skoda Felicia.
THE NEW ENGINE
I managed to find a really lowmilage 1,9 AEF diesel engine from a Skoda Felicia, year 2000. But it is not just to bolt this engine in the bus and drive, a lot of stuff need to be changed and parts from the 1,6 CS need to be re-used and modified. But its probably the easiest conversion you can choose, if your thinking of using a non standard engine in your VW T3 diesel bus.
TRANSMISSION
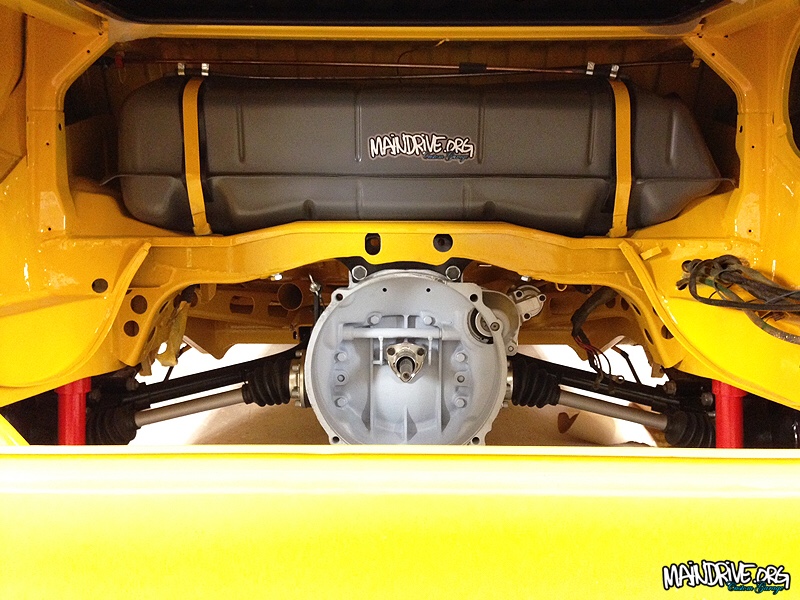
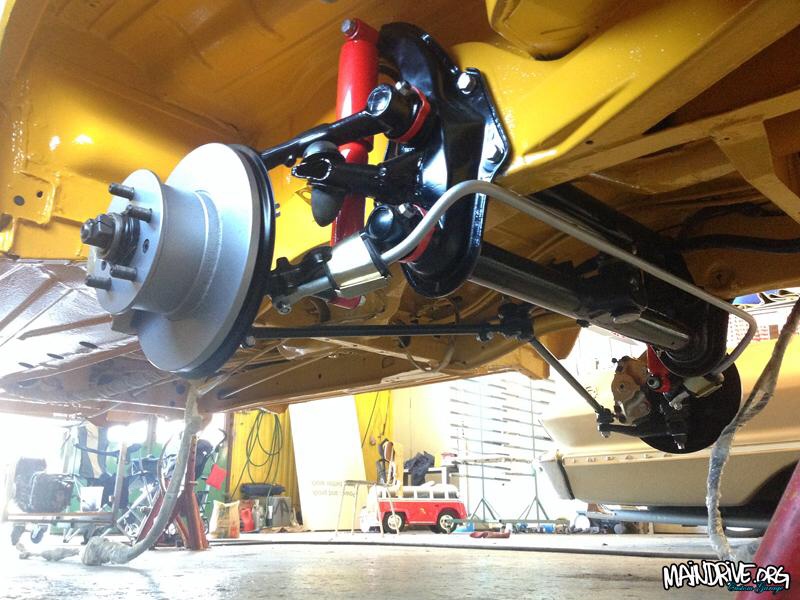
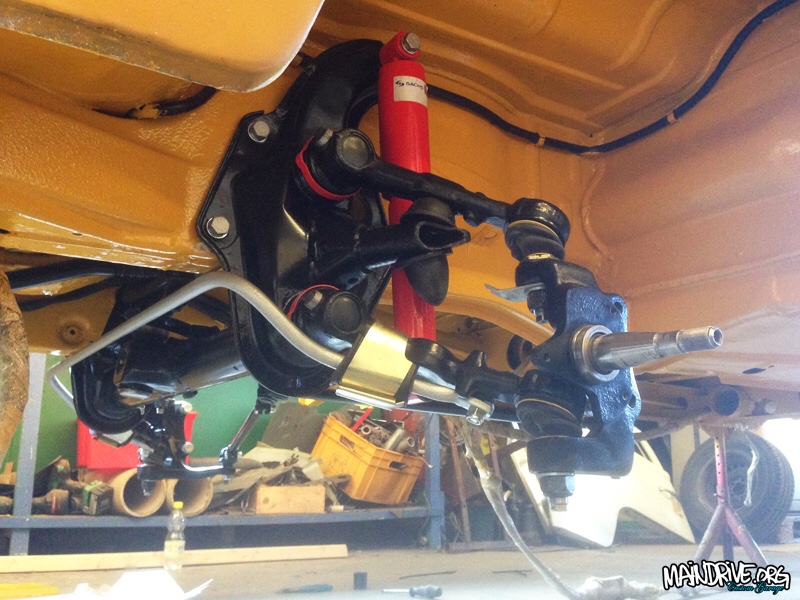
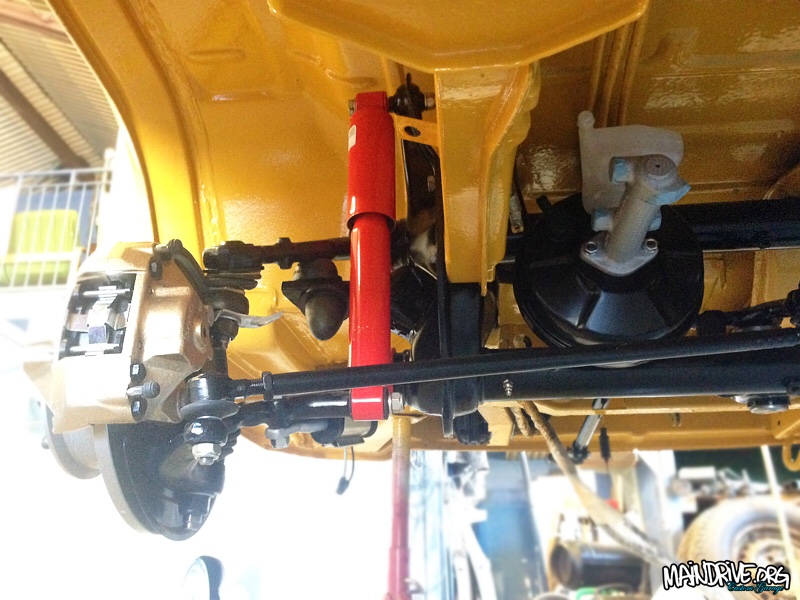
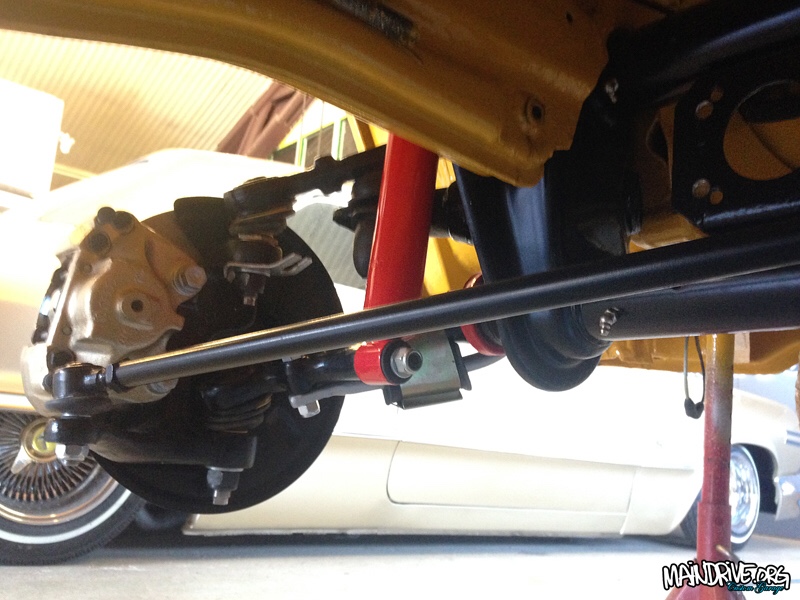
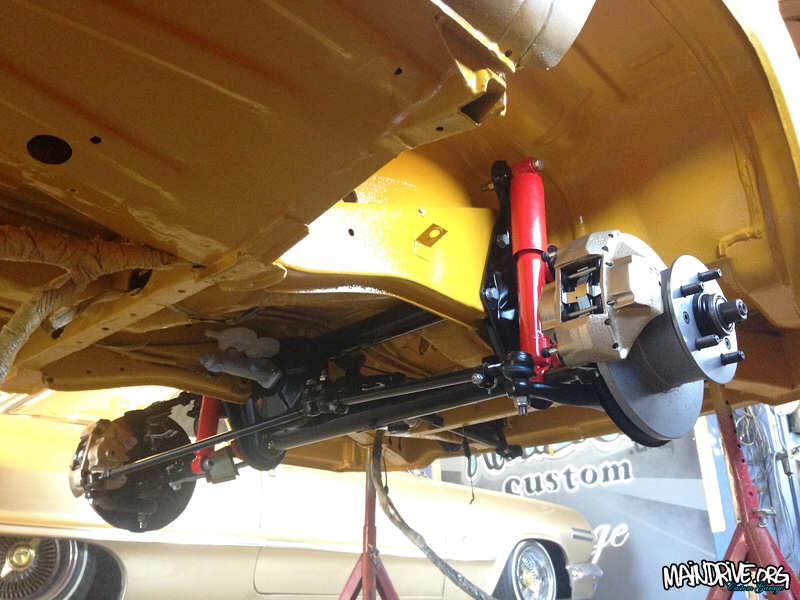
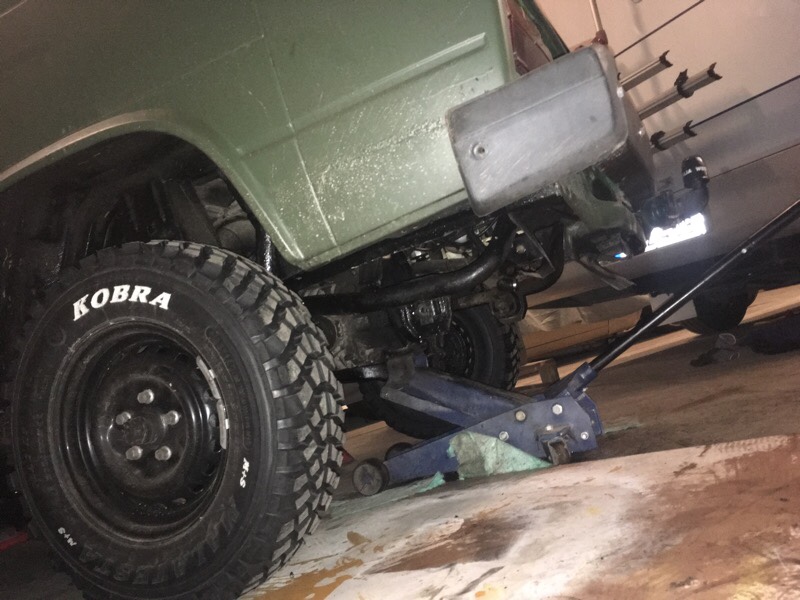
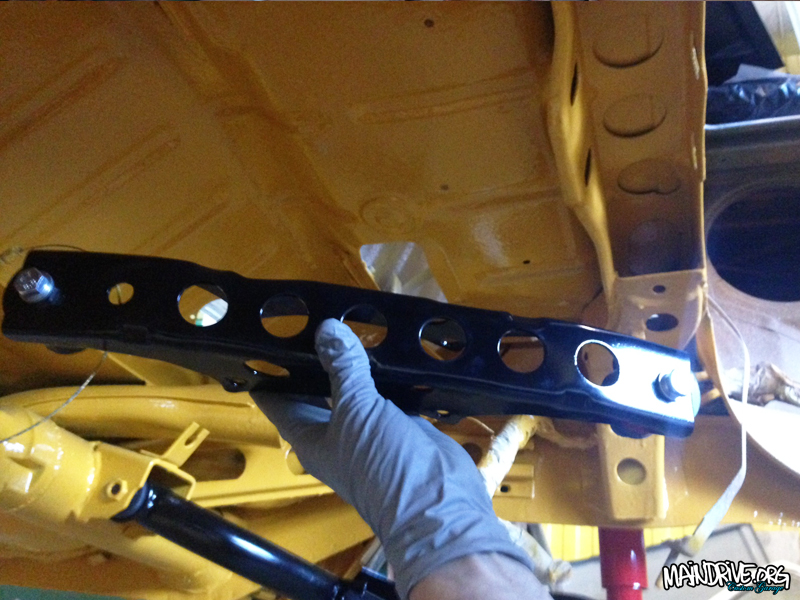
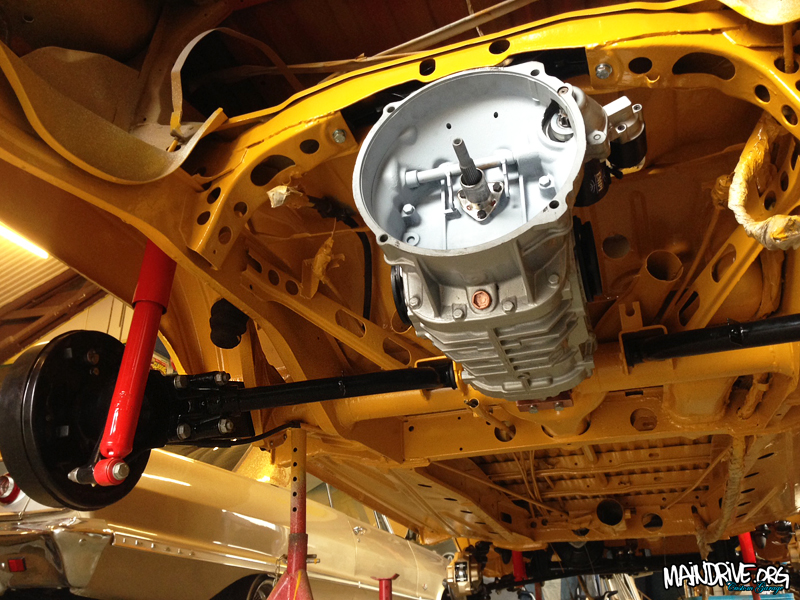
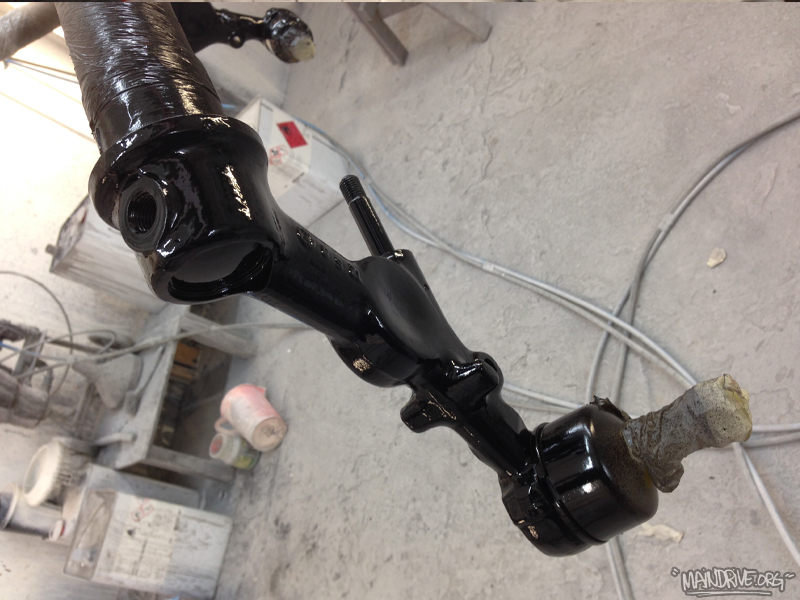
While the engine is out I will also take out the transmission. And make a check up, change shifter couplings, linkage bushings and gaskets. Upgrade driveshafts to stronger, Porsche. Upgrade the differential with a difflock from Weddle Ind. In a standard “open” differential, torque is divided equally between the wheels. If one wheel slips and spins, only a fraction of the torque is utilized. The difflock eliminates this problem. Power will always be delivered to the wheel with the most traction to keep you moving instead of getting stuck, up to 100%. Then it we can do some serious off-roading 🙂
More to come soon! #vwt3overland
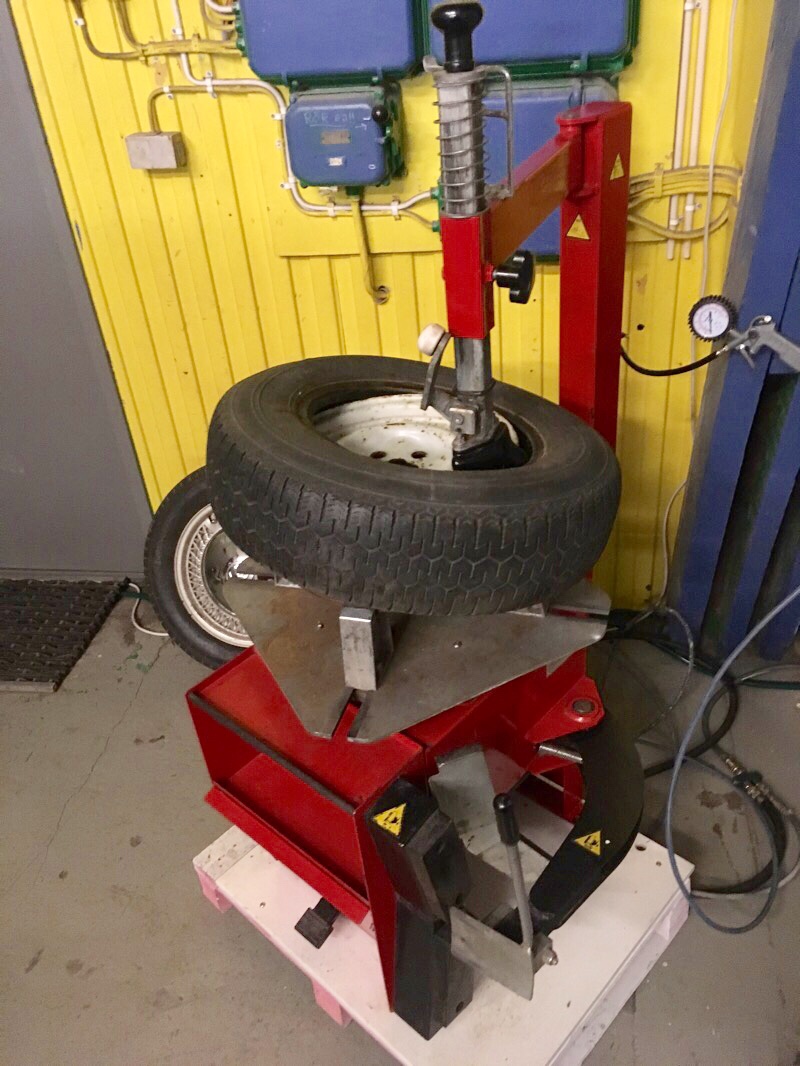
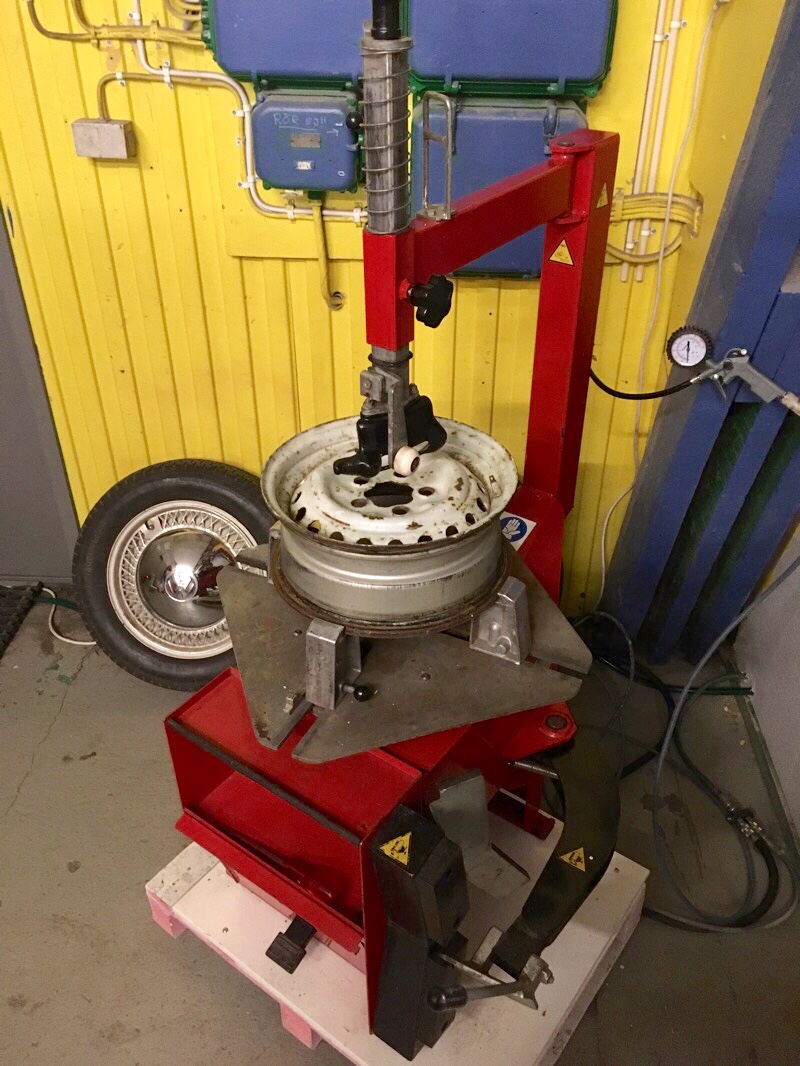
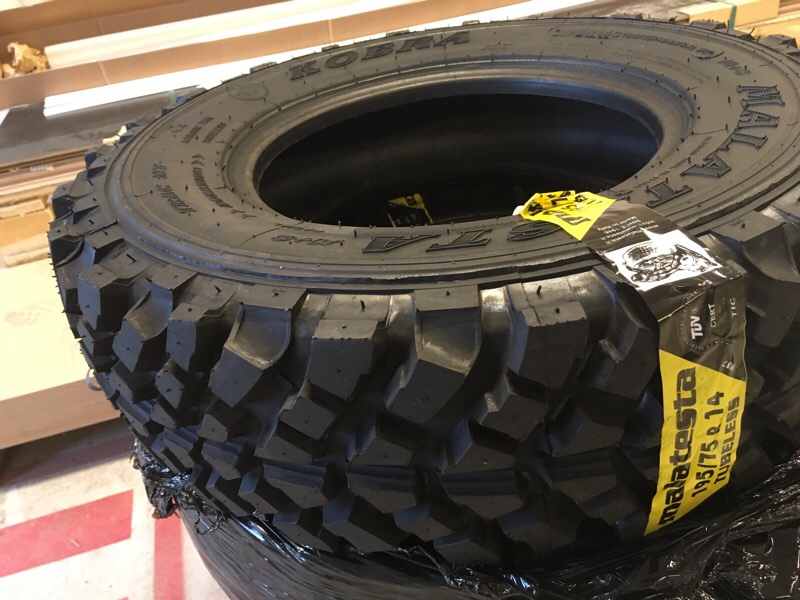
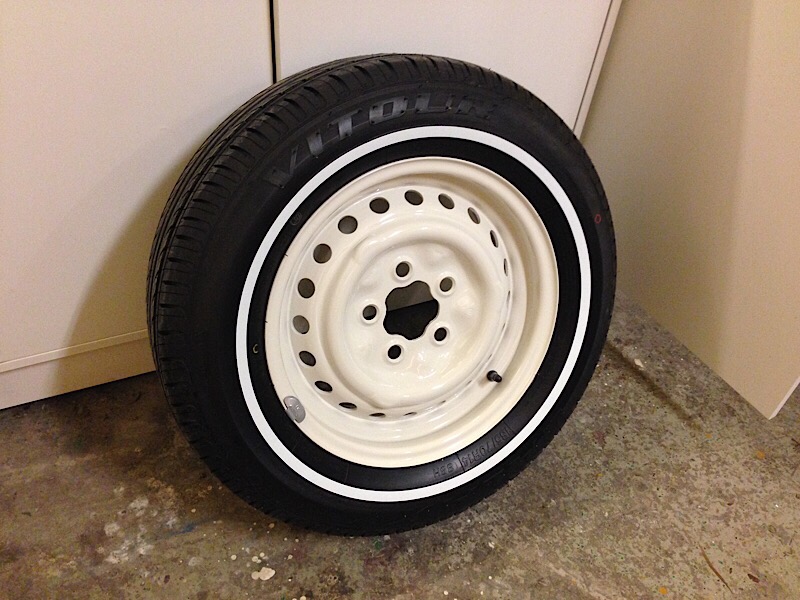
If anyone need new wheels, tires, installed and balanced to a good price. Send me a message on: info@maindrive.org


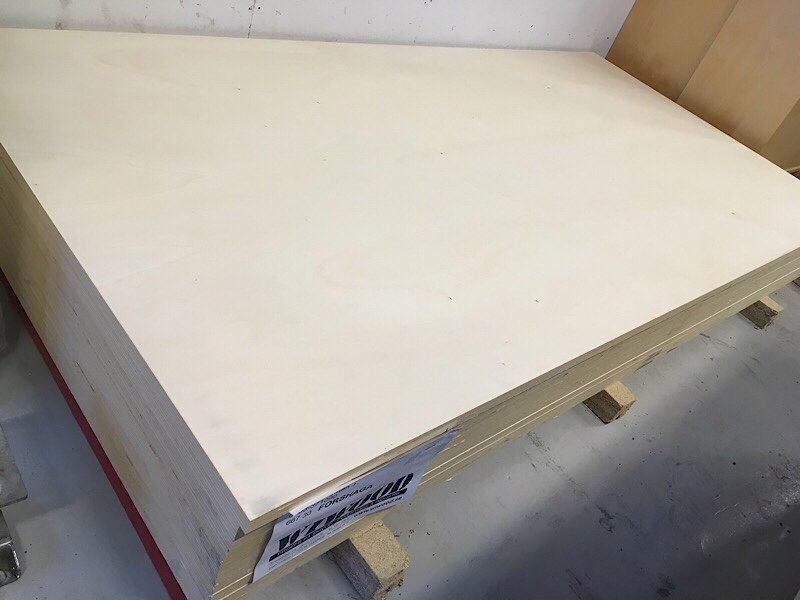
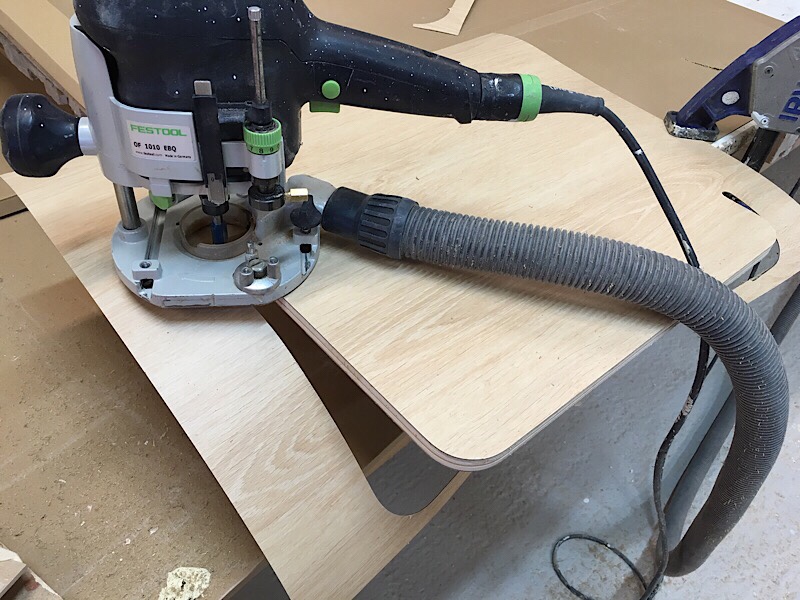
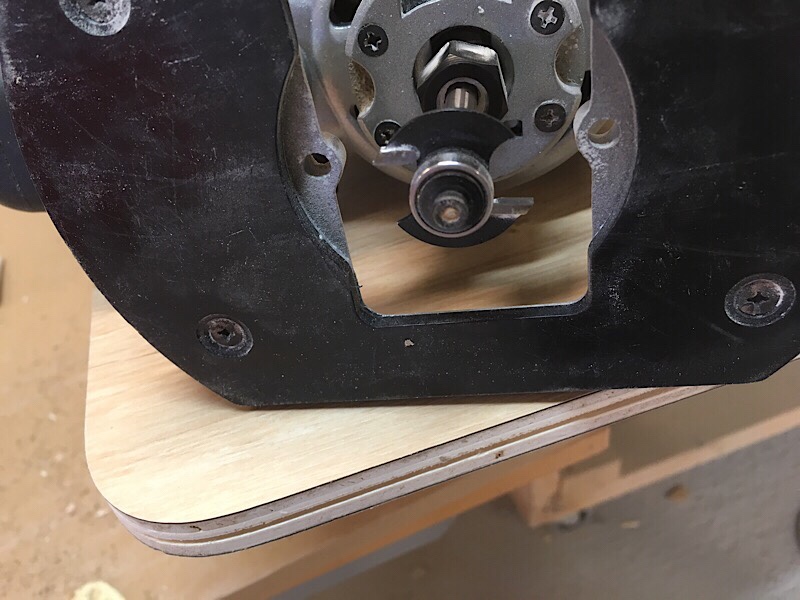
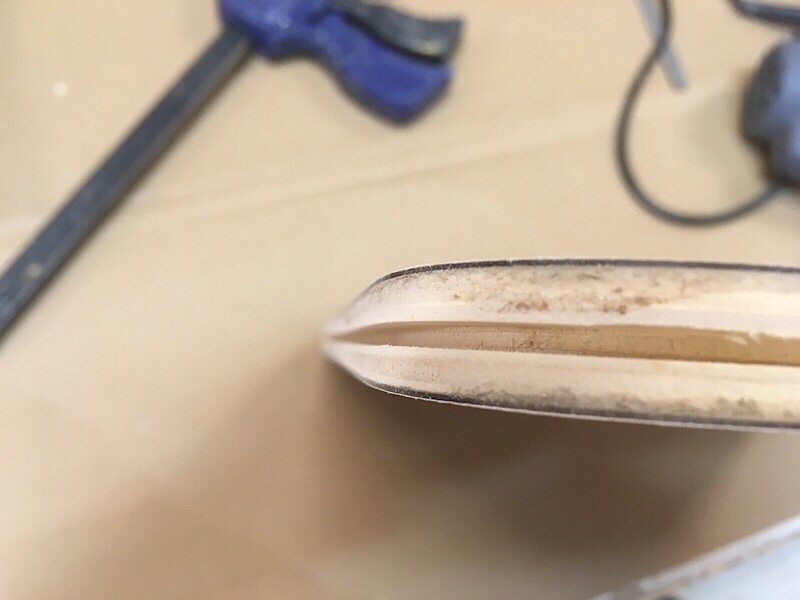
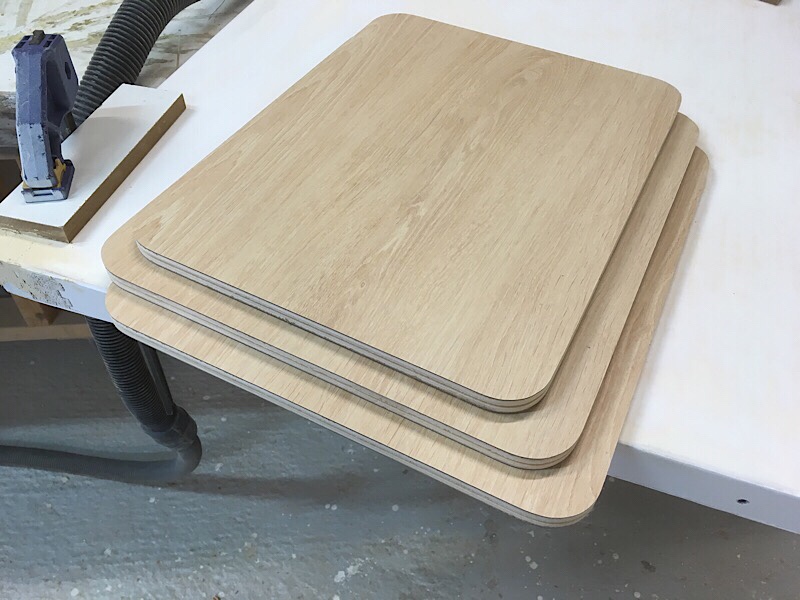
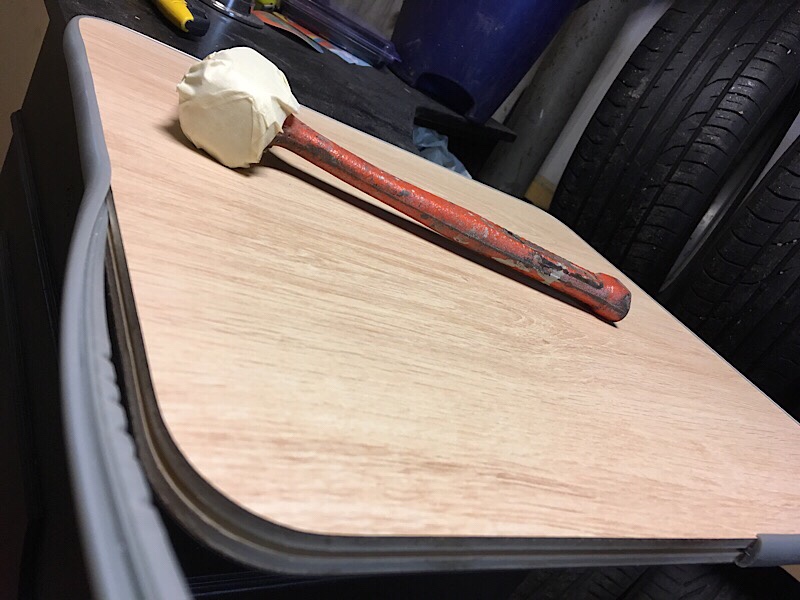
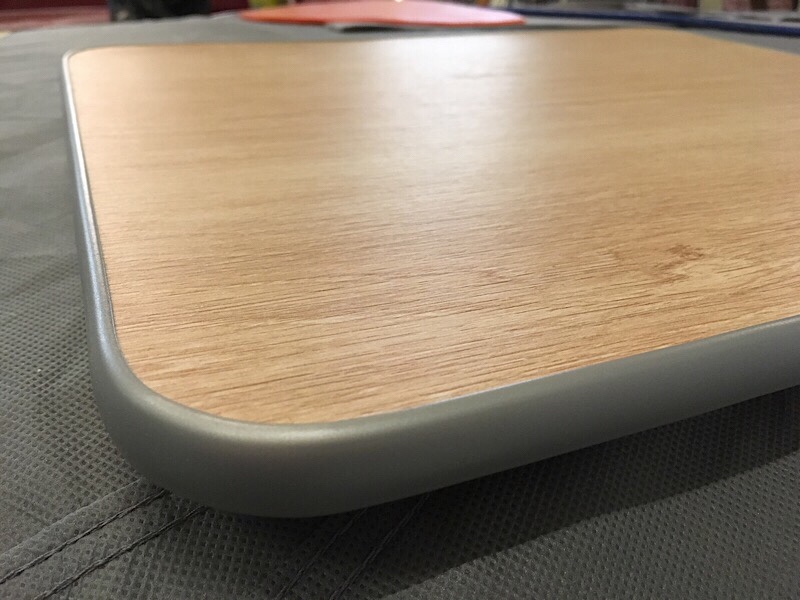
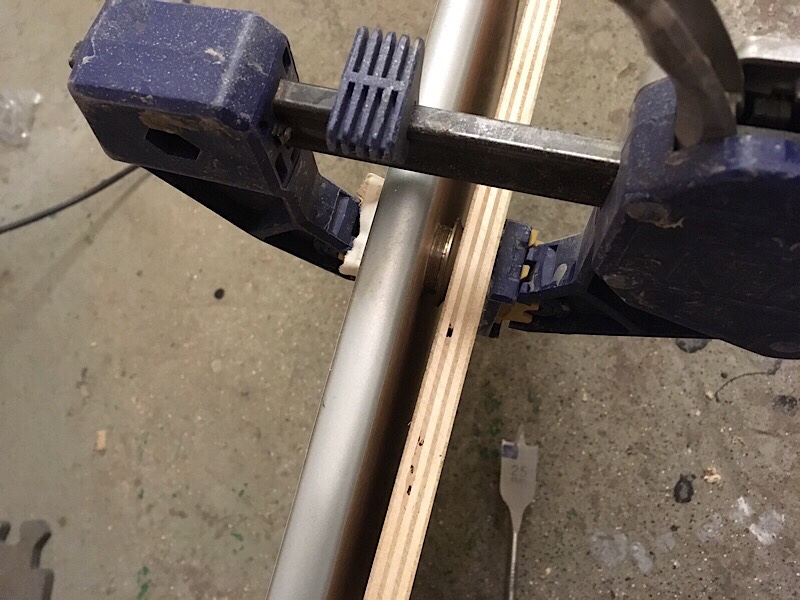
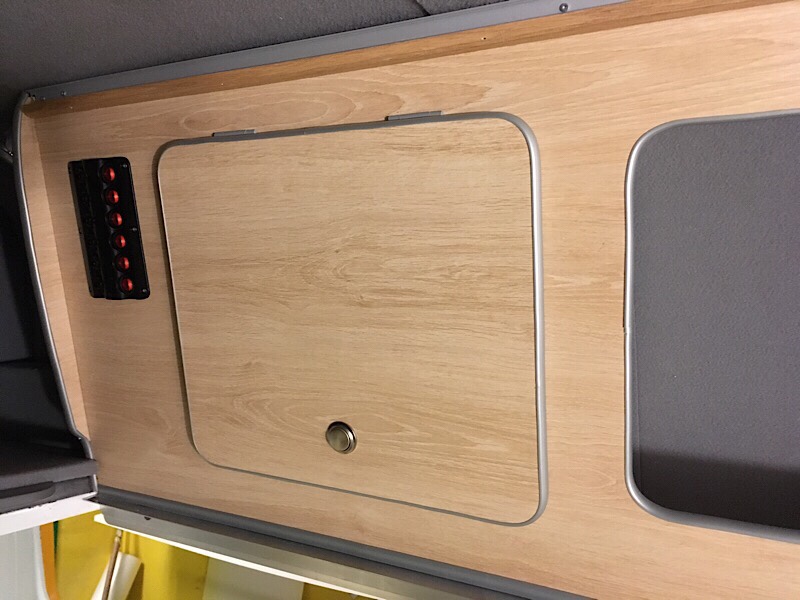
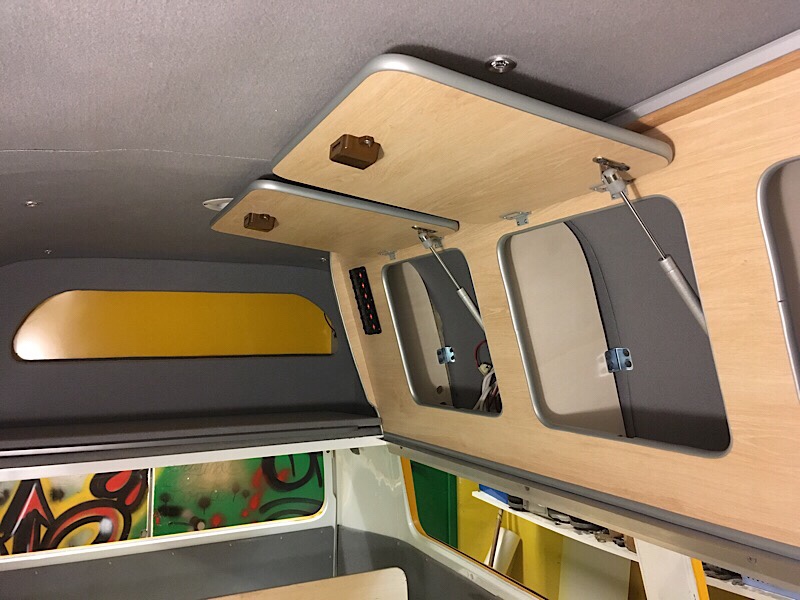
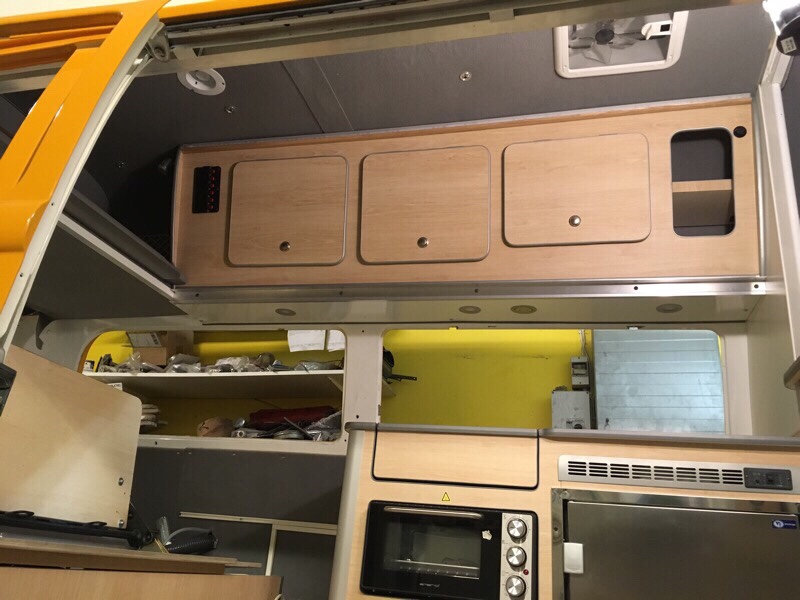
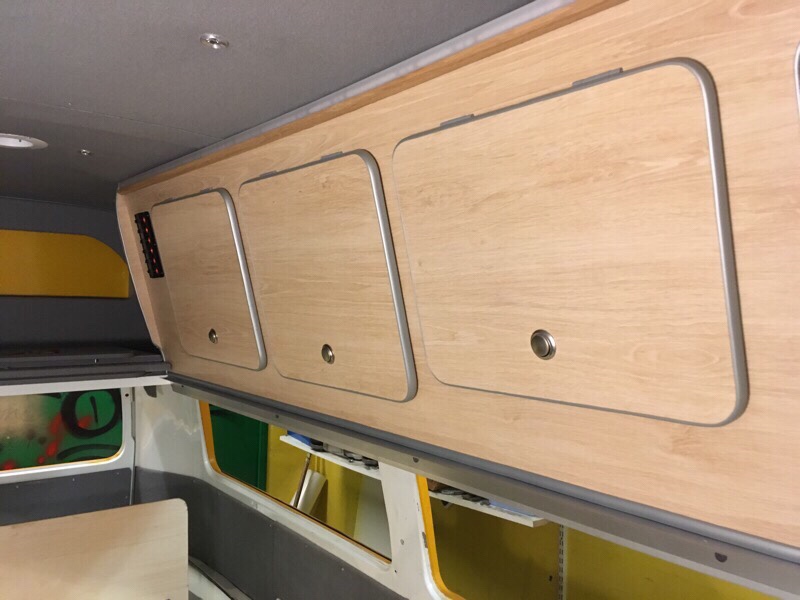
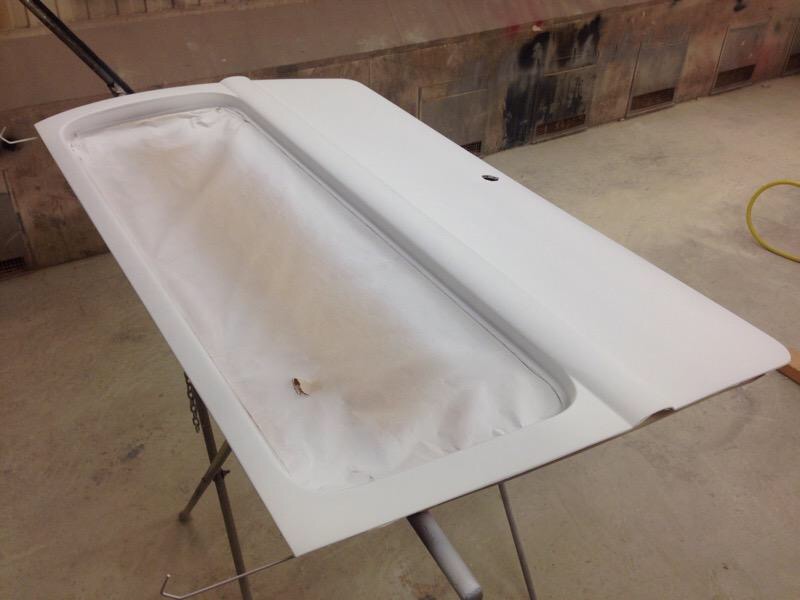
In this post I will show how I make a cabinet door from a big sheet of plywood. After lots of measures it’s time to cut these numbers out to actually real things, this time cabinet doors for a overhead locker/storage to the Highroof Bay.
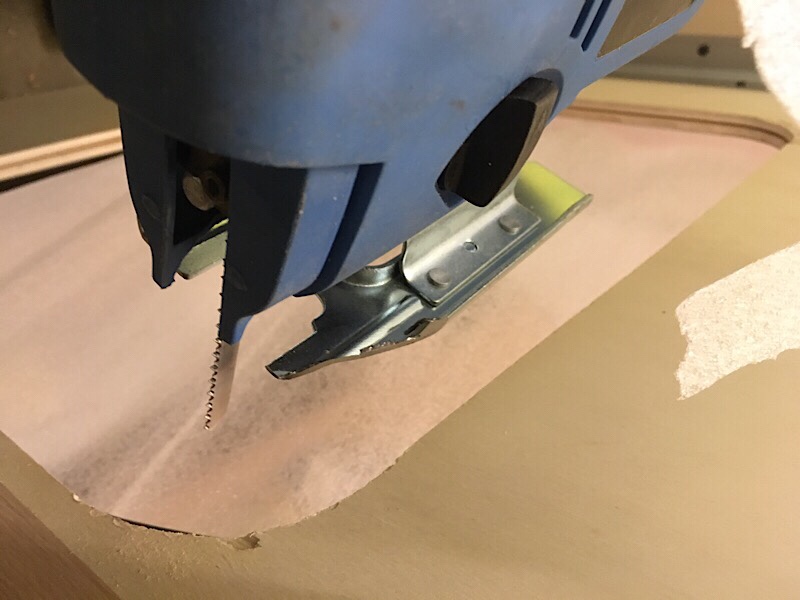
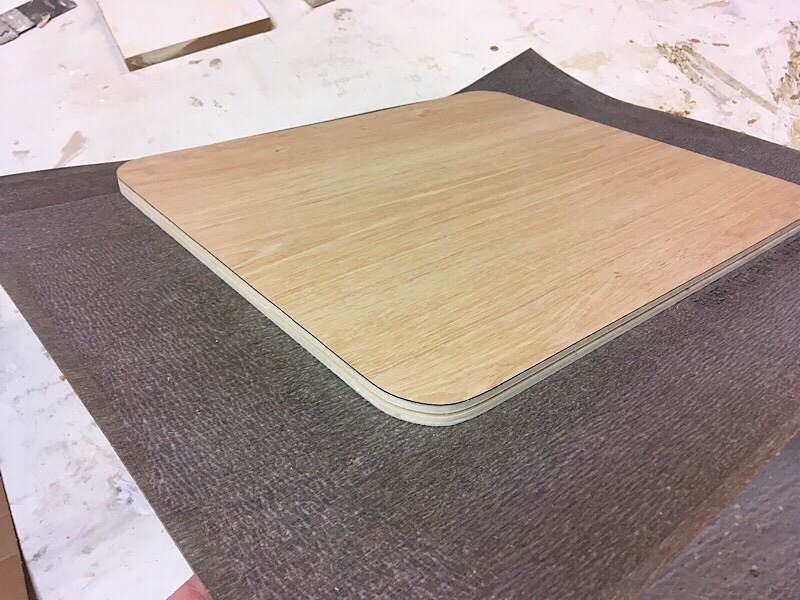
Draw up the dimensions on a 12mm lightweight plywood (never use ink pen!). Then cut it out with a steady hand and a jigsaw. Cut out laminate in slightly bigger size than the plywood, add 3M laminate glue on both sides, let it dry separate for 60mins. Then press the laminate together with the plywood and put it under pressure for at least 1hour or 2. Repeat it again to do the other side if needed. After this it’s time to use the electric wood router and cut out the coutures. Then cut a profile in the end of the door using a special router bit. When this is done you can start knocking on the edging, you can buy these from special wood company’s or camper conversion firms. Then measure out were you want the doorknob, drill it out, press in a bezel and install the lock. Mount hinges. Now you have one complete door, just everything else left to do 😉 Good luck!
Some of you have been asking for build plans for the Highroof Bay bus interior, but the only plans I have is in my head, sorry guys! 🙂
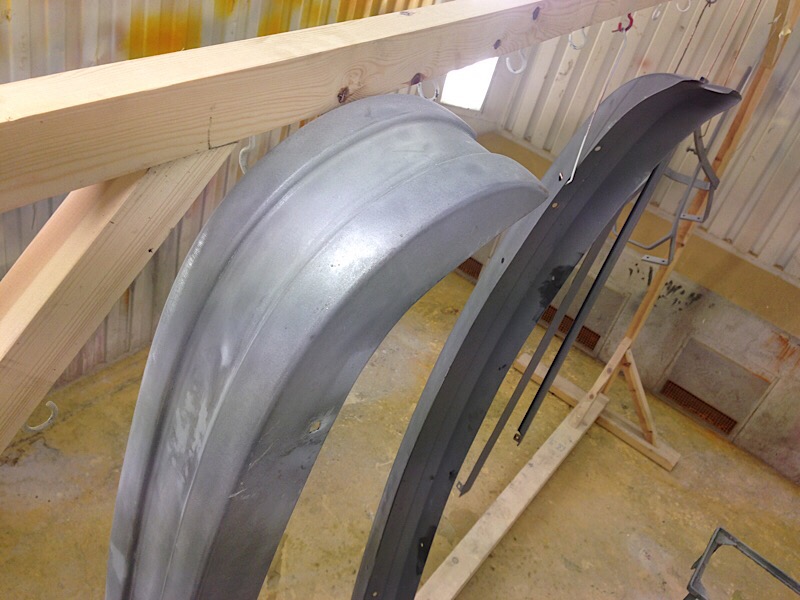
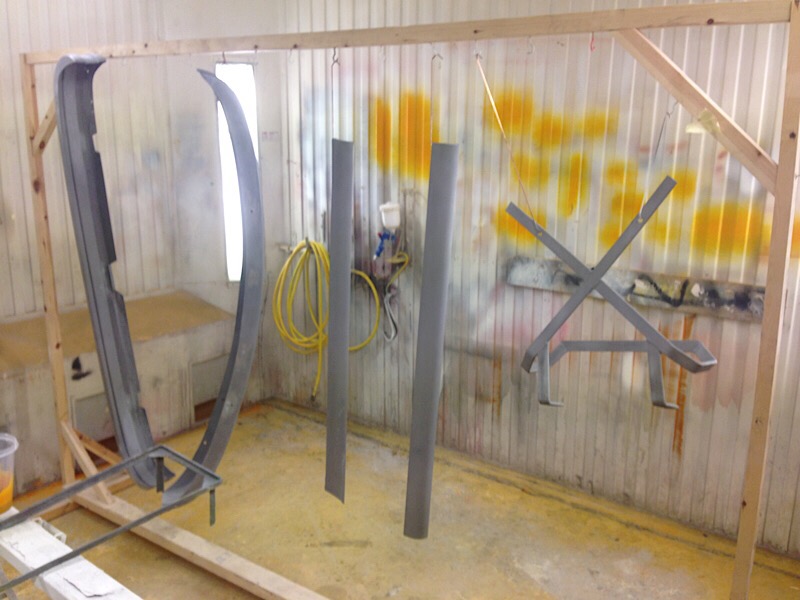
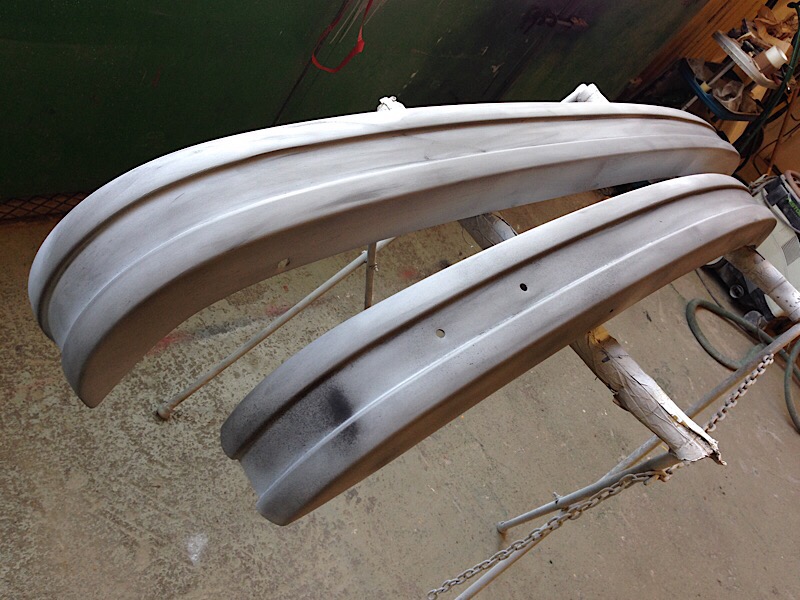
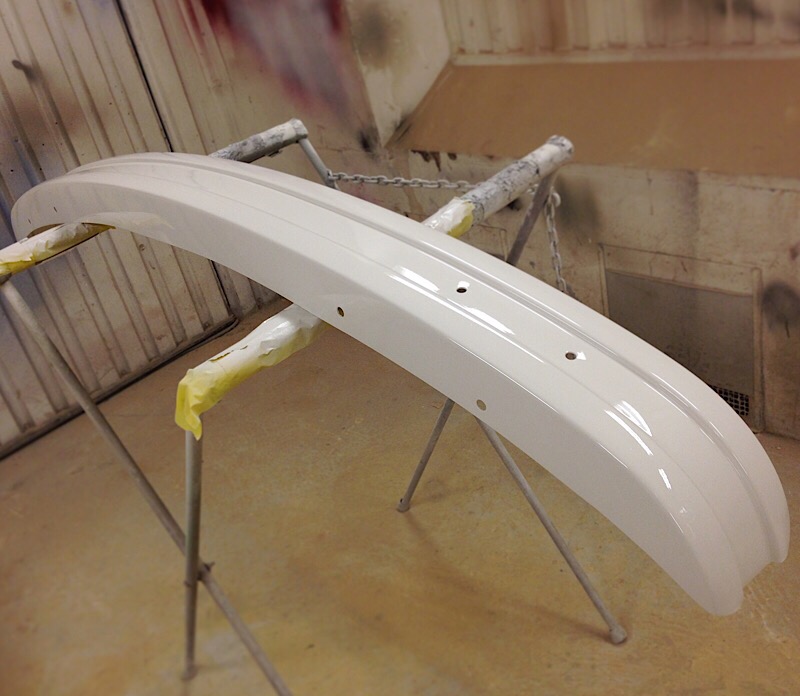
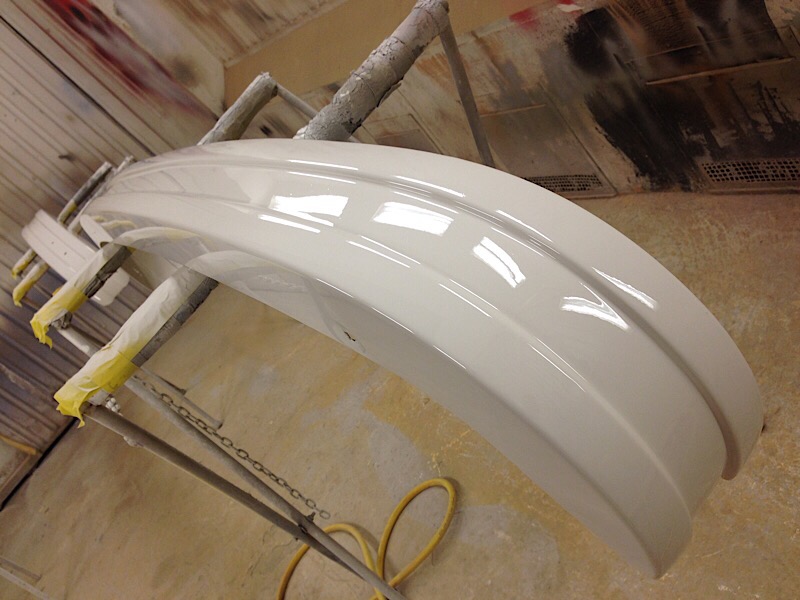
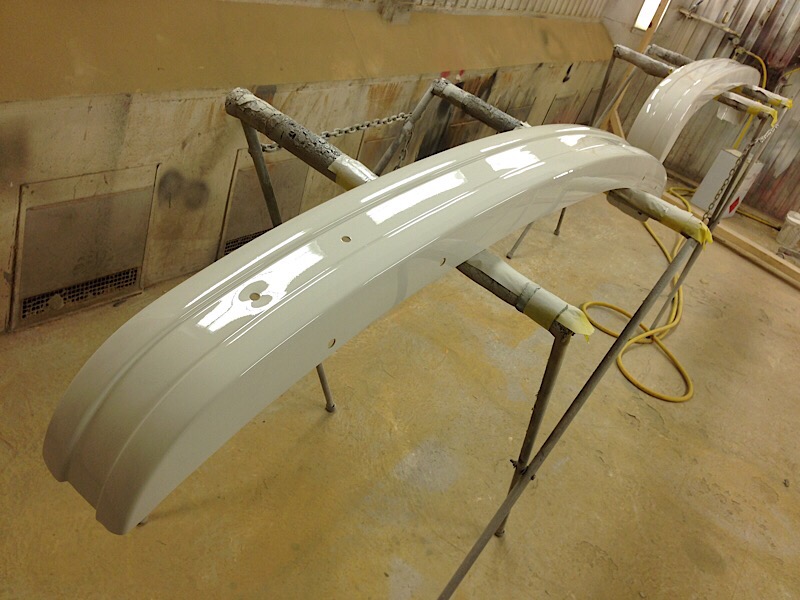
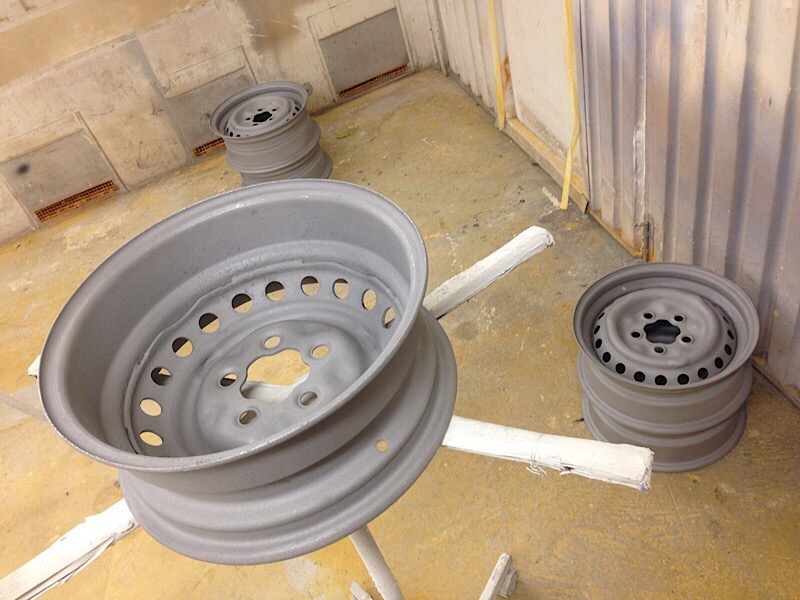
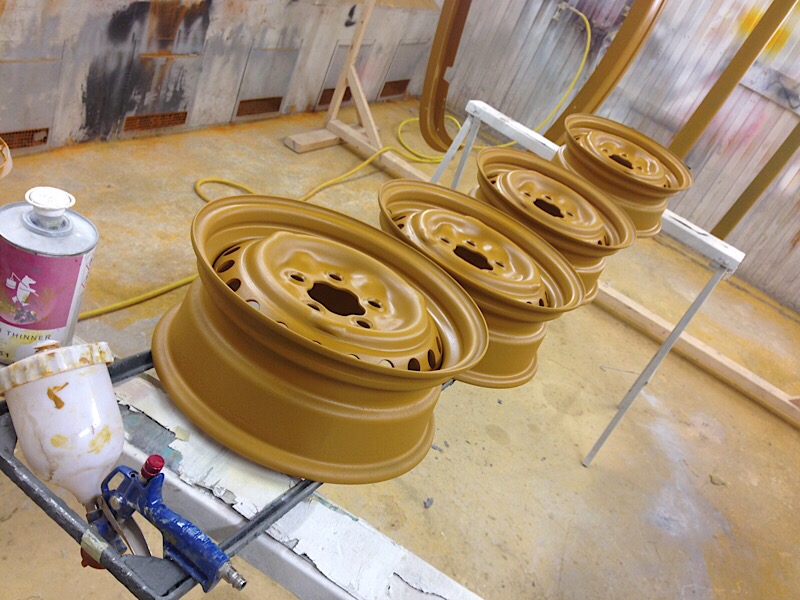
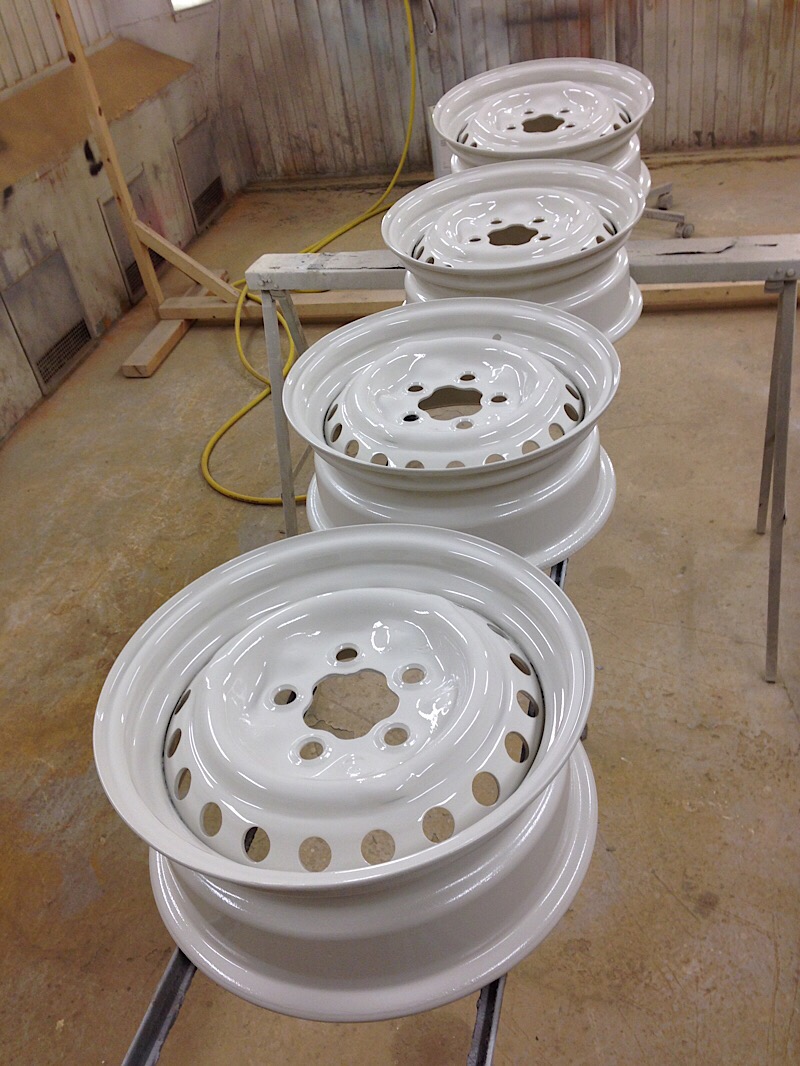
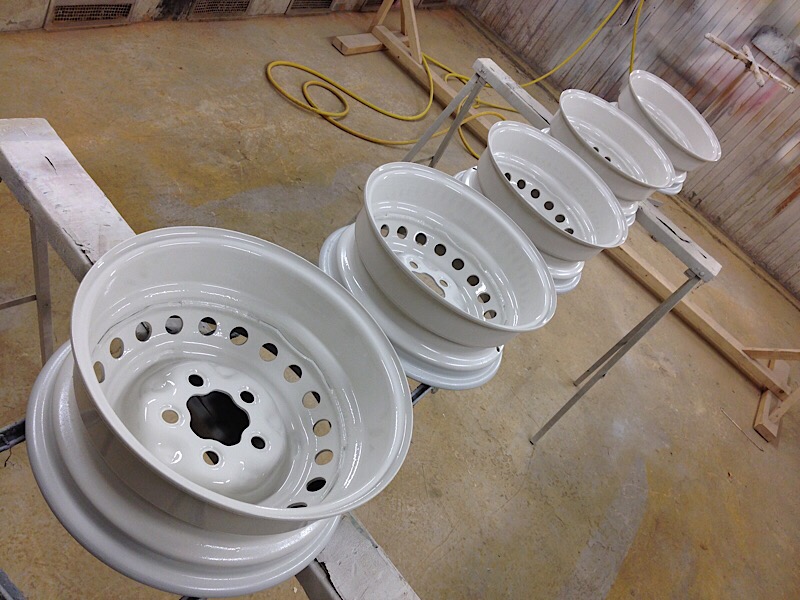
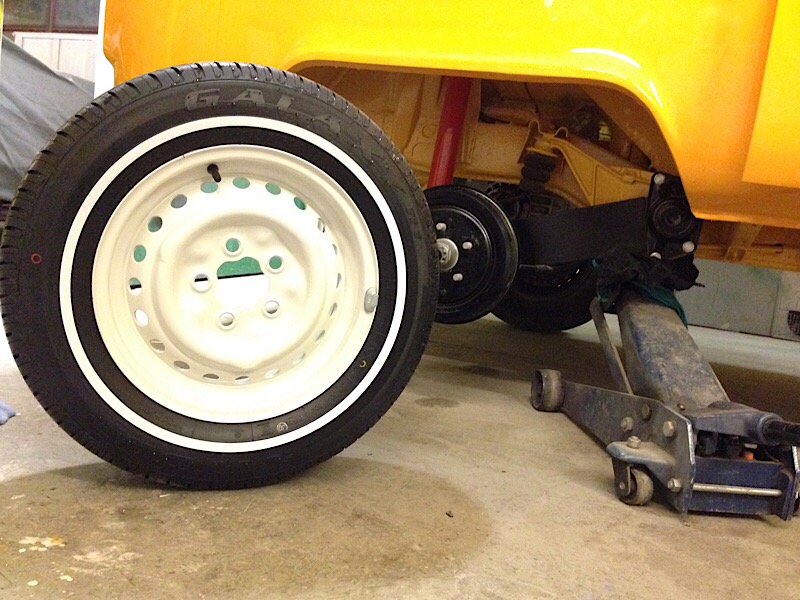
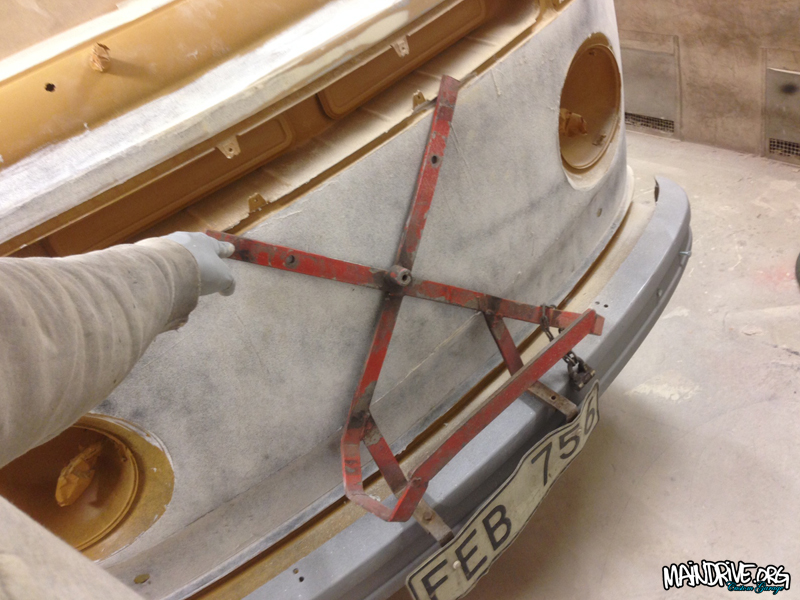
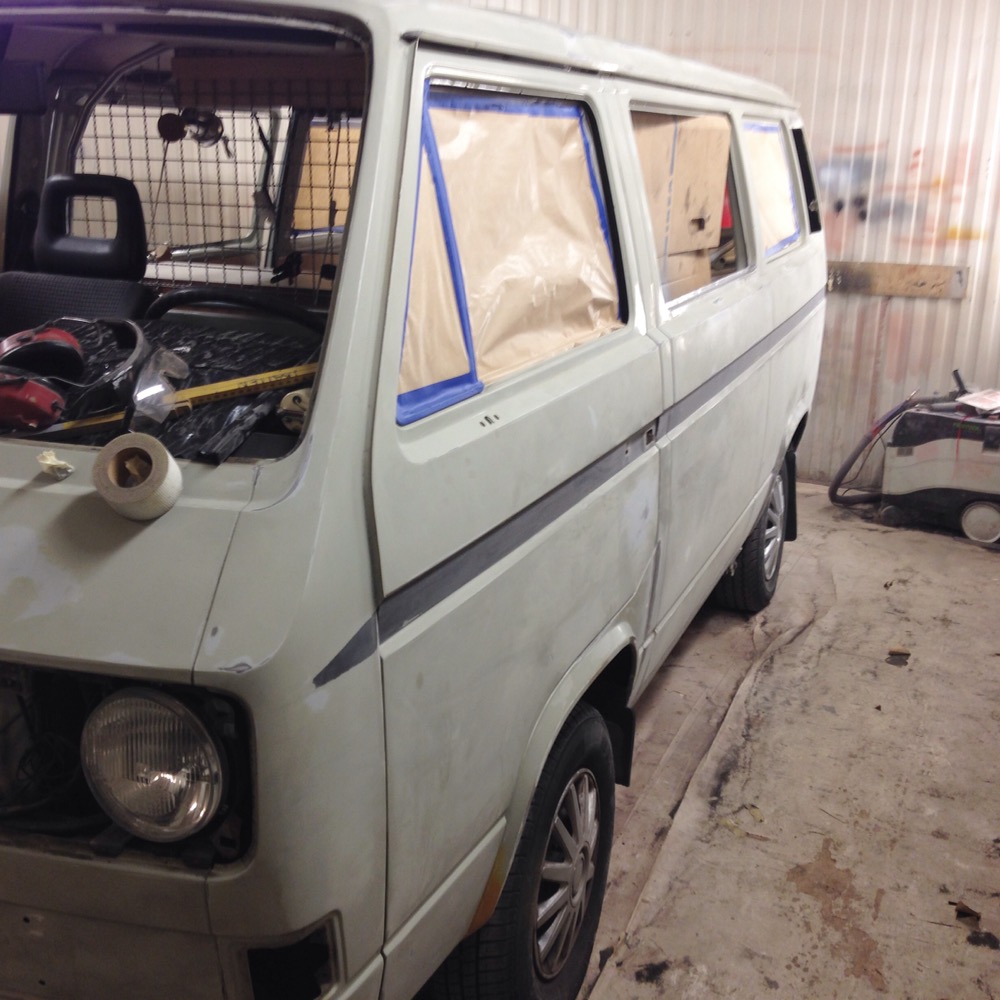
Piece by piece it’s coming together! I Have been fixing with the bumpers and wheels lately. It have all been sandblasted, welded, epoxyed, sanded, primered and painted in same white as the roof. Really starts to come together now, some light in the tunnel. But still lots left to do, here is some new pics…
#highroofbayproject

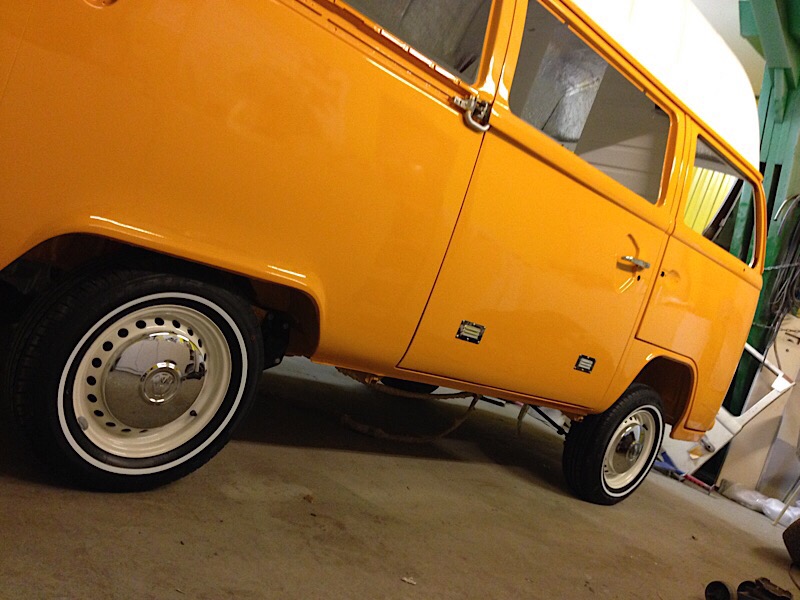

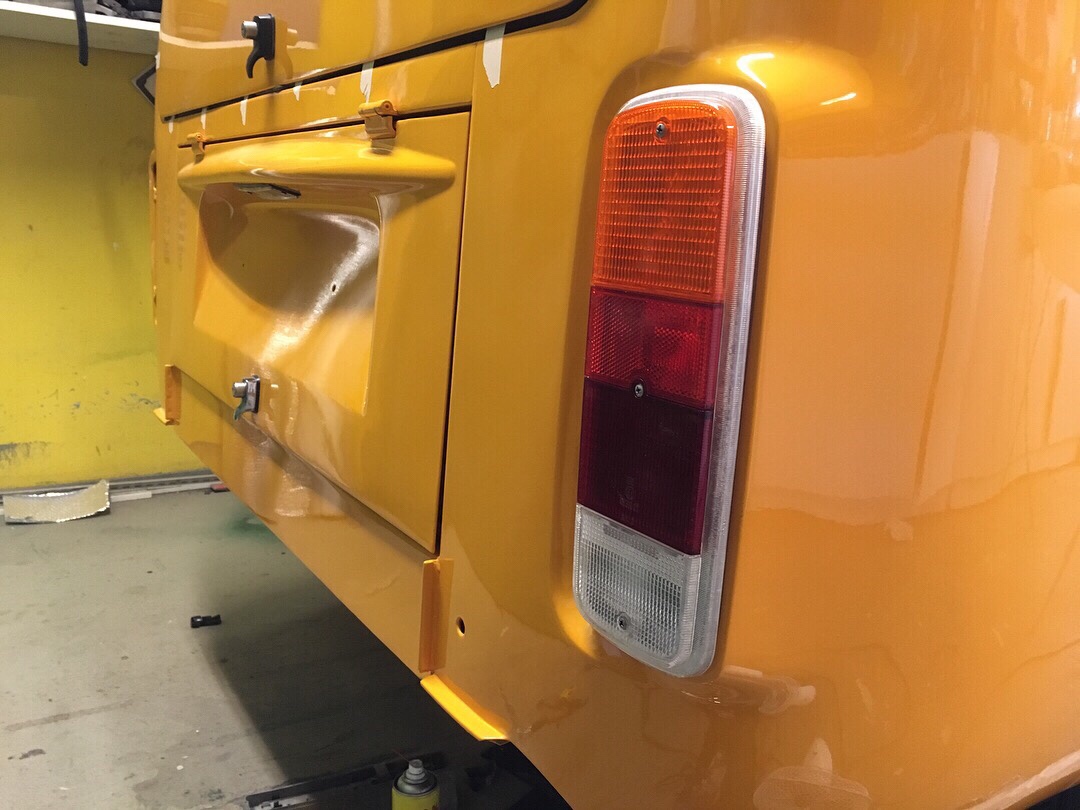
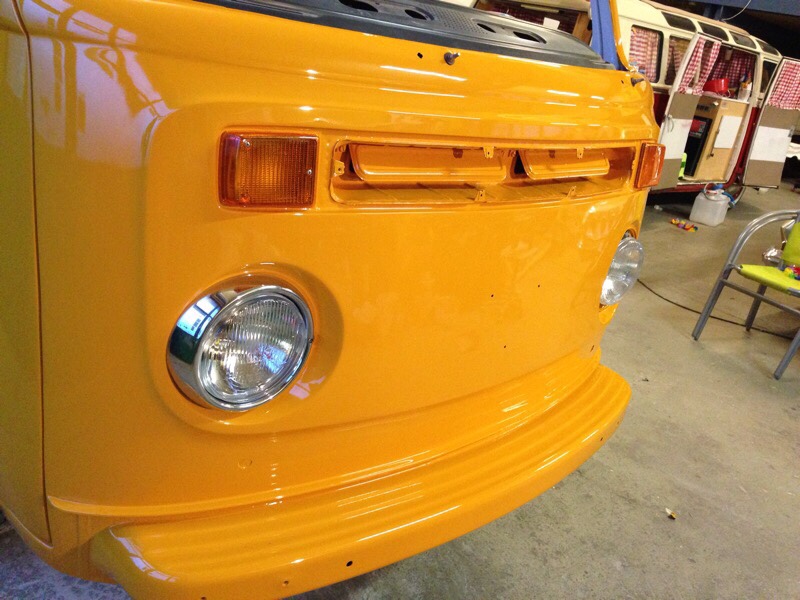
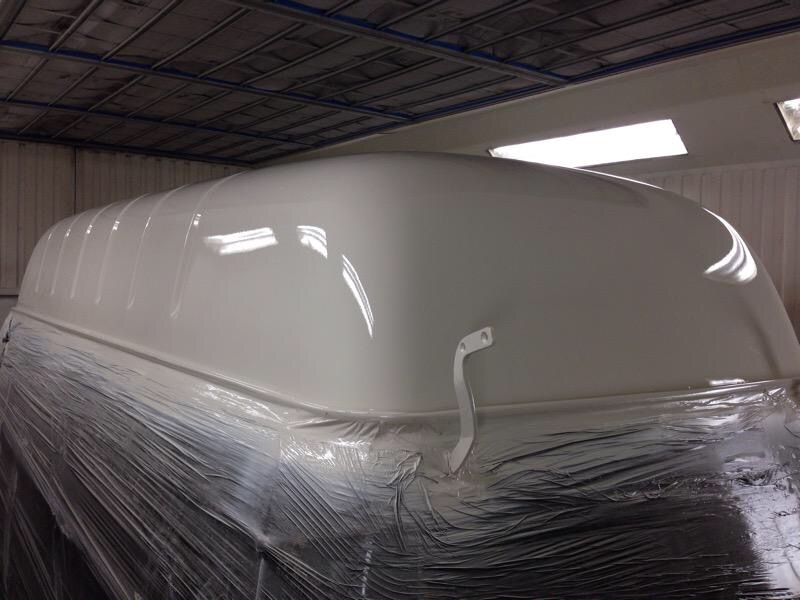
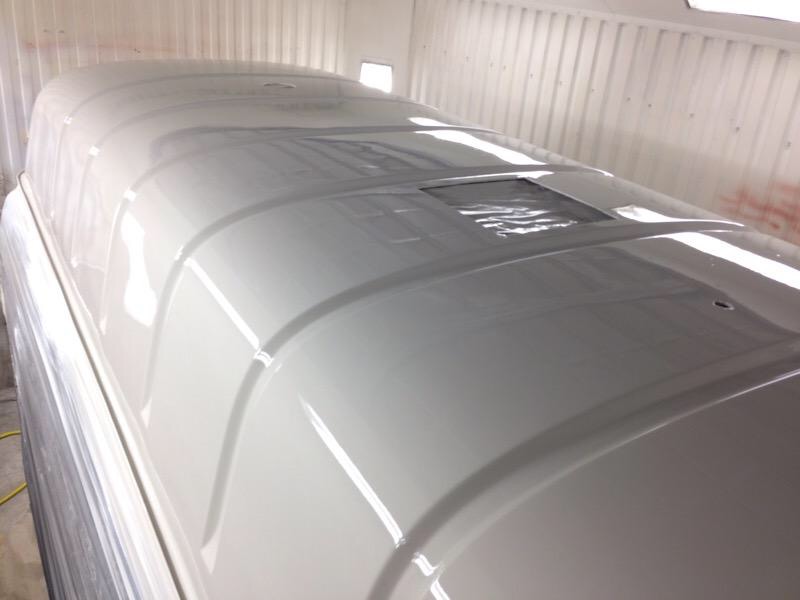
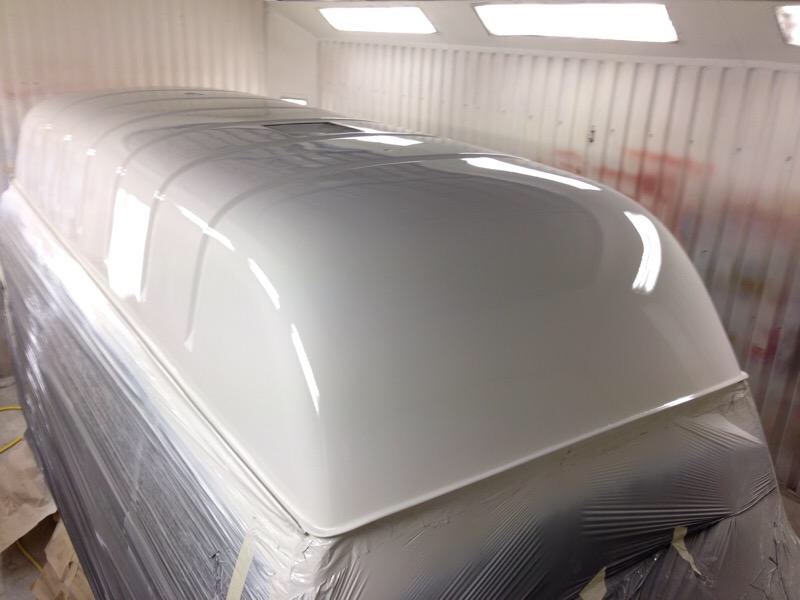
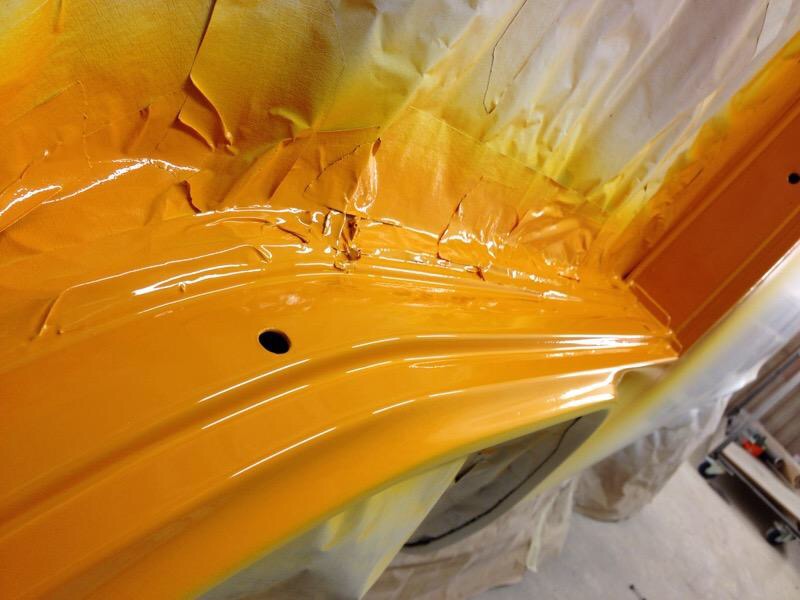
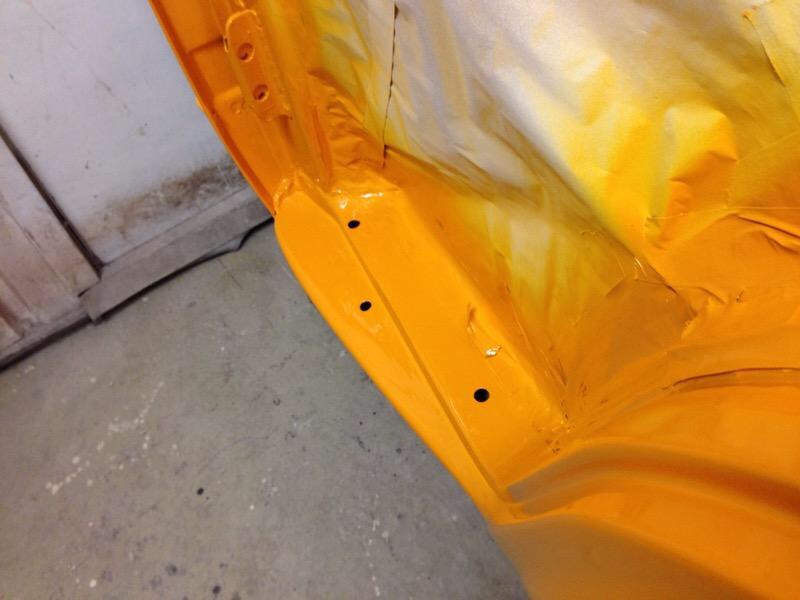
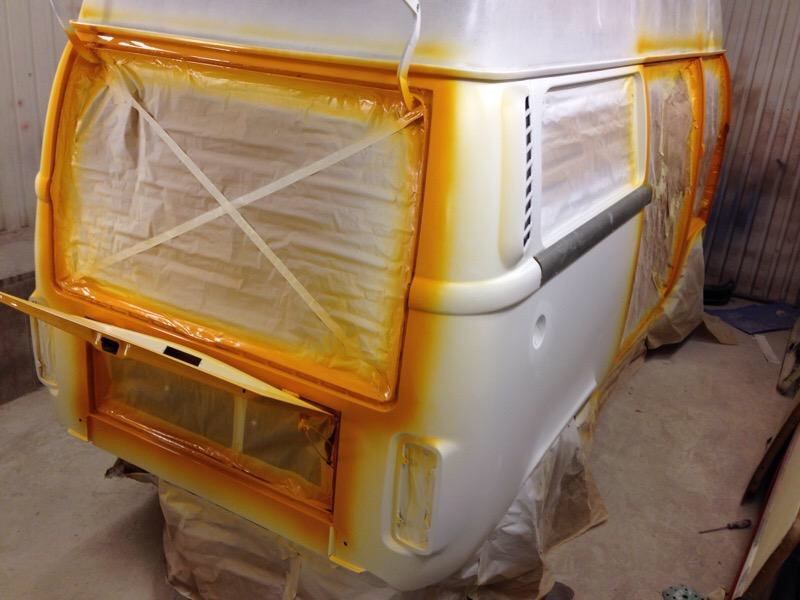
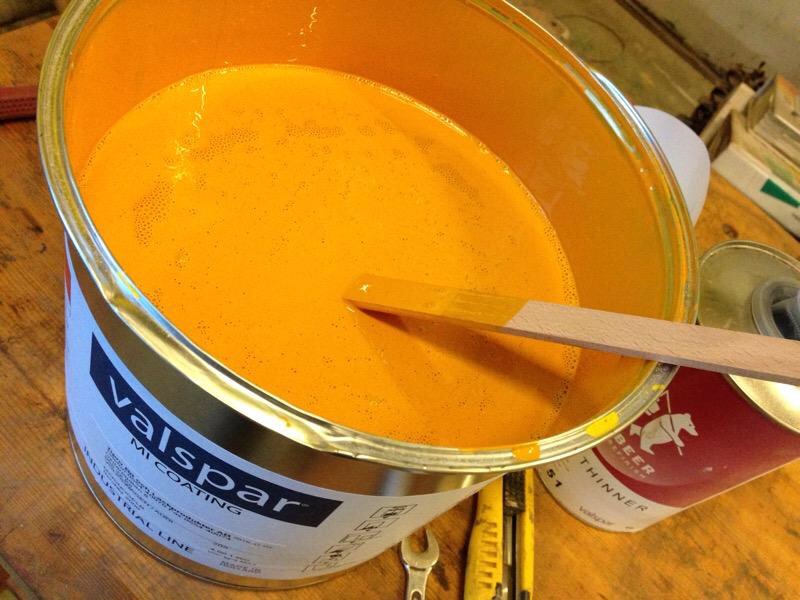
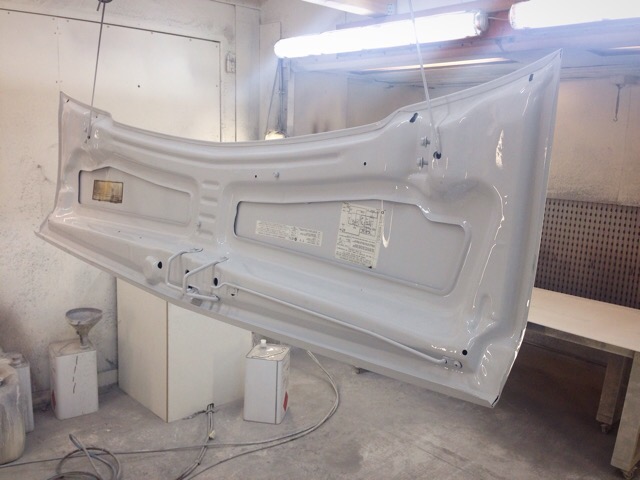
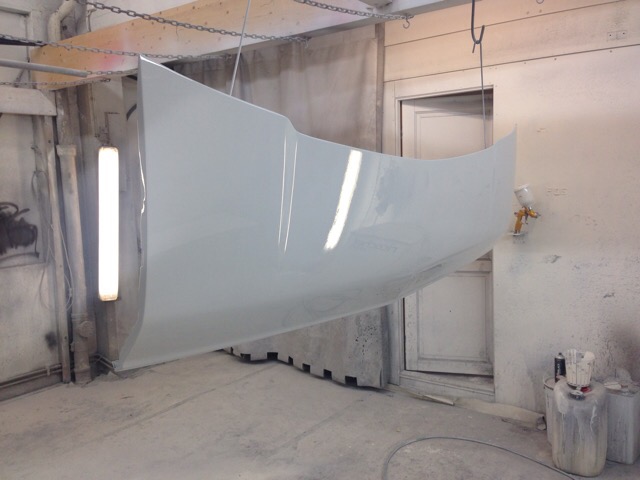
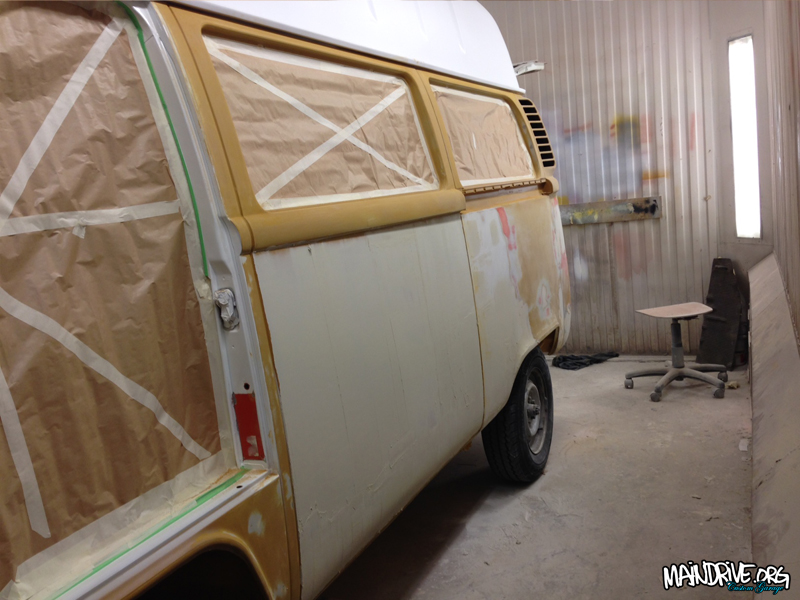
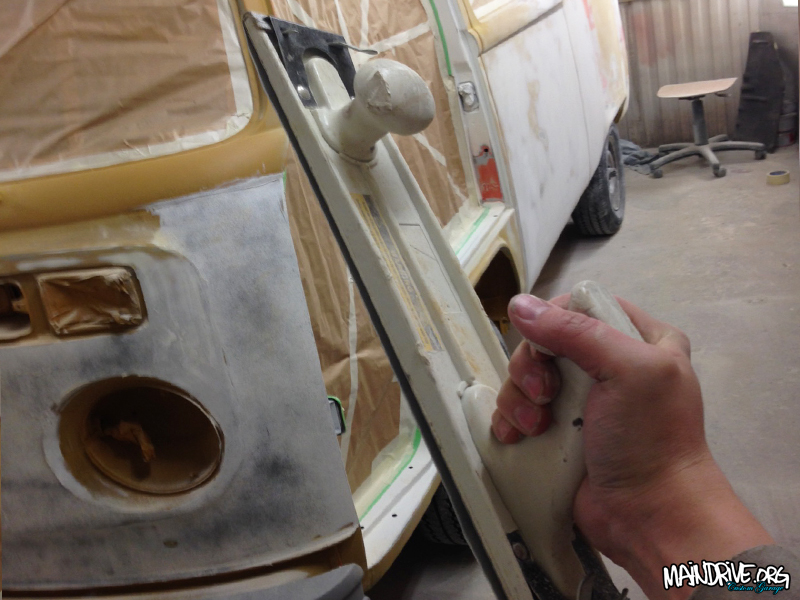
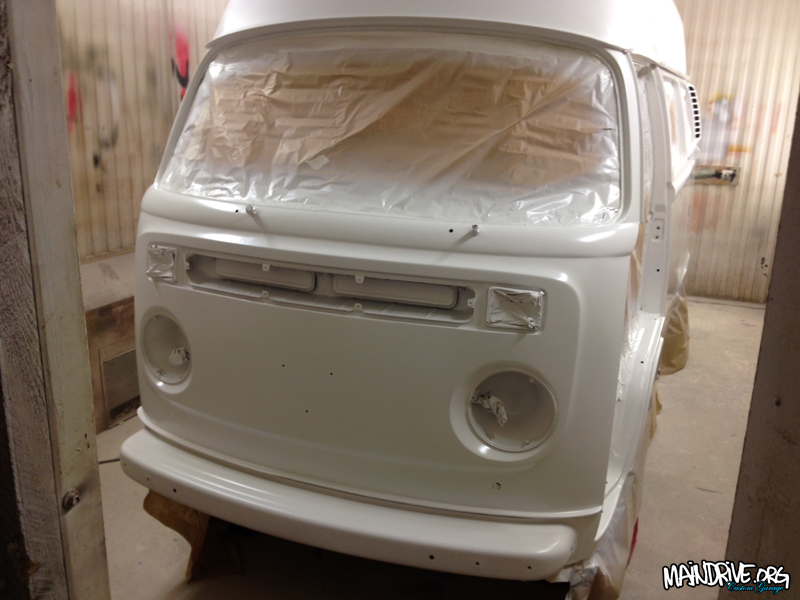
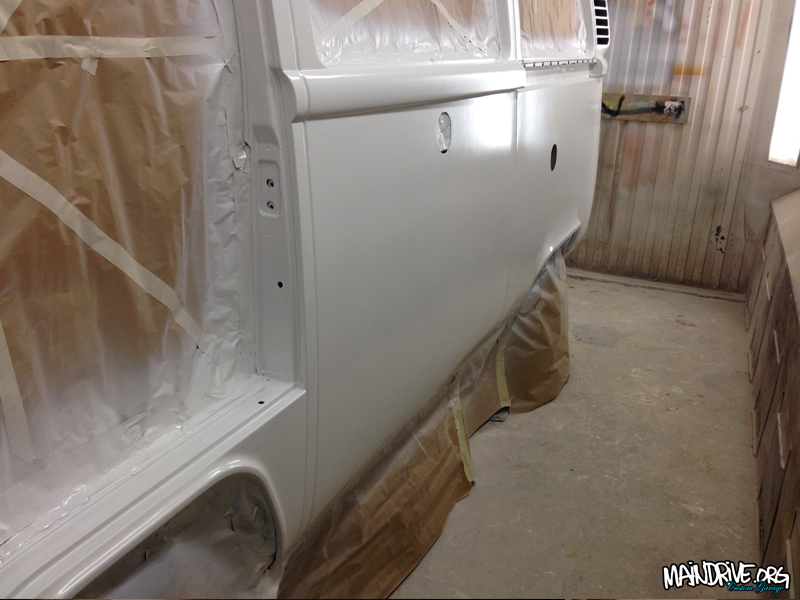
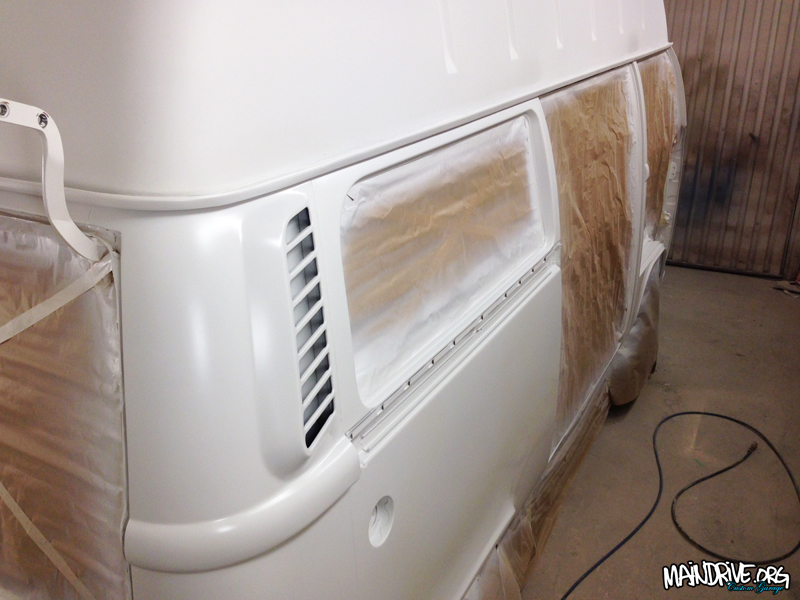
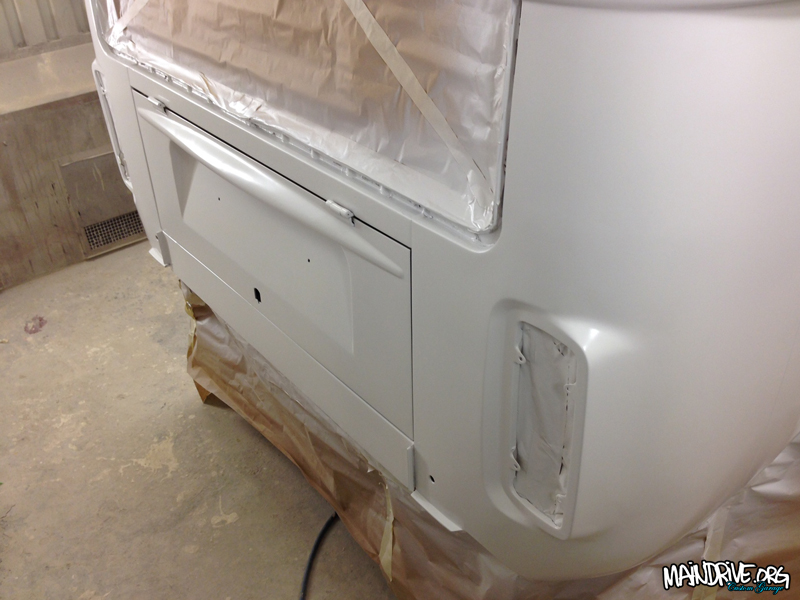
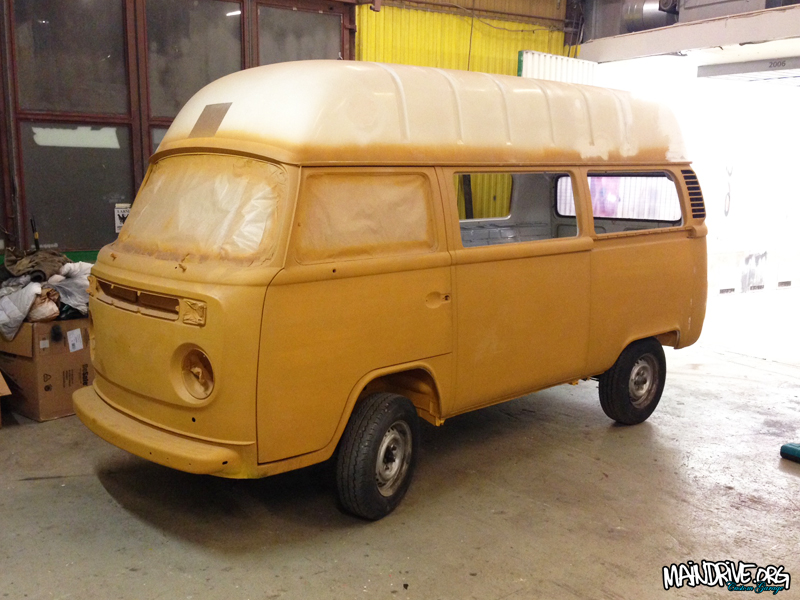
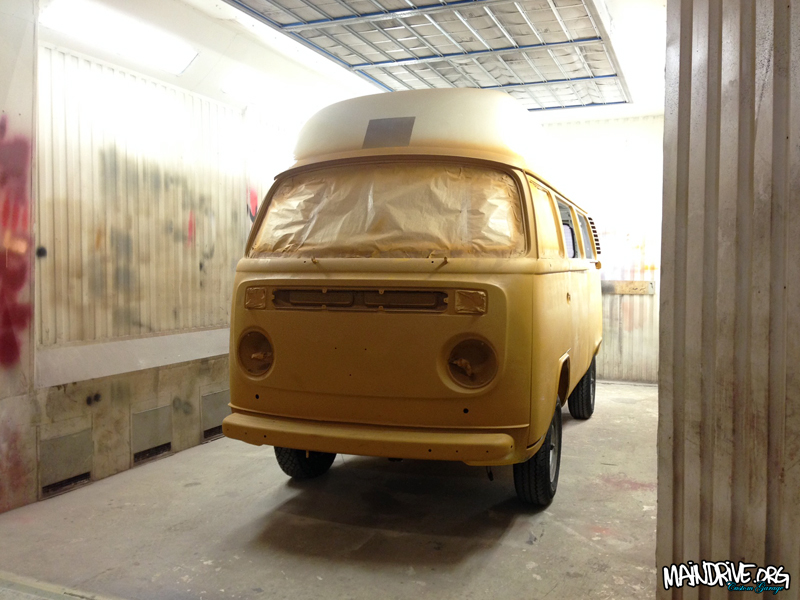
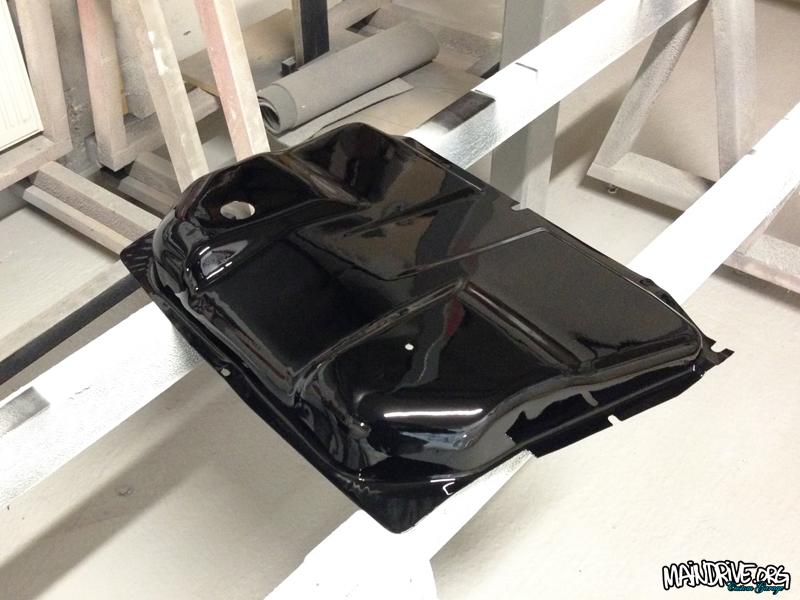
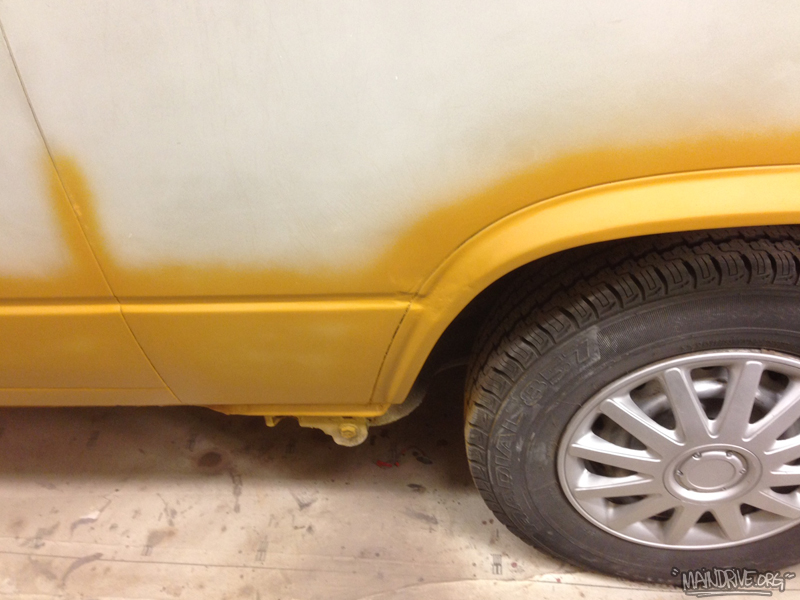
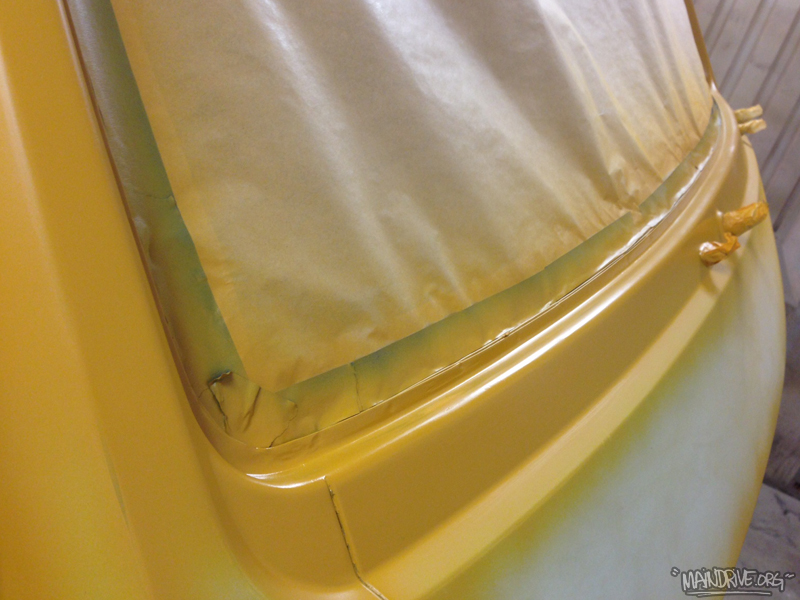
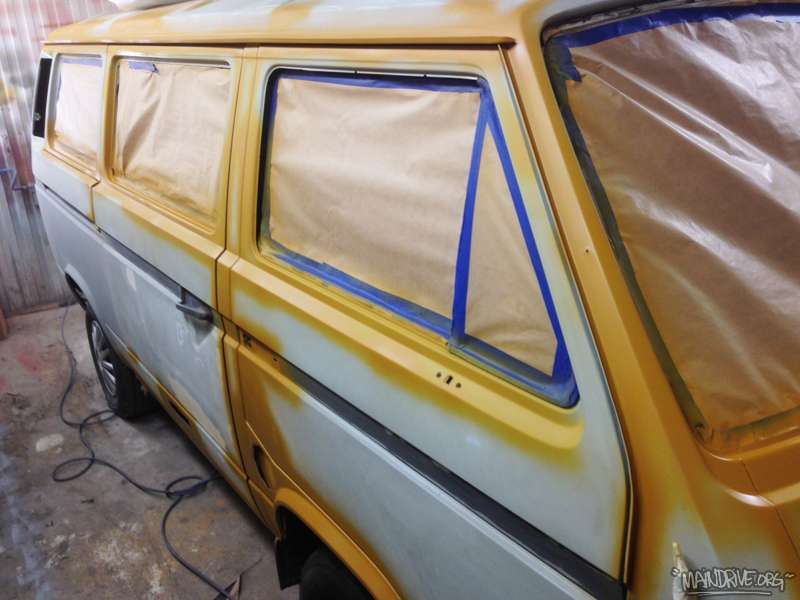
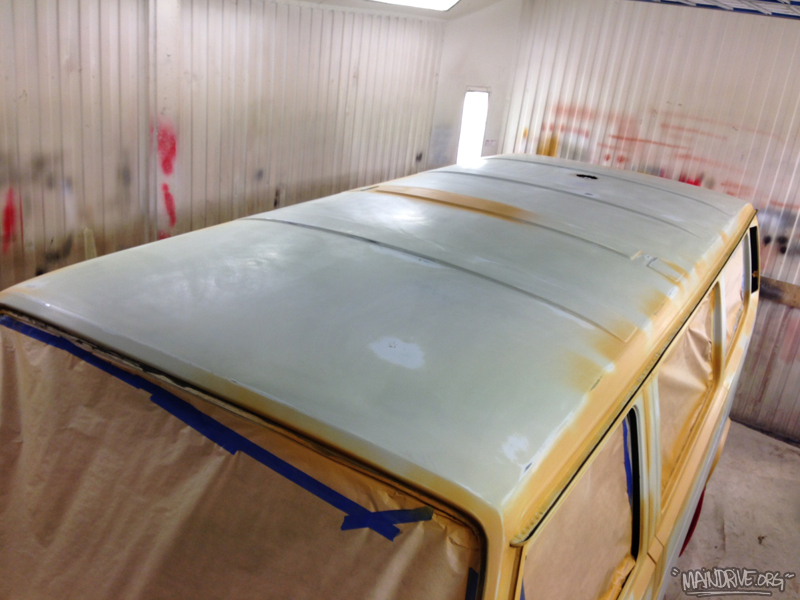
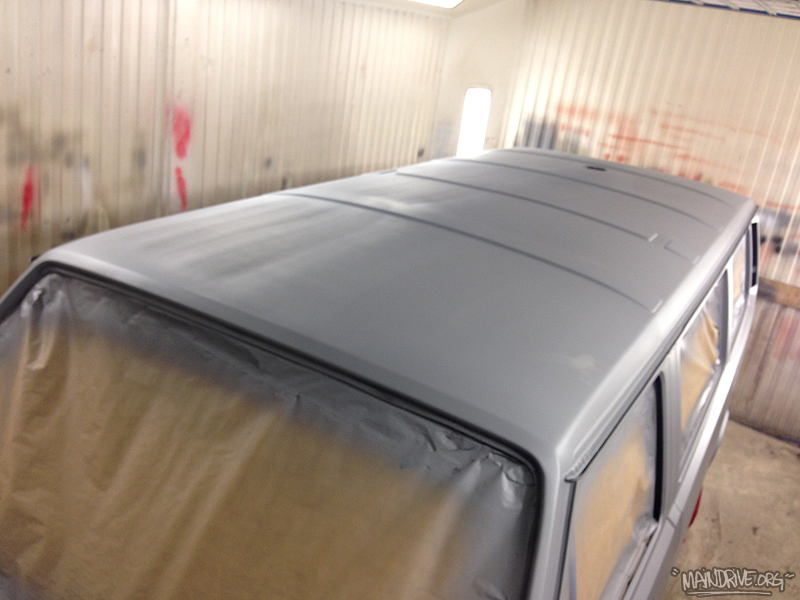
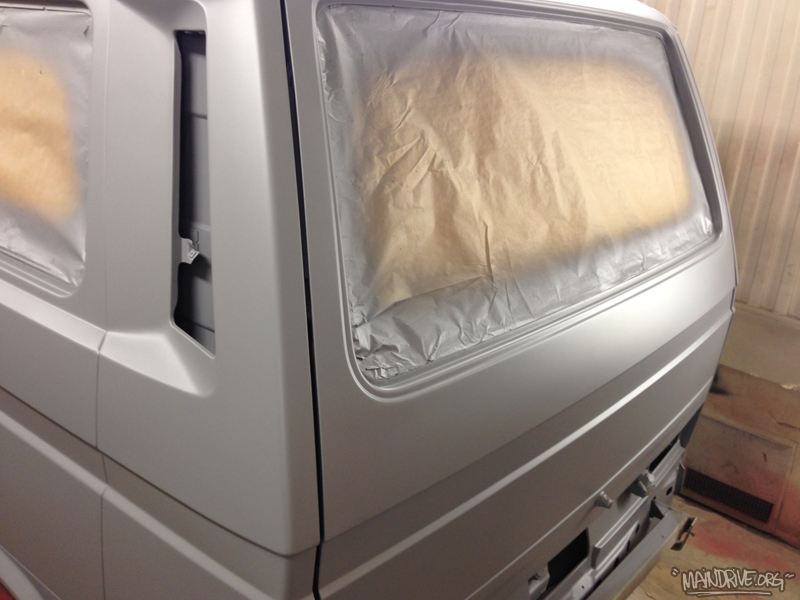
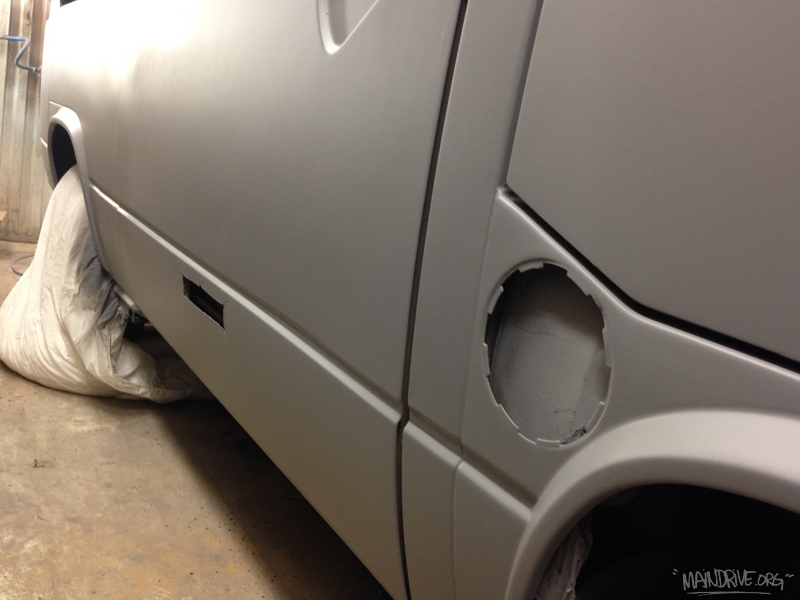
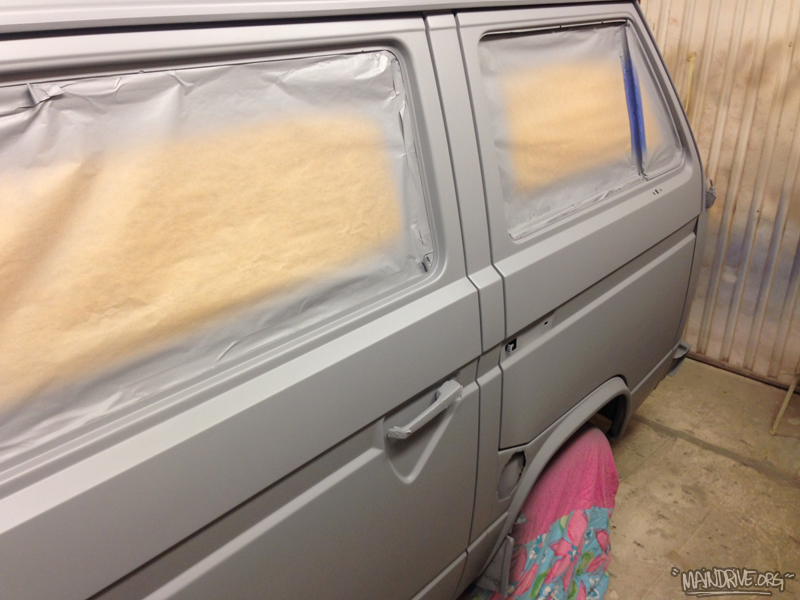
Lots of work have been done lately on the VW Baywindow Highroof! Whole roof have been finished in California White color. All doors and lids have been painted on the insides and then fitted back on the body. All panels are now sanded in 800grit and ready for toppaint in VW L20a Marino Yellow!
#highroofbayproject
Movie from this weekend with the VW bus. Fore more follow: @campersontour at Instagram.
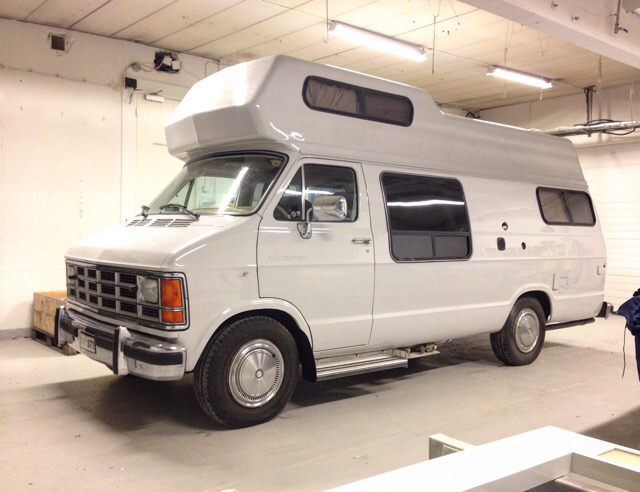
Dodge RAM campervan painted and ready.

When winter comes knocking on the door, its nice to watch videos from the bus summer! Take me back…
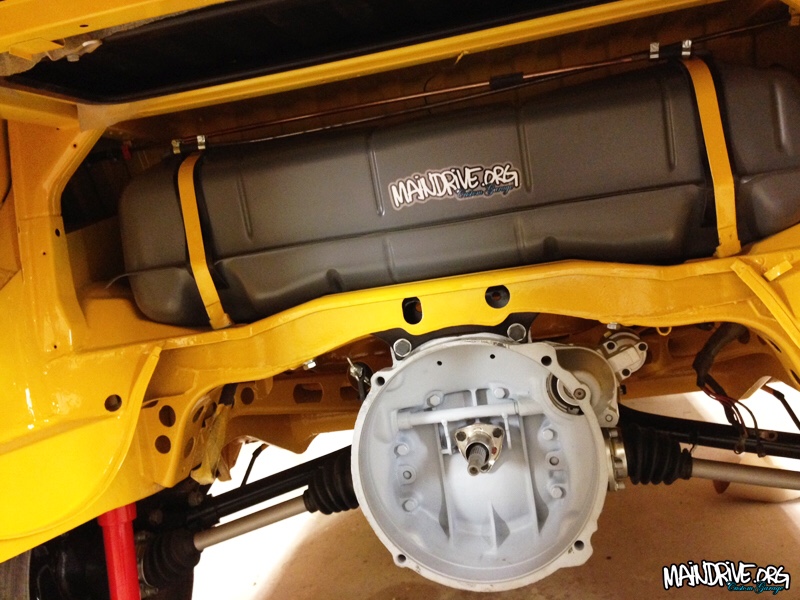
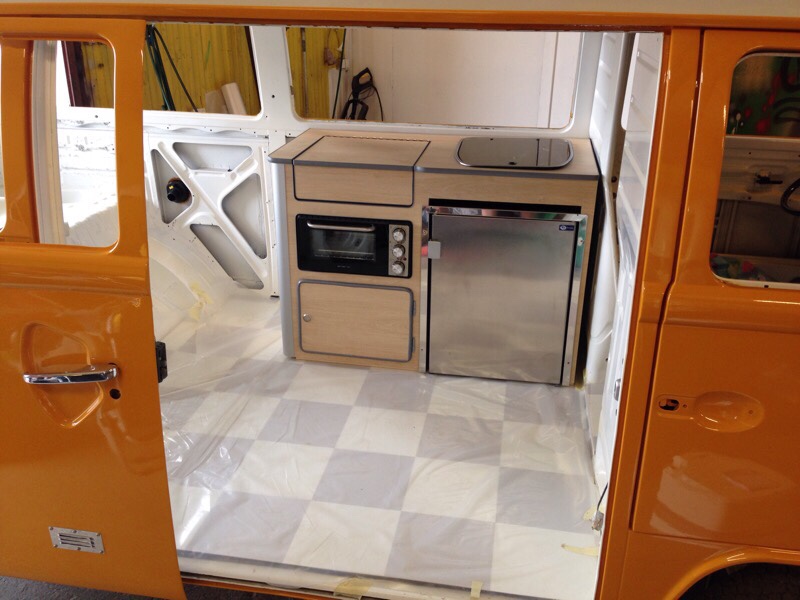
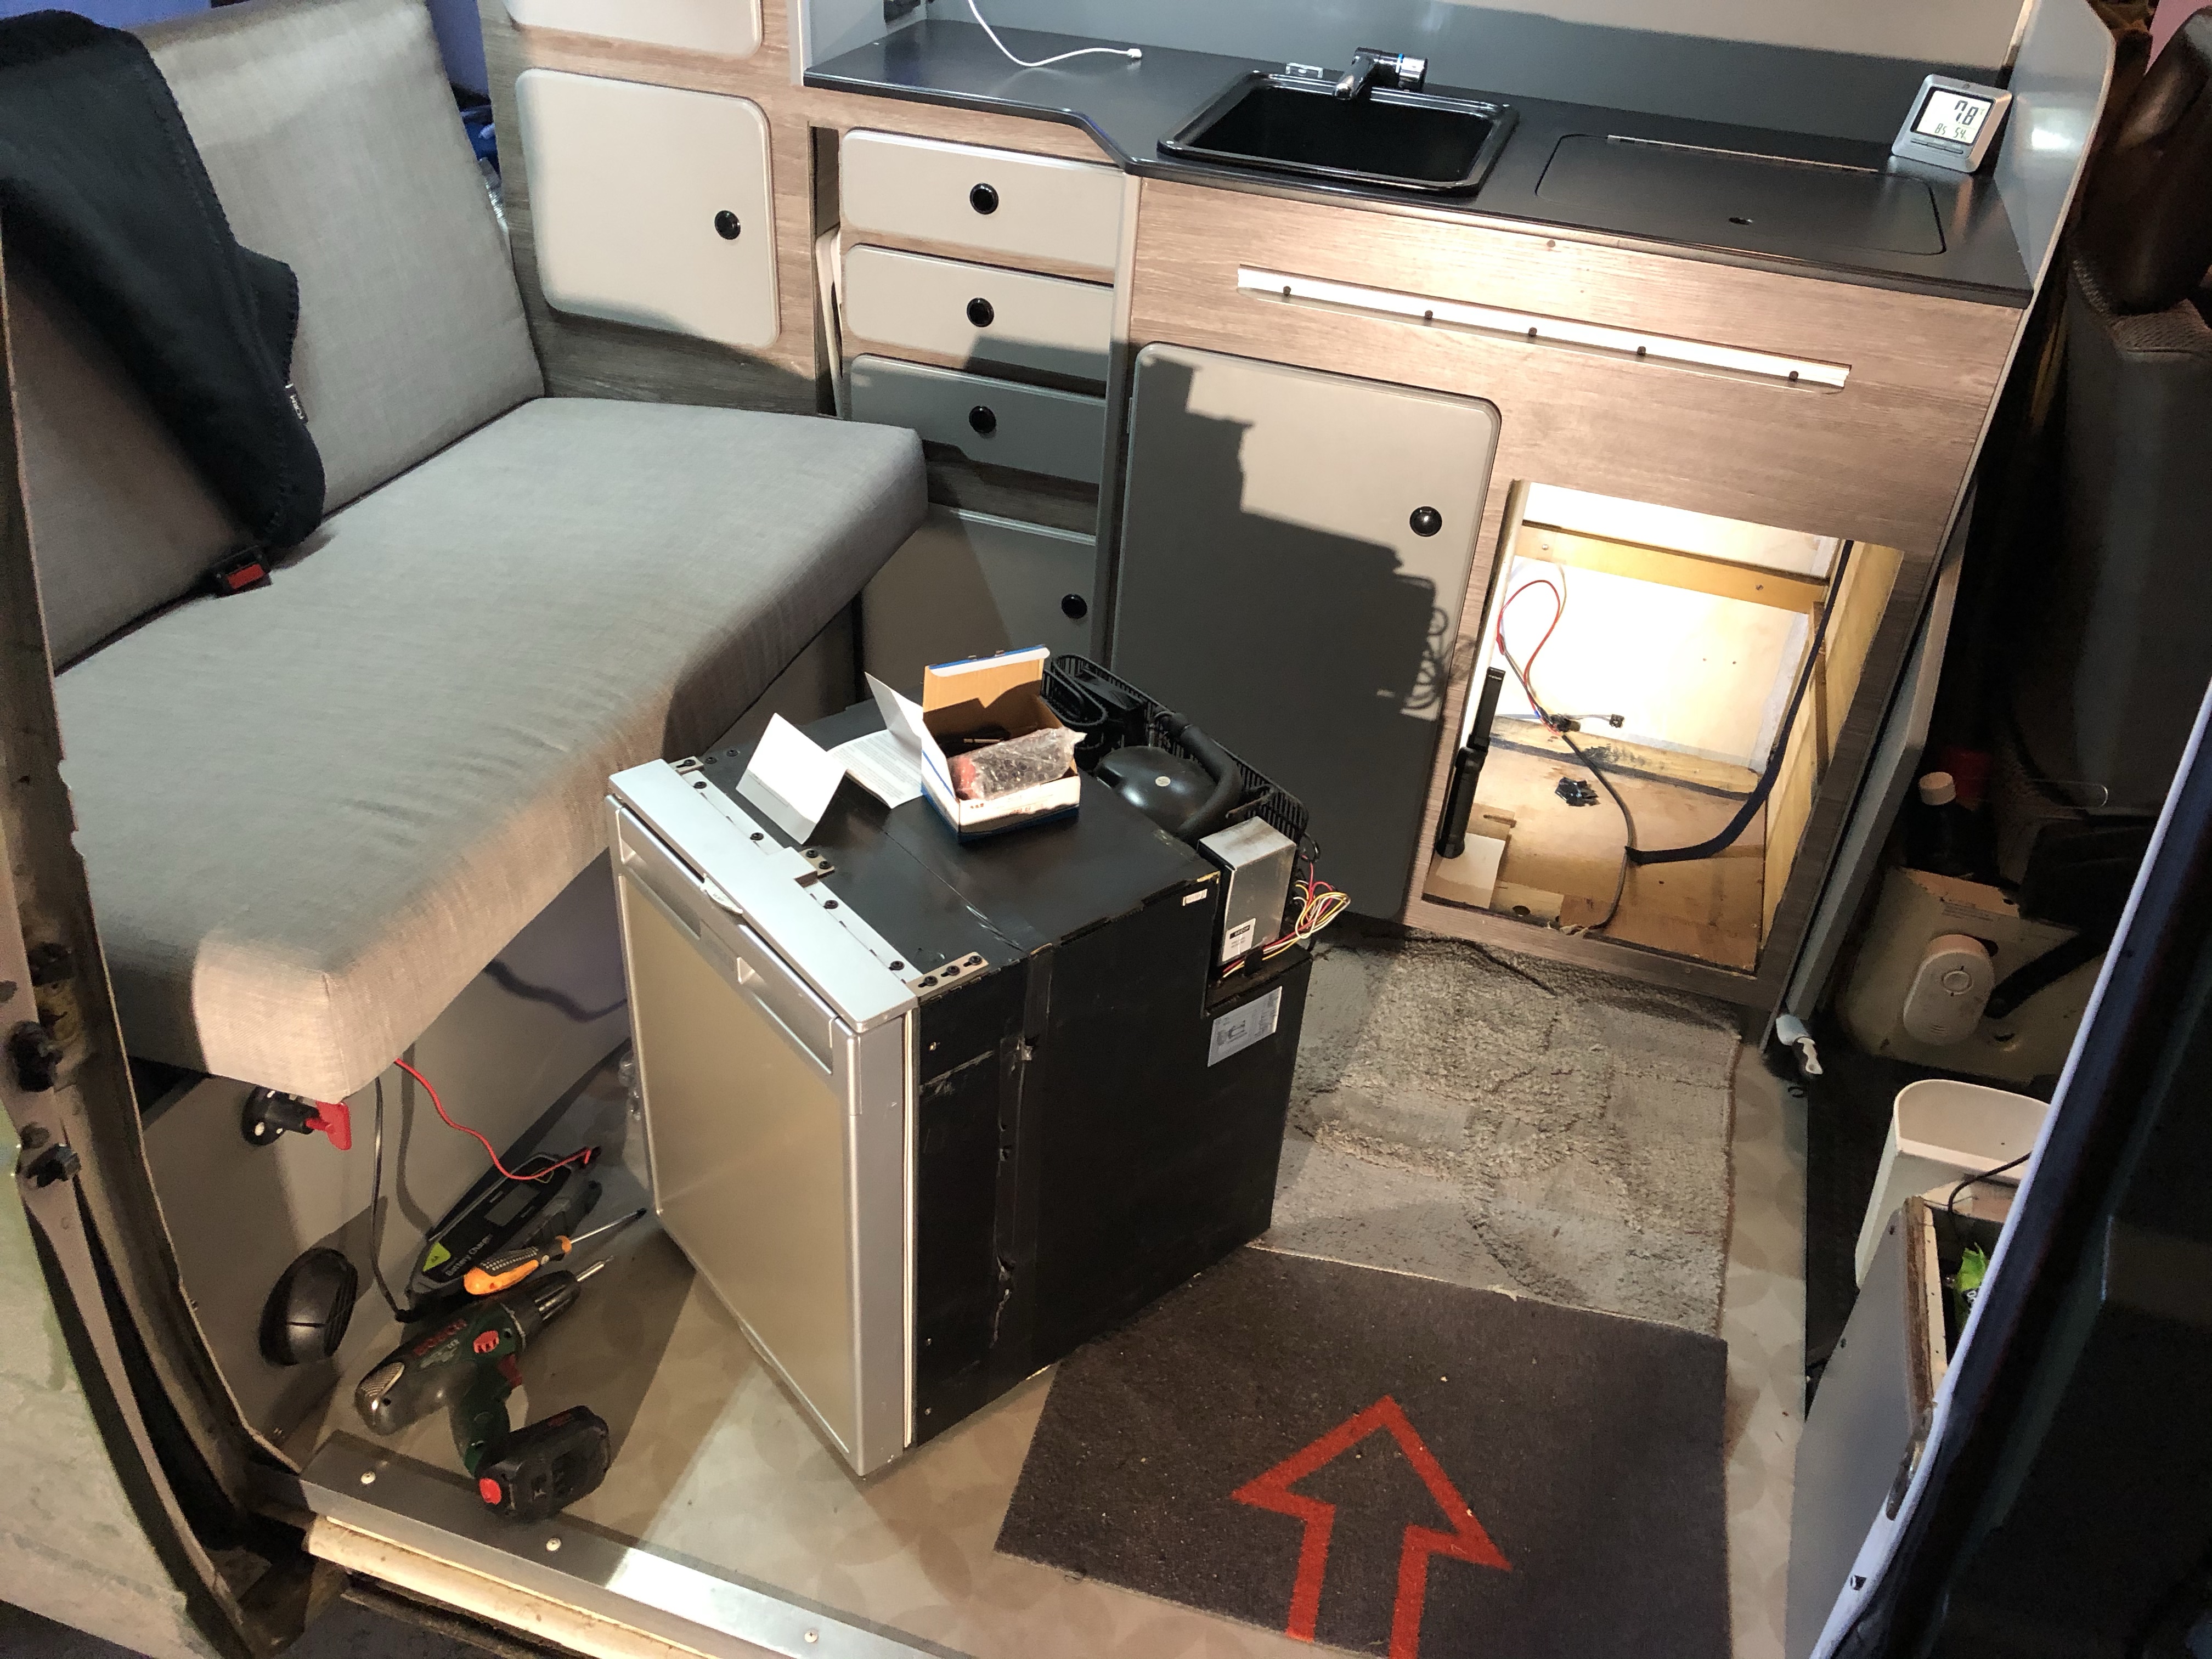
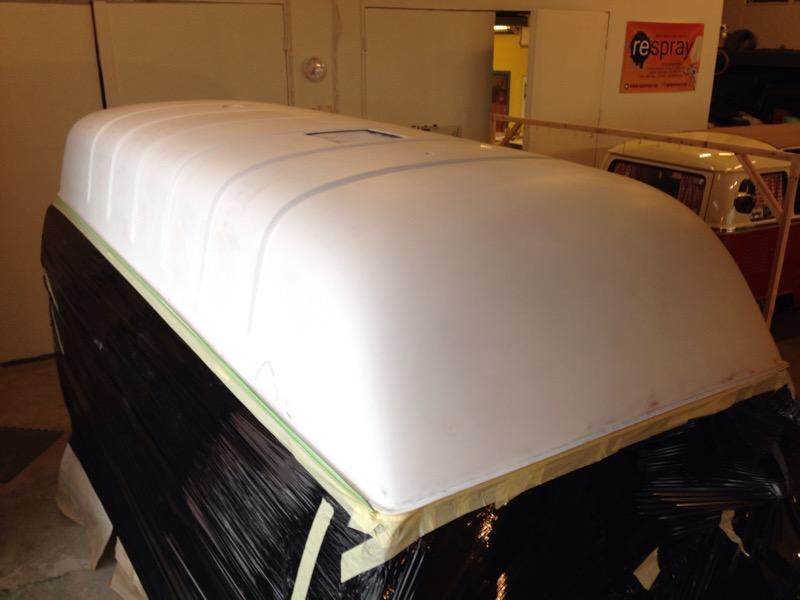
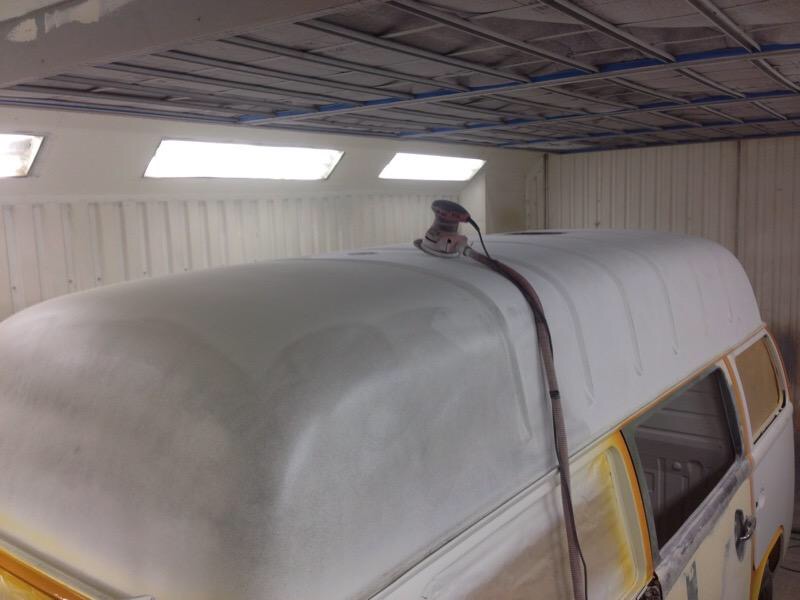
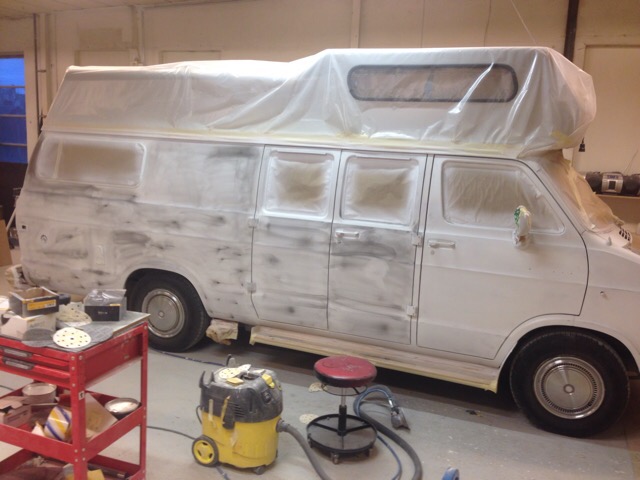
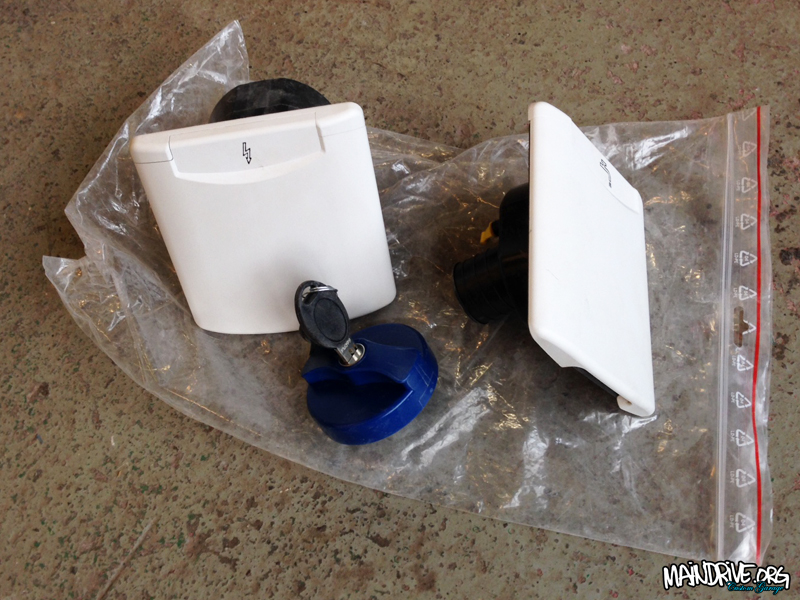
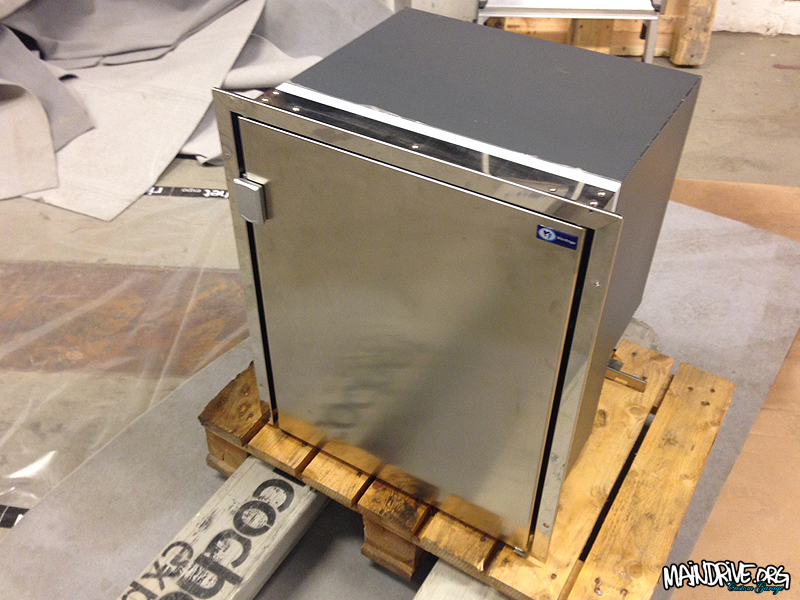
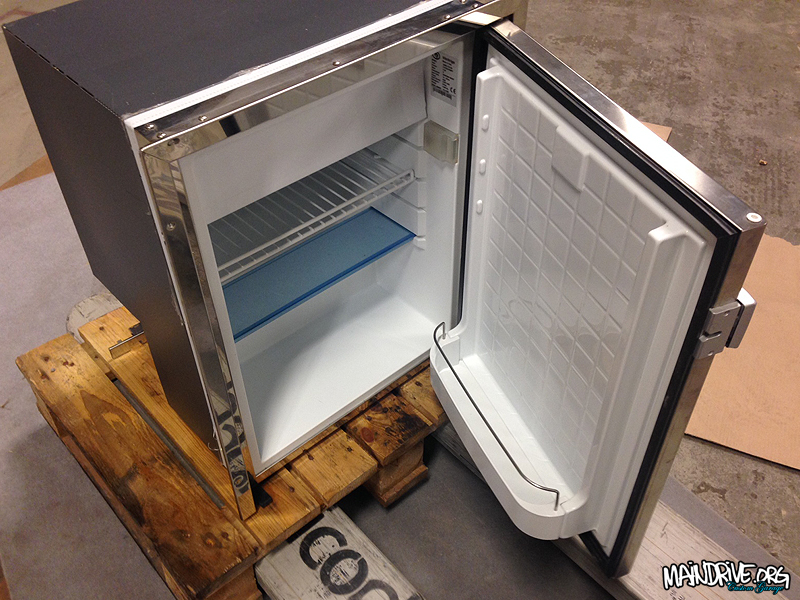
Slow with updates? Thats because I have been busy doing bodywork on the Highroof bus. A very boring, dusty and time consuming work. But now its in surffacer/filler/primer and ready for more sanding again, and hopefully thats it before paint. Paint for roof (white) and body (VW L20a Marino yellow) is bought. Still have all the doors and lids to do also! Got some new parts too, new lids for electric 240v hook up and fresh watertank filler with lock. A Vitrifrigio C60 fridge in stainless will chill the drinks and food nicely, its 60 liters and 10,5 liter is freezer. Danfoss compressor of course!
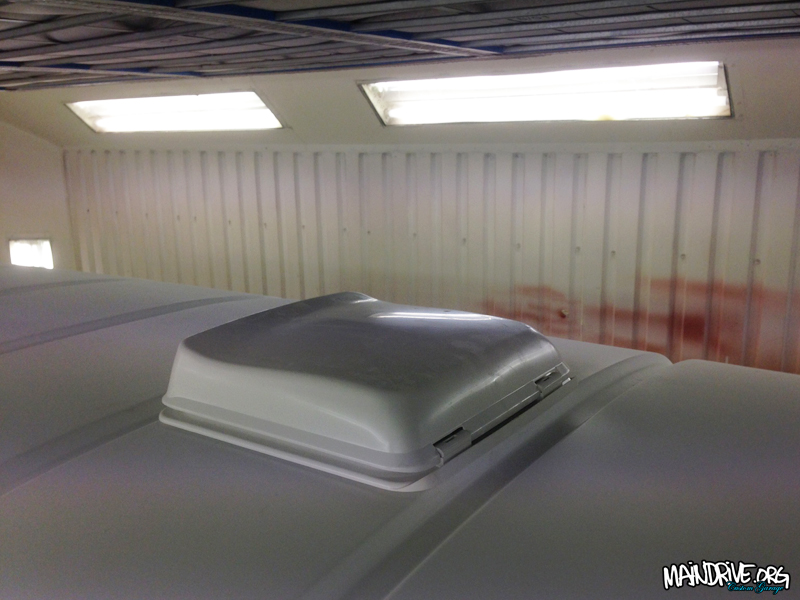
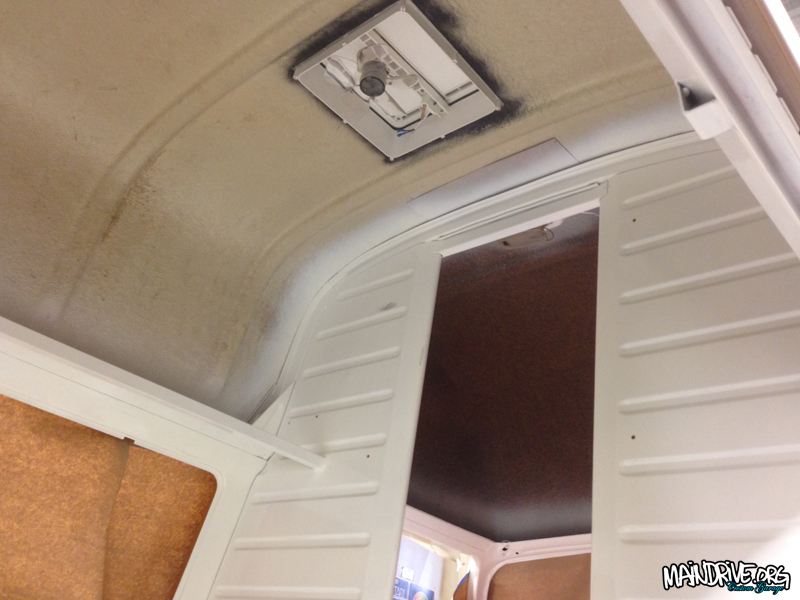
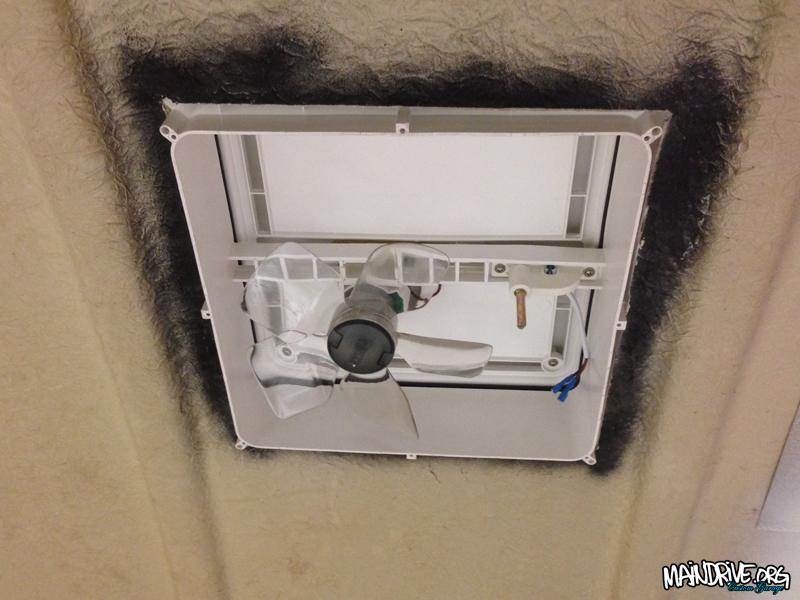
Test fitted the Fiamma Turbo Vent 28×28 on the bus, better before than after paint! It has a built in fan on 12v that can blow out or in fresh air. Will be nice on warm summer days and night I think.
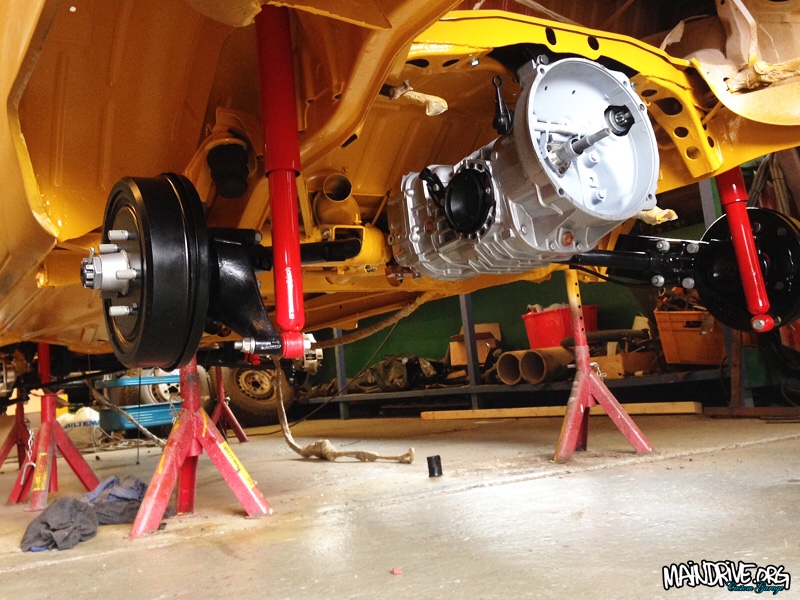
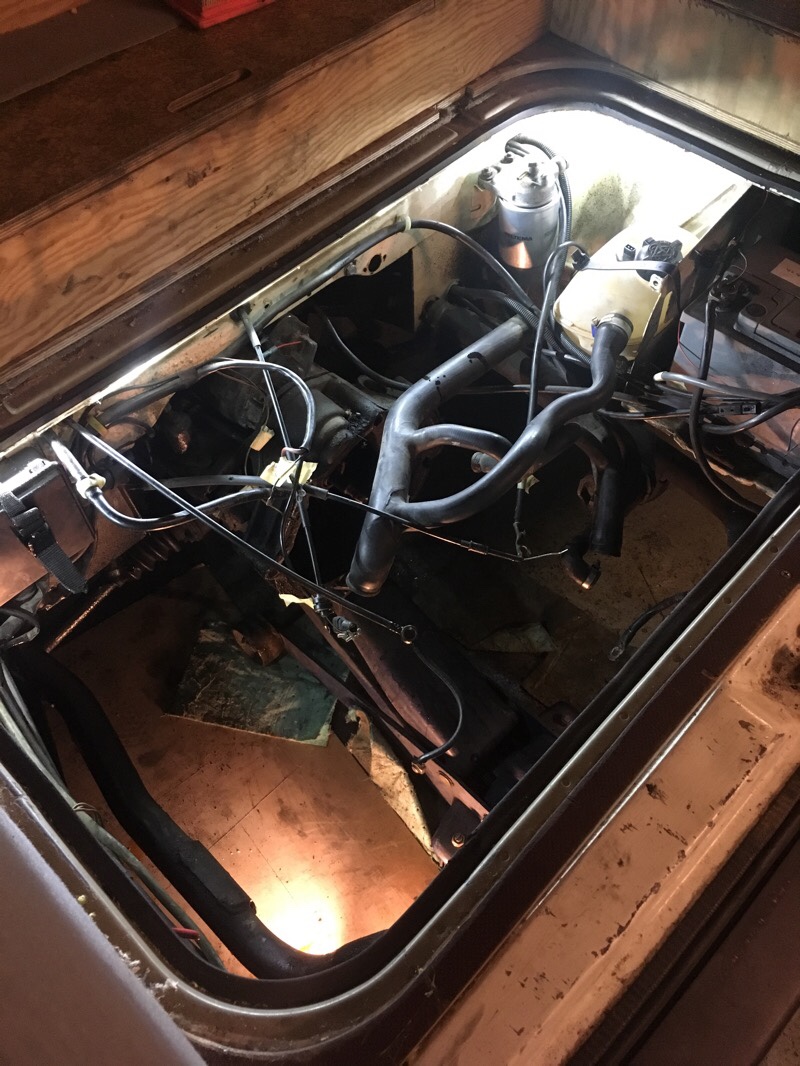
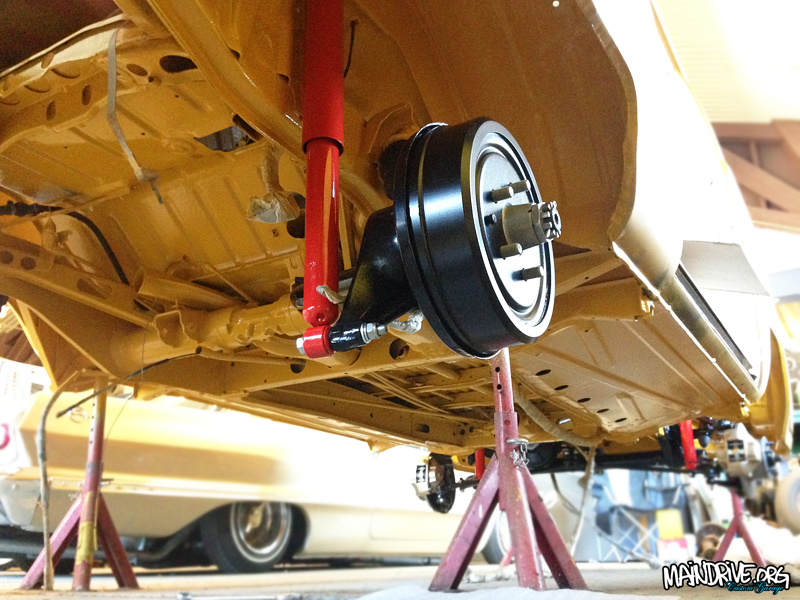
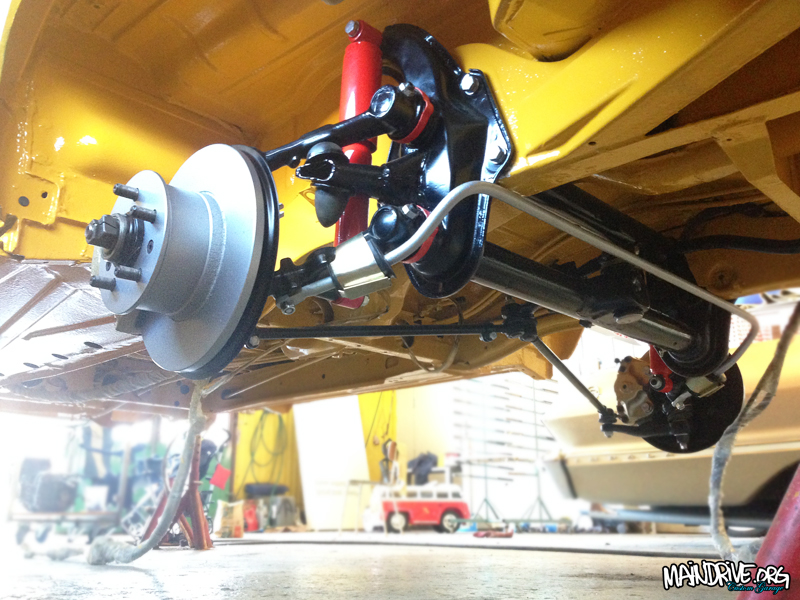
Yeah! The bus is now rolling on its own wheels again, after been standing like a empty shell in the air for 7 months. Still need to route new brakelines and brakehoses, and bleed the whole system. Must also restore the factory installed Eberspracher BA6 heater that are going to be installed under the center floor. But now its time to start with paint and body. The engine compartment and front cab need to get painted in VW L20A Marino yellow first, then I can start working on the outside. Lots of work still left to do, but much have been done on places you normally dont see…
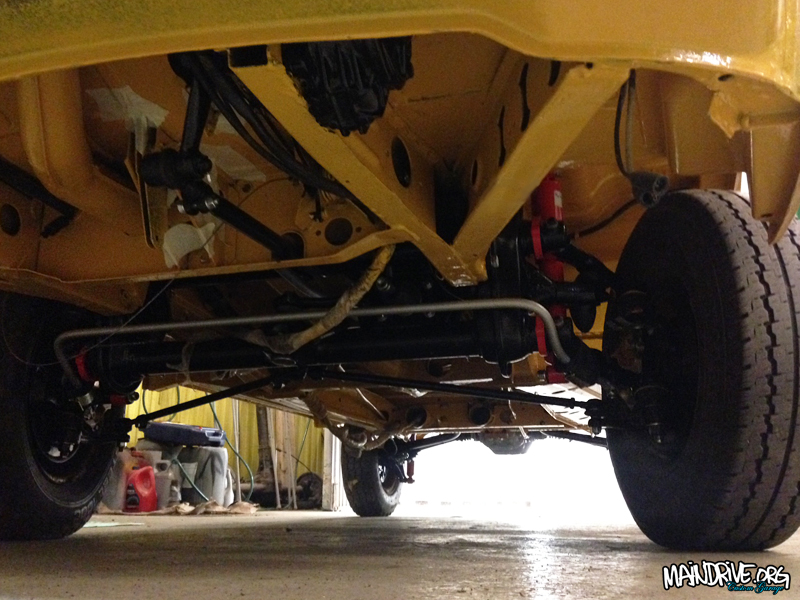

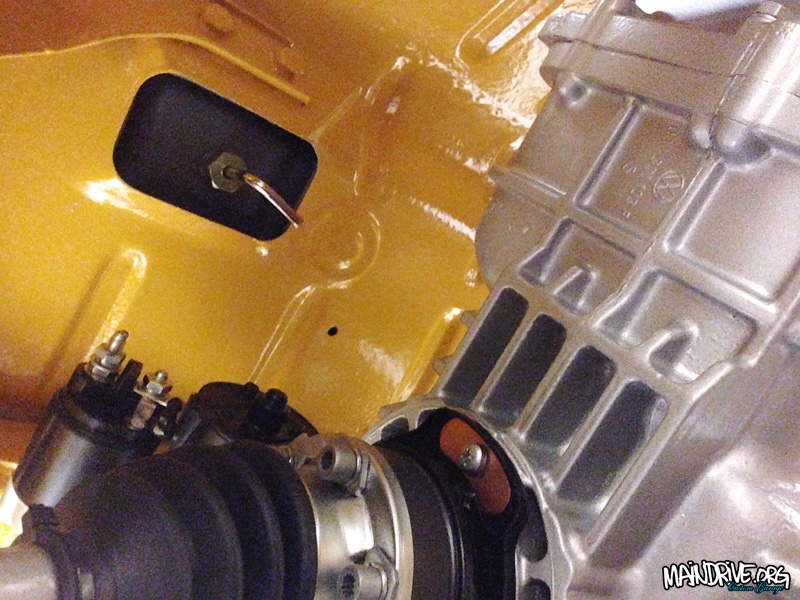
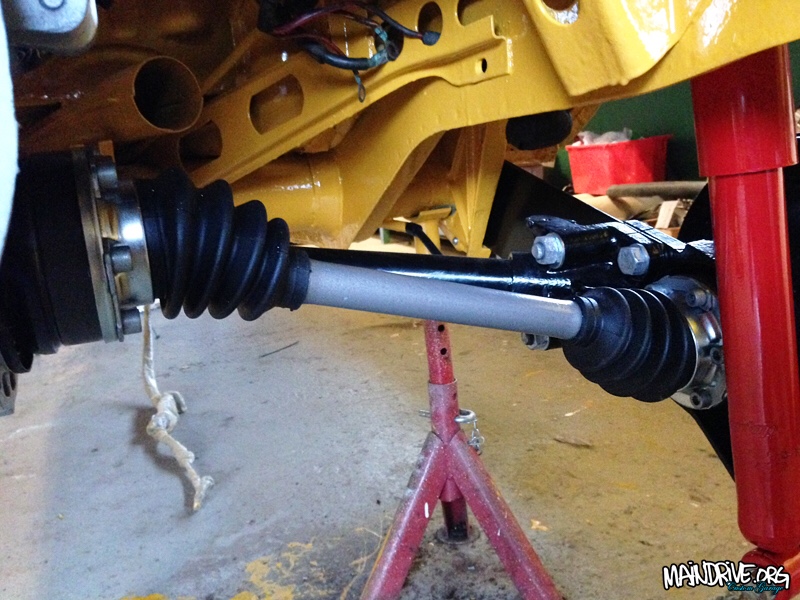
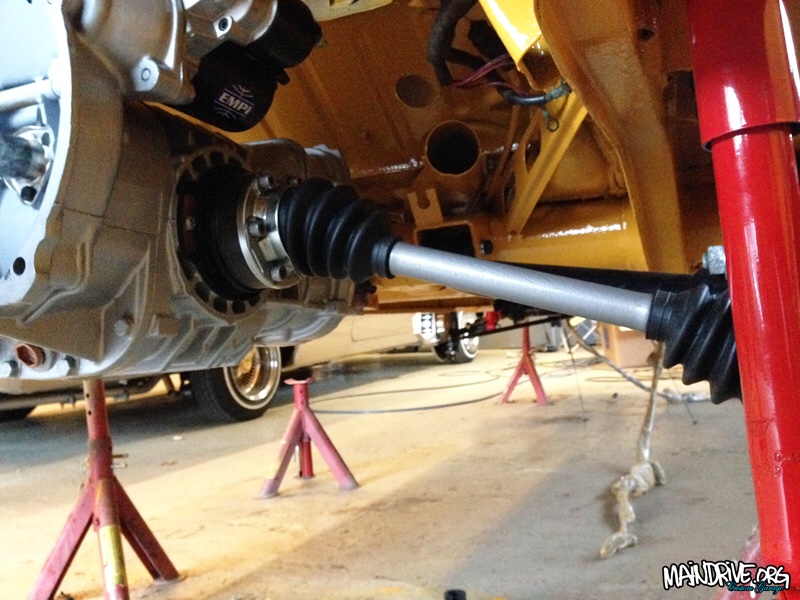
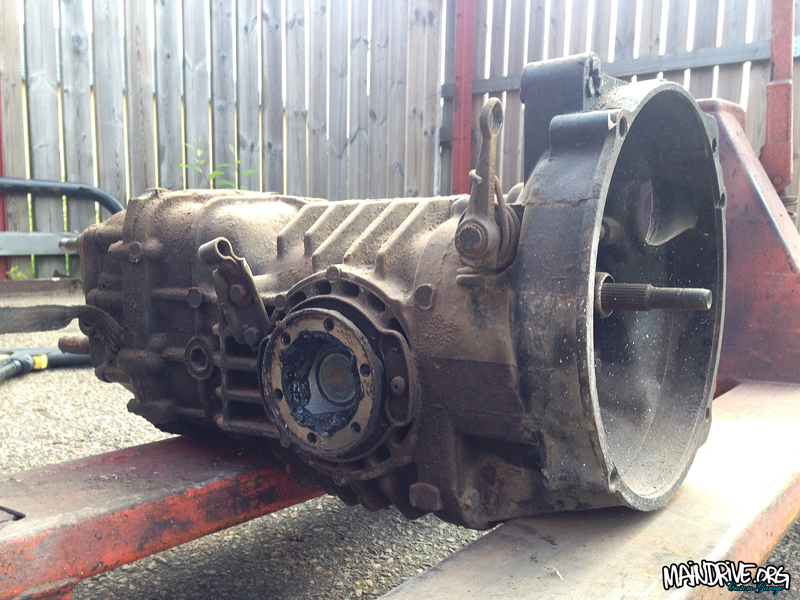
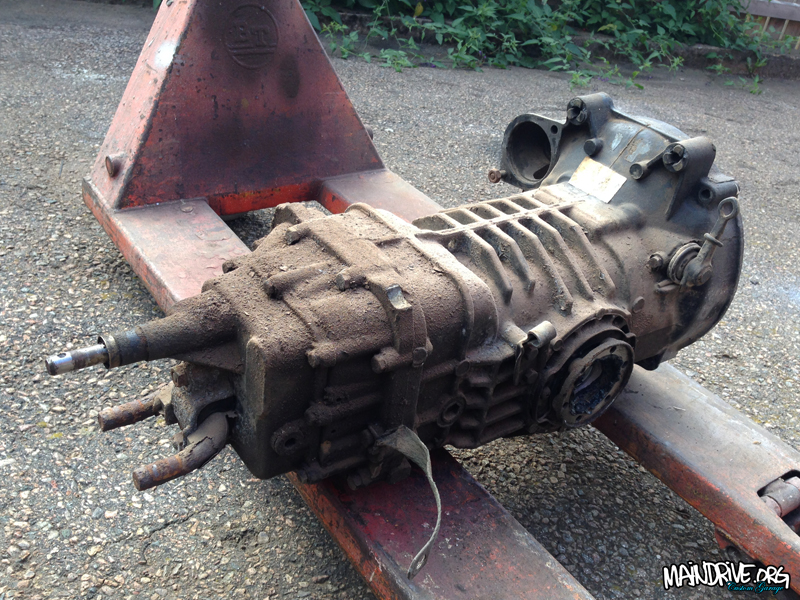
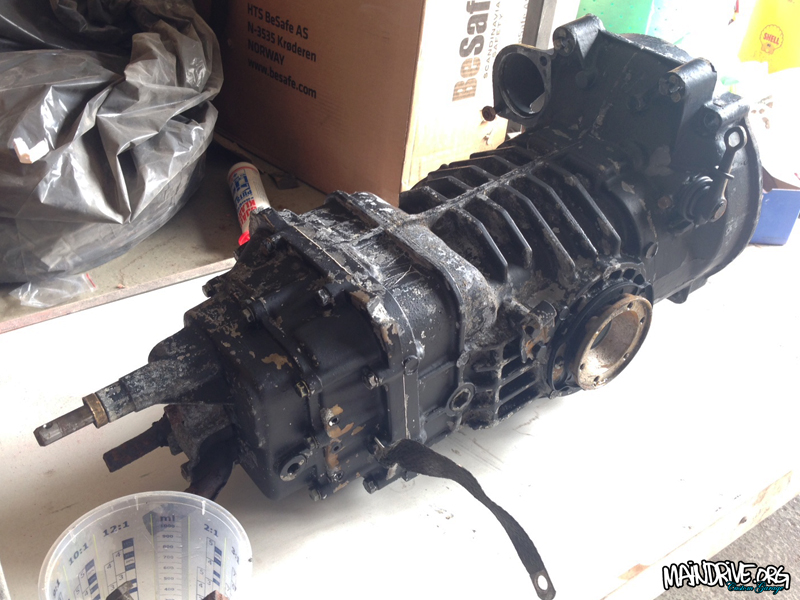
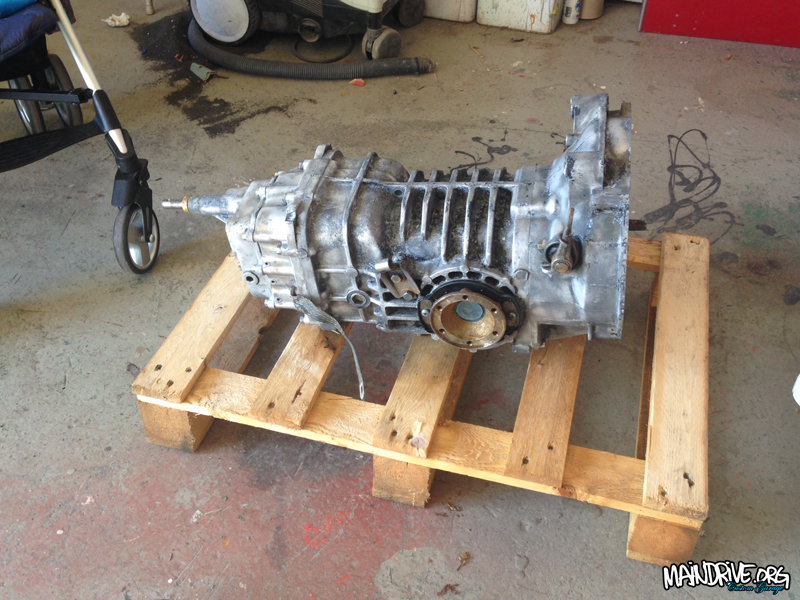
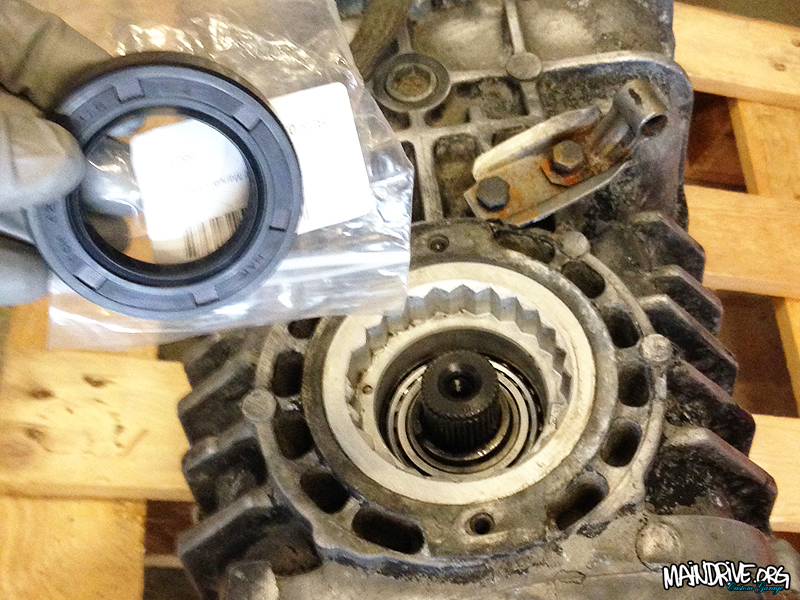
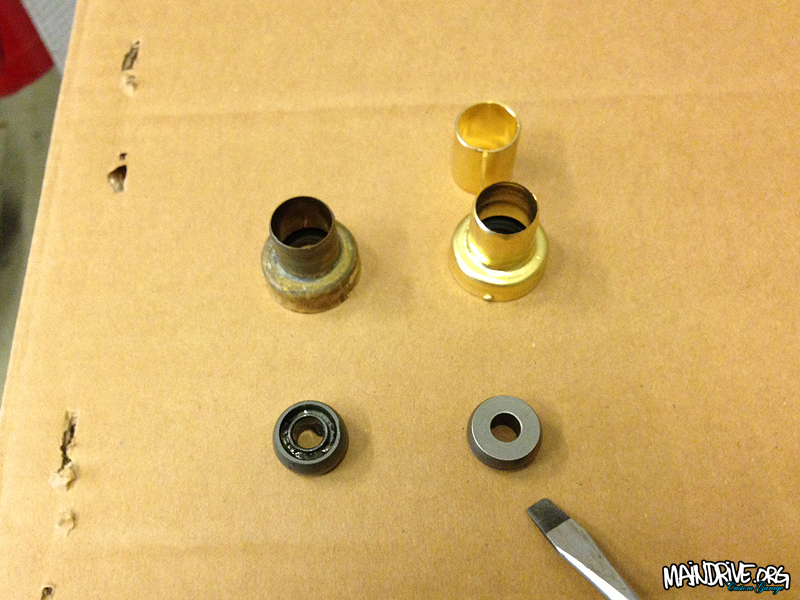
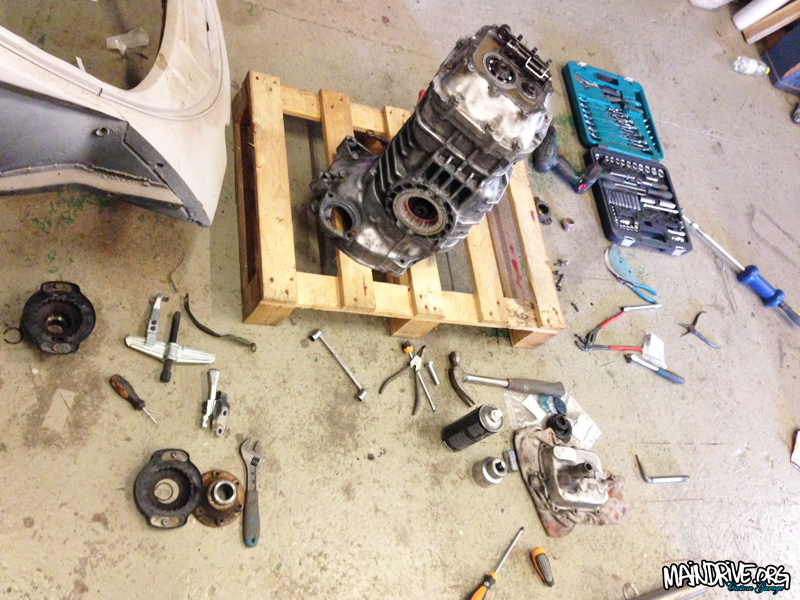
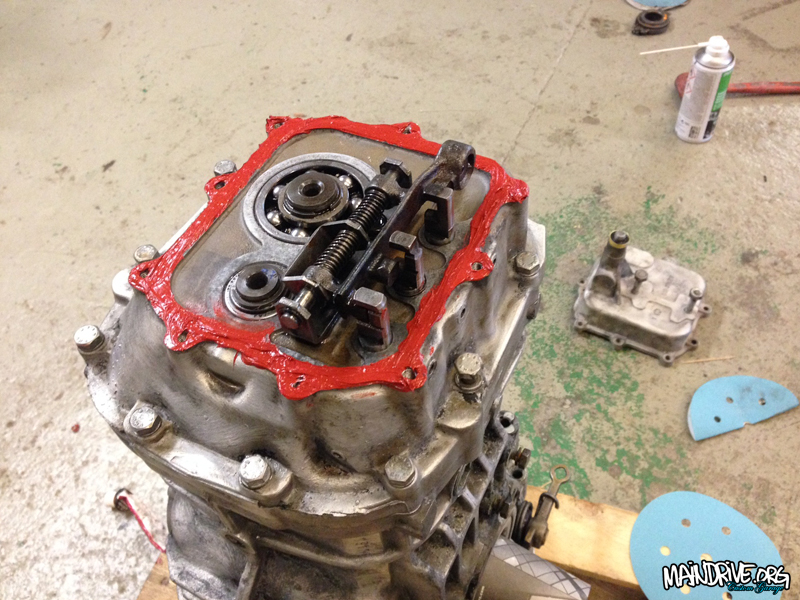
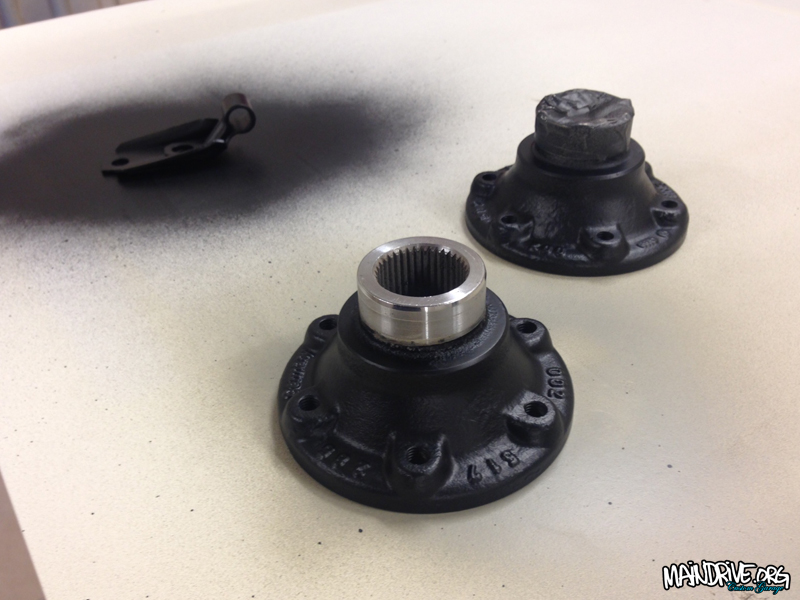
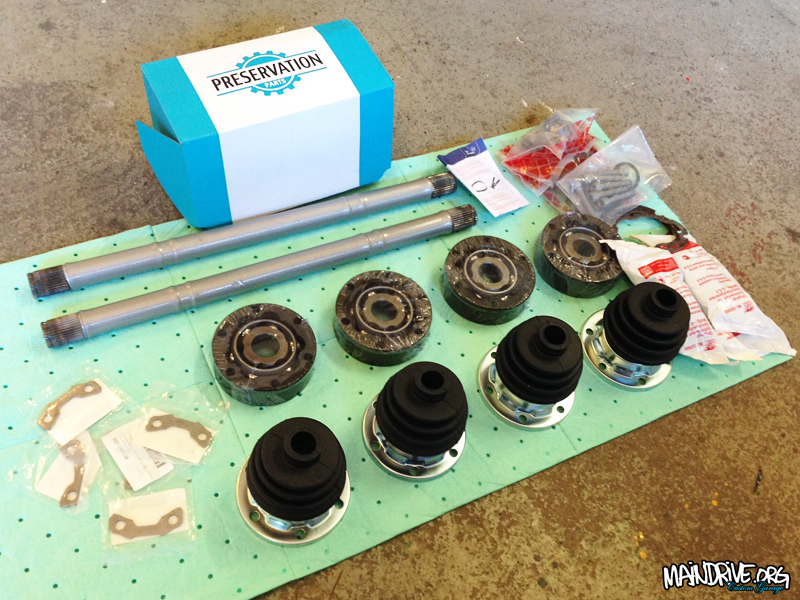
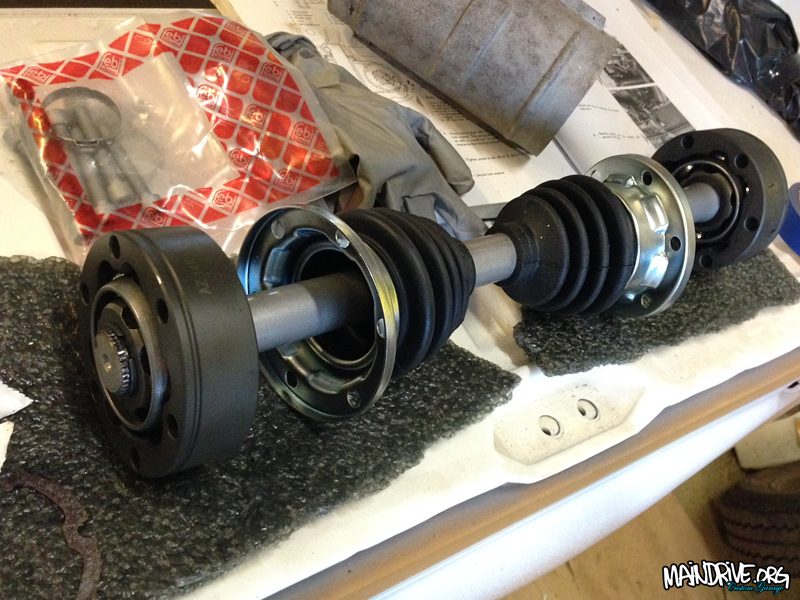
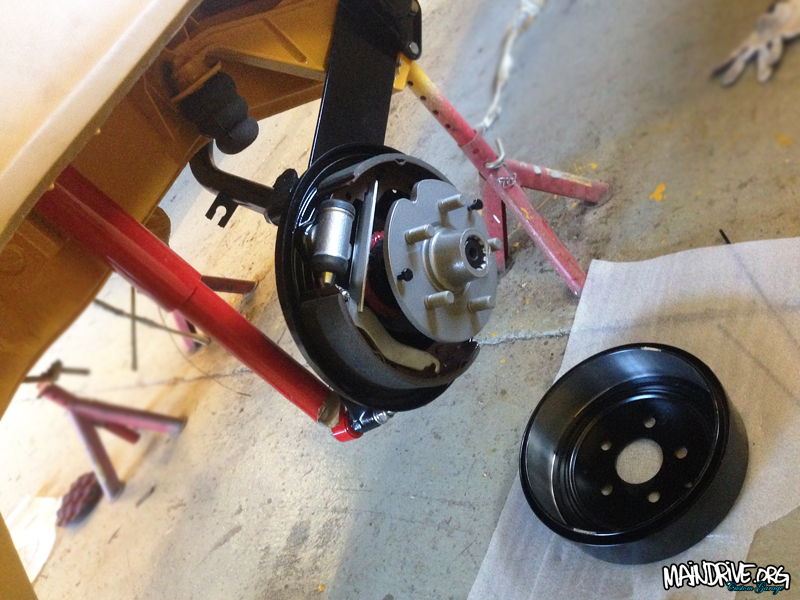
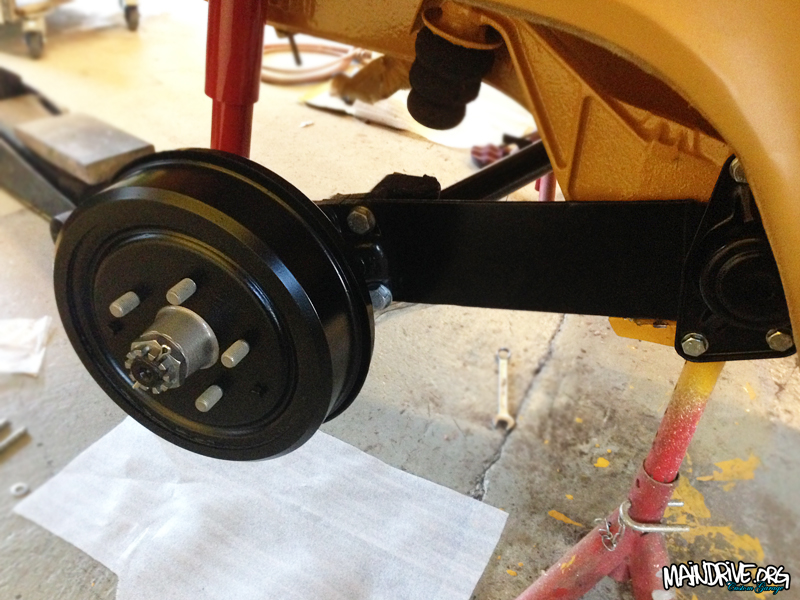
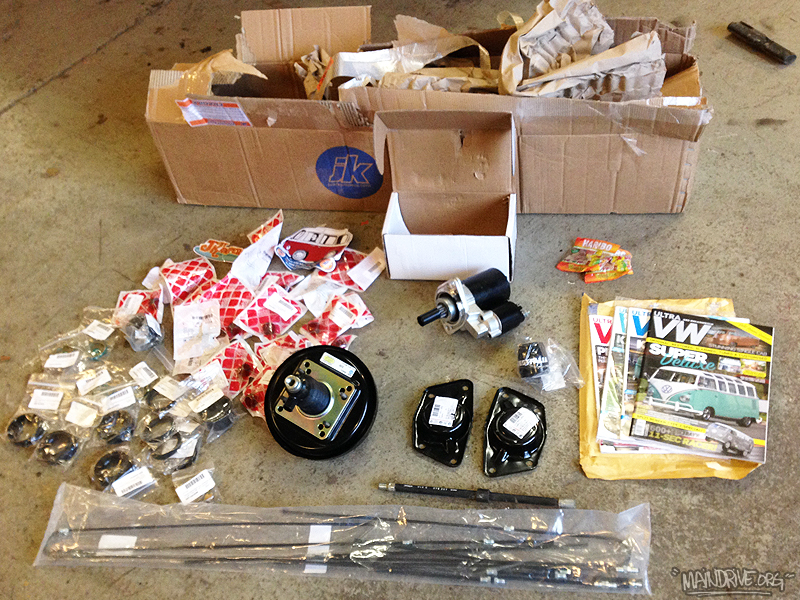
Have been working on the transmission and driveshafts lately. Had a pile of new parts from Just Kampers waiting for it. The tranny was in very good shape and have been restored by VW (exchange parts) in the 1980s. But it still needed alot of work to look good again. Highpressure washed the case 3 times, to remove dirt and old oil. Drained the oil and it still looked nice (good sign)! Then 3 coats of paintremover was added so the black paint could be peeled off the case. Degreased it one more time, wirebrushed and sanded it making it ready for paint. A coat of primer for aluminium/etch was layed down and then 3 coats of 2K silvermetallic paint on top.
A new mainshaft oil seal was added, and both driveflange/shaft seals too. The nosecone got a new reamed bronze bushing and oilseal for the shiftleveler. Also the small plastic balljoint in the end of the shiftlever (the one that pushes gears) was replaced to a new made of steel, and will last a life time instead of a brittle plastic part that was before. The shiftrod feels very accurate and precise now, no more sloppy gearshifter! This is also a popular upgrade on VW race transmissions. Driveshafts and hubs was sandblasted and painted. New groundcable to chassi. New clutchwire. New gaskets, rubberboots and CV joints installed. New startermotor + bushing mounted too. New trans mounts upper and lower. And then the transmission was filled up with new fresh mineral API-5 grade transmission oil that VW recommended on these 002 cases. This oil is extra good to the special metalparts like syncro rings etc. Not aggressive like other grades can be to these old transmissions. Here is the pics…


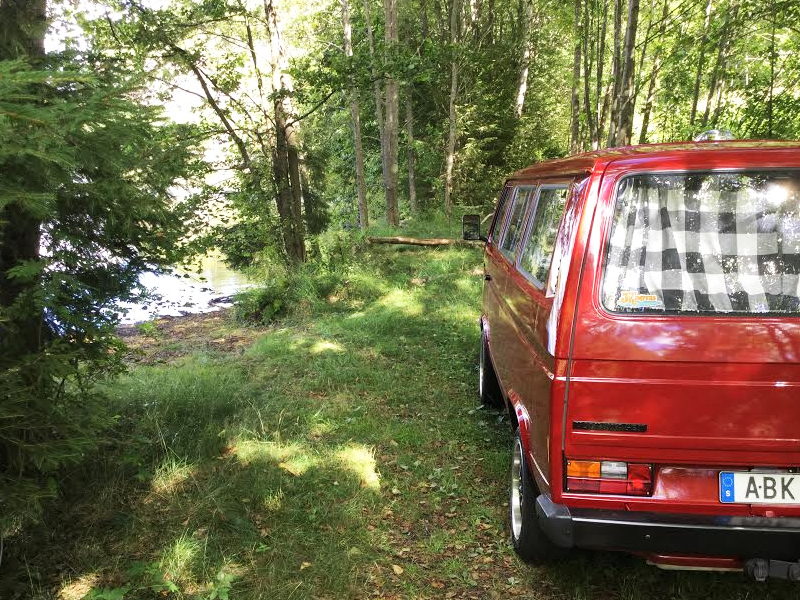
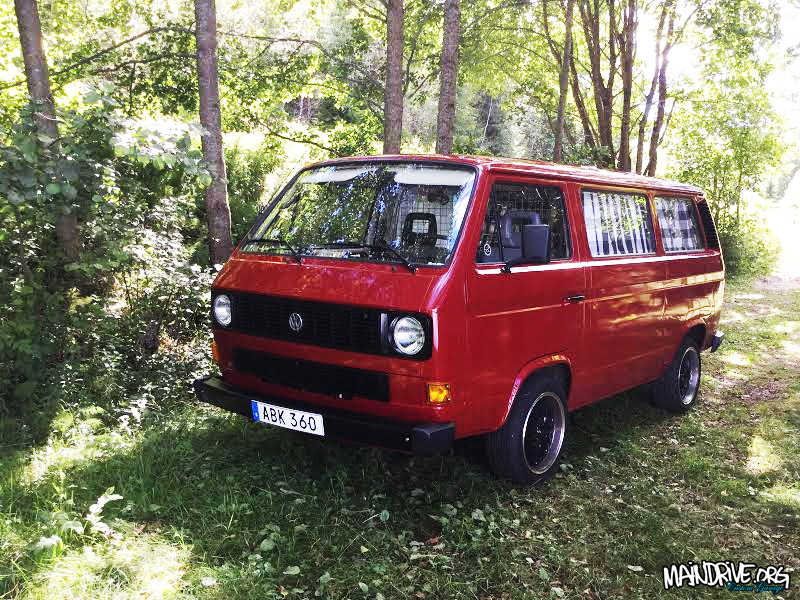
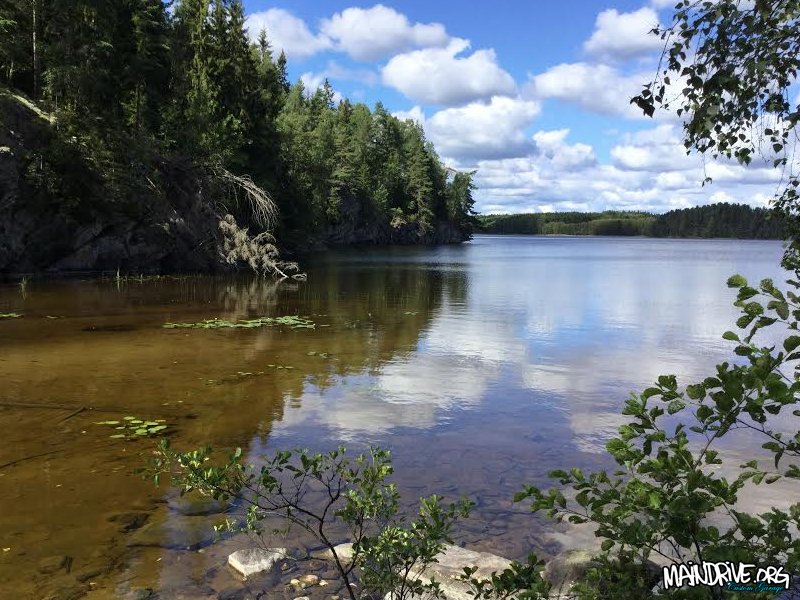
Some pics from this summer.
Started to get the other side done, blasted, painted and new bearings and seals. Waiting on some new parts from JustKampers and hopefully I can put the bus back on its own wheels this weekend for first time in 6 months. Also fixed the rusted and dented up front floor cover, blasted and painted ready to be installed when all wires and brakes are fixed.
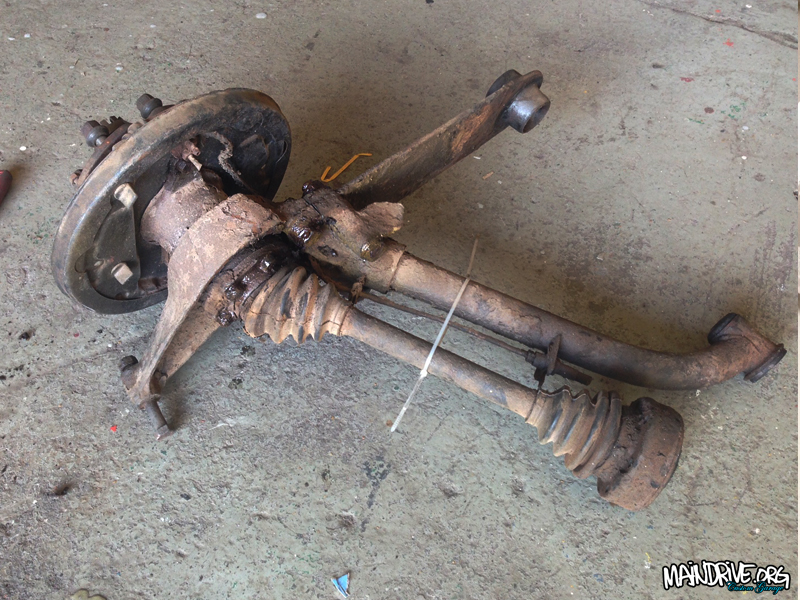
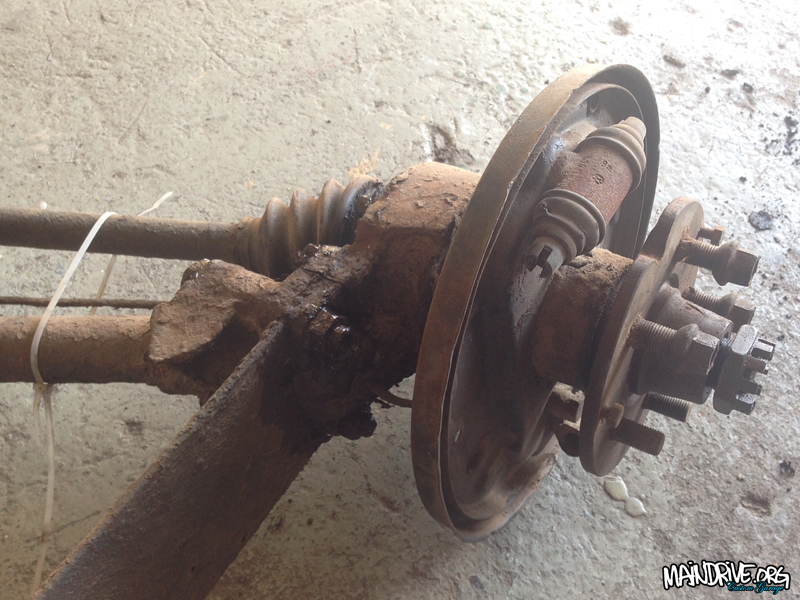
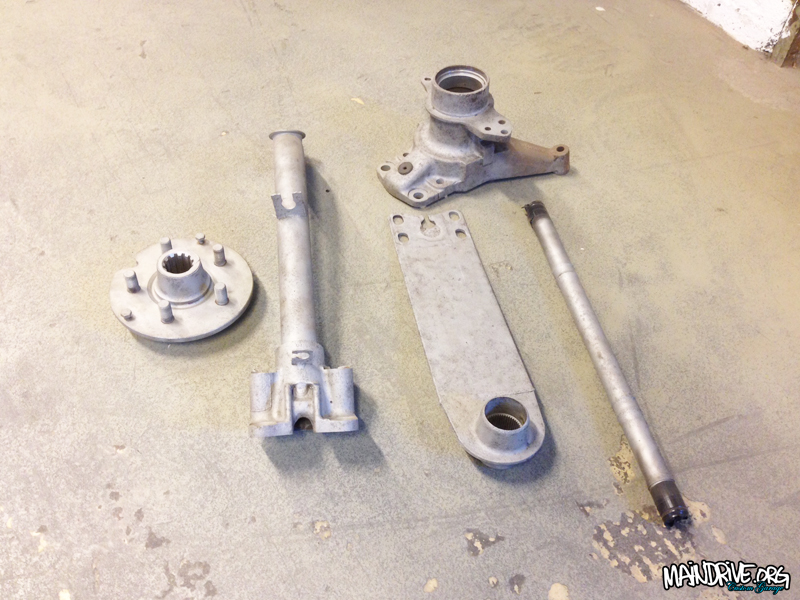
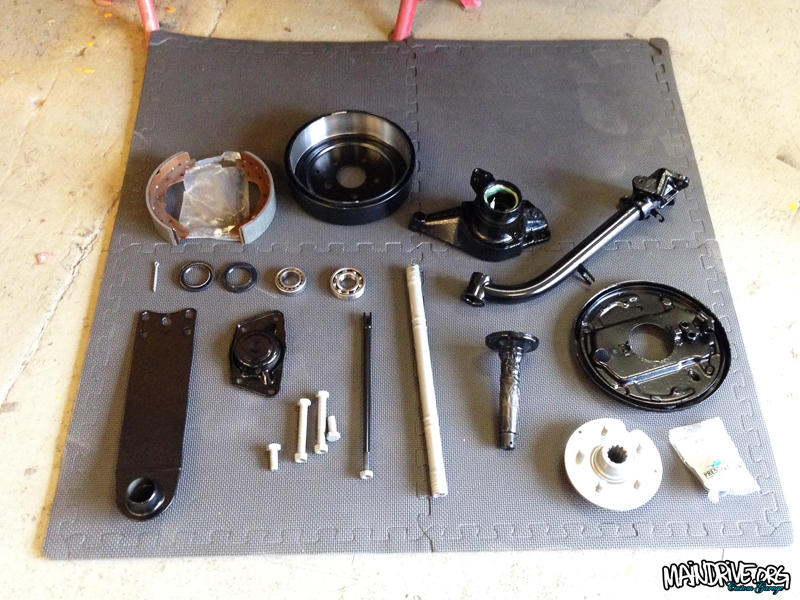
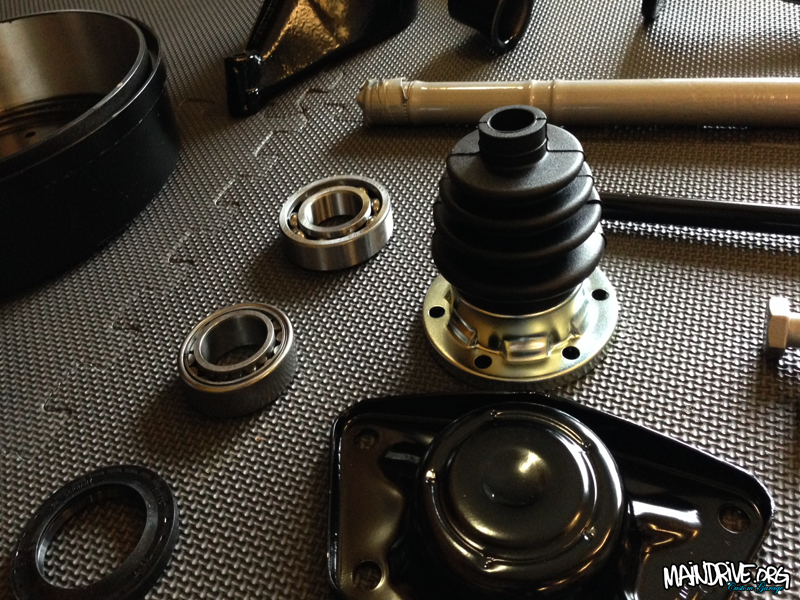
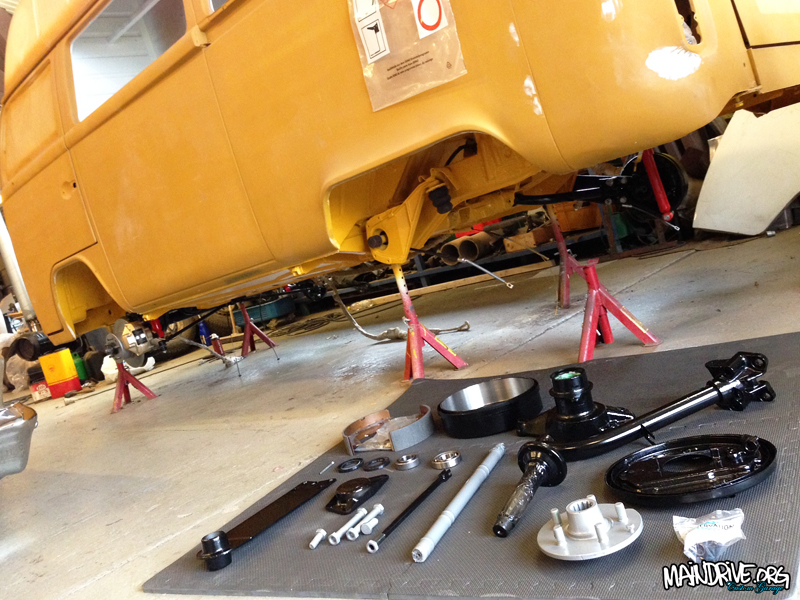
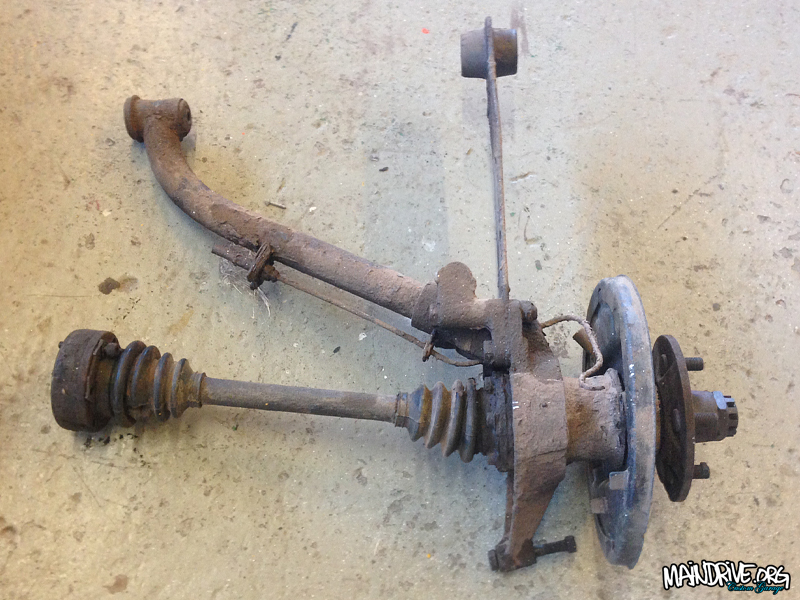
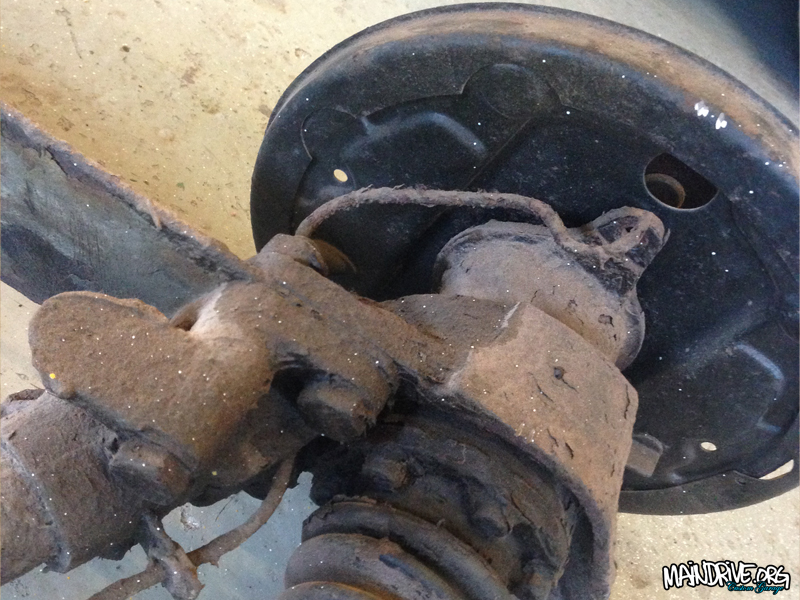
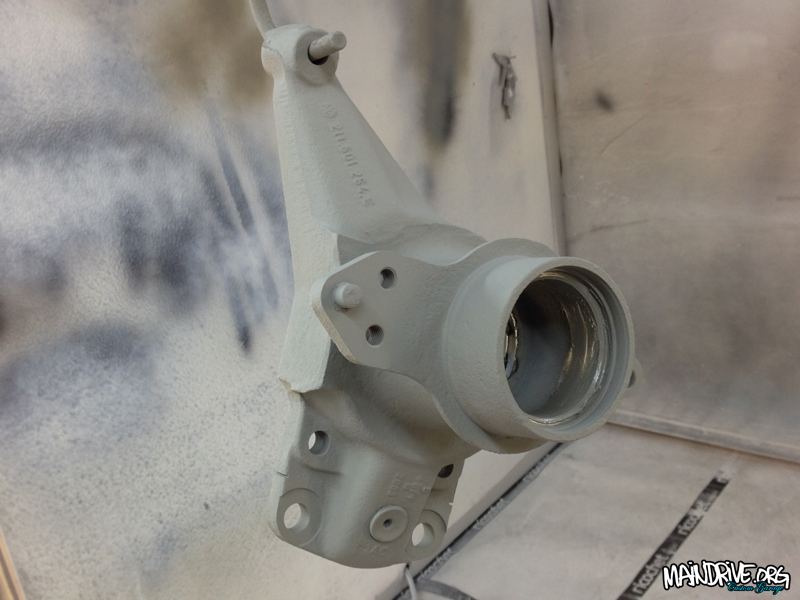
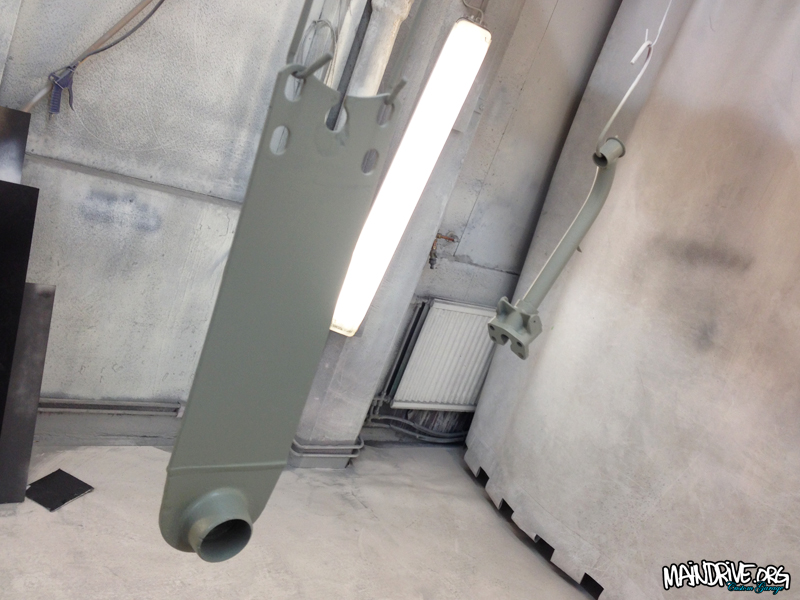
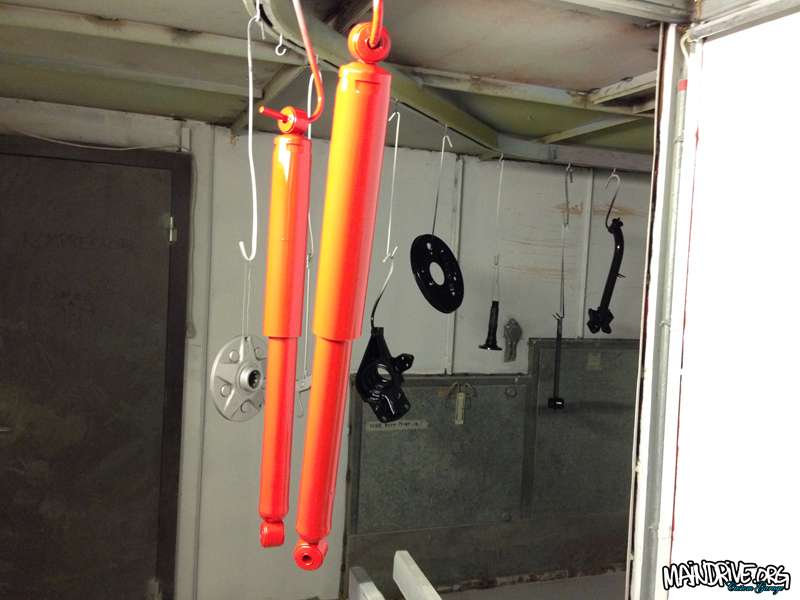
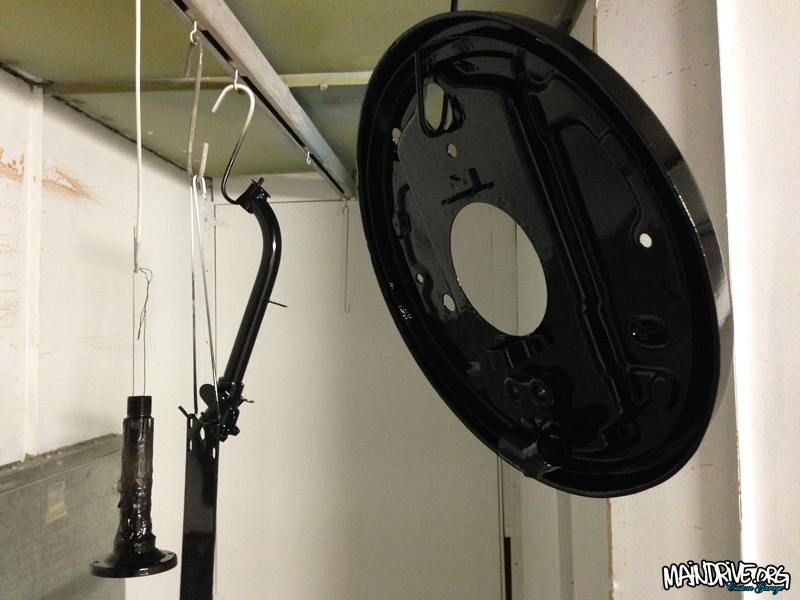
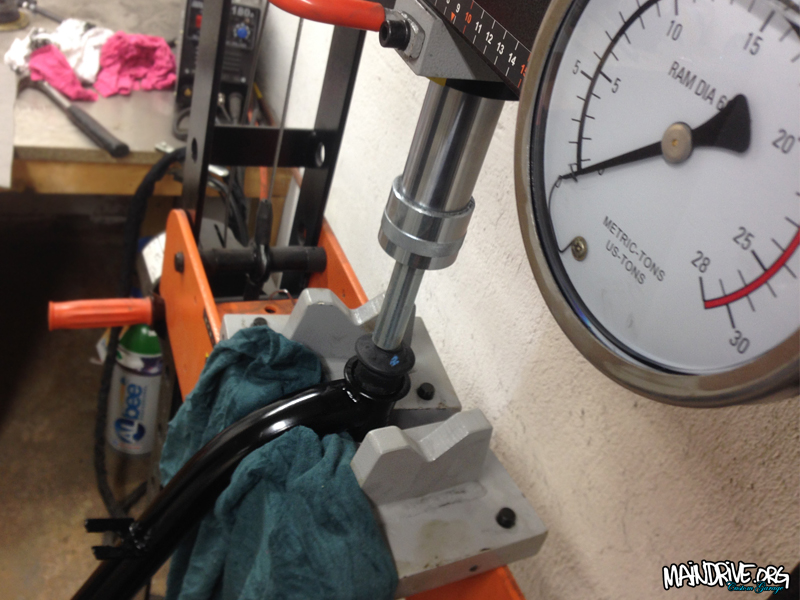
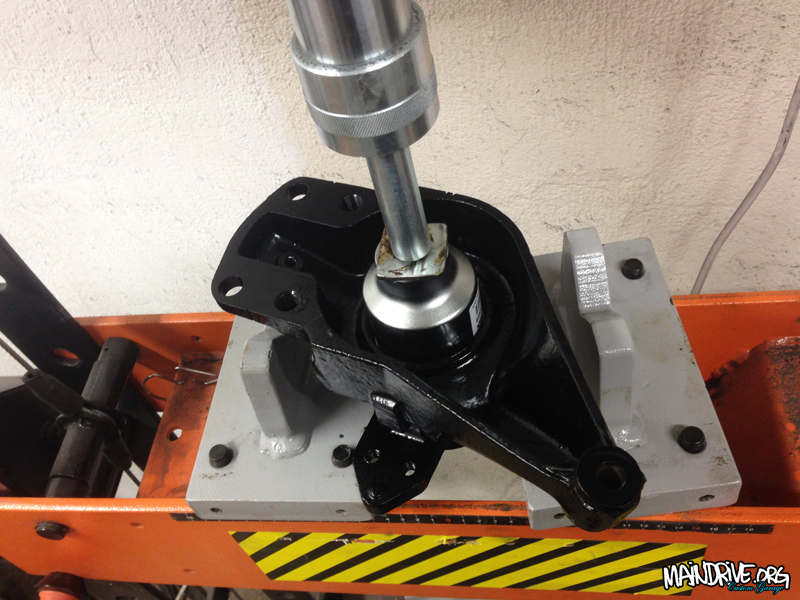
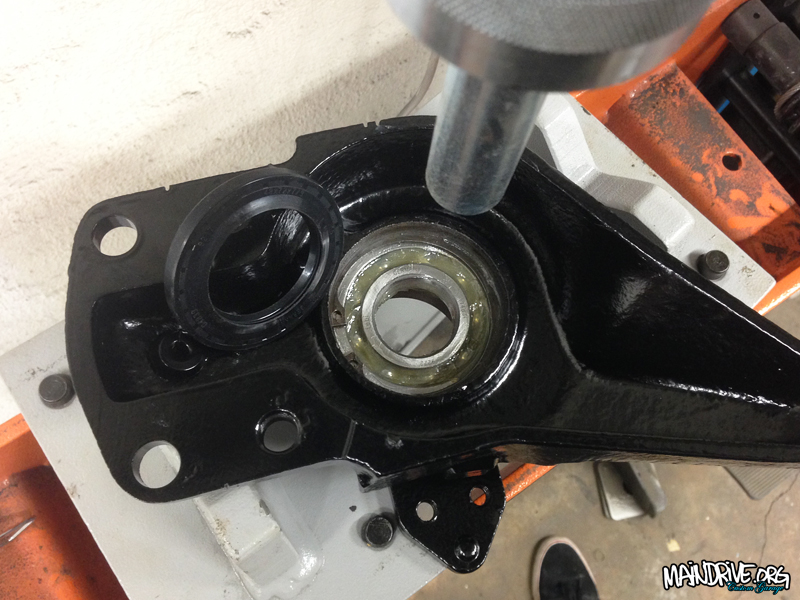
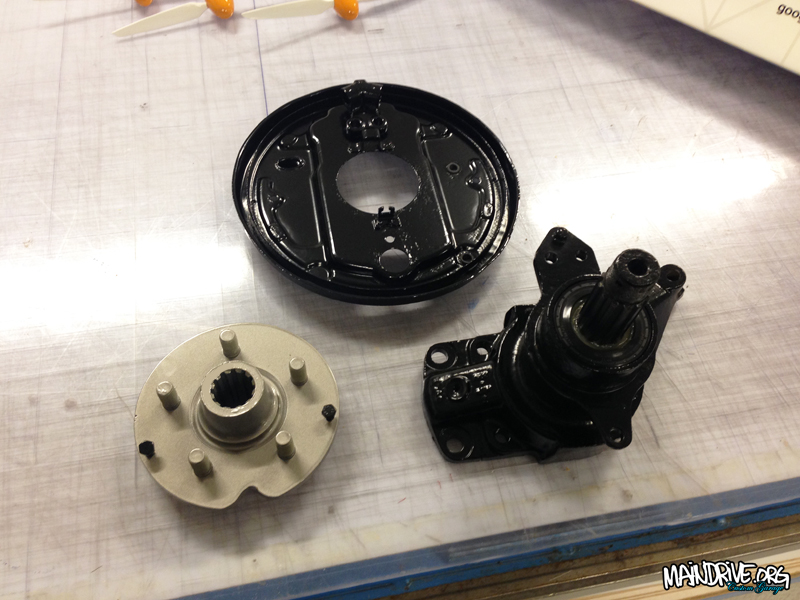
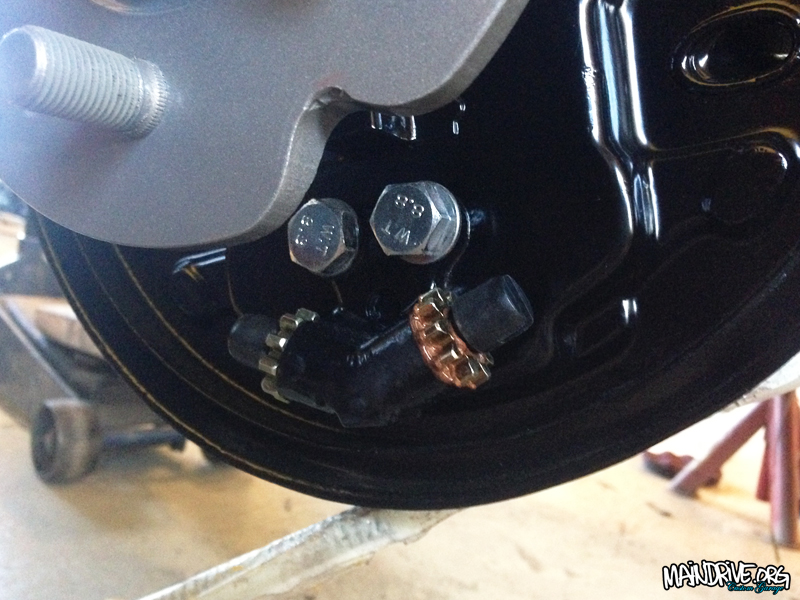
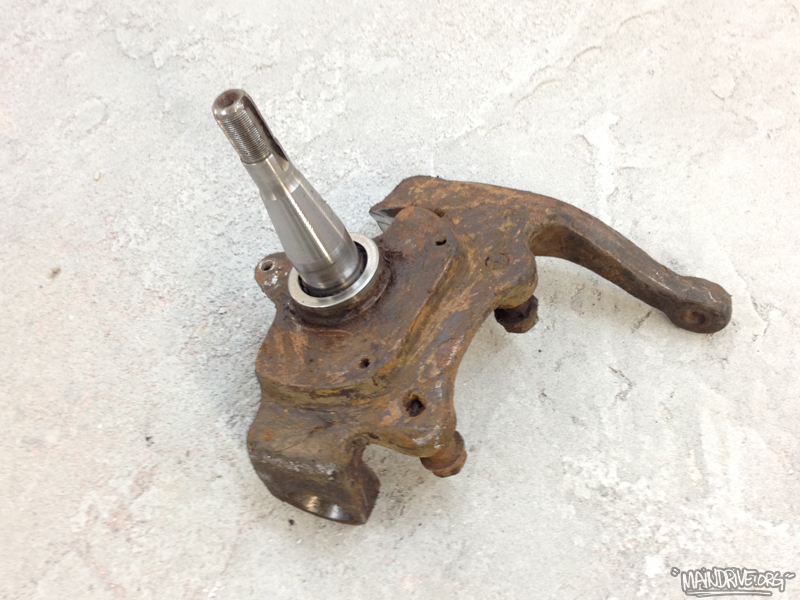
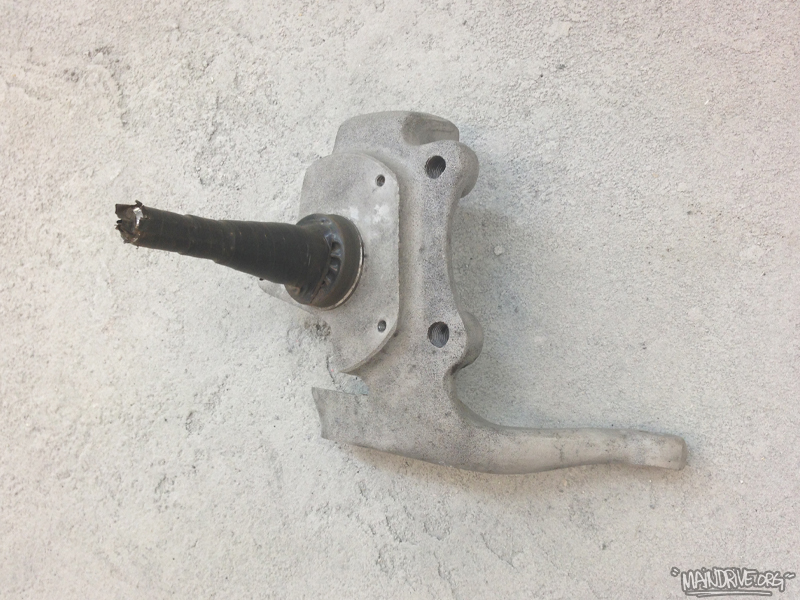
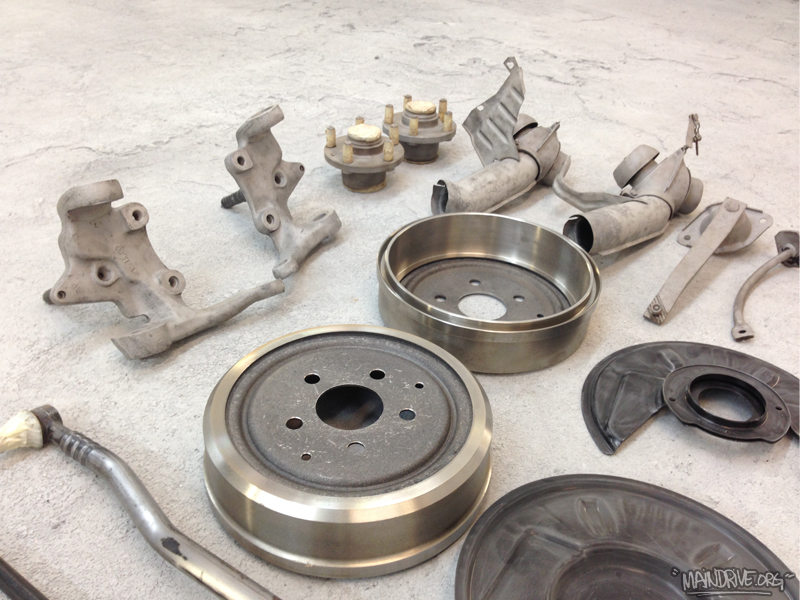
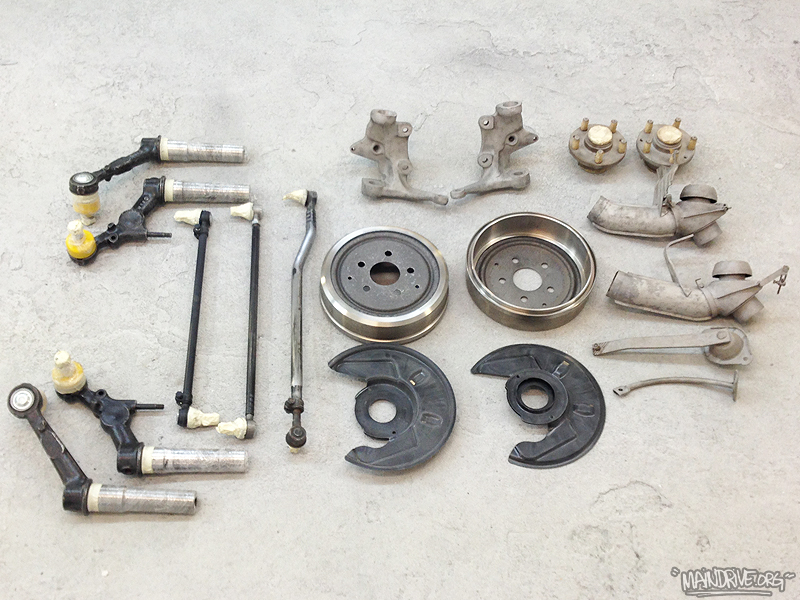
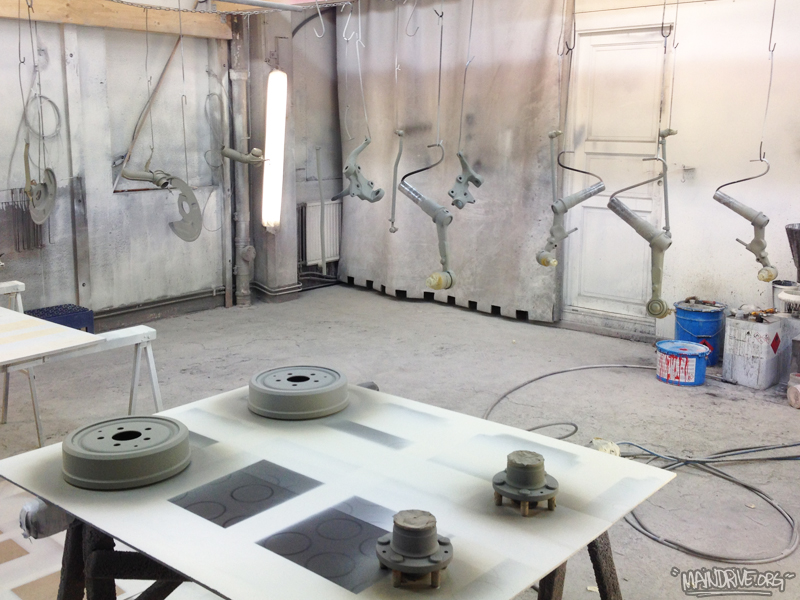
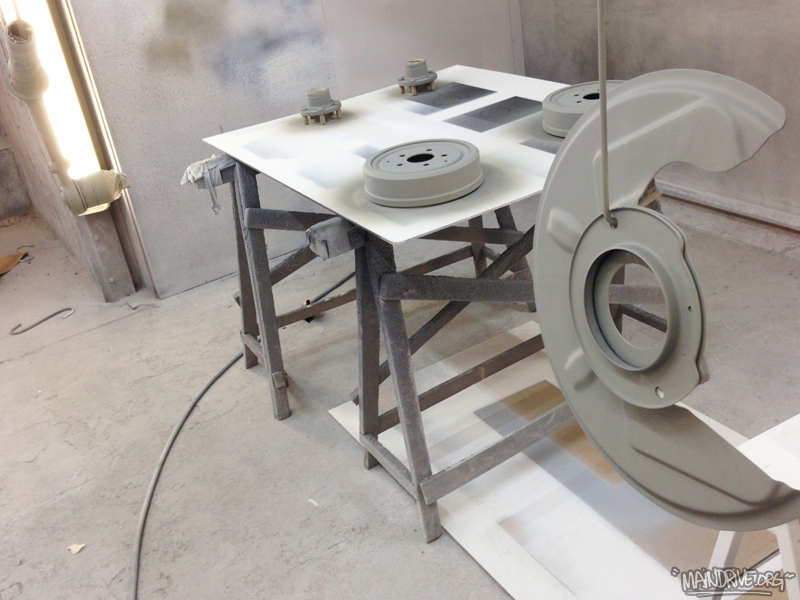
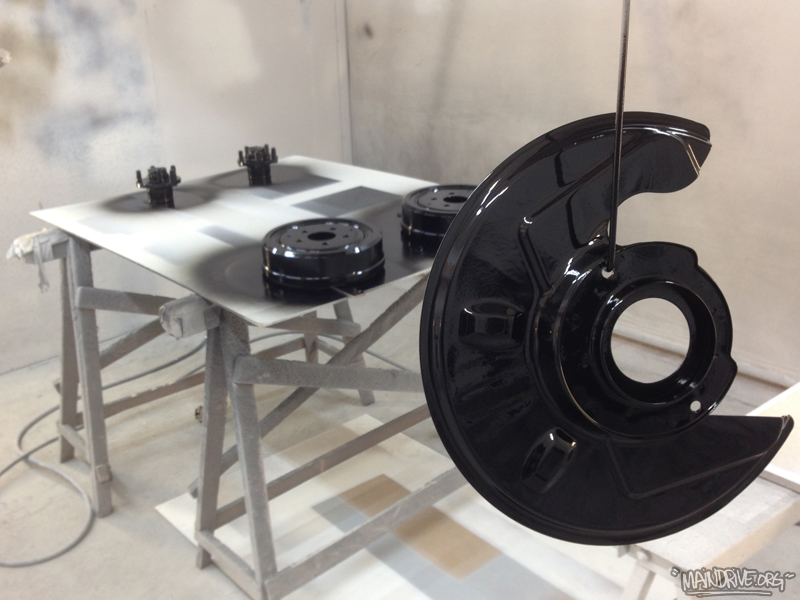
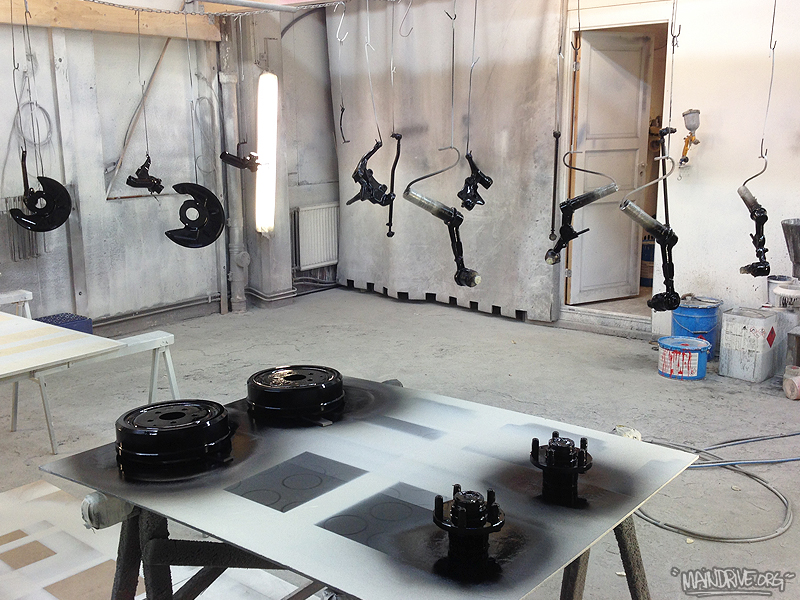
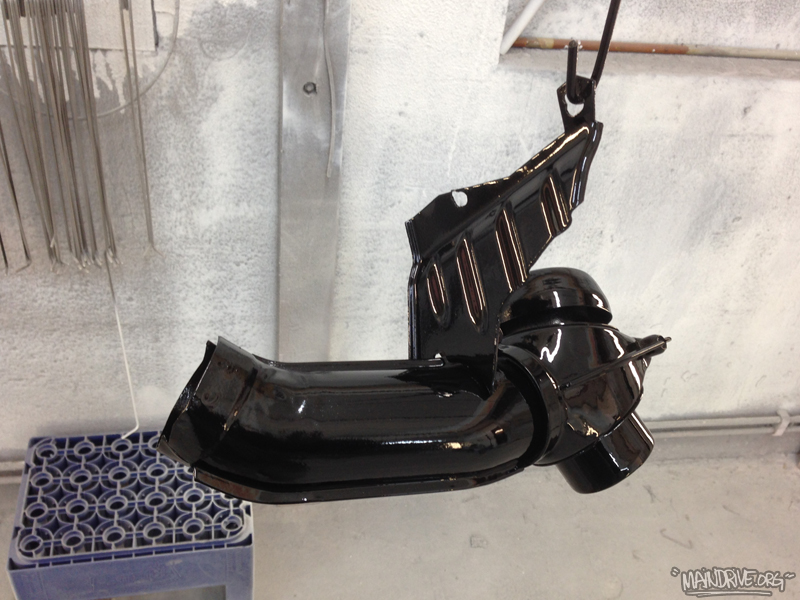
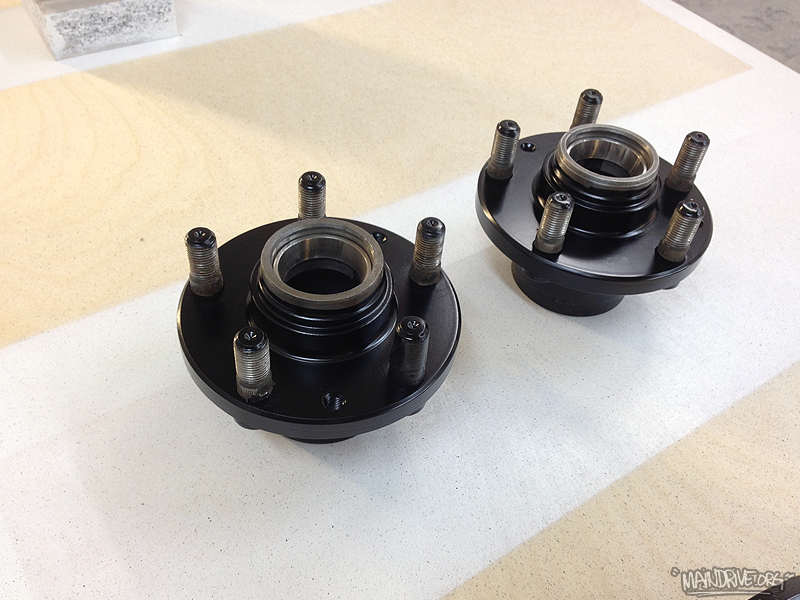
Have now started with the rear end of the bus, hope to soon have it rolling on wheels again, after 6 months in the air. Dismantled the rear IRS trailingarms, removed all old bearings and seals, cleaned it up and sandblasted everything. Then all parts was coated in zinc primer and the Deep black satin finish paint. All new wheelsbearings and seals pressed in, new bushings everywhere and also nuts/bolts. All new brakeparts and brakedrums too. One step closer…


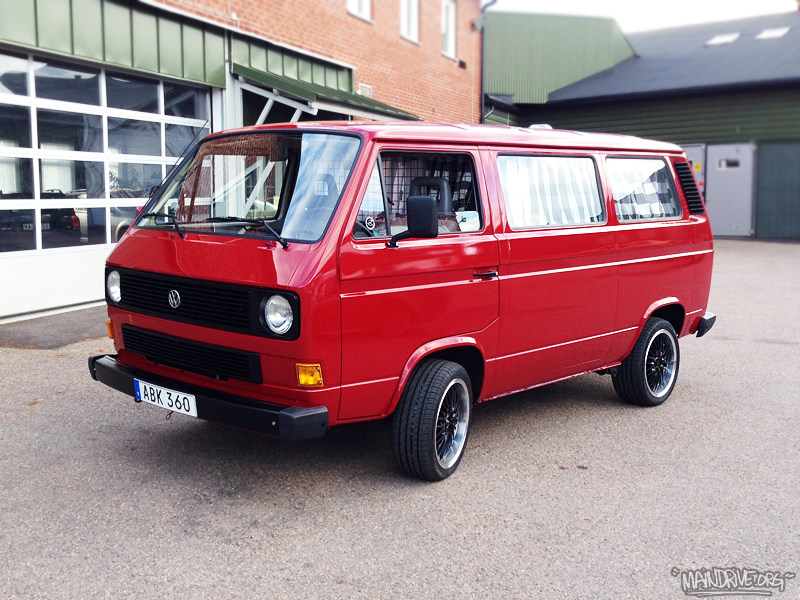
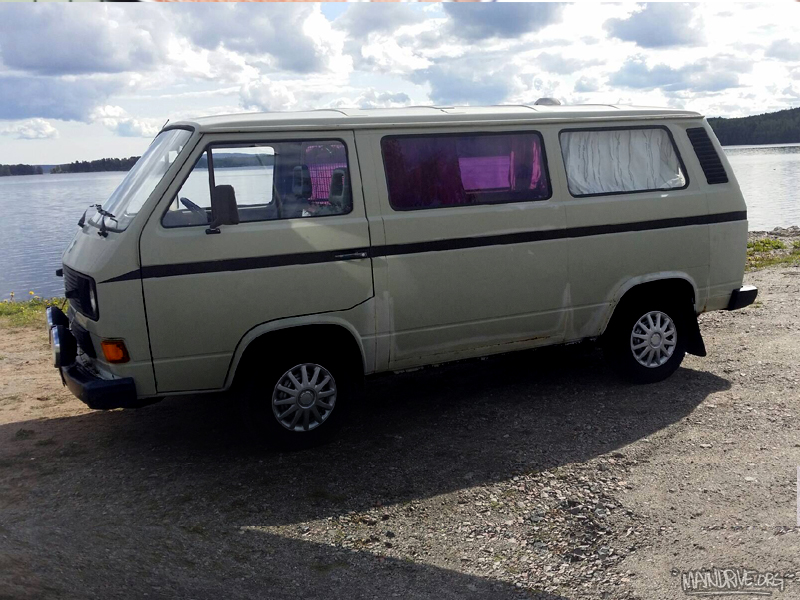
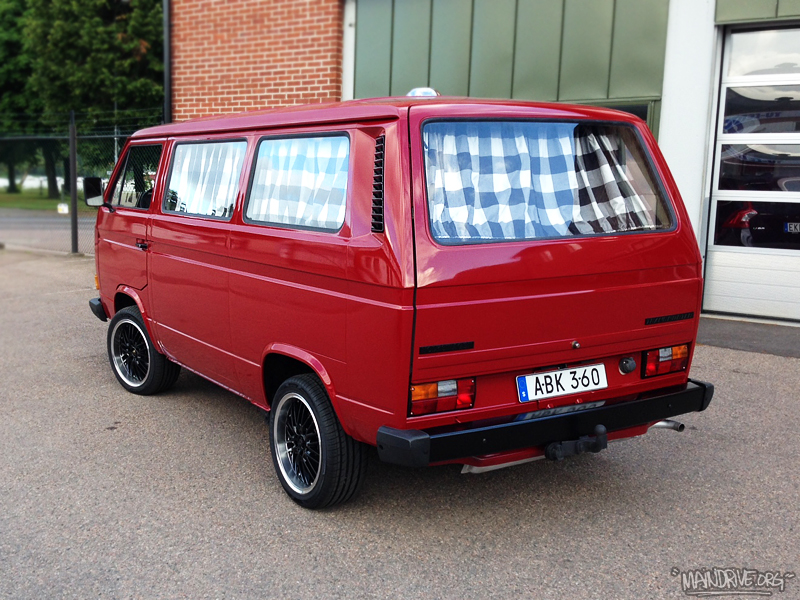
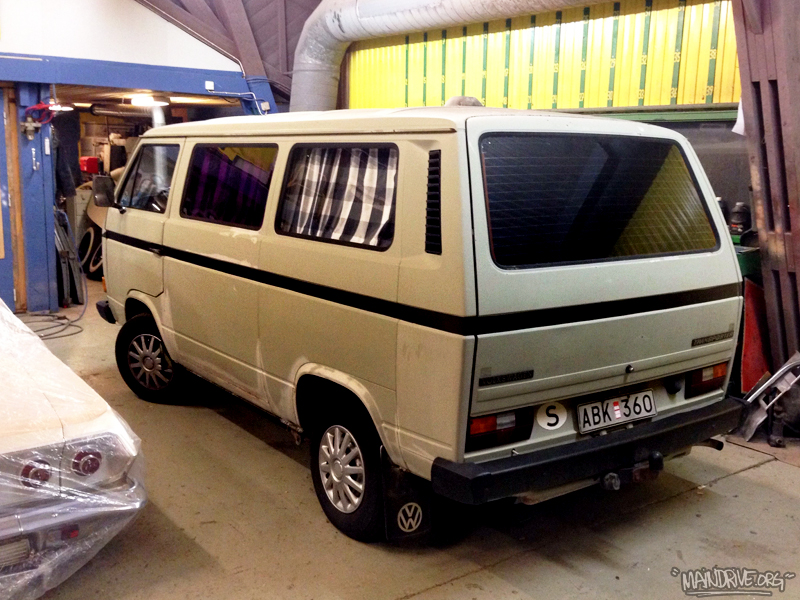
Bennys VW T3 bus finally finished. Here is some BEFORE and AFTER pics. 🙂
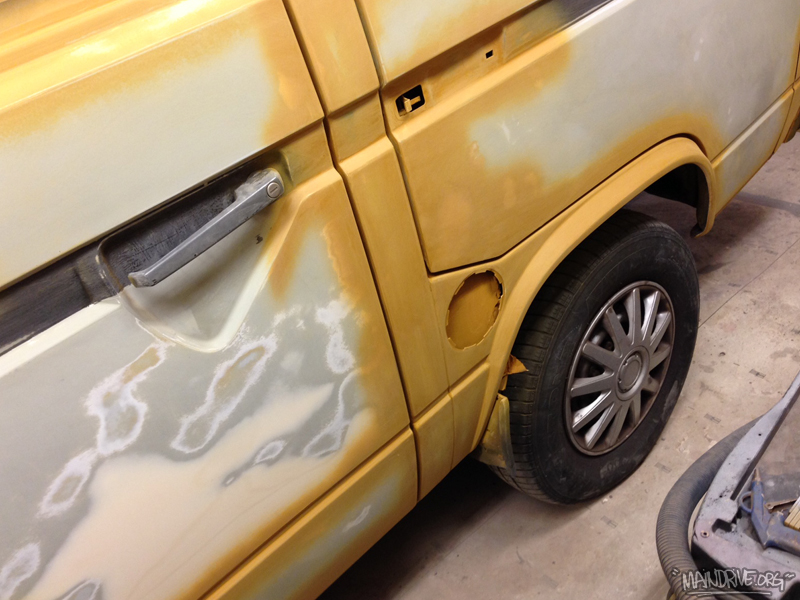
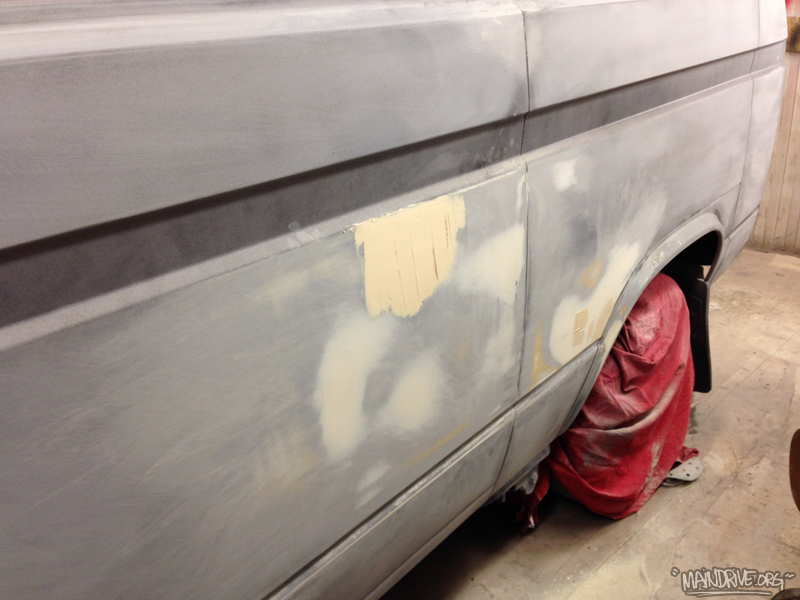
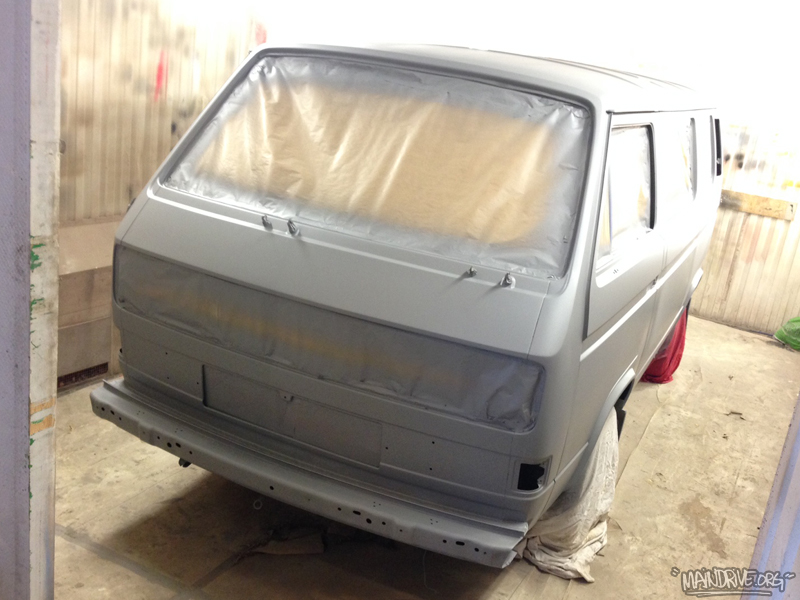
All the places that have been sanded and sandblasted down to the bare metal have been painted with yellow 2k epoxy rust primer for protection. After this, all the small dents, scratches and imperfections in surface/metal after sandblasting etc have been filled up and sanded smooth and all the seams have been sealed up with new seamsealer. Then it was covered in yellow epoxyprimer again. When it was all dryed it just needed a light sanding before 3 coats of grey surfaceprimer was added. Now it has to dry a couple of days before it can be sanded down again, but this time more carefully and must be perfect! When this is done its ready for topcoat paint in VW Marsala Red H3H3.
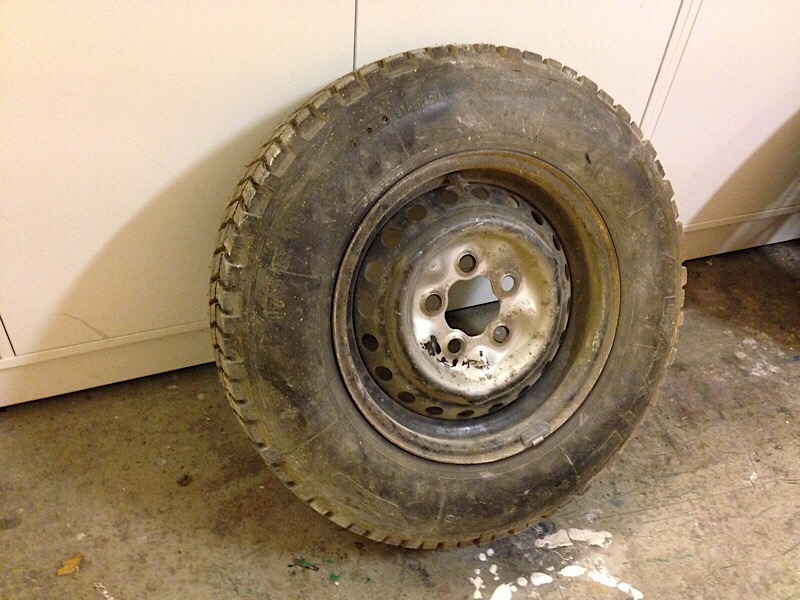
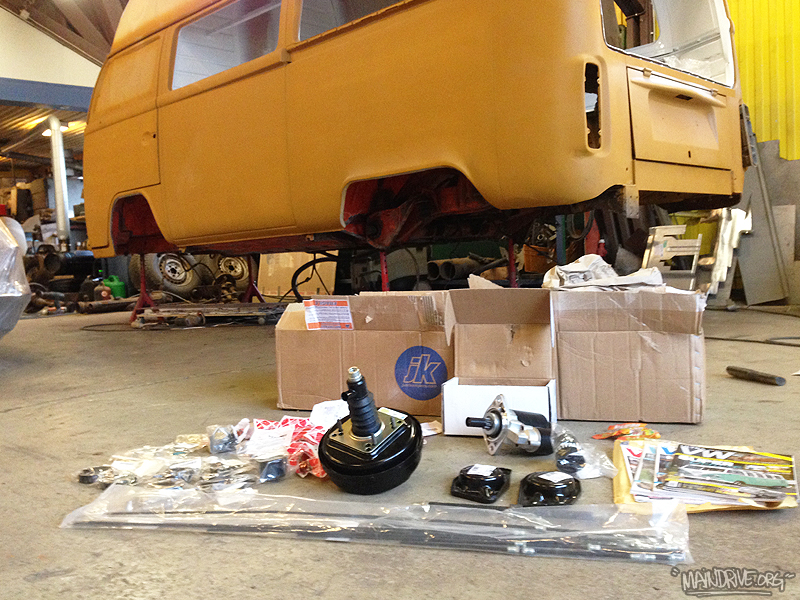
Bumpers and some smaller parts is at the sandblasters at this moment and more new parts from Just Kampers in UK is on its way right now. Time to choose some cool wheels also, stay tuned for more pics and updates!
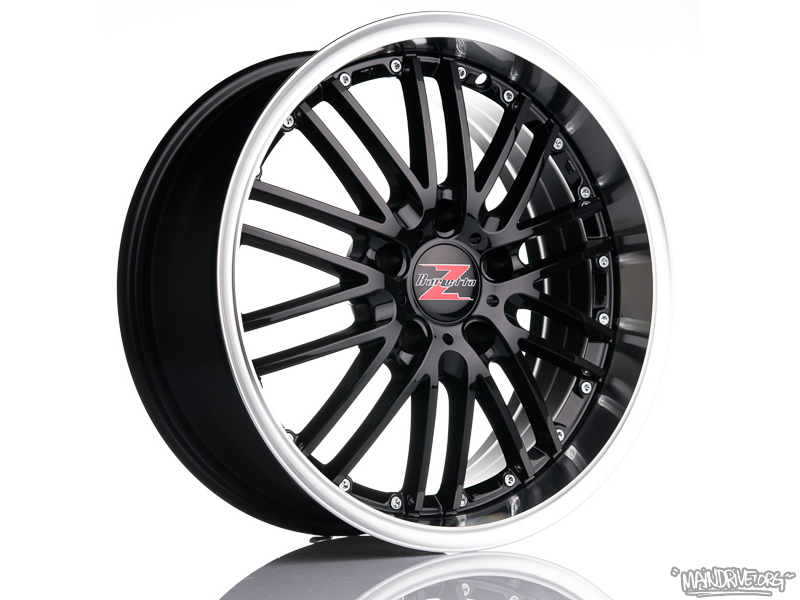
Maybe these 17″ wheels? 🙂
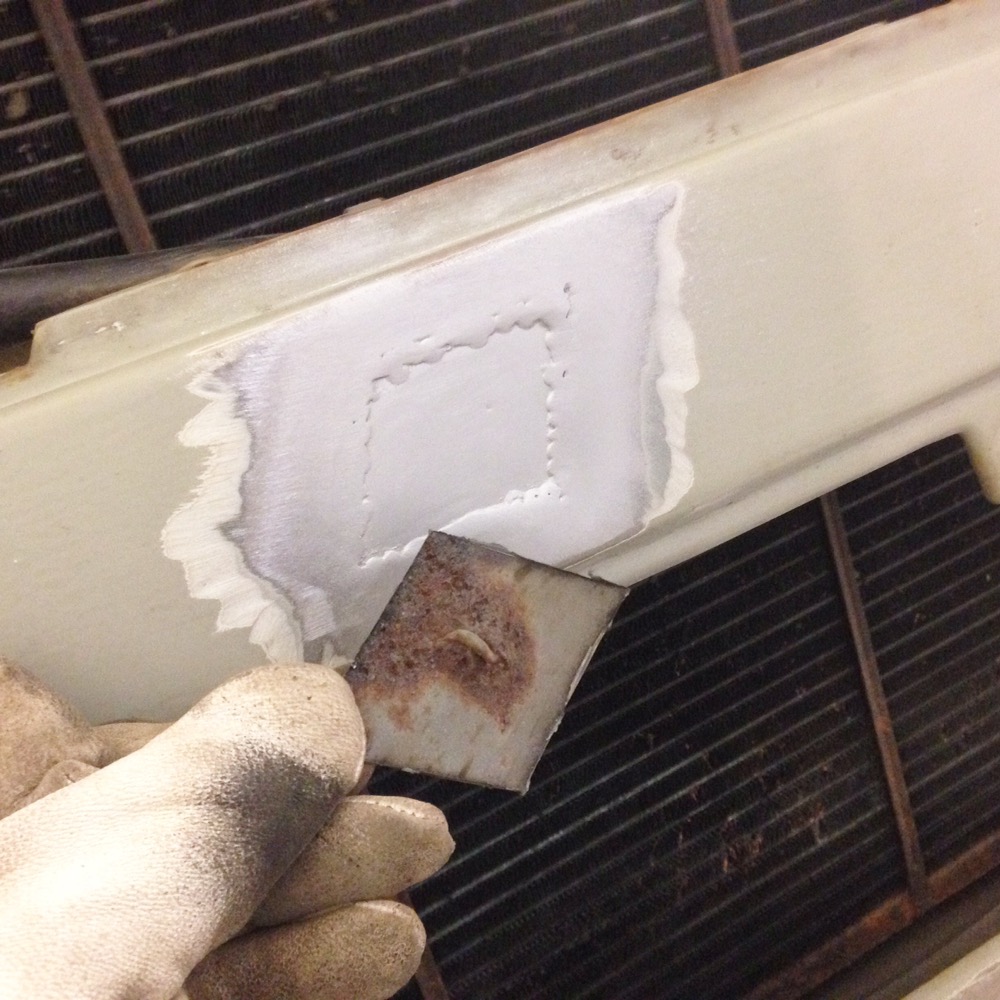
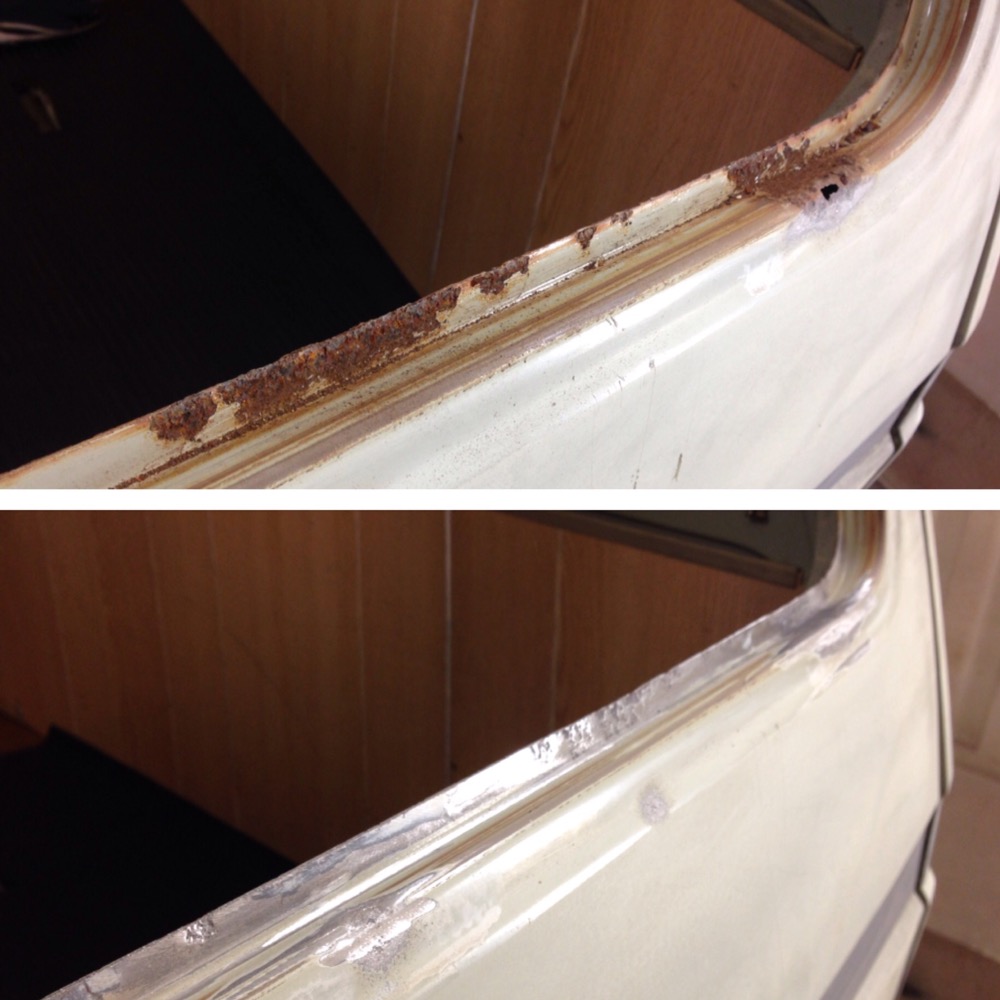
Some updates! All windows are out, all rust is repaired and the body have been sanded. Now the body work can start and I hope to have it in primer next week. Then its ready for more sanding and smaller bodywork before topcoat goes on. Maybe VW Marsala red paint?
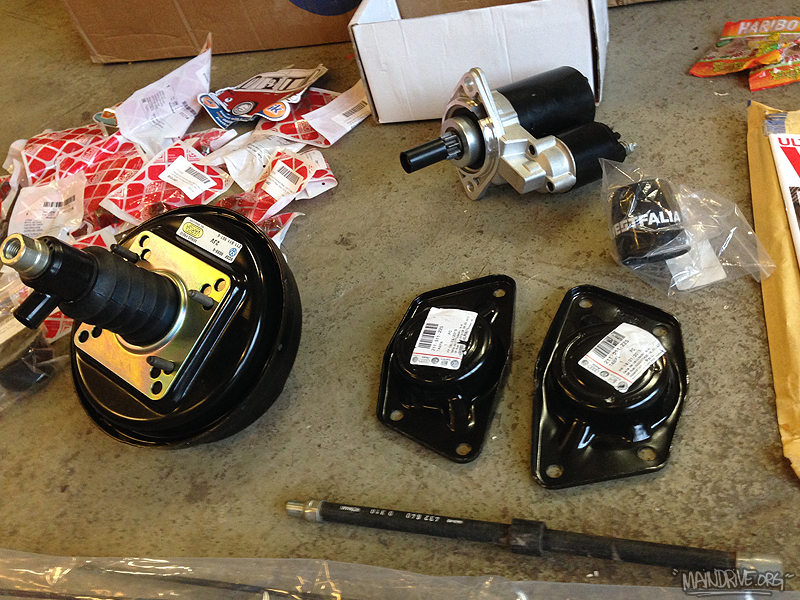
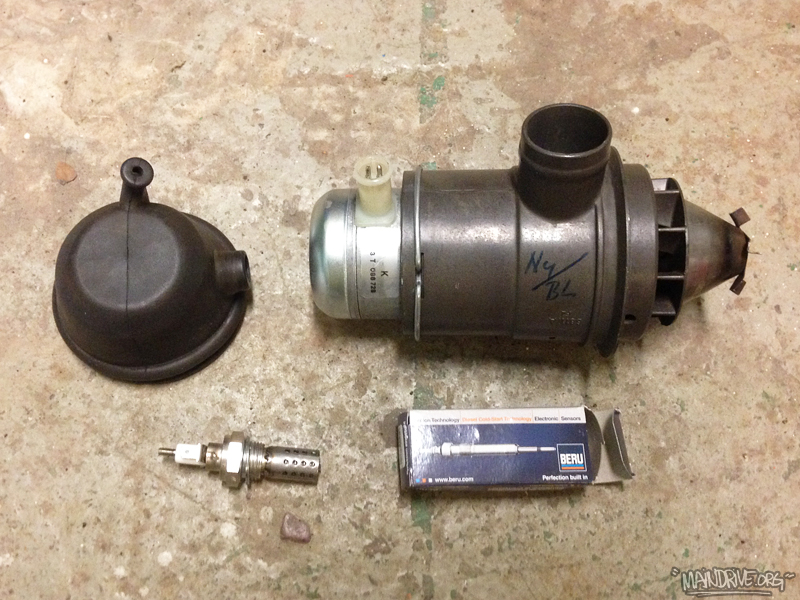
Have sandblasted alot of parts in the new cabinet, so nice to have. No need for waiting on the mediablasting company any more. Just put it in the box and go! Got a box full of new parts from Justkampers.com yesterday too. Brakeservo, starter, all brakepipes, front beam seals, 4 torsionarms with new pressed in balljoints, transmission gaskets and seals etc. Also scored a NOS Eberspächer combustion/airpump for the BA6 heater. Found a supplier in the UK of new BERU glowplugs for BA6, the GZE201 plug replaces the old (original) BZE22. Have anyone tried the new GZE201? Let me know how it worked: info@maindrive.org
Have scraped and cleaned all of the chassi during the last 2 weeks. Hope to push on further with the chassi this week and weekend and get it primered, seam sealed, undercoated and painted in body color. After that the chassi is ready to get all the new parts bolted on! More coming soon…


More videos, pics and storys from our roadtrips visit: www.camperontour.com