Added a solarpanel to the roofrack on the bus. But we also have a portable solarpanel to use when parked in the shadows or just need more power. Roof panel is Monocrystal 120w and the portable is also 120w mono, so a total of 240w solar power and 200amps of batterybank, they are also wired to the car alternator so charging when driving. We have a pretty sweet setup now!

Now the engine and transmission is bolted back in the bus, fits perfect! Left to do is all small stuff (But time consuming!) wiring, 587ohm resistor to the glowplug relay wiring, and a timer relay, install all hoses, fill up the coolingsystem with water, gearlinkage, cables, oil and filter, fill up all fuel lines with diesel, prime the pump, build a new exhaust and much more. Here comes some new pics…

Stuff is getting done, slow but steady at the moment, with two small kids there is not much time left! I have lifted the rear on the 30mm with spacers and I will lift the front 30mm too, but later on. Engine is ready to go in and transmission is getting built with Superdiff and locker while I write this. A custom beefy exhaust is made too, with a turbo diesel muffler for better flow.

I have a Thule awning with safari room for the bus, but it’s not possible to install it with ordinary brackets in the droprail (highroof slidingdoor) and I don’t want to drill it in the roof directly. So I want a roof rack that the awning can be bolted too instead.

But it’s not possible to buy a “bolt-on” complete Expedition roof rack to a VW T3 Highroof bus so I need to make one myself. I had a old roofrack laying that I could use/modify. I have been extended it 100cm and widened 40cm (total 290cm long and 130cm wide). 1000w LED light bar 133cm long, two 100w LED flood spotlights on each side, portable solar panel 120w (can be removed from rack easy and plugs into a 10m extended cable so it can be moved with the sun for maximum power). CB radio antennas, digital TV antenn/scanner and ladder is being fixed too.

Just need to make legs and brackets then it will be painted in satin black. Then Ready for safari and zombie apocalypse ?

Instagram:
@maindrivegarage
#vwt3overland

The wiring was a mess (for all equipment) so a new control panel with automatic fuses was installed togheter with new wiring. The 230v wiring (camping power) was also updated with automatic ground fuse and two new sockets with combined USB outlets.

The old interior lightbar was only 230v, but it was a great design so you can flip/turn the light angle. So I took it apart and converted it to 12v with LEDs. An extra LED light with two touch dim/settings was mounted up in the front of the sealing/roof also.

Under the rock n roll sofa I made space for 200amp of batteries (dual 100amp). These I connected to the car/start battery thru a relay, so the car alternator will charge all battery’s. These batteries are connected thru Bluetooth to my cellphone so I can see how much power is left and how much is charging. The solar panel (portable 120w) have a quick connection to these battery’s. Also the 5kw diesel heater is installed under the sofa. It takes air from outside and diesel from the main tank, and the exhaust is routed thru a silencer and out. It runs on diesel and 12v so it can be used anywhere for a very longtime, no need for 230v power. It has a digital display, and a thermostat so it will keep the inside toasty warm on winter. It can be started thru GSM net with my phone. I routed the heater outlets to the main floor and one to the back/bed. It works great and produce a lot of warm dry heat!

The walls, doors and roof was already insulated with 50mm cellplastic, thats very good! But I had some extra aluminium/bubblefoile rolls that I put inside some of the doors and walls for some extra insulation and vapor barier.

#vwt3overland

Have been working on the camping interior lately. The old interior was crappy and looked like shit, it had some structure wall weave/papper that hade been rolled with paint 10 times, the touch and feel was like a 40 grit sandpaper so it needed to go. But it was a good design/plan layout on the cabinets and storage. So I decided to keep the base of it and make a new outside finish on it in light grey oak vinyl.

All cabinet doors was made new in 12mm Medium Density Fibreboard and painted in medium gloss grey with paintgun. Countertop was made new in black colored MDF with semi-gloss clear coat, now with space for a portable kitchen / stove. Above the stove space I made a 12v kitchenfan with outlet, the fan is moving 3,8 squaremeters of air per minute so now you can make bacon with closed doors without smoke/smelling anything 😉

All the old gas equipment was removed, and the old fridge was replaced with a modern 12v Waeco 48L fridge with freezer. A new black sink and a new Reimo water tap was mounted. And all new waterlines, pump and 20L freshwatertank. Before the water ran straight out on the ground, now it goes into a 10L tank first, with a valve so the water can be emptyed. This is good of you are using water when you are on a parkinglot, ferry or on a big camping with neighbors.

Part 2 is coming on Tuesday…

#vwt3overland

New speedometer and cable have been fitted, the needle on the old one was stuck! Added LED light diods to the rear engine bay, you cant have to much light when wrenching in that tight dark engine compartment, specially after the road. New modern wipers installed, and a new ventilation cover for the slidingdoor, painted in black. The old washerpump was junk so a new was added. Rear view / back up camera is now all done and is a great thing to have on a bus! More updates coming! It’s now ready for safetyinspection / MoT. Hope it goes well…

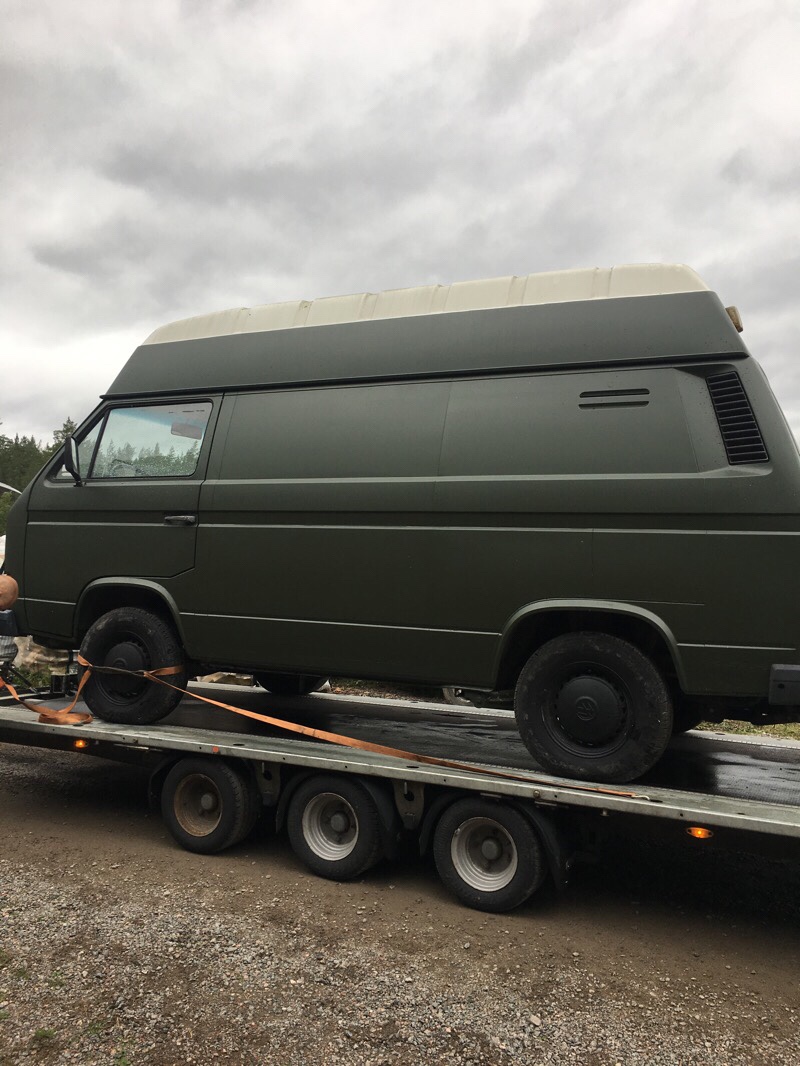
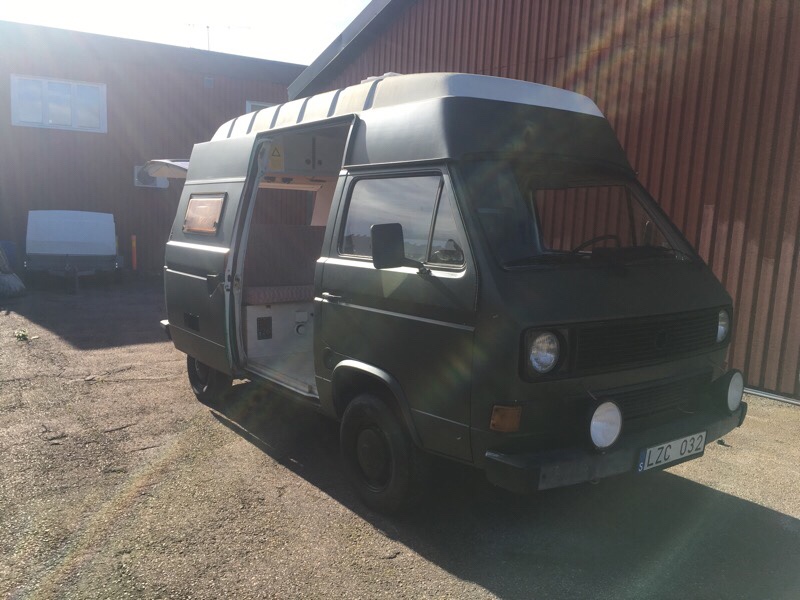
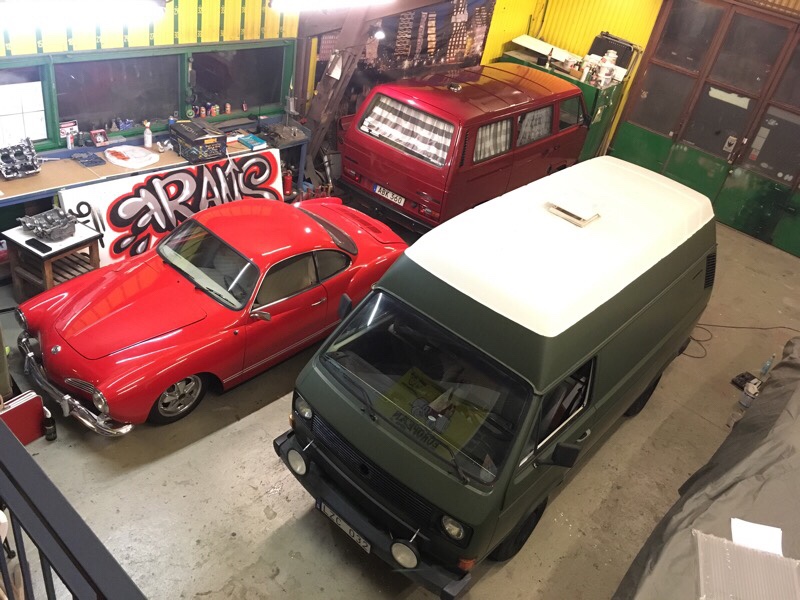
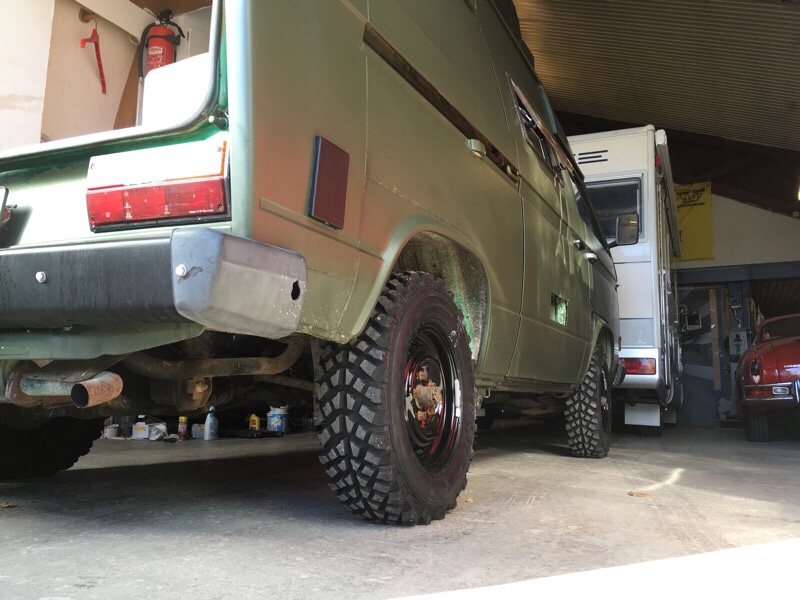
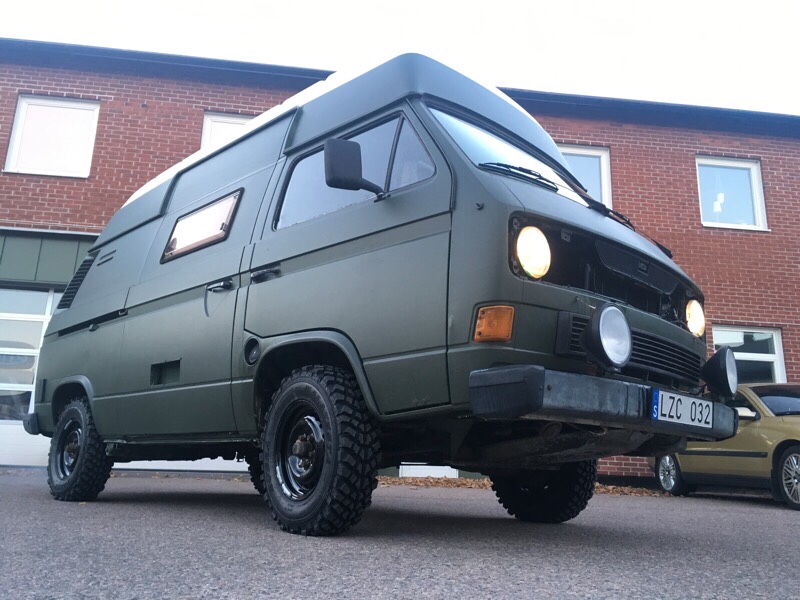
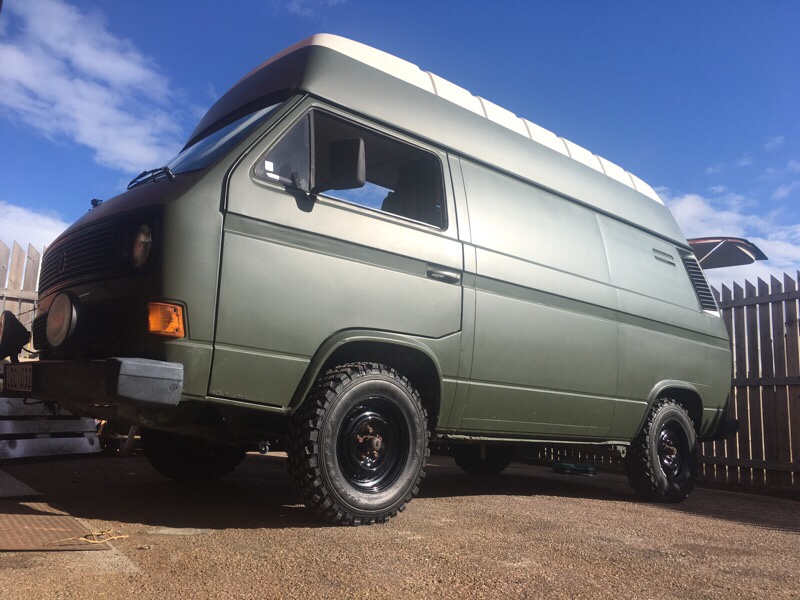
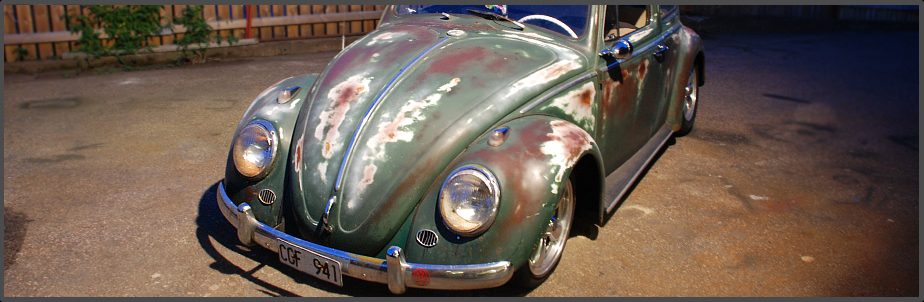
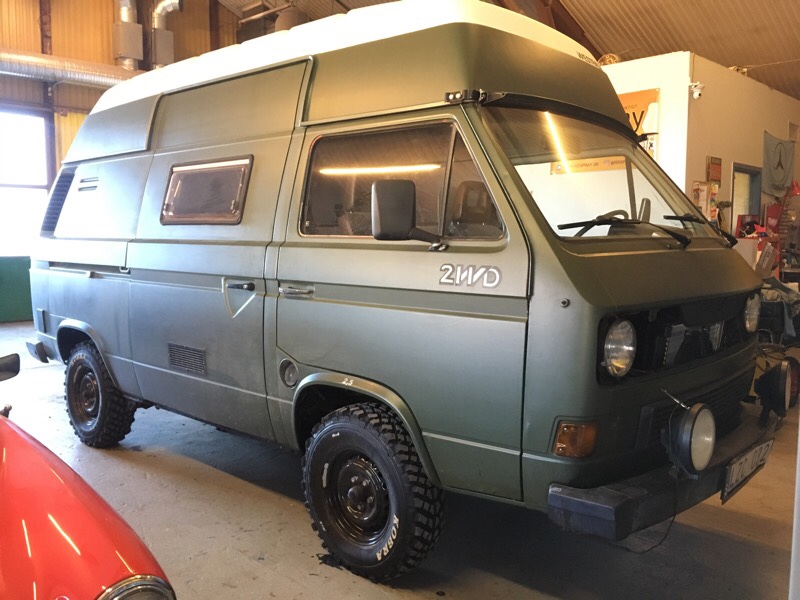
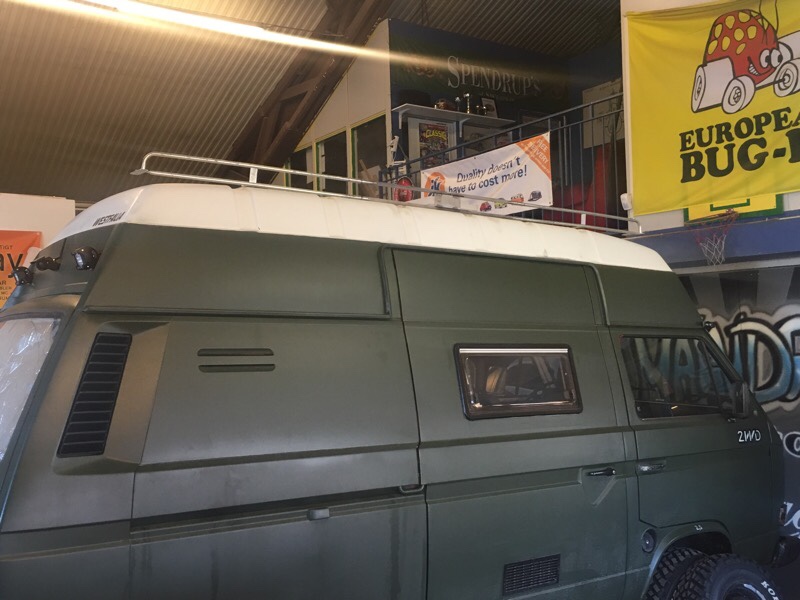
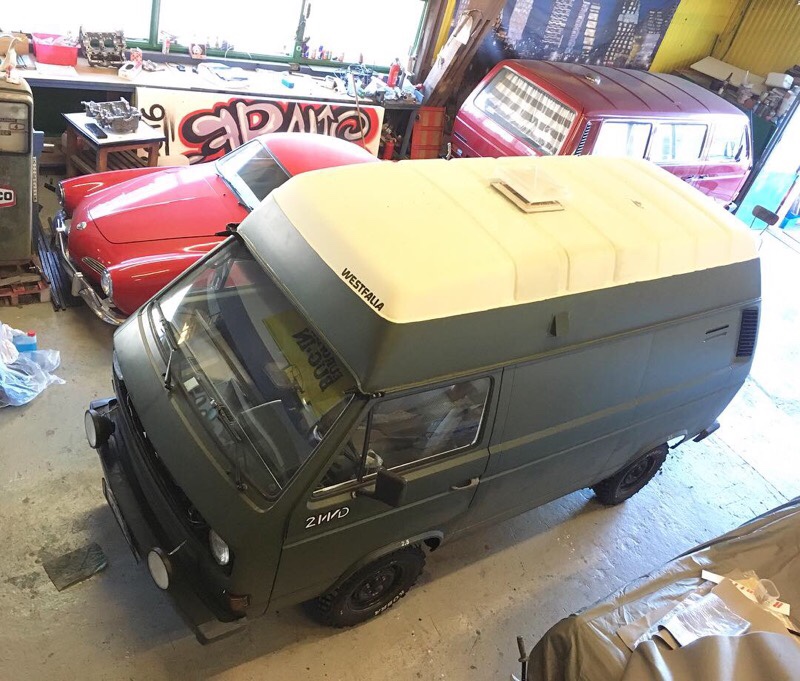
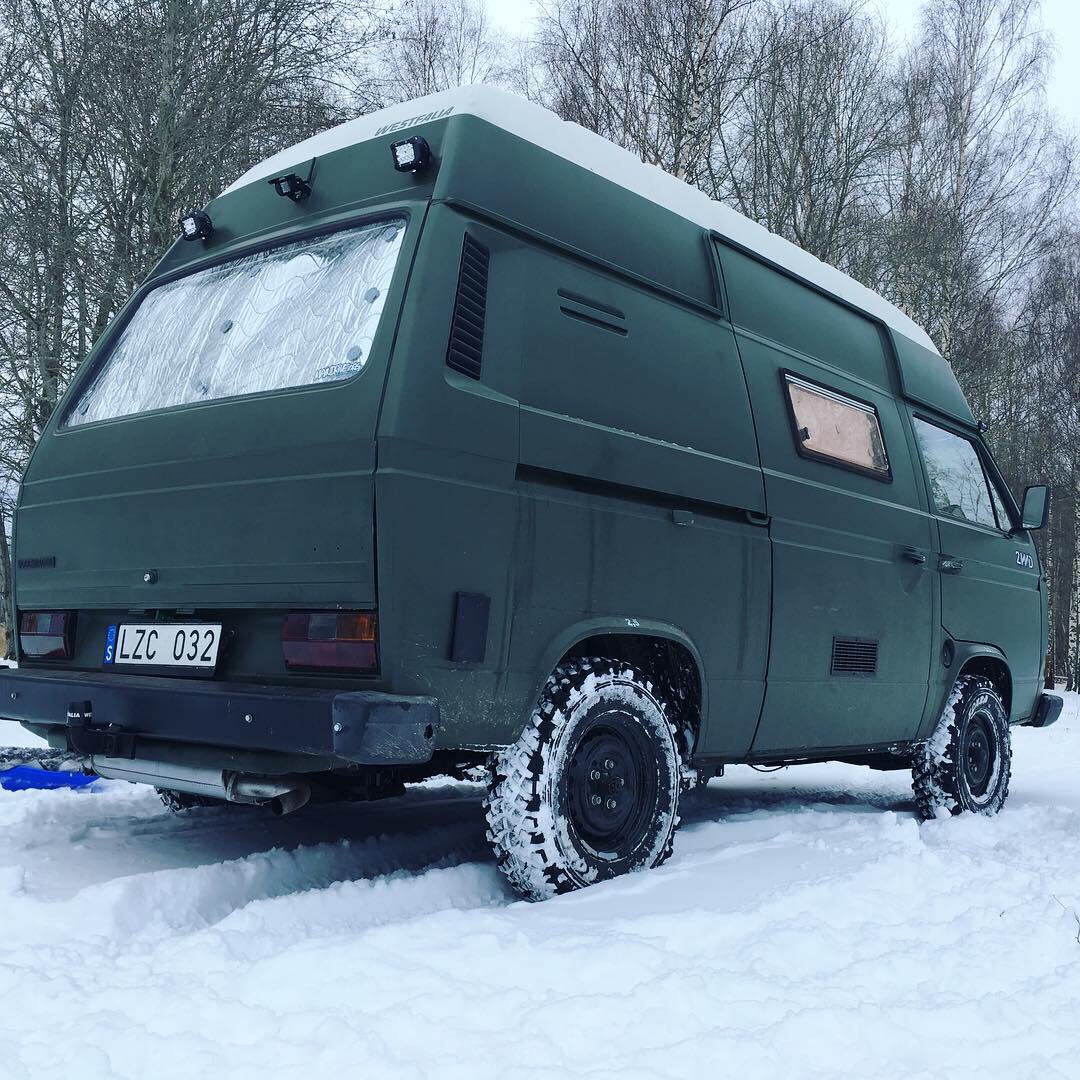
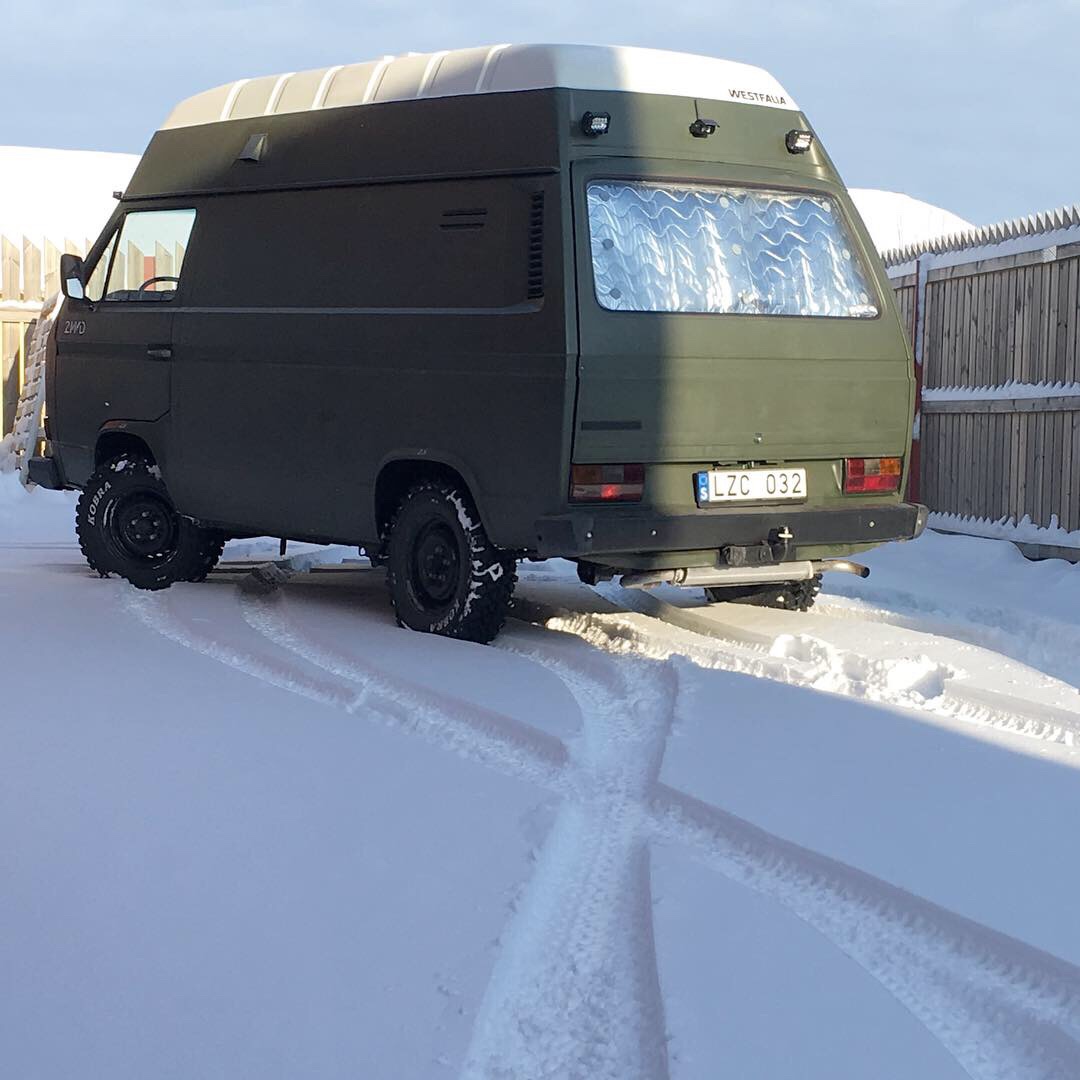
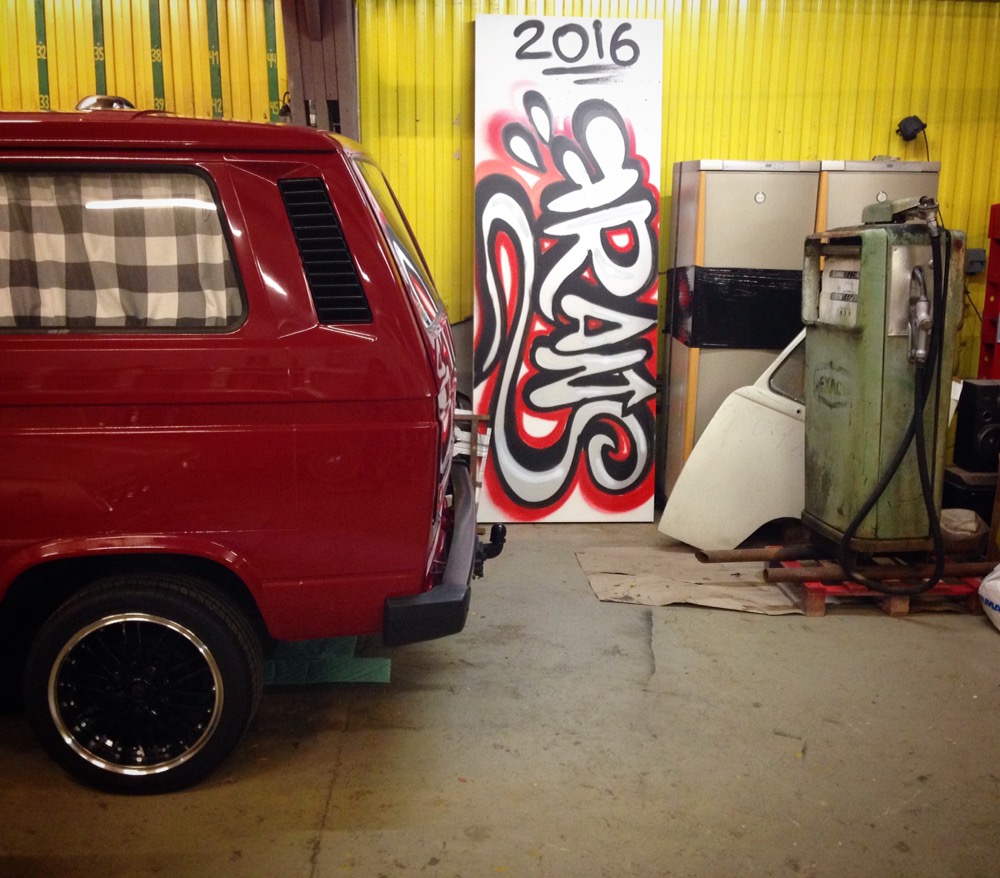
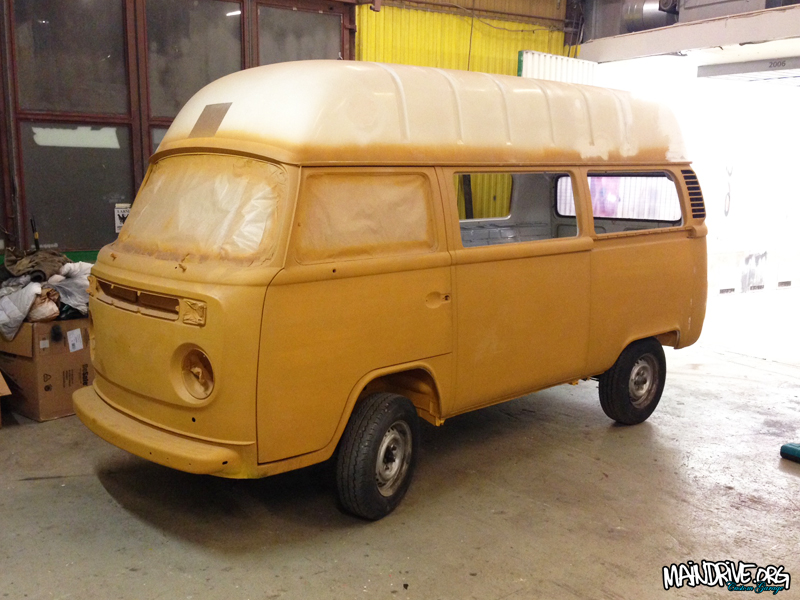
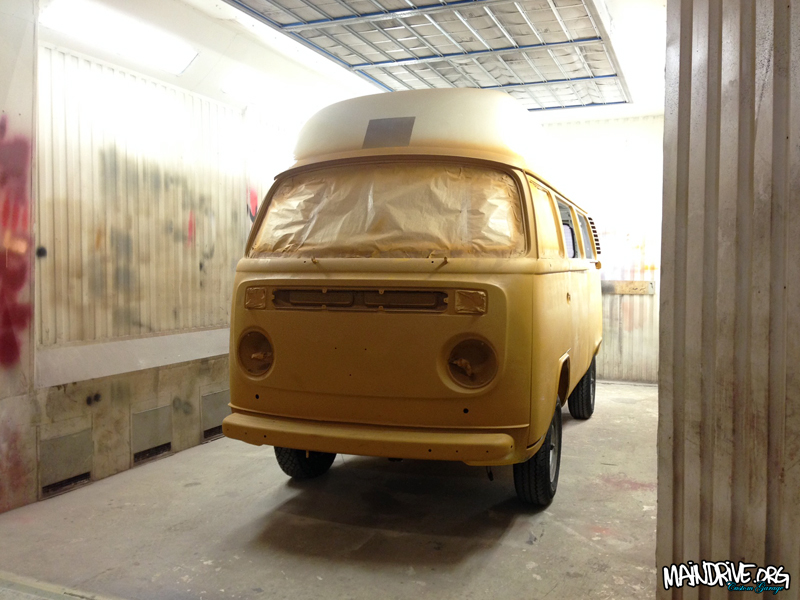
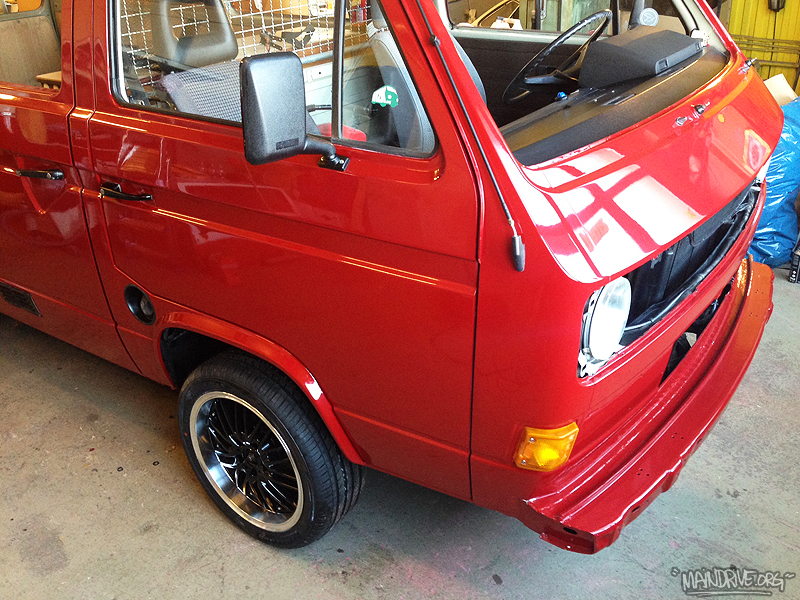
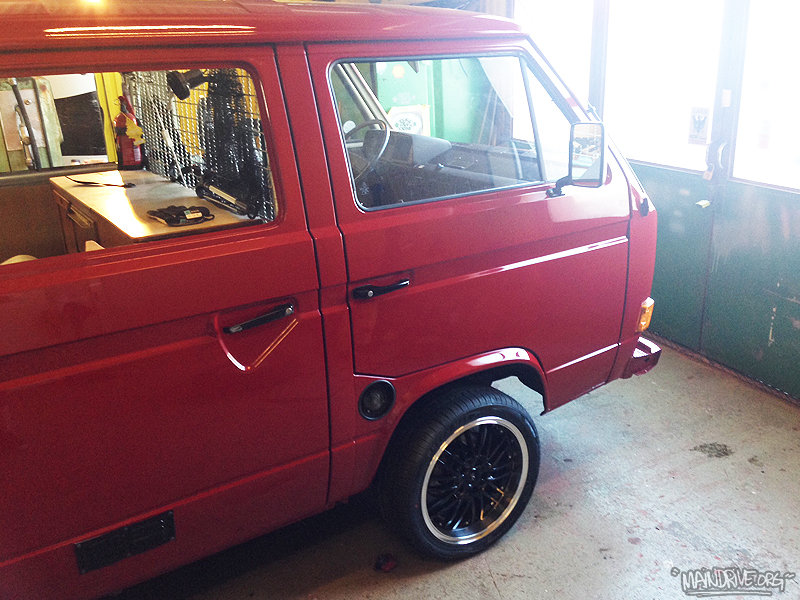
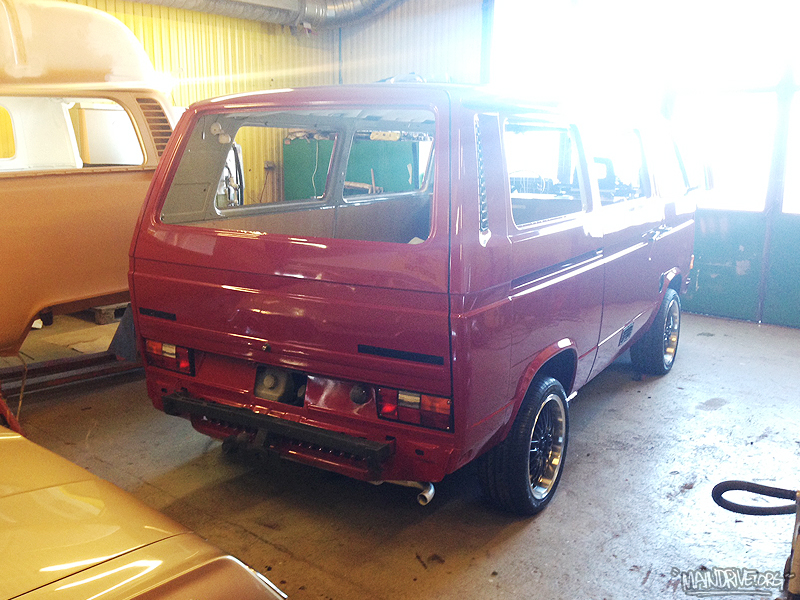
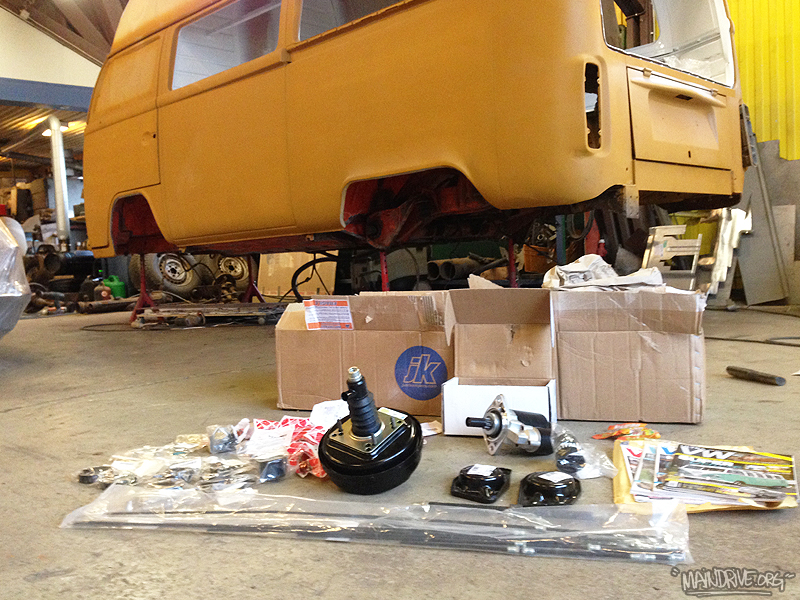
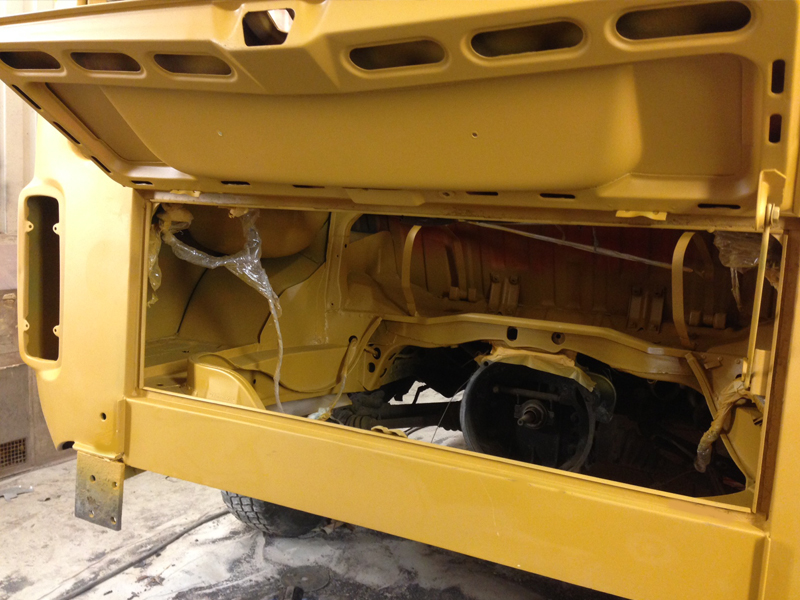
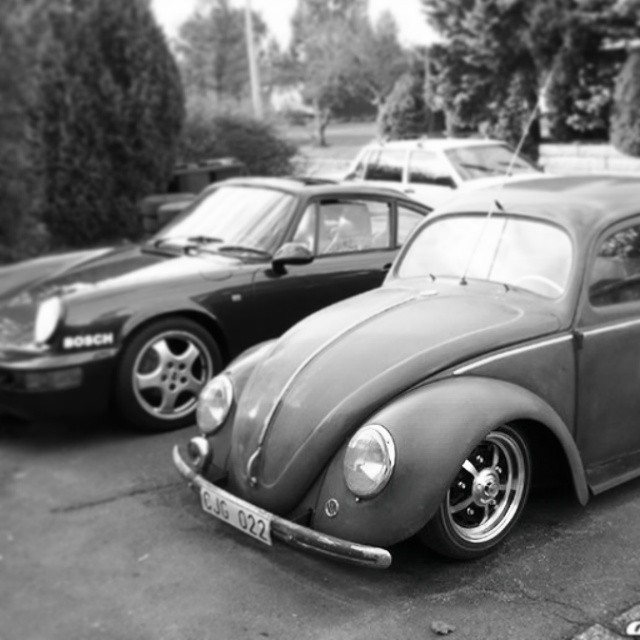
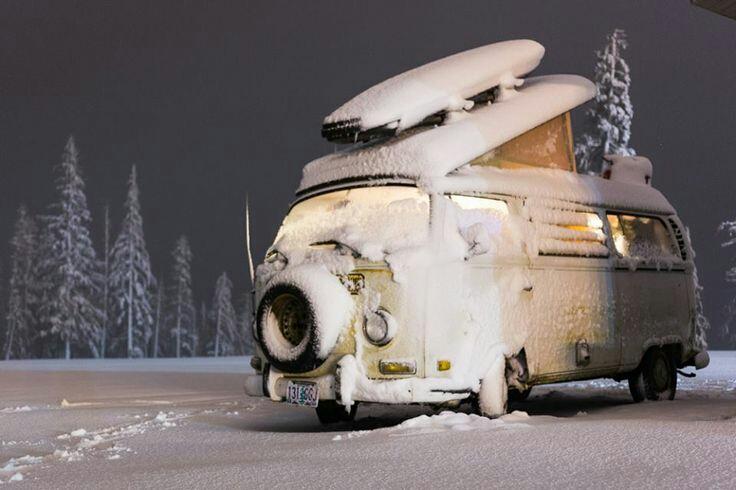
Another generation to the collection, at the moment I now have T1, T2 and T3 buses. This one is going to be the offroad bus and for autumn/winter camping/expeditions 🙂

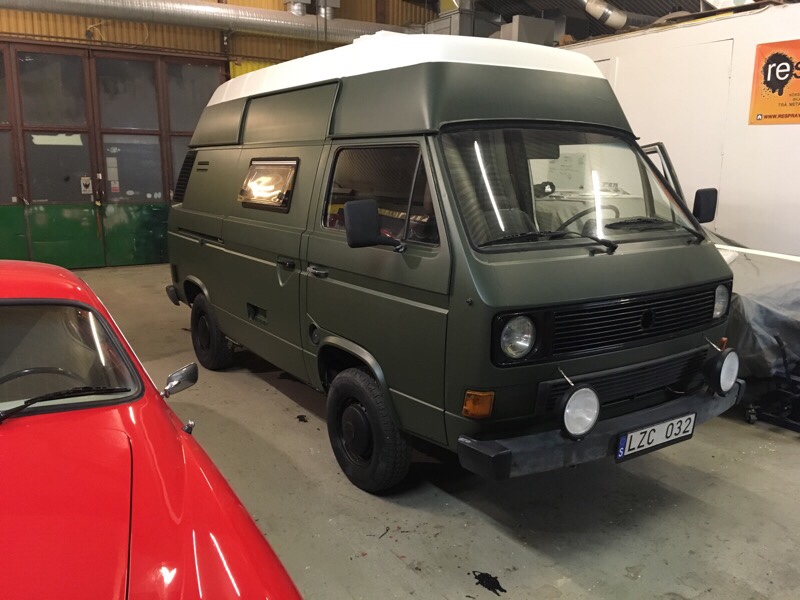
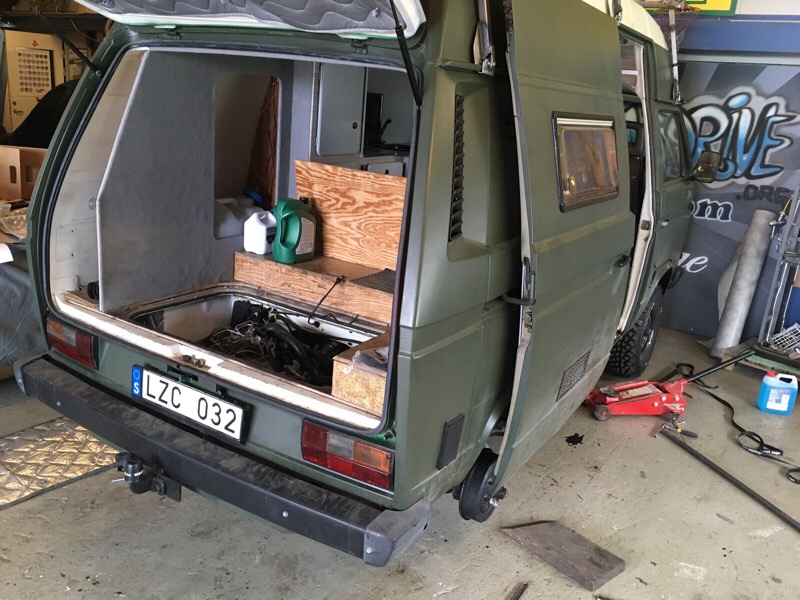
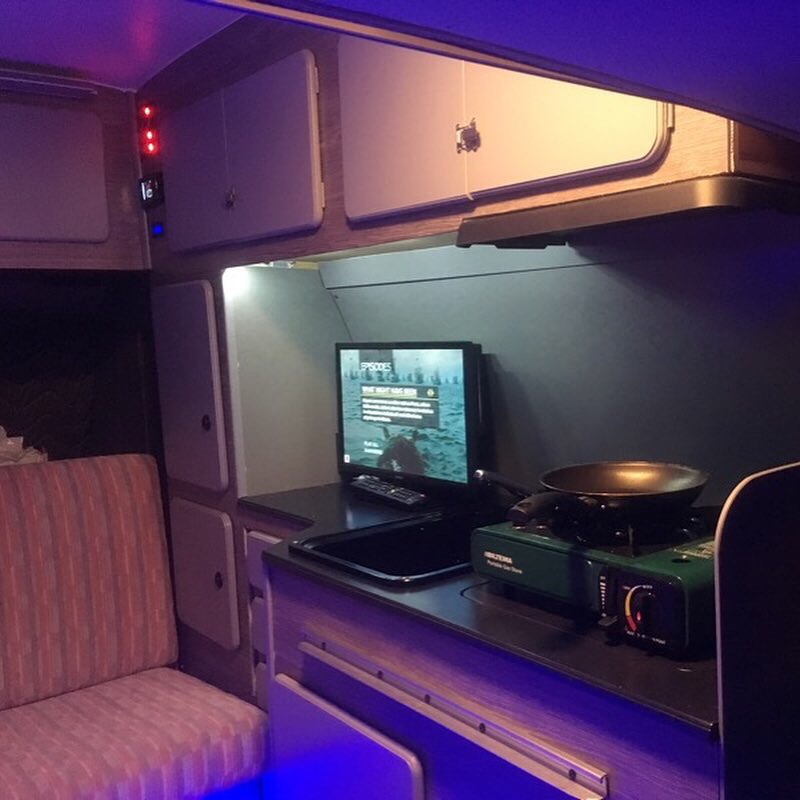
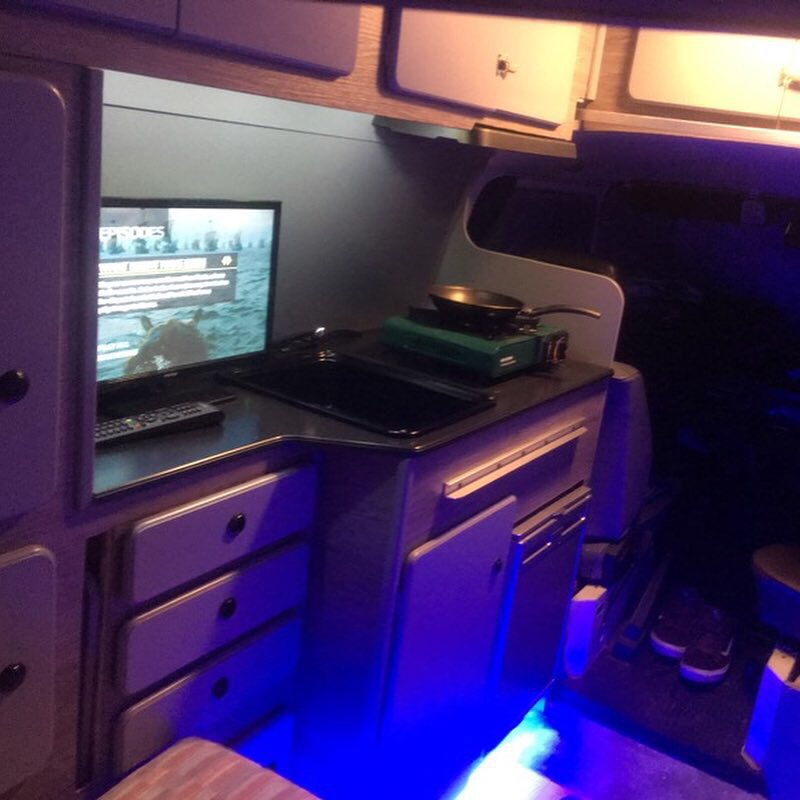
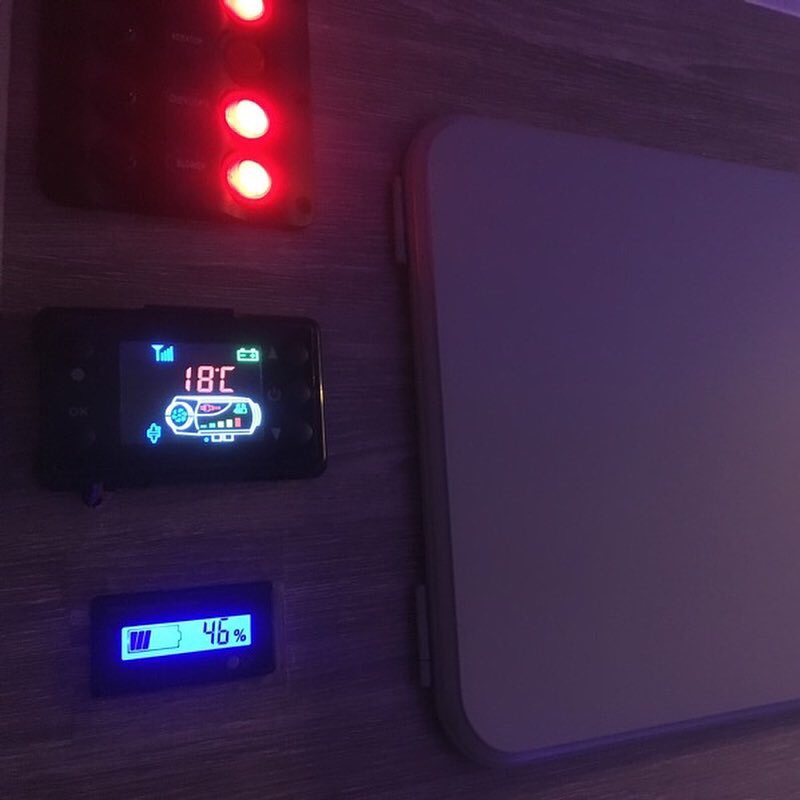
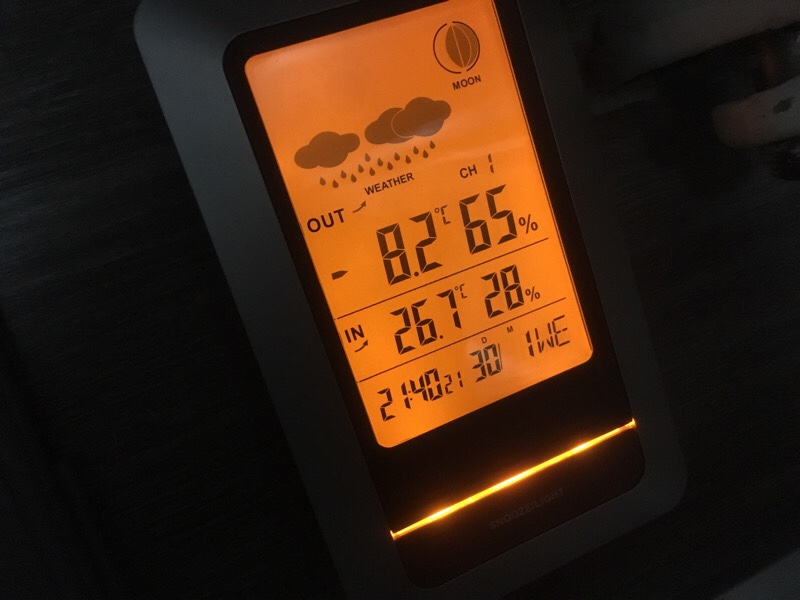
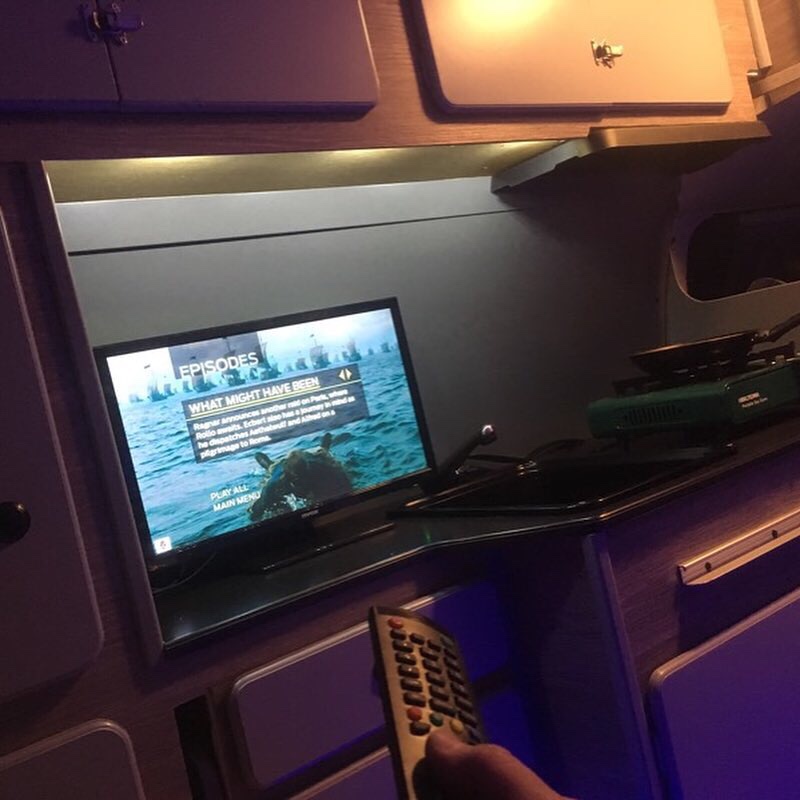
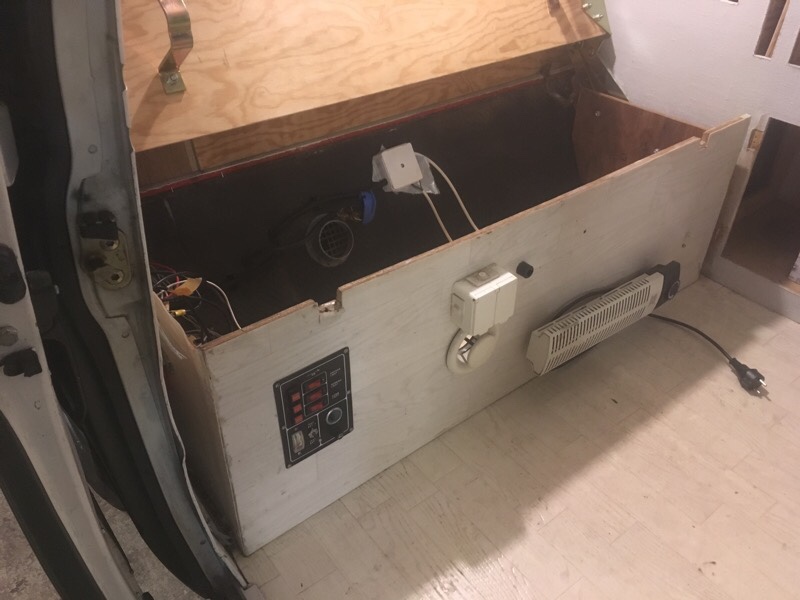
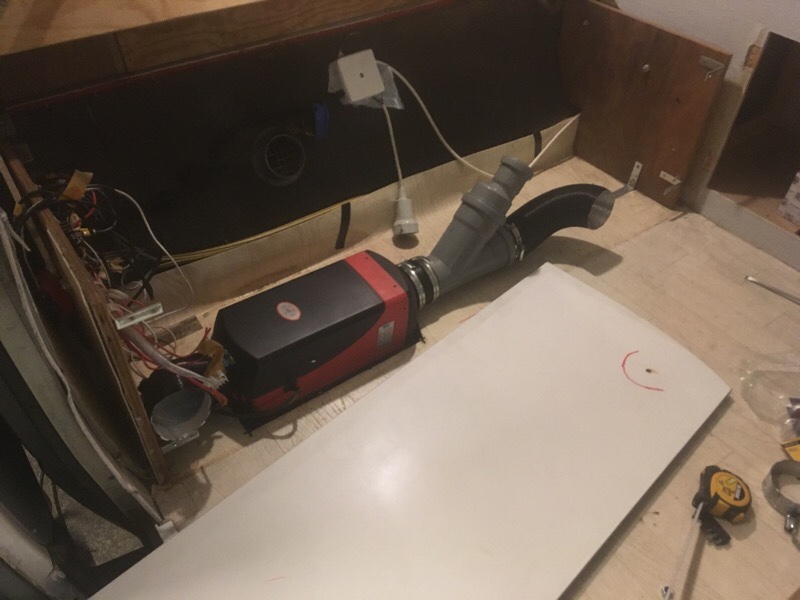
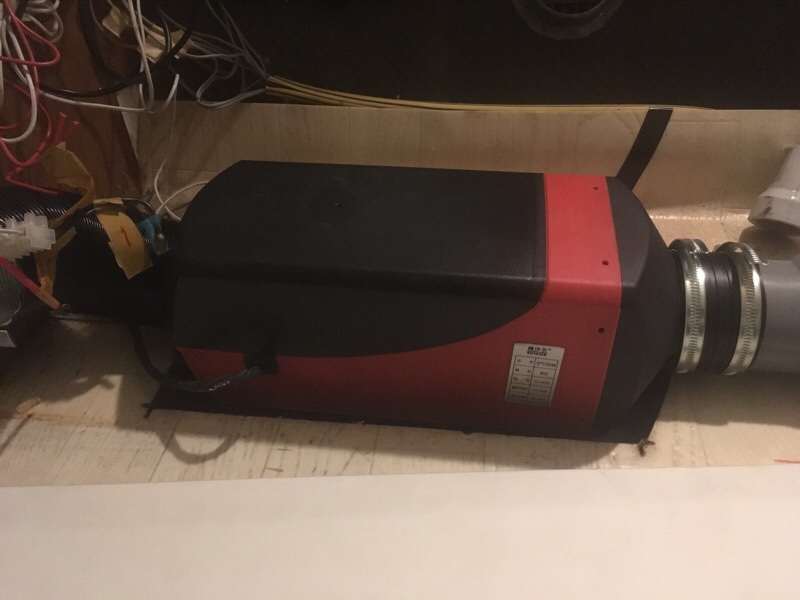
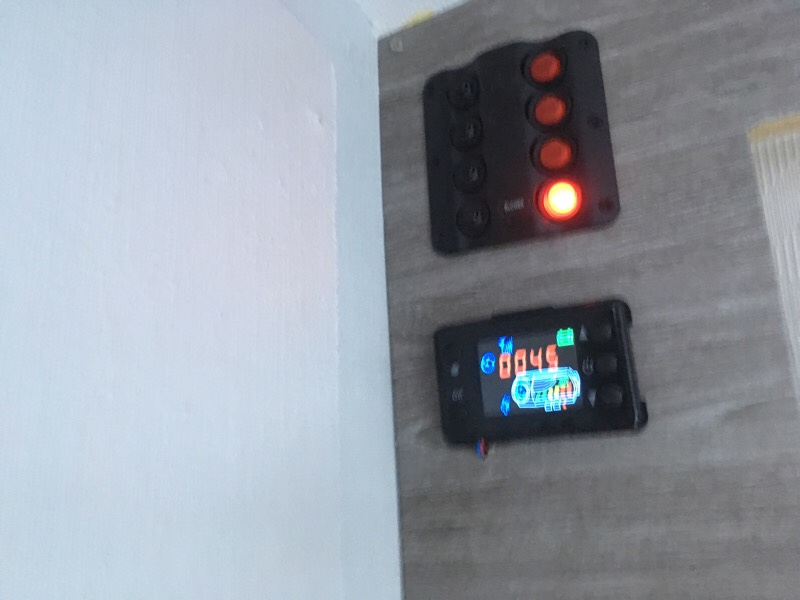
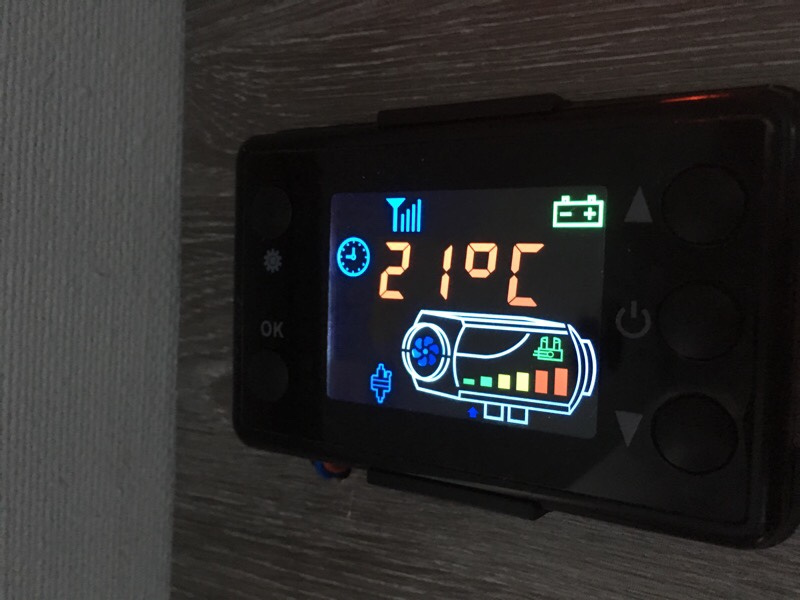
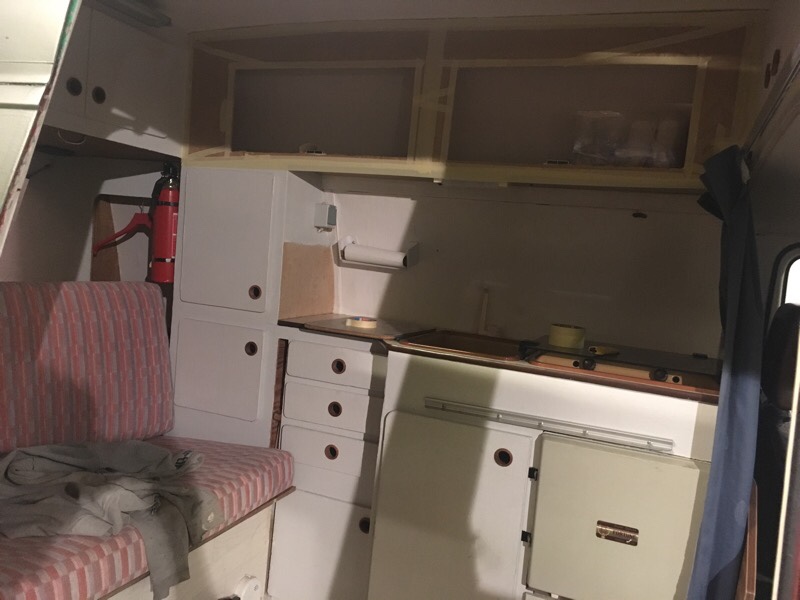
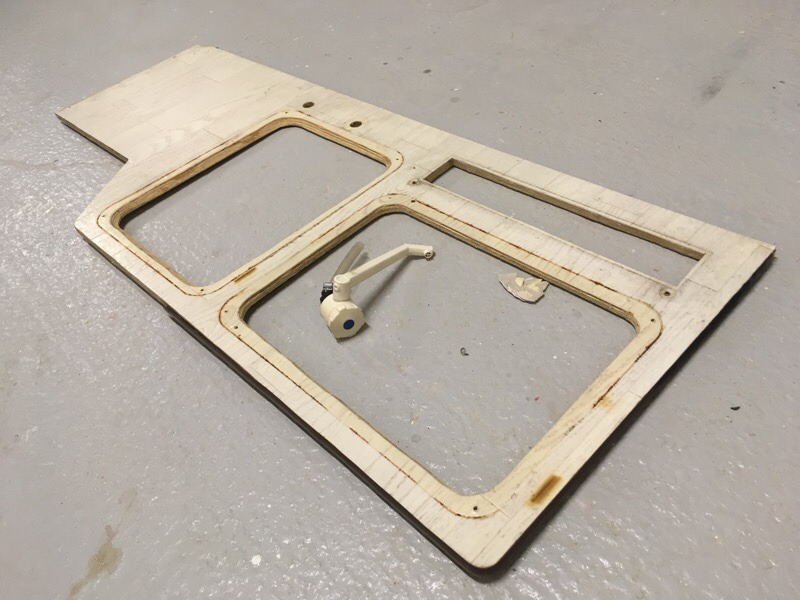
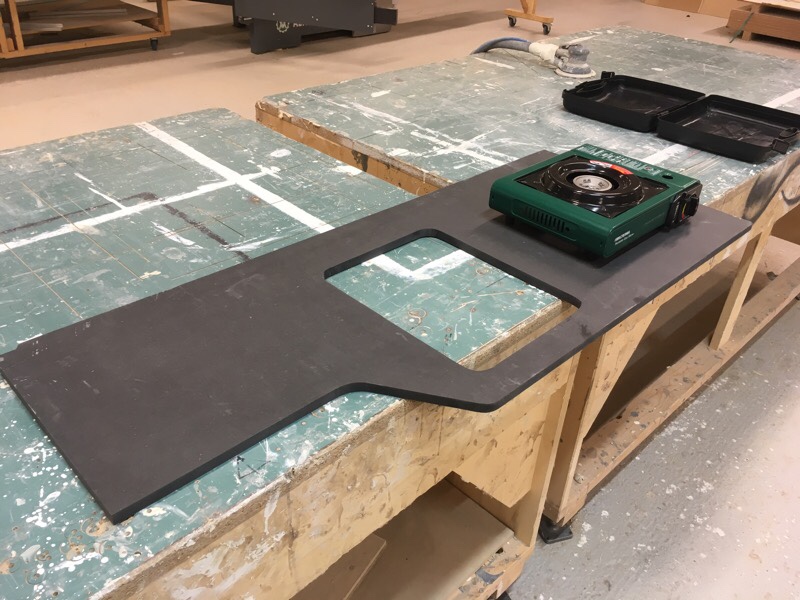
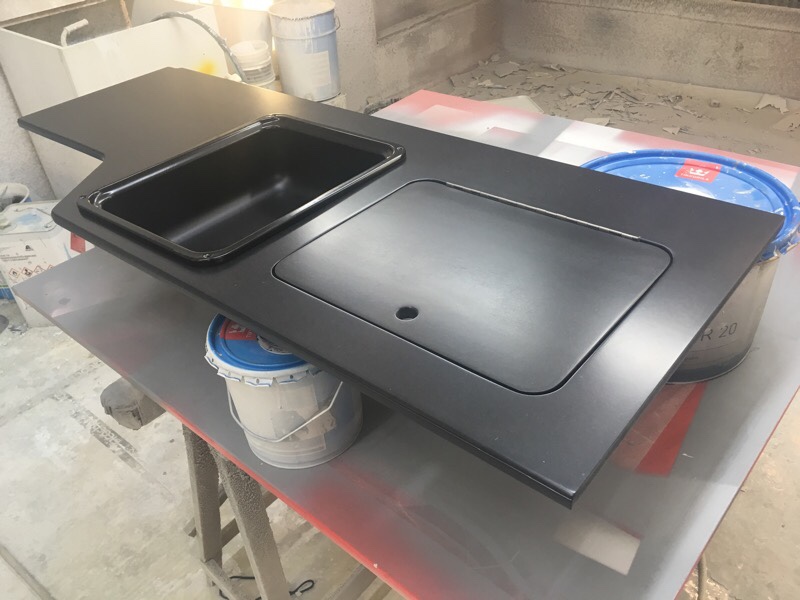
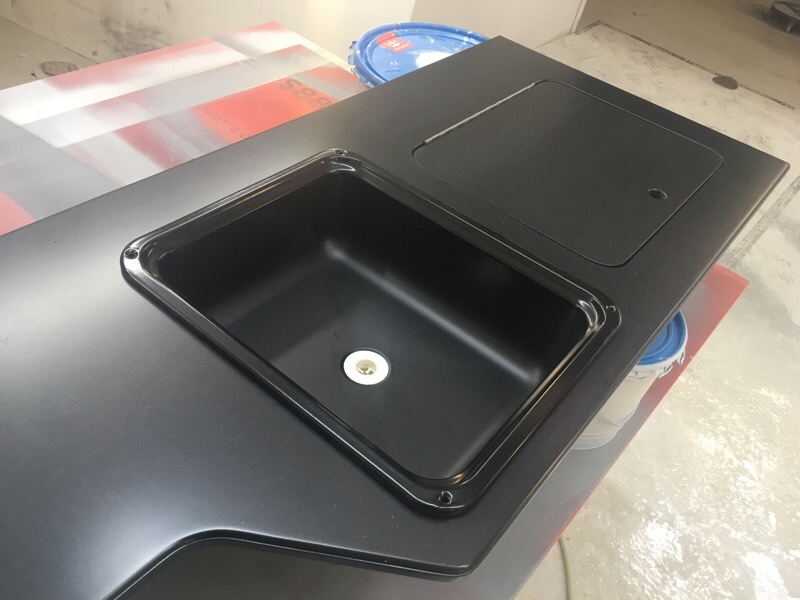
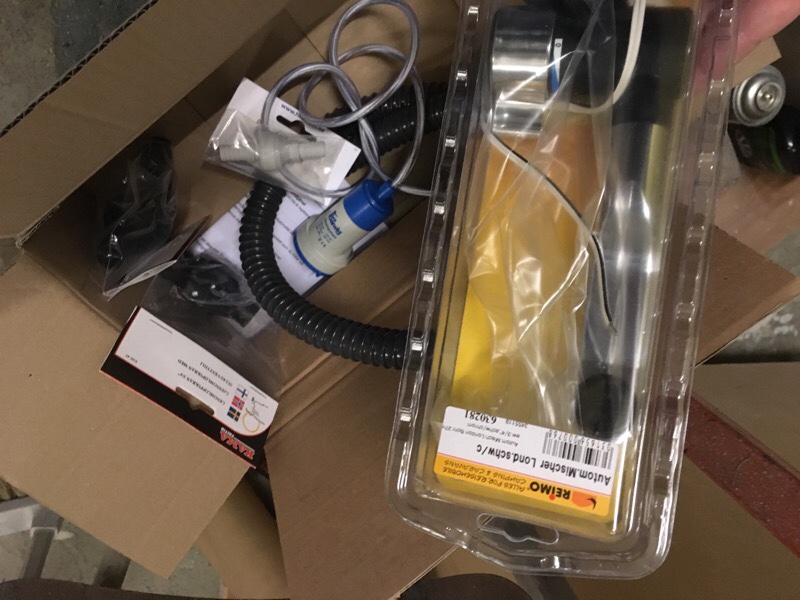
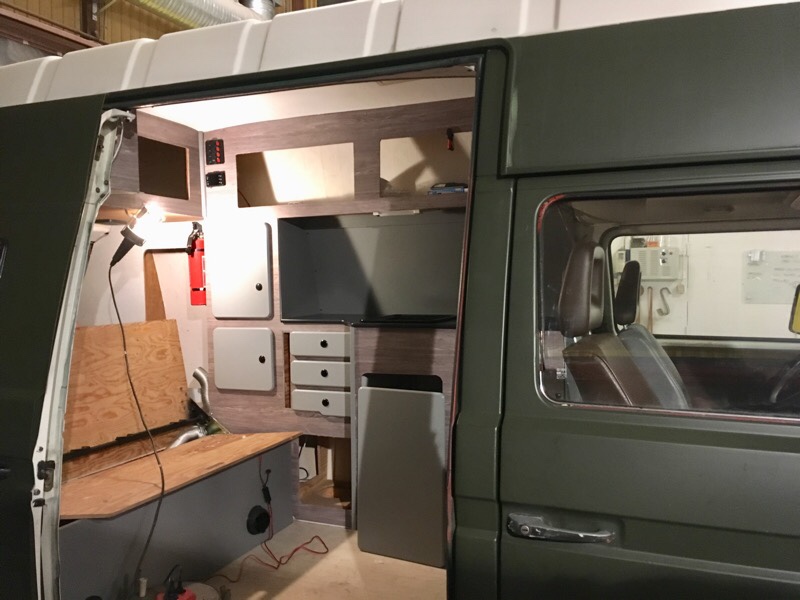
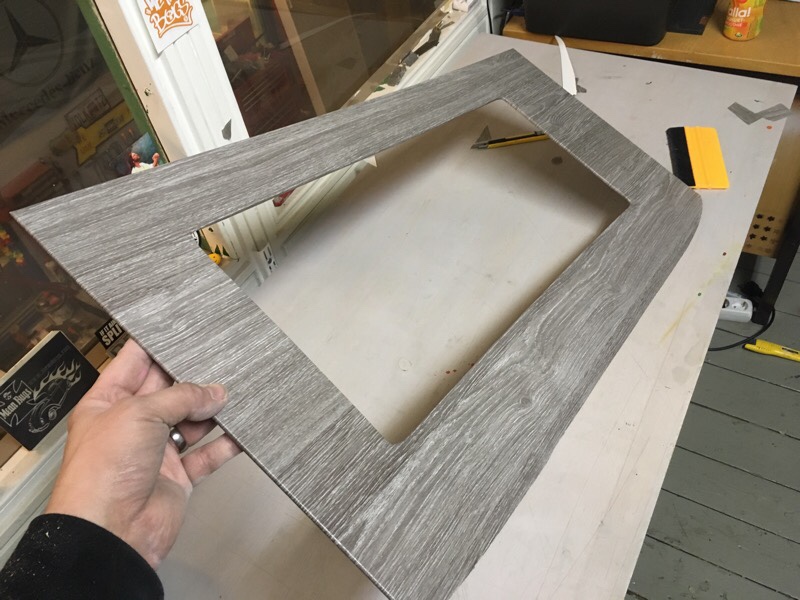
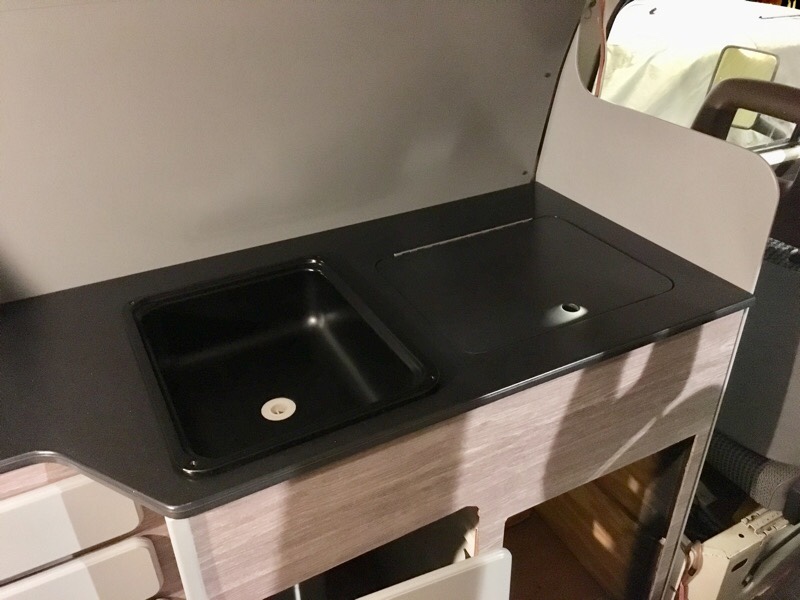
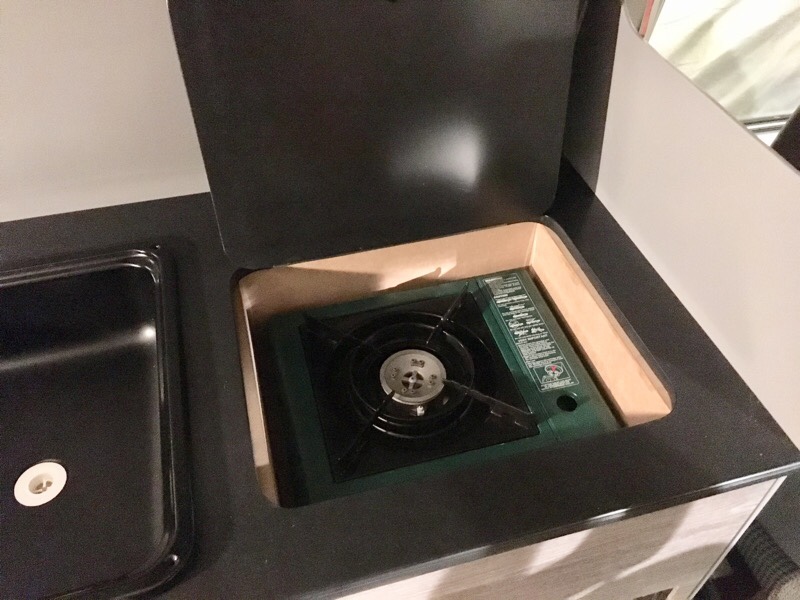
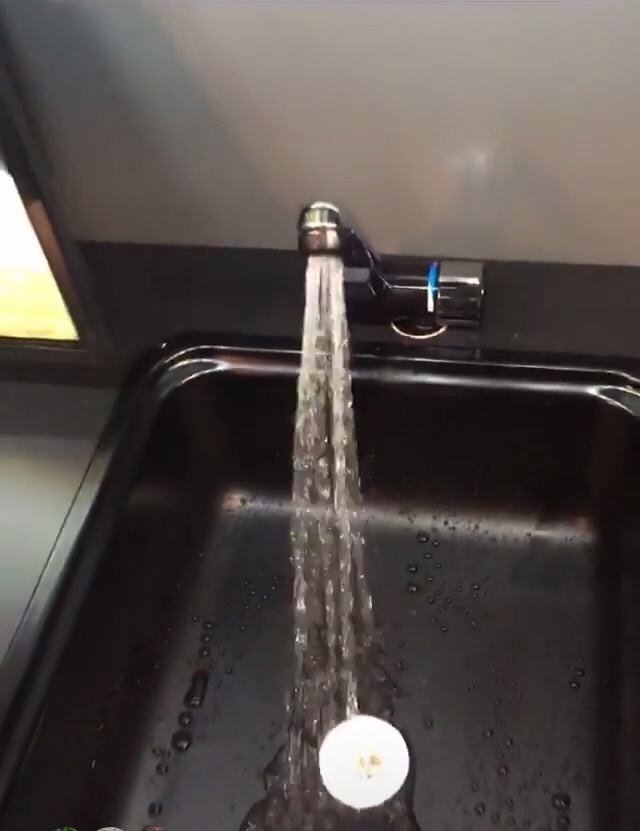
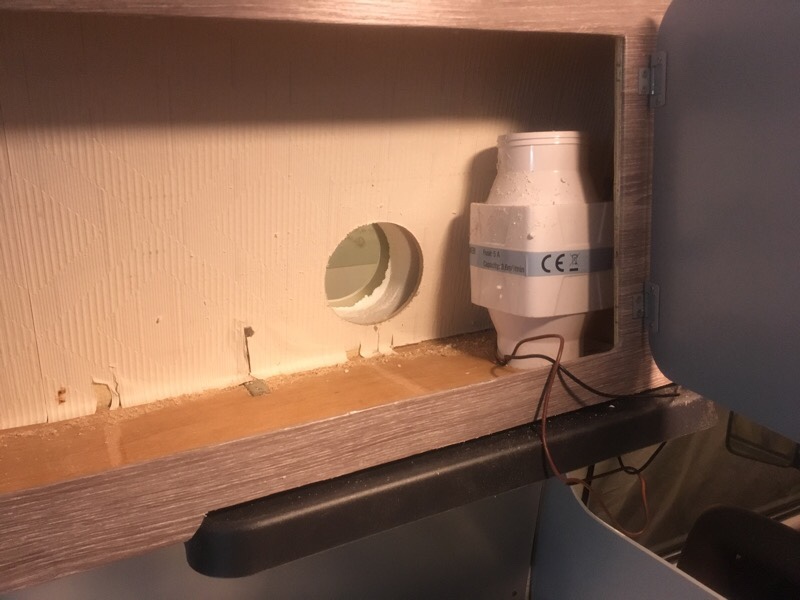
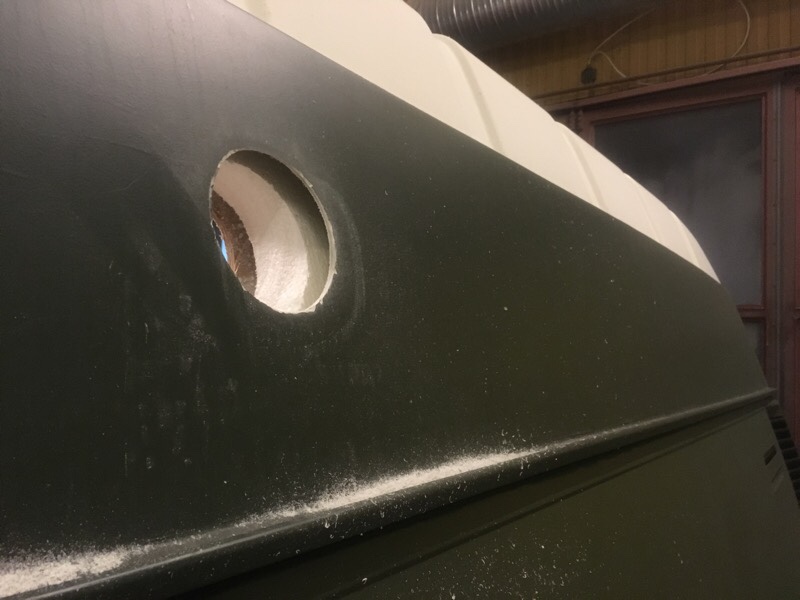
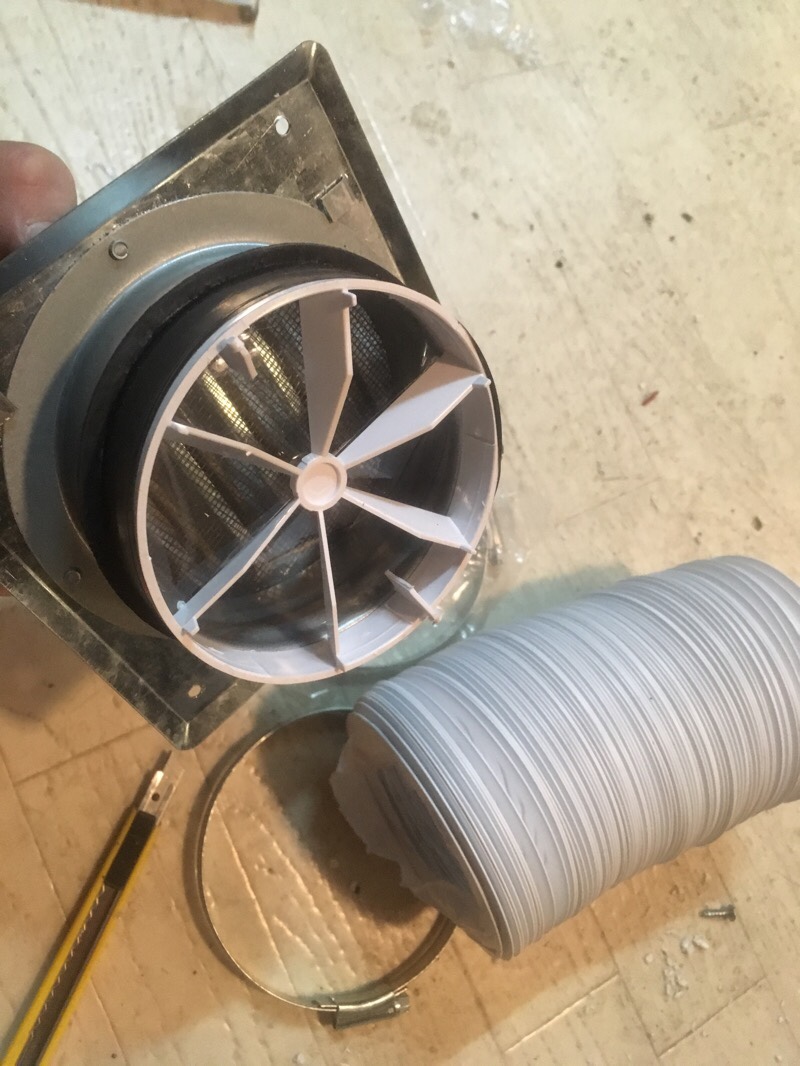
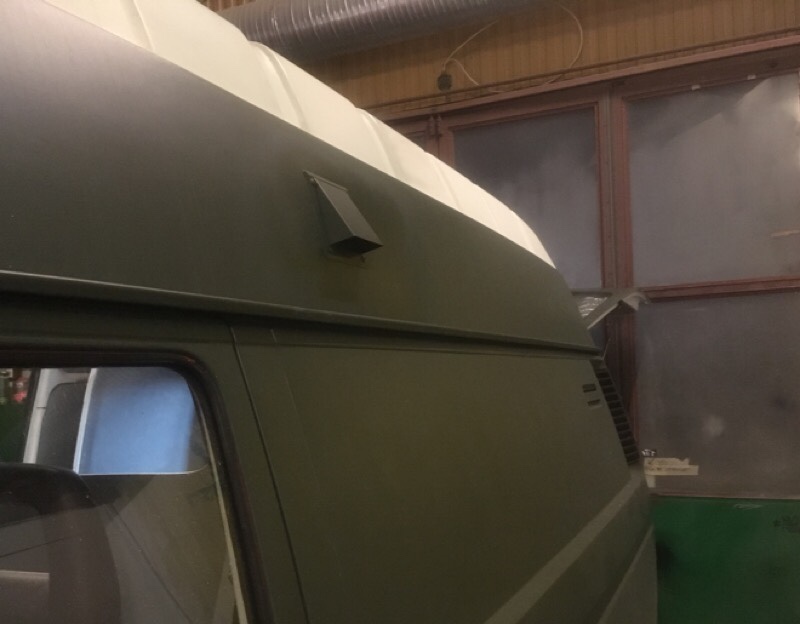
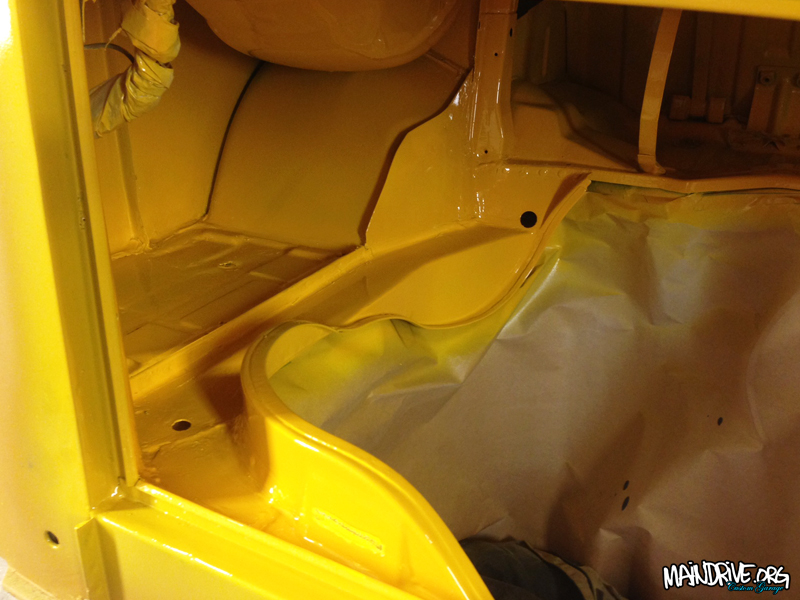
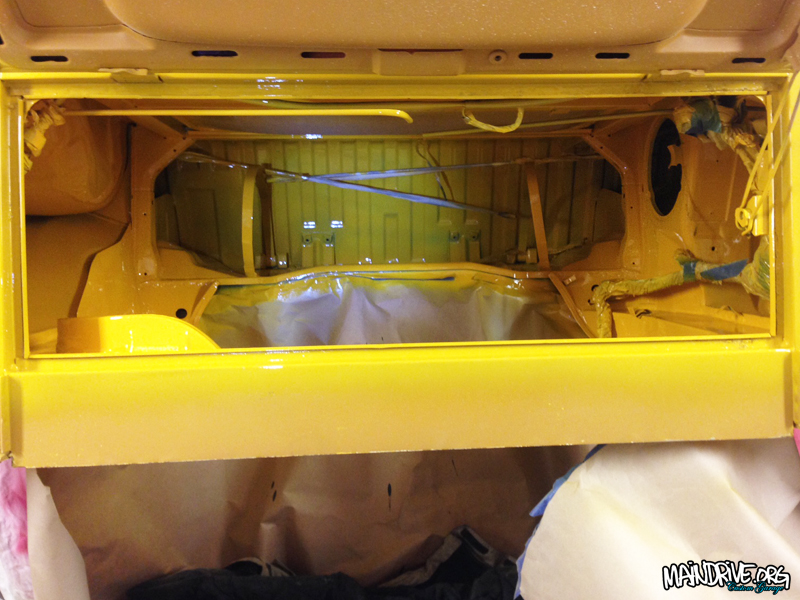
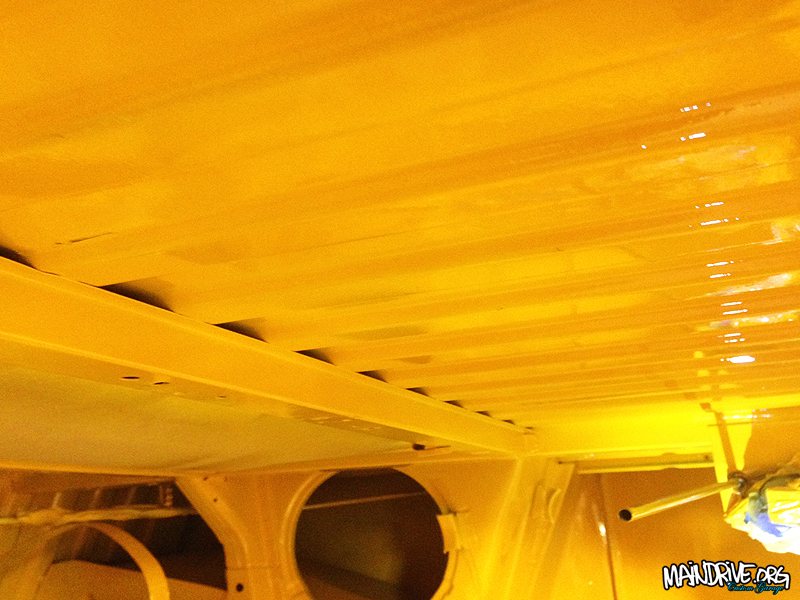
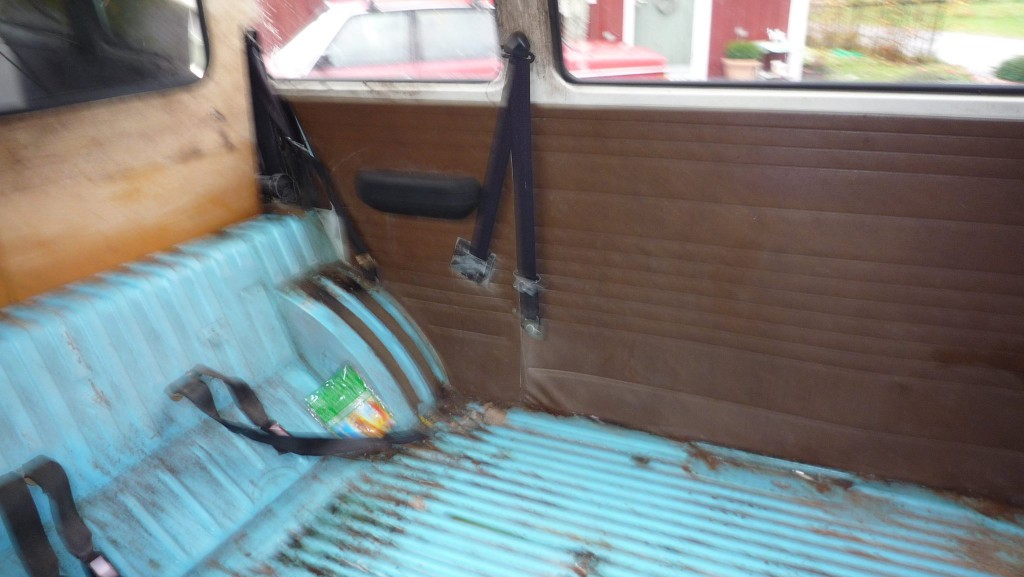
It’s a 1983 Transporter with 1,6 Diesel and 4-speed transmission. It has a ugly camping interior already fitted that will get a refresh/restoration. A Webasto/Planar diesel heater with thermostat will be installed to the interior in future, so you can stay warm on the winter. New 12v fridge will be installed and the gas stove will be replaced with a new small portable gas bottle one.

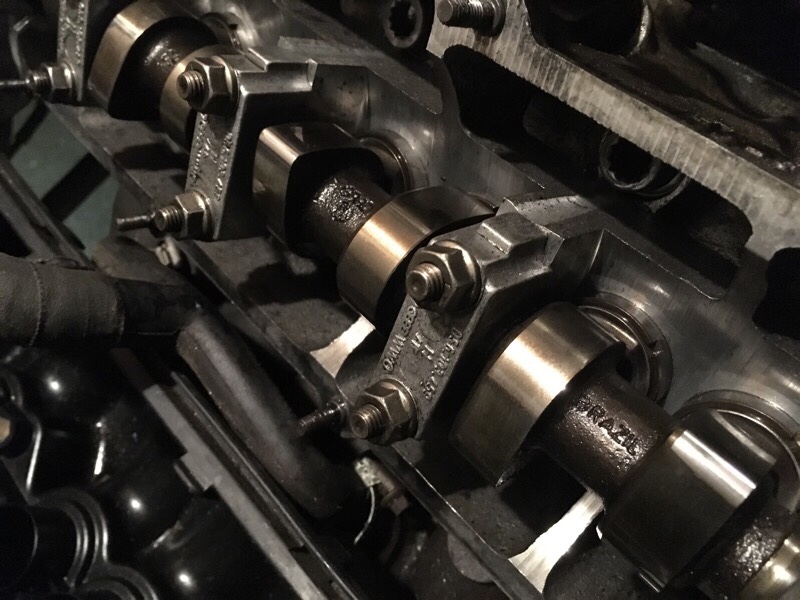
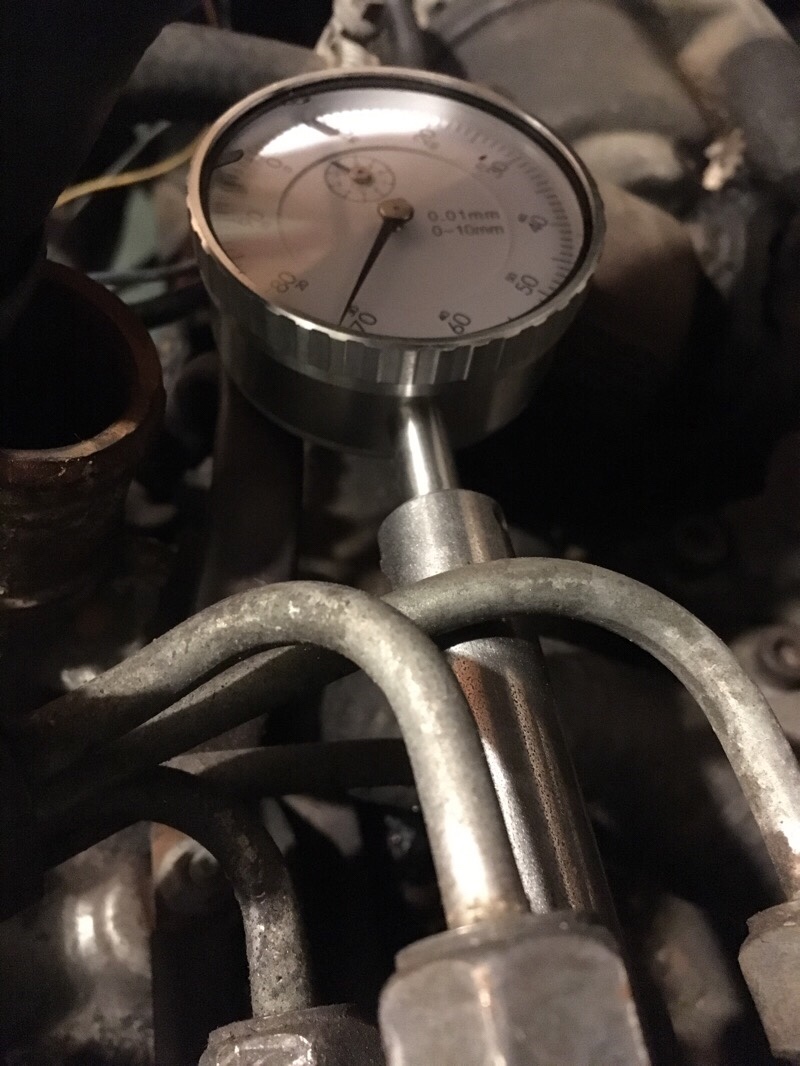
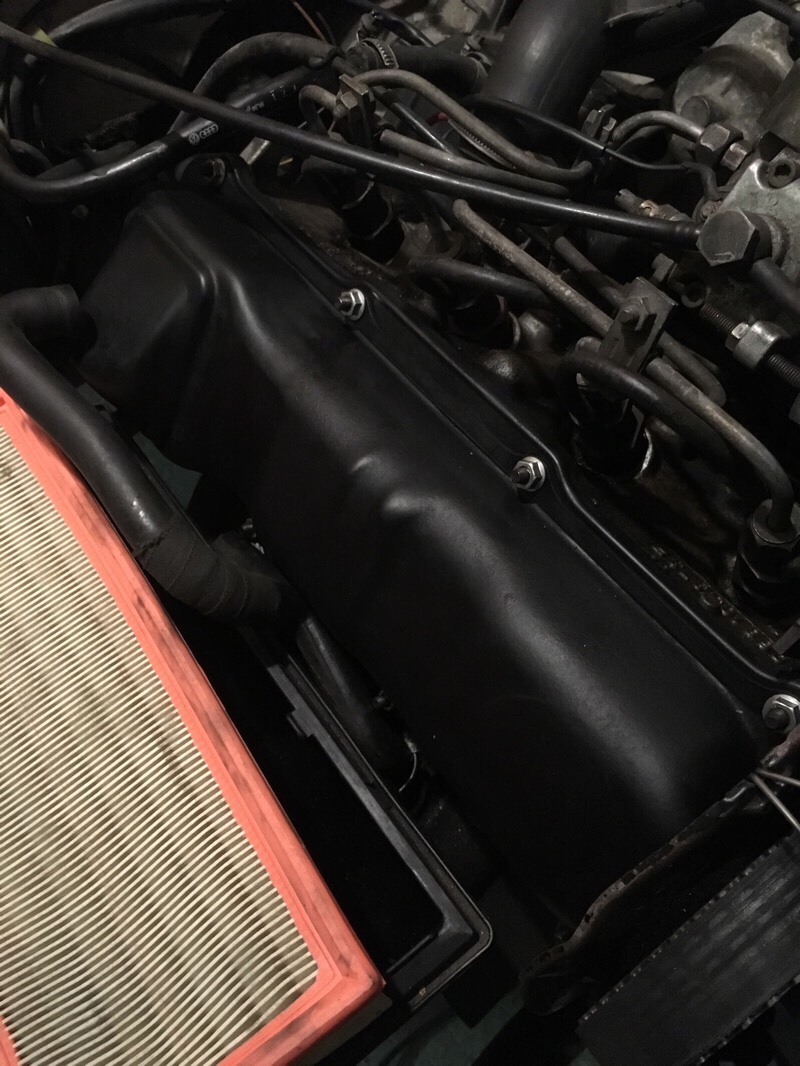
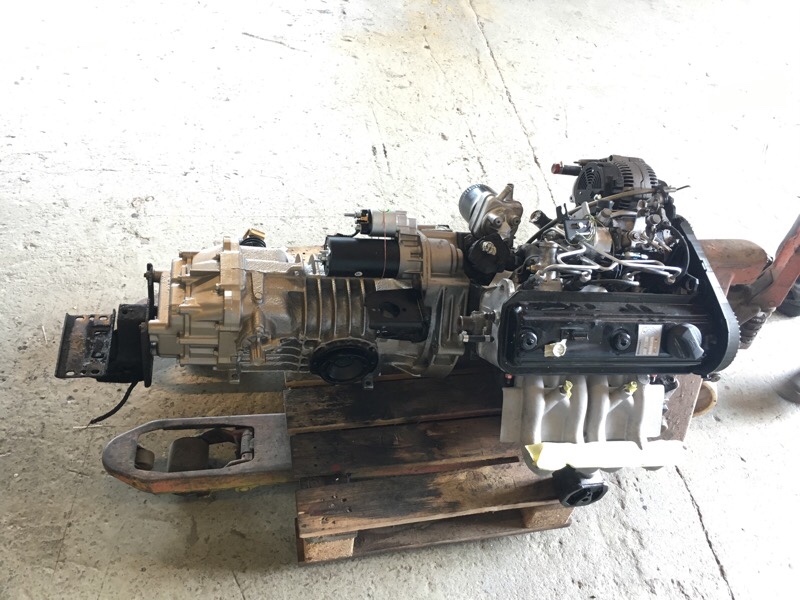
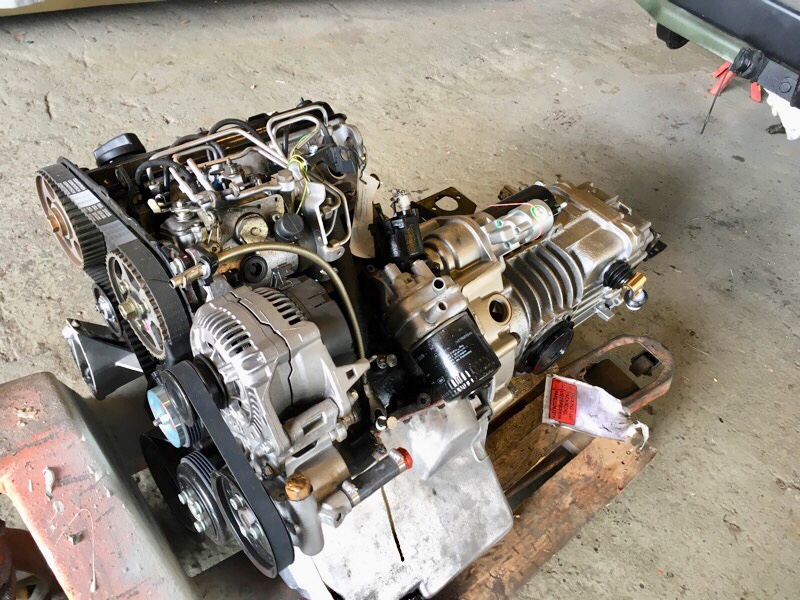
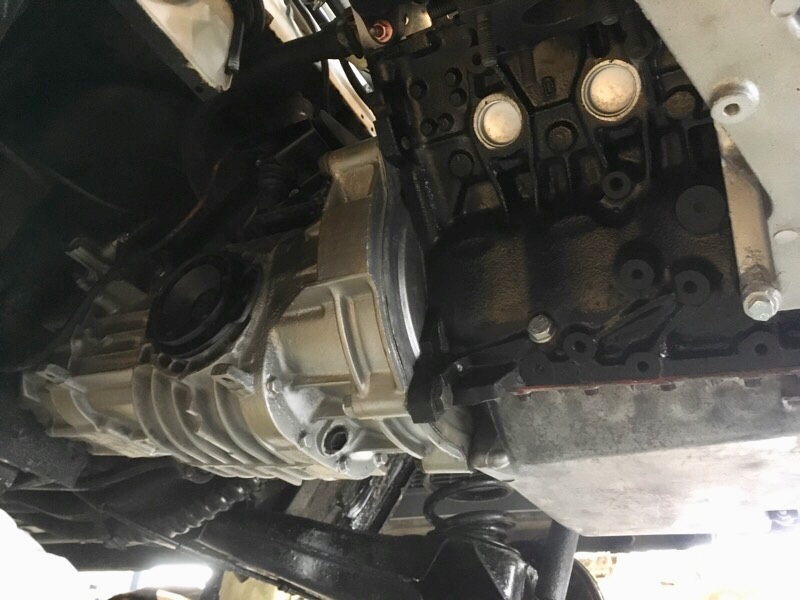
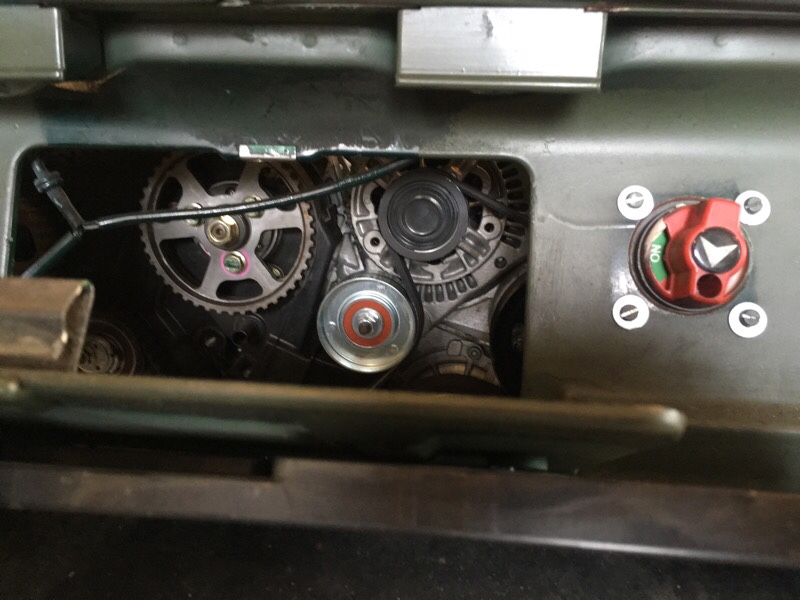
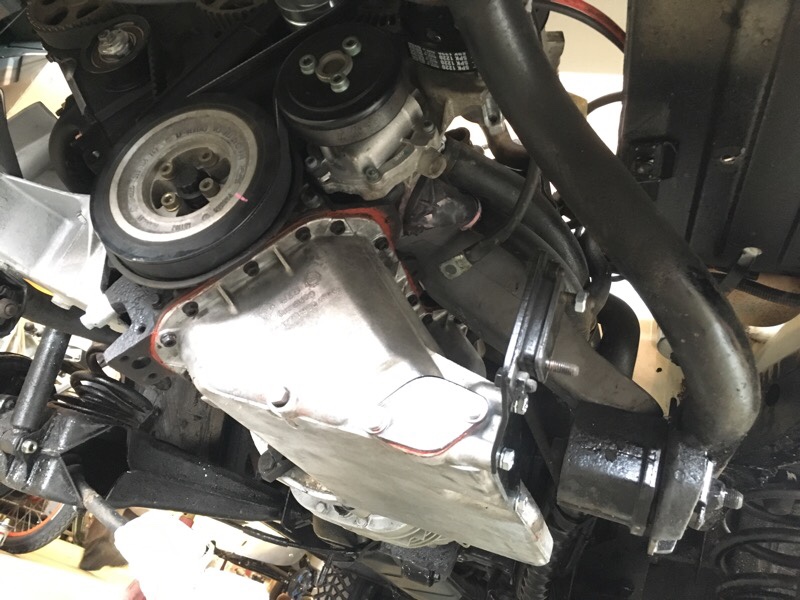
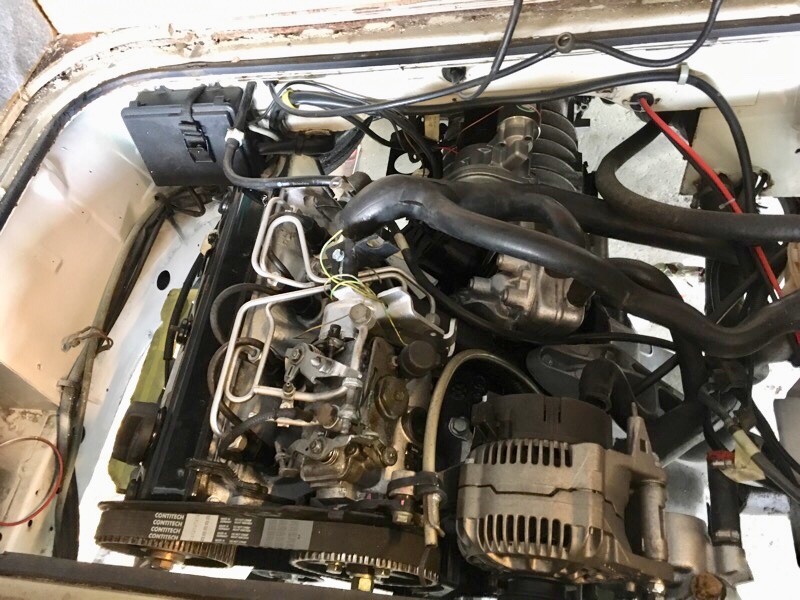
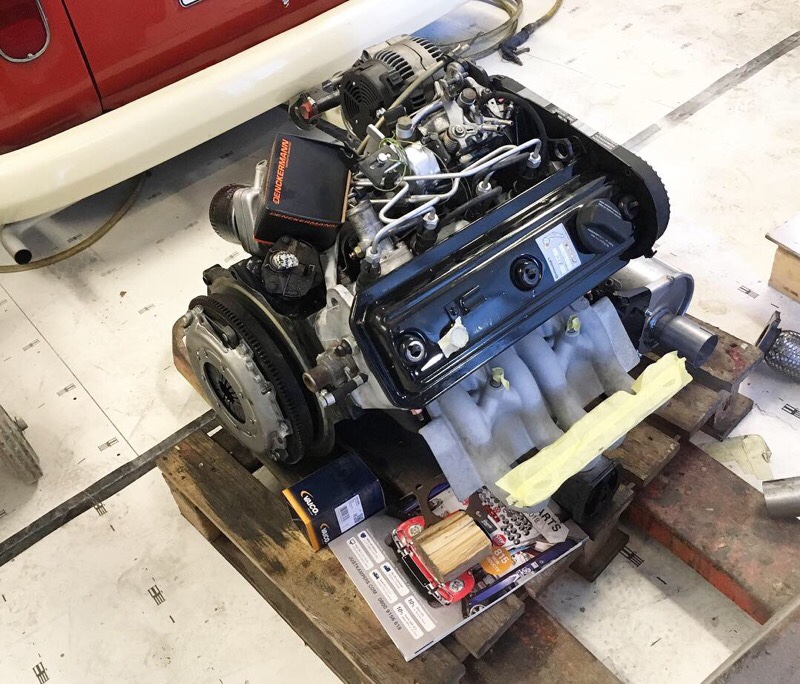
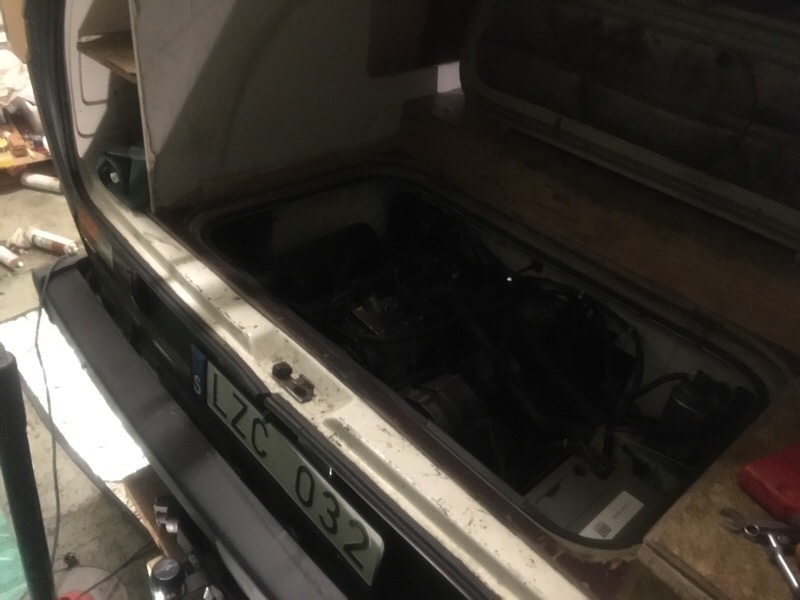
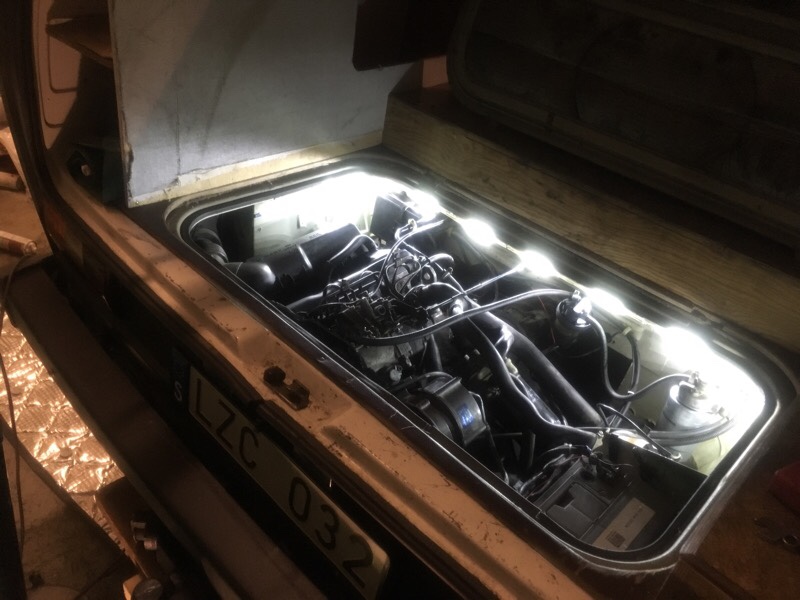
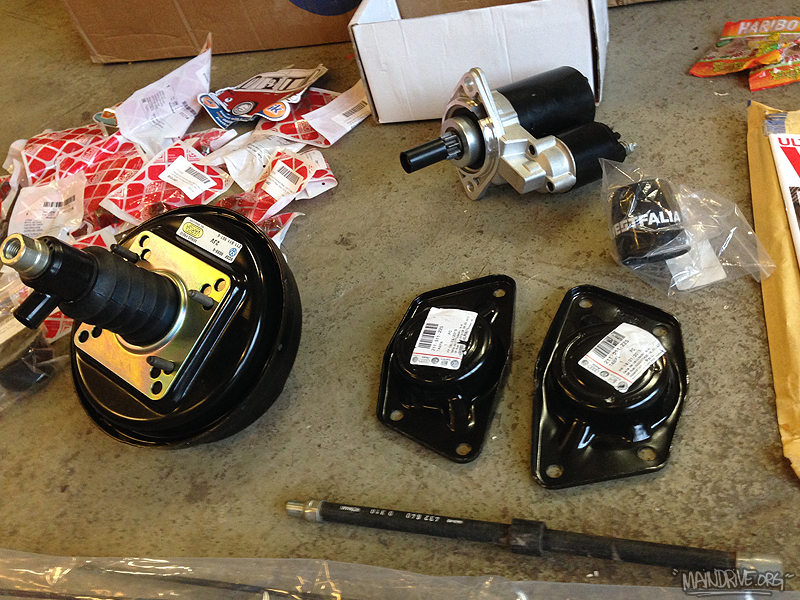
The goal is to have it pass the MoT / Safety Inspection before the winter comes. The engine starts but is not running very well. It has a new cam, timingbelt, waterpump at the moment. Going to align the timing belt better because it squeaks at lower RPM right now. Also the diesel pump is needing adjustment with special VW TOOL 2066.

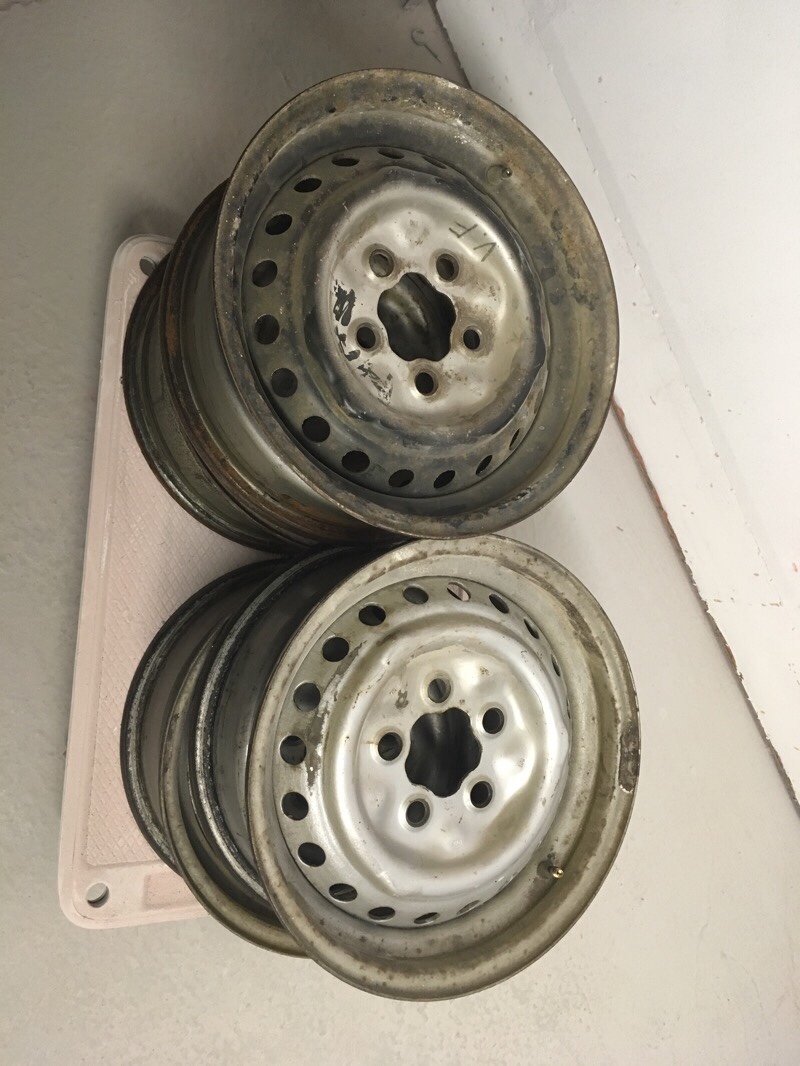
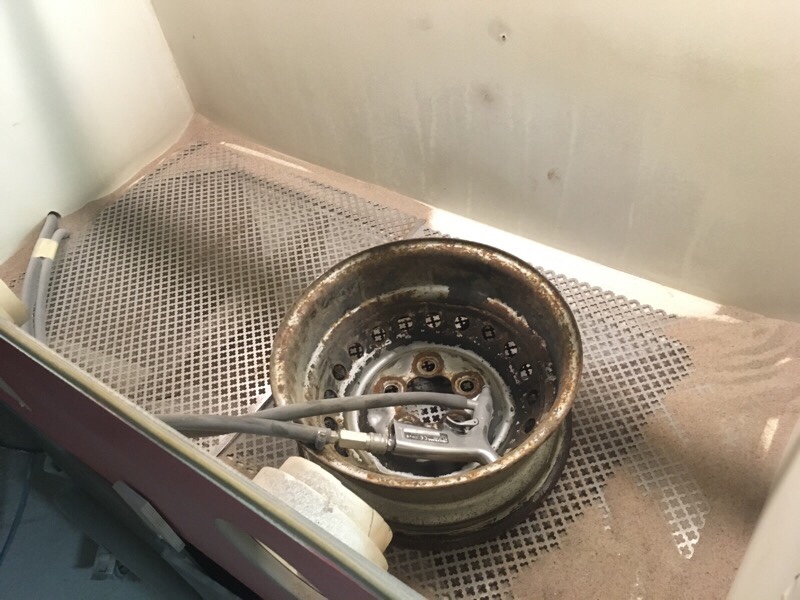
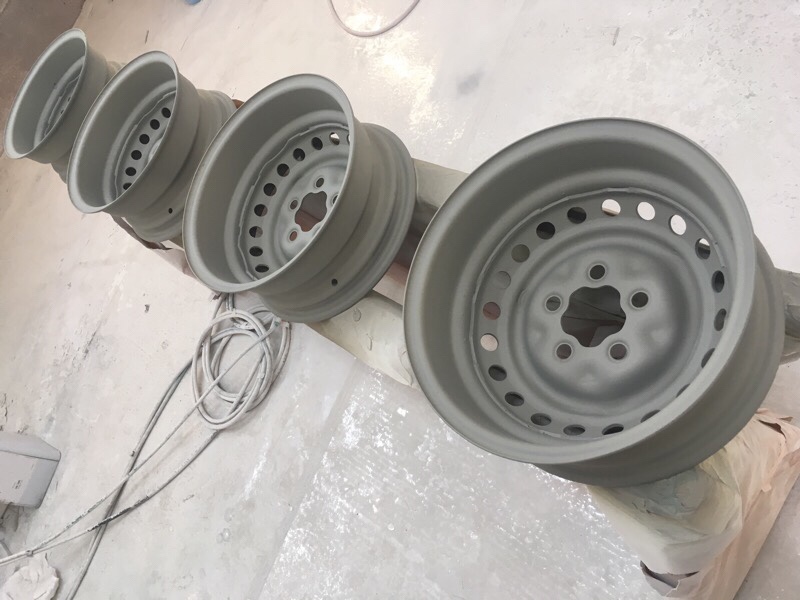
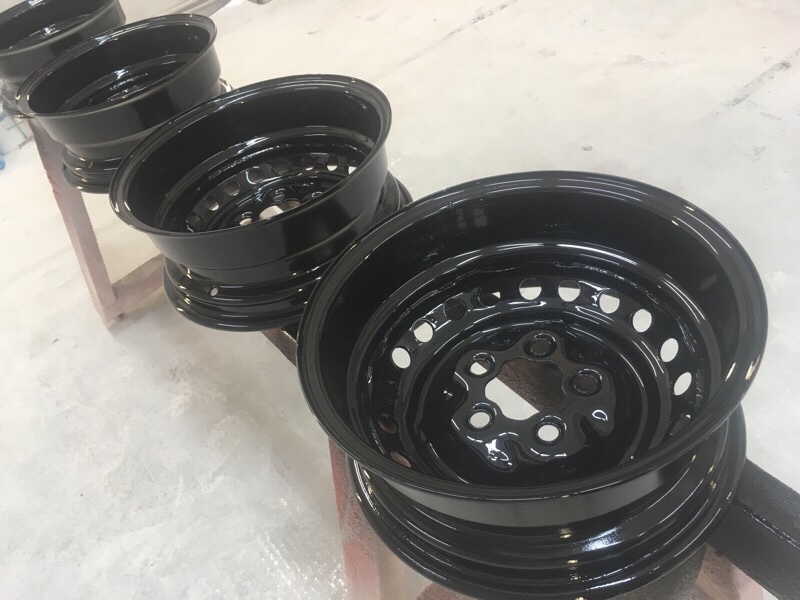
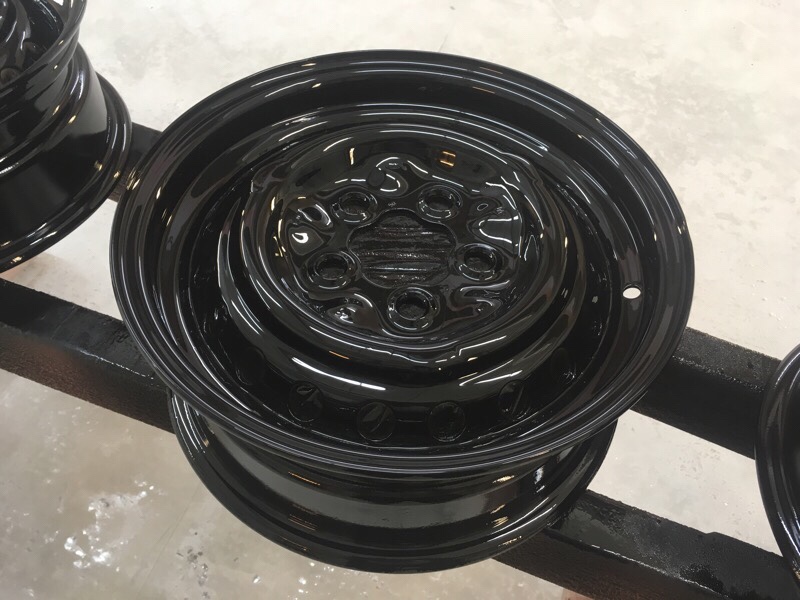
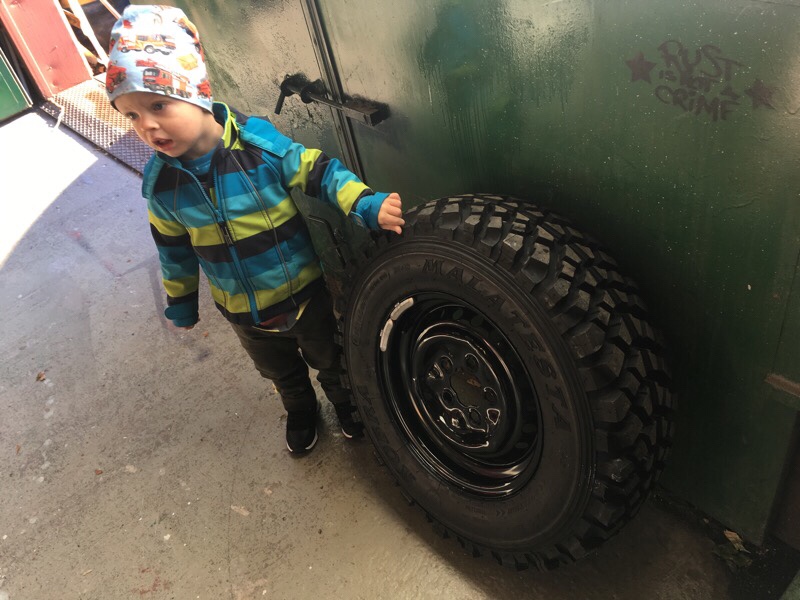
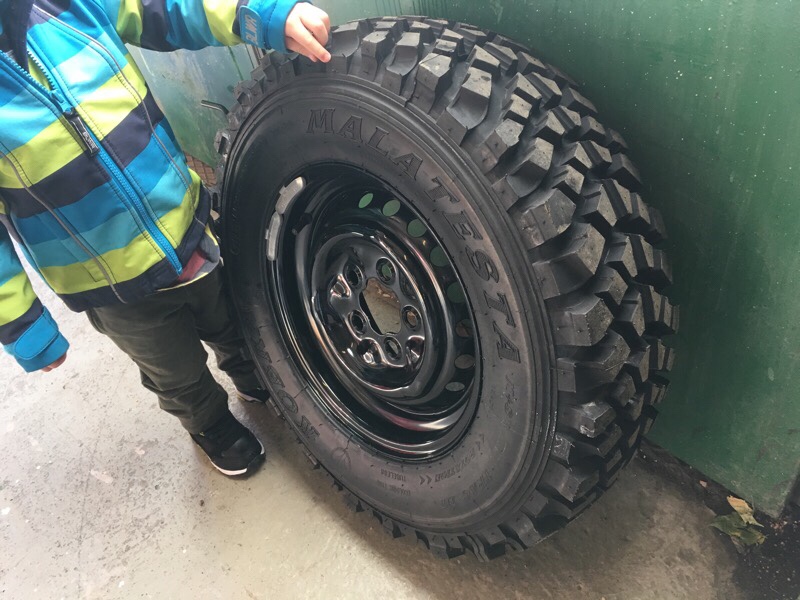
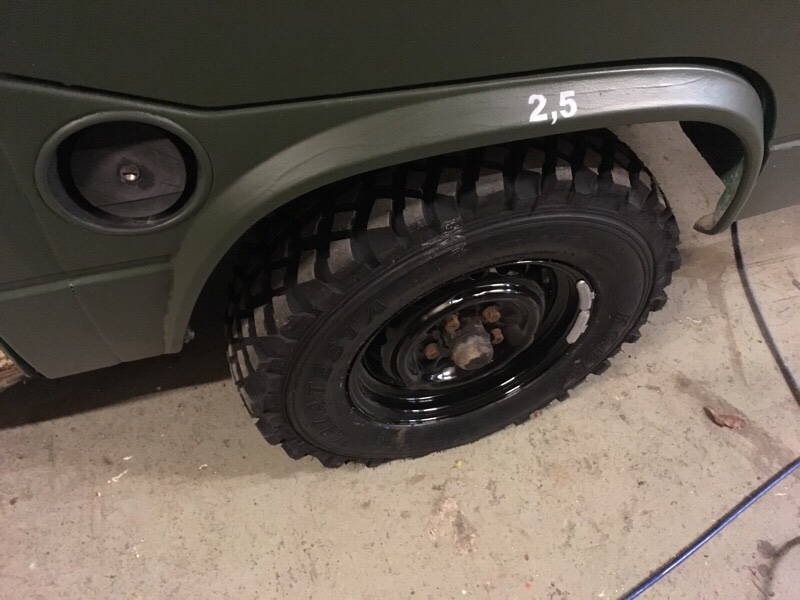
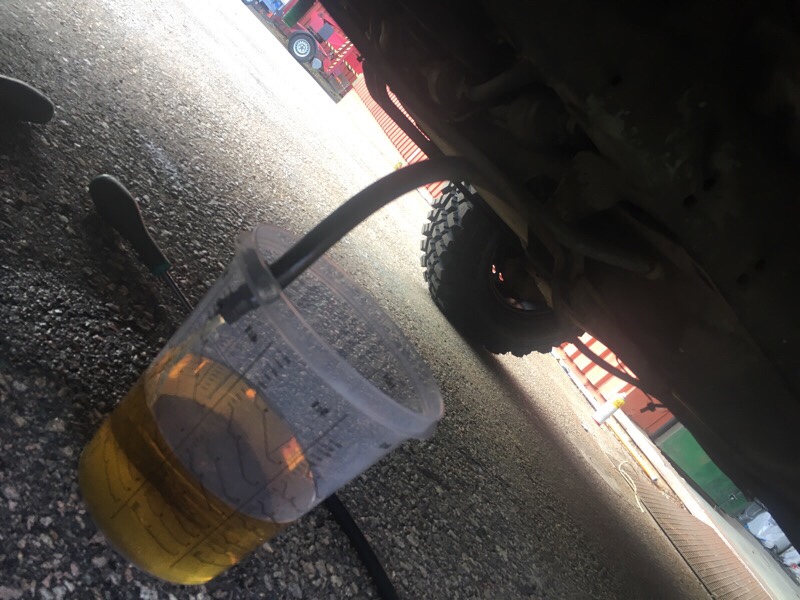
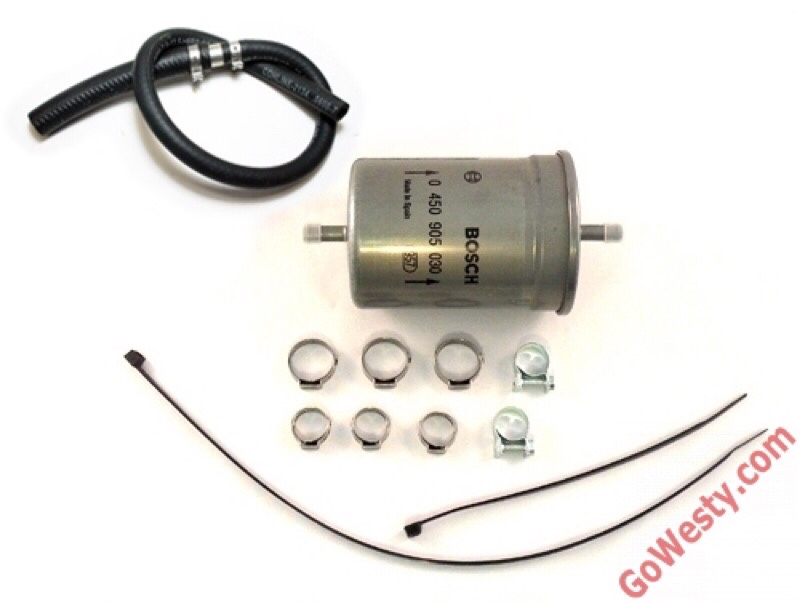
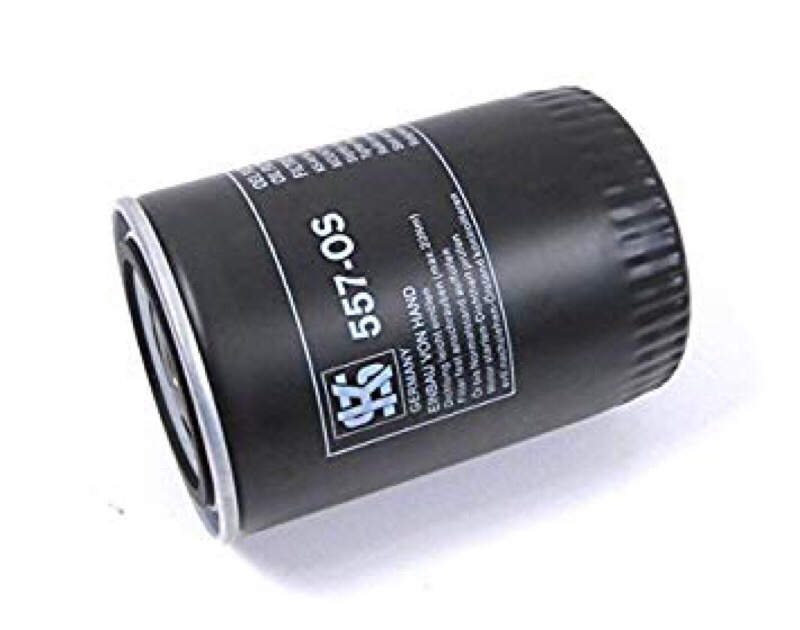
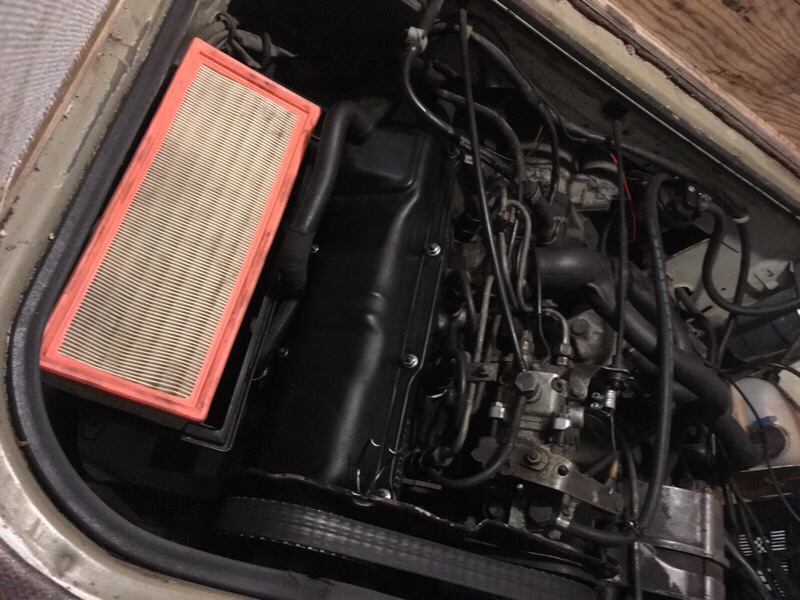
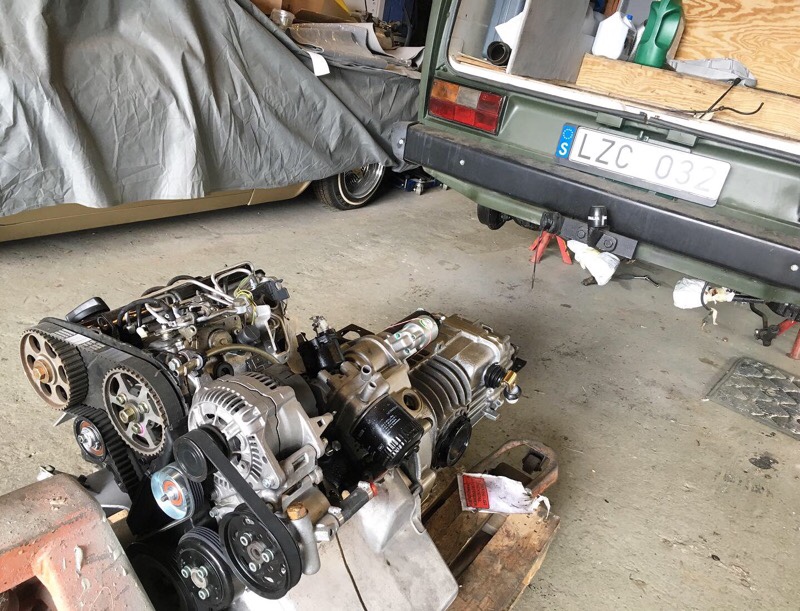
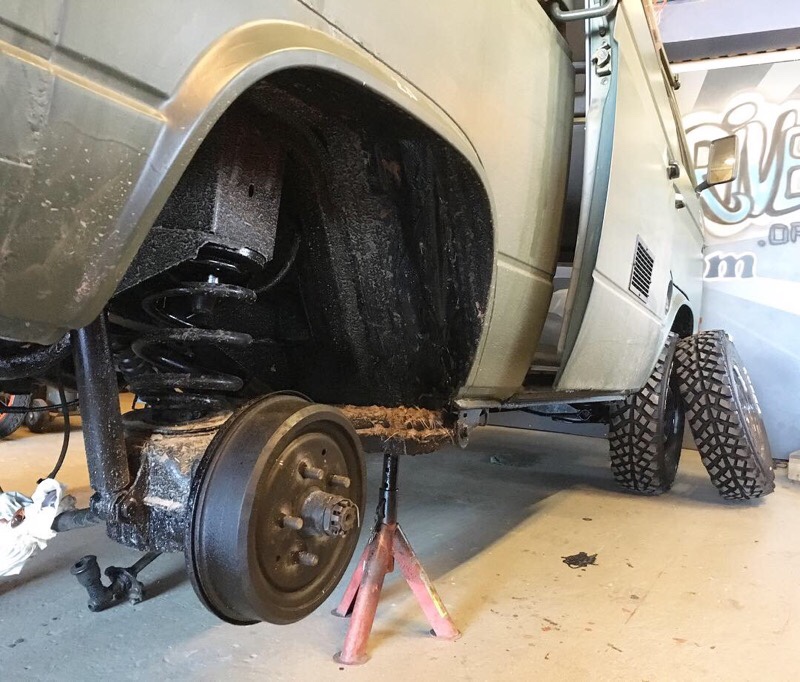
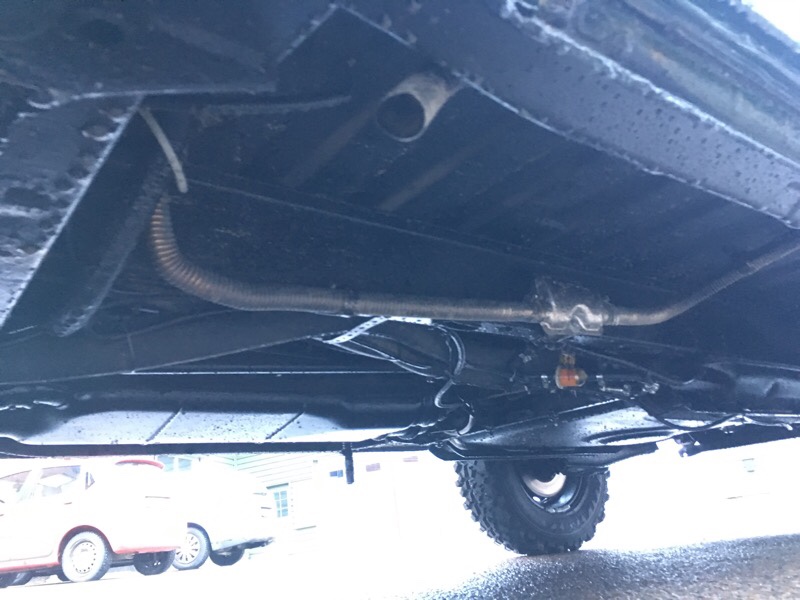
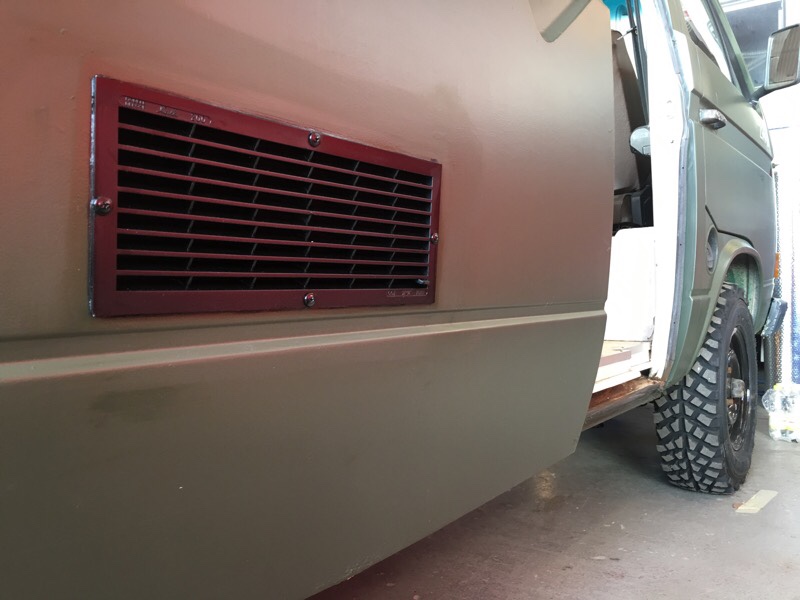
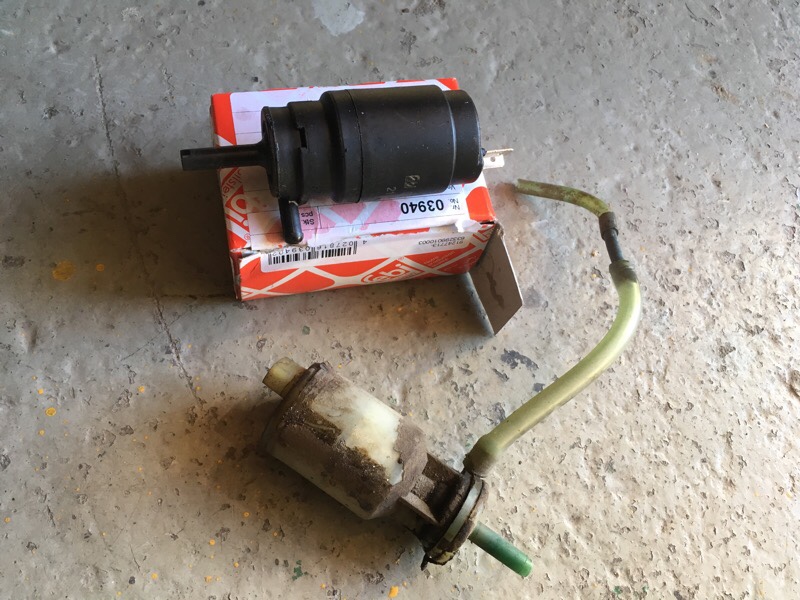
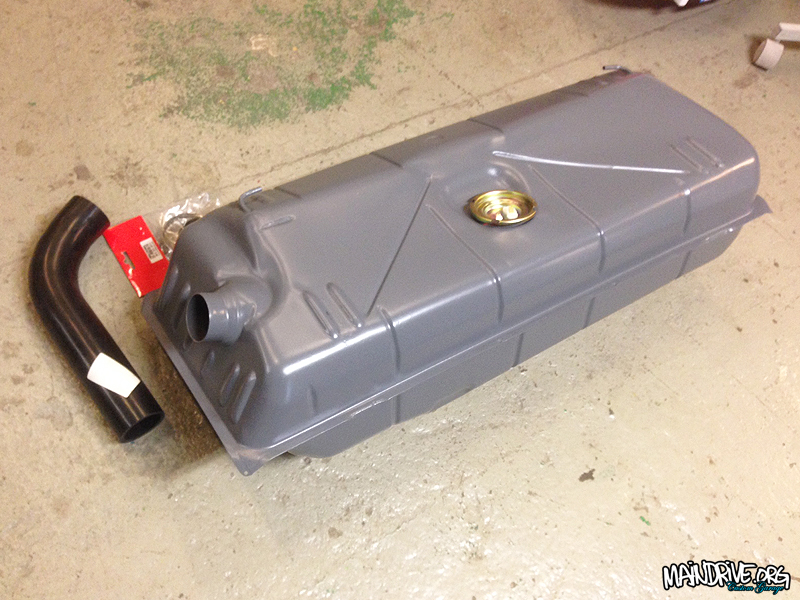
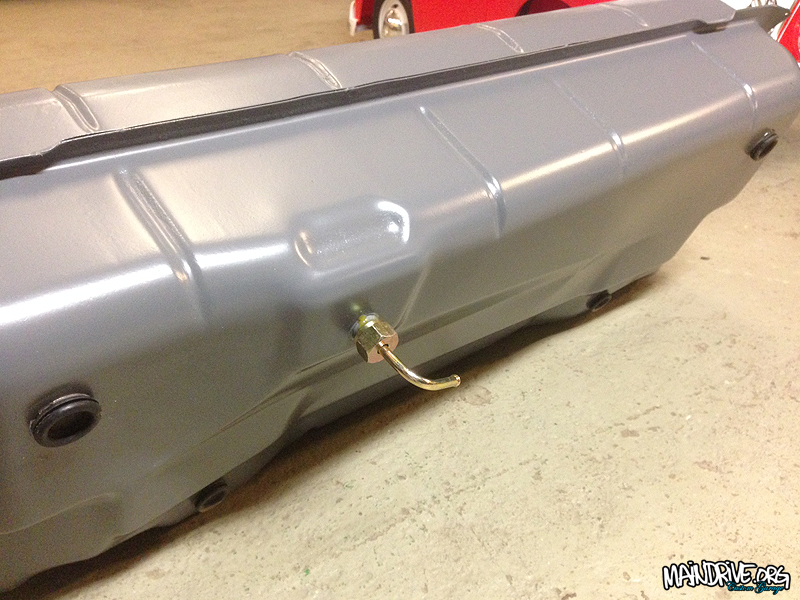
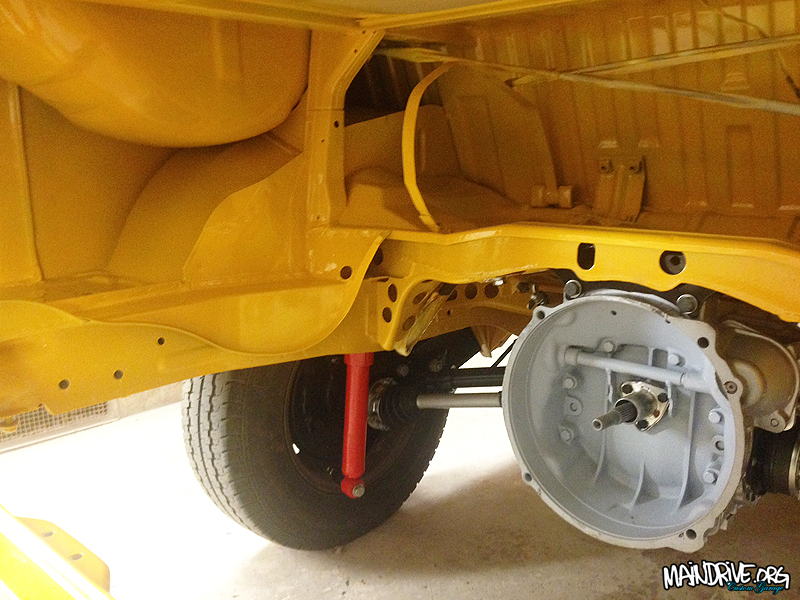
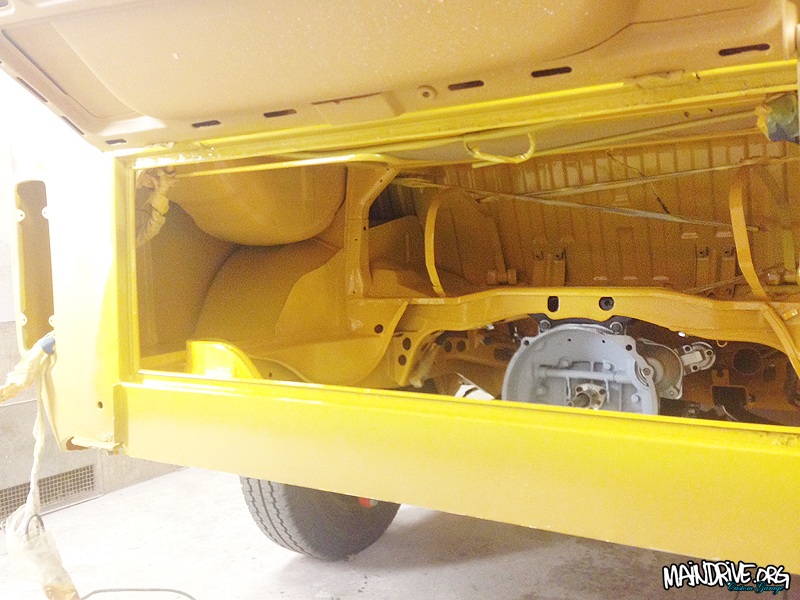
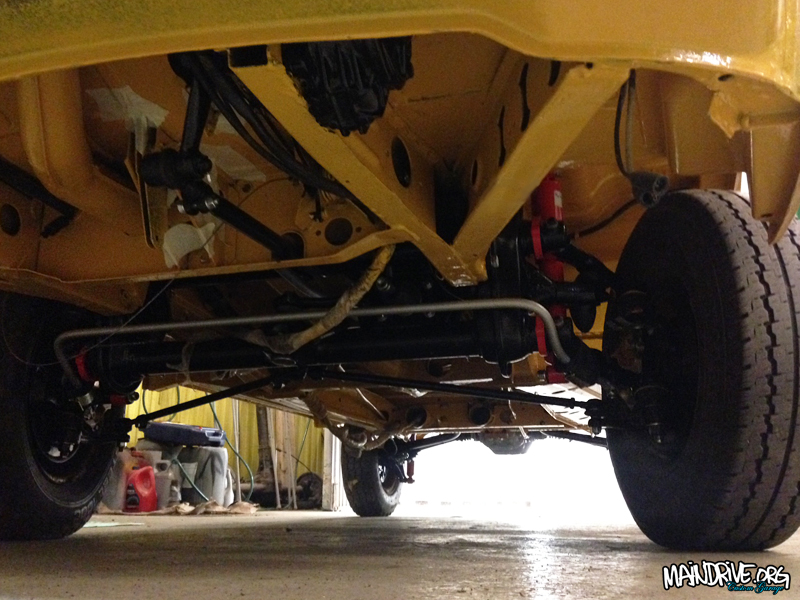
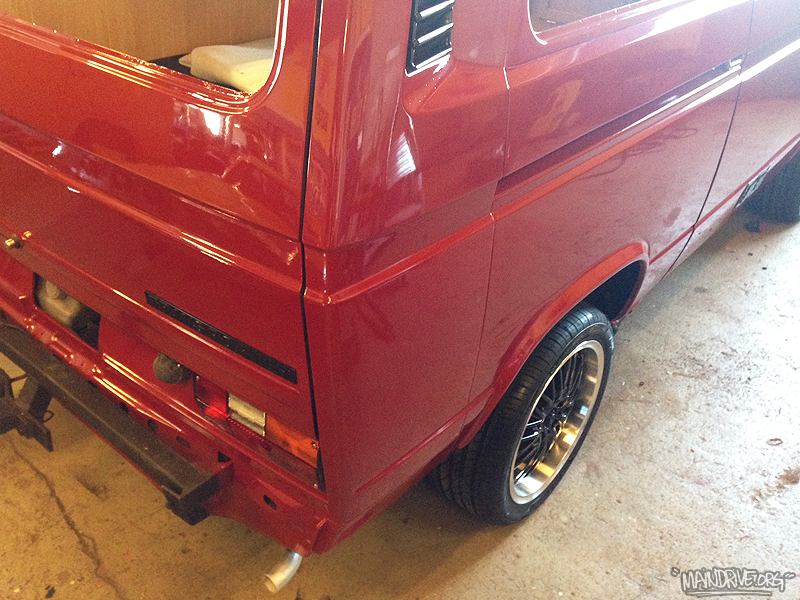
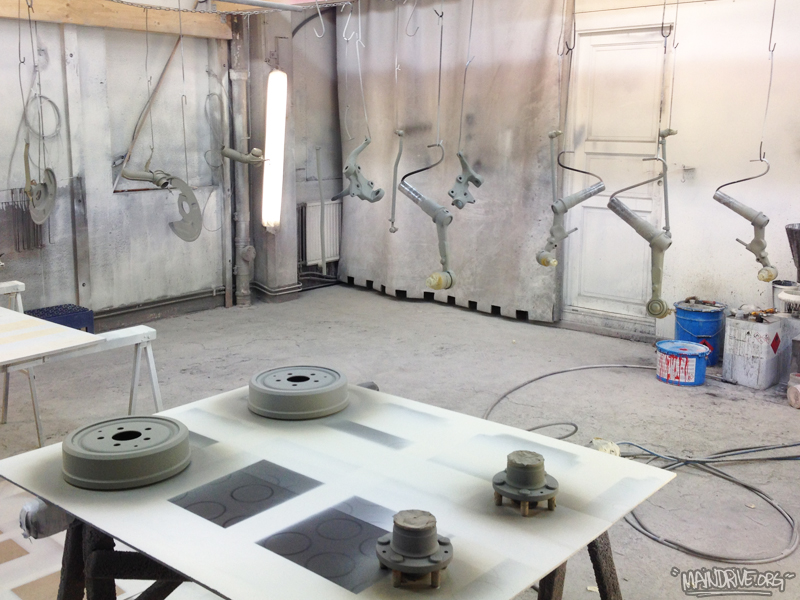
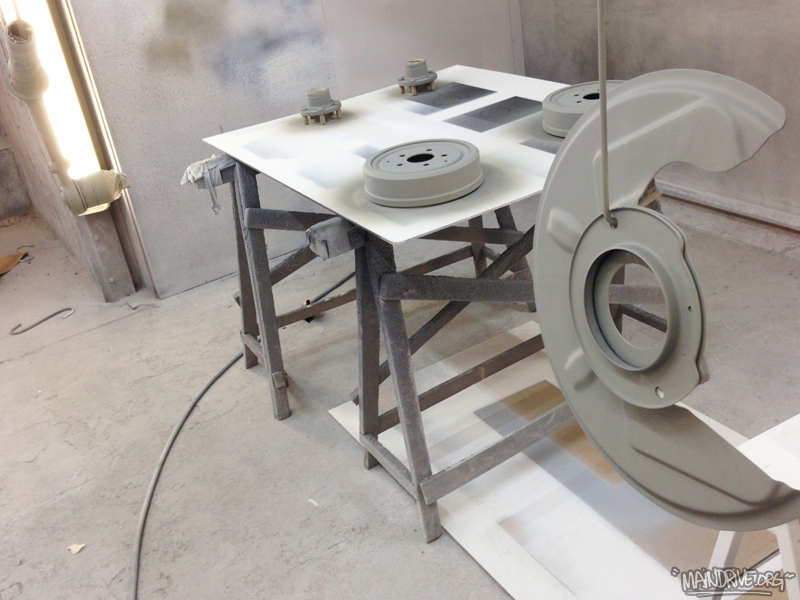
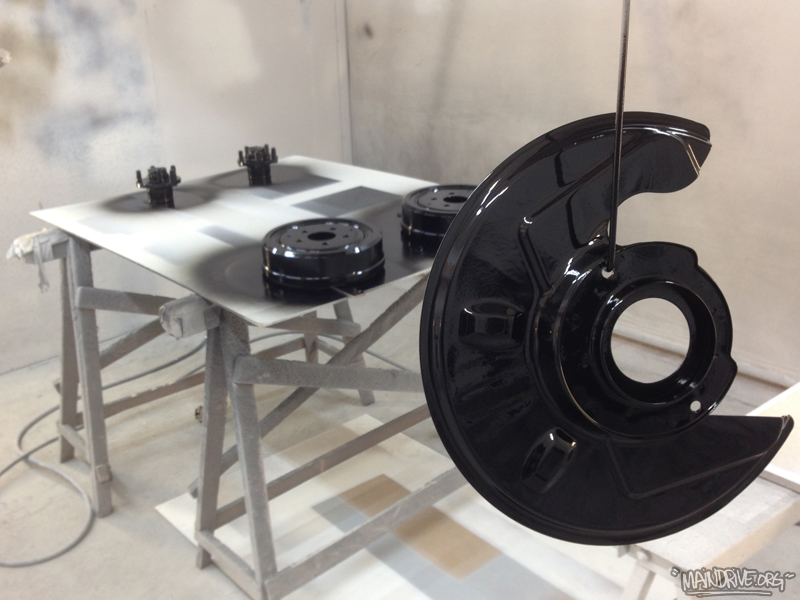
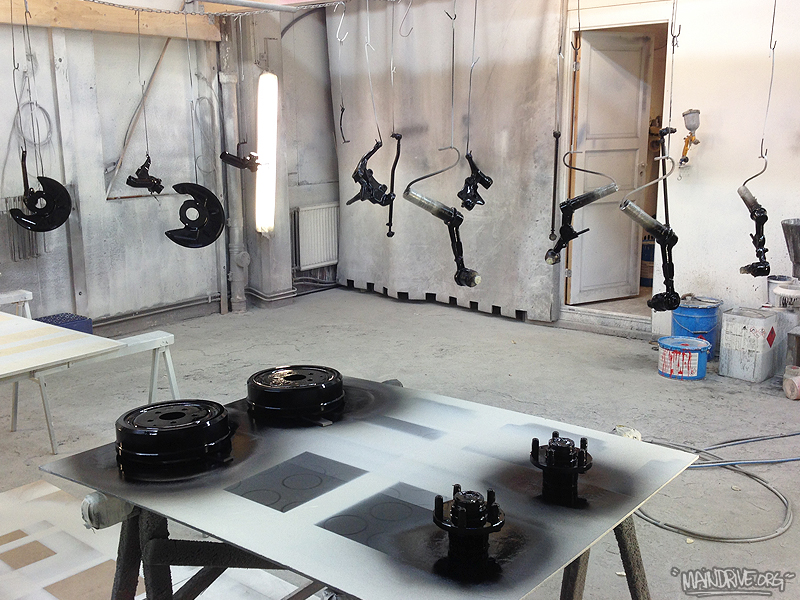
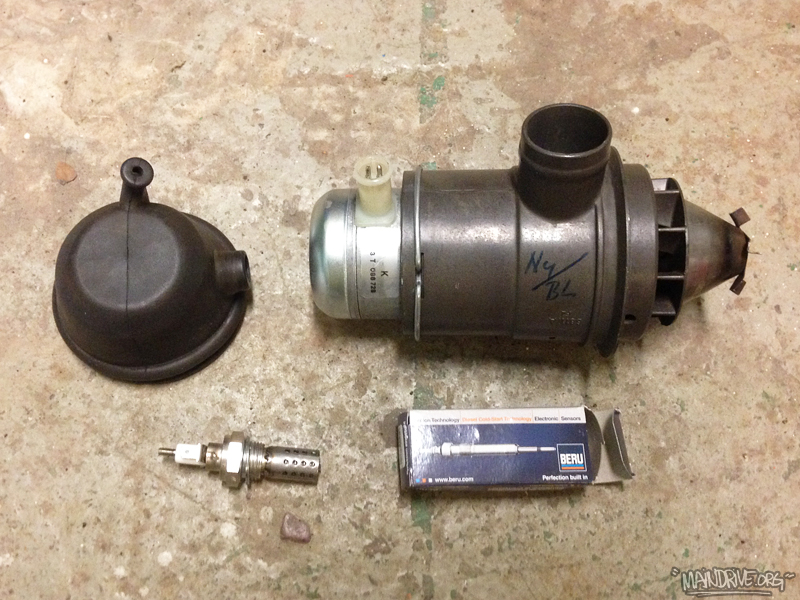
Some meaty offroad tires (Malatesta Kobra) have been fitted on stock VW 14″ steel wheels, that was sandblasted and painted. Looks badass now! The diesel tank have been drained on old diesel and a new fuel filter fitted. Also added some anti-bacteria and injectioncleaner to new diesel. New oil (15w-40 mineral) and filter in the engine too. New air cleaner filter added. Injection pump adjusted with micrometer (vw2066) up to 00,95, before was only 00,81. Engine now runs much smoother but need to align the timingbelt before any real test drive can be done. More too come soon…

Here is some news on the build. Got the fuel tank installed today. With new fuelfiller neck, feeder hose, sender unit, tap and filter. Also replaced all rubber hose connections for the tank ventilation. Next time I will start bodywork on the huge roof…lots of fun…

bild227

bild228

bild230

bild229

bild231

bild232

The engine bay is now ready for the fueltank and later on the 1800cc+ type 4 engine (need to be rebuilt first) to be installed. Today the whole front cab of the bus got sanded down (mostly by hand), front doors removed, masked, seamsealed, prepared for primer and then topcoat in Off White color in 2 layers. Most of this wont be showing when all sounddeadning materials and carpets are in place later but good to have a clean surface for glue and its also nice to know its clean and protected under the carpets.

Next up is; top section of dashboard needs to be removed to paint it in semi-gloss Deepblack (easier to do when windscreen is already out). After this I can start with the outside body of the bus and make it ready for paint. Here is some new pics…

bild217

bild218

bild219

bild220

bild221

bild222

bild223

bild224

bild225

bild226

Yeah! The bus is now rolling on its own wheels again, after been standing like a empty shell in the air for 7 months. Still need to route new brakelines and brakehoses, and bleed the whole system. Must also restore the factory installed Eberspracher BA6 heater that are going to be installed under the center floor. But now its time to start with paint and body. The engine compartment and front cab need to get painted in VW L20A Marino yellow first, then I can start working on the outside. Lots of work still left to do, but much have been done on places you normally dont see…

bild213

bild214

bild215

bild216

Have finally got some stuff done on my own project, Baywindow Highroof 1975. The frontend is all done, just need to mount the new brakelines etc. The sandblasted and painted beam have all new needlebearings, new centerpin/arm bushings, new grease zerks, torsionarms have new balljoints, new swaybar bushings, new shocks, new steeringdampner, new tie rods and draglink, steeringbox is adjusted (no more play) got new oil too and a new rubber/steeringplate. Wheels bearings are new and packed with fresh grease, new brakediscs, new speedocable and brakecalipers have been blasted, and have all new seals and pistons, brakepads etc. New masterbrakecylinder and new brakebooster is in place too. Basicly every nut and bolt are new on this car!

Here is some new pics…

bild149

bild150

bild151

bild152

bild153

bild154

bild155

bild156

bild157

bild158

bild159

bild160

bild161

bild162

bild163

bild164

Wheels have been fitted, needed 5mm spacers all around and longer wheelstuds (56mm) in the rear and new bolts. Wheels are 17″ inch with 225/45 tires, offset 35. Need to make a custom centercap for the speedometer tho. Lots of new parts have been installed from Just Kampers, like new taillights, fuelfiller neck, footsteps, roof ventilation, mirrors, windowfelt trim in front doors etc. Waiting on tailgate seal and new clips for the freshly painted front grills. Bumpers have been blasted and are now getting welded, straightned up and removing big dents before paint in Deep Black. Next big step is taking it to the glass shop and get all windows installed with new rubber seals! Then its ready for the road…

36

35

37

38

39

40

Have sandblasted alot of parts in the new cabinet, so nice to have. No need for waiting on the mediablasting company any more. Just put it in the box and go! Got a box full of new parts from Justkampers.com yesterday too. Brakeservo, starter, all brakepipes, front beam seals, 4 torsionarms with new pressed in balljoints, transmission gaskets and seals etc. Also scored a NOS Eberspächer combustion/airpump for the BA6 heater. Found a supplier in the UK of new BERU glowplugs for BA6, the GZE201 plug replaces the old (original) BZE22. Have anyone tried the new GZE201? Let me know how it worked: info@maindrive.org

Have scraped and cleaned all of the chassi during the last 2 weeks. Hope to push on further with the chassi this week and weekend and get it primered, seam sealed, undercoated and painted in body color. After that the chassi is ready to get all the new parts bolted on! More coming soon…

bild89
bild89b bild90 bild91 bild92 bild93 bild93b bild94 bild95 bild96 bild97 bild98 bild99 bild100 bild101 bild102 bild103

Couple of weeks ago I modified the NOS (New Old Stock) VW bus muffler with some extra drilled holes inside and welded a extra exhaust port to run dual stock exhaust pipes. I bought a new extra exhaust pipe and cut it in pieces and welded it “flipped” and “mirrored” to fit on right/passangerside of the bus. All this to get a little less back pressure and gain better exhaust flow and still keep the “stock” look, instead of bolting on a extractor pipe. Looks and sounds cool!

pipes1

This is the latest VW find. A 1976 Baywindow bus. Decoded it and found some info. It was built on a Friday, 7 November 1975, painted in a special order color 951077 Lightblue. 4 speed manual transmission. 2 liter engine with carbs. 8 seater, sliding door right, Left hand drive. Canyon brown leatherette interior. Extra option was: Ebersprächer heater, heavy duty shocks, backup lamps, vent wings in cabdoors.

This bus needs new rockers, rear fenders, some new metal in the front fenders and floor. Will get new nice camping interior and a nice paintjob. Will keep you all updated on pics here on the website.

Want to DECODE your bus? Visit this site: http://www.vw-mplate.com/mcode.php

10683712_1006244259401208_6730837011319789942_o

10546981_1018126661546301_2511320466534431438_o

10744247_1016034581755509_1116223270_o

New rockers and fenders are next to do in the workshop…