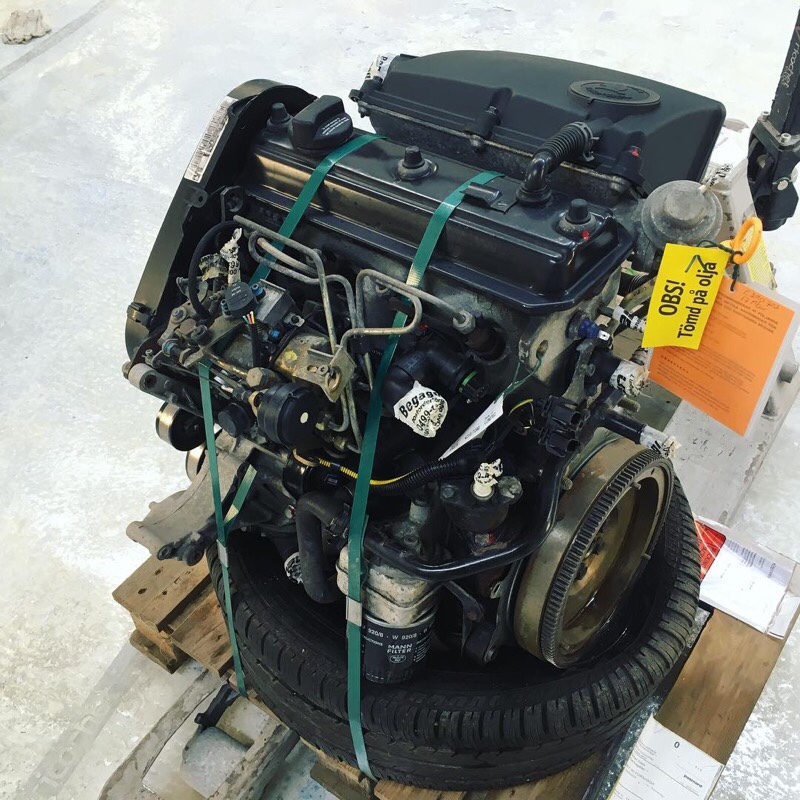
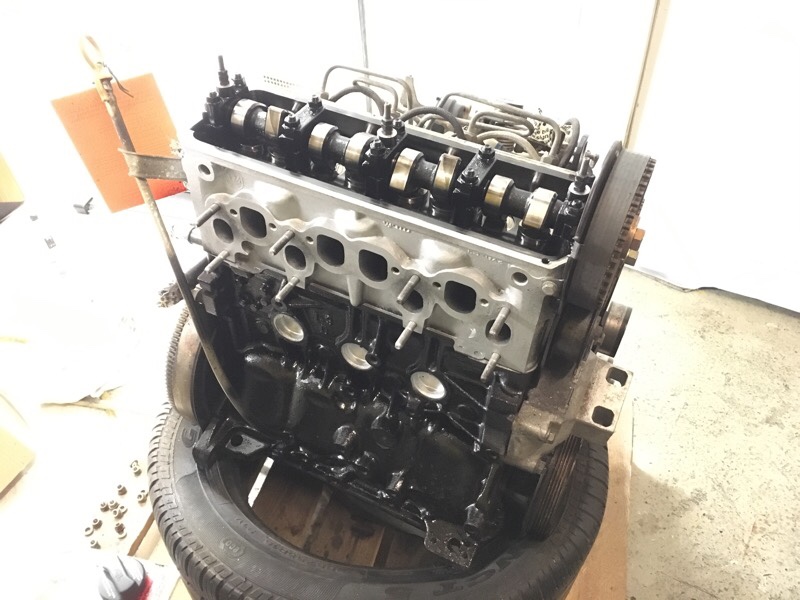
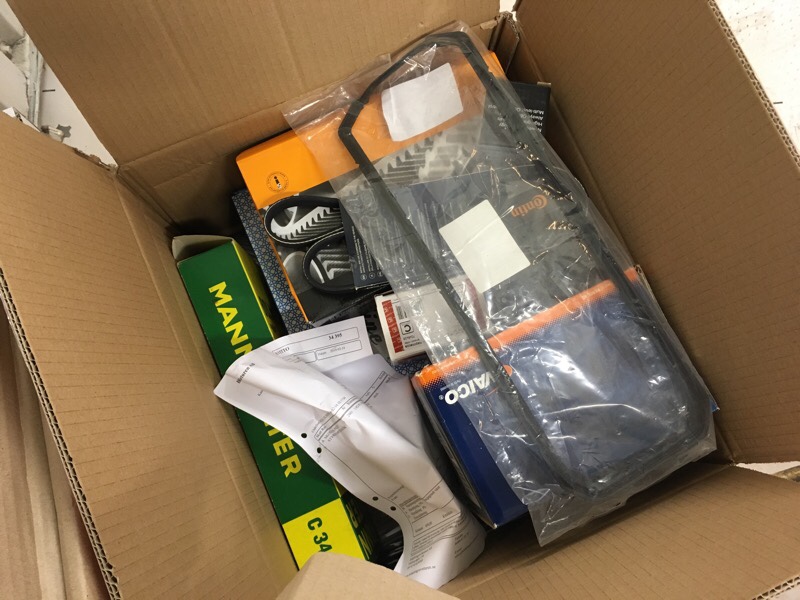
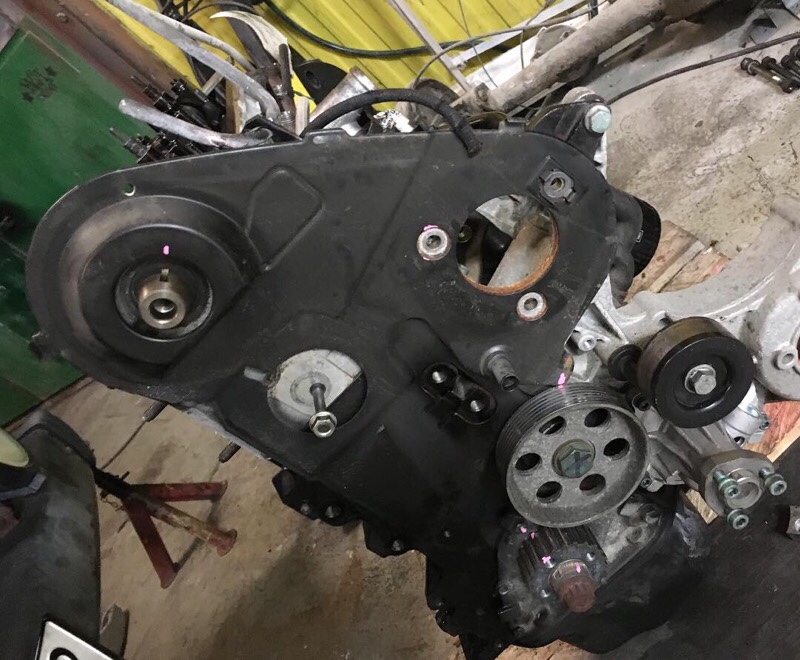
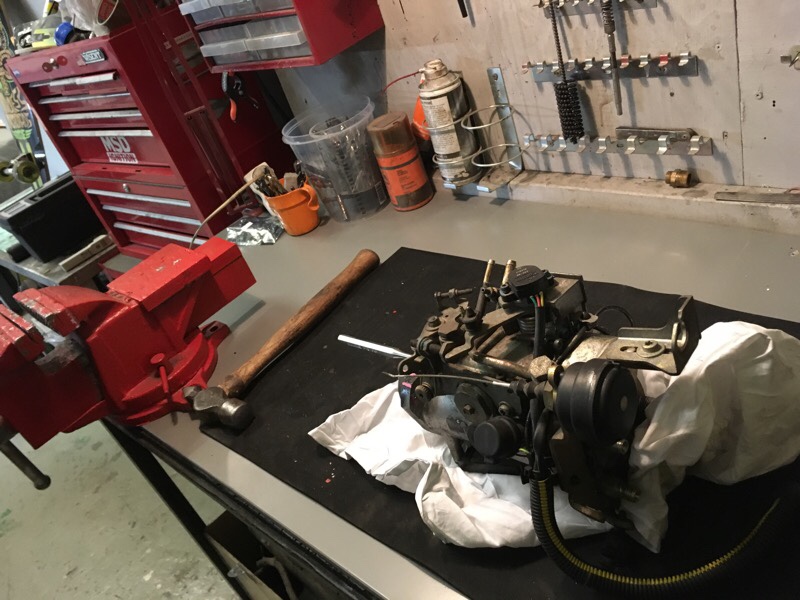
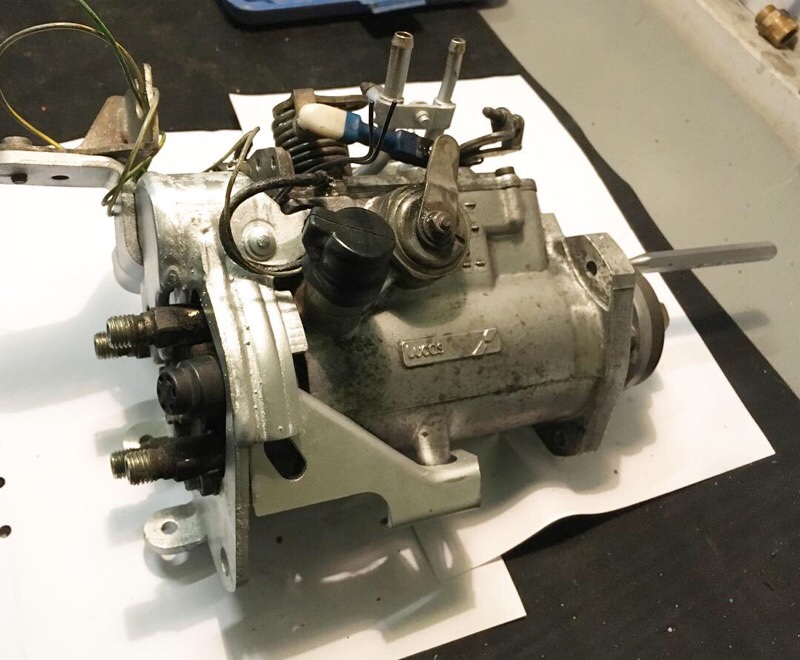
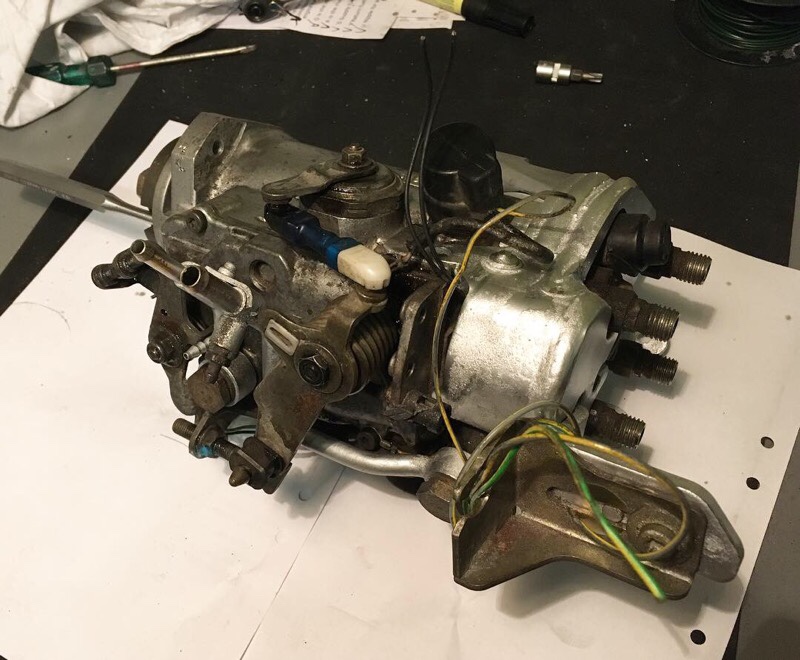
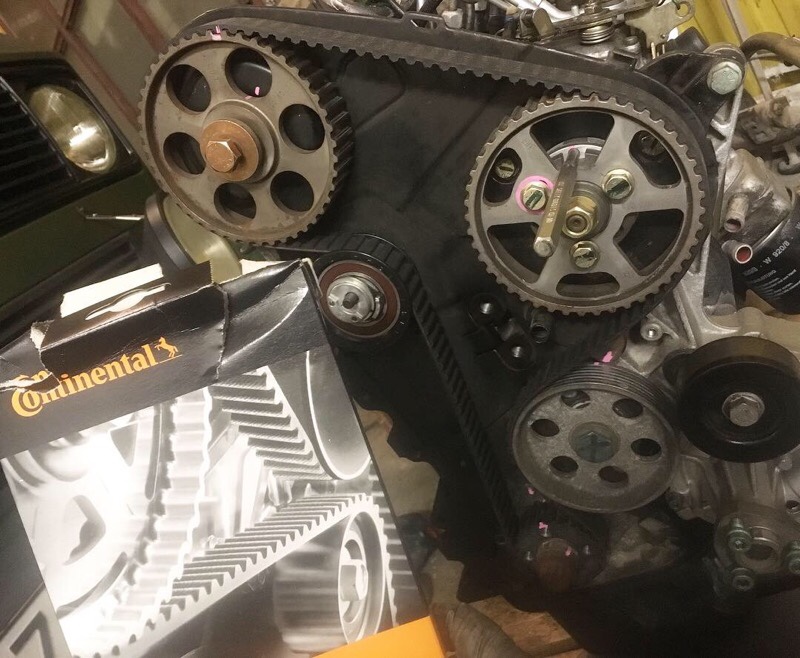
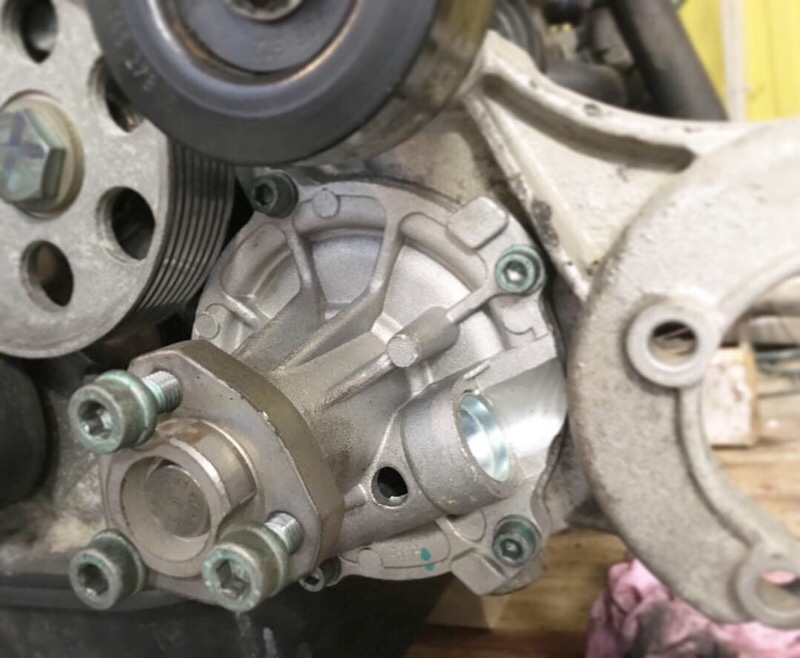
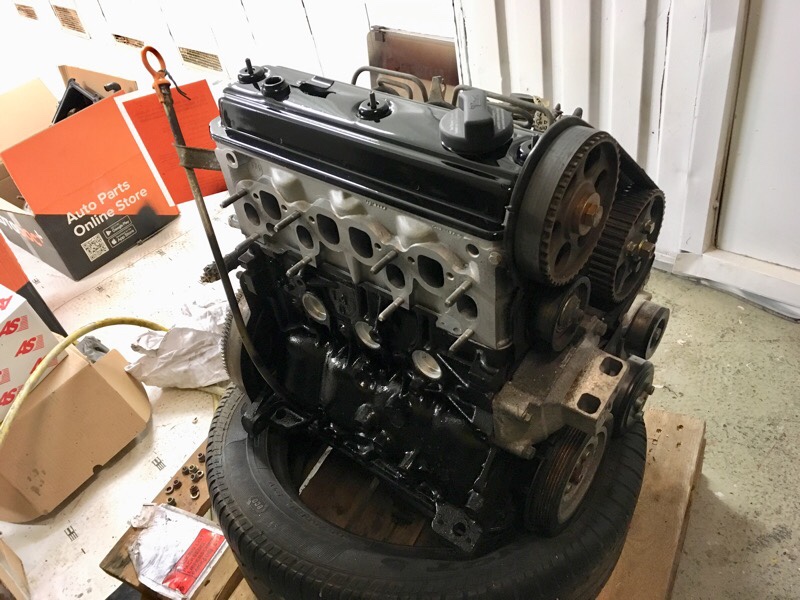
Have got much done on the VAG 1,9 AEF diesel engine the last days. Dieselpump cleaned up and wiring is fixed. Only 3 sensors are used now. There is alot of wiring and electric sensors that is not needed in a van. (removing immobilizer for example). I moved the dipstick hole to the other side of engine, as it is tilted 45degrees in the bus also are on the wrong side. So drilling a new hole in the engine block was needed. And the old was tapped and sealed up with a 12mm bolt. The tube from the AEF was used and modified/bracket.

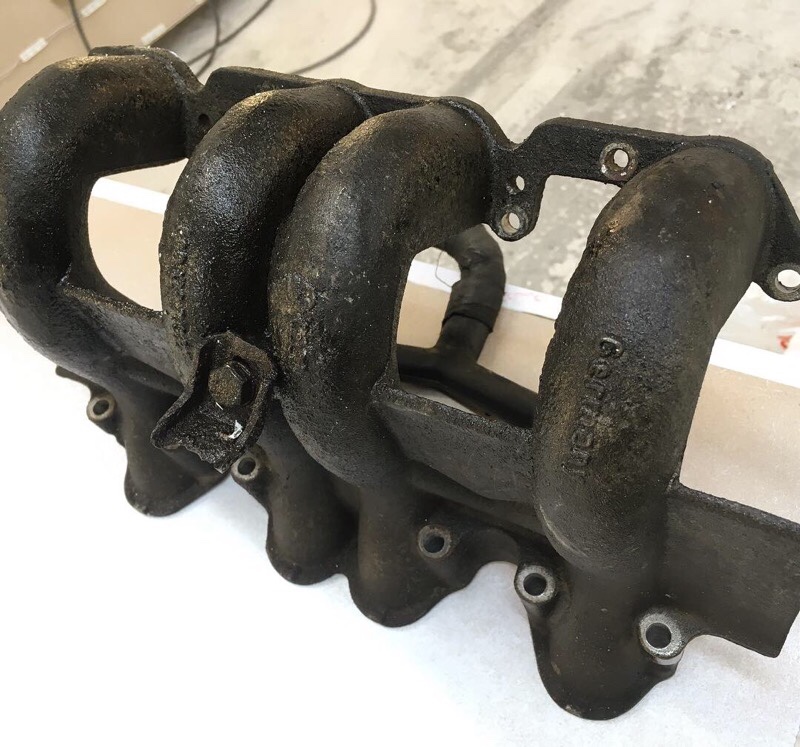
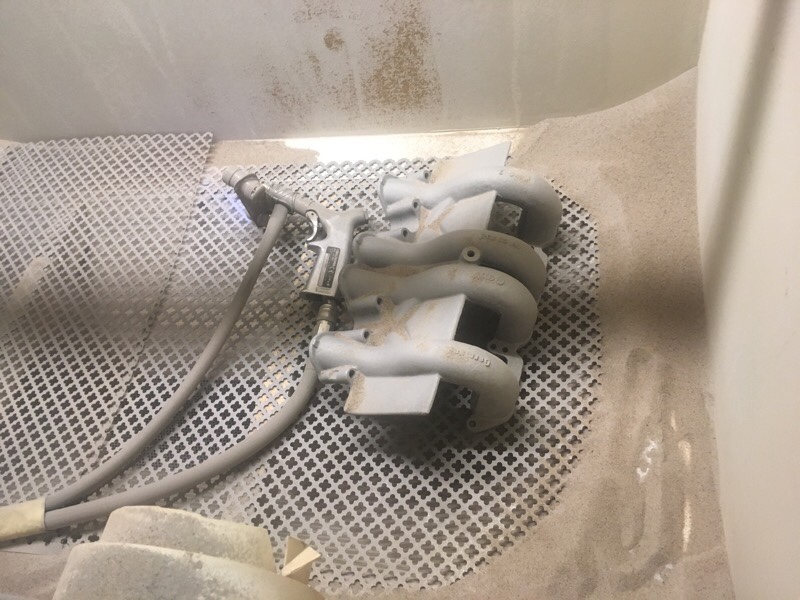
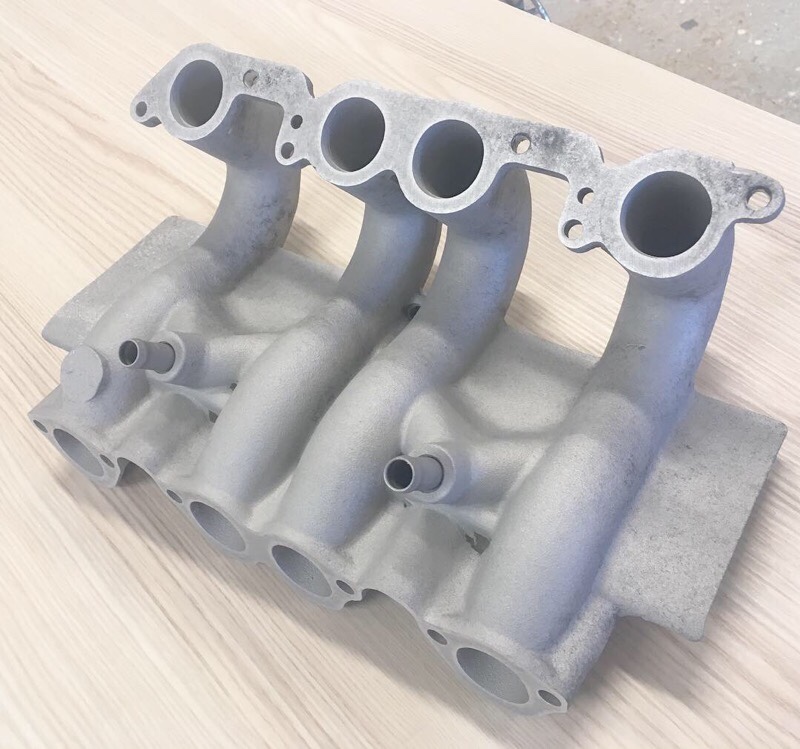
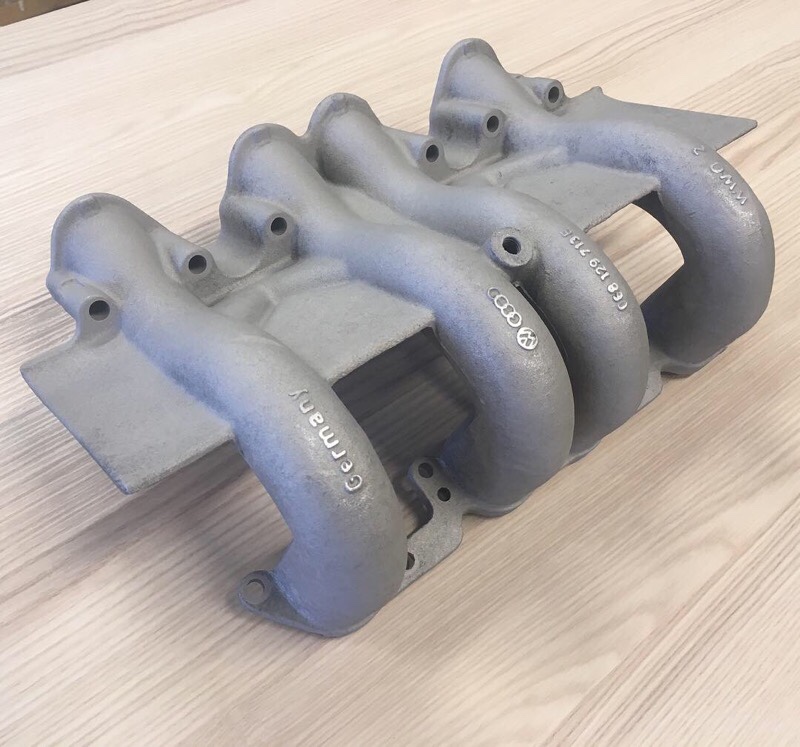
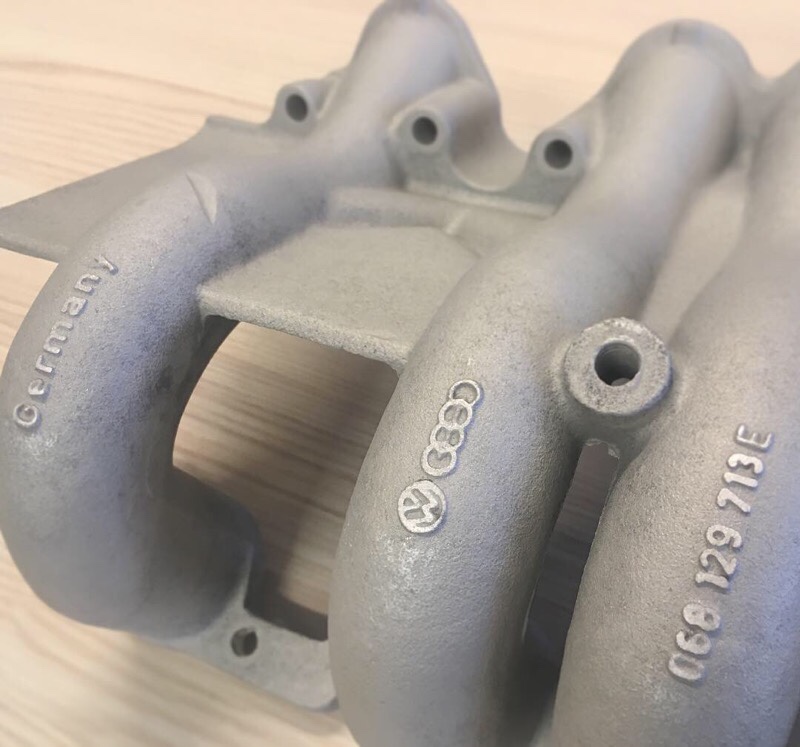
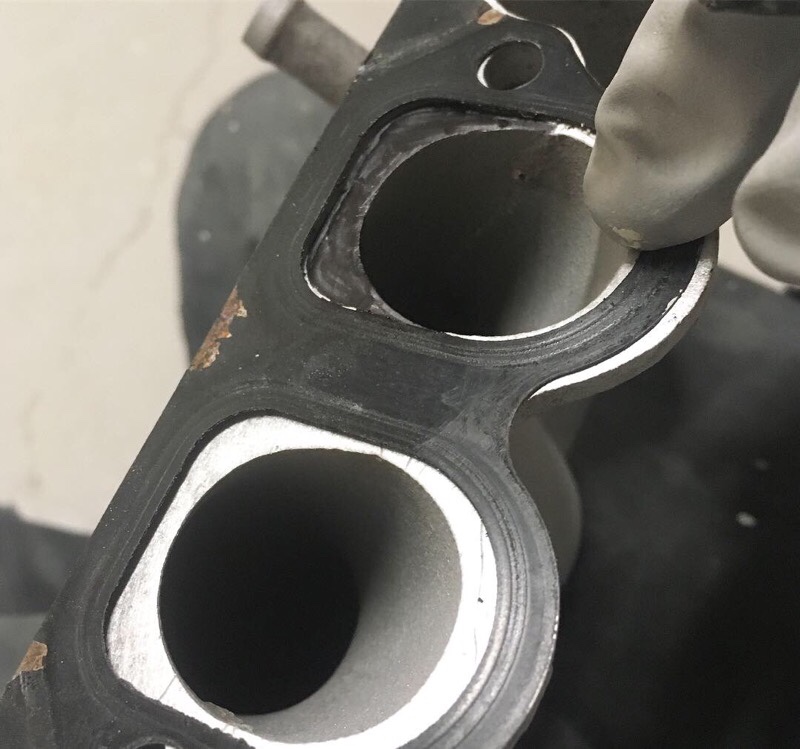
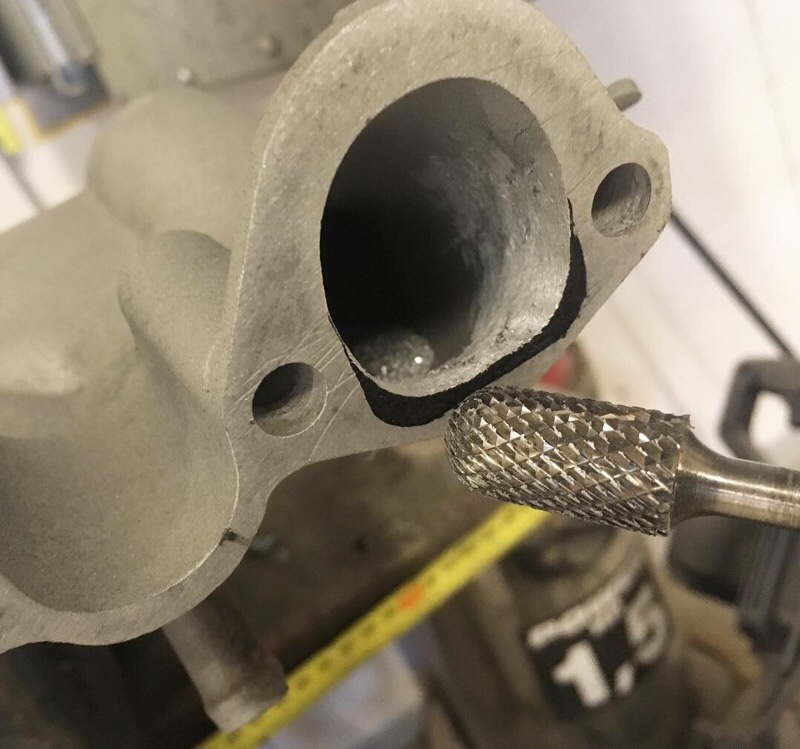
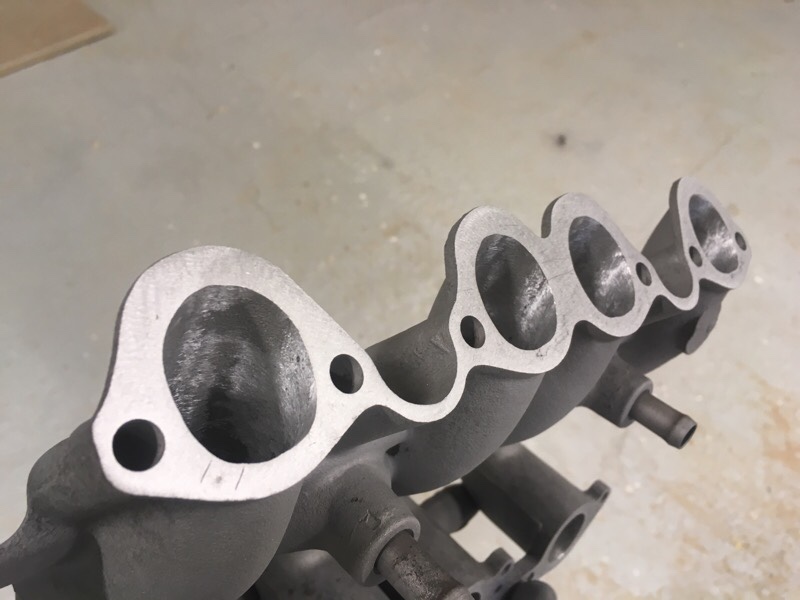
The intake manifold don’t fit in the tight bus engine compartment so the old one from the 1,6 CS are going to be used, it has a better angel/shape that fits inside the bus compartment. But it’s a little smaller in diam so I made a port matching (as close as possible) for better flow. The exhaust manifold, I probably going to use the AEF, its bigger in diam than 1,6 so will improve the performance. The downside is I must make a custom exhaust and blank off the EGR valve. Hopefully worth it in the end!

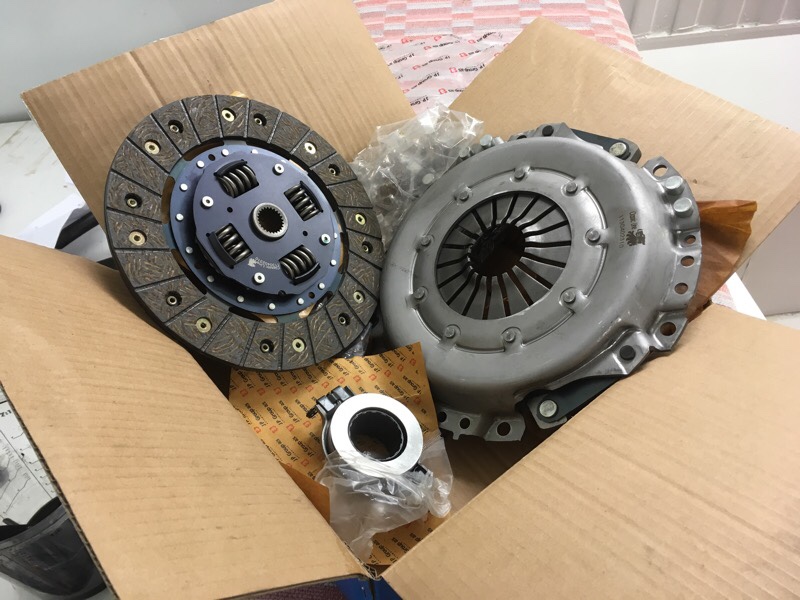
New water pump and thermostat is installed. New timing belt and tensioner etc. Changed flywheel to the 1,6 CS, new needlebearing (don’t forget!) new throw out bearing, new clutch kit. I used new bolts from FEBI to the flywheel, standard size. I took the backing plate from the 1,6 as it will fit the bus transmission better. Also needed to remove two upper studs from engine bolt holes, bolts straight thru will be used instead.

All sensor need to be taken from the old engine (good since I bought all these new awhile ago) like oil pressure, water temp, glow plug sensor etc. Waterflange in alu with sensor was taken from the 1,6 also. All waterlines and hoses to oil cooler etc was removed. Next up is changing oilpan to bus cast alu 1,6 CS. The oilfiller tube has to be removed and plugged, the servopump will be in the way. Will use the cap in the camcover instead. New alternator and servopump, waterpump pulley, idlerwheel and new fan belt is going to be installed next time. Also some new resistors and relays need to be added to the glow plug sensor and relay for coldstart etc.

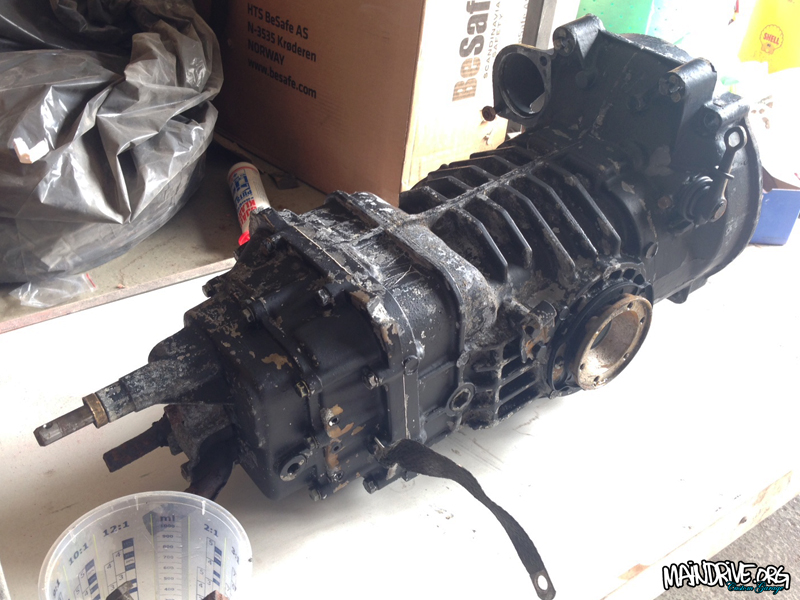
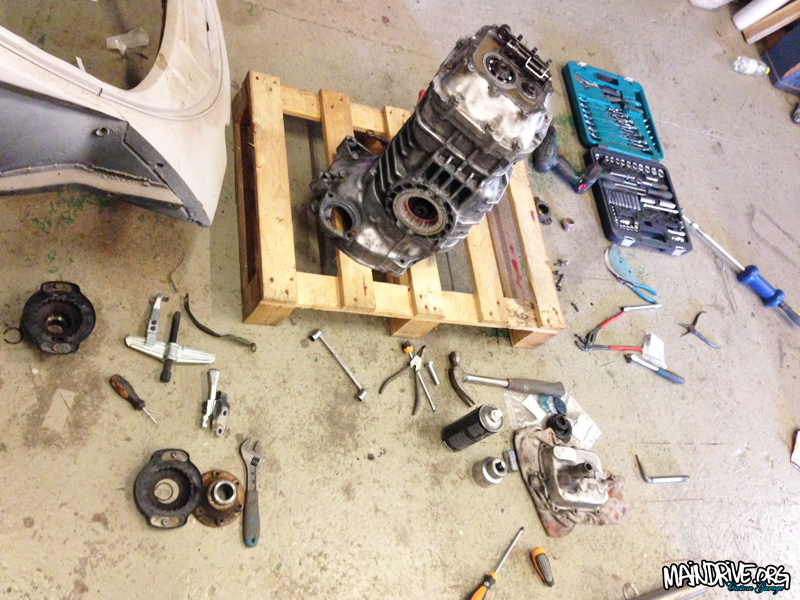
Transmission have also been removed from the bus now, getting it ready for overhaul and difflock, new seals and shifter bushings. More about that soon…

Another really good page for AEF conversion is Colins write-up on Brick-Yard forum, here is the link: http://www.brick-yard.co.uk/forum/1-6cs-to-aef-engine-swap_topic52595.html

#vwt3overland

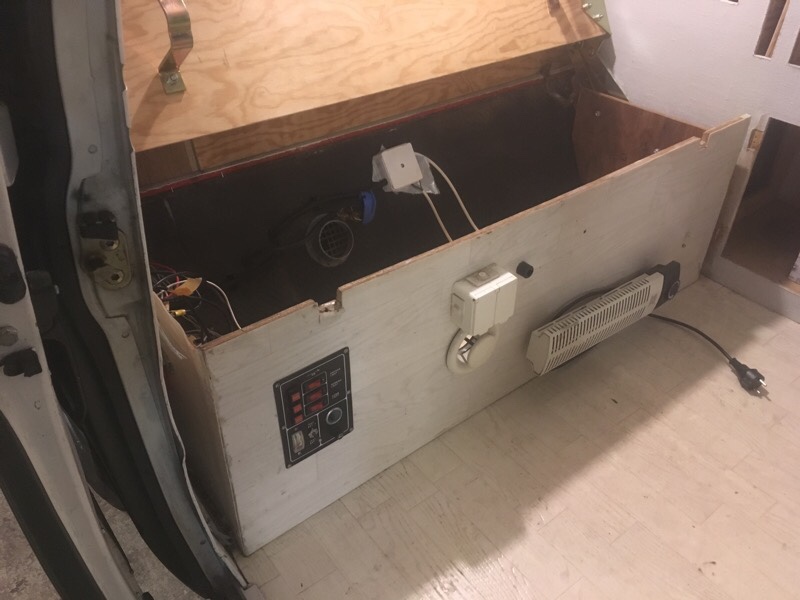
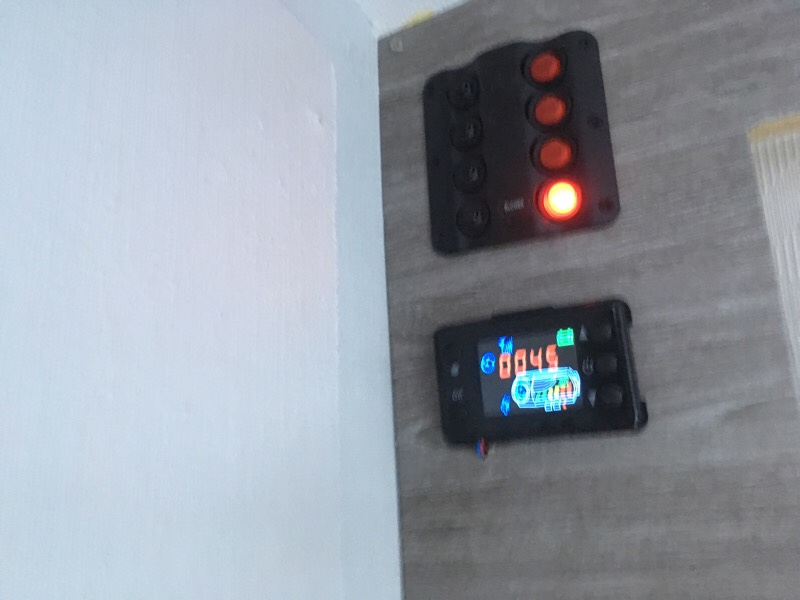
The wiring was a mess (for all equipment) so a new control panel with automatic fuses was installed togheter with new wiring. The 230v wiring (camping power) was also updated with automatic ground fuse and two new sockets with combined USB outlets.

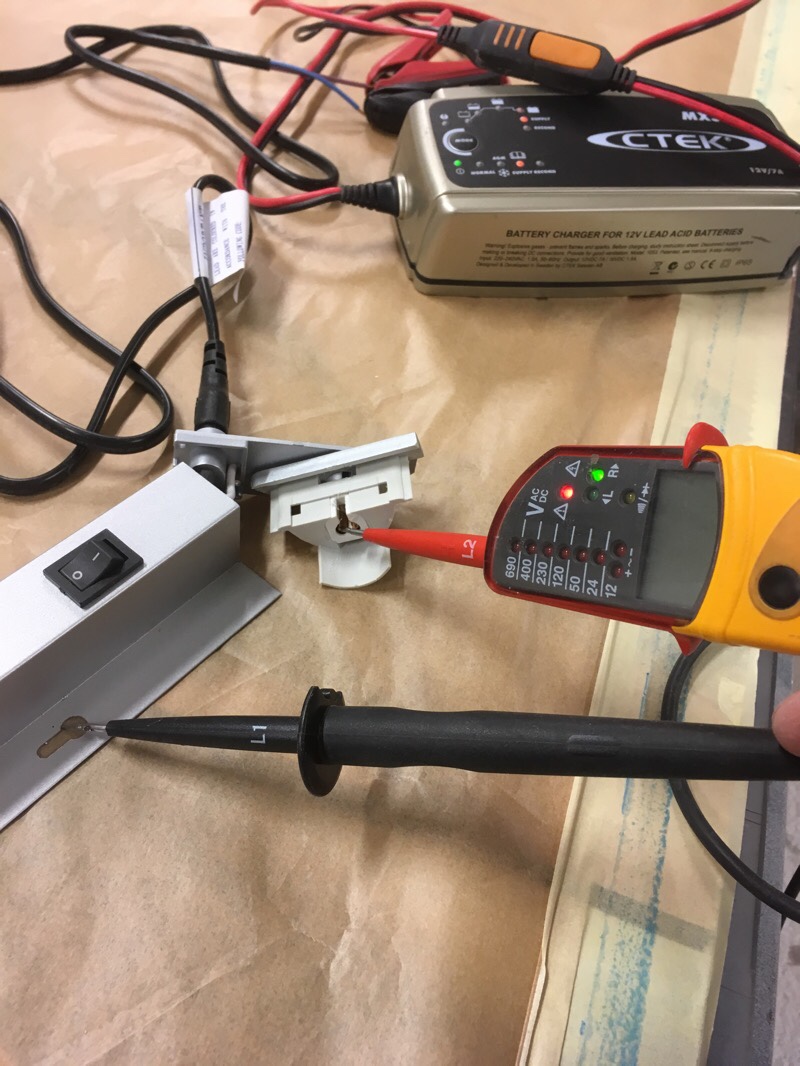
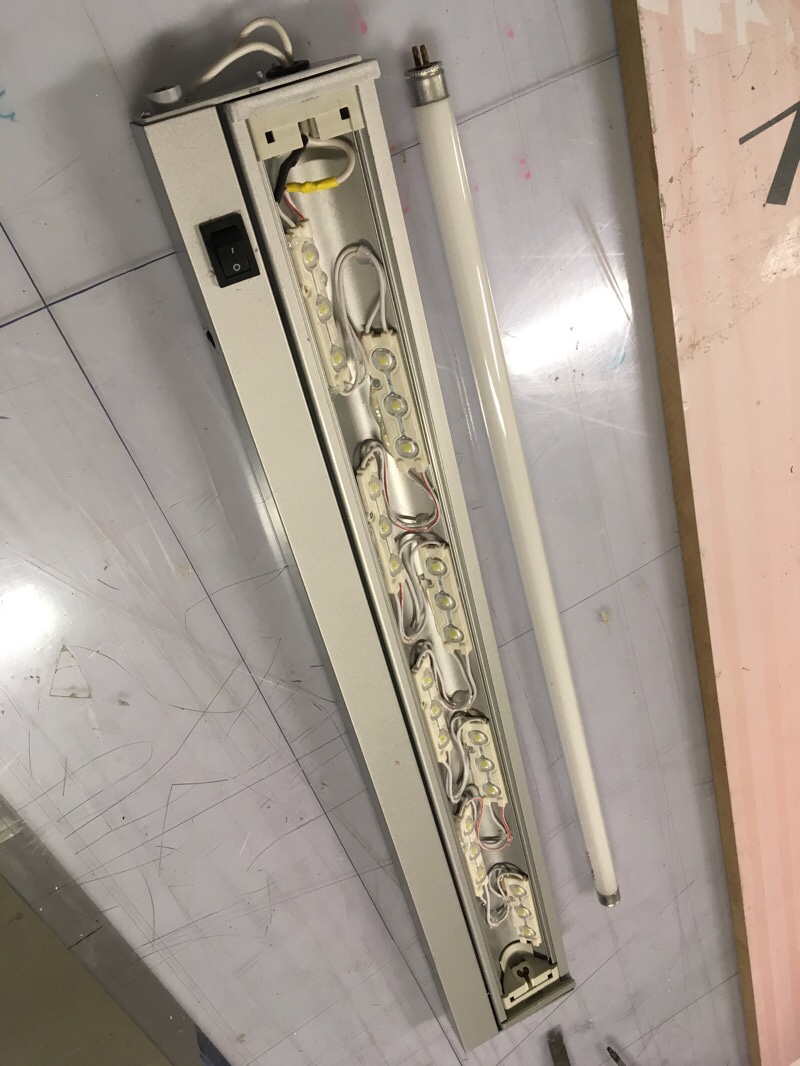
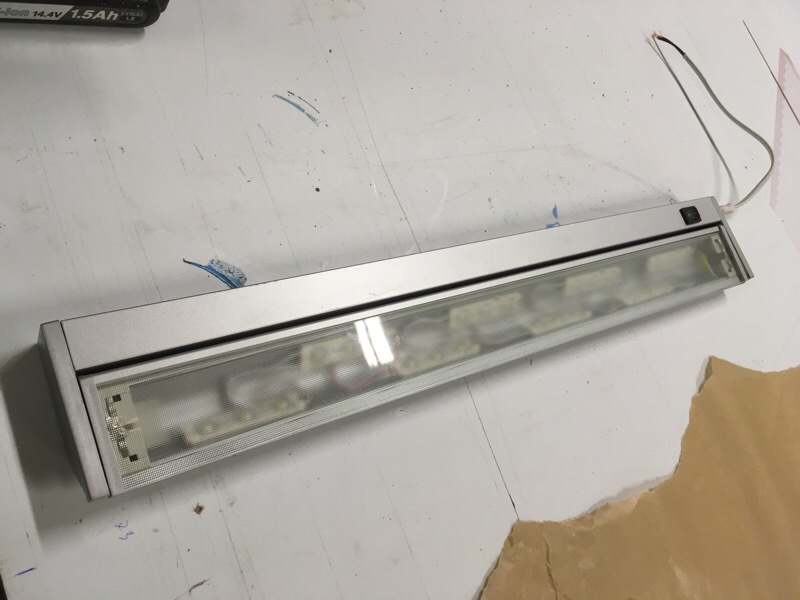
The old interior lightbar was only 230v, but it was a great design so you can flip/turn the light angle. So I took it apart and converted it to 12v with LEDs. An extra LED light with two touch dim/settings was mounted up in the front of the sealing/roof also.

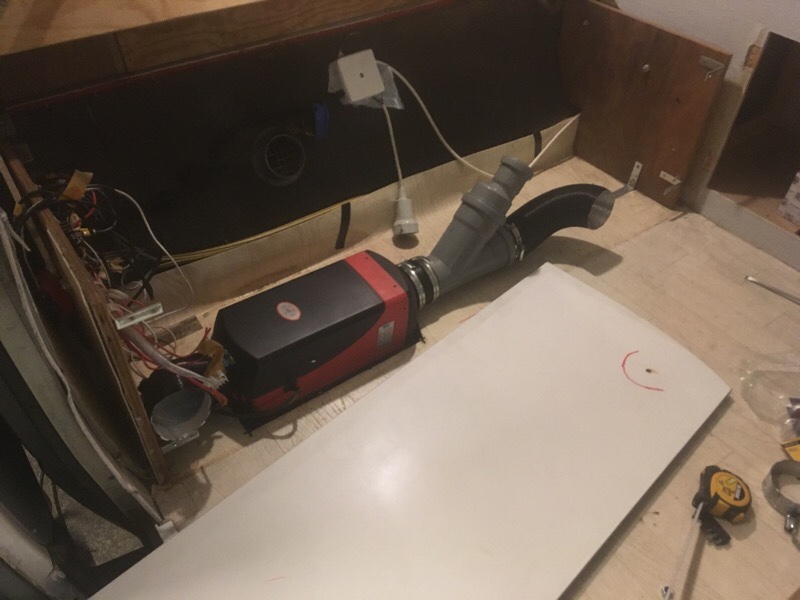
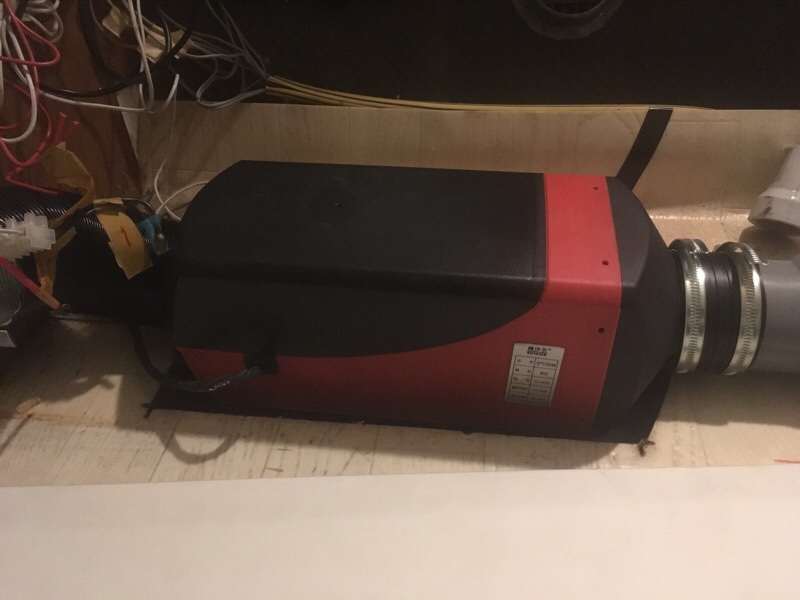
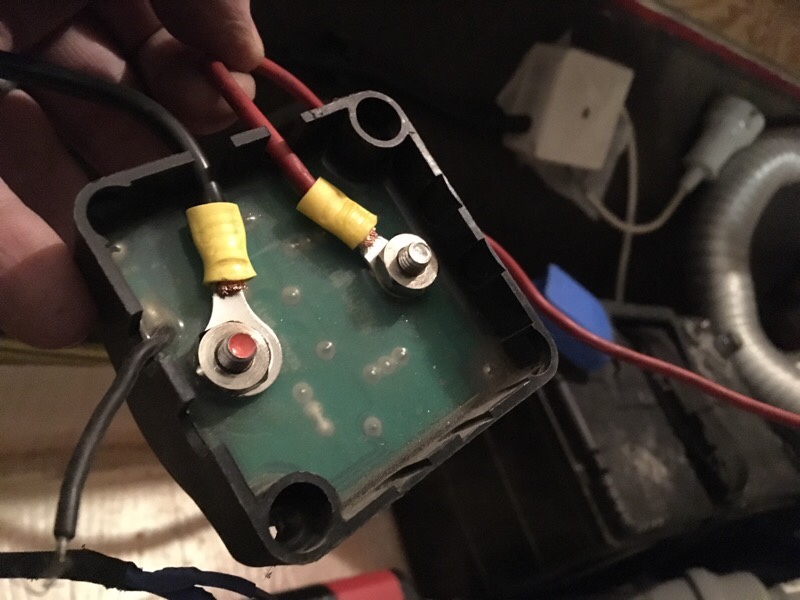
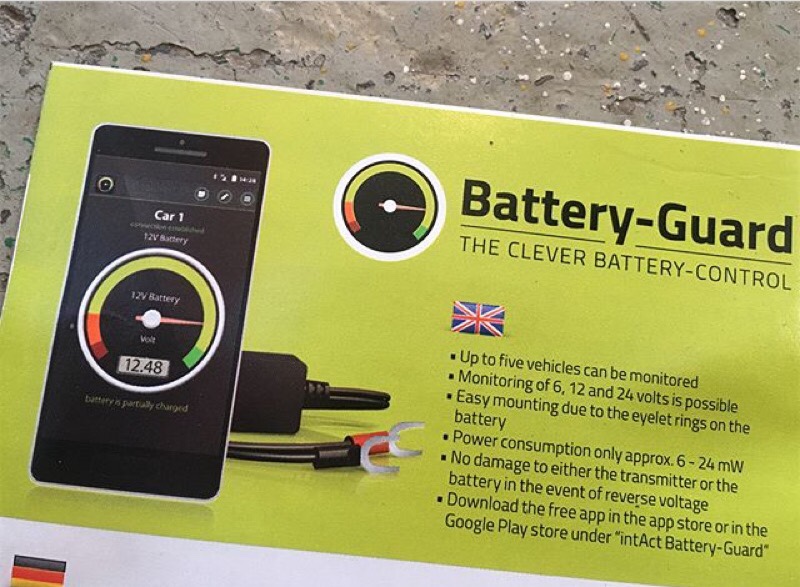
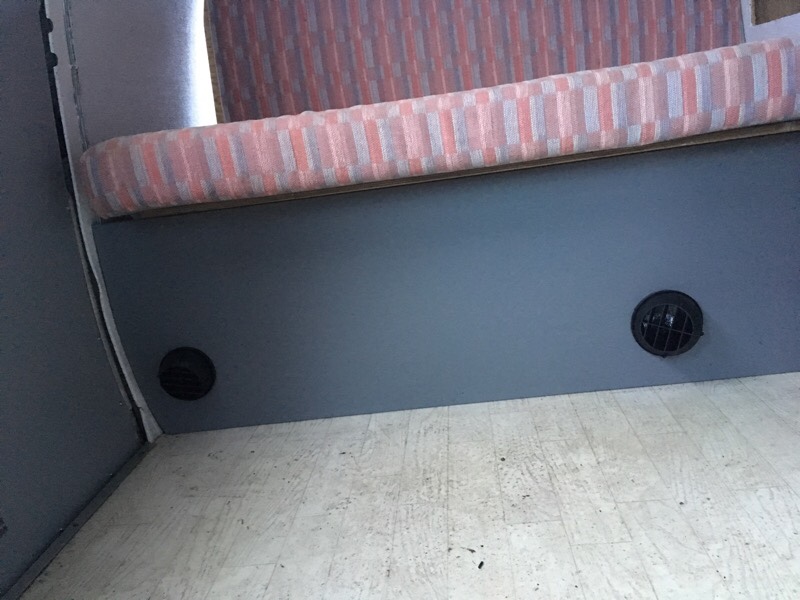
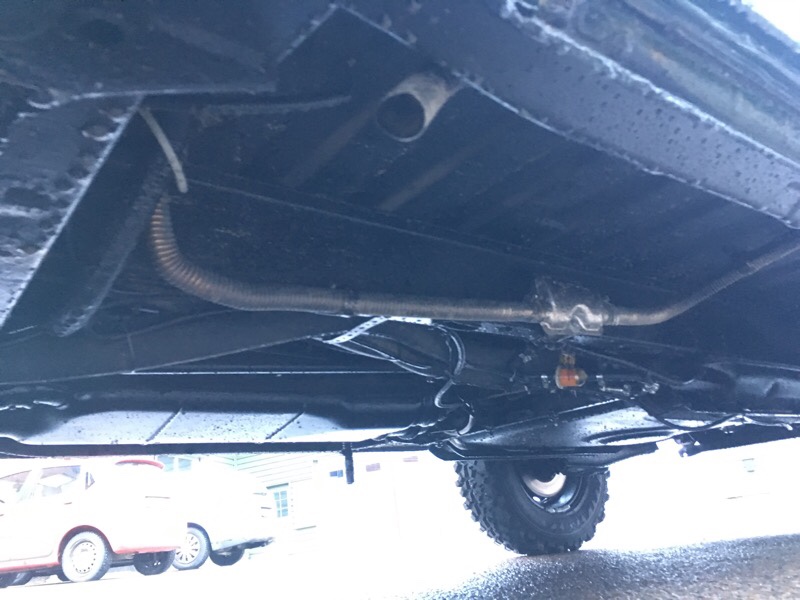
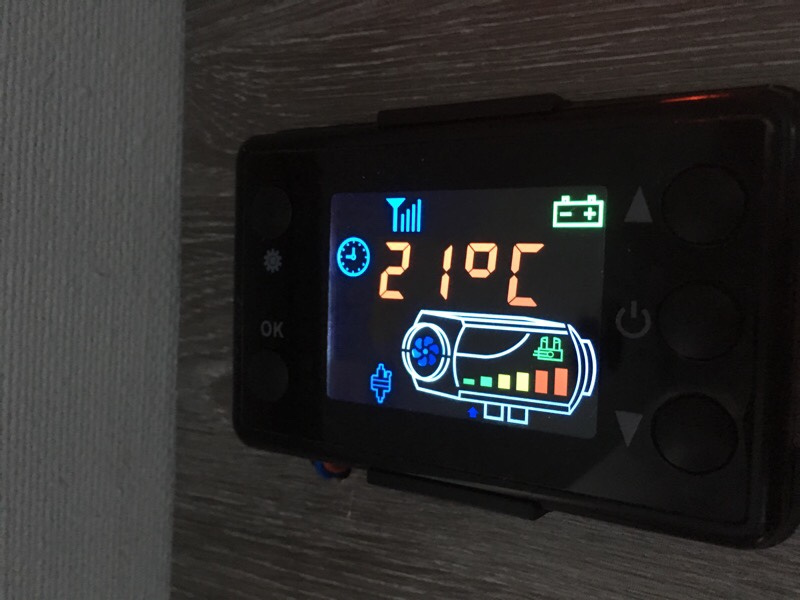
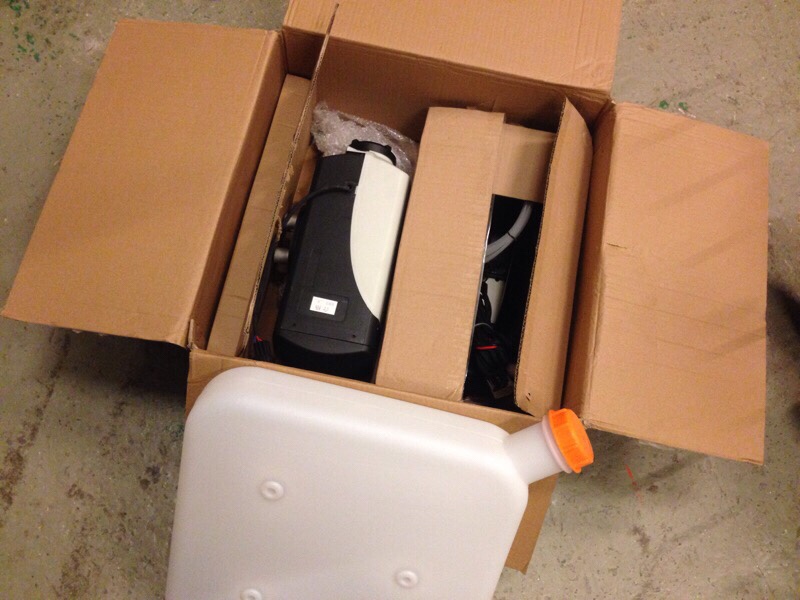
Under the rock n roll sofa I made space for 200amp of batteries (dual 100amp). These I connected to the car/start battery thru a relay, so the car alternator will charge all battery’s. These batteries are connected thru Bluetooth to my cellphone so I can see how much power is left and how much is charging. The solar panel (portable 120w) have a quick connection to these battery’s. Also the 5kw diesel heater is installed under the sofa. It takes air from outside and diesel from the main tank, and the exhaust is routed thru a silencer and out. It runs on diesel and 12v so it can be used anywhere for a very longtime, no need for 230v power. It has a digital display, and a thermostat so it will keep the inside toasty warm on winter. It can be started thru GSM net with my phone. I routed the heater outlets to the main floor and one to the back/bed. It works great and produce a lot of warm dry heat!

The walls, doors and roof was already insulated with 50mm cellplastic, thats very good! But I had some extra aluminium/bubblefoile rolls that I put inside some of the doors and walls for some extra insulation and vapor barier.

#vwt3overland

The new heater is now installed and incorporated with the old heater system design on the Highroof bus. Easiest and fastest way to install this would be to just place it under one of the sofas inside the bus and pull the heater hose out. But I decided to complicate it a little more but in the end with a much better result I believe. My bus had the Eberspacher heater M-code from factory so my idea is to remove the old heater and replace it with a new modern diesel heater.

Doing it this way, I will get a modern reliable diesel non explosive/safer heater than the old which ran on petrol. I will automatically get digital display with timer, remote start, thermostat control and much more. I will not loose space or hear the noise from it (like if it was installed inside the bus) because the heater will now be outside under the middle floor (inside the protective splashpan) where the old factory heater was mounted. I will now get heat not only in the rear of the bus but also in front cab and windshield ect. I will also add some extra airflaps in the heaterchannel so I can adjust the heat to only front or back to the rear floor, bed and top bunk. I will then insulate all pipes with aluminum air bubble foil to protect the heat from the cold surrounding. More work doing it like this but I think it will be all worth it in the end.

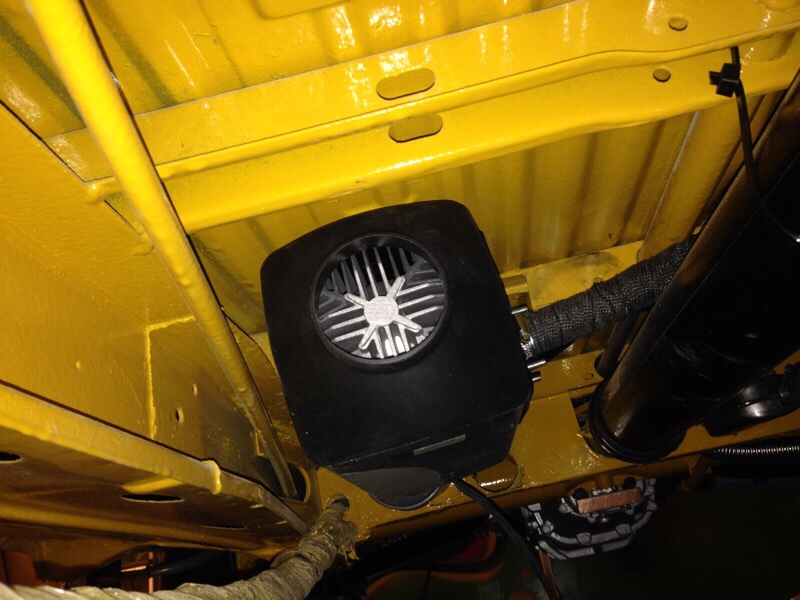
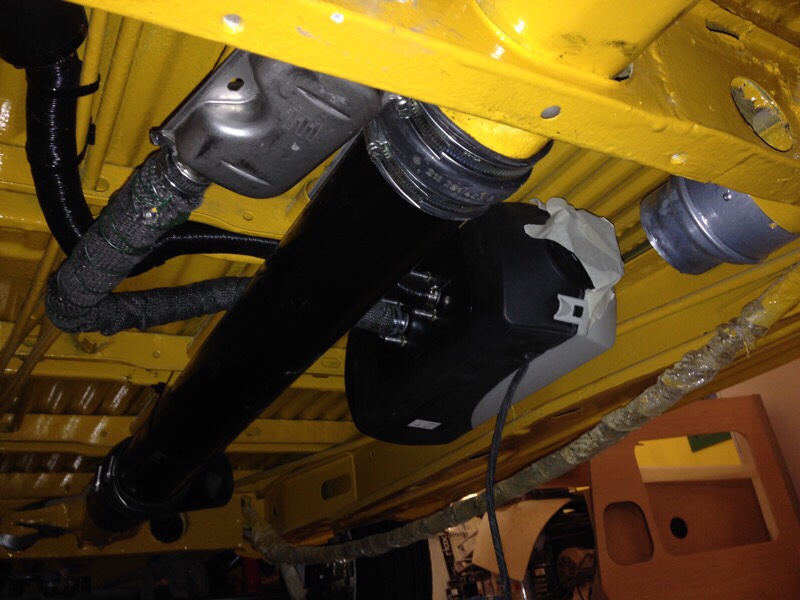
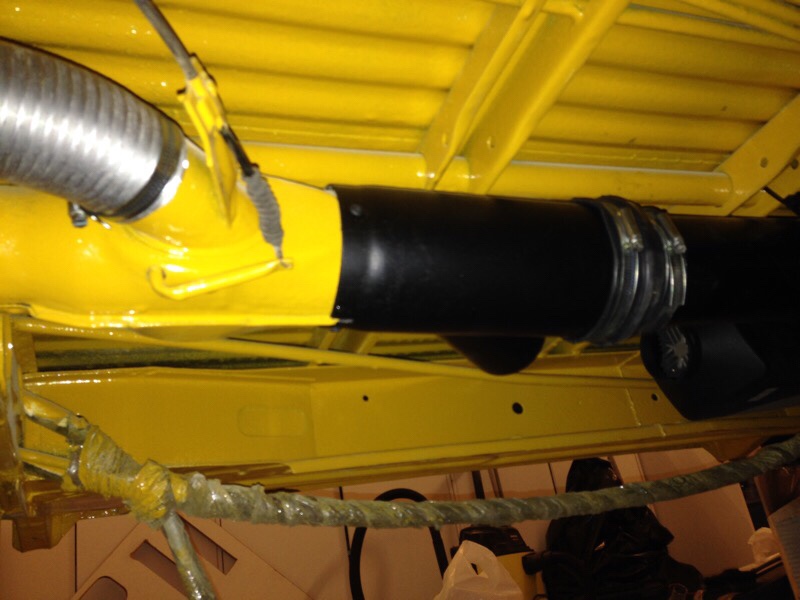
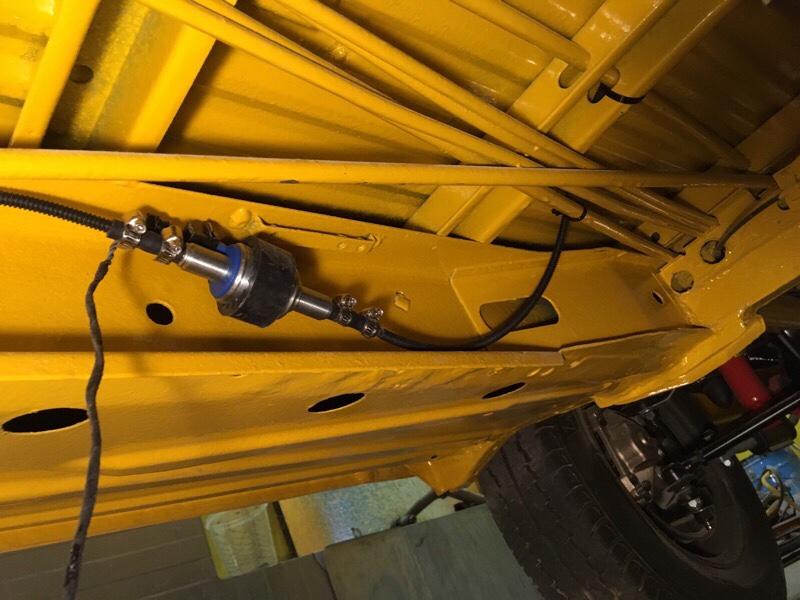
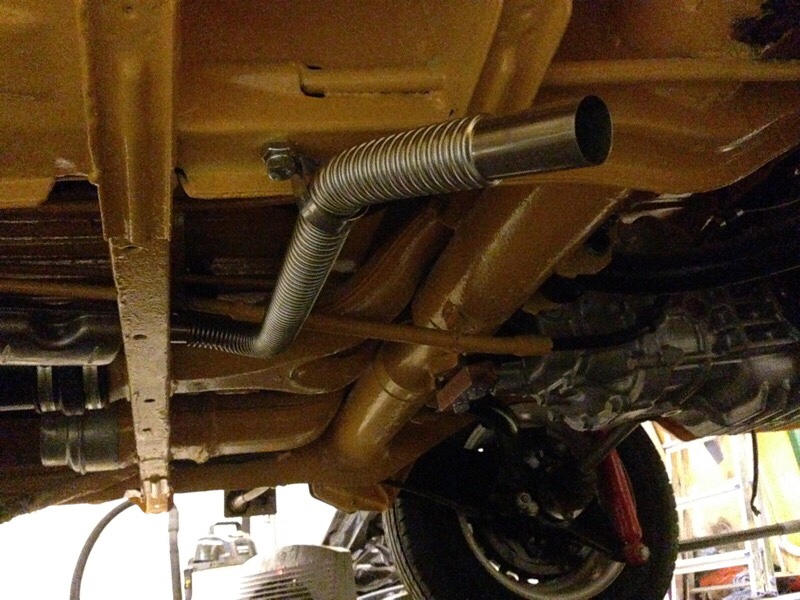
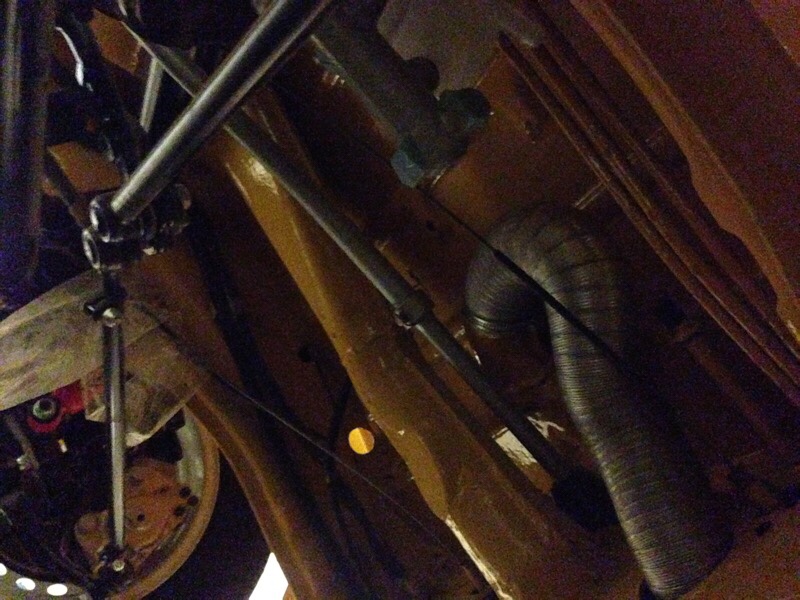
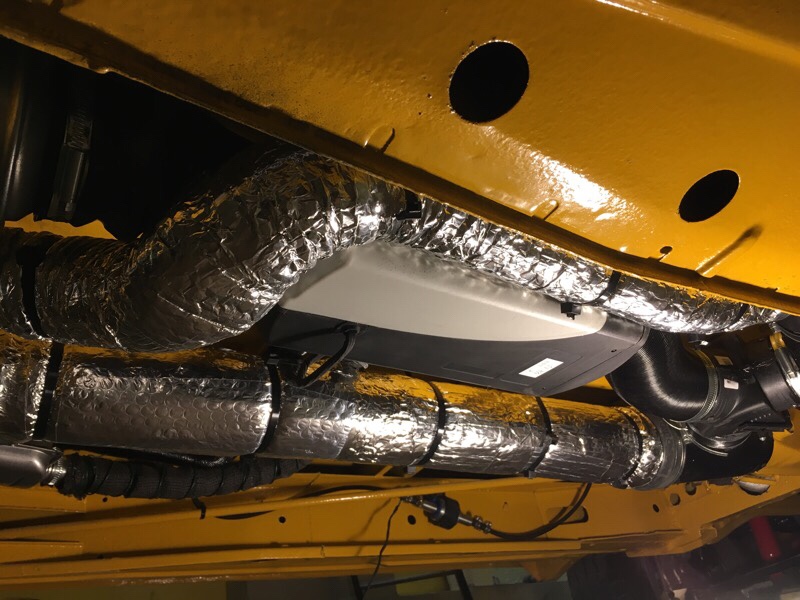
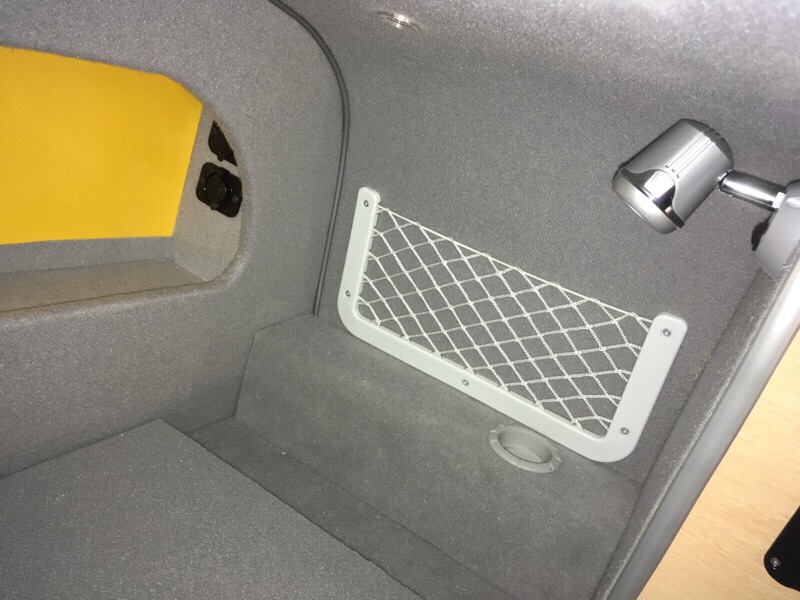
I started by removing the old crusty Eberspacher BA6 heater that was mounted in the center under the floor, mounted a new 90mm center pipe under floor instead (like on a ordinary Baywindow without the BA6 heater option). The new parking heater was the installed on the side of the new center pipe. It was a really tight fit, the height of the heater is 140mm and the space under floor was 145mm. I had to cut a 3-40mm notch out in one of the floor supports to make it even possible. The heater exhaust was wrapped in “header wrap” for less heat radiation and was routed out back to a muffler and then out in front of the left rear wheel. You don’t want to route the exhaust fumes out on the sliding door side of course! The fuel pump was mounted in a rubber holder in 40 degree angle on the frame of the bus, filter was put on outside for easier change in future. The air intake for the combustion chamber was routed back (don’t place it against wind/driving direction) and a filter bolted in the end. The air inlet to the heater fan is hooked up to the stock inlet pipe (from a hole under the rear rock n roll sofa). This means it will circulate warmer and warmer air, and don’t have to warm it up from ice cold outside air all the time. It will make it produce more heat too. The heater outlet is connected to a air flap (where I can choose where I want the hot air, front cabin or rear. I also made a extra heat pipe for the rear bed and top bunk, so you can feel the heat directly in the bed when you turn it on in the morning. 🙂 You can see the heat outlet in top bunk on the last picture. Stock is only rear floor otherwise. The small 10 liters diesel tank will be mounted under or behind the front passenger seat, this way you can easily see when it’s time to refill. It consumes only between 0,19-0,5 liters per hour. So on one tank it can run on full blast for about 20-24 hours before it time to fill it up again. Insulated all pipes from back/rear of the engine to all the way to the front cabin. Still have some electric wiring left to do before it all done. Can’t wait to test this beauty out!!

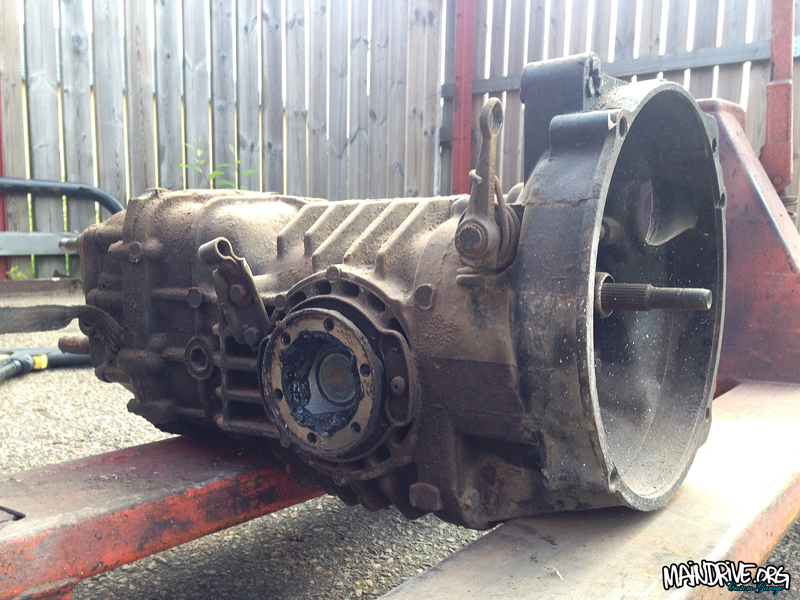
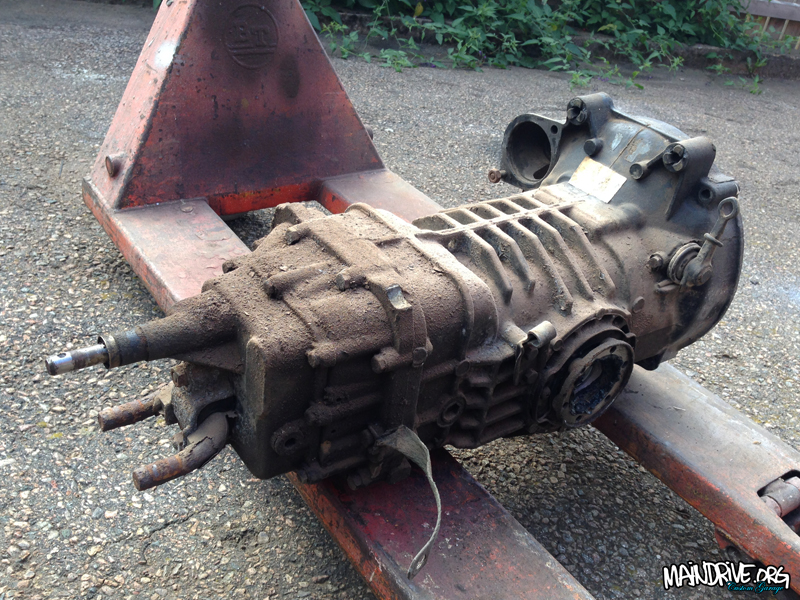
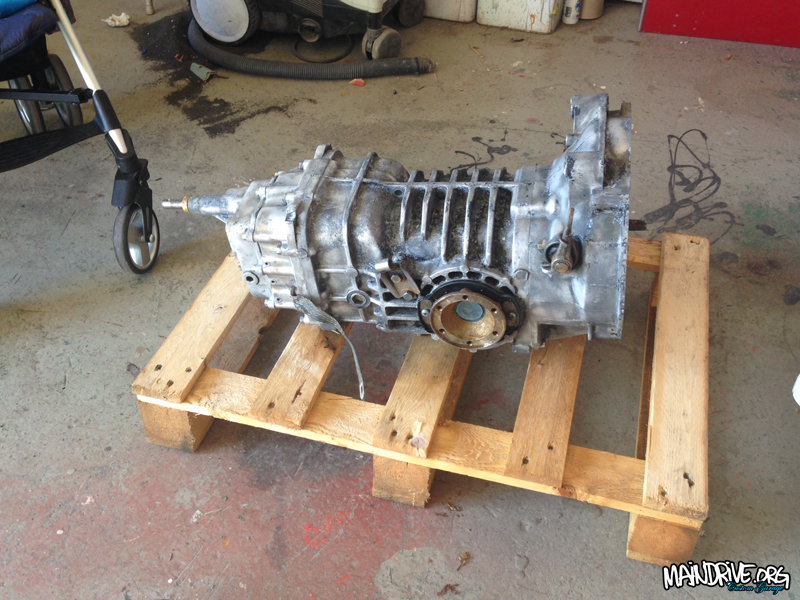
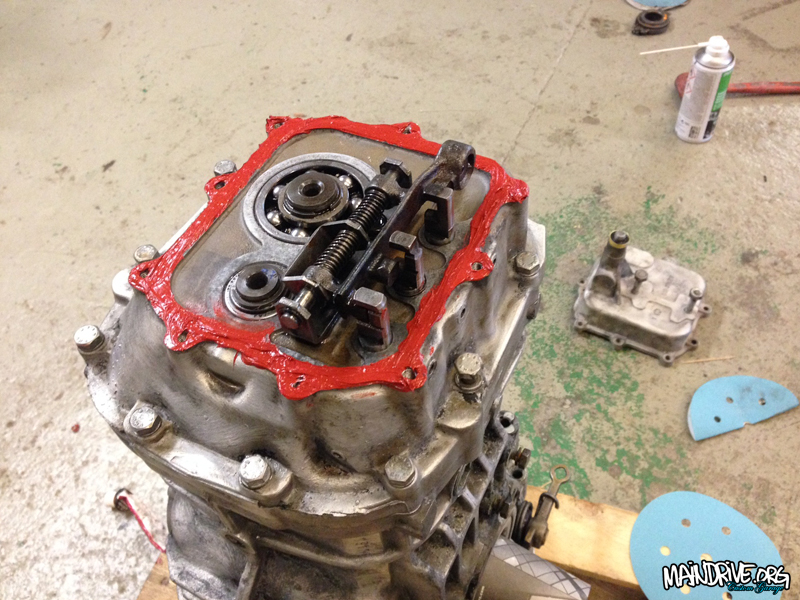
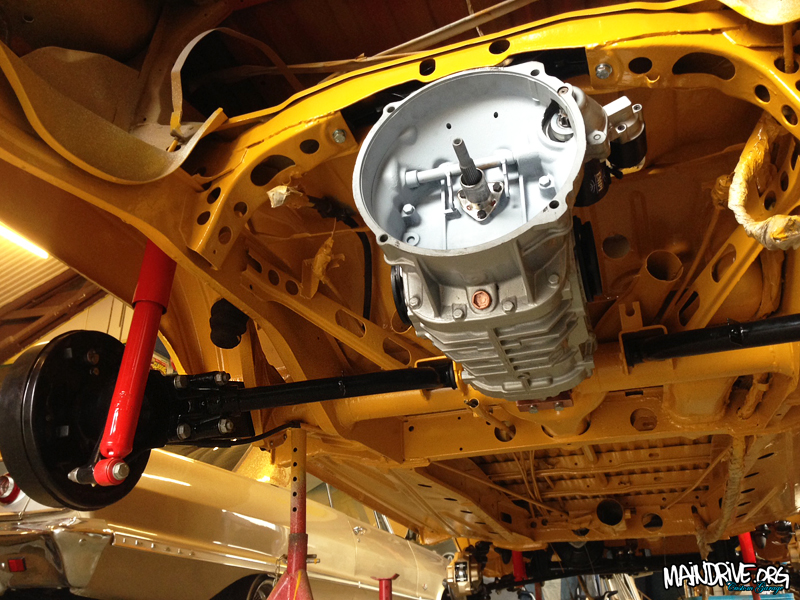
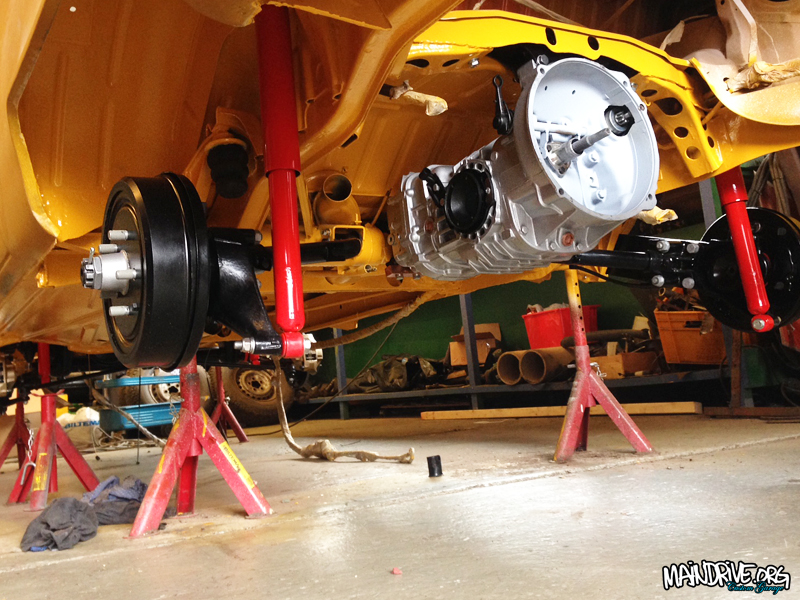
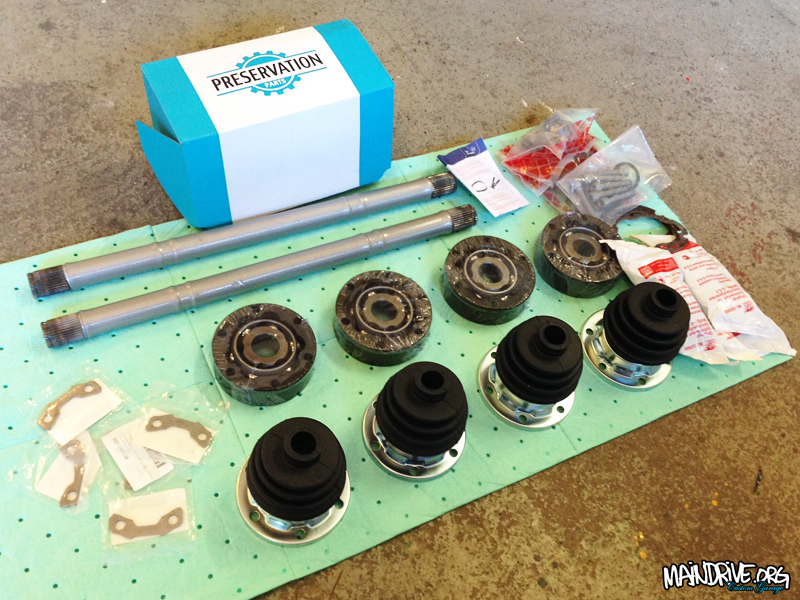
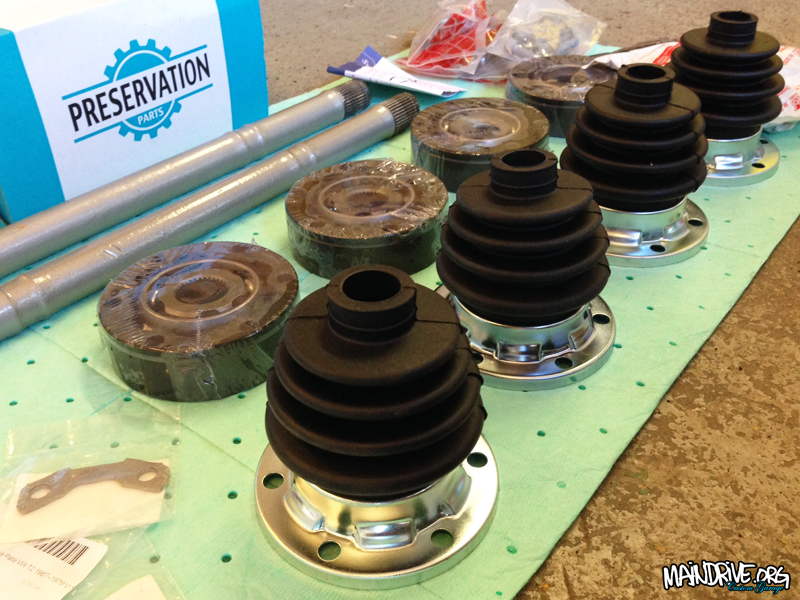
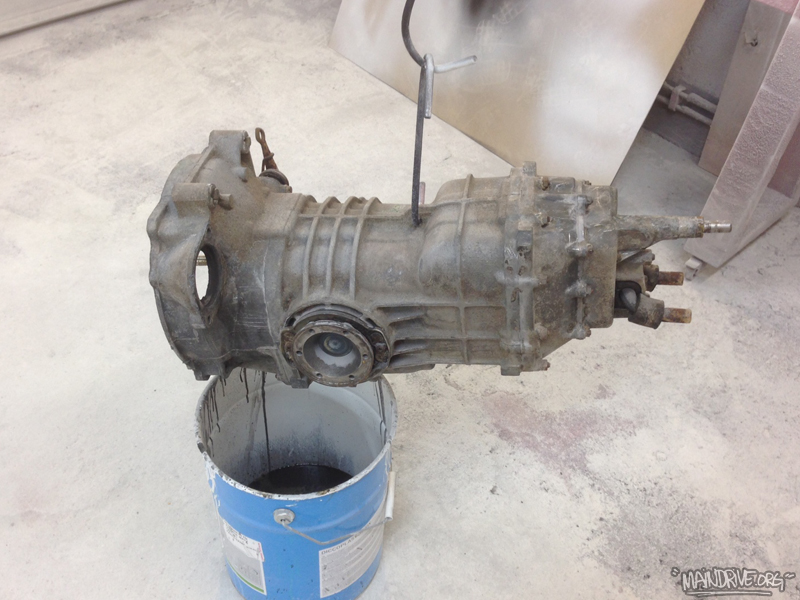
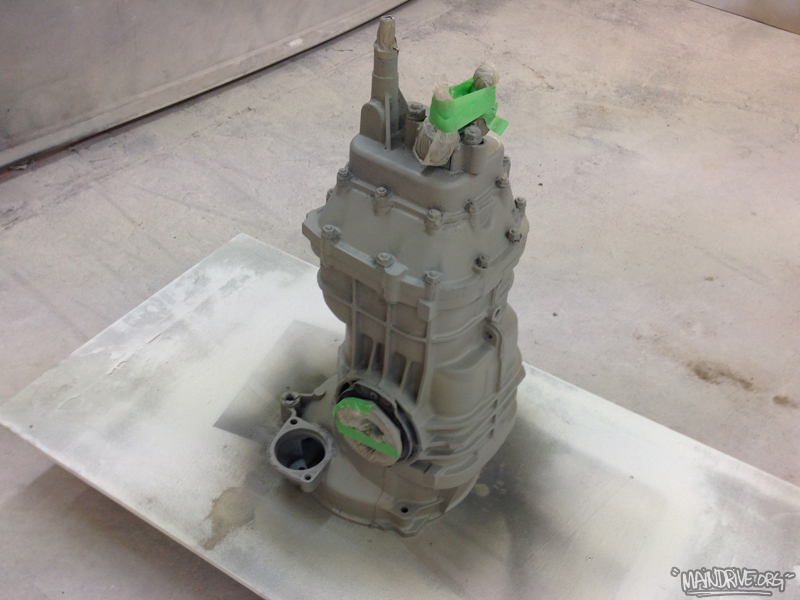
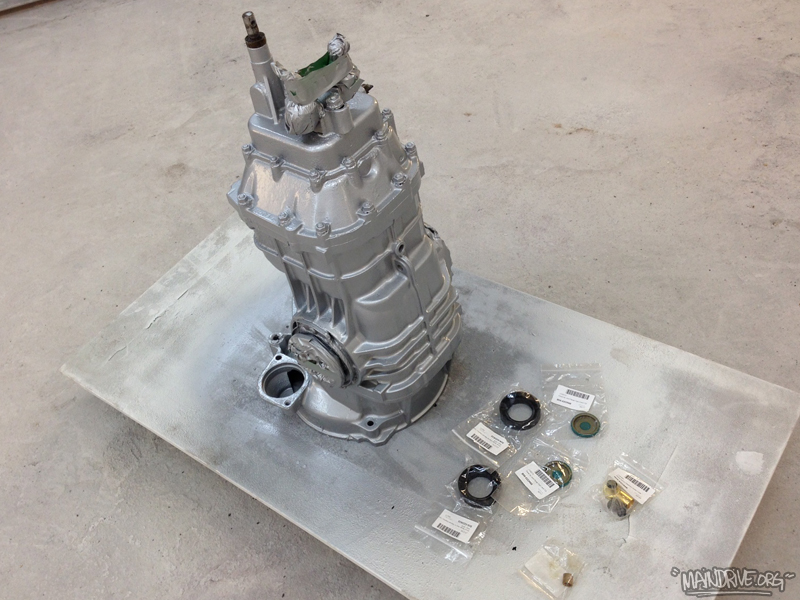
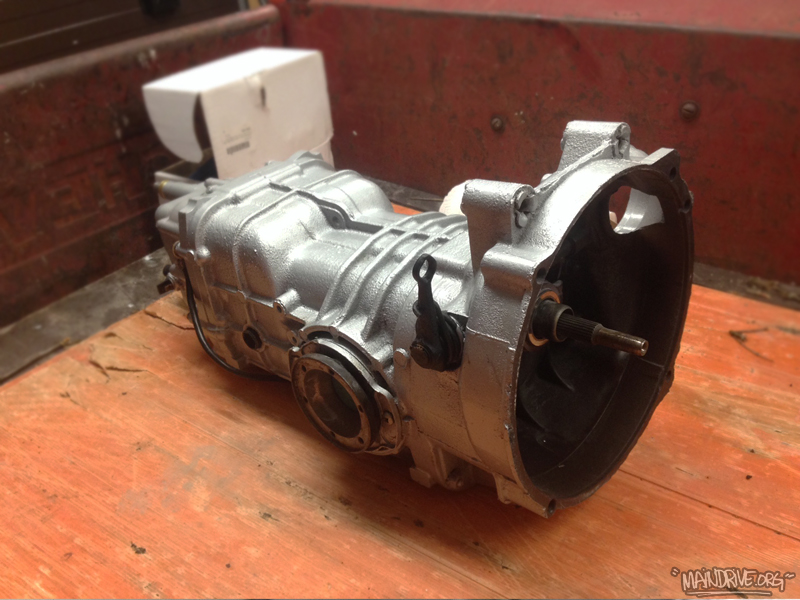
Have been working on the transmission and driveshafts lately. Had a pile of new parts from Just Kampers waiting for it. The tranny was in very good shape and have been restored by VW (exchange parts) in the 1980s. But it still needed alot of work to look good again. Highpressure washed the case 3 times, to remove dirt and old oil. Drained the oil and it still looked nice (good sign)! Then 3 coats of paintremover was added so the black paint could be peeled off the case. Degreased it one more time, wirebrushed and sanded it making it ready for paint. A coat of primer for aluminium/etch was layed down and then 3 coats of 2K silvermetallic paint on top.

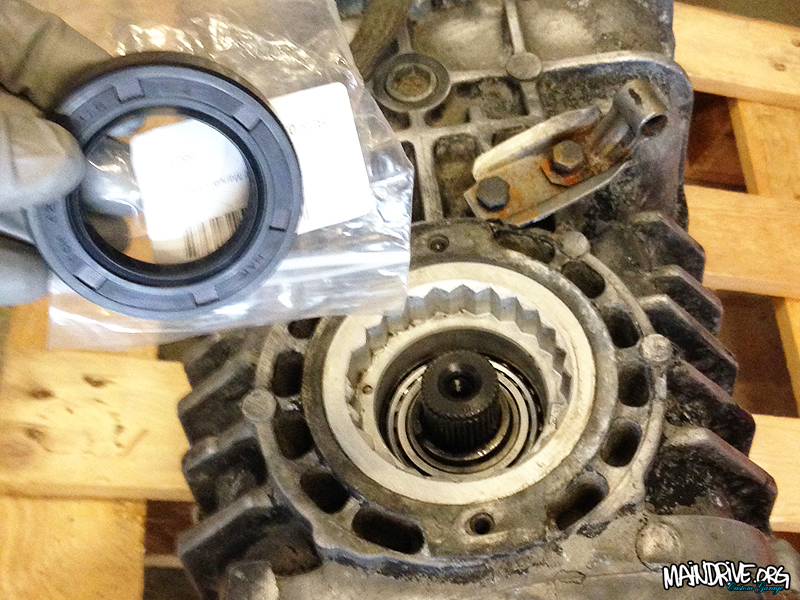
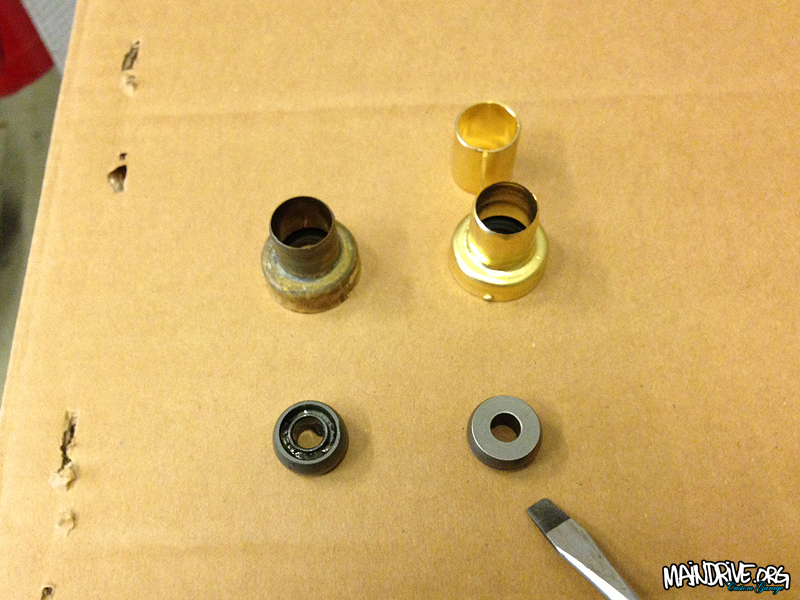
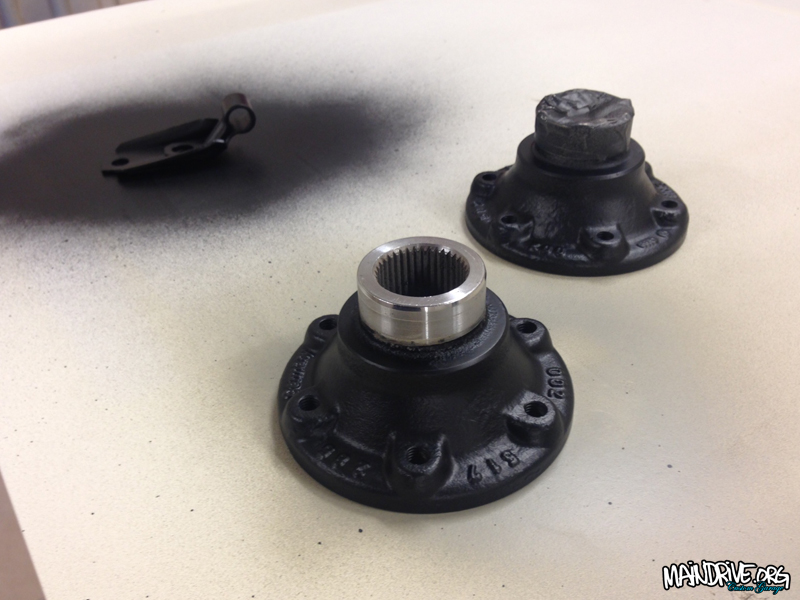
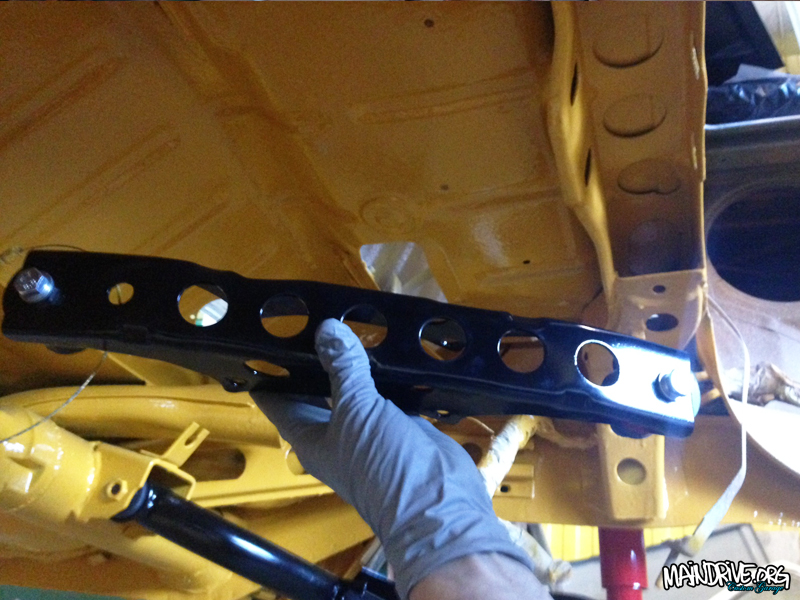
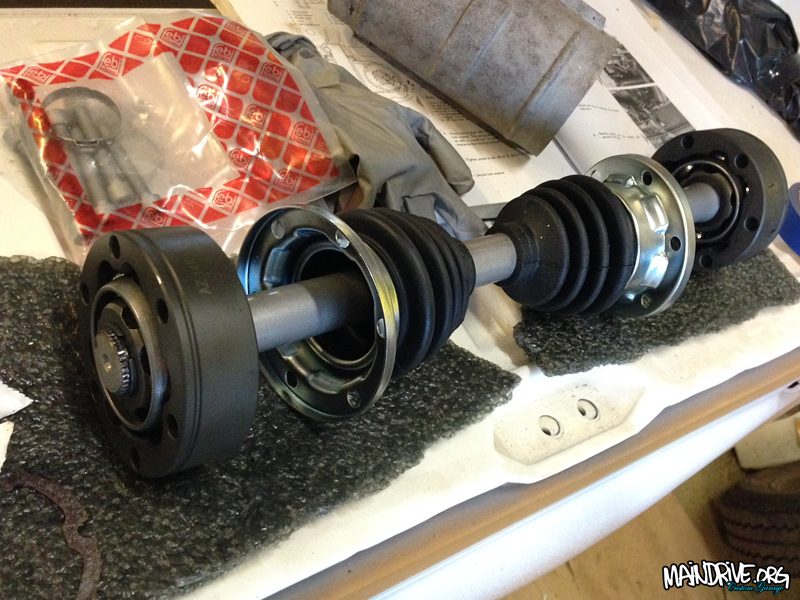
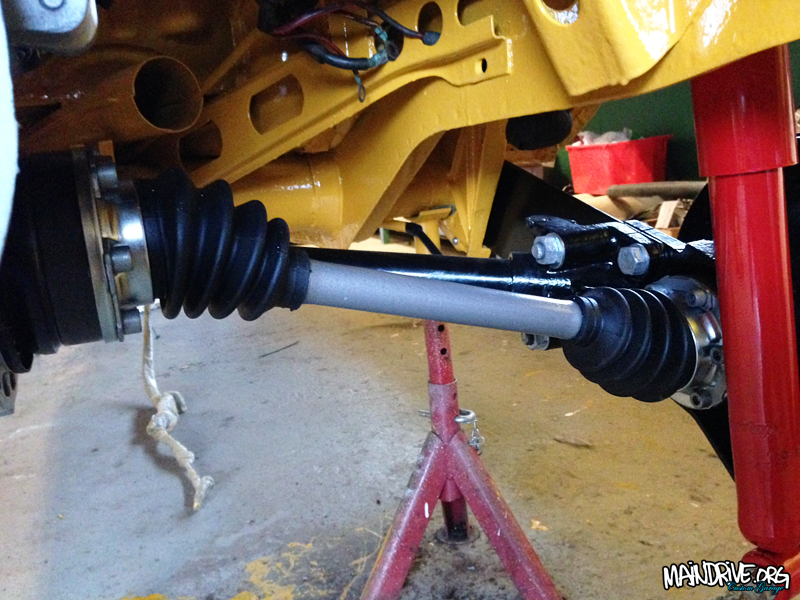
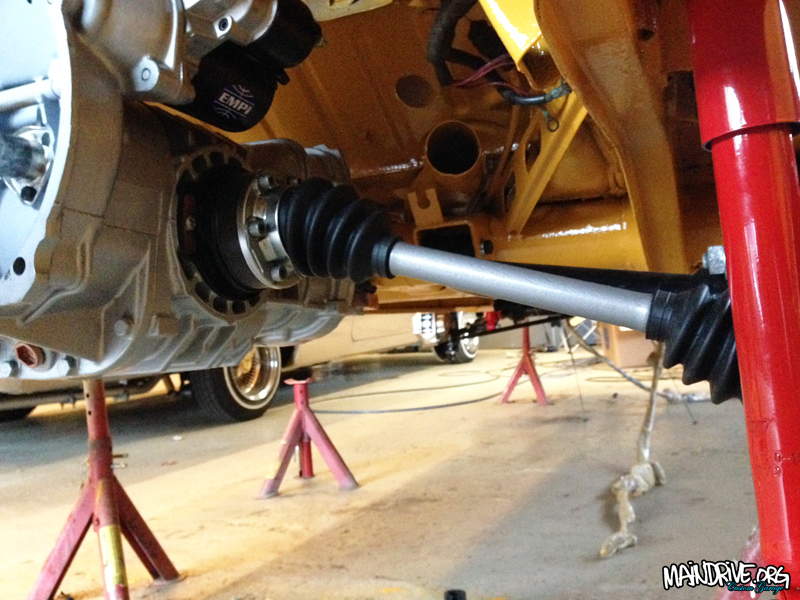
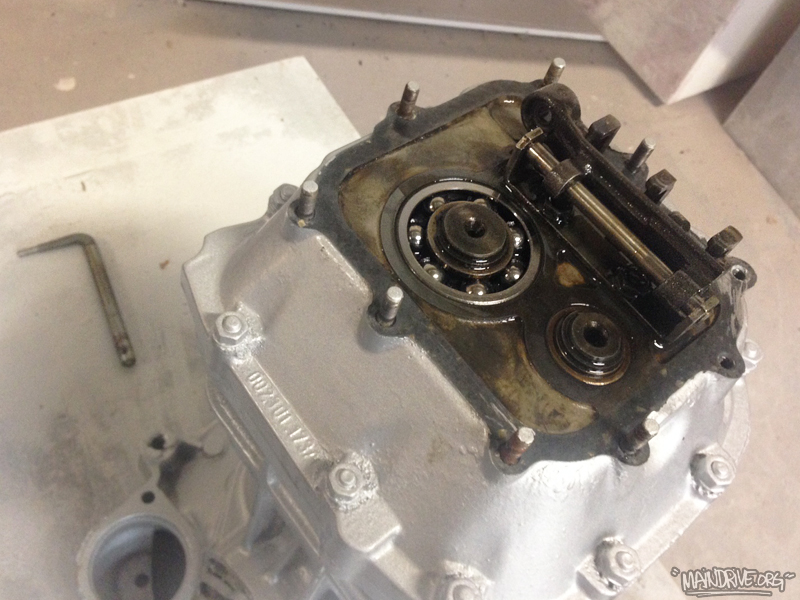
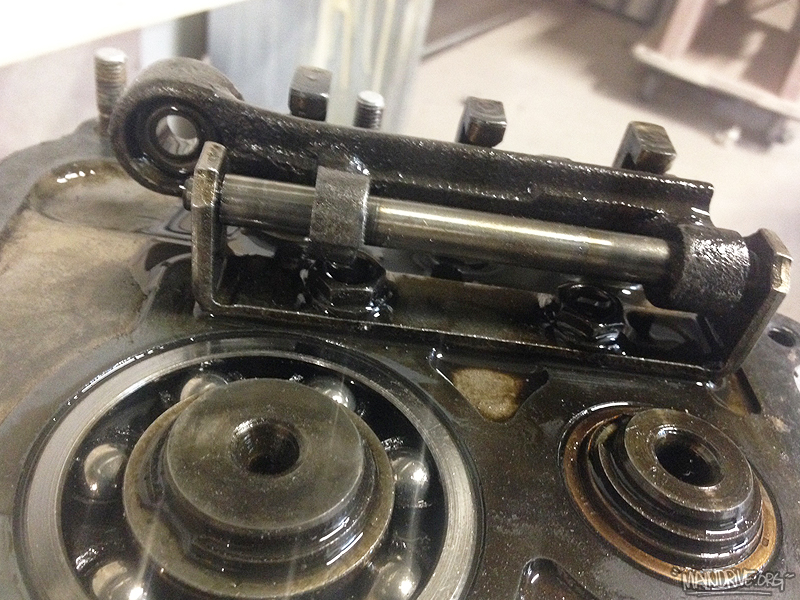
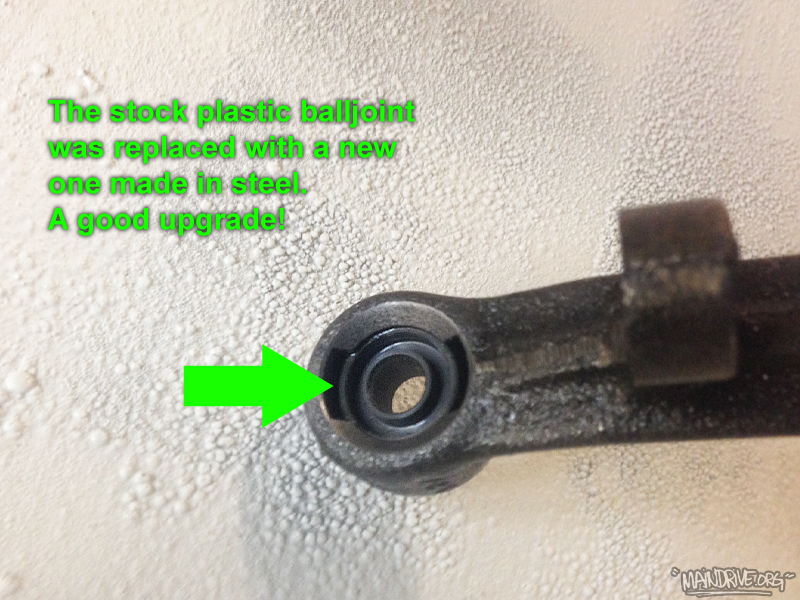
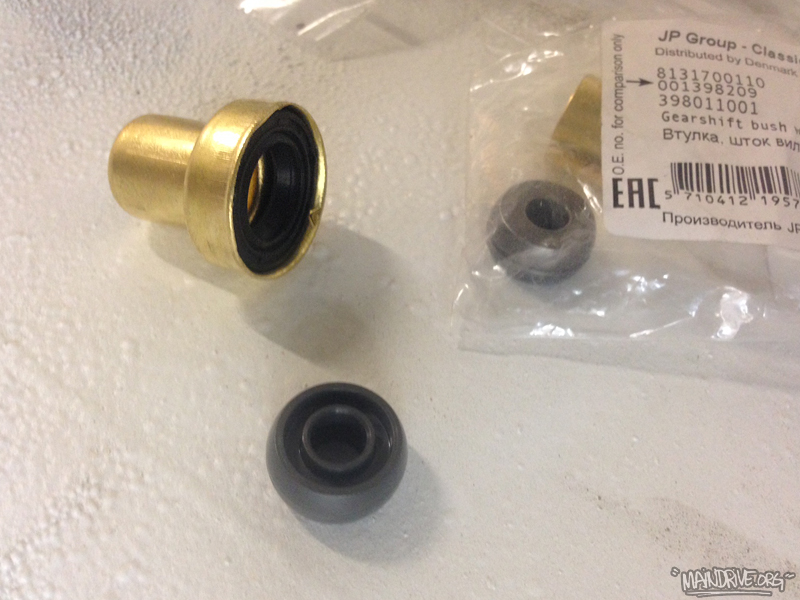
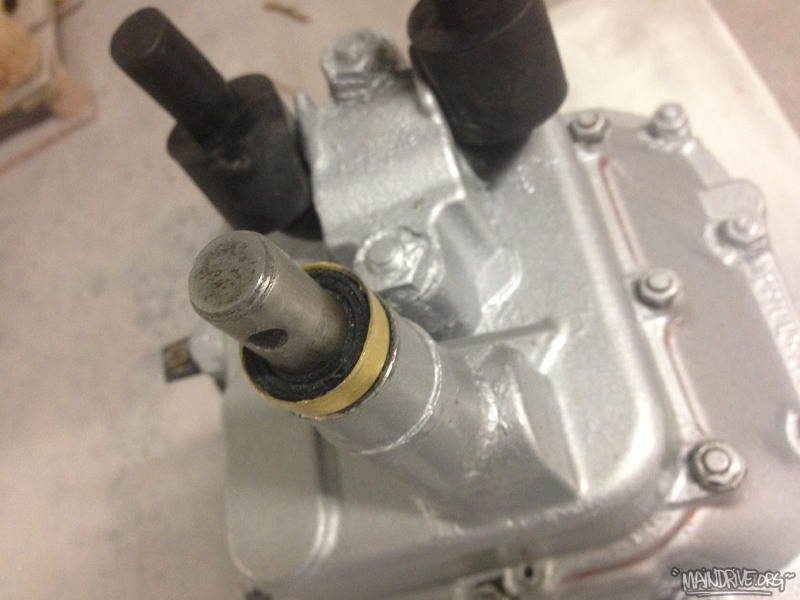
A new mainshaft oil seal was added, and both driveflange/shaft seals too. The nosecone got a new reamed bronze bushing and oilseal for the shiftleveler. Also the small plastic balljoint in the end of the shiftlever (the one that pushes gears) was replaced to a new made of steel, and will last a life time instead of a brittle plastic part that was before. The shiftrod feels very accurate and precise now, no more sloppy gearshifter! This is also a popular upgrade on VW race transmissions. Driveshafts and hubs was sandblasted and painted. New groundcable to chassi. New clutchwire. New gaskets, rubberboots and CV joints installed. New startermotor + bushing mounted too. New trans mounts upper and lower. And then the transmission was filled up with new fresh mineral API-5 grade transmission oil that VW recommended on these 002 cases. This oil is extra good to the special metalparts like syncro rings etc. Not aggressive like other grades can be to these old transmissions.  Here is the pics…

bild193
bild192
bild194
bild195
bild196
bild197
bild198
bild199
bild200
bild205
bild206
bild207
bild208
bild209
bild210
bild211
bild212

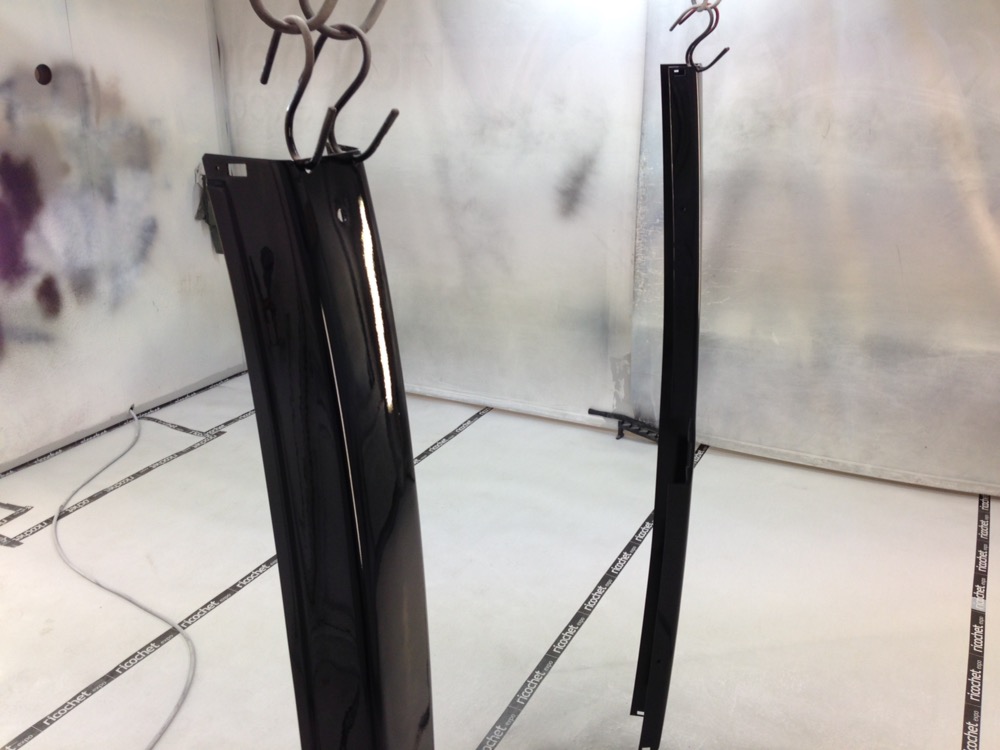
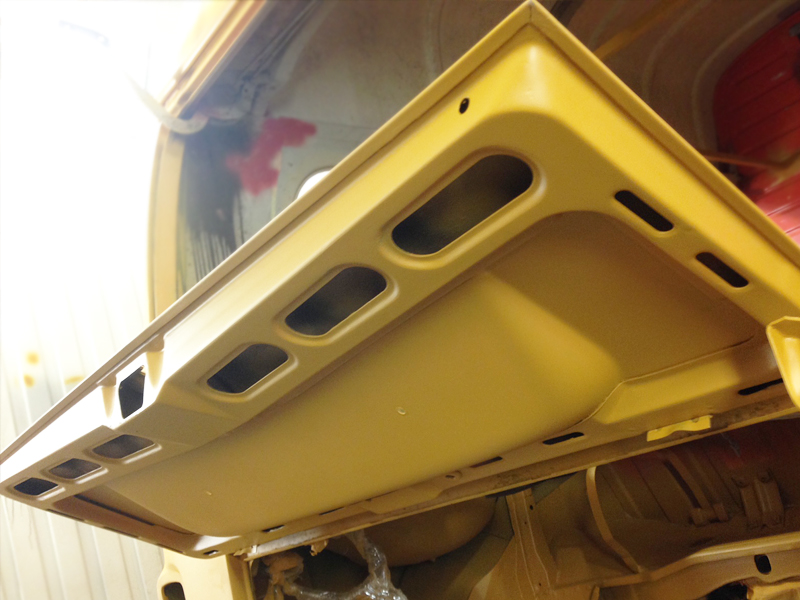
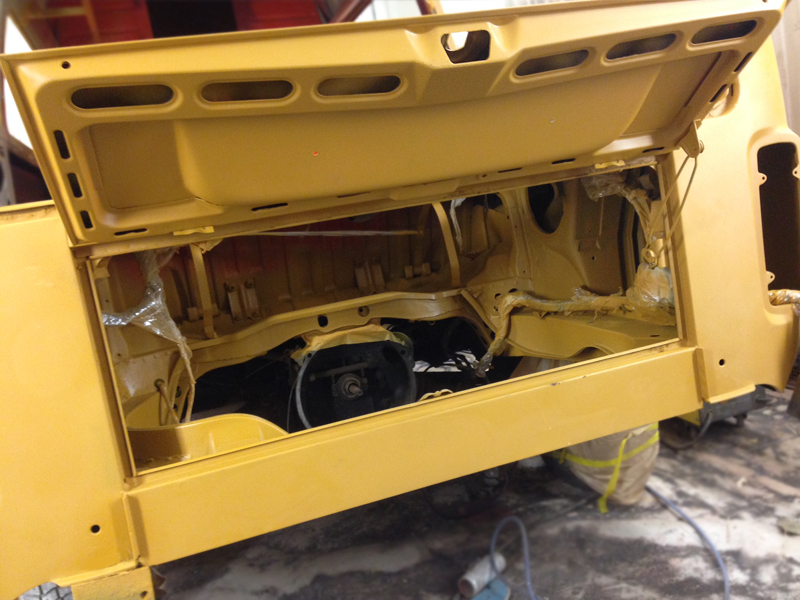
Today the bus was dropped of at the glasshop for new front windscreen and installing all windows with new rubber seals. The last final parts (bumpers) are getting painted tomorow or on Thursday. They were handpainted with brush, twisted, rusty and lots of small dents. After sandblasting they got welded, straightned and all dents hammered out. Then a light coat of bodyfiller to make them straight again, then Zinc rustprimer and after this surfacer/ground primer to get them smooth again after the sandblasted surface. Next up is some more sanding and then Deepblack paint. New covers and bolts are waiting from Just Kampers! The bus should be ready for the road in the end of the week! More pics to come…

41

42

43

44

45

46

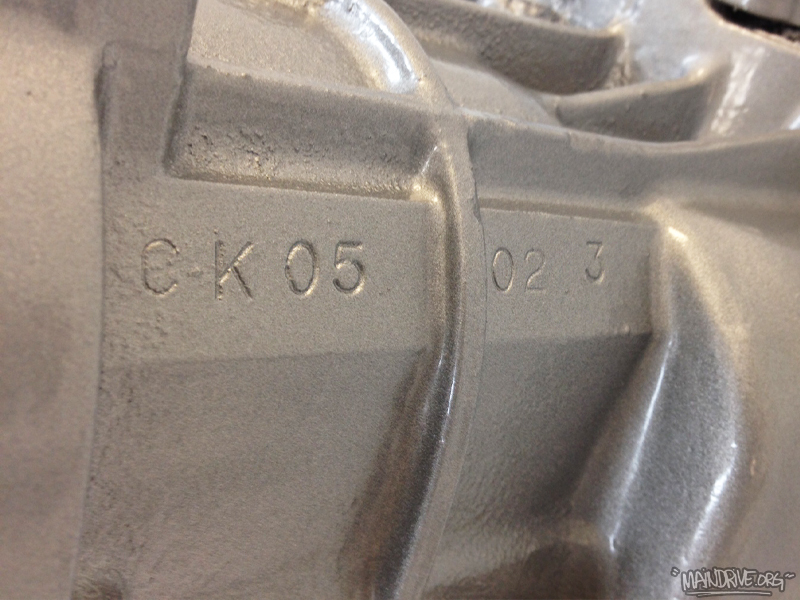
Stephans VW Bay project moves on and here is some pics from the transmission overhaul made last week here in the garage. The transmission is a 002 case, 3 rib from late 1973. Code CK. The Baywindow buses are famous for their poor gearshifts. If you have a sloppy gearstick on your bus, first check all bushings in the gearlinkage that runs thru the floor from front to back. If the shifting still is bad, then its possible that the gearleveler balljoint (made in plastic) inside the nosecone is worn out. I replaced this balljoint on this tranny for one made in metal instead, so it will last for ever! The magneticplugs was cleaned, oil drained, all gaskets and seals new and then a coat of fresh paint. Now its ready to be bolted back in the bus again.

vaxellada1

vaxellada2

vaxellada3

vaxellada4

vaxellada5

vaxellada6

vaxellada7

vaxellada8

vaxellada9

vaxellada10

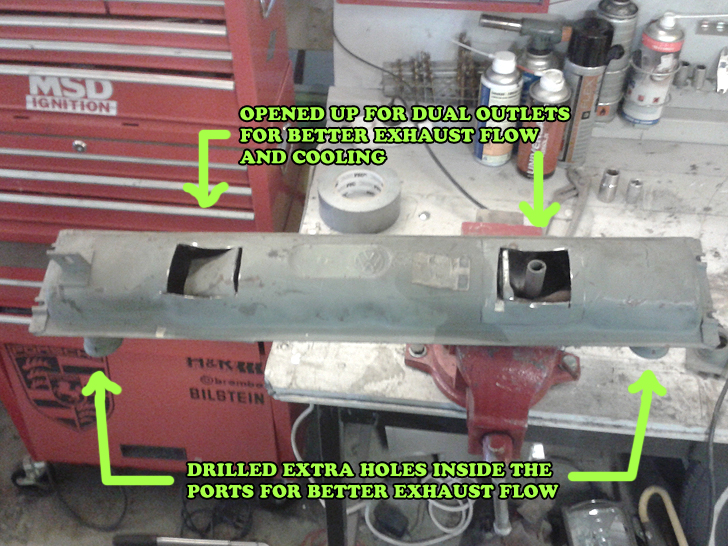
Couple of weeks ago I modified the NOS (New Old Stock) VW bus muffler with some extra drilled holes inside and welded a extra exhaust port to run dual stock exhaust pipes. I bought a new extra exhaust pipe and cut it in pieces and welded it “flipped” and “mirrored” to fit on right/passangerside of the bus. All this to get a little less back pressure and gain better exhaust flow and still keep the “stock” look, instead of bolting on a extractor pipe. Looks and sounds cool!

pipes1

Today I got some stuff done on the bus, that just have been standing in the shop since August while I have been working on other projects. After last summer (2014) when it was crazy hot here, and driving hard with a fully packed bus with a freewayflyer (type1 1968) transmission, the engine runned a little too warm for my taste. Specially when driving long times on the highways, when driving slower or standing still it cooled just fine. The engine a “H” bus case, 1500cc (that was completely rebuilt in 2013) got new 1600cc cylinders and dual-port heads etc. It got updated with a doghouse cooler but clearly its not up to the job so next step will be an bigger external/remote EMPI oil cooler with fan. And I also going to install a real oilfilter, which will make the engine live longer in the future.  This was things VW added on later buses so why not upgrade a old one too.

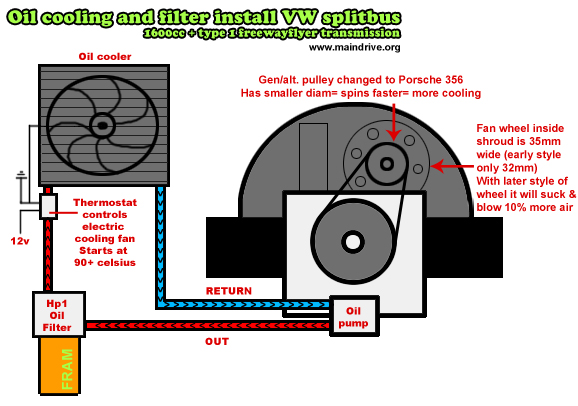
And maybe change the alternator pulley to a Porsche 356 pulley (that have smaller diameter= more cooling for the heads). Since we just driving on the summer I will not use a “by-pass” valve in the oil system, I will just let it idle some extra minutes when it’s cold, before take off. The NOS 1500cc exhaust/muffler will get modified with dual outlets (like on the beetle) but with stock bus exhaust pipes/outlets installed instead so it will look just like original but with dual bus exhausts coming out under the bumper. Also some extra drilled holes inside the muffler will be done. All this just for little less “back pressure” and better exhaust flow and hopefully it will cool the engine a little better too when the hot exhaust fumes can get out from the muffler more quickly. Im going to report after some test runs how big the difference got after all this modifications. So stay tuned. Here comes part 1.

To be continued…
oljesystem
I made this diagram to show how my oil system will be when it’s finished. And I will post the engine cooling result here after some test runs…
airy
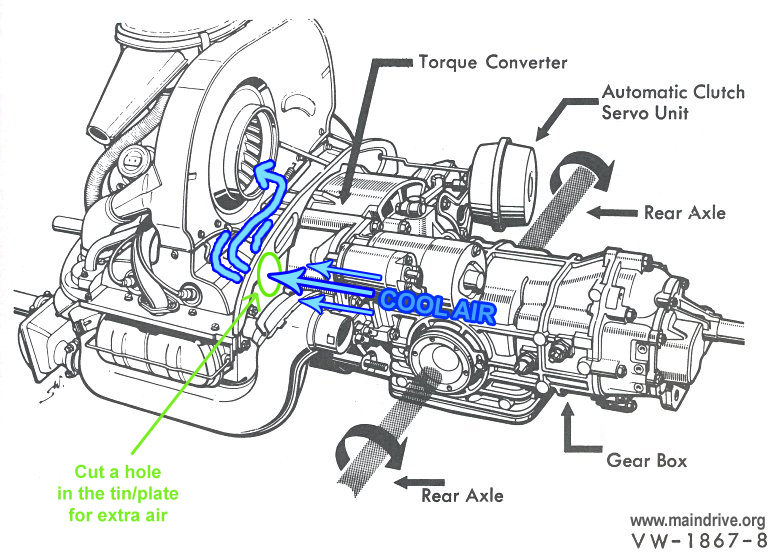
Another trix is to make a hole or like I did cut 2 lines in the tin/plate and folded the the metal down, then it’s possible to adjust how much extra air is flowing in. I suggest that you make a net in front of the opening, you don’t want to have the fanshroud full of leaves etc. I know some VW drivers in the Arizona desert who have made this modification with good results and they could even see the temp. meter drop a bit too. This is an easy way to get more air in a small engine compartment like on a splitbus, with a bigger engine that need more cooling air. Later model buses (Bay window 1968) got bigger air intakes (with angle) in the rear roof for scooping in more air in the engine compartment. You don’t want to mount ugly scoops on your split.
kylare5
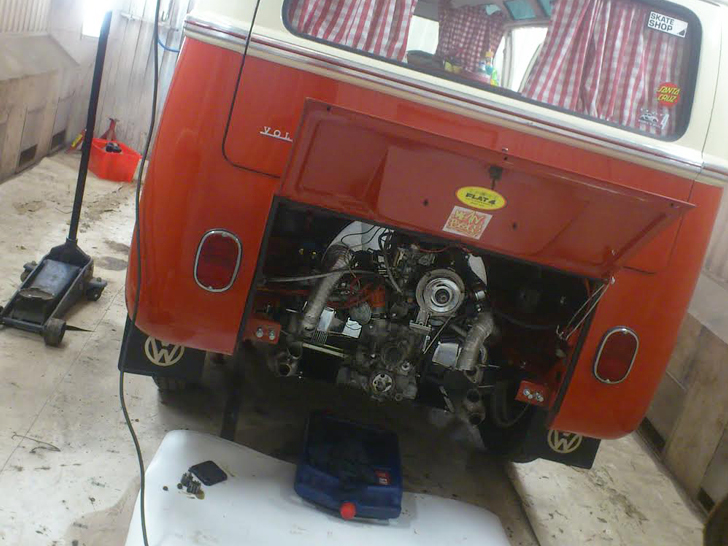
Bumper, sheetmetal and exhaust removed. Going to install a Maxi flow oilpump with dual IN & OUT ports for external oilfiler FRAM and the oilcooler.
ny1
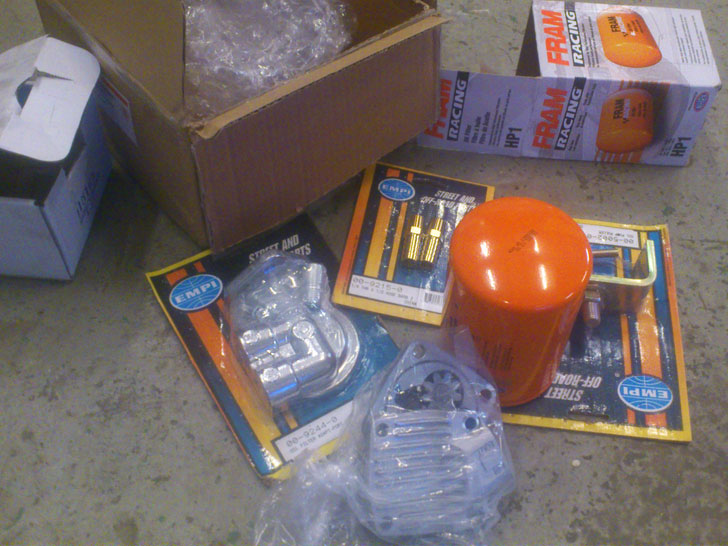
New parts arrived…

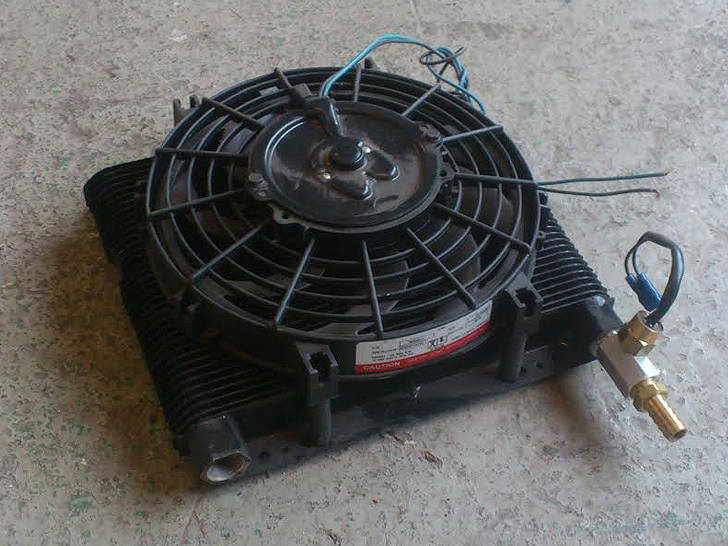
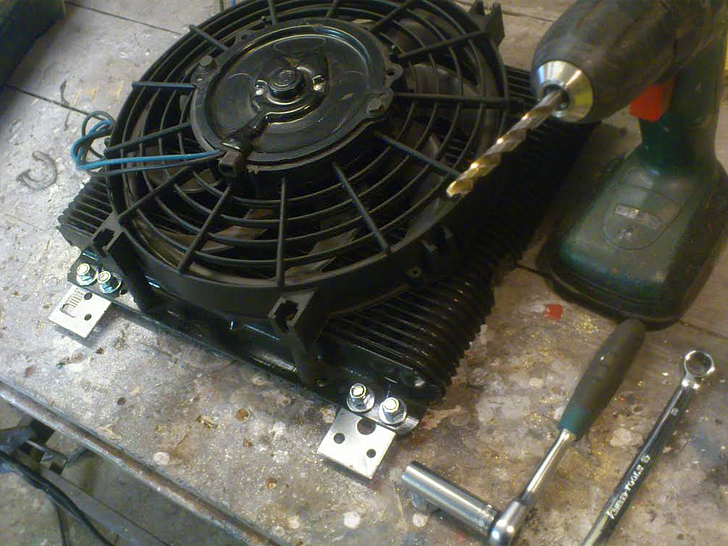
kylare1The new EMPI 72 plate oilcooler with 9″ electric rotary fan controlled by a inline thermostat. So the fan will start and stop by itself when needed (when hot). Just like on modern watercooled cars…
kylare2
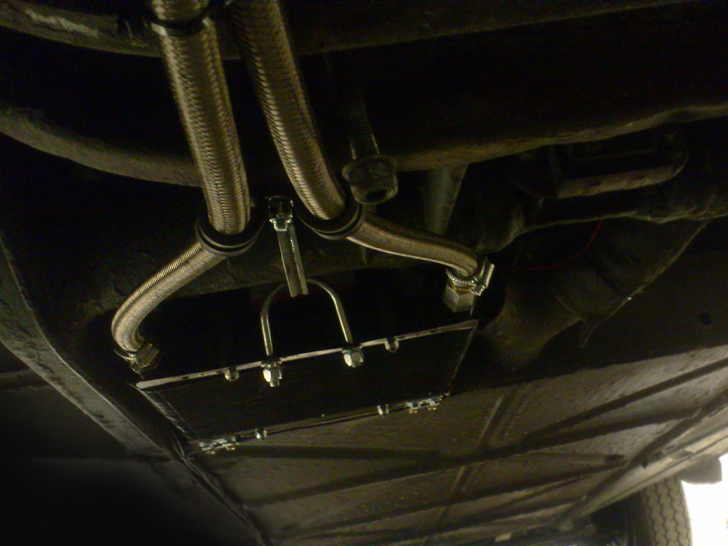
Had to make some custom brackets. Made it adjustable on 1 side, so possible to adjust the angel up & down on the cooler for more airflow if needed, but don’t think it will be necessary with this big fan.
kylare3
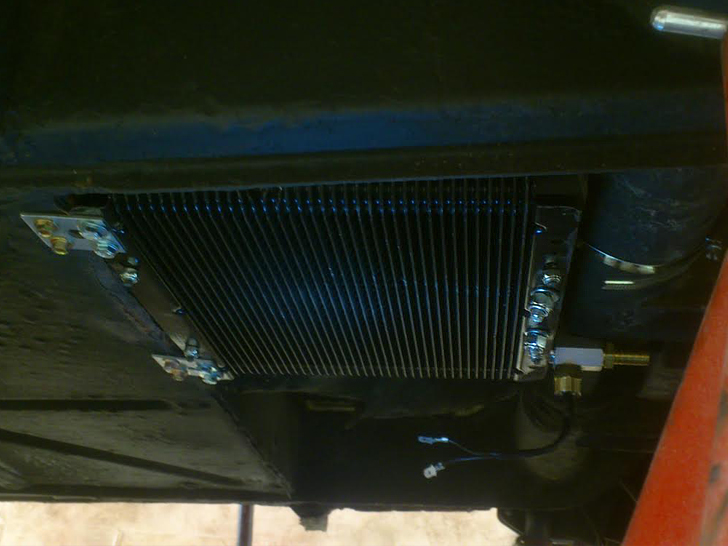
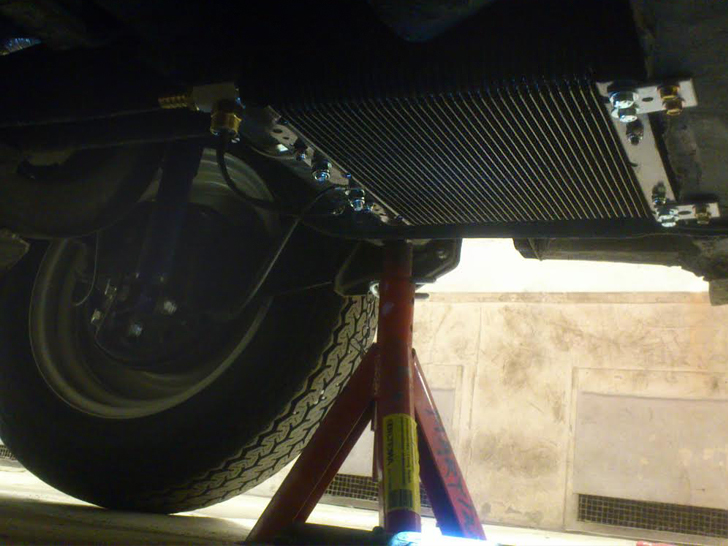
On a Samba bus it isn’t really much space underneath like on an ordinary splitbus or bay. Because Deluxe and sunroof buses have extra strengthed floors underneath.
kylare4
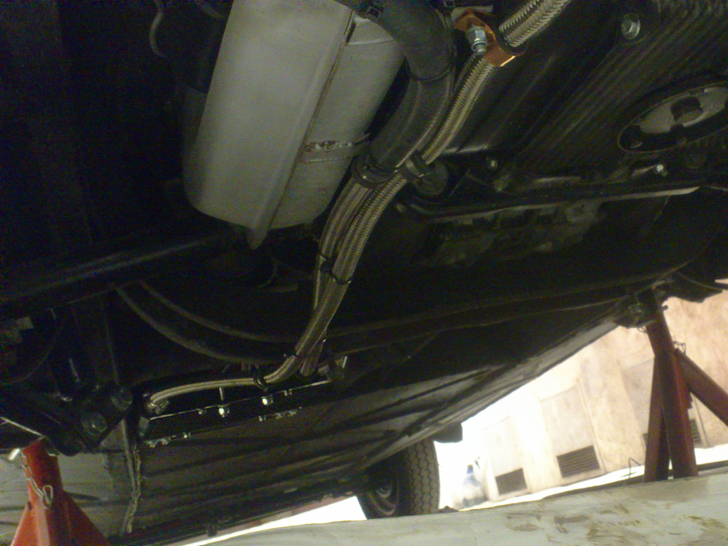
This was the only place the cooler would fit nice, just in front of the transmission. Cooler lays flat with the floor so it wont hit anything when driving low or bumpy roads.
ny2
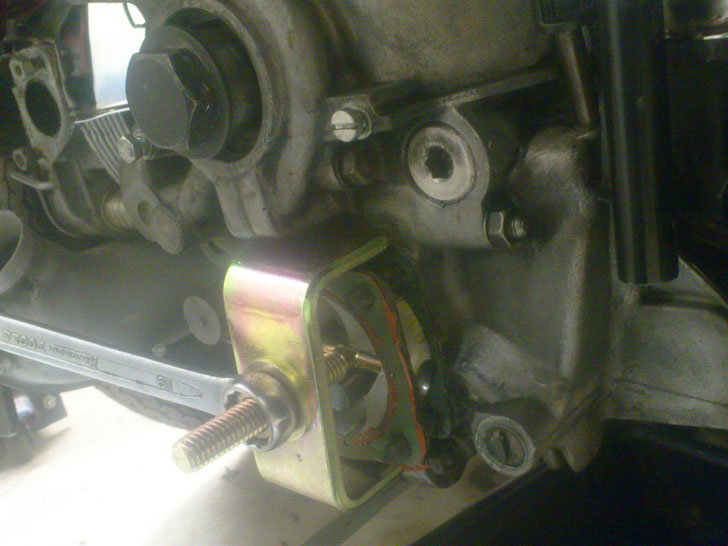
Removing the “old” oil pump…

ny3
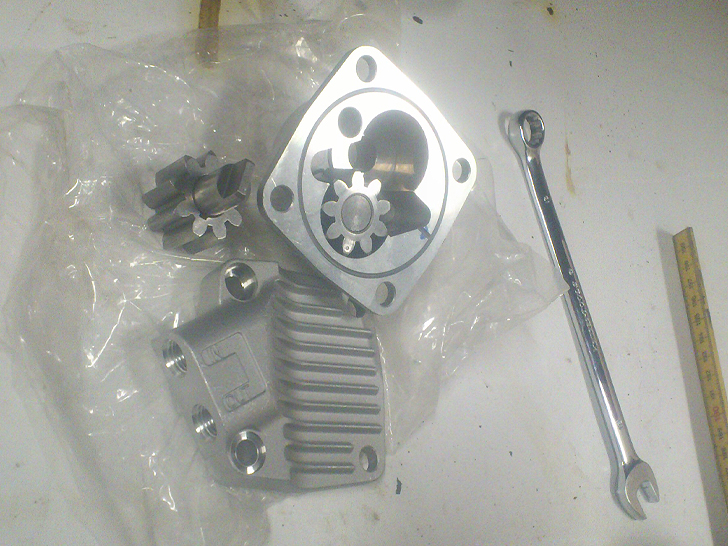
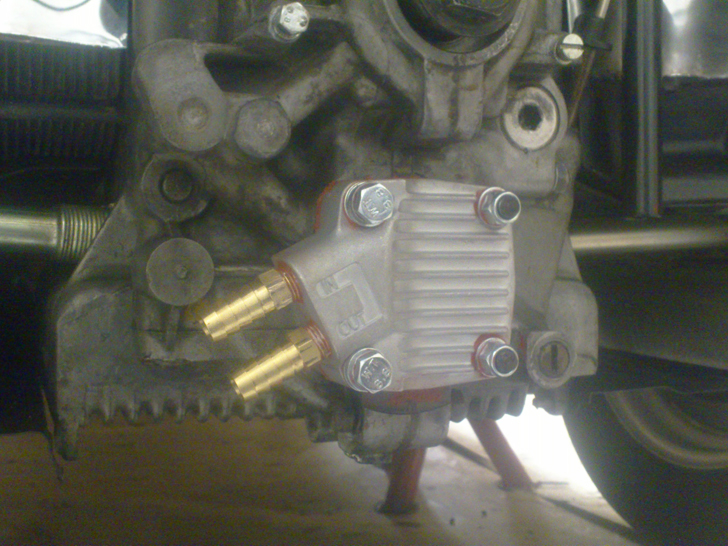
Maxiflow oil pump has IN & OUT outlets on the oilpump cover. No drilling, tapping or messing around with the engine case. Almost “bolt-on”.
ny4
Pump installed and ready. Watch out for using the bolts that is supplied with the oil pump kit, some of them are to short and can destroy the threads in the engine case. I took some longer ones instead.
ny5
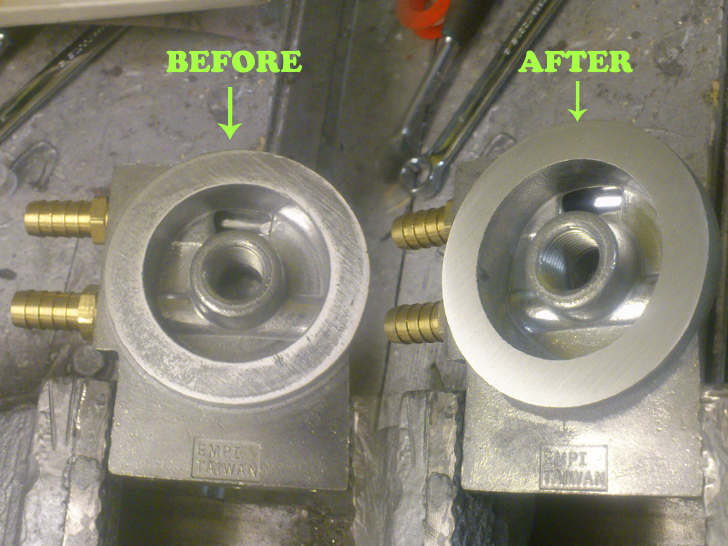
EMPI is not what it used to be (made in US) as you can see its now made cheap in Taiwan. It works but the quality is poor. I had to machine/sand down the surface to make the oilfilter o-ring seal tight. And always watch out for “cast beard” in canals and holes, you don’t want that in your engine…
ny6
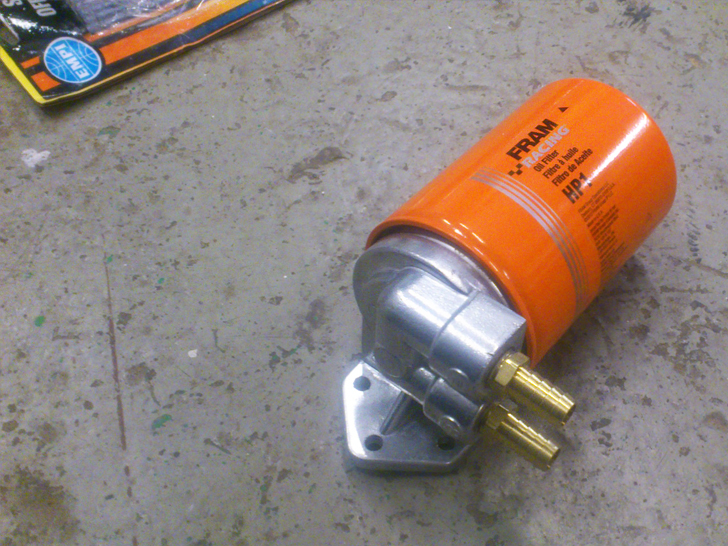
Filter and holder/bracket ready to go in. I will mount it in the left corner under the battery tray so it will be easy to change filter in the future. Also if there should be a oil leak somewhere from the hoses I can loop the hose back to the oilpump and keep driving.
ny9
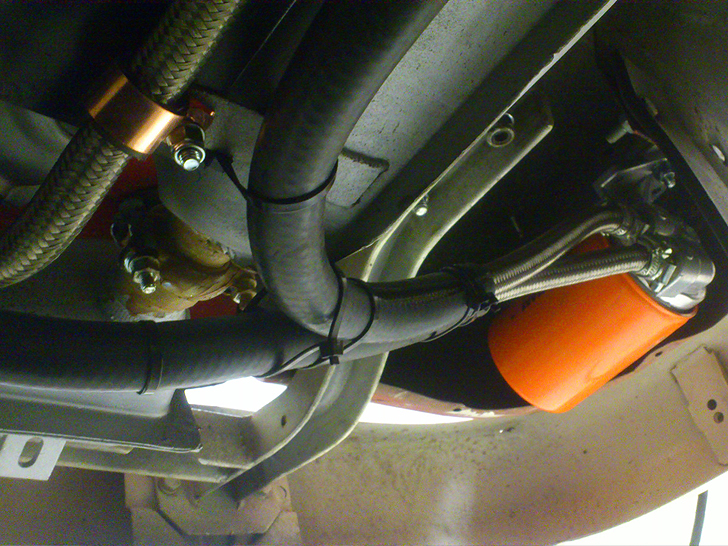
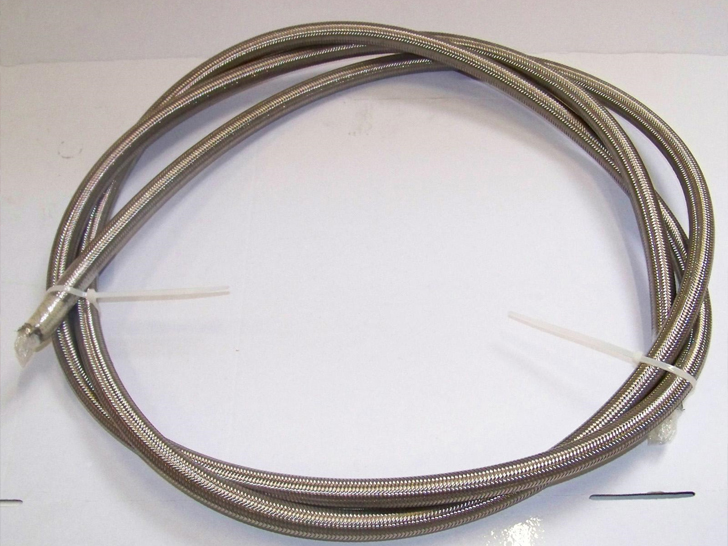
Heavy-duty stainless steel braided oil hose. Good for -90 to 160+ celsius. Pretty pricey. Im not planning to drive at Le-mans but good to know that you have hoses that will last on those hot summer days, right? I will use dual hoseclamps in each end. I know some historic Porsche rally/racing cars that use hoseclamps so it will work just fine on an old bus like this too…
ny8
Modified for 1600cc+. It’s not finished in the picture above of course…
ny7
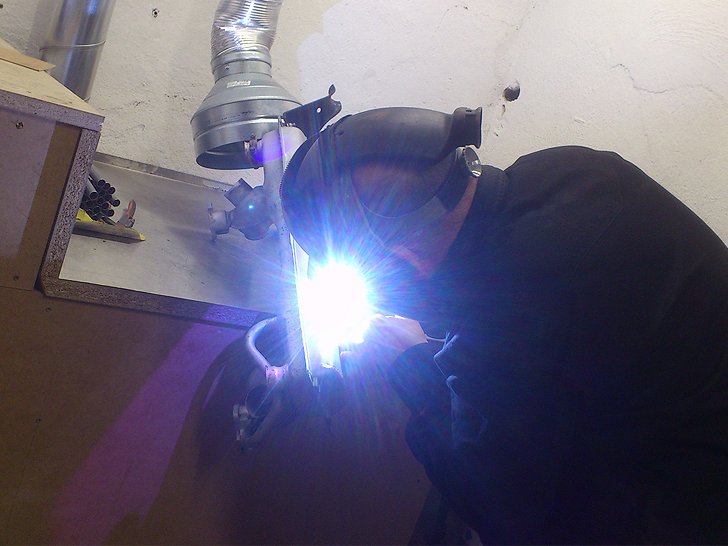
TIG weldning

kyl1
Stainless lines routed

kyl2

kyl3
System is now filled up with new oil. No leaks. Great. Almost 1 extra liter of oil needed to fill it up now. More oil in the engines oilsystem is good, keeps the oil fresh longer and helps cooling.
kyl4
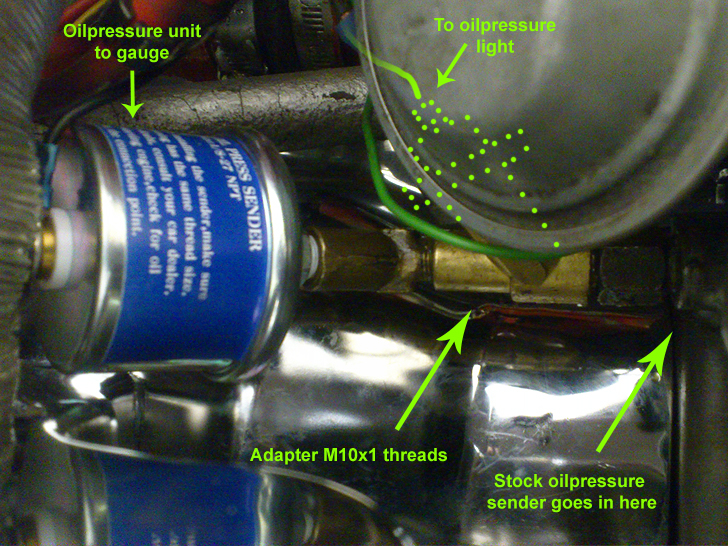
Oilpressure gauge is now installed, the sender was mounted on a adapter, the case is M10x1 threads. Oiltemp is measured thru the dipstick. Left to do is a testdrive, when weather approves…