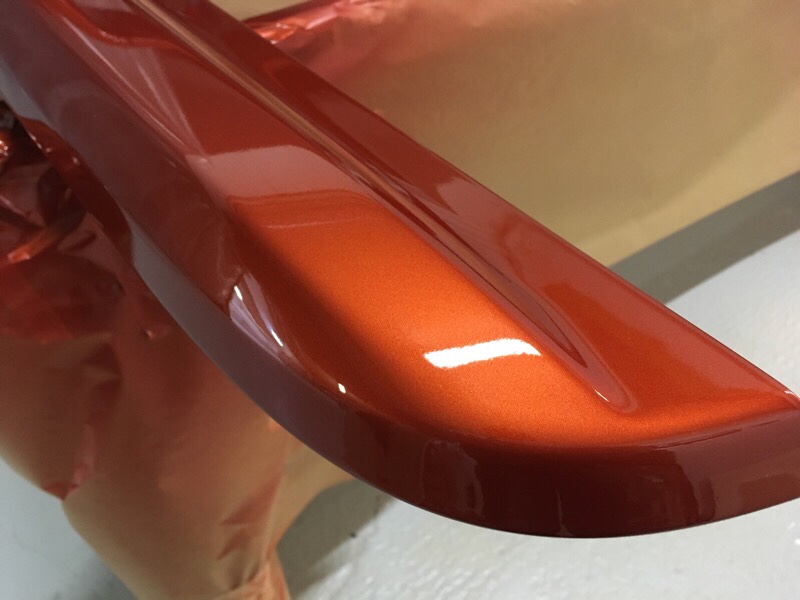
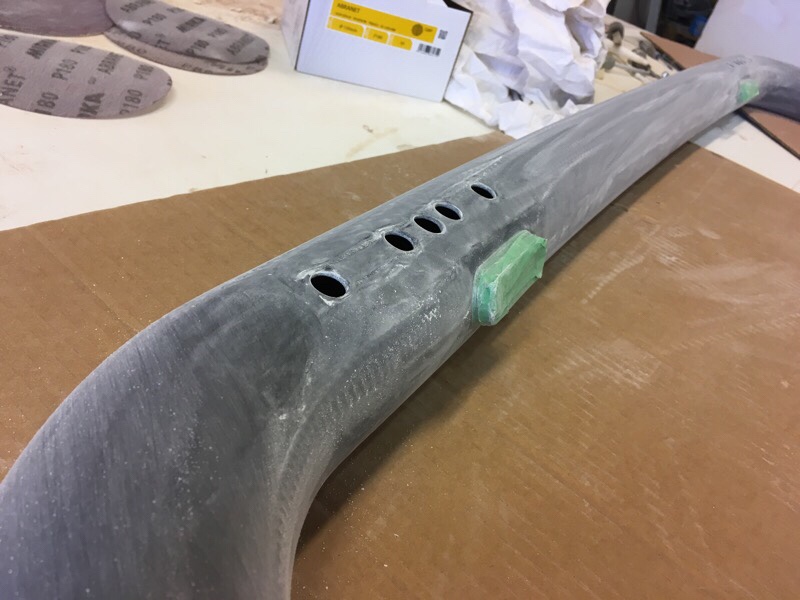
Crescent Compact moped, from bare metal to top paint in orange.
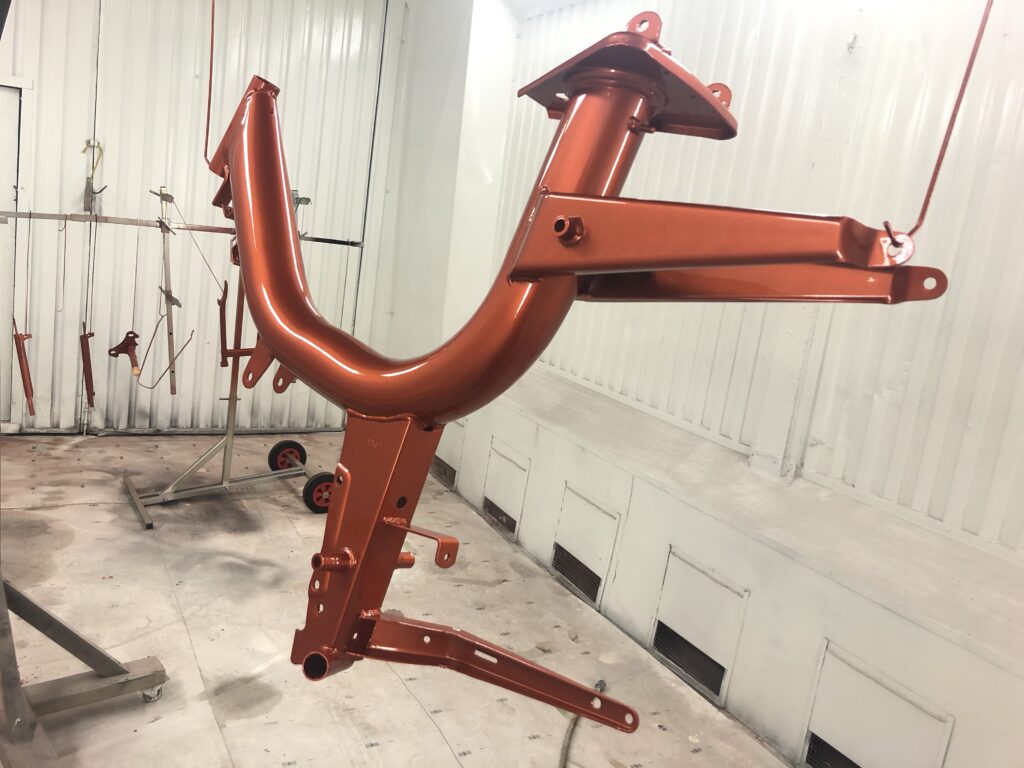
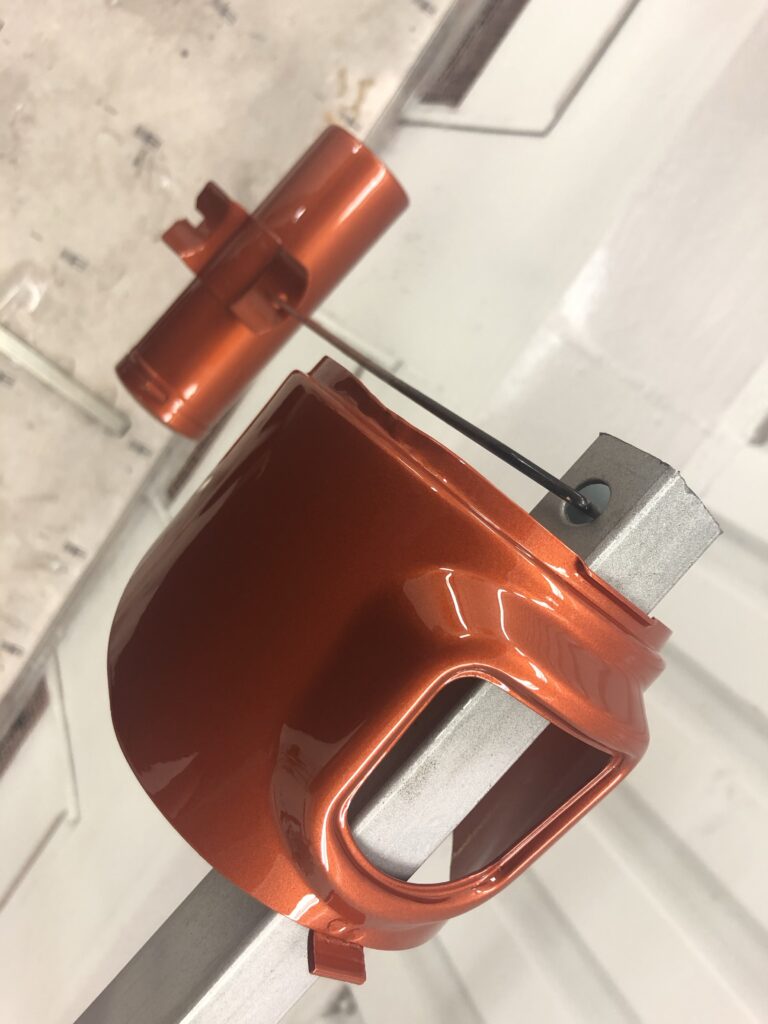
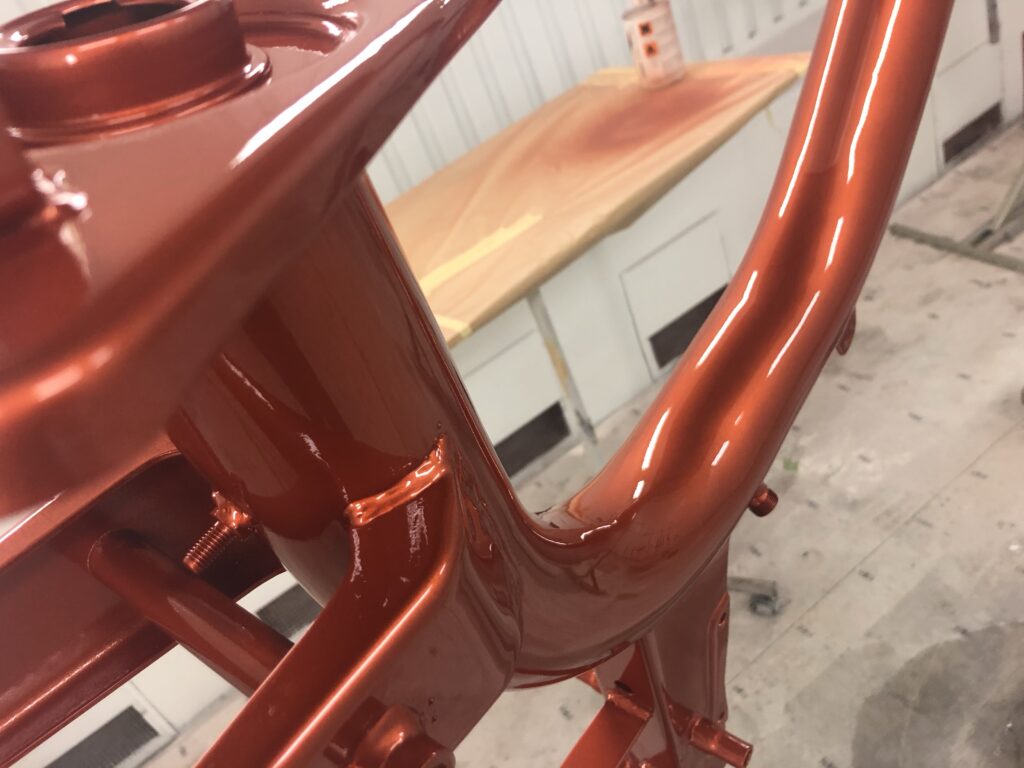

Crescent Compact moped, from bare metal to top paint in orange.
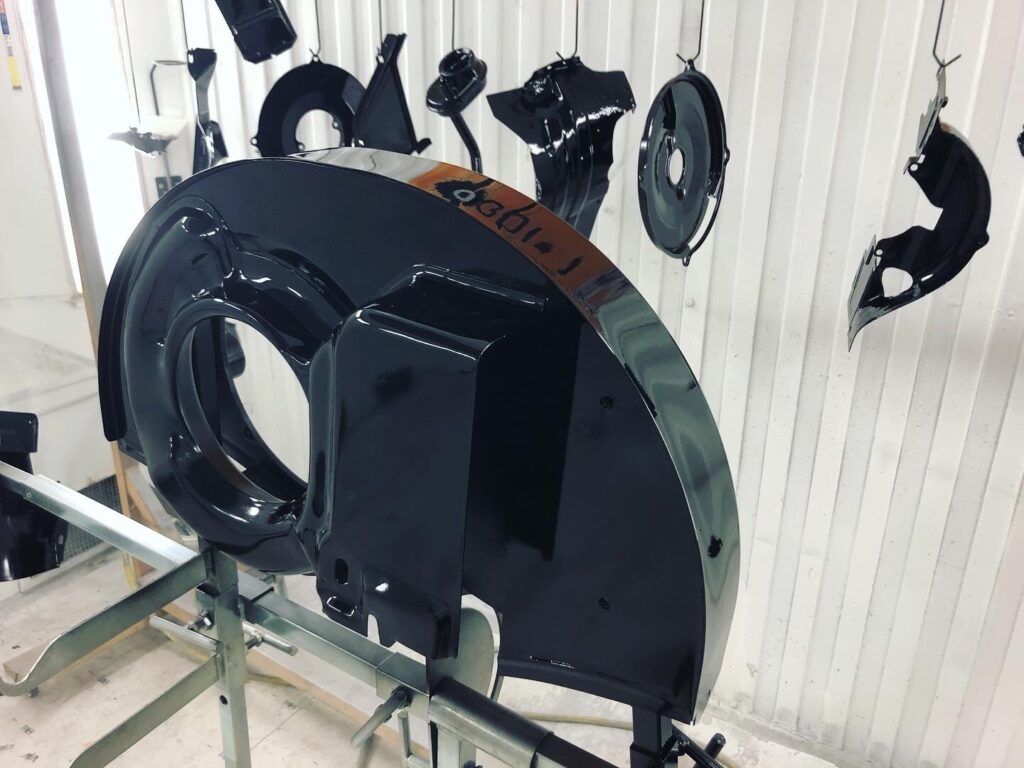
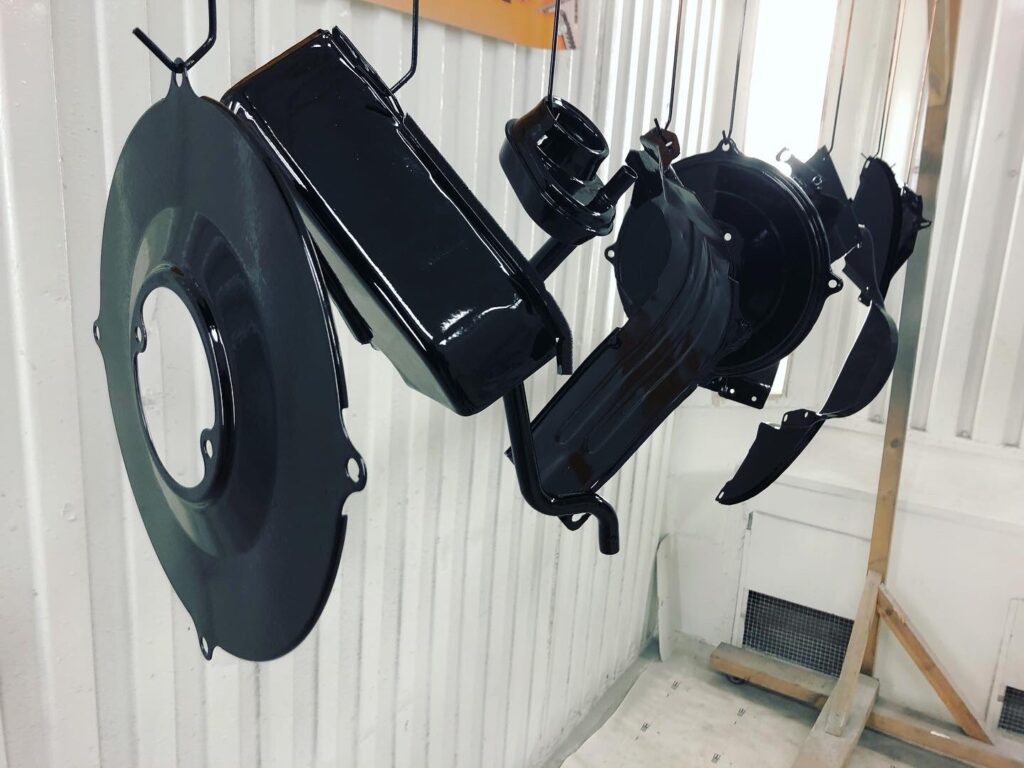
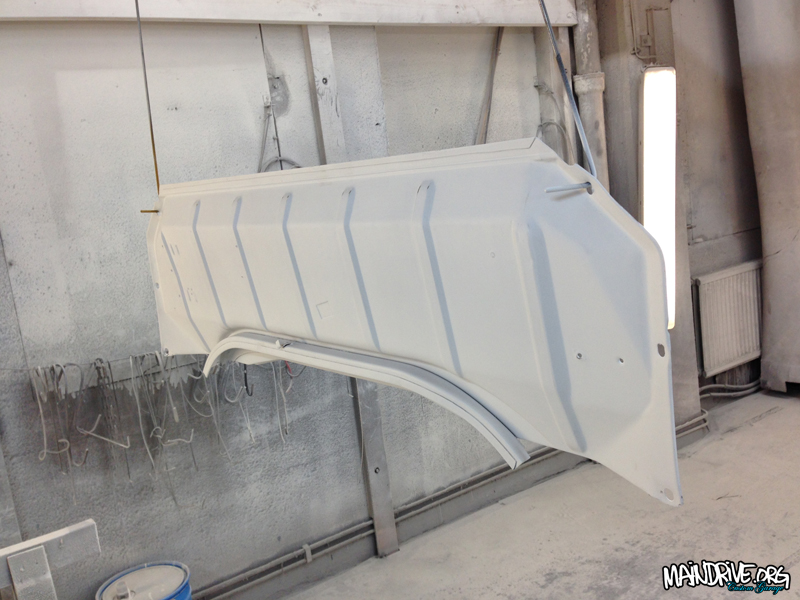
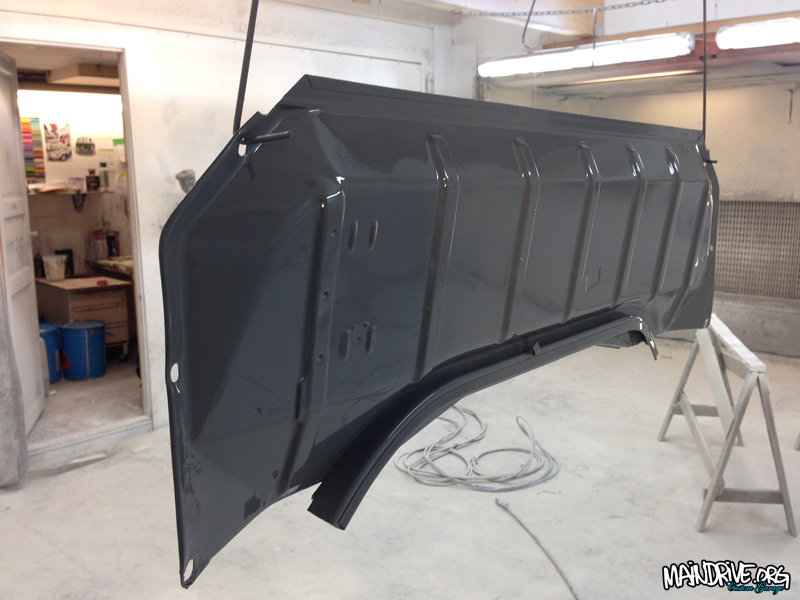
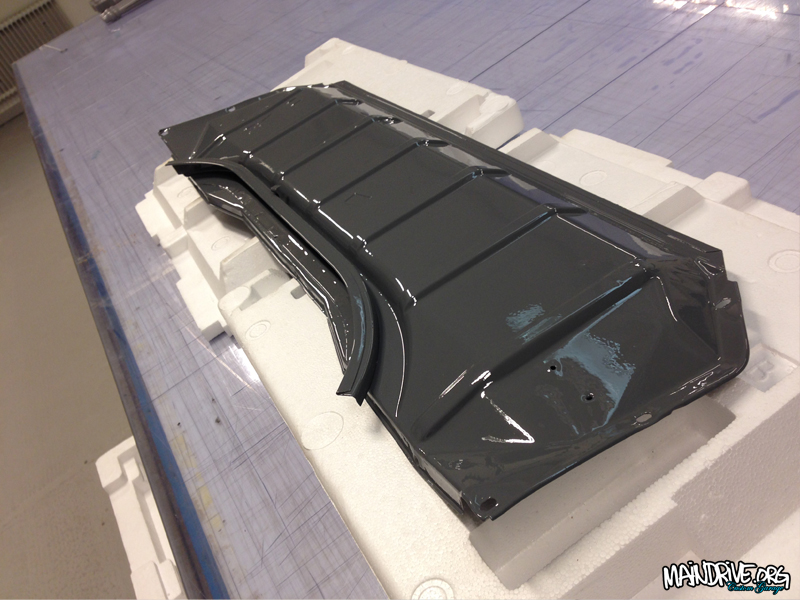
Fanhouse and other engine sheetmetal painted for Piece Performance, Hans Landenius.
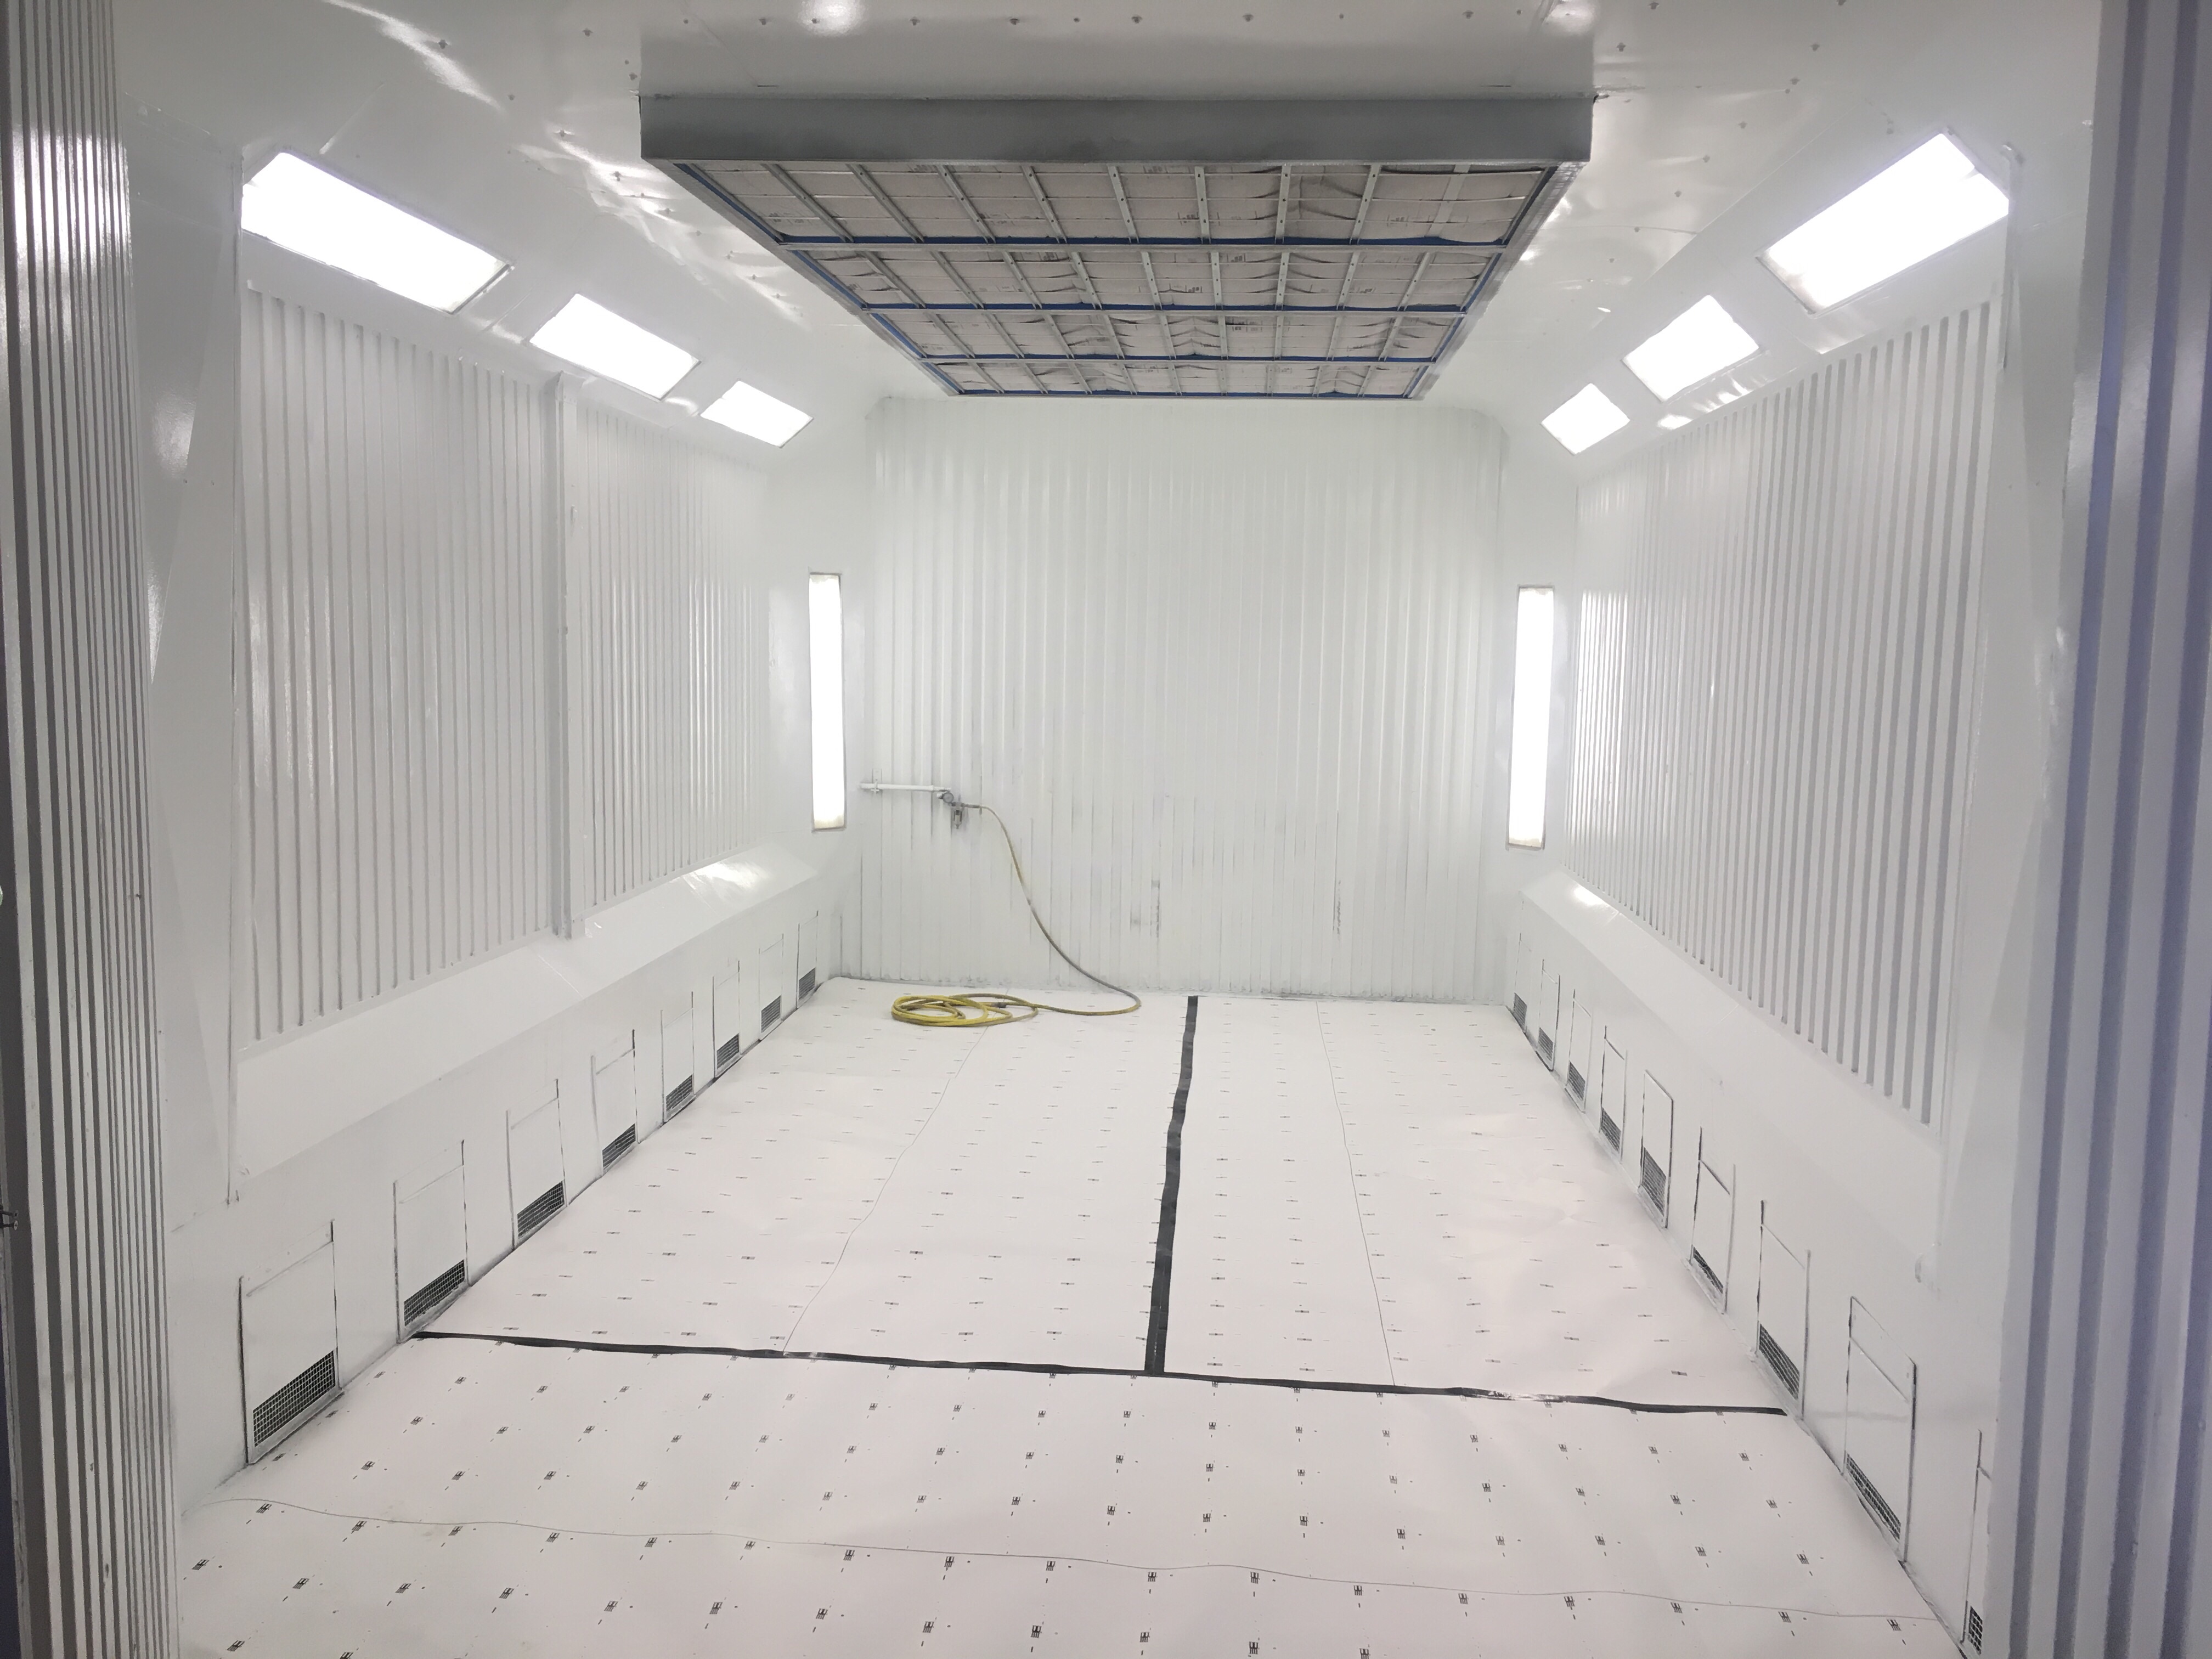
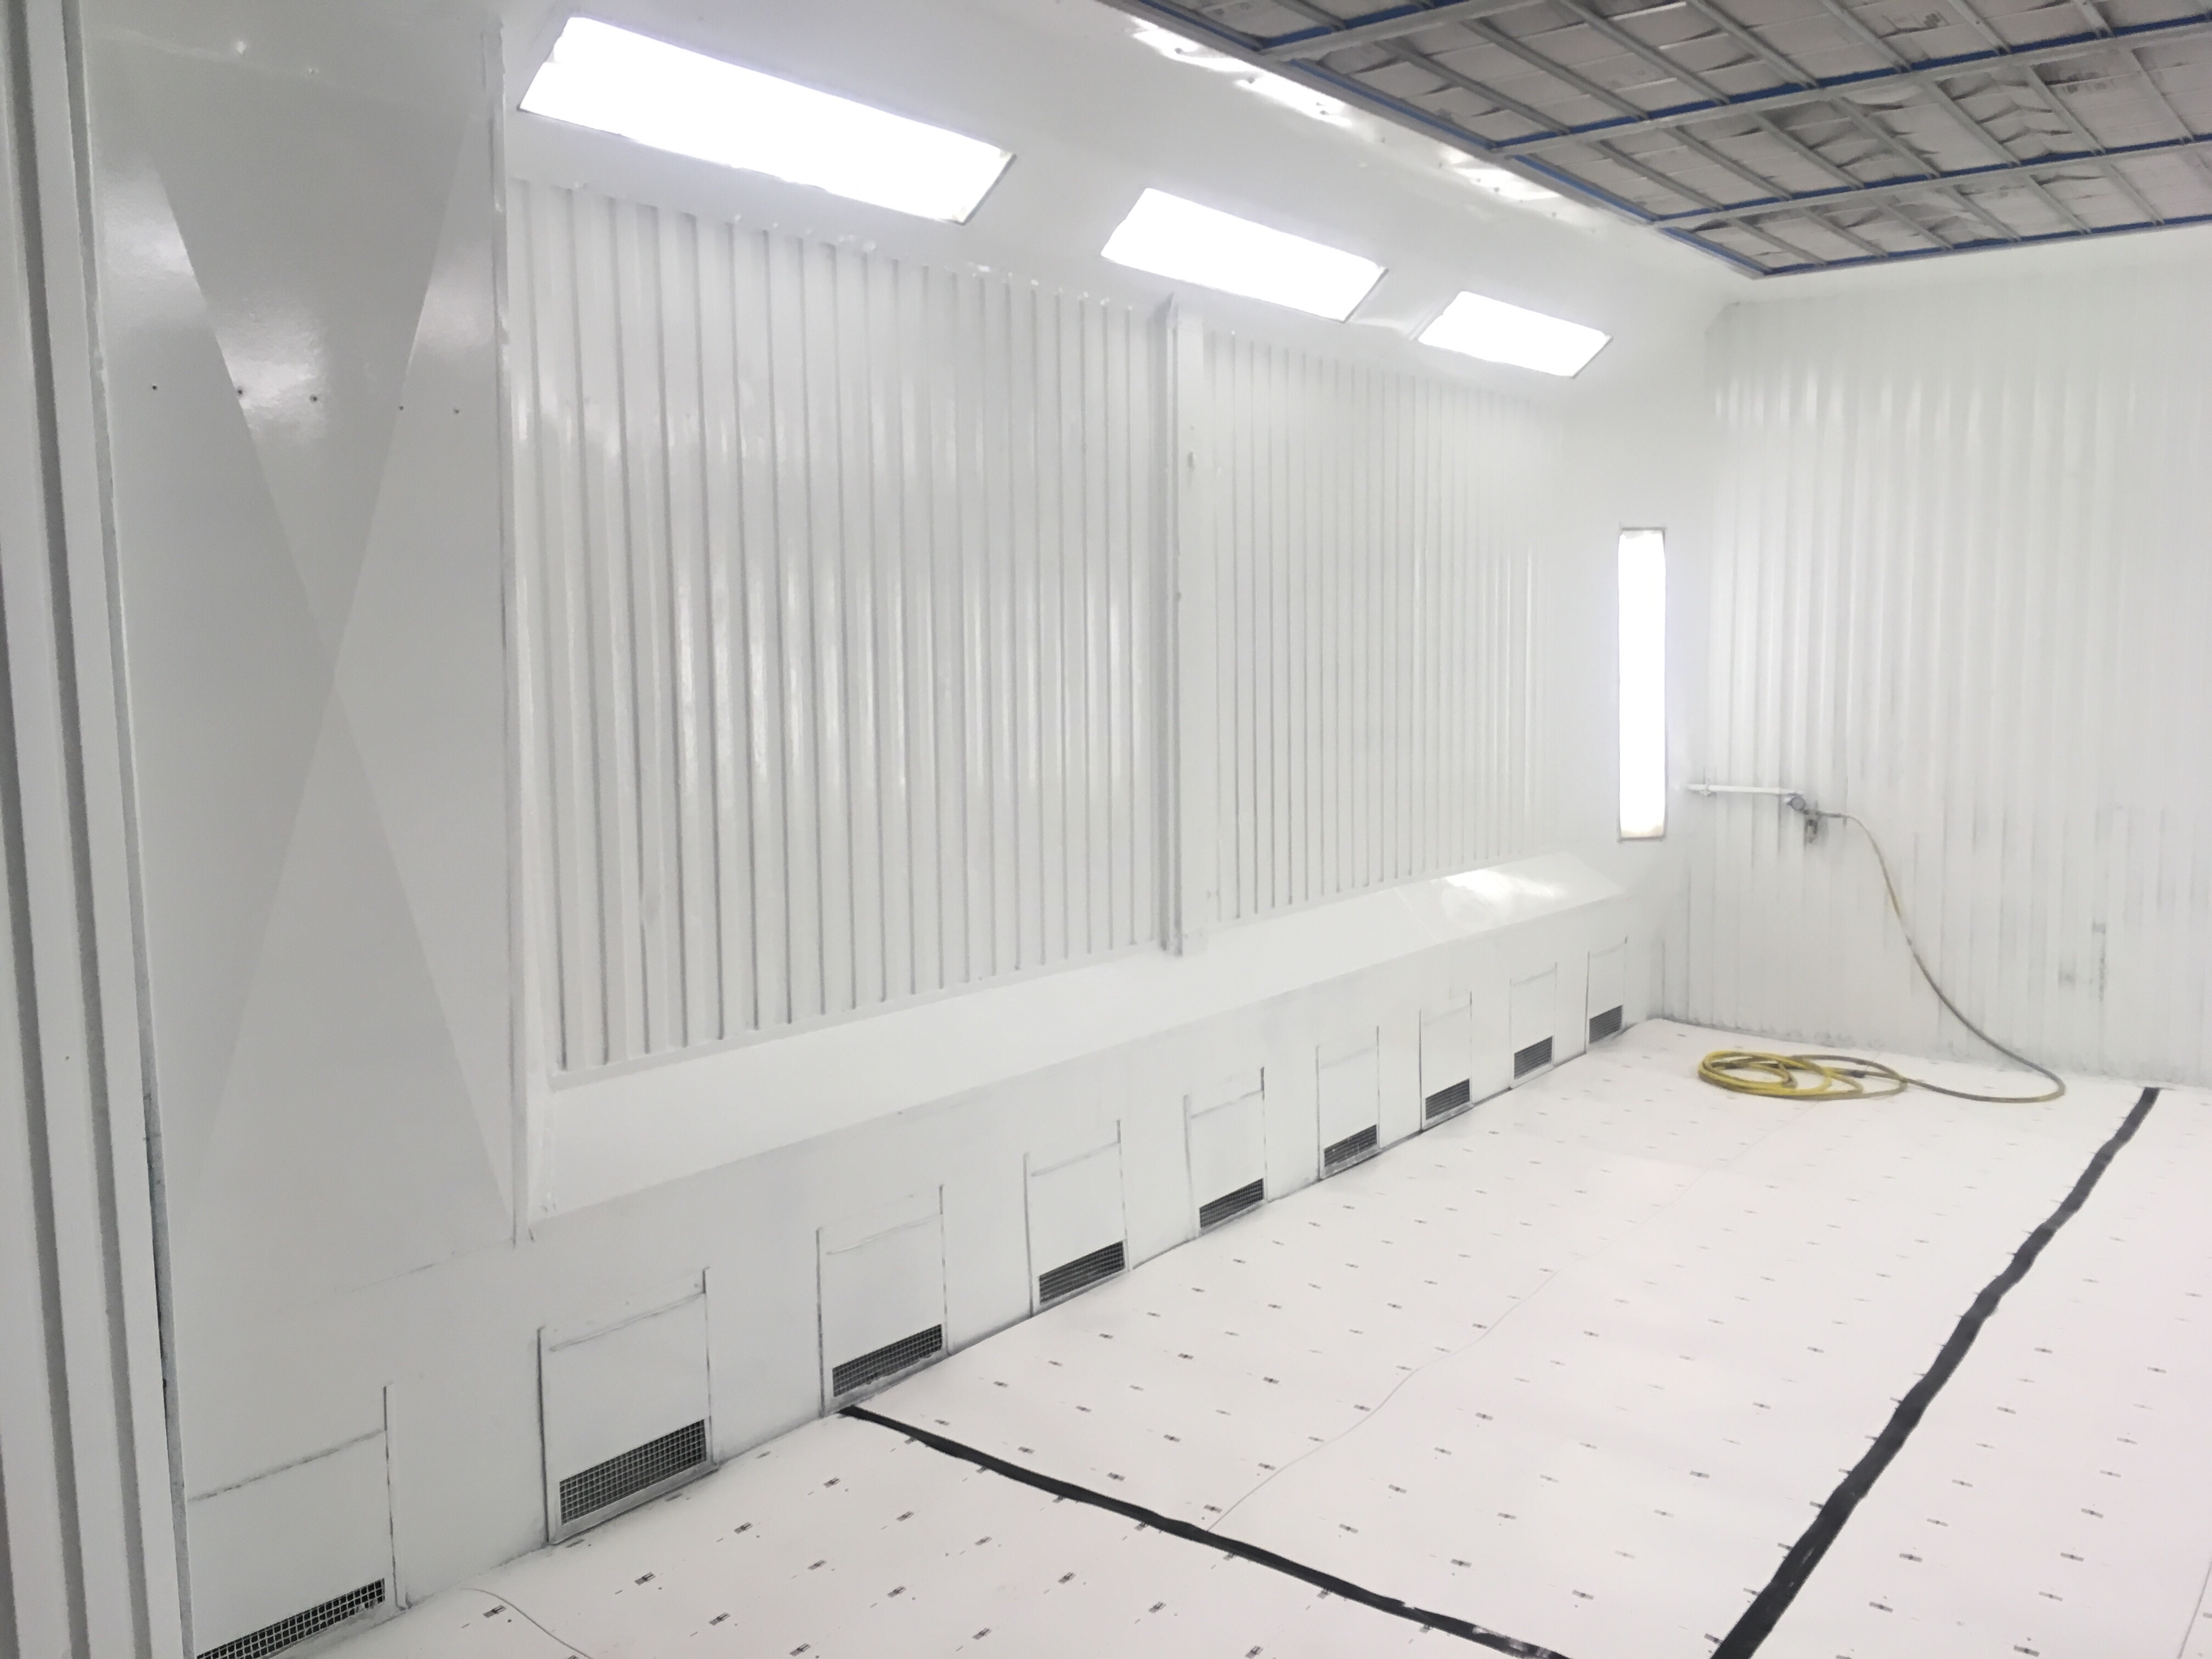
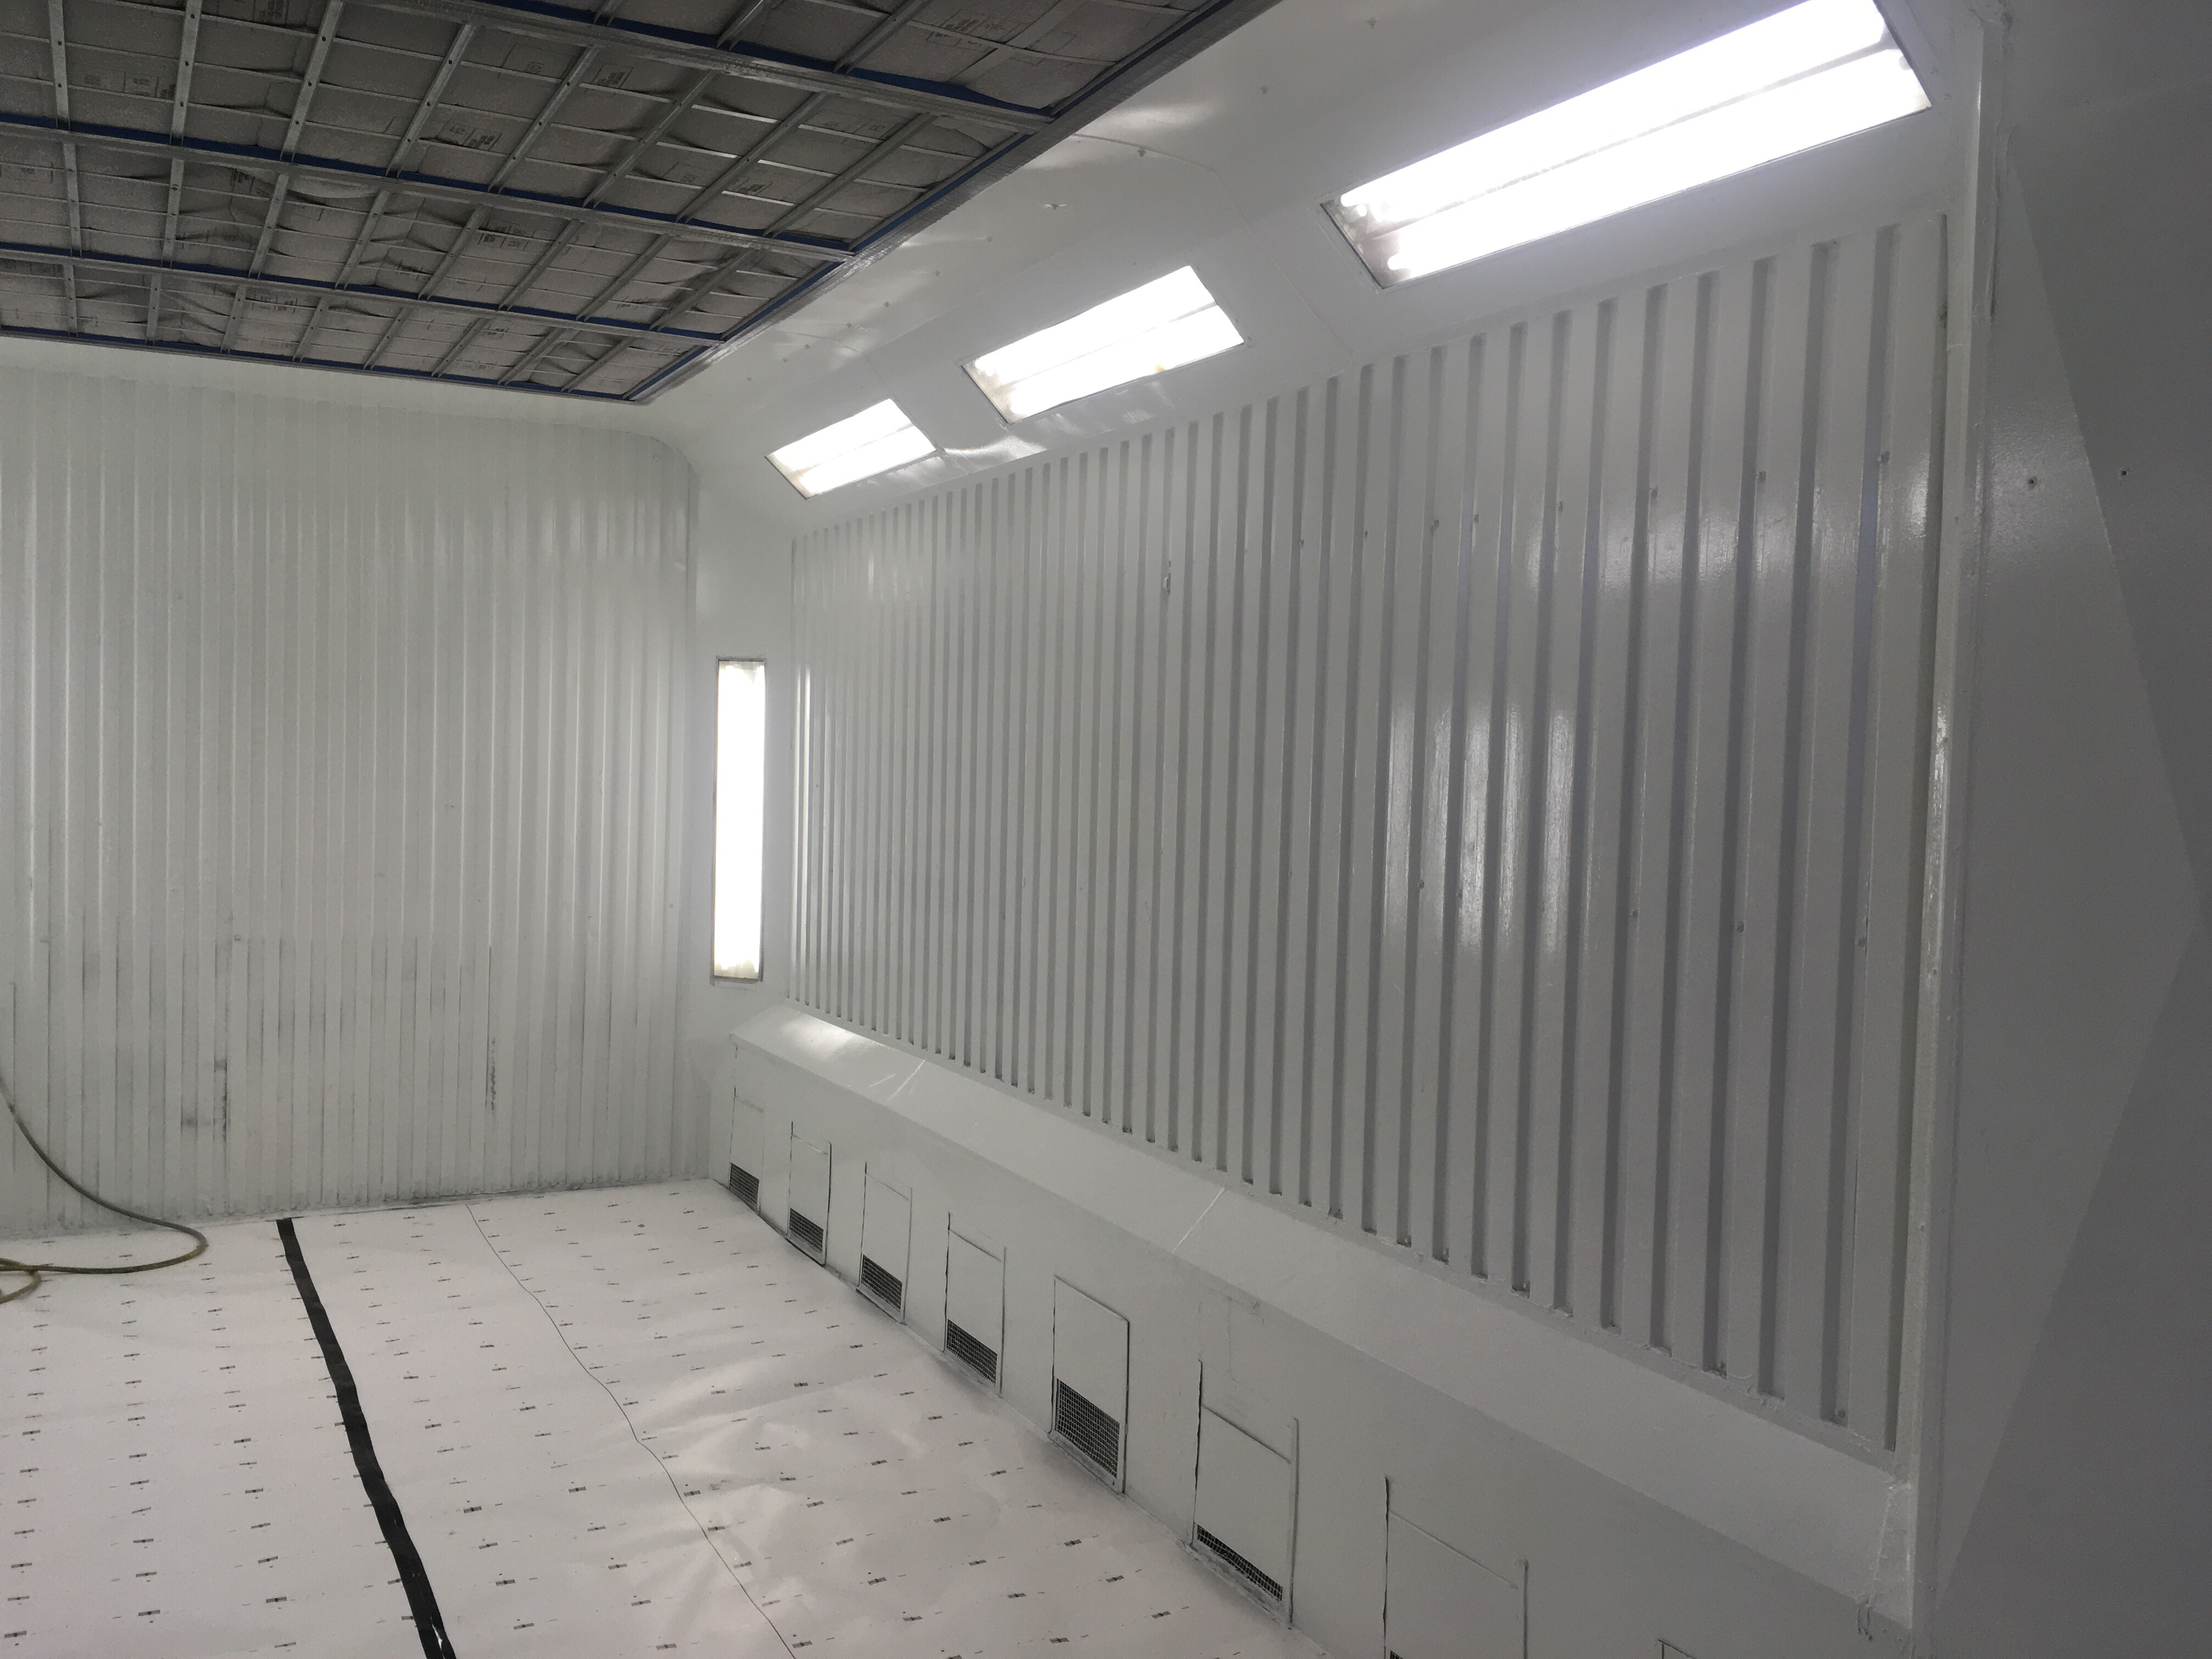
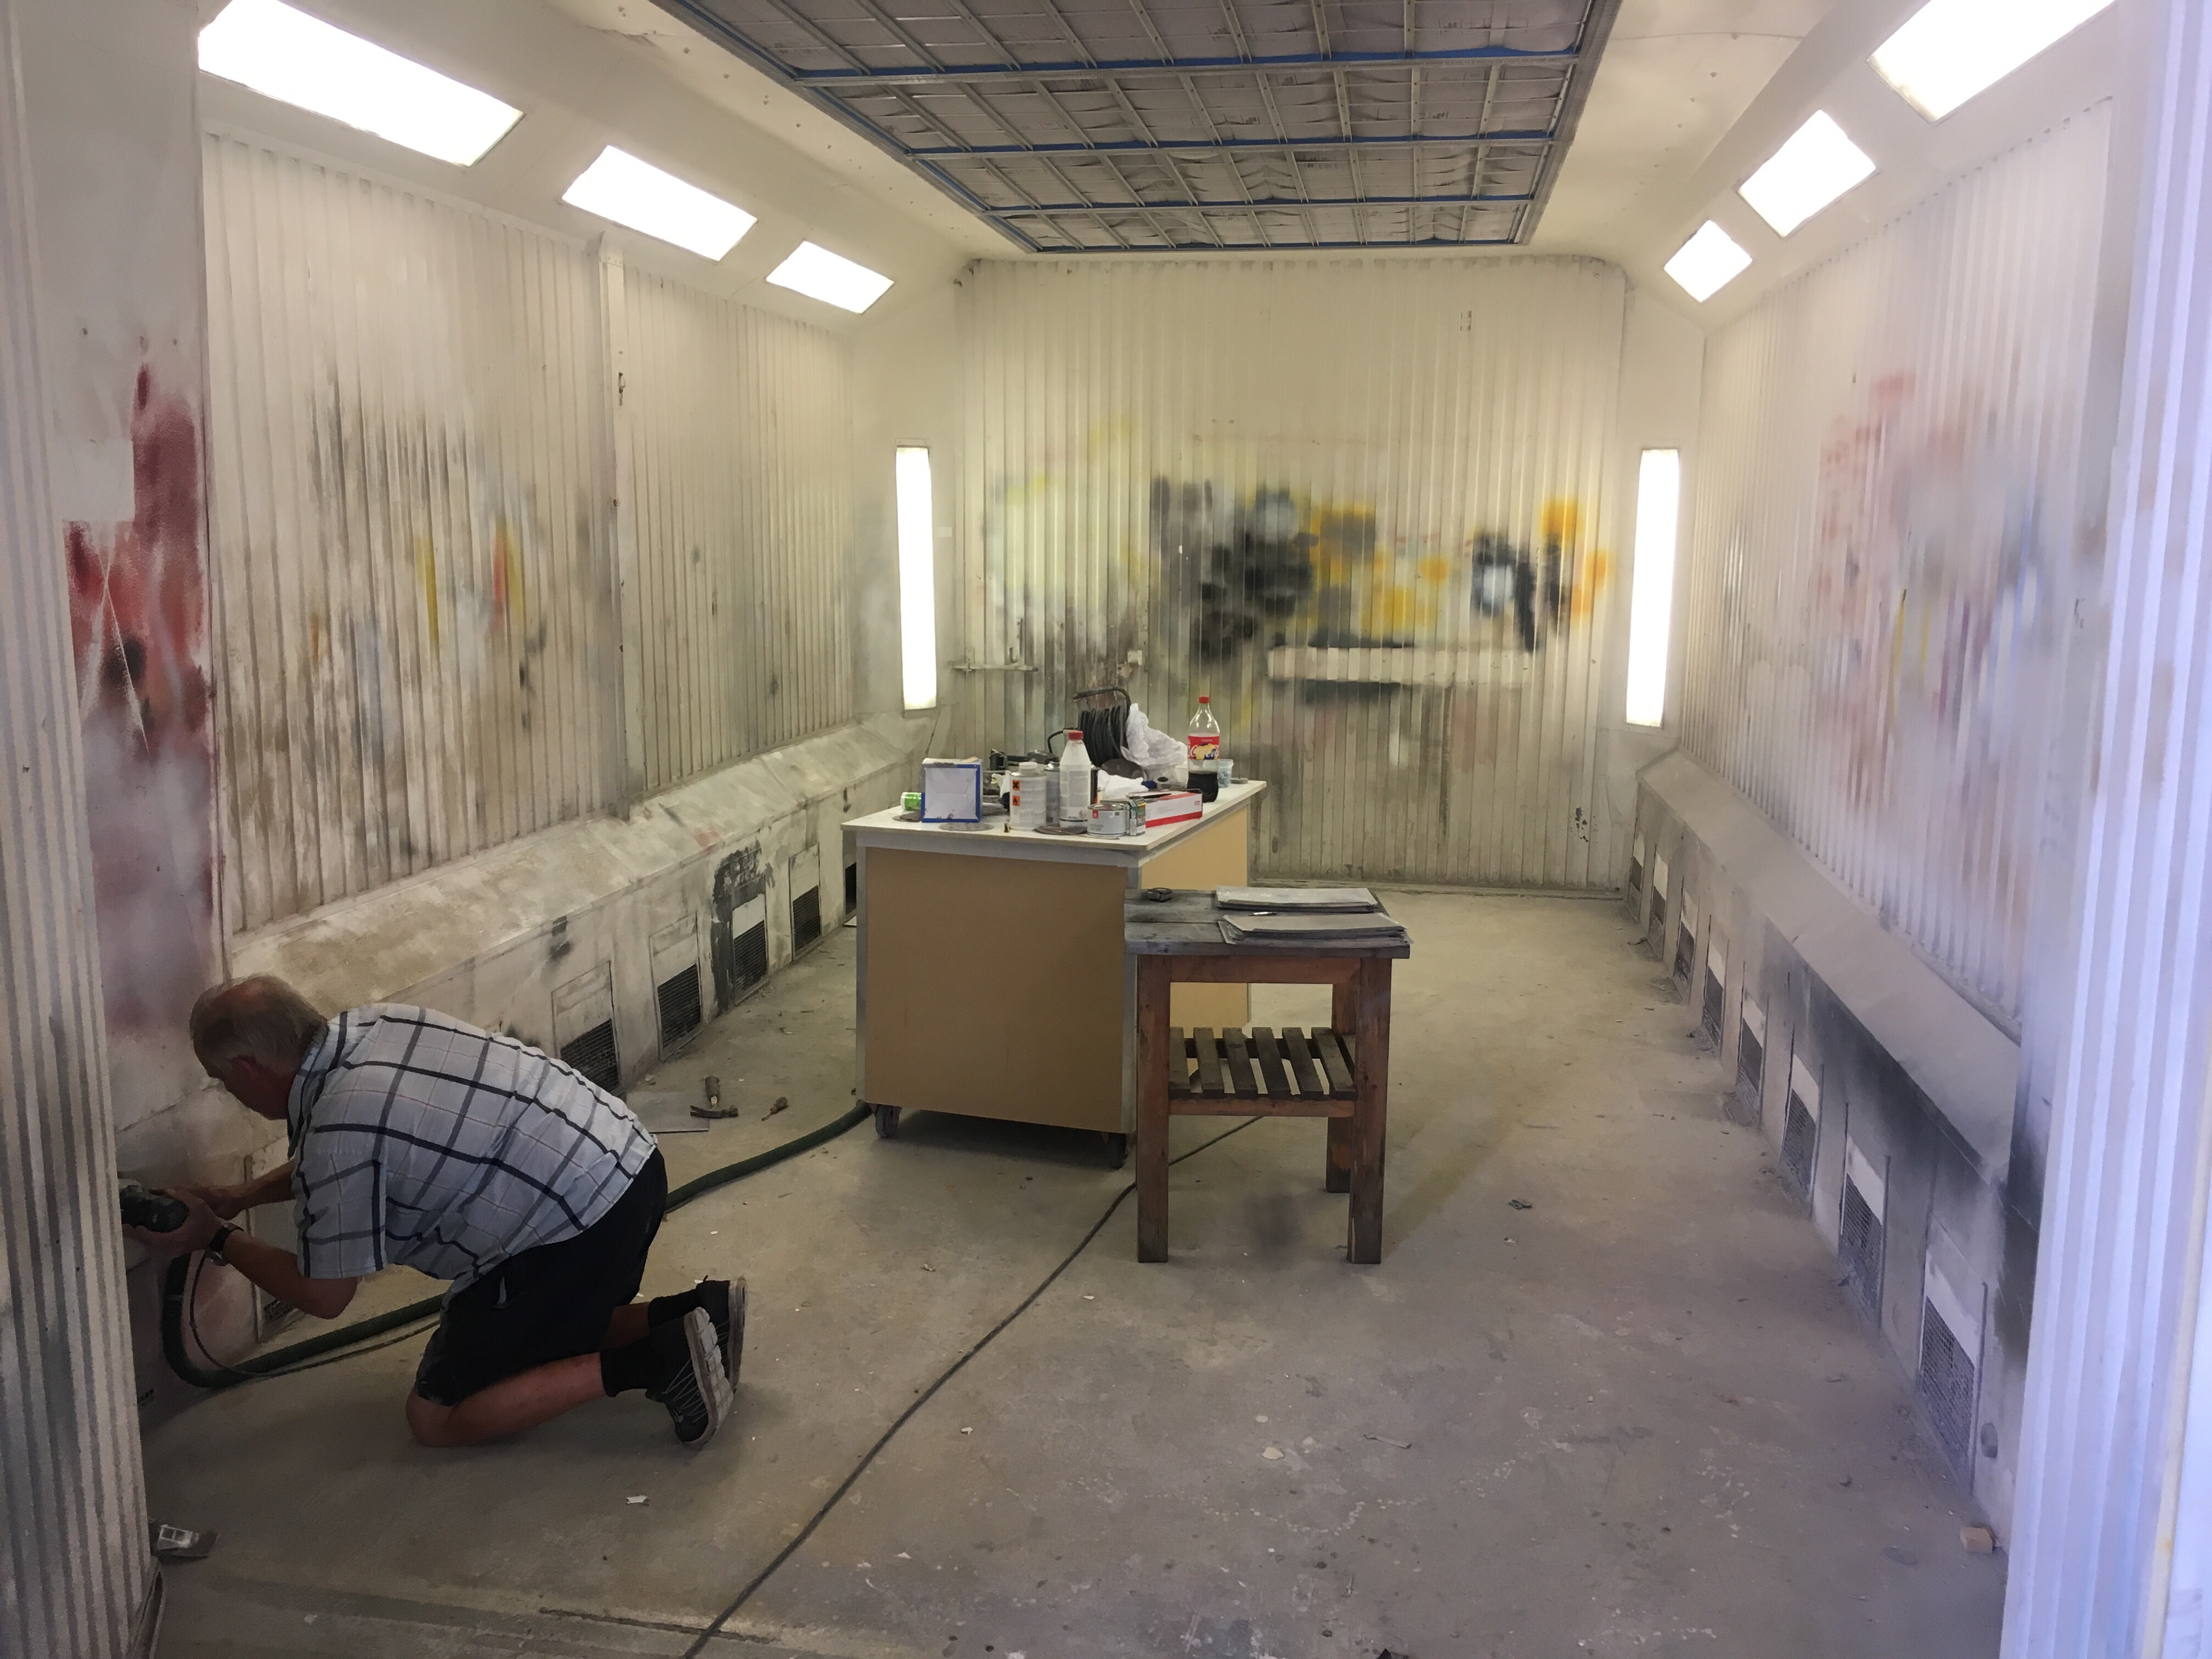
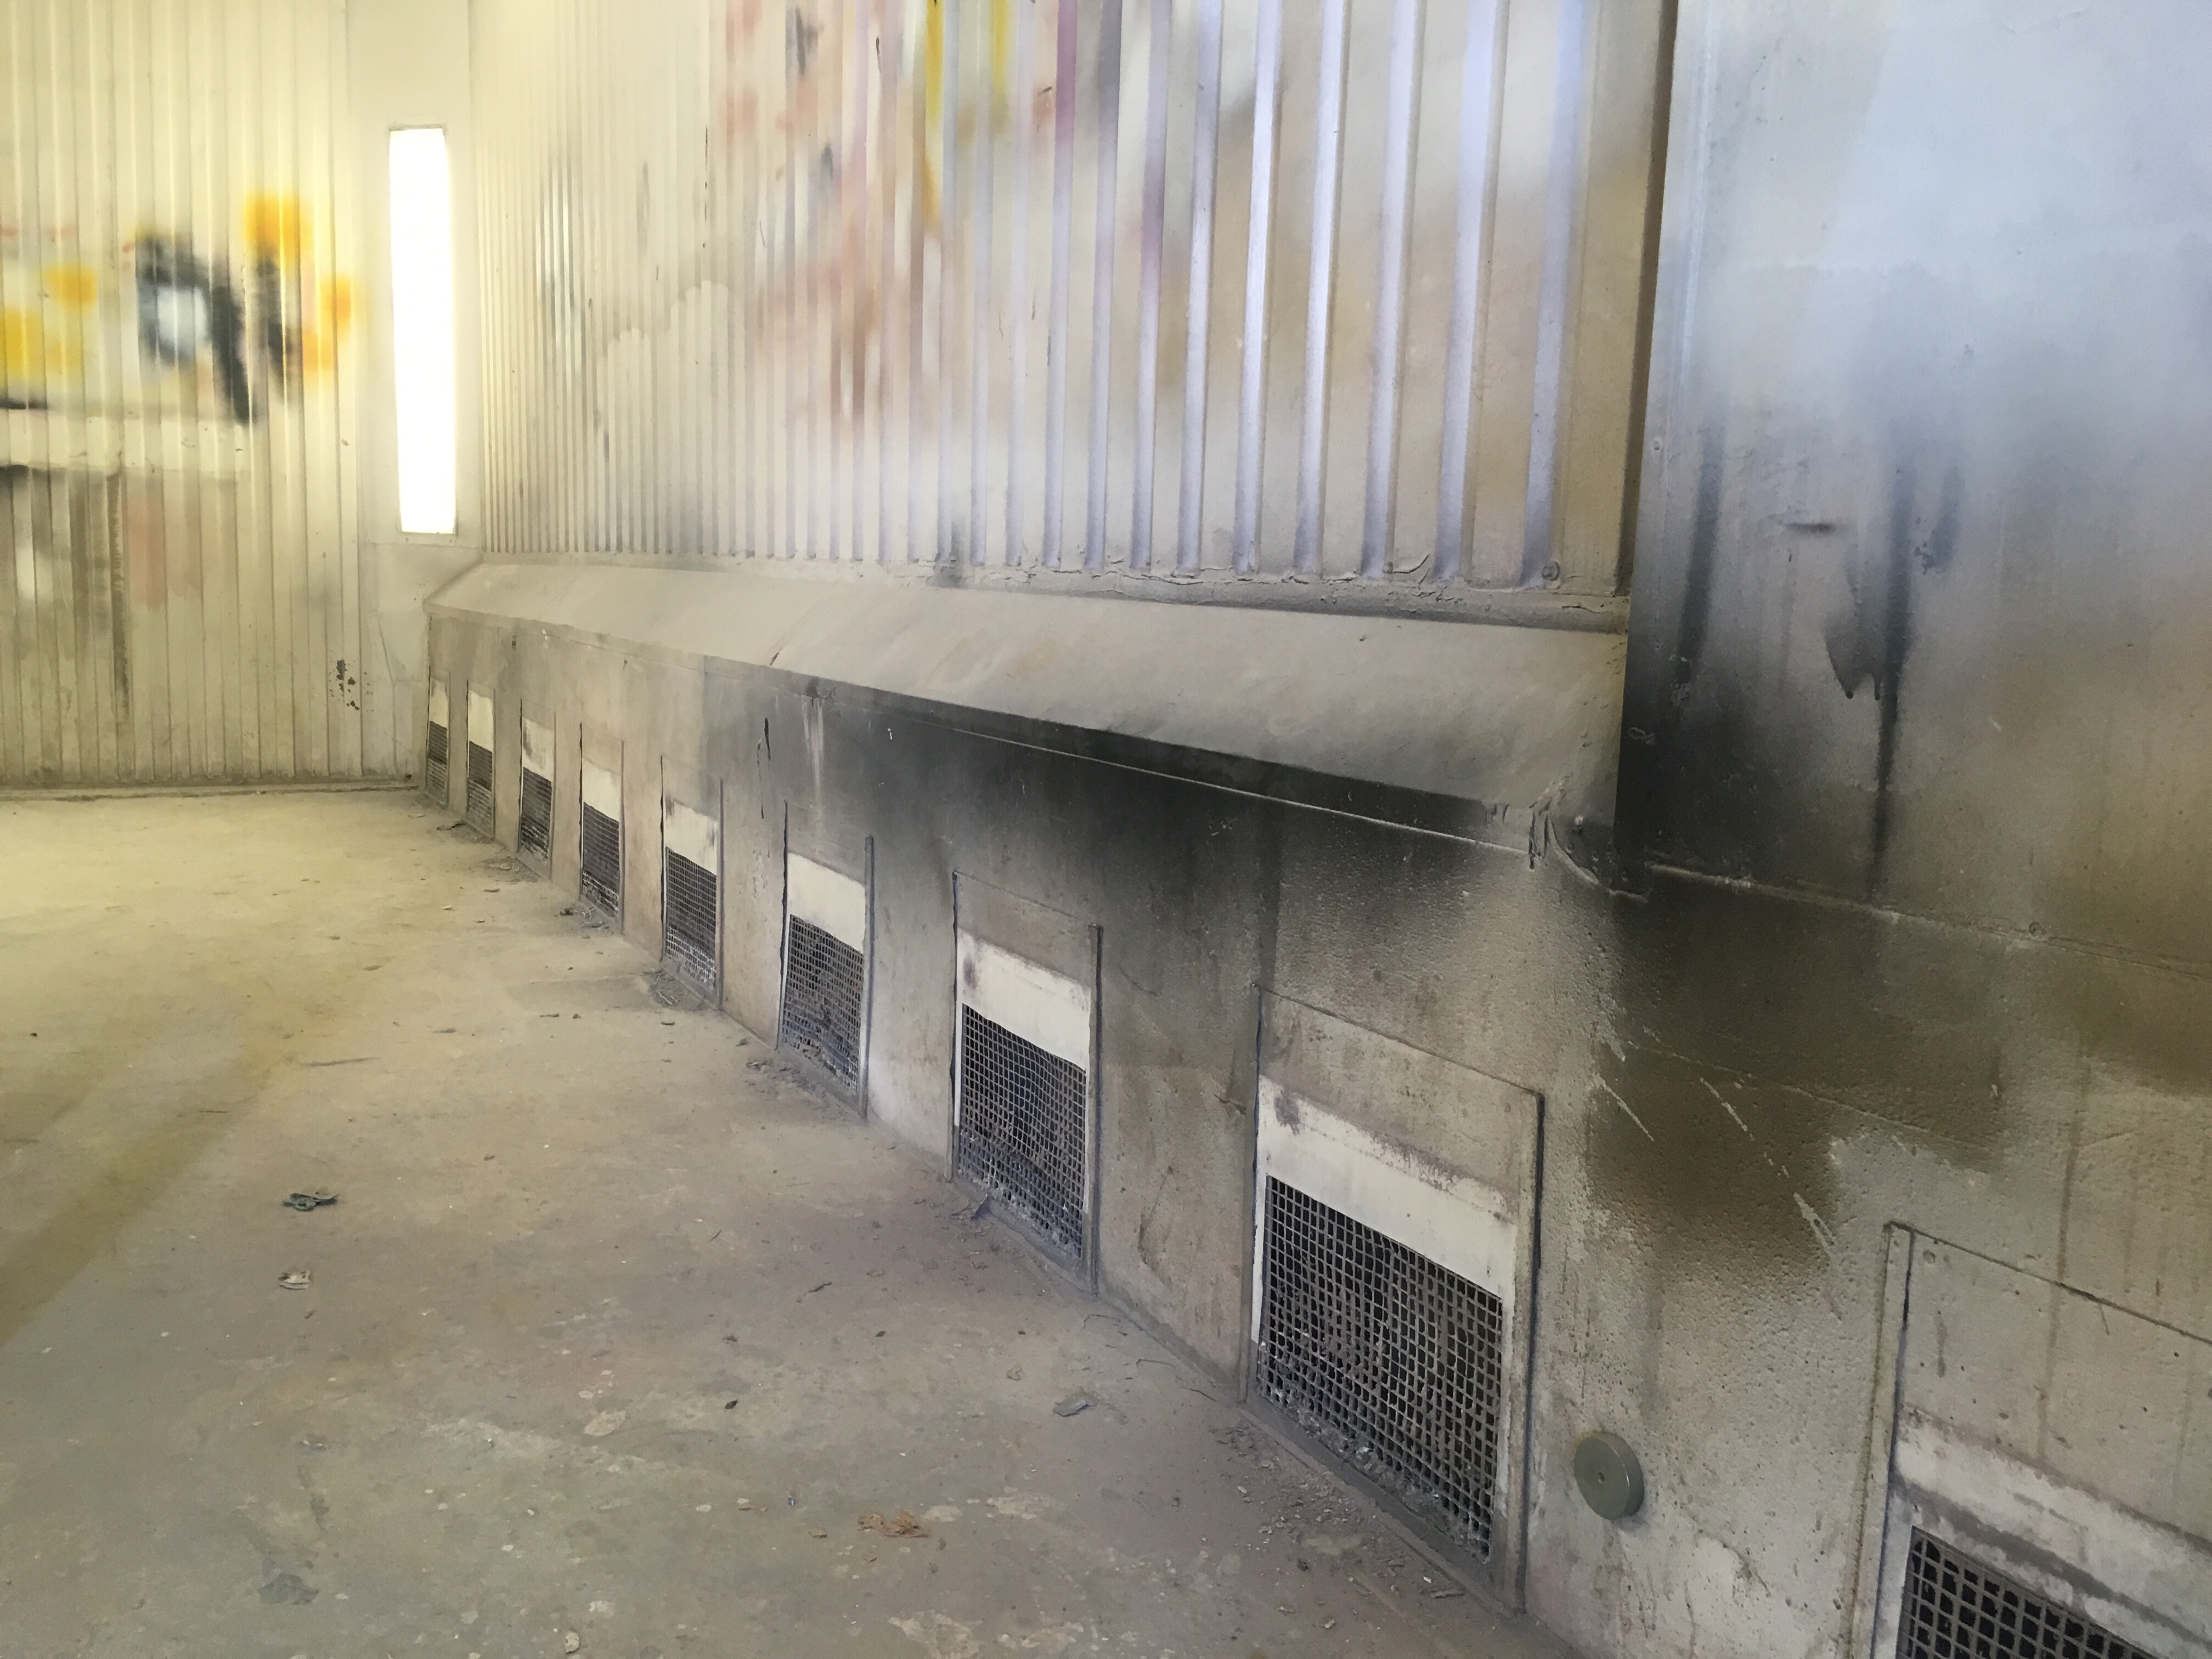
The paintbooth have got a proper clean up and are ready to rock! Here is some before and after shots.
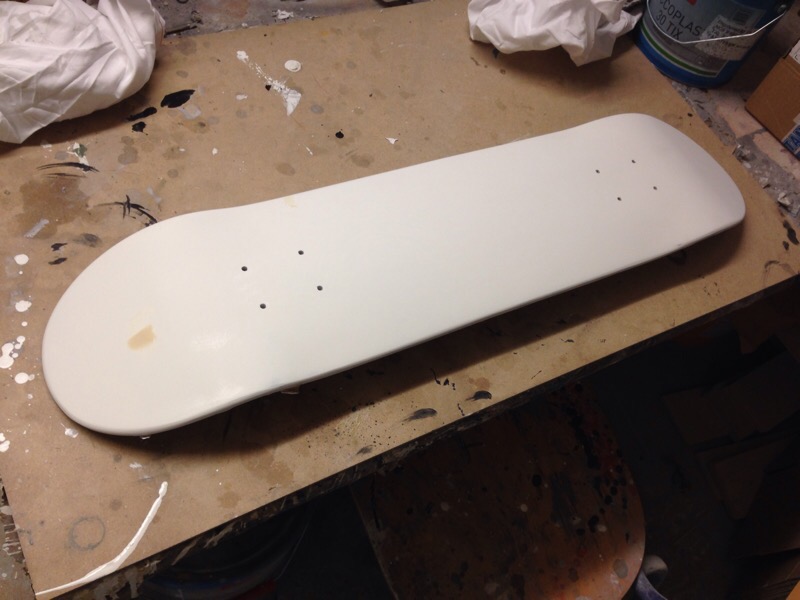
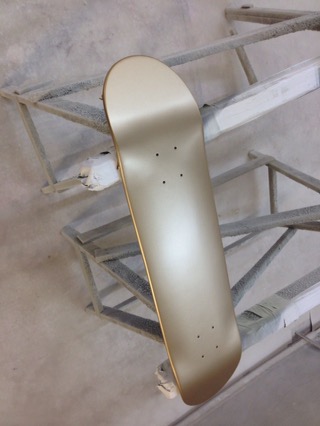
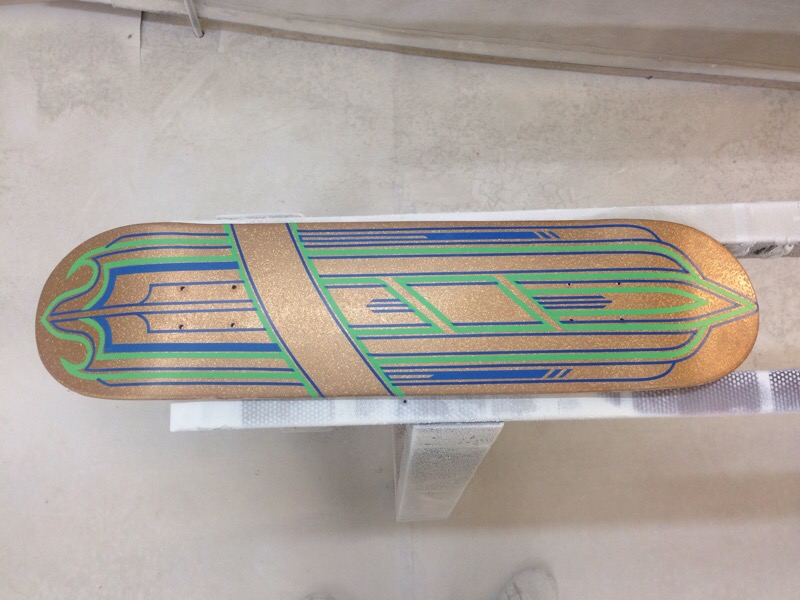
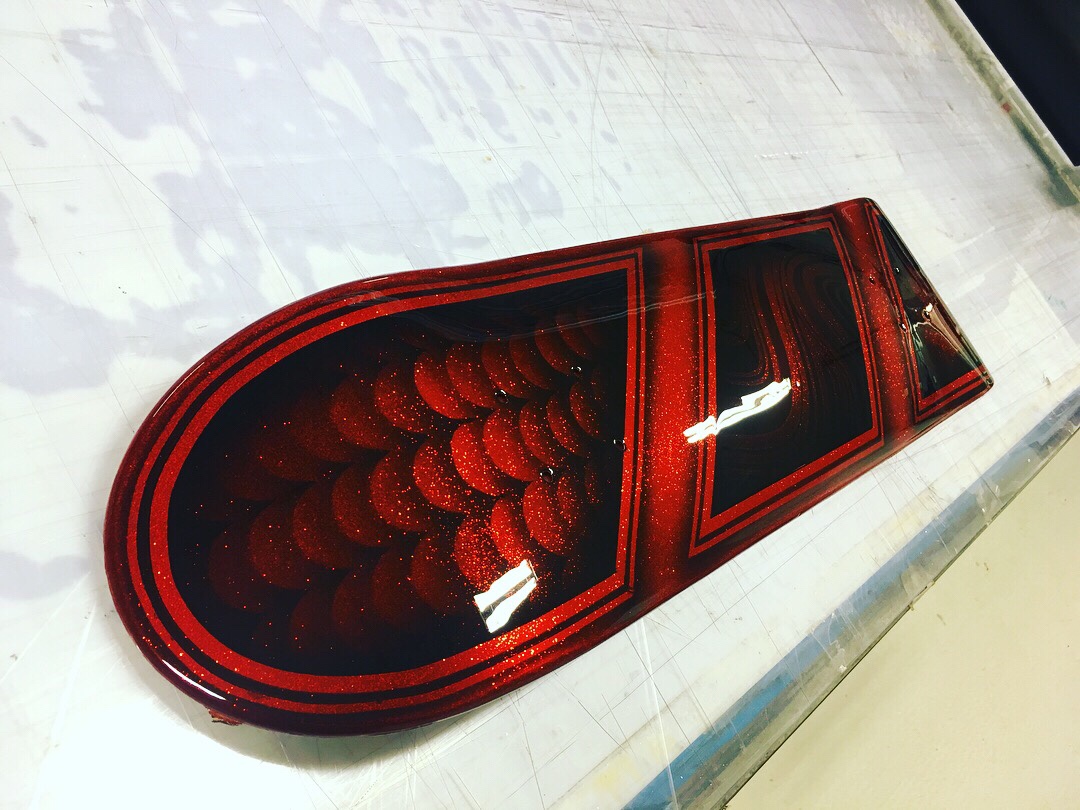
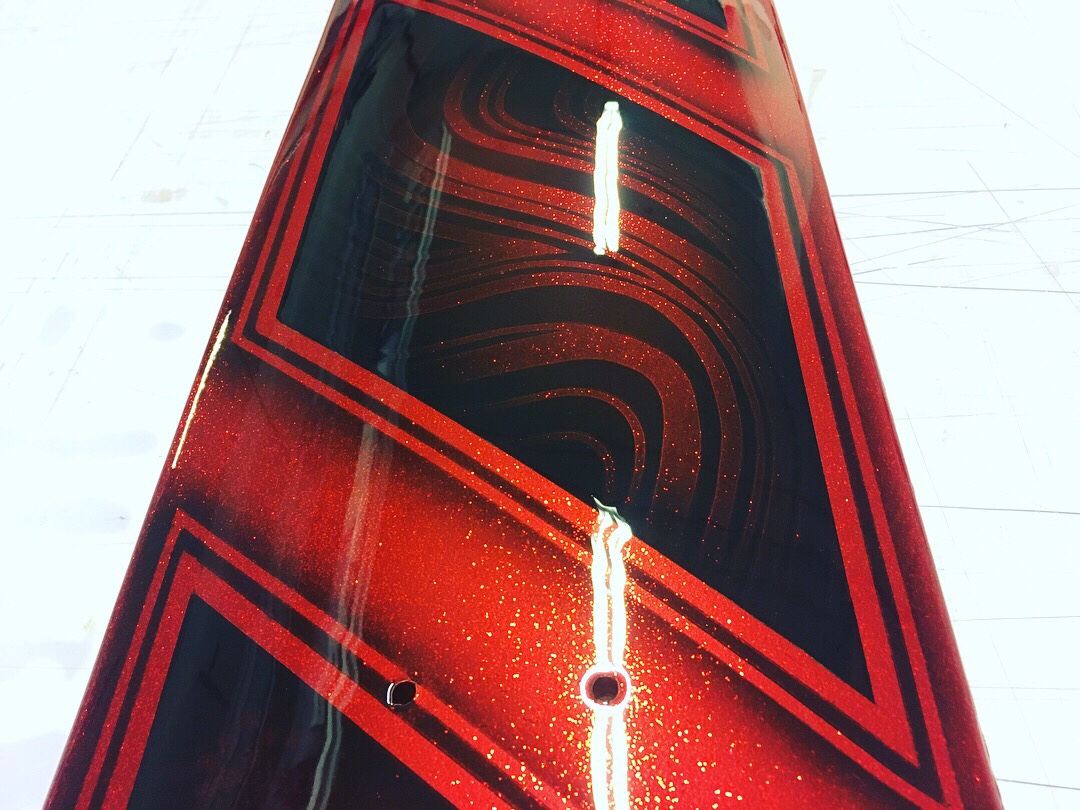
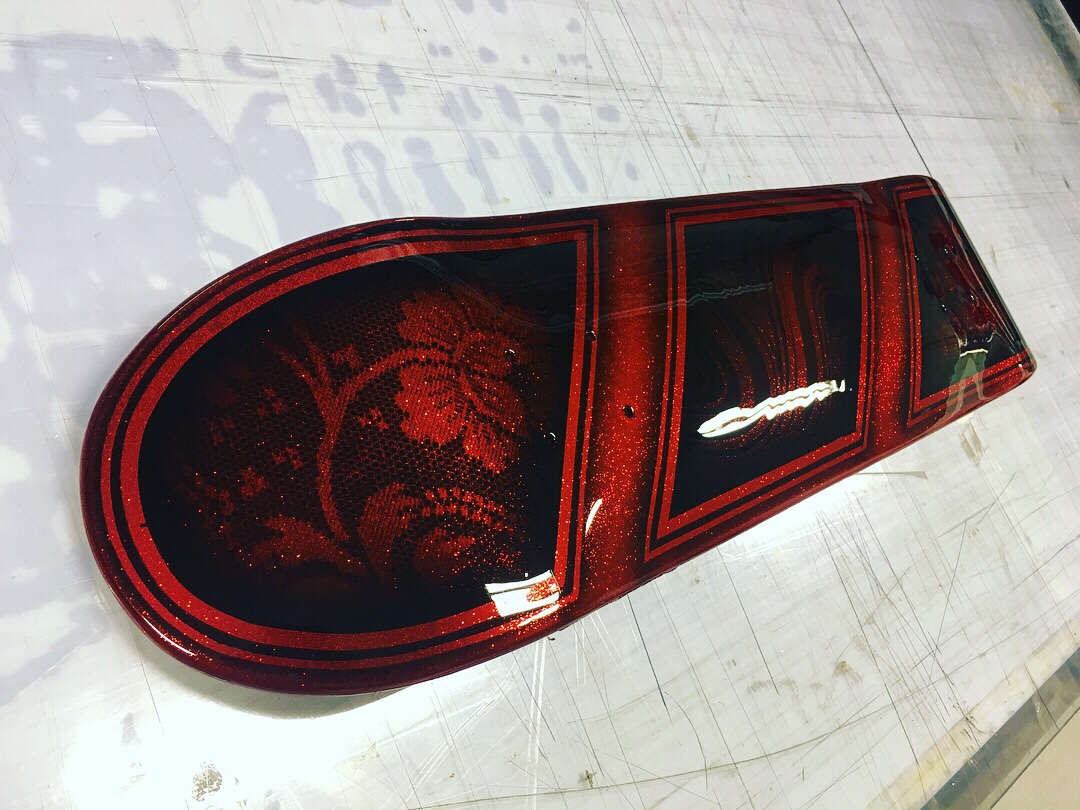
Painted this skatedeck recently. Red chunky flake with deep black paint patterns. One more to the collection! ;-p
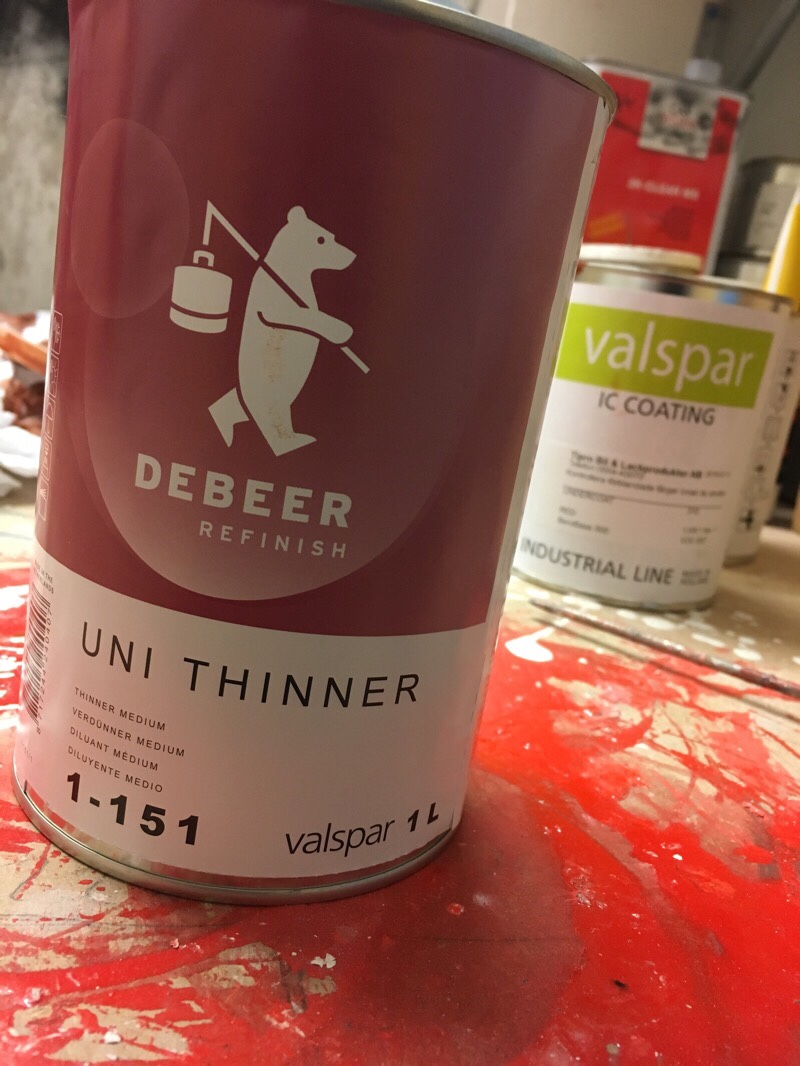
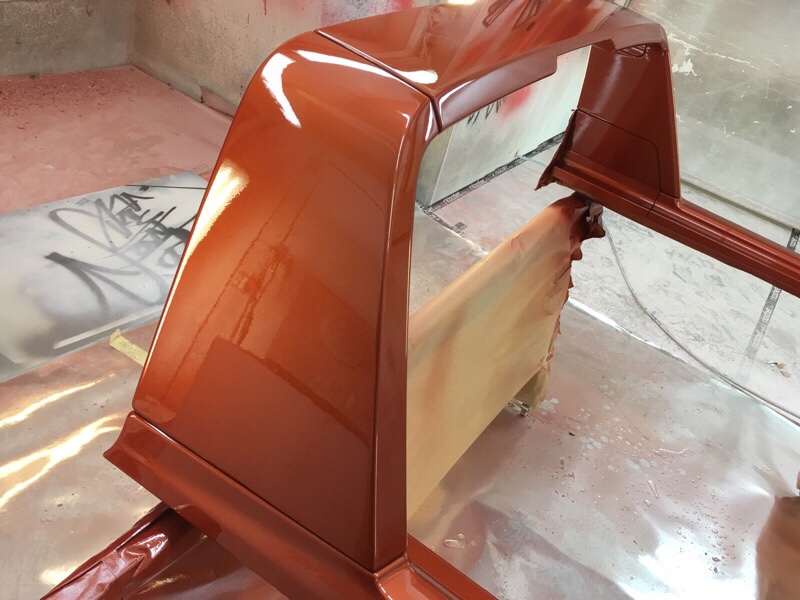
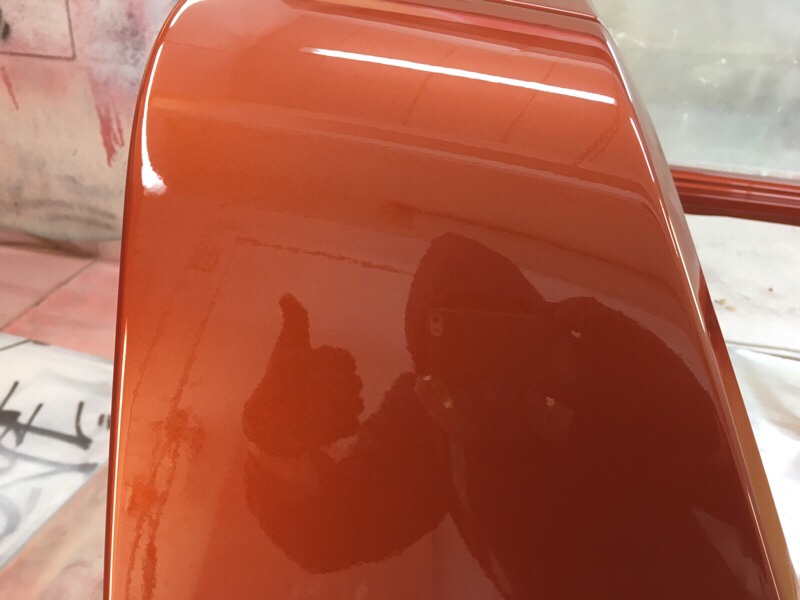
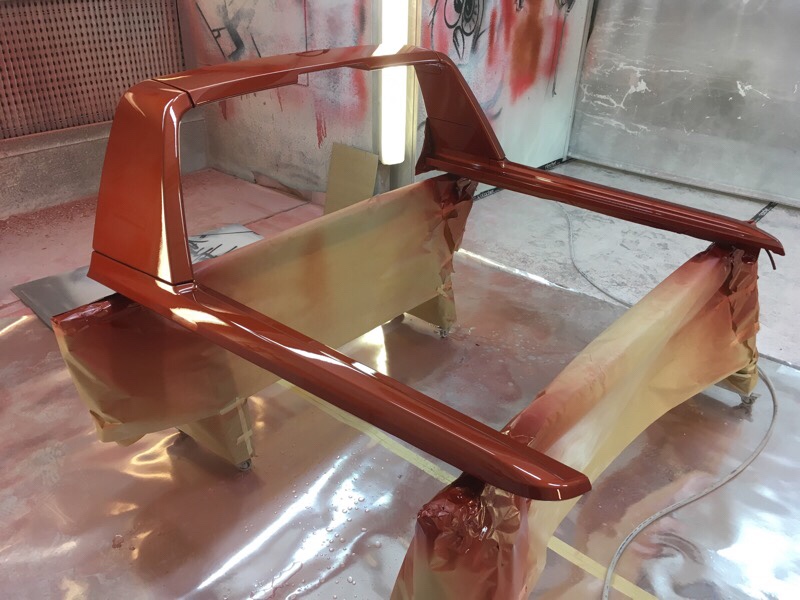
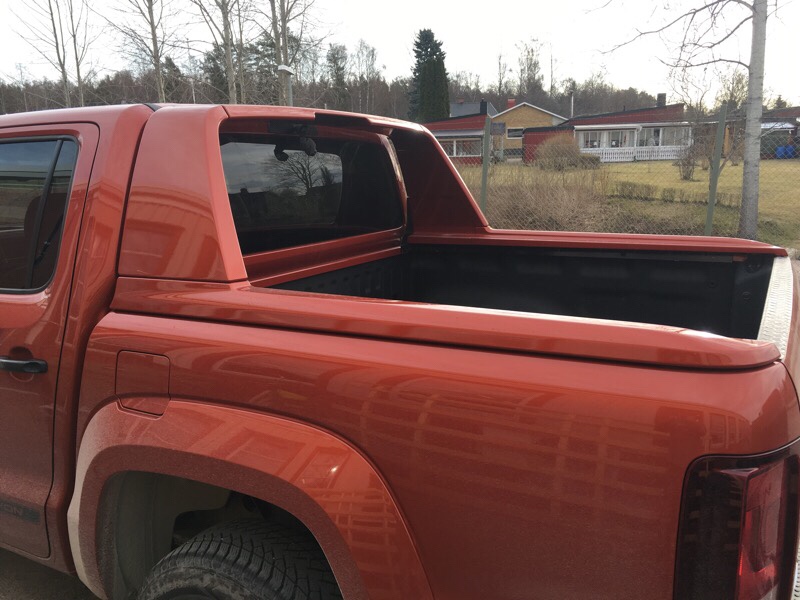
Painting this part in Canyon Red for a VW Amarok pick up truck. Nice color!


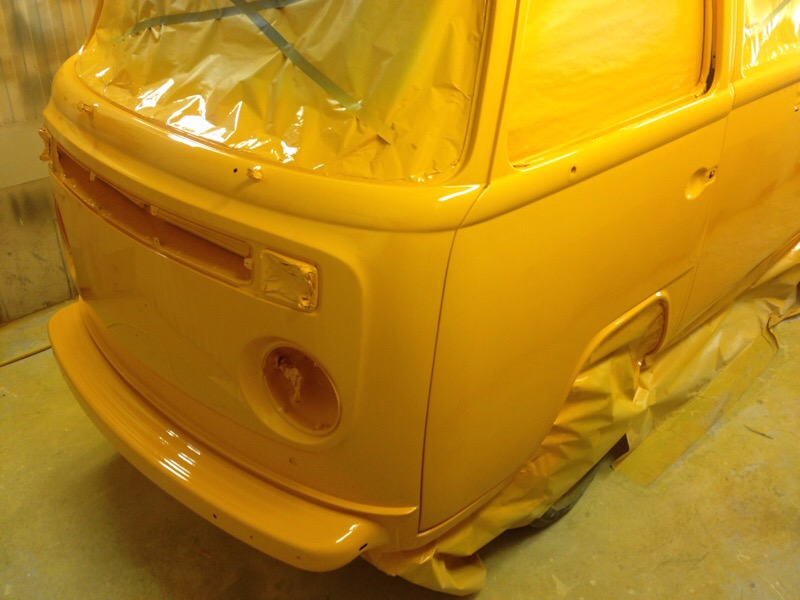
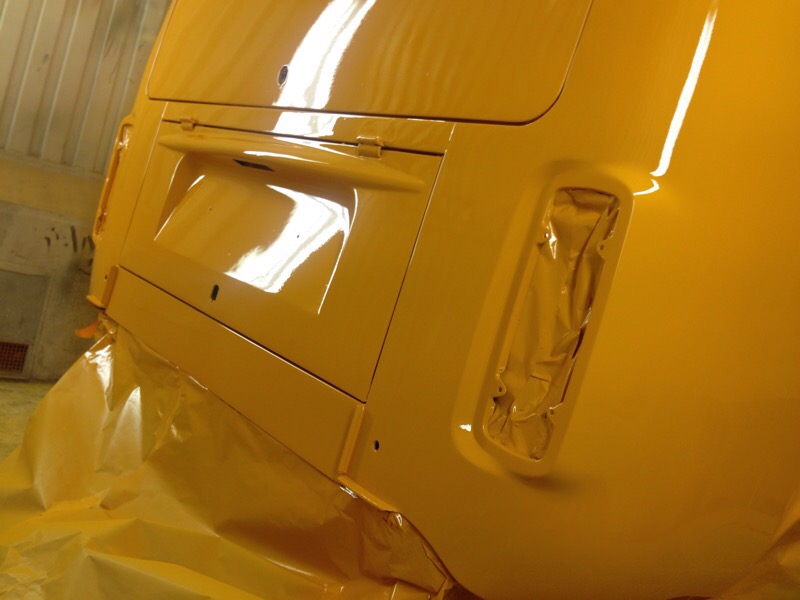
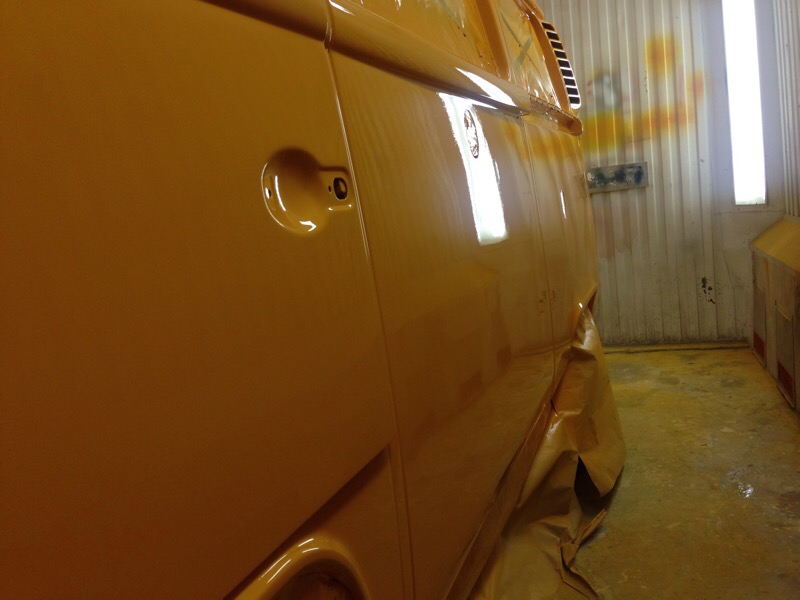
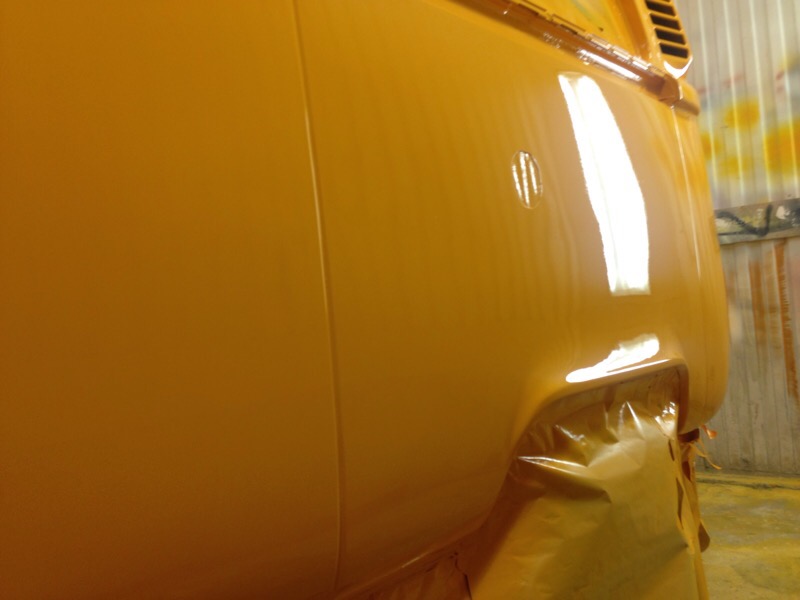
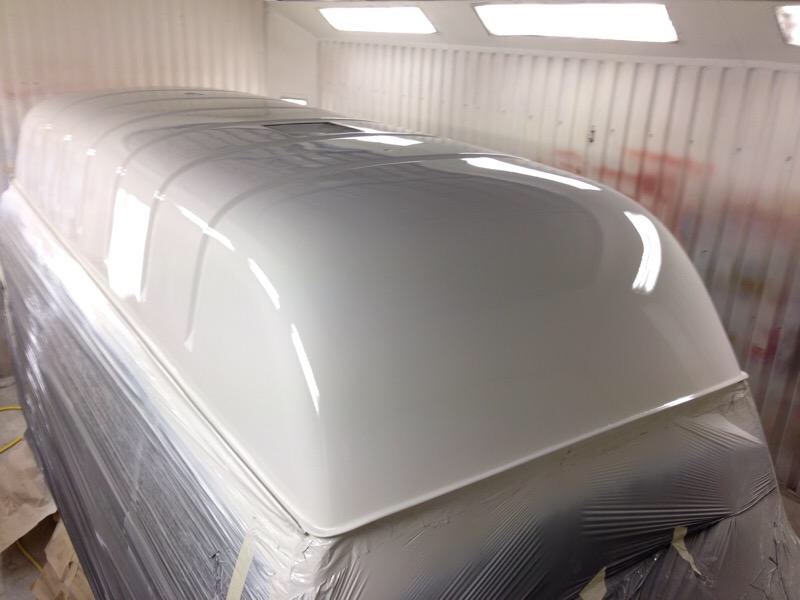
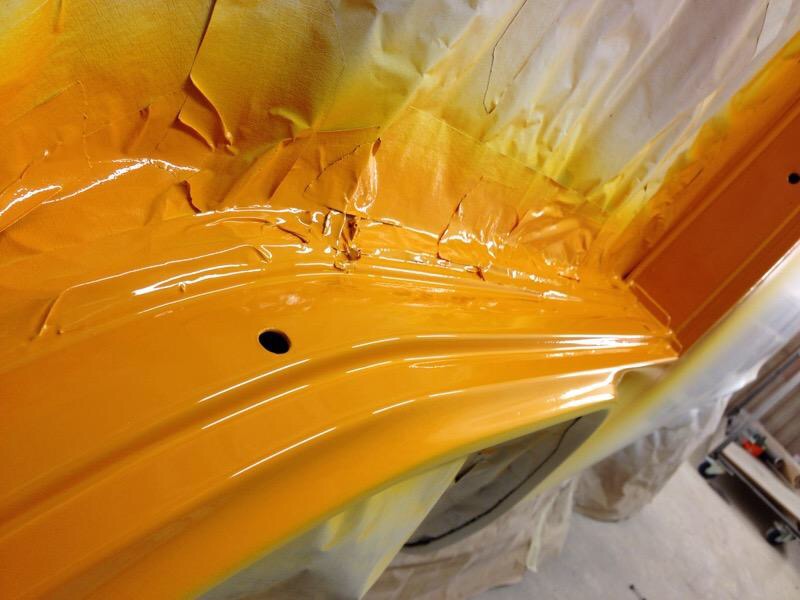
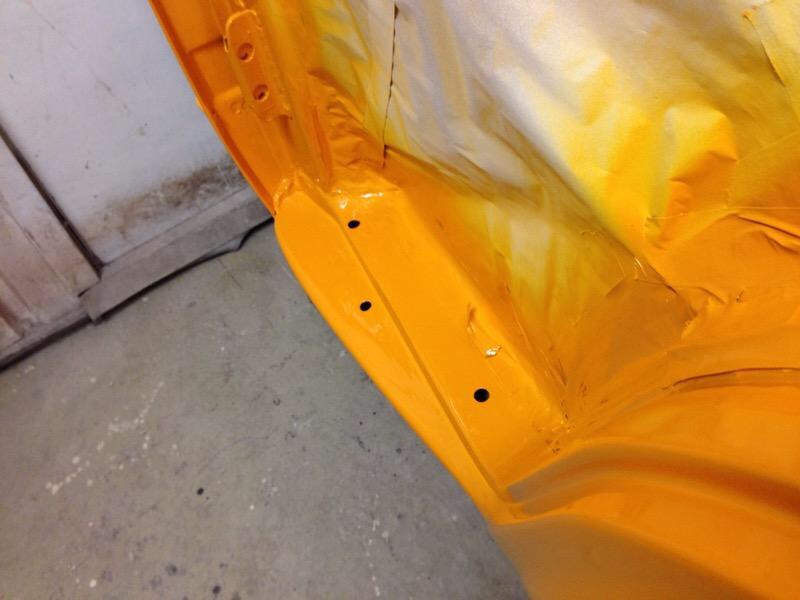
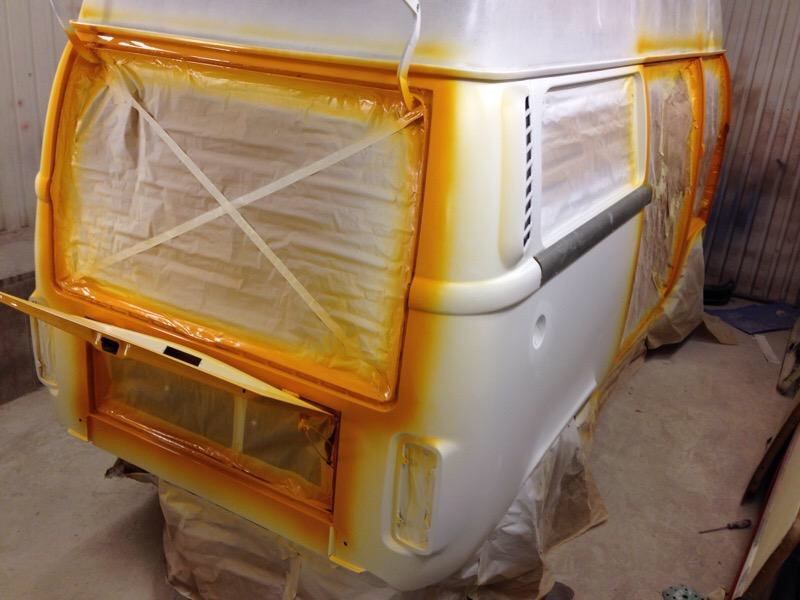
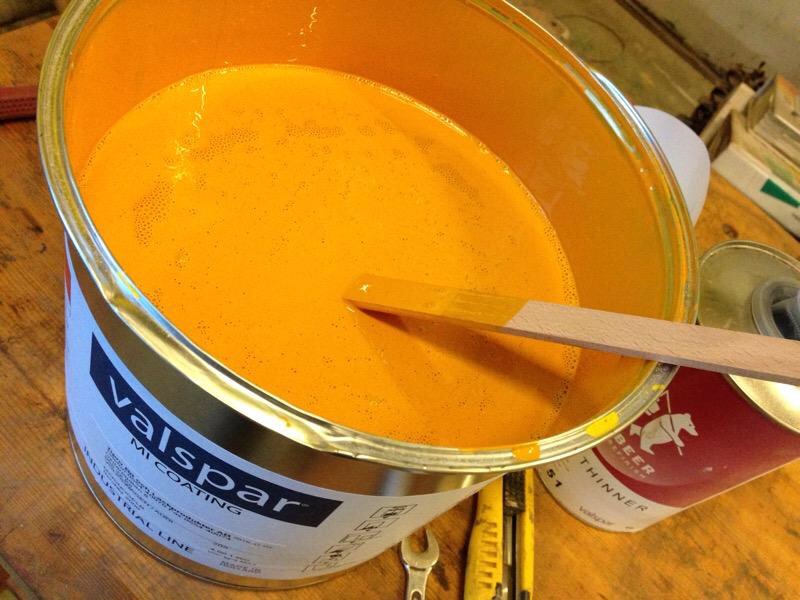
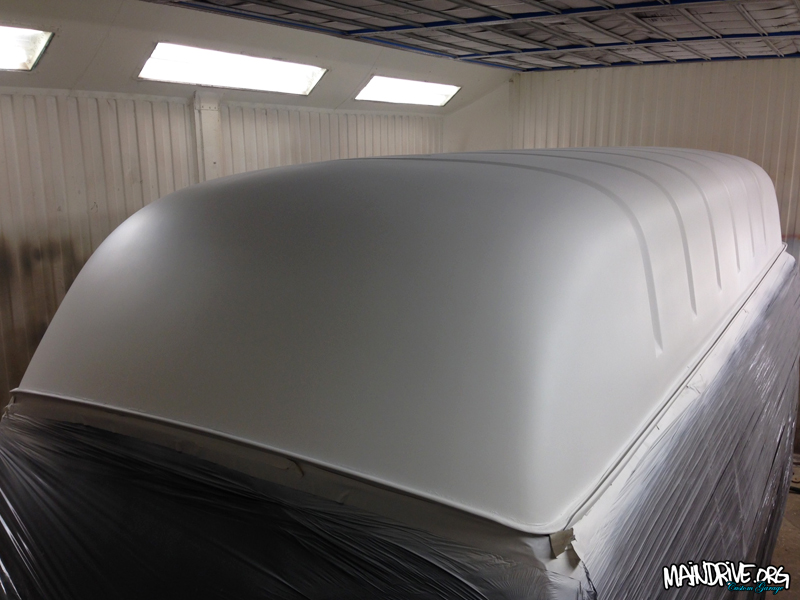
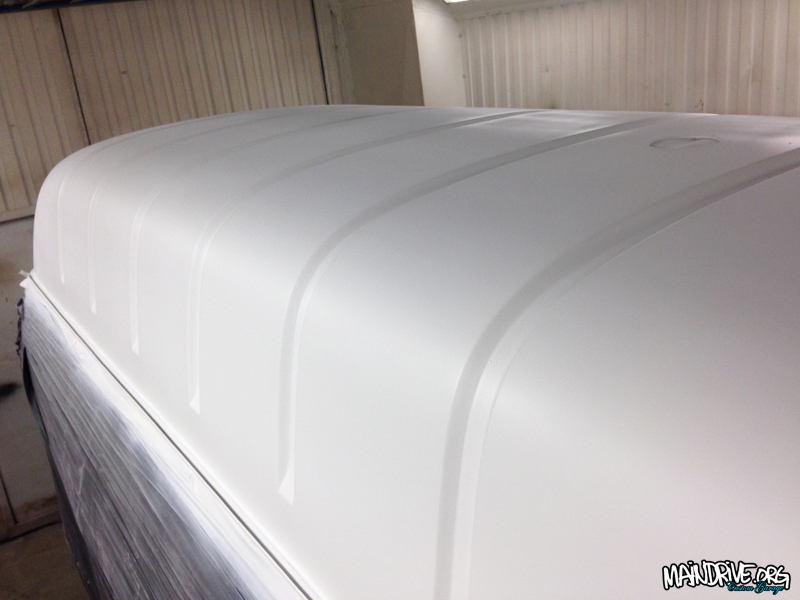
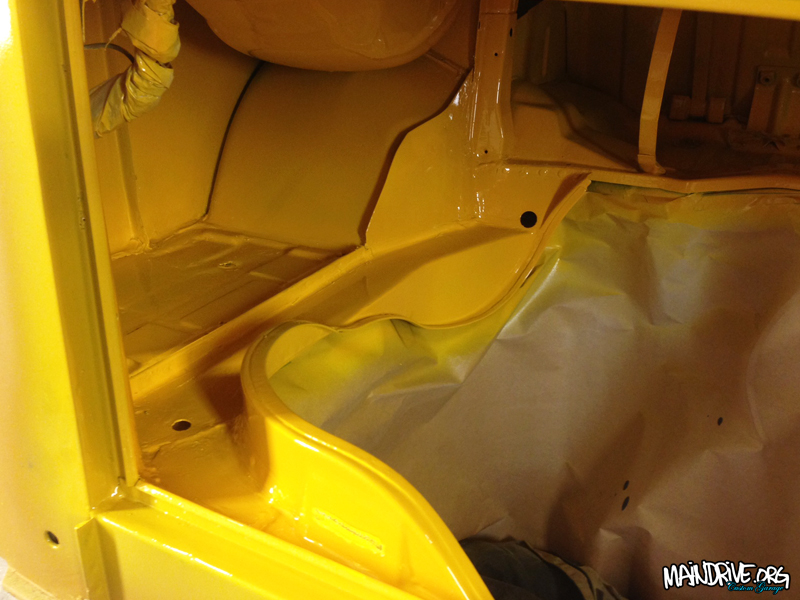
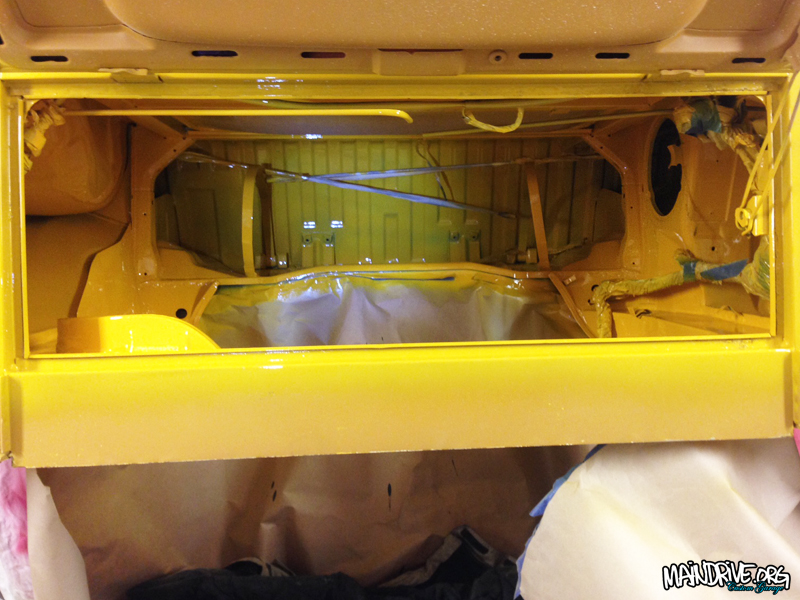
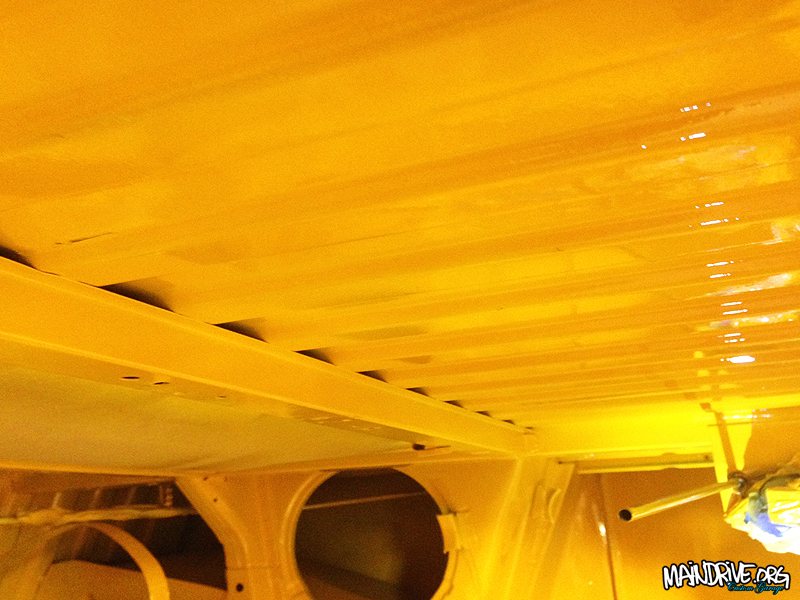
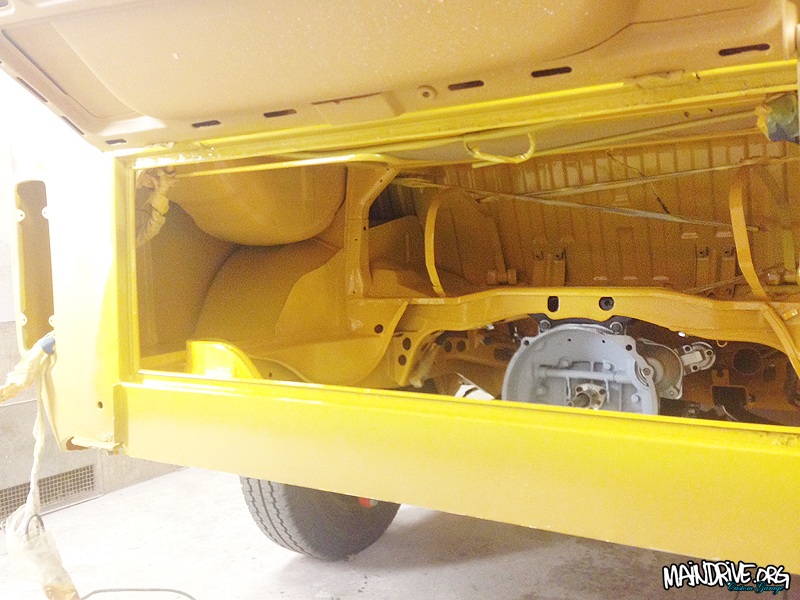
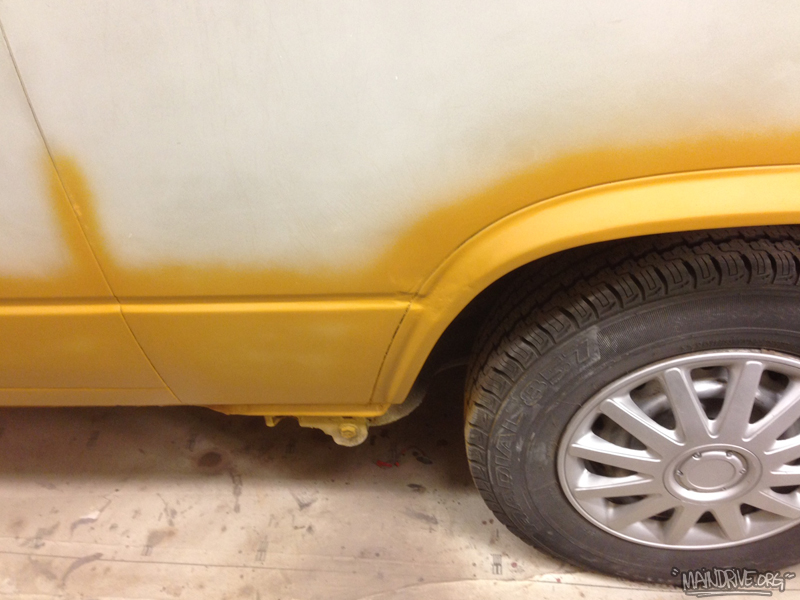
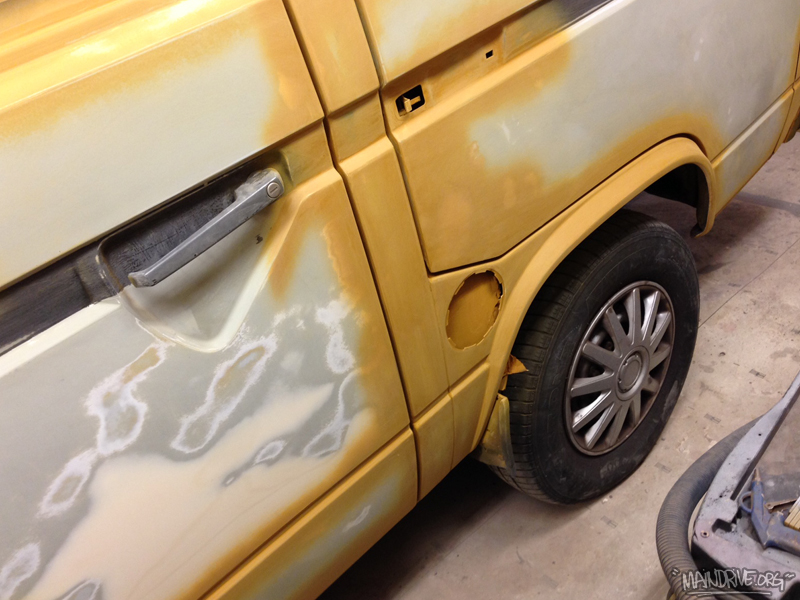
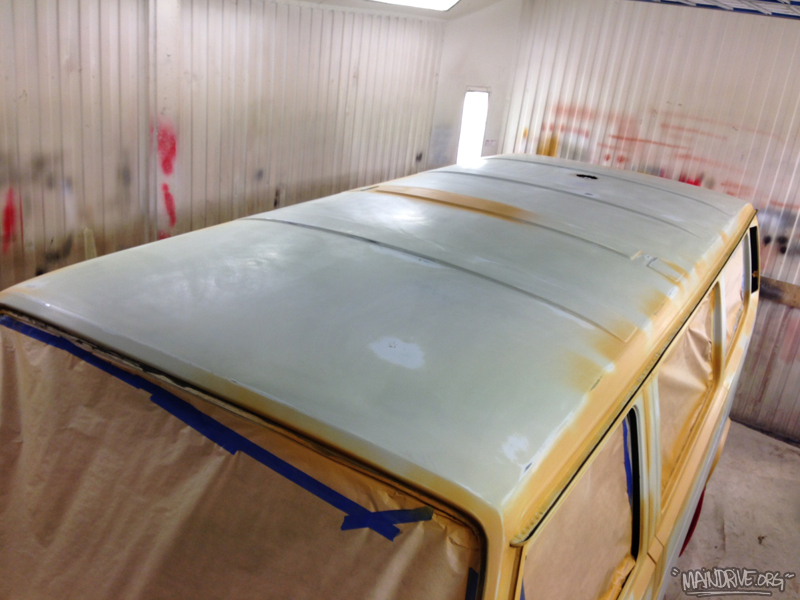
So the Highroof is now painted at last, in Marino Yellow VW L20a, period correct for 1975. It have been a ton of work and to get that yellow color to cover the bus needed to be painted 4times/coats. That because all yellow (and sometimes red) colors have less pigment than all other colors.
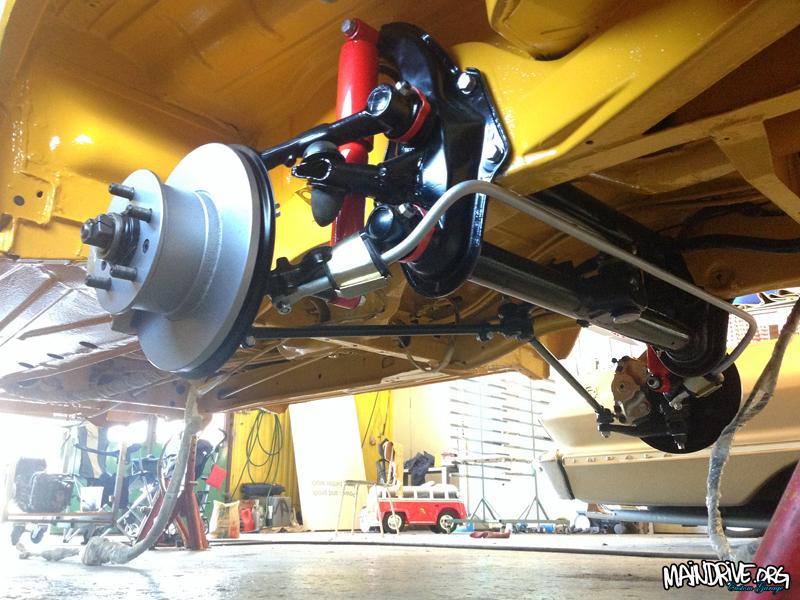
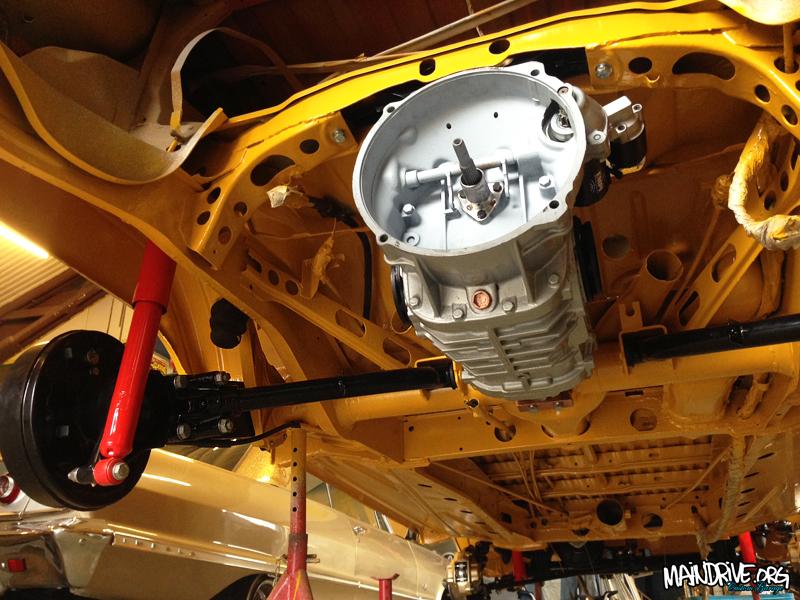
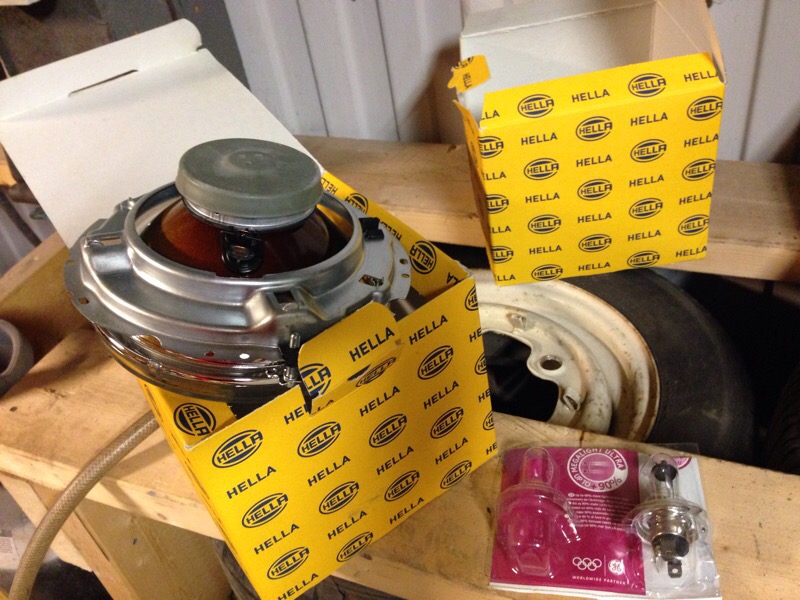
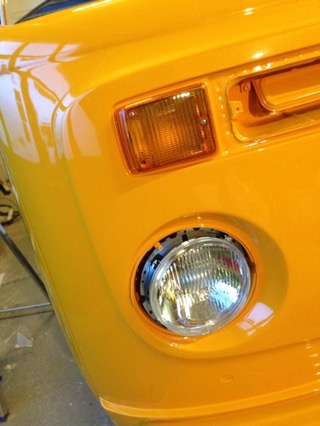
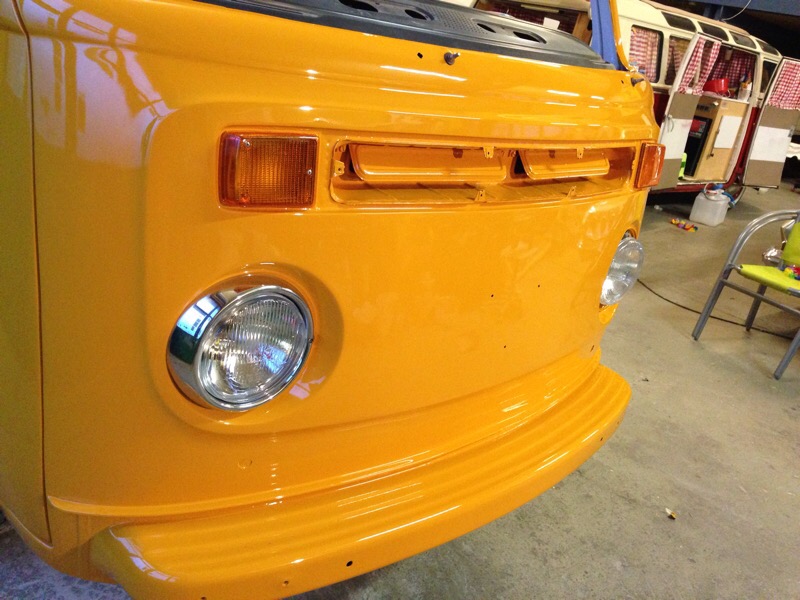
Now the fun can begin, mounting on all new parts like lights, handles etc! Next step will be to start with the interior and begin with insulation in walls and floor. Would be nice to have the most done on interior and exterior until fall so the winter can be focused on engine build and install etc.
More pics coming soon!
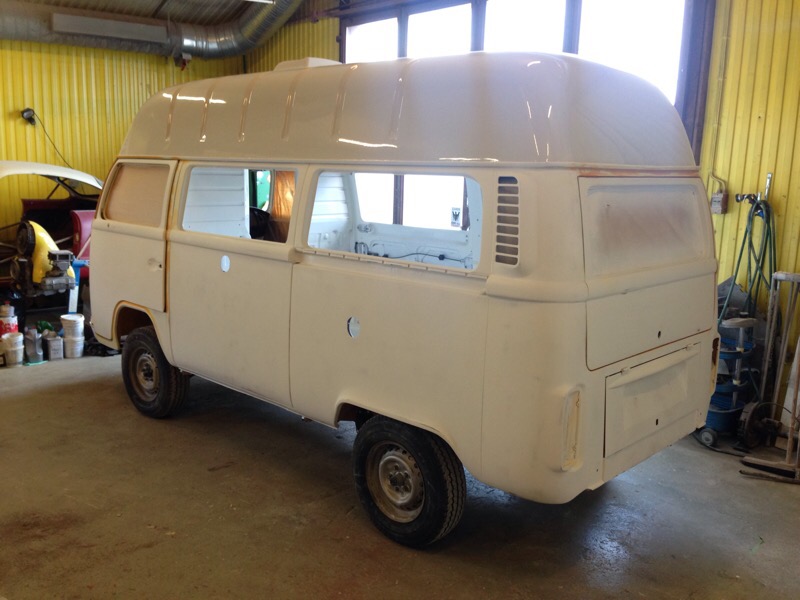
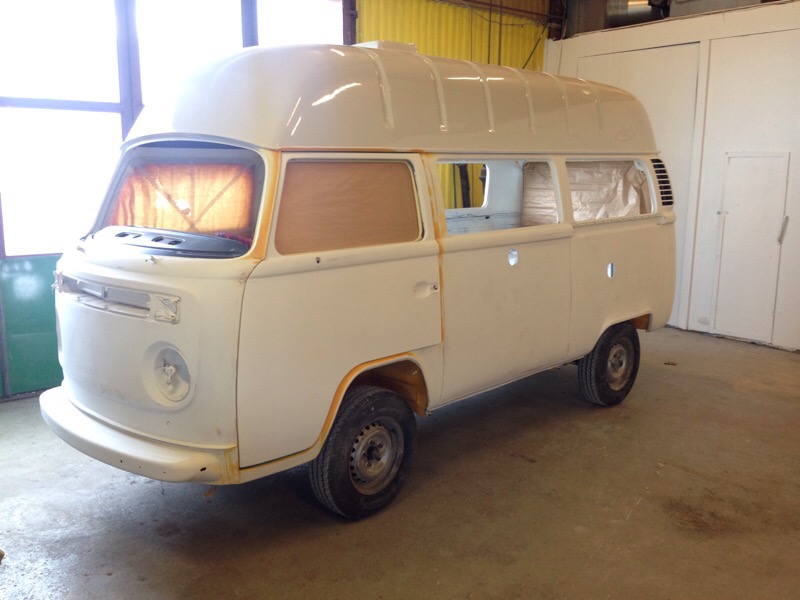
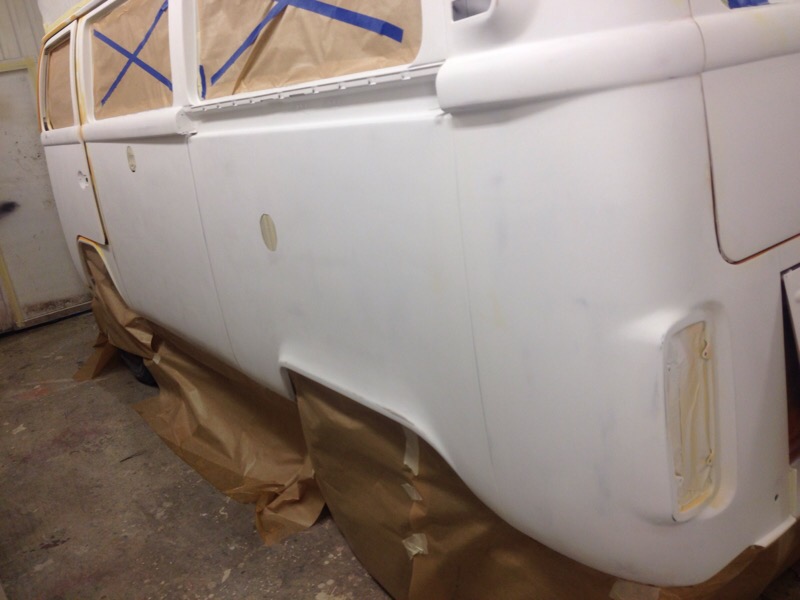
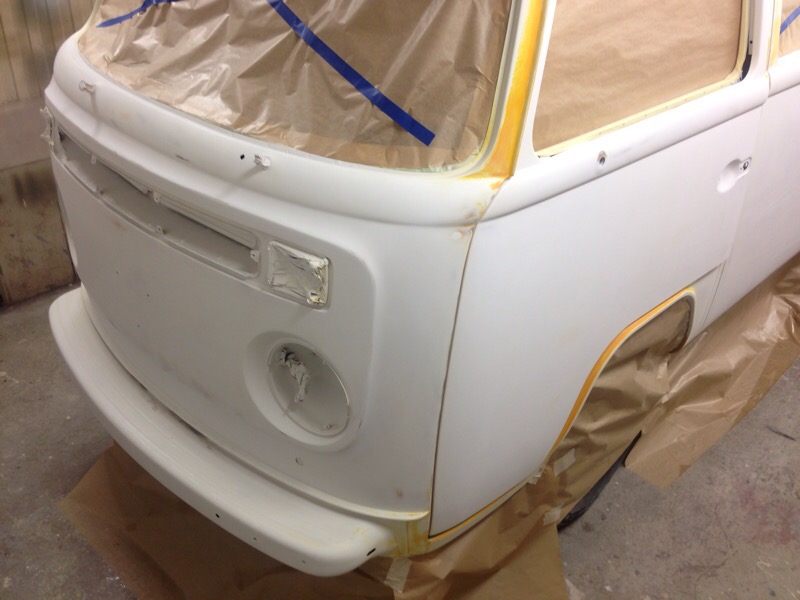

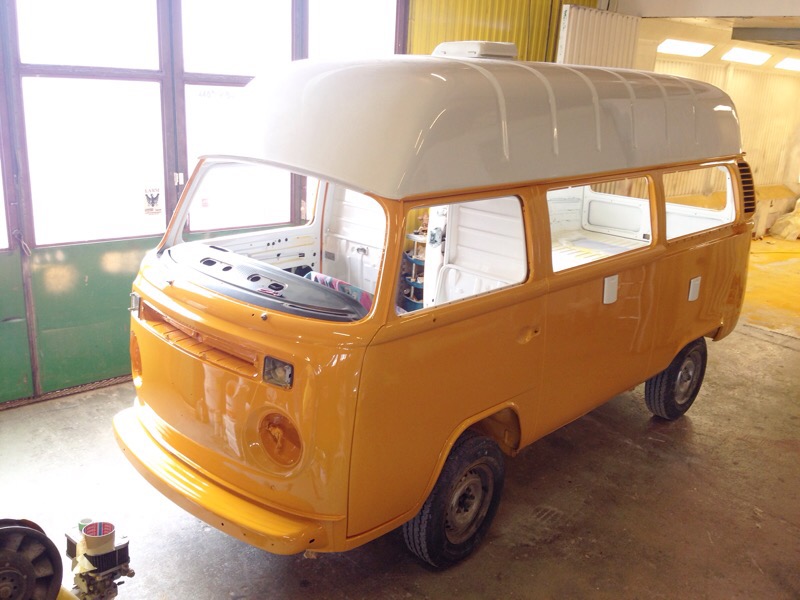


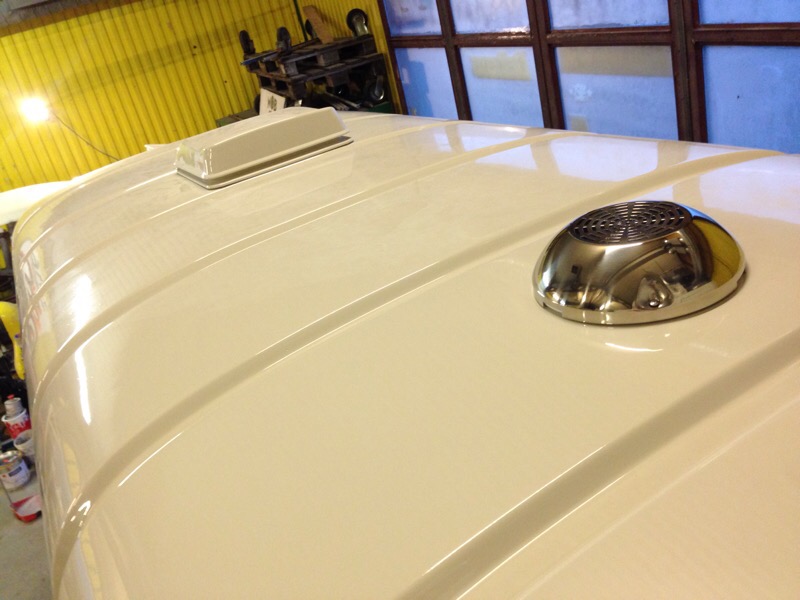
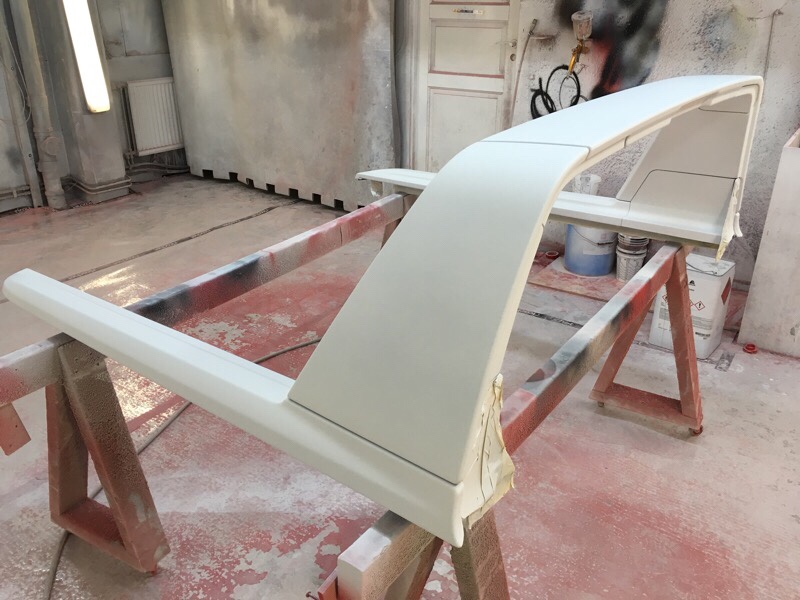
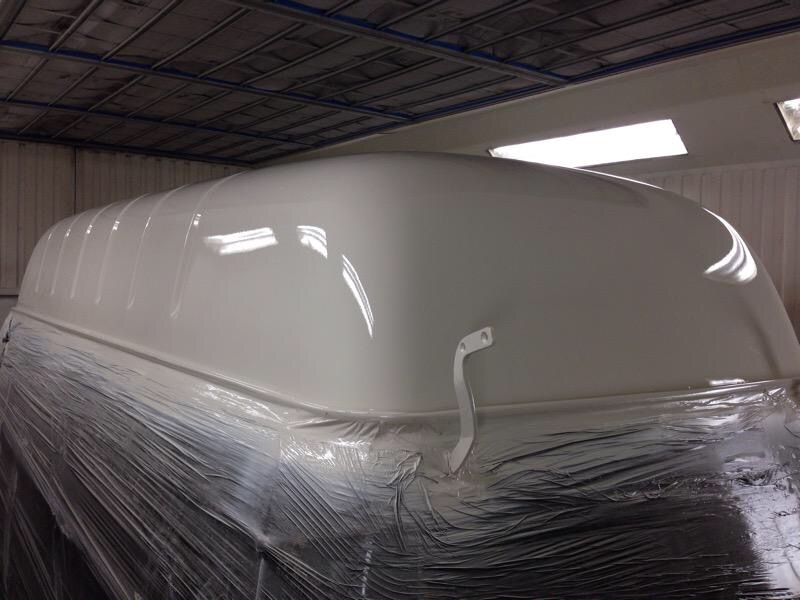
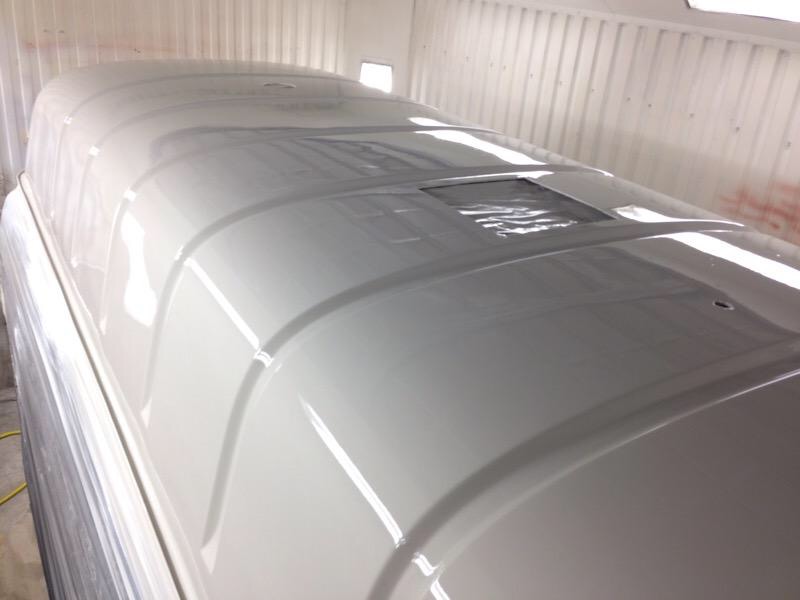
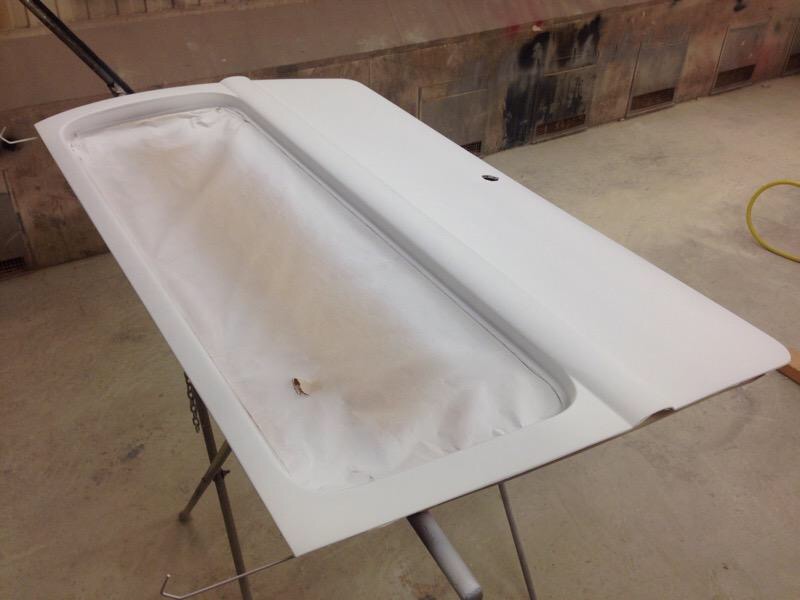
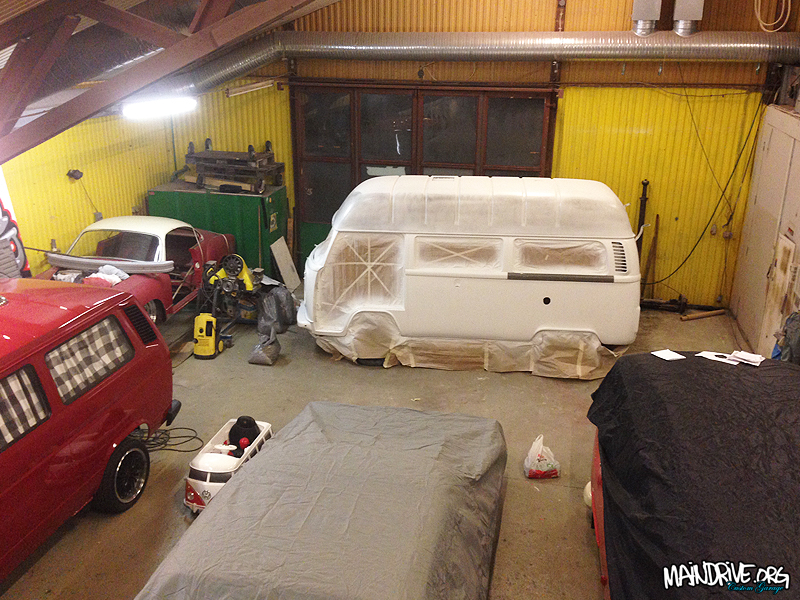
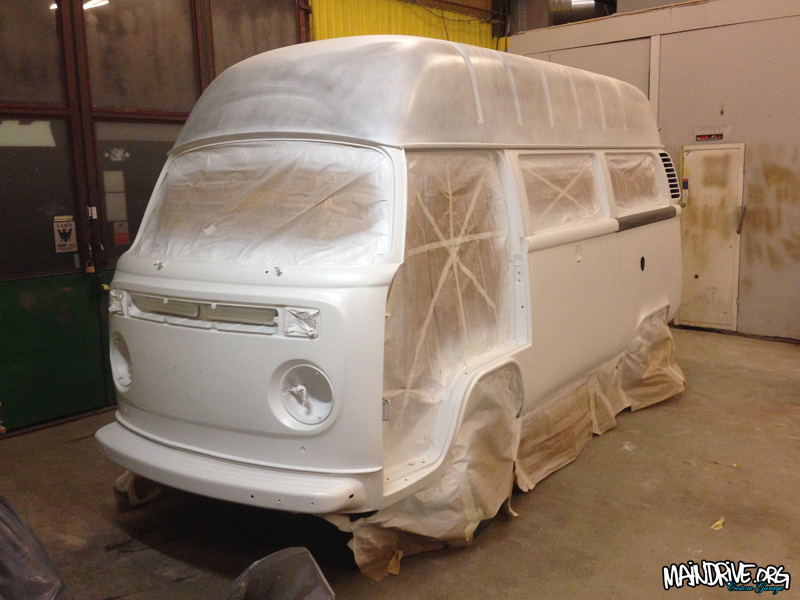
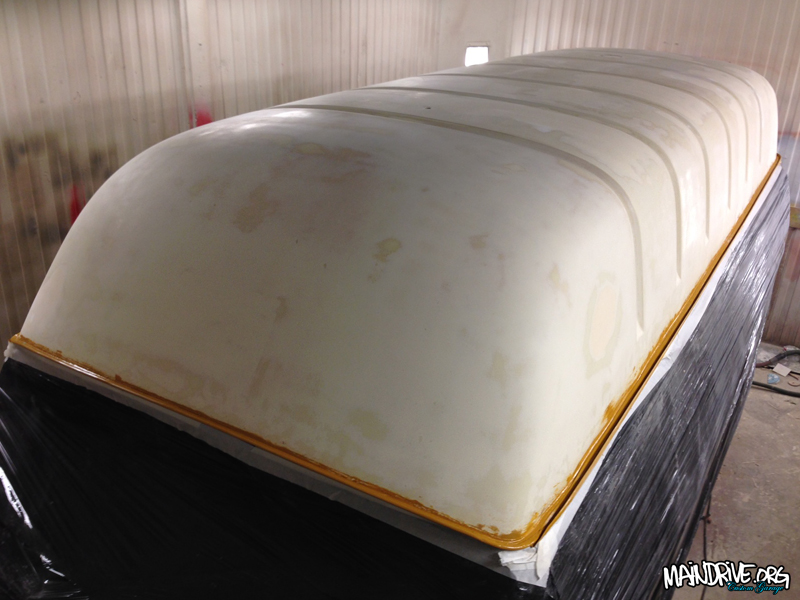
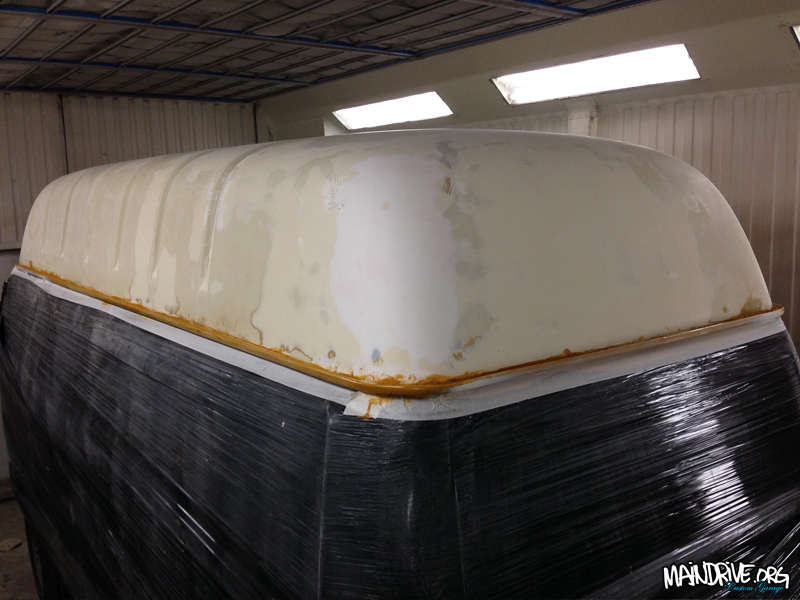
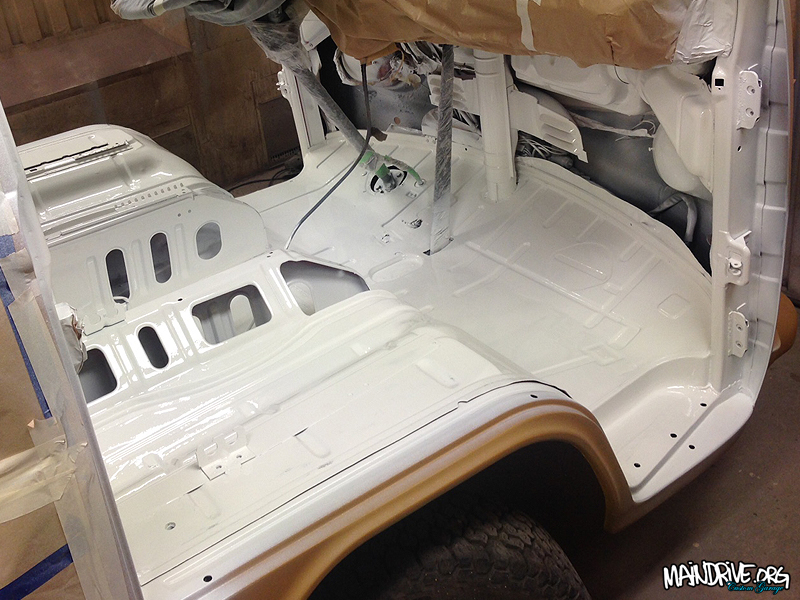
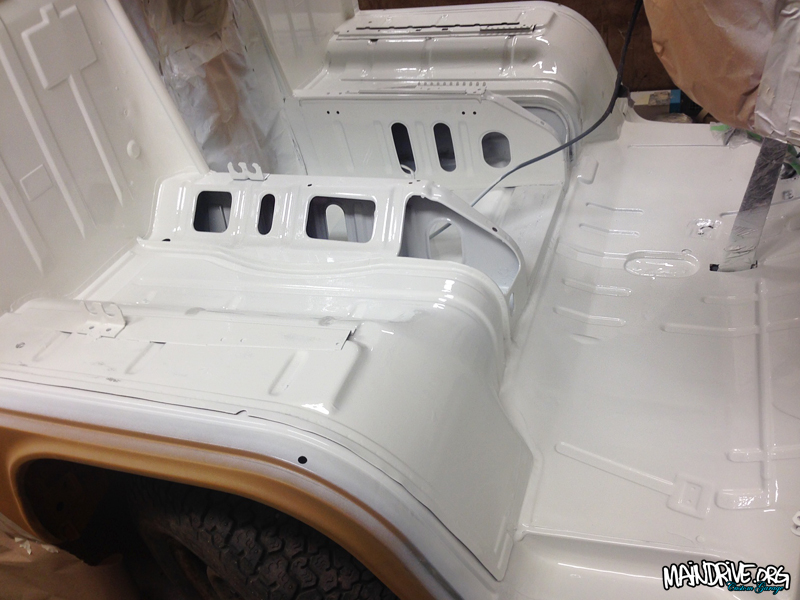
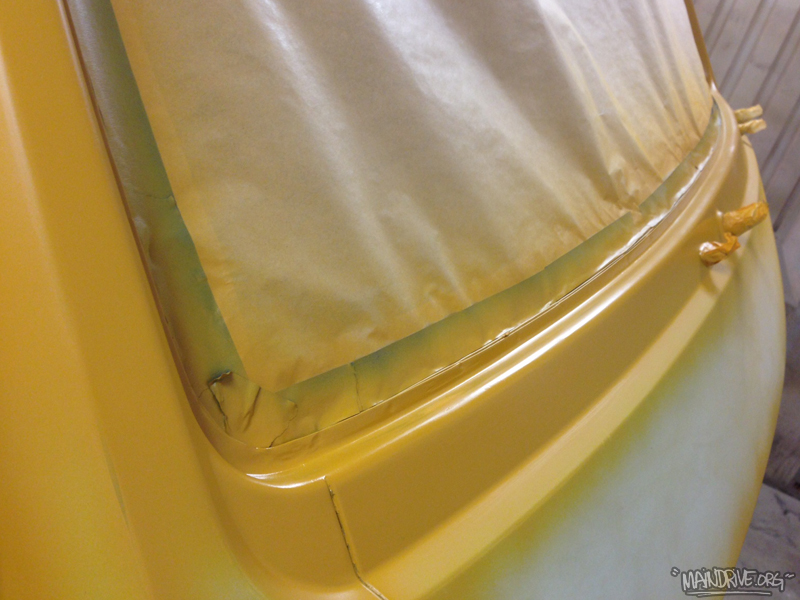
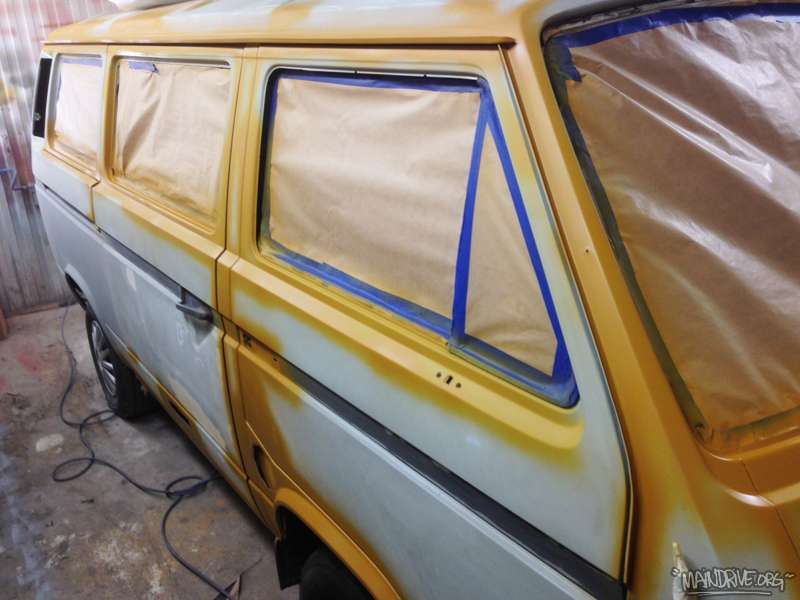
Lots of work have been done lately on the VW Baywindow Highroof! Whole roof have been finished in California White color. All doors and lids have been painted on the insides and then fitted back on the body. All panels are now sanded in 800grit and ready for toppaint in VW L20a Marino Yellow!
#highroofbayproject
Short movieclip from when I painted the skate deck, check out all videos on the Maindrive Youtube channel and dont forget to subscribe: https://m.youtube.com/c/MainDrive
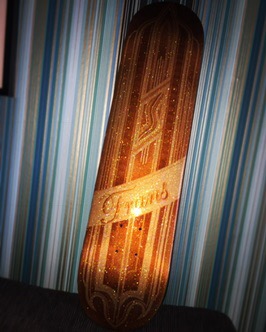
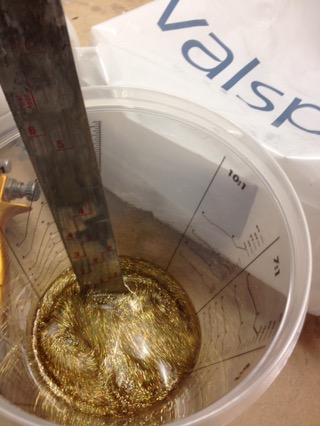
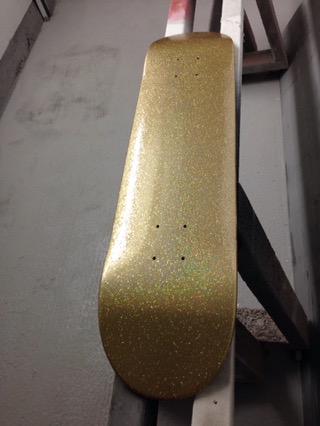
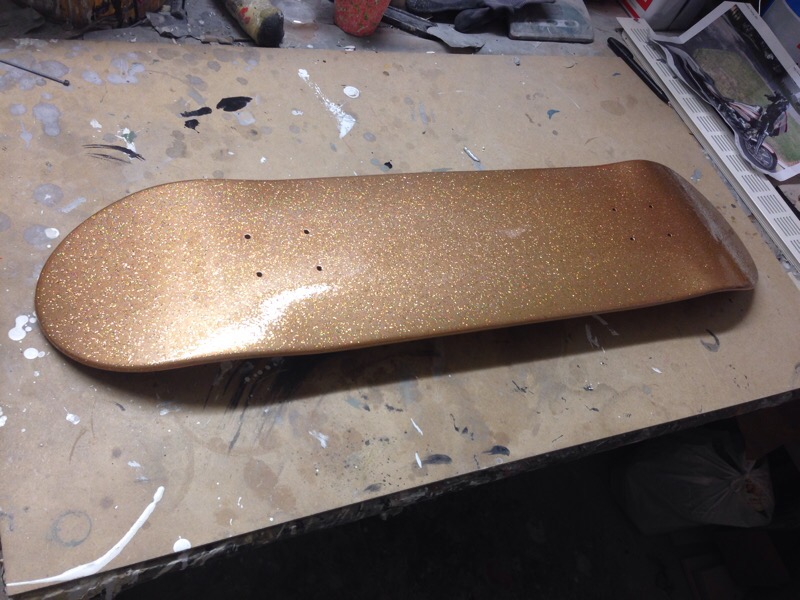
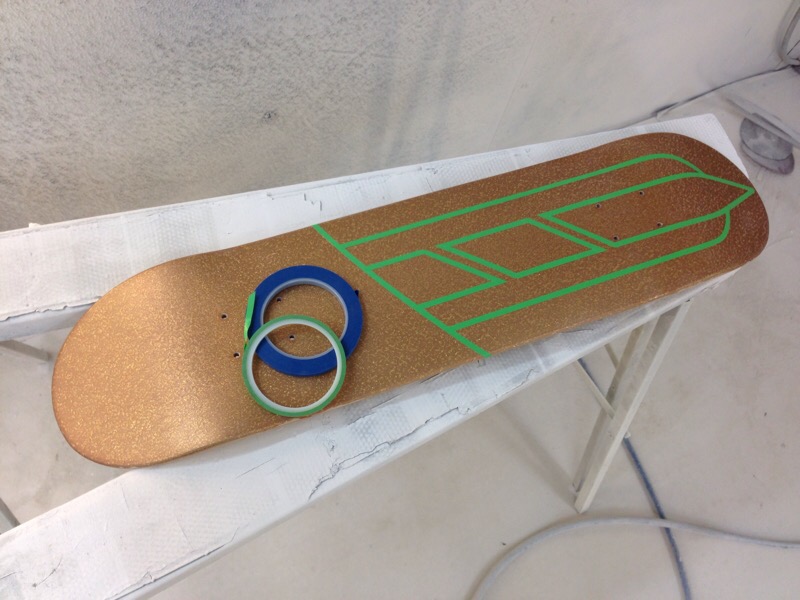
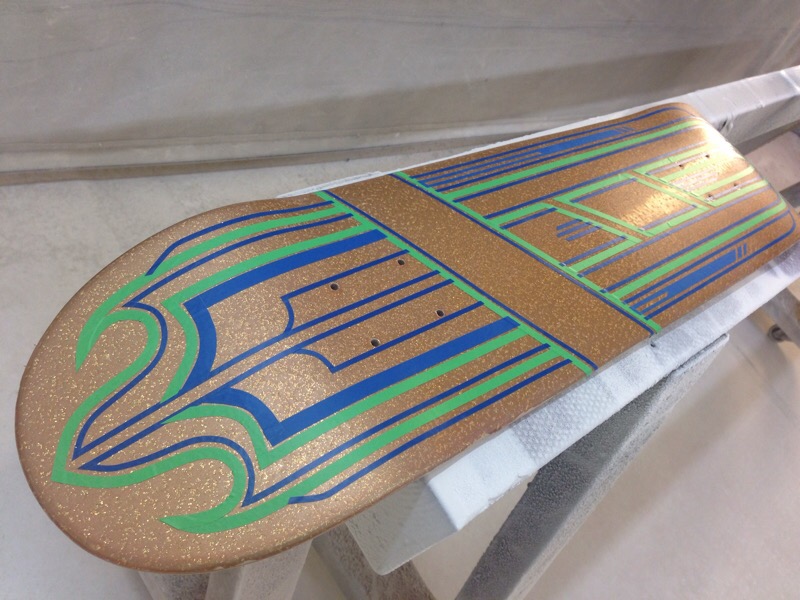
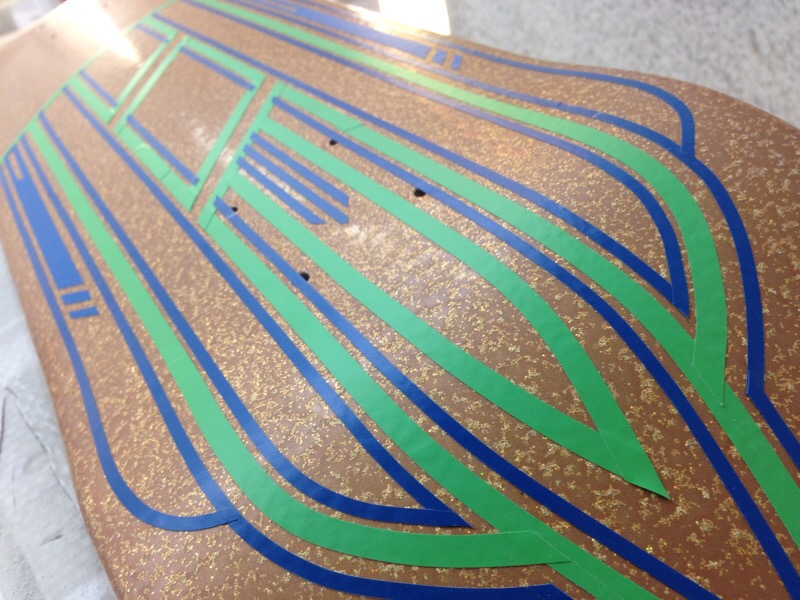
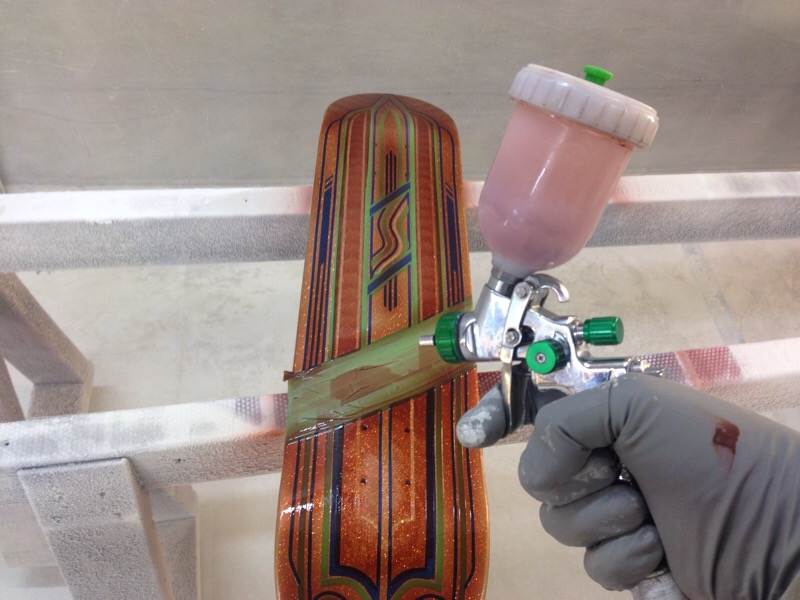
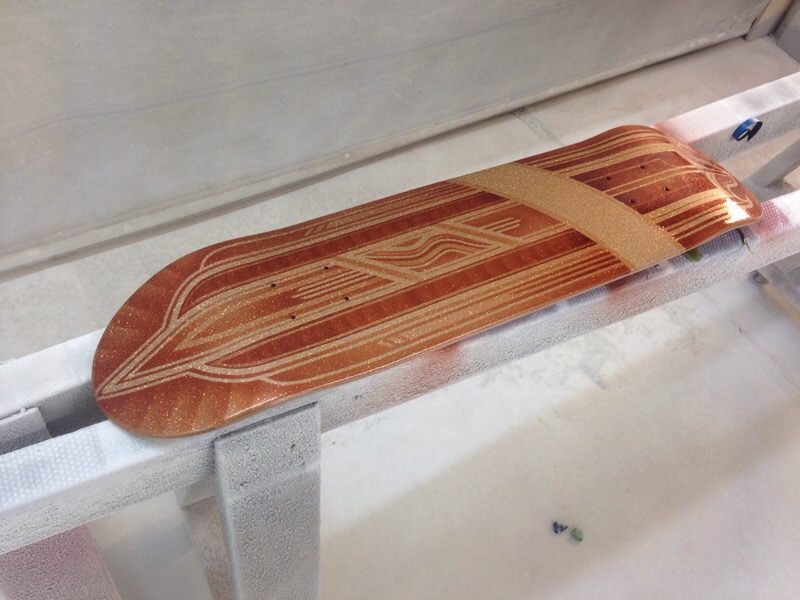
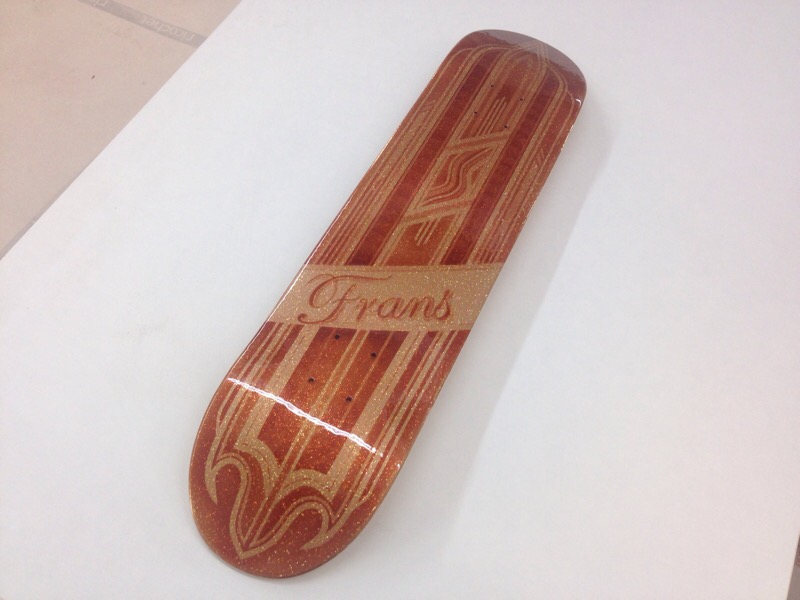
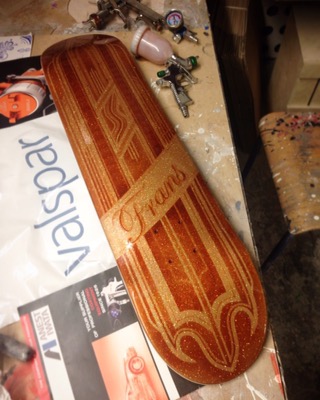
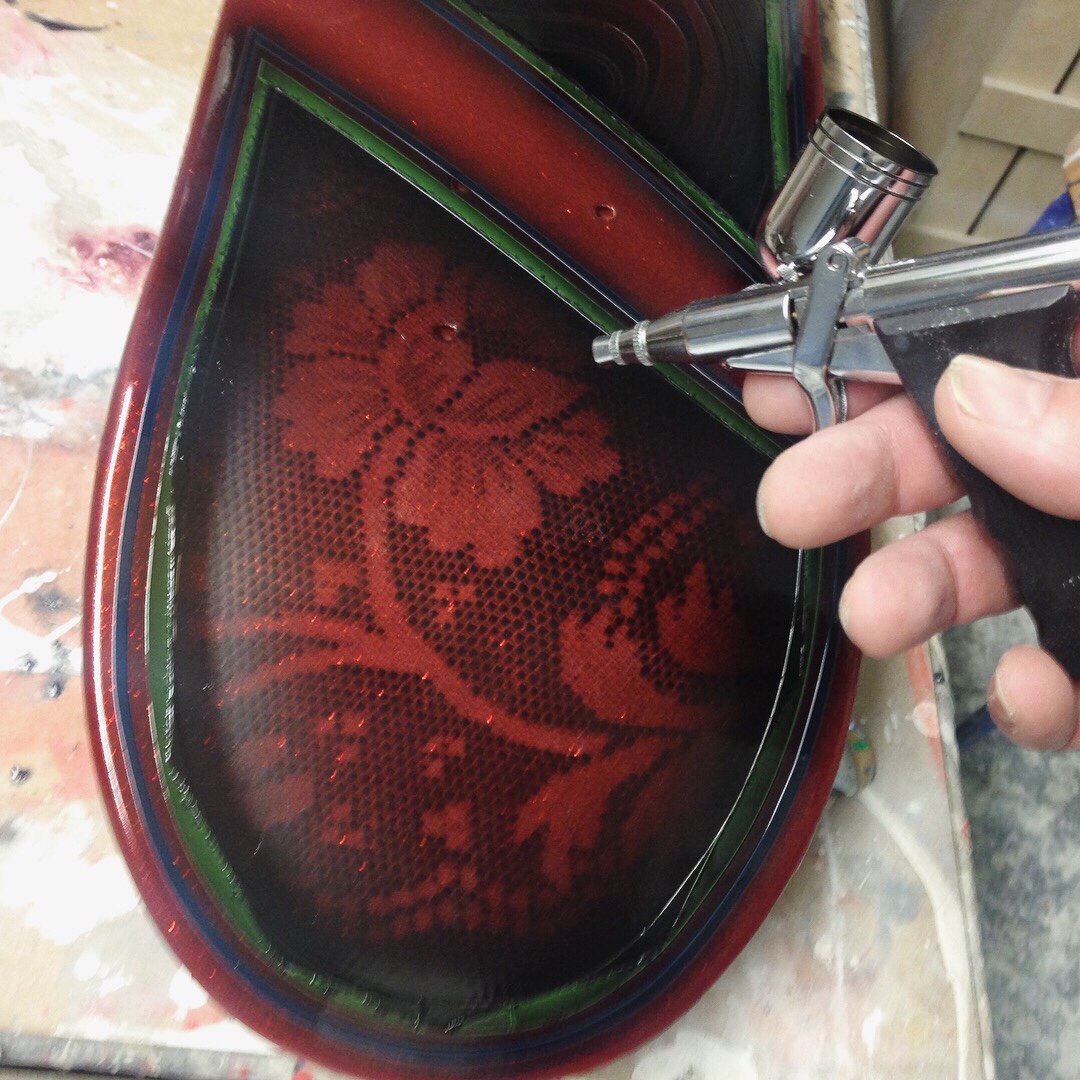
Painted a skateboard for my son Frans. Goldbase with hologramic metalflake in gold that shifts in all of the colorspectra and then I lined up a classic lowrider design that later was painted with candy paint in Root beer shade. Topping it all off with loads of clearcoat and sanding between each layer to get it super smoooth, like a mirror! Lots of hours in this board, I hope he dont make a boardslide with it 😉
Want something custom painted in flake? Just send me a message at: info@maindrive.org
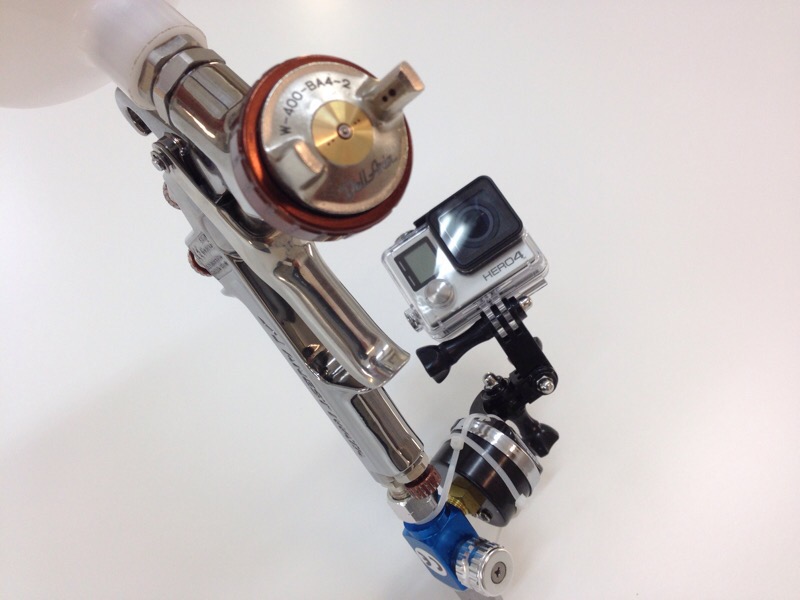
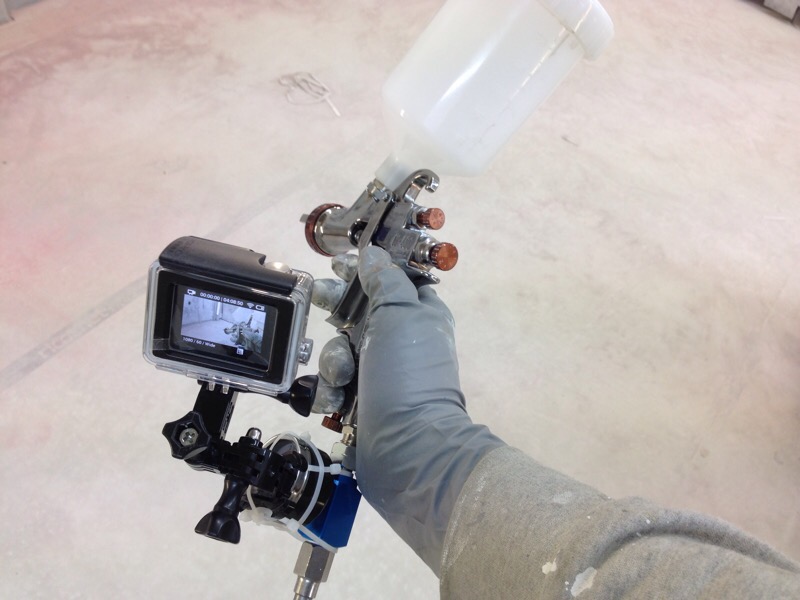
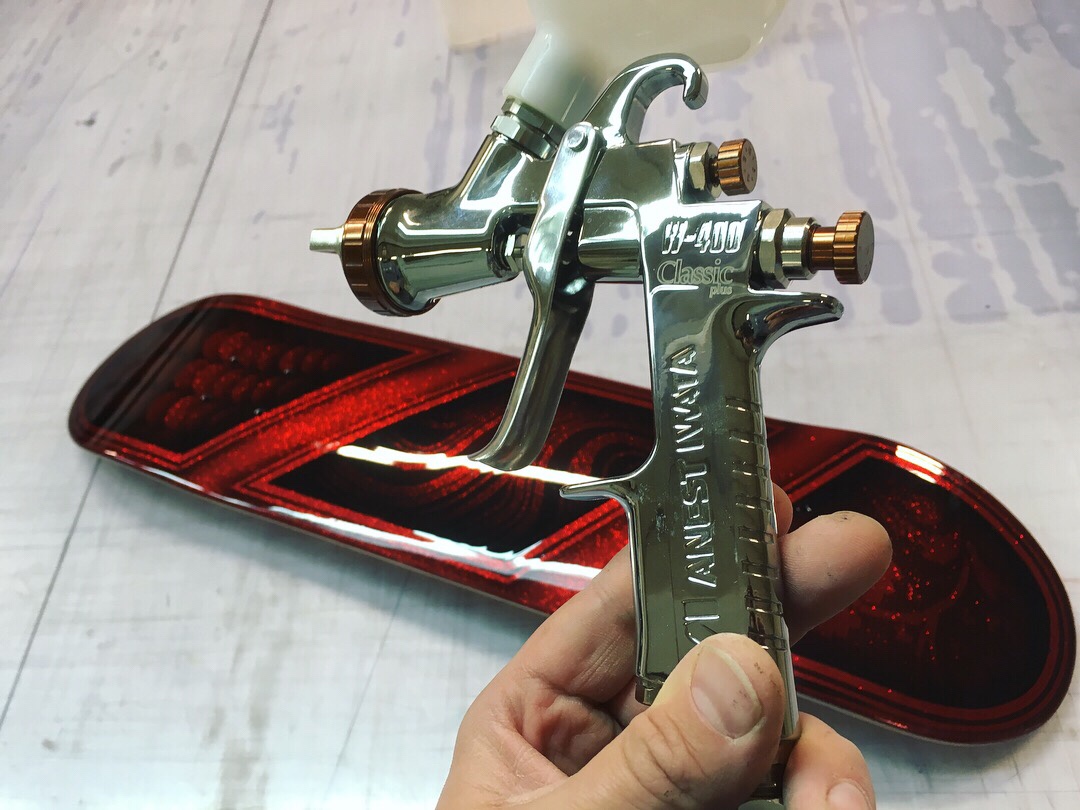
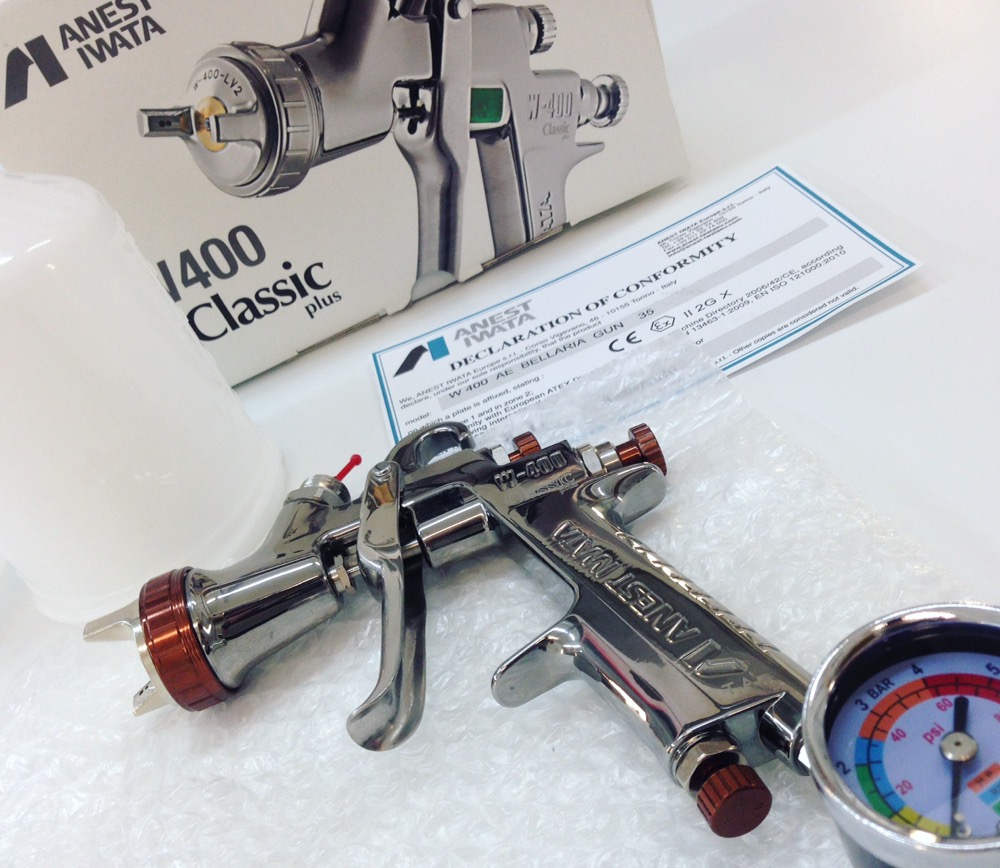
The new paintgun! Anest Iwata W400, Low Volume Low Pressure. Many professional carpainters favorite gun. Only the best, Iwata 4 ever!
Have not got very much done lately. As my first son (1 year old) takes most of the time now. So that more important at the moment. But Im trying to push forward on the bus too, couple of hours after work and on weekends etc. Soon have all doors and lids in primer and then it all just needs a easy sanding and then its time for a paintjob! Have also sandblasted the fueltank cover and bellypan and got them painted and ready too. Hope to start rebuild of the 1800cc Type 4 engine in begining of February also!
More to come, but thats it for now, here is some pics…
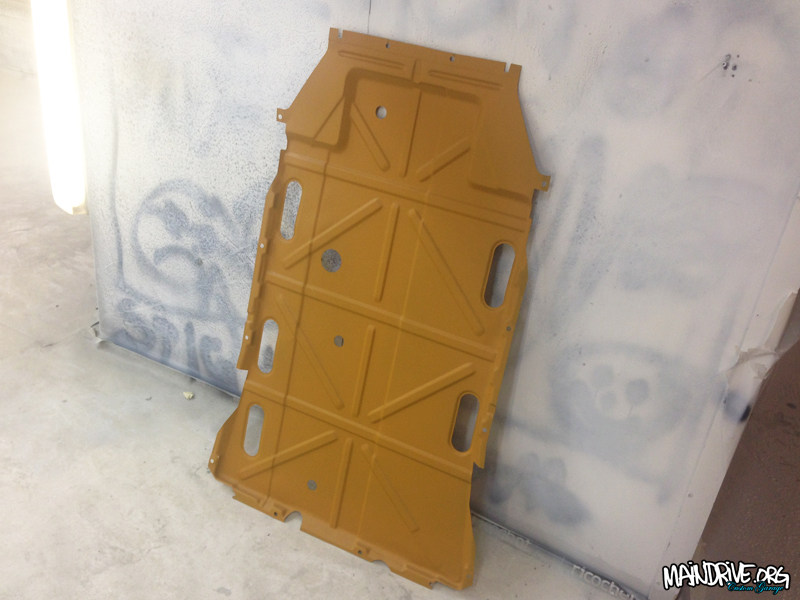
Blasted and epoxyprimer, ready for topcoat in VW factory greyish
Baremetal then yellow epoxy/zinc primer
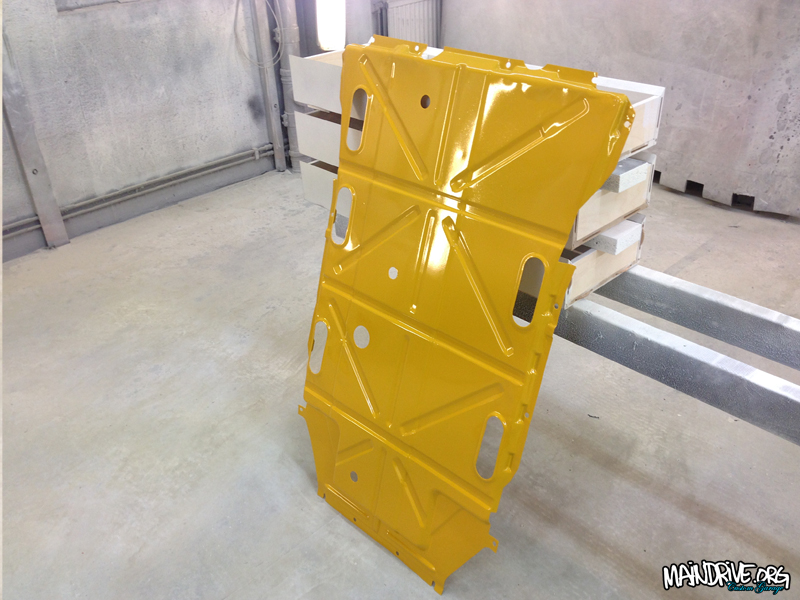
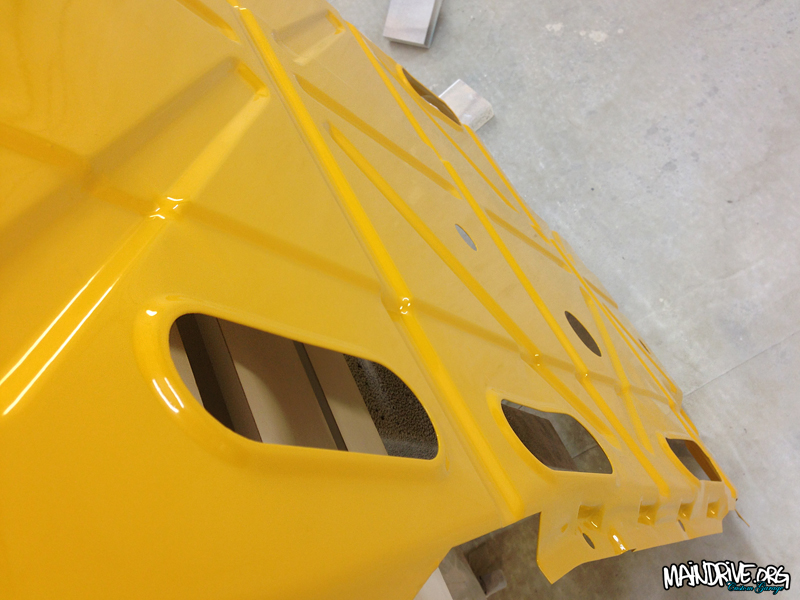
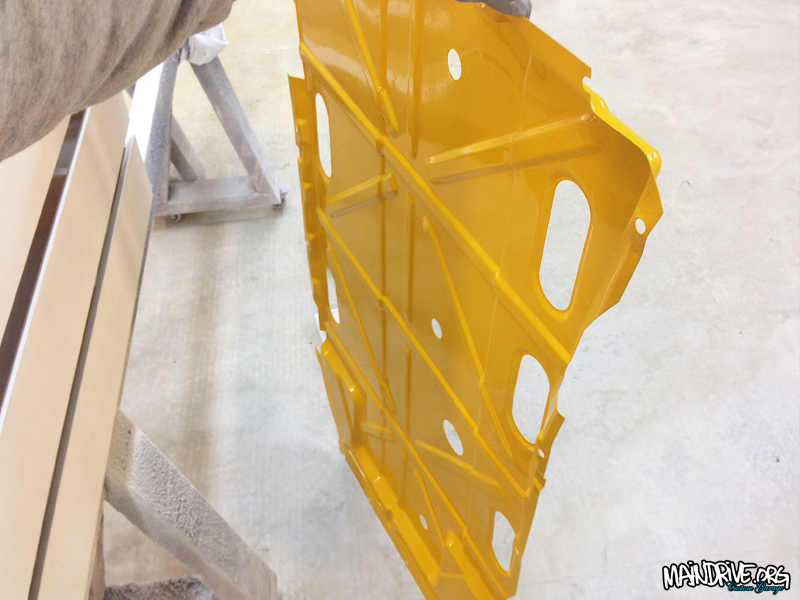
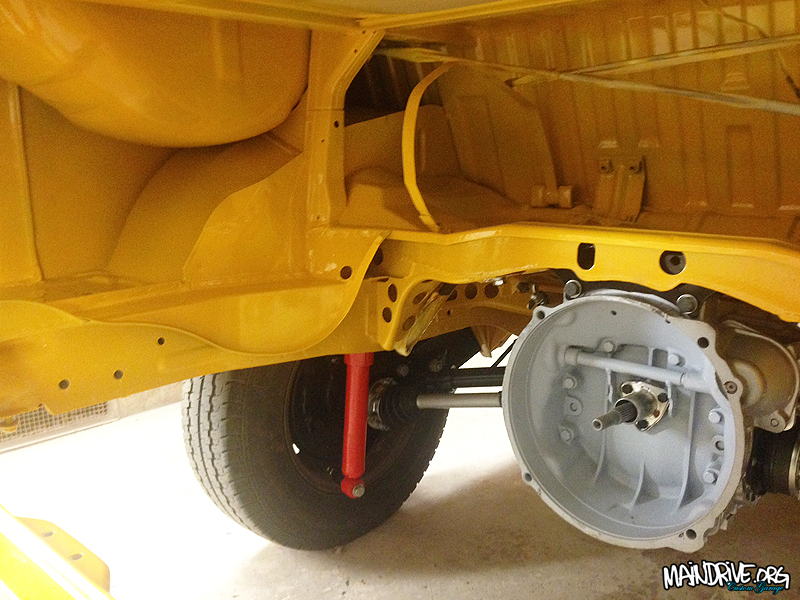
Topcoat in VW L20a Marino Yellow with 2K polypaint with elastic characteristics. So the stones wont chip the paint. The gloss on the elastic is a little less, but this panel is under the car and you normaly never see it anyway.
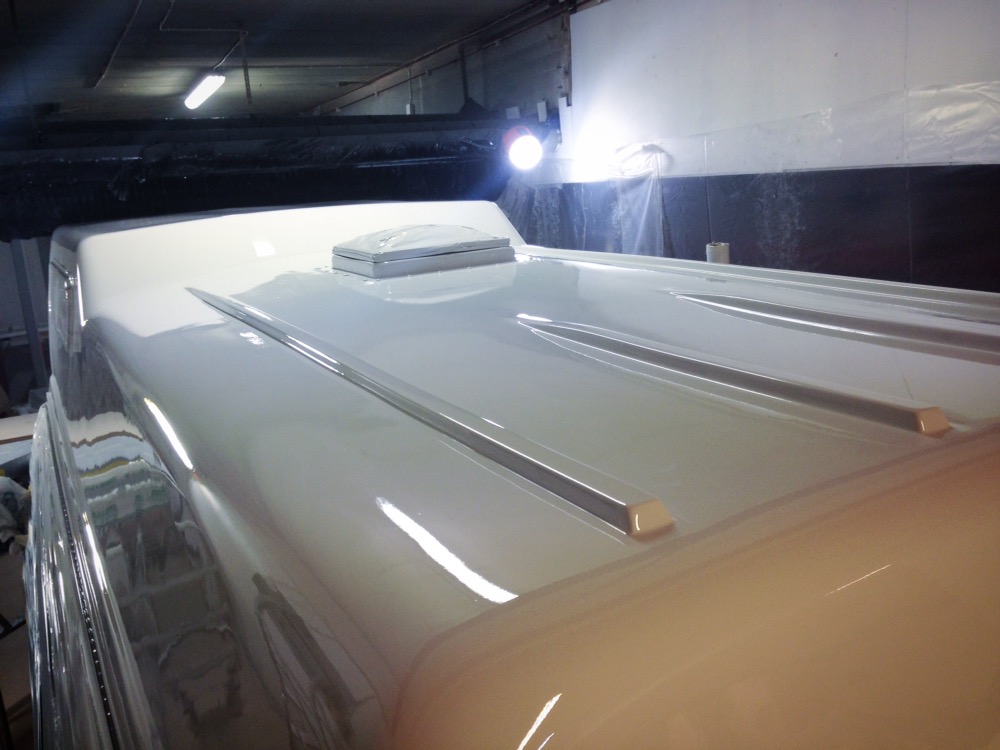
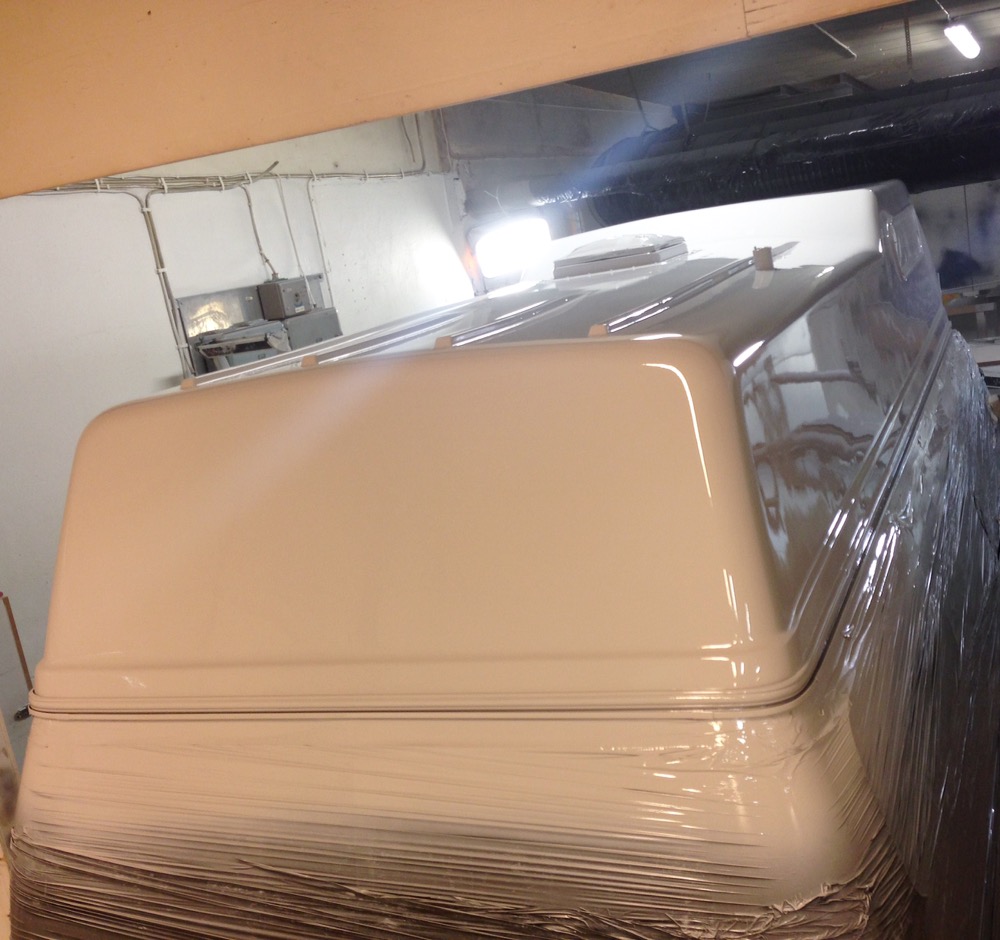
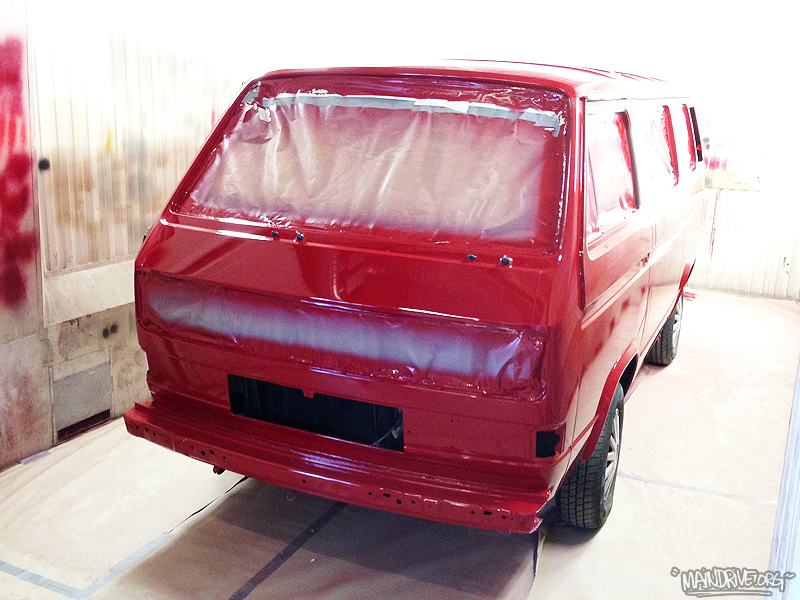
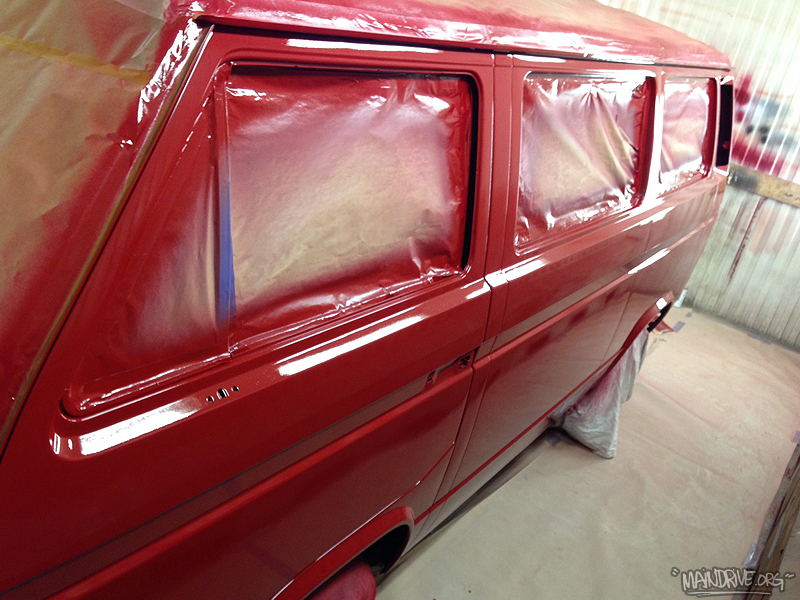
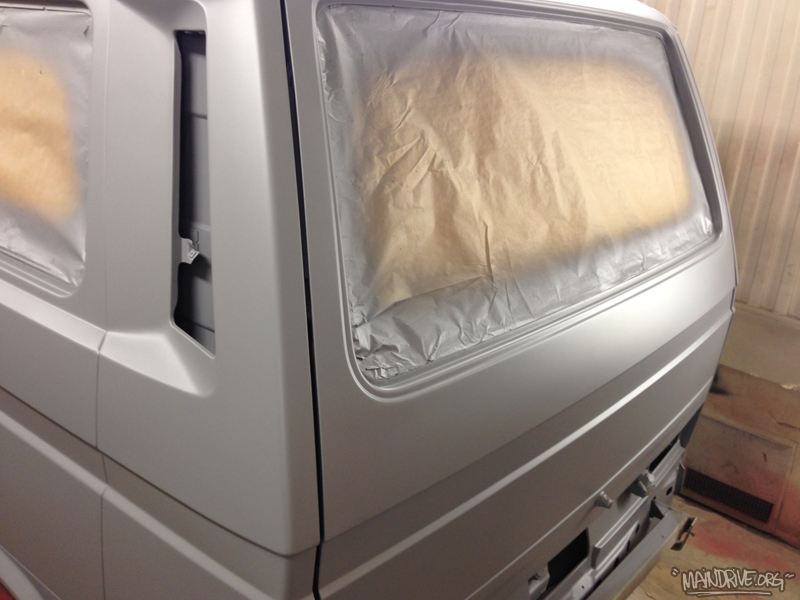
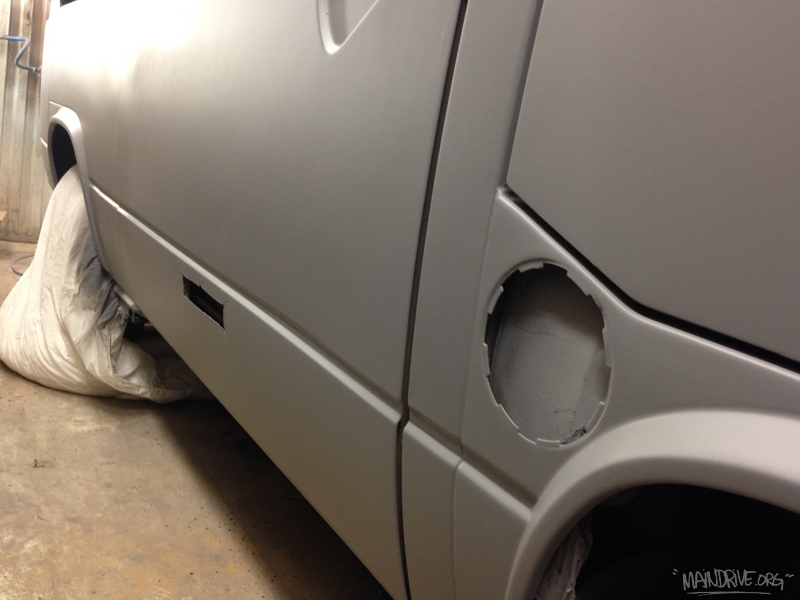
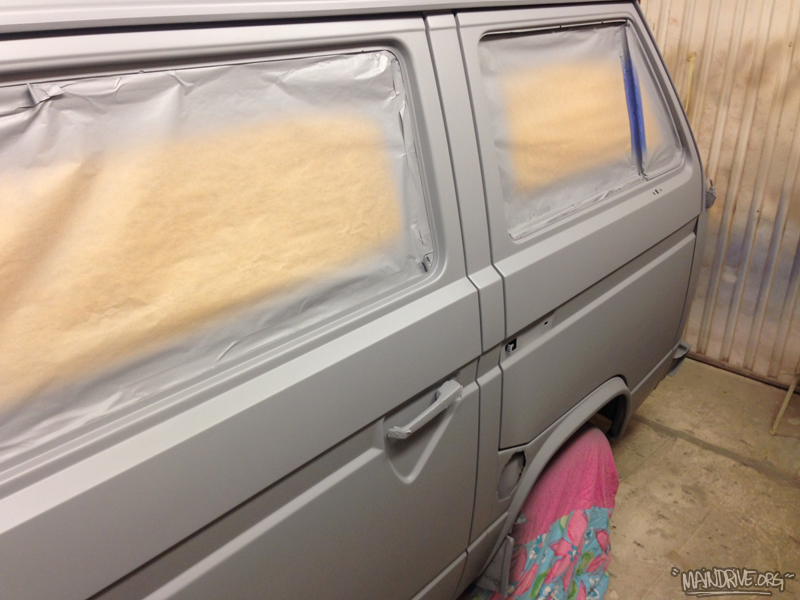
Dodge RAM campervan painted and ready.
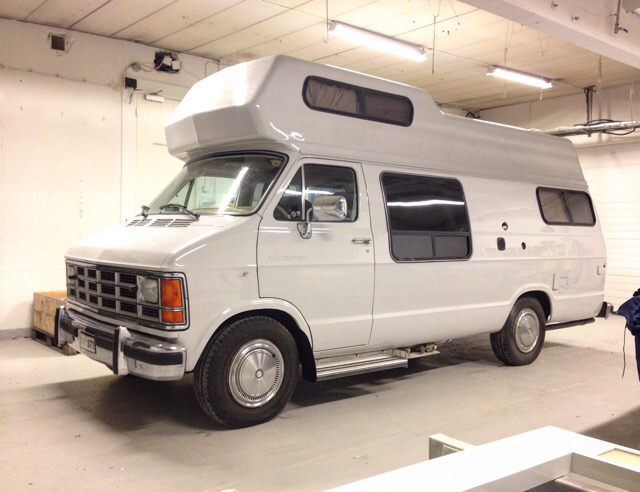

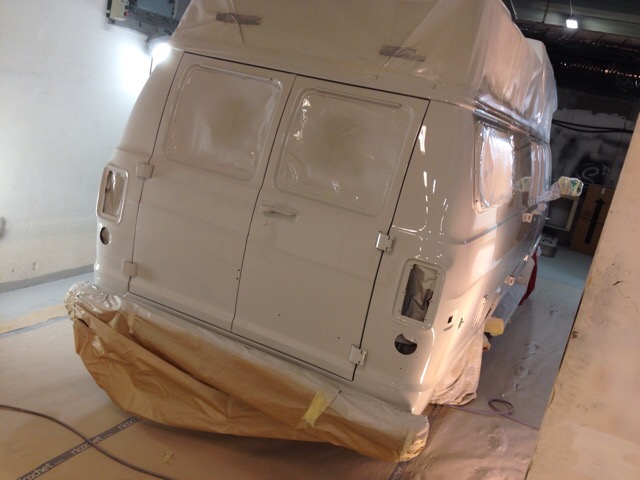
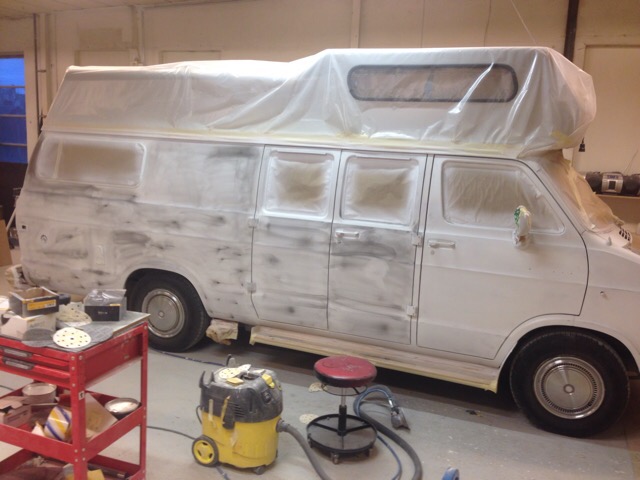
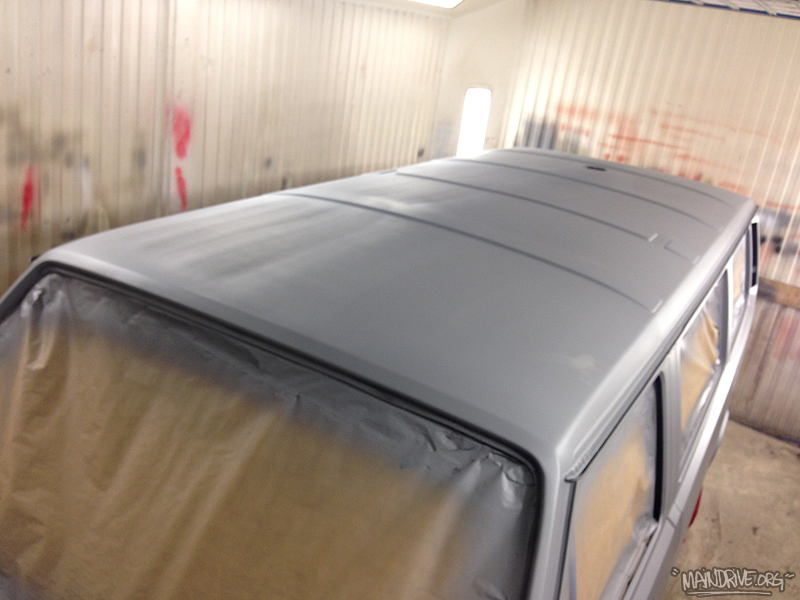
Painted the roof on a Dodge Van camper today. It was huge! Painters nightmare…
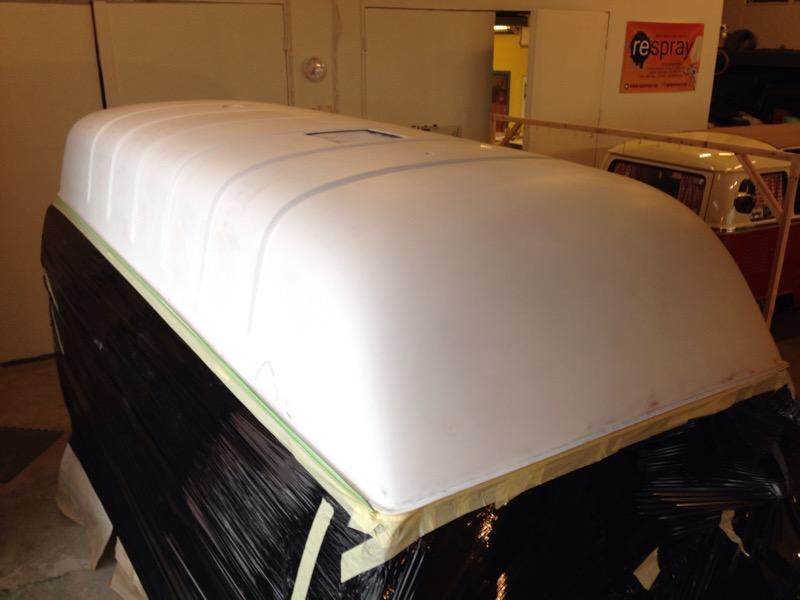
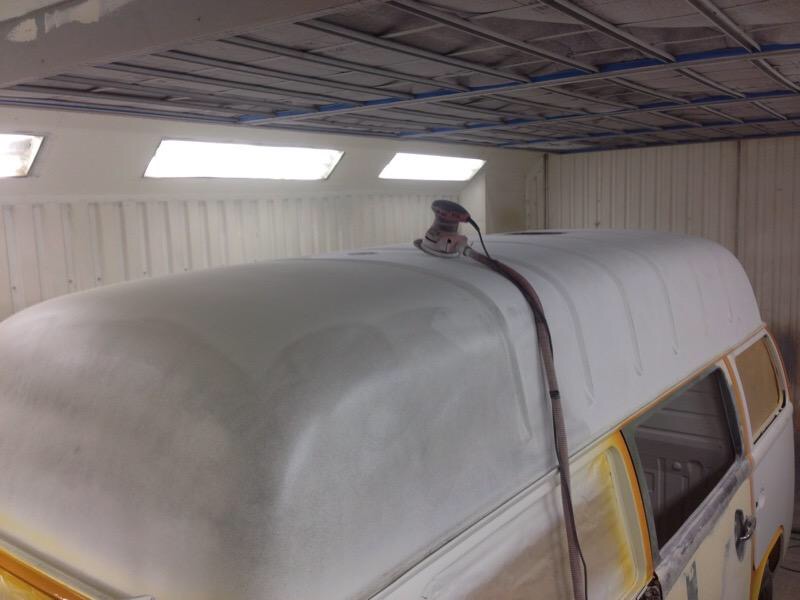
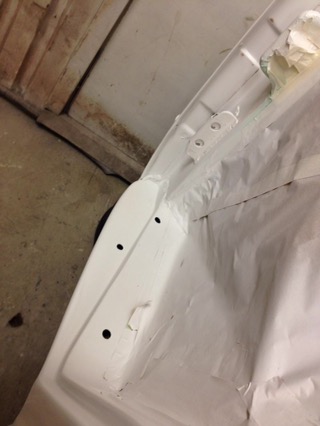
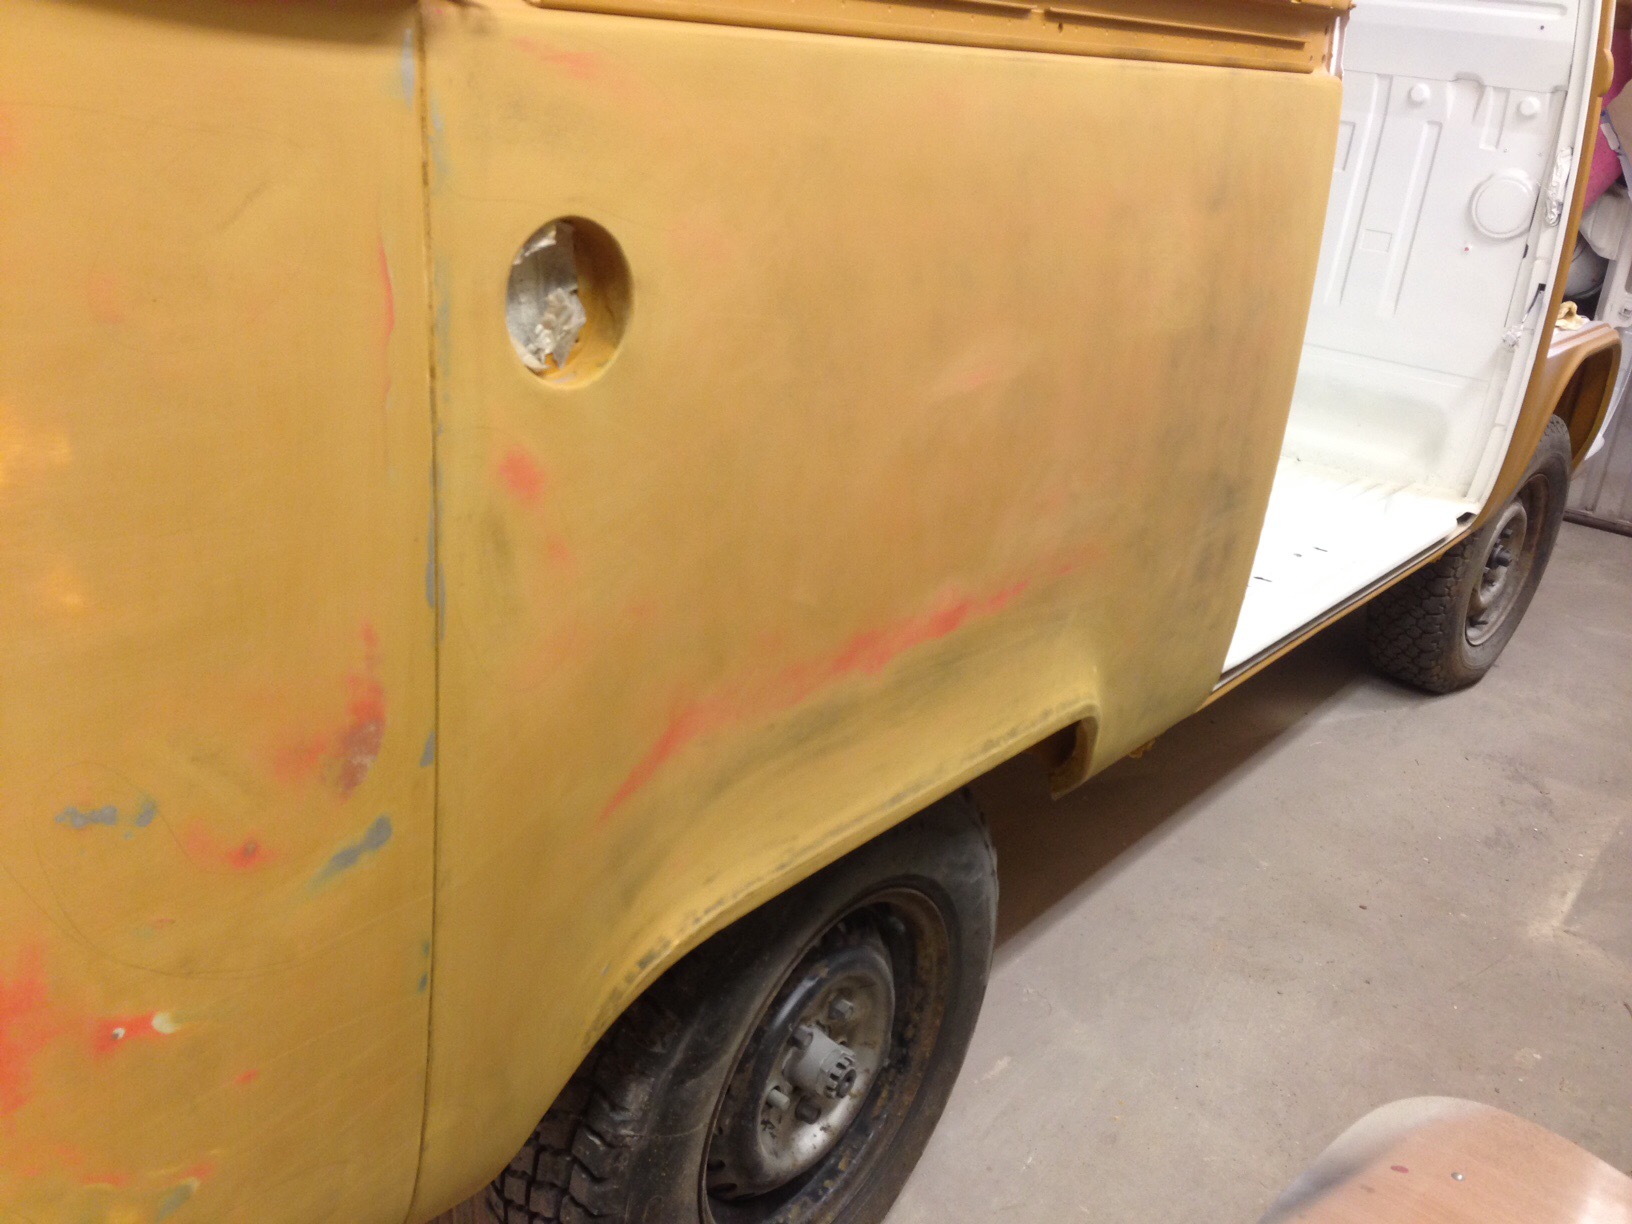
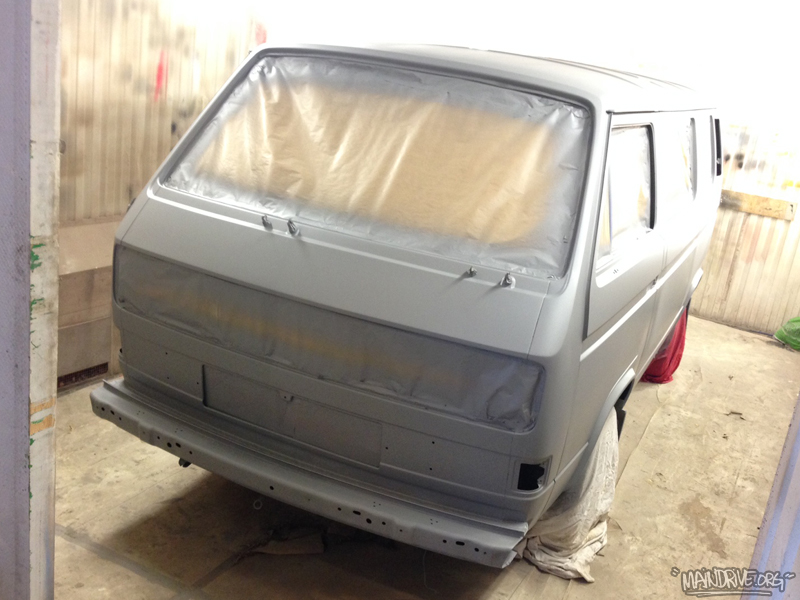
Have started the bodywork on the Highroof bus, preparing for primer and paint. Lots of sanding to do, when that is done it’s time for a coat of epoxyprimer again, to protect bare metal, then a quick sanding before a coat of surfacerprimer is layer down. Then it needs to be sanded down all over again. Then probably another coat of surffacerprimer again and then maybe it’s time for topcoat paint in VW L20a Marino yellow. A lot of people think it’s just mix paint and spray, but it’s not like that…only in fantasy!
After a weekend of work on the bus roof its now in primer! Finally. It needed a ton of work, was alot of gelcoat cracks that needed to be sorted. And the left rear corner of the roof had been hit earlier in the bus life and needed to be fixed up nicer. Will test fit a new Fiamma rooflight/ventilation and then I can continue with the bodywork on rest of the bus. Looking forward to paint! But still a long way and lots of hours left…

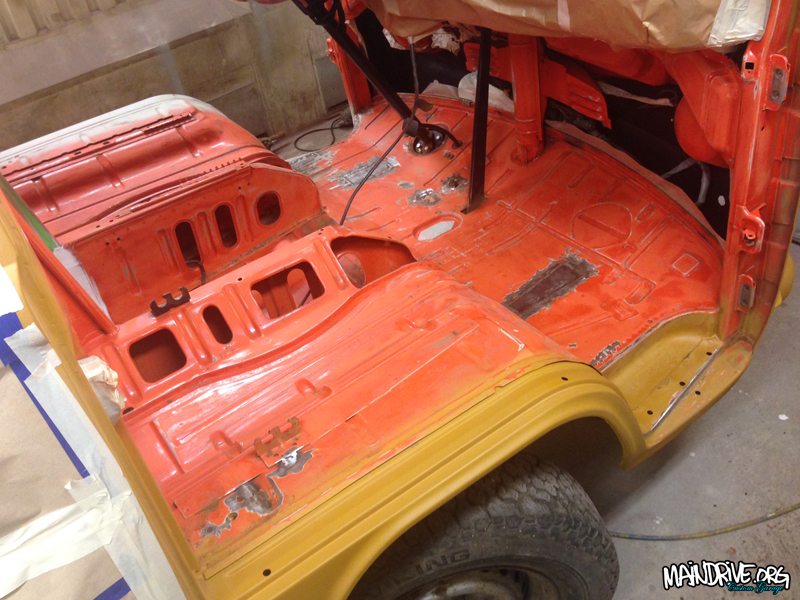
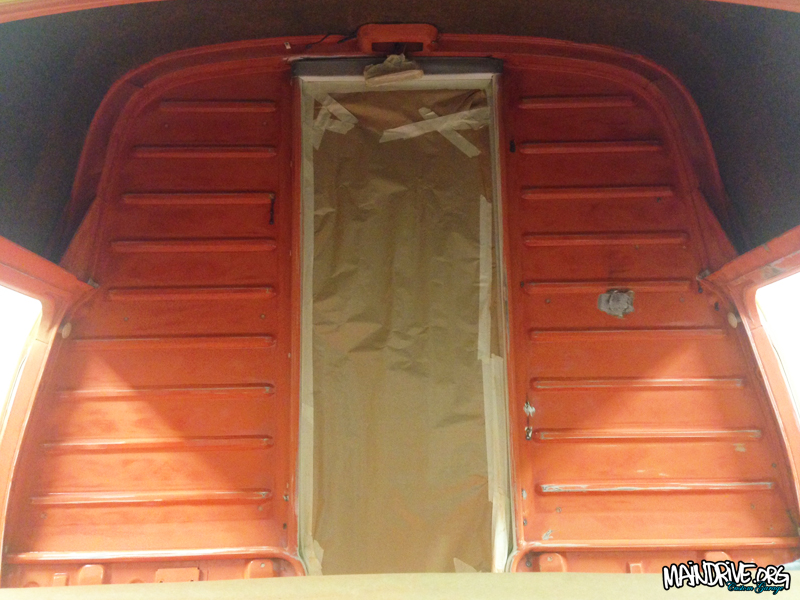
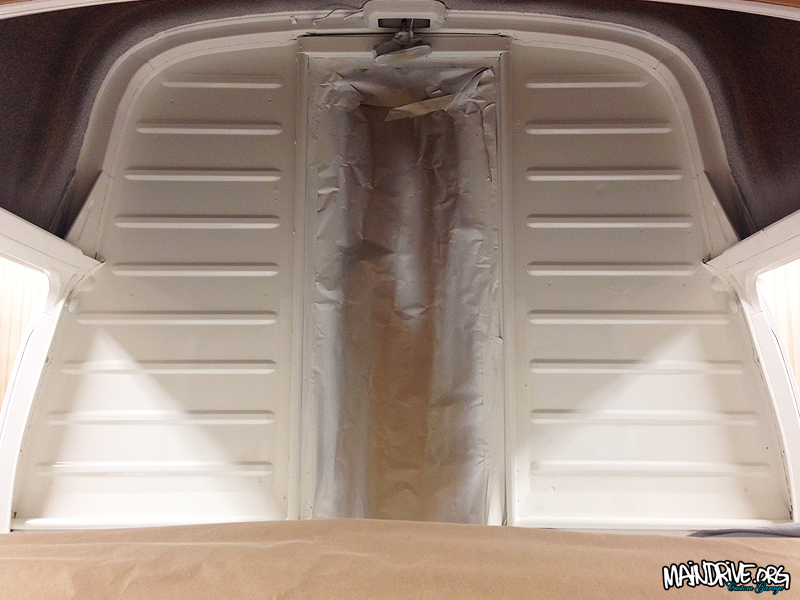
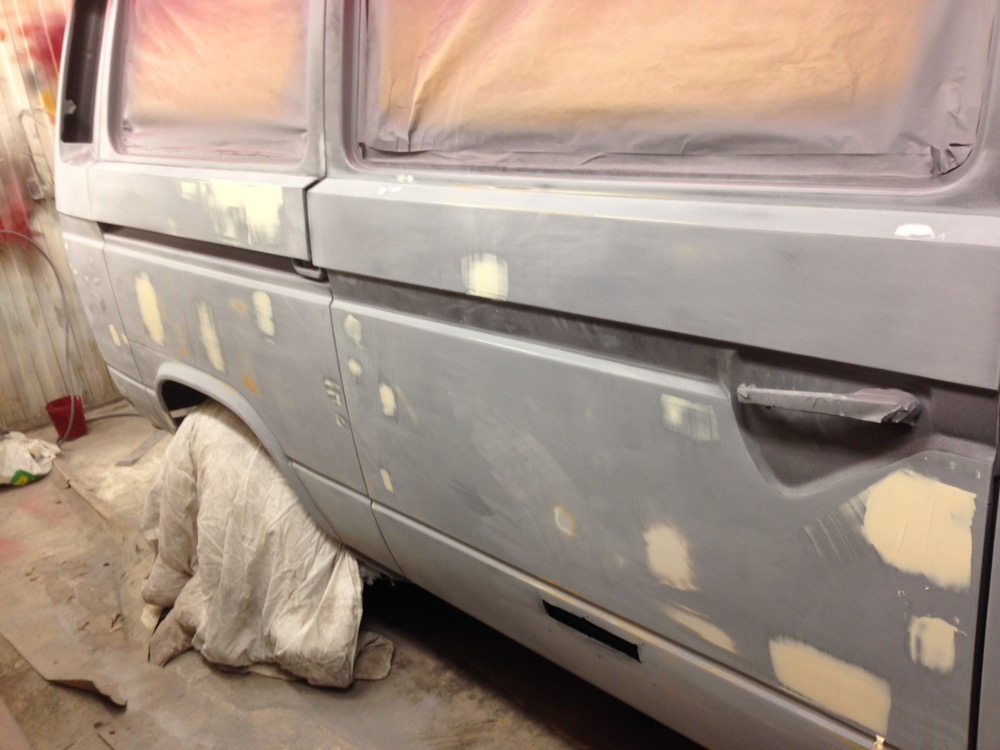
The engine bay is now ready for the fueltank and later on the 1800cc+ type 4 engine (need to be rebuilt first) to be installed. Today the whole front cab of the bus got sanded down (mostly by hand), front doors removed, masked, seamsealed, prepared for primer and then topcoat in Off White color in 2 layers. Most of this wont be showing when all sounddeadning materials and carpets are in place later but good to have a clean surface for glue and its also nice to know its clean and protected under the carpets.
Next up is; top section of dashboard needs to be removed to paint it in semi-gloss Deepblack (easier to do when windscreen is already out). After this I can start with the outside body of the bus and make it ready for paint. Here is some new pics…
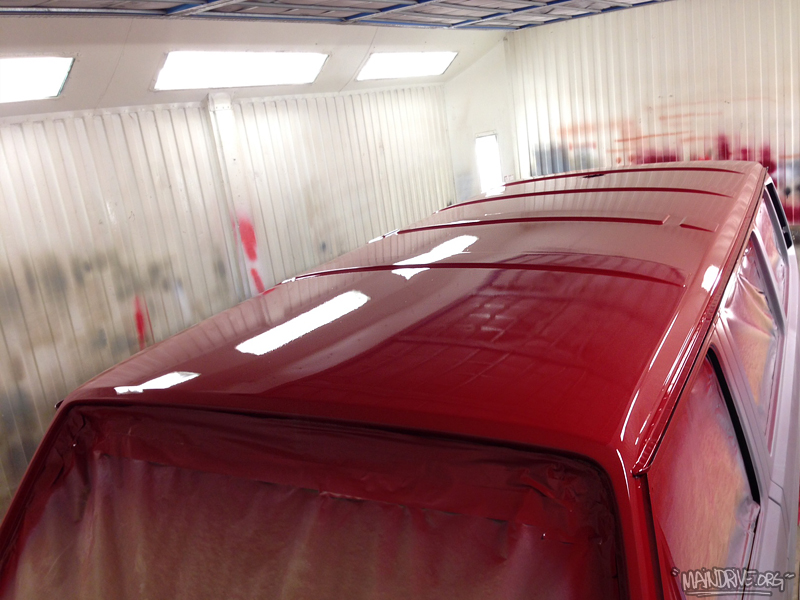
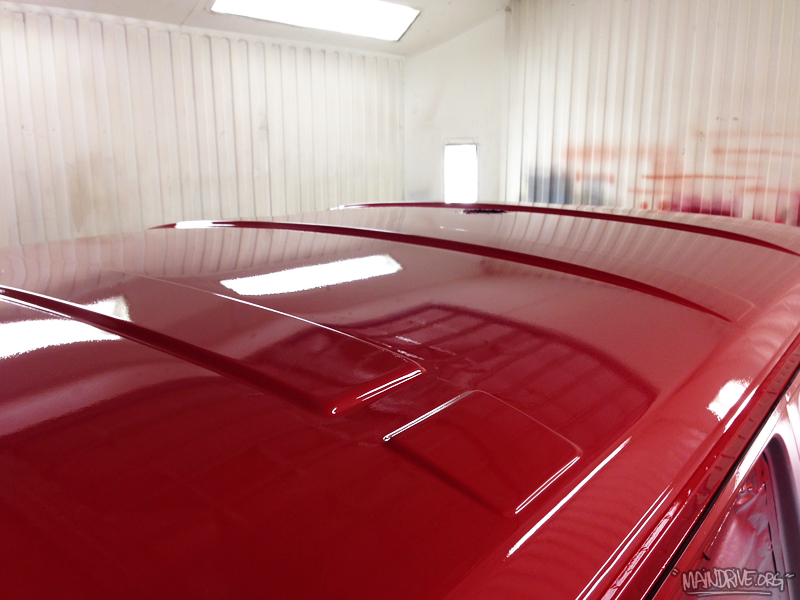
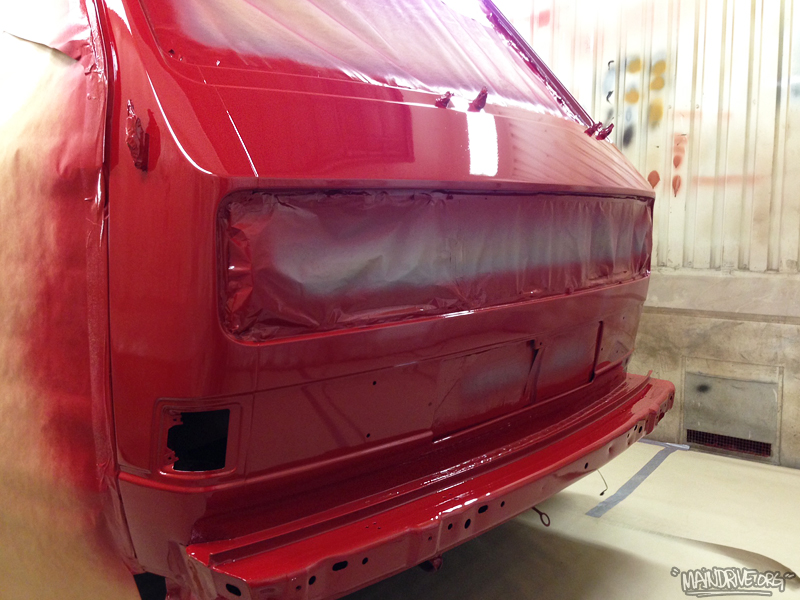
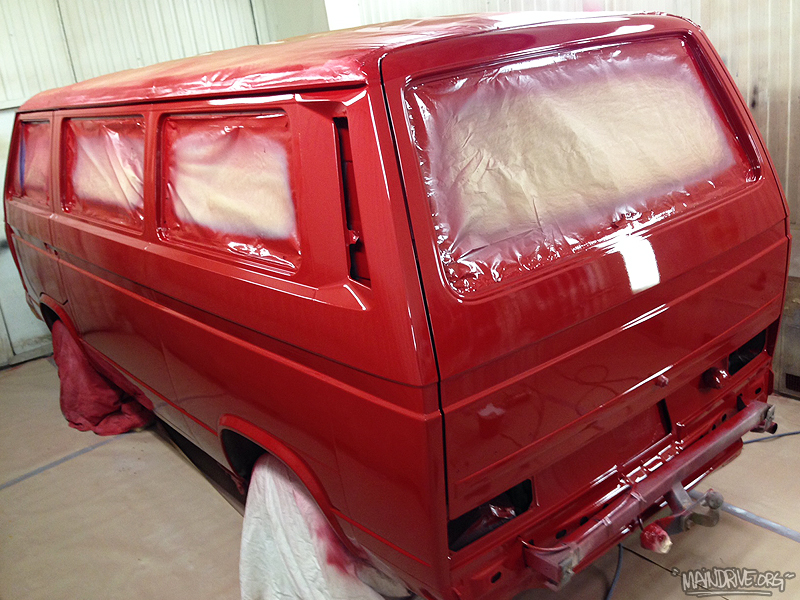
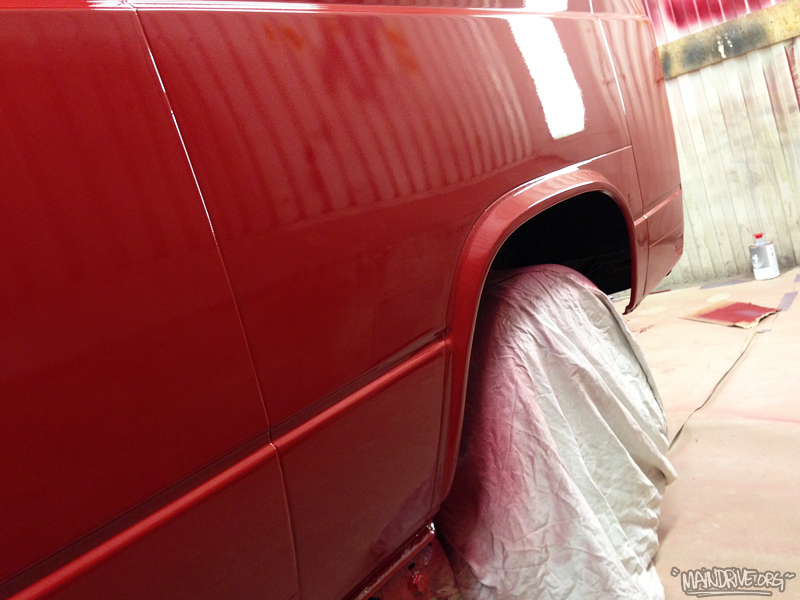
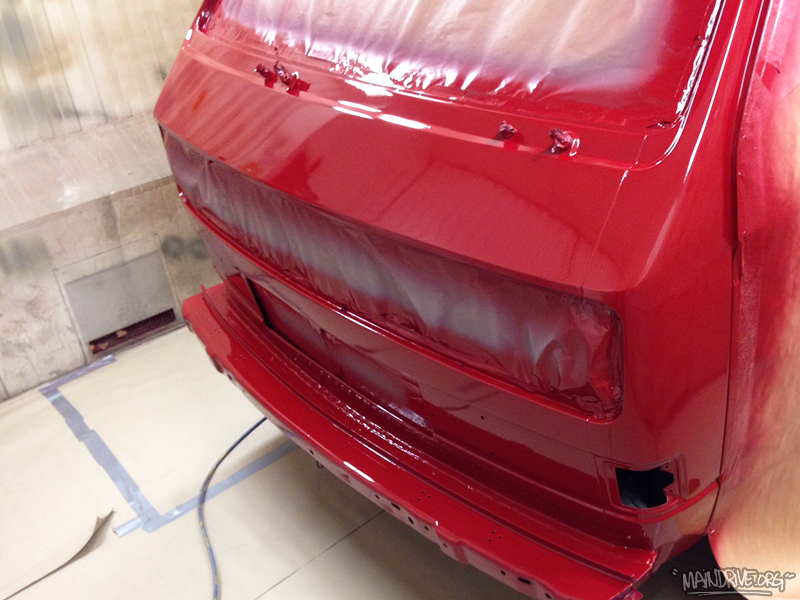
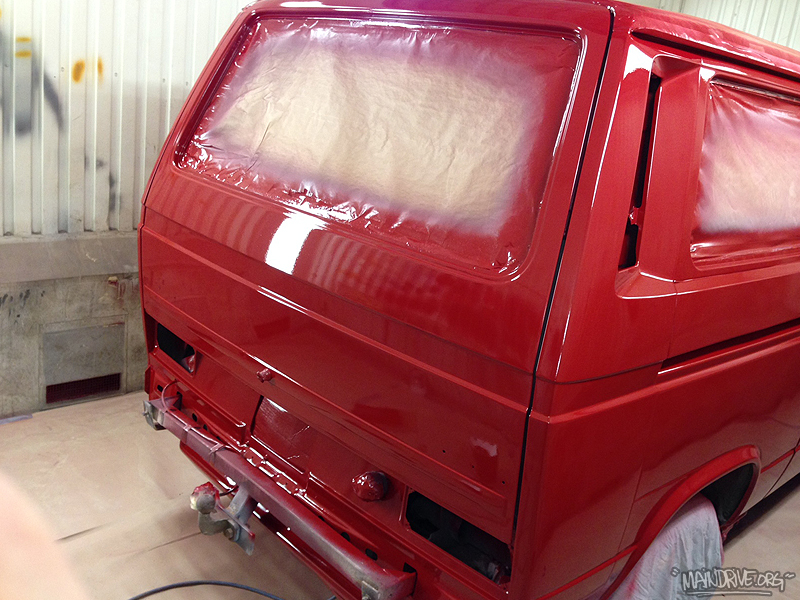
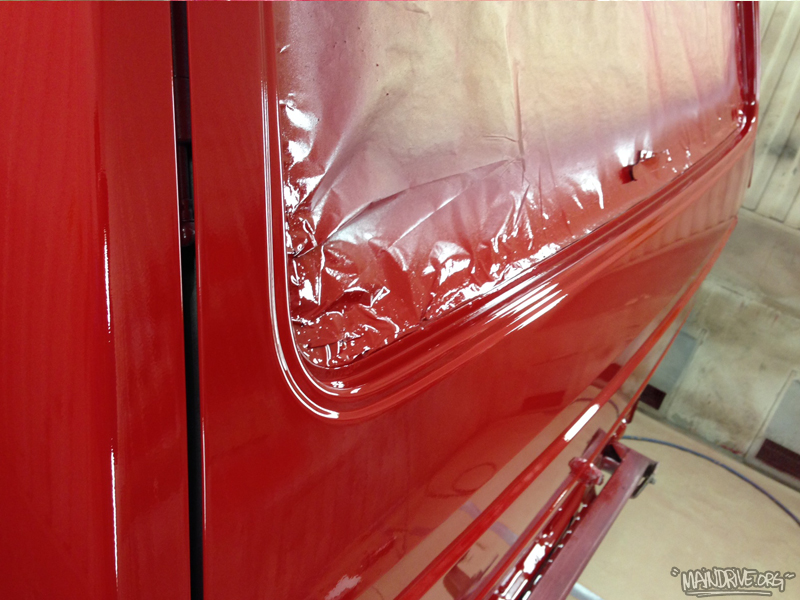
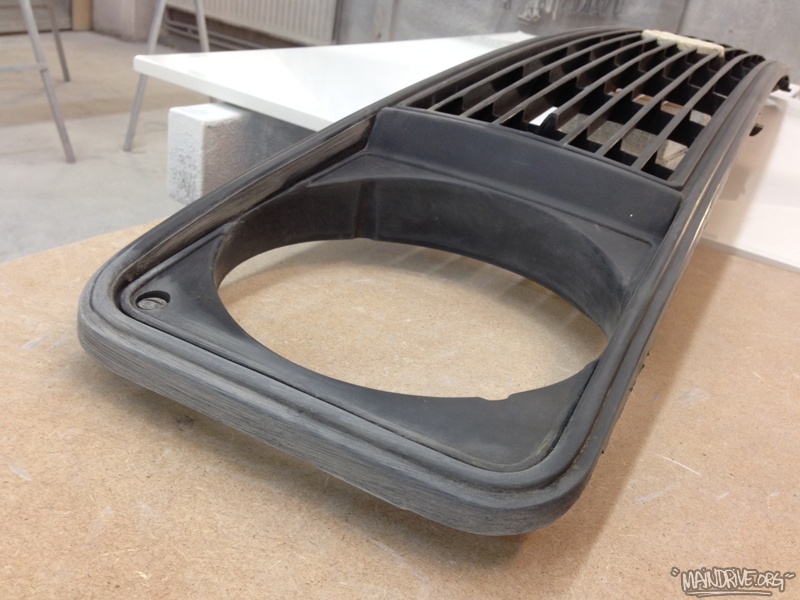
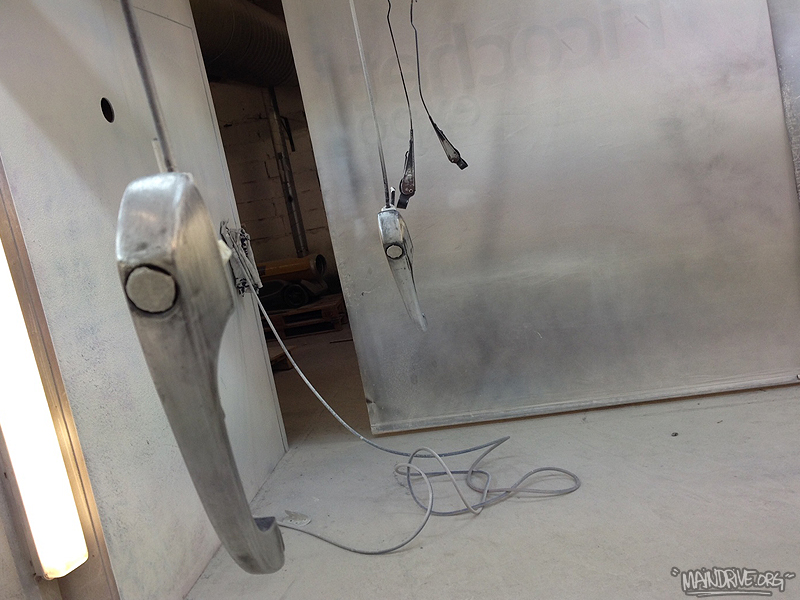
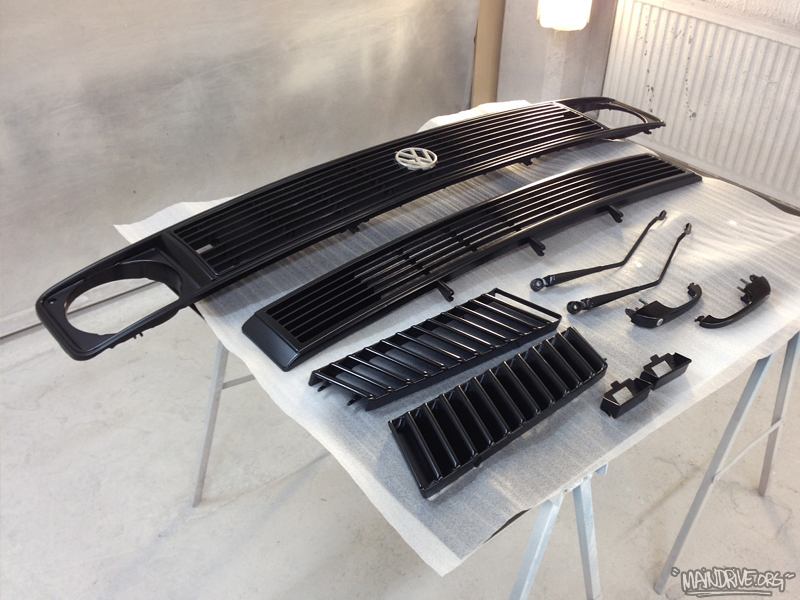
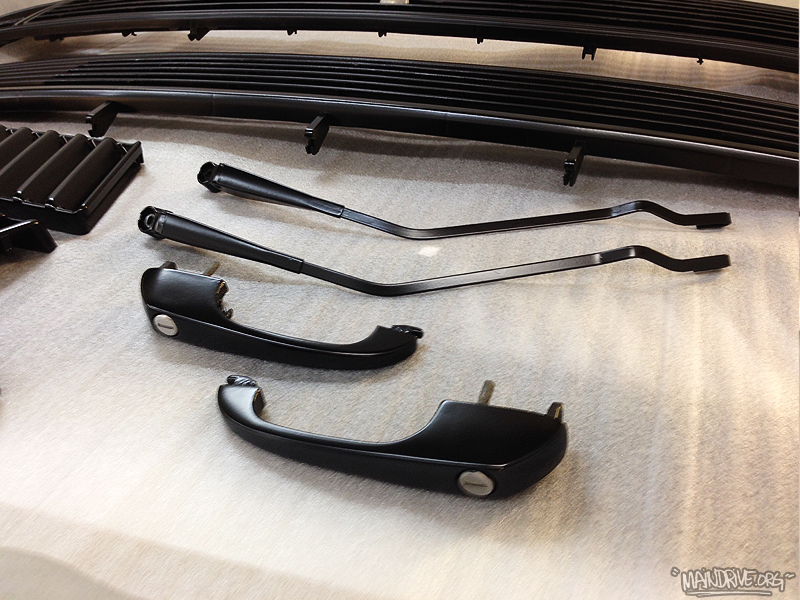
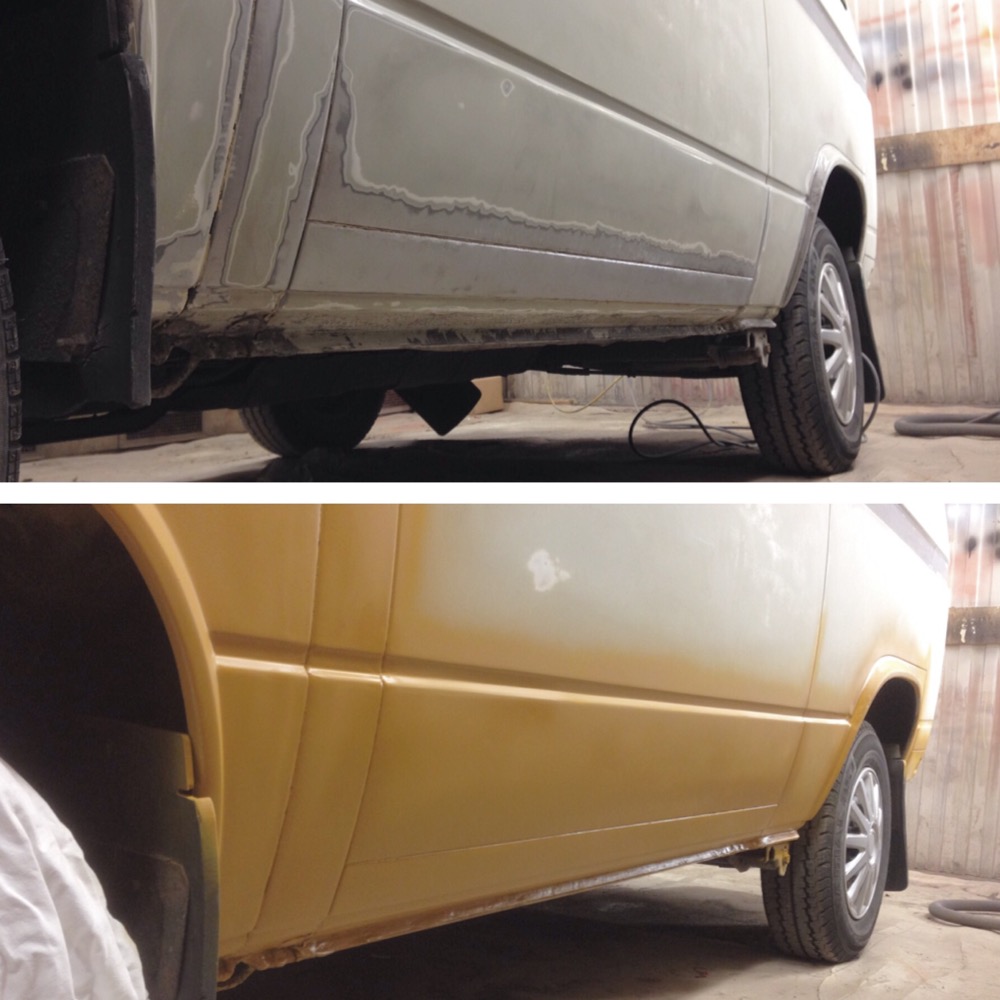
After alot of bodywork and sanding it was time for topcoat paint in VW Marsala Red H3D. Looks nice in red! Also got new Deepblack paint on the sun grey faded trim and parts like the front grills, handles, air intakes, wipers etc. I think all the black parts will match the black wheels perfect when its all together. The wheels from Germany will arrive this week and the other new VW parts from Just Kampers will be here tomorrow!

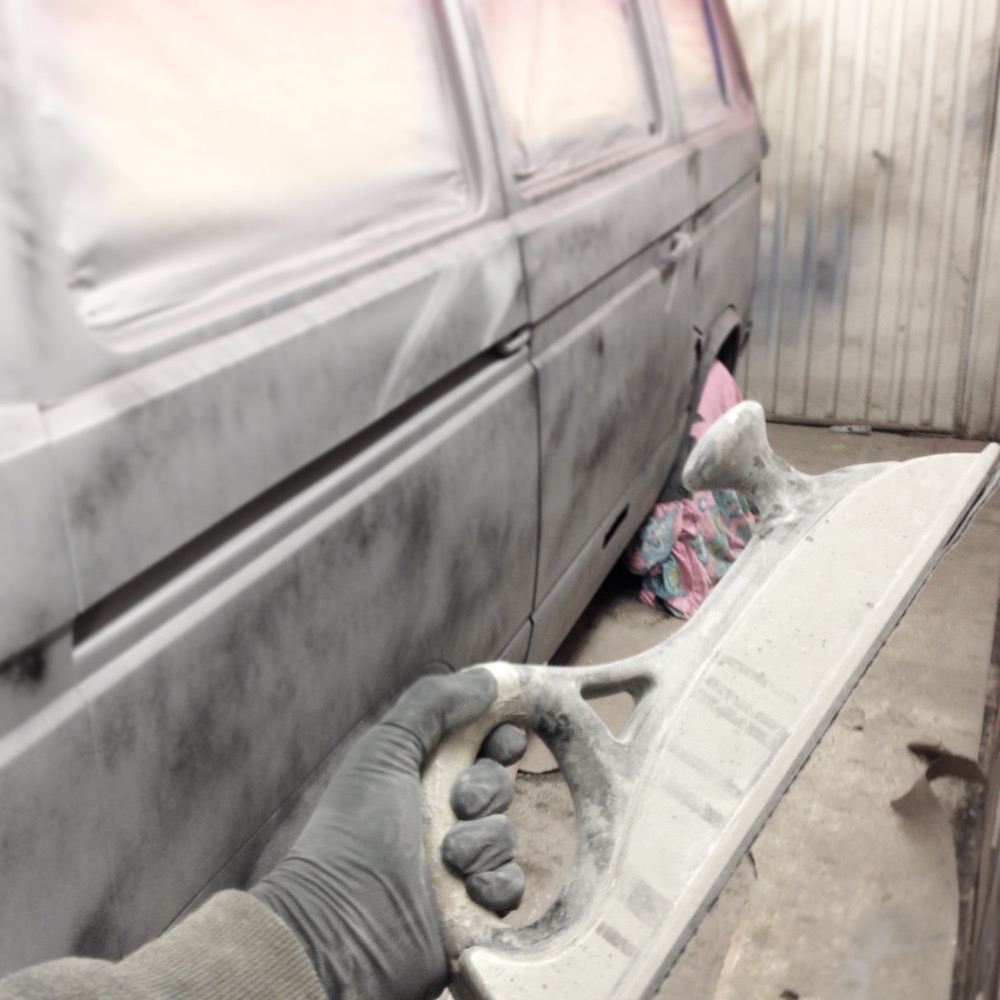
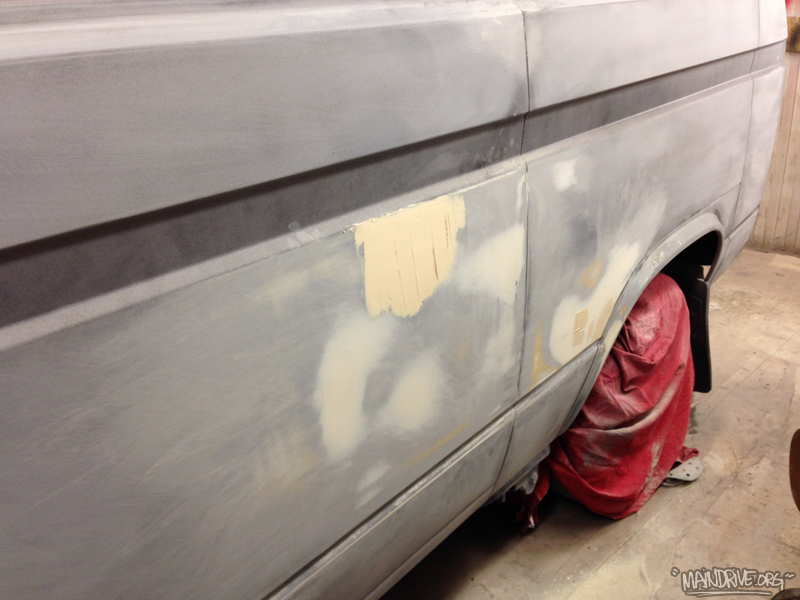
Time to sand the primer and fix small dents and scratches, and its alot of them both. When this is done a new coat of grey primer/filler is needed to get a good even base that needs a light sanding with 800 grit by hand before paint! Alot of work for sure!
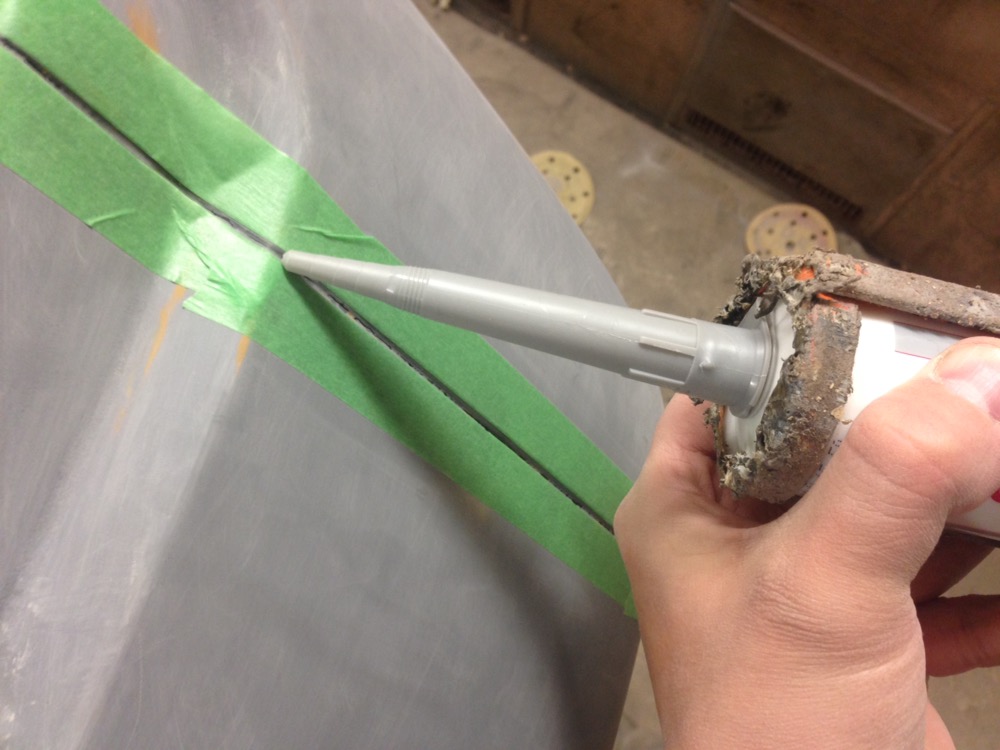
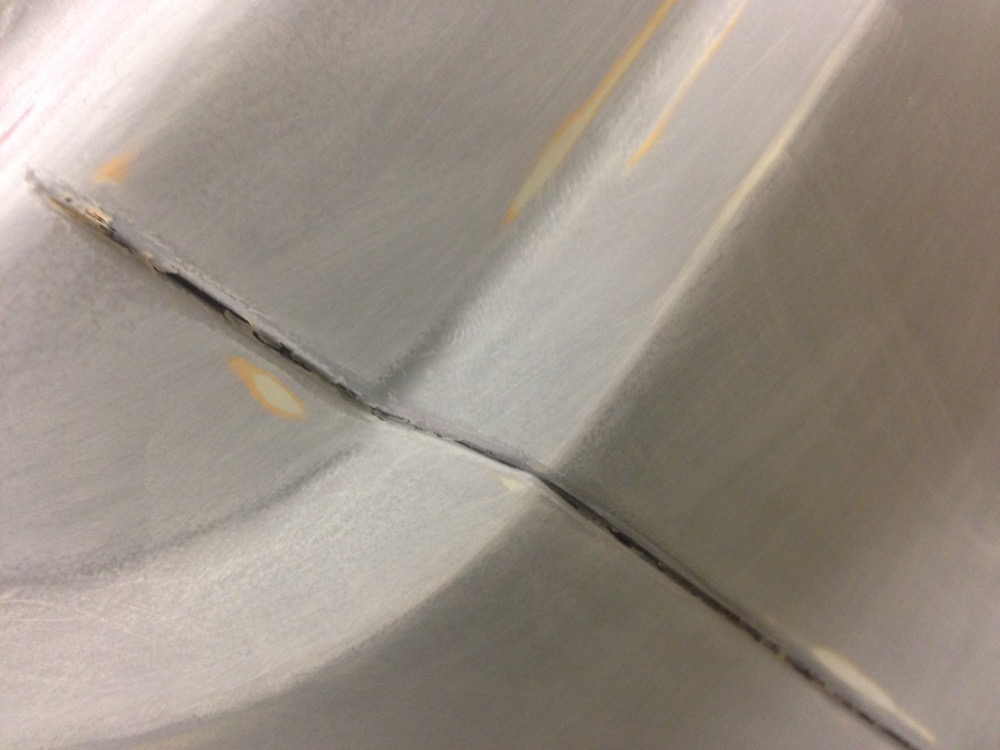
All the places that have been sanded and sandblasted down to the bare metal have been painted with yellow 2k epoxy rust primer for protection. After this, all the small dents, scratches and imperfections in surface/metal after sandblasting etc have been filled up and sanded smooth and all the seams have been sealed up with new seamsealer. Then it was covered in yellow epoxyprimer again. When it was all dryed it just needed a light sanding before 3 coats of grey surfaceprimer was added. Now it has to dry a couple of days before it can be sanded down again, but this time more carefully and must be perfect! When this is done its ready for topcoat paint in VW Marsala Red H3H3.
Bumpers and some smaller parts is at the sandblasters at this moment and more new parts from Just Kampers in UK is on its way right now. Time to choose some cool wheels also, stay tuned for more pics and updates!
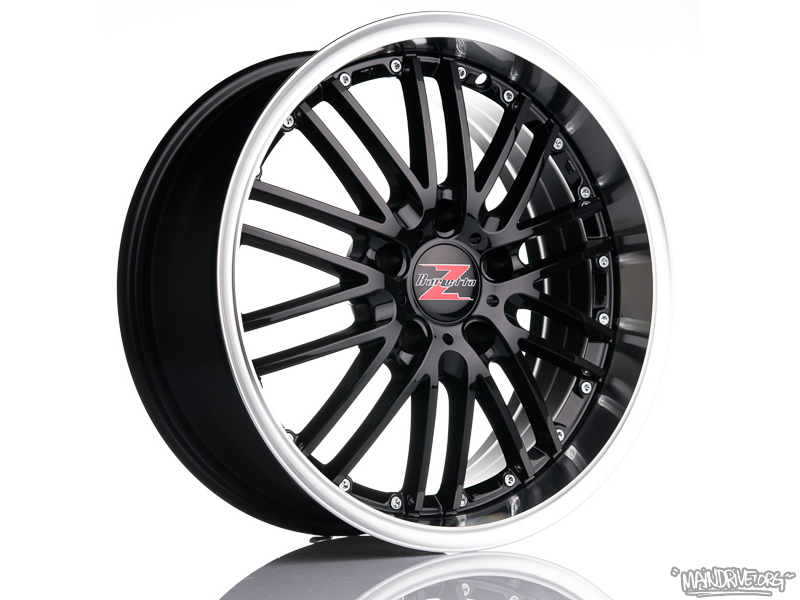
Maybe these 17″ wheels? 🙂
Played with some spraycans and come up with this funky monster.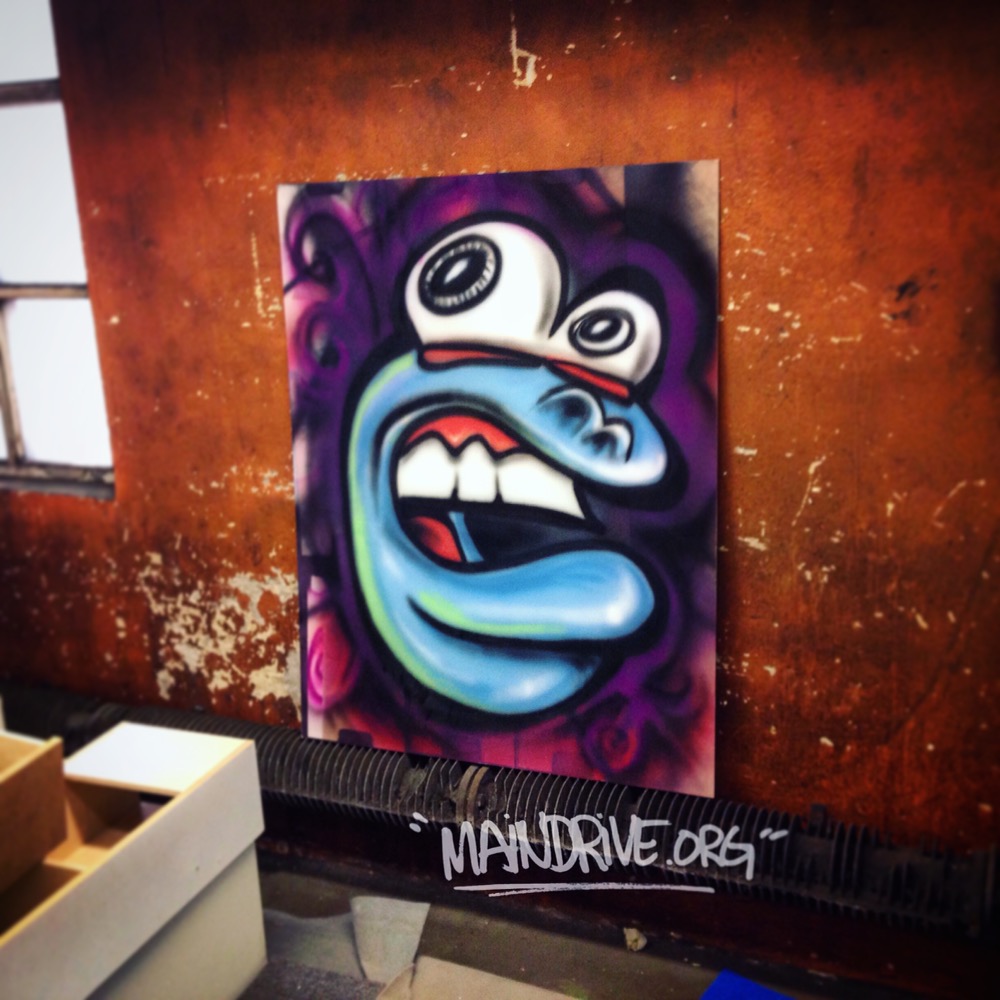
No more naked metal, its now all sealed up with epoxy 2k primer for good rust protection! Next step is sanding and fixing all small dents etc before a coat of surfacer primer is layed down. After this some more sanding and then topcoat paint! Very time consuming job ahead…

Behöver du något blästrat och lackerat till bra pris så är det bara att höra av sig på: info@maindrive.org
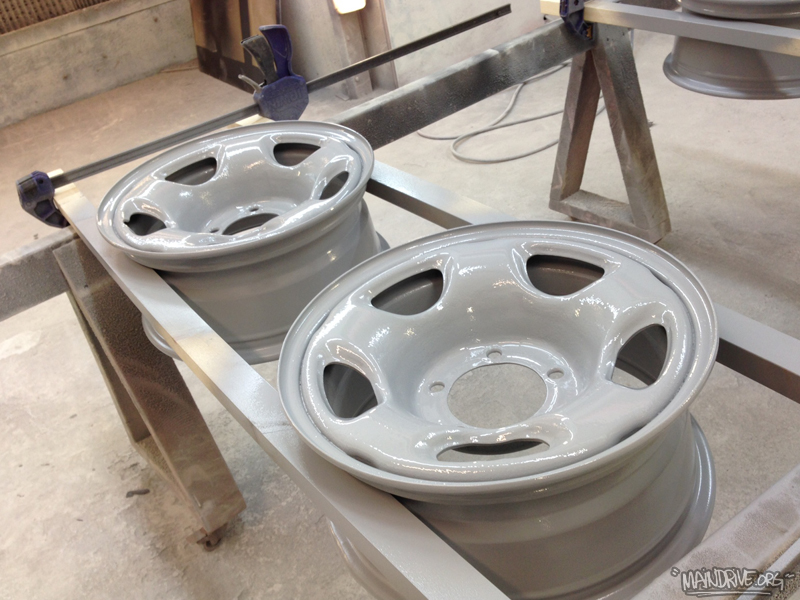
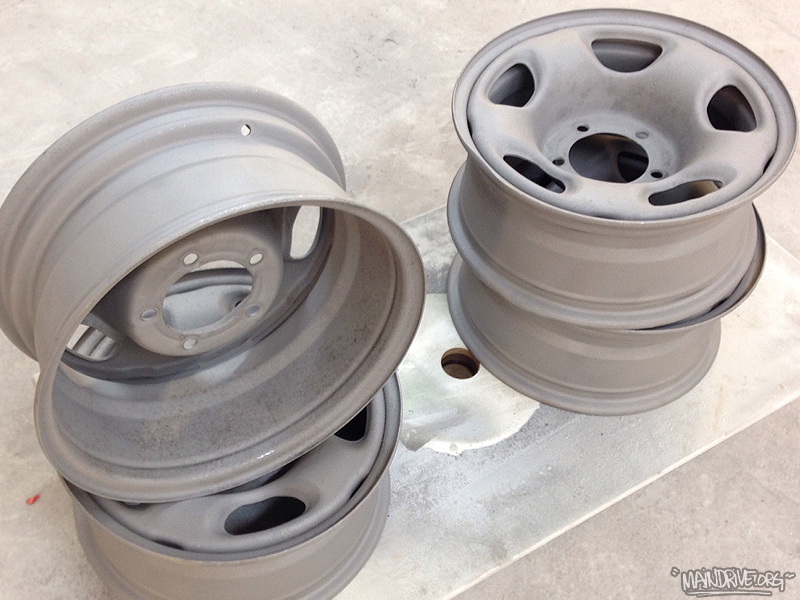
These rusty wheels got a new life with some sandblasting and new paint!

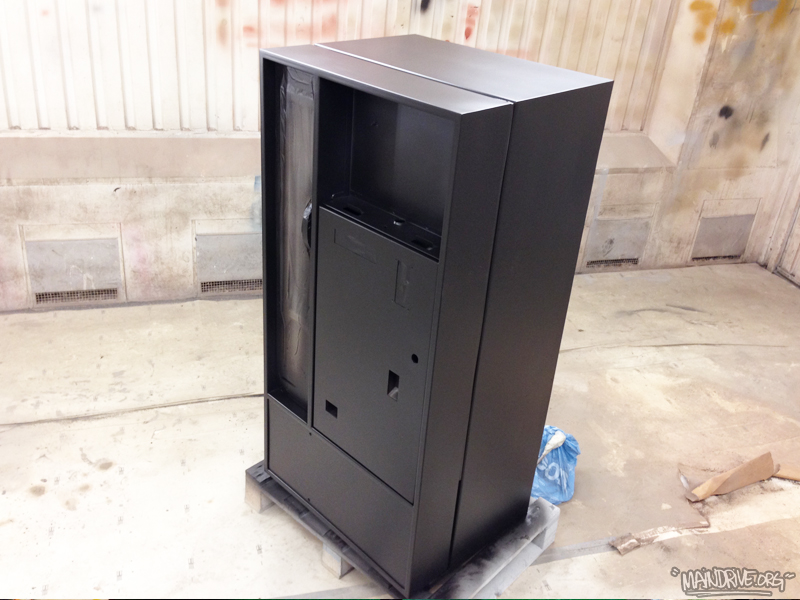
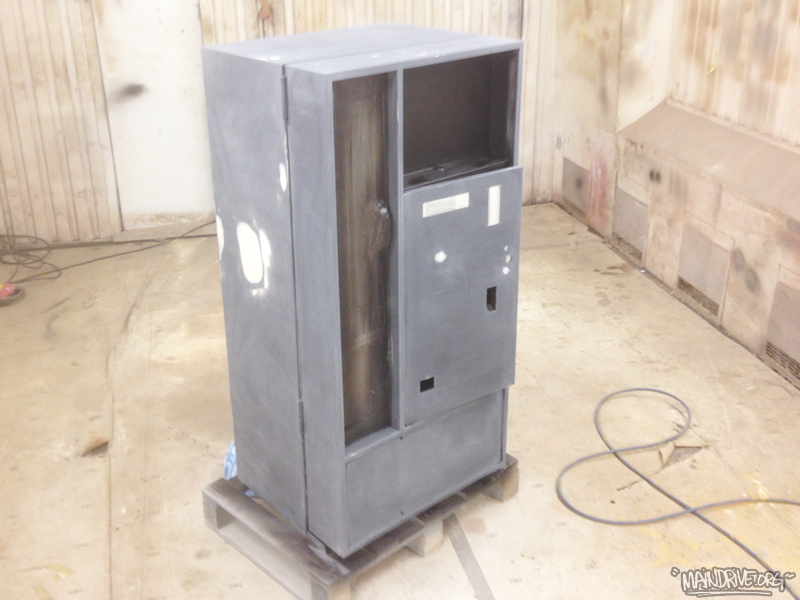
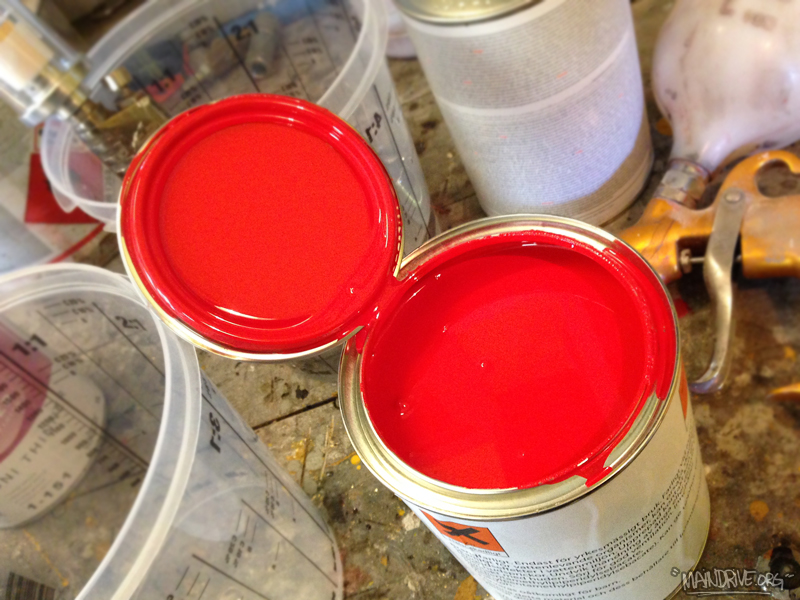
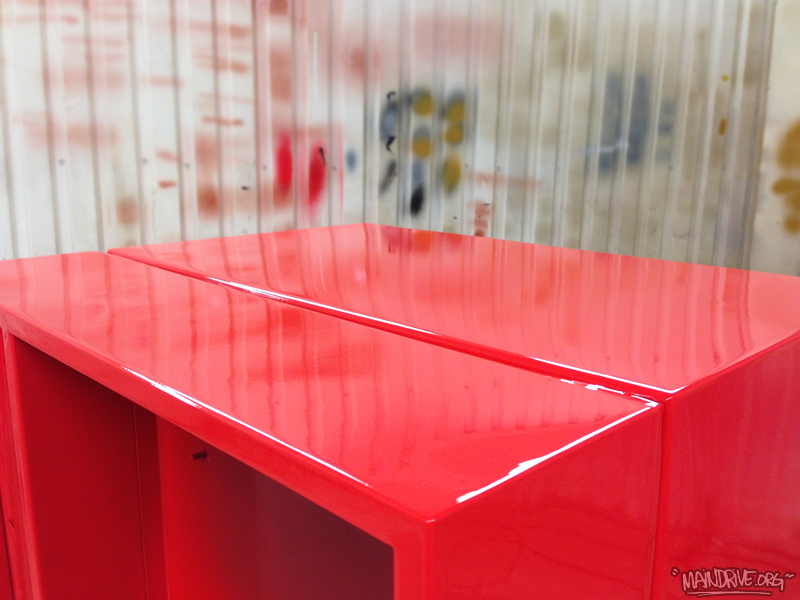
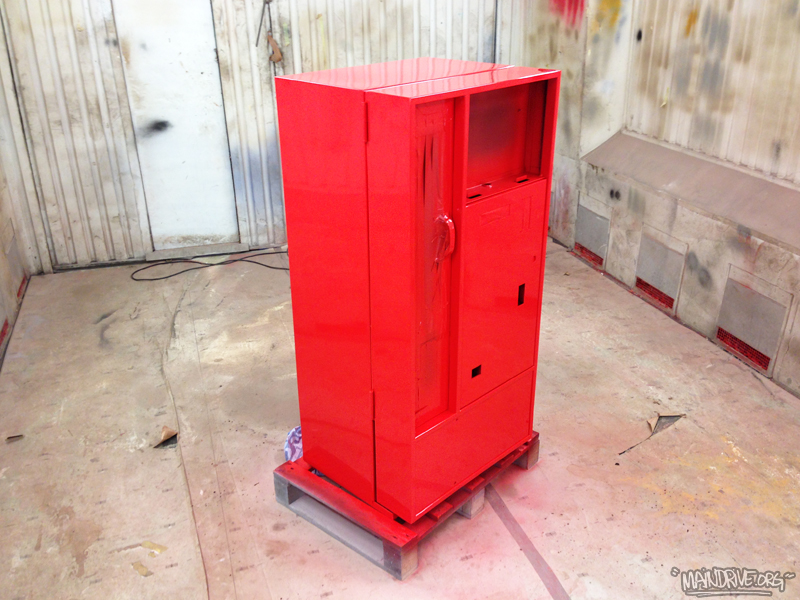
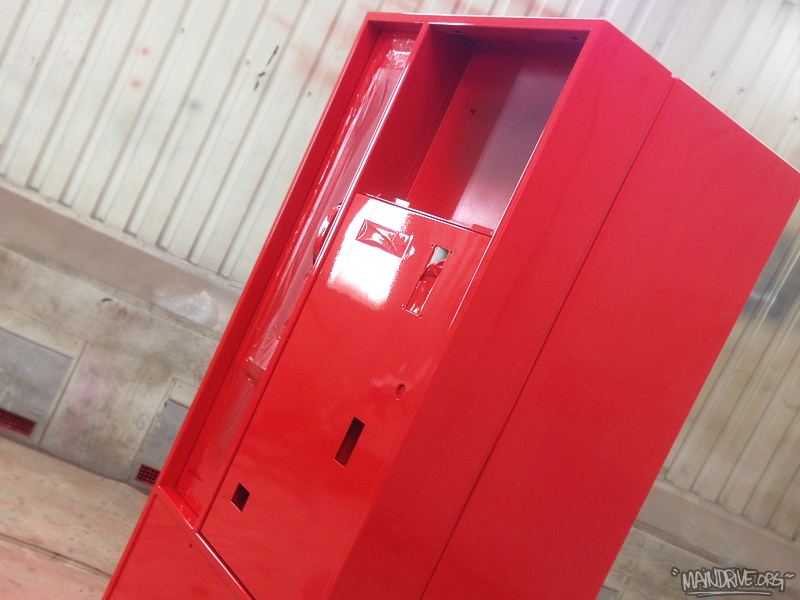
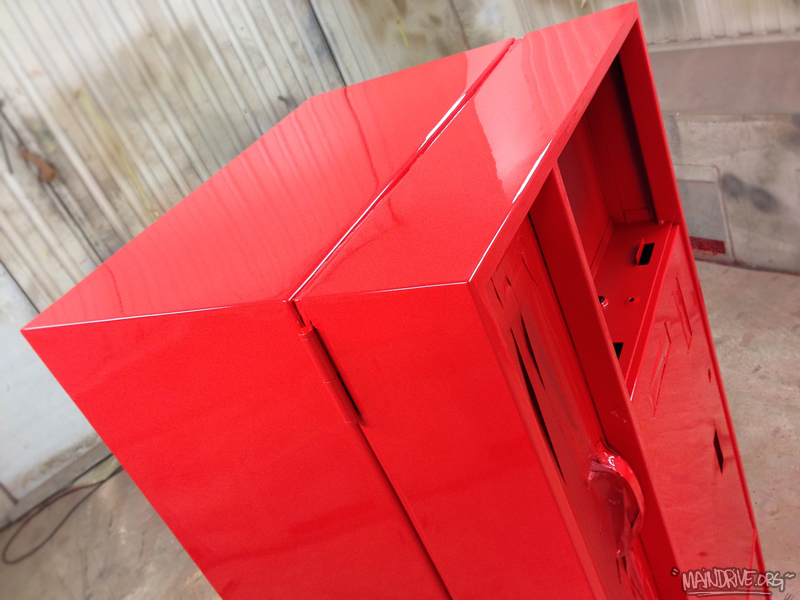
Today I started to sand down the black surfacer/primer so it was all smooth! Found some new dents that needed to be fixed also. And when it was all done it was time for shooting the Coca-Cola red paint. It was a hardtime to find the paintcode. Maybe it is trademarked. But the paintshop sells paint directly to the Coca-Cola company in Sweden so they had all the codes. It turned out great, looking really good. Next up is mounting back all hardware, trims and logos etc. The sign was in metal on the machine but Im going to convert it to a light up sign instead and using modern LED lightning. Also going to check up the compressor and all wirings before its ready to be put in service.

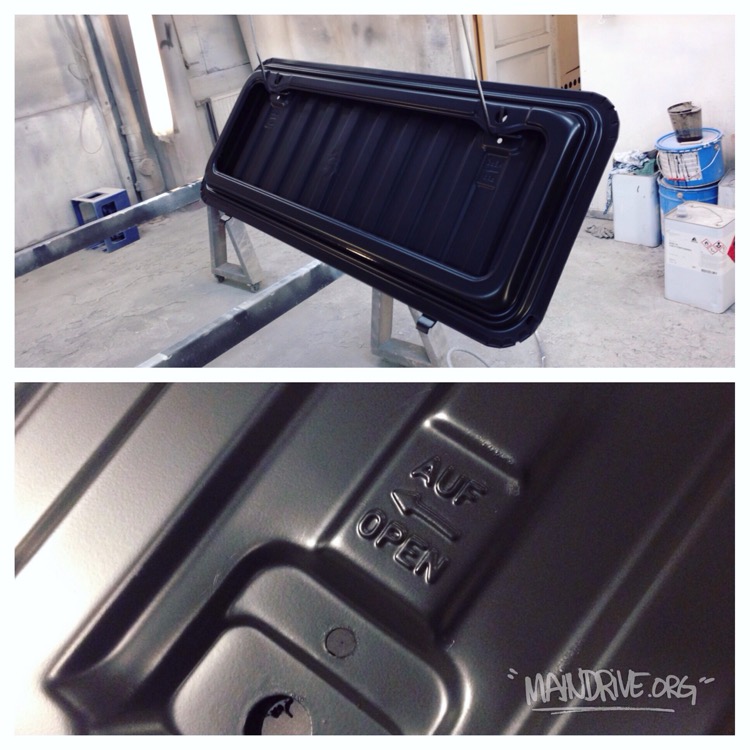
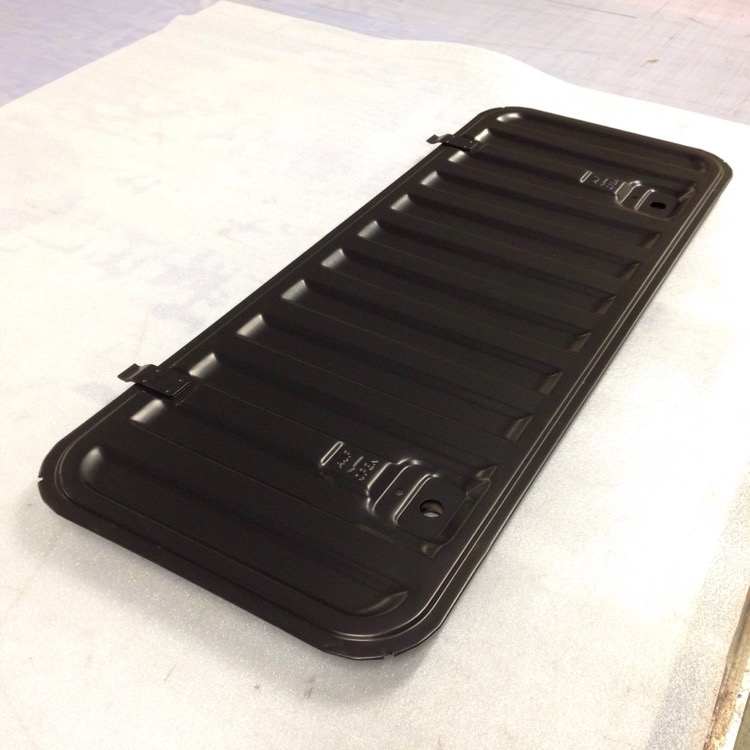
Finally found a engine inspection cover/lid for the Highroof bus. Just needed to fix some dents, sanding and a layer of new paint. Satin black, RAL 9005. 
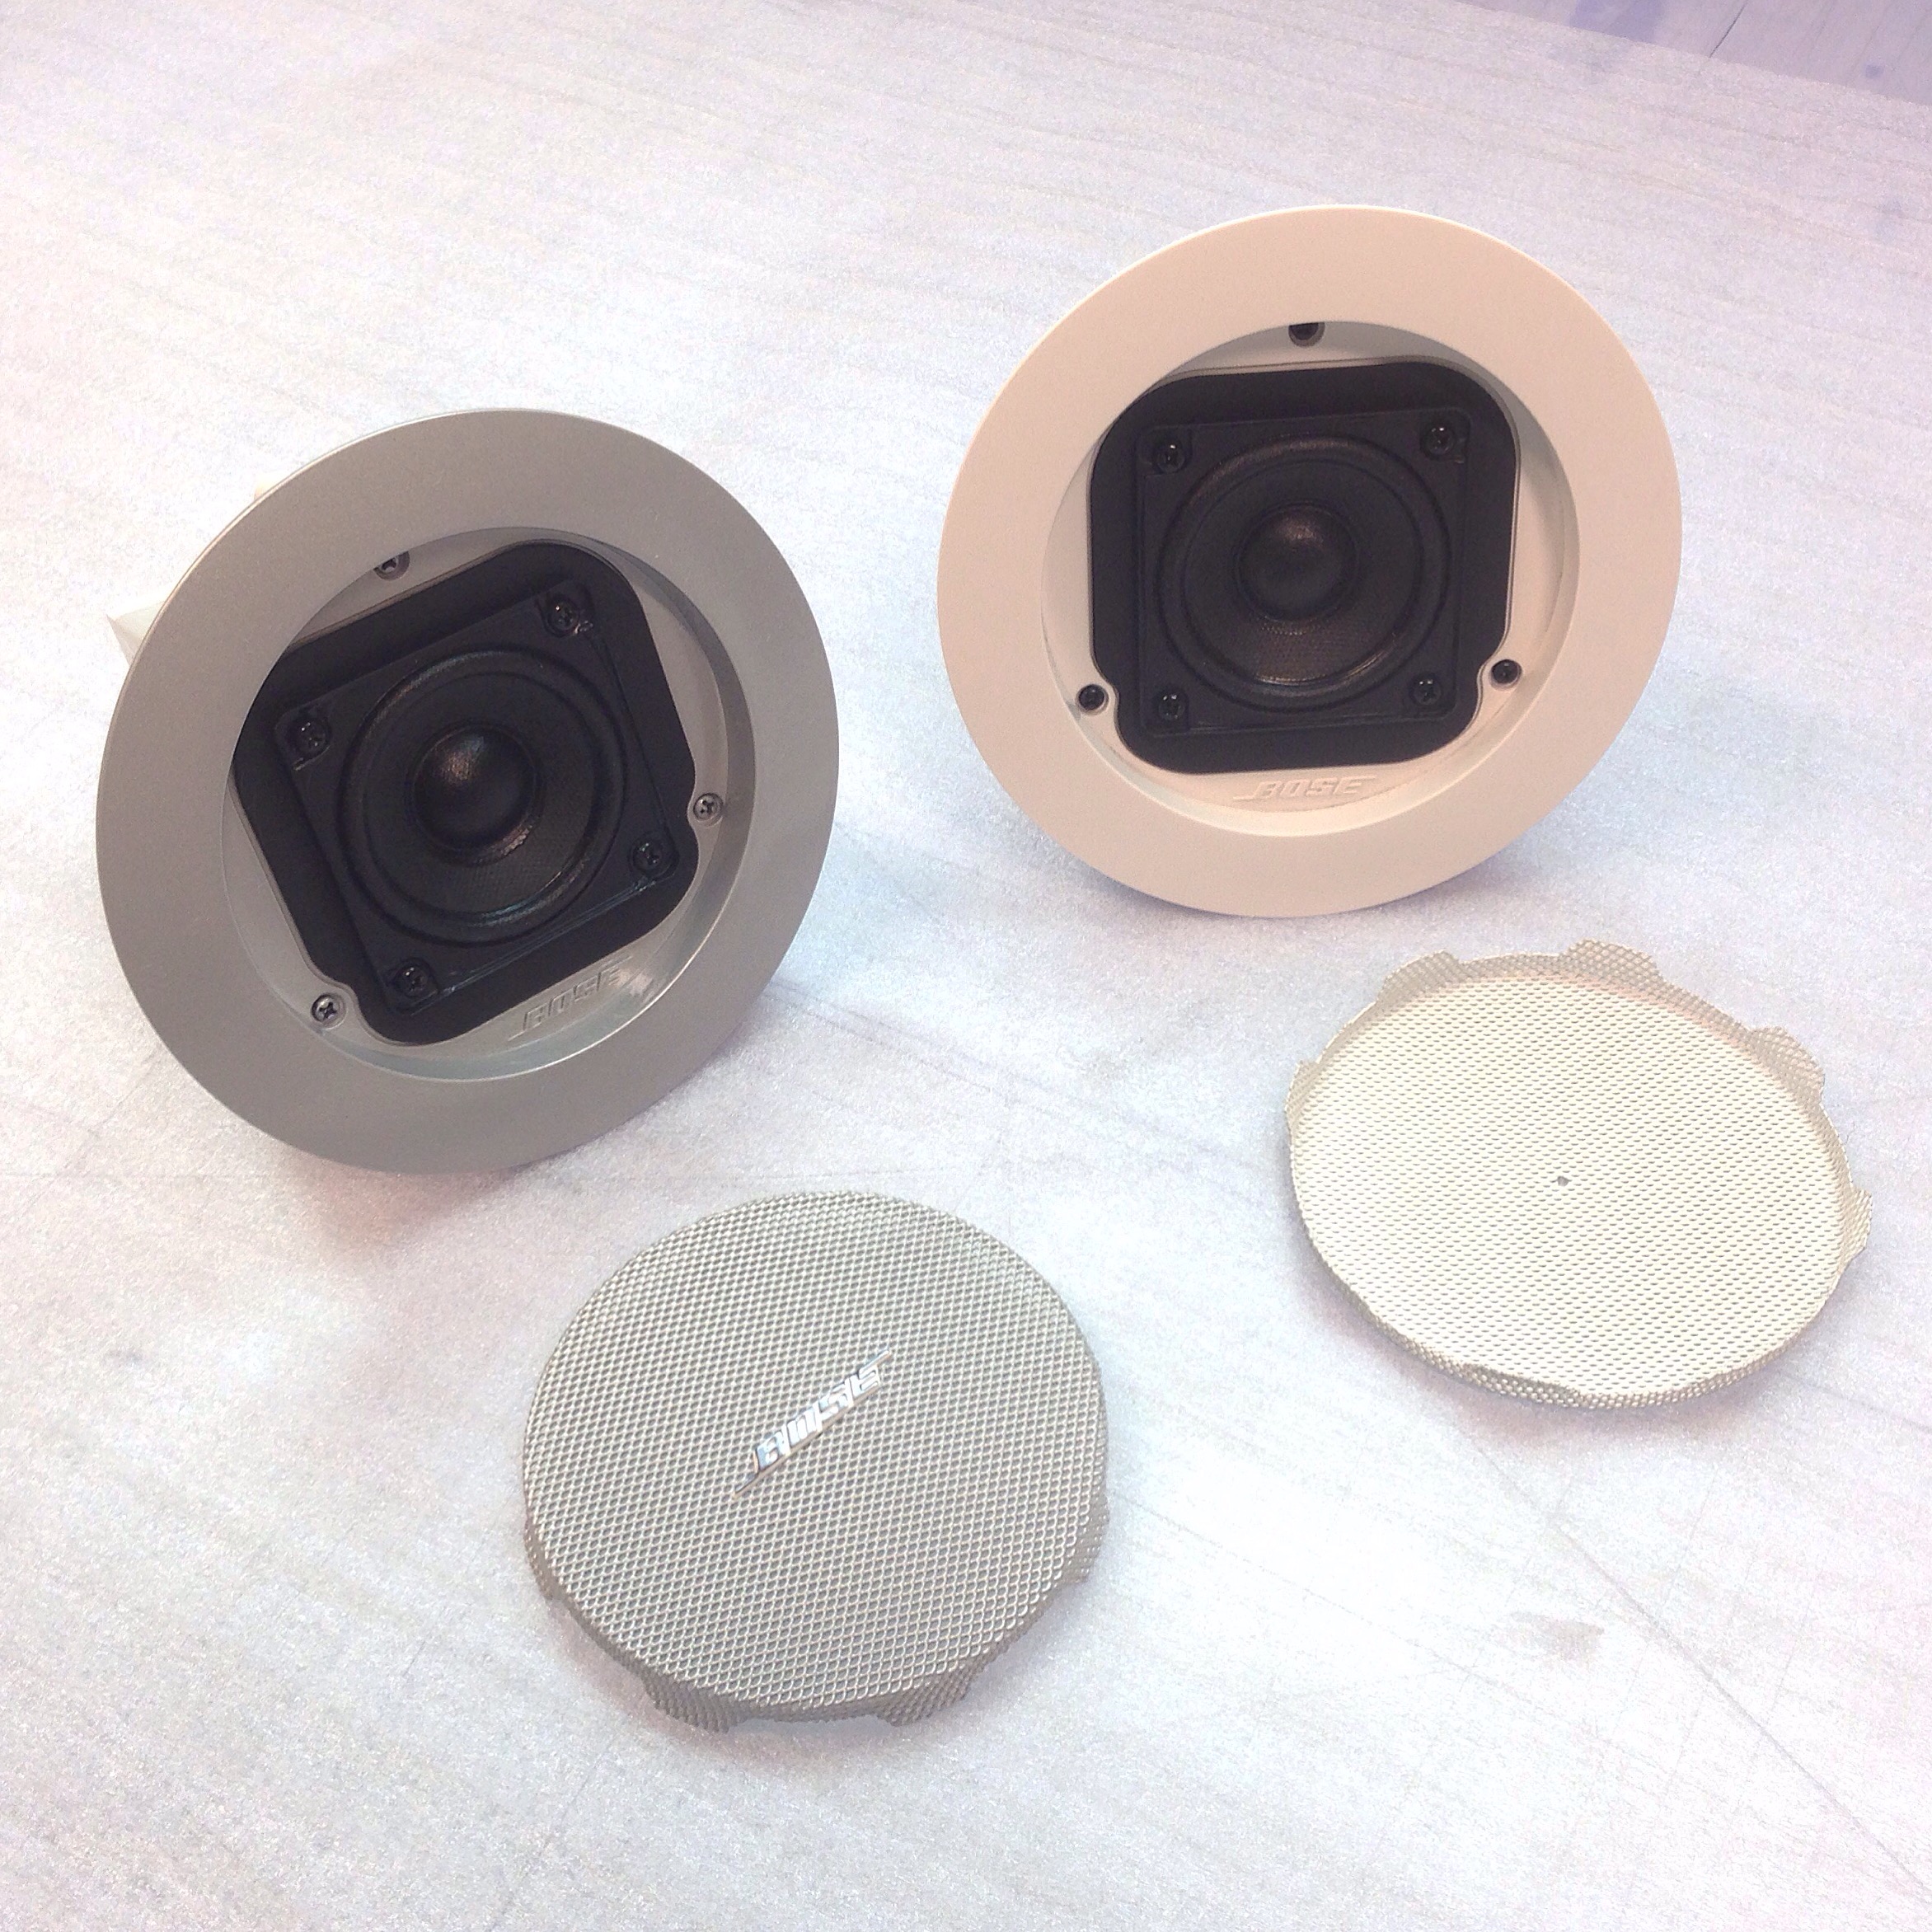
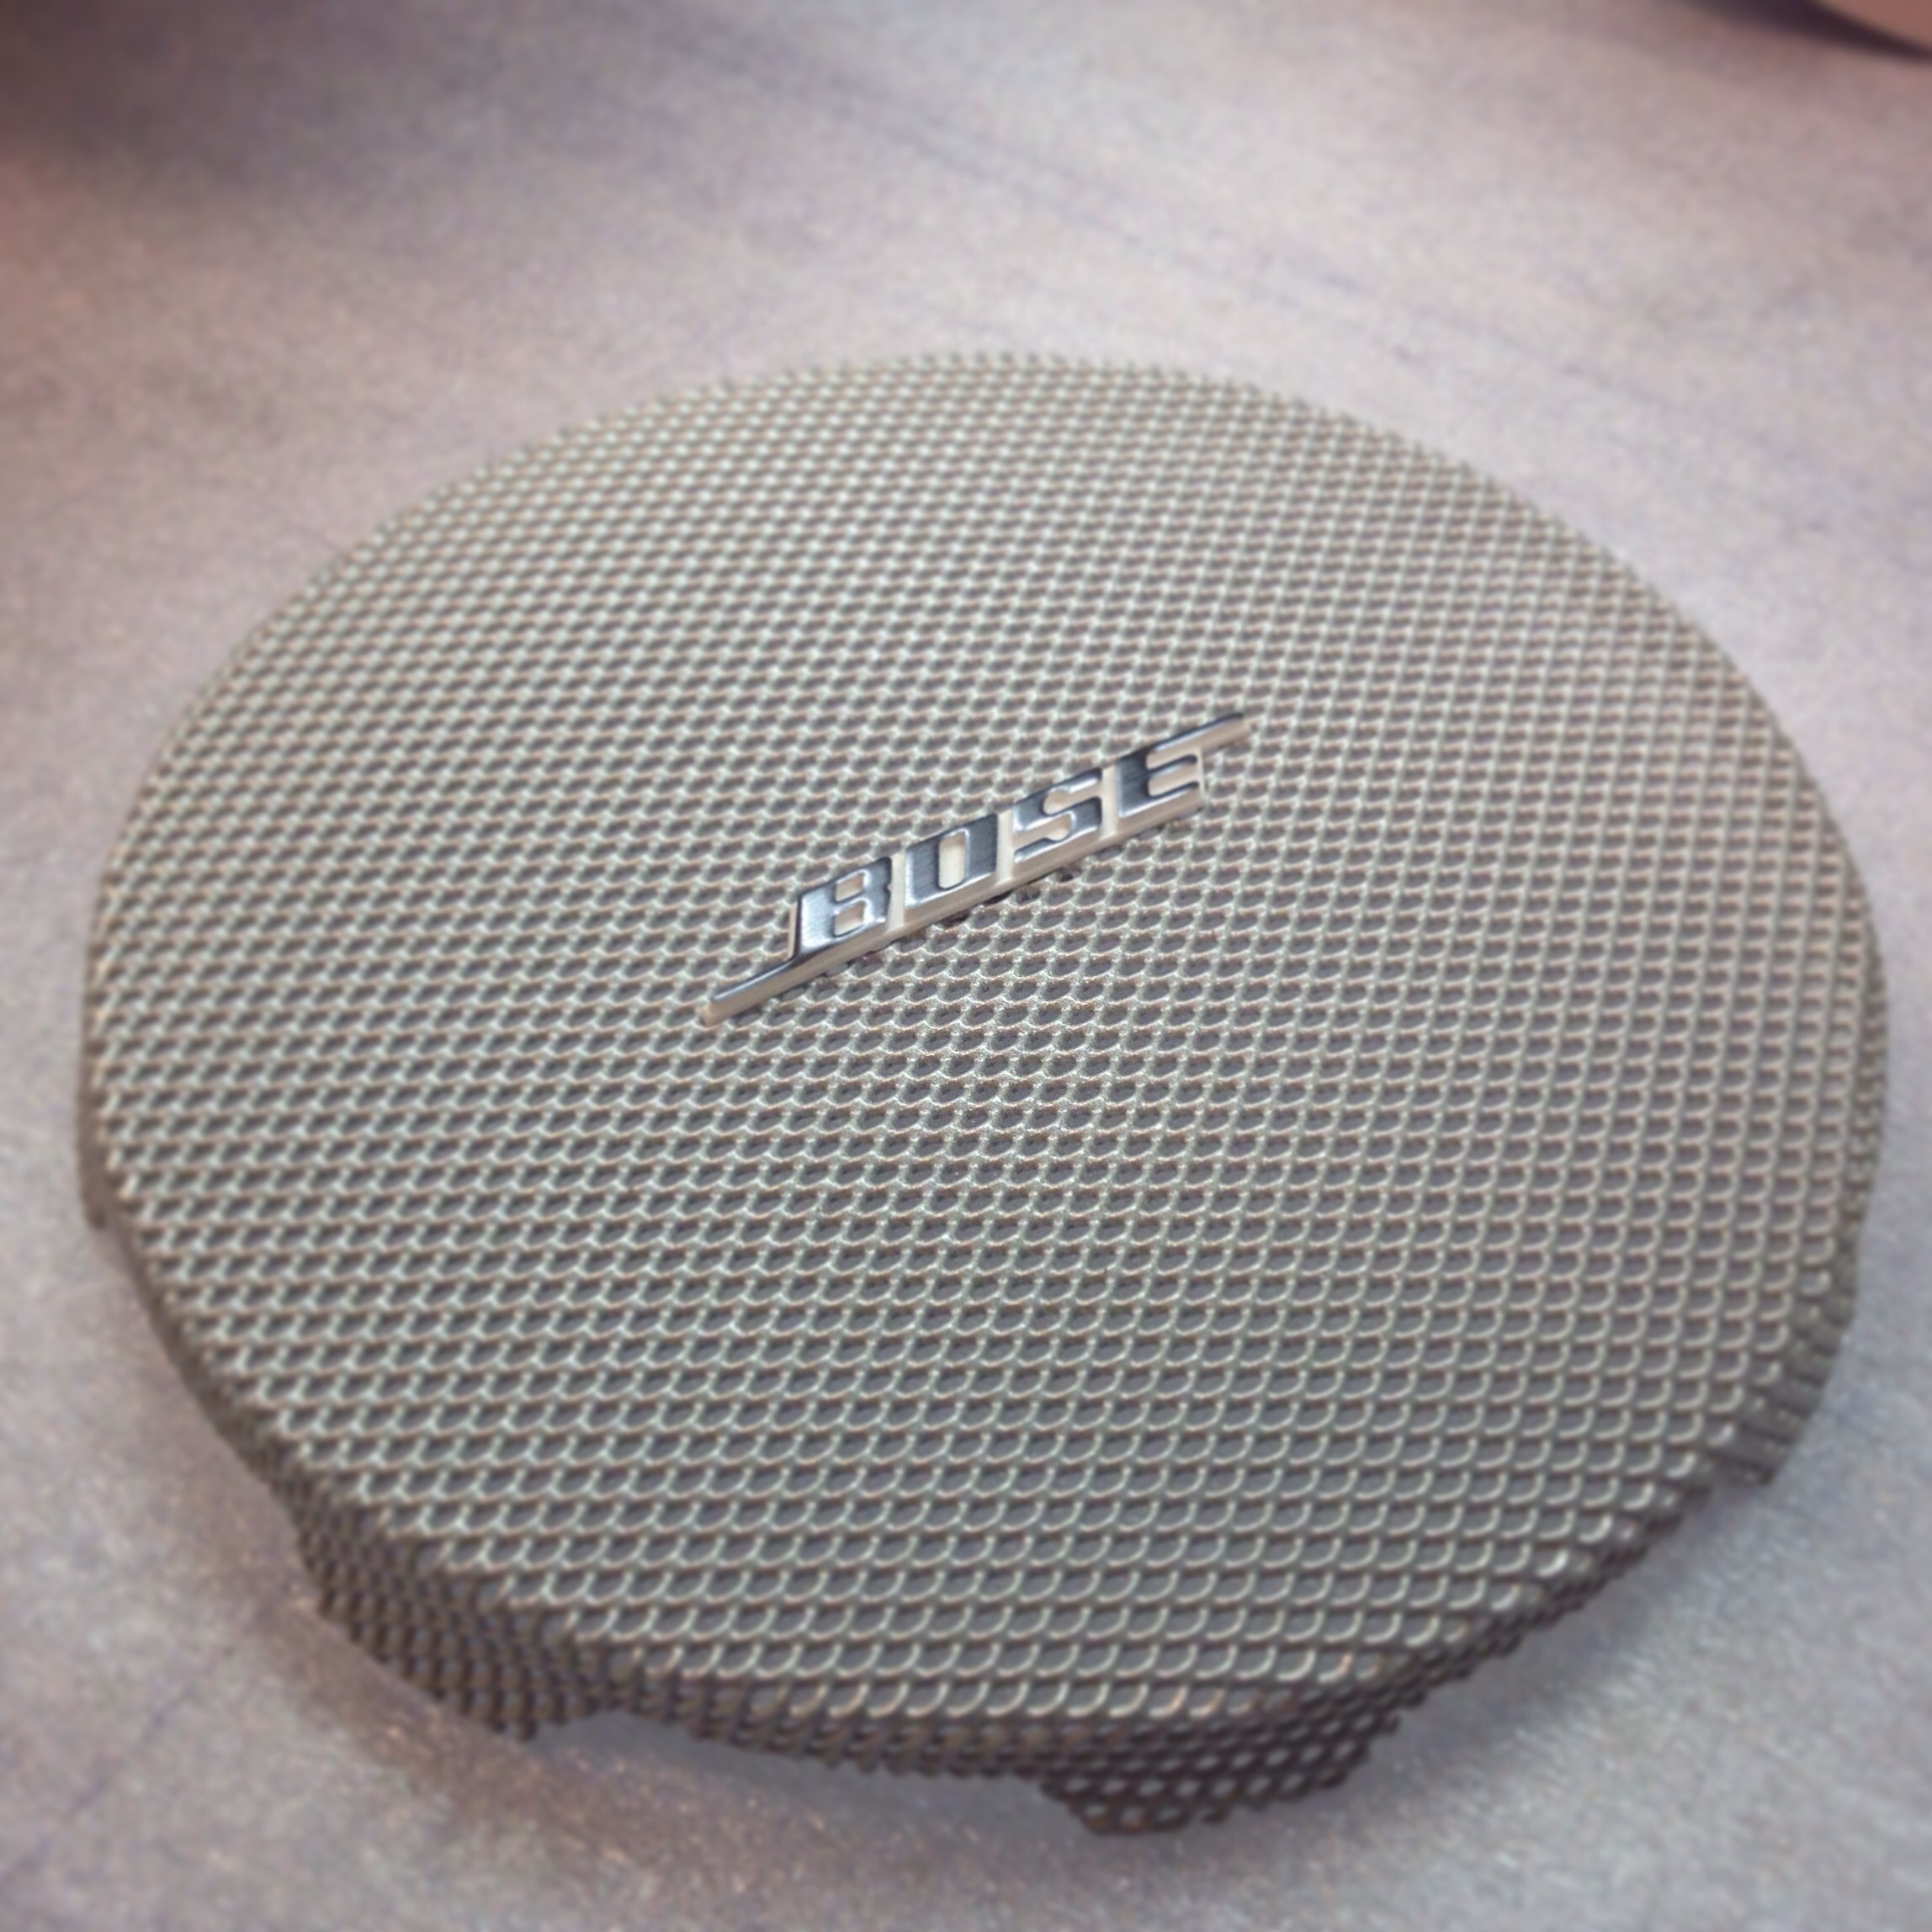
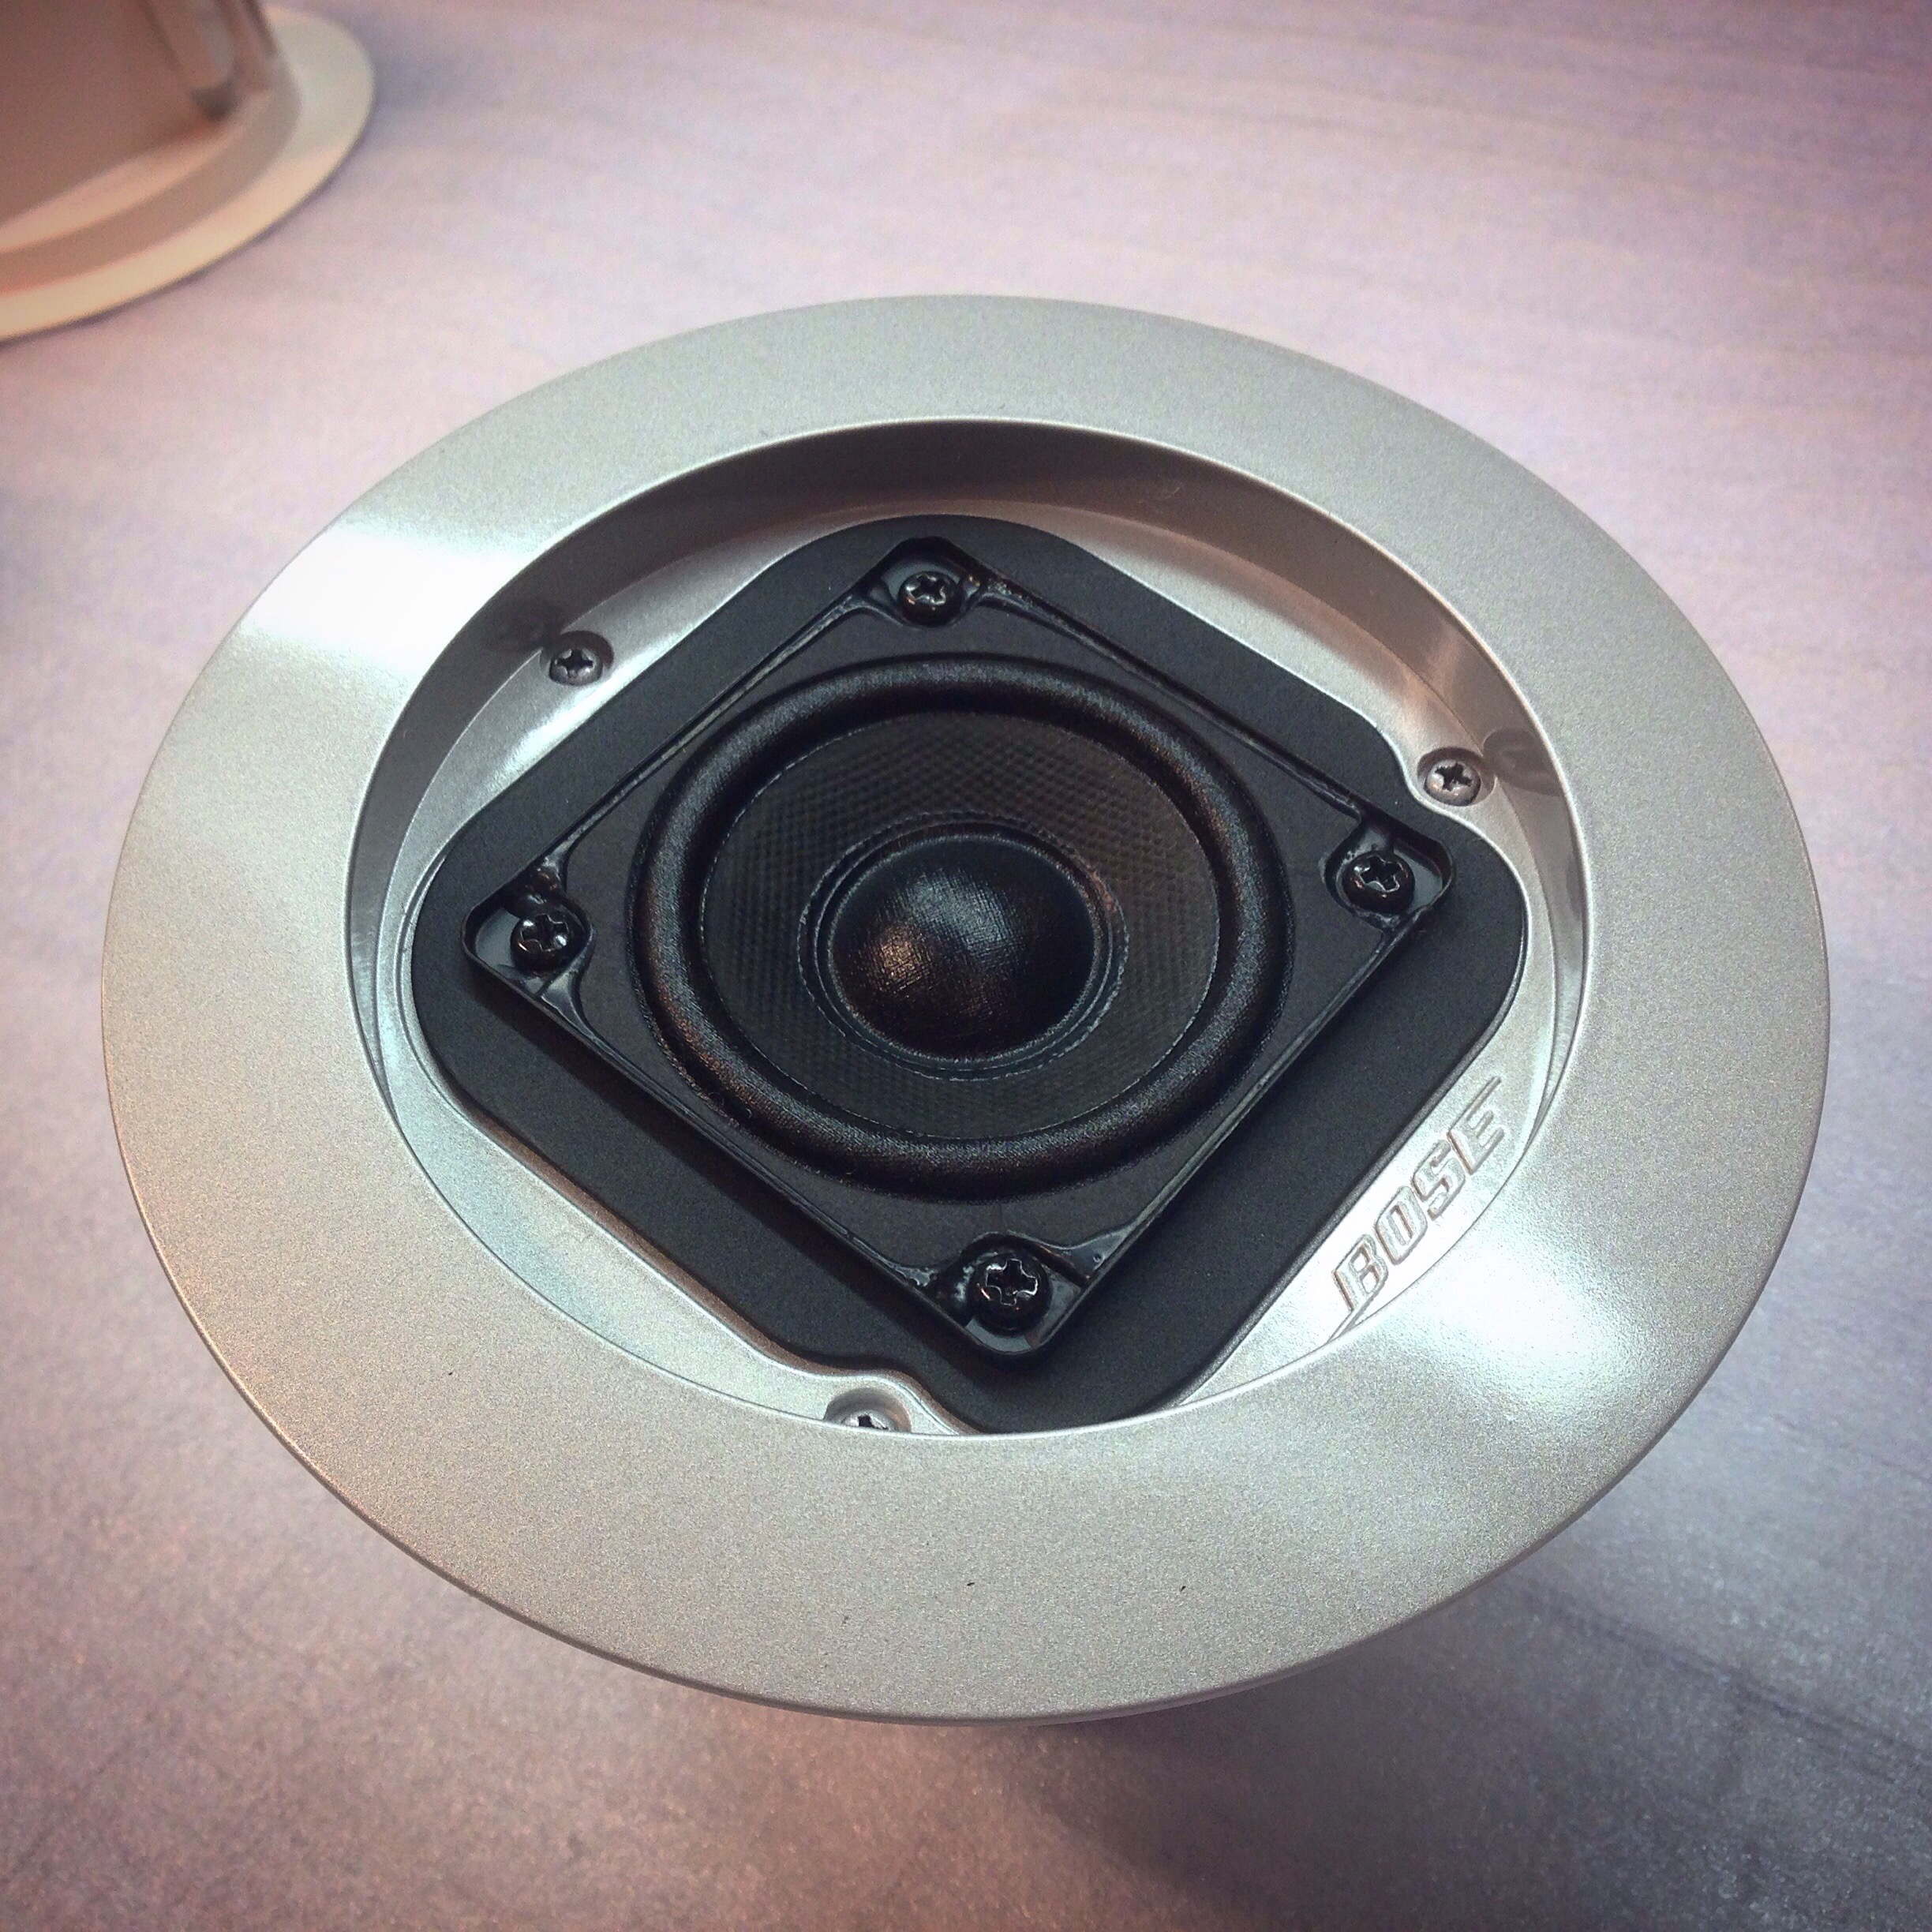
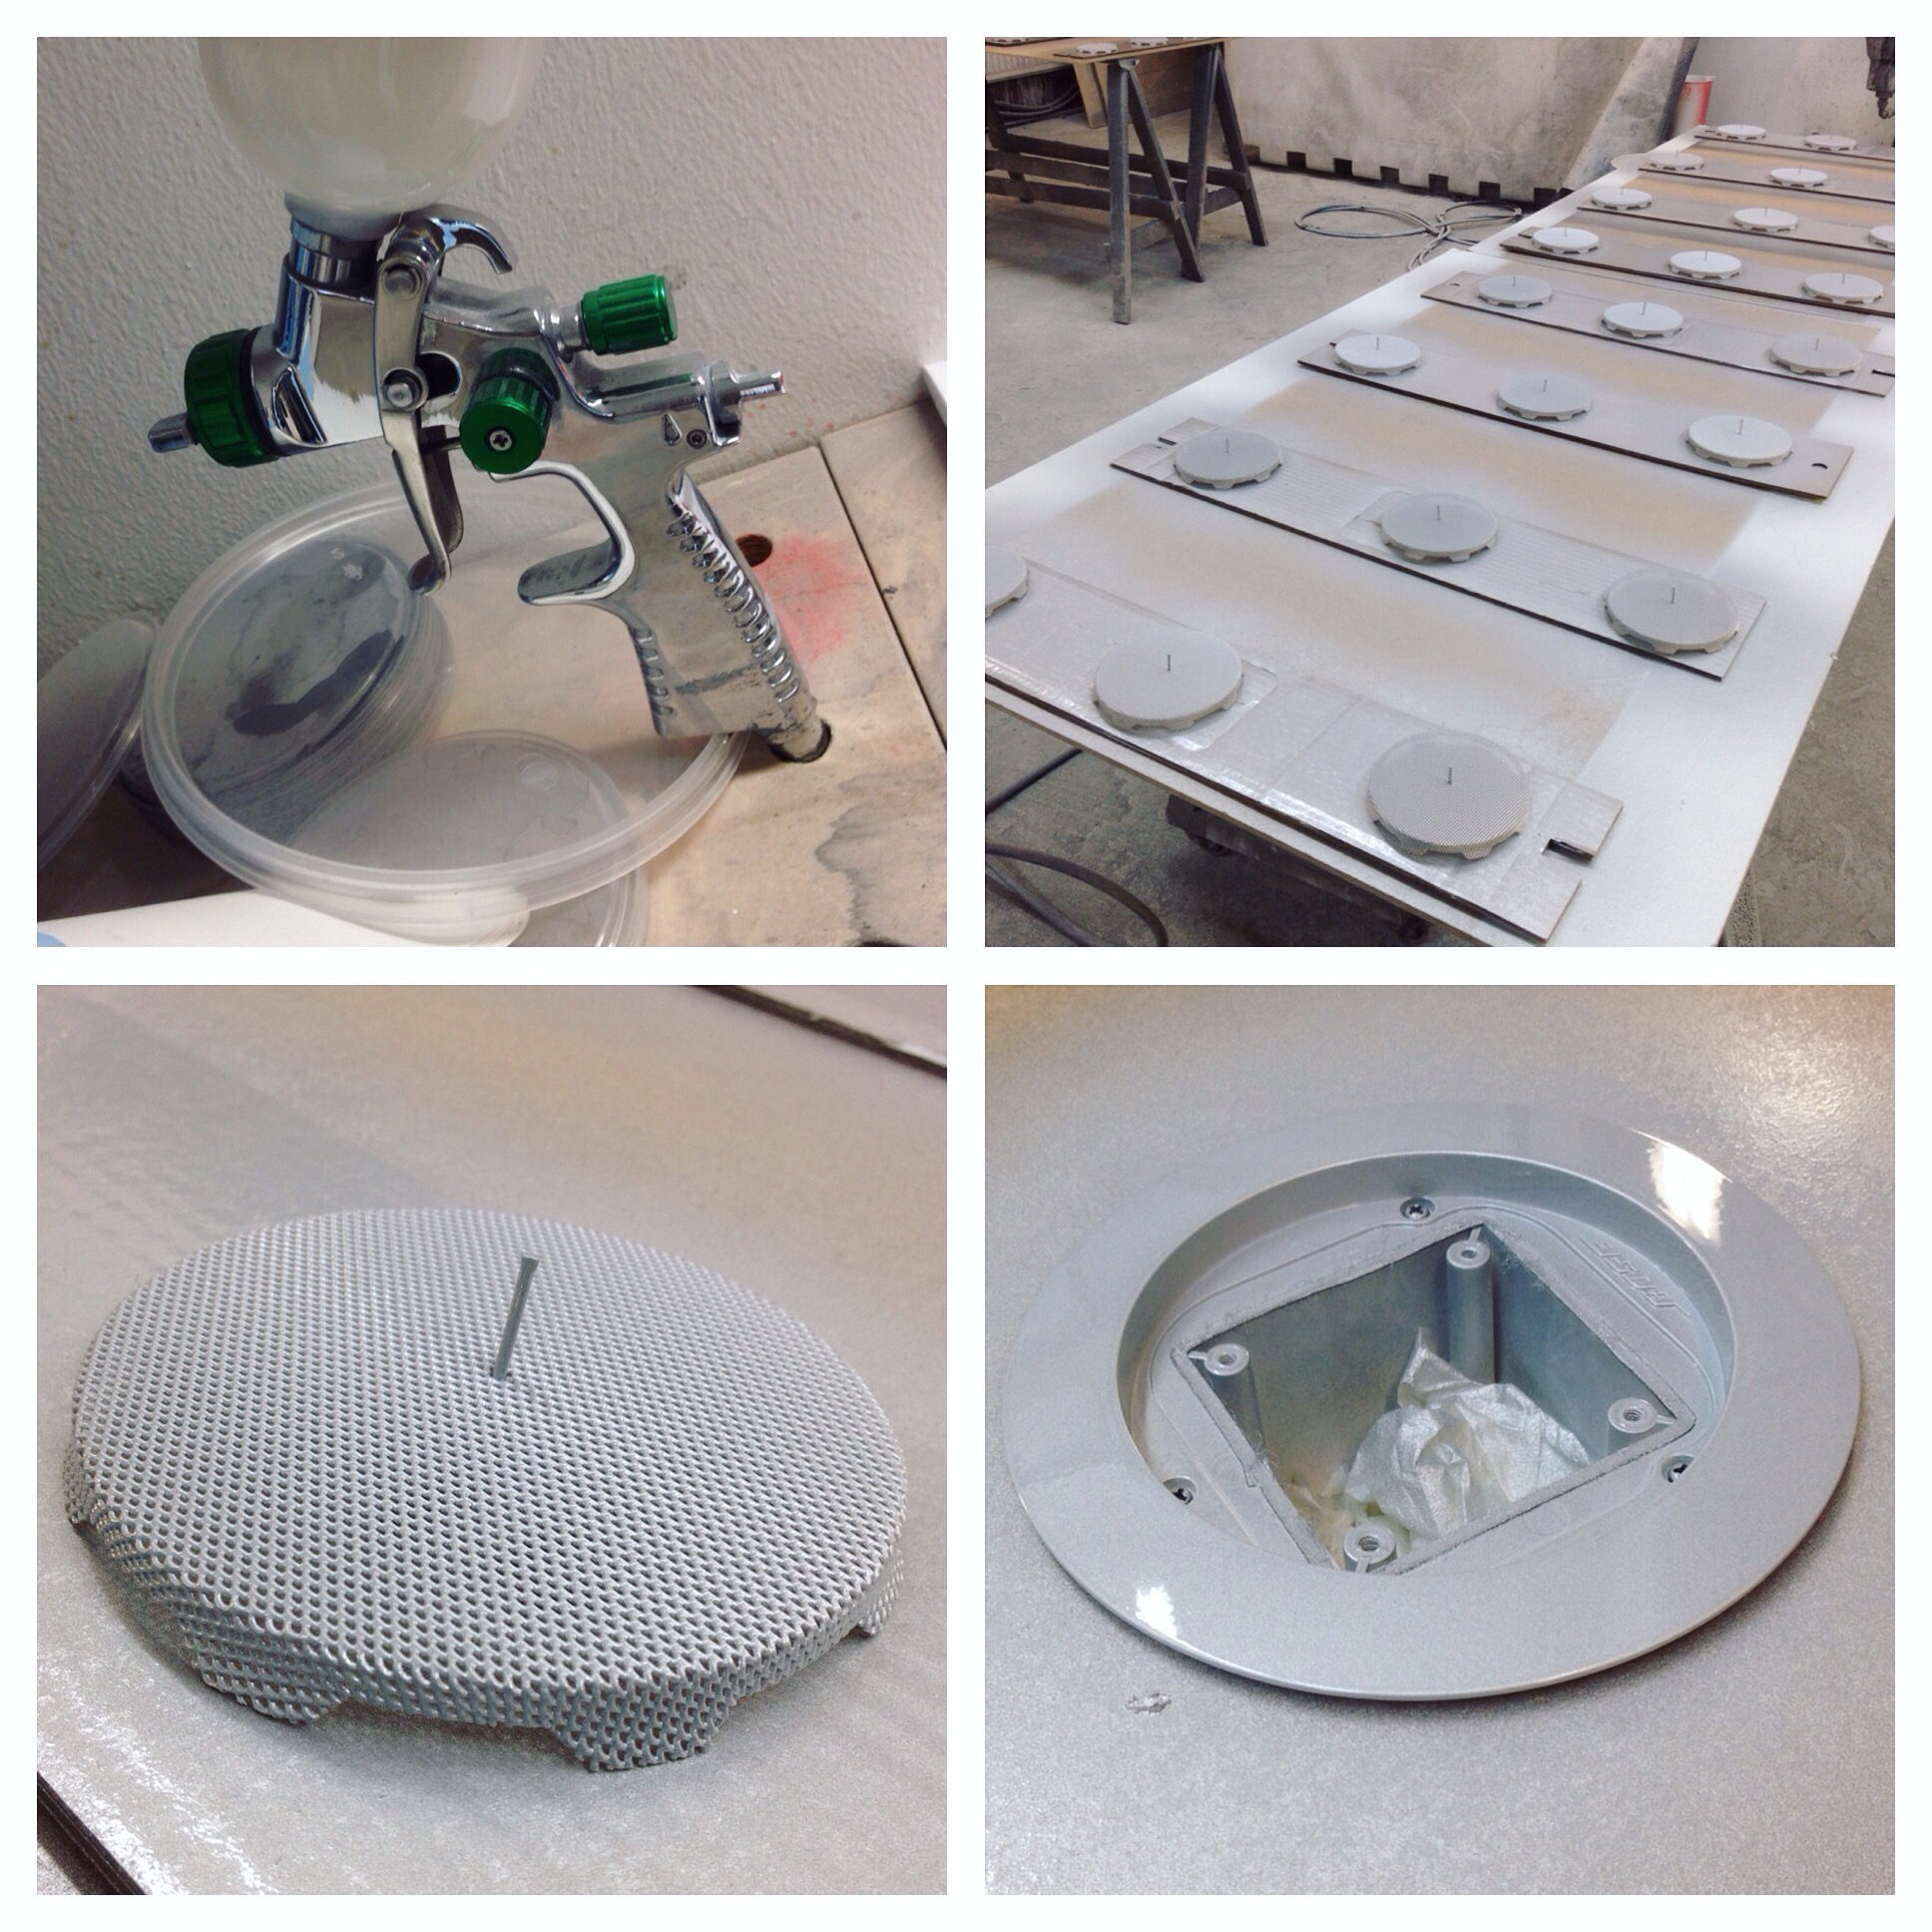
Painting BOSE speakers for $20000 today. Was white but going to be Silver metallic RAL 9006.